Swallowed Whole
Set a course from Agrabah to either world, but the Battle LV 5 world is the easier course. After a bit you’ll eventually be swallowed up by Monstro, it’s unavoidable. When you arrive inside Monstro just swim towards the back of Monstro’s mouth to start more scenes. You will be facing a few new enemies in the next area.
Search Ghost
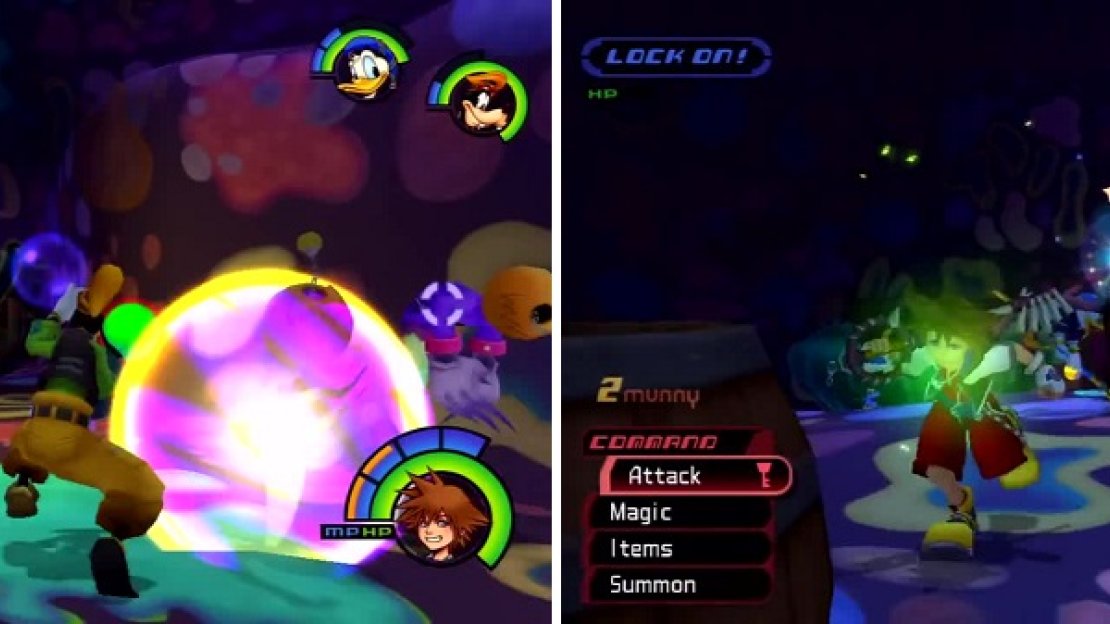
Search Ghosts aren’t the toughest Heartless you’ll find. They often just charge and flail to deal damage. They can phase in and out to appear behind you but otherwise they don’t pose much of a threat. If you defeat a Search Ghost while it is glowing you will receive additional green and clear orbs which somewhat promotes using magic for a quicker and more efficient kill. In groups just use Blizzara to get them all at once.
Search Ghosts flail around and glow yellow when they are about to disappear (left). Barrel Spiders (right) are barrels the grow legs.
Barrel Spider
Barrel Spiders are just like the Pot Spiders you encountered while in Agrabah except they are in barrels. They do pose a greater threat however, since they can charge at you and explode to deal a lot of damage. The upside is that this can be dodged and the low HP of the Barrel Spider makes it easy to take out quickly.
Like the Pot Spider, the Barrel Spider drops a lot of green orbs and Munny once defeated so even if you take some damage it’s not urgent to heal. Skills like Stun Impact and Ripple Drive are great for keeping the Barrel Spiders numbers in check.
Playing Games
Enter Chamber 1 to trigger another scene. Defeat the Search Ghosts and enter Chamber 3 via the lower exit. Clear out the Fat Bodies and Search Ghosts in here then open the Chest for a Mega-Ether . Return to Chamber 1 and take the other exit to reach Chamber 2. There are Air Soldiers and other Heartless in here, just kill them and loot the Chest for a Cottage . Head on to Chamber 3 again, but this time you will be higher up. Try not to fall or break both of the barrels.
Use one of the barrels to reach a platform above you. It has a Chest with Dalmatians 55, 56 and 57 inside. From here you can jump across the gap to a Chest with an Osmose-G and use the barrel on this side to reach the Chest that’s higher up, it has a Flare-G inside. Jump back across and enter Chamber 2 again from the other entrance. Clear out the Barrel Spiders and jump from one platform to the next to reach the Chest with a Megalixir inside.
Hes Not Lying
Jump back across and fight through Chamber 5 to Chamber 6. Clear out the Heartless and turn left to a Chest with Dalmatians 76, 77 and 78 inside. There is an exit right here back to Chamber 5, take it. Defeat the waves of Heartless, lots of Shadows, then loot the Chests for a Mega-Ether and Thundaga-G . You can also use Trinity Jump #13 to receive a Cottage and some Munny.
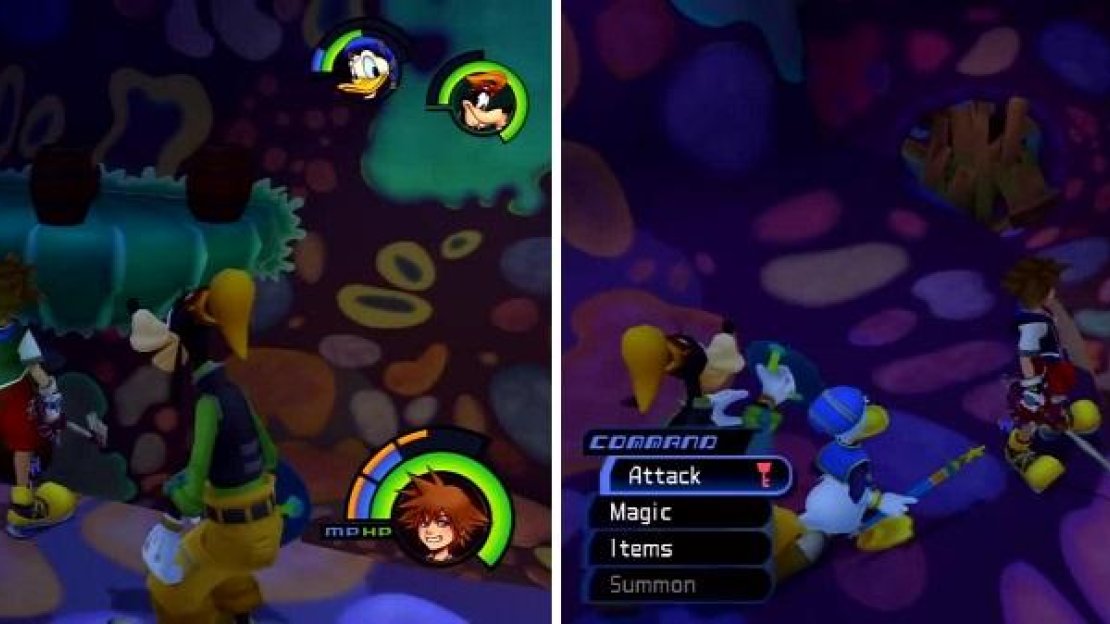
There is a chest with a Megalixir sort of hidden behind the barrel (left). Drop off the ledge here (right) to get two chests and a Trinity Jump.
Clear out the Heartless and use a barrel at the top of the final step to reach a Chest on the upper platform, it contains a Torn Page . Climb up using the barrel and defeat the Search Ghosts that appear.
Grab the barrel and move it towards the exit. Press Circle to drop it instead of throwing it and you can leap from the barrel to the ledge with a Chest that contains a Mythril . Jump across to the new area and break the barrel to gain access to the Chest with Dalmatians 79, 80 and 81 inside. Jump back to the area you start at and enter Chamber 4. Save your game after the scenes then proceed into the Bowels for a boss fight.
BOSS - Parasite Cage
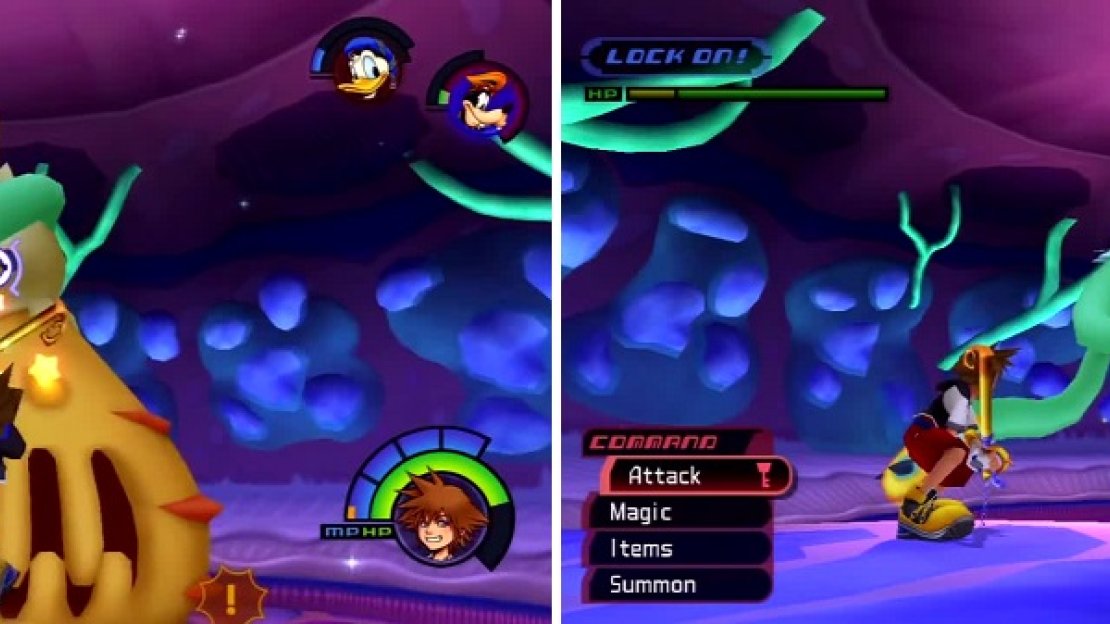
Go in and attack Parasite Cage (left) or sit back and hit him with magic (right).
The Parasite Cage basically flails around swinging its flexible arms around to deal damage and prevent you from using melee combat to your advantage. You can just empty a bunch of Fira into it from a distance and then get in close to regain some HP and deal a little bit of damage. Once you have some HP back, return to firing off Fira spells from a distance. The battle isn’t too difficult especially with Riku helping you out. In the worst case, just use Ethers and cast Fira until it dies.
Reaching New Heights
After the battle Goofy will learn Cheer . Jump into the hole and open the Chest near Geppetto to learn High Jump , a Shared ability that you should immediately equip. Jump on the ledge of the ship then jump atop it to reach Trinity Ladder #7 and a Mythril Shard from the mast. Jump into the water from here and swim over to Trinity Jump #14 which yields two Potions and a Cottage . Jump up the platforms from here to reach a Chest with the Watergleam inside.
Swim over to the platform in front of Geppetto’s Ship and climb up to another Chest to acquire a Scan-G . From here jump to the central stack then to the back end of the one you were just on. Climb up to the top for a Chest that contains a Cottage . Now from where you got the Blue Trinity, make a long jump over to a low platform. Climb up to the top to find a Chest that is hiding Dalmatians 73, 74, and 75 . Head back to Chamber 6 where you got the Torn Page and make a jump and slash to reach a Chest with a Megalixir . Make another similar jump to the ledge nearby to a Chest that contains a Mythril. There is an exit back to Chamber 1.
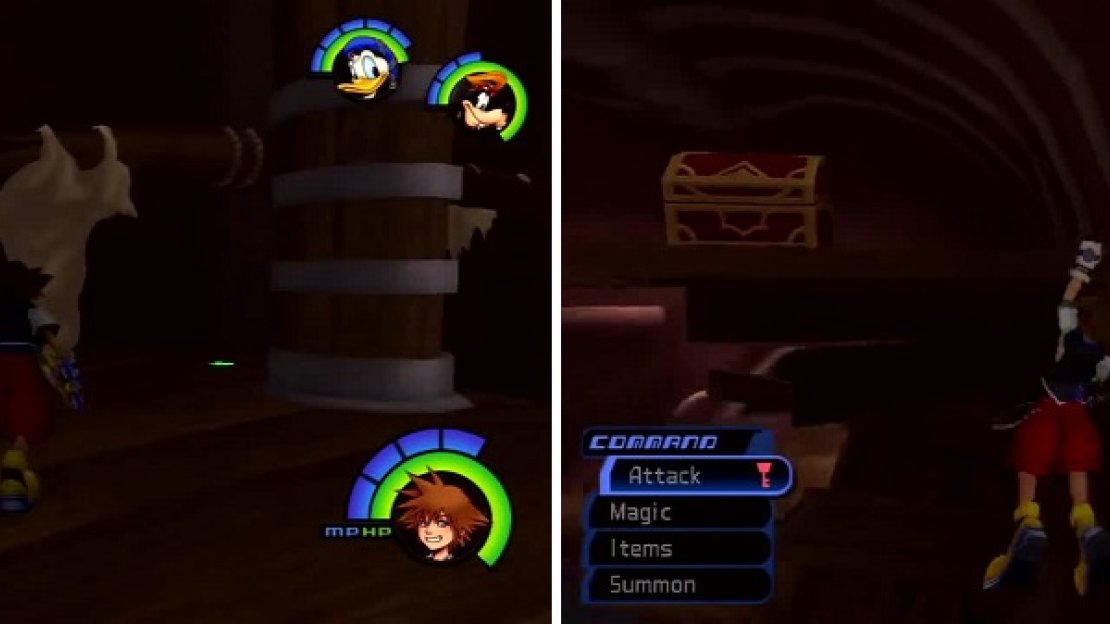
Hop on top of the ship (left) to reach a Trinity Ladder. Hop around the edge where you recieved Scan-G to jump up to this chest (right).
Mushrooms and a Rematch
From the mouth you will need to climb up the wooden structures and reach the door above the Chamber 1 entrance to enter the Throat. Use Trinity Jump #15 to get a Mythril Shard then climb up into Monstro’s Stomach. Note: It is possible to encounter Rare Truffles at this location.
BOSS - Parasite Cage
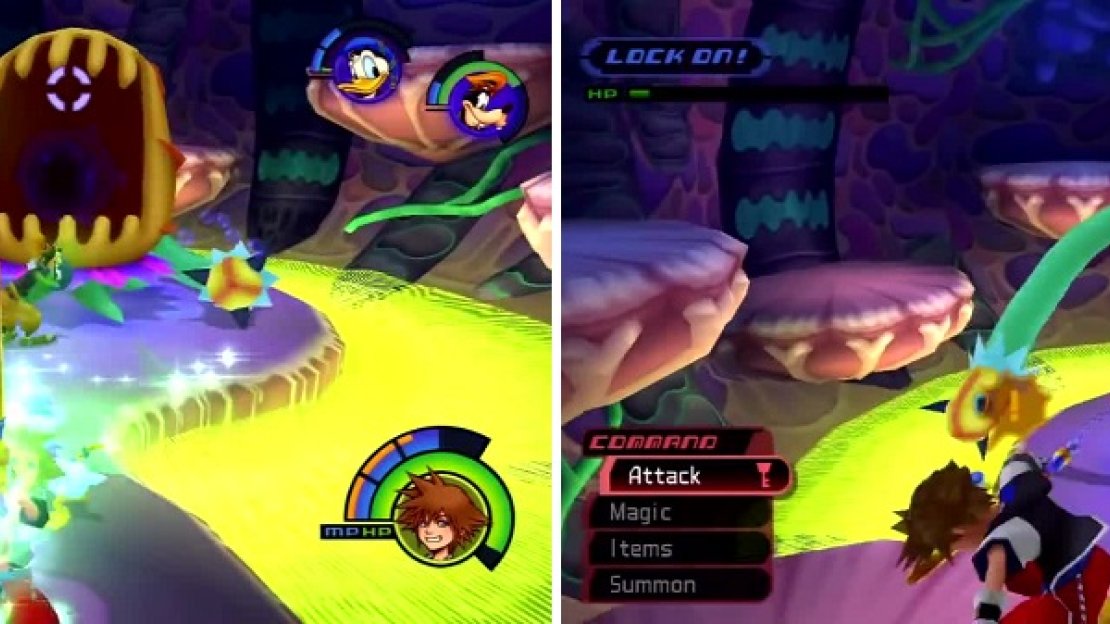
Parasite will open up (left) to reveal a dark orb you can pummel. Beware of the green gas (right).
This time around the stakes are higher and the Parasite Cage is going all-in. Riku isn’t there and your enemy has a lot more health this time around. Parasite Cage can now shoot green gas at Sora and even lunge it’s body for massive damage. You will want to get right in it’s face and deal a lot damage fast. Keeping Aero on is a good idea since you can parry with it.
When the Parasite Cage is knocked down it’s mouth opens up revealing an orb of darkness. Attack this for double damage and green orbs to aid your healing instead of stopping to cast Cure.
After the battle you learn Stop and are released from Monstro. Unlike the original game, you can always return to Monstro. There are several reasons you might want to return, one would be to fight a Grand Ghost.
BOSS - Grand Ghost
The Grand Ghost appears in the Stomach of Monstro and is one of the more annoying new Heartless because it only takes damage from the use of curative items. Get close to it and use an item to “heal” it.
Mega-Potions have a 5% chance of making the item drop, Mega-Ethers are 10%, Elixirs are 35%, and Megalixirs are a 100% drop chance in addition to killing the Grand Ghost in a single use. Using Megalixirs are the best way to guarantee an item will drop so just use those, however you can get 3 Frost Stones if you are lucky with using Elixirs.

No Comments