Courage to Face the Scary Stuff
The floor layout shows plenty of rooms to level up and collect cards (left). Sora fights off Red Nocturnes, Blue Rhapsodies, Darkballs, and Neoshadows (right).
After the initial scene you’ll learn Trinity Limit and receive the Key of Beginnings . This is the final floor so level up as you need and gather the cards that are required of you. You can’t go up the right side until you reach the Room of Beginnings, but you might want to level a bit first because you’ll have another fight on your hands. You can use Trinity Limit or Mega Flare to quickly annihiliate any group of enemies, so use it over and over to quickly gain a bunch of levels.
BOSS - Axel
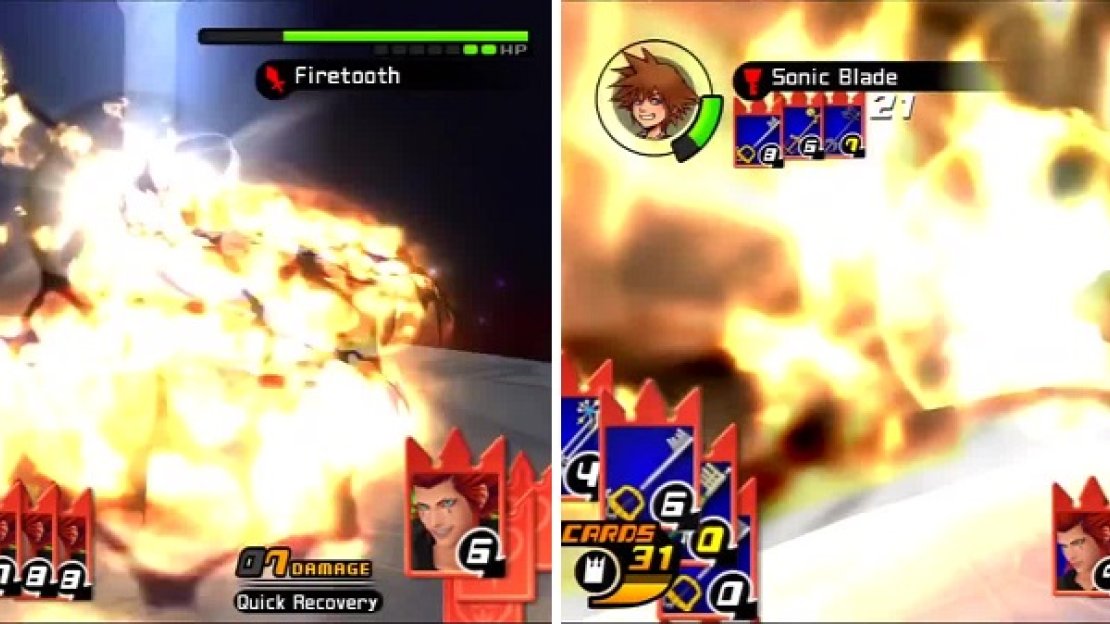
Axel unleashes his Firetooth attack that brings firey pain to Sora (left). Sora desperately dodge rolls away from Axel’s Firewall (right).
Axel is obviously much stronger now than when he was testing you on the very first floor. He still uses Fire Wall, you’ll want to break that sleight, but his new Firetooth sleight is just as vicious and can deplete your health in a single use. It’s best to make sure you card break it. With Firetooth, Axel chucks his chakram at you. You can dodge it but after he reaches 50% health, Axel will have fireballs above his head that he tosses at you. They rebound off of the walls and it’s very hard to dodge, so save yourself the pain of dodging it and card break.
Axel doesn’t use his sleights much, so utilize them yourself. The Riku and Jafar-Genie Enemy Cards are useful for not getting broken and keeping all your cards around. If you have Demyx you can actually load up on a lot of Blizzards and do a ton of damage with Blizzaga. Axel will drop Axel Enemy Card .
With Axel defeated, head to the top right portion of the floor to find Marluxia.
BOSS - Marluxia
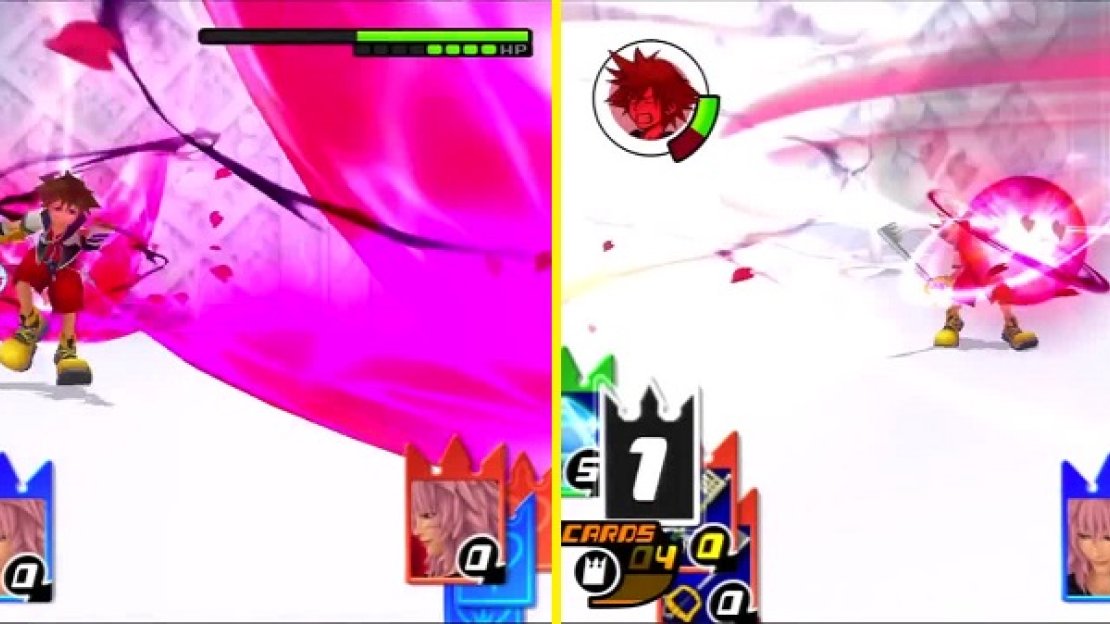
Sora attempts to evade vortices of blossoms (left), but fails to escape Marluxia’s Blossom Shower (right).
Marluxia has a slew of sleights you’ll have to deal with but none more deadly than Blossom Shower. The attack is very similar to Vexen’s Ice Blade, in that Marluxia will teleport and strike you multiple times before slamming his scythe down and summoning petals to strike you. You won’t really be able to react so unless you have a revive up and waiting, this will end your fight most of the time–break this sleight.
Deathscythe is also deadly but somewhat avoidable, you still want to err on the side of caution though, so break this too. Drop Shot is used late in the fight but at this point you’ll want to just kill him with your own sleights. Use a Vexen card to save yourself and use Riku/Jafar-Genie to get your hits in without getting yourself broken. This is a perfect time to use your Roxas Enemy Card for the double x3 damage it will help you do (1.5 x 2). After the battle Marluxia drops Marluxia Enemy Card .
Unfortunately, Marluxia was just messing around and he’s still alive. You will have the opportunity to save, so do so. Beating Marluxia also gives you a chance to go back to Twilight Town and get the One-Winged Angel Keyblade from a Calm Bounty room. You can also get Diamond Dust from any world via Calm Bounty. It’s not a bad pick up if you’re struggling, but if you just won the previous fight without much qualm, you’re ready to end this once and for all.
BOSS - Marluxia: Second Form
Marluxia brings the pain with one-two from his deadly scythes (left). Sora takes a hit from the laser firing blossoms (right)
This battle is a bit easier than the previous, but Marluxia has his perks in this fight. You have to take out the arm-scythes to deal damage to the main body, but getting there requires dodging Marluxia’s attacks. When there are rose buds on the battlefield, you need to break Marluxia’s attack or destroy the buds because when you get attacked, the buds fire lasers at you.
When the battle shows Marluxia forming a ball of darkness, you want to break the attack because the world will go dark and your card values become hidden. Marluxia can also toss energy balls at you but it’s easy to dodge. Finally, the rose petal attack that also has a scene should be broken because it does a ton of damage and is unavoidable. The scythes are vicious, take them out immediately then focus on breaking the attacks and getting in combos when you have the chance. Sleights are pretty useless.
BOSS - Marluxia: Third Form
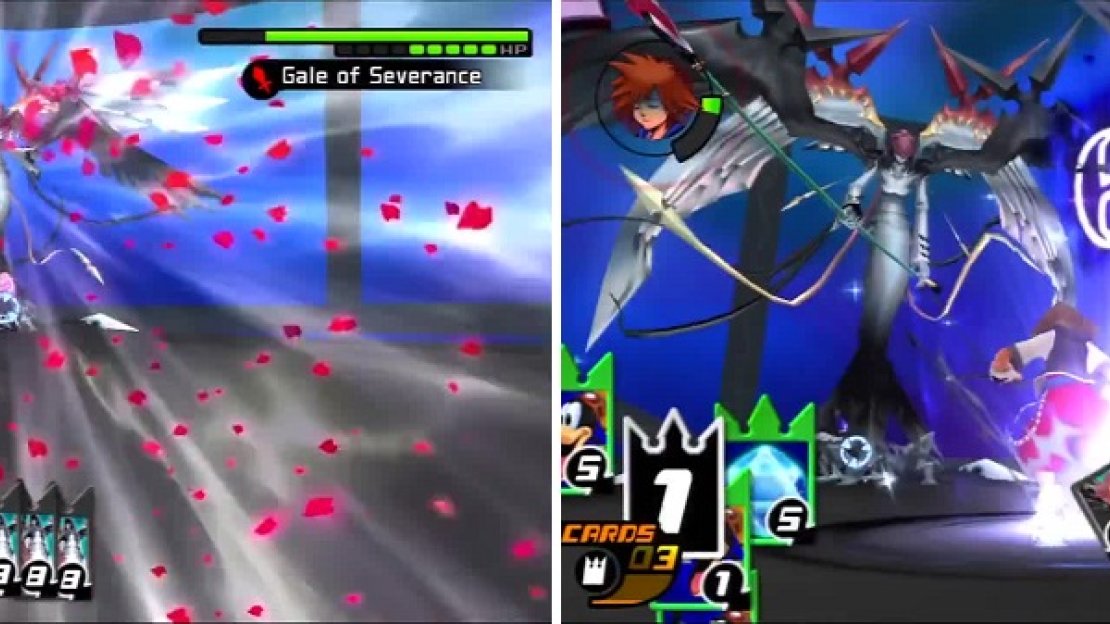
Sora walks against the force of wind from Gale of Severance (left). Marluxia traps Sora using Doom (right) as Sora desperately tries to break all six cards to escape.
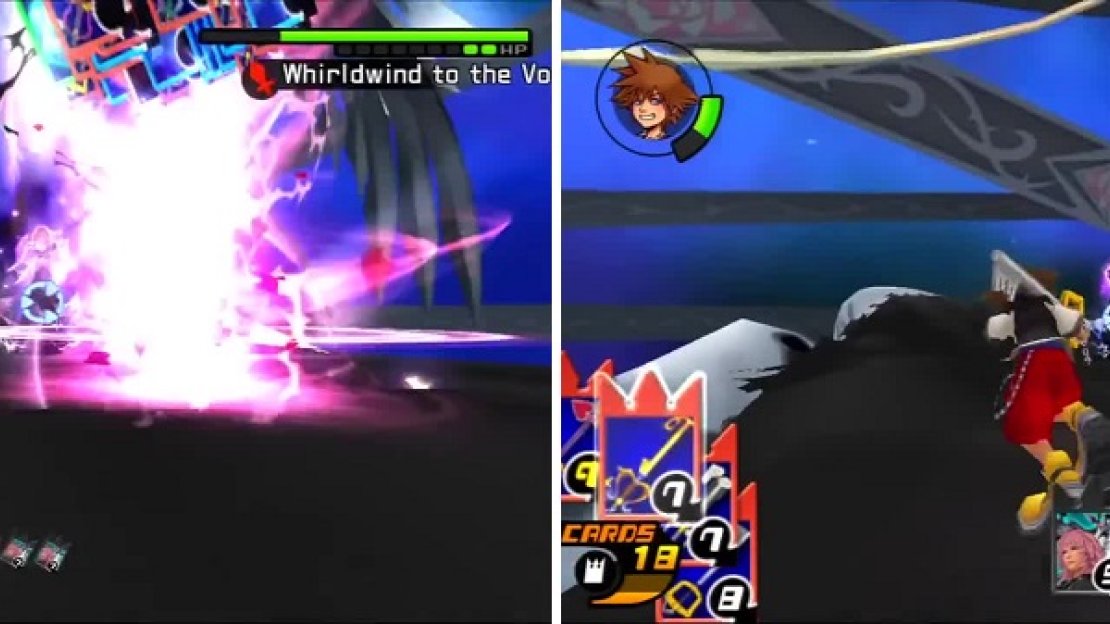
To begin, you’ll want to realize that Marluxia uses sleights and the attacks are easy to recognize. Gale of Severance uses 8-8-8, it blows you back to the far side of the battlefield and deals little damage. Whirlwind of the Void uses 7-7-7, will knock all of Sora’s cards out of the deck, and scatter them around the room. It doesn’t do much damage, but it is annoying and makes it hard to prepare to break his other attacks. Doom uses 6-6-6 and you’ll want to try to break it quickly. If you fail to break the sleight then you must break 6 cards or die, so switch to 0s and 9s.
Circle Reject uses 5-5-5 and causes Marluxia to smash his scythe in the center of the field. This sends out a wave that is pretty high, nigh impossible to jump over. It does heavy damage so break it if you can’t seem to jump it. Lastly, Omni Laser is used via 4-4-4 and it can kill you pretty easily, break this sleight.
Sora is hit with Whirlwind to the Void and all his cards are scattered (left). Circle Reject barrels down on Sora as he races to attack Marluxia (right).
Essentially, you’ll want to attack Marluxia after you break his sleights, so queue up a heavy sleight or 0 card and follow up with a combo. It’s easy to use Sonic Blade to break any of his sleights, but know that Gale of Severance can break it. Bring a bunch of Megalixir/Mega-Potions and use Curaga as needed. It might be easier to deal a large amount of damage early using the Roxas Enemy Card, then switch to Riku or Jafar-Genie to avoid card breaks and spam sleights. The battle is more of attrition than difficulty, so prepare for the long haul and you’ll be able to conquer this final battle.


No Comments