
There are 25 Accessories to unlock and enhance in Tales of Arise. Due to the random nature of Bonus Skills on Ore, crafting the best Accessories takes careful planning. This page contains suggestions on the best Accessories for each character.
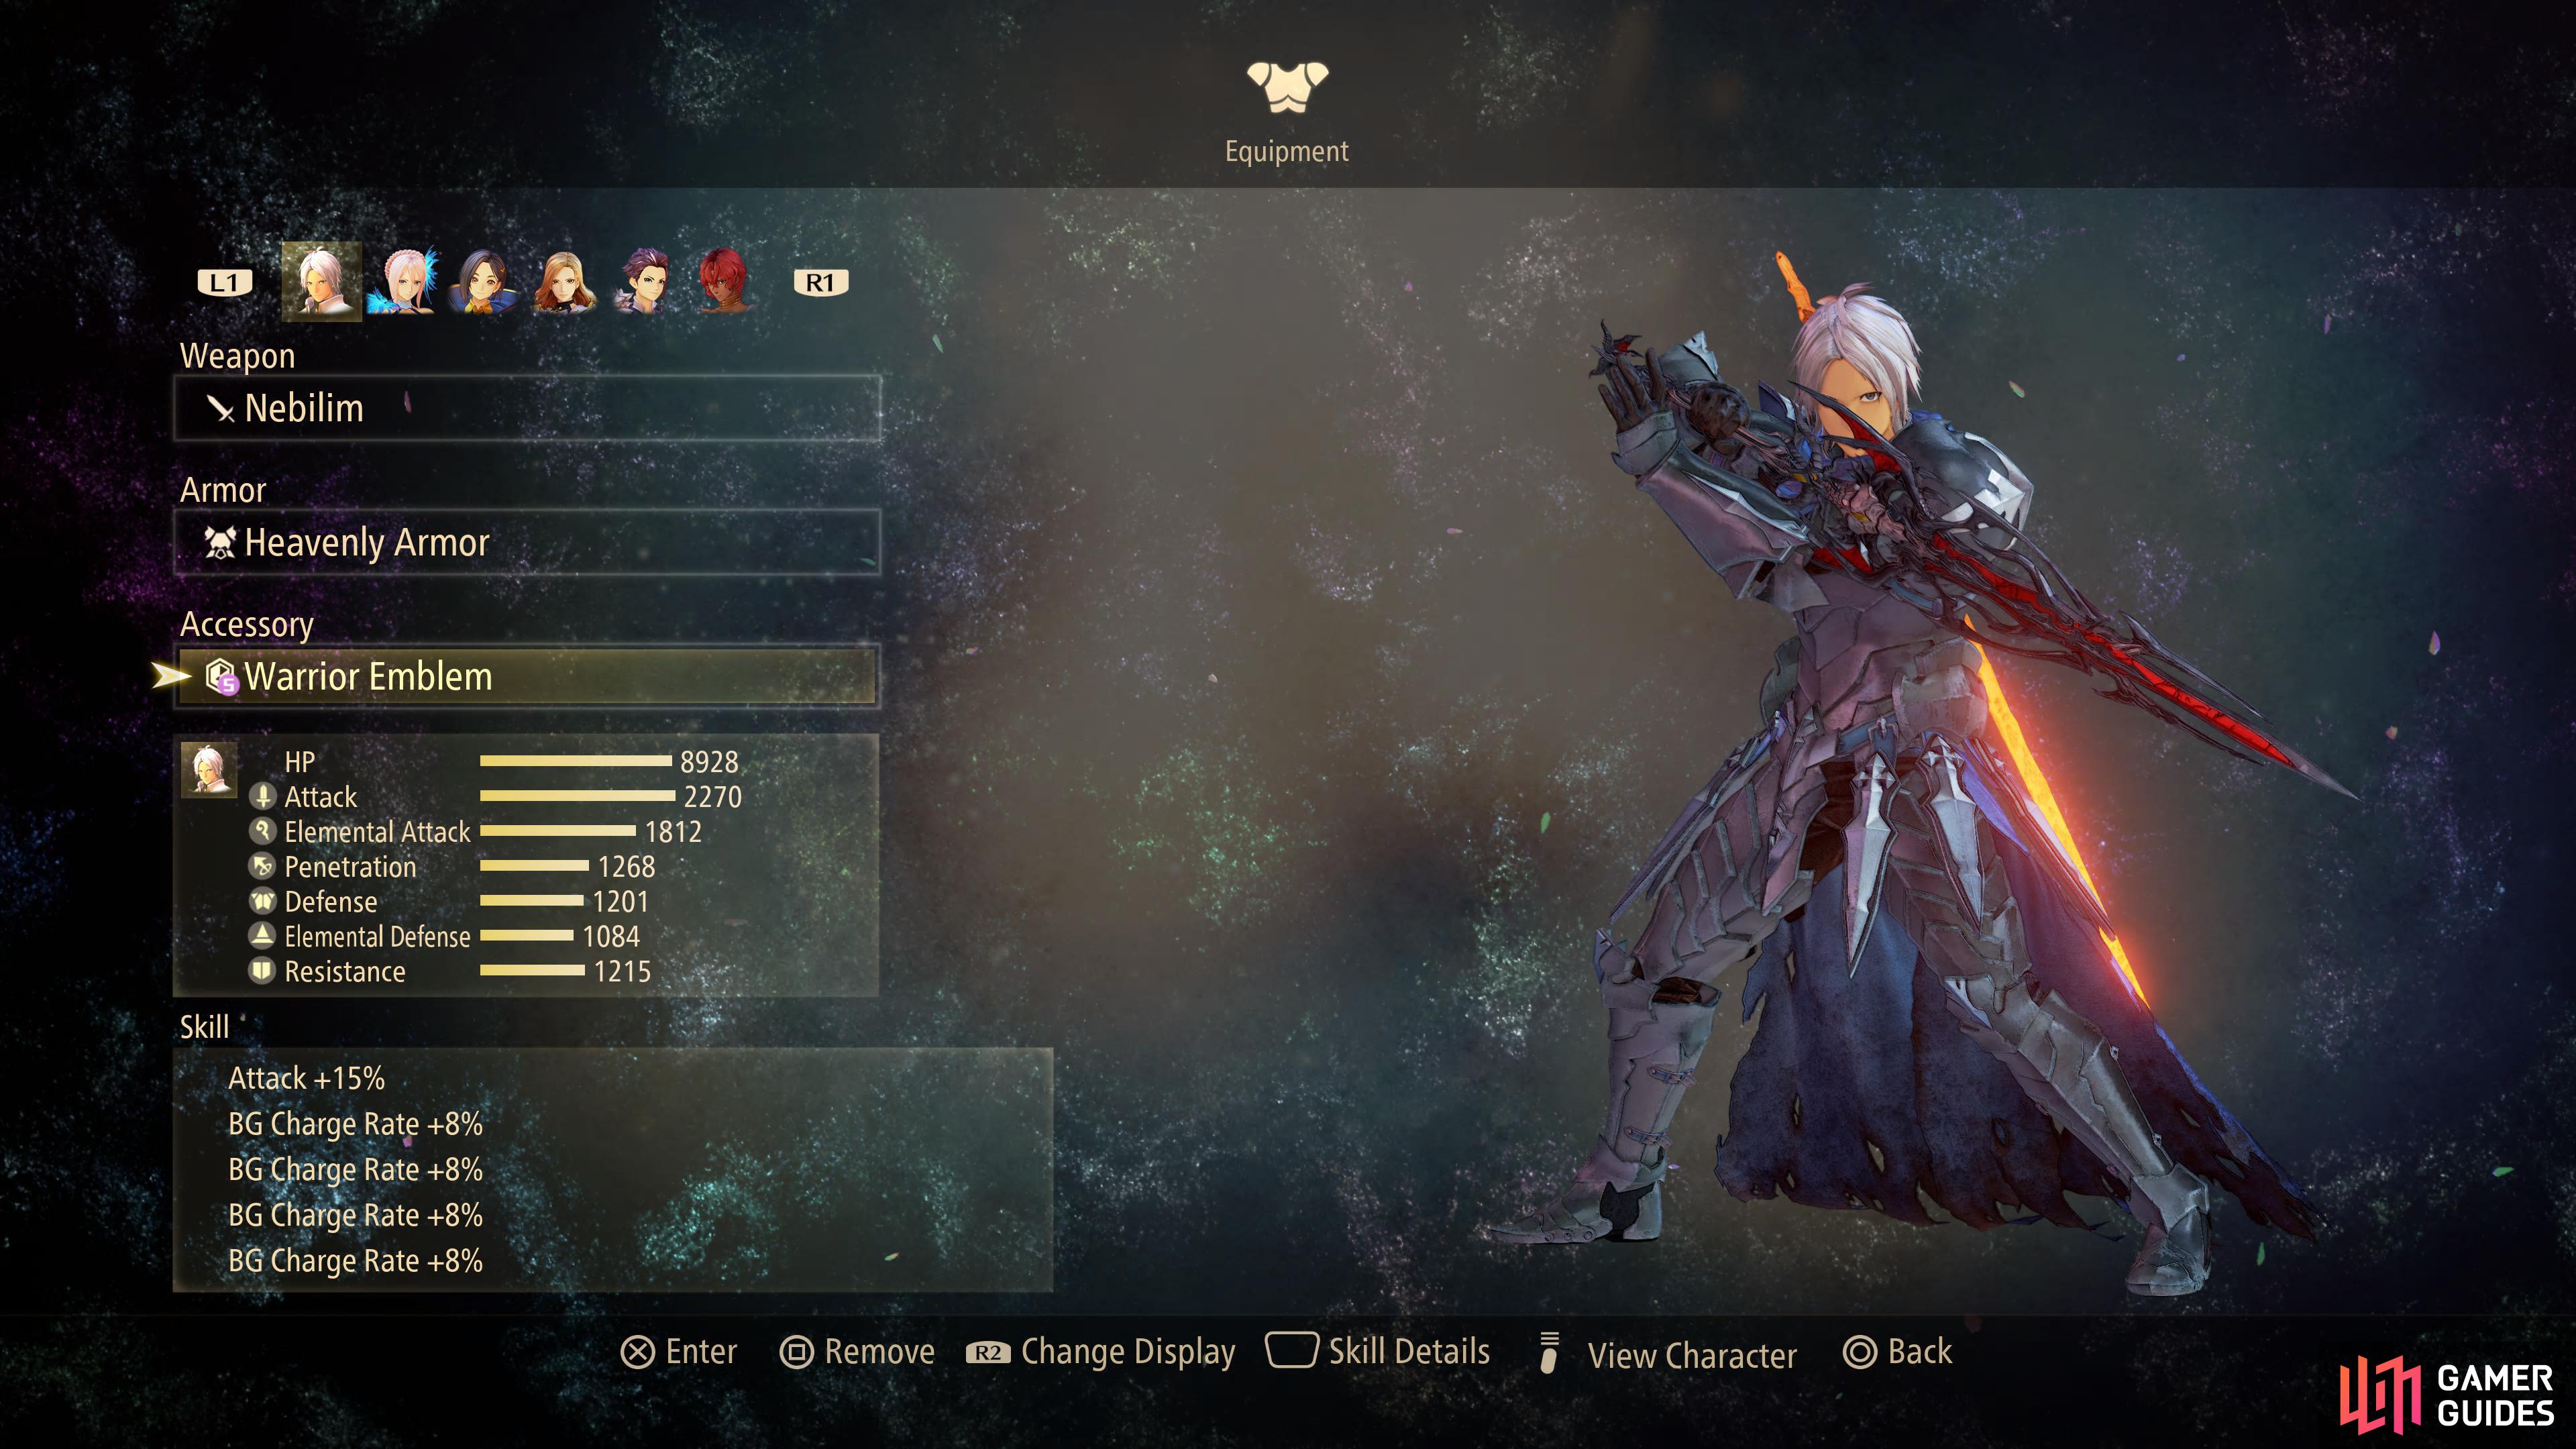
This is one example of one of Alphen’s best accessories.
Alphen’s Best Accessories
| Name | Effect | Bonus Skills |
|---|---|---|
| Warrior Emblem 1 | Attack +15% | BG Charge Rate +8% x4 |
| Warrior Emblem 2 | Attack +15% | Counterattack Damage +30% x4 |
| Magic Emblem | Elemental Attack +15% | Fire Damage +15% x4 |
Alphen is your burst damage specialist and as such, you should focus on building him an Accessory that makes full use of it, allowing you to take advantage of hard hitting artes when an enemy is downed.
Warrior Emblem 1 is focused purely on Alphen’s BG Charge Rate and with this Bonus Skill stacked four times, you’ll get a massive +32% boost to the charge rate before his Skills even come into play. Alphen’s Boost Attack is the most powerful in the game, it will always down an enemy unless they’re in Overlimit, at which point you’ll want to keep away from your target (especially on the harder difficulties). Boosting his BG Charge Rate this high will essentially allow him to use his Boost Attack constantly, almost always keeping the enemy in a downed state where you can unleash hard hitting artes like Incineration Wave to deal massive chunks of damage to your foes.
Warrior Emblem 2 is all about letting Alphen’s Artes pack even more of a damage than they already do. Counterattack Damage + is a rather misleading Bonus Skill, and many players may mistake it for Counter Edge, the counterattack you can use when you perfect dodge or guard a foe, but this is incorrect. This refers to attacking an enemy that is already in attack and is something that you’ll find nearly every boss always in outside of being launched (which most bosses are immune to). During these moments, this Accessory will grant Alphen a massive 120% to all damage dealt, allowing him to really dish out some impressive numbers with Artes like Reigning Slash.
The last Accessory for Alphen, the Magic Emblem, is focused on getting the most out of his Flame Strikes. All of Alphen’s Flame Strikes, along with his Mystic Arte and Boost Attack are calculated on Elemental Attack and Fire Elemental Damage. With the Magic Emblem as the base and four Fire Damage +15% skills, every Flame Strike will hit like a truck. Using a Boost Attack to down an enemy and following it up with a fully charged Incineration Wave is enough to decimate most foes.
Shionne’s Best Accessories
| Name | Effect | Bonus Skills |
|---|---|---|
| Faerie Ring | Arte CP Cost-20% | CP Cost -10% x3, Decrease Aggro L |
| Revival Ring | Revival Chance 50% | CP Cost -10% x4 |
| Mystic Crest | Casting Time -20% | Casting Time -5% x2, CP Cost -10% x2 |
Shionne is one of the simpler characters to build, as the strongest healer in the game, you’ll want to focus on improving her role at this job as much as possible.
The Faerie Ring is the ultimate healing Accessory for Shionne, with the base skill combined with CP Cost -10% x3, you’ll have a massive -50% CP Cost for all of her healing artes, this will make a massive difference in some of the tougher battles and longer dungeons. Decrease Aggro L is taken to ensure that the enemy stays away from Shionne although you can substitute it for another CP Cost -10% if you run a party with Dohalim and Shionne together.
The Revival Ring isn’t that much different from the Faerie Ring, it just favors a 50% chance to have her revived over an extra -10% CP Cost and the Decrease Aggro. No matter how hard you try, there will be times when Shionne’s AI decides to cast an attack spell next to a boss (especially on the harder difficulties) instead of firing off an emergency heal and this gives her the chance to revive on the spot when she’s inevitably killed, saving your Life Bottles for greater emergencies.
The Mystic Ring changes directions a little, it focuses on allowing Shionne to cast her powerful healing Artes quicker with a total of -30% Casting Time and will also aid for those times when she wants to cast an Explosion or two. As always, you’ll want some -CP Cost skills on an Accessory for Shionne.
Rinwell’s Best Accessories
| Name | Effect | Bonus Skills |
|---|---|---|
| Magic Emblem | Elemental Attack +15% | Max HP Damage +15% x2, Casting Time -5% x2 |
| Mystic Crest | Casting Time -20% | Casting Time -5% x4 |
Rinwell is the easiest character to build an ultimate Accessory for, she, like Alphen, is one of your main damage dealers and nothing more. With that in mind, it’s all about her casting as many spells as possible or having them hit harder.
The Magic Emblem is all about her Artes hitting as hard as they possibly can and as you raise in levels, the Elemental Attack +15% will become more and more useful. You may be tempted to spec for specific elements, but when you reach the later stages of the game and have access to all of her Artes, using Shooting Star and Meteor Storm becomes the norm. Shooting Star is based on Light Damage, but it’s not enough to favor that stat over the boost that Max HP Damage+ offers, especially if you control Rinwell.
The Mystic Crest on the other hand, is all about Rinwell casting her Artes incredibly quick, allowing her to cast even the lengthiest Artes in no time at all. This becomes even more useful when having the AI control her as they won’t make as much use of her Skills that decrease Arte casting during combos. When controlling Rinwell, you can end most regular battles with ease by casting a Shooting Star/Meteor Storm combo (using charges).
Laws’s Best Accessories
| Name | Effect | Bonus Skills |
|---|---|---|
| Warrior Emblem | Attack +15% | Counterattack Damage +30% x4 |
| Stamina Ring | Half AG Cost Chance 50% | Half AG Cost: 20% x2, Down Damage +10% x2 |
Law is a little more difficult to build for, he offers arguably the best DPS in the game, especially when you’re controlling him but he’s very much a glass cannon and cannot take many hits.
The Warrior Emblem is designed to augment Law’s damage as much as possible, especially against Bosses. As they’re almost certain to always be in attack, you’ll get the full 120% bonus and due to how quick Law attacks and the combos he racks up, this will massively increase his dps.
The Stamina Ring is a great accessory to pair with Alphen’s Warrior Emblem 1. With that equipped, you’ll find the enemy almost constantly in a downed state and with these Bonus Skills (feel free to add more if this is working for you), Law’s damage will skyrocket. The AG Cost Chance skills will allow you to massively extend Law’s already lengthy combos, allowing him to use his hardest hitting ones non-stop when the enemy is downed.
Kisara’s Best Accessories
| Name | Effect | Bonus Skills |
|---|---|---|
| Revival Ring 1 | Revival Chance 50% | Increase Aggro L x4 |
| Revival Ring 2 | Revival Chance 50% | Counterattack Damage +30% x4 |
Kisara is perpetually in the state of main tank due to her playstyle and as such, it limits what you should use with her. Although it can be tempted to build high resistance on her, it seems like a waste.
Revival Rings are a perfect fit for Kisara as she’ll often be targeted the most in regular battles and always in the enemy’s face in bosses, as such, she’ll always have a 50% chance to be revived on the spot. Revival Ring 1 is the ideal choice for regular battles, this will see most enemies stick to Kisara constantly and mean your healer will only need to use First Aid/Heal rather than the more expensive party heals.
Revival Ring 2 on the other hand is all about Kisara dealing as much damage as she possibly can, and as you may have learnt from above, Counterattack Damage +30% is a fantastic skill for these situations, especially against bosses.
Dohalim’s Best Accessories
| Name | Effect | Bonus Skills |
|---|---|---|
| Mystic Crest 1 | Casting Time -20% | Casting Time -5% x2, CP Cost -10% x2 |
| Magic Emblem | Elemental Attack +15% | Max HP Damage +15% x2, Casting Time -5% x2 |
| Mystic Crest 2 | Casting Time -20% | Casting Time -5% x4 |
Dohalim is the toughest character to build for in terms of ultimate accessories and as such, you should probably build a few for different situations.
The Mystic Crest 1 accessory is the one for you if you’re using Dohalim as your main healer over Shionne (and she’s on the bench), this will give him enough CP reduction while also boosting his casting speed so he can use his regular attack spells too.
You’ll want to use the Magic Emblem if you’re personally controlling Dohalim (and avoid it if you’re not) as Dohalim has a lot of powerful elemental attacks, be them spells or melee artes. On top of that, if you’re playing as Dohalim, you’ll want to be making use of his Perfect Dodge to boost his stats and as such, should be ideally staying at Max HP.
Mystic Crest 2 is an alternative for an attack minded Dohalim that is controlled by the AI. Unless you switch off all of his spells, AI Dohalim will favor casting his spells and they’ll still pack a punch so reducing the cast time on them allows them to get more of them off quicker.
No Comments