
This page covers the Zionne Mine Tunnels in Calaglia for the story in Tales of Arise. This walkthrough will take you through obtaining all items and uncovering everything available to you.
The Zionne Mine Tunnels are found in the realm of Calaglia.
| Items | Location |
|---|---|
| Dull Sword | Story Progress |
| Apple Gel | Southwest from the cell |
| Apple Gel | West path after the first battle |
| Enemies | Lv | Weakness |
|---|---|---|
| Calaglia Armored Swordsman | 6 | – |
| Wolf | 7 | – |
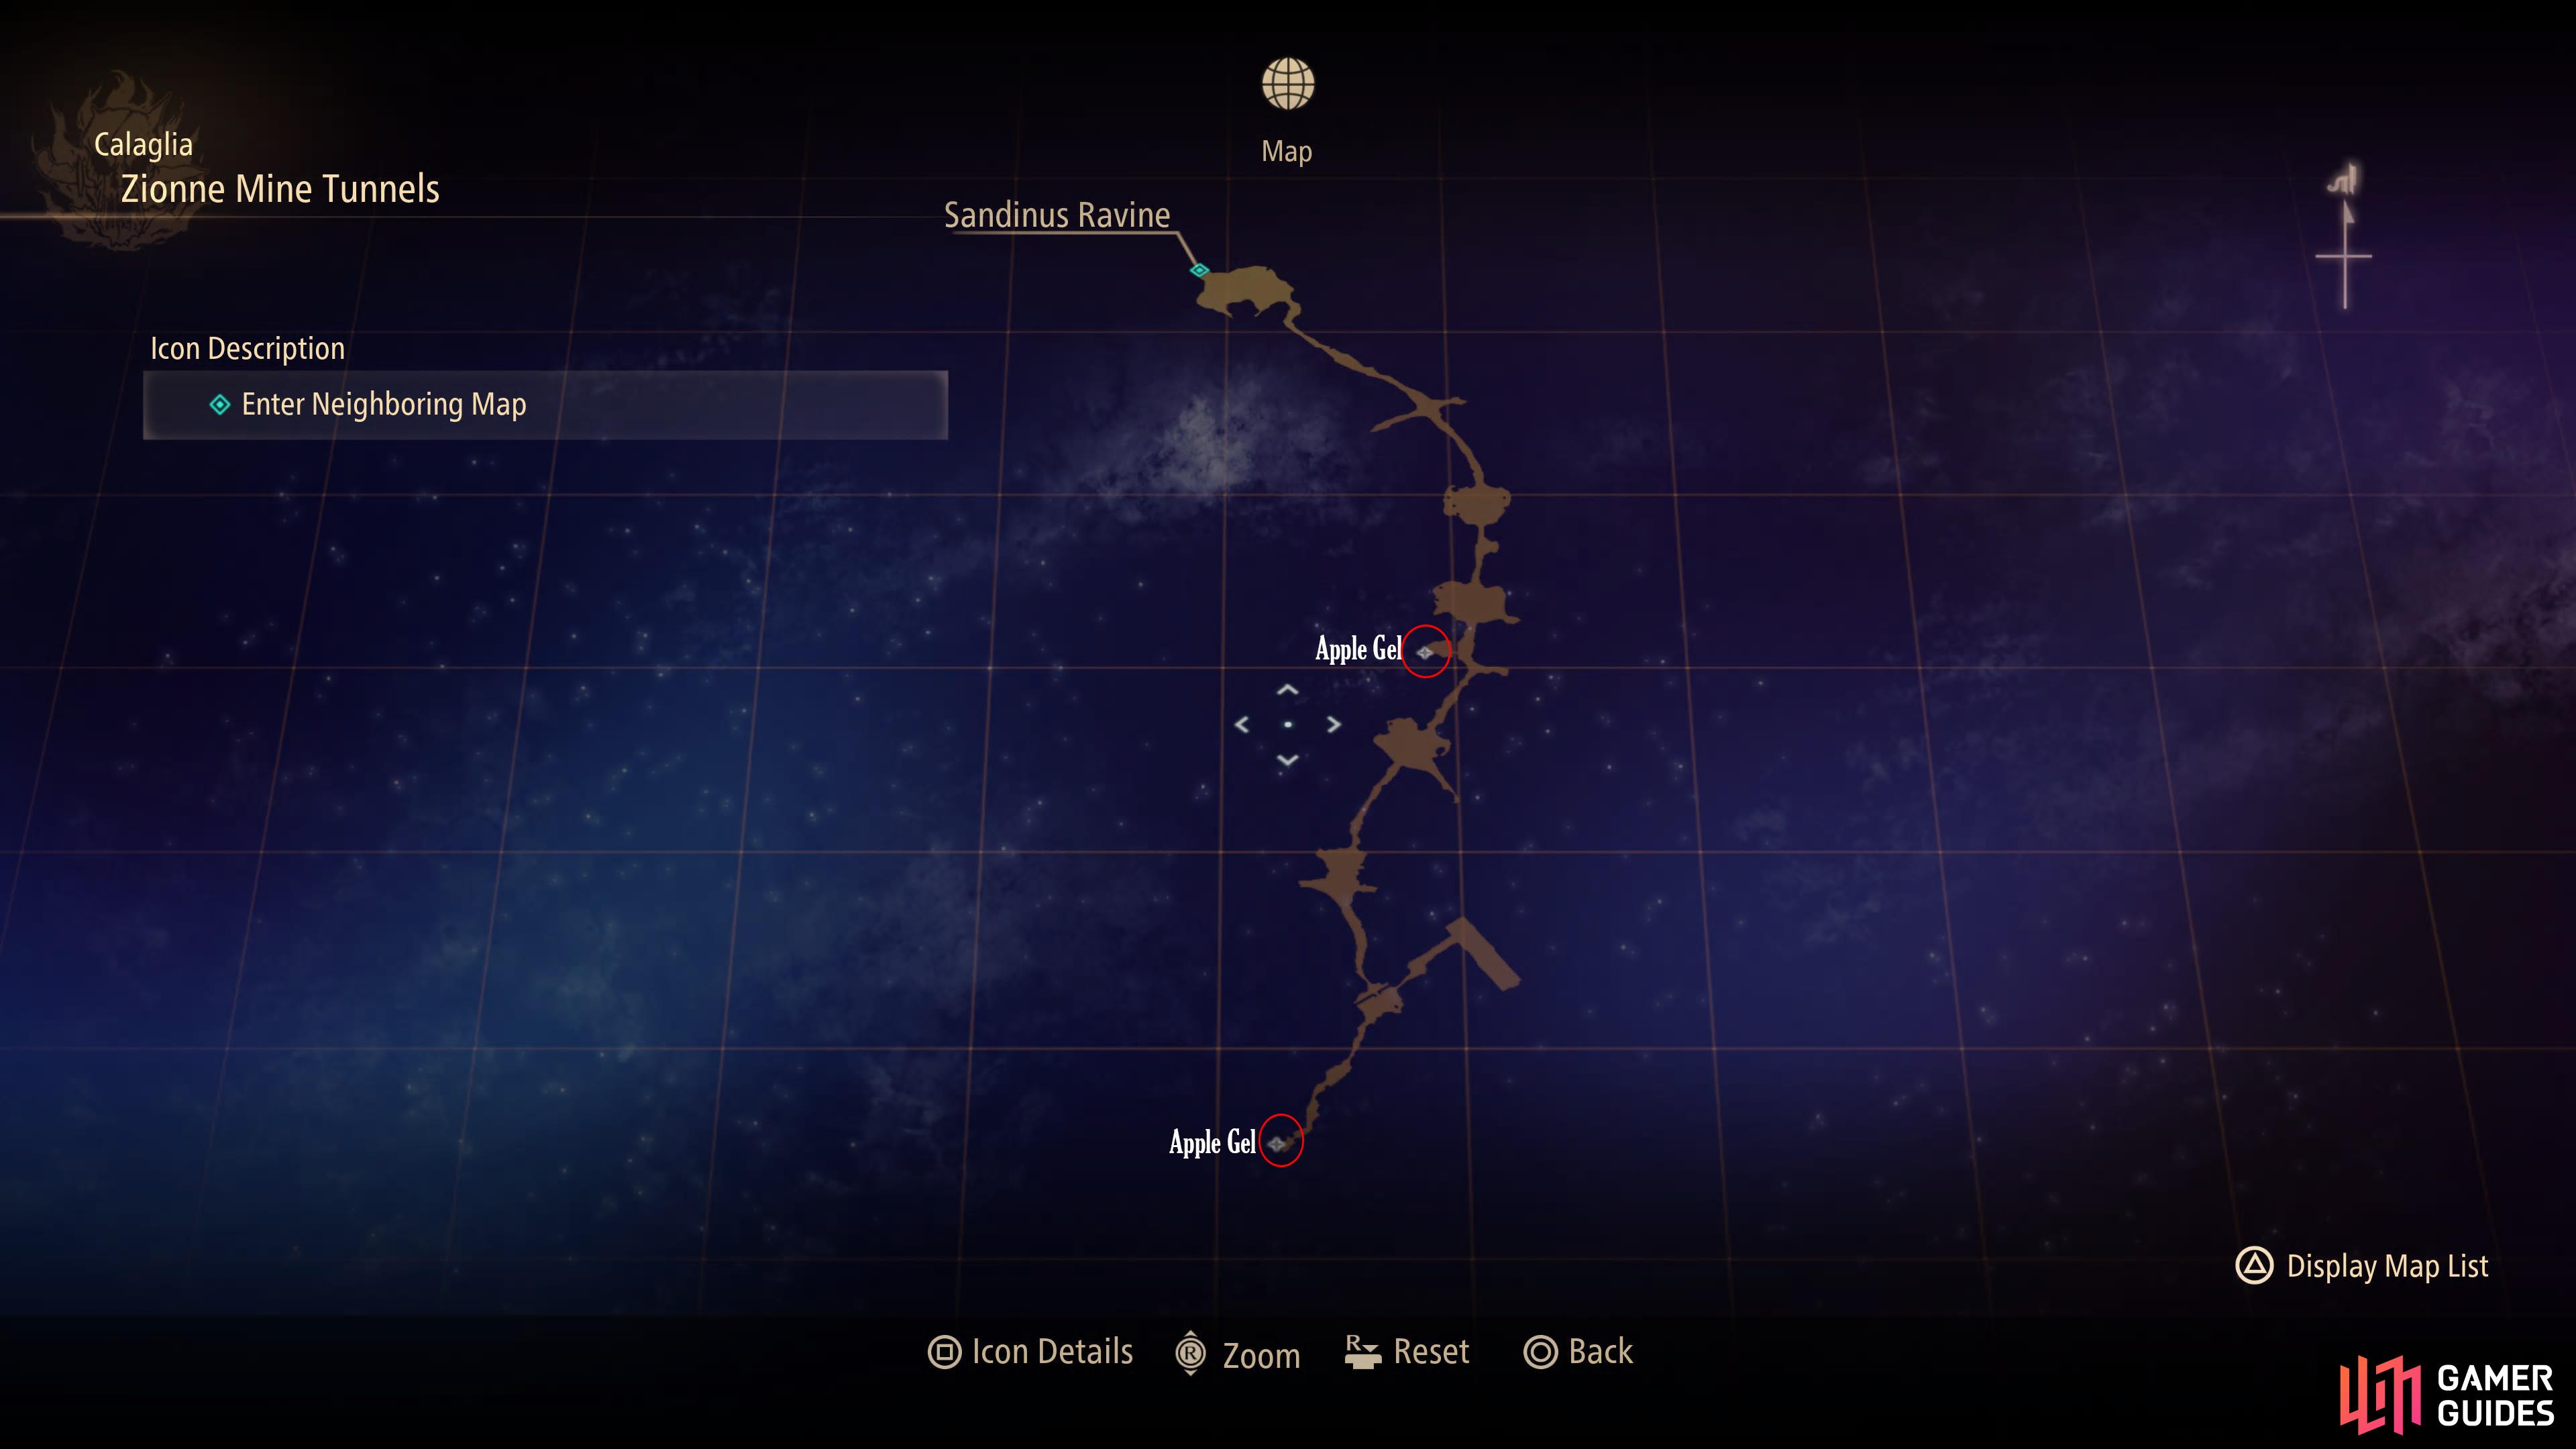
The map for the Zionne Mine Tunnels.
The Mysterious Girl
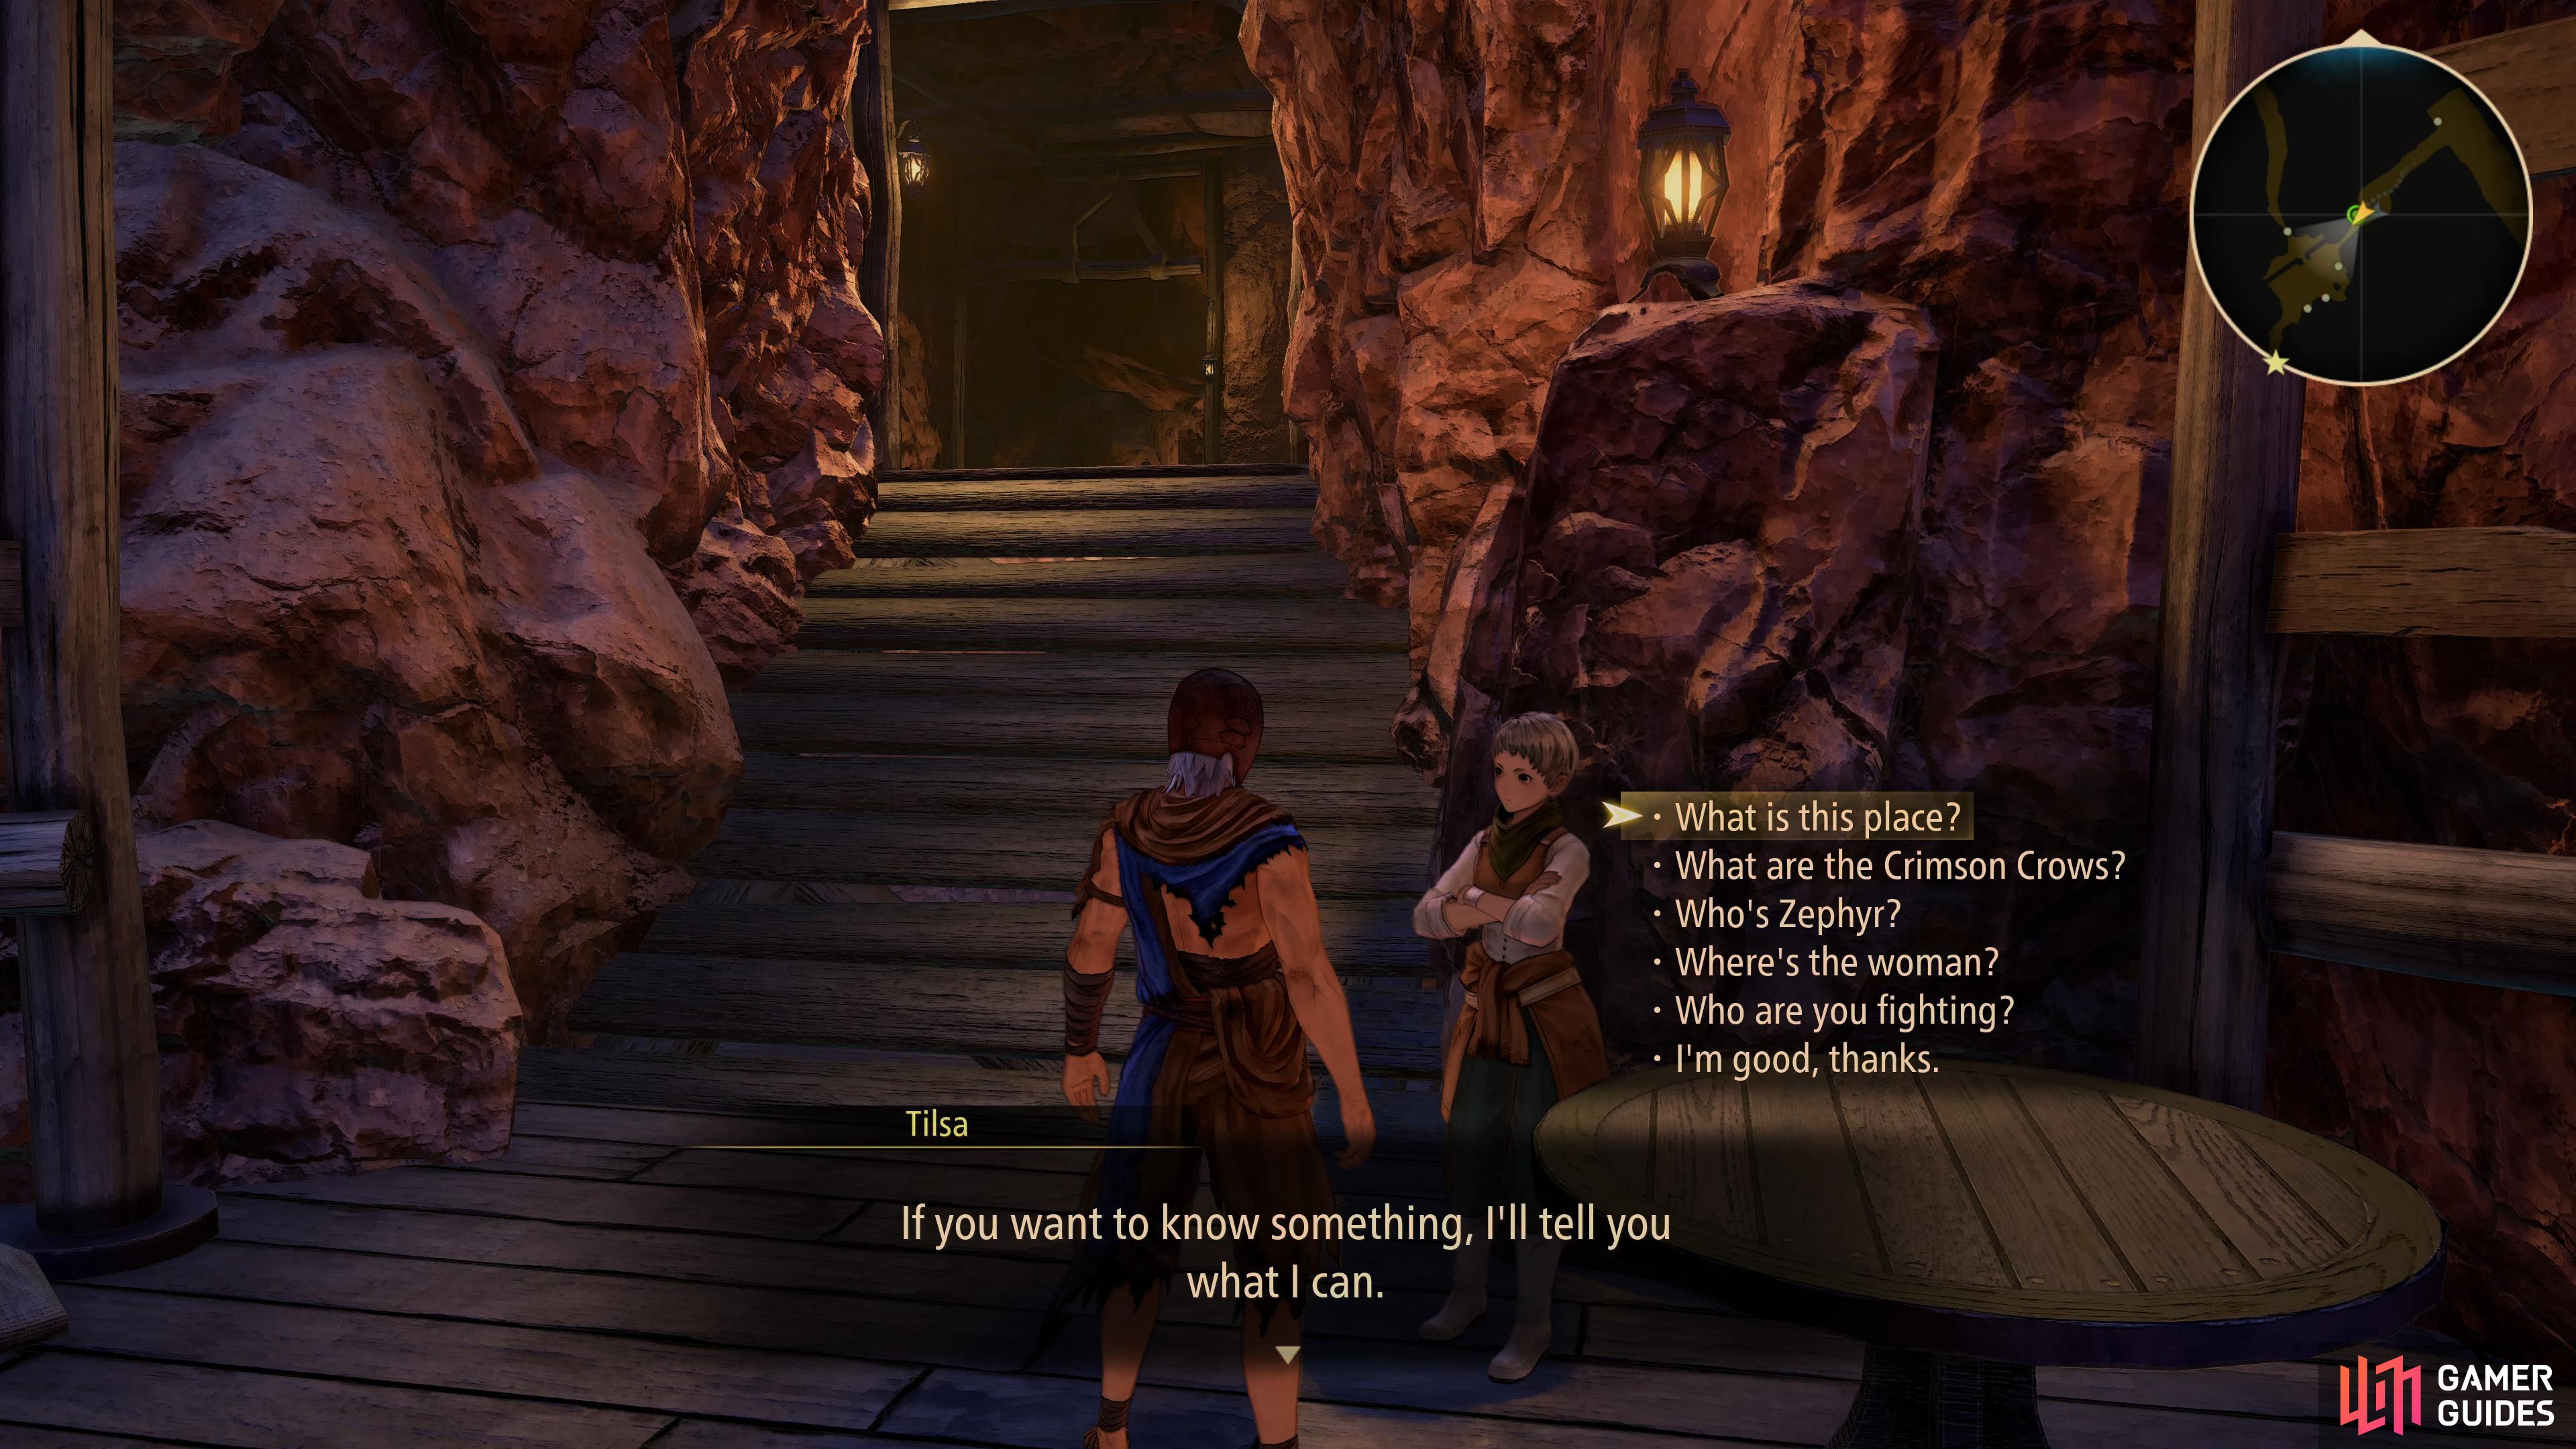
When Iron Mask regains consciousness, you’ll find yourself at the Zionne Mine Tunnels, a Dahnan resistance base for the Crimson Crows. Once you regain control, speak with Tilsa to gain the opportunity to ask her some interesting questions on the resistance in general. Once you’ve exhausted her dialogue, continue to the southwest to meet up with Zephyr who’s interrogating the girl. You learn that anyone who touches her is electrocuted by a thorn-like presence along with her name, Shionne, a Renan.
Mine Escape
The interrogation is cut short by alarm bells, it seems the Renans have tracked you to this base and you’ll need to evacuate. Thankfully, Zephyr passes Iron Mask his first weapon, a Dull Sword and along with it, you’ll gain access to the Equipment menu. Take a look at it and you’ll learn that Iron Mask also has some Ragged Clothes for his armor and no Accessory for the time being. As a general rule, most of your weapons in Tales of Arise will be crafted at a Blacksmith and some of the older weapons will be used in recipes for better weapons, so be sure to hang on to any old ones.
Now might be a good time to save your game if you’ve yet to do so, this can be done in the System Menu. Once you’re ready, head down to the southwest first and you’ll spot something shiny amongst the belongings here, this indicates that you can interact with the area and in the process, you’ll obtain an Apple Gel. This is a consumable item you can use in or out of battle and will restore 400 HP to the target. Items in Tales of Arise are a precious resource, Gald is tough to come by early on and you’re limited in how much you can Heal via other means before you’ll need to rest.
Continue to the right and take the northwest path north and you’ll trigger a scene, followed by your first battle. This battle acts as a tutorial for the combat system in Tales of Arise. You won’t have many of the mechanics available to you for now, these will open up as you progress through the story. To begin with, you can perform regular attacks with the [R1/RB] Button and you can chain three of them (for now) before you need to take a short break. You can also jump with the [CIRCLE/B] Button and perform a three-hit combo in the air too and this can be performed within the same attack string. How you do you achieve this however, with the addition of Artes in your combos and some of them, such as Iron Mask’s Rising Wyvern can launch an enemy.
You can use Artes by pressing the other face buttons and you can assign Artes to them in the Artes menu, in or out of battle. You’re Artes usage is determined by your Artes Gauge (or AG for short) at which point you’ll need to wait for them to replenish before using them again. You can alter how these replenish via skills and equipment later in the game and you can also increase your total max AG alongside it.
The final part of the battle system to understand for now is how to evade (or guard for a particular character) your foe’s attacks. This is done with the [R2/RT] Button and will cause your character to use their evade ability to move out of the way, this will vary for each character but in the case of Iron Mask, this is a rather long dodge roll. Time your evade at the last minute and you’ll perform a Perfect Evade, these will slightly slow the speed a little to allow you to easily break your enemy’s guard and there are skills that can add more effects to this later.
For now, take the time in this battle to get used to the basics, with all of the information above, a useful early combo for Iron Mask is to wait for an opening and use his regular Combo (R1/RB) followed by Swallow Blade, Rising Wyvern (which will launch the enemy), a mid-air combo and finish it off with Mirage, which will ground the enemy after. This is just one of the many ways you can chain regular attacks and Artes for devastating combos. The Calaglia Armored Swordsman is a basic grunt with a simple sword swipe and a basic Arte, Flame Drive, both can easily be evaded so wait until he’s open and unleash the combo on him.
Following your victory, you’ll see the Results pop-up on the left side of the screen. This will show you the exp you earnt and your Combat Points. These are a measure of your performance in battle where combos and damage taken is factored. The higher your Combat Points, the more Exp and SP you’ll earn so it’s well worth your time to try to master combat.
Continue to the northeast and at the next intersection, head west to locate another bag, this one containing another Apple Gel. Just beyond here is another battle with another swordsman and a Wolf, these Zeugles are nimble, and you’ll want to bait them into an attack before evading and following up with a combo. Focus on the Wolf first and then the swordsman should be simple once he’s alone.
There’s not much further to go before you can exit the mine and just up ahead, you’ll find Shionne, who has managed to free herself of her captives somehow. You’ll soon be thrust into battle alongside Shionne, who fights using her rifle. You’ll be taught here about diminishing returns and combos in general, but that aside, this battle should pose little threat now that there are two of you. More scenes will trigger upon your victory and Shionne will join as a guest for the moment. There’s nowhere to go but north so follow the path and you’ll meet up with Zephyr and trigger more scenes as the Blazing Sword is revealed.
Once you regain control, Shionne will join the party as a playable character along with Zephyr as a guest. Despite not being able to control Zephyr, he’s a force in battle and won’t be able to be defeated too so make use of this in the battles to come. You’ll also be given a short tutorial on Shionne’s playstyle here, she’s a ranged fighter that has the ability to use Astral Artes (magic) and acts as the game’s primary healer. If you leave her to the AI to control, she’ll focus on aerial and arte-wielding enemies along with healing based to the directions in your Strategy (the default is fine for now).
Healing deserves a special mention here as it works very differently to how it does in past Tales games along with many RPGs in general. You’ll notice you have a resource called Cure Points (CP), this is used (along with the AG in battle) for any recovery Artes in the game or using the Recovery option on the menu (it’s best to ignore this) and you can only restore it via Orange Gels (and more potent versions of this), Camping/Inns or via specific meals you can cook. With that in mind, your CP will run low throughout the game, so you’ll want to be careful with how you wield it, especially as you’ll have to use your CP for Field Actions later in the game. You can increase your Max CP by obtaining Astral Flowers, Key Items obtained from the boss-like Gigants found throughout the world.
Keep an eye on the bottom right of the screen to activate Skits.
You can change your control over to Shionne at this point if you wish, this is done by opening the Menu and pressing the [R1/RB] Button to access the formation screen. Here you can press the [SQUARE/X] Button to designate the battle leader and whoever you have assigned to Up on the D-Pad will represent the on-field character. For now, Shionne has access to First Aid, Resurrection and Magna Ray and the first two will be vital throughout the game (at the cost of CP). Do be wary however that any cast of Resurrection costs a massive 48 CP, meaning death is very costly if you don’t have Life Bottles to help ease the burden.
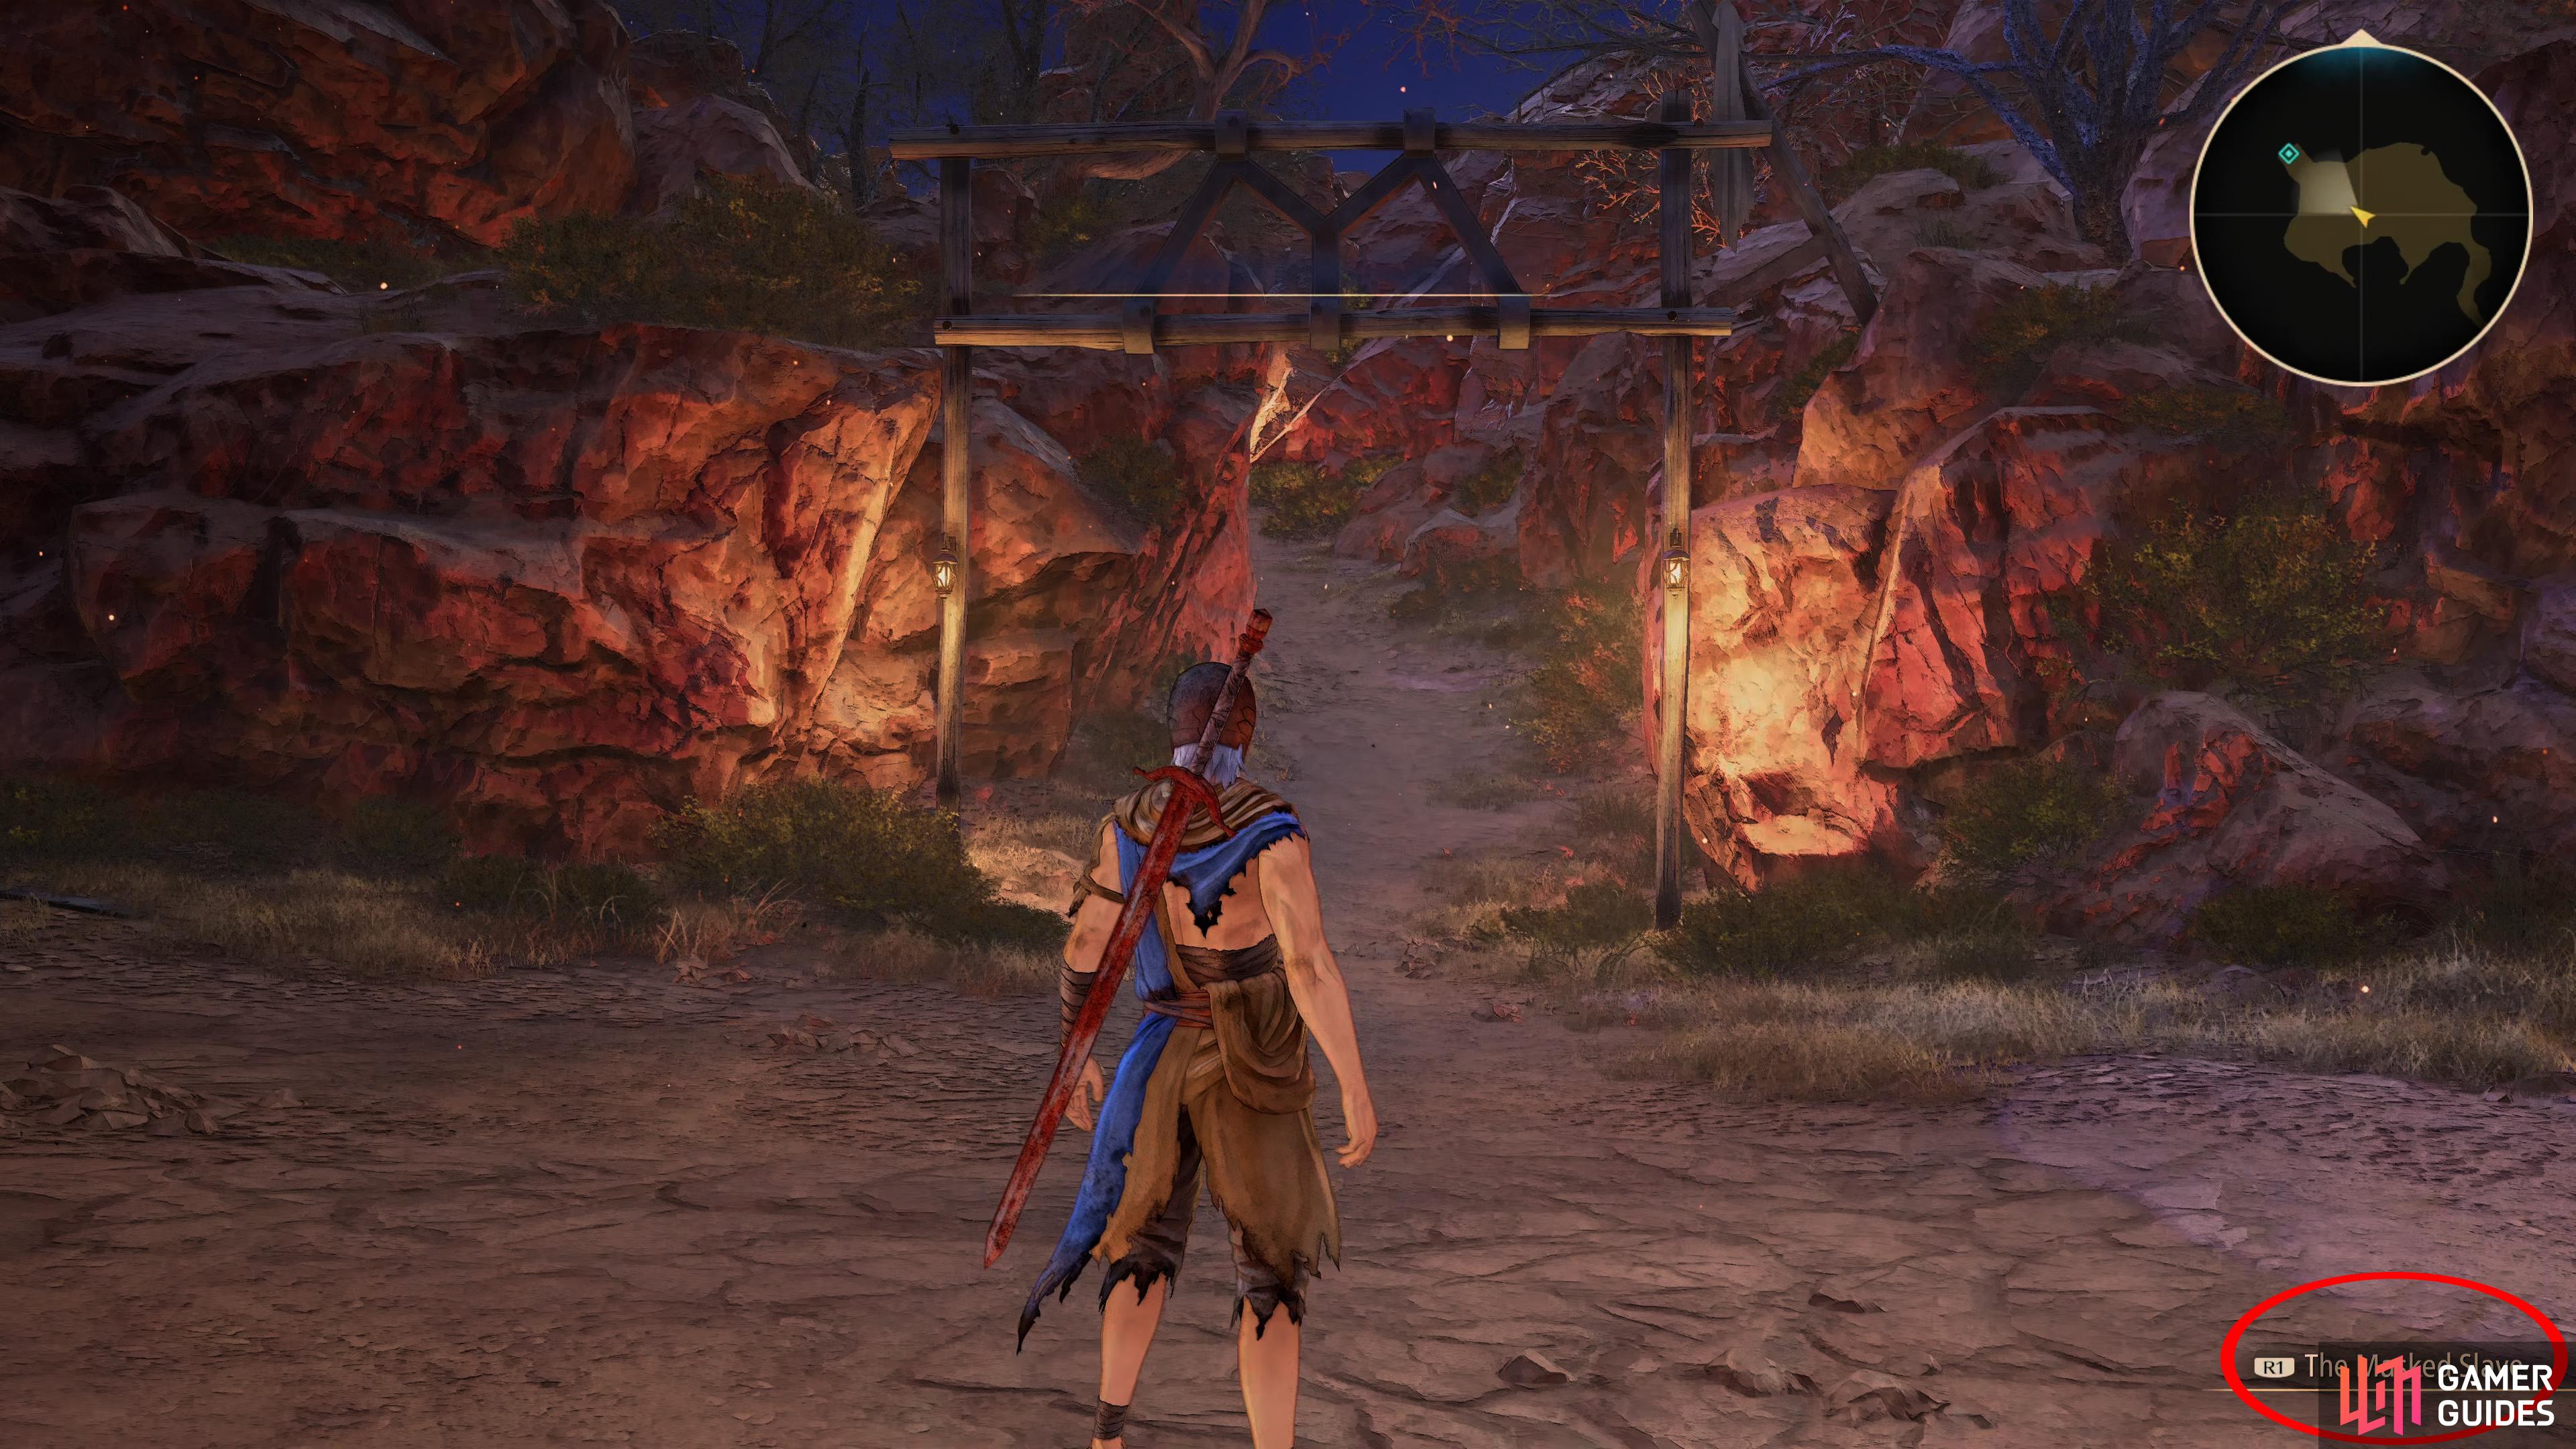
You’ll also receive your first Skit here, if you take a look at the bottom right of the screen, you’ll see the [R1/RB] Button and the title of the Skit (this one being The Masked Slave). Now only will these will flesh out the characters as they react on the current situation of the story but you’ll unlock the Ceaseless Chatterbox Trophy/Achievement for seeing 300 of them. With all of this new information at hand, all that remains for now is to take the path north to leave the Zionne Mine Tunnels and enter the Sandinus Ravine.
No Comments