

Things are crazy in the Crown City, as you will instantly be fighting against some Eternal Troopers as soon as you regain control. These are level 35 and not too tough, acting pretty much like the normal Imperial soldiers you’ve been fighting throughout the game. Look nearby after defeating them for some stairs into a kind of subway, where you can rest and even absorb some elemental energy. Back on the streets, you will find a level 72 Iseultalon to your west, so if you happen to trigger battle with it, run.
In fact, there are quite a number of strong enemies on the streets, including two level 49 Nagaranis south of where you fought the Eternal Troopers and south of that will be a level 46 Yojimbo. There is a dead end near Yojimbo where you can find a Megalixir. Luckily for you, there are alleyways you can access that will pretty much let you bypass all of the scary monsters. Between the Fire and Ice elemental deposits, is a thin alleyway where you can find the Fire Crest, an accessory that boosts Fire protection by 30% and which will become invaluable in the coming fights. To continue, look for another subway entrance on the western side of the town area.
This will lead you to a gate, so press the button next to it to open the gate, where you’ll face off against more Eternal Troopers and a few Salpinx, who are annoying little creatures that can steal your items, using them on themselves. Both enemies here are equally as dangerous, since the Troopers have firearms, but the Troopers also have a lot less HP, so take them out first. Follow the tunnel to the left and head back streetside, where you will be facing your next boss, the Behemoth King. However, if you follow the southern edge of the area, you will eventually find another resting spot in a subway in the southwestern corner. Use this opportunity to restock items, should you need to, then get ready for the boss.
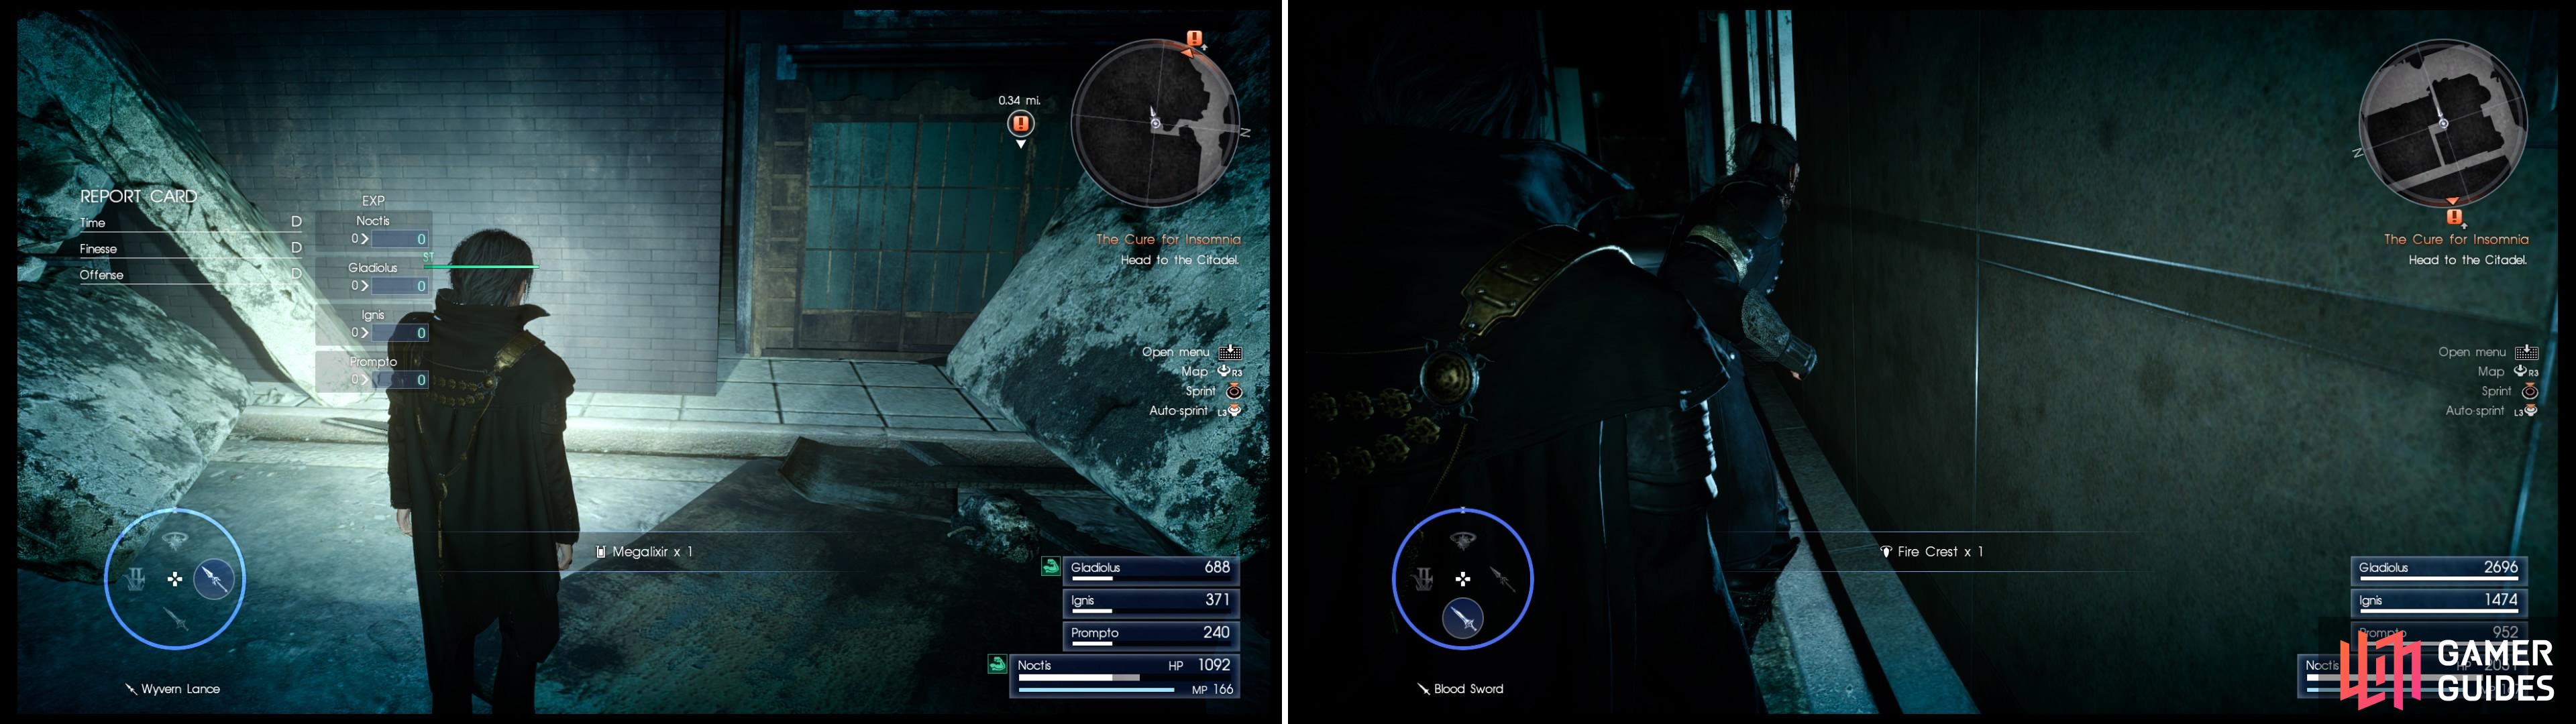
Go past the Yojimbo and down this dead end to find the Megalixir (left) and nearby, search this alleyway for the Fire Crest (right).
Boss Battle: Behemoth King
The Behemoth King hits fast and hard, and is unlike the other Behemoths you may have fought during the game. You might see it start the battle with a Blizzaga, freezing the arena. It can also spit a huge chunk of ice from its mouth, but it only goes straight, so standing off to the side will make it easy to avoid. As with other Behemoths, you will find that it can perform a tail spin, and it can also swipe at you with its claws.
One of its most dangerous attacks involves the Behemoth King jumping into the air, hitting the ground and then rearing back to smash down, causing ice crystals to protrude from the ground all around it. As you might imagine, since the King uses ice attacks liberally, it is immune to ice. It is more susceptible to greatswords and shields, while taking normal damage from anything else. One of the better ways to fight the Behemoth King is to utilize the Point-warps around the arena. The further away, the better, as you can stagger it a bit to maximize damage.
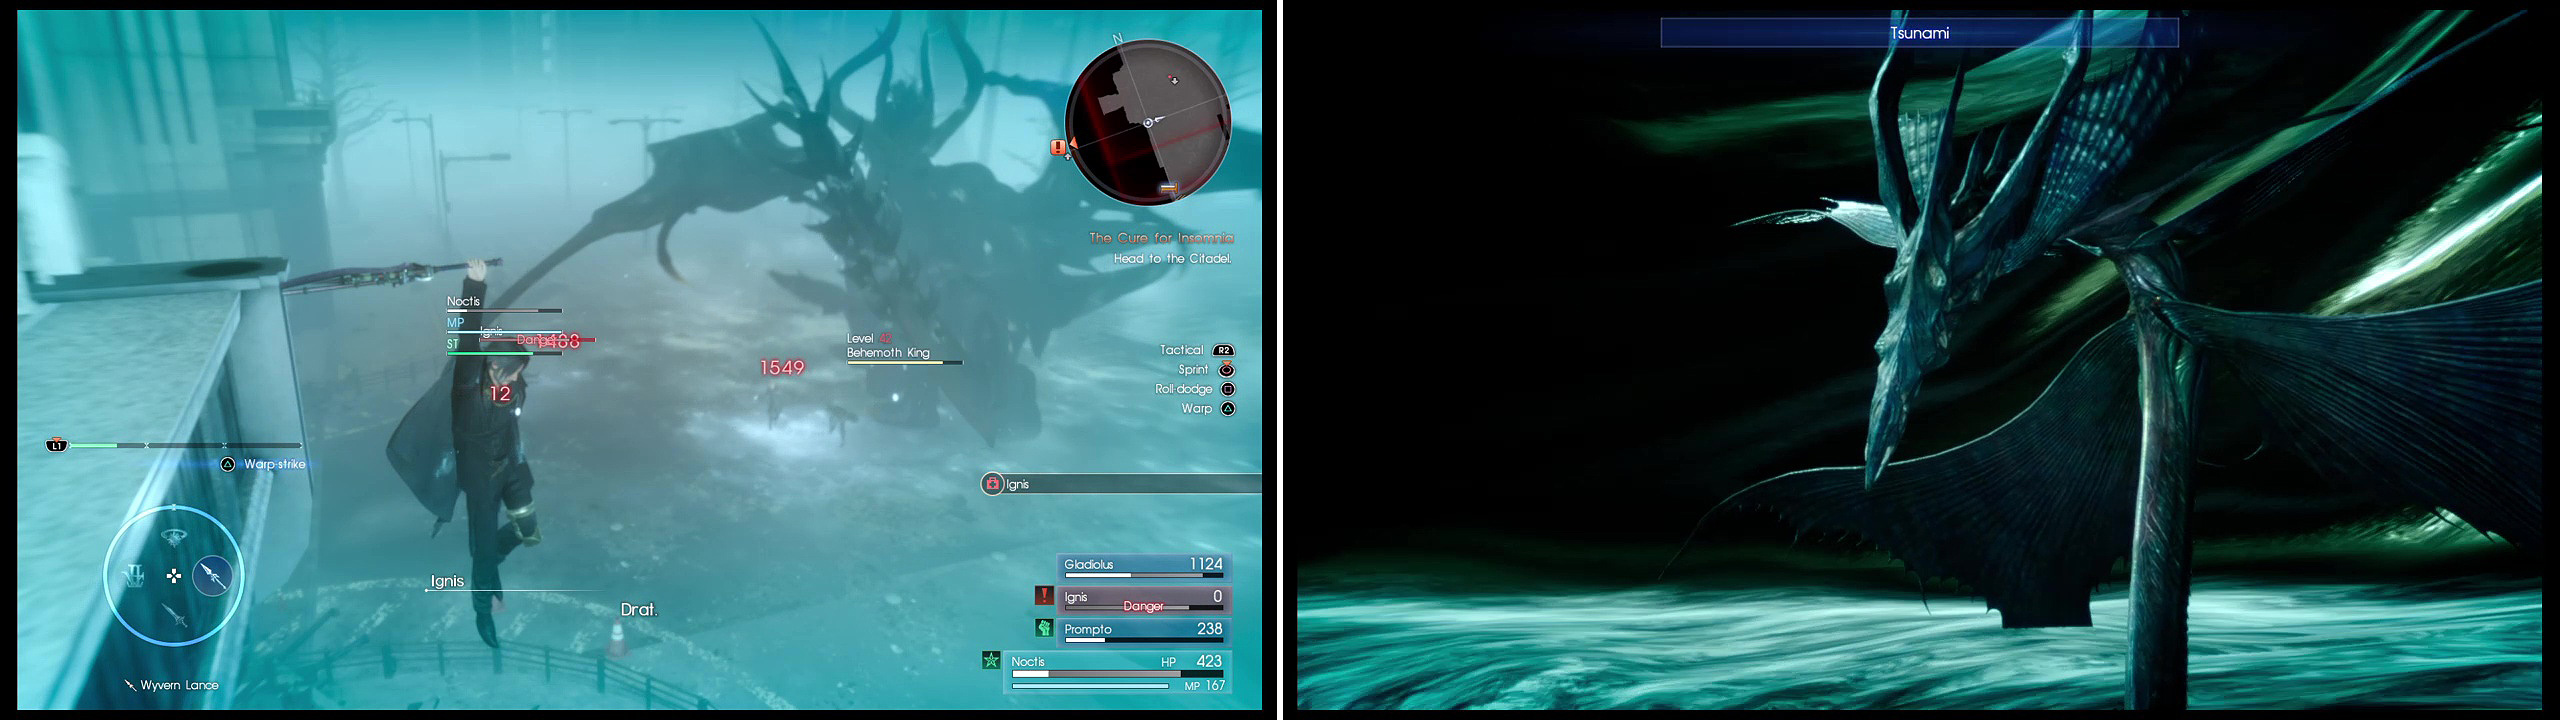
When Behemoth King freezes the arena, Point-warp (left) away. If you get lucky, a summon may arrive to help you (right).
Rest up again and if you don’t have any ice magic ready, mix some up right now, as it will prove useful in the next battle. If you feel you are running low on supplies, go back to the past at the save point and stock up. You may consider equipping the Fire Crest you found and the Trident of the Oracle which does some good damage in the next fight. When you’re ready, open the gate near to where you fought the Behemoth King and prepared for another, tough boss.
Boss Battle: Ifrit
The fight with Ifrit comes in two stages, with the first one being rather simple. Ifrit will begin the fight the same as in the Prologue, so just follow the steps there and then the real battle will begin. He doesn’t move at all in the first phase and will continually send out flames from his hands, as well as surround himself with a wall of fire. Warp-strike him from a distance and sometimes he might grab Noctis, squeezing him a few times and then tossing him aside. Keep Warp-striking him until he’s low on health and you can summon a certain someone (Hold L2/LT down)…
Well, wasn’t that kind of a bit grandiose for almost nothing? After the summoning, the second phase of the battle will start, which is a little more challenging. Ifrit will walk around and surround himself with flames periodically, as well as swing his sword, with some fire following that same trail. Other than that, you’ll see Ifrit teleporting around, performing sword strikes. He can also grab you, similar to the first phase and even launch you sky high into the air. If he launches you, then you should look around and quickly perform a Point-warp, so you don’t take massive fall damage.
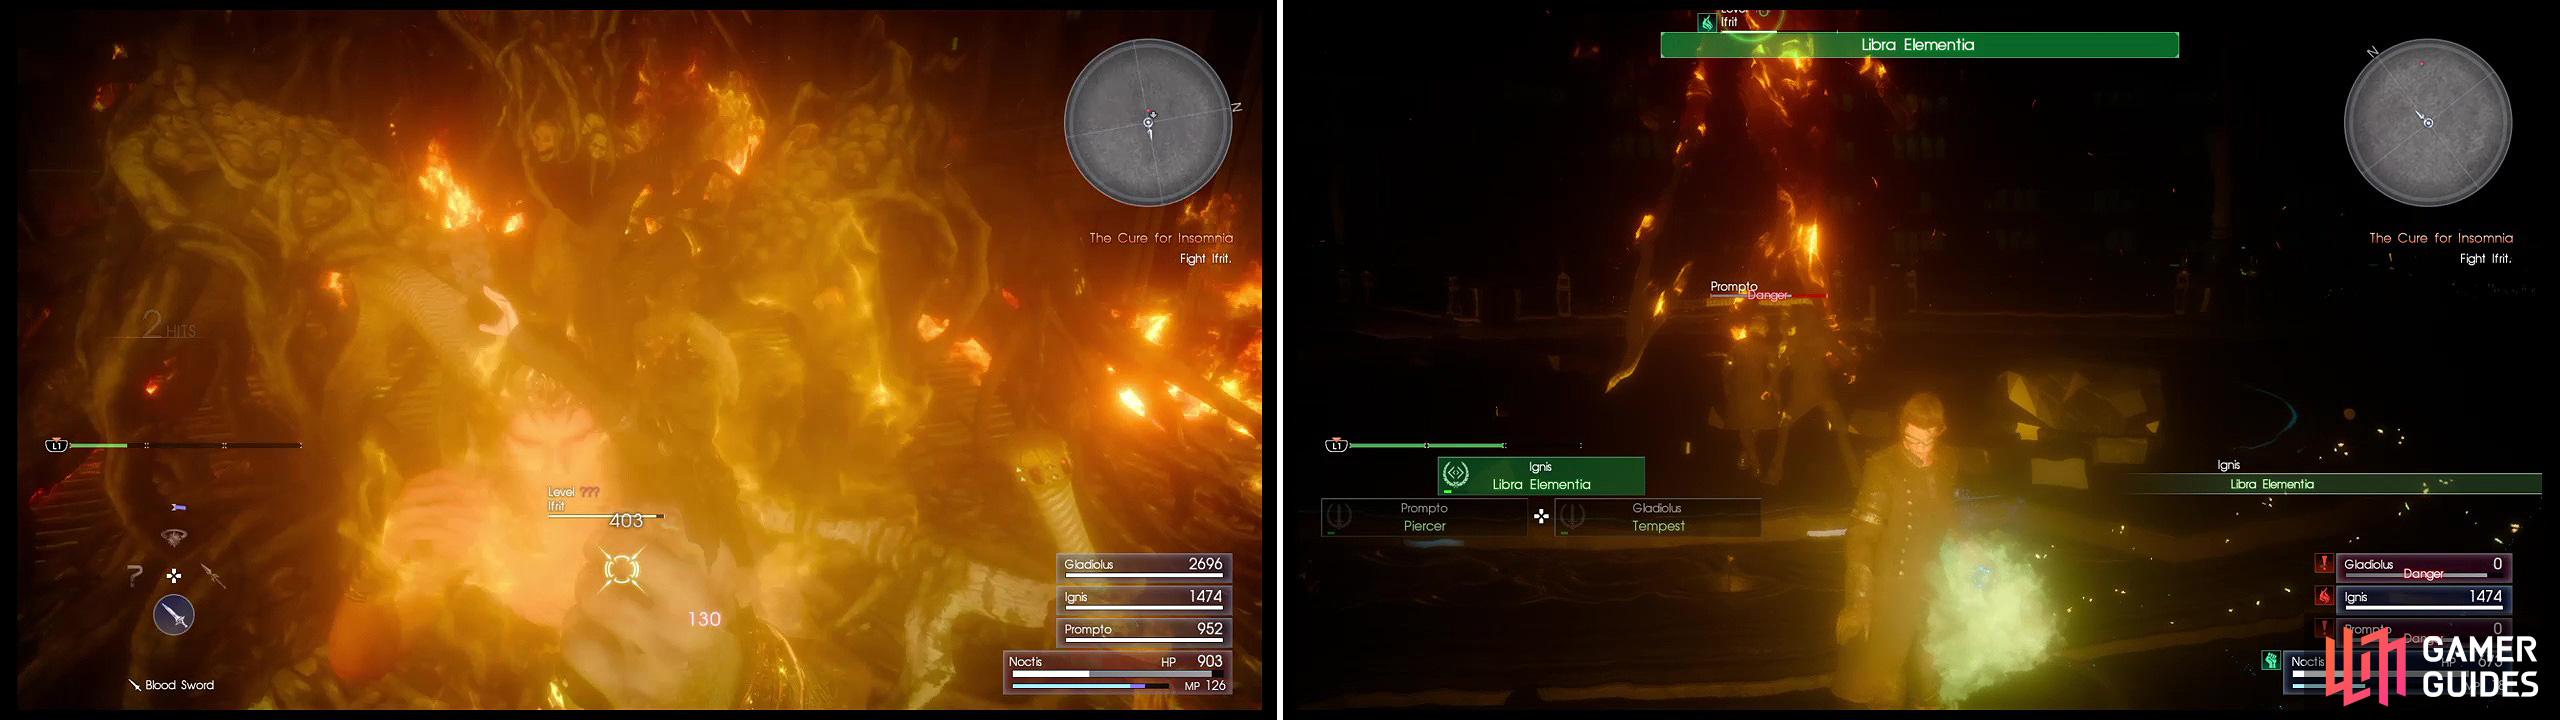
If you get too close, Ifrit can grab you for a lot of damage (left). The best way of dealing with him is Ice magic (right) so make use of Ignis.
The biggest problem with this fight stems from the fact that you will do very little damage whenever Ifrit is surrounded by fire. His flames will subside for a second or two after some of his attacks, which is your cue to attack. This is also where stockpiling some Blizzaras will come in handy, as it also seems to dispel the fire surrounding him for a few seconds. Warp-strikes are effective on him, but don’t sit on a perch for too long, as he can knock you down. Once his health is low enough, a quick-time event will happen and you can summon another being to your aid to put Ifrit on ice for good.
| Objective | Reward |
|---|---|
| For defeating Ifrit | Infernian’s Shard |
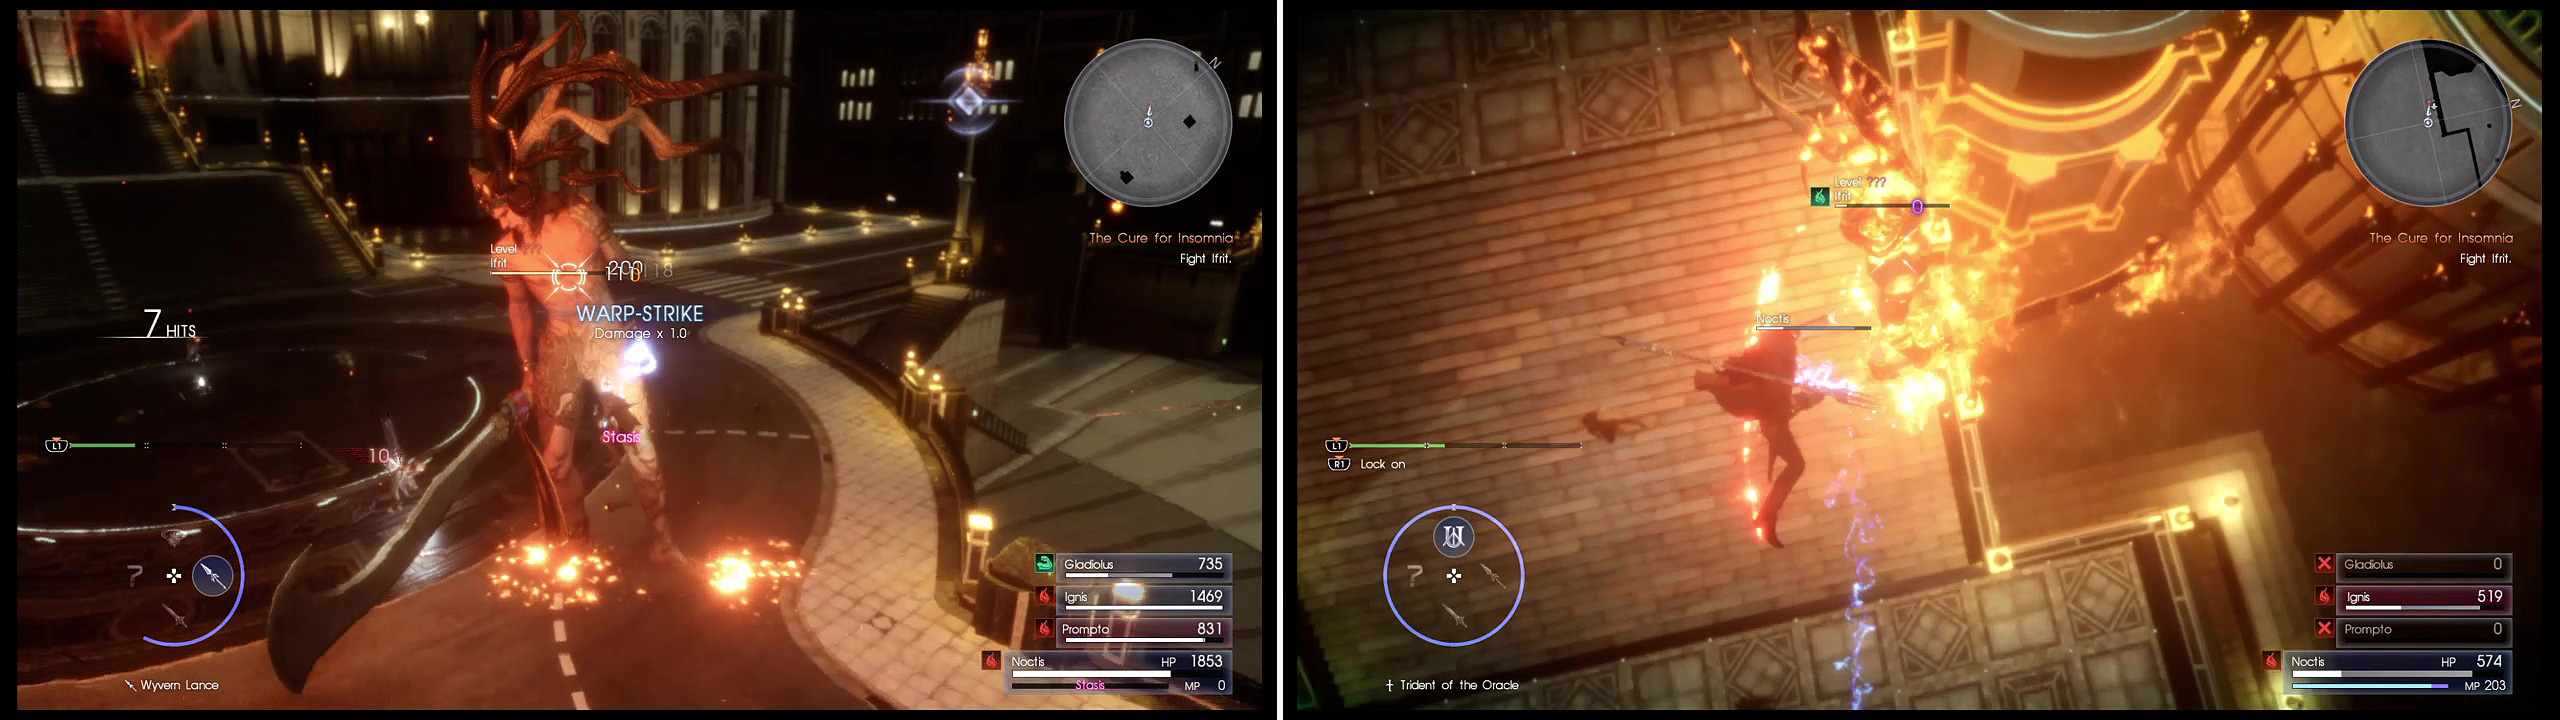
Once the flames subside briefly, go all out on him (left) especially with the Trident of the Oracle (right).


Ifrit’s fires have been subdued, so it’s time for the final showdown with Ardyn. Climb the stairs and enter the palace, picking up a Rune Earring on one of the benches on the southern side and a Tempered Shield on one of the receptionists’ desks. Push the button to call the elevator, then push the button inside to ride it to the top. Once you finally arrive at the end, you will be able to pick a photo as a memento from the ones you’ve saved that Prompto took. Make it a good one! Follow Ardyn and Point-warp down to begin the battle.
Boss Battle: Ardyn
As with the previous fight, this one consists of three phases. The first phase consists of a normal battle, with both you and Ardyn warping about everywhere. Yes, Ardyn, as a King of Lucis, has similar warping abilities to you. He has a lot of combos and strikes, including a Warp-strike, but pretty much all of his attacks can be dodged by simply phasing with the Square/X button. That right there is the simplicity of the battle, as you can simply dodge and then counterattack when there’s an opening.
Eventually, Ardyn will begin gathering power and using more powerful abilities, but these can be blocked and parried, so there’s not much to worry about here. In fact, with a Greatsword equipped, you can parry those attacks for some big damage and just keep doing that until the next phase begins. At around 50% health, things will shift to a higher gear and the second phase of the battle will begin. This will be similar to the battle with Leviathan in Chapter 9, as both you and Ardyn will be flying around with the Armiger ability.
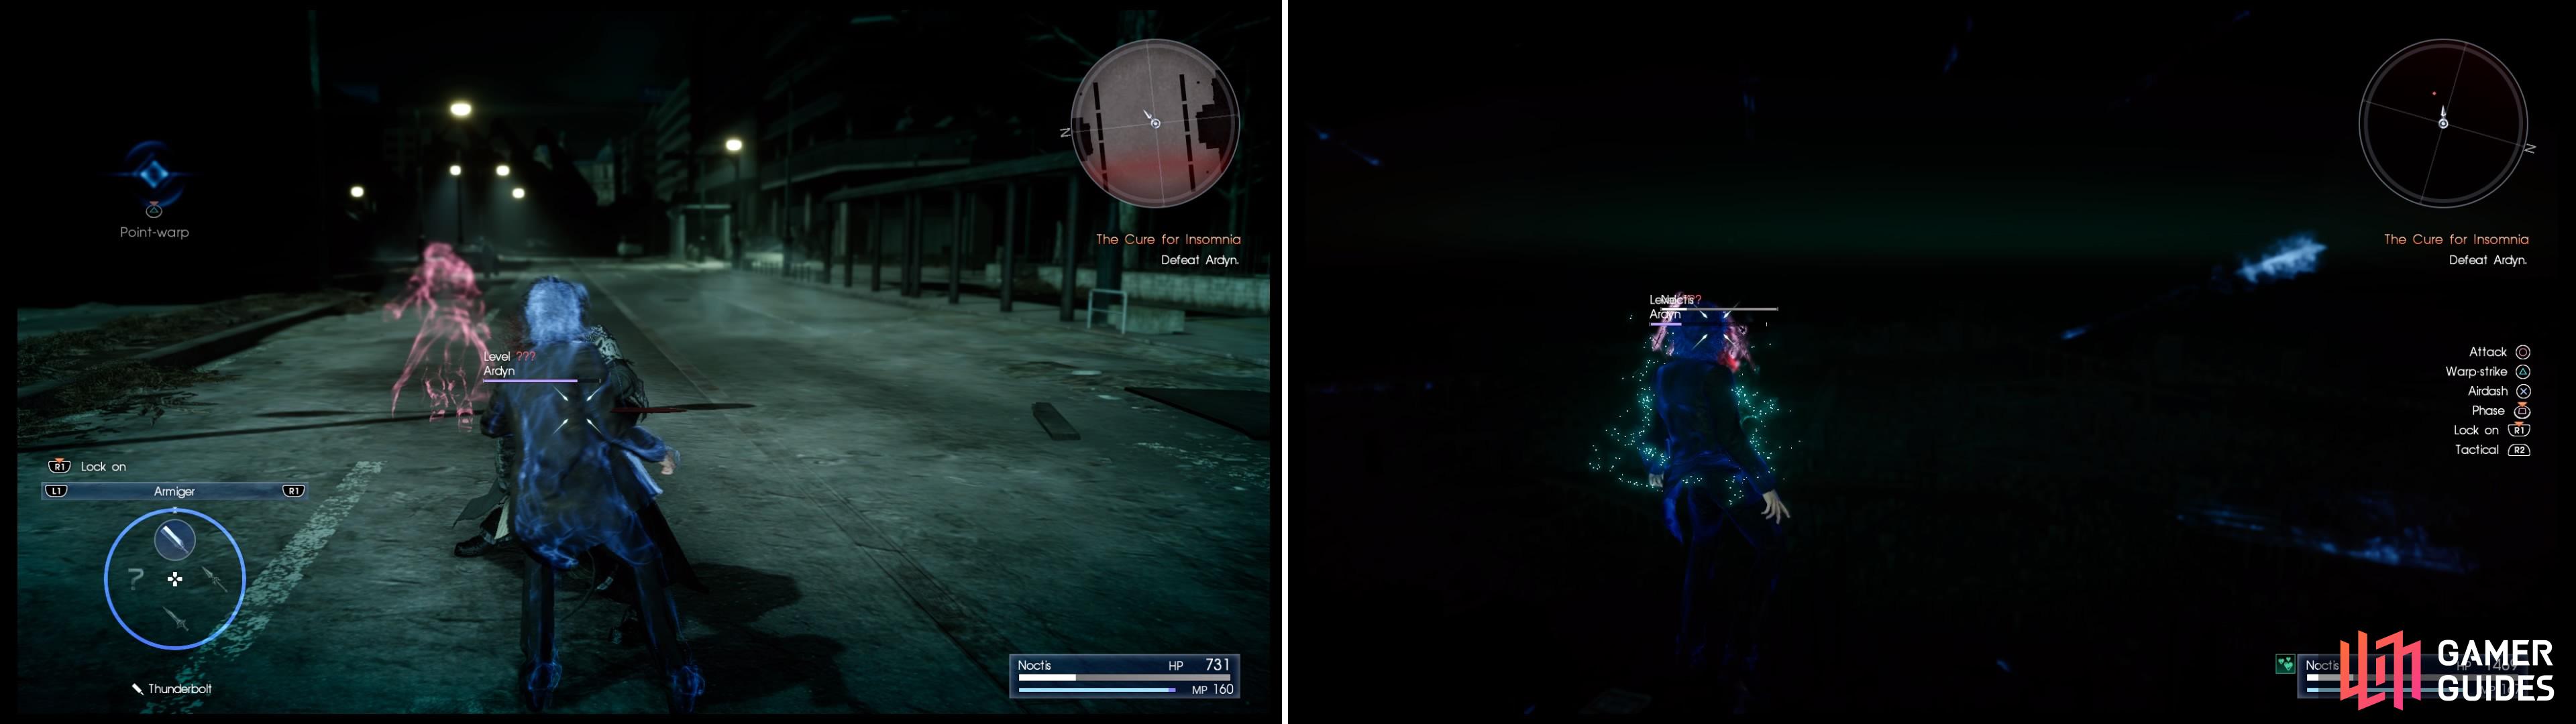
In the first phase, simply phase through his attacks (left) and counter with your own. When you reach the second phase, use Square/X to recover your health (right) as he can’t hit you during this.
Attack Ardyn and if your health runs low, hold down Square/X until you regain it. Eventually, he’ll start pushing you back as you attack, meaning you’ll have to pick and choose when to go after him. Warp-strike to get in close, then attack until he pushes you back. Eventually, you will deplete his health and the fight will resume in its third phase, back on the ground. However, things aren’t quite like they were before, as both you and Ardyn are a bit out of it. Since it doesn’t appear you can dodge here, just keep slashing Ardyn, using healing items when necessary, until a quick-time event happens, signaling the end of the battle. There is one more quick-time event after felling Ardyn, so keep your controller handy, then it’s time to sit back and enjoy the ending.
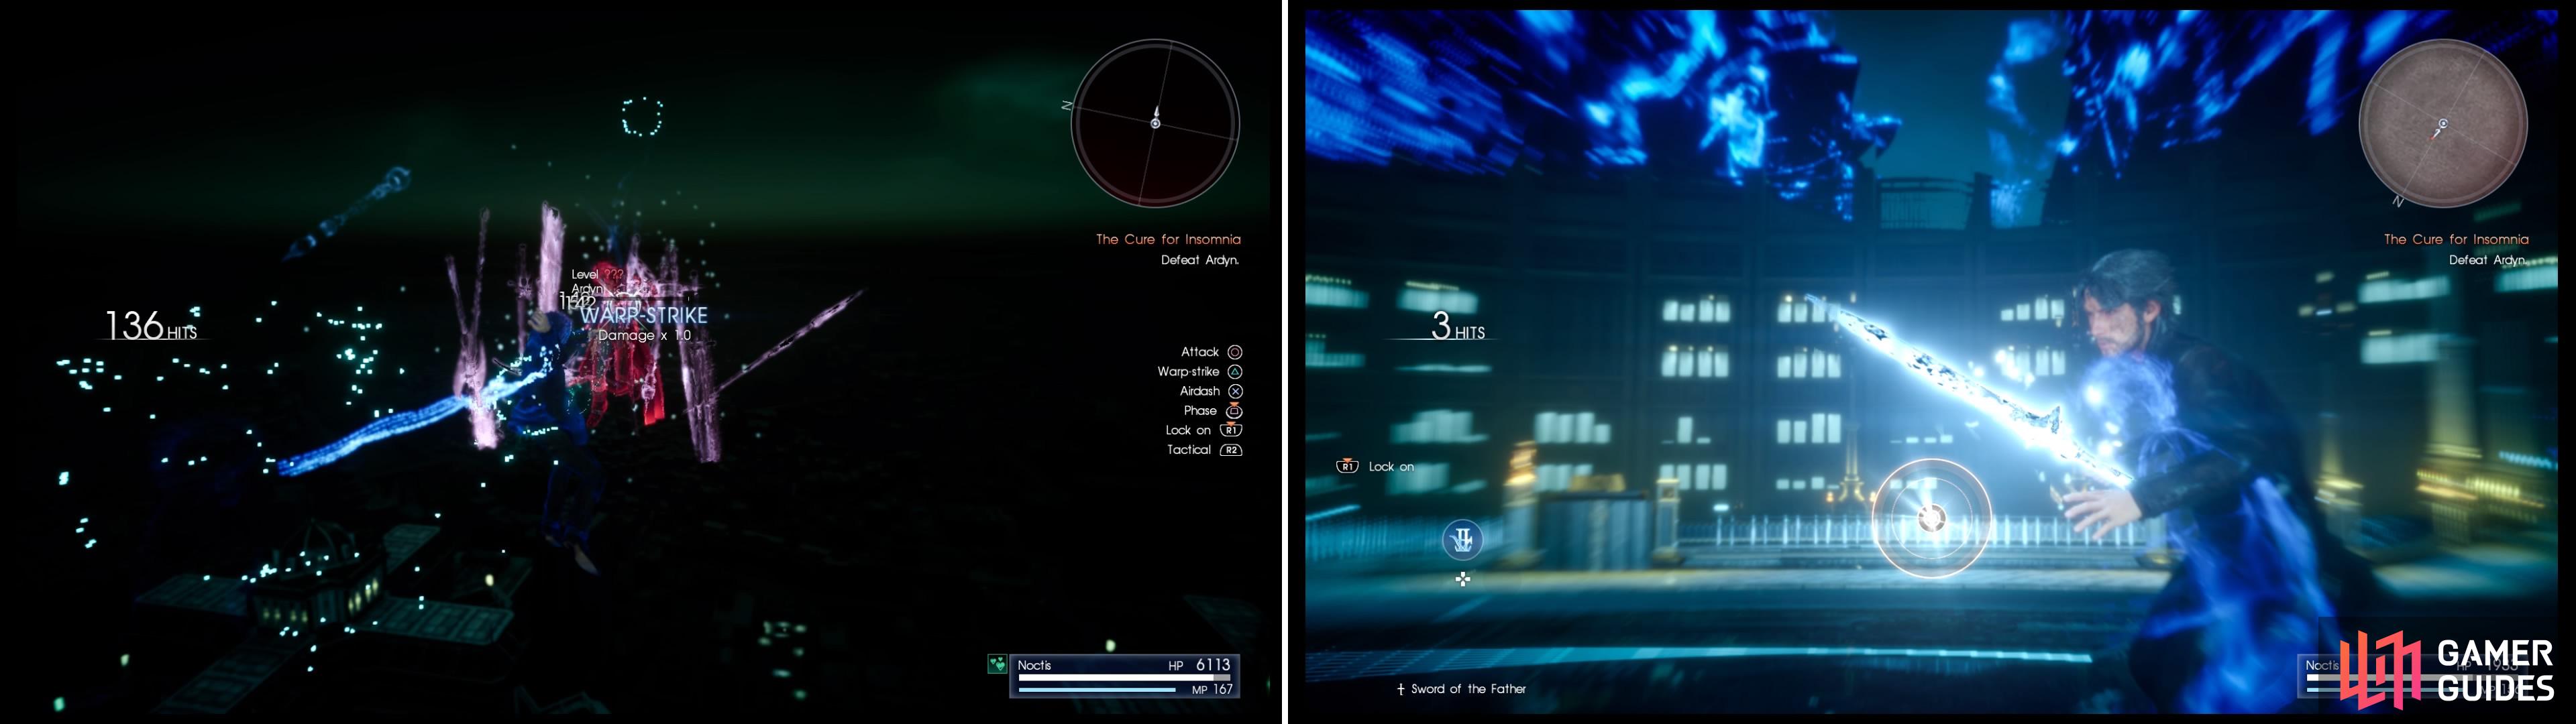
When you see an opening, Warp-strike him (left) continually. In the final phase, a few slashes will produce some Quick-time Events (right). Keep your controller ready.
Congratulations on beating the main story of Final Fantasy XV, but as you always know, that isn’t the ending of the game. Upon reaching the end of the credits, you will receive a Certificate of Completion, showing your play time, level and date that you beat the game. Also, you will be prompted to save your game and upon loading this, you will be right before the final boss. From here, you can use Umbra to go back in time and enjoy the open world, as there is a ton of stuff to do. Some new sidequests and hunts open up, as well as an assortment of dungeons to dive into and explore.
| Objective | Reward |
|---|---|
| For reclaiming your throne | EXP 10,000 |


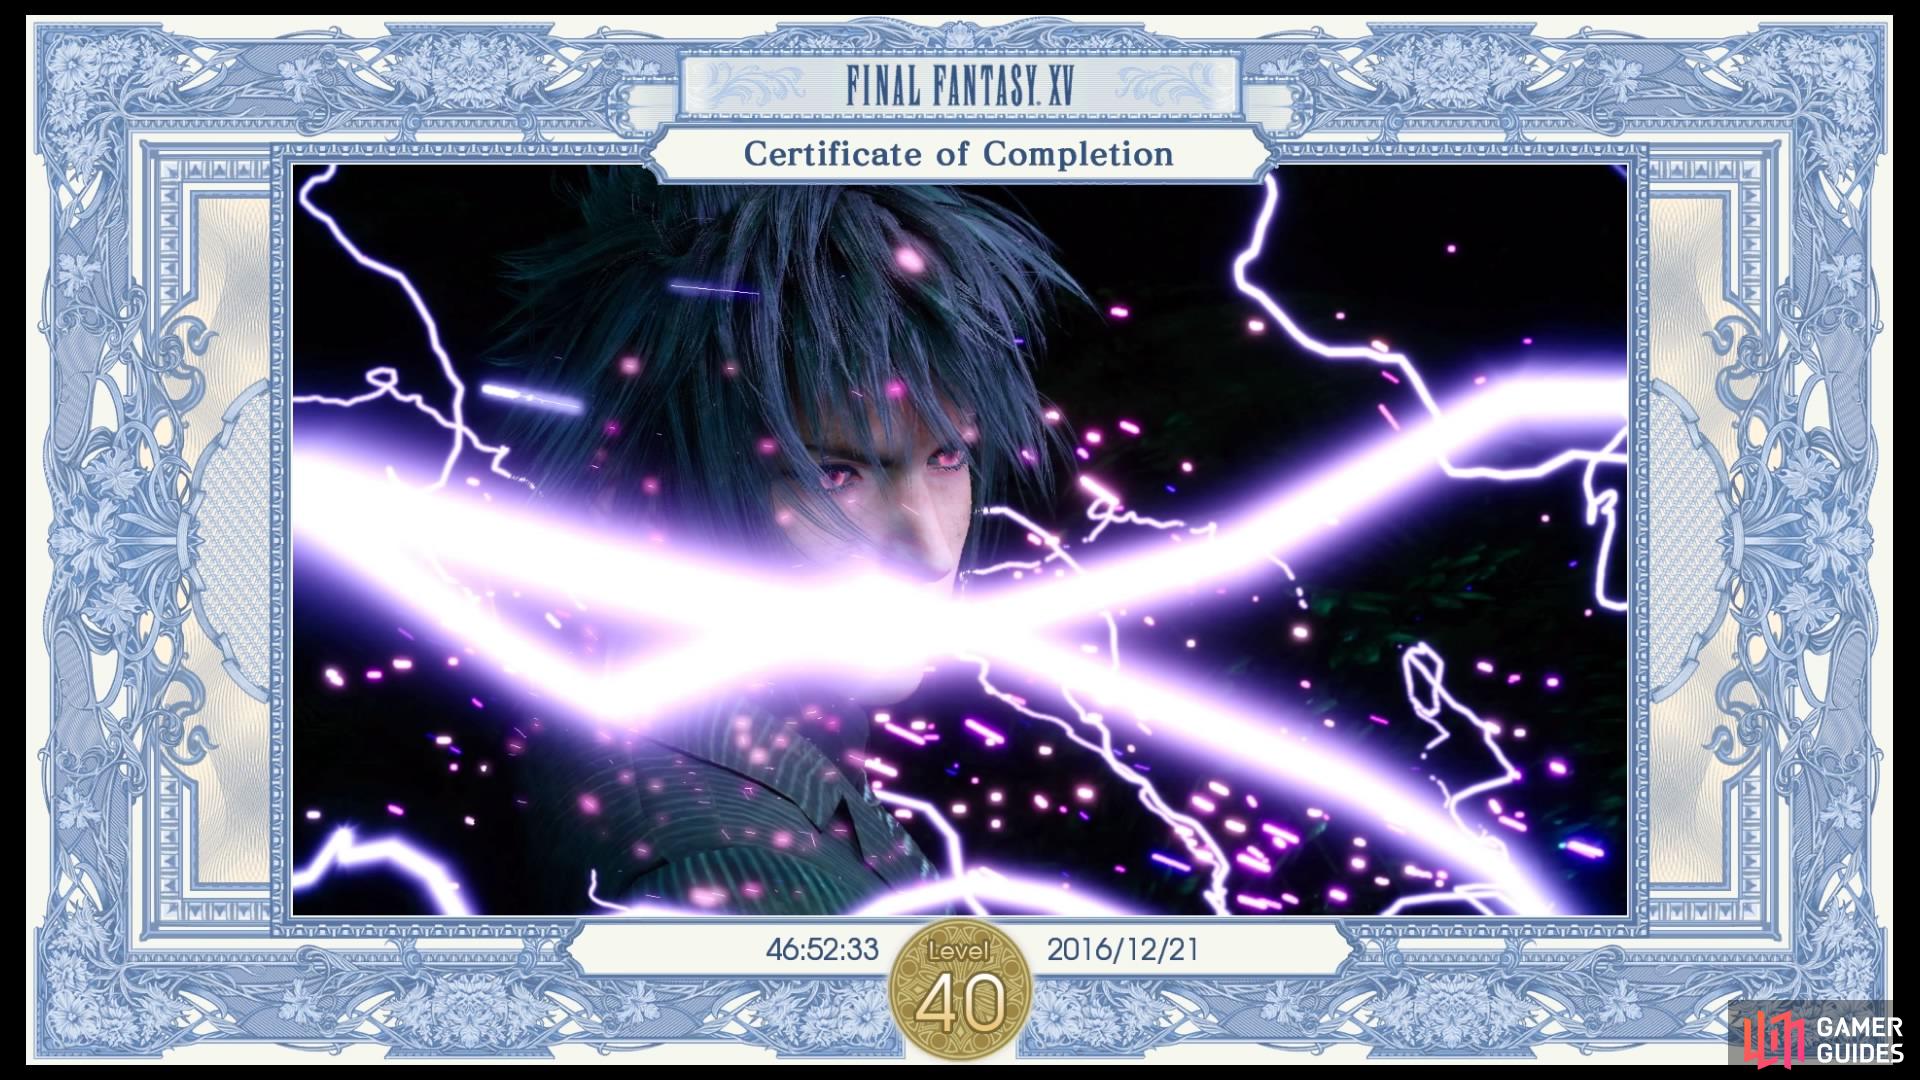
For completing the game, you will receive the Certificate of Completion, which uses the image you chose before the Final Battle.
No Comments