

With two of the Runestones down, you only have one more to get. Unfortunately, it’s inside of a dungeon called Fociaugh Hollow, which is east of the Wiz Chocobo Outpost, so you’re in for a bit of a hike (or ride). Return back down the path to the south and dispatch any imperials that dared to show up behind you, then make your way back to the Wiz Chocobo Outpost, from which head east to your destination. As you get close, lightning will guide you the rest of the way… or you can just use your good ol’ quest marker.
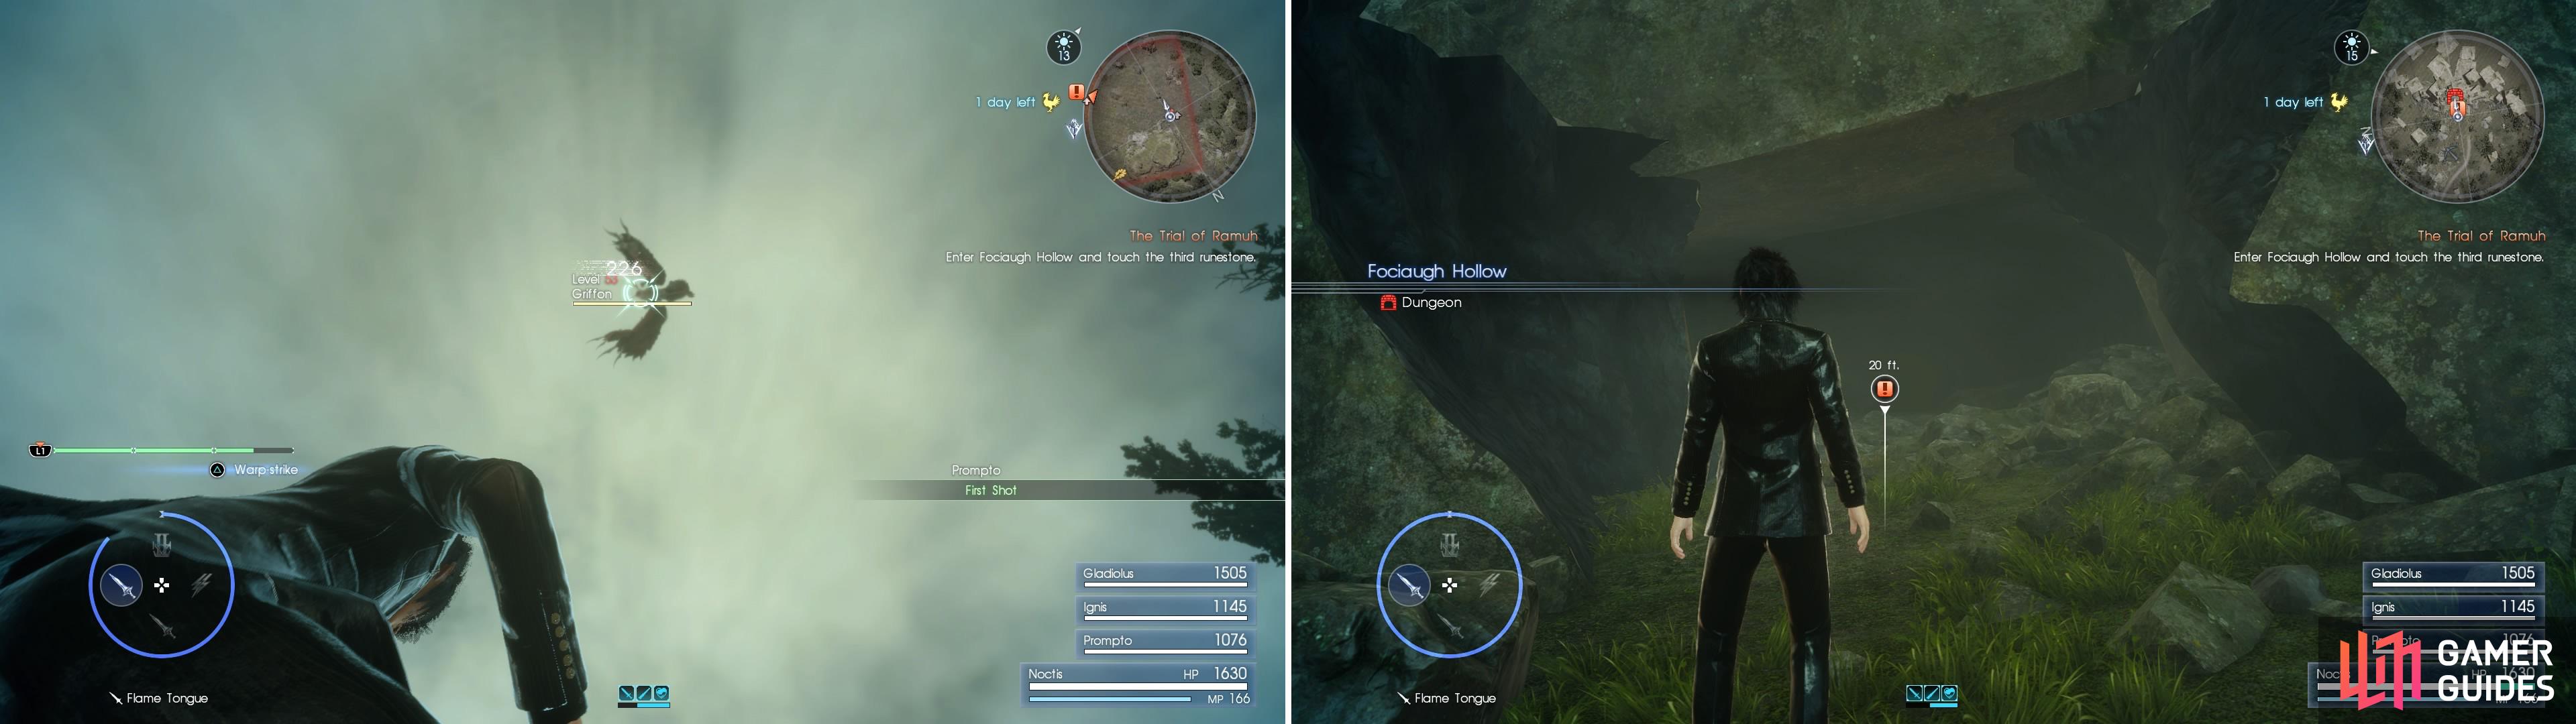
On the way to Fociaugh Hollow you may catch sight of the powerful Griffon (left), which prowls near the second Runestone. Approach the dungeon and enter (right) to begin the trial.
When you’re ready, head into the cavern that marks the entrance to the dungeon and descend (bravely enduring some harmless bats) until you reach the dungeon’s first chamber, where you can find no fewer than three loot spots: an Ancient Dragon Tooth to the north, a Rusted Bit to the south and a Fossil Shell behind a rocky out-cropping to the east.
To the east you’ll find a narrow opening you’ll have to squeeze through, beyond which is a linear (but winding) trail. As you get close to a loot spot on the ground (Fossil Wood) , some Imps will drop down to attack you. Finish them off and continue downhill until you find a low section of tunnel you have to crawl through. Do so, then continue north-east to find a Food Spot (Allural Shallots) and more enemies. This time, there will be more Imps, but some Thunder Bombs will light up the room shortly after that. They are weak to swords, daggers and holy, but are completely immune to lightning. If you’re familiar with Bomb-type critters in Final Fantasy games, you’ll be well aware that these things can also self-destruct, dealing massive damage, so be wary of them if they start growing larger, and be prepared to warp away.
Search behind a stone to the east to find a loot spot (Oracle Card) , then continue on your merry way down the tunnel to the east… or as merry as one can be when exploring a dark dungeon, anyways. Fight off another pack of Imps, then turn north and keep going until you reach a fork, at which point you’ll have to deal with more Imps. Jump-scaring little bastards… Smite them, then plunder the loot spot (Amethyst Bracelet) near the ledge to the north and another (Fossil Wood) to the east, then continue down the eastern passage… or the west, the both go to the same place.
For the sake of argument, let’s say you went east, in which case you’ll need to drop down a ledge and fend off some more Thunder Bombs and possibly a stray Imp or two. Once done, check the ground where you dropped to find a loot spot (Thieves’ Way) , an accessory which reduces the MP cost of phasing. Continue north to reach another split, at which point turn north-east to find a fire elemental deposit, more Imps and a loot spot (Rusted Bit) at the dead end.
Continue south-west then north to reach another fork. Head down the north-western branch first to reach a dead-end, and the end of which is a loot spot, which can be plundered for your eighth Magic Flask . Return back south and explore the north-eastern fork, where you’ll find an ice elemental deposit and another narrow section of tunnel you’ll have to squeeze through. As you try to squeeze through the next narrow passage you’ll be ambushed by some Imps, then more will show up and it’ll be like a giant party… a party where all the other guests are trying to poison and kill you. Double-back out of the narrow passage to fight the Imps, then, once you eradicate them all, squeeze through the narrow section of tunnel and score a loot spot (Ammonite Fossil) , then make your way down the linear, winding tunnel.
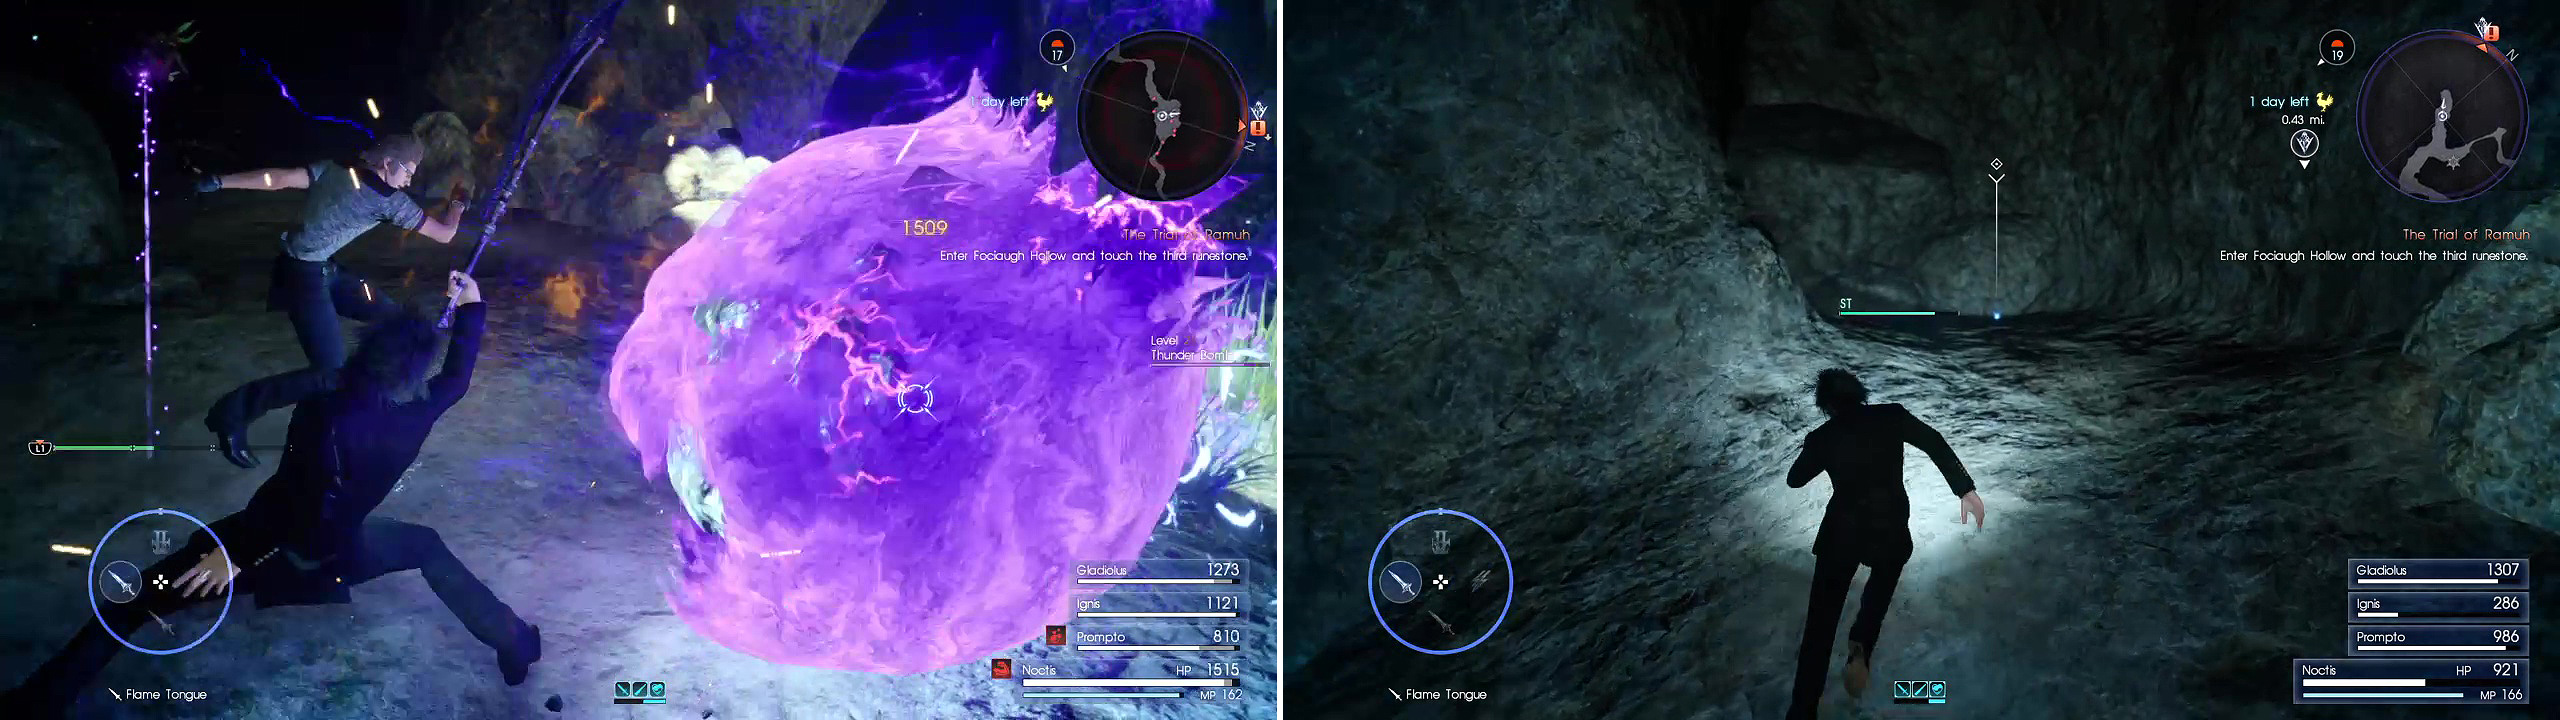
Thunder Bombs can be very powerful in large groups (left). When you reach the ice deposit, cut up the dead end (right) to find another Magic Flask.
After a bit you’ll hear a loud growl, then, a bit later on Prompto will scream and vanish, having apparently been grabbed by something. Continue on until you reach a large, open chamber, where many different foes dwell, including Hobgoblins, Mindflayers, Imps and Thunder Bombs. Noctis, with his ability to warp around, has superior mobility that allows him to go after many different enemies, including the Hobgoblins down the path to the north-east. If you’re not confident in Noctis’s strength, however, play it safe and head down the path to the north-west, as warping can easily isolate Noctis here. The major battle should occur north and below where you entered the cavern (from the entrance head north-west, then north-east, then south-east).
Kill everything that moves, then return to where you entered the cavern, as there’s loot to be had. Along the path running north-west from the entrance you can find a Potion, then, at the crook where the path turns from running north-east to running south-east you’ll find a Titanium Bangle . Continue to where the large battle occurred and make your way north-east until you pass two forks, one to the north-west and another to the north. Ignore them and continue east, then south until you reach a dead-end, at which point you’ll find a third loot spot (Blue Choker) . Finally, return to the forks you ignored earlier and head north to find yet another loot spot (Debased Banknote) . Kill the Imps guarding this treasure, then return to the fork to the north-west, which you shall now turn your attention to.
Boss Battle - Naga
Continue uphill to the north-west and nab another loot spot (Ancient Dragon Tooth), then slink under another low section of tunnel, leaving the large chamber behind. Continue uphill and pass a lightning elemental deposit, then make your way north-east and north into a large chamber. Approach the northwest corner of this big room to have something big pop out of the ground, a level thirty Naga. No matter what answer you give to it, you’ll have to do battle.
This mini-boss isn’t too bad, but keep an eye out for the attacks that can result in you being turned into a toad. Also, it can dive into the rocks beneath your feet as if it were water, popping out to attack later, so be wary of that and warp strike away if you suspect it’s trying to ambush you. It is weak to greatswords, daggers, and ice (holy, too, but you don’t have access to that), while it is strong to fire.

The Naga (left) is vulnerable to ice and she can also turn your party into toads (right).
After the battle is over, take the north-western path (the north-eastern path just leads to another locked door) to reach the third and final Runestone. Touch it and you will receive the Mark of the Fulgurian , allowing Ramuh to come to your aid in times of peril. When prompted, return to the entrance and exit the cave to finally put an end to this quest.
| Objective | Reward |
|---|---|
| For touching the third Runestone | EXP 1,000 / Mark of the Fulgarian |
No Comments