

Sondonda
From where the gondola stops head south-east past a large, gaudy, modern “art” sculpture of some seabeast - the Tidemother - in a fountain. Near this fountain you’ll find the Sondonda shop, which sells a variety of horns you can use in the Totomostro - the monster battle arena. Buying these items will help improve your odds in that mini-game, as different horns give different buffs (or remove debuffs) to the monsters you’re bidding on. They’re expensive, though, ranging in price from 8,000 gil to 30,000 gil. Buying all four will set you back a whopping 80,000 gil. You don’t need any of these to be successful in the Totomostro, though, so you’re better off saving your money to invest directly in that.
You can also find another (unmarked) merchant south-west of the fountain) who will provide you with paper birds you can use to assault the statue. A local custom of good luck - get the paper bird in the statue’s mouth and good stuff will happen - not important, but an amusing, temporary diversion.
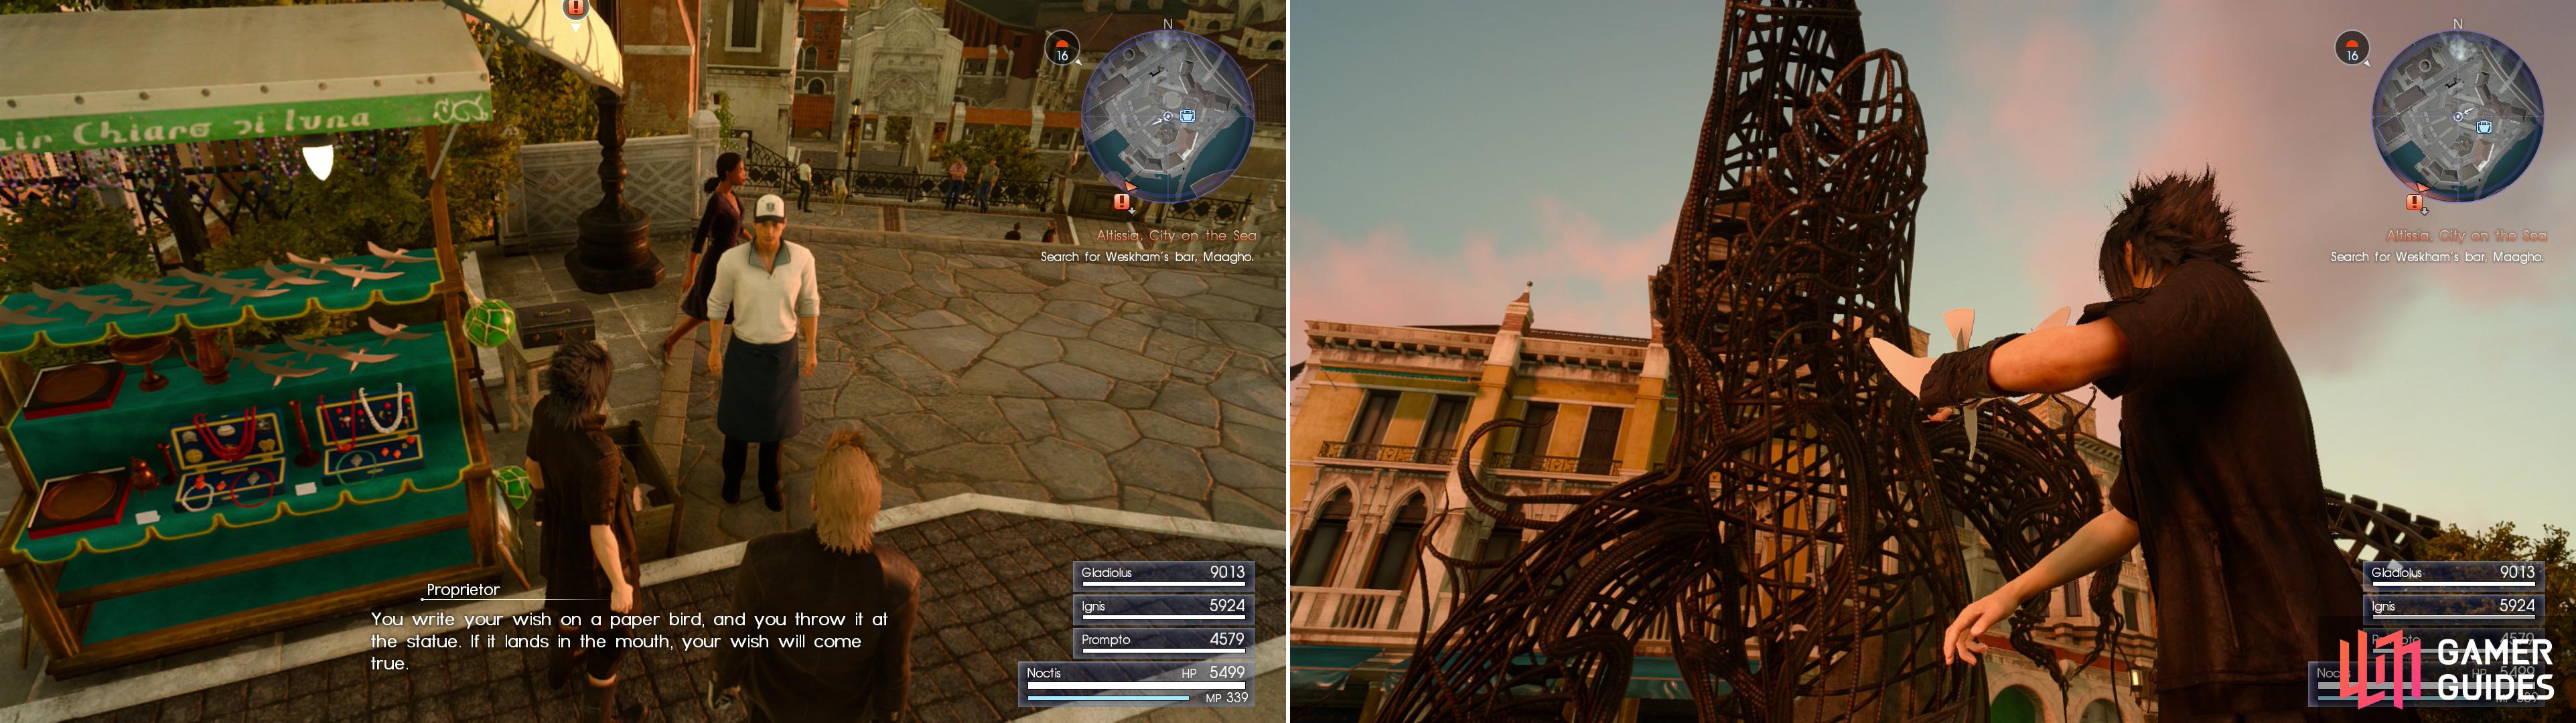
Visit the palace-front plaza to find new merchants (left) and indulge in a Altissian tradition (right).
| Objective | Reward |
|---|---|
| For indulging Prompto | EXP 400 |
Totomostro
Speaking of the Totomostro, it’s time to go check the place out… at least as far as the guide is concerned. You need not feel compelled to make serious inroads here if you don’t have the money (or you just can’t be bothered to waste your time). Make your way east from the Sondonda shop to find the Listro Park South Station Gondola Station and ride it to its only destination - the Totomostro (aka Arena Galviano).
The only purpose of this place is to bet on monster fights, wagering (and hopefully winning) medals in the process… Medals that can be traded in for various goodies, including new weapons, accessories, car mods, among other junk. You can conceivably buy all the medal you want and just trade them in for the prizes, but one medal costs 10 gil, and since the top prize costs 3,600,000 medals… that’s a lot of gil. You can also easily win 20,000 - 40,000+ medals in a few minutes by betting on monster battles, and, with a little common sense, the odds are heavily in your favor.
That’s not to say gambling on monster fights isn’t a tedious exercise, mostly because you can only bet 9,999 medals on a single bout, the odds (multiplier you’ll be rewarded if you win) is based on the strength of the monsters (more obvious bets naturally give you less of a return) and it’s largely a passive experience, save for occasionally sounding one of your horns to aid the monster you’ve bet on.
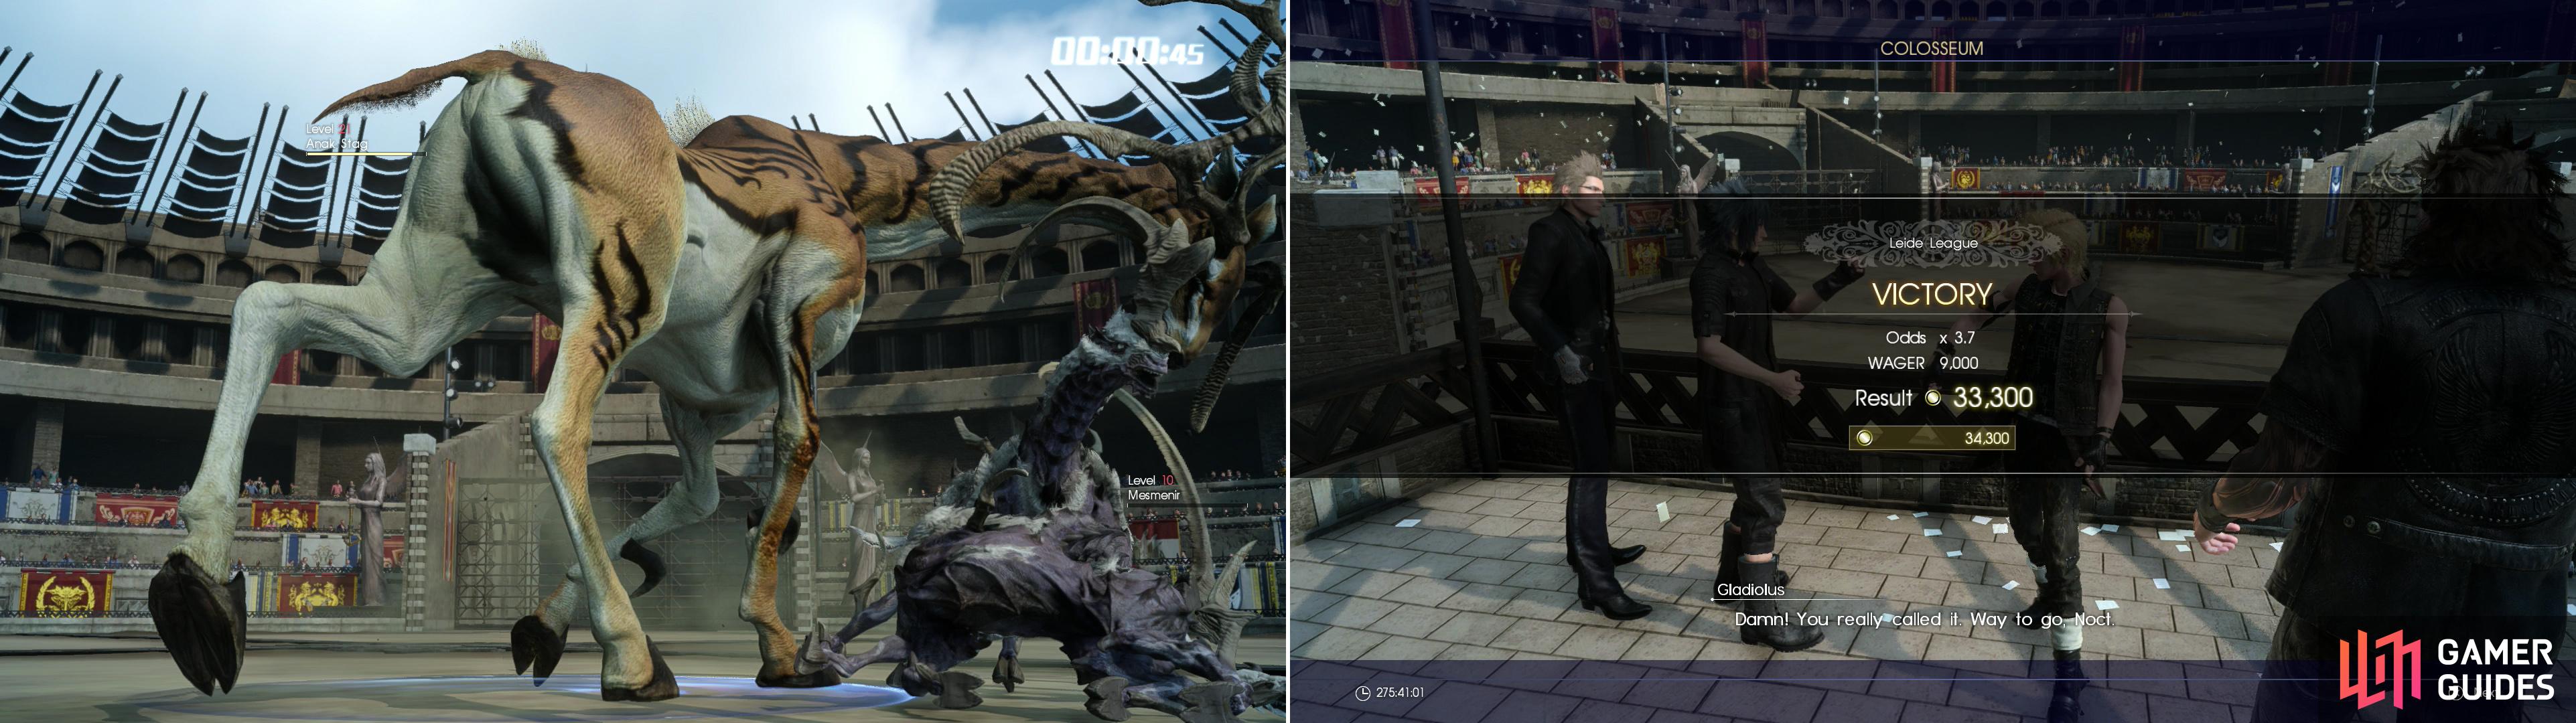
If the monster you bet on wins its fight (left) you’ll get a reward equal to the number of medals you gambled, multipled by the odds (right).
Let’s start off with the basics - buying medals. You can start as meekly as you want, depending on what your gil allows, but at least investing in 1,000 medals off the bat is a good idea (more if you can manage it). Purchase up to 9,999 medals at the start, then be sure to gamble that amount every fight. If you happen to lose your first fight… well, you can’t save/load in the arena itself, but there’s no shame in securing your initial investment by save/loading between fights to ensure you’re not flushing gil down the drain. After one or two successful fights at 9,999 medals, you should have enough medals to cover any infrequent losses.
Of course, the only way to keep your losses infrequent is to know what monsters to bet on, and this is part common sense, part learning. Some monsters are just far stronger than others - you can usually take a Coeurl to the bank. In general, you should disregard the level of a monster, as it rarely means much in terms of what will win the fight. Something that does matter, however, which varies battle by battle, is each monster team’s condition. This is denoted by a series of blue arrows near the monster team’s odds in the “Wager” menu. A low condition monster isn’t as strong as a high condition equivalent, and this can sway thing just enough to cause some upsets.
What monsters you should pick largely depends on the type of monster (Coeurls and Iron Giants are usually pretty safe bets), their condition, and what and how many monsters they’re fighting against, with the first two factors being the most determination of success. Unfortunately, luck also plays a role in the outcome of battles - if your high-condition Gigantoad decides to hop into the middle of two groups of fast, little critters that focus their attention in it… well, you might not be happy with the outcome. Generally, all condition values being equal, in a one-on-one fight you should pick multi-animal teams (especially Sabertusk variants), as they’re likely to gang up on the lone opposition and defeat them. In multi-team battles, endurance becomes more important (especially when you bolster your monster with the Horn of Fortitude).
Aside from learning which matchups work well for your medal collection, the only way you’ll participate actively in the arena is via horns. Randomly during bouts you’ll get a prompt to blow your horn - mash the Circle/B button to fill up the meter and grant your horn’s effect (the Horn of Fortitude will see you through the arena just fine). If no monster team wins in the time limit, the match will end in a draw and you’ll get back whatever you bet… basically just a waste of time.
So, what’s the point of collecting all these medals? Prizes, of course! Win matches, earn medals and turn them in for prizes, as was established earlier. Below is a list of the prizes you can earn in the Totomostro:
| Prizes | Medals |
|---|---|
| Magitek Generator | 3,600,000 |
| +Onion Bangle | 2,400,000 |
| Diamond Bracelet | 1,250,000 |
| Big Bang | 450,000 |
| +Centurion Bangle | 450,000 |
| Mythic Color Samples | 360,000 |
| +Emerald Bracelet | 360,000 |
| Arapalma Roe | 240,000 |
| Enforcer | 180,000 |
| Precision Lance | 120,000 |
| Llymlaen | 85,000 |
| +Platinum Bangle | 85,000 |
| Big Master Typhon | 45,000 |
| Silver Bangle | 34,000 |
| Turbocharger | 15,000 |
| +Behemoth Tenderloin | 15,000 |
| Coeurl Whiskers | 7,500 |
| Great Garula Tusk | 2,500 |
There are a few unique items you can redeem here, and when you get them, they’ll be replaced by other items that you can buy multiple times. For example, once you buy the Llymlaen reel it’ll be replaced by a Platinum Bangle. As you can probably guess, some of the top prizes in the arena will take an absurd amount of time to earn, and it’s worth pondering… is it worth it?
Well, once you obtain the Magitek Generator (which removes the need for fuel for the Regalia) it’ll be replaced by an Onion Bangle, a very nice item that gives the massive boost of +2,500 HP. Of course, it’s going to cost 3,600,000 medals for the Magitek Generator, then 2,400,000 medals for each Onion Bangle. The latter might be worth your time, but the former? You’ll be saving at best hundreds of gil with the Magitek Generator, which is trivial and 6,000,000 medals for one Onion Bangle is a huge time investment - not to mention the fact that there’s another way to earn them much more quickly.
For the sake of completionism, it might be worth grabbing an Enforcer and a Precision Lance, but otherwise, unless you have to grab every decal and accessory for the Regalia, just do enough to get the Llymlaen reel, which will make finishing Navyth’s fishing questline a bit easier.
Alessios Oracle Obsession
When you’re done watching monsters slaughter each other for your amusement, leave the arena and return to the Sondonda. From this stall turn south, south-west to find some stairs down. Descend them, pick up a Mega-Potion, then head down another flight of stairs. Turn west and go down a third flight of stairs, then turn south-west to spot a decorative, roofed staircase. Head down the five flights of stairs and continue south-west to find… another flight of stairs going down! Descend these last bunch of stairs to find yourself in an underground, canal-side diner, near which is the Palsino Street Station Gondola Station.
Despite being a diner, they’re not open for business… not to you, anyways. Despite that, there are some interesting things here to do. First, find a rather suspicious-looking man named Alessio, who will offer to trade you various goodies for any Oracle Ascension Coins you may have picked up in your travels.
| Items | Oracle Ascension Coins |
|---|---|
| Megalixir | 1 |
| Fire Crest | 4 |
| Ice Crest | 4 |
| Lightning Crest | 4 |
| Dark Crest | 8 |
| Mighty Guard | 20 |
| Stone Wall | 30 |
| Ribbon | 40 |
Right now, you probably don’t have enough for the obvious top-pick: the Ribbon, but there are still plenty of coins you can find post-game and in high-level dungeons which have yet to be plundered. The Stonewall and Mighty Guard are also potent defensive items, should you find yourself in possession of an unsightly excess of Oracle Ascension Coins… but you’ll probably just want to buy yourself a second Ribbon should you end up with that many Oracle Ascension Coins. For now, however, just make a mental note of this opportunity and move on to another, more immediately lucrative endeavor.
Justice Monsters V (10,000 Gil)
Turn your attention to the southern corner of the diner to find three Justice Monsters V machines, one of which is occupied. To the left of the dork playing on the center machine is your standard 10 gil machine with prizes you’ve probably long since outgrown. To the right, however, is a more expensive 10,000 gil machine. It’s essentially the same impossible-to-lose game, but the prizes are much, much better… or the same stuff with a much lower chests requirement. Once again, however, the best prizes will take you 70+ chests to earn.
| Chests | Reward |
|---|---|
| 5 | Hi-Potion |
| 10 | Mega Phoenix |
| 15 | Ruby Bracelet |
| 20 | Platinum Bangle |
| 25 | Emerald Bracelet |
| 30 | Centurion Bangle |
| 35 | Mystic Circlet |
| 40 | Moogle Charm |
| 45 | Legatus Bangle |
| 50 | Blue Diamond Bracelet |
| 60 | Gigas Bangle |
| 70 | Assist Suit |
| 80 | Dark Matter Bracelet |
| 90 | Onion Bangle |
| 99 | Wind-up Lord Vexxos |
The Assist Suit - a rare drop from some Magitek Armor - is a fine stat-boosting accessory for any character. If you’re going to go after any bangles or bracelets, you may as well go after the best of the bunch - the Onion Bangle (which otherwise requires you to spend 2,400,000 medals at the Totomostro) will give its wearer a whopping 2,500 HP, while the Dark Matter Bracelet boasts a hefty boost of +100 Strength. Between the Totomostro and Justice Monsters V, you have some ways to waste time and earn yourself some potent accessories.
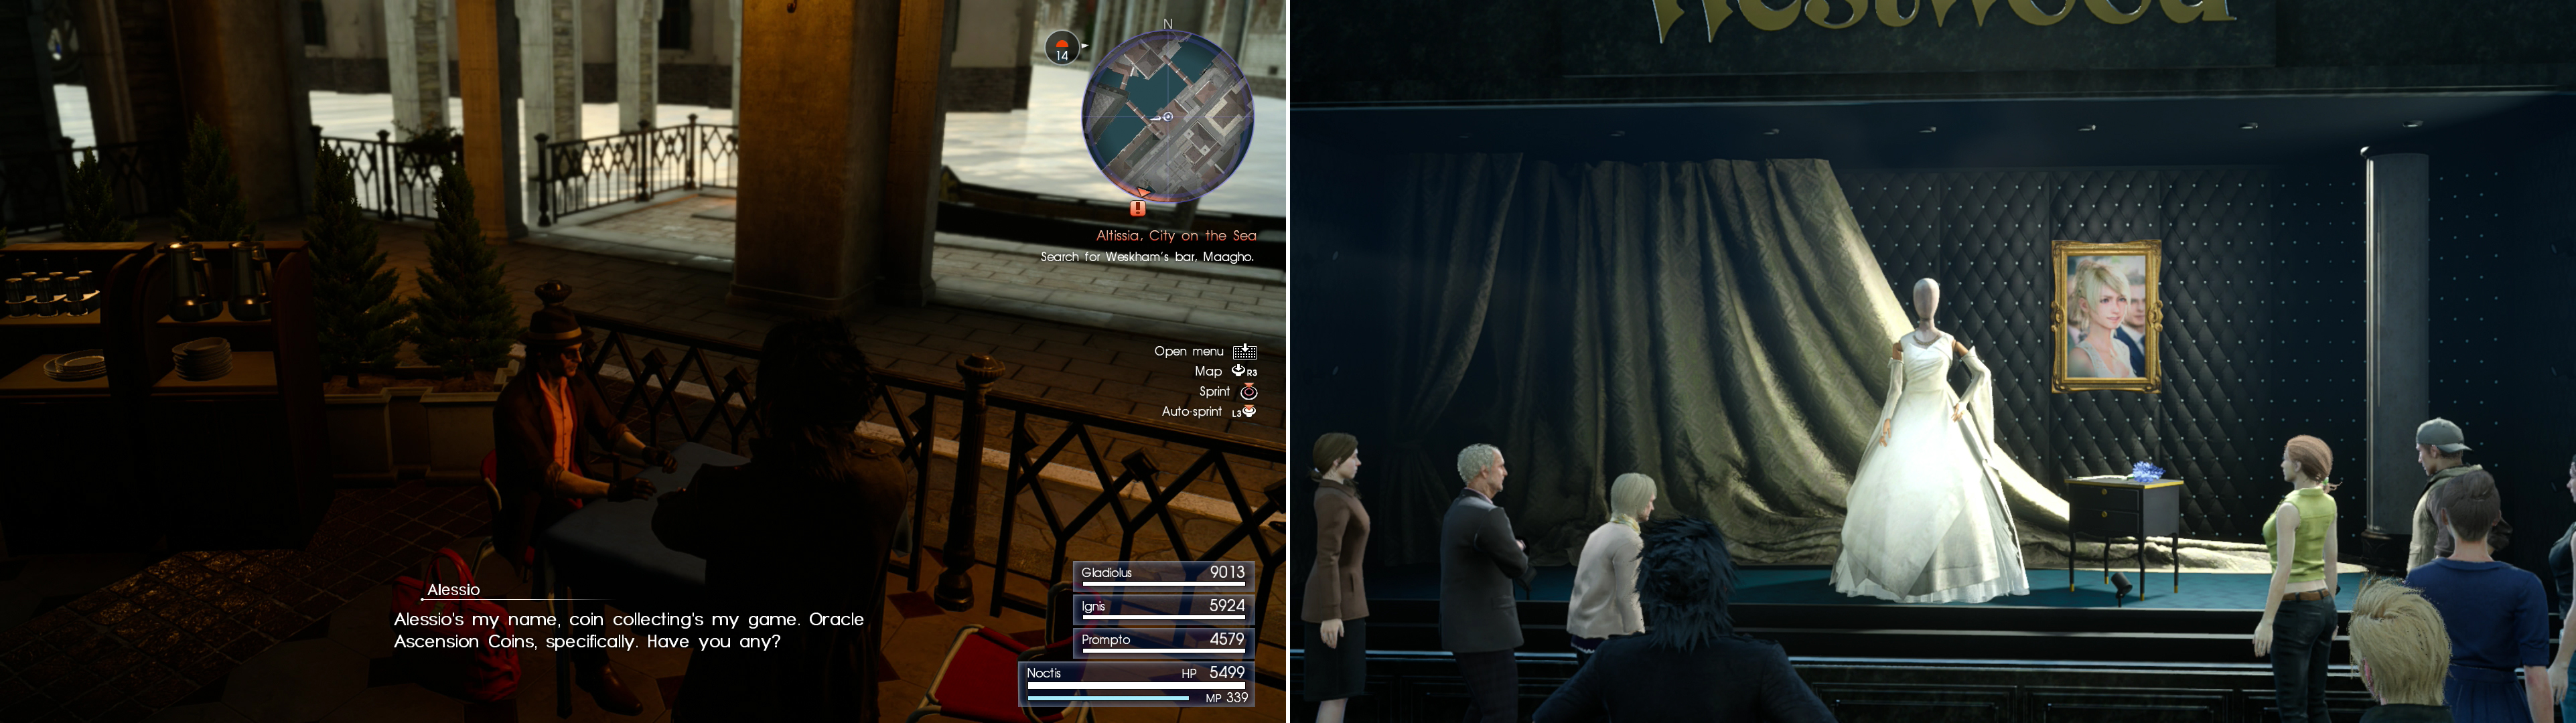
Alessio collects Oracle Ascension Coins, and is willing to trade potent accesories for them (left). Gape in amazement at the dress for the wedding that never was (right).
Symbol of the Peace
You’re now done exploring Altissia - you know where the stores are, and attractions like 10,000 gil Justice Monsters V and the Totomostro, it’s up to you to peruse them at your will. For now, however, it’s time to find the Maagho restaurant. Make your way to any gondola station and use it to travel to the Floating Market Station - Maagho.
| Objective | Reward |
|---|---|
| For ogling a dress | EXP 1,000 |
Altissia, City on the Sea
You’re now done exploring Altissia - you know where the stores are, and attractions like 10,000 gil Justice Monsters V and the Totomostro, it’s up to you to peruse them at your will. For now, however, it’s time to find the Maagho restaurant. Make your way to any gondola station and use it to travel to the Floating Market Station - Maagho.
| Objective | Reward |
|---|---|
| For reaching Maagho | EXP 2,000 |
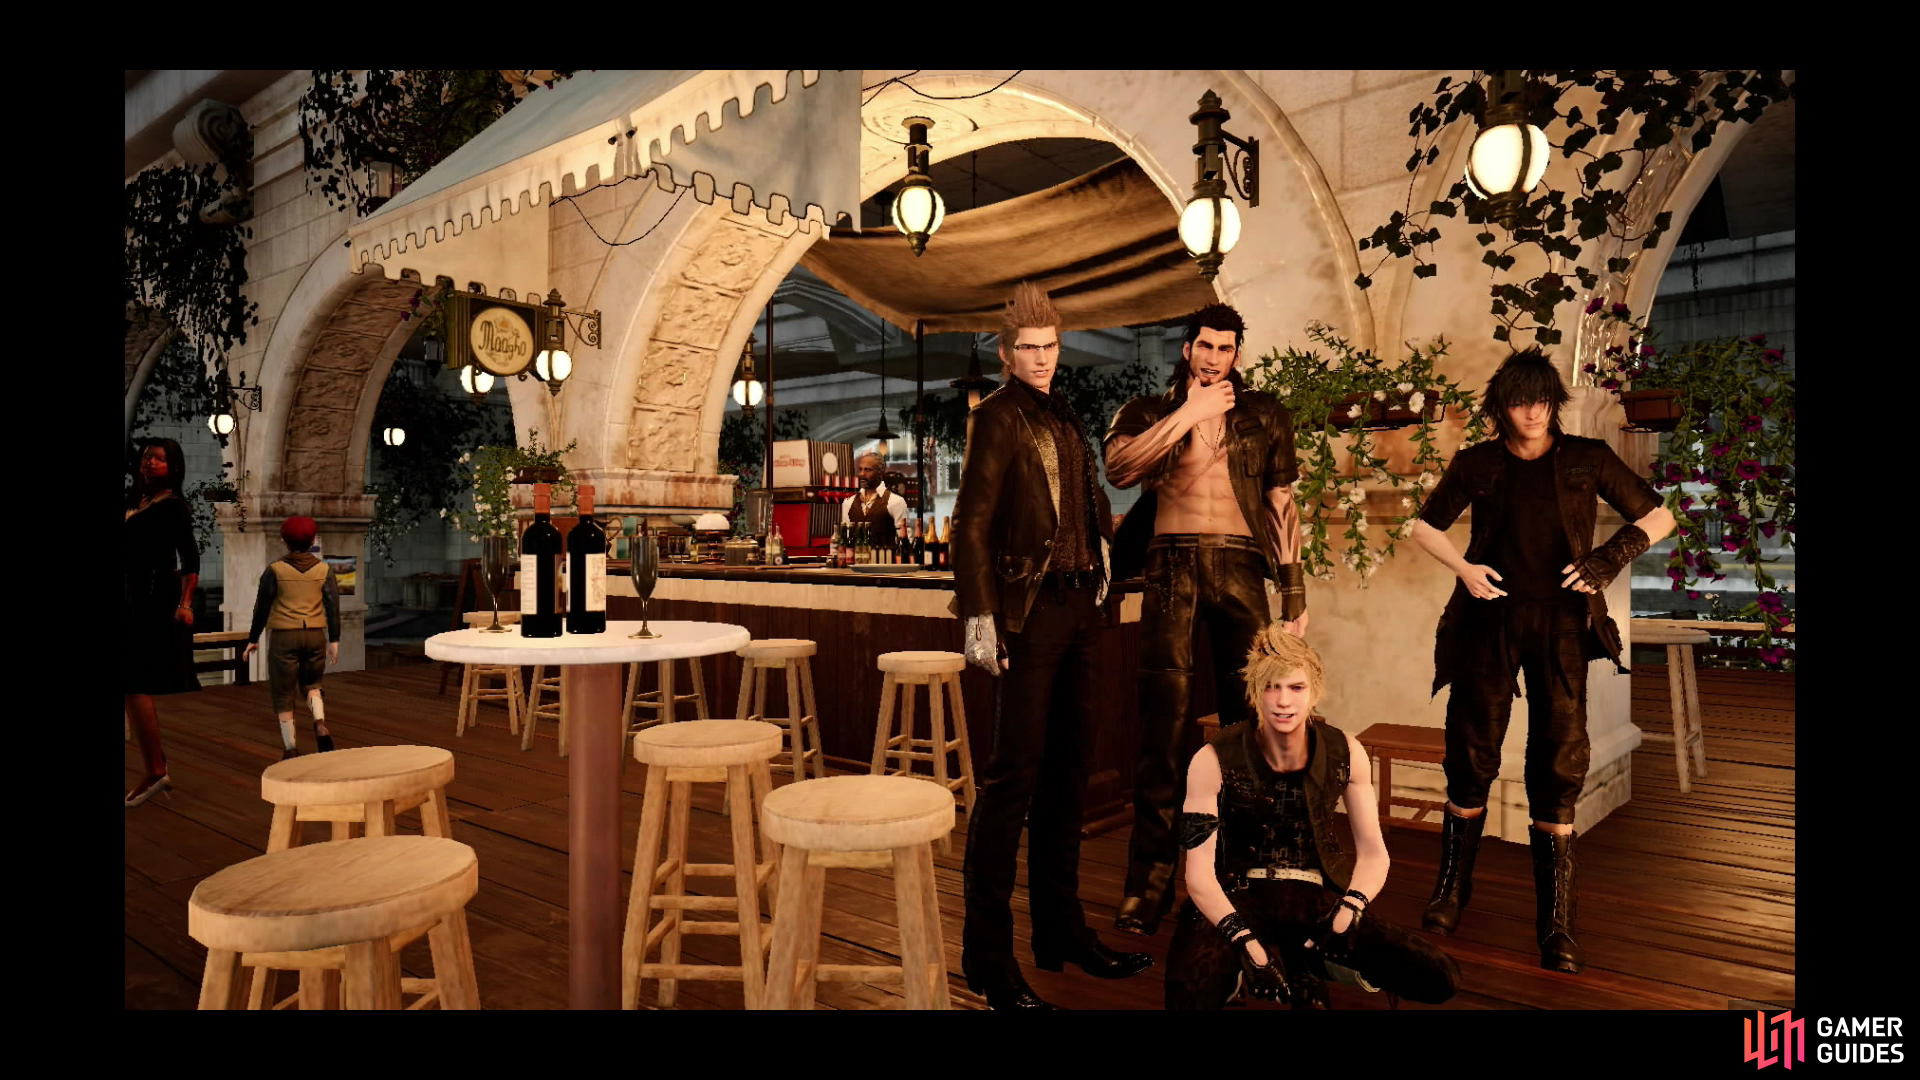
Talk to the barkeep - Weskham. Cid’s friend, who traveled with your father years ago. Naturally you’d expect him to be an important story character who has many revelations for you, right? Well… not so much. He will answer a few questions for you about Leviathan, the empire’s movements and Luna. Eventually your chatter will be interrupted by Camelia, first secretary of the Accordo Protectorate, who will ultimately ask you to come to her estate to discuss politics. This starts the next story quest “The Summit” .
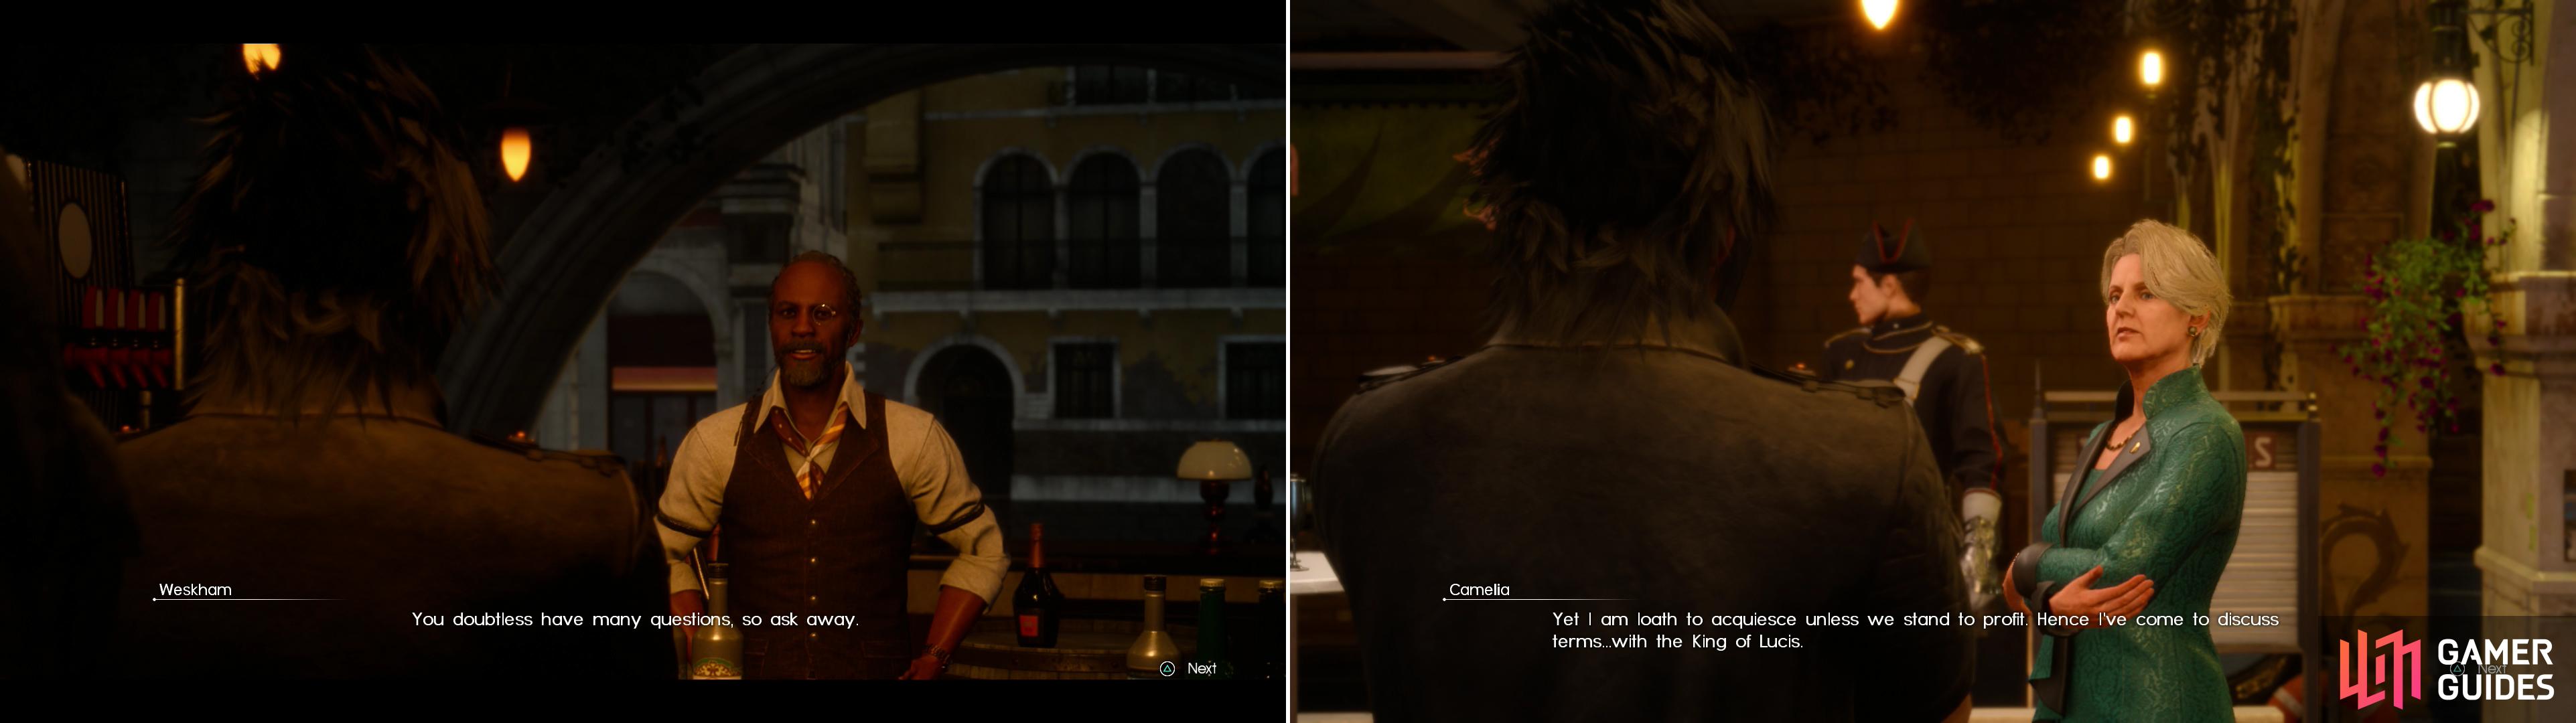
Talk to Weskham in Maagho to learn about various topics (left), after which you’ll be expended an invitation by an important political figure (right).
Maagho
All in good time, but first, there’s some shopping to do around here, starting with checking out the services offered by the Maagho restaurant itself. Talk to Weskham again to gain some intel, which will update the quest “The Cursed Canvas” and direct you to take up the hunt “A Lost Painting”. Speaking of hunts, if you’re so inclined to do some dirty work, you might as well check out the hunts Weskham has on offer:
Hunts - Maagho
| Hunt Name | Hunt Level | Rank (Stars) |
|---|---|---|
| Bewitched Blade Stains the Stars | 17 | ** |
| A Nightmare Upon the Water | 20 | ** |
| Ill Weeds Grow in the Night | 22 | ** |
| Back Alley Spook | 26 | ** |
| The Case of the Disappearing Hunters | 29 | ** |
| Will-o’-the-Wisps out on the Town | 31 | *** |
| *A Lost Panting | 32 | *** |
| Tourists Fade into the Night | 35 | *** |
| The Tragic Facts | 41 | *** |
| King of the Great Escape | 50 | **** |
*Only available after starting “The Cursed Canvas”.
Aside from hunts and intel, Weskham has some dishes you can order, a few of which, of course, will inspire Ignis to devise some new recipes. The Wood-Smoked Fish meal (2,800 gil) will teach you the “Sea Bass Sauté” recipe, the Fettini di Cernia meal (3,600 gil) inspires the “Tide Grouper Carpaccio” recipes, and the grossly expensive (300,000 gil) Fine Caviar Canapé will help Ignis concoct the “Royal Banquet Canapé” recipe.
| Objective | Reward |
|---|---|
| For indulging Prompto | EXP 400 |
Old Gobunants Boat
After you’re done messing around with Weskham, turn your attention to the two other merchants that have set up shop here. To the south-west you’ll find the Old Gobunant’s Boat, which is by far the least interesting of the two, as it only sells ingredients you’ve long since had access to.
Old Gobunant’s Boat
| Item | Price |
|---|---|
| Leiden Pepper | 20 Gil |
| Sweet Pepper | 50 Gil |
| Garlic | 100 Gil |
| Shier Turmeric | 250 Gil |
| Hulldagh Nutmeg | 600 Gil |
| Saxham Rice | 200 Gil |
| Fine Cleigne Wheat | 980 Gil |
Gamberettos Catch
South-east of Maagho, on the other hand, you’ll find Gamberetto’s Catch, which also sells ingredients… but at least this shop offers some new, rare ones. Naturally, this means there are more recipes you can learn if you’re willing to spend some gil. If you buy some Cygillan Crab to learn the “Sweet & Spicy Cygillan Crab” recipe. Other than that, you can drop a whopping 100,000 gil on some Arapaima Roe, which is an ingredient required to make “Royal Banquet Canapé”, which is a cheaper alternative to getting Weskham to prepare the dish for you.
Gameretto’s Catch (Ingredients)
| Item | Price |
|---|---|
| Caem Pinkshrimp | 150 Gil |
| Cleigne Mollusk | 200 Gil |
| Cleigne Darkshell | 440 Gil |
| Cygillan Crab | 300 Gil |
| Trevally Fillet | 100 Gil |
| Trout Fillet | 240 Gil |
| Barramundi Fillet | 300 Gil |
| Nebula Salmon Fillet | 560 Gil |
| Tide Grouper Fillet | 2,200 Gil |
| Sea Bass Fillet | 1,380 Gil |
| Platinum Myrltrout Fillet | 3,900 Gil |
| Allural Sea Bass Fillet | 1,480 Gil |
| Zipper Barramundi Fillet | 980 Gil |
| Lucian Carp Fillet | 1,280 Gil |
| Mighty Barramundi Fillet | 4,500 Gil |
| Dank Barrumundi Fillet | 280 Gil |
| Wennath Salmon Fillet | 2,100 Gil |
| Arapaima Roe | 100,000 Gil |
| Tenebraen Oak | 700 Gil |
With that, you’re done exploring Altissia. Indulge in whatever activities you wish, do some hunts, return to Lucis and complete some sidequests. When you’re ready, head back to The Leville to get some rest.
No Comments