

It makes good sense to upgrade some of these weapons now… not only for the obvious reason that better weapons make for easier death-dealing, but because you’re going to be doing lots of side quests, traveling, resting… all sorts of stuff that will give Cid plenty of time to upgrade your weapons. Might as well keep the old man busy while you work, right? Also, you’ll find the required upgrade components for several of these weapons as you clear the next few areas, either from random monster drops or from static Treasure Spots.
A Better Circular Saw
First let’s discuss some of the older weapons you now might possess (or can now more easily obtain) the required upgrade components for. If you completed “A Feline Feast” you’ll have obtained a Sky Gemstone, which is required to upgrade the Circular Saw. Easy-peasy, nobody should have had any trouble getting their hands on that one.
| Objective | Reward |
|---|---|
| For giving Cid a Sky Gemstone | EXP 2,000 / Circular Saw Plus |
A Better Bioblaster
The Bioblaster can also be upgraded by nabbing a Dynamo from the Treasure Spot near the Midgardsormr, or by dispatching a MA Hoplomachus, a level forty-five mech that will be frequently pester you via dropship (they spawn regularly south of Fort Vaullerey and have a high chance to drop a Dynamo).
| Objective | Reward |
|---|---|
| For giving Cid a Dynamo | EXP 2,000 / Bioblaster Plus |
A Better Absorb Shield
Now for upgrading some of your new weapons, starting with the Absorb Shield. To upgrade this weapon you’ll need to complete an Armor Spike , which is similar to - but shouldn’t be confused with - the Shield Spike. The only way to get an Armor Spike is by completing the hunt “Hammer the Cannibals”, which can be picked up at the Cauthess Rest Area. It’s a level thirty-eight hunt and your targets include three Skarnbulettes, who can drop this item. It’s out of the way and requires you to improve your hunter rank a bit, but it’s the only way you’re getting your hands on this upgrade component.
| Objective | Reward |
|---|---|
| For giving Cid an Armor Spike | EXP 800 / Absorb Shield II |
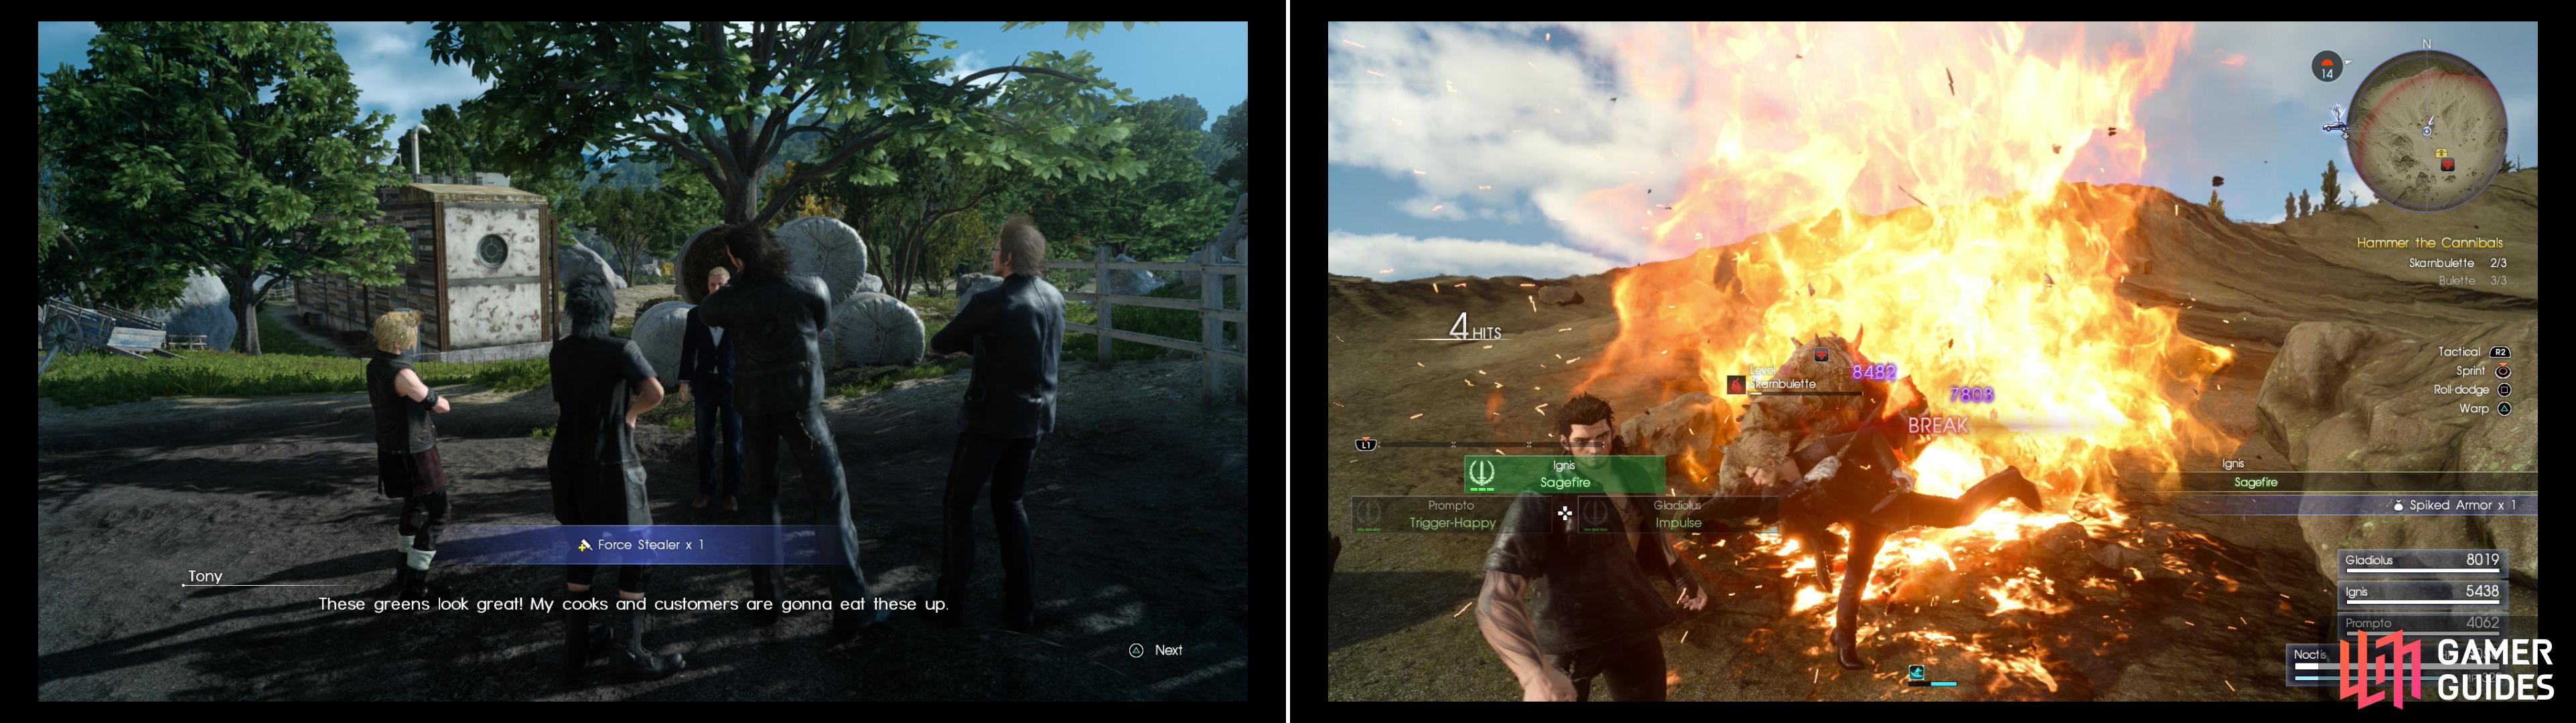
Trade four Caem Carrots for an upgradable weapon (left). One such weapon, the Absorb Shield, can be upgraded by harvested Spiked Armor from Skarnbulettes (right).
A Better Valiant
The hunt “Hammer the Cannibals” takes place in a crater east of the Cauthess Rest Area, and north-east of the crater with The Archaean’s Mirror Fishing Spot. Why is this relevant to the Valiant? Well, along the eastern edge of the pond filling the The Archaean’s Mirror crater is a Treasure Spot, which yields an Earth Gemstone . These are rather common treasures you may have found scattered in random loot spots as you explored, but this Treasure Spot is a static drop, and if you needed to harvest an Armor Spike for the Absorb Shield, you’ll be in the area. Even if you’re not, it’s at worst a fast travel to (and subsequent short hike away from) the Cauthess Rest Area.
| Objective | Reward |
|---|---|
| For giving Cid an Armor Spike | EXP 800 / Valiant II |
Other Upgrades
There are several other weapons that you probably can’t upgrade just yet, but you will be able to, soon enough. The Auto-Crossbow requires a Cactuar Needle to upgrade, and while it’s possible you were lucky enough to encounter one of those dangerous, timid little experience pinatas, there’s no guarantee that’s the case. A more reliable way to obtain a Cactuar Needle can be found in the Vesperpool, but failing that, you can always return to the Longwythe Rest Area and attempt the hunt “In the Drylands, It Rains Spines”. For the sake of argument, this guide will assume you wait until you return to the Vesperpool since it’s a guaranteed drop.
You can also upgrade the Plunderers (“A Better Pair of Plunderers”) and the Force Stealer (“A Better Force Stealer”) by clearing two of the three dungeons (The Rock of Ravatogh and Malmalam Thicket) that’ll be covered shortly. The Plunderers require a Barbed Scythe, which can be obtained from Killer Wasps and Soldier Wasps, which can be found in both the aforementioned dungeons, while the Force Stealer requires a Monster Claw, which you’ll get by defeating a dangerous beastie in the depths of Malmalam Thicket.
Start upgrading the weapons you have the components for now, go out and get the components you’re missing from places you’ve already been (for the Bioblaster, Absorb Shield and Valiant) and as you explore The Rock of Ravatogh, the Vesperpool and Malmalam Thicket, keep the missing ingredients for the Auto Crossbow, Plunderers and Force Stealer in mind. Opportunities to gather said ingredients will be pointed out to you as you explore, so don’t fret.
No Comments