| Region Summary | . |
|---|---|
| Base Camp | 0 |
| Challenge Tomb | 0 |
| Mission Giver | 0 |
| Region Challenge | 1 |
| Treasure Chest | 1 |
| Crypt | 0 |
| Relic | 2 |
| Document | 1 |
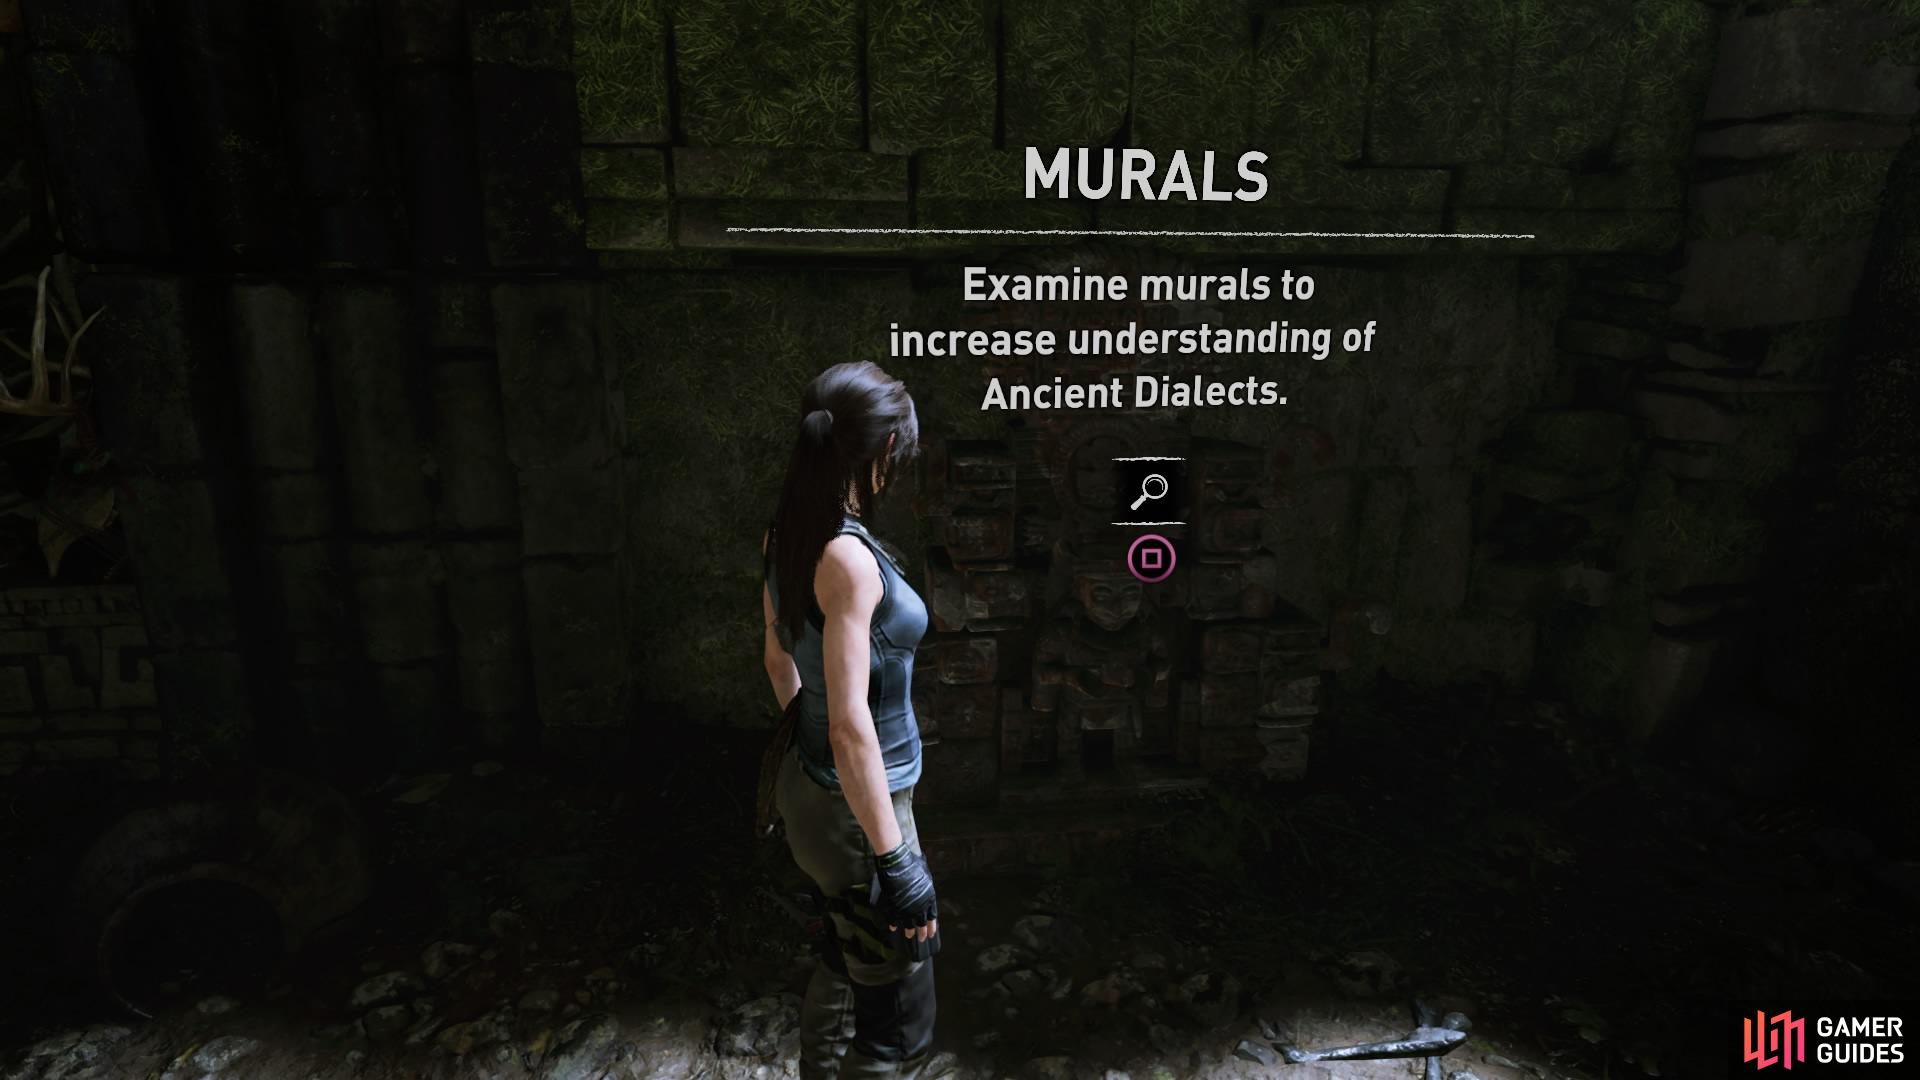
| Mural | 2 |
| Survival Cache | 3 |
| Monolith | 0 |
IN THE SHADOWS - LEARN MORE ABOUT TRINITY’S DIG
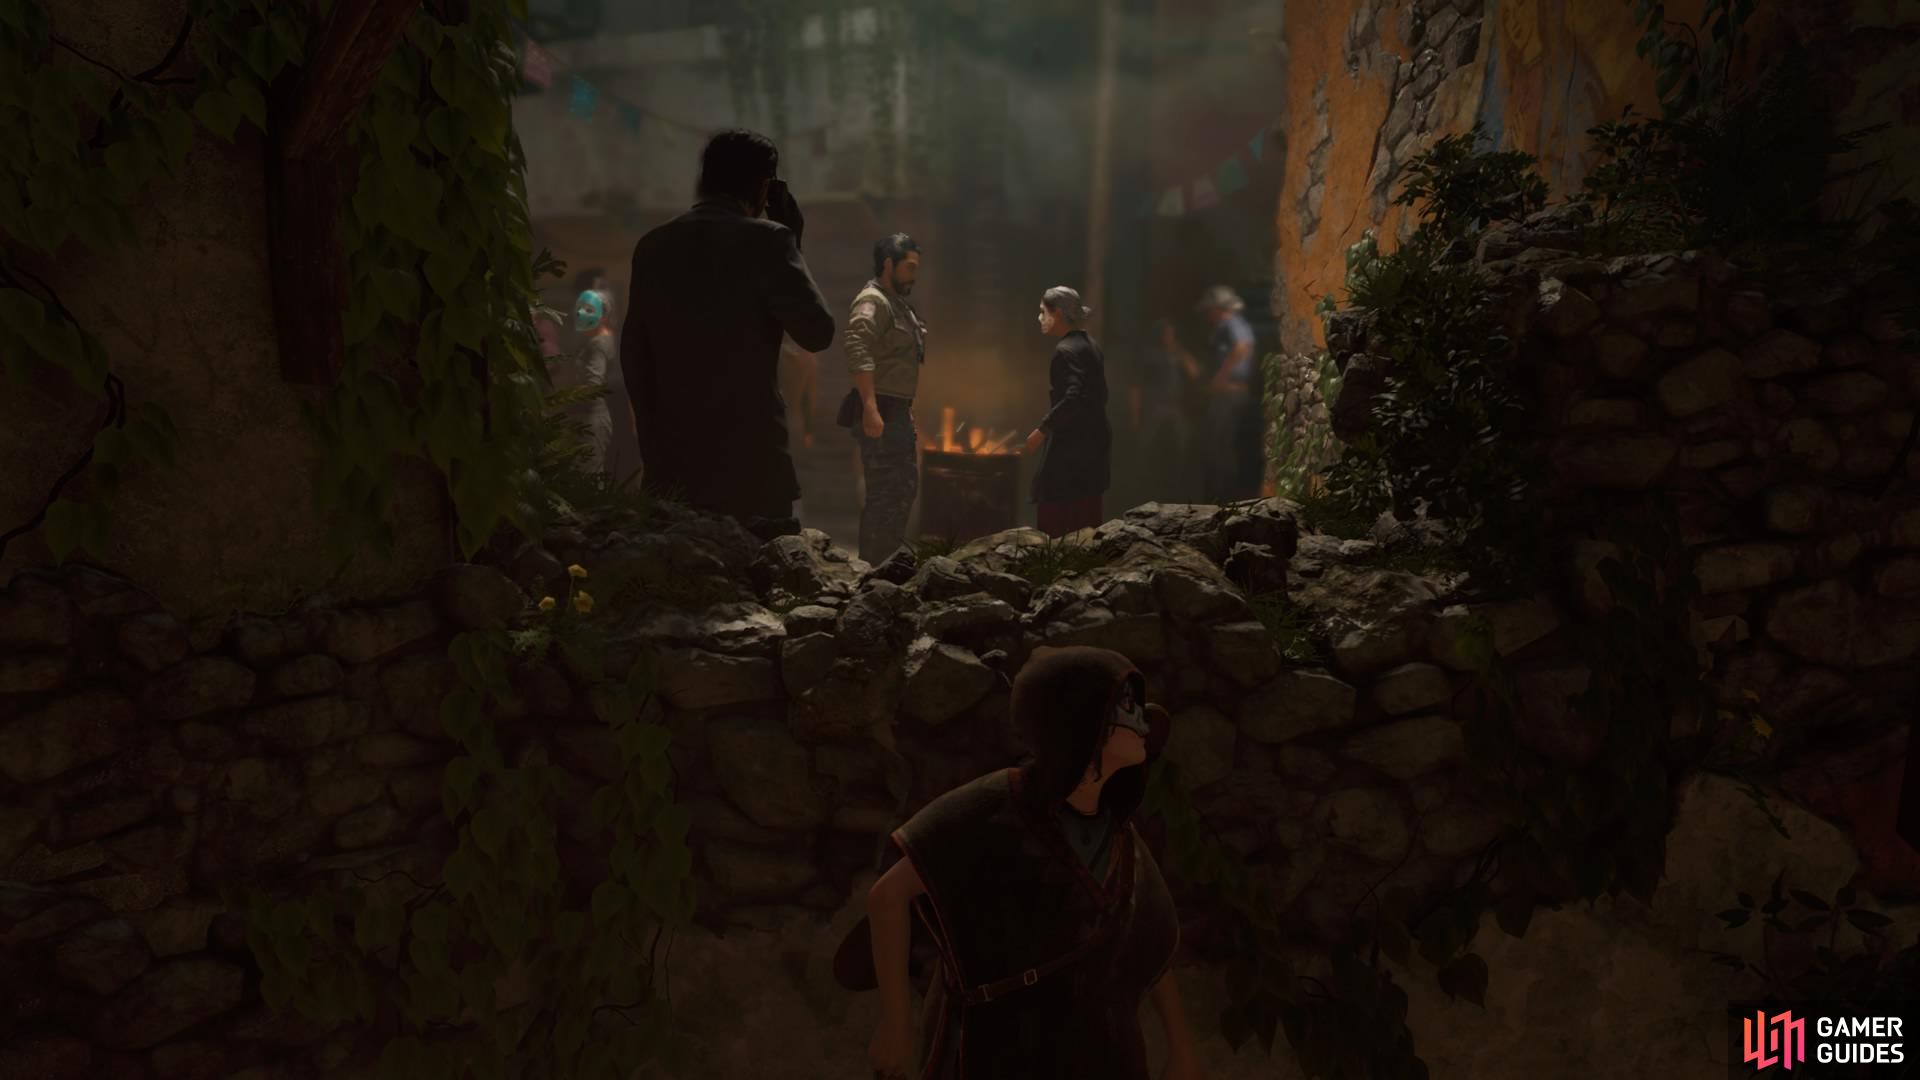
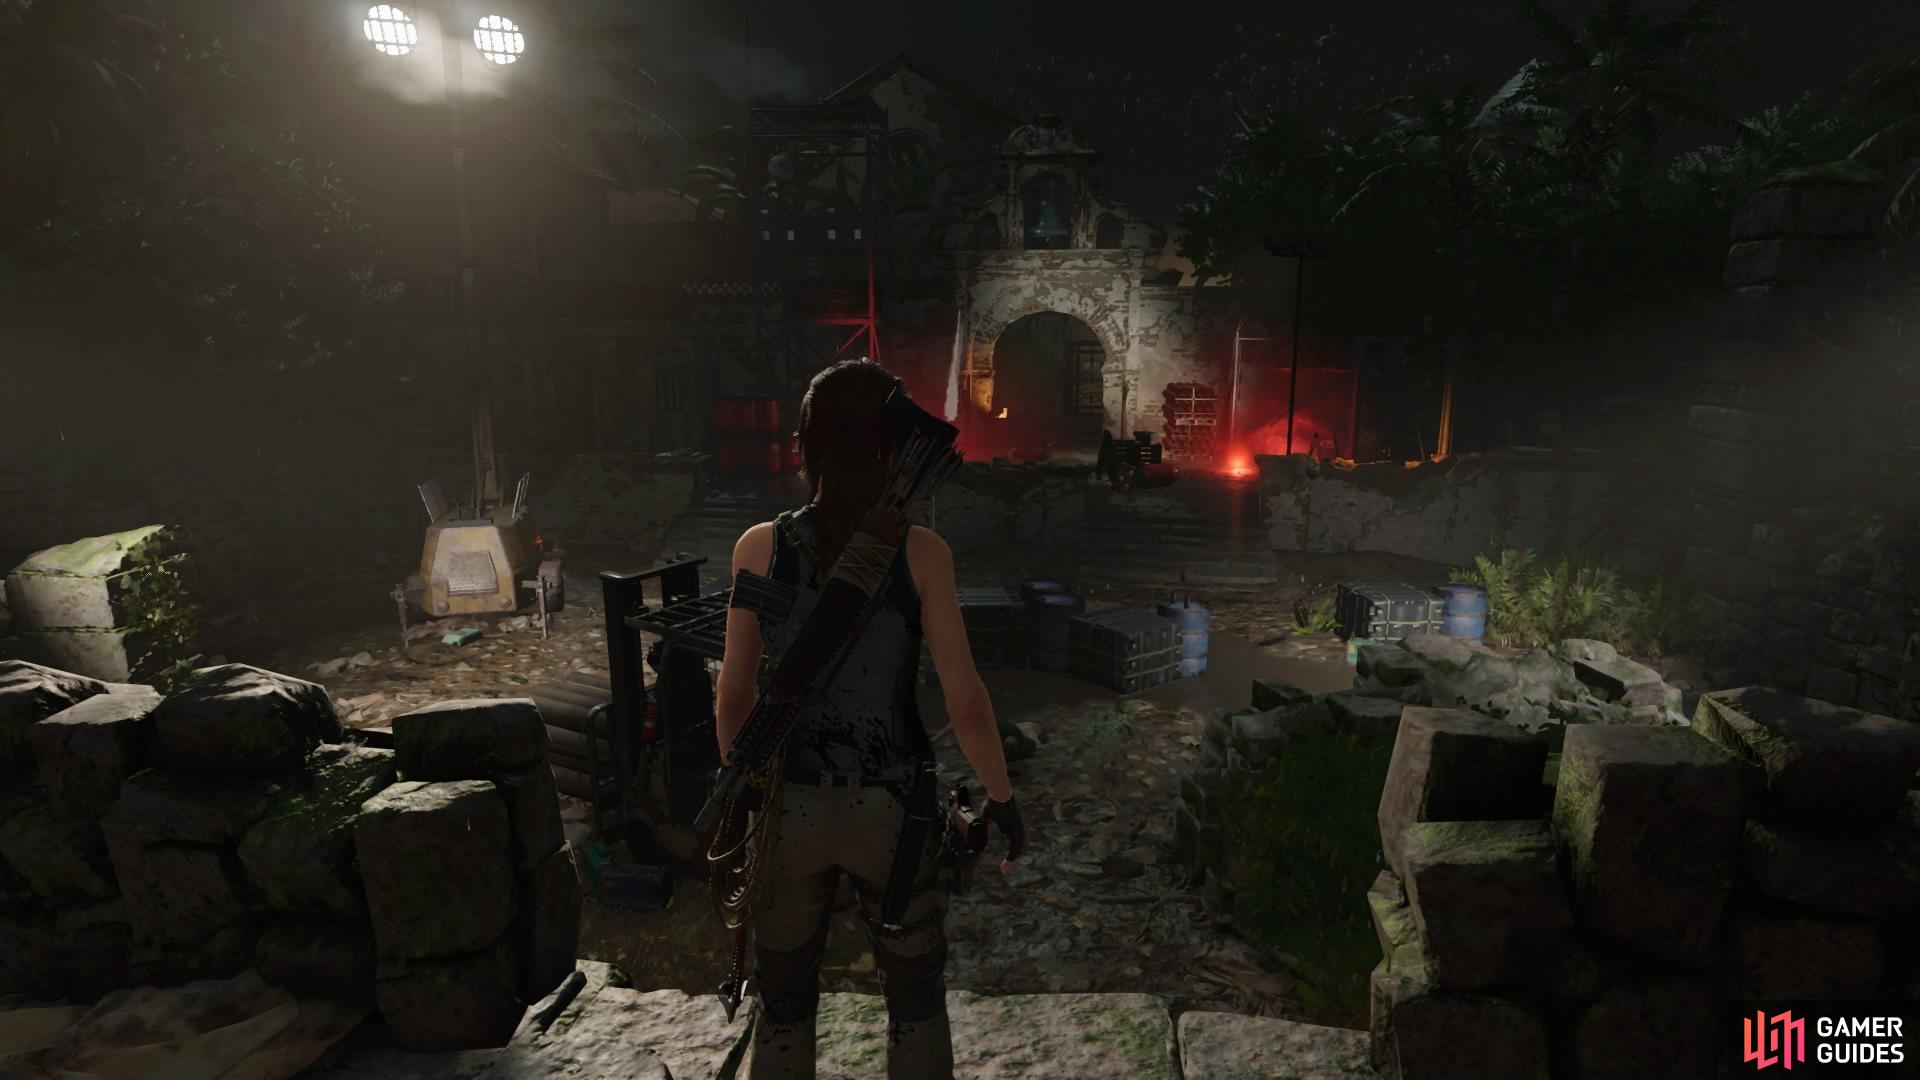
After the cutscene, follow Jonah down the steps and into the courtyard. Your goal is to follow Dominguez, but you can afford to look around and collect resources, as well as talk to some festival goers, before you’re ready to proceed. Once you’ve done this, head for the tall wooden gate on the far side.
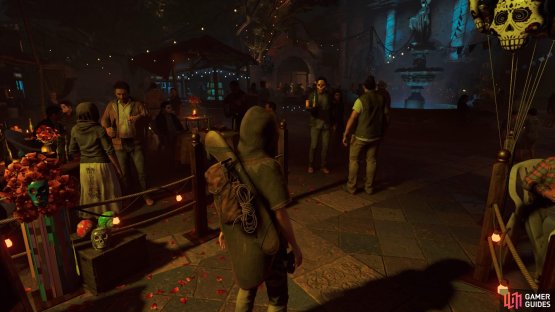
(1 of 2) The gate is directly opposite of where you begin

The gate is directly opposite of where you begin (left), Follow Dominguez (right)
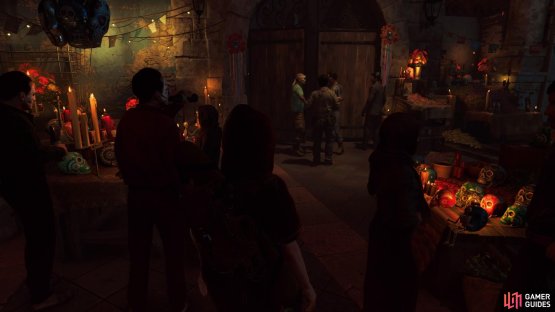
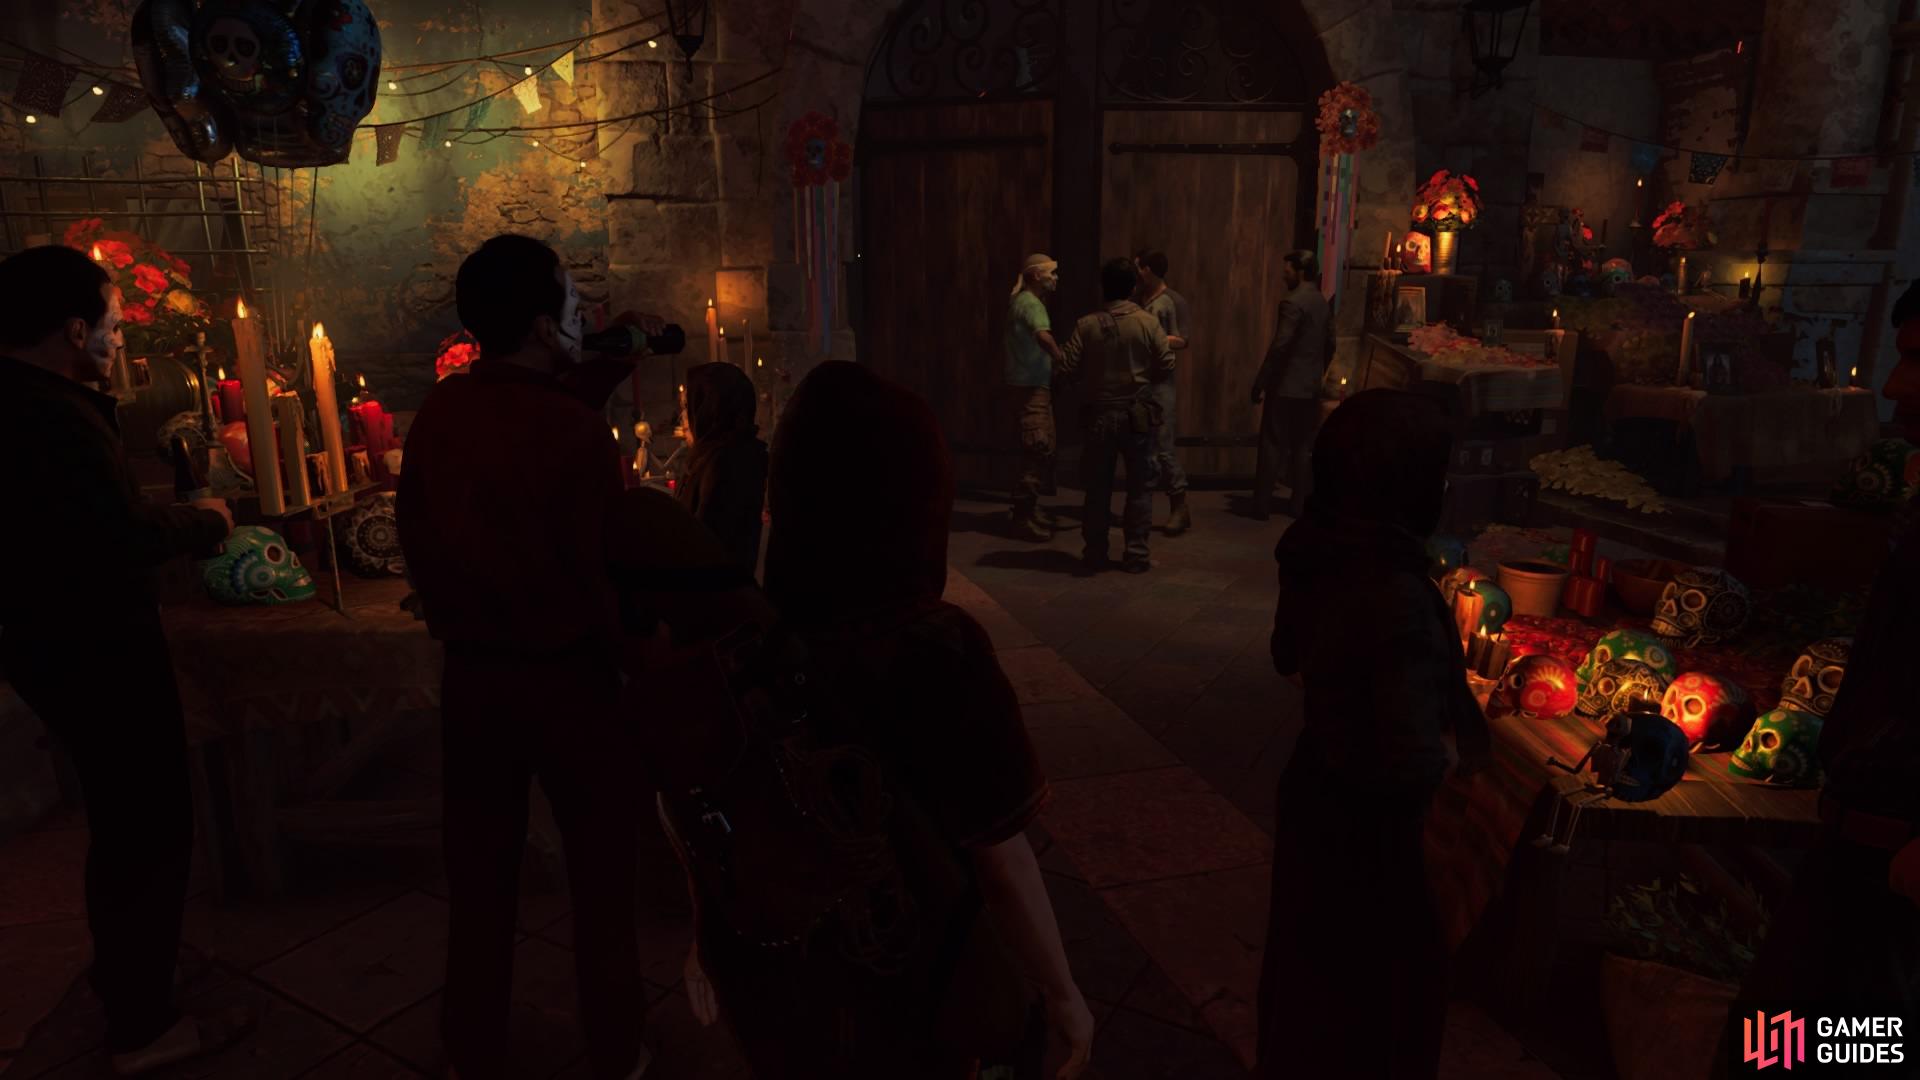
Jonah will distract the guards while Lara finds another way through. Once you have control again, continue to follow Dominguez (he’ll stay to your left). Head through the graveyard towards another tall gate that leads to the next area. Instead of staying behind Dominguez at this point, go straight forward towards an alley and follow the pathway from there.

(1 of 2) Use the alley to stay hidden
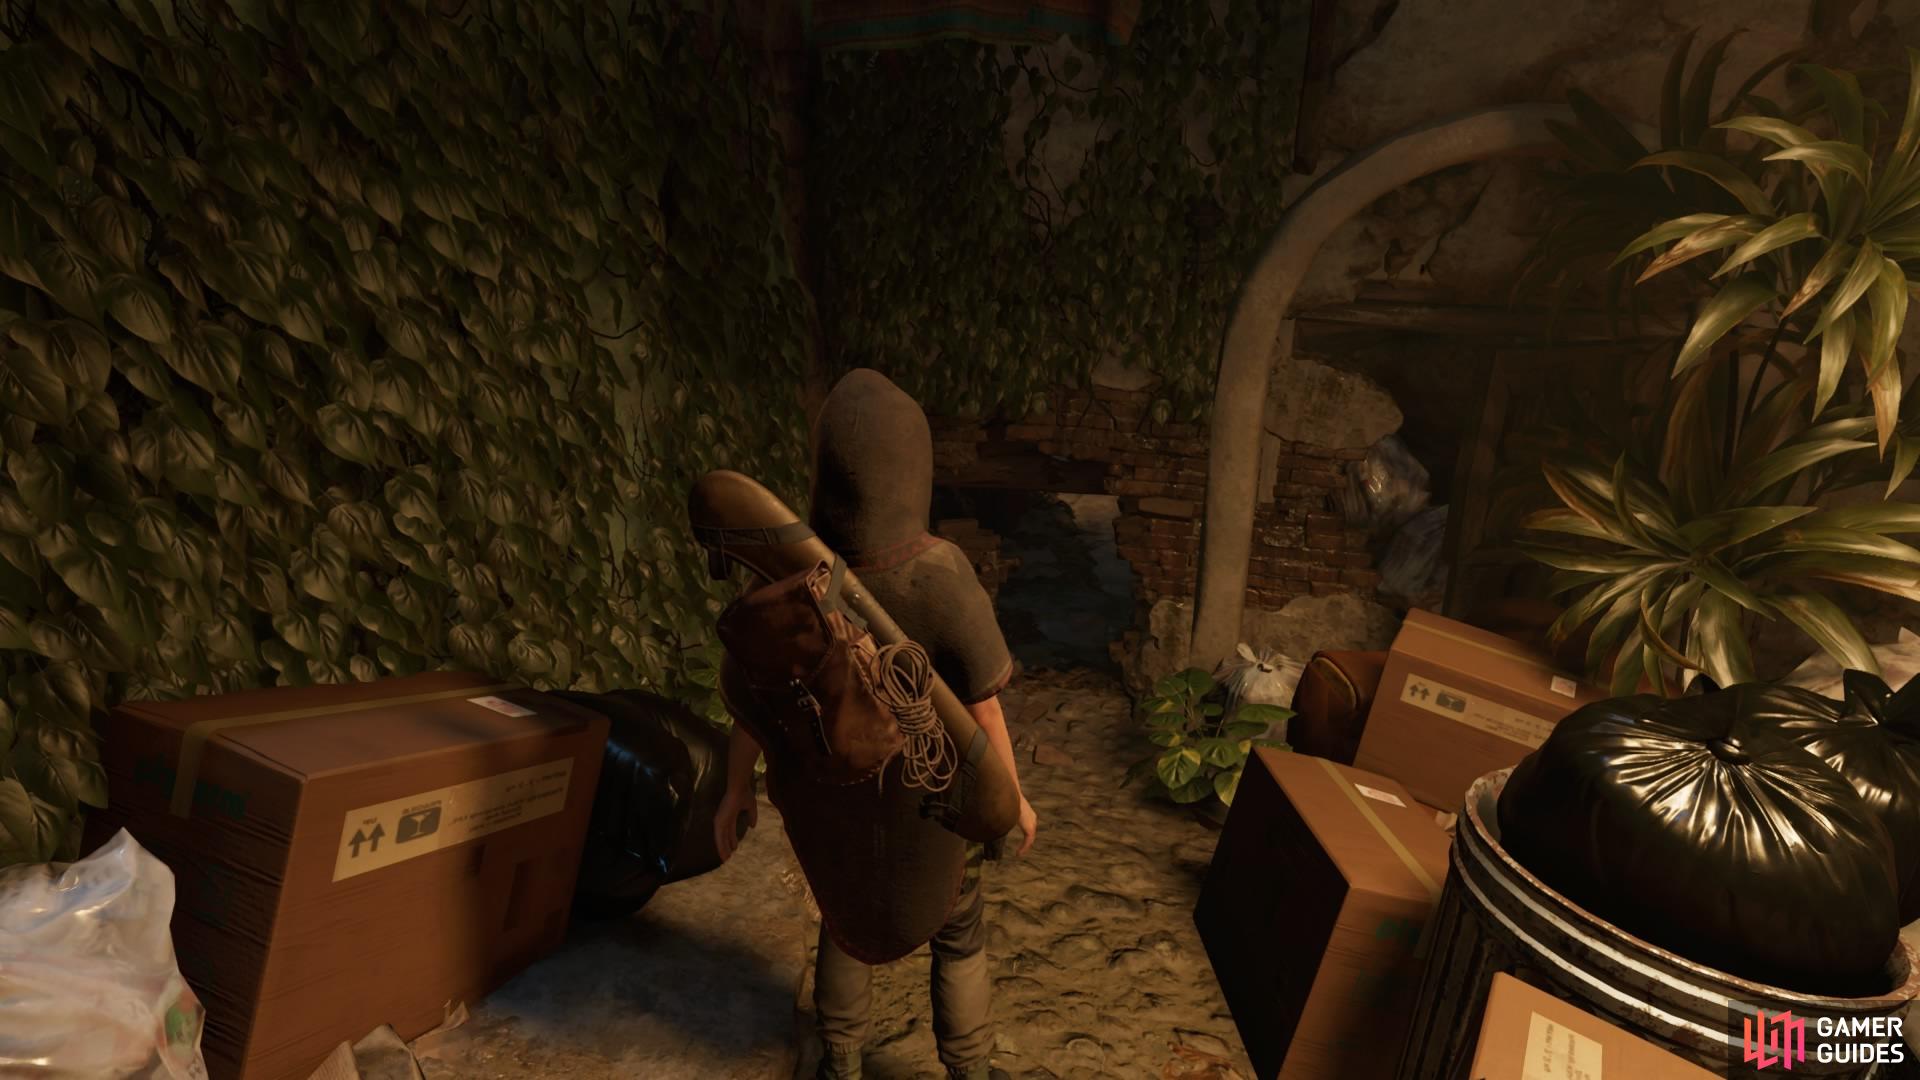
Use the alley to stay hidden (left), Crawl through the hole in the wall at the end of the path (right)
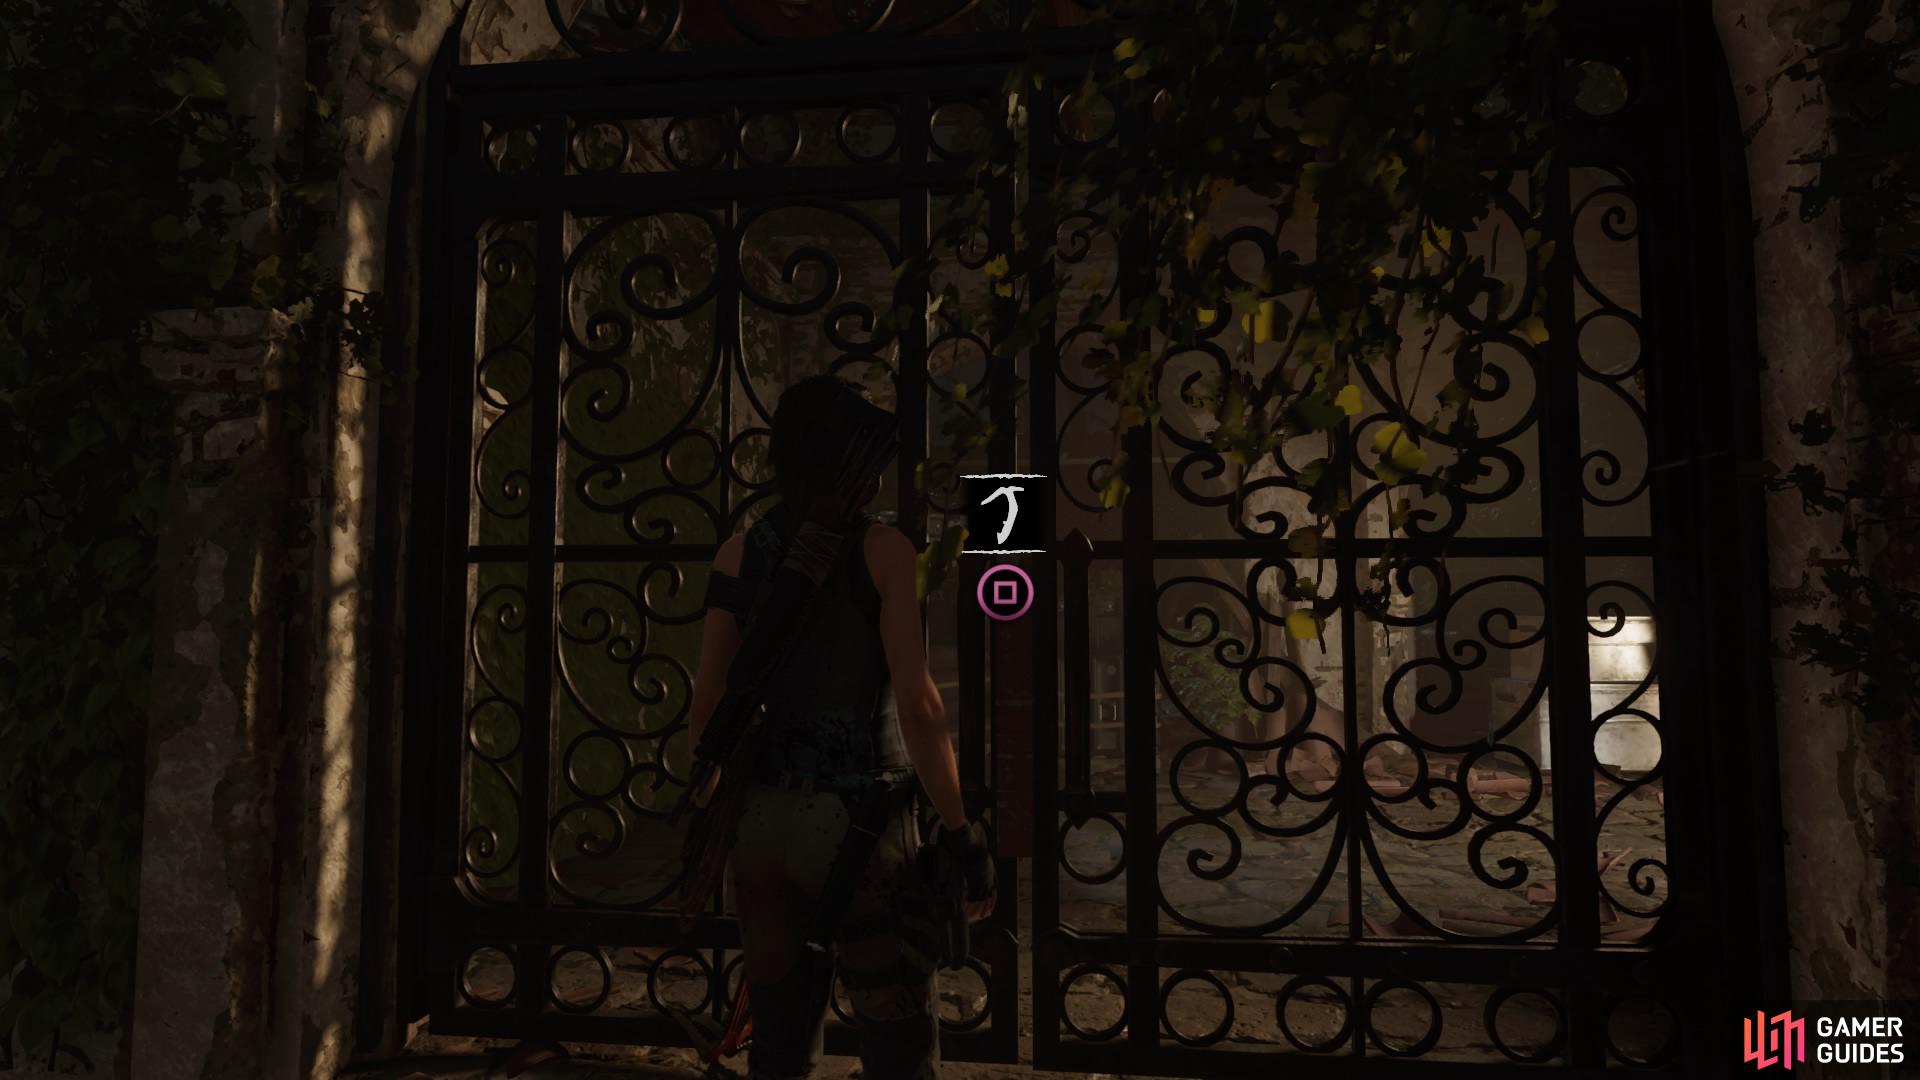
When you reach the end, Lara will duck through a hole in the wall only to find the gate to the dig site is shut. It’s time to find another way in.
ENTER THE DIG SITE
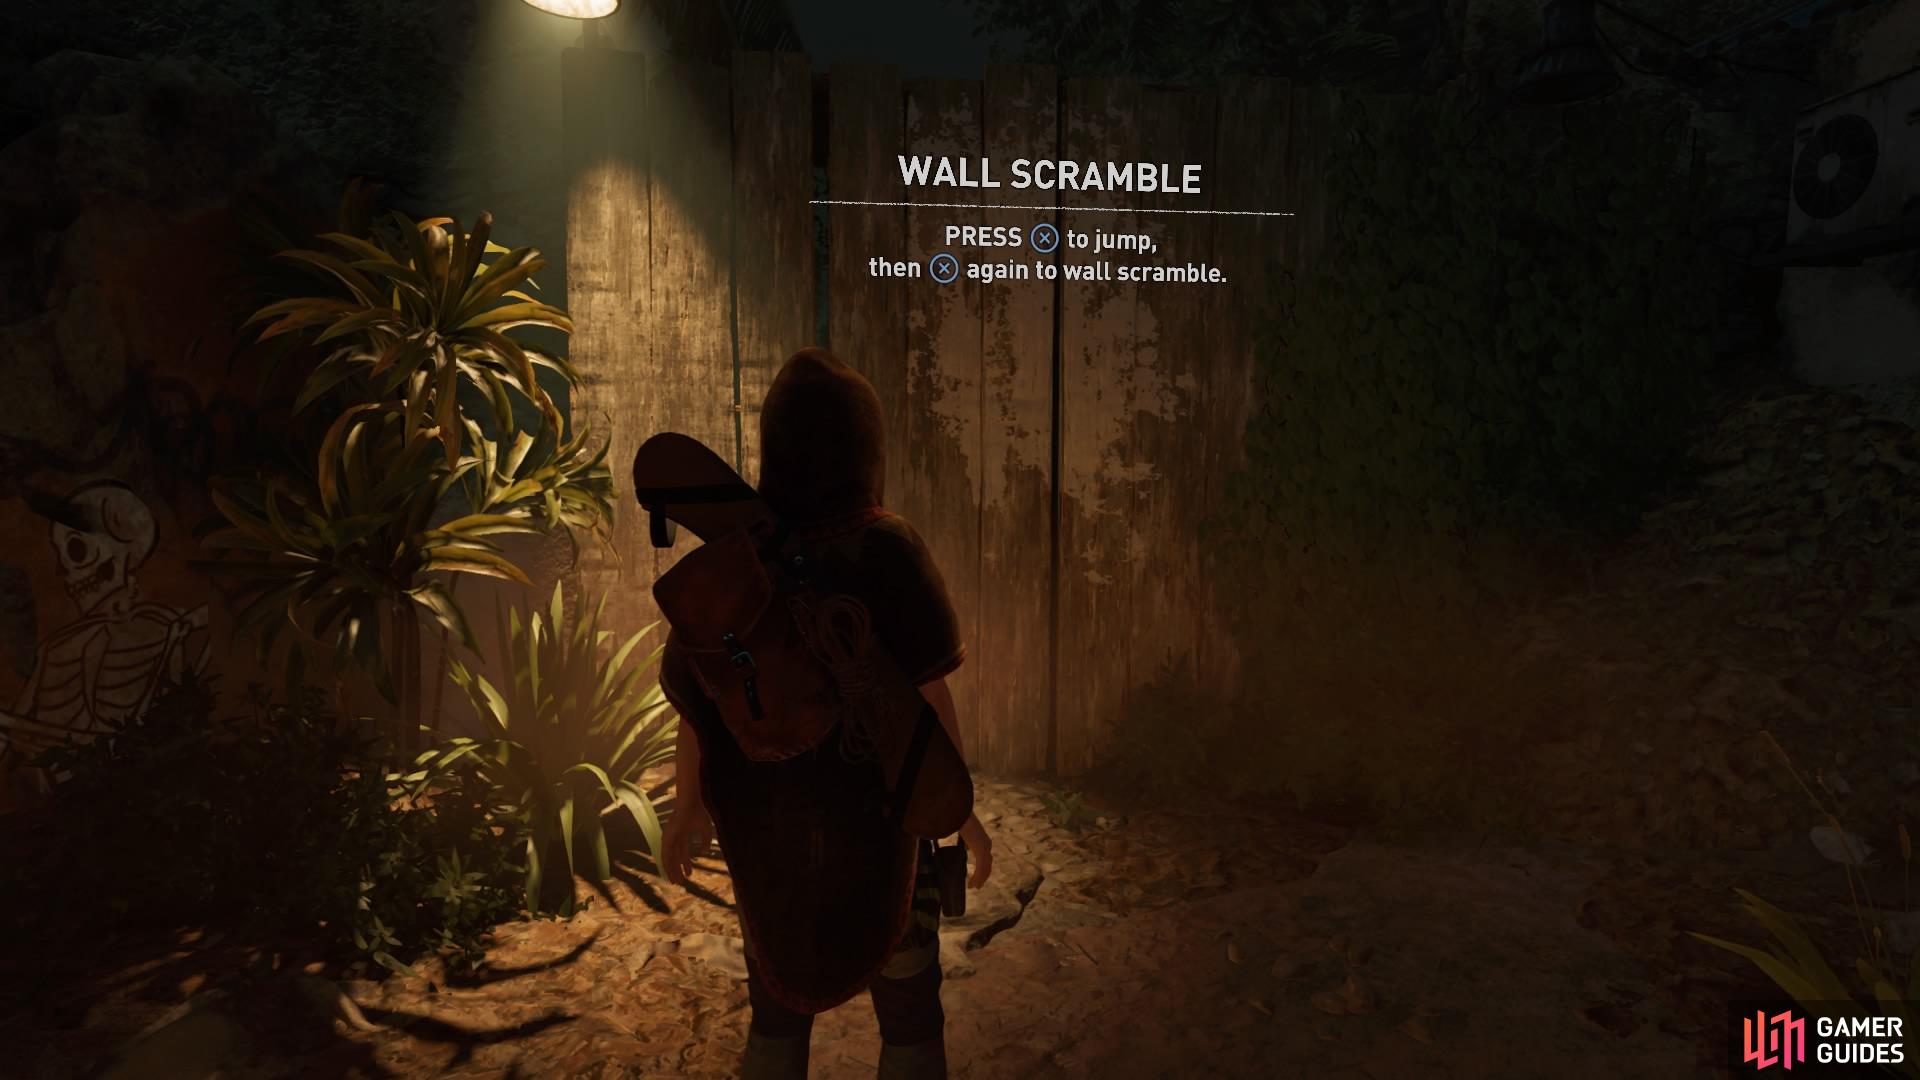
Simply go to the right through an open gate and scramble up the wall. Lara will equip her gear here before you can continue.
EXPLORE THE DIG SITE
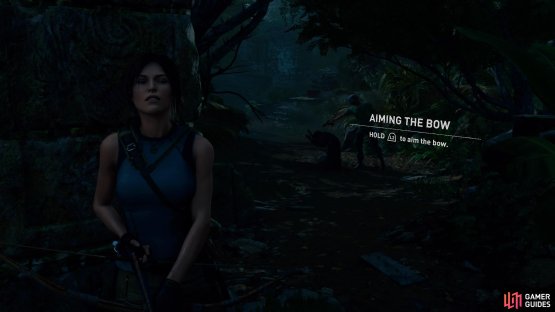
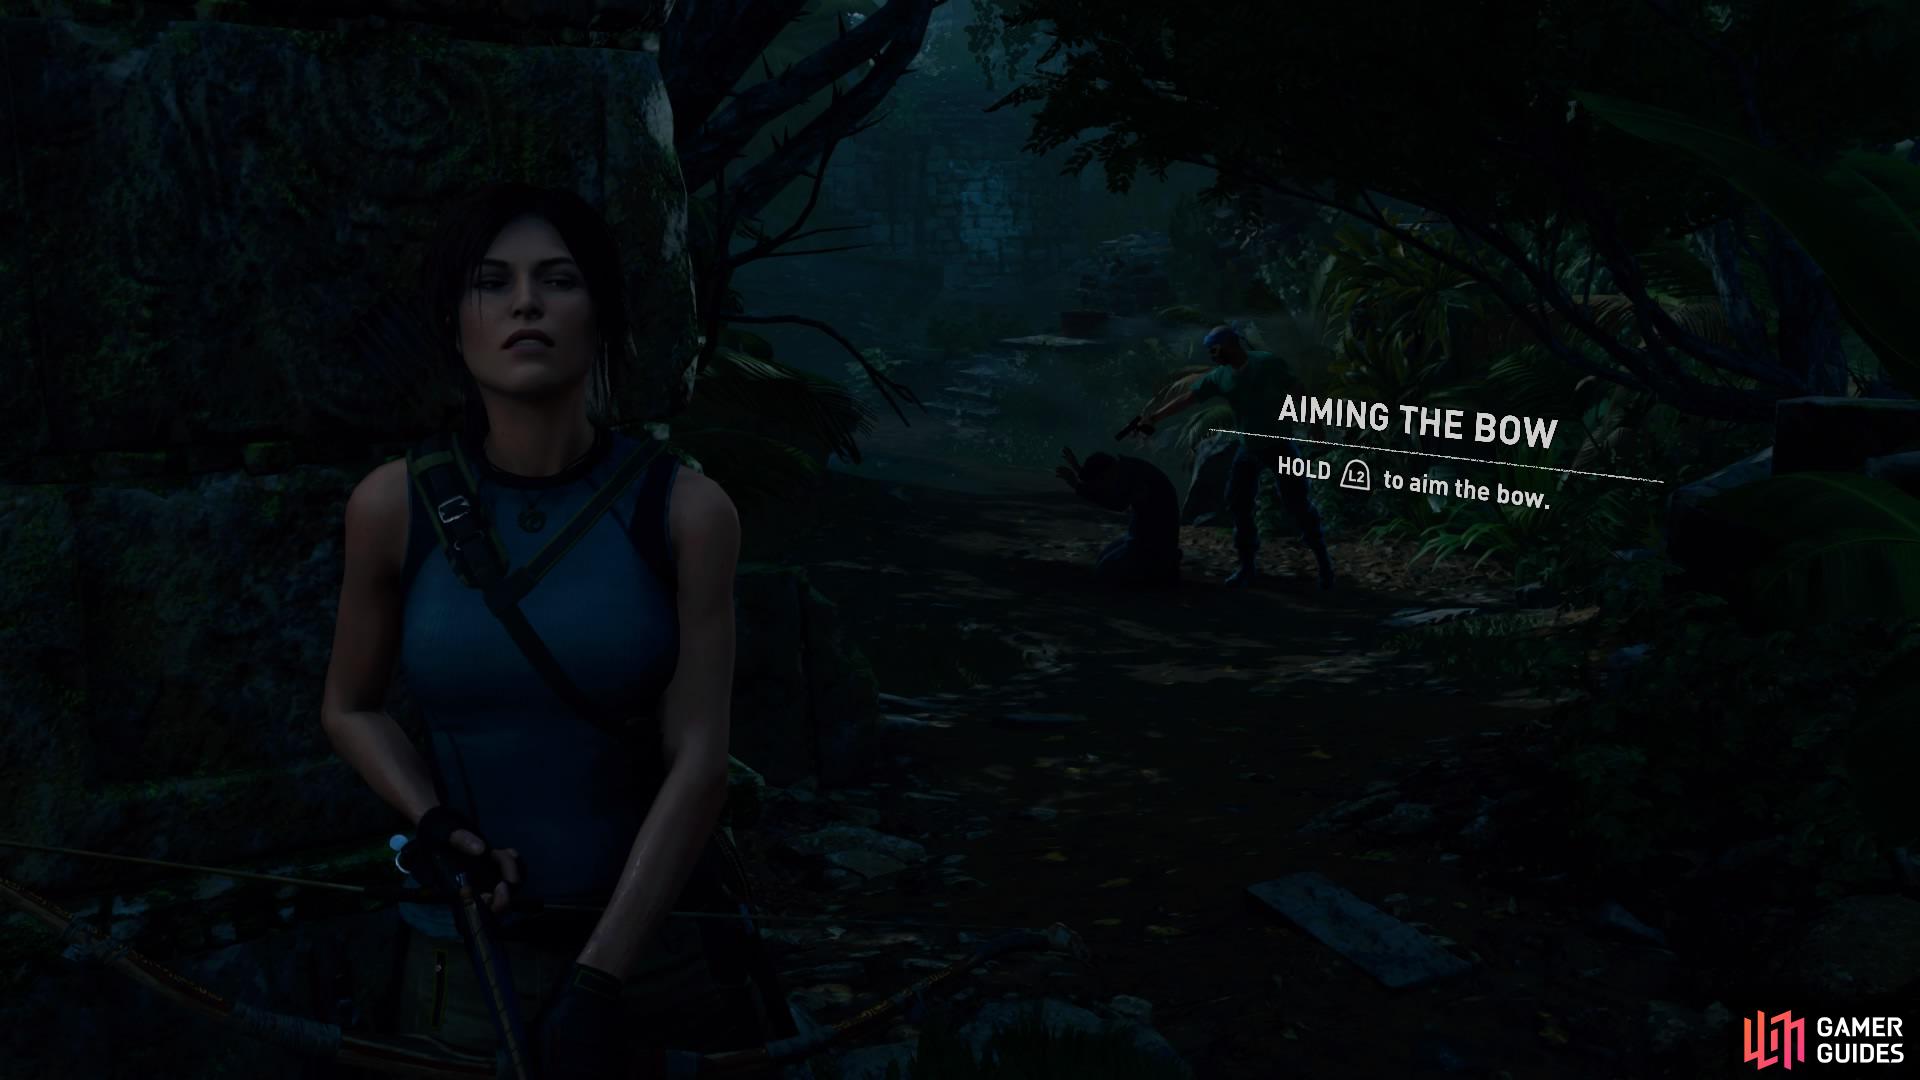
Head straight, towards the truck with the red lights, to find the drain pipe on your left. Lara will automatically duck inside and you will see two of Trinity’s men. Sneak up behind the first one to perform a stealth takedown.
Lara will then position herself against the wall where you’ll be instructed to take out the second man with your bow.
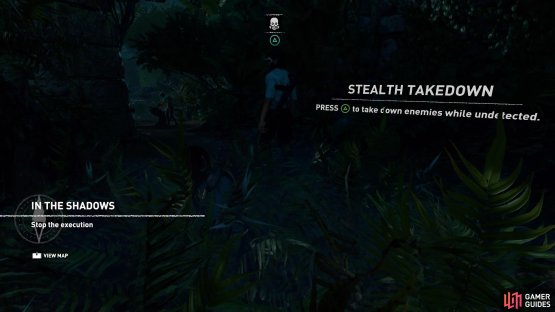
(1 of 2) Perform your first stealth takedown
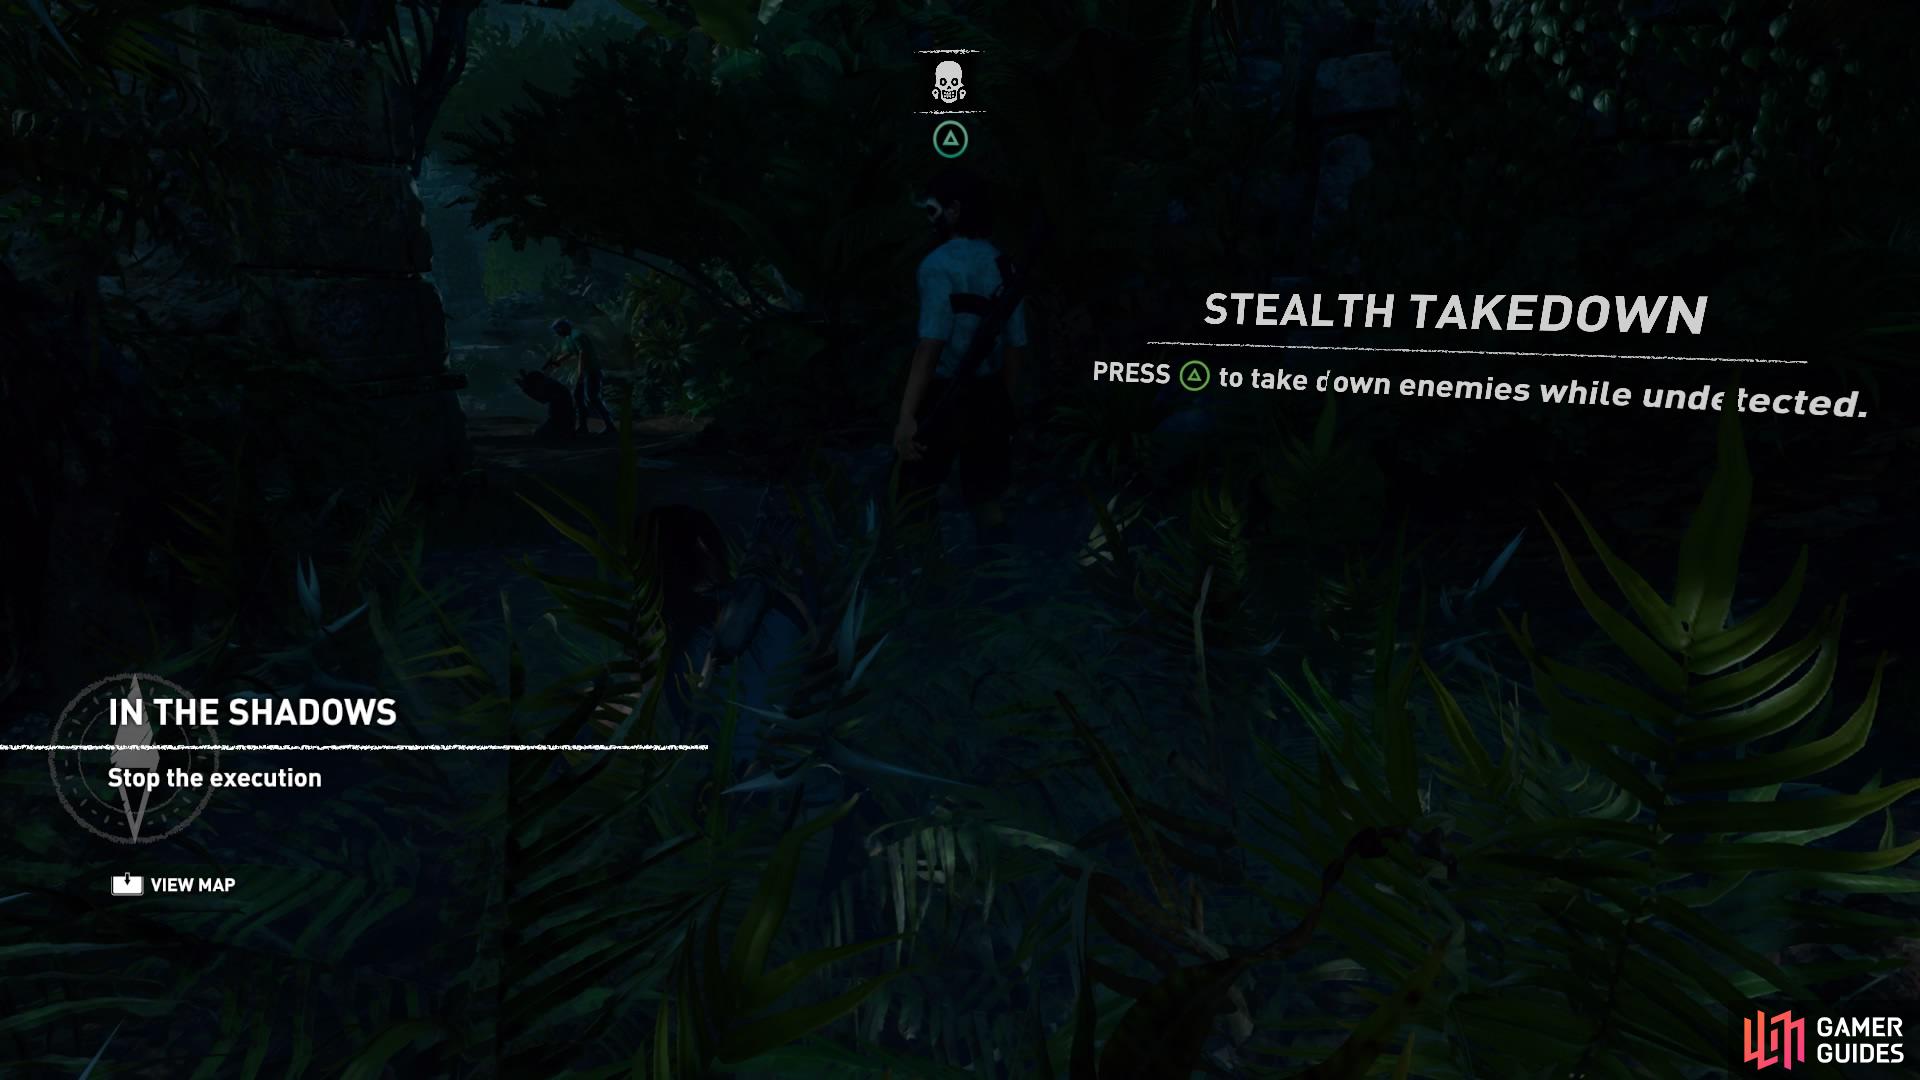
Perform your first stealth takedown (left), Take out the second man with your bow (right)
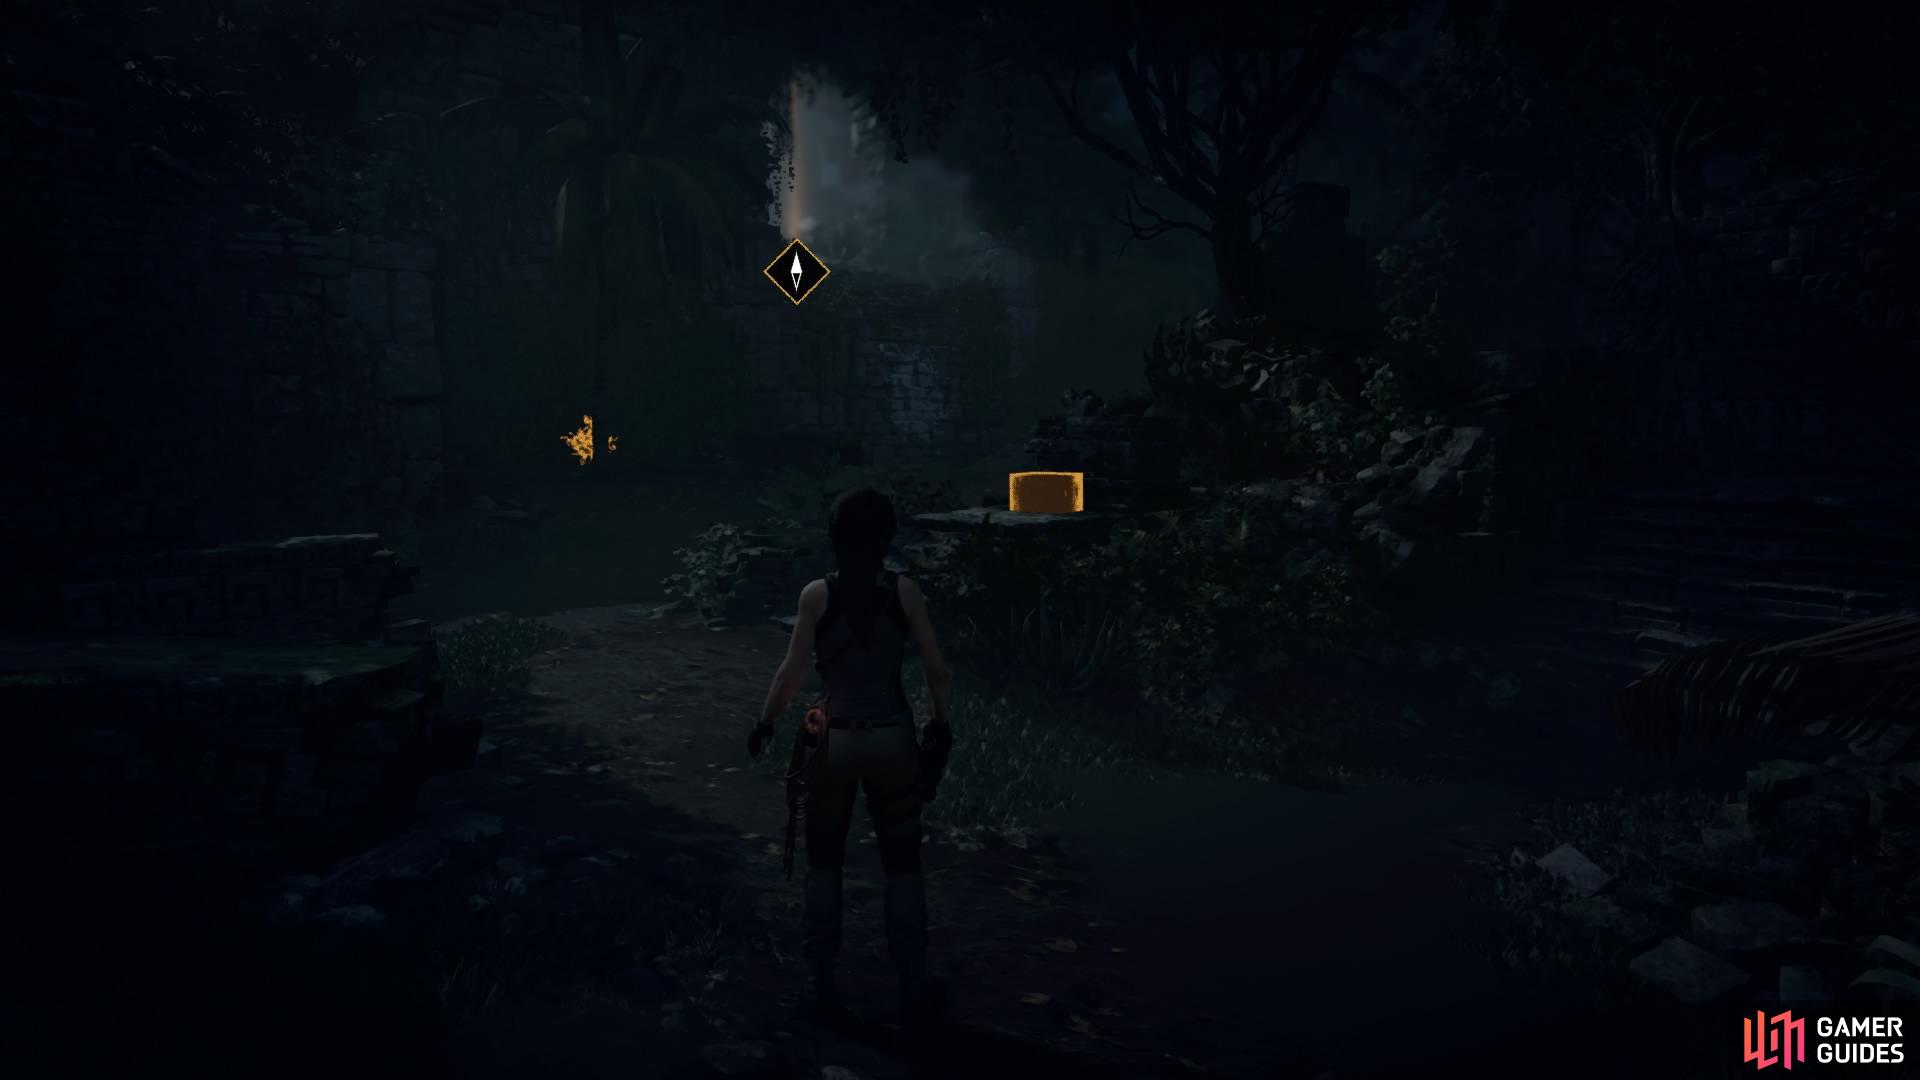
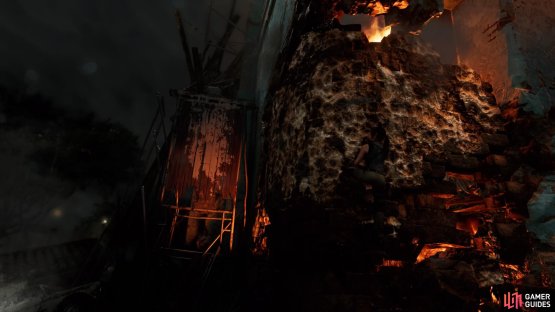
After the short cutscene, you’ll be in a small area of ruins. Use your Survival Instincts to highlight resources in the area. Collect what you can, then scramble up the wall covered in white paint (a common signifier to help you navigate the game’s regions).
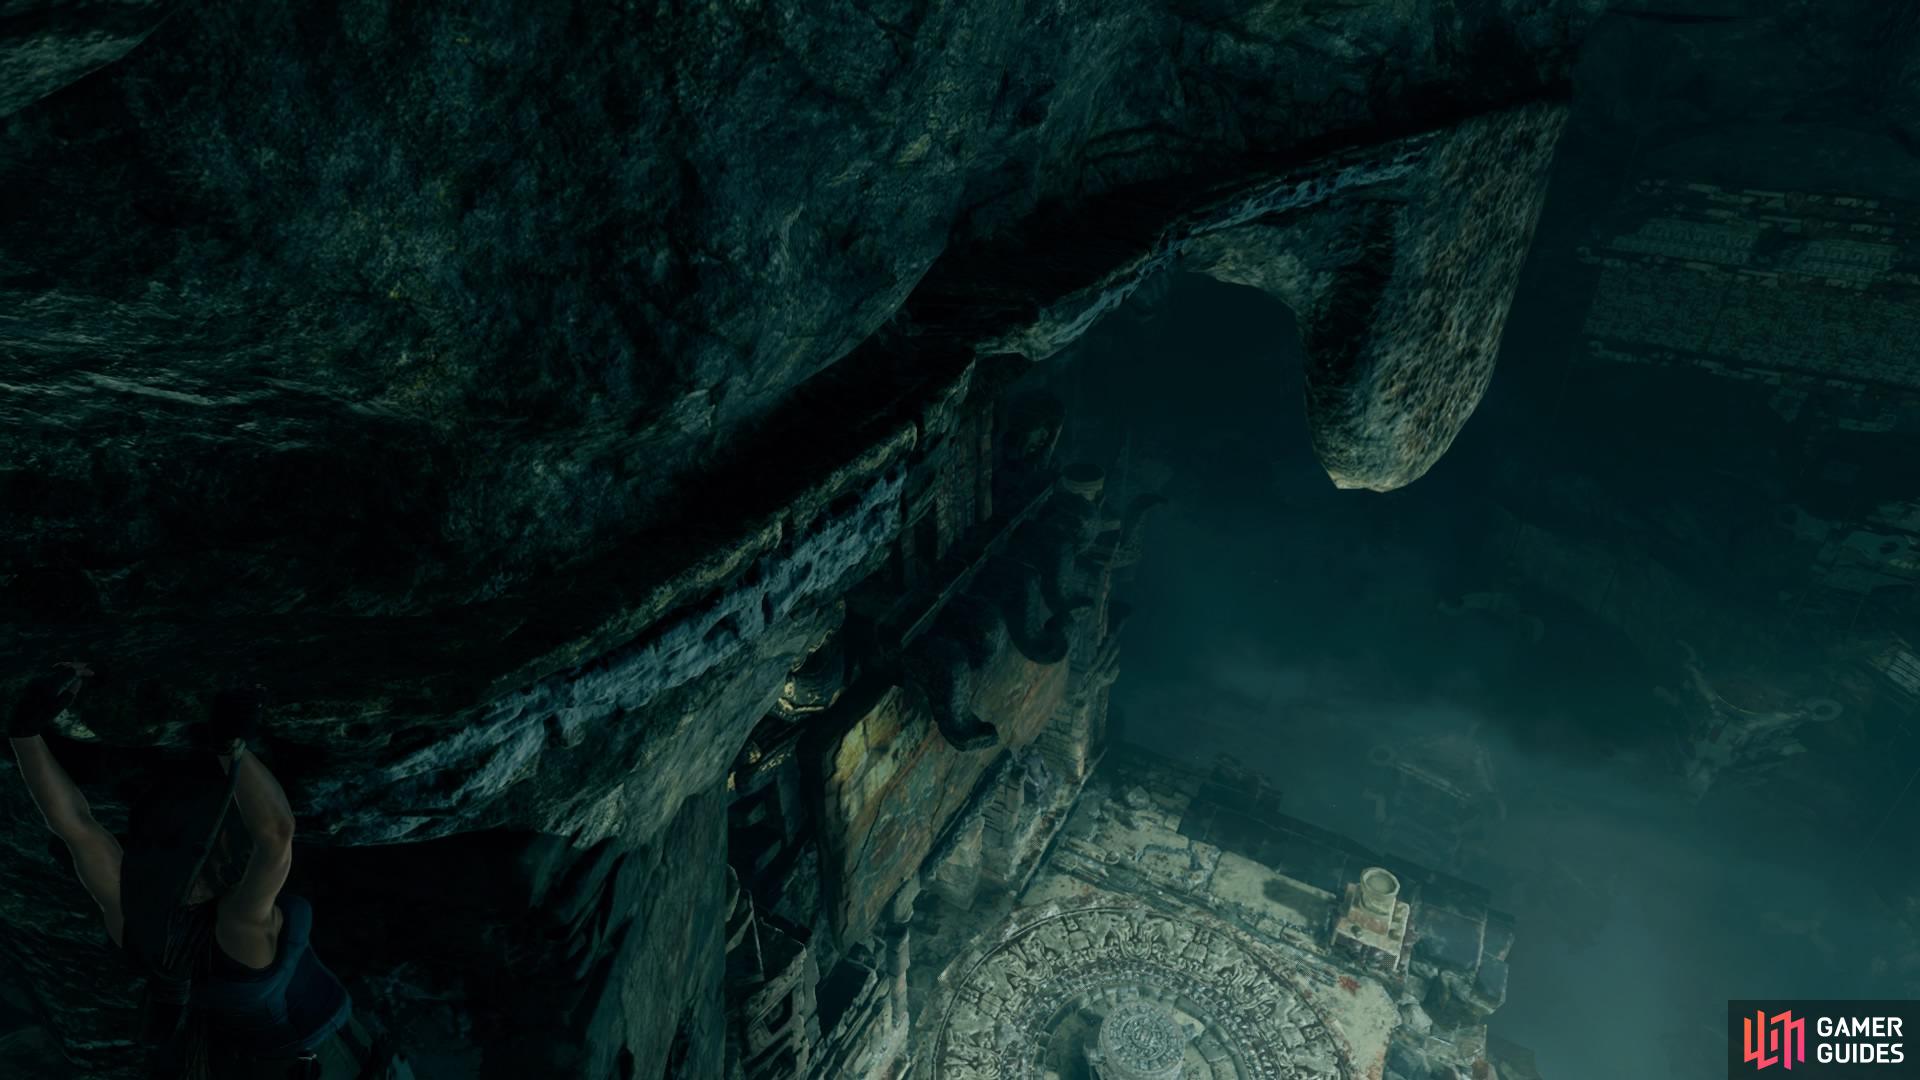
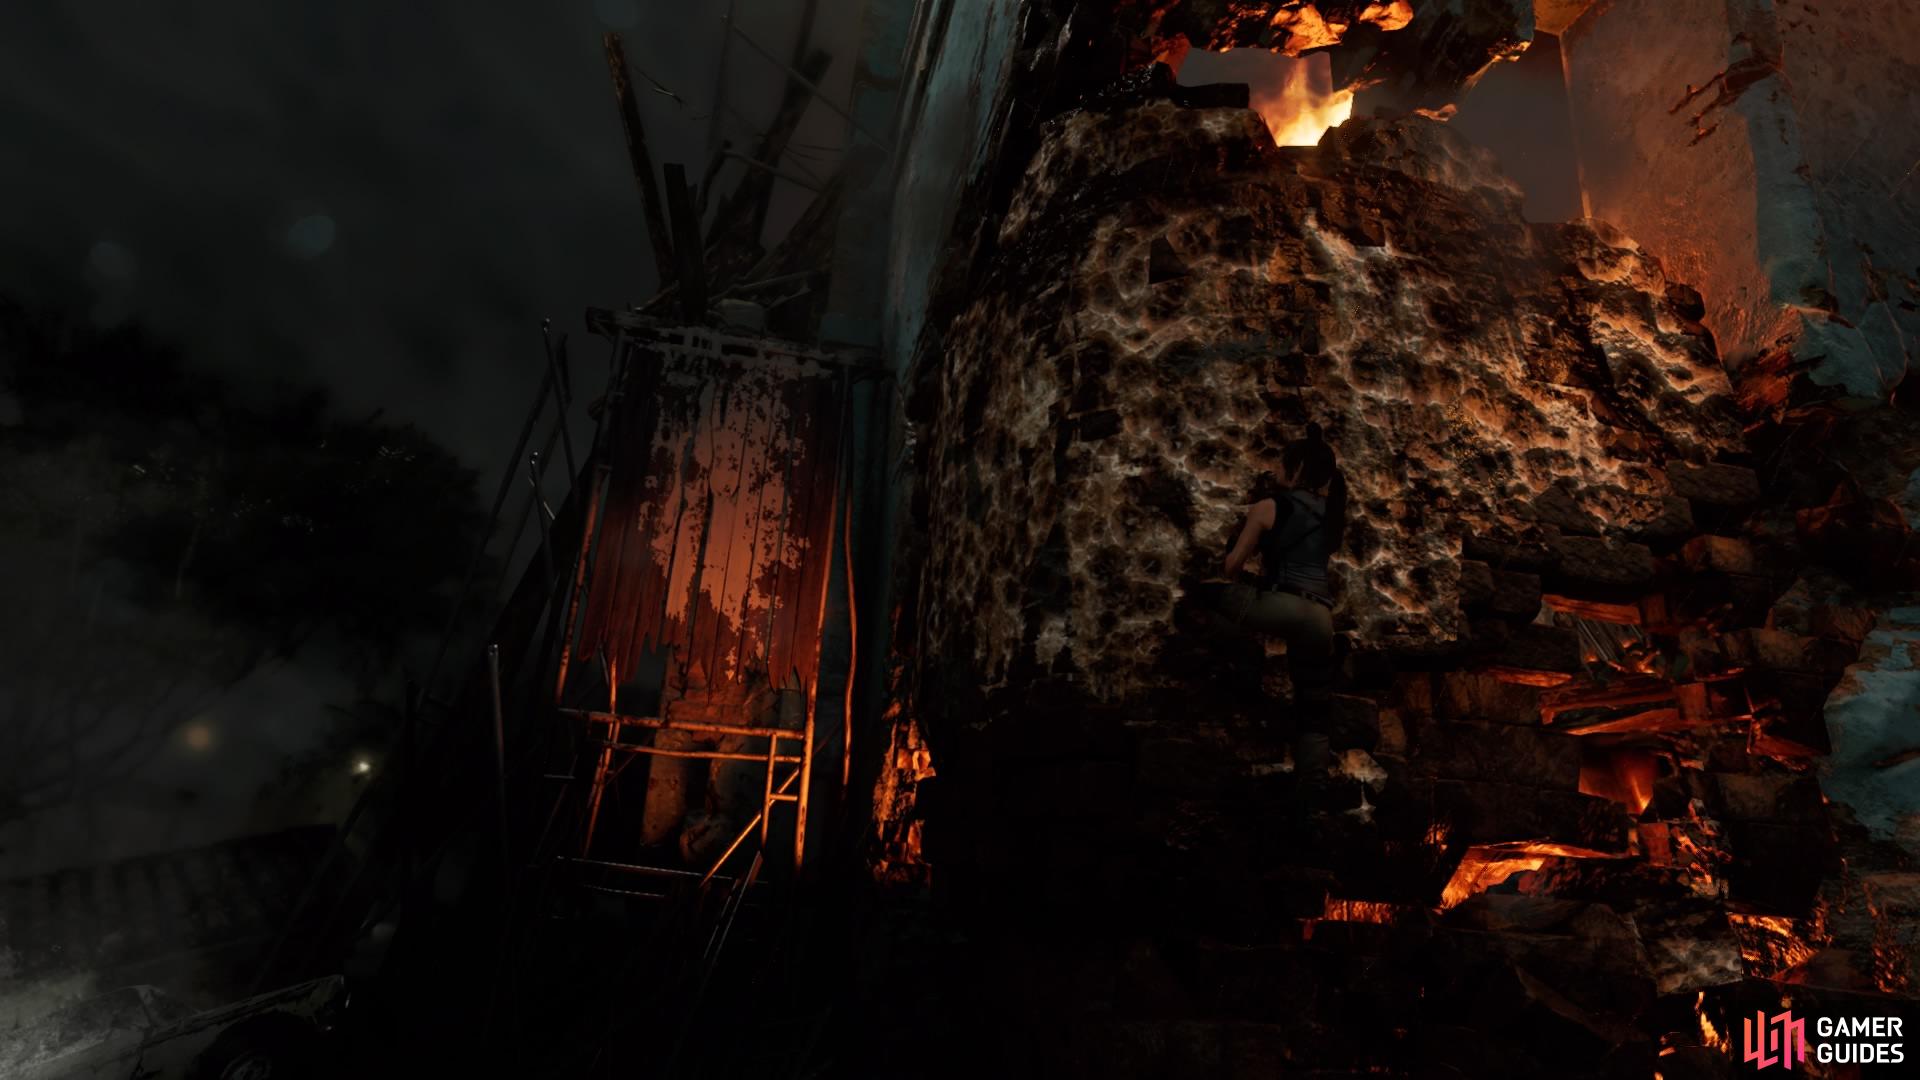
From here, Lara will examine a stone mural before continuing. In this climbing segment, you’ll learn how to axe-climb, rappel from walls, wall-run, and rappel-swing. Your destination is a cave opening far below, so let’s begin the descent.
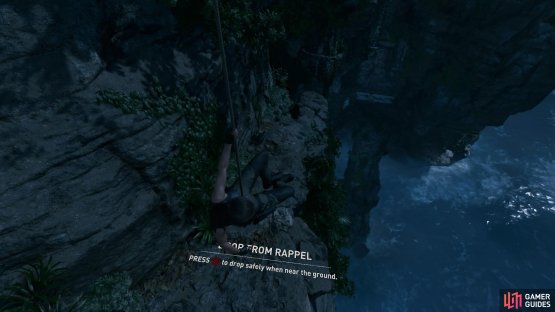
Jump to the craggy wall in front of you by jamming in the axe. Climb down and rappel when instructed to land on the ledge below, then head forward and jump to the handhold ahead. Traverse around to jump to the next craggy wall, rappel down again and continue to follow the path.

(1 of 2) Begin the descent at the craggy wall


Begin the descent at the craggy wall (left), You can rappel from rock surfaces for safer landings (right)
You’ll come to your first wall-run, so follow the on-screen instructions to catch the handhold on your right. Climb down and around a little to see the doorway into the cave below. Rappel from the rock and swing over to the door.
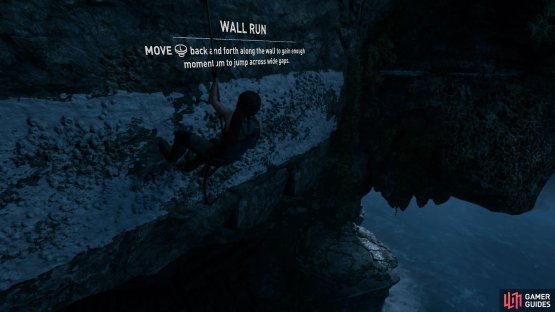

(1 of 2) Use the wall-run to reach far away ledges

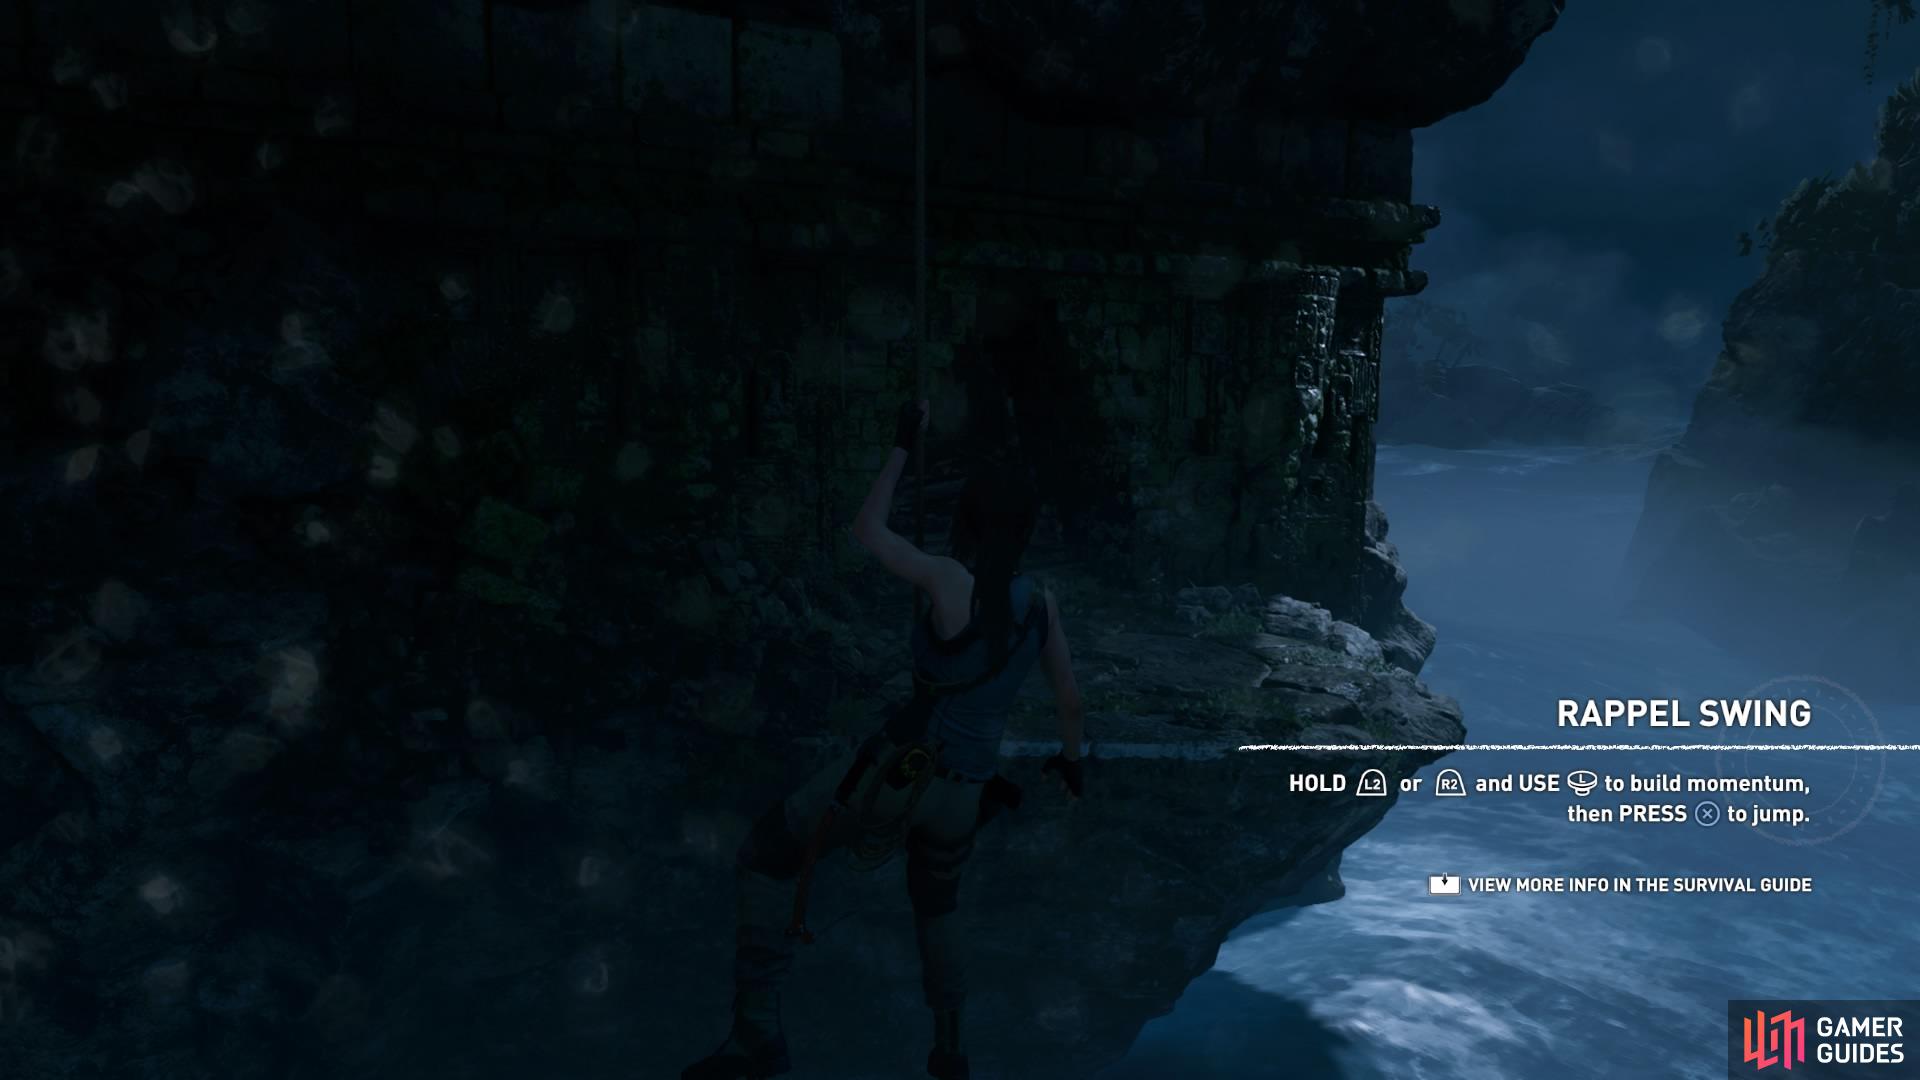
Use the wall-run to reach far away ledges (left), Rappel-swing to reach the door (right)
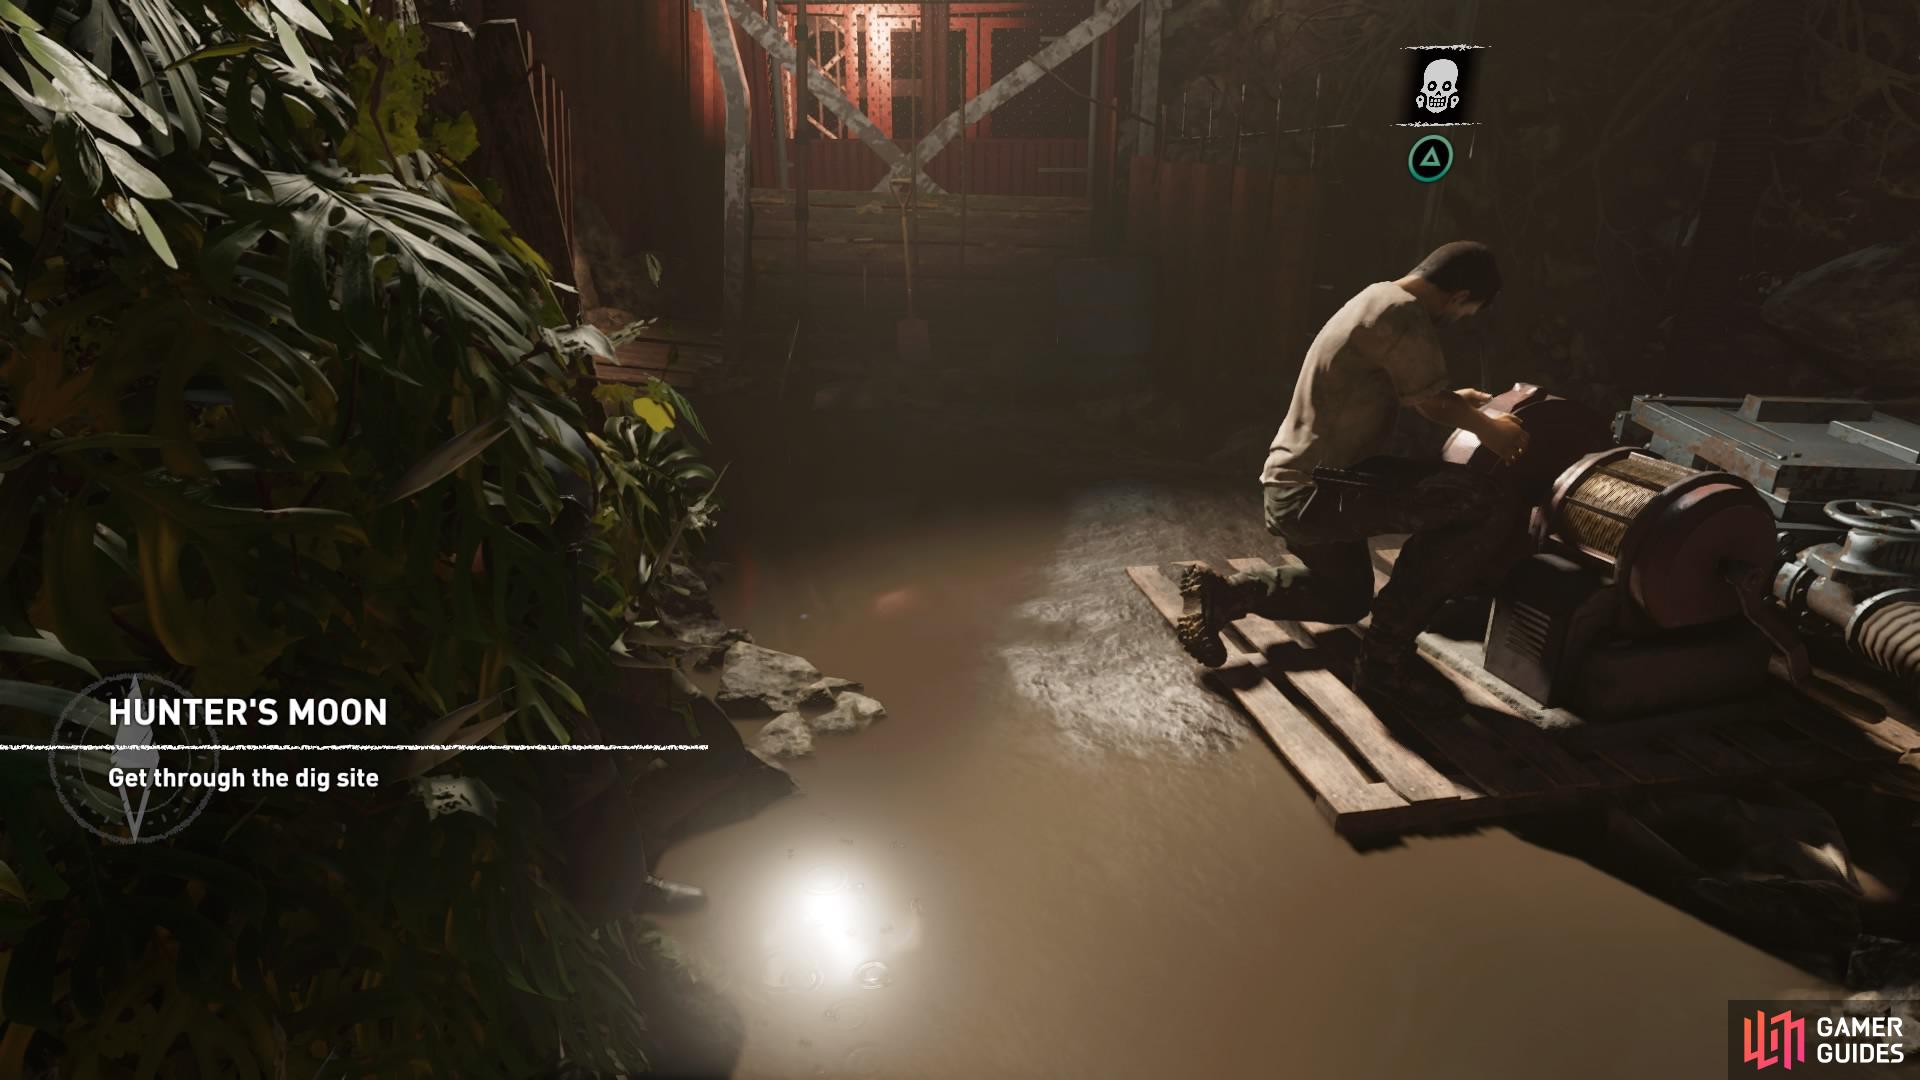
HUNTER’S MOON - EXPLORE THE RUINS
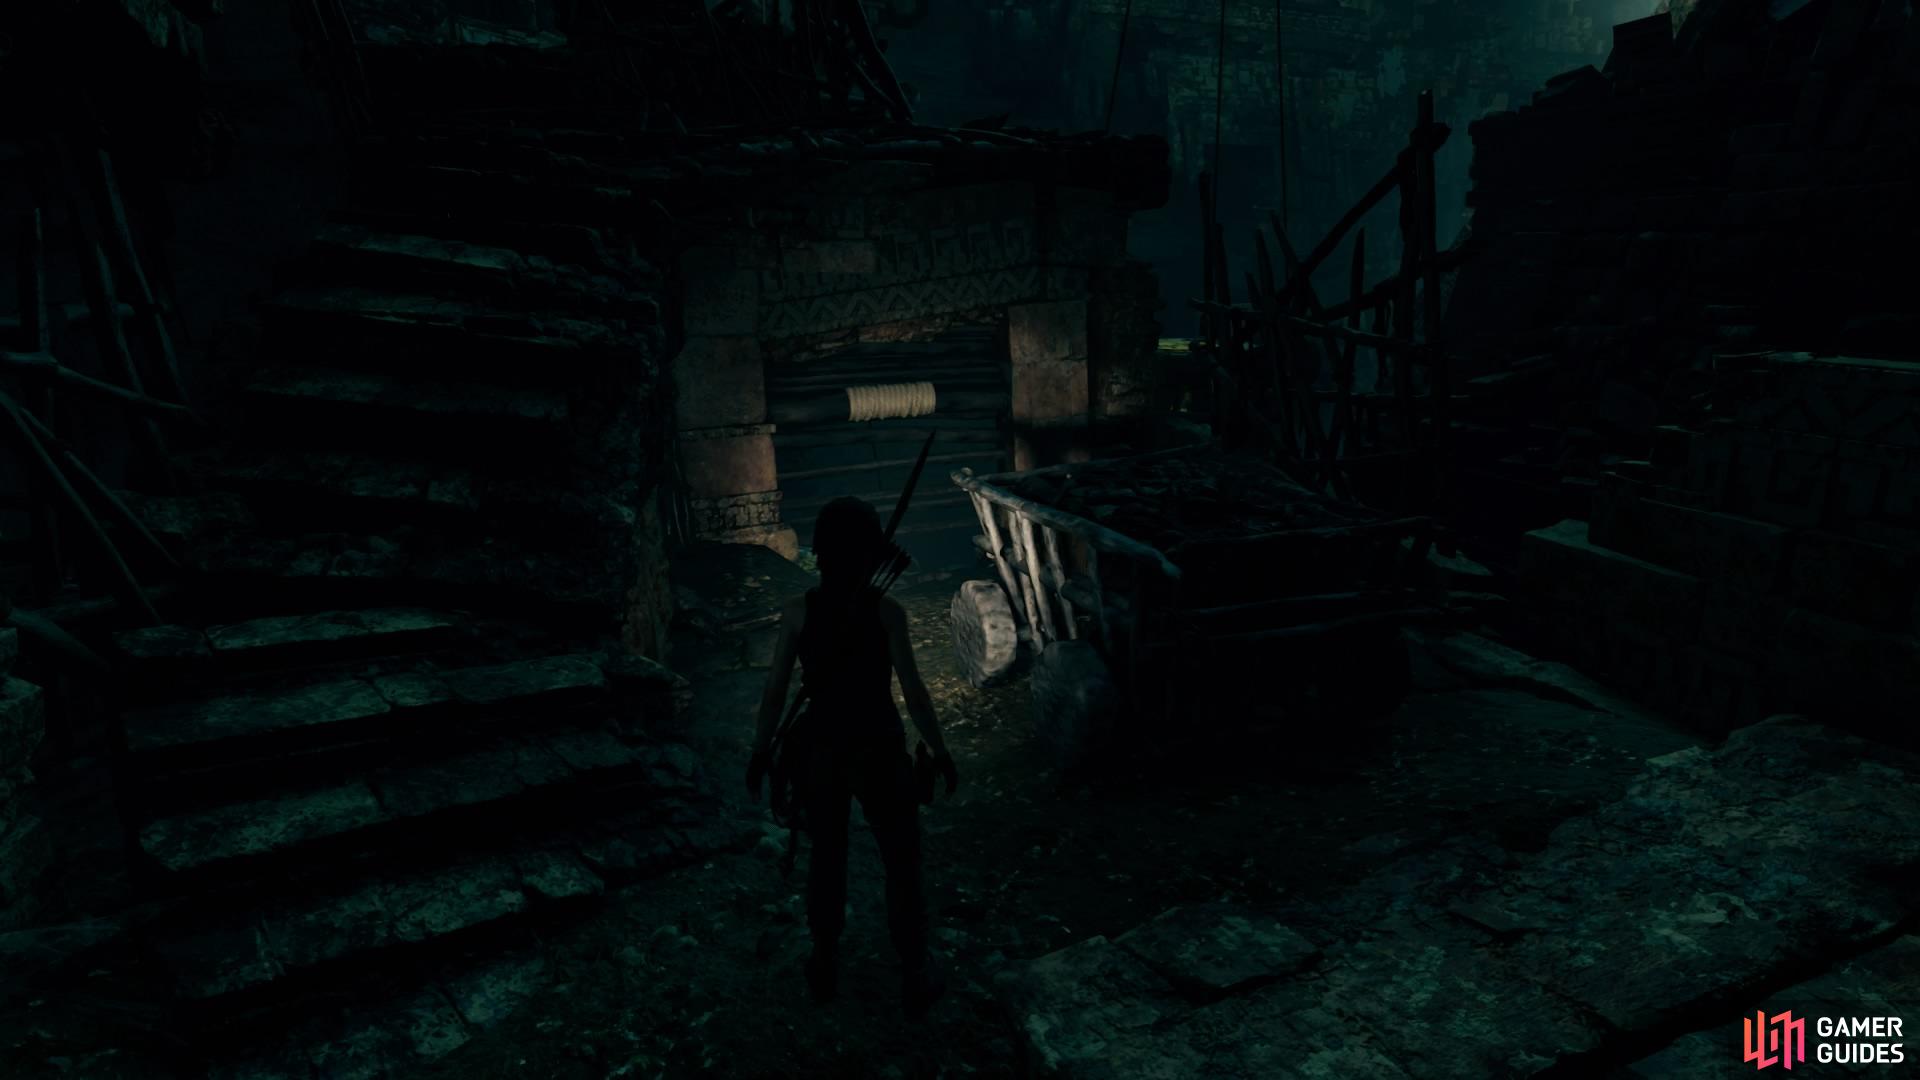
Enter the cave and head straight until you come to some stairs with water at the bottom. Wade through the water and search the left-hand side of the room for the mural - Heart of the Serpent (1/2). There’s also a monolith on the right, but it’s unreadable.

(1 of 2) Find the mural on the left
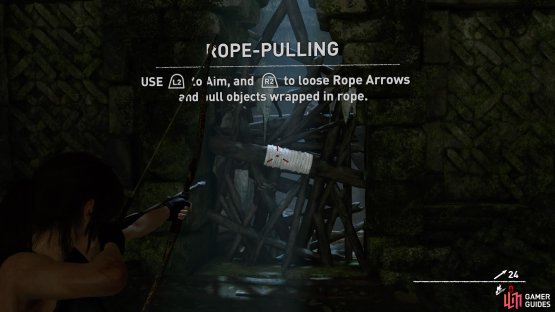
Find the mural on the left (left), Pull down the blockage with a rope-pull (right)
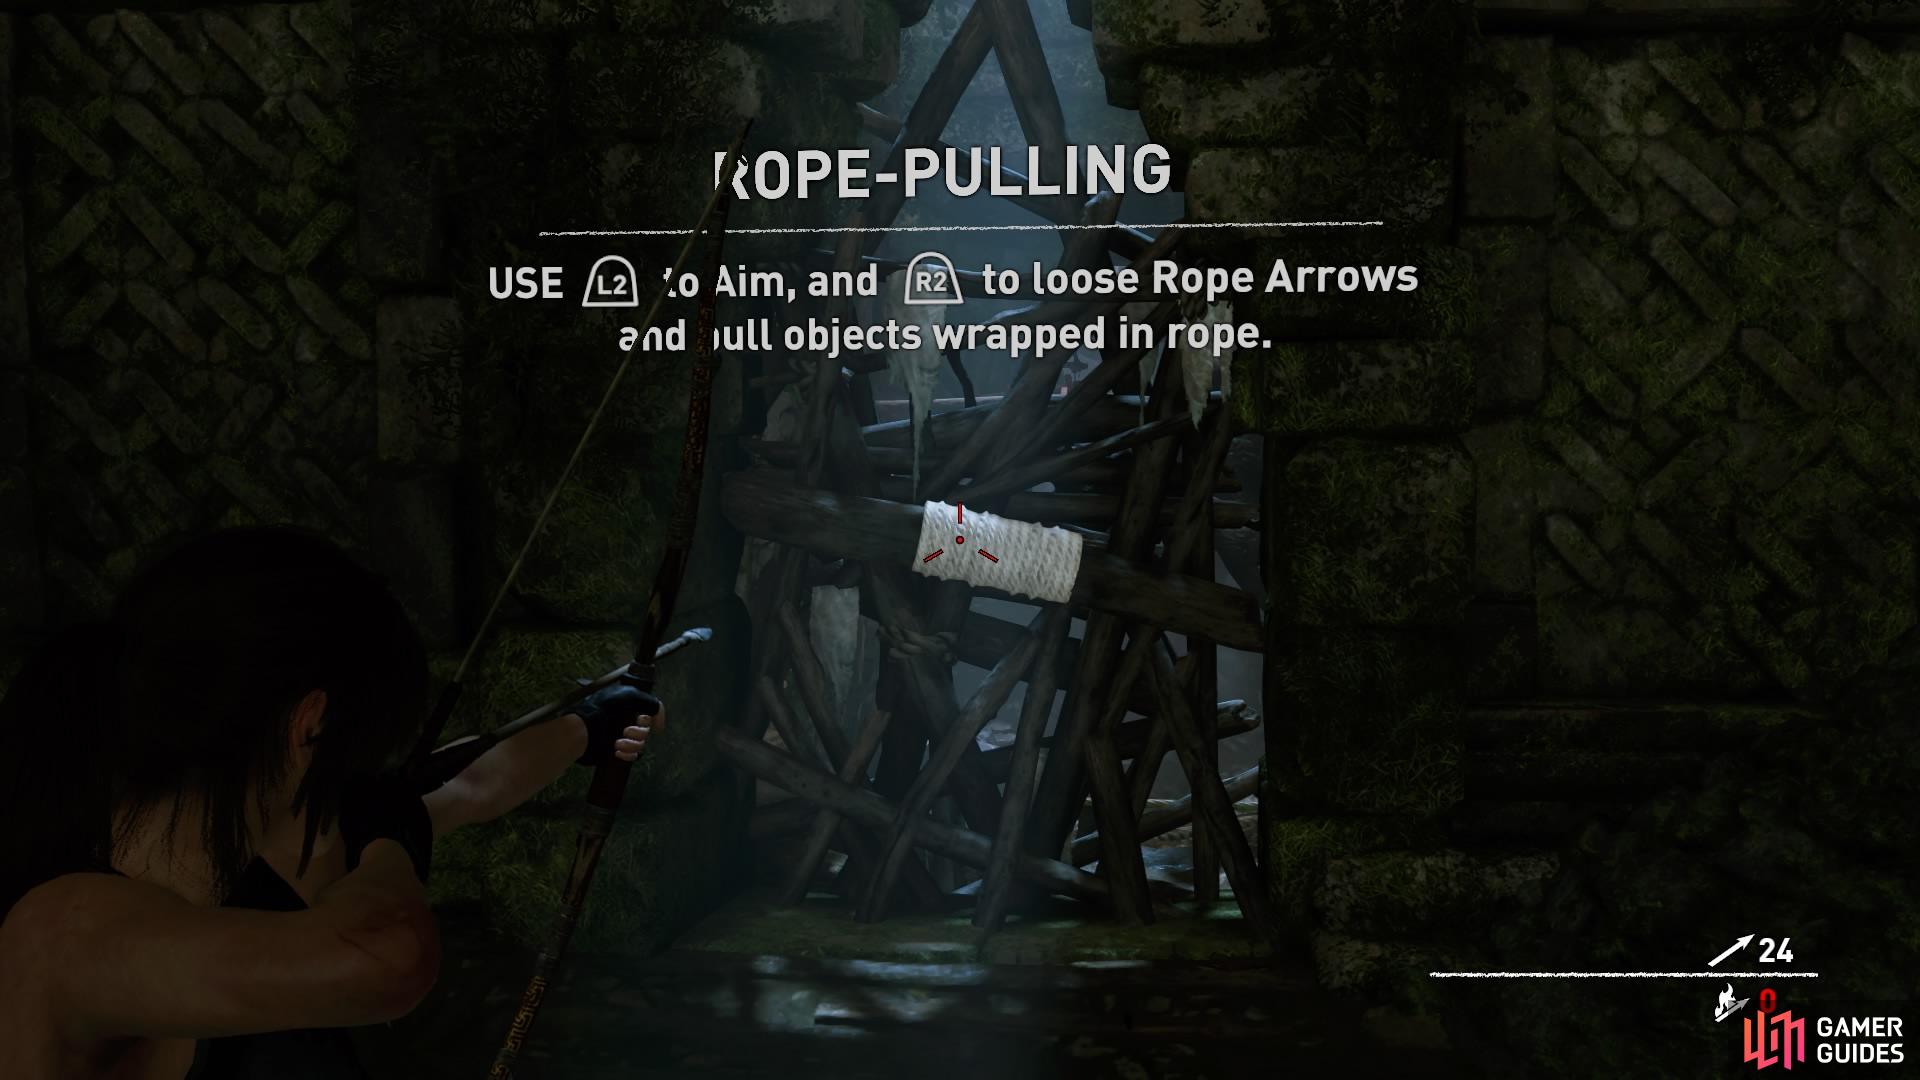
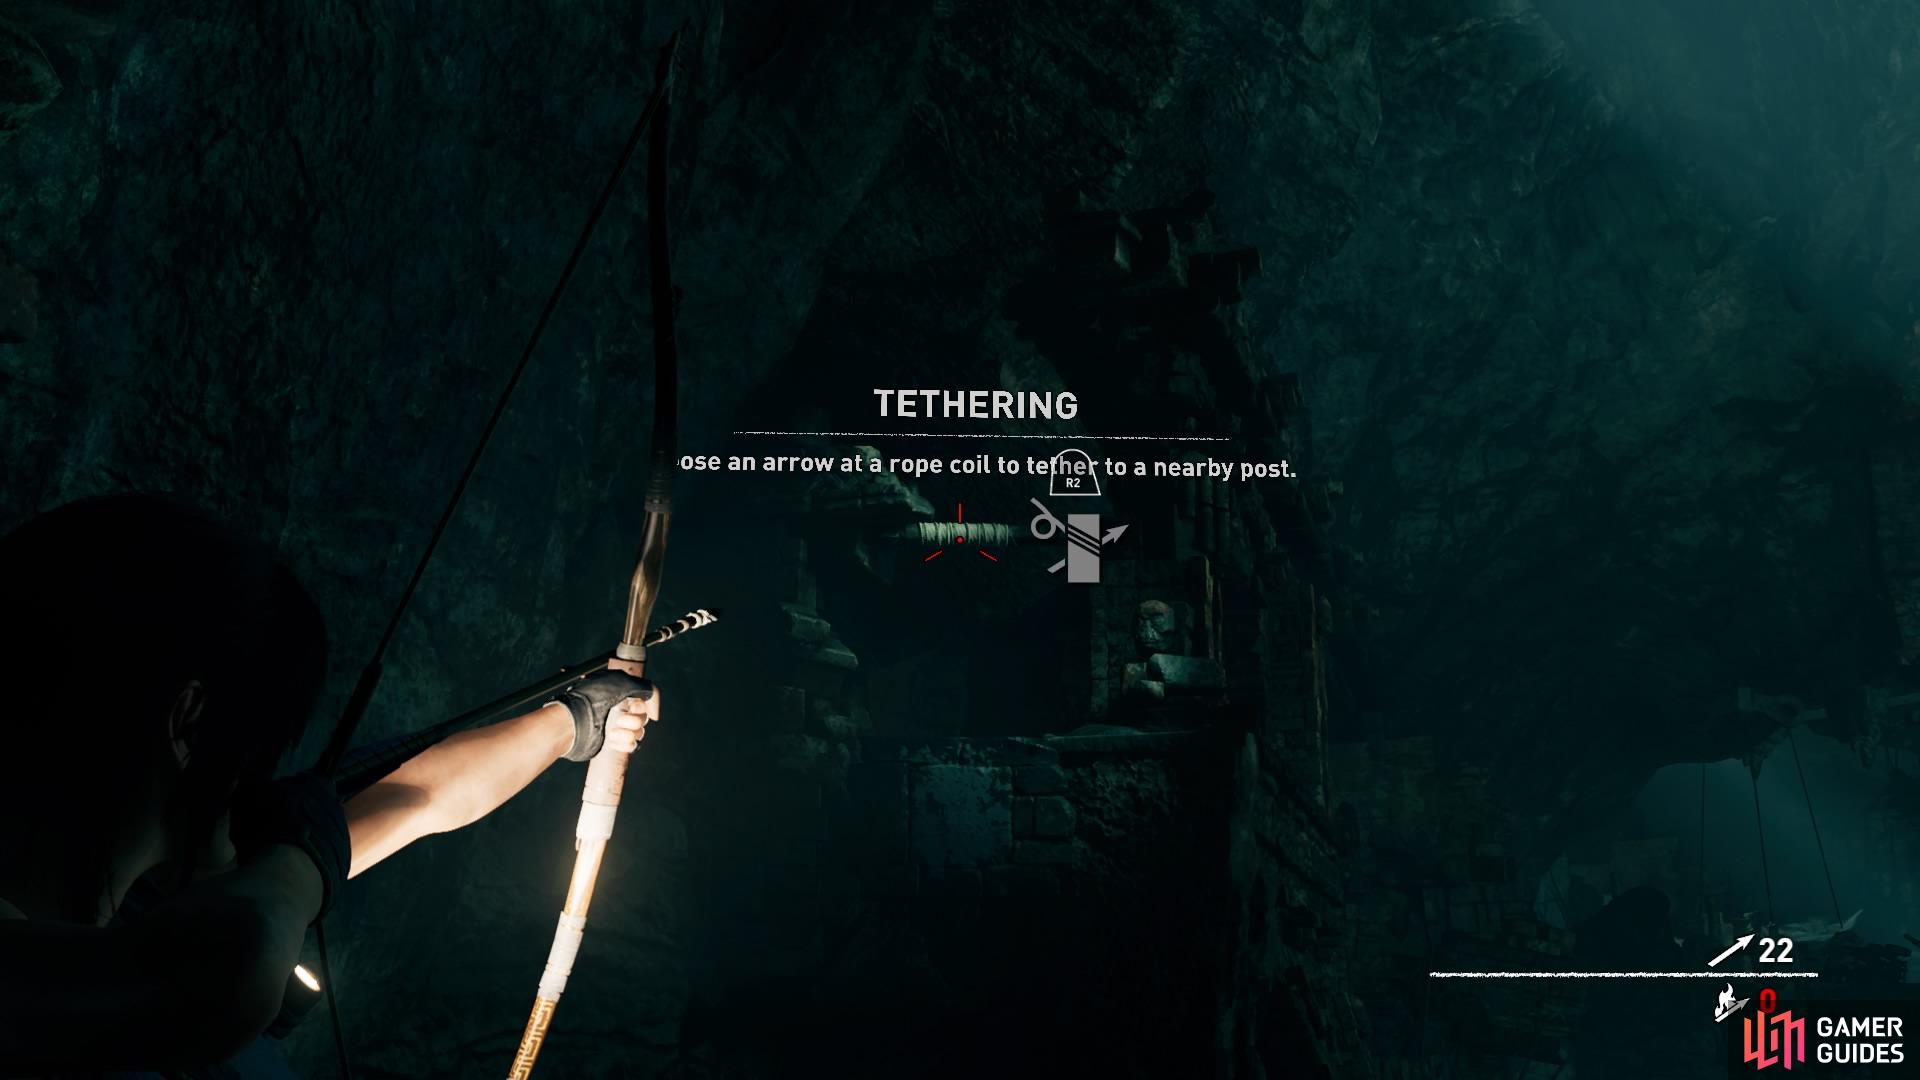
You’ll find the exit to the room is blocked, but you can pull it down with a rope-pull using your arrows. Using the rope-pull will not use up any of your arrows, so aim the bow at the white rope to yank the debris out of the way. Behind it is a spear trap – walk close enough to see the knife prompt pop up and remove the rope at your feet extended between both walls. This disables the trap, so now you can safely scramble beneath the spears.

(1 of 2) Cut the rope to disable the trap

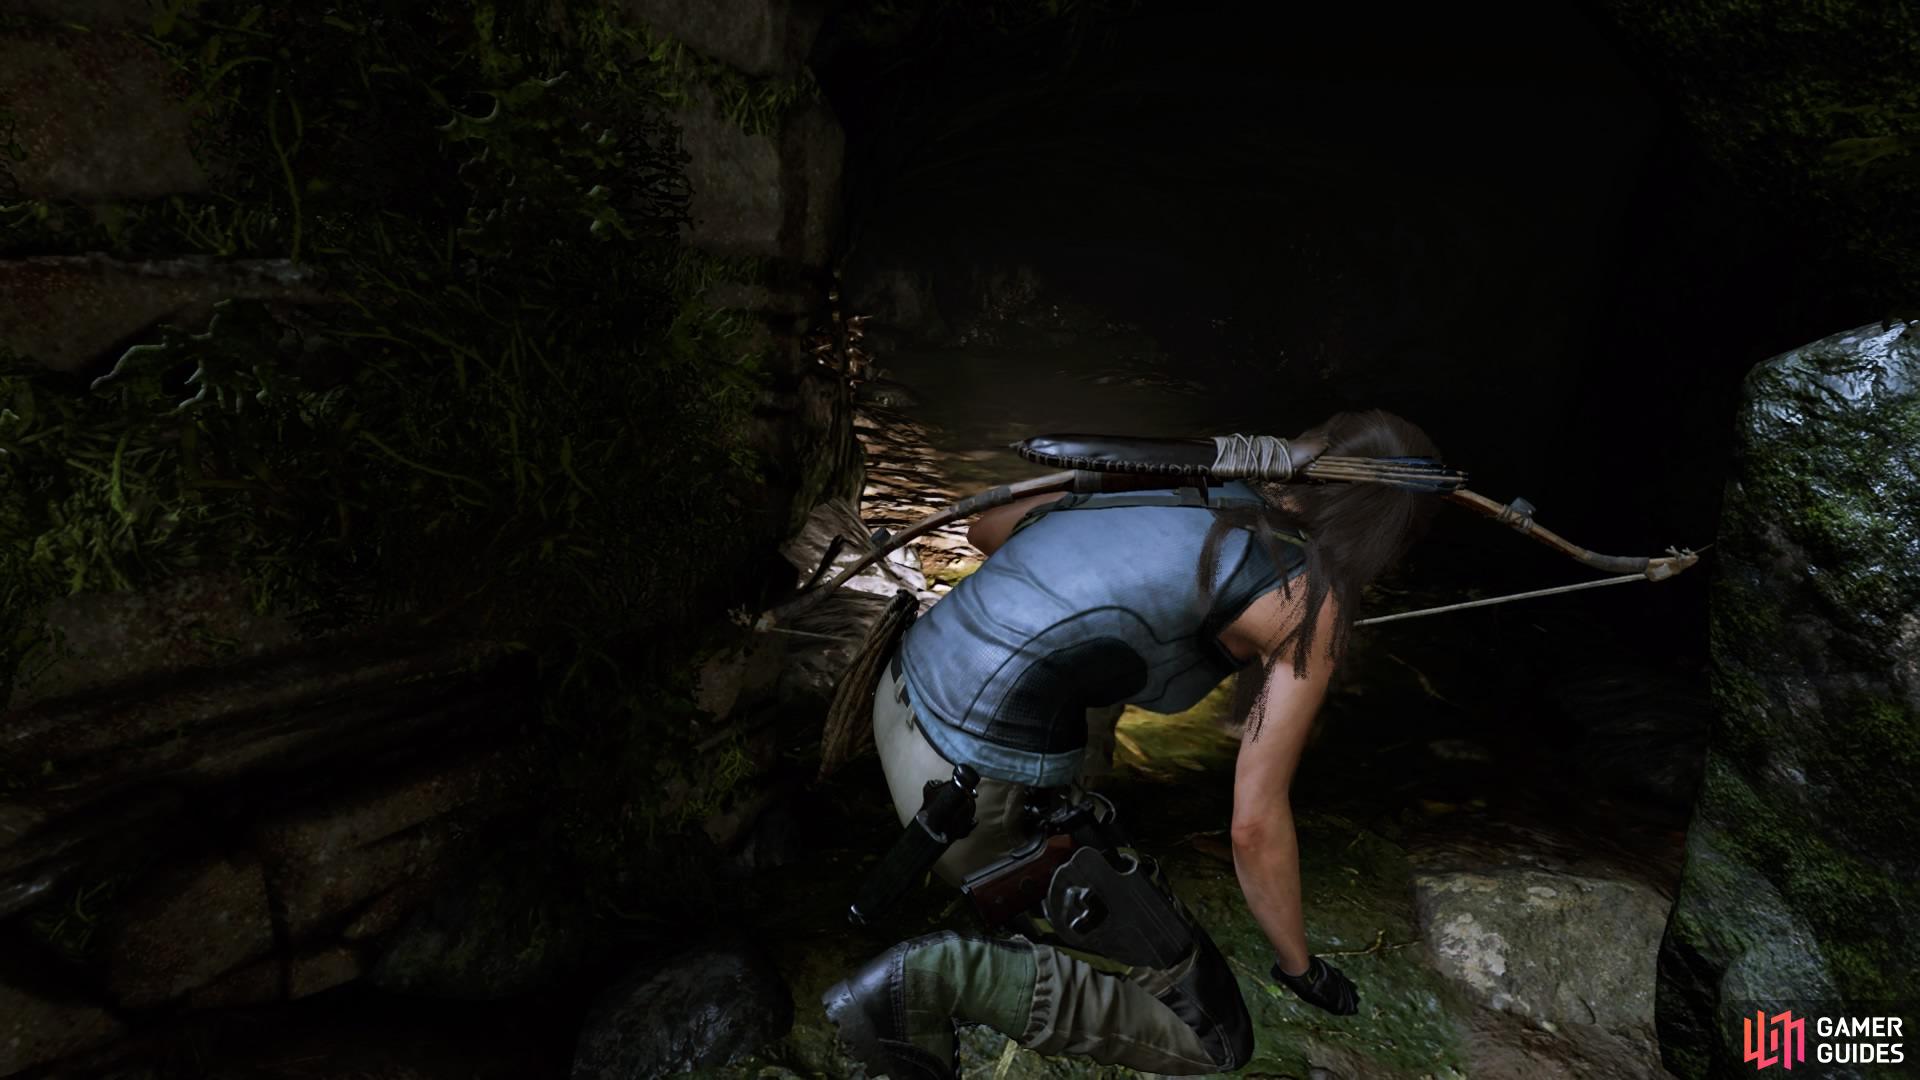
Cut the rope to disable the trap (left), Crouch through the tunnel to the next room (right)
Look up to find a strange green carving hanging from the ceiling. This is the start of the region challenge, Whistle in the Dark, which we cover in our Region Challenges section.
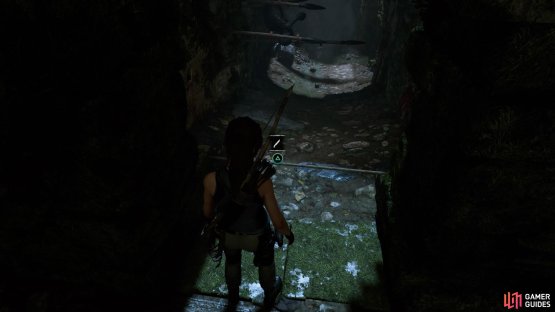
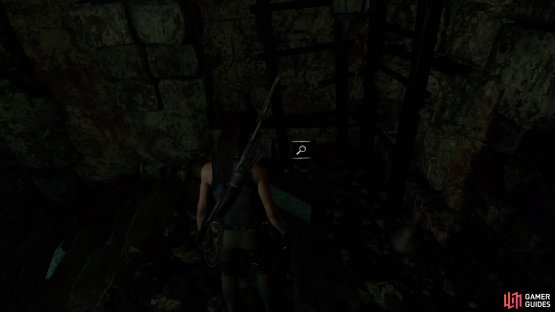
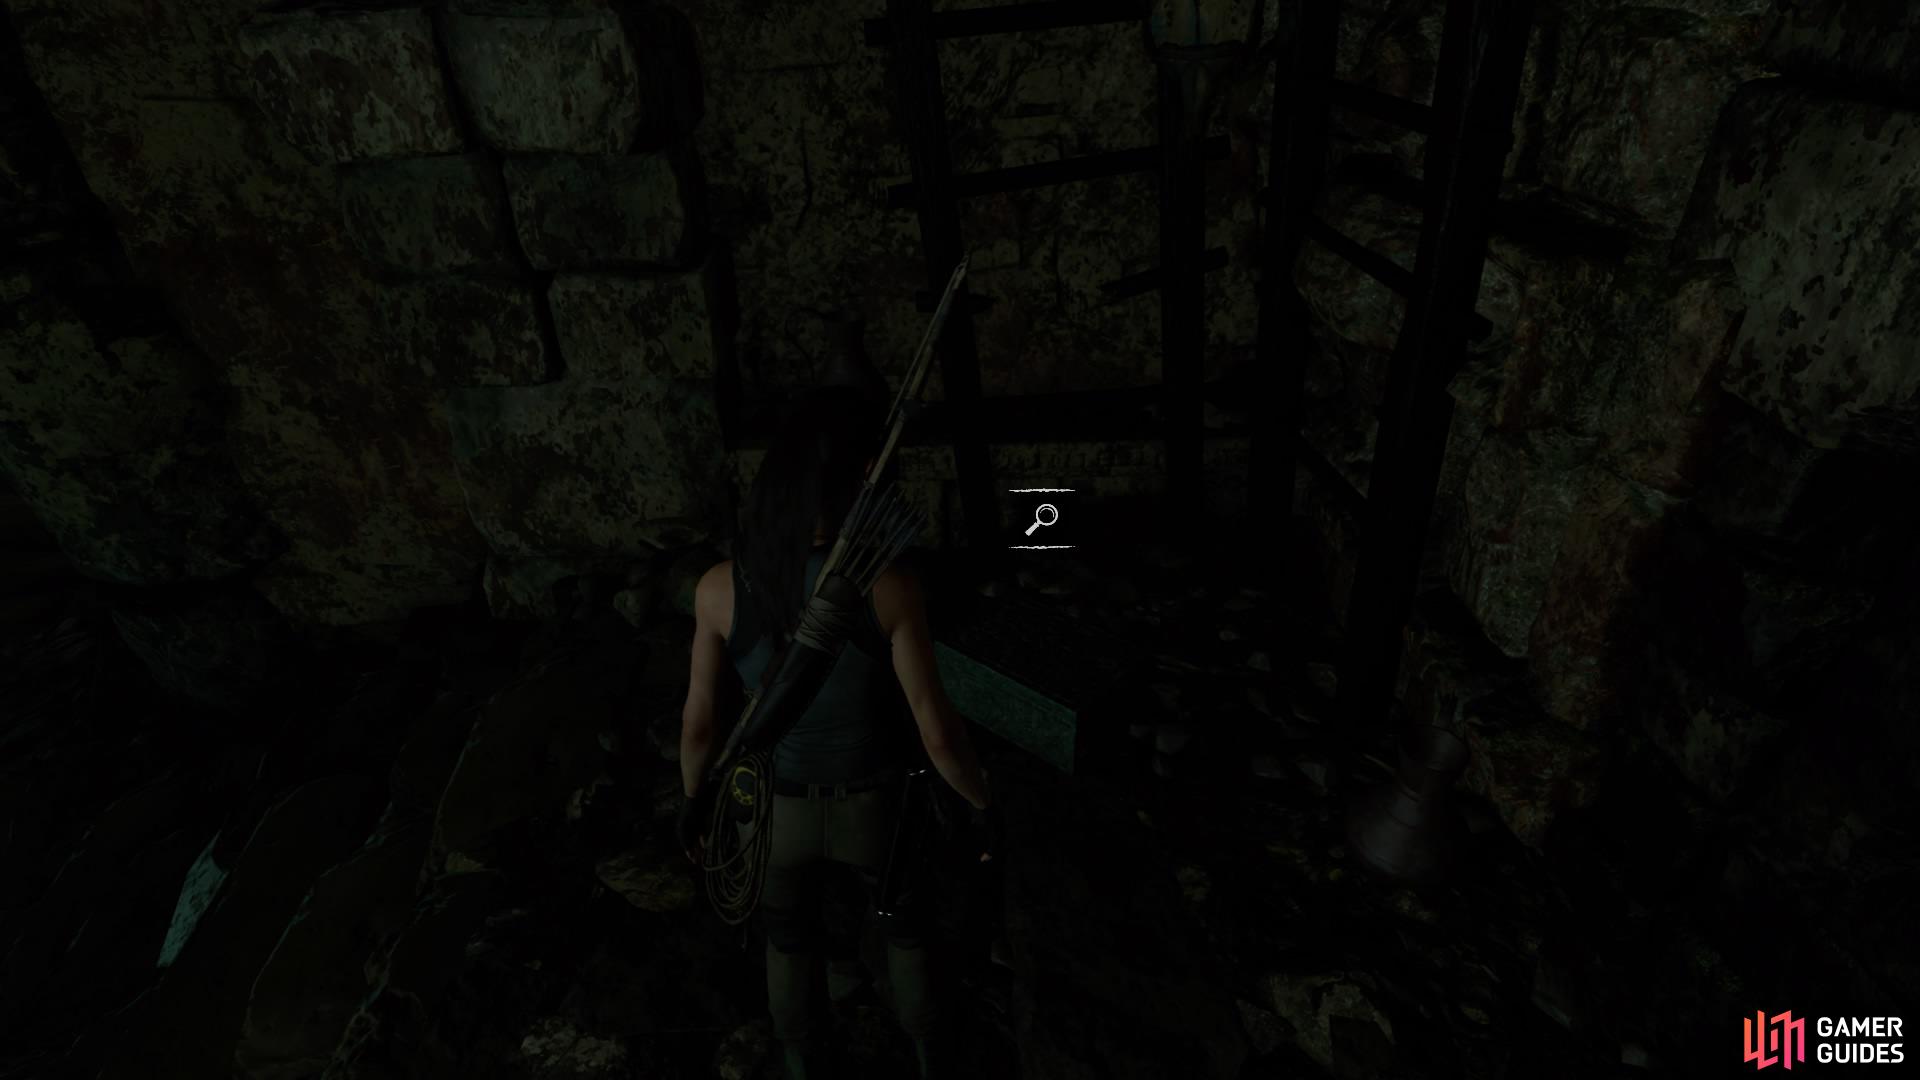
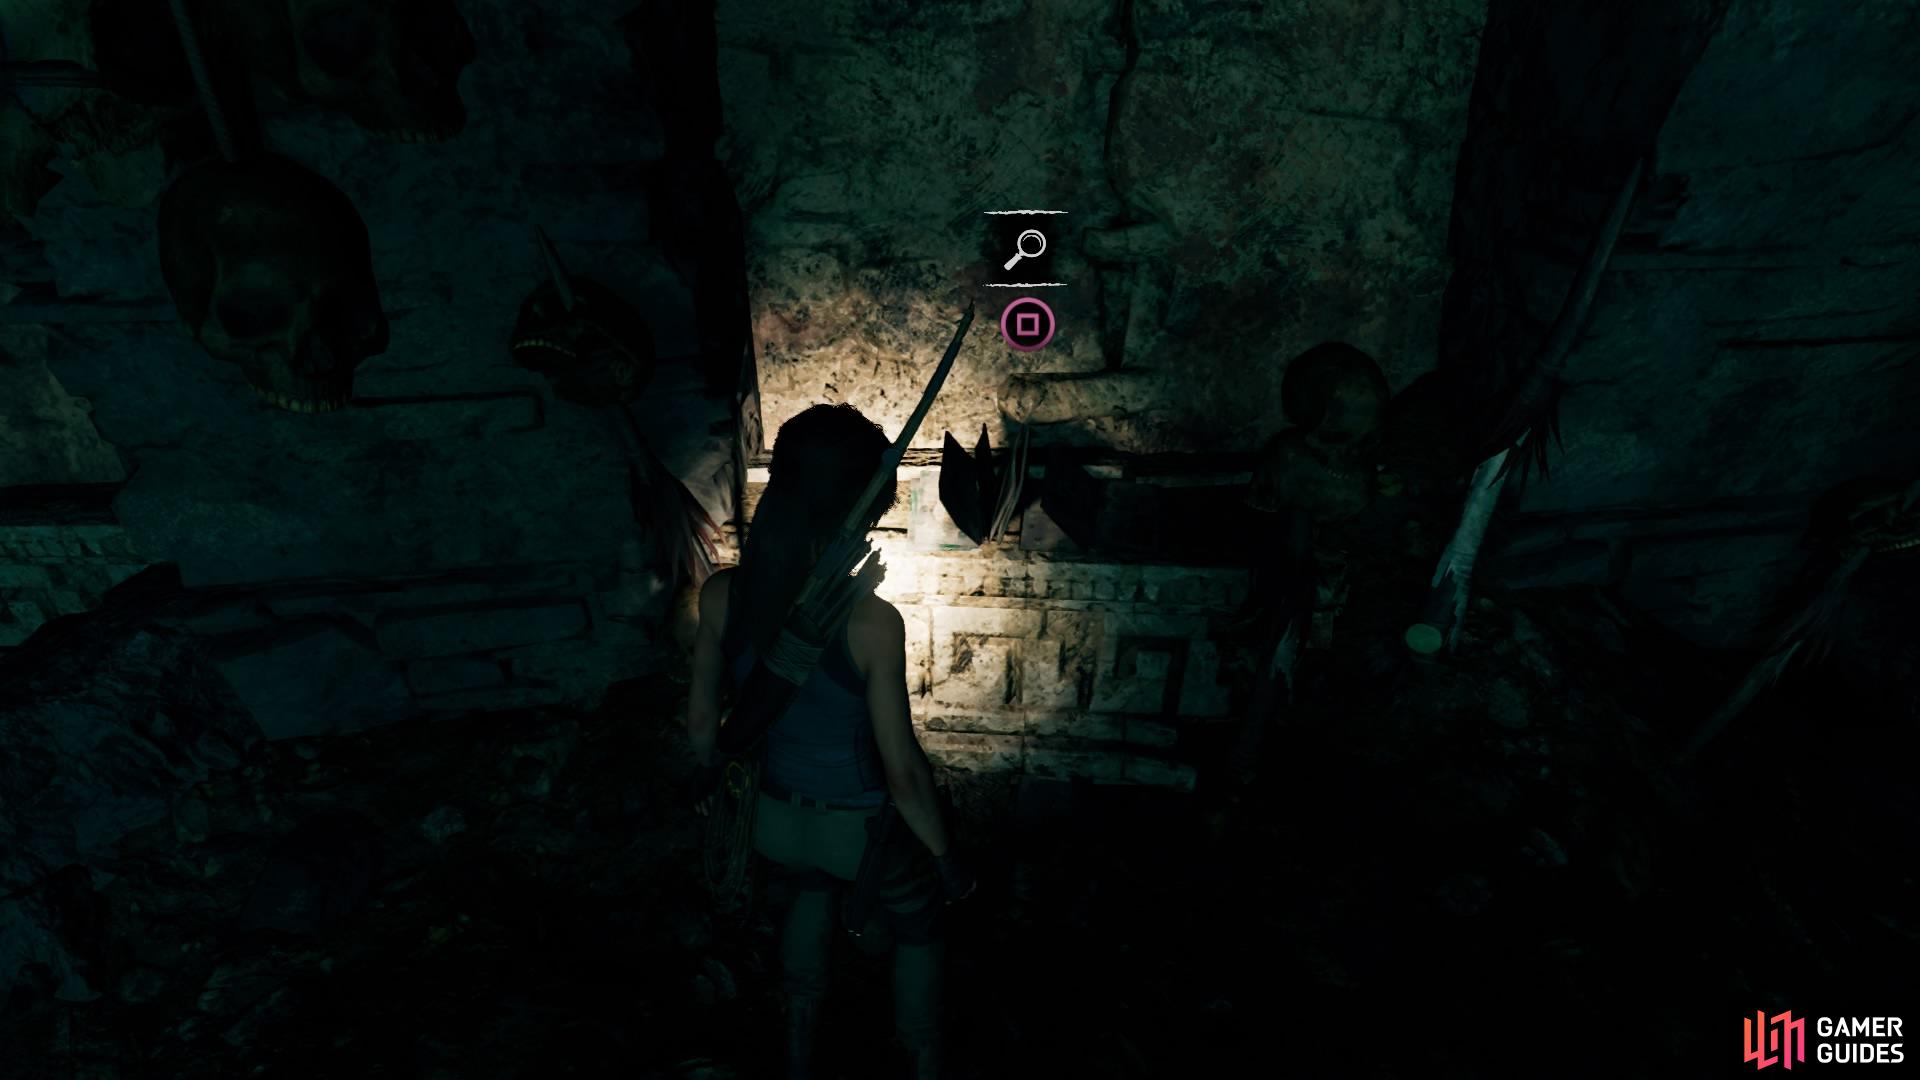
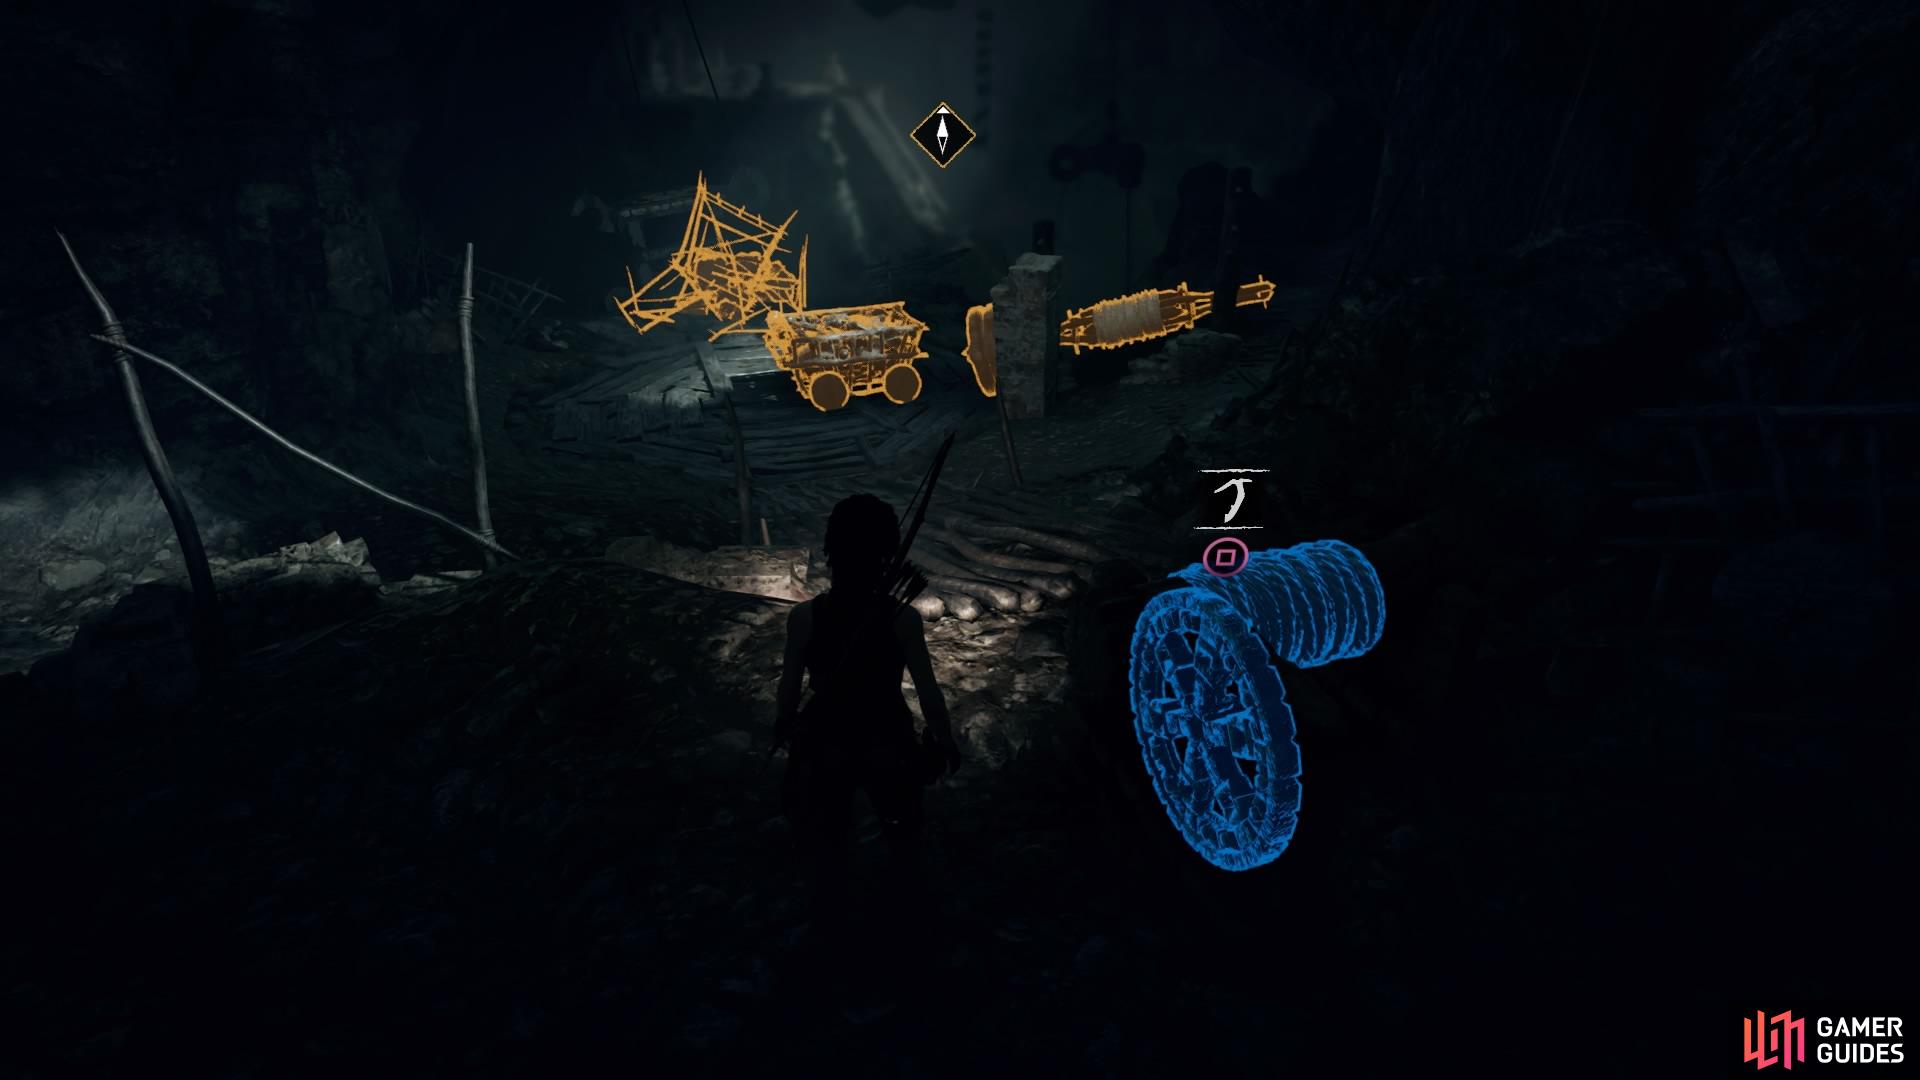
Now head through the tunnel on your right to reach the next room. Your objective is underwater, but we advise exploring the room first (including underwater) for resources, survival caches, and two relics.
The first relic can be found on the right side of the room. Stay close to the wall until you find a cubby hole and a wall covered in white paint. Scramble up this wall and climb to the upper level, where you’ll find a Ceramic Jar in a box tucked in the corner to your right.

(1 of 2) Stick to the right of the room to find the cubby hole
Stick to the right of the room to find the cubby hole (left), Find the relic on the upper level (right)
The second relic is in the water below, so dive in to find the box at the bottom just before the tunnel straight ahead of you. Open it up to find the Carved Bowl.
When you’ve collected all you can, follow the objective beacon through the tunnel underwater and follow it all the way to the end until you’re in the next room. There is a pocket of trapped air that you can use along the way, signified by a bubble icon.
Once you exit the water, go down the corridor on the right.
Cut or jump over the tripwire, then climb up the craggy wall at the end.
GET TO THE TOP OF THE PYRAMID
Follow the path to the right where you’ll see some pendulums – you have to use these to get across, so jump to the first one to see that it lowers from Lara’s weight. Quickly jump to the second, and then left on to the third before scrambling up to the next platform.

From here run right and follow the path around to the left (you can pick up some resources along the way) to find a cart and a barricade with a coil of white rope. Pull the barricade away and push the cart down the slope so that it lands on one of the pendulums to act as a counter-weight.
This will raise a fourth pendulum that you couldn’t get to before, so climb the steps to jump on to it. Before doing so, jump to the platform behind you to pick up some Gold. Now continue across the pendulums until you reach the walkway opposite.
To your left will be a document – Rearguard Report (1/1) – make sure to pick it up.
Find the wooden post at the end with white rope around it – on the far side opposite you can tether a rope to the beam above the platform and climb across.
Once there, move forward to see the second mural - Temple of the Moon (2/2) - just to your right, and then watch for the tripwire ahead of you to avoid springing another spear trap. Before you go any further, however, backtrack to where you dropped off the rope and hang over the ledge. Climb down the craggy wall, then rappel down to swing yourself over to the platform underneath.
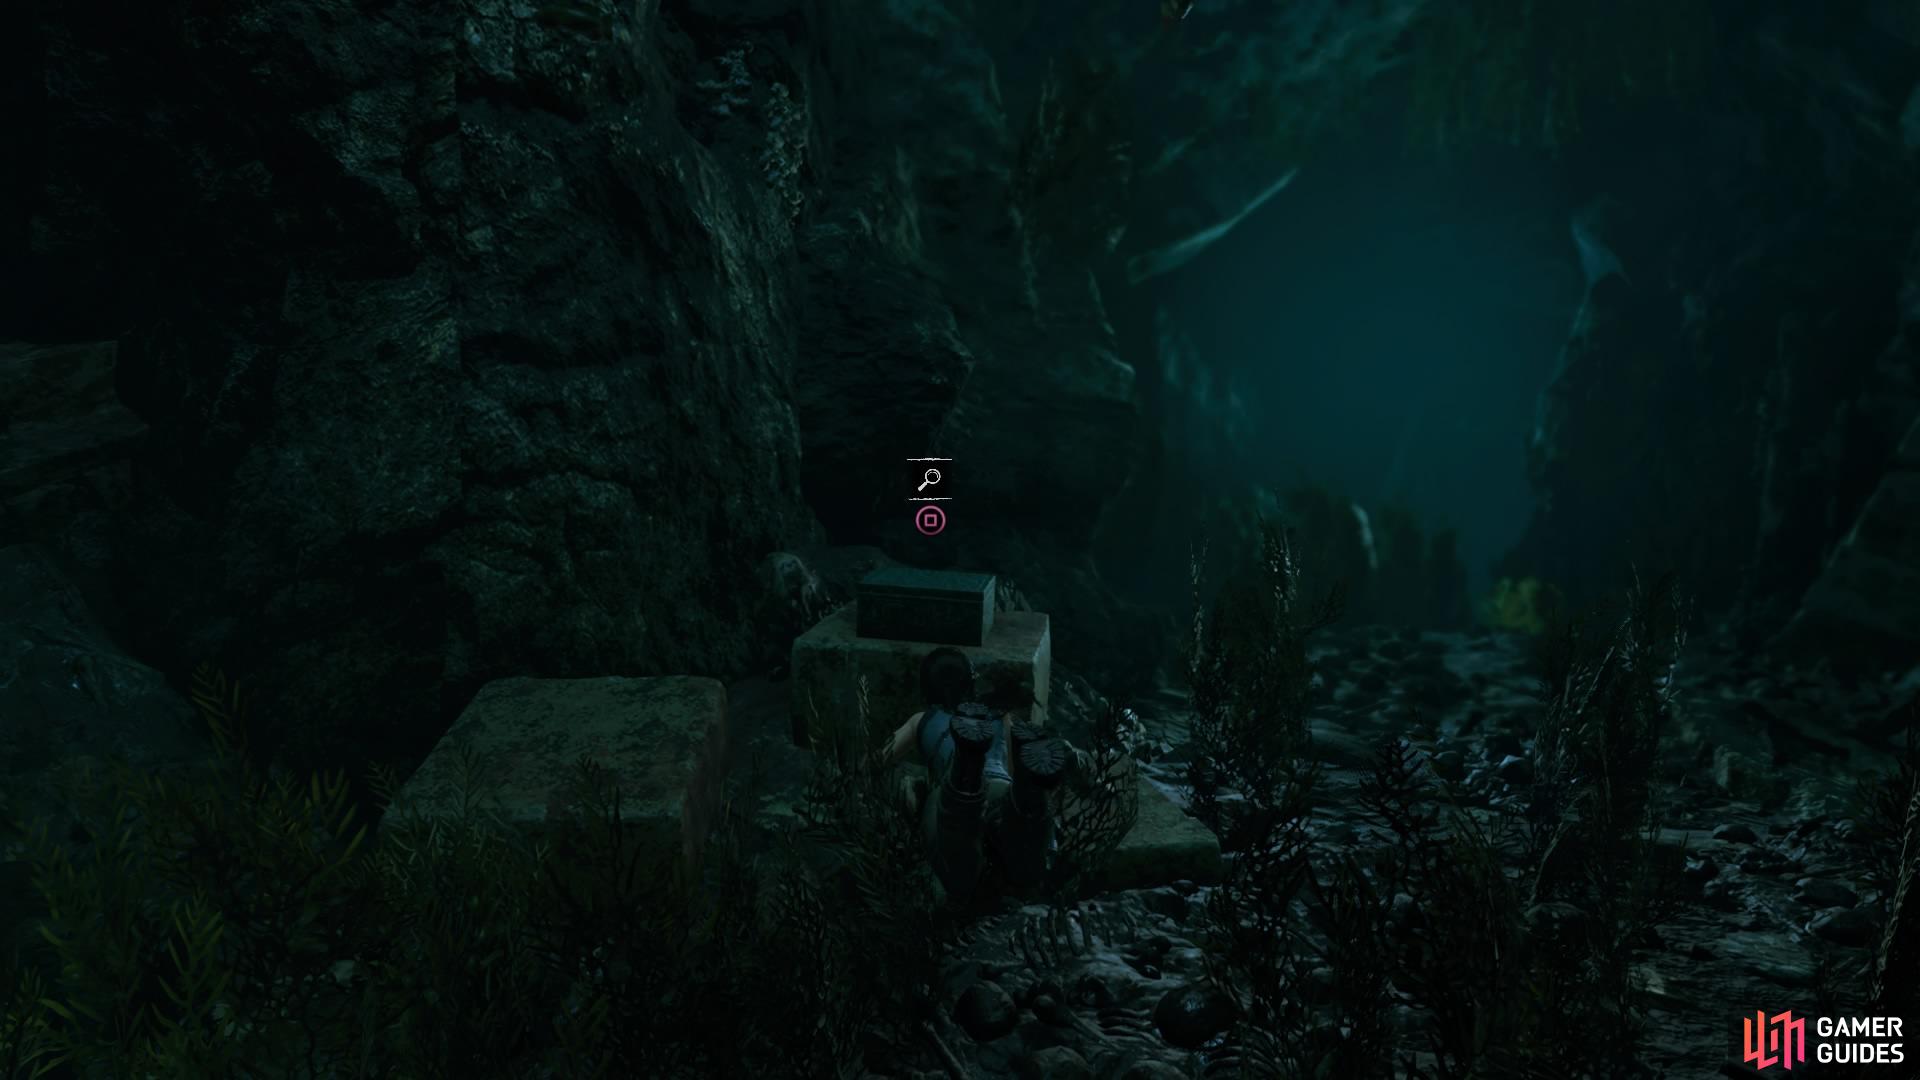
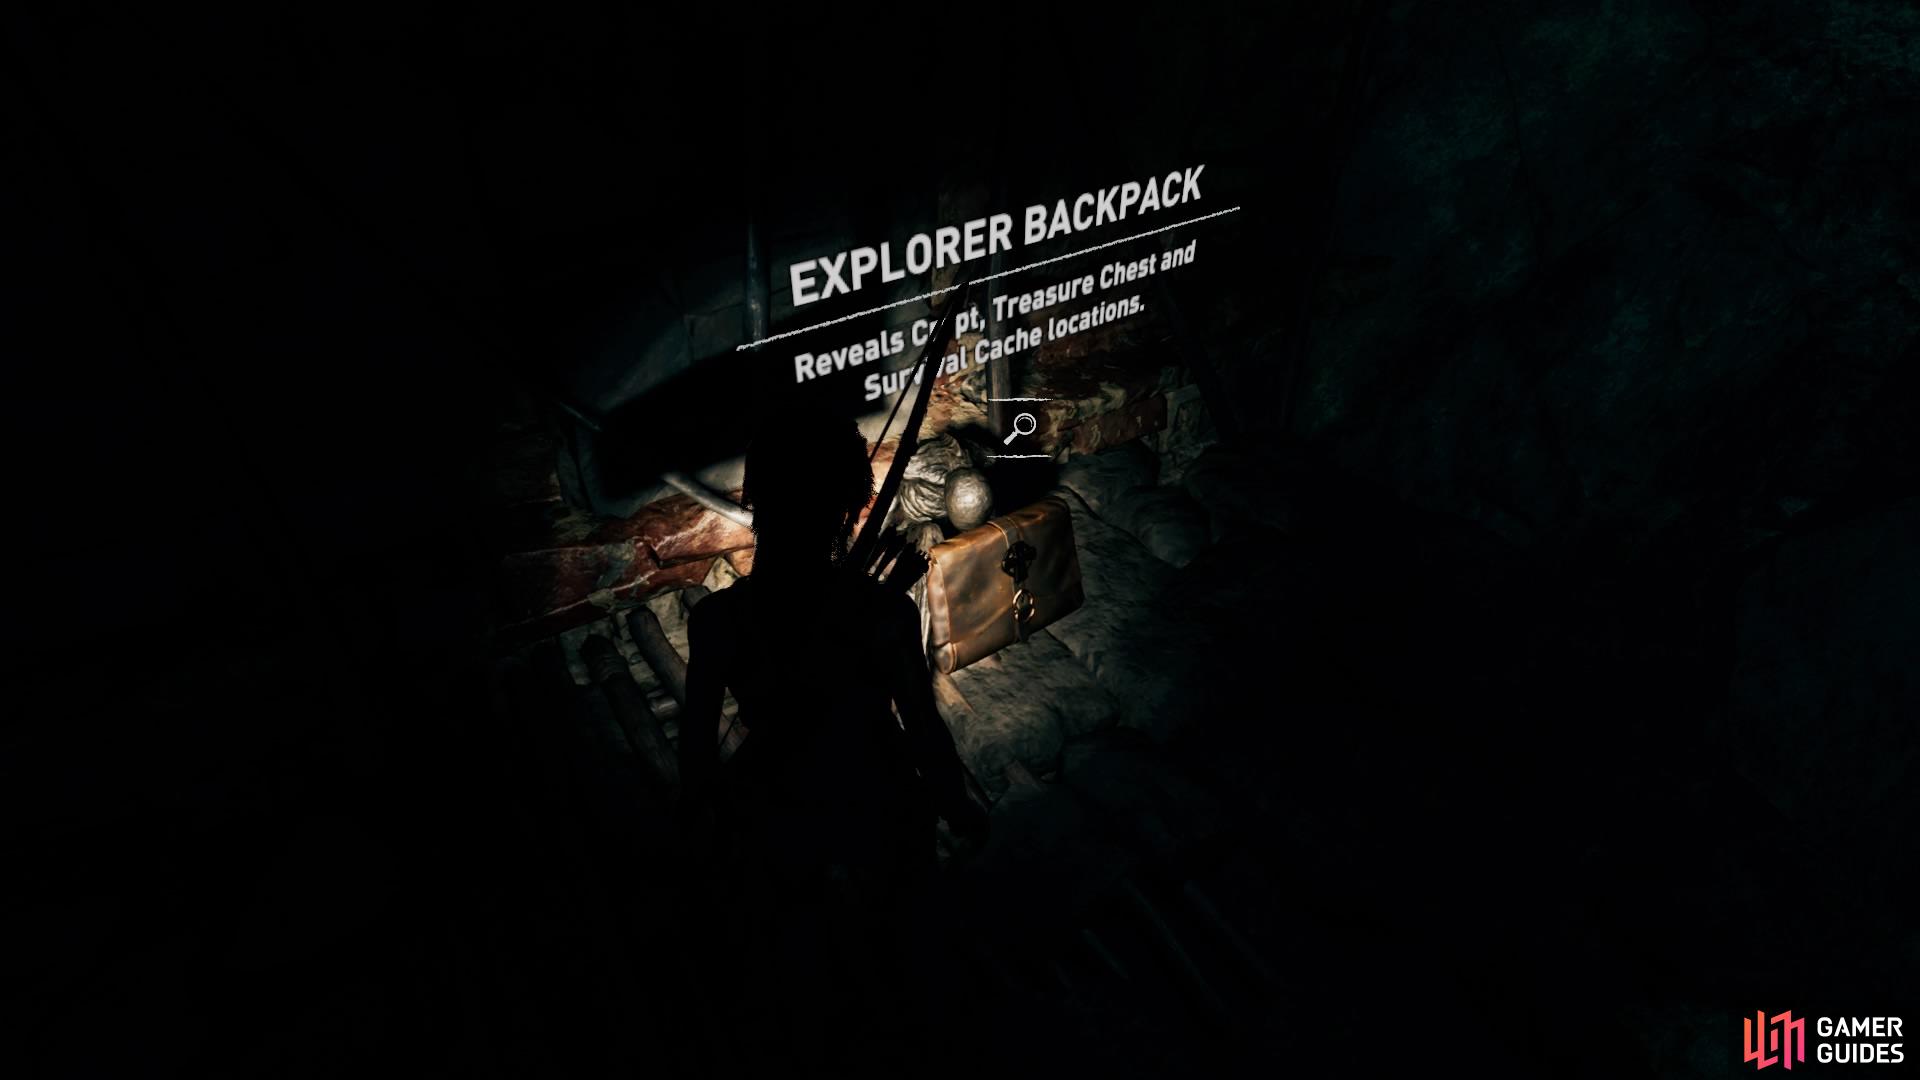
Here you can pick up one of three survival caches as well as an Explorer Backpack that will update the region map for you.
You can climb back up to the upper platform by using the craggy wall in front of you from where you picked up the backpack, so head back up there to continue the level. Head right and jump to the pendulum – as it lowers, the second pendulum will get stuck against the rock. It’s time for a puzzle!
Jump left to the craggy wall and climb up. You can use your survival instincts here to highlight anything you can use to solve the puzzle. It’s pretty straightforward and you should have no problem completing it.
-
In the middle of the platform is a wooden turntable. Grab the cart at the top of the slope on your right (highlighted blue) and push it so that it wheels down to the turntable.
-
Go right of the turntable from here to find a wheel crank – there is already a rope attached from this to a wooden beam.
-
Rotate the crank until the cart’s roped handle is facing you, then tether a new rope between the crank and the handle.
-
Rotate the crank again until the cart is at the very top of the slope and will go no further.
-
Then cut the rope and watch the cart crash into the debris that will release the second pendulum.
This pendulum now swings straight ahead of you, so use the rock jutting out on the right of it to jump directly on top of it. It will begin to lower, so quickly jump to the ladder and climb up.
Now follow this walkway to the right where you’ll have to scramble up on to a handhold and traverse around to a craggy wall. Rappel down from the wall to land on top of the pyramid and activate the next cutscene.
RETURN TO THE VILLAGE
After the cutscene, run down the corridor and break through the wall using the axe. Lara will clamber through and you’ll be back outside. There are some enemies around, so wait for her to hide in the wall of vegetation before you have control again.
Take out the first guy and loot his body before climbing up the wall on the left and making it over the muddy hill into the next area.
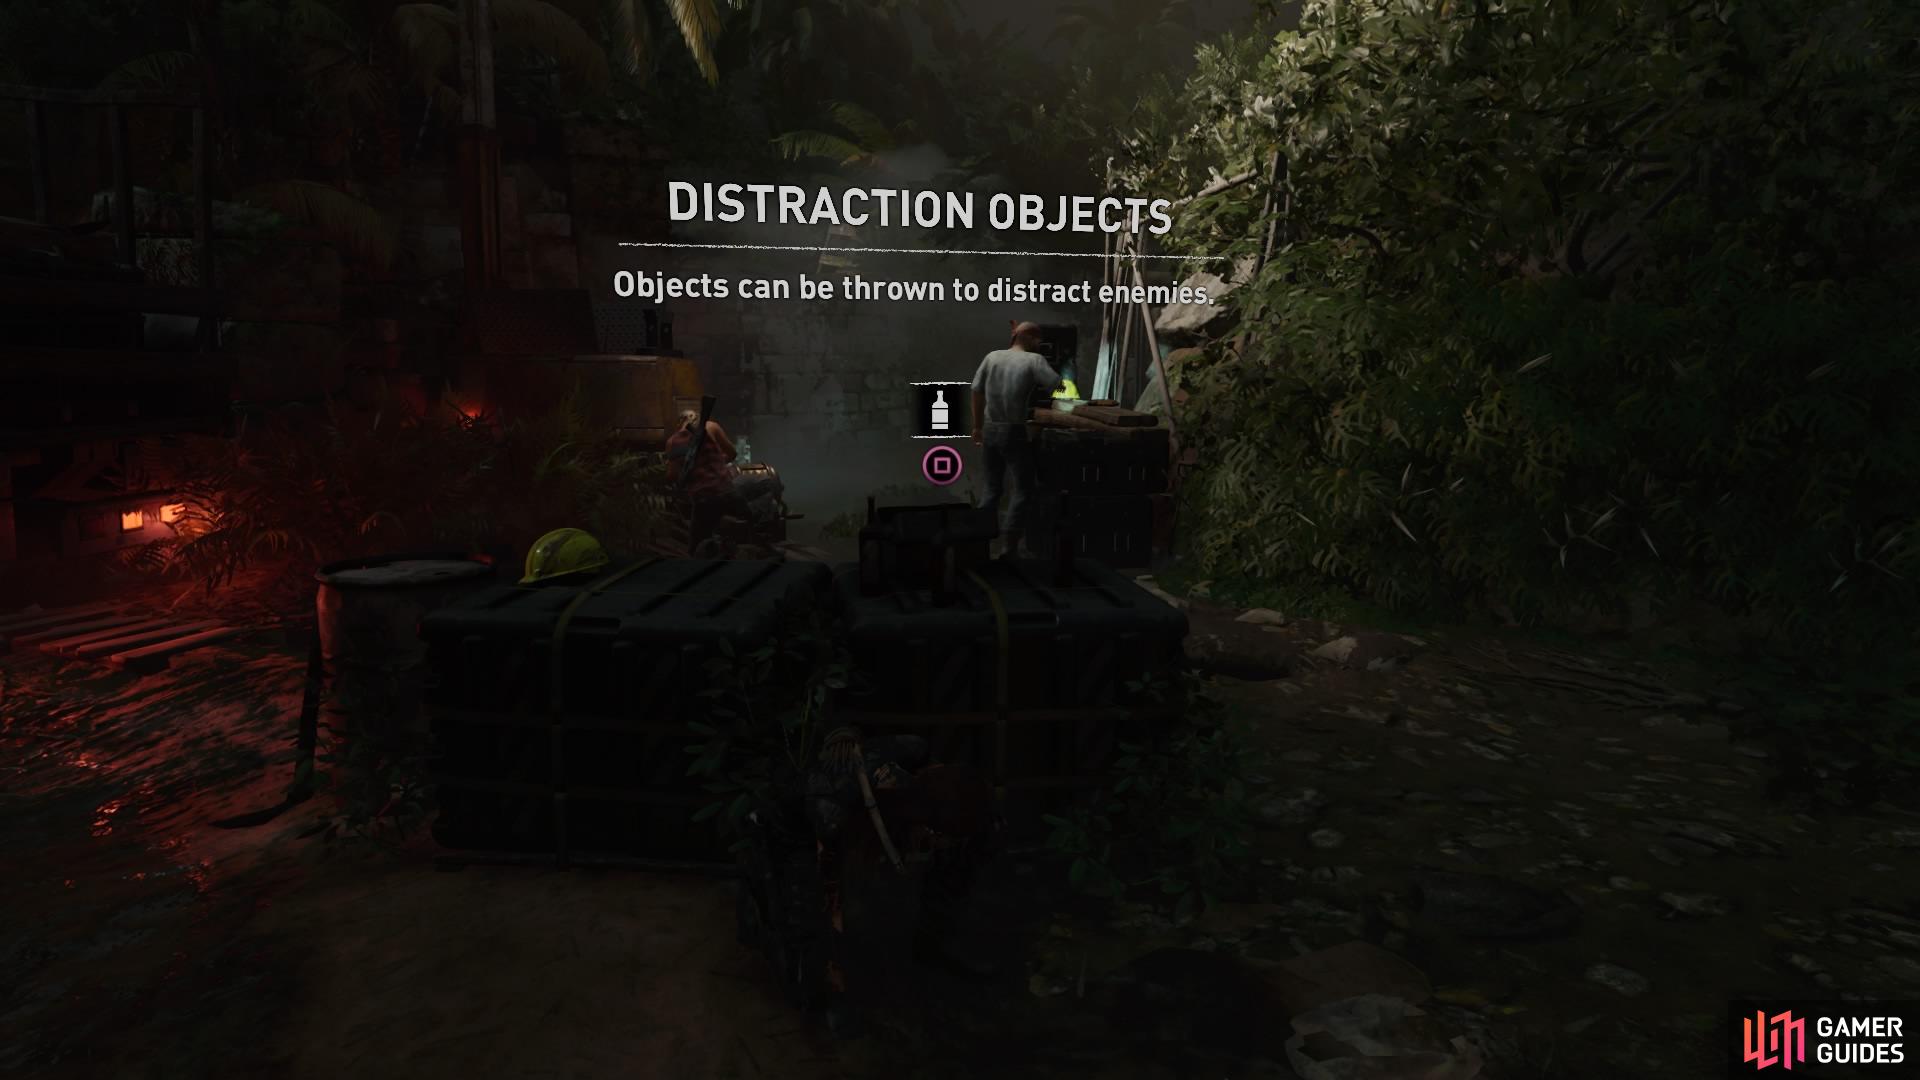
Crawl into the long grass and then manoeuvre to the first vegetation wall – you can stealth kill the first enemy from here. Then move the crates in front of you to stay concealed from the other two enemies. Pick up a bottle from the crate and throw it directly opposite towards the far wall to distract them. Move to the vegetation wall on the right and stealth kill the first guy, then you’ll be free to take down the second before scrambling up the wall.


(1 of 2) Highlight vegetation walls with Survival Instincts to hide from enemies
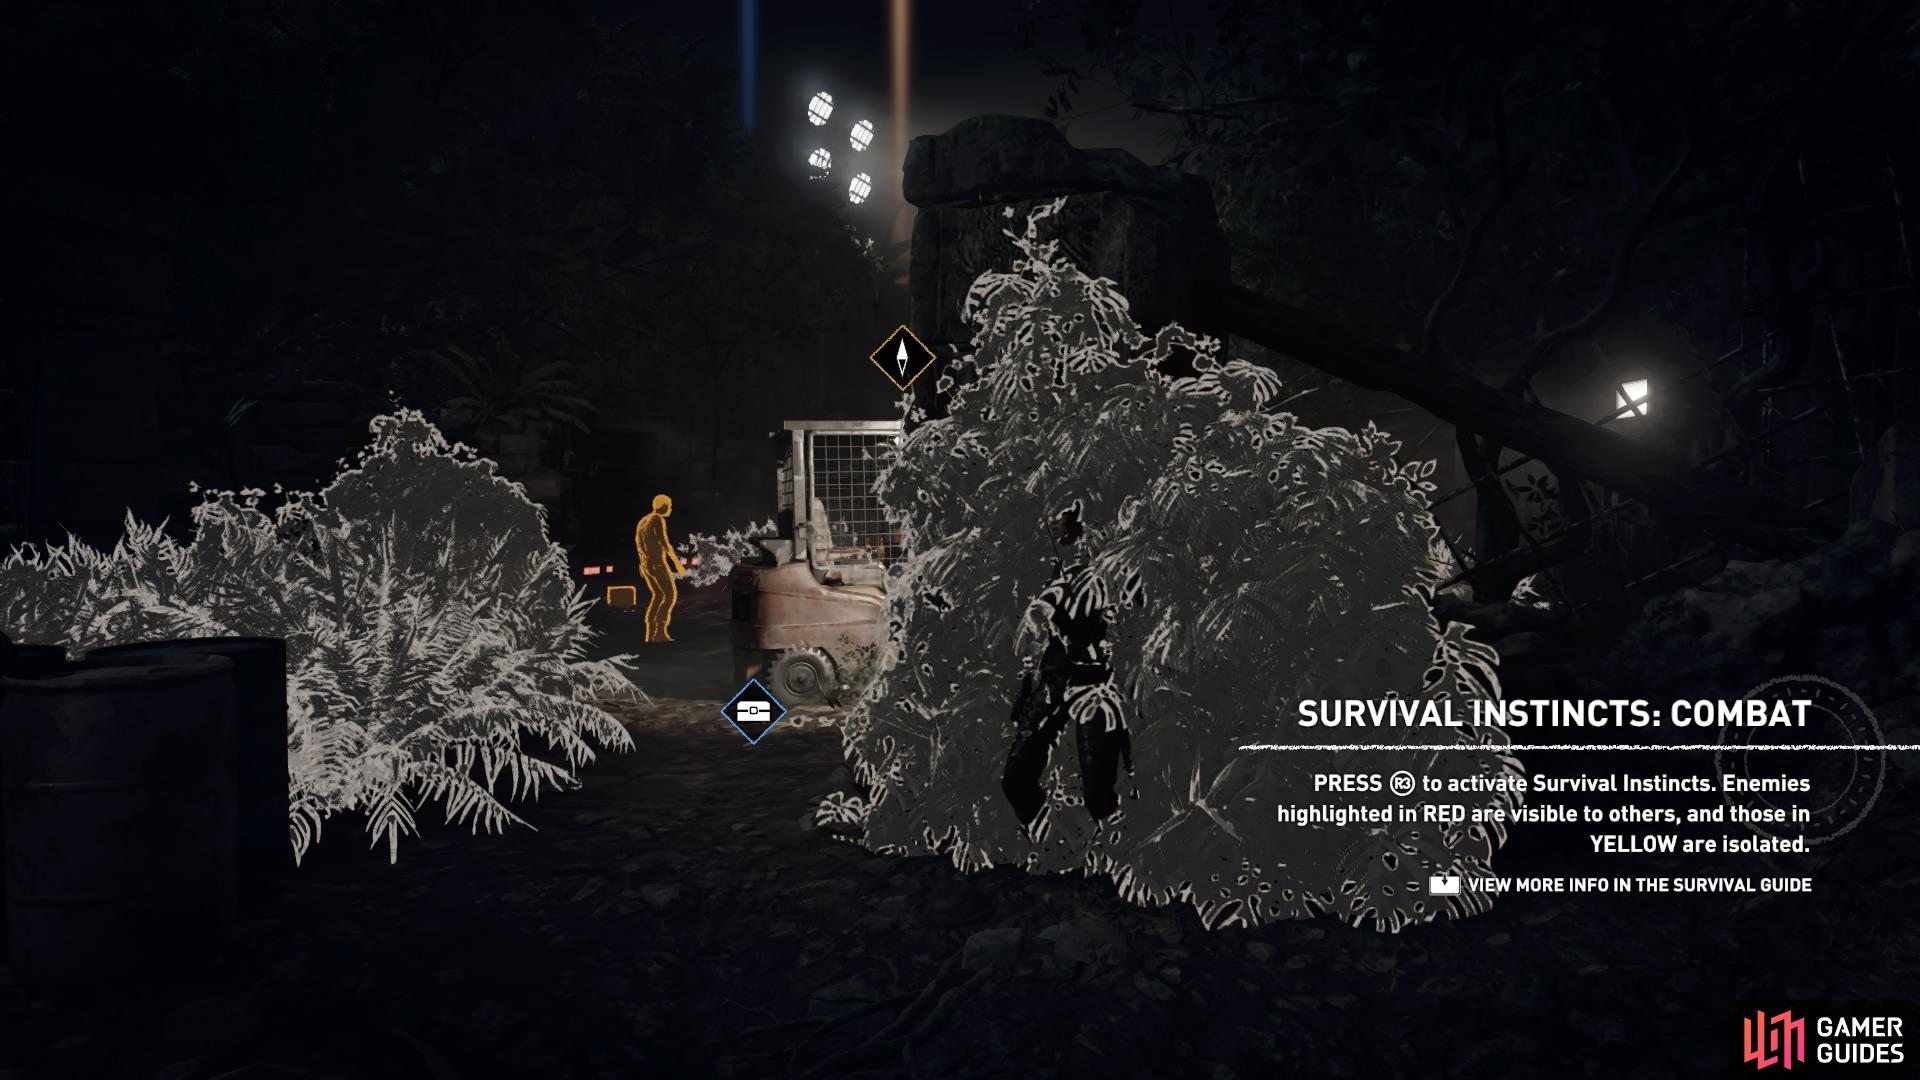
Highlight vegetation walls with Survival Instincts to hide from enemies (left), Use objects to distract enemies and isolate them (right)
The next area has four soldiers – three on the ground, and one standing on the platform above on the right. After Lara crawls into the long grass, scramble to the low vegetation wall a little to your right to perform another stealth takedown. Fire an arrow through the head of the guy standing on the upper platform next, which will leave the remaining two.
Move to the next vegetation wall on the right to quietly take out the roaming guy, then deal with the final enemy however you like. Now you can scramble up the wall to the upper platform where you’ll see three more enemies below.
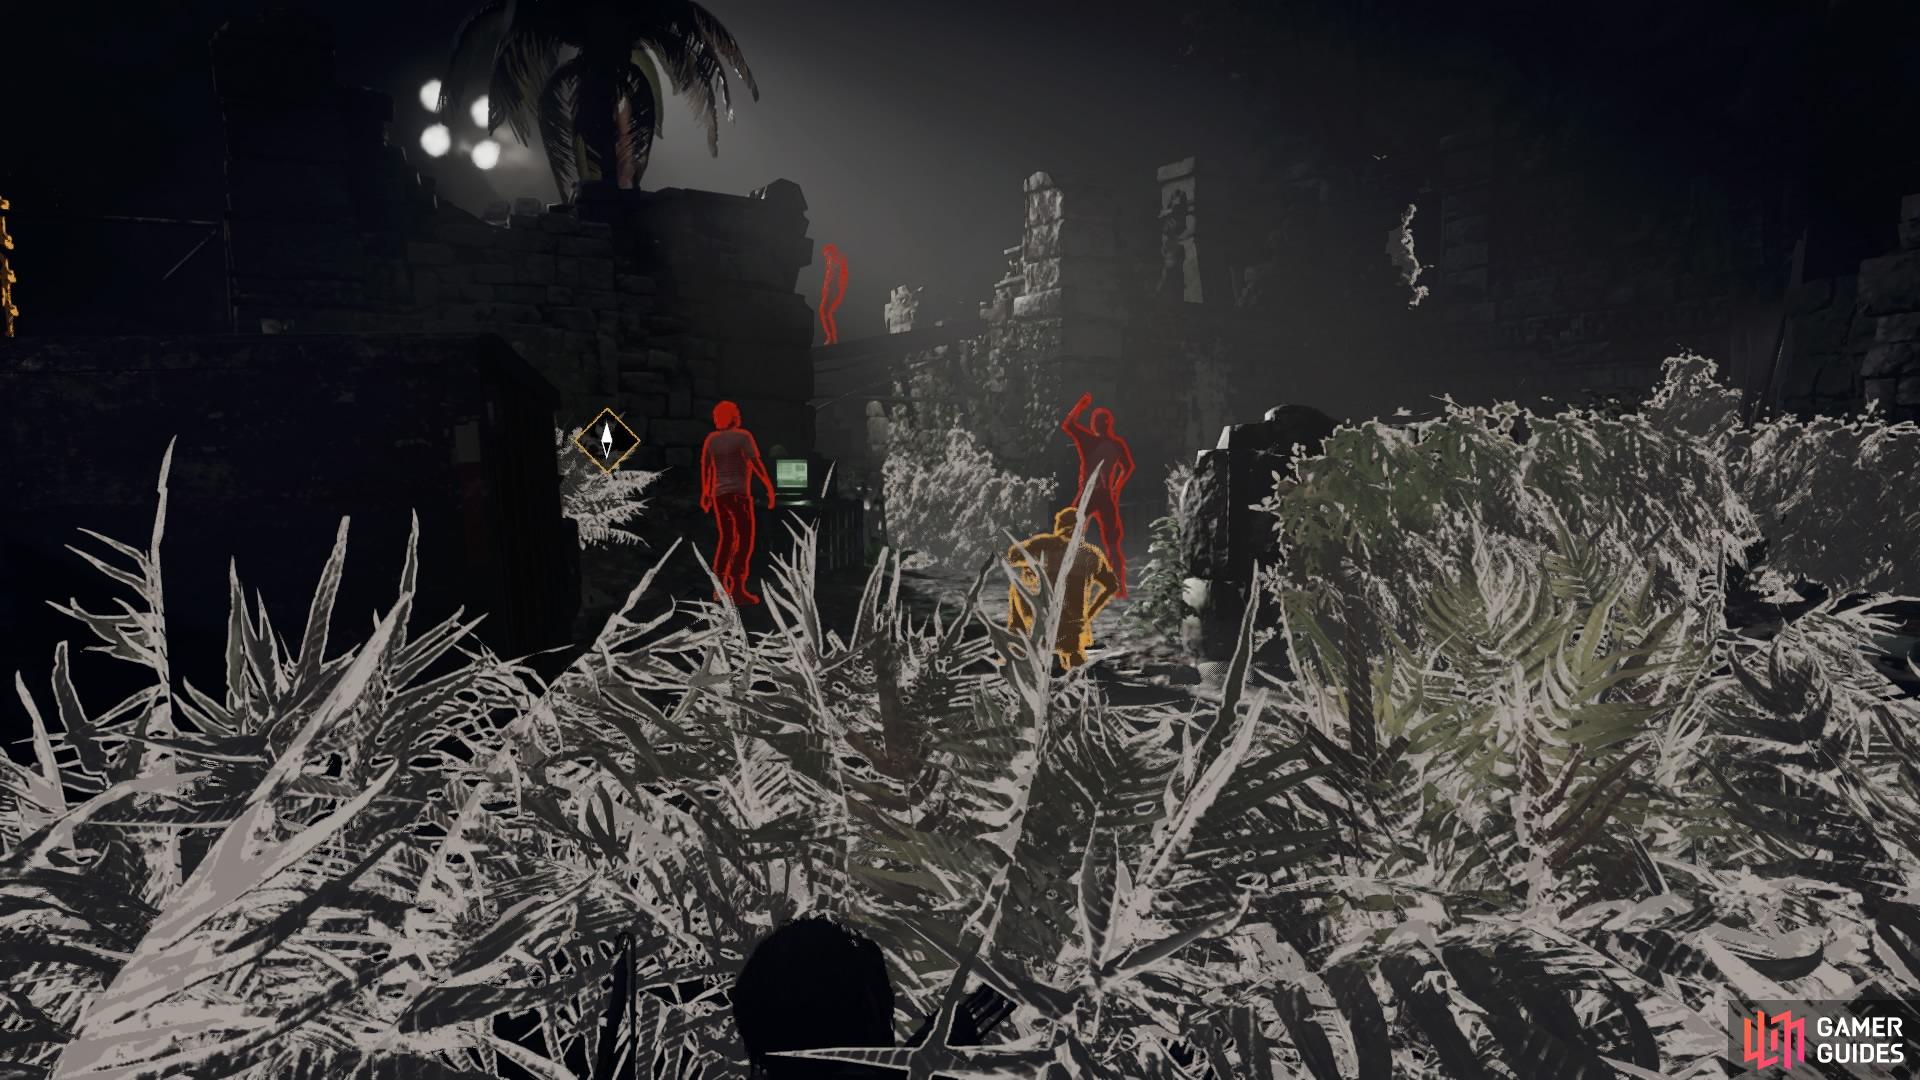
If you haven’t been spotted yet, and wish to remain stealthy, use an object to distract the first guy and bring him closer to you. You can do the same again with the second guy, and then use an arrow to kill the last one.
However, regardless of how this goes, reinforcements will show up. If you decide being stealthy isn’t worth it, you can remain on the upper platform and take them all out. Switch to the rifle - there are explosives scattered around the area you can use to your advantage. Stay in cover and pick them all off one by one. You can retreat to the last area if you need to recollect yourself.
There are also a few things you can pick up while on the upper platform, too, so have a quick look around while you’re up there.
(1 of 2) Head through the archway on the far side
Head through the archway on the far side (left), Break through the gate to end this section of the chapter (right)
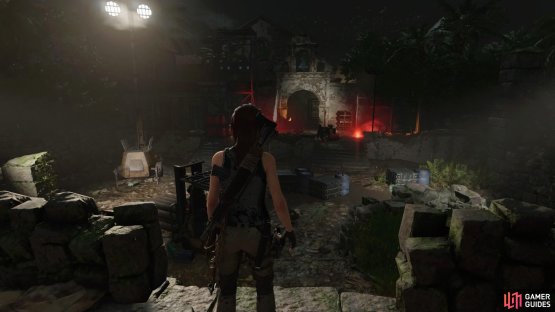
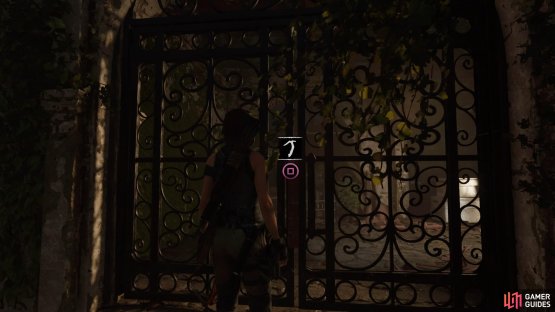
Once all the enemies are gone, head through the archway on the far side. Check the small room on the right for resources, and then use the axe to break through the gate and activate the next cutscene.
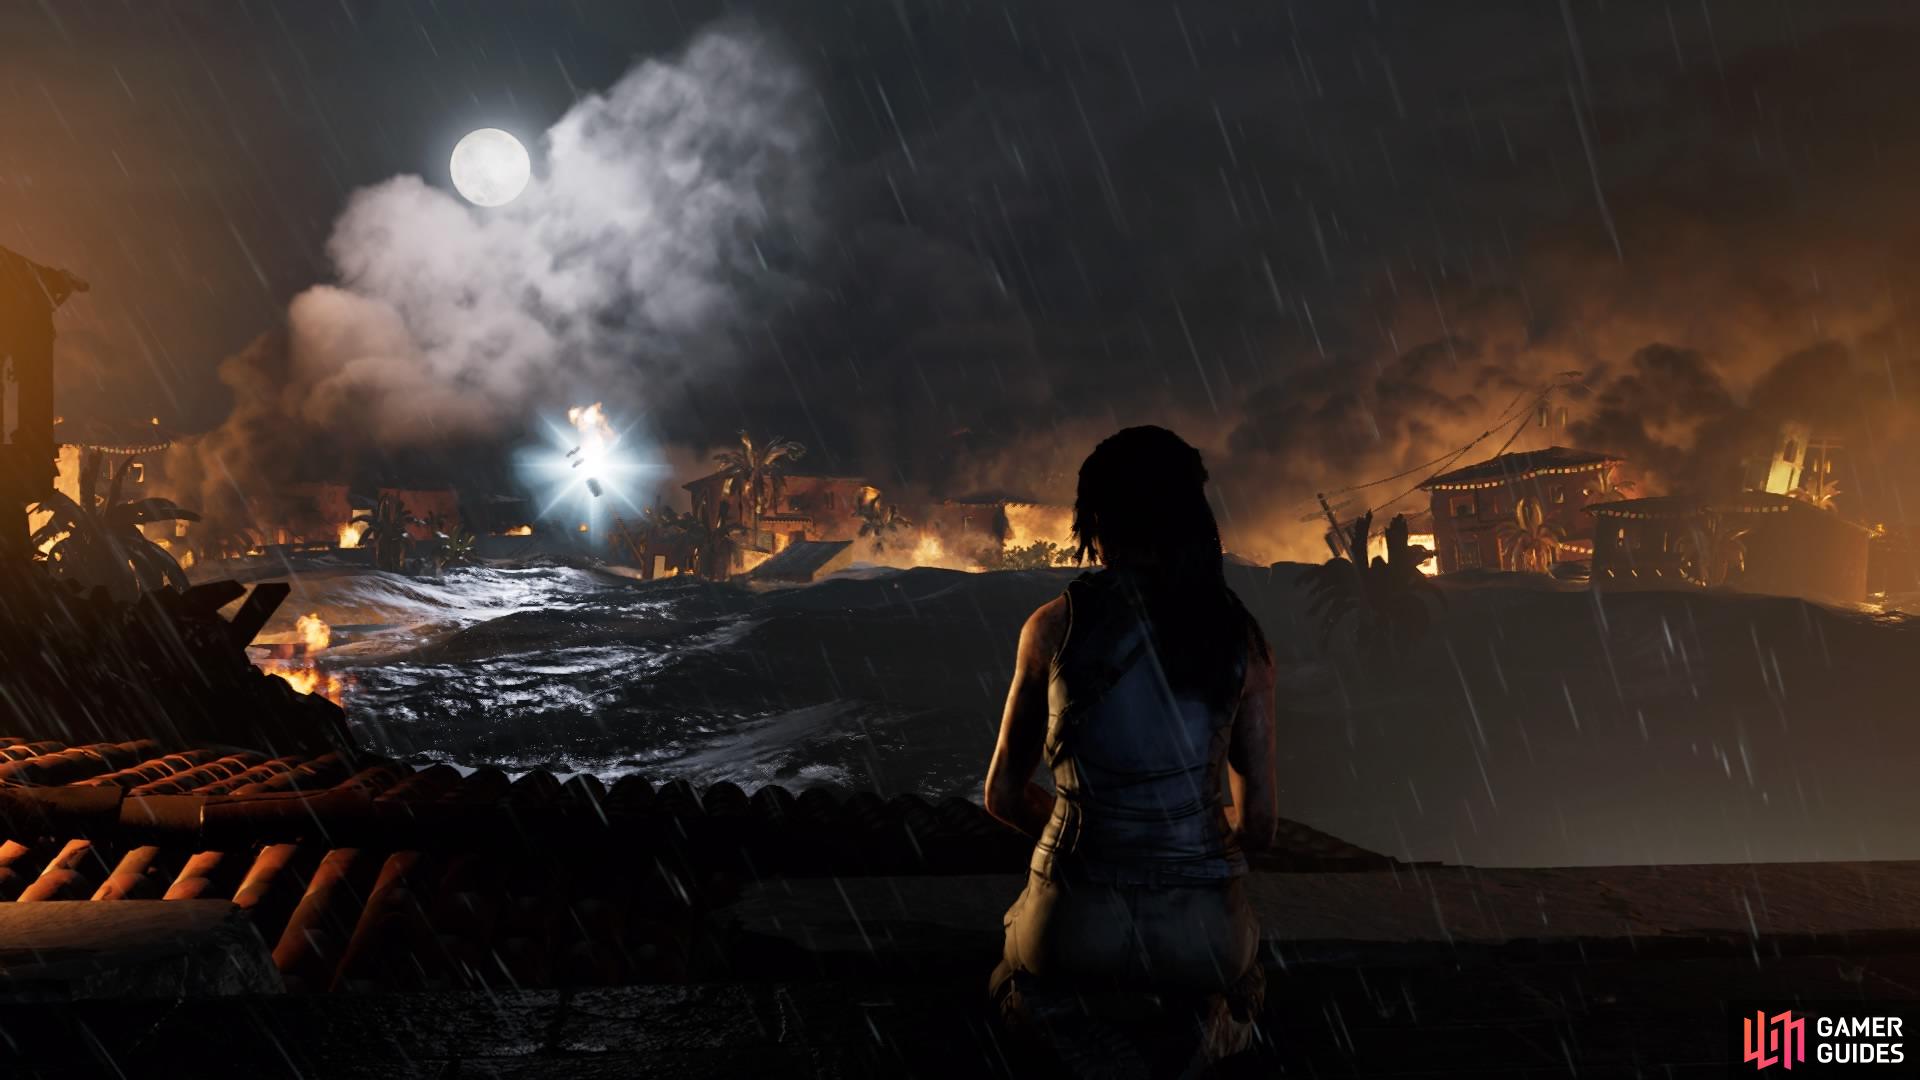
HEAD ABOVE WATER - SURVIVE THE FLOOD
As you gain control of Lara again you’ll need to navigate her to safety through the tsunami. You’ll have to manoeuvre left and right through all the debris; the sooner you can move the right way, the more likely you are to survive.
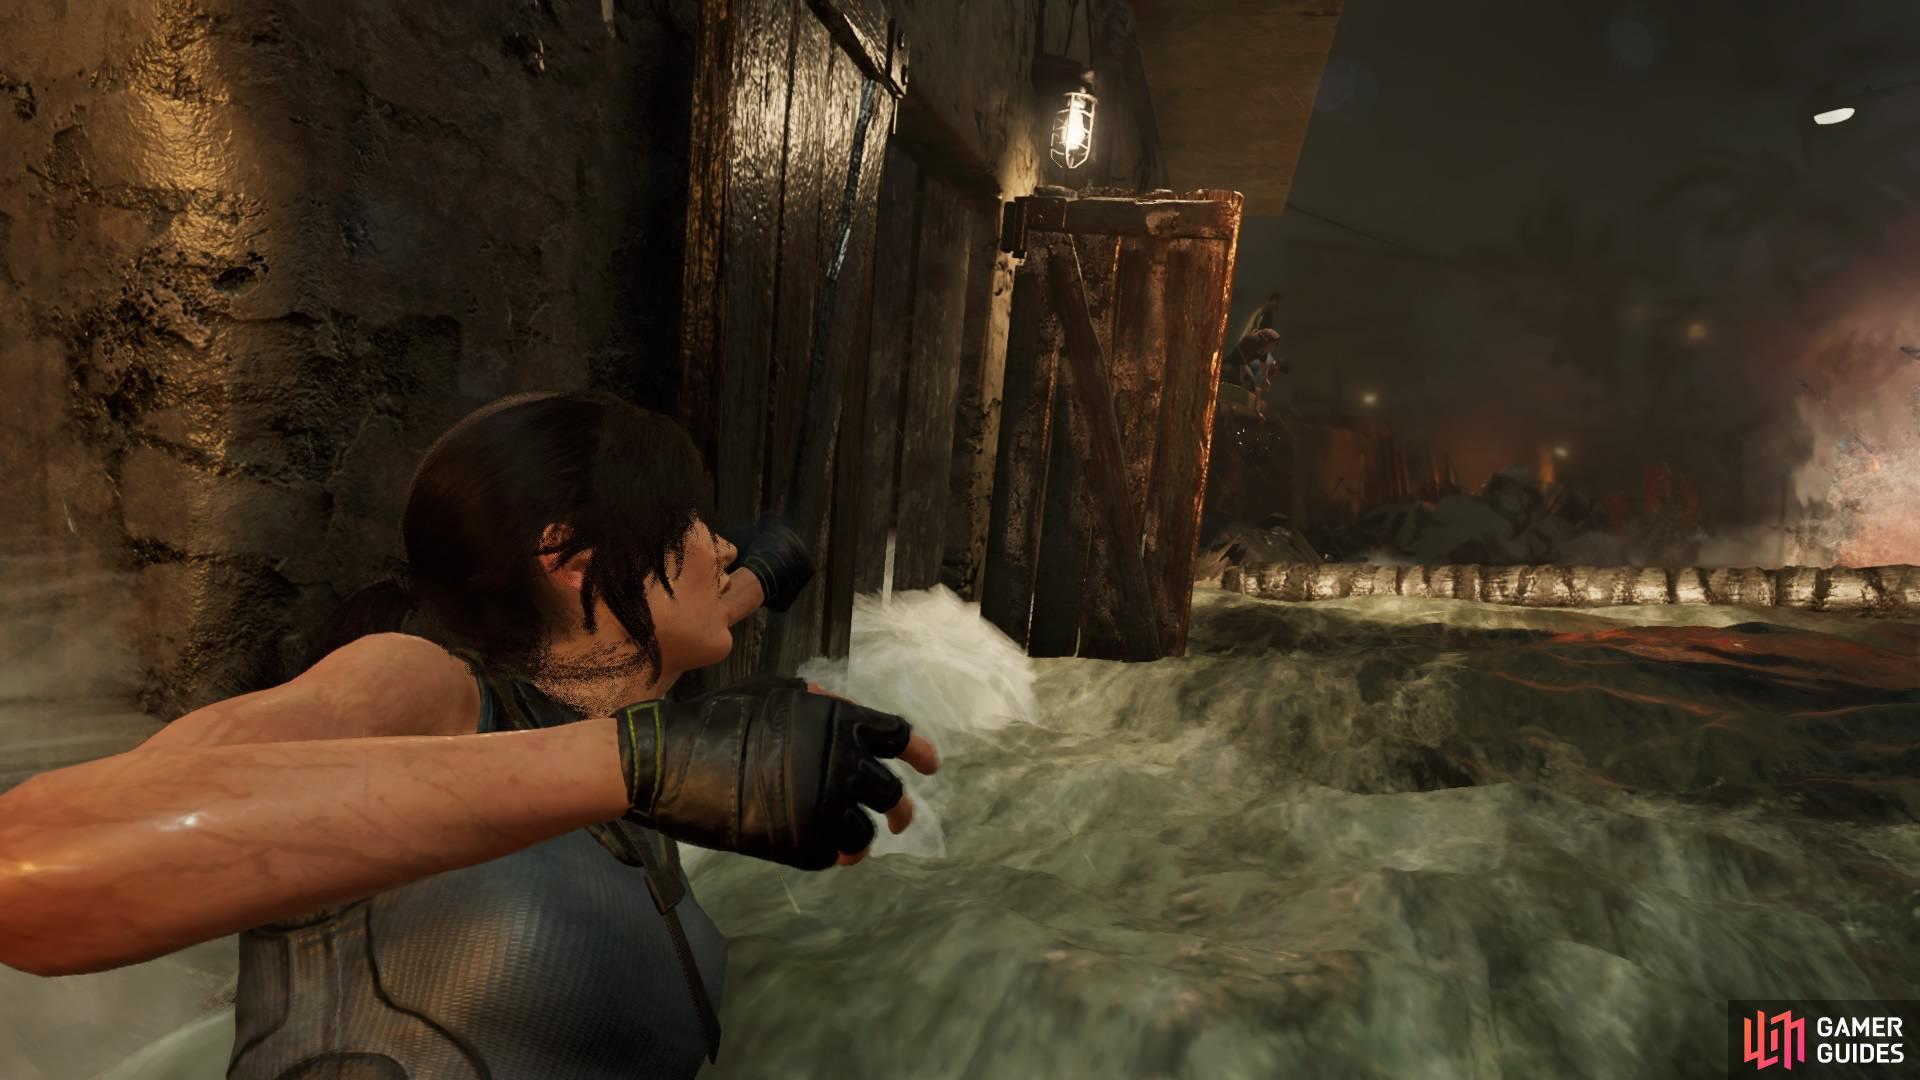
When a structure falls on you, you’ll be forced under the water. Swim through the doorway and find the pocket of trapped air to your right to regain breath, then swim forward towards the exit.
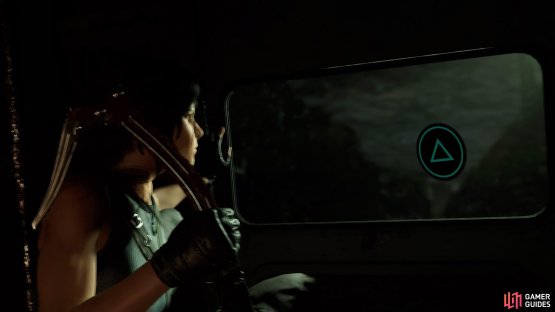
Rapidly tap the Interact button to break through the door and then aim for the truck above you in the top corner. Mash the melee button to break through the window and return to the surface.
(1 of 2) Break through the window to reach the surface again

Break through the window to reach the surface again (left), Climb the craggy wall and traverse your way around the building (right)
Lara will pull herself atop some floating debris, but you’ll have to keep moving quickly. Jump to the truck and straight on to the frame of the billboard rushing by, and run along it to keep following the path of debris ahead of you.
When you reach a roof, rush for the climbable wall ahead and traverse left on to the wooden planks. Shimmy right along the ledge until you reach the window, then climb up on to the roof to end the chapter.
No Comments