| Region Summary | . |
|---|---|
| Base Camp | 2 |
| Challenge Tomb | 0 |
| Mission Giver | 0 |
| Region Challenge | 0 |
| Treasure Chest | 0 |
| Crypt | 0 |
| Relic | 1 |
| Document | 4 |
| Mural | 1 |
| Survival Cache | 0 |
| Monolith | 0 |

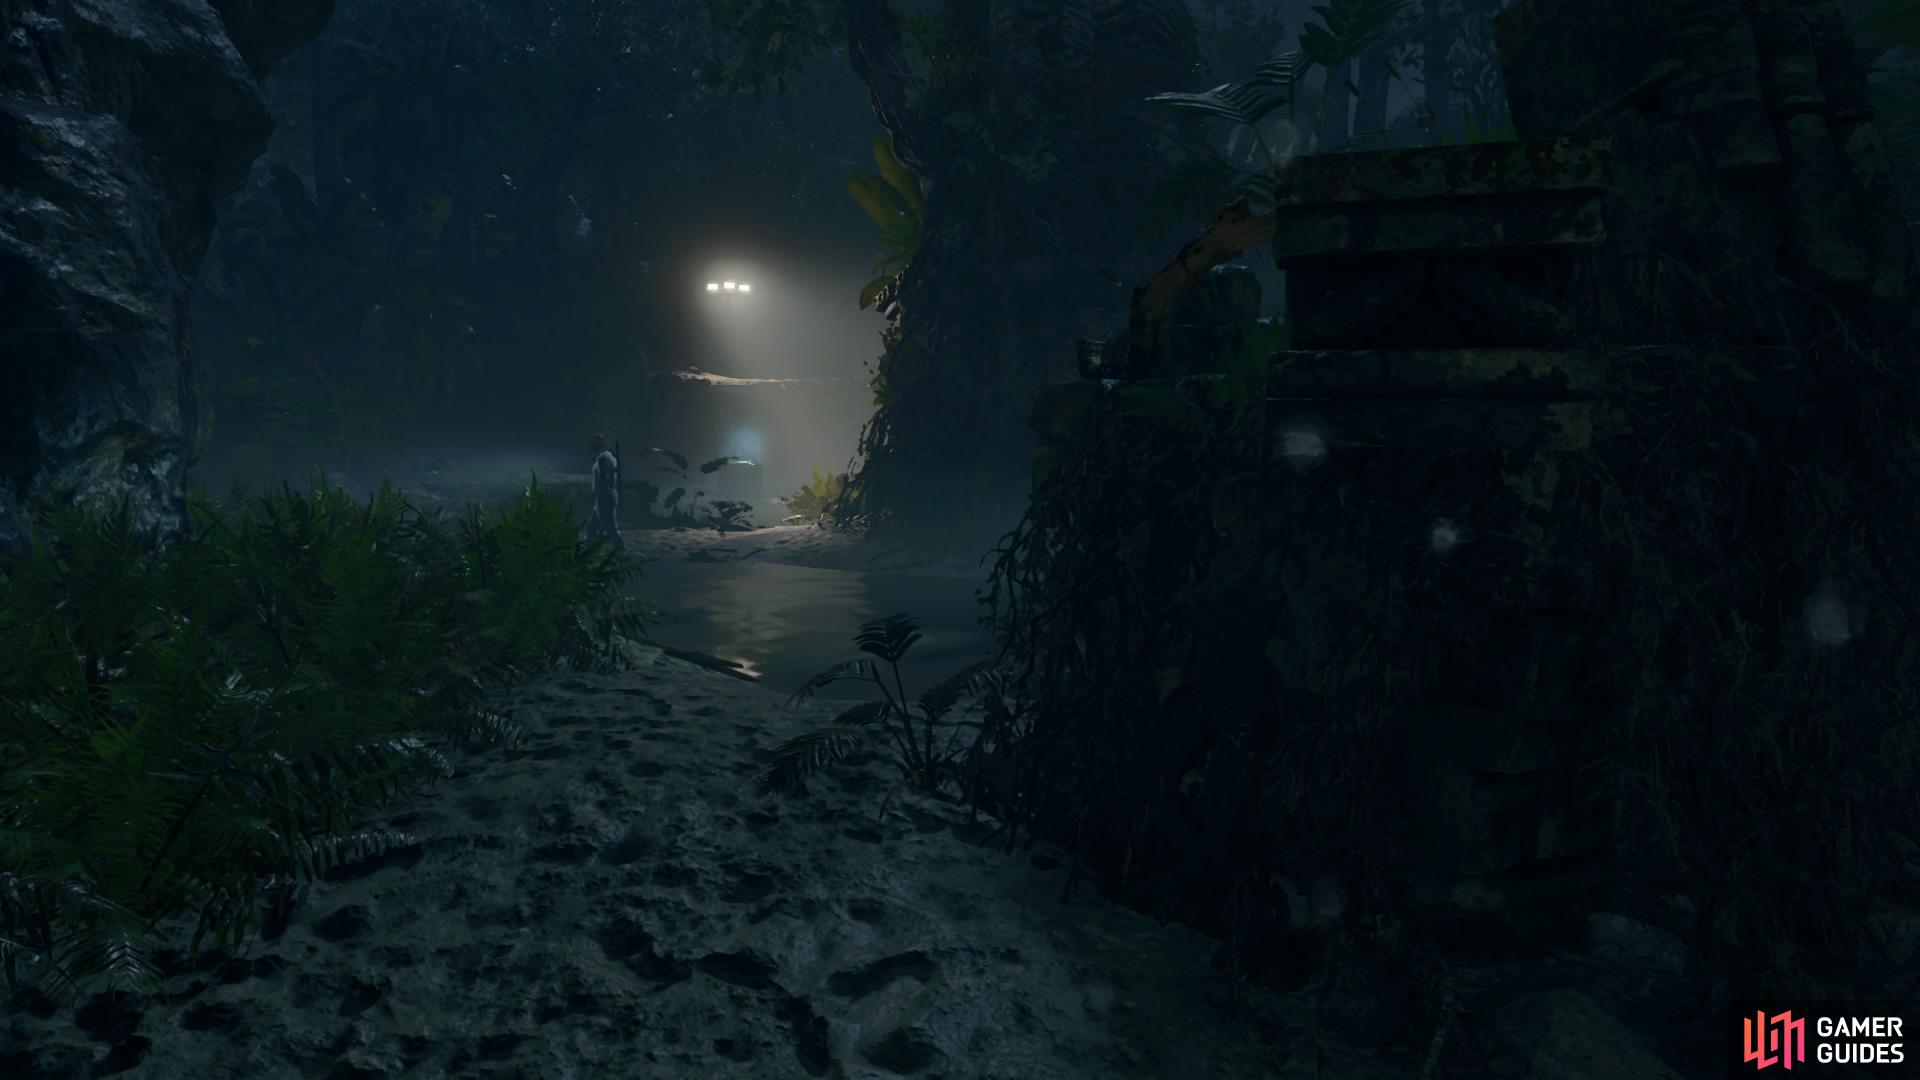
DOWNPOUR - FIND JONAH
After the cutscene, you’ll be once again split from Jonah, so now you have to find him. Along the way, however, you’ll have to fight your way through groups of Trinity soldiers. For now, you are limited to your climbing axes and knife, which means your approach to the oncoming encounters may require a heavy use of stealth kills. You can start by covering yourself in mud from the mud patch and scrambling to the right into a bush.
FIRST ENCOUNTER
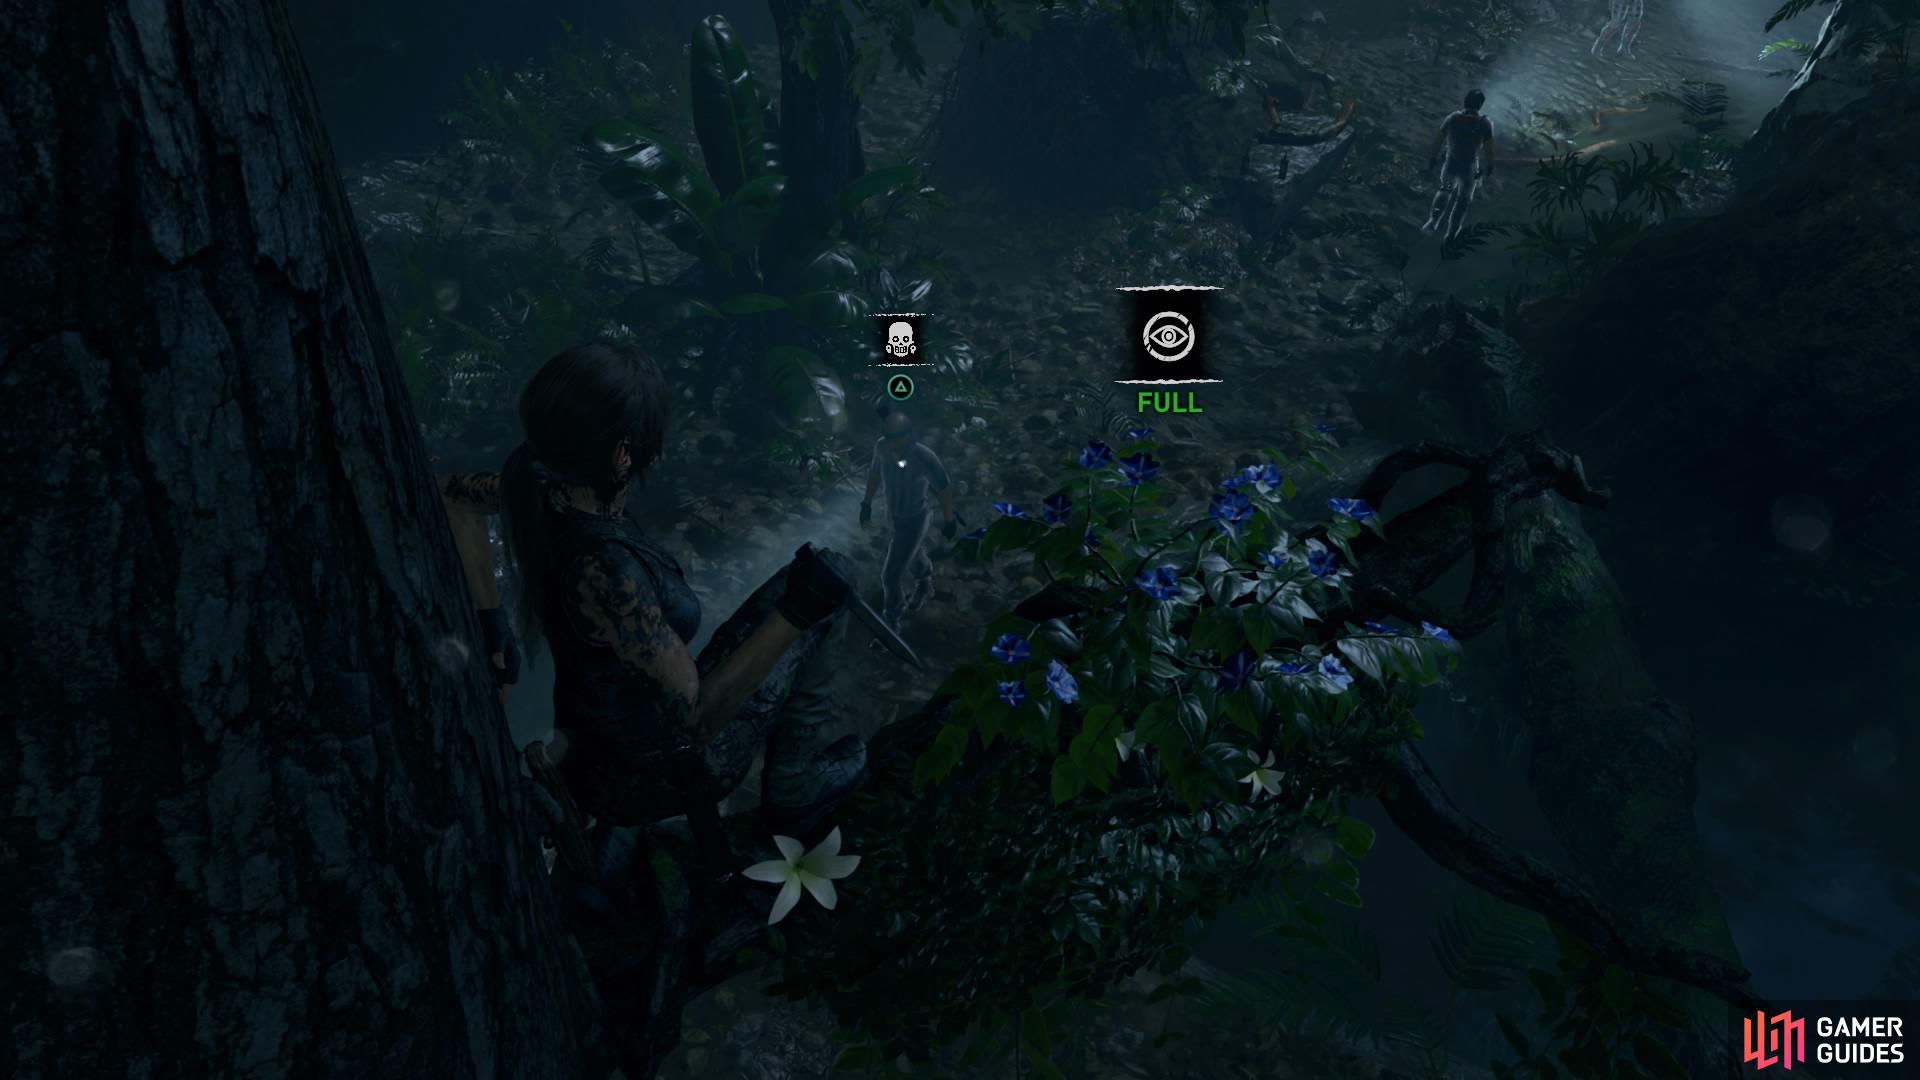
There are four enemies patrolling the first area: two are moving around while the other two are standing on the far side. Use the concealment bushes and the mud-covered walls to eliminate the two moving enemies. Then move around to the crates on the right to pick up a ceramic jar – you can either toss it to cause a distraction, or craft a smoke bomb to move in swiftly and take out the last two guys.


(1 of 2) Eliminate the four enemies
Eliminate the four enemies (left), Exit the area on the far side (right)
SECOND ENCOUNTER
In the next area, climb up the rocky ledge and cross the log to the right, and take out the lone enemy below. Swim across the water and hide in the concealment bush or climb the tree. If you wait for one of the men to move your way, you can stealth kill him from the bush or, if you’re in the tree, use the death from above takedown.

(1 of 2) Take out the lone enemy below
Take out the lone enemy below (left), Climb into the tree (right)
If his partner hasn’t moved then you can quickly take him out, too, but if he joins another enemy ahead, pick up one of the bottles from the rock ahead and toss it into the bush over on the left as a distraction. Kill the isolated guy before moving in on the last enemy.
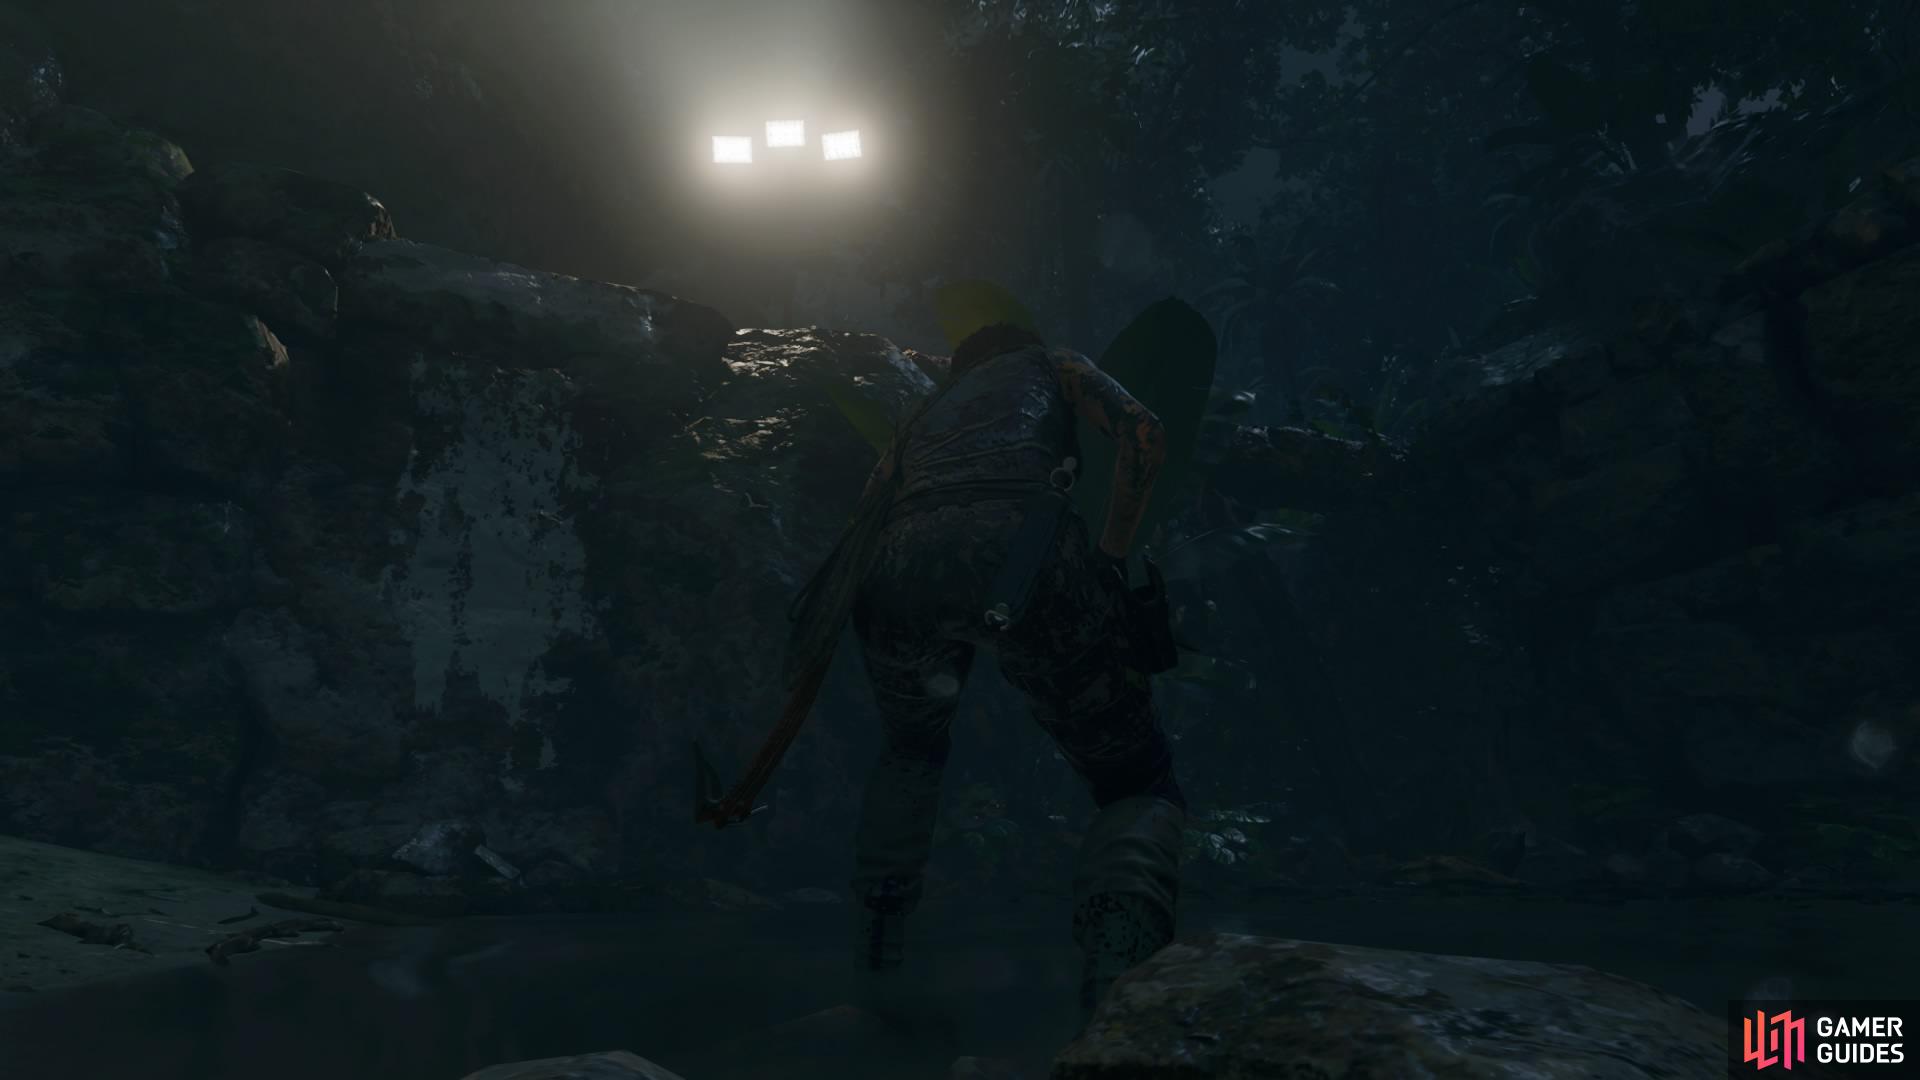
MOVE DEEPER INLAND
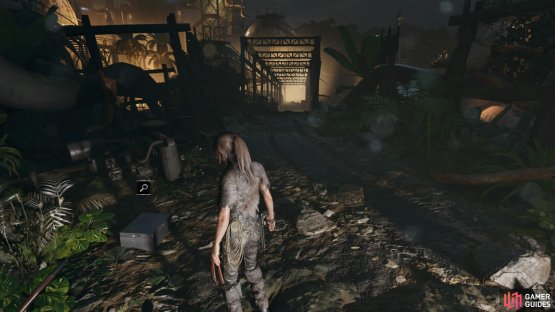
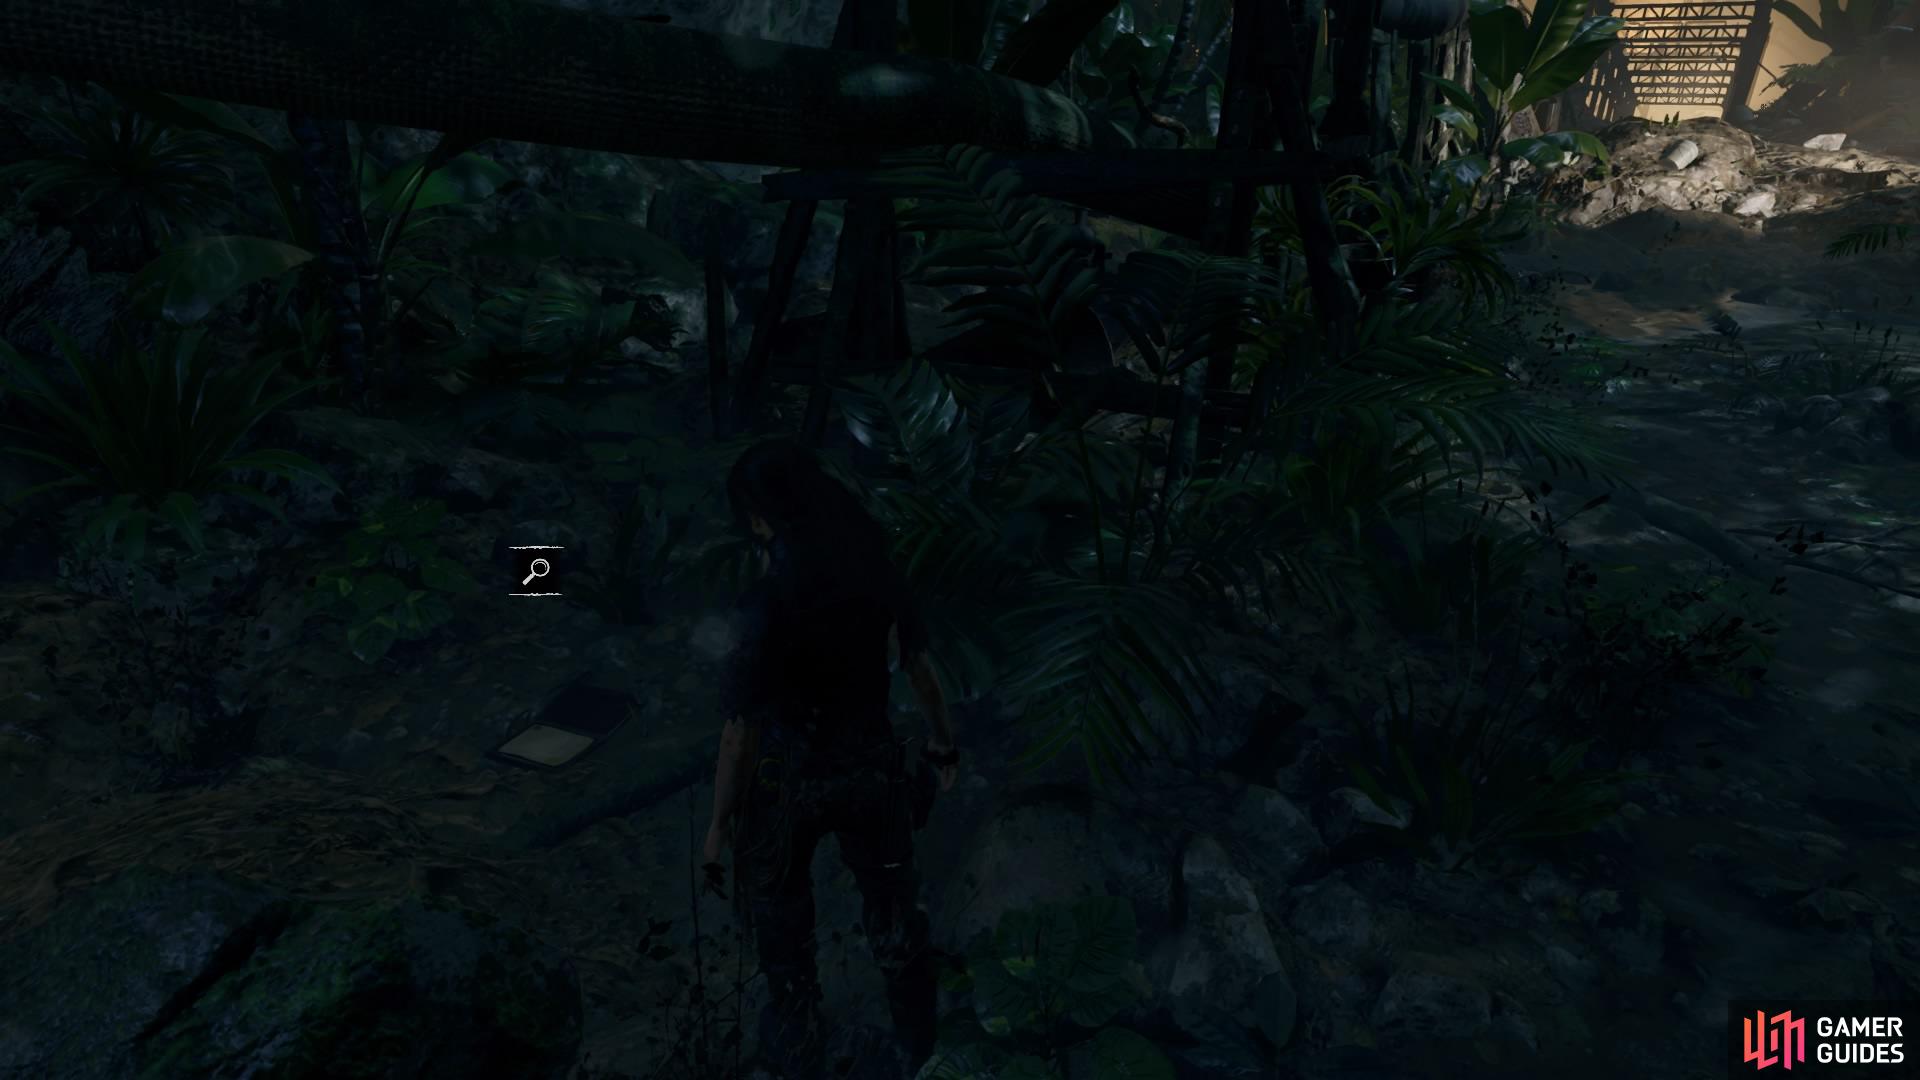
Climb up next to the waterfall and follow the waypoint to the edge of the cliff - you’ll come across Document – Journal of T. Serrano 9 along the way. Jump forward and throw the Grapple Axe to catch the next ledge, and then climb the craggy surface to reach the overhang. Move up and right until you can hoist yourself up. Now you can rest and upgrade if needed at the Beach Base Camp, and there’s also Document – Not Yet? lying nearby.
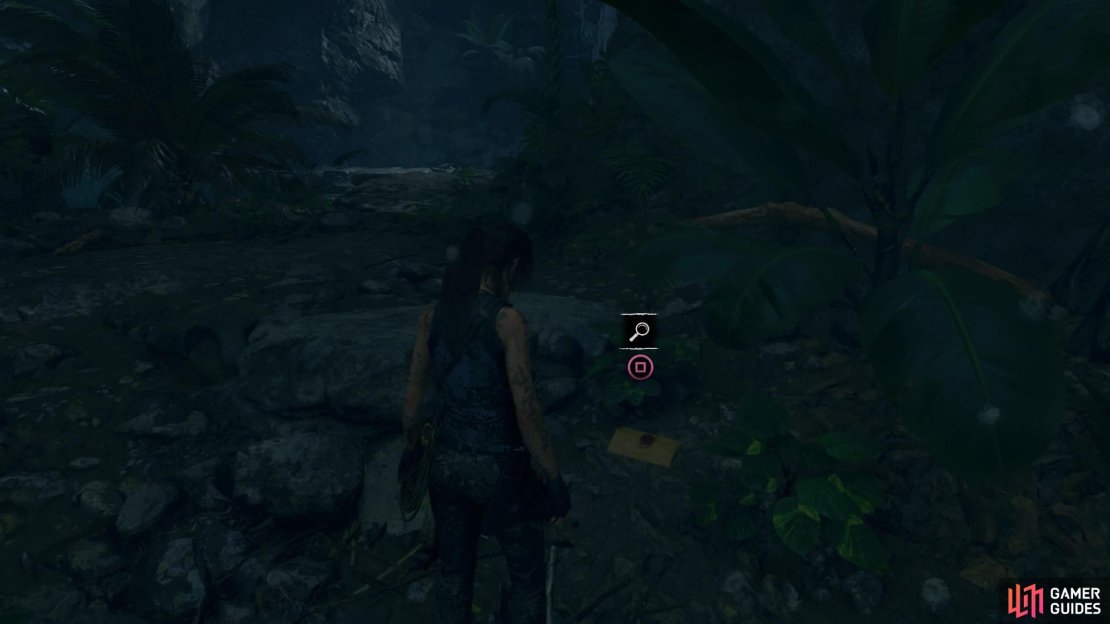
(1 of 3) Document - Journal of T. Serrano 9
It’s probably best recommended that the start of this region be tackled with stealth tactics, but melee may also be a necessary addition. Equip what you need according to your chosen approach, then continue along the path to wade through the water towards the next encounter.
THIRD ENCOUNTER
As a little disadvantage to you, two of the soldiers in the area are equipped with thermal goggles, which allow them to detect Lara through concealment bushes. Luckily, they can’t see through walls, so the vegetation and mud walls are still on your side!
If possible, make these two guys your first targets so that they won’t detect you and have you surrounded.
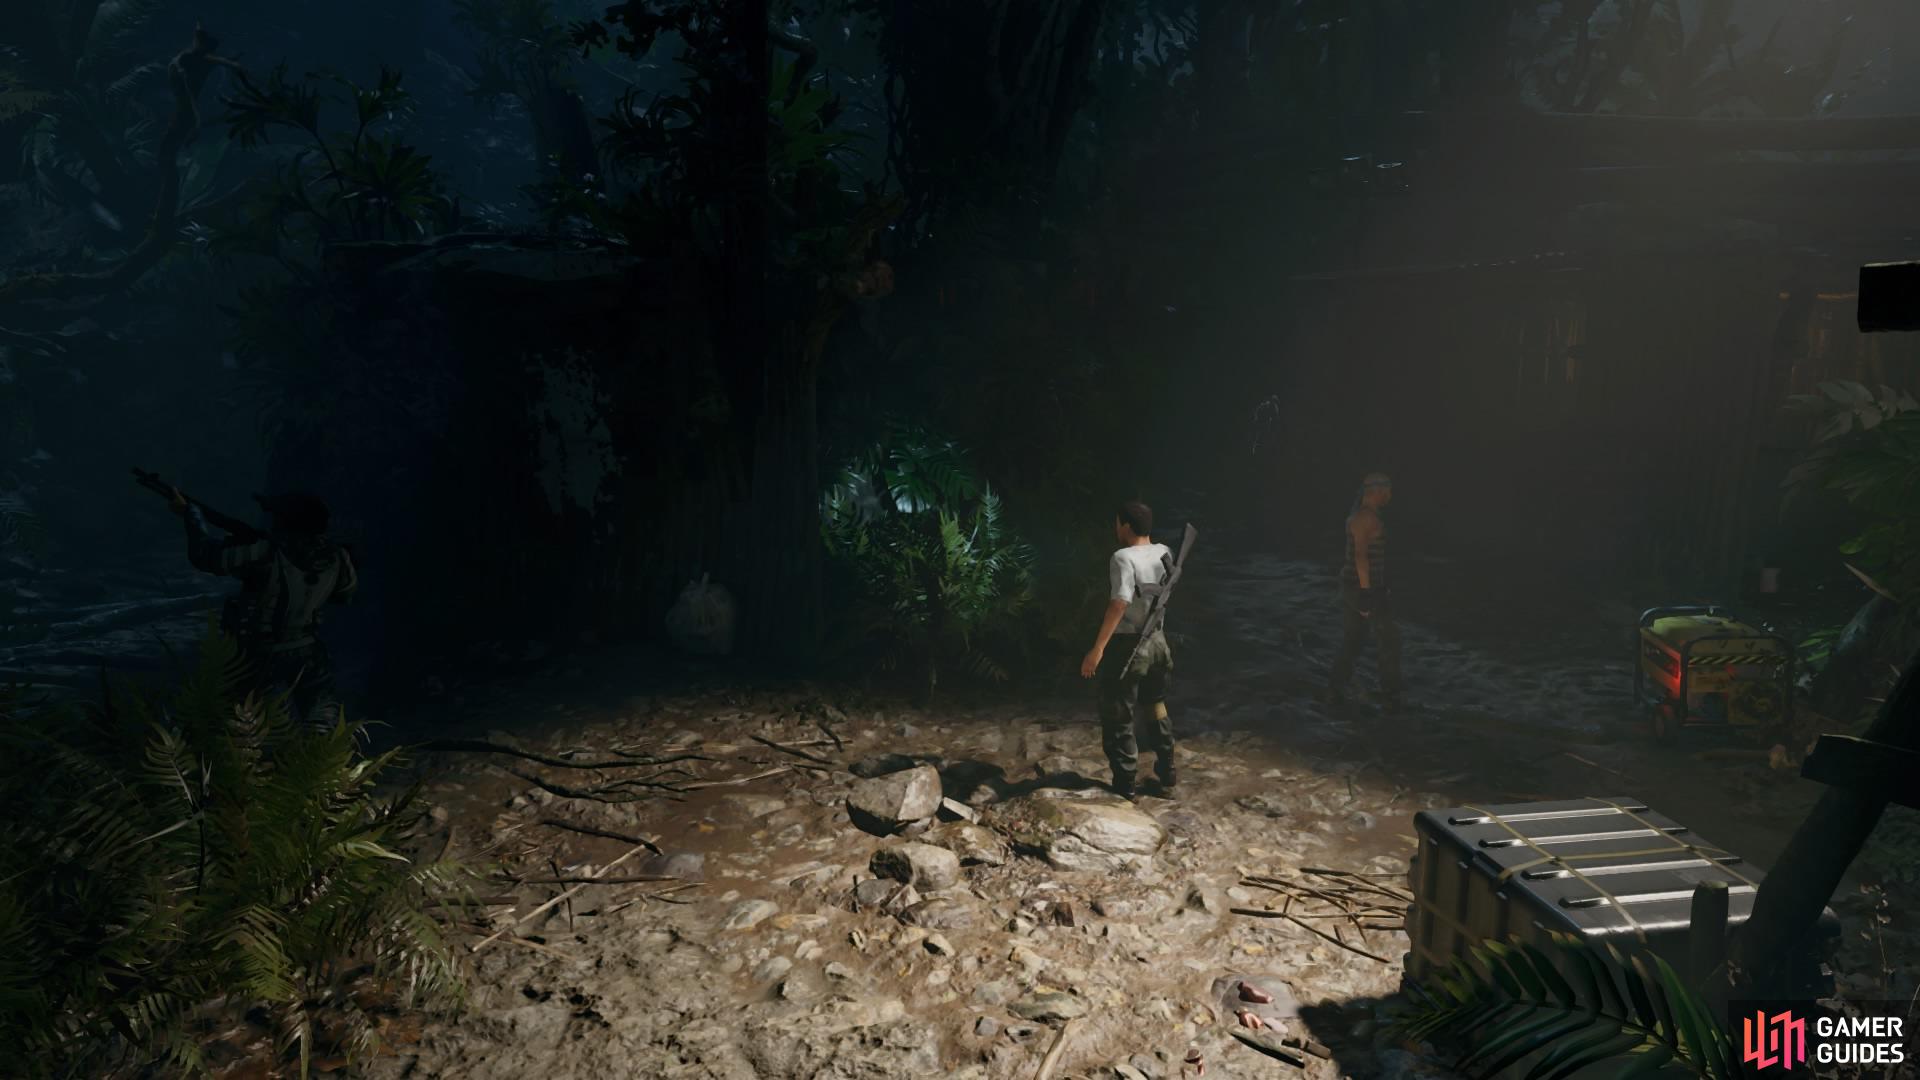
You can scramble to the bush on the left as the first guy with thermal goggles investigates, then take him down as the other two guys look away. There are two men standing by the exit, and a third working on the generator. Two more men move around the area, including the second thermal goggles guy.
The rocky structure in the middle is a great vantage point for scouting the area, and you can also climb on to the shelter roofs from this point as well.
Stay concealed as much as possible and attempt to pull enemies into the outside path to avoid detection. There are bottles and jars on the crates that you can use for distractions or crafting explosives.
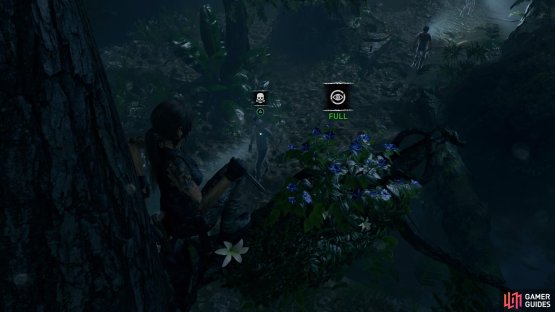
FOURTH ENCOUNTER
Squeeze through the gate to the next area. For this encounter, there are a few different ways you can take out the enemies. However, here are few sure tips to get rid of at least a few of them without detection:
-
The first enemy has thermal goggles, so cover yourself in mud and hide in the bush. When he gets close enough (and he won’t see you thanks to the mud) take him out.
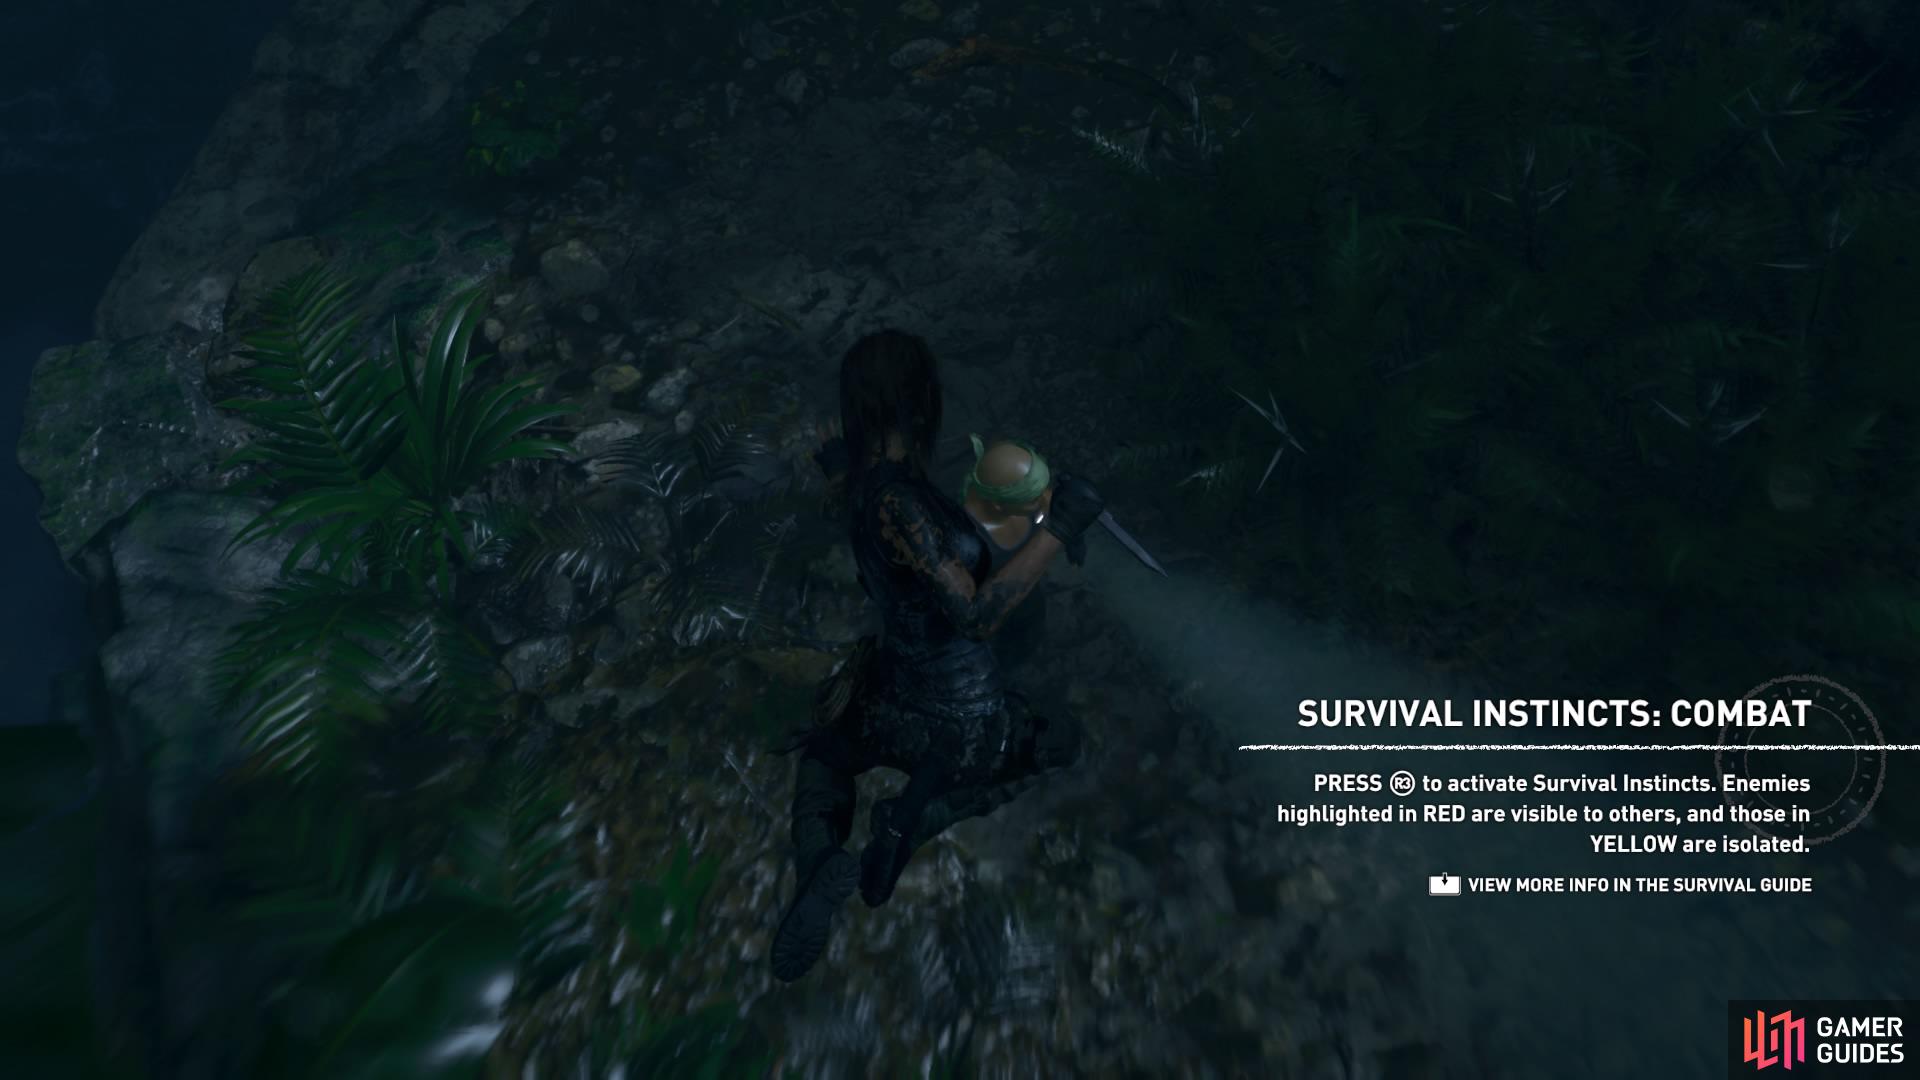
-
There’s a man working on a laptop in the shelter on the right. Conceal yourself in the mud-covered wall behind him and take him out when you’re close enough (use Survival Instincts to make sure he’s highlighted in yellow).
-
Left of the shelter is a generator in front of a concealment bush. Tinker with the generator to attract another guy’s attention and hide in the bush until he arrives. As he begins to walk away, perform a stealth kill.
-
There is one other enemy with thermal goggles, so keep an eye out for him.


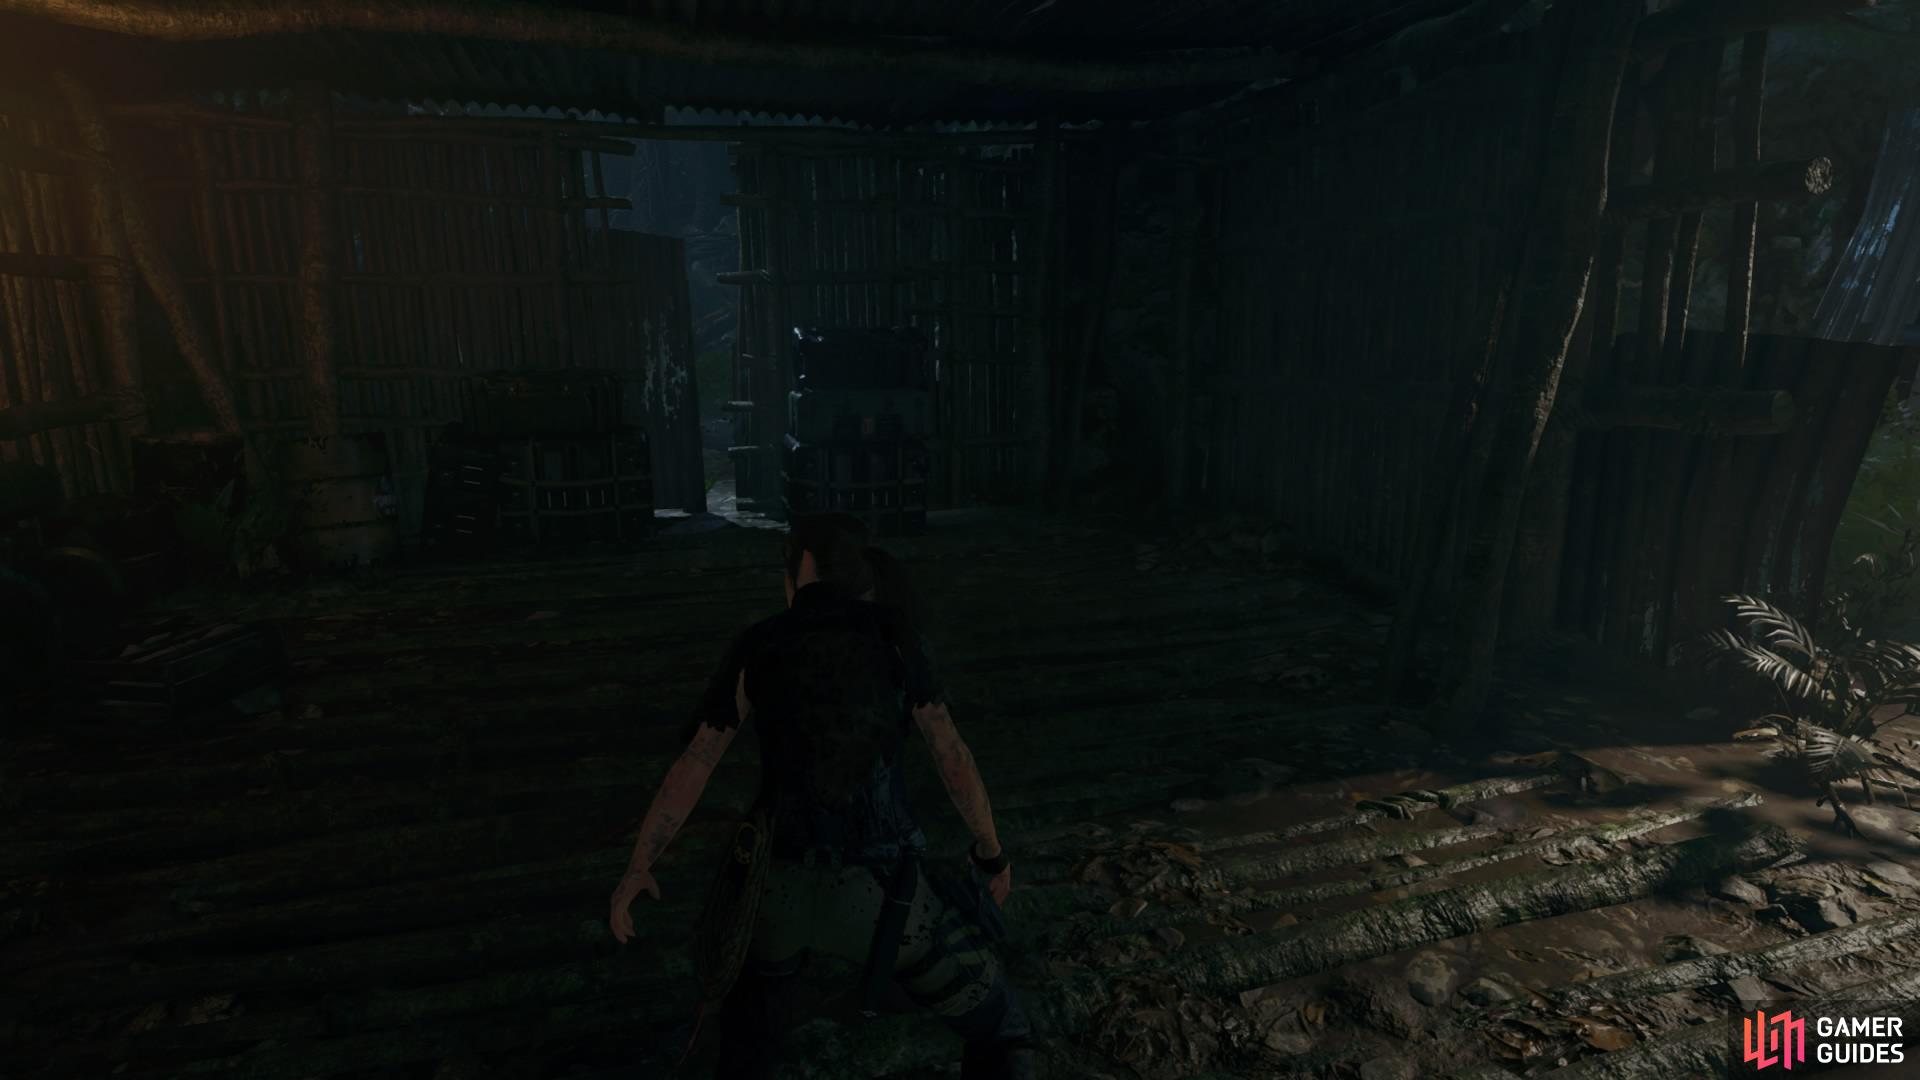
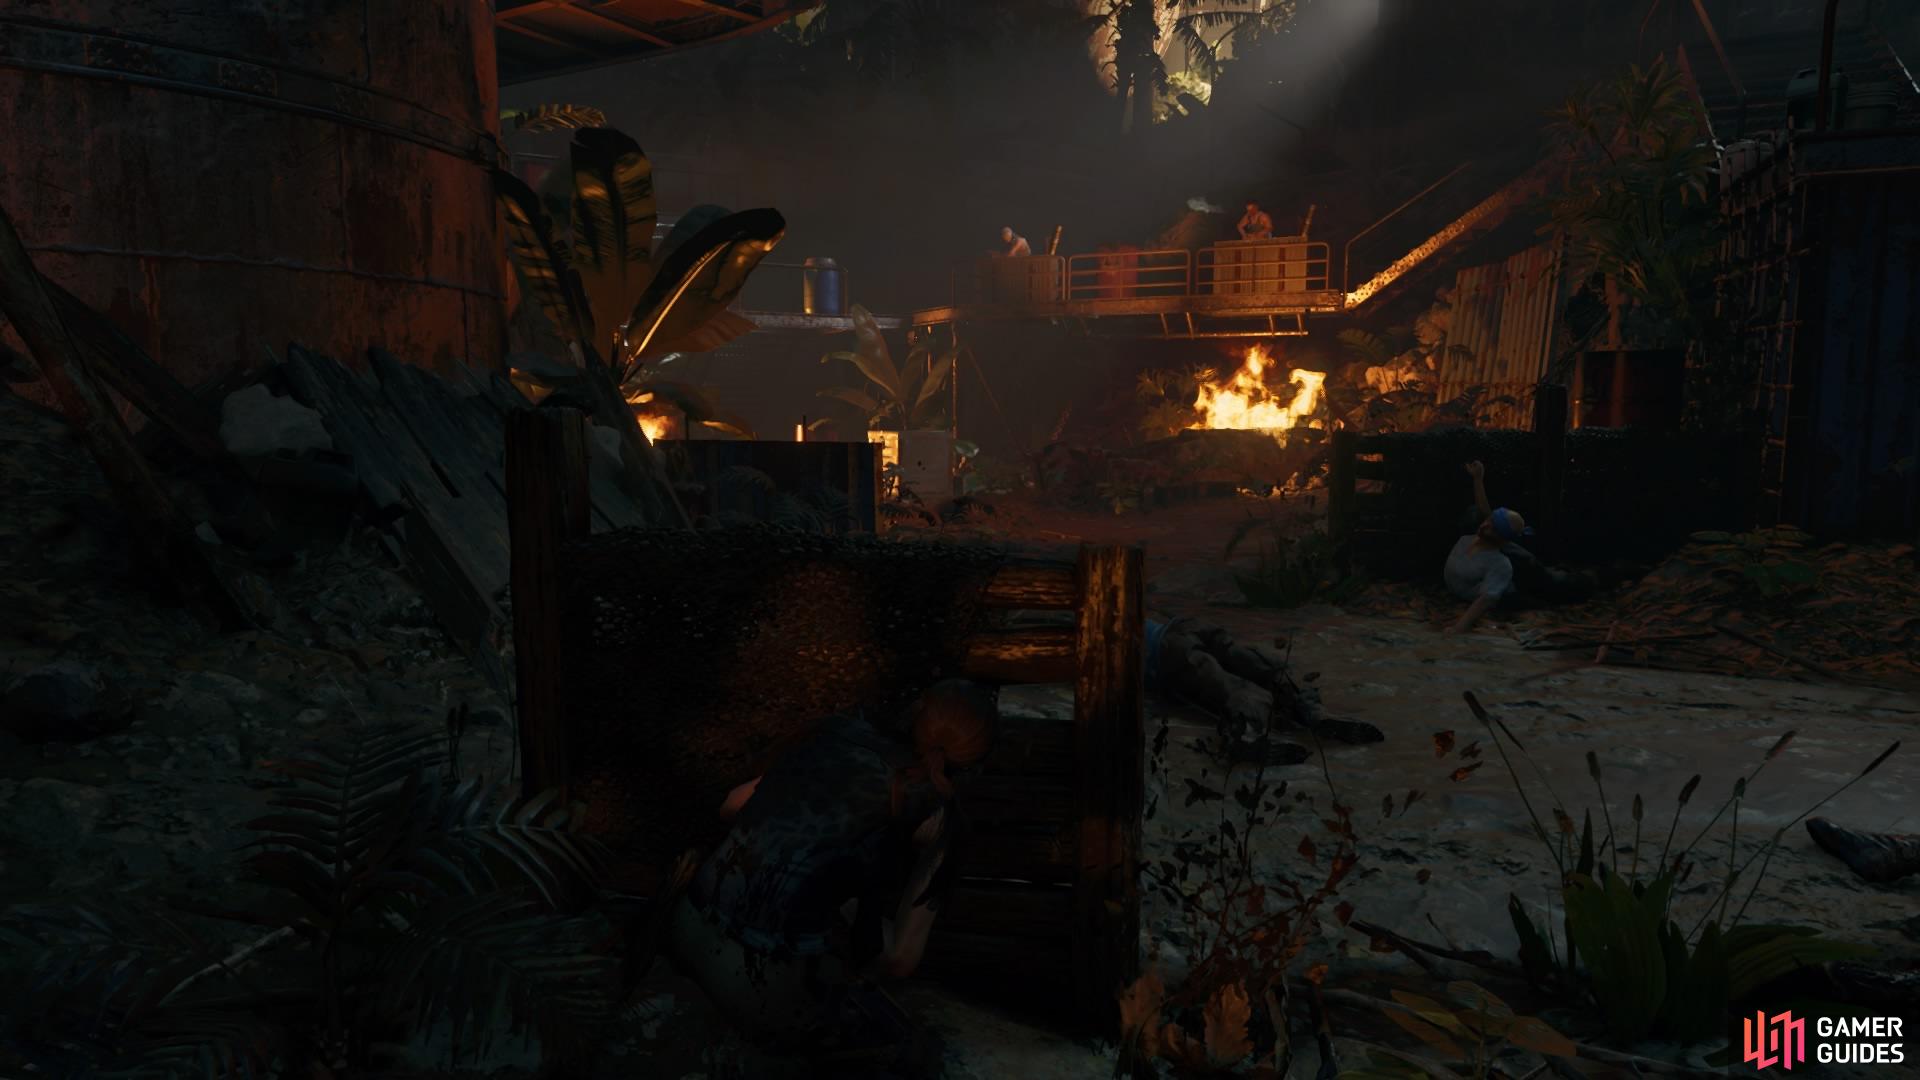
(1 of 2) Stealth kill the first guy from the bushes
Stealth kill the first guy from the bushes (left), Make your way through the area (right)
Everyone else in this area is fair game, so stay hidden and time your kills. There are jars and cans scattered around the place, so use those to your advantage, too, if need be.
When you’re done here, exit the area by scrambling up the walls on the far side.
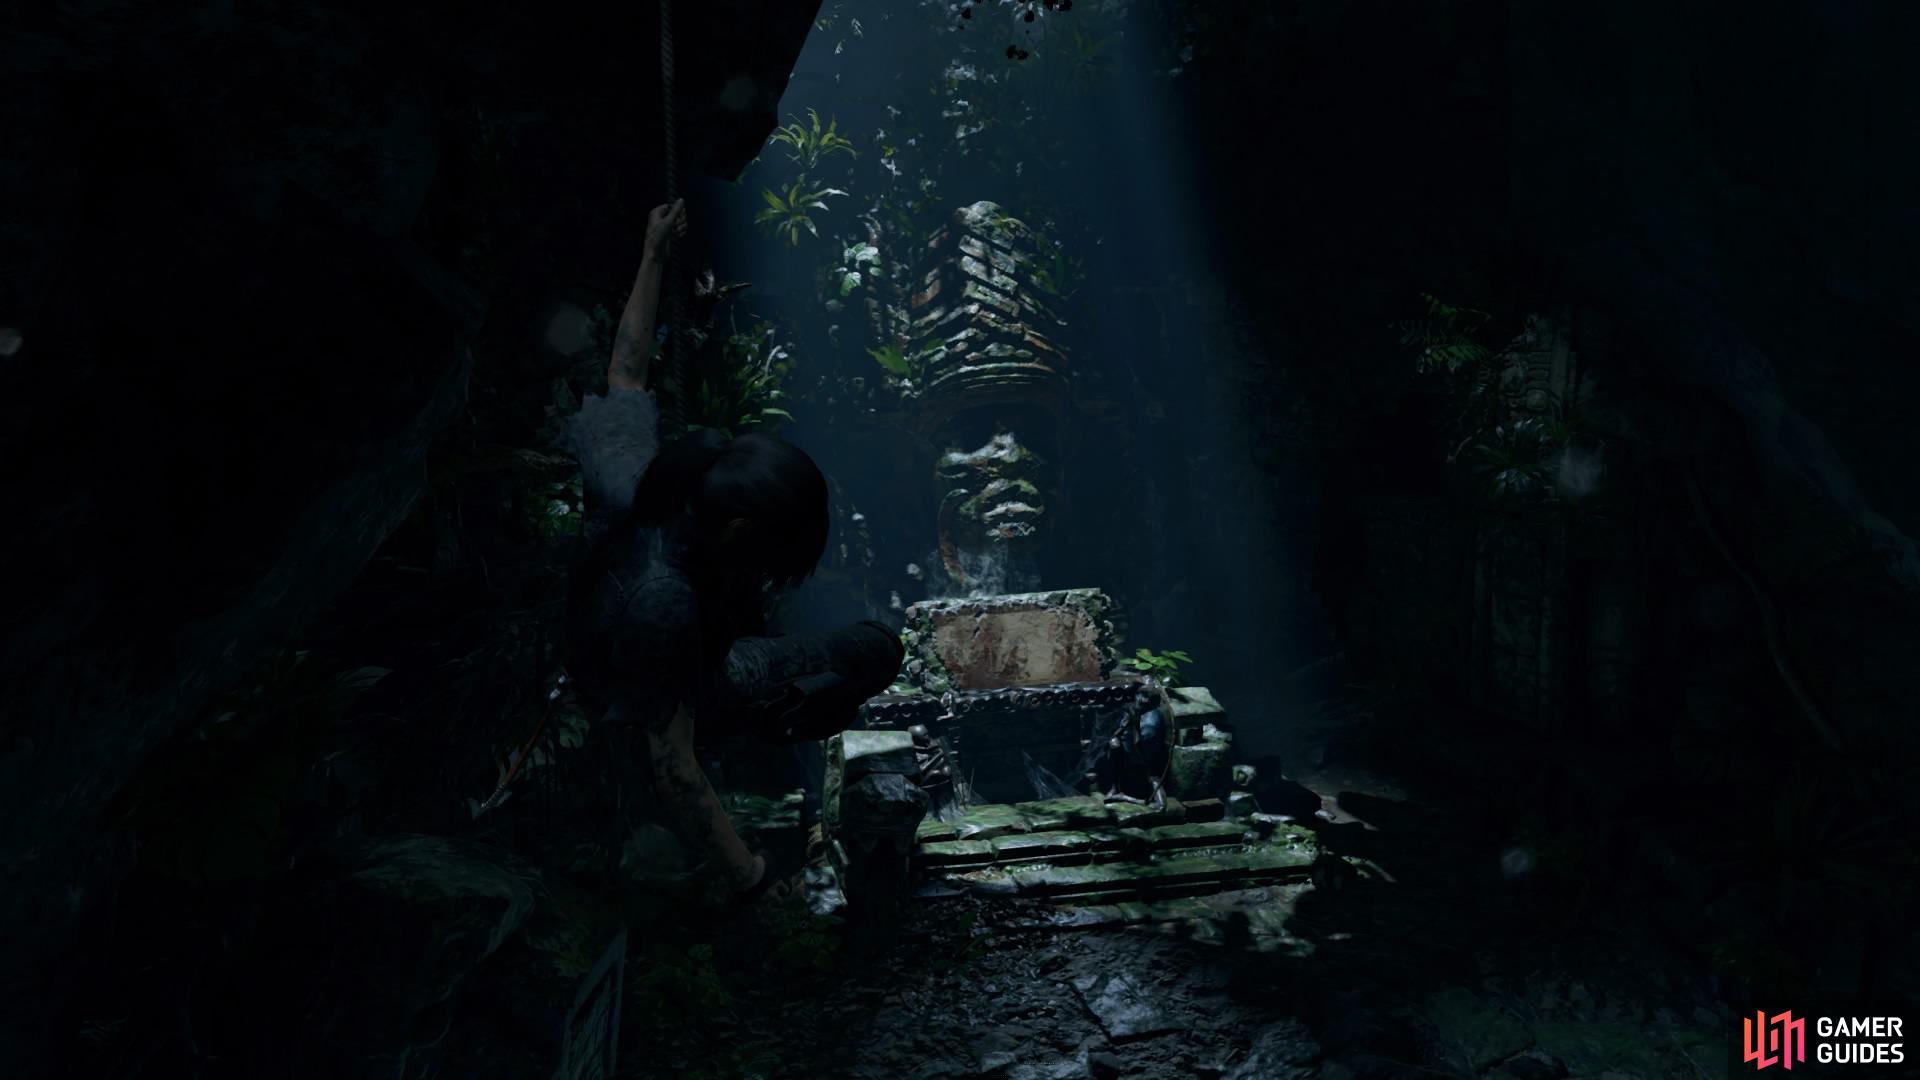
JAGUAR’S FEAR
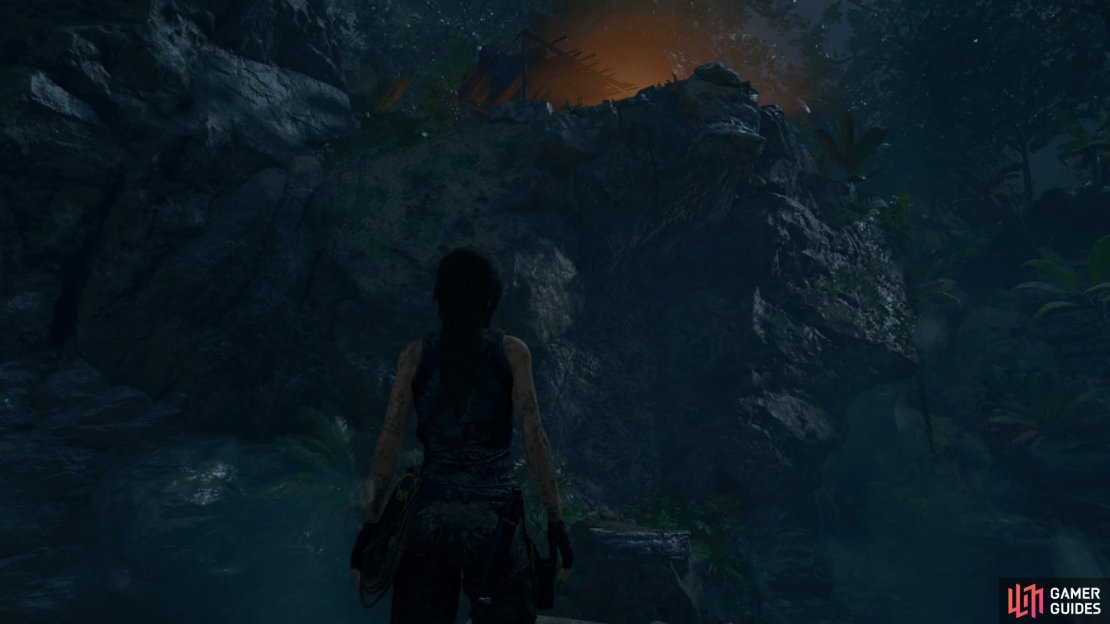
As you follow the trail you’ll come to a craggy wall – jump to it and rappel down into a cave.
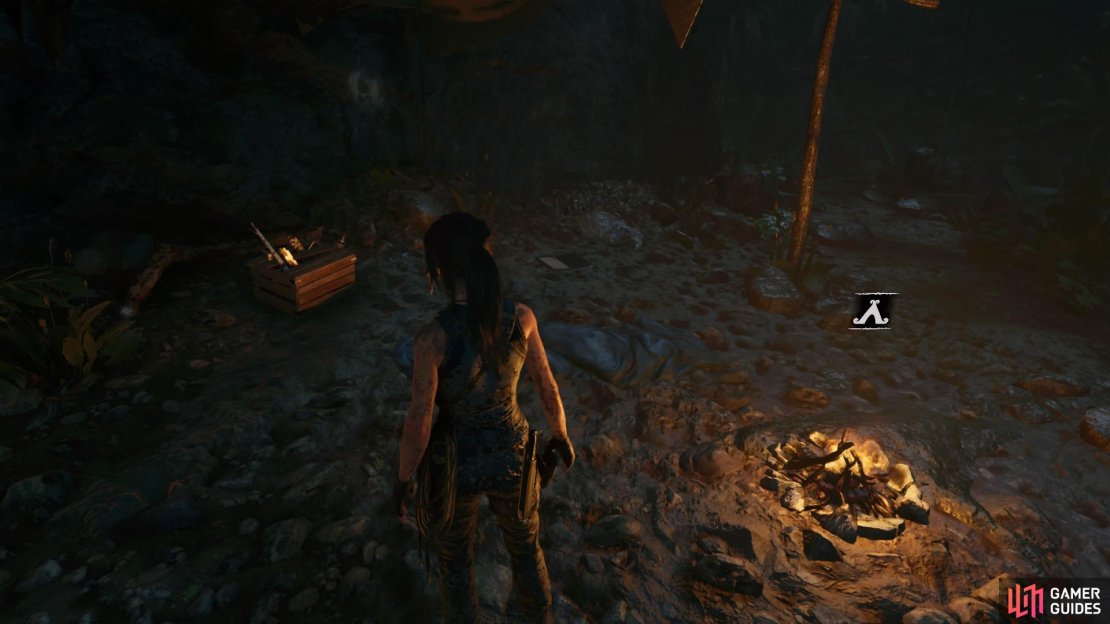
Lara will automatically pick up a bow in here as well as learn a new recipe for crafting fear arrows (this unlocks Skill: Jaguar’s Fear on the skill tree for you). These arrows are crafted with silent arrows, cloth, and dart poison.
When you hit an enemy with a fear arrow, they become confused and fire their weapon at nearby allies. When their rampage is over, they drop dead. It’s often best to target someone with an assault rifle, but the outcome will differ depending on who you target and what enemies, if any, are surrounding the affected foe.
FIFTH ENCOUNTER
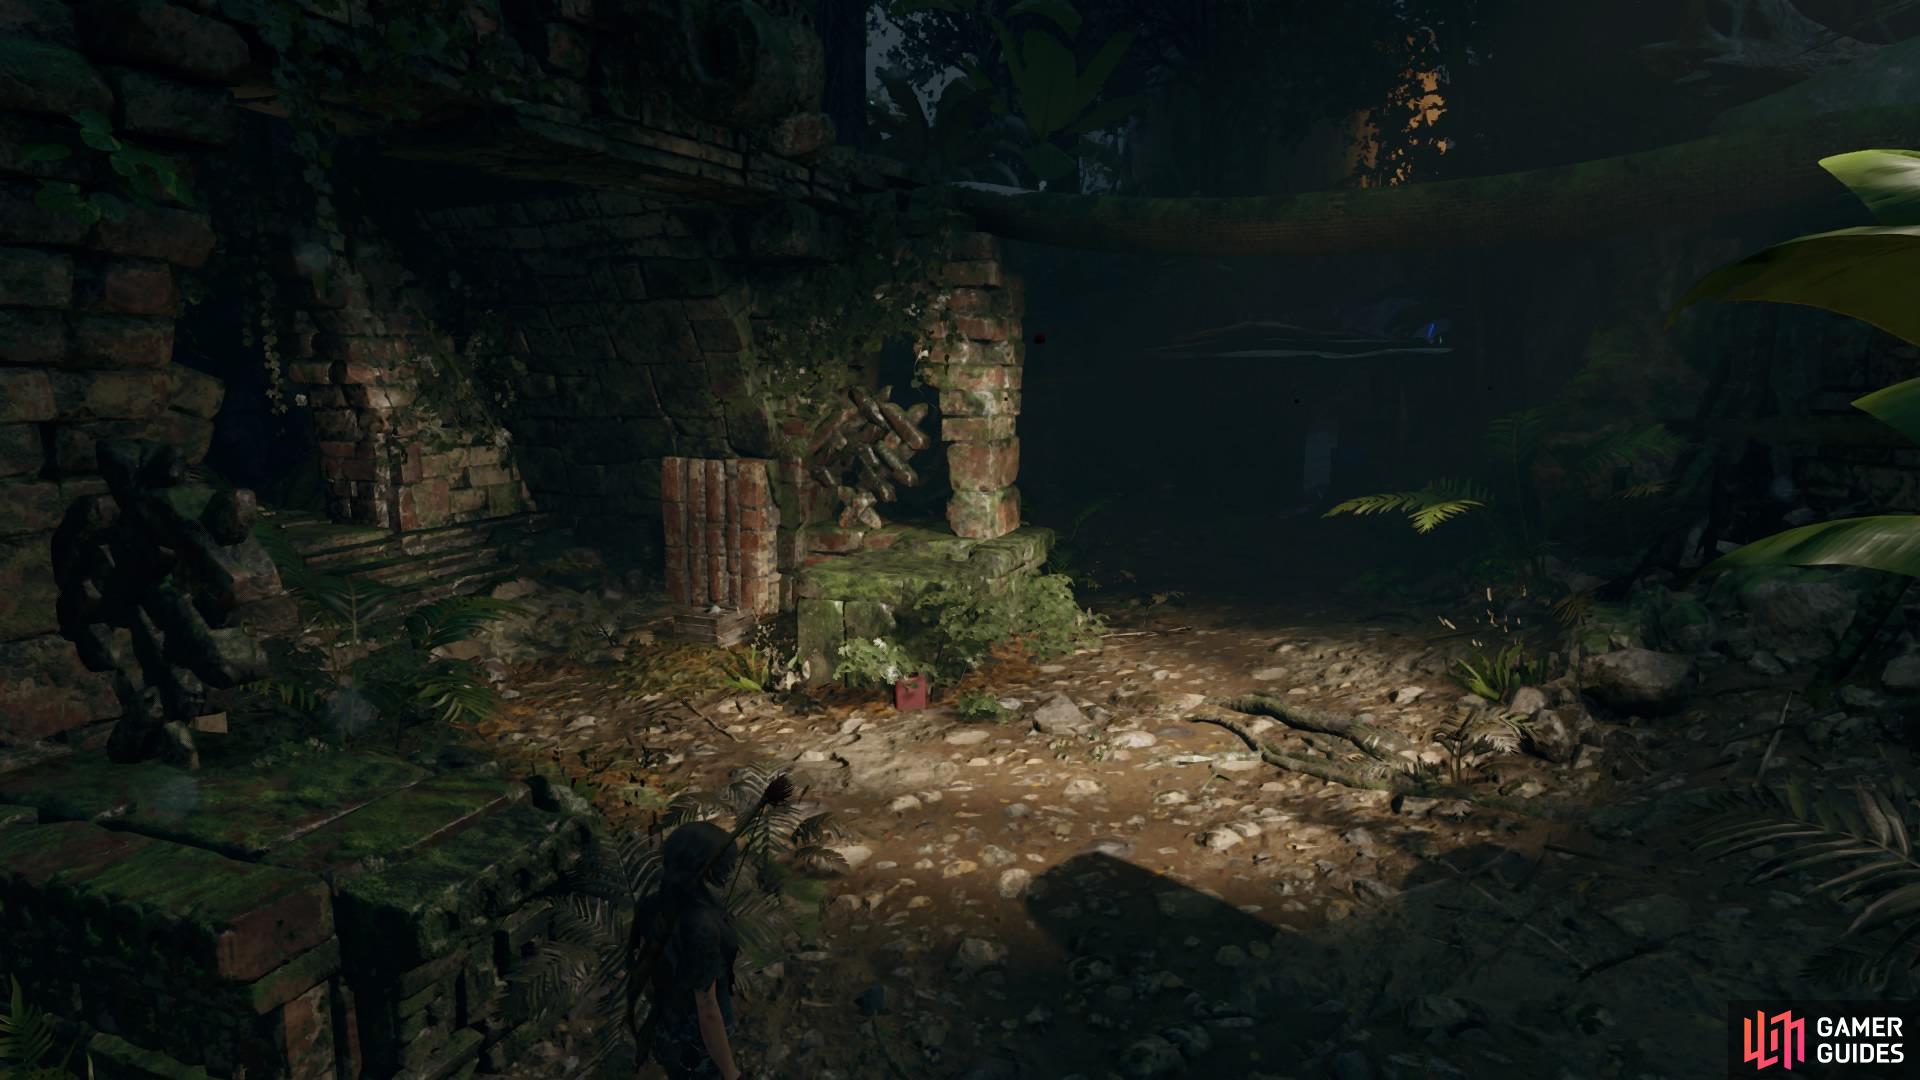
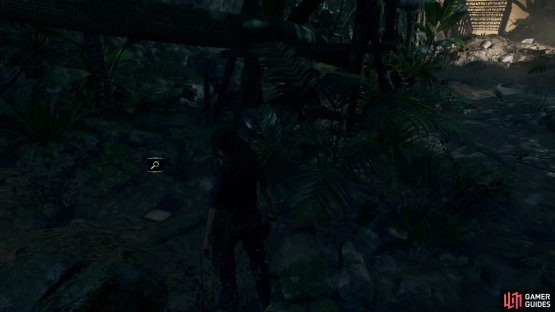
Move into the next room and inspect the mural on the left, followed by picking up Document – The Truth just next to it. Leave the cave and scramble up the tree just outside. It’s time to use your new fear arrows on unsuspecting victims.
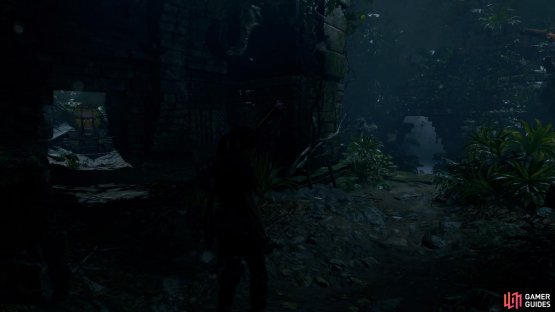
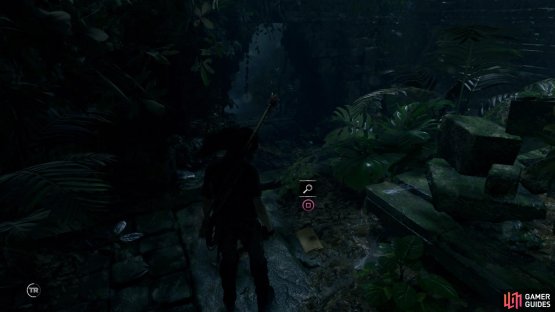
(1 of 2) Inspect the mural

Inspect the mural (left), Document - The Truth (right)
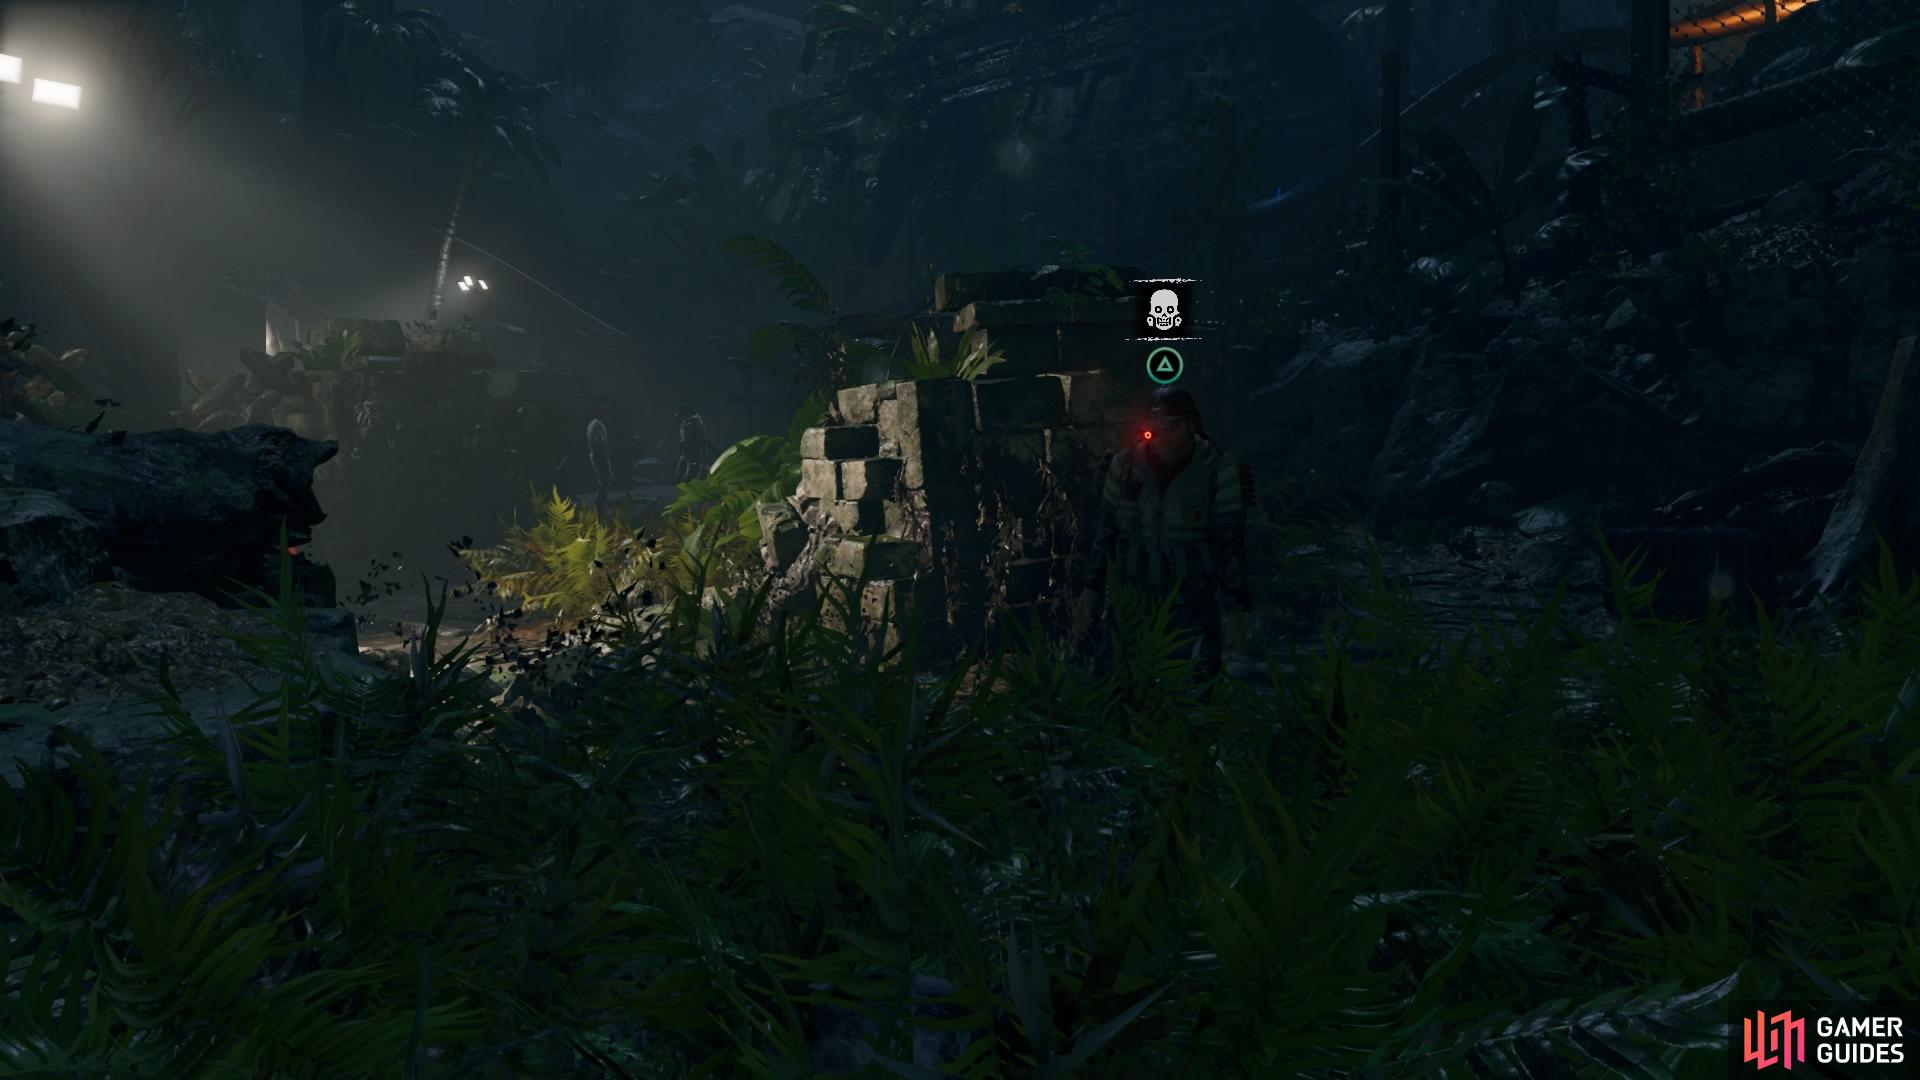
There are three men below – hit the middle guy (closest to you) with a fear arrow and watch as he kills his comrades. If either of them survive, perform a death from above kill, or wait for him to get in range to string him up in the tree.
As you drop down, scramble straight up the next tree ahead and jump to the rock structure in front of you. There are several enemies all patrolling the immediate area as well as the ruins ahead. Once again, there are bottles, cans, and jars to aid you in distractions and explosives if you need them.
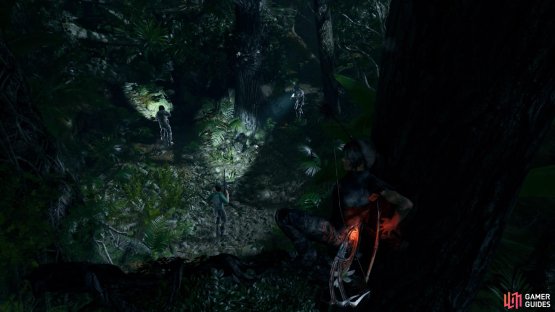

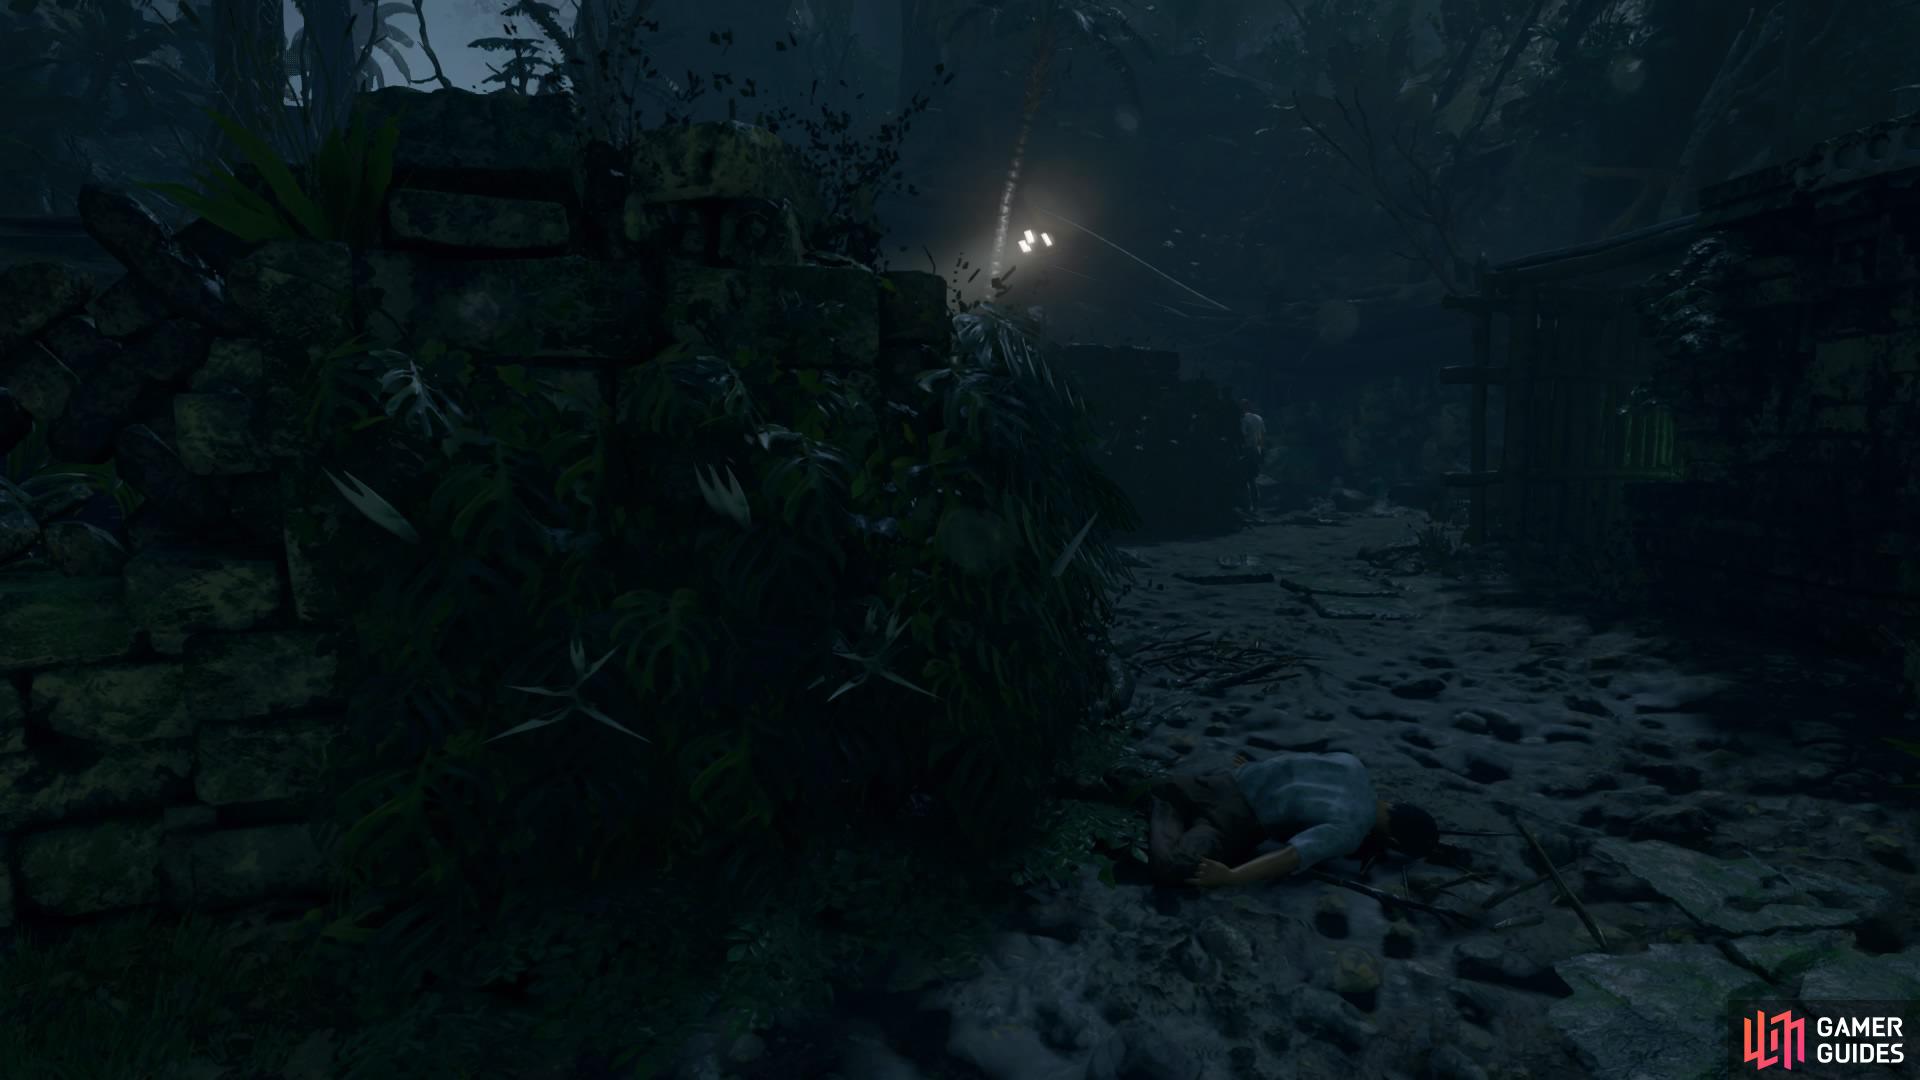
(1 of 2) Use your new fear arrows
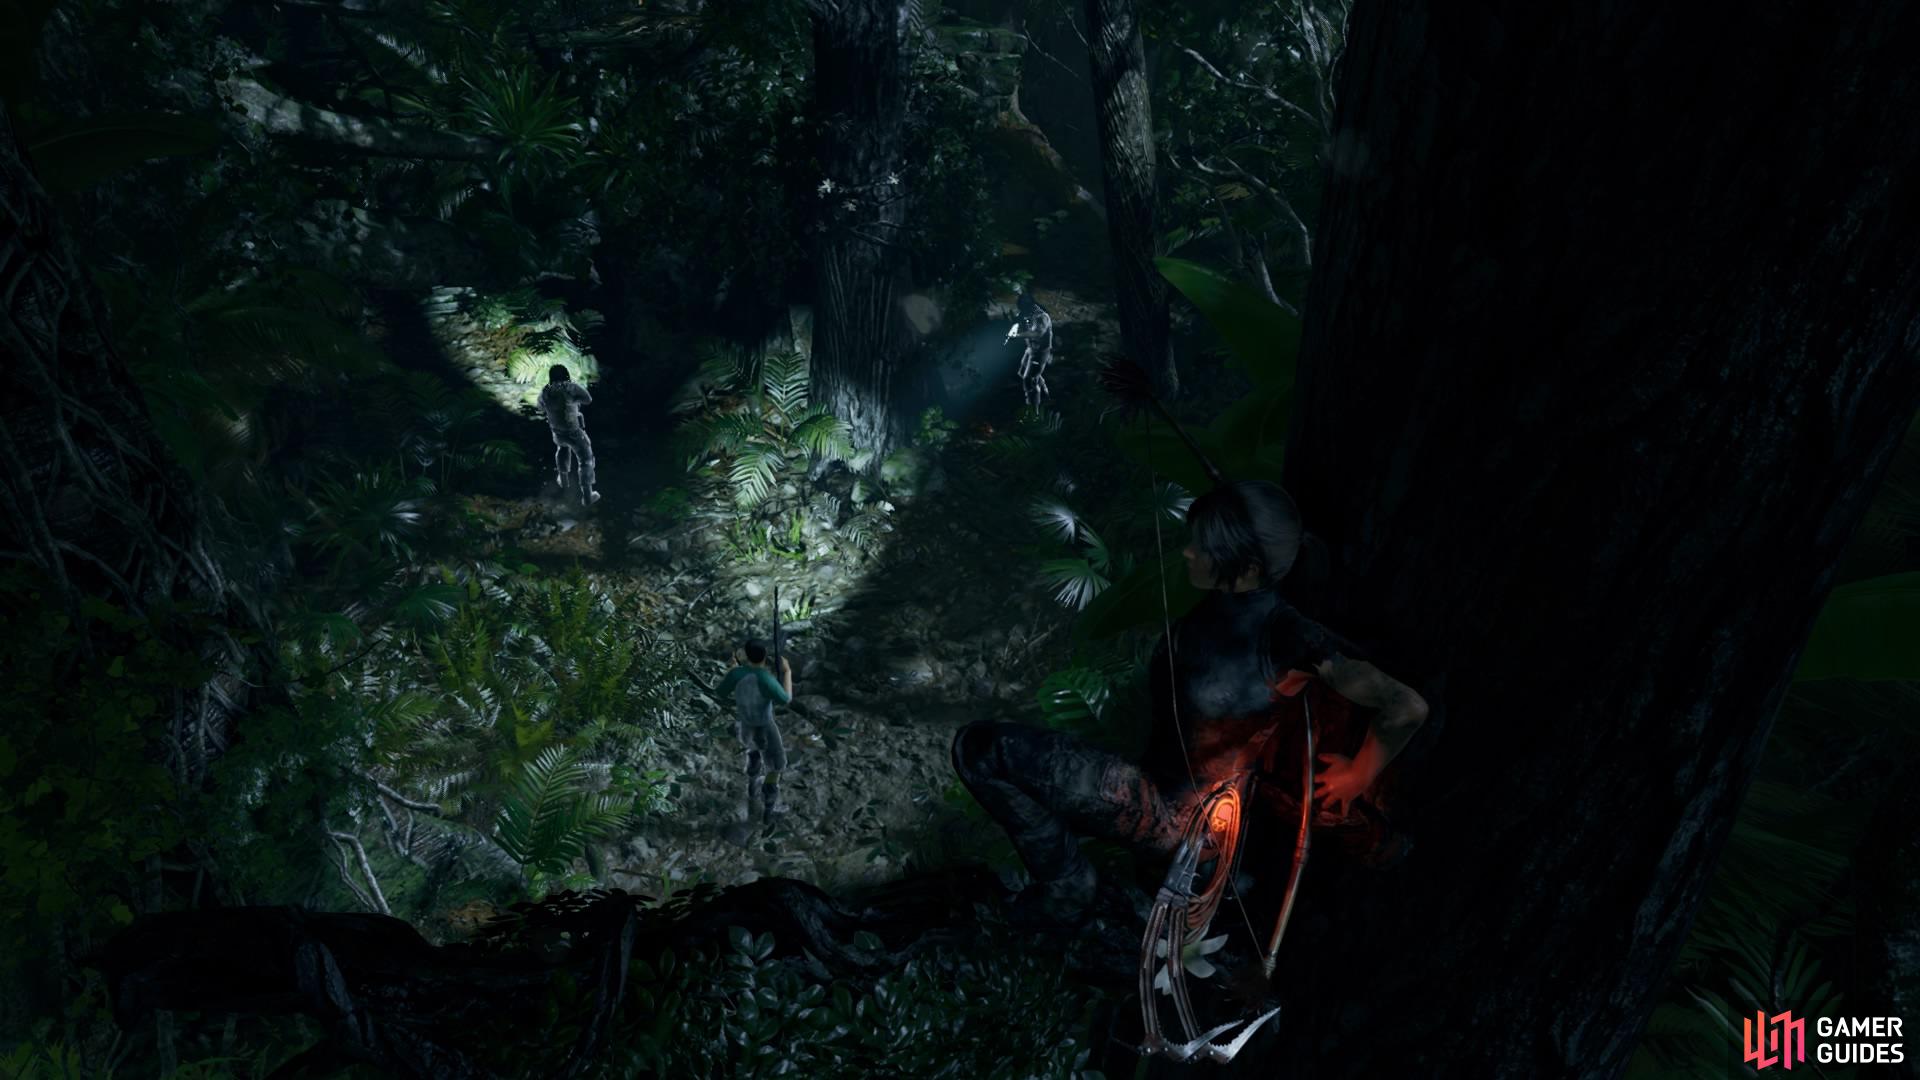
Use your new fear arrows (left), Exit out the left side of the ruins (right)
However, it’s pretty easy to stay atop the rock structure and pick the enemies off one-by-one without getting caught. You can strike enemies from above when they’re close enough and scramble straight back up again, and with your new bow, you can take out the rest of the soldiers from a distance.
Feel free to take your time with this encounter and play around with the many possibilities that this large area has to offer.
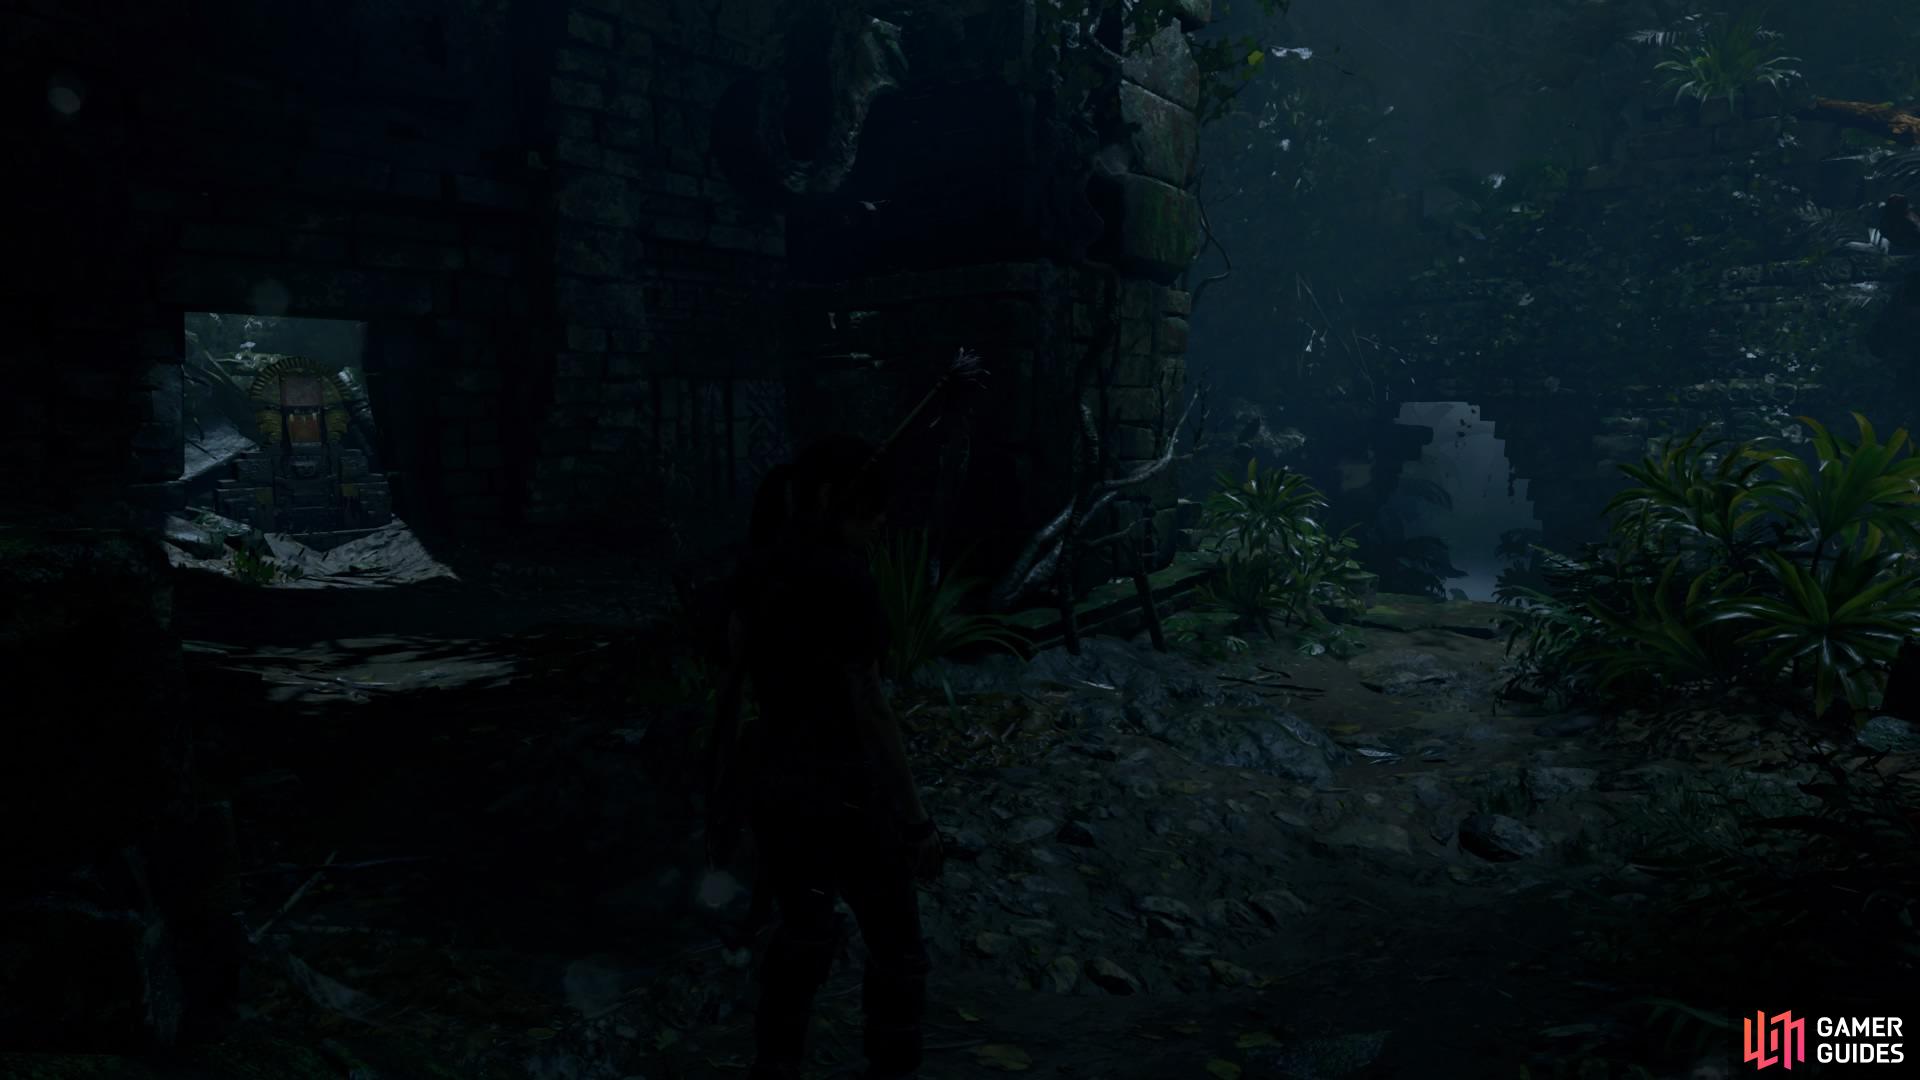
When you’re done, head up the ruins ahead and look for the narrow opening on the left-hand side.
EVADE THE HELICOPTER
Follow the trail forward. You’ll find Document – A Lost World and Relic – Hardhat along the pipes to your left along the way.
(1 of 2) Document - A Lost World

Document - A Lost World (left), Relic - Hardhat (right)
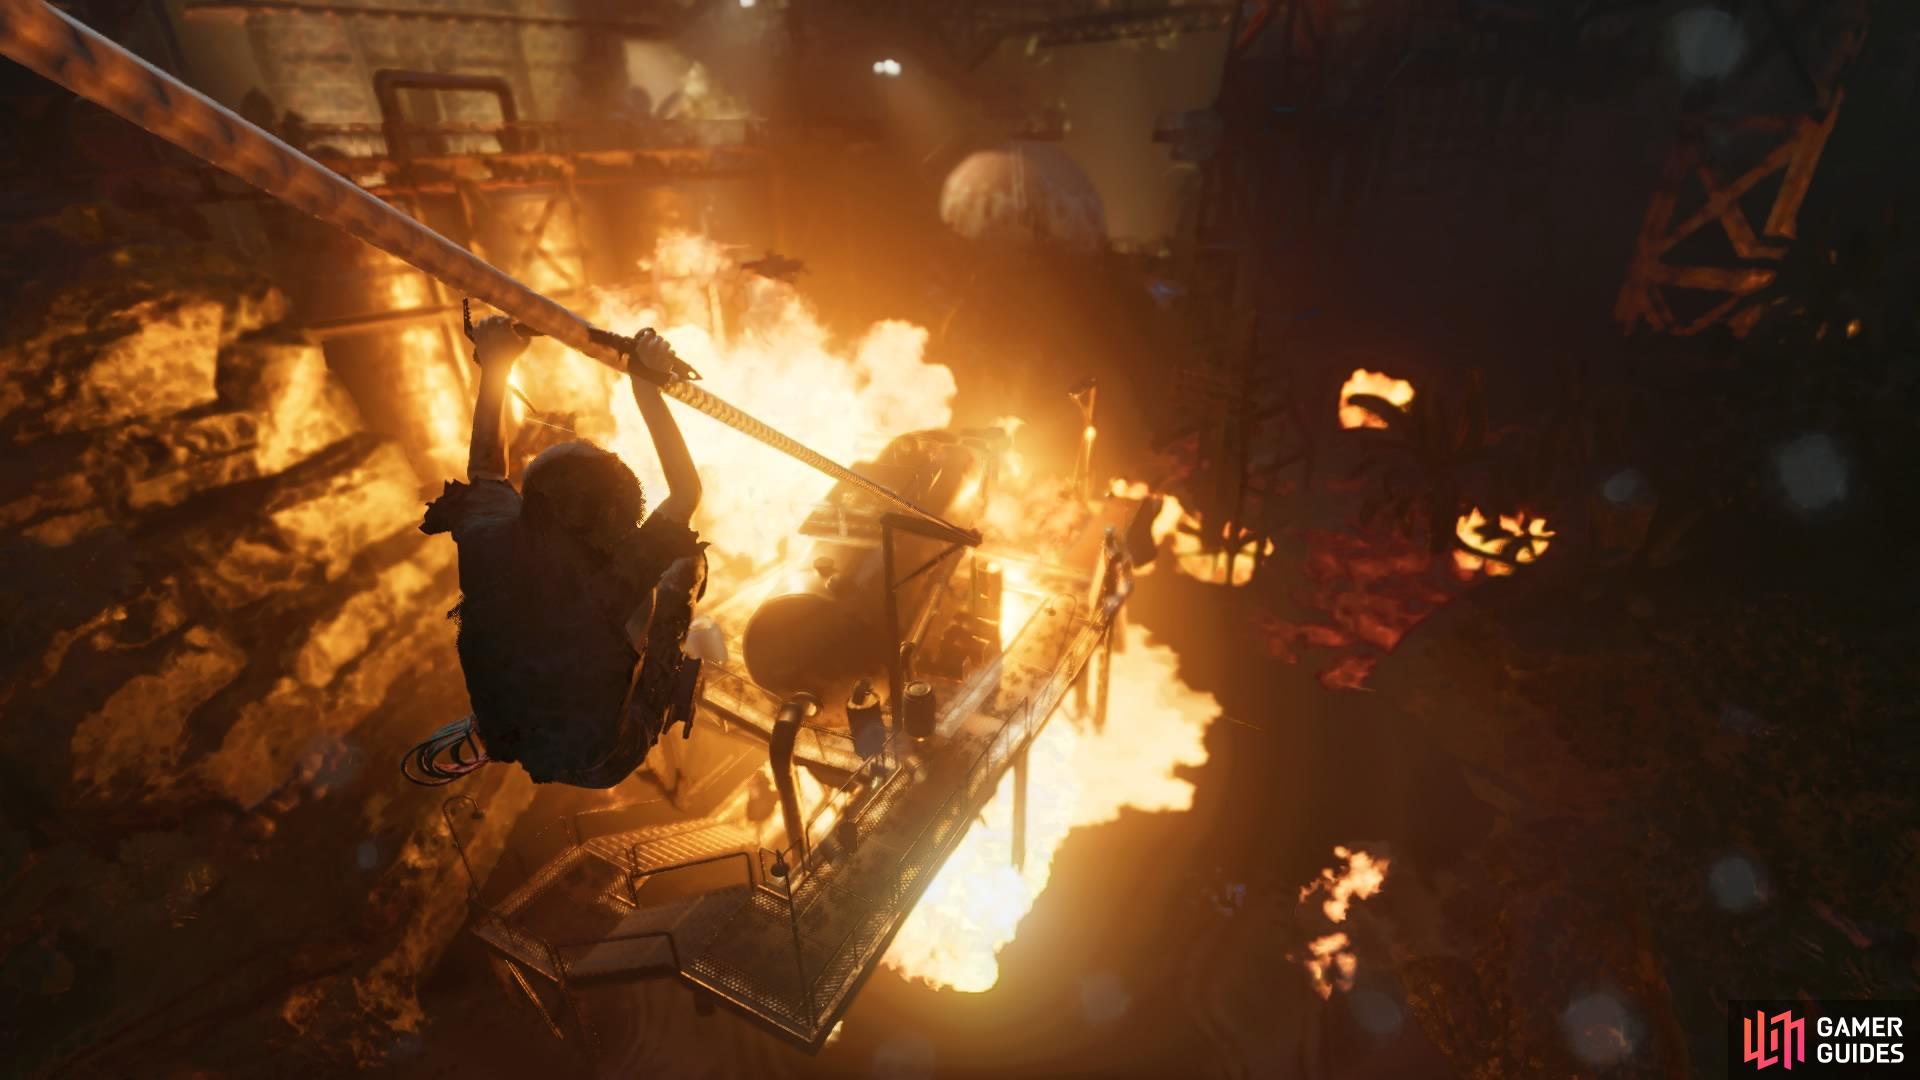
As you make your way along the bridge, you’ll be attacked by the helicopter as it sprays bullets in your path. Lara will automatically jump to the zipline and slide down to the path below, but don’t stop.
-
Leap from the end of the walkway and throw the Grapple Axe to the ledge.
-
Climb up the tower and jump to shimmy right along the pipe, then climb up to the next walkway.
-
Quickly tightrope along the railing and jump to the next walkway – Lara will be flung to another tower, so grab on quick before you fall.
-
Shimmy and jump to the right, climb up the wall, and immediately jump to the ladder. Then shimmy right along the metal beam, turn the corner, and jump up to the next railing.
DEFEAT TRINITY – THE FINAL ENCOUNTER
After the sinister cutscene, you’ll have control again and a new rifle. From now until the end, keep a look out for the red explosive barrels – continue to hit them to take out all of the Trinity soldiers with satisfying ease, but remember to stay in cover when you can.
Follow the trail into the refinery, picking up ammo along the way, and prepare for an intense onslaught. For the most part you can remain hidden behind the same cover – pick off the enemies on the upper walkways using the red barrels, even when the helicopter shows up.
Don’t focus on the helicopter – the more barrels you shoot, the more the explosion will hit it for you, until it eventually goes down, ending the chapter.
No Comments