| Region Summary | . |
|---|---|
| Base Camp | 11 |
| Challenge Tomb | 3 |
| Mission Giver | 11 |
| Region Challenge | 6 |
| Treasure Chest | 3 |
| Crypt | 5 |
| Relic | 28 |
| Document | 42 |
| Mural | 23 |
| Survival Cache | 34 |
| Monolith | 7 |
PATH TO THE HIDDEN CITY - SWING AROUND THE CLIFF FACE
You’re almost at the city of Paititi, but there’s a cliff in the way. Hanging from the cliff face are a bunch of totems (known as quipus) – you have to swing across them using your Grapple Axe.
The first set of quipus are steady and easy to get through. You’ll land on a rock platform halfway across, which leads you straight into the second set. These ones, however, will give you more of a challenge.
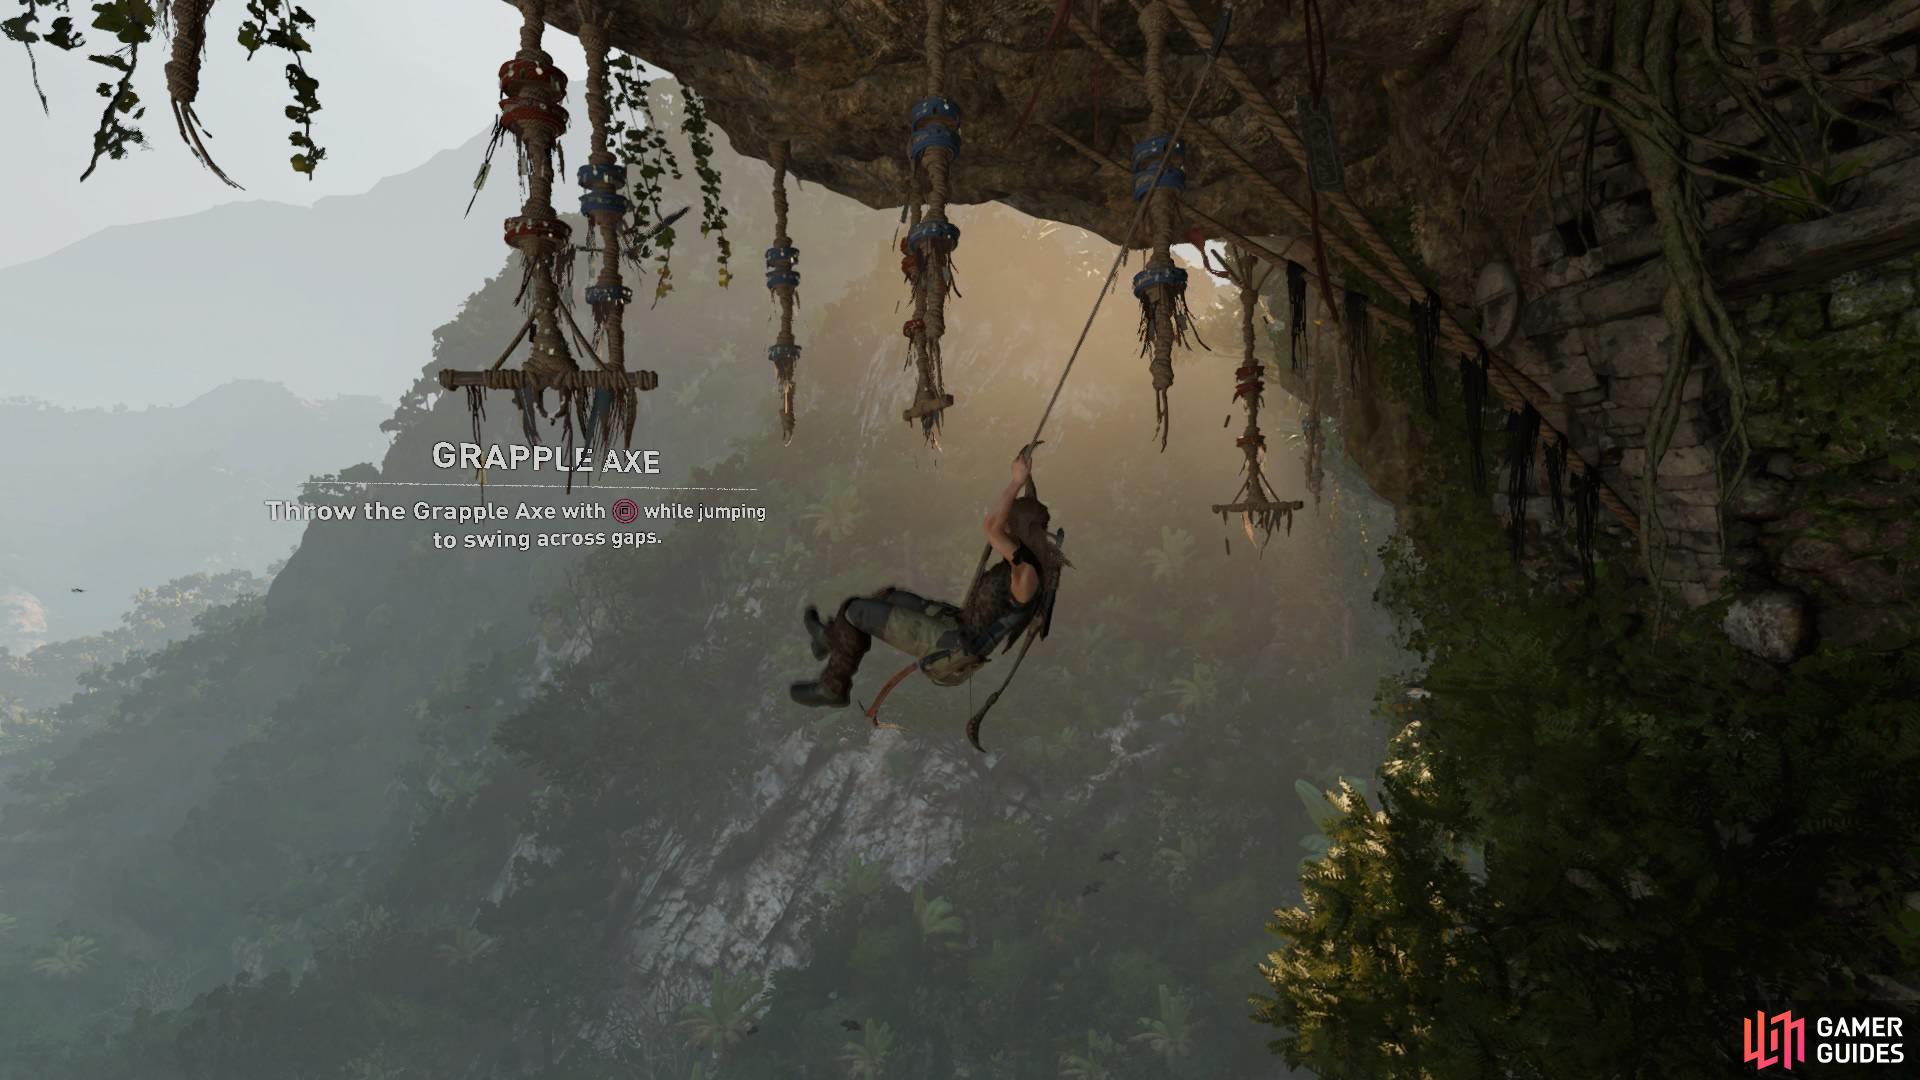
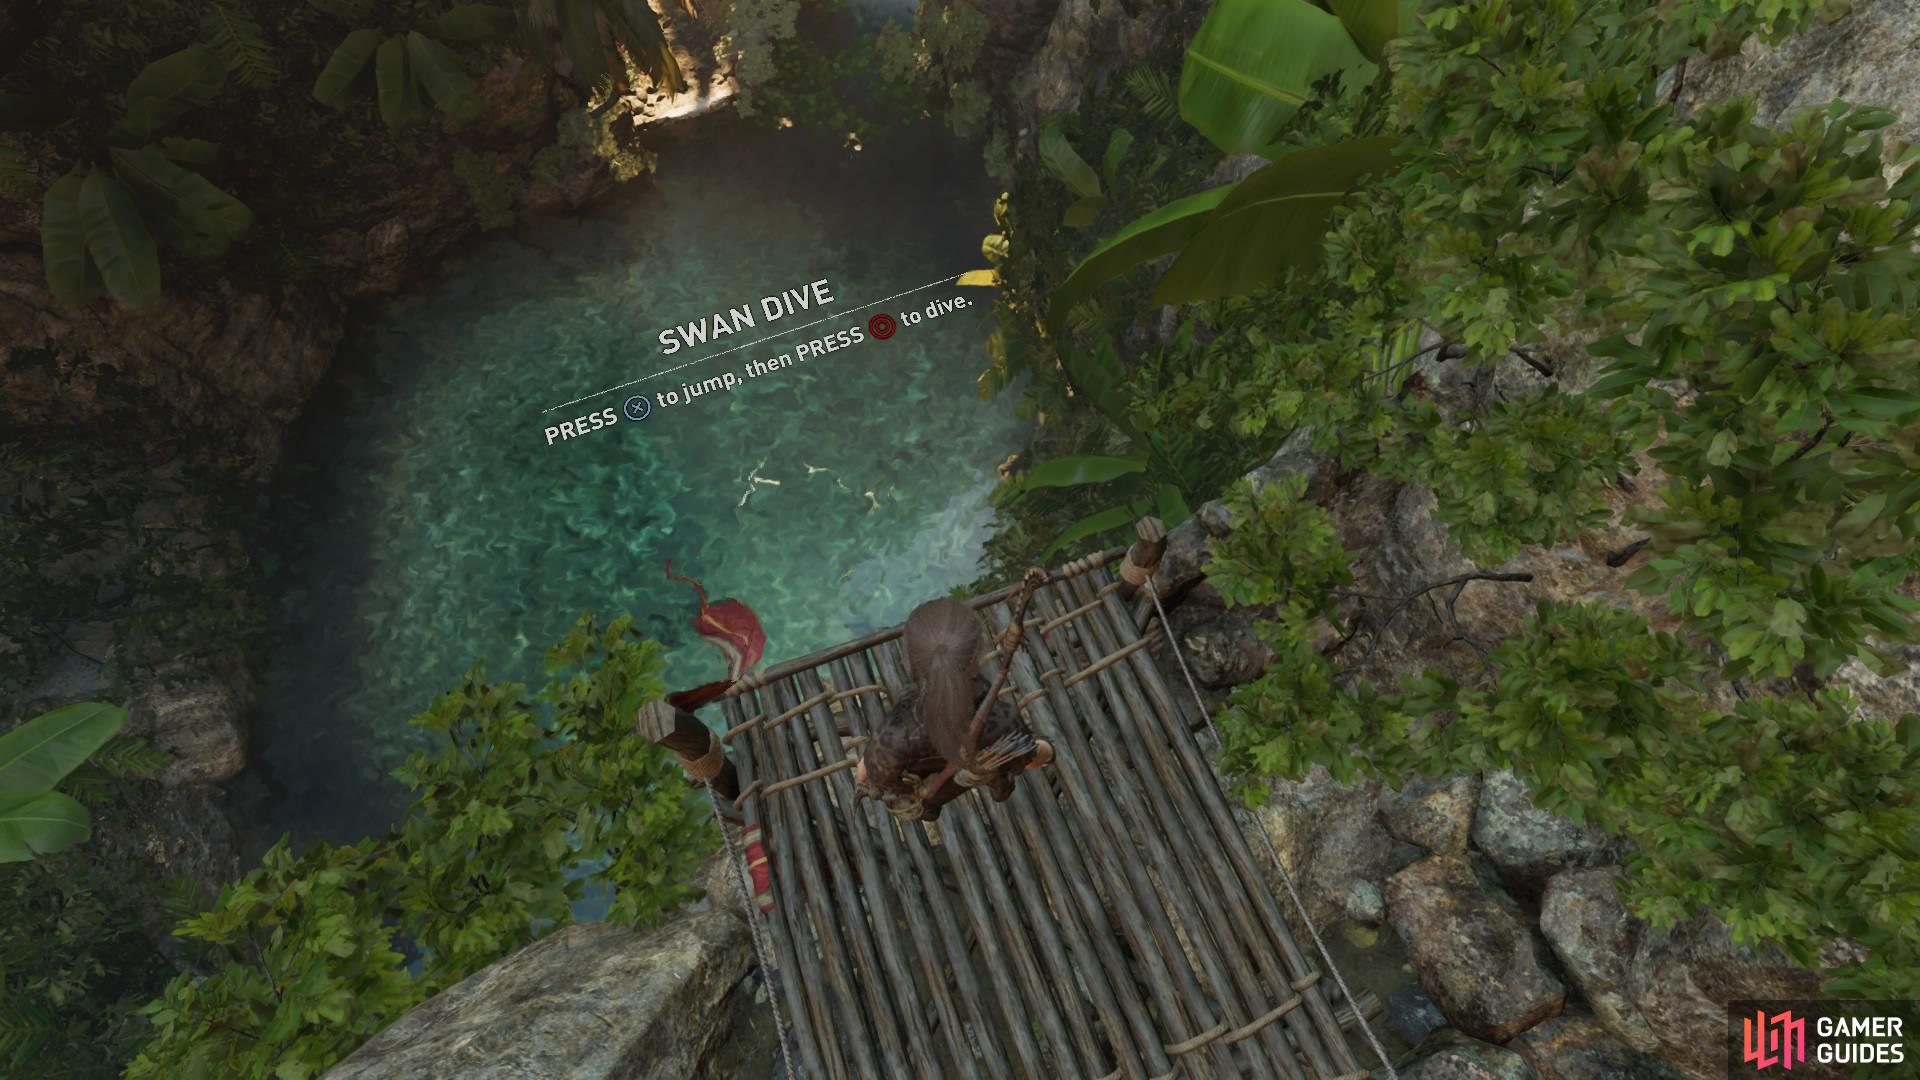
As you swing across them, they’ll begin to dislodge, so move quickly to avoid plummeting Lara to her death. When you’ve reached the ledge on the other side, simply follow the tunnel until you come to a wooden platform that juts over the cliff. You’ll be prompted to perform a swan-dive into the water below (Region Challenge: High Diving).
FIND THE SERPENT WITH THE SILVER EYE
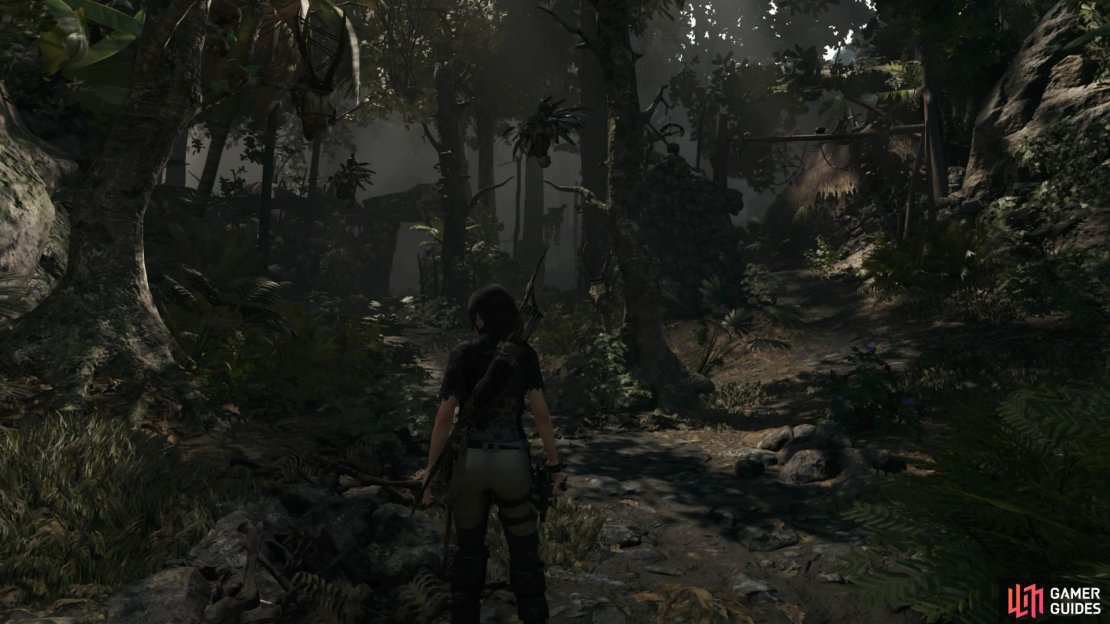
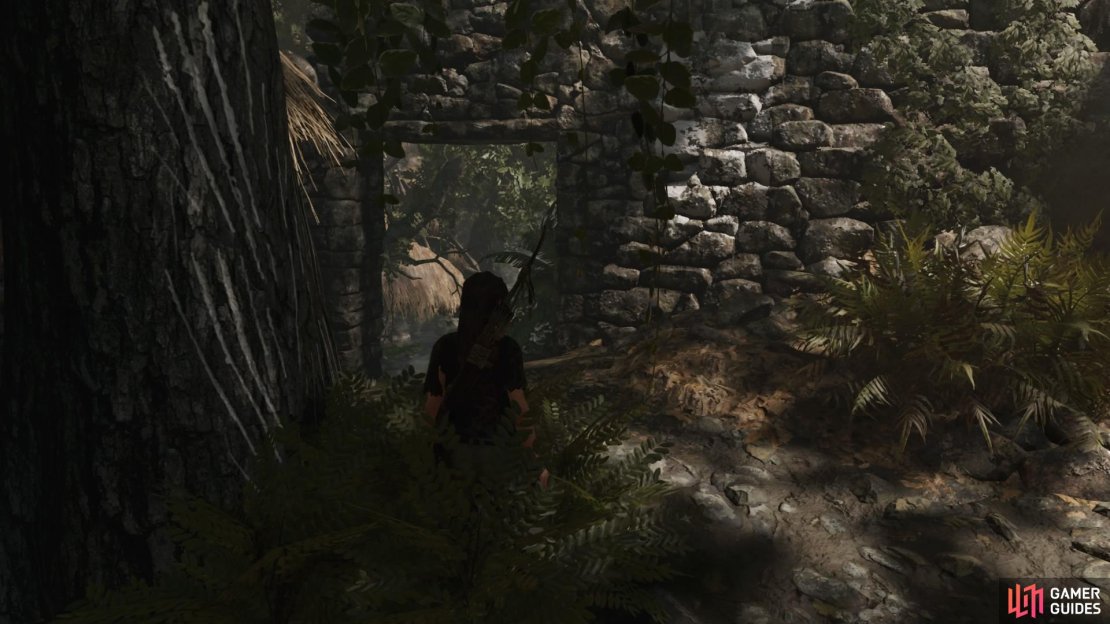
You can find some Gold and Jade underwater if you take a moment to swim around, otherwise exit the water and follow the trail ahead until you come to an abandoned village.
Ignoring the waypoint marker ahead for now, this is a great place to pick up resources if needed. You can take some time to explore, although be aware that you don’t have the right equipment to dislodge some barricades.
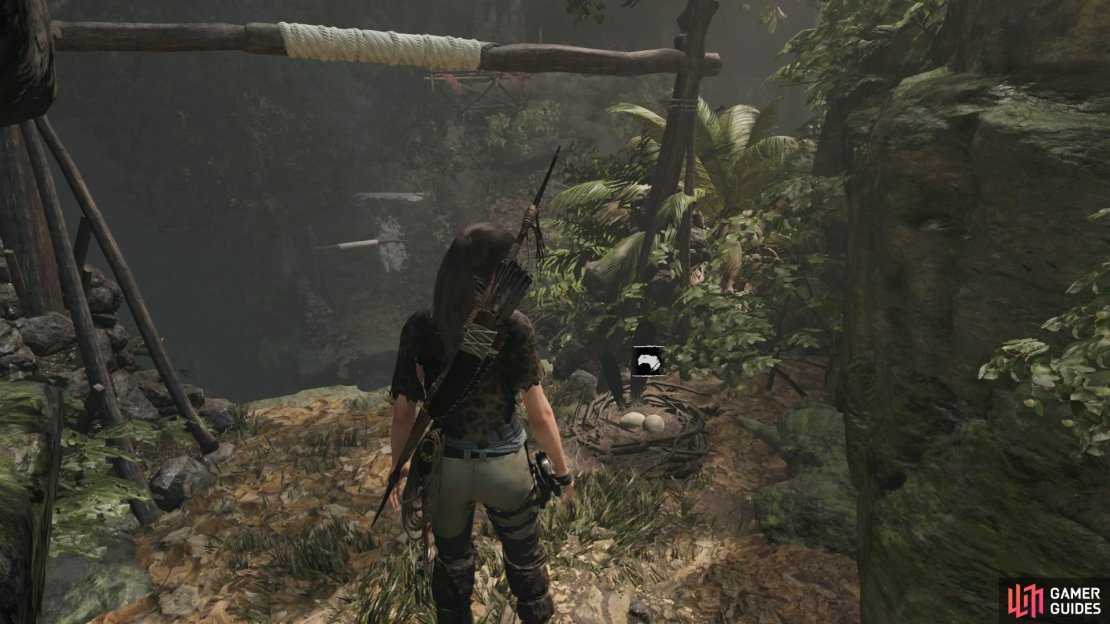
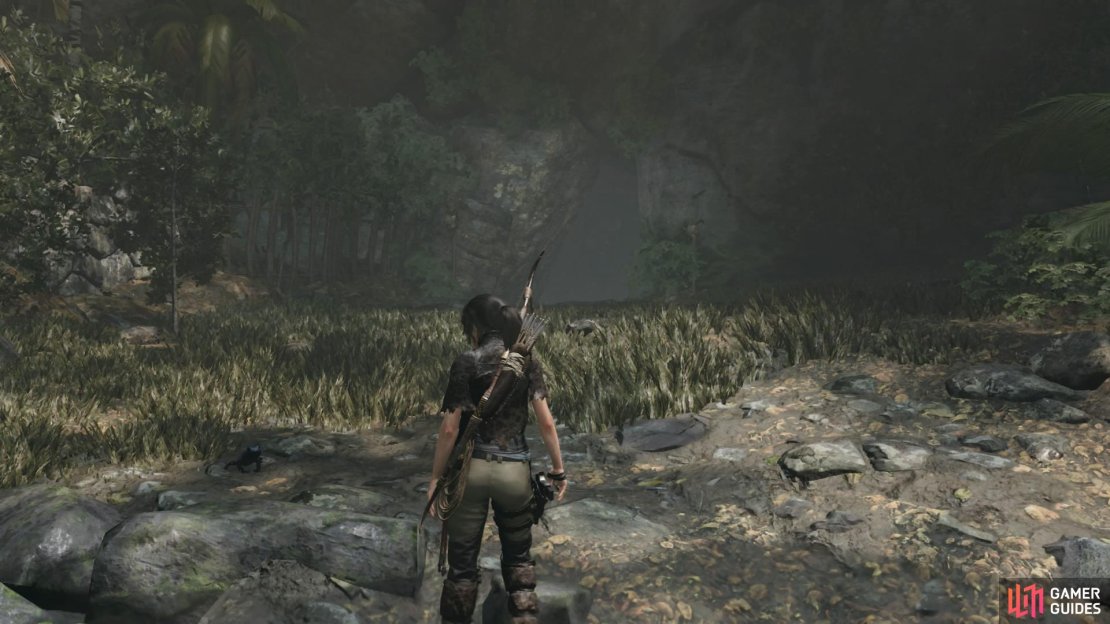
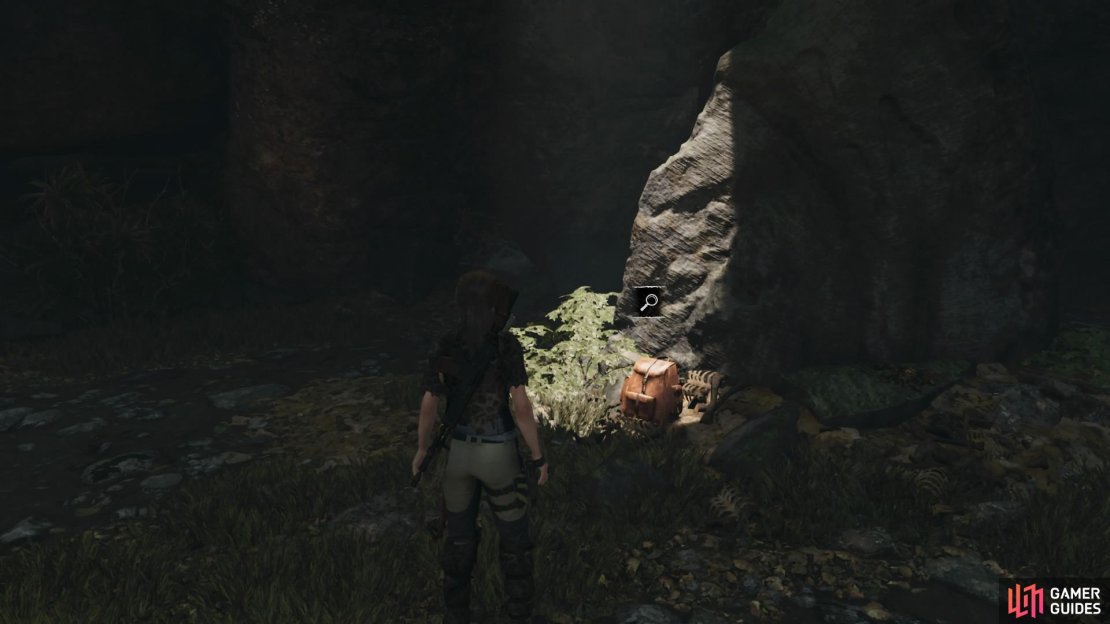
To the left of the entrance to the village is a lake – you can swim across the lake to the far side to find a wolf den (and a survival cache just outside). Take out the wolves to gain access to the den and find an Explorer Backpack sitting against the rock in the middle. You can also salvage a rare hide resource from the black wolf.
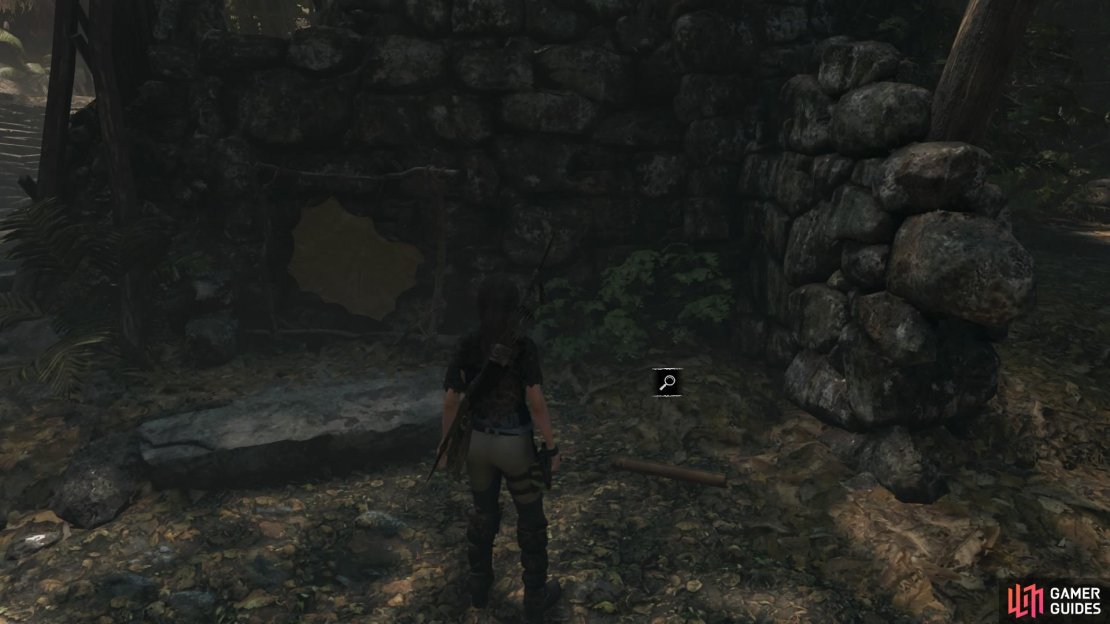
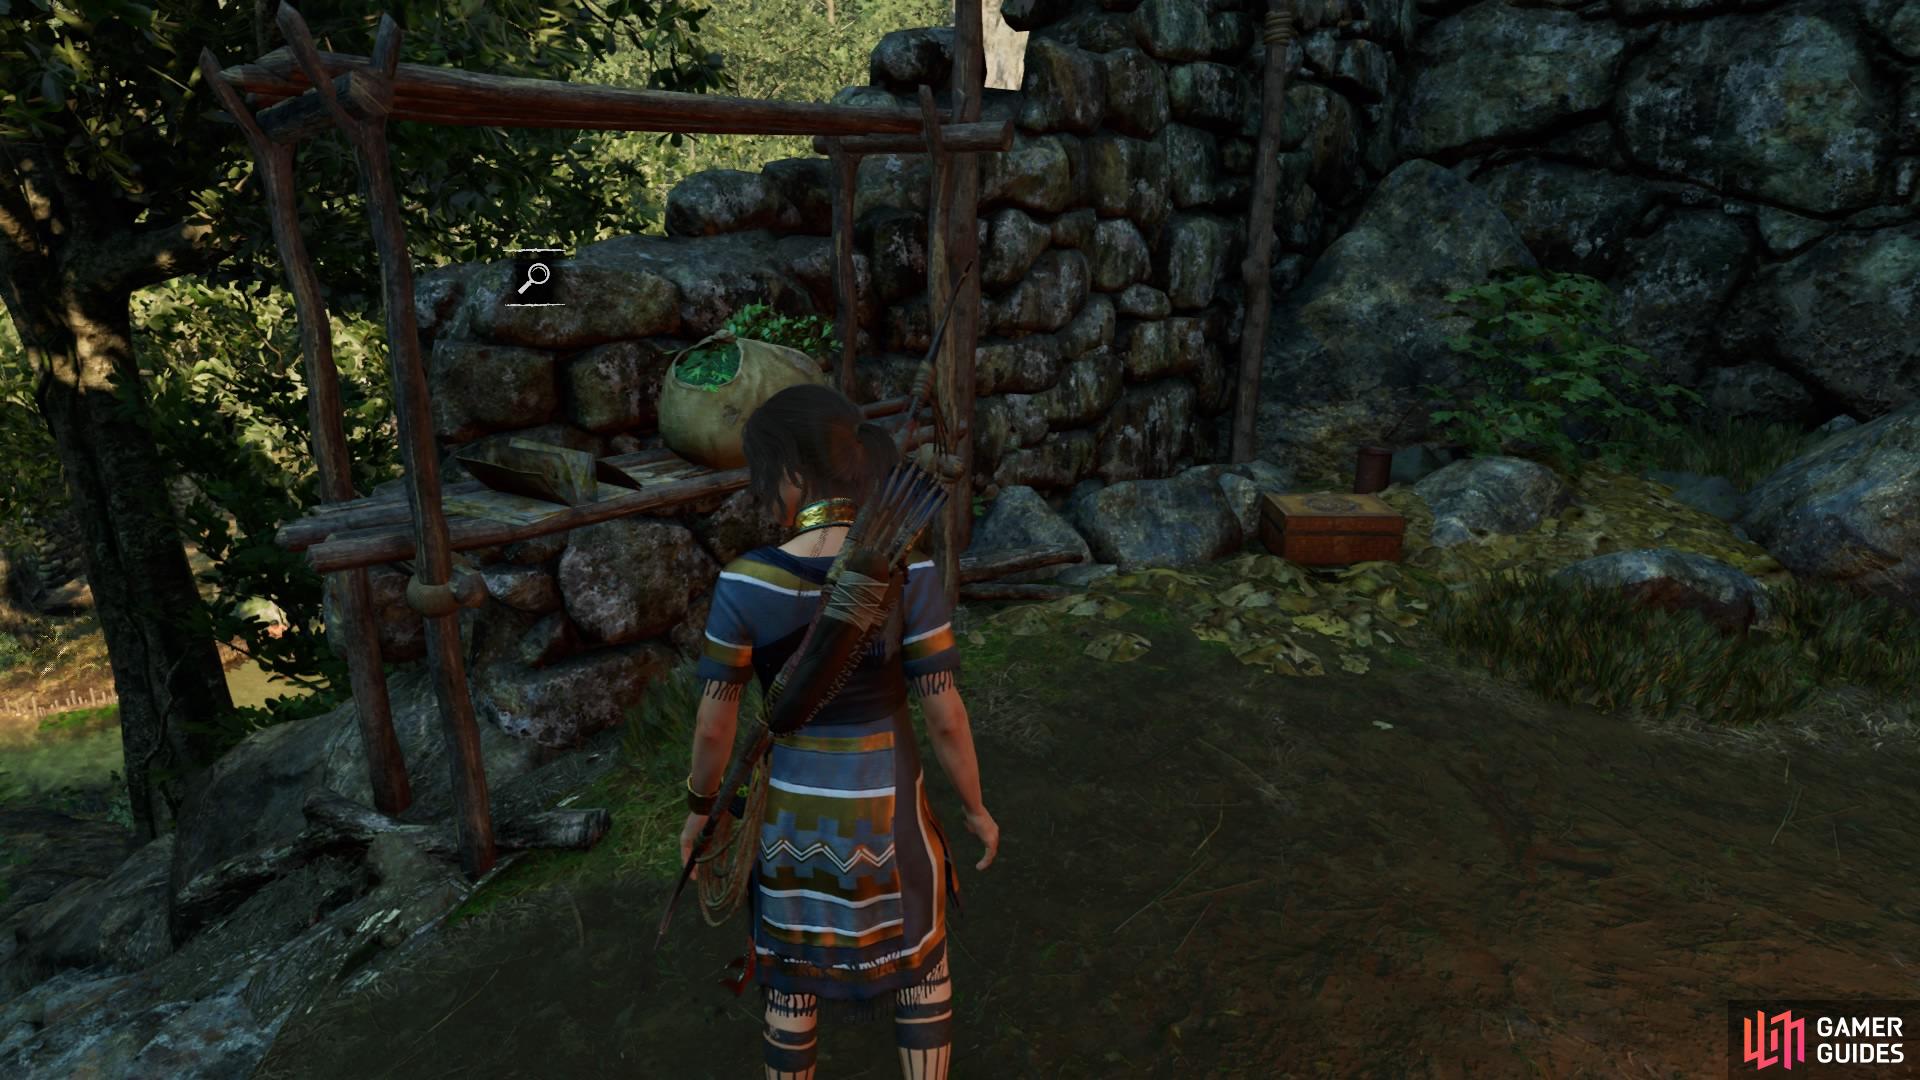
If you move forward from the entrance, just before the steps towards the waypoint, you’ll find some hide against the wall, as well as a Document next to it.
When you’re ready to continue the story, head up the steps towards the waypoint to activate a cutscene.
PATH TO THE HIDDEN CITY - JOIN UNURATU IN THE MARKET DISTRICT
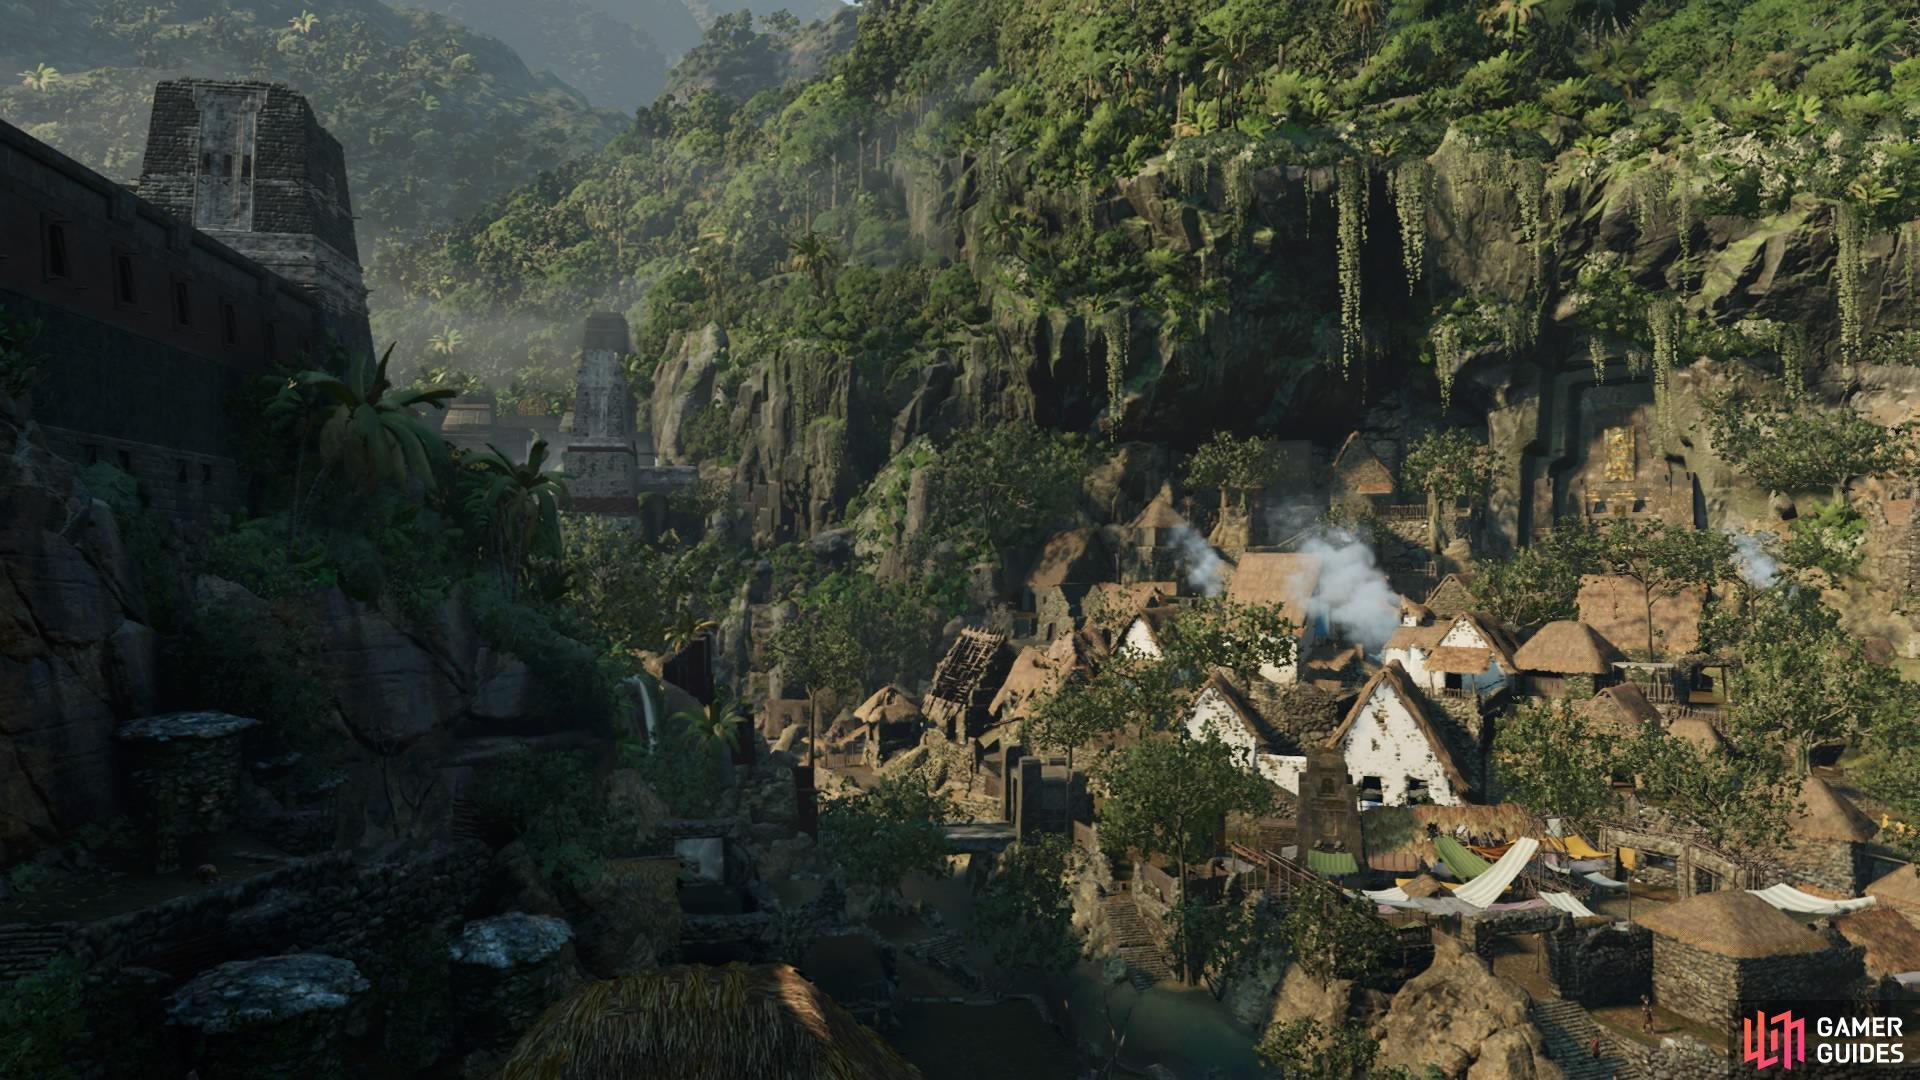
You are now entering Paititi. Right now, you only have access to the lower village – Upper Paititi will become available to explore when you return later. There are side missions, crypts, challenge tombs, merchants, and many artifacts that you can access at any point in the game from this moment on.
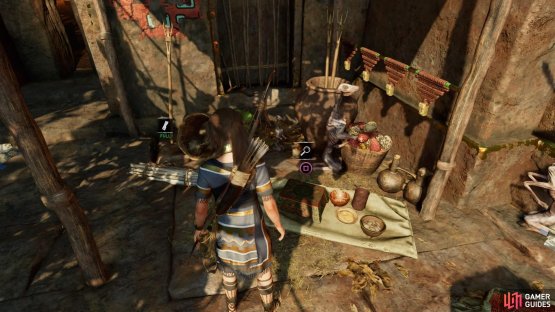
For now, continue with the story by following Unuratu through the village. There is a Document – Famine and Relic – Chaki Taklla along the way.
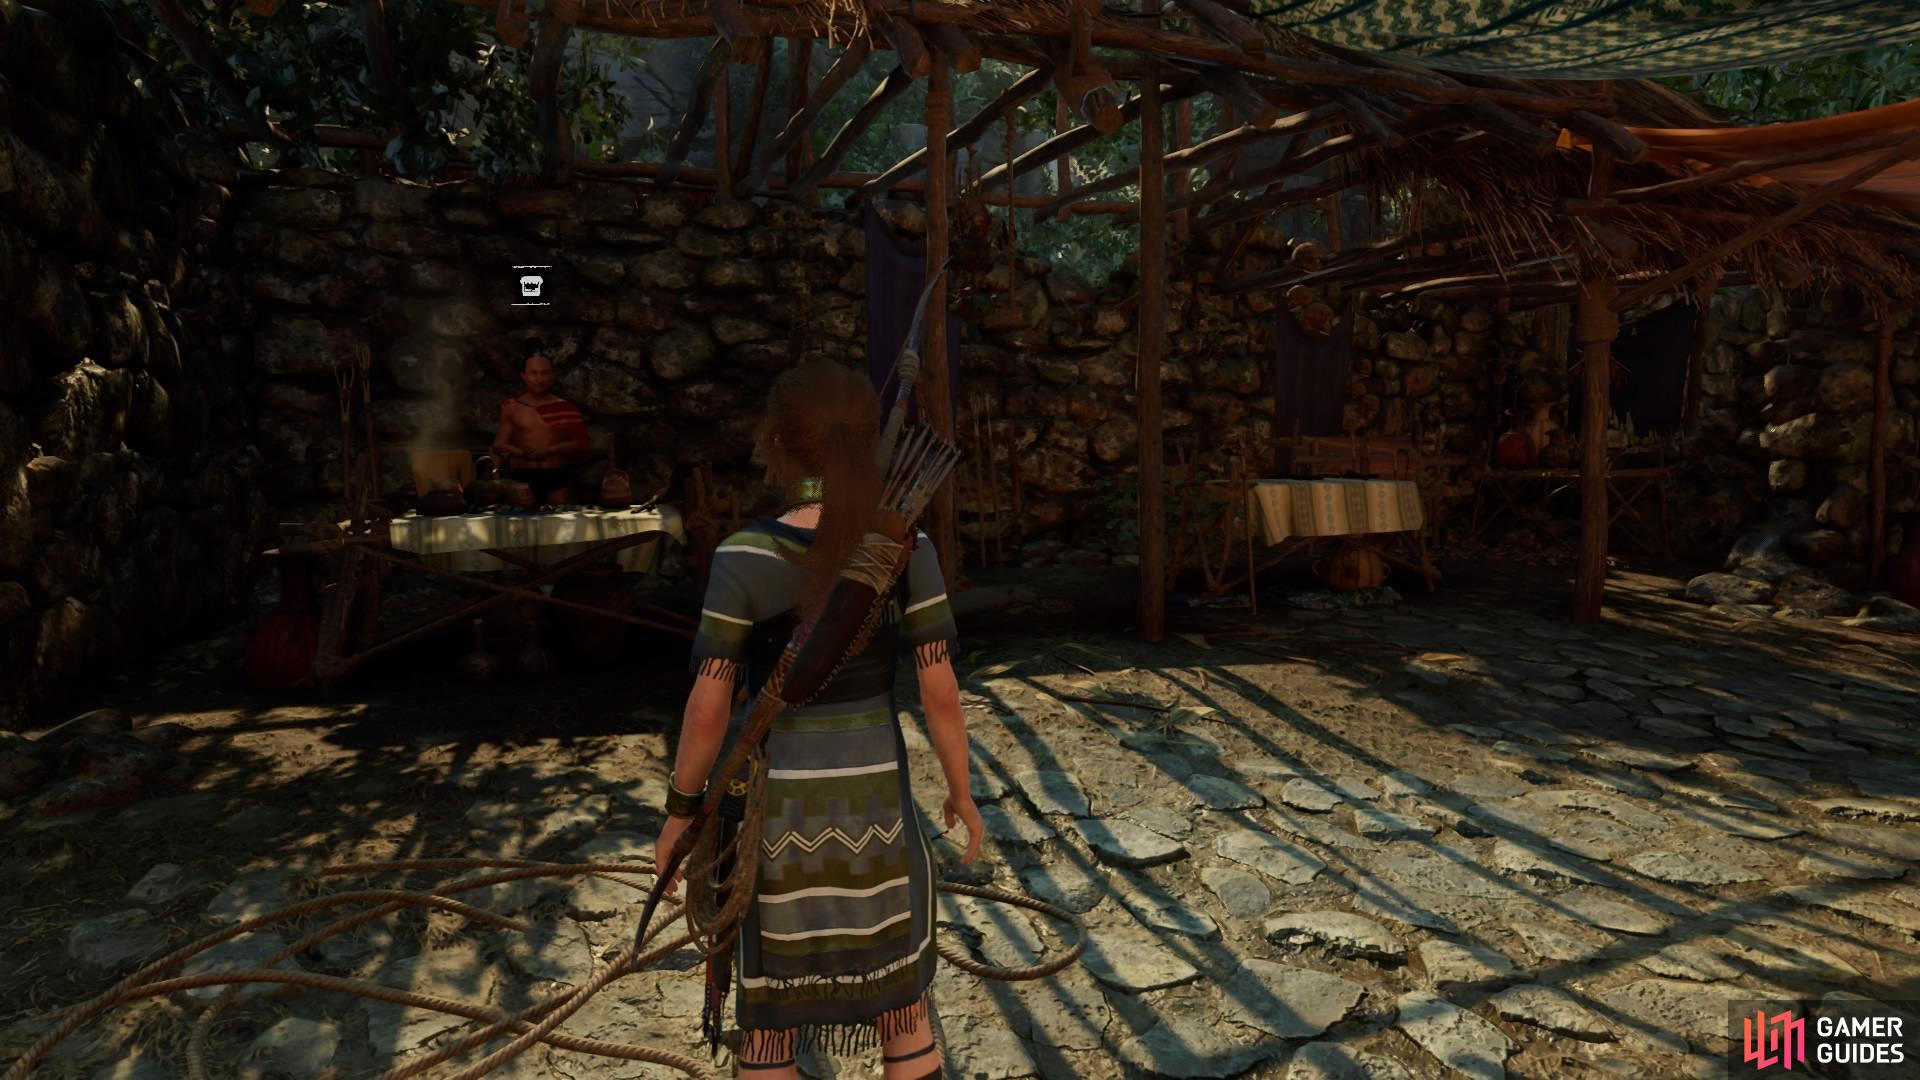
You’ll follow Unuratu all the way to a small market, where two Merchants are now available to purchase items and resources from.
MERCHANT 1
| Item | Cost (Gold) |
|---|---|
| Satchel (Resource Pouch) | 2600 |
| Rucksack (requires Crow’s Hoard skill) | 3500 |
| Knife Upgrade | 2900 |
| Medicine | 90 |
| Perception Plants | 90 |
| Focus Plants | 90 |
| Endurance Plants | 90 |
| Salvage | 120 |
| Eagle Feather | 150 |
| Condor Feather | 150 |
| Jaguar Hide | 150 |
| Black Powder | 150 |
| Black Wolf Hide | 300 |
| Albino Capybara Hide | 300 |
| Empress Jaguar Hide | 300 |
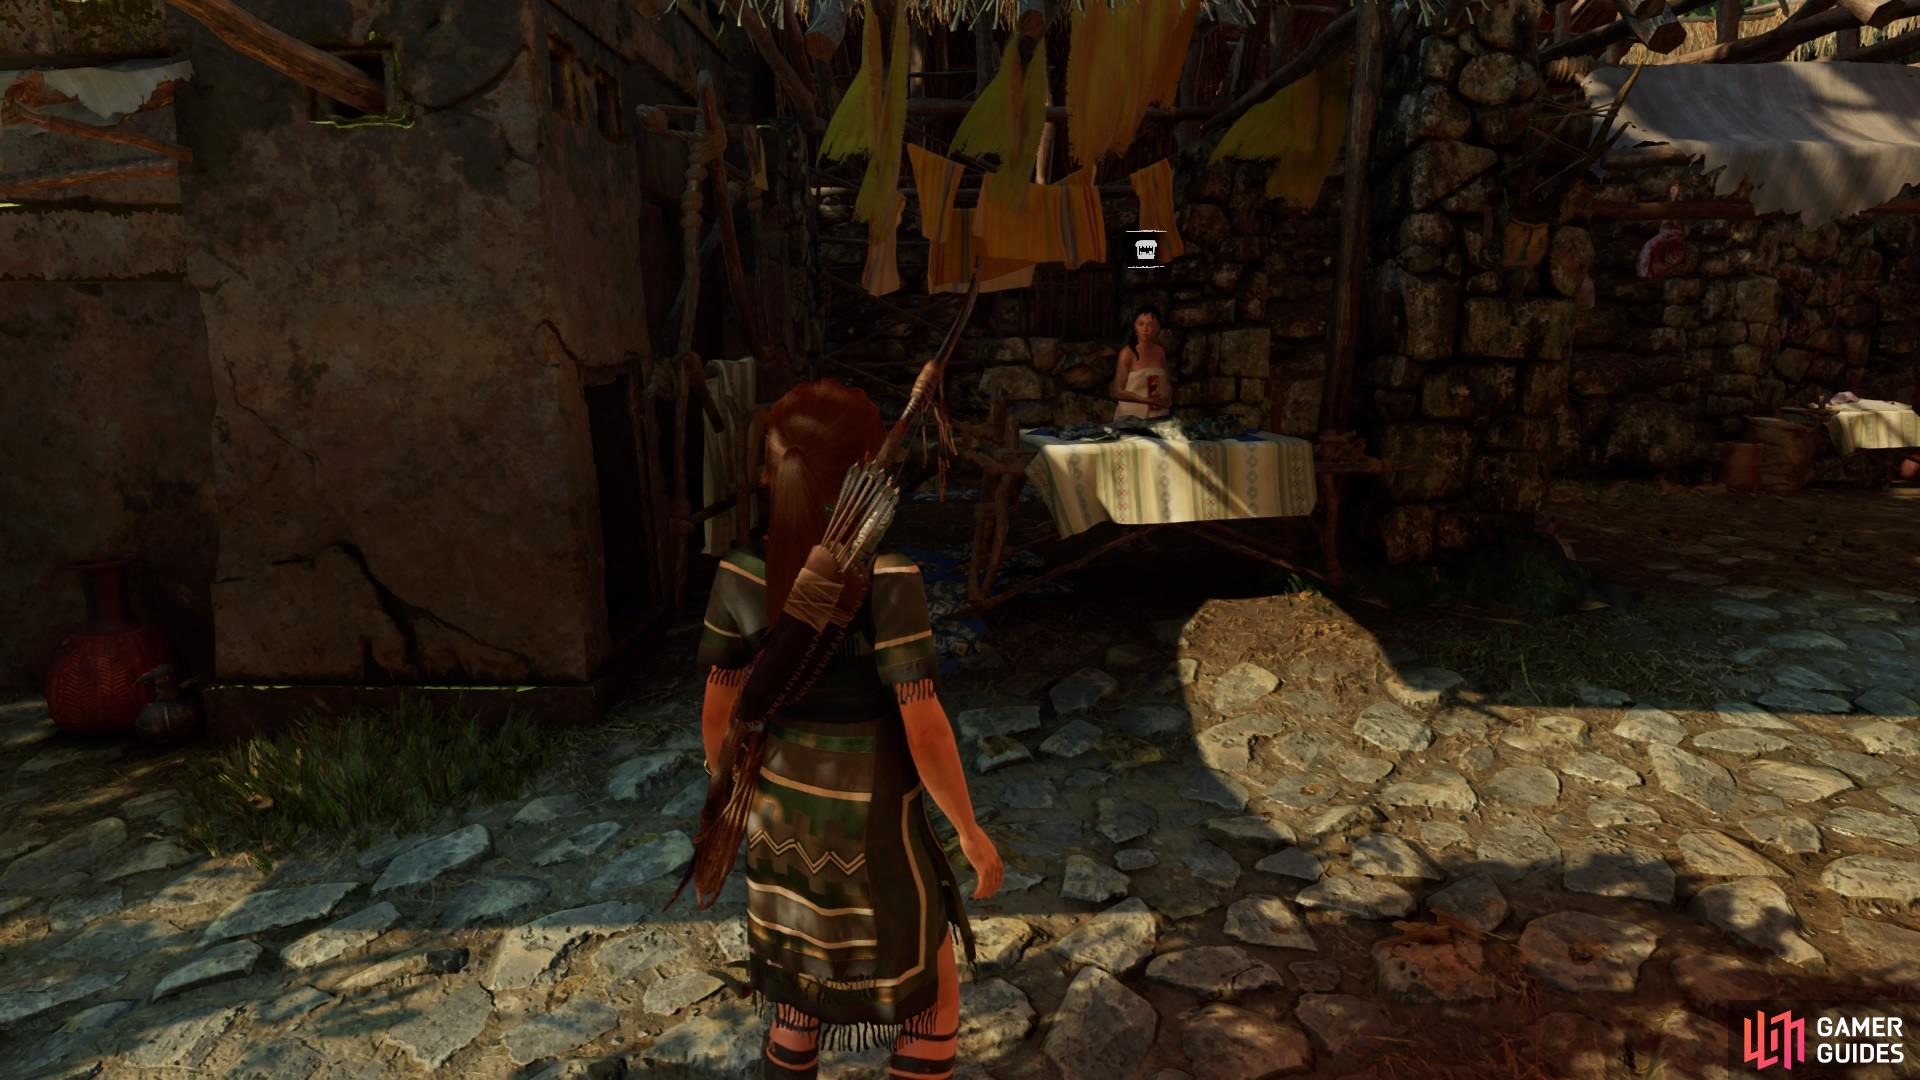
MERCHANT 2
| Item | Cost (Gold) |
|---|---|
| Serpentwood Bow | 4200 |
| Atlatl (Bow) | 5800 |
| Hunter’s Quiver | 2200 |
| Adventurer’s Quiver (requires Crow’s Hoard skill) | 3800 |
| Vestige: Mantle of Six Sky (upper outfit) | 5600 |
| Vestige: Kantu’s Boots (lower outfit) | 6900 |
| Arrows | 60 |
| Fire Arrows | 300 |
Continue to the group of gathered villagers to activate another cutscene and add a photo of Dominguez to your artifact collection.
FIND THE SILVER BOX OF IX CHEL
Next, use Survival Instincts to find the waypoint marker – you need to make your way to Etzli outside the temple. When you get there, you can stop at the Base Camp just outside for any necessary Skill purchases, as well as pick up Relic – Whistle after speaking to Etzli and before squeezing through the narrow opening.

(1 of 2) Base Camp
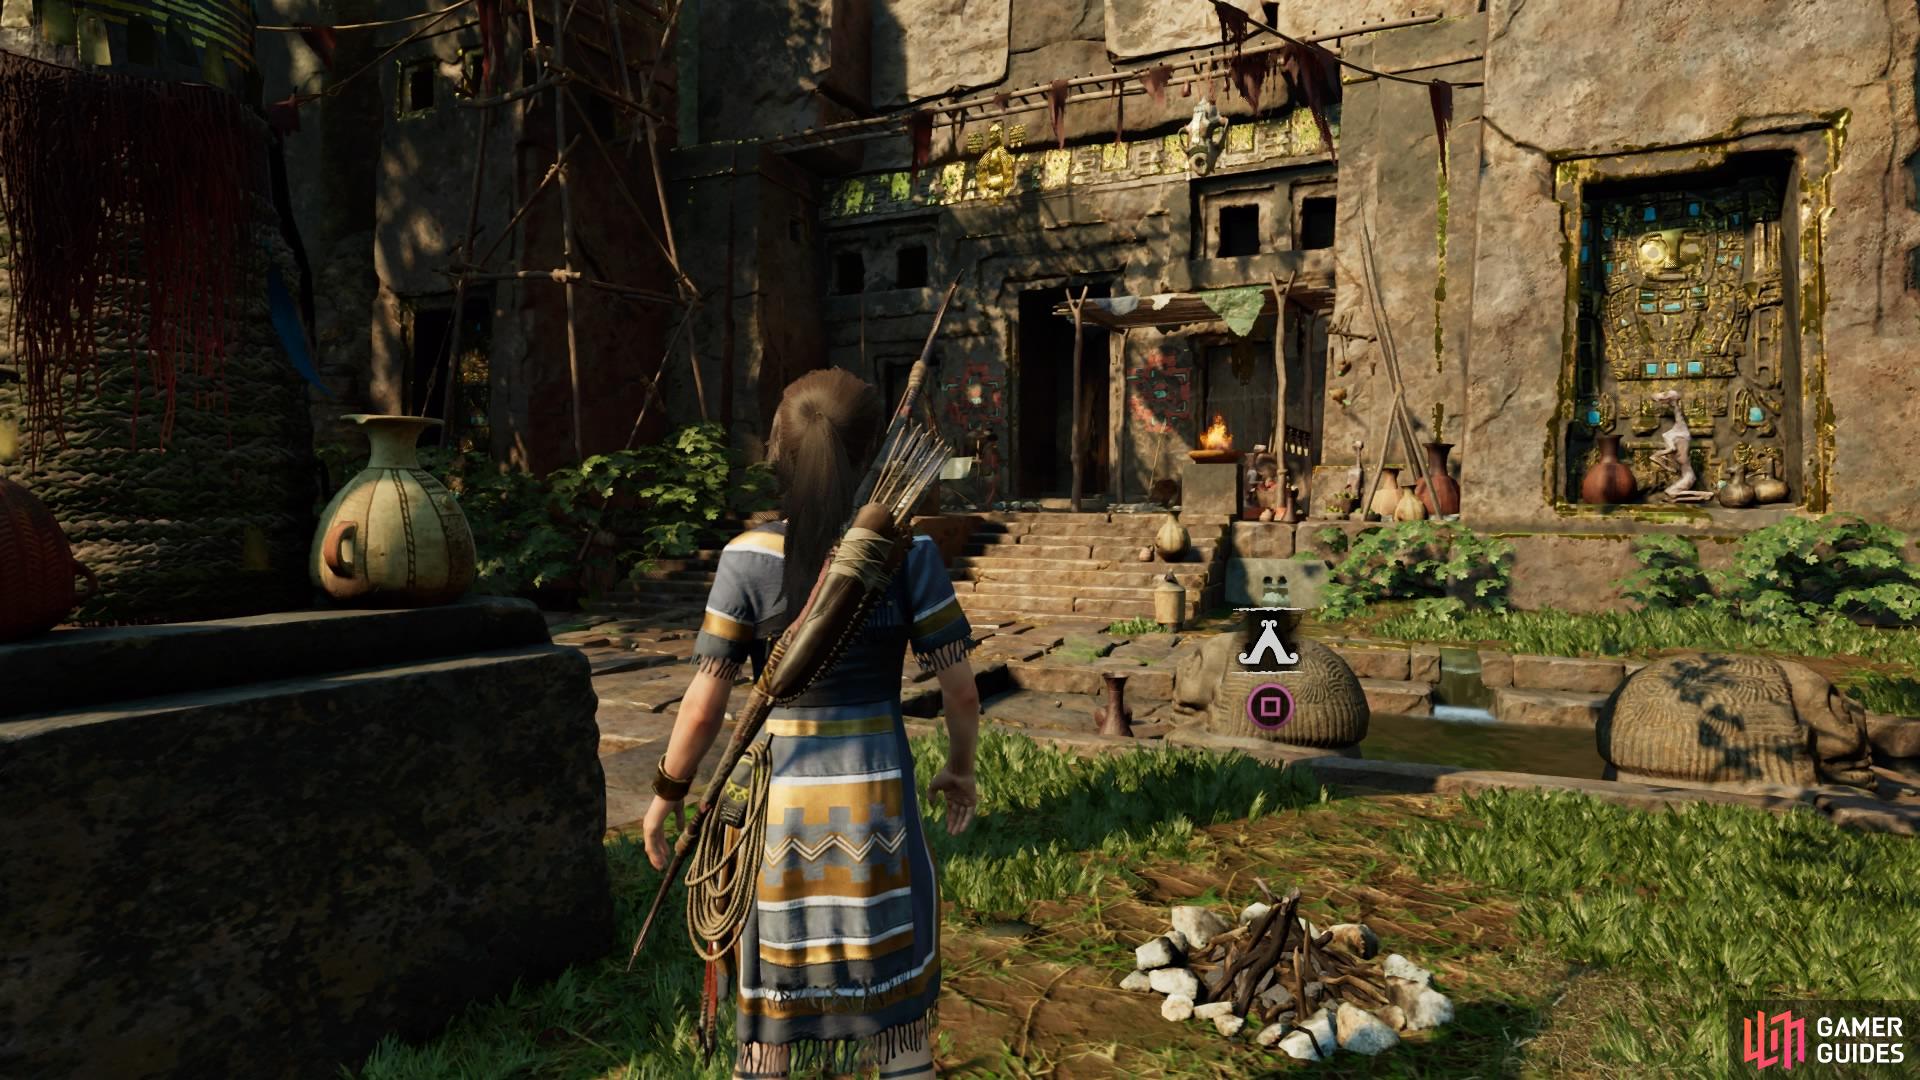

Base Camp (left), Relic - Whistle (right)
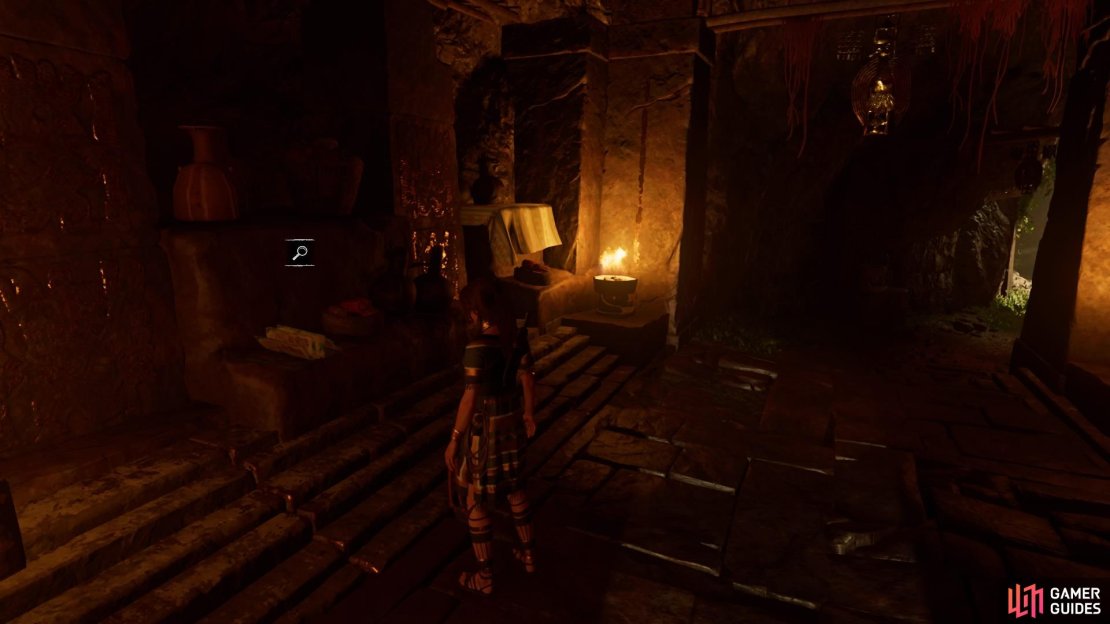
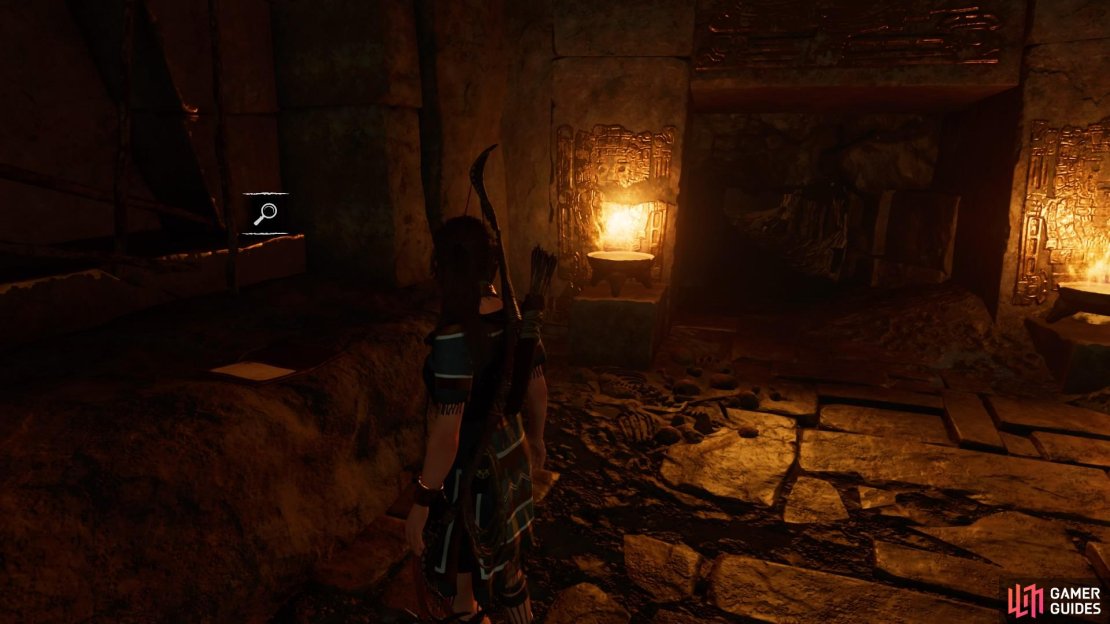
Now head inside the temple and immediately find Document – Troubled Lands on a stone shelf on the left, then continue the path forward into the next room. At the back of the room is Relic – Macuahuitl.
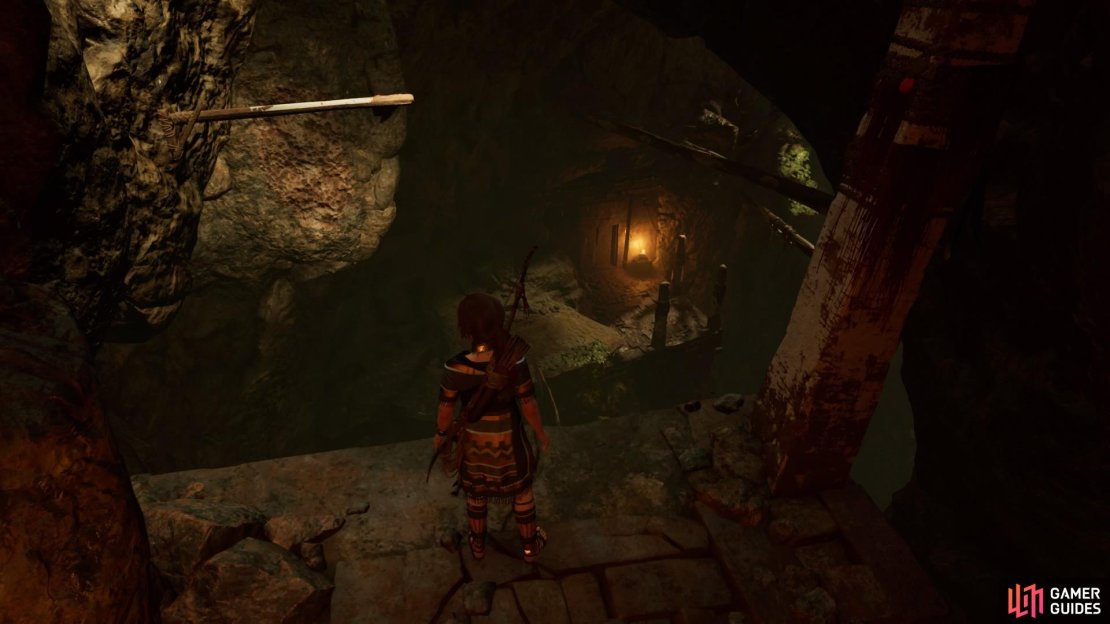
Leave the room via the doorway on the left. Jump from the ledge to swing from the pole and attach yourself to the craggy wall, then rappel down to swing over to the lower platform. Continue on and leap from the ledge to Grapple Axe across to the other side and reach the Belly of the Serpent Base Camp.
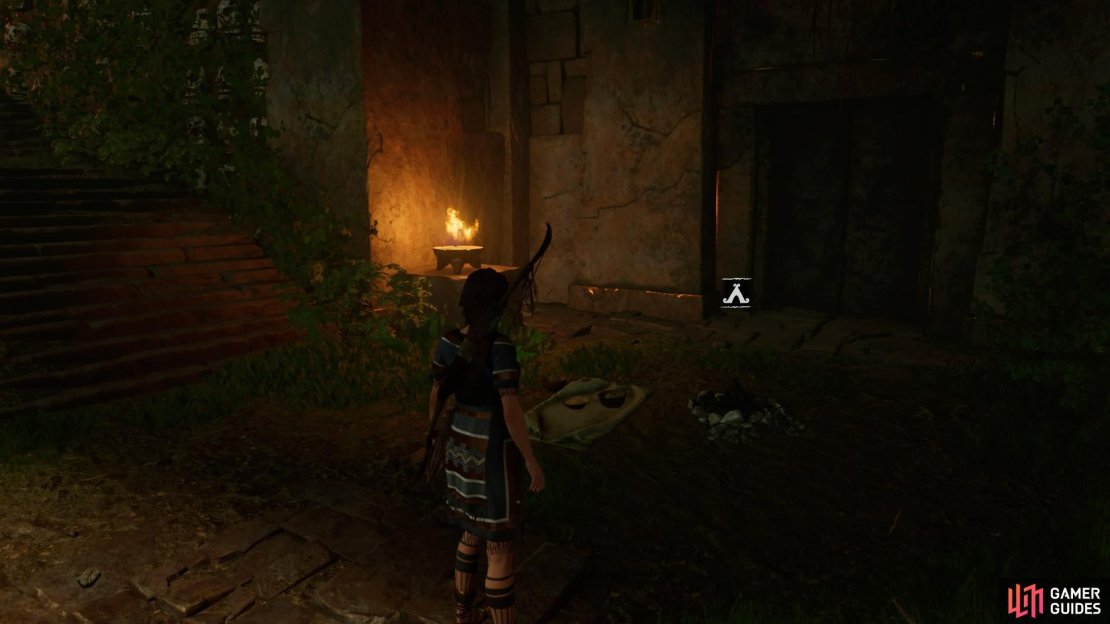
There’s a braided rope-barrier on the right here, but unless you’ve upgraded your knife you won’t have access to it right now. Instead, head up the steps to the left to find Document – Trinity Arrives and crawl through the tunnel to reach the next room.
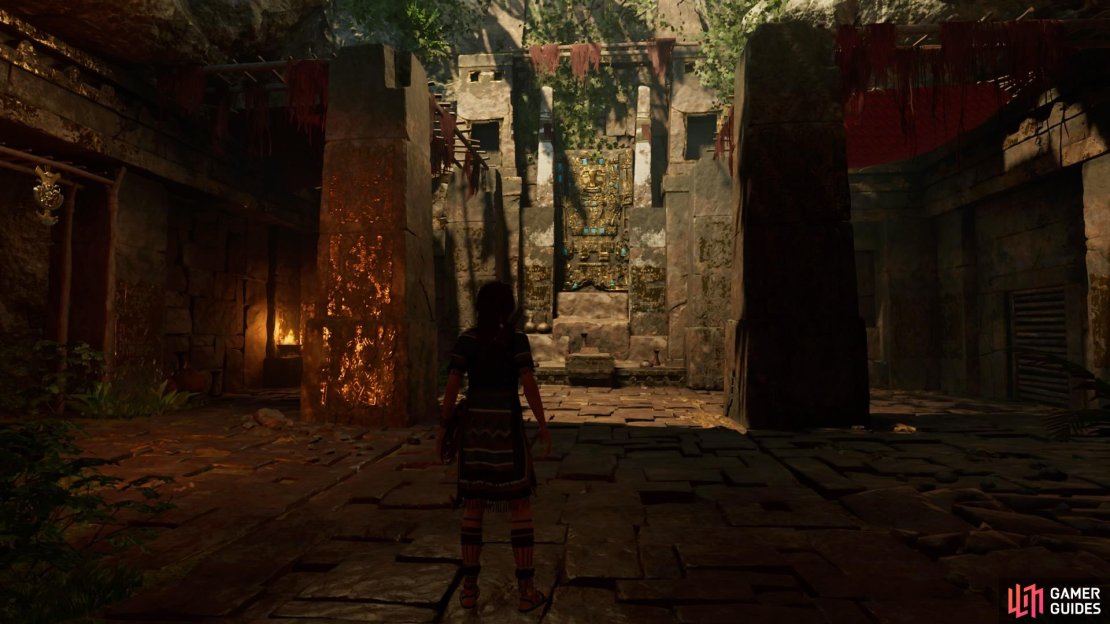
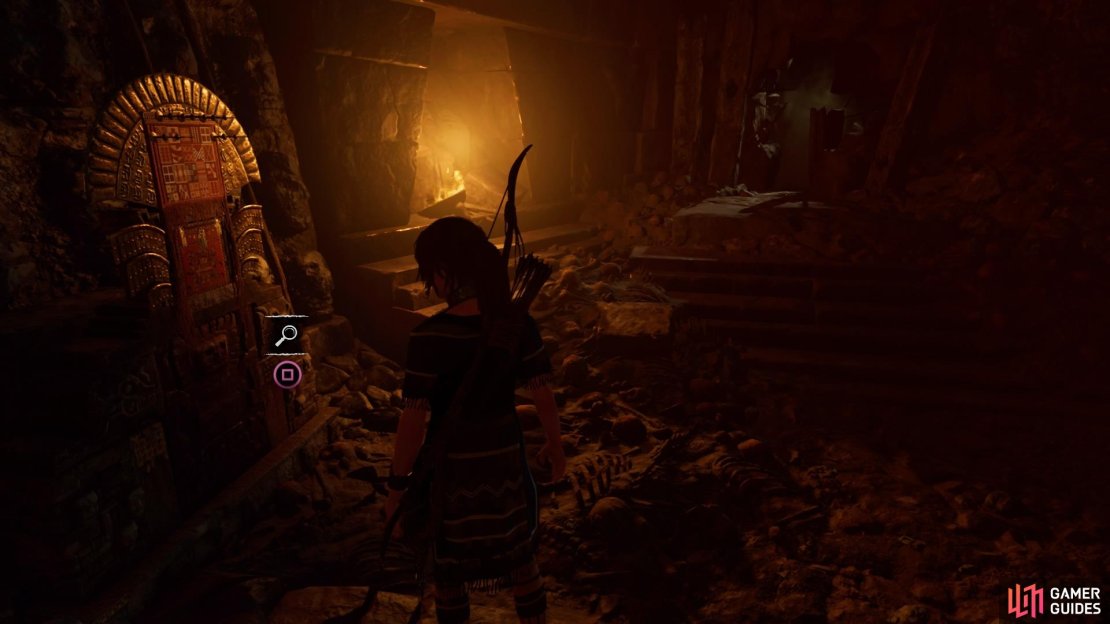
In this room, inspect the mural on the left and then squeeze through the wall on the other side to begin the Belly of the Serpent.
No Comments