THE KING’S HORN
| SIDE MISSION | . |
|---|---|
| MISSION GIVER | UCHU |
| OBJECTIVE | RETRIEVE THE KING’S HORN |
| REWARD | 350 GOLD COINS |
This mission first becomes available after you return from the Head of the Serpent - Uchu is with Jonah in Unuratu’s home. If you decide to come back later, Uchu will be relocated in Skull Cave next to the Base Camp. Speak to him and he will ask you to fetch the King’s Horn from a man named Kabil.
Follow the green waypoint marker and cross the lower bridge to head straight to Kabil and his family. His wife is in bad health and in need of medicine.
-
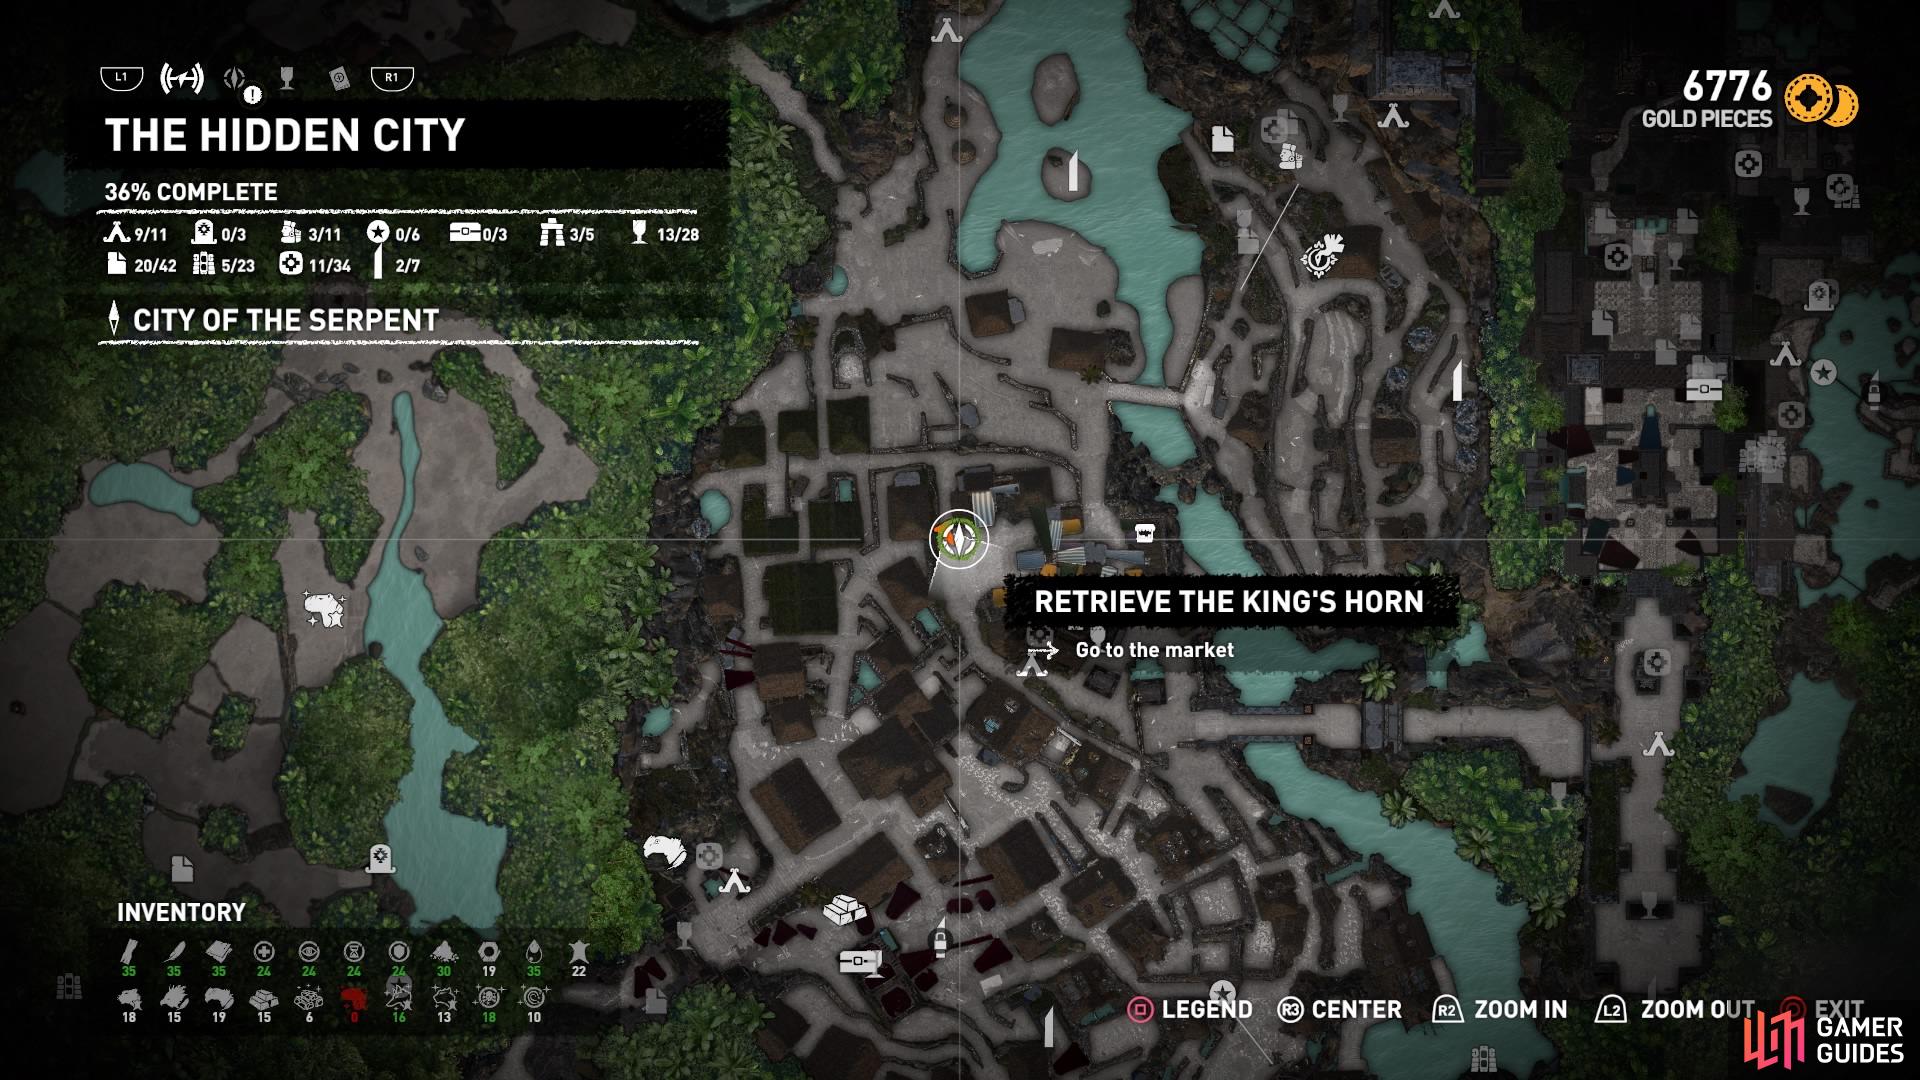
Head towards the market not far from here and talk to the woman with the side mission icon above her head. She’s standing next to the entrance.
-
Then follow the next waypoint to reach a serpent guard and talk to him.
-
Turn around to find the young boy, Yamil, with his friends standing by a wall. They lost a knife, so scramble up the wall and get it from the ledge to return it to them.
-
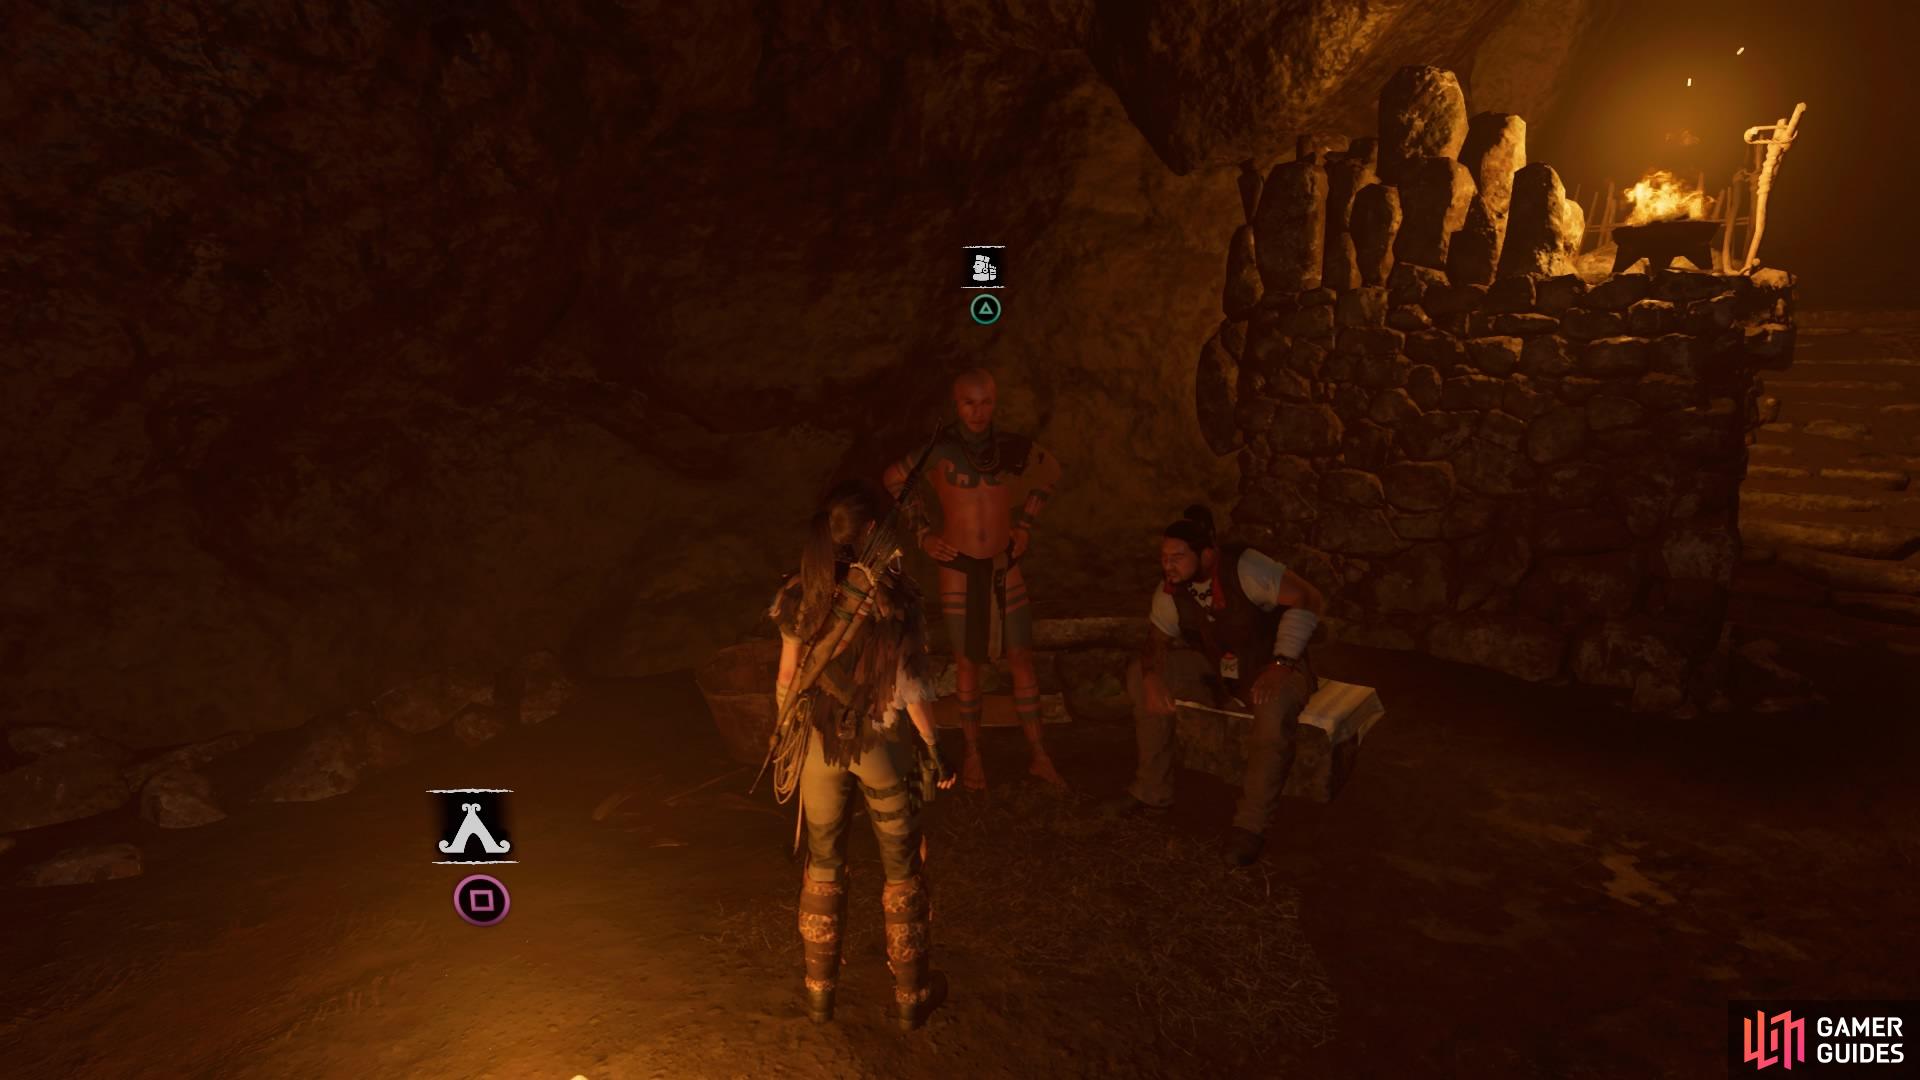
When the boys distract the guard, talk to Cualli in the cell to retrieve the herbs, then return to Kabil to trade the medicine for the King’s Horn.
Now head back to Uchu to hand it over – but your mission is not over yet.
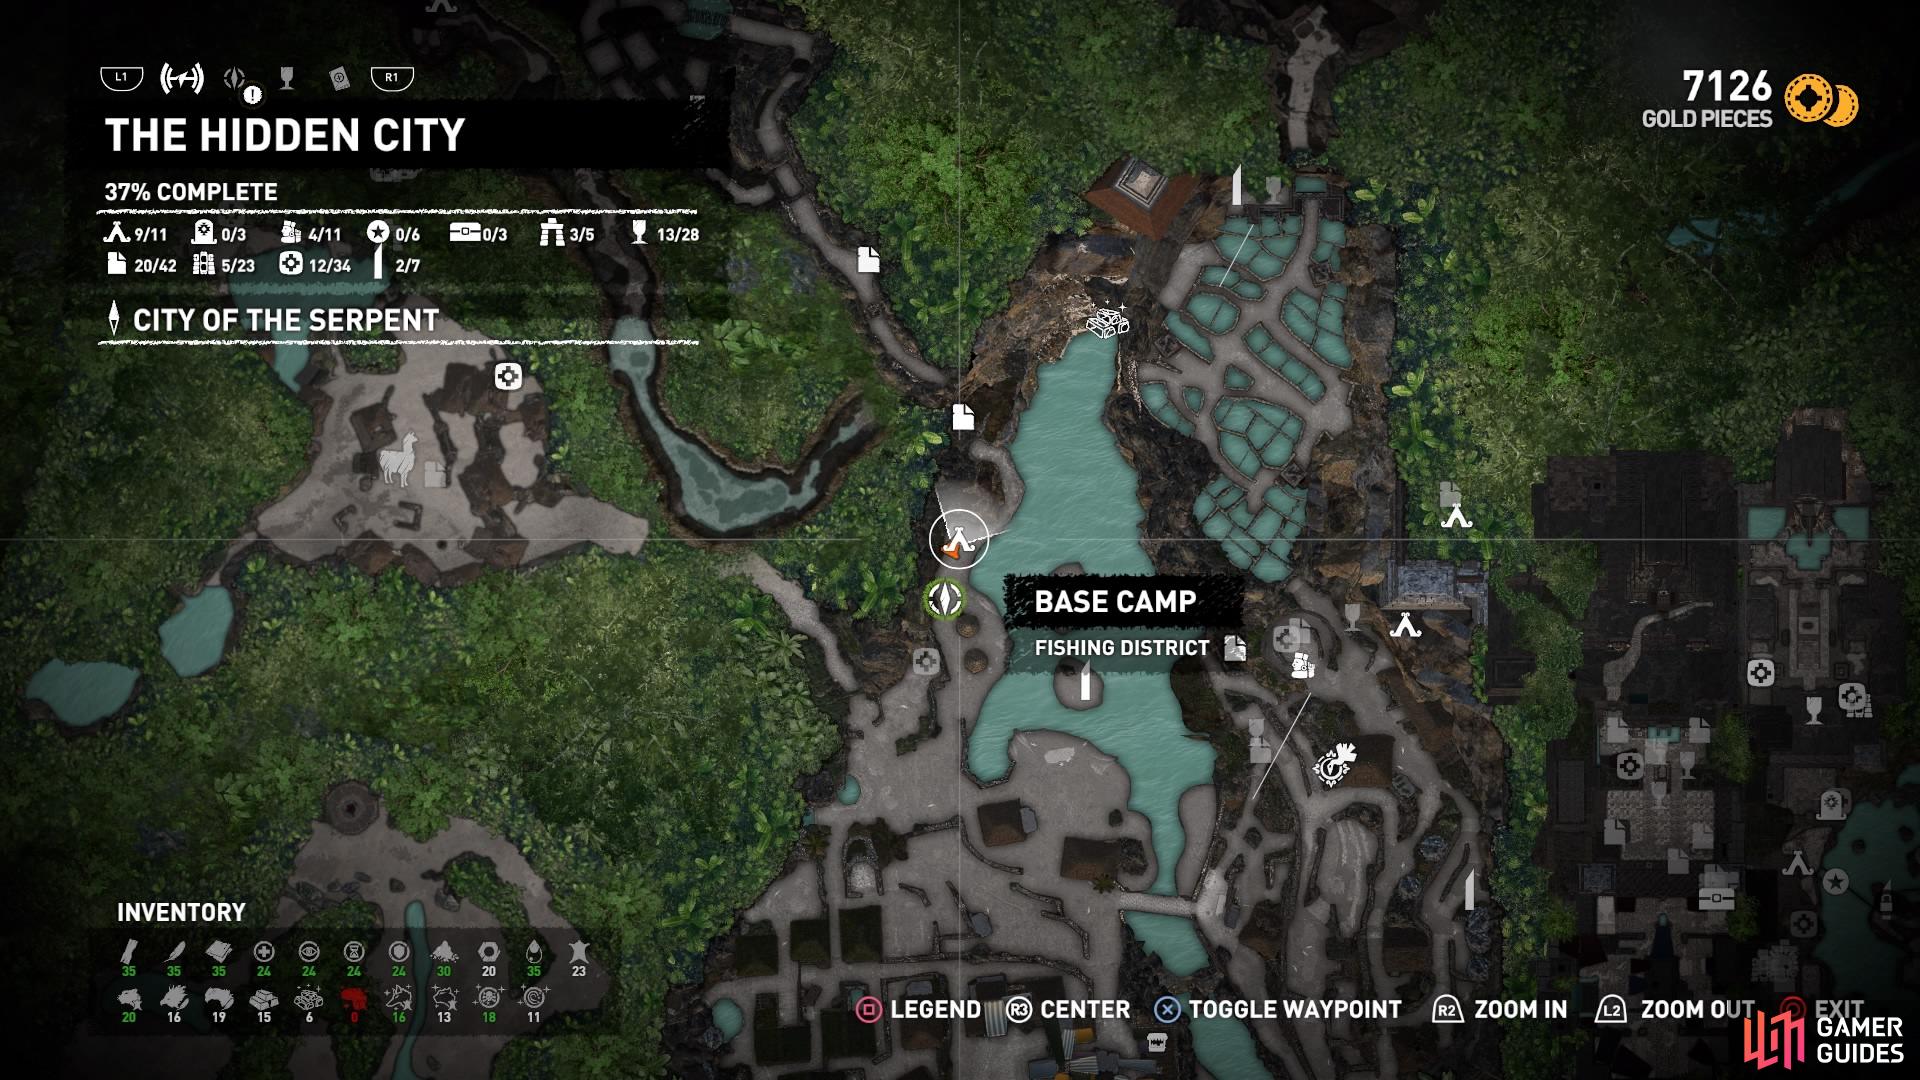
Fishing District Base Camp
Find the white tree
HEARTS AND MINDS
| SIDE MISSION | . |
|---|---|
| MISSION GIVER | UCHU |
| OBJECTIVE | RETRIEVE THE SAVIOUR’S AMULET |
| REWARD | THE SAVIOUR’S AMULET (ARTIFACT) + 350 GOLD COINS |
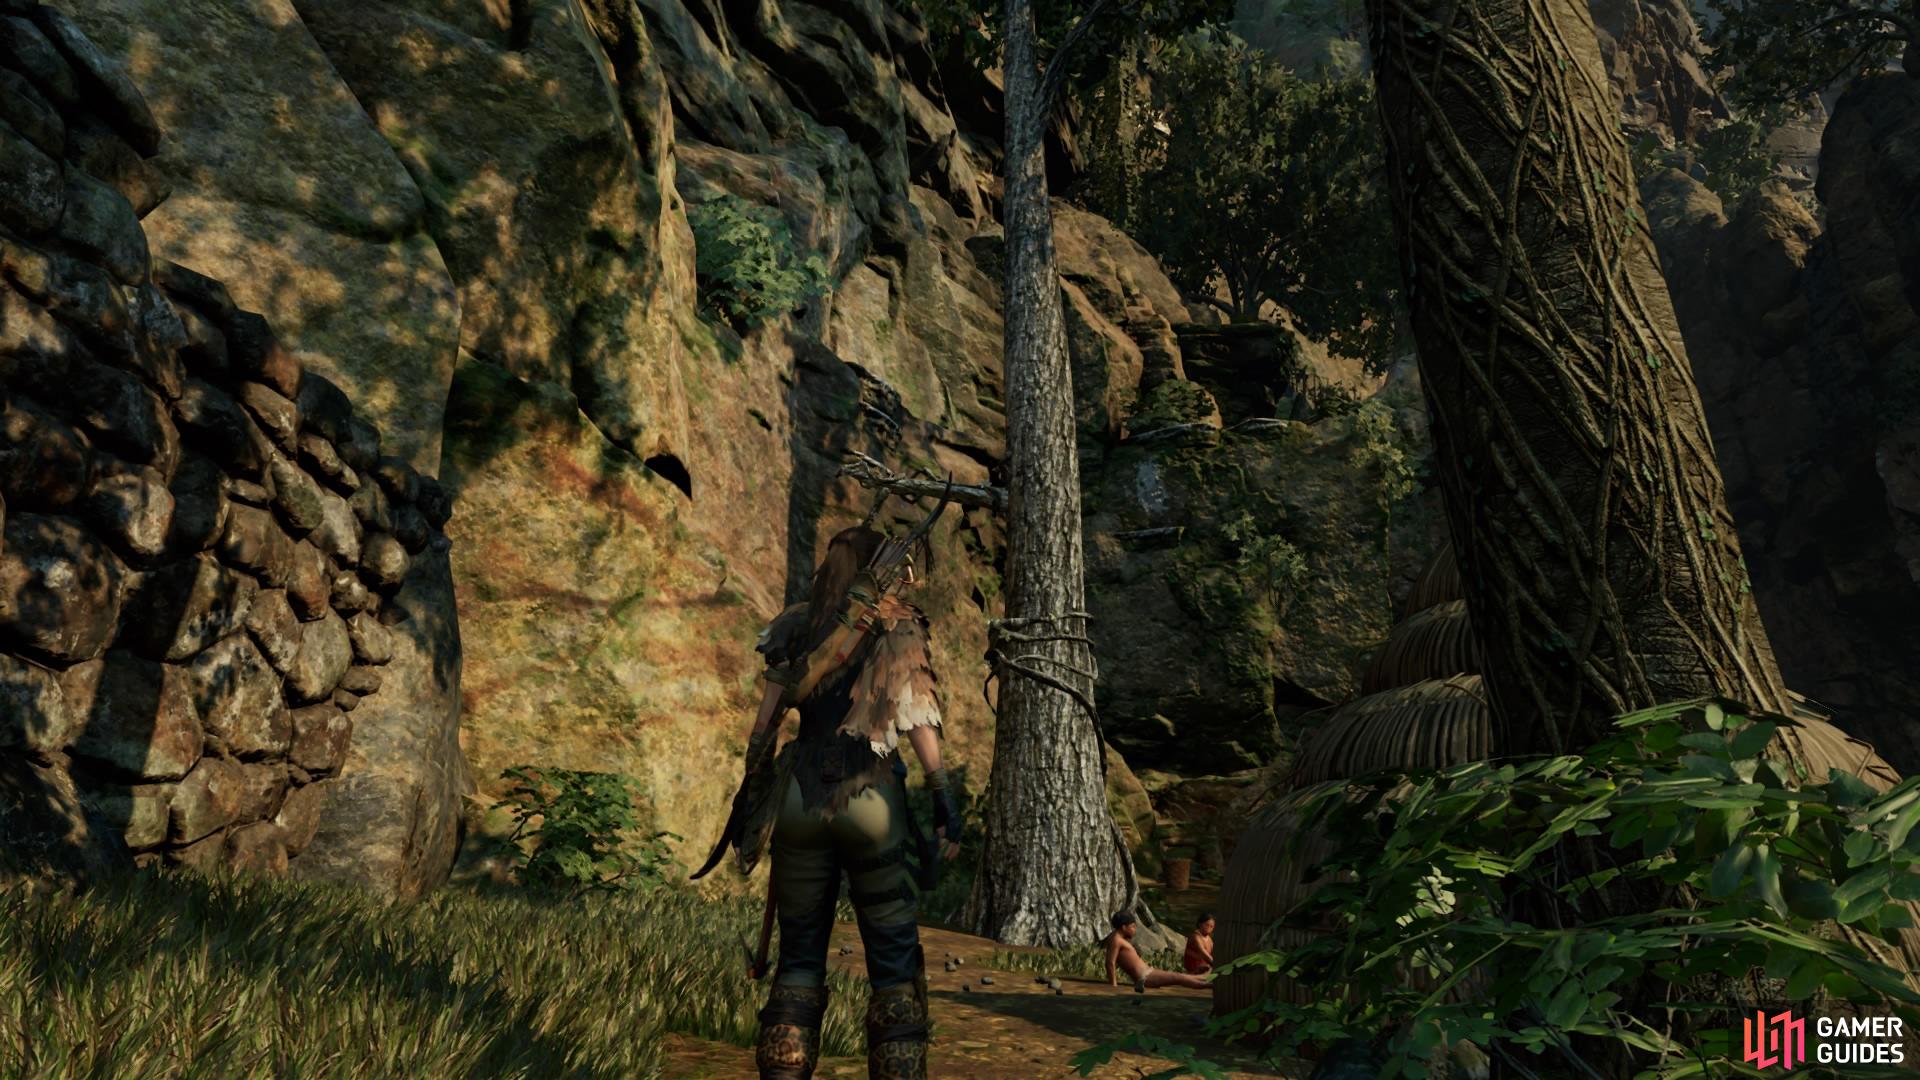
Now you must find the amulet located in a cave on the far side of the village. Start at the Fishing District Base Camp and look for the singular white tree.
Climb the tree and hop over to the cliff to climb up the ledge. Run right along the ledge to jump to the next one and climb up. Then jump from the protruding rock ahead, swing over to the cliff, and scramble up to find the cave entrance. Look over to the left for Document – The First Emperor on a stone block before you head inside.
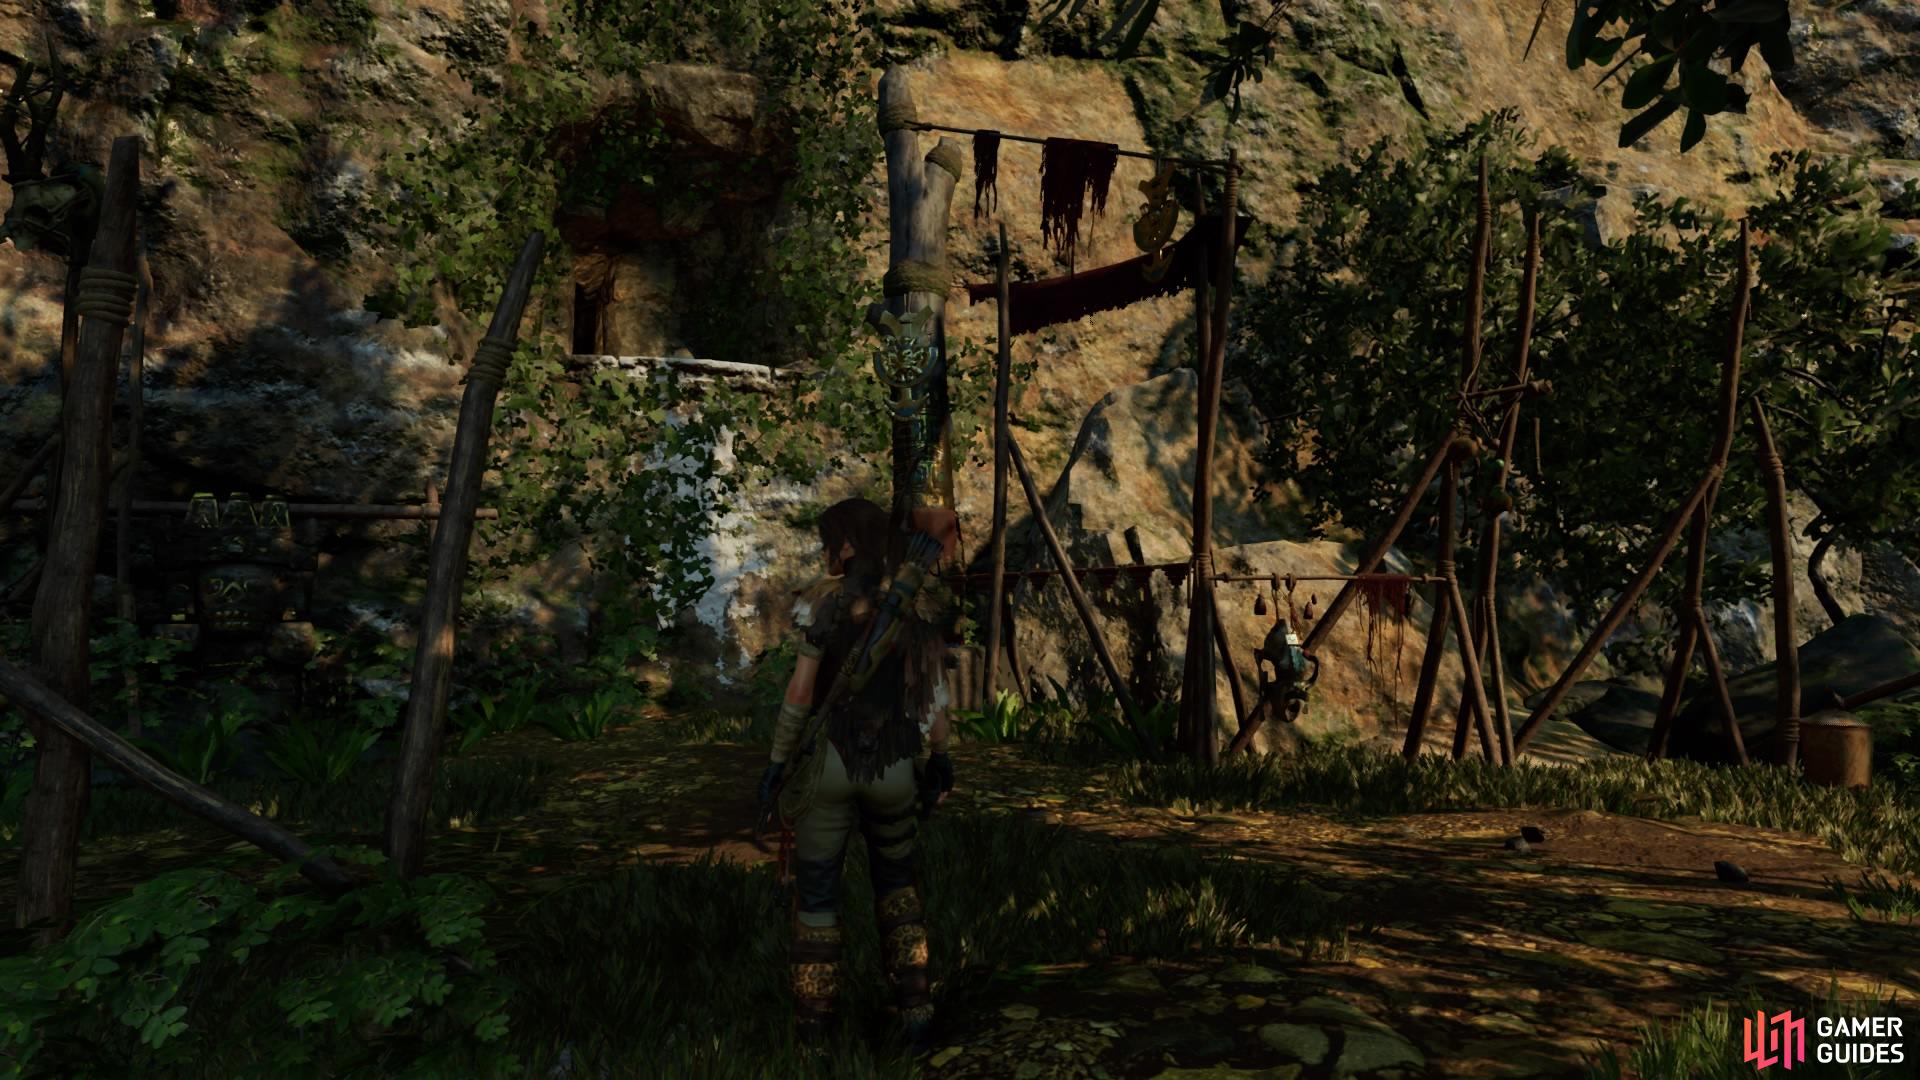
Cave entrance
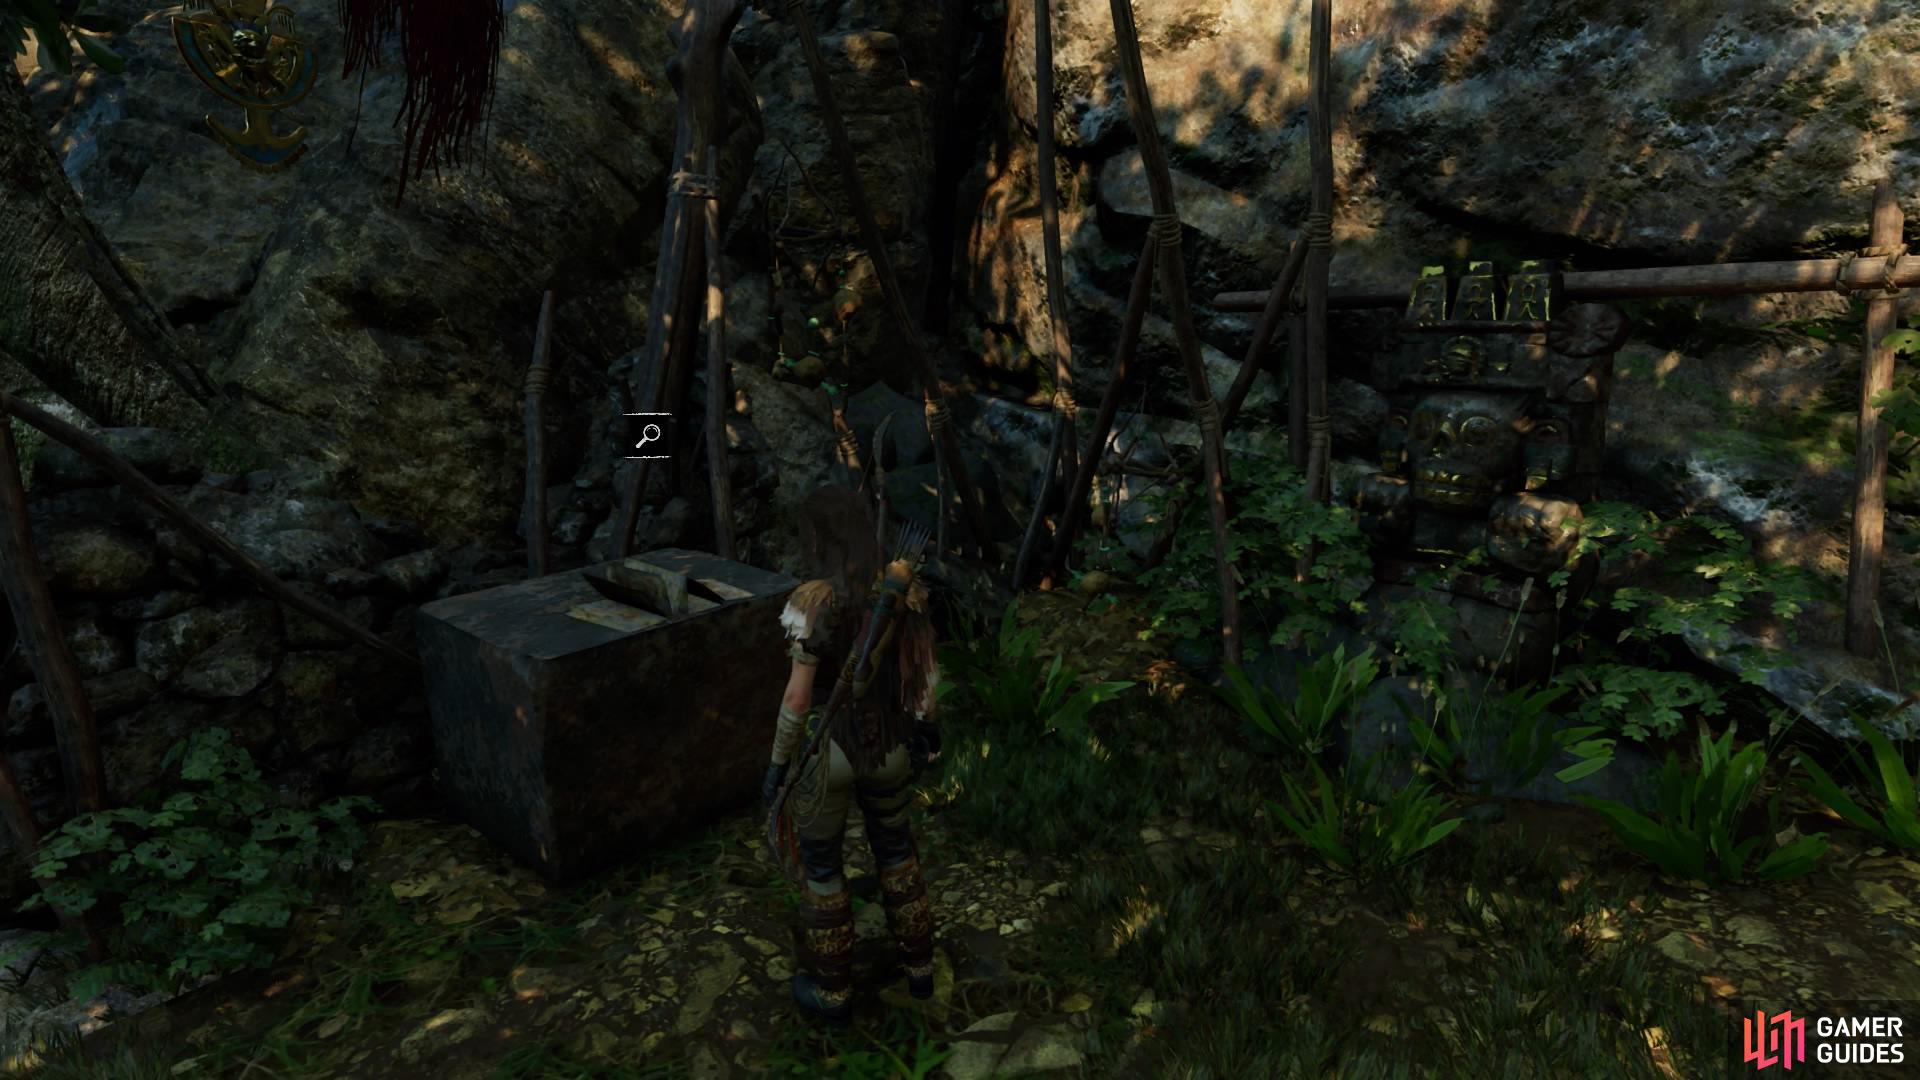
Document - The First Emperor
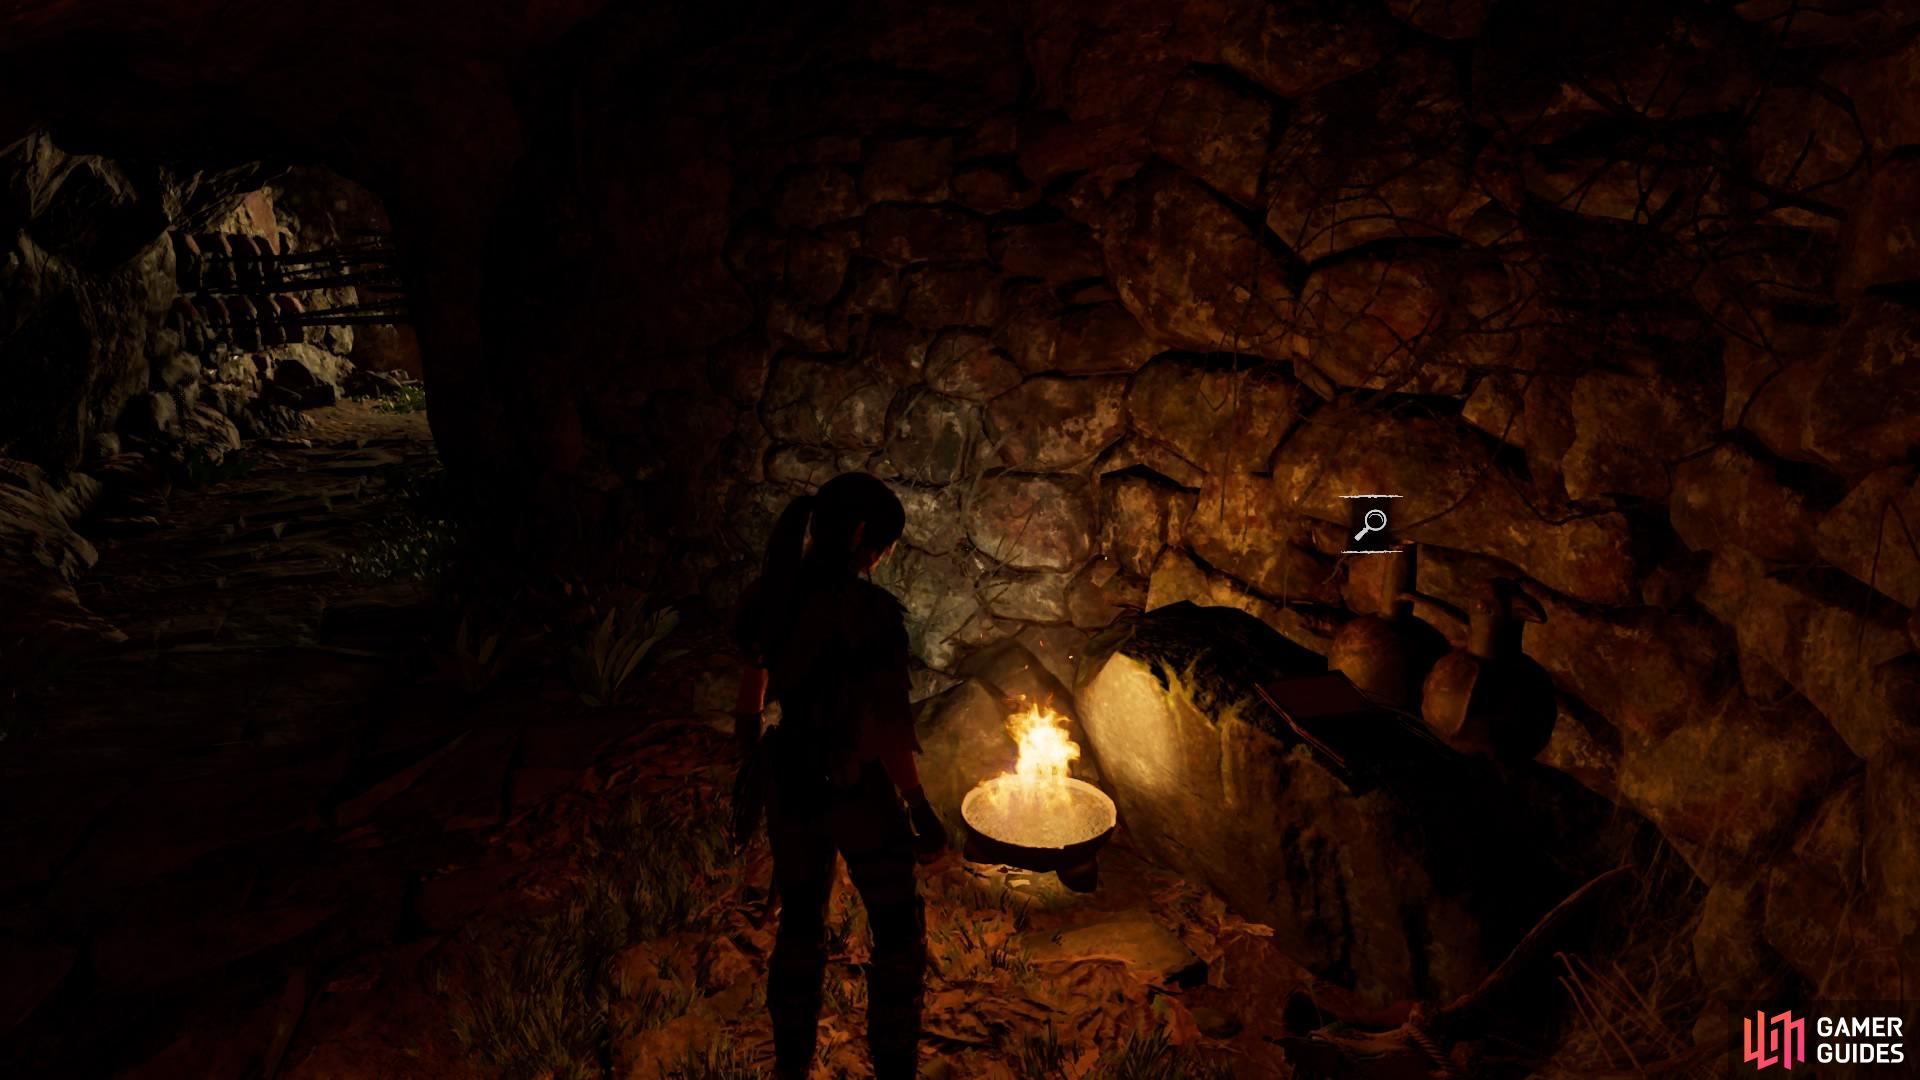
Duck under the spears and hop over the hole in the ground. Stop at the small fire to pick up Document – The Cult’s Control, then continue forward to the dead end. Inspect the mural and break through the weak wall on the left. Disable the two spear traps on your way through the corridor.
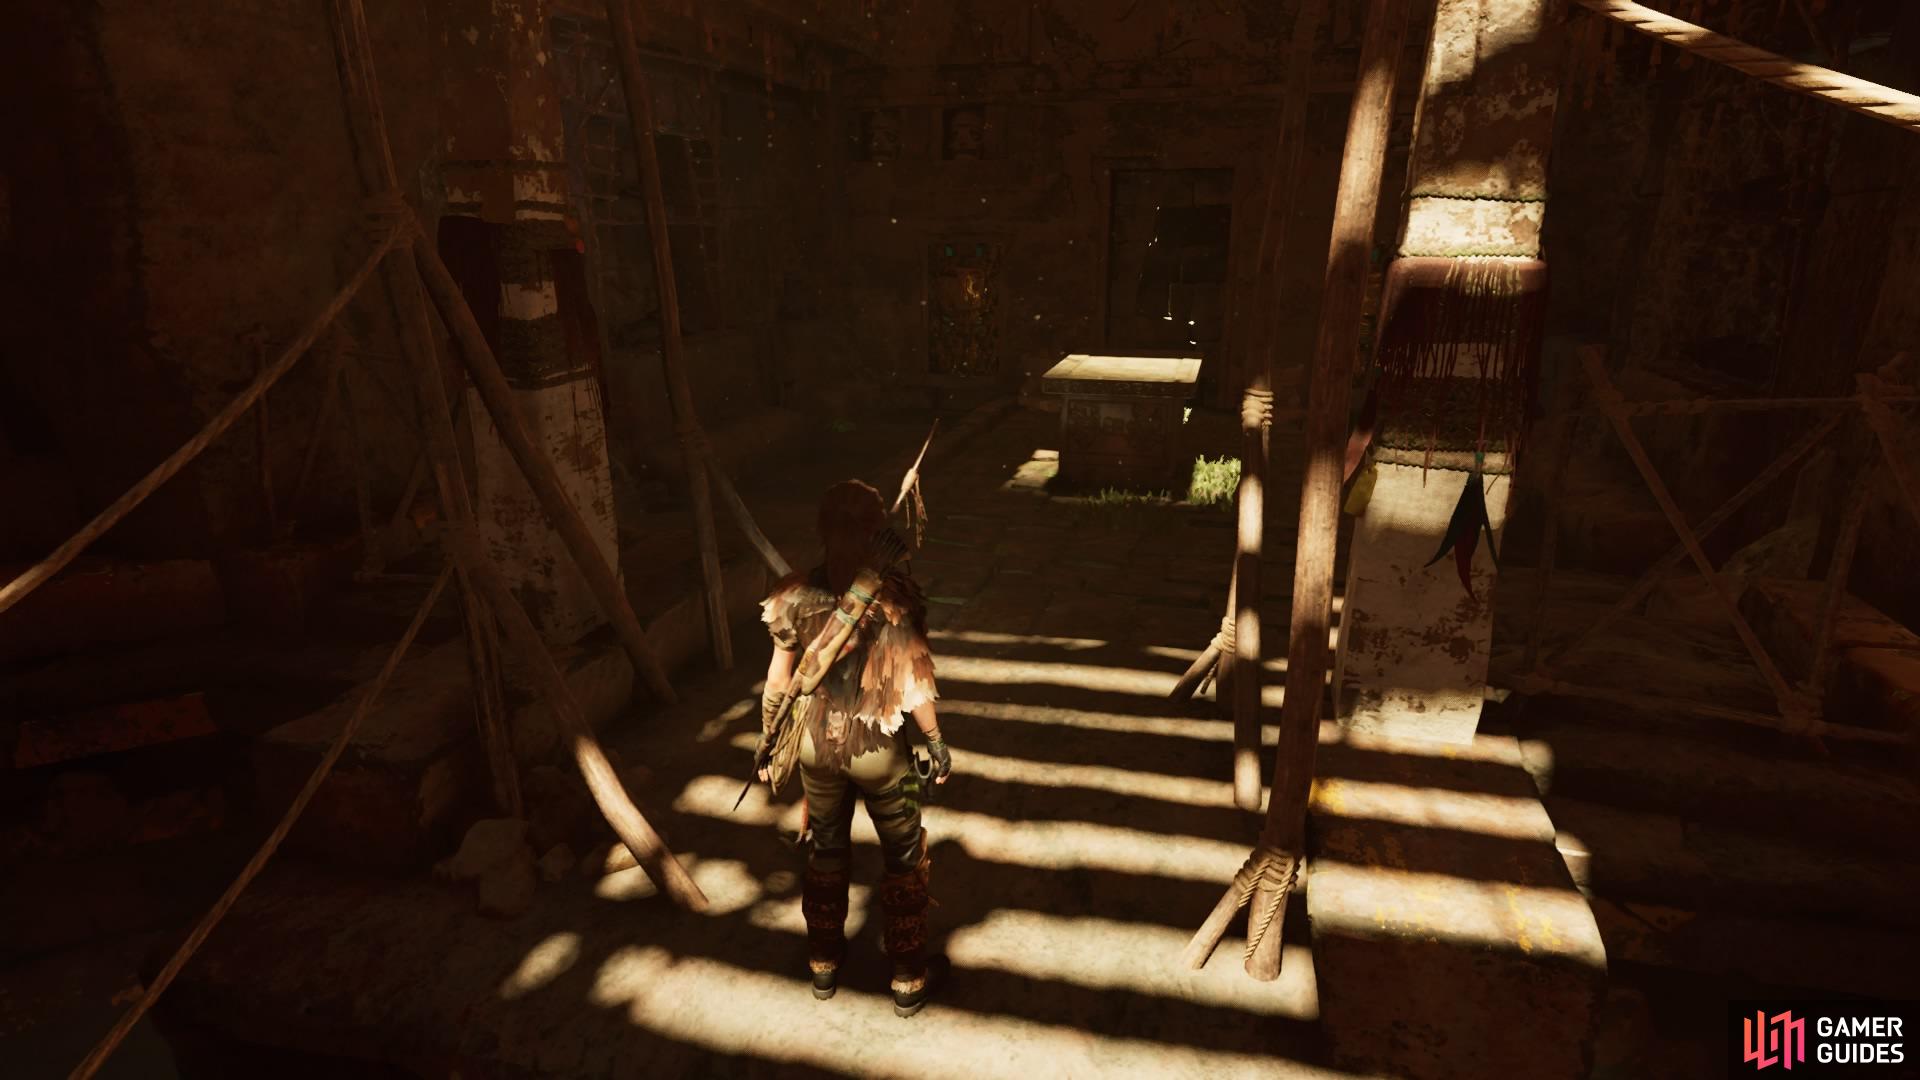
In the next room you’ll find Document – Protection on the left and Relic – Golden Effigy on the right. Then climb up the left side of the wall to duck through a short tunnel into the next room. Before you head forward again, crawl under the door on the right to follow a passage to some Gold. Then return to the main path and descend the steps to find the sarcophagus waiting on the other side of the bridge.
As you attempt to cross the bridge, however, it collapses, dropping you into the water below. Dive under and swim through the tunnel on the left to resurface in another room.
-
Head left to interact with a switch, causing the water to rise. Turn around to quickly dive underwater and swim through the opening to return to the central chamber.
-
Swim through the opening in front of you to find another room like the previous one. Push the switch again to raise the water, and quickly turn around to swim under the gate before it shuts completely.
-
Now swim through another opening on your left to enter a third room. Use a rope arrow to remove the barrier, then interact with the switch to raise the water one last time. This time, the gate closes before you can swim out, so swim up through the ceiling instead. Dislodge the barrier ahead to return to the central chamber.
Loot the sarcophagus
Leave the crypt
Now you can reach the sarcophagus, so climb out and loot it for the amulet. Break through the weak wall ahead and jump to the craggy surface on your right. Climb to the top and hoist yourself up to duck through the tunnel, then jump to the next craggy surface and rappel down to return to the mural.
From here, follow the tunnels back out the way you came in and head back to Uchu to return the amulet.
But wait – it’s still not over yet!
Head to the wilderness

Wilderness entrance
THE CHAMPION’S BOW
| SIDE MISSION | . |
|---|---|
| MISSION GIVER | UCHU |
| OBJECTIVE | RETRIEVE THE CHAMPION’S BOW |
| REWARD | VESTIGE: MANKO’S TUNIC |
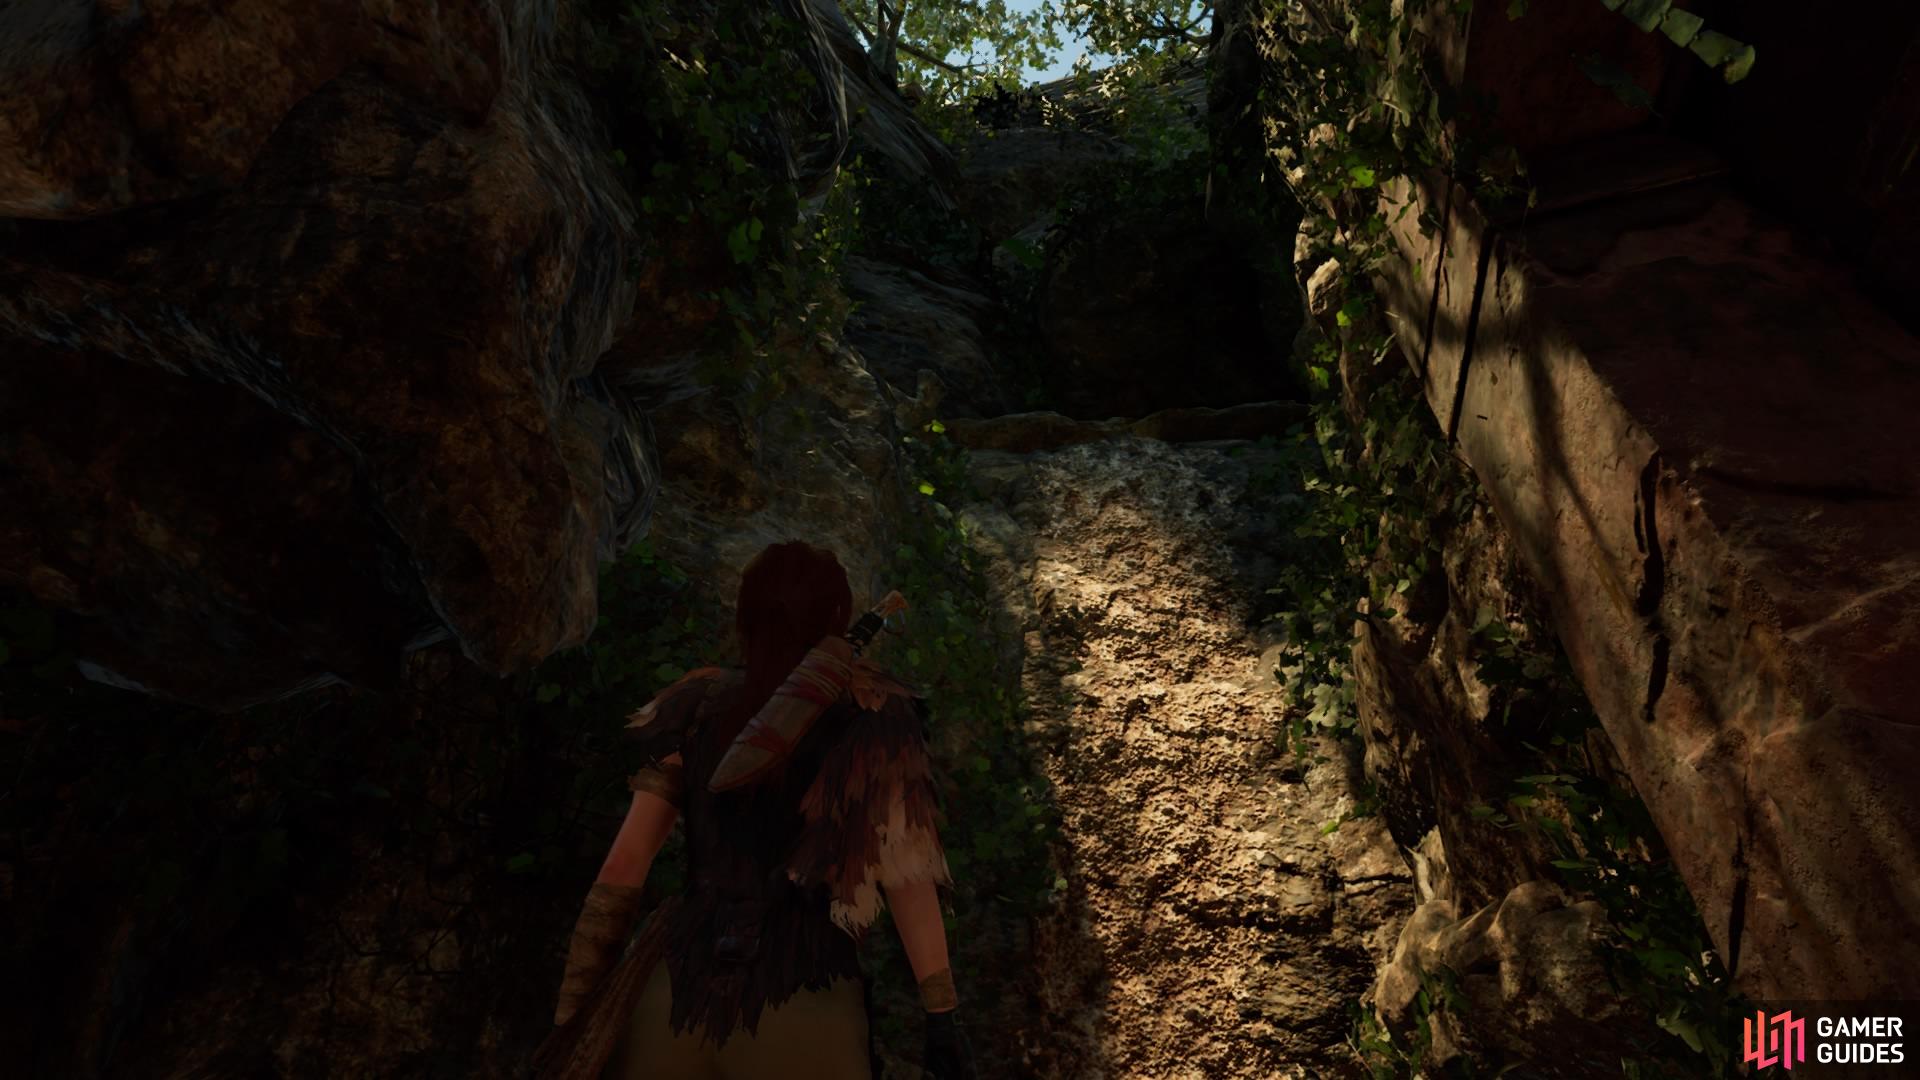
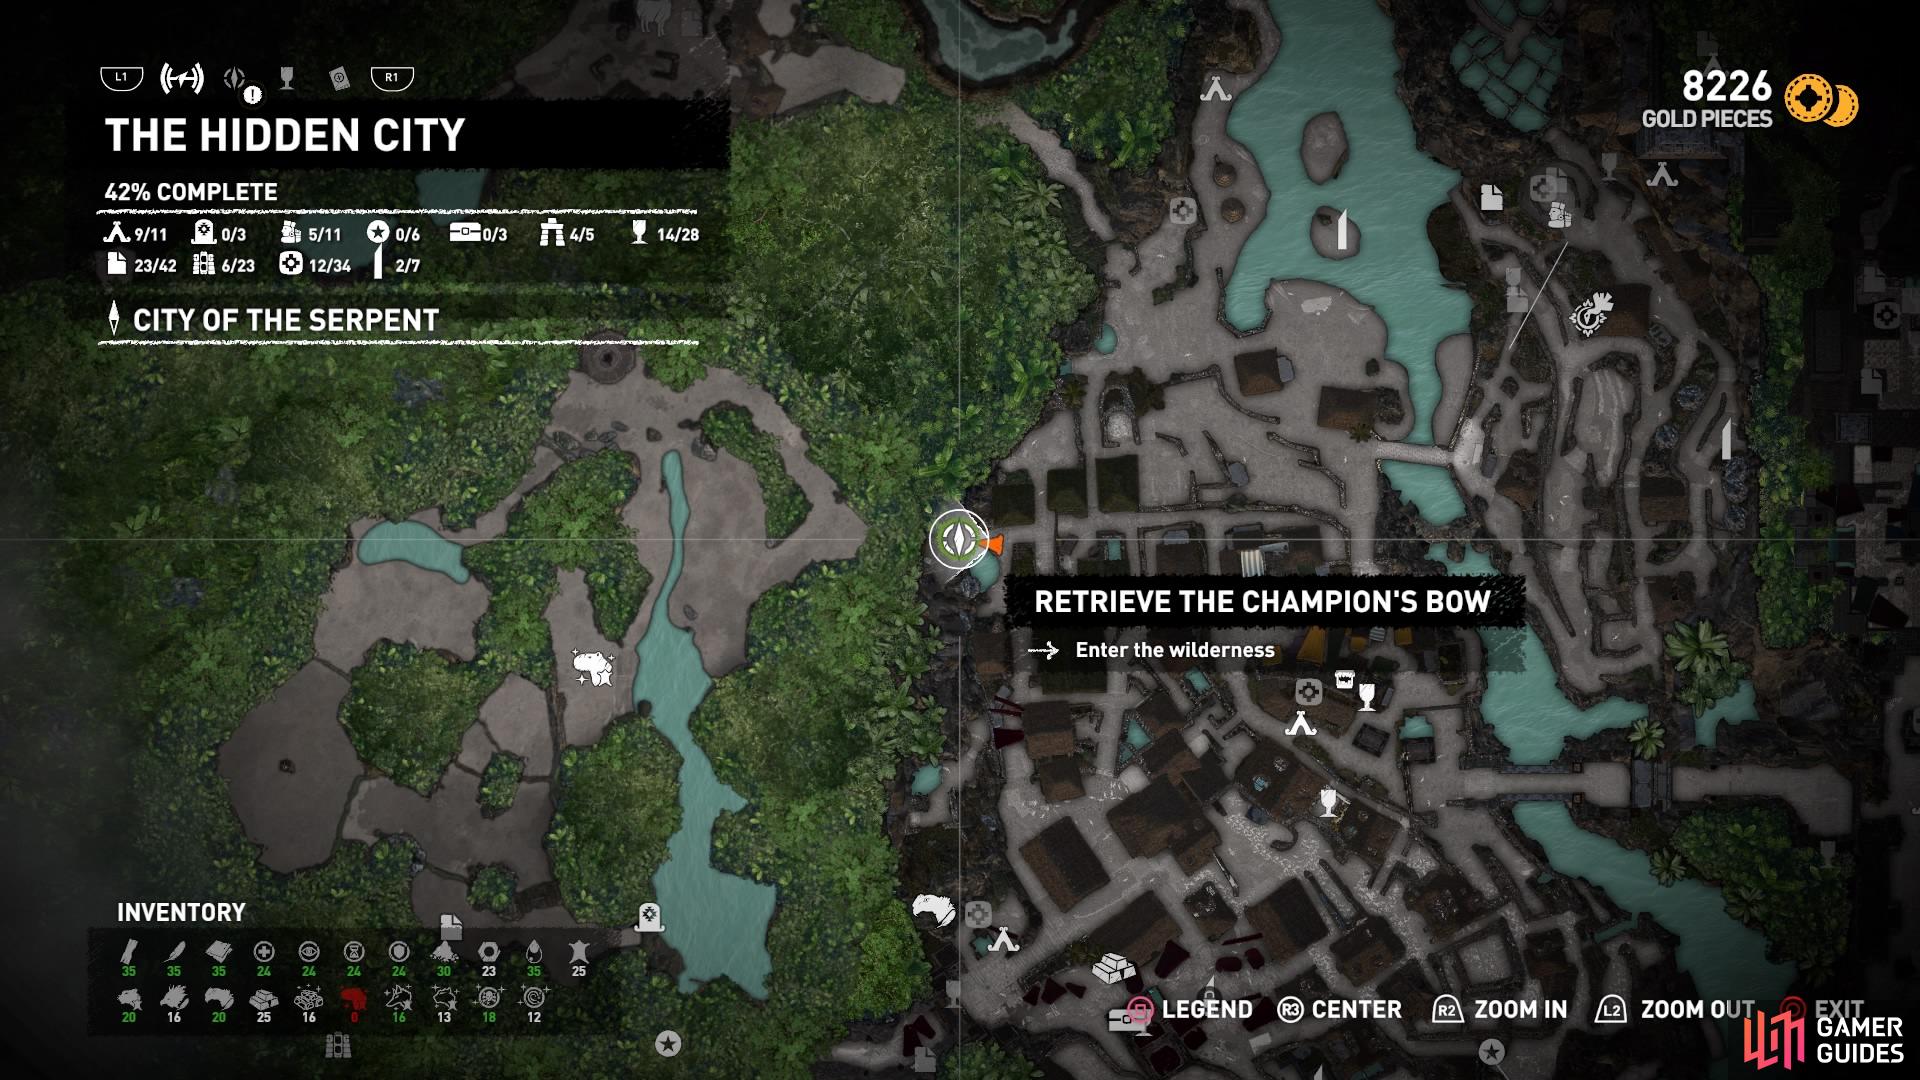
Uchu wants you to locate the Champion’s Bow deep in the Paititi wilderness. Head to the waypoint marker on the far side of the village to find the entrance to the wilderness – it’s painted red, so you can’t miss it.
Duck through the tunnel and head left but stop before the river and look for the Wild Jungle Base Camp. Activate it to come back later. Now head right until you find a bloody platform. Search the platform for Relic – Beast Effigy, then look to the left to find a narrow opening to squeeze through.
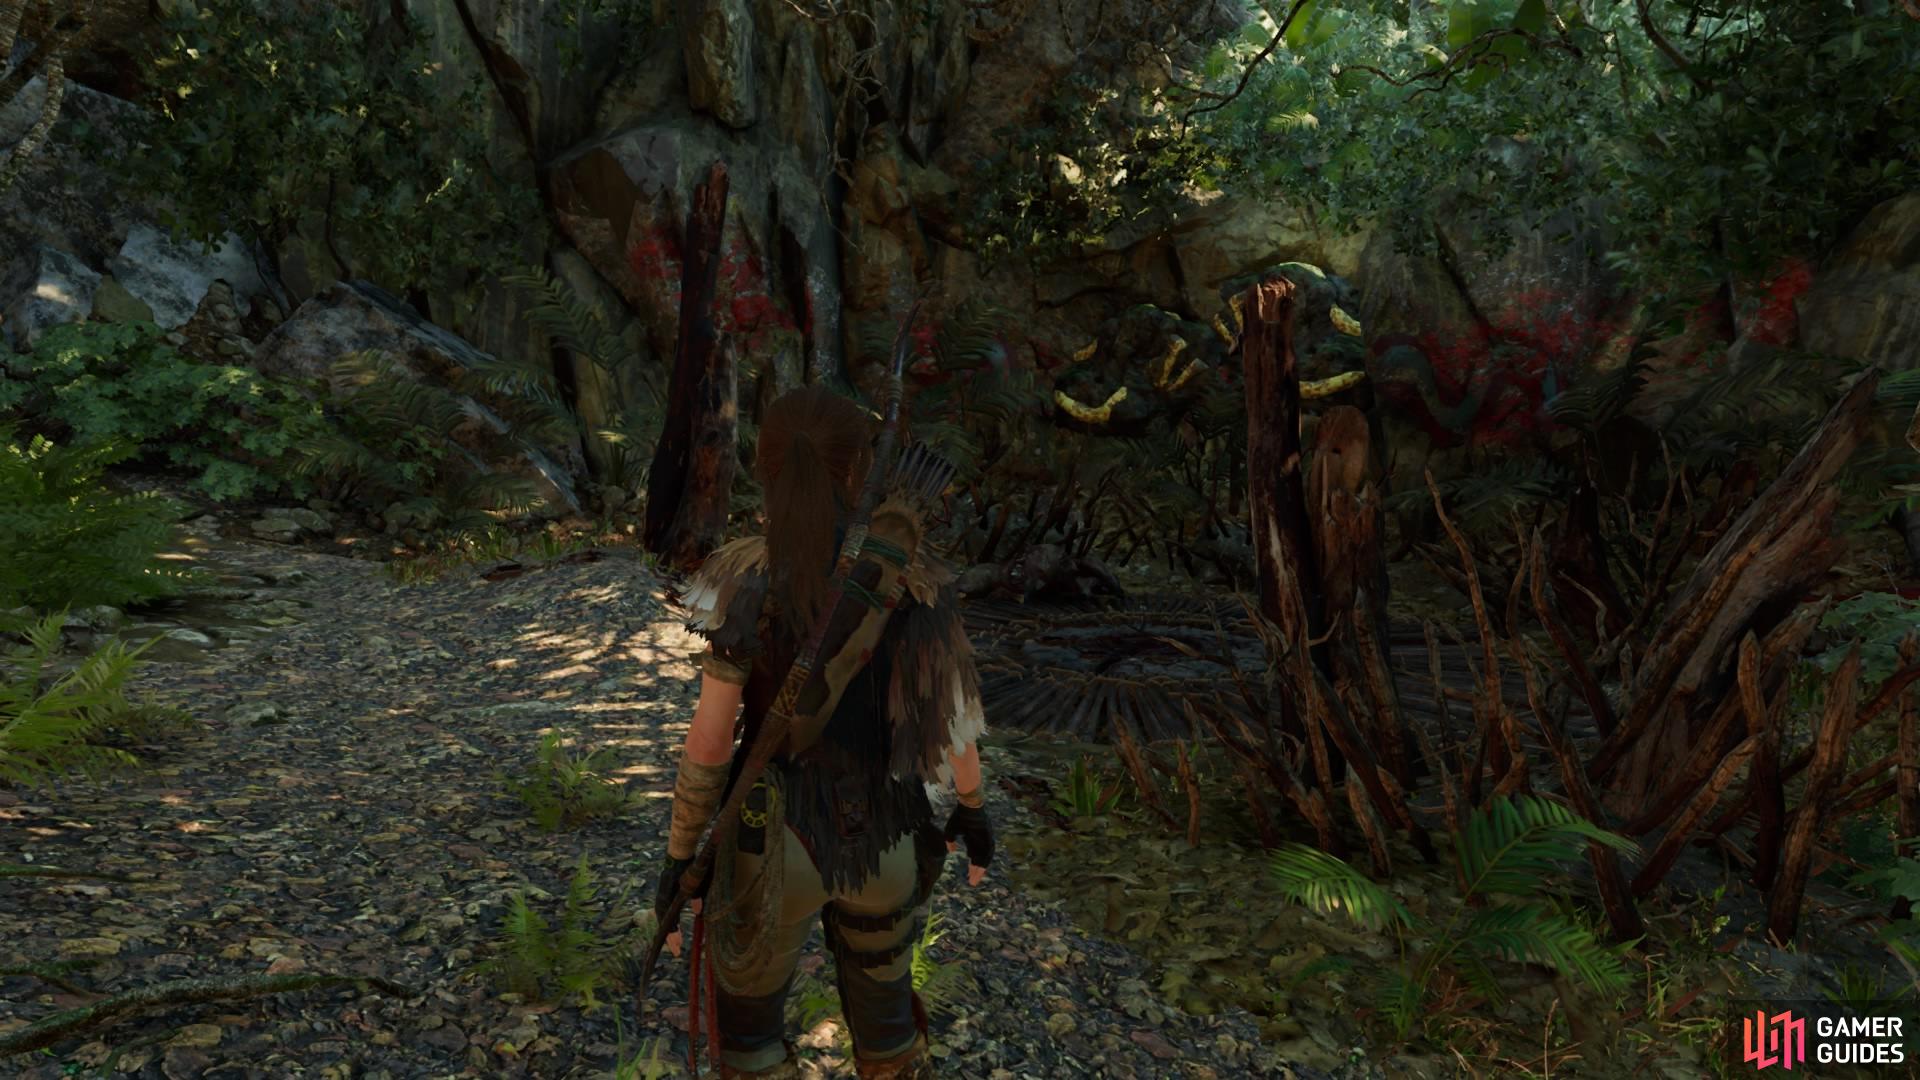
The next area is rather open with a decorated rock structure – inside is the Champion’s Bow, but prepare yourself for a fight against a creature of Paititi legend.
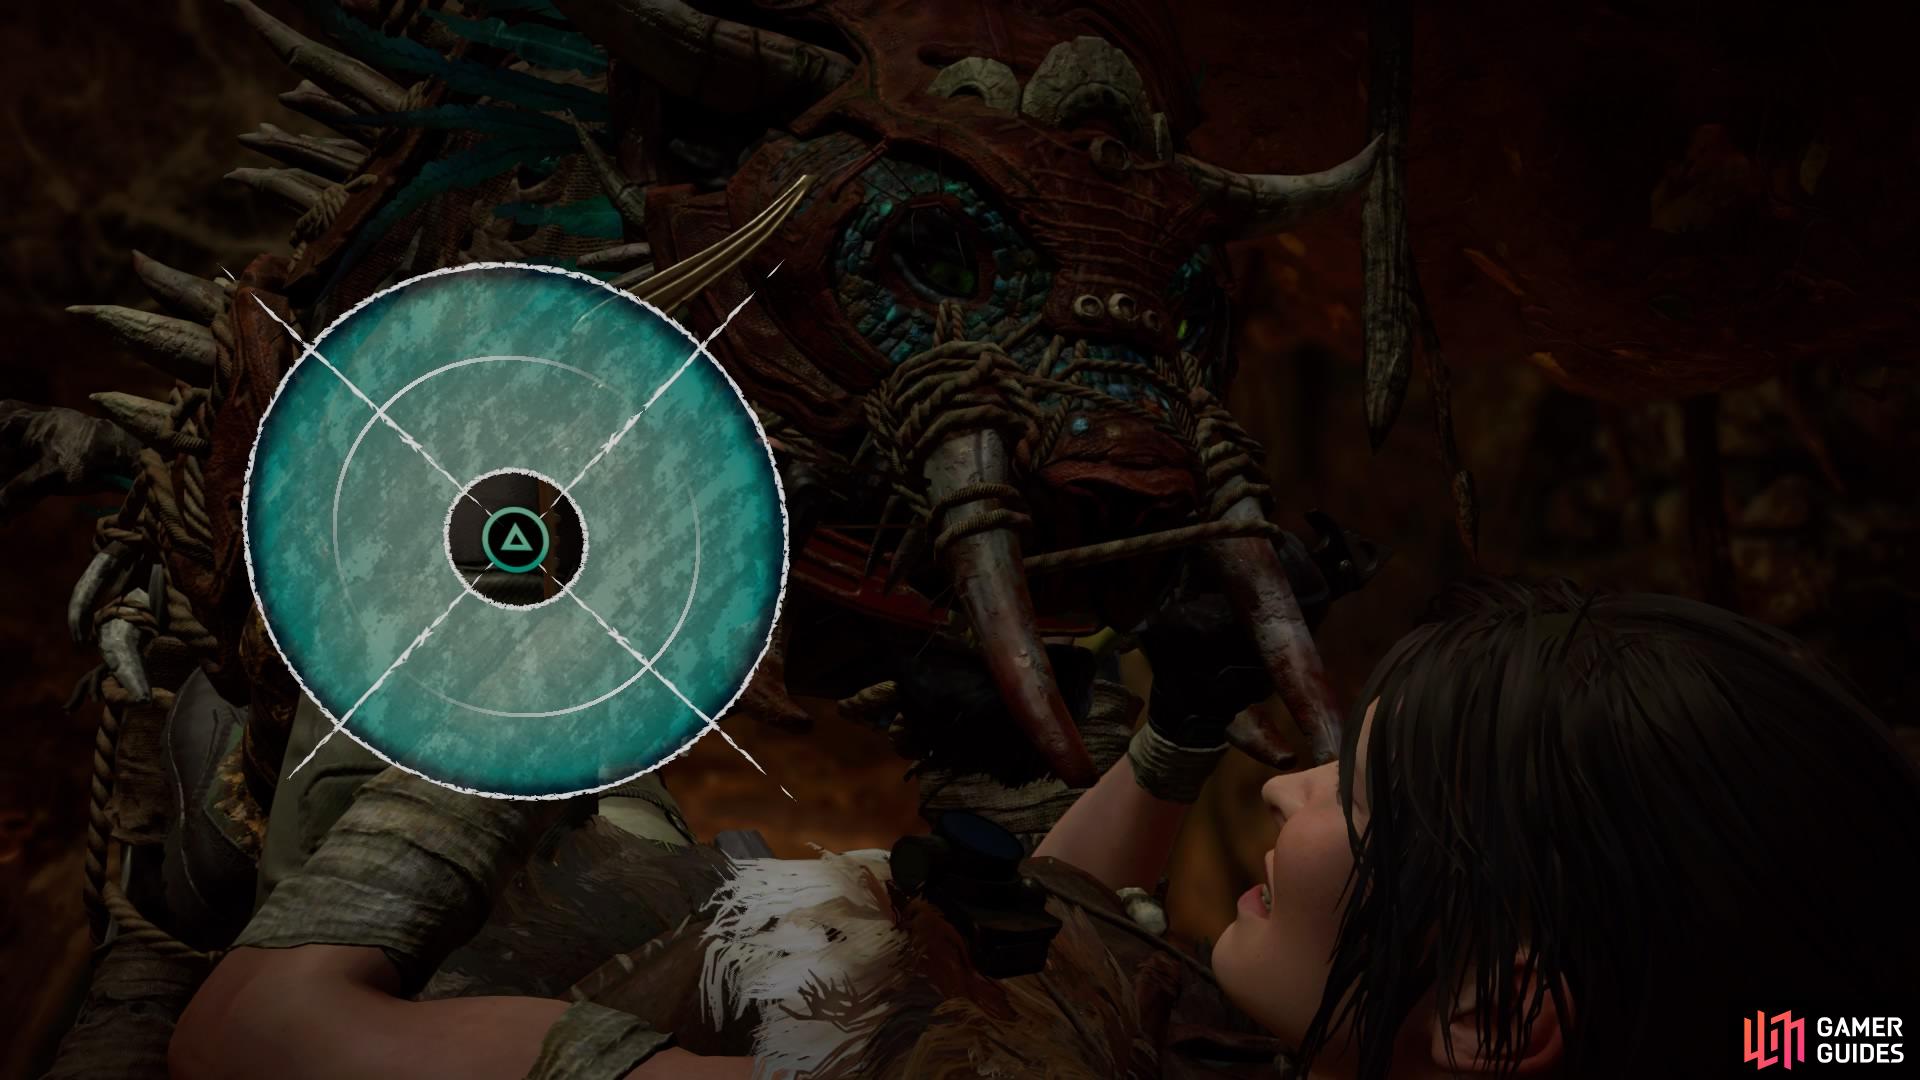
DEFEAT THE NAHUAL
The creature is, in fact, a jaguar adorned in armour, so treat this fight just like the jaguar encounters that came before this. The area is open, so there’s plenty of room to run and scramble away. If the jaguar pins you, quickly move the left analog stick left and right and press the correct button when it reaches the shaded area of the circle.
You don’t have access to any other weapon than your bow for this encounter, so continue to shoot arrows every chance you get. Eventually, the jaguar will cower and run. Follow it back to the Champion’s Bow to end the fight.
Now that you have the bow, exit the area at the back left and swan dive off the wooden platform into the water below. Head left out of the water and return to Uchu to finally complete the side mission and receive your reward!
No Comments