| Region Summary | . |
|---|---|
| Base Camp | 6 |
| Challenge Tomb | 2 |
| Mission Giver | 0 |
| Region Challenge | 2 |
| Treasure Chest | 1 |
| Crypt | 2 |
| Relic | 9 |
| Document | 13 |
| Mural | 7 |
| Survival Cache | 9 |
| Monolith | 1 |
ROUGH LANDING - LOOK FOR SURVIVORS
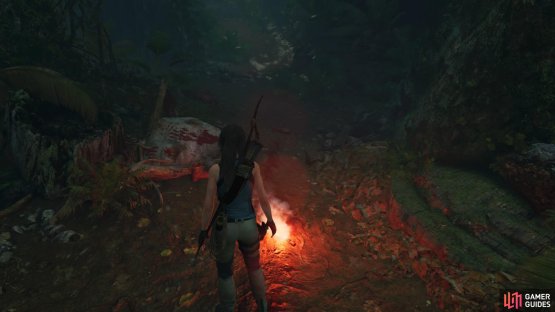
After the cutscene (which you’ll recognise from the game’s opening) you’ll take control of Lara in a swampy area of the jungle. Simply go forward and follow the path left – but remember to look for and pick up resources along the way!
Lara will return to full health as you go, so keep following the path until you see a white-painted wall to climb up. Then climb up the next one to come out onto the side of a cliff. Follow the ledge along and jump on to the first branch, then make a large jump across to the tangle of large trees and follow them down until you slide down a muddy slope.
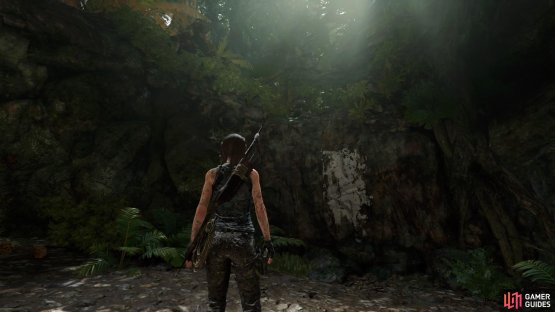
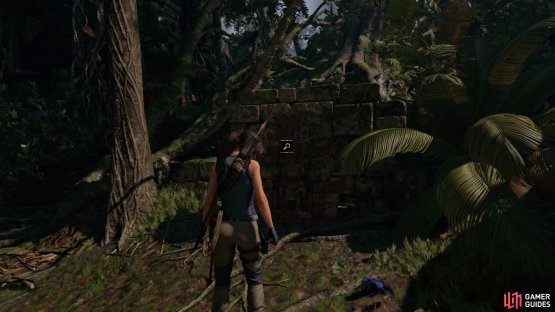
You’ll come to your first Base Camp (Plane Wreckage). Pick up the Relic sitting next to it to find Relic - Flight Log and add it to your collection.
Now turn around and head down the left path to a dead-end where the second Relic - Handkerchief, sitting on a wall.
Return to the Base Camp to be instructed on how the Skill tree works and begin to unlock any Skills you wish with the points you’ve earned.
CUT DOWN THE CARGO
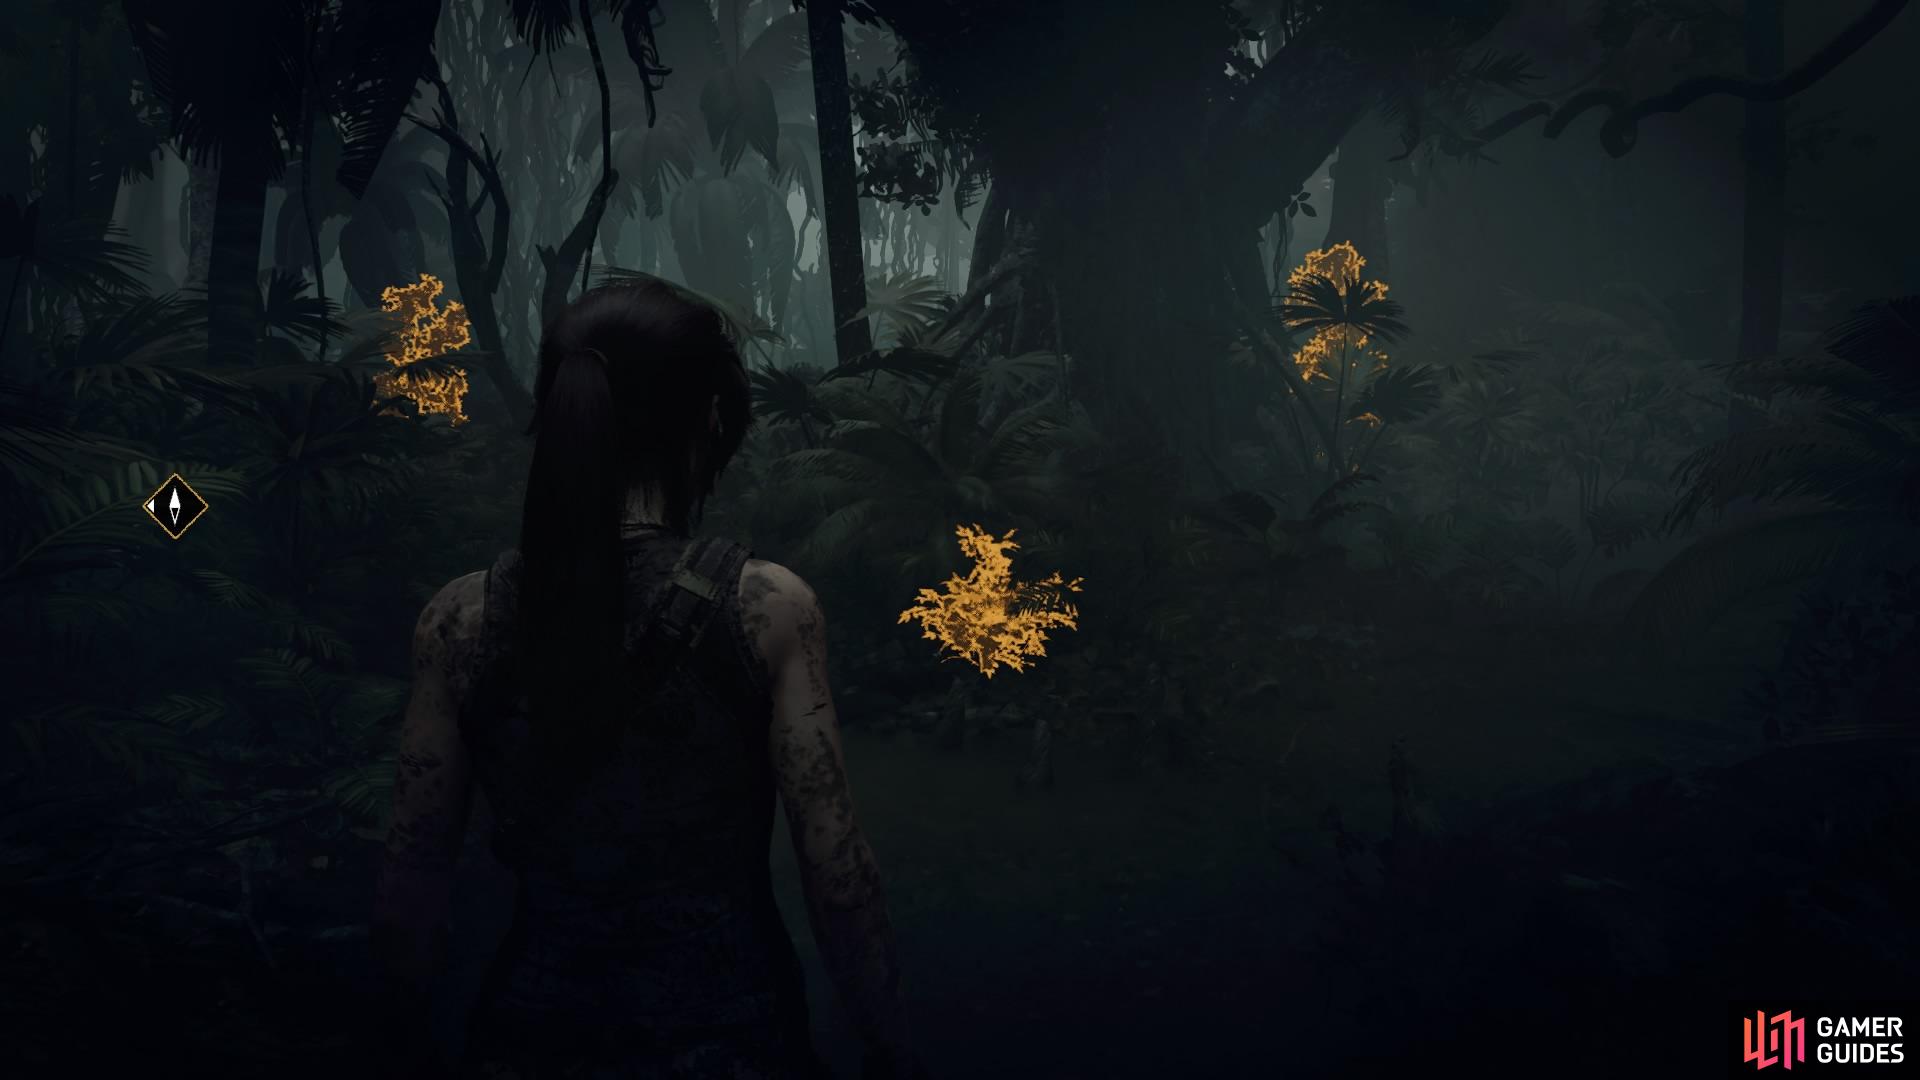
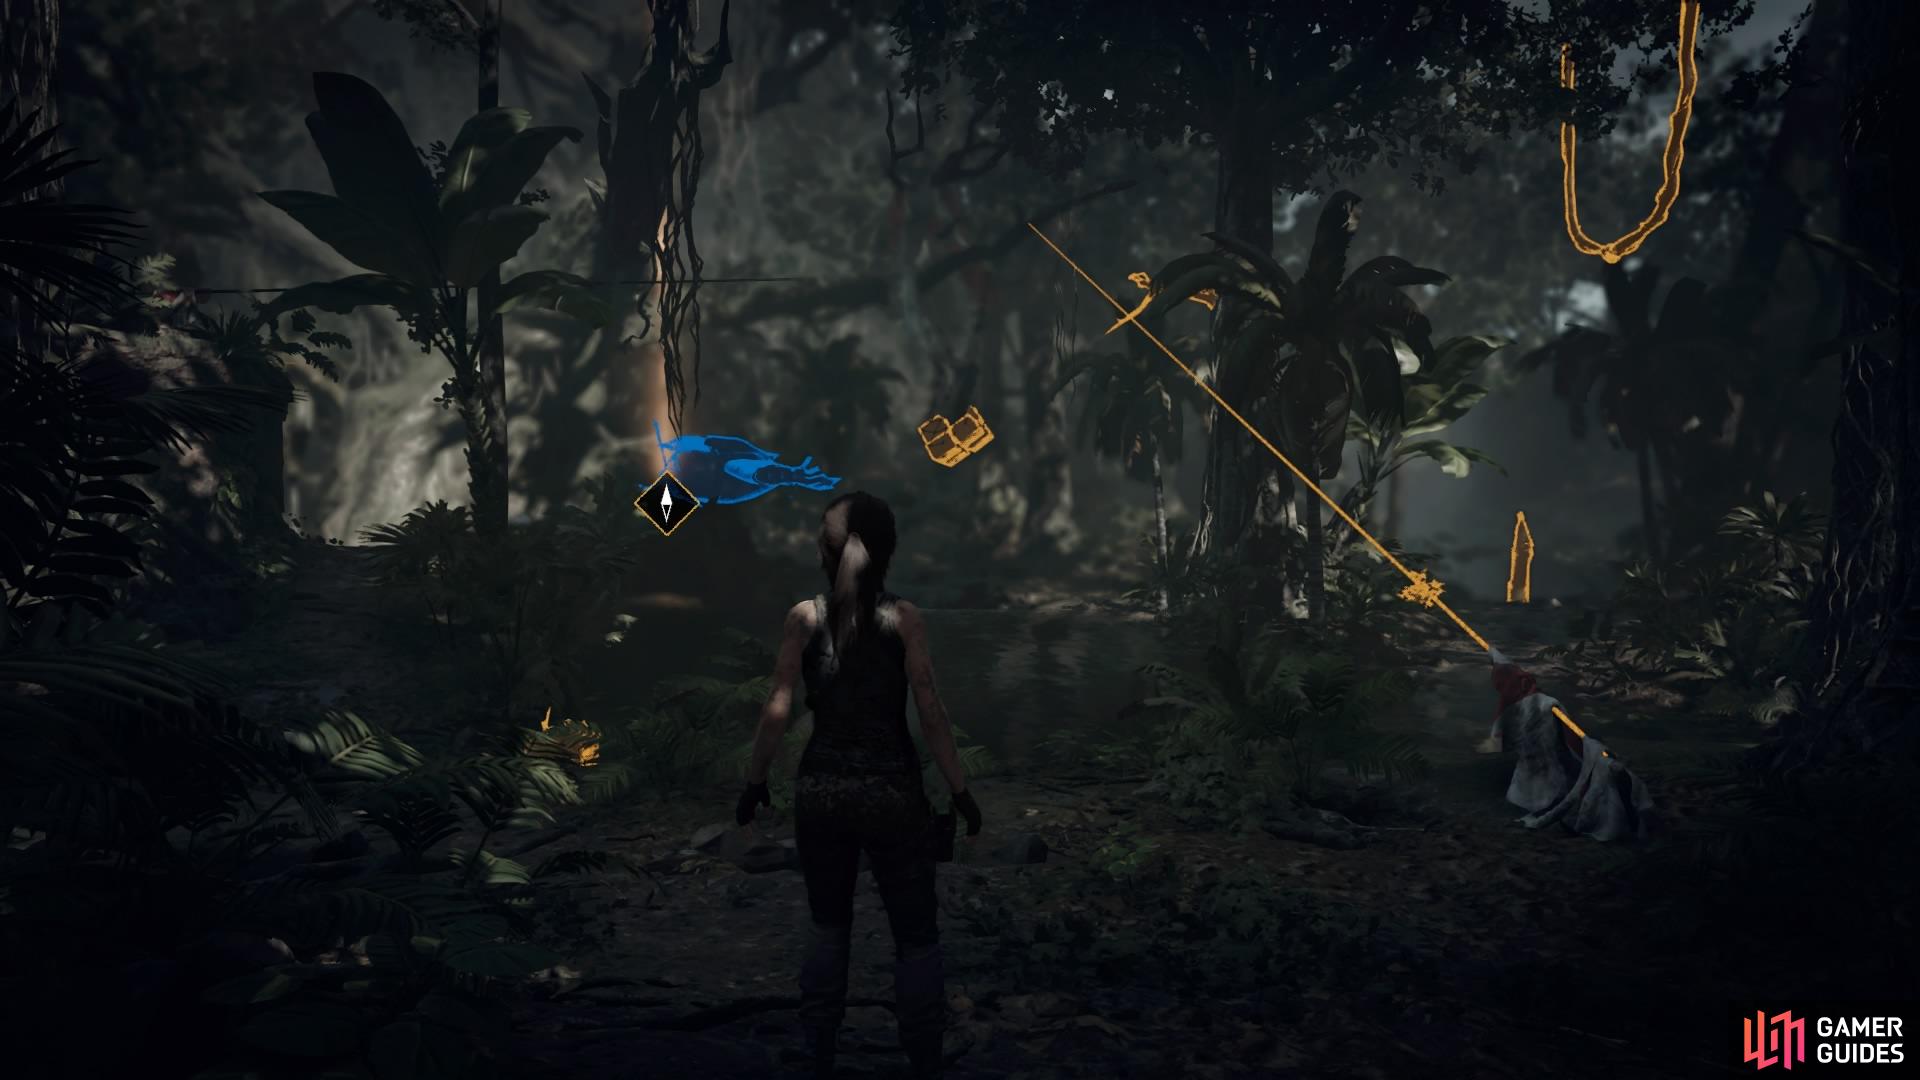
Use Survival Instincts to highlight all useful items and objectives in the area. You’ll need a knife to cut the rope that holds the cargo over the pool of water in the middle, and you can get this from the front of the plane that will be highlighted in blue. Make your way around the left side of the water to interact with the propeller. It’ll fall into the water, so dive in after it.
When Lara is attacked by an eel, she will rip off a blade from the propeller. Mash the Interact button to kill it and return to the surface. As you try to cut through the rope, however, Lara will state that it is too dull to use, so now you need to gather some salvage to sharpen it.
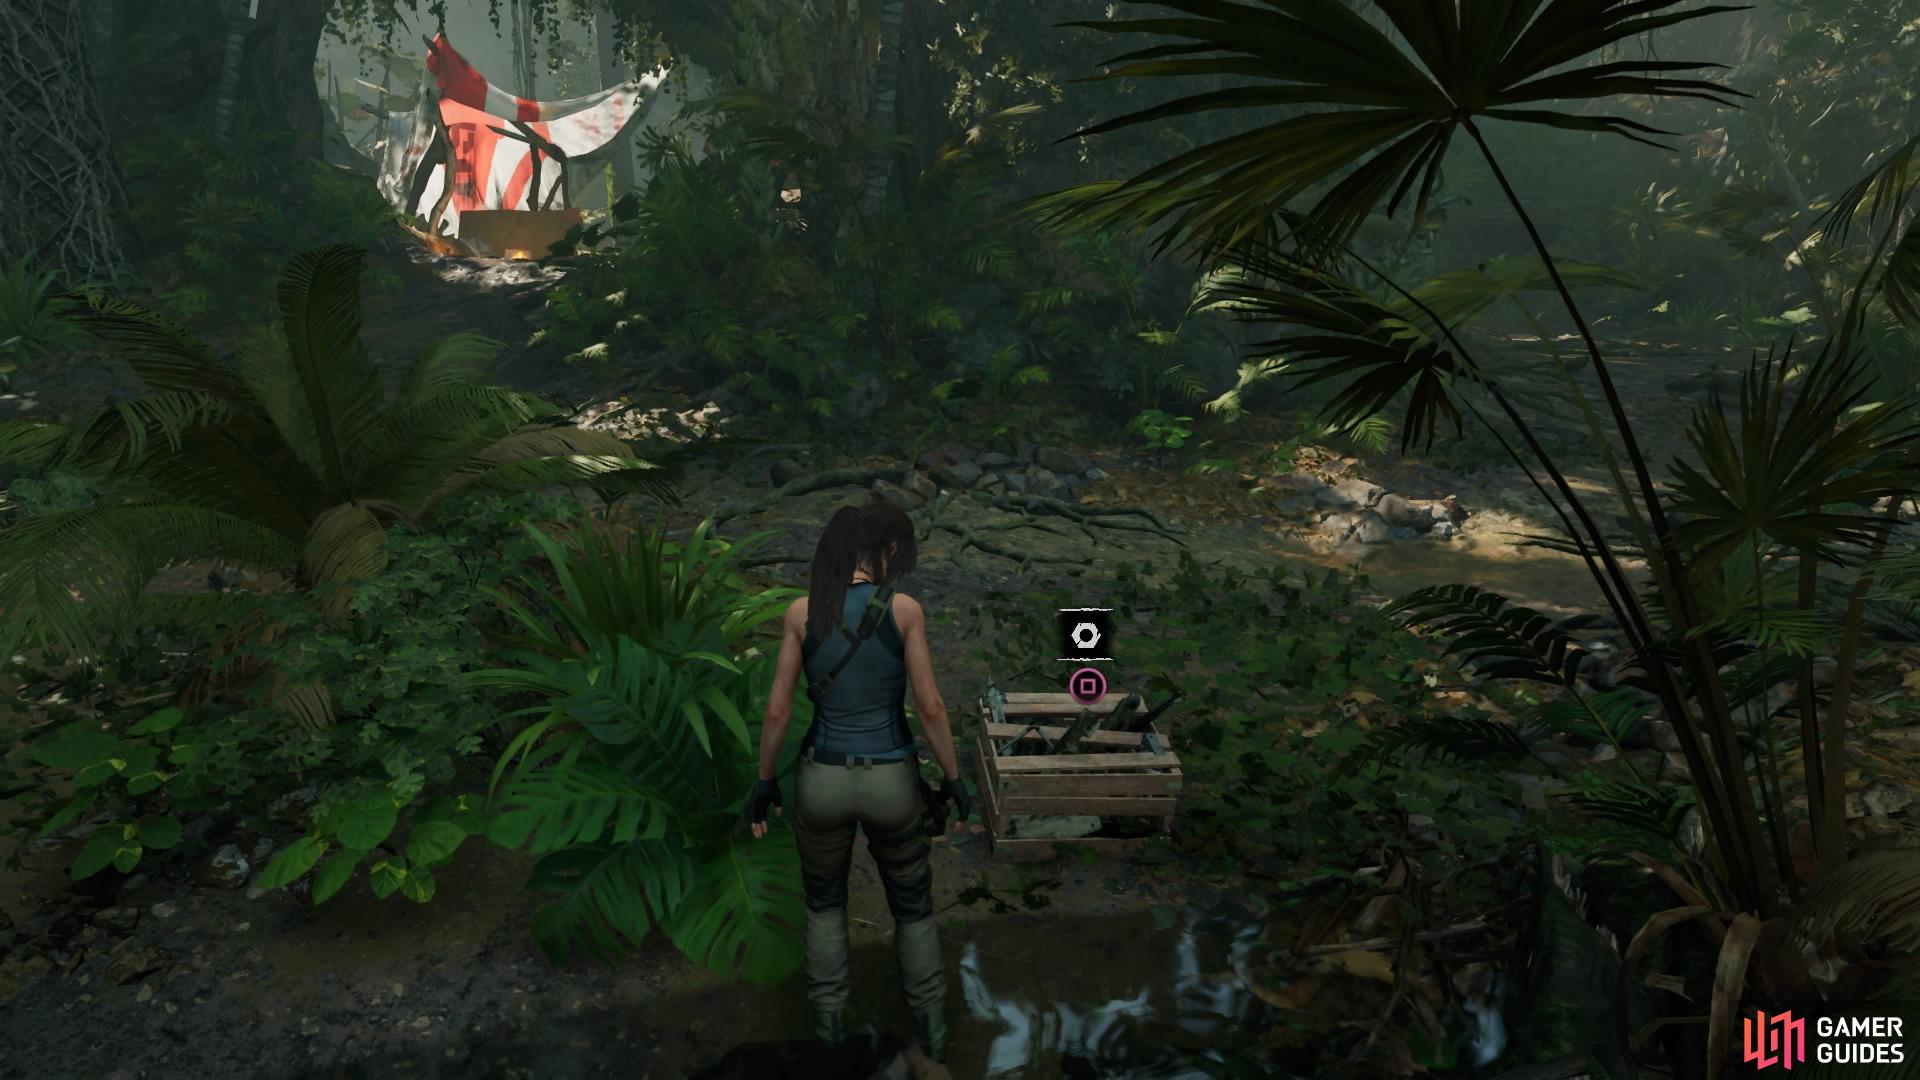
Luckily, there are plenty of salvage crates in the area, so just have a run around until you find three of them, and then return to the Base Camp to upgrade the knife. This will unlock the Inventory icon where you can now craft a Makeshift Knife.

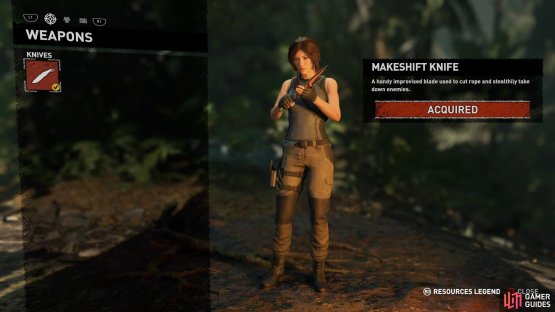
(1 of 2) Unlock the Inventory tab

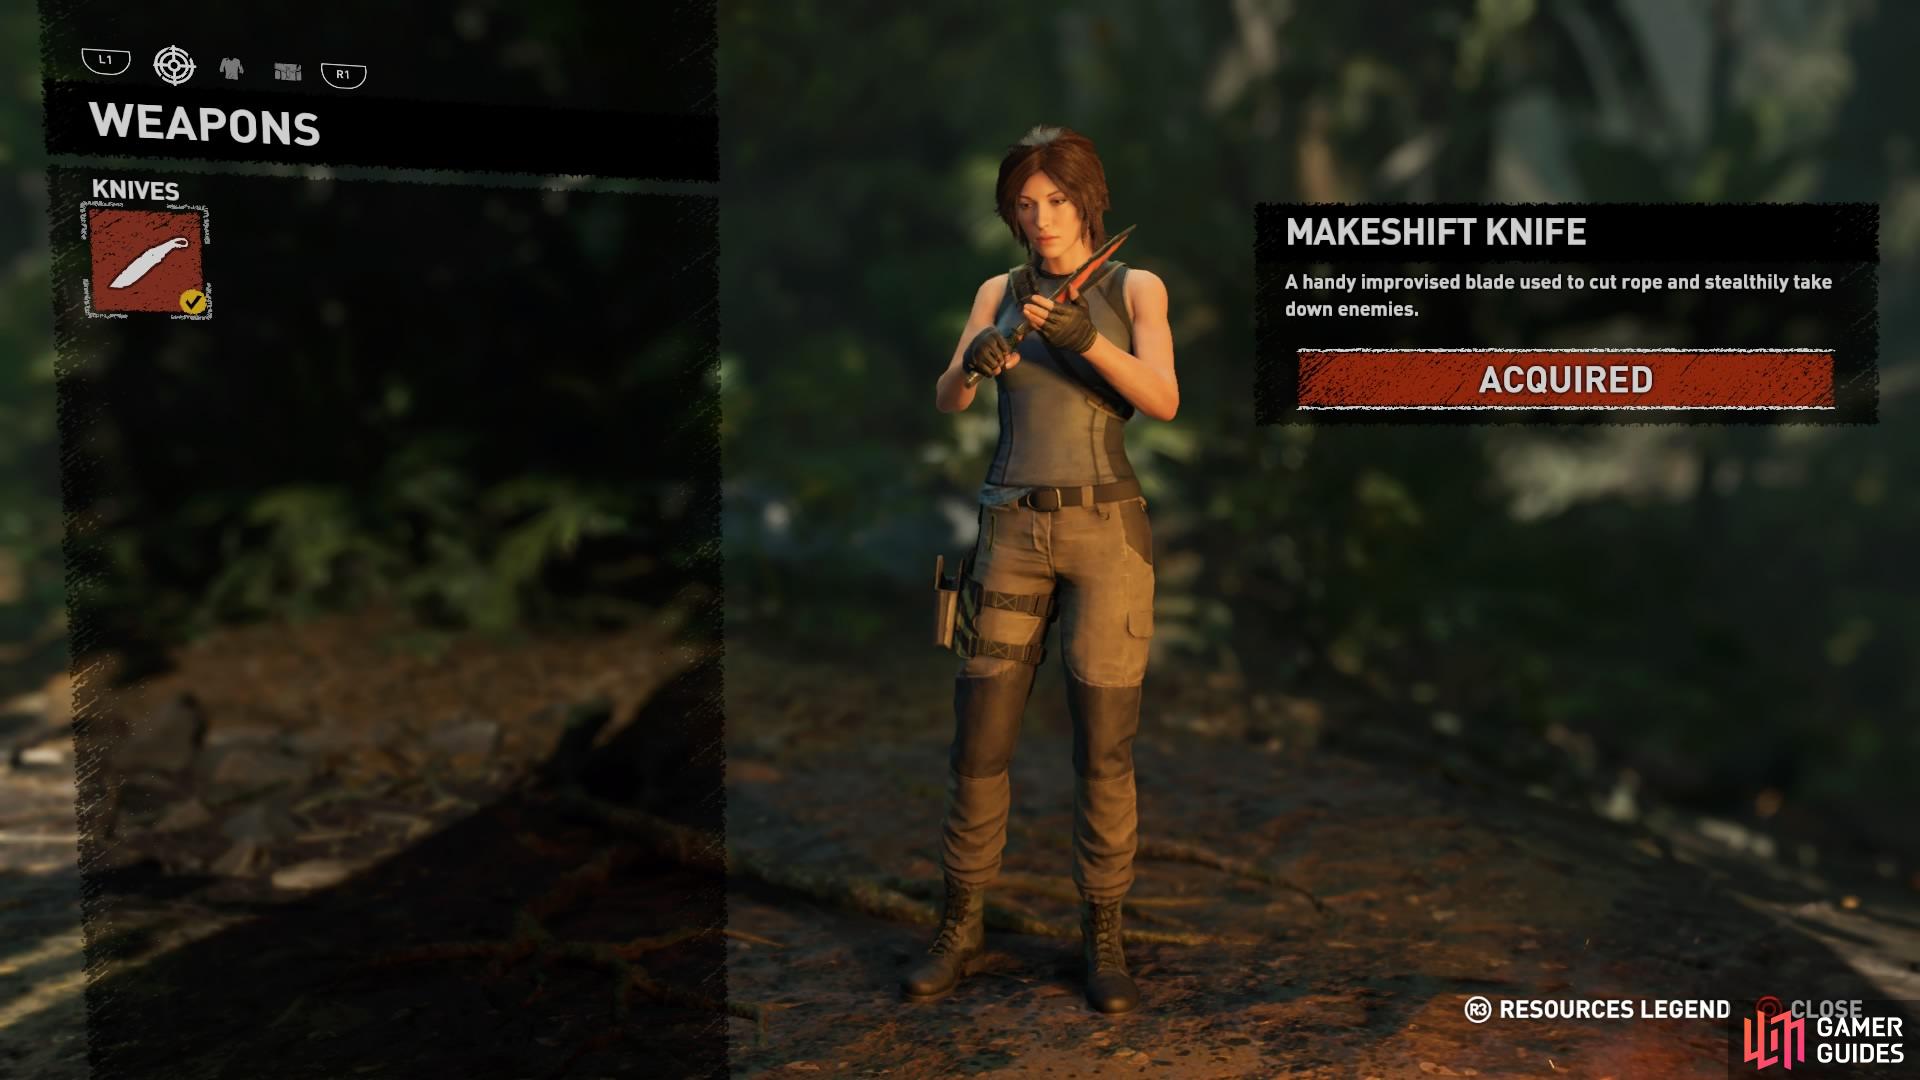
Unlock the Inventory tab (left), Craft the Makeshift Knife (right)
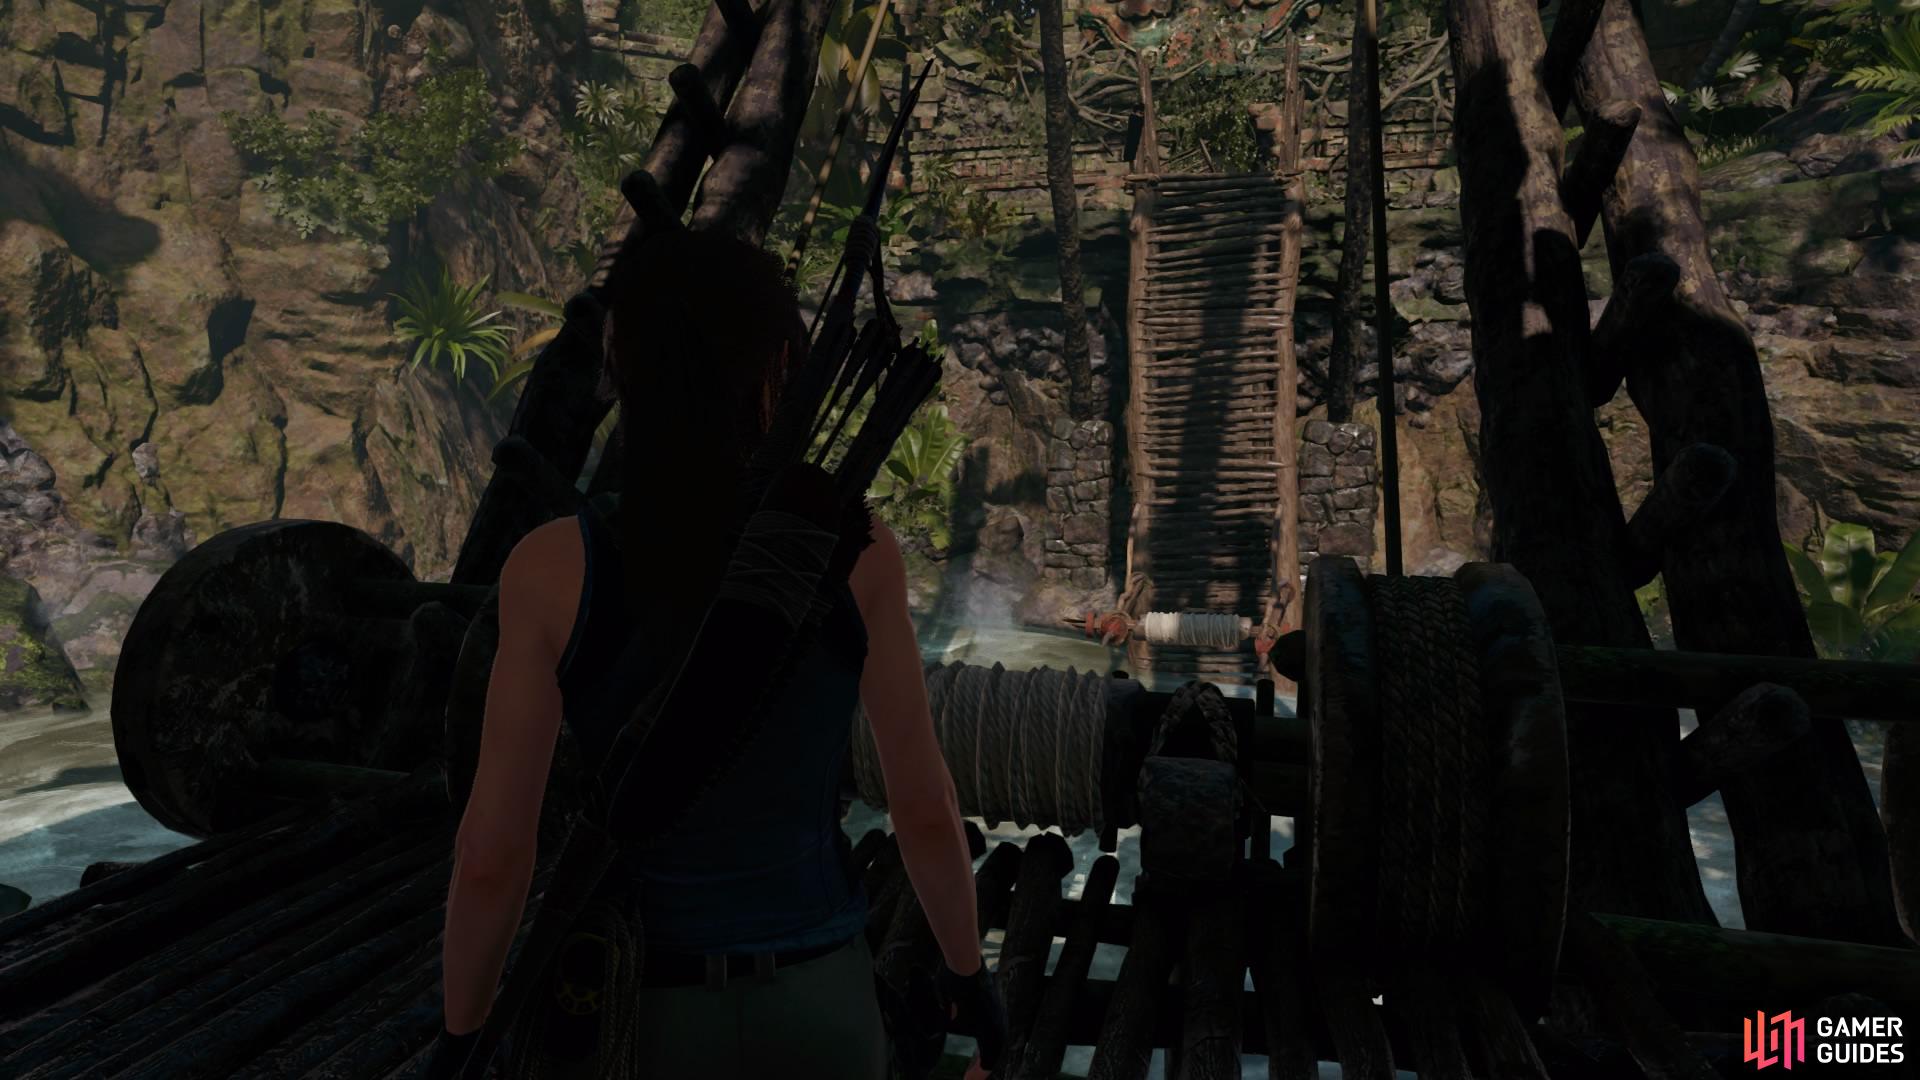
Return to the water to cut the first rope, then climb up on to the small rock structure on the left (either via the wall scramble or the scratched tree) to cut the second. The cargo will fall to the ground, and now you can collect Lara’s Recurve Bow and radio.
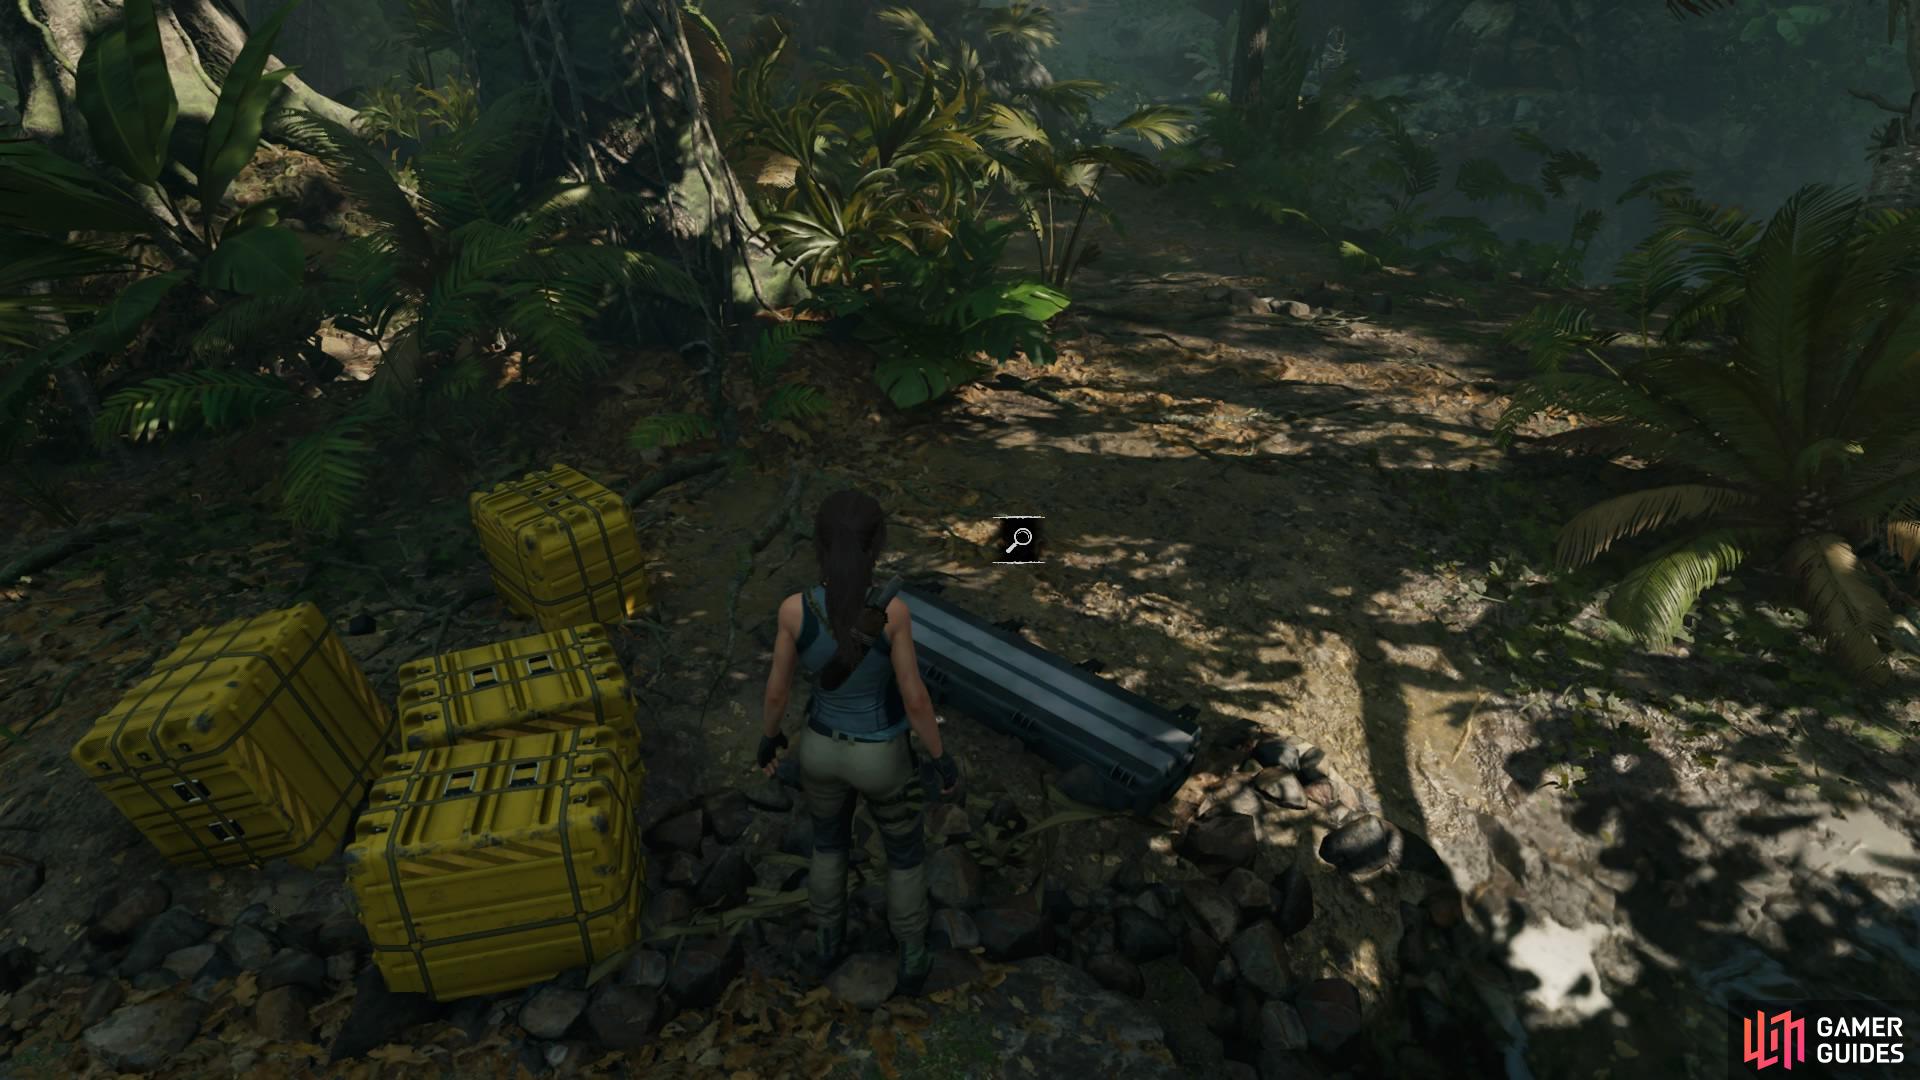
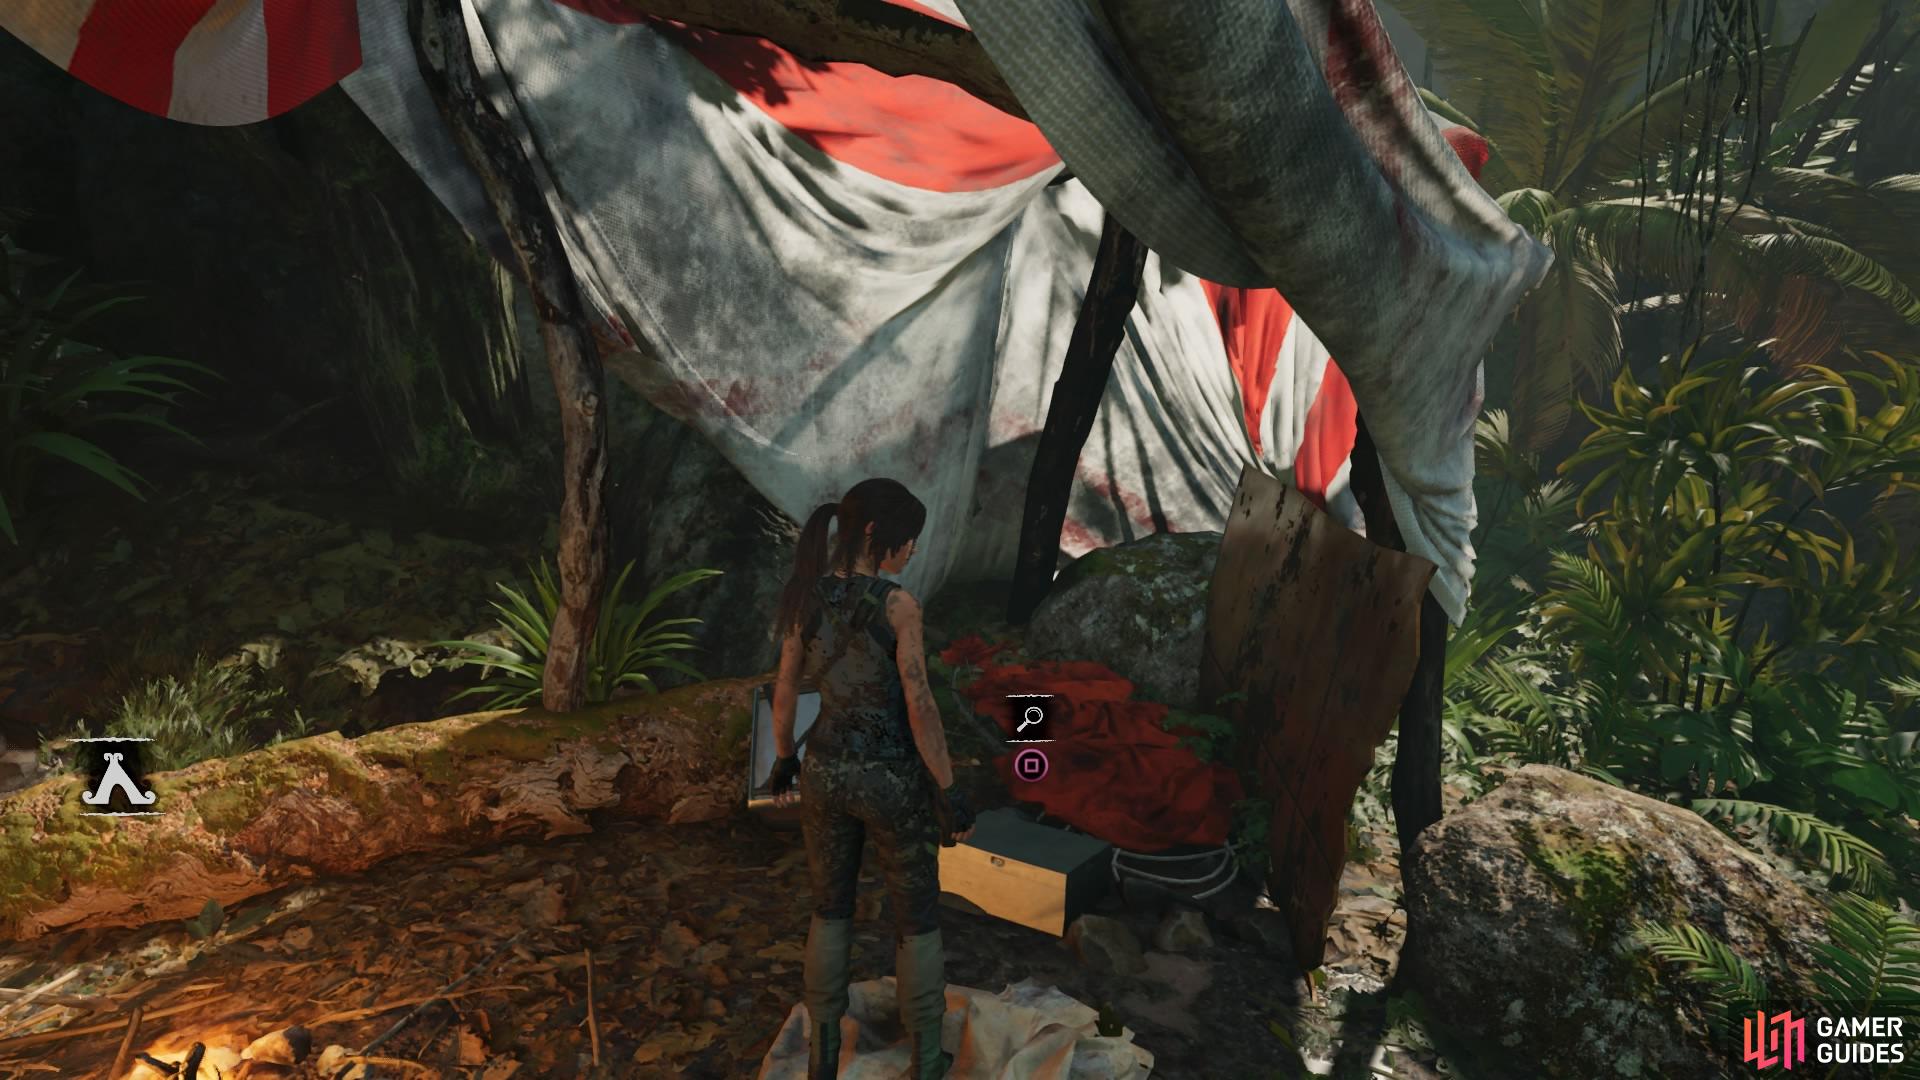
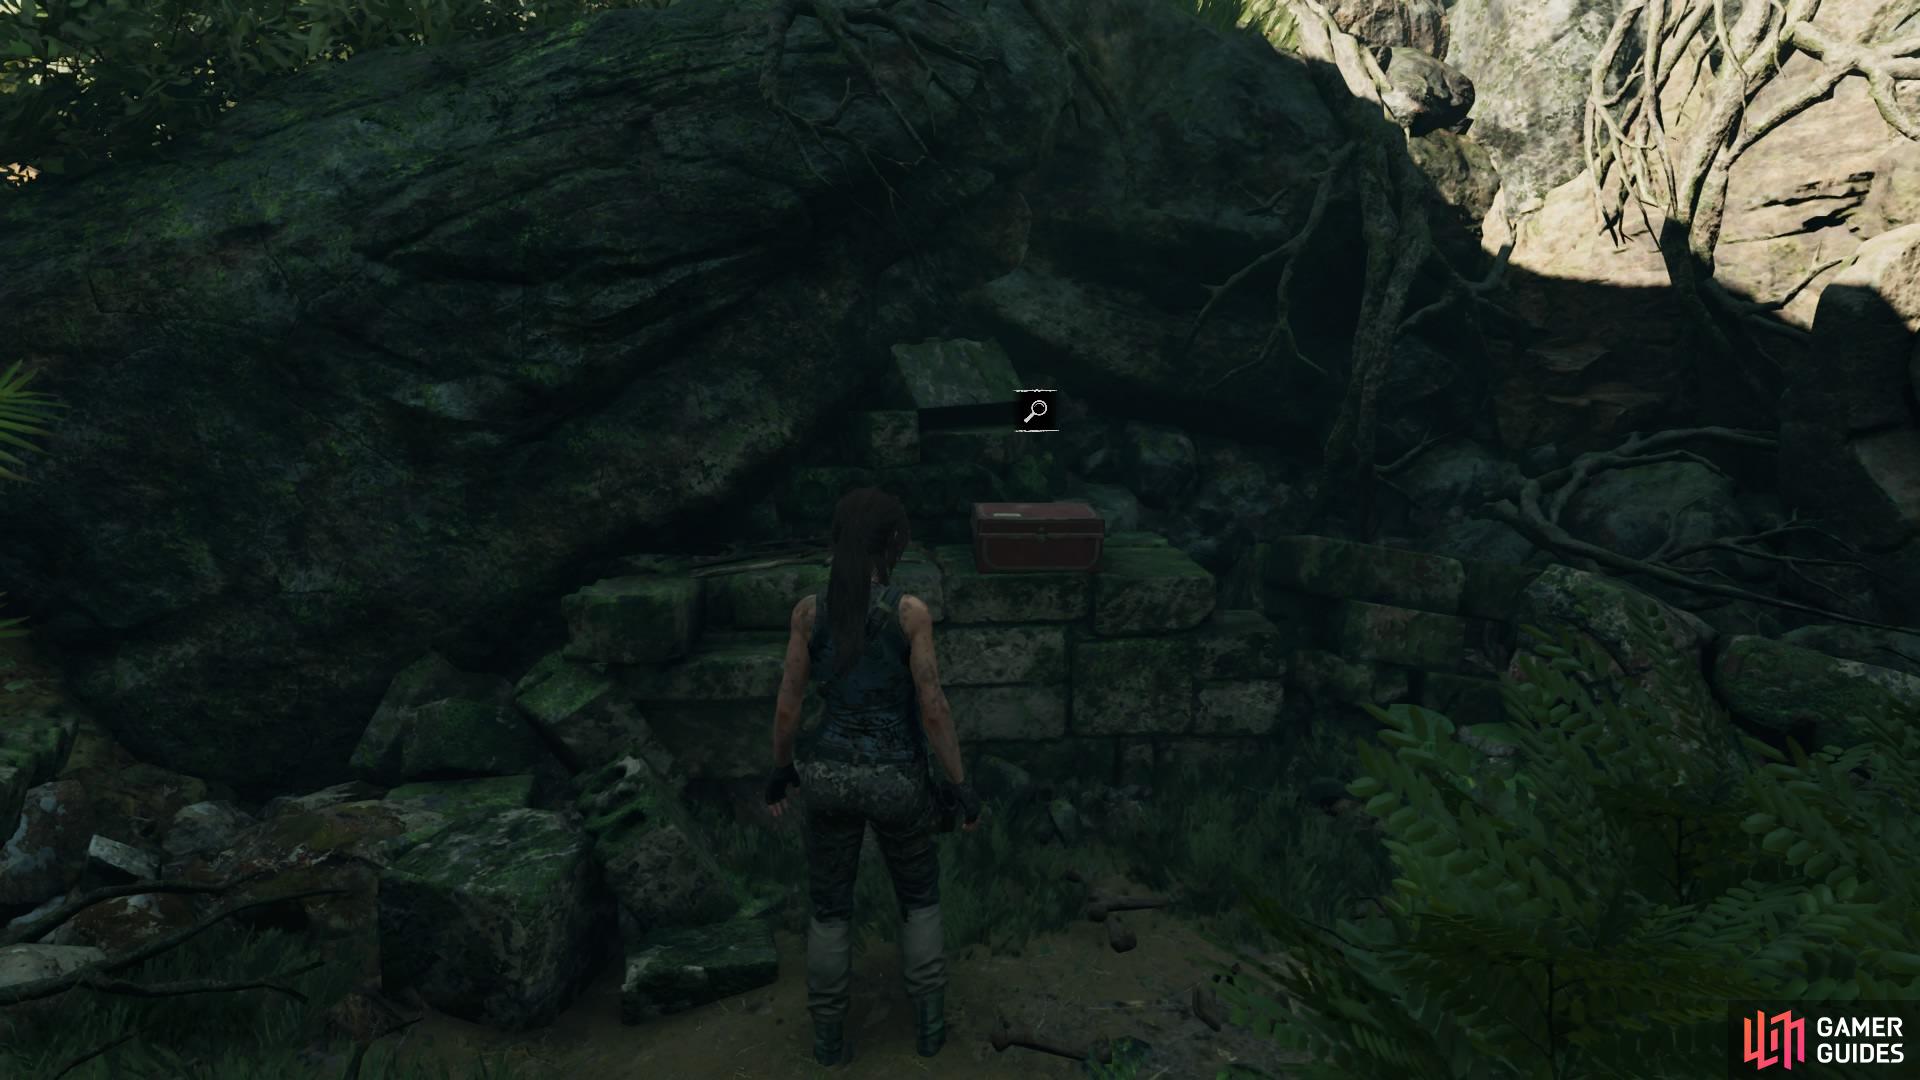
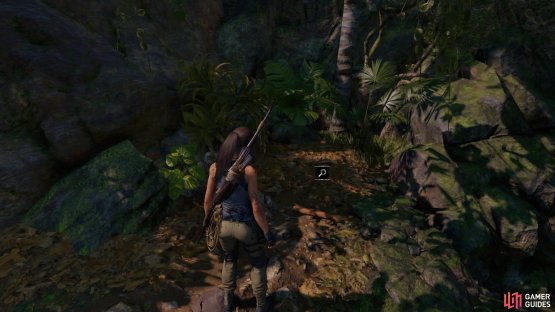
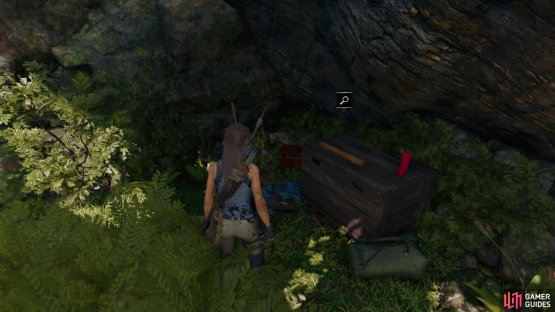
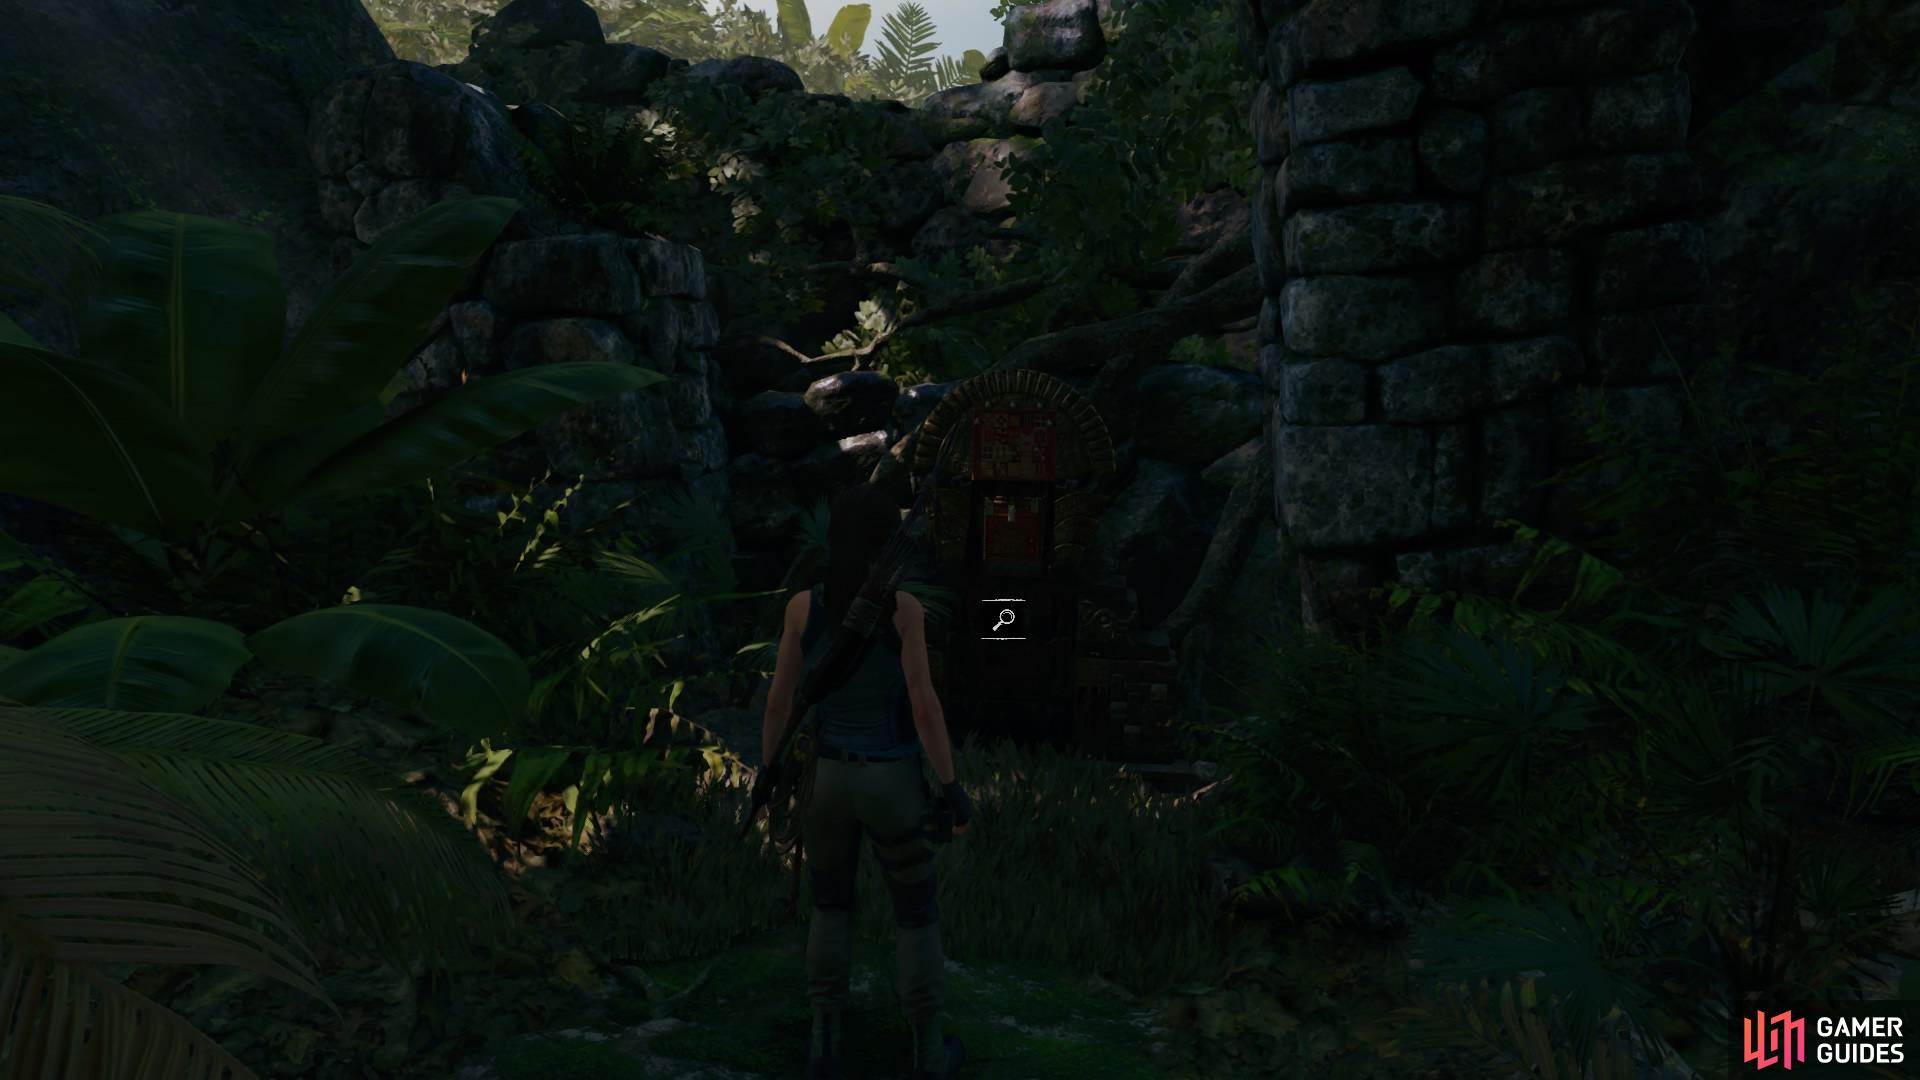
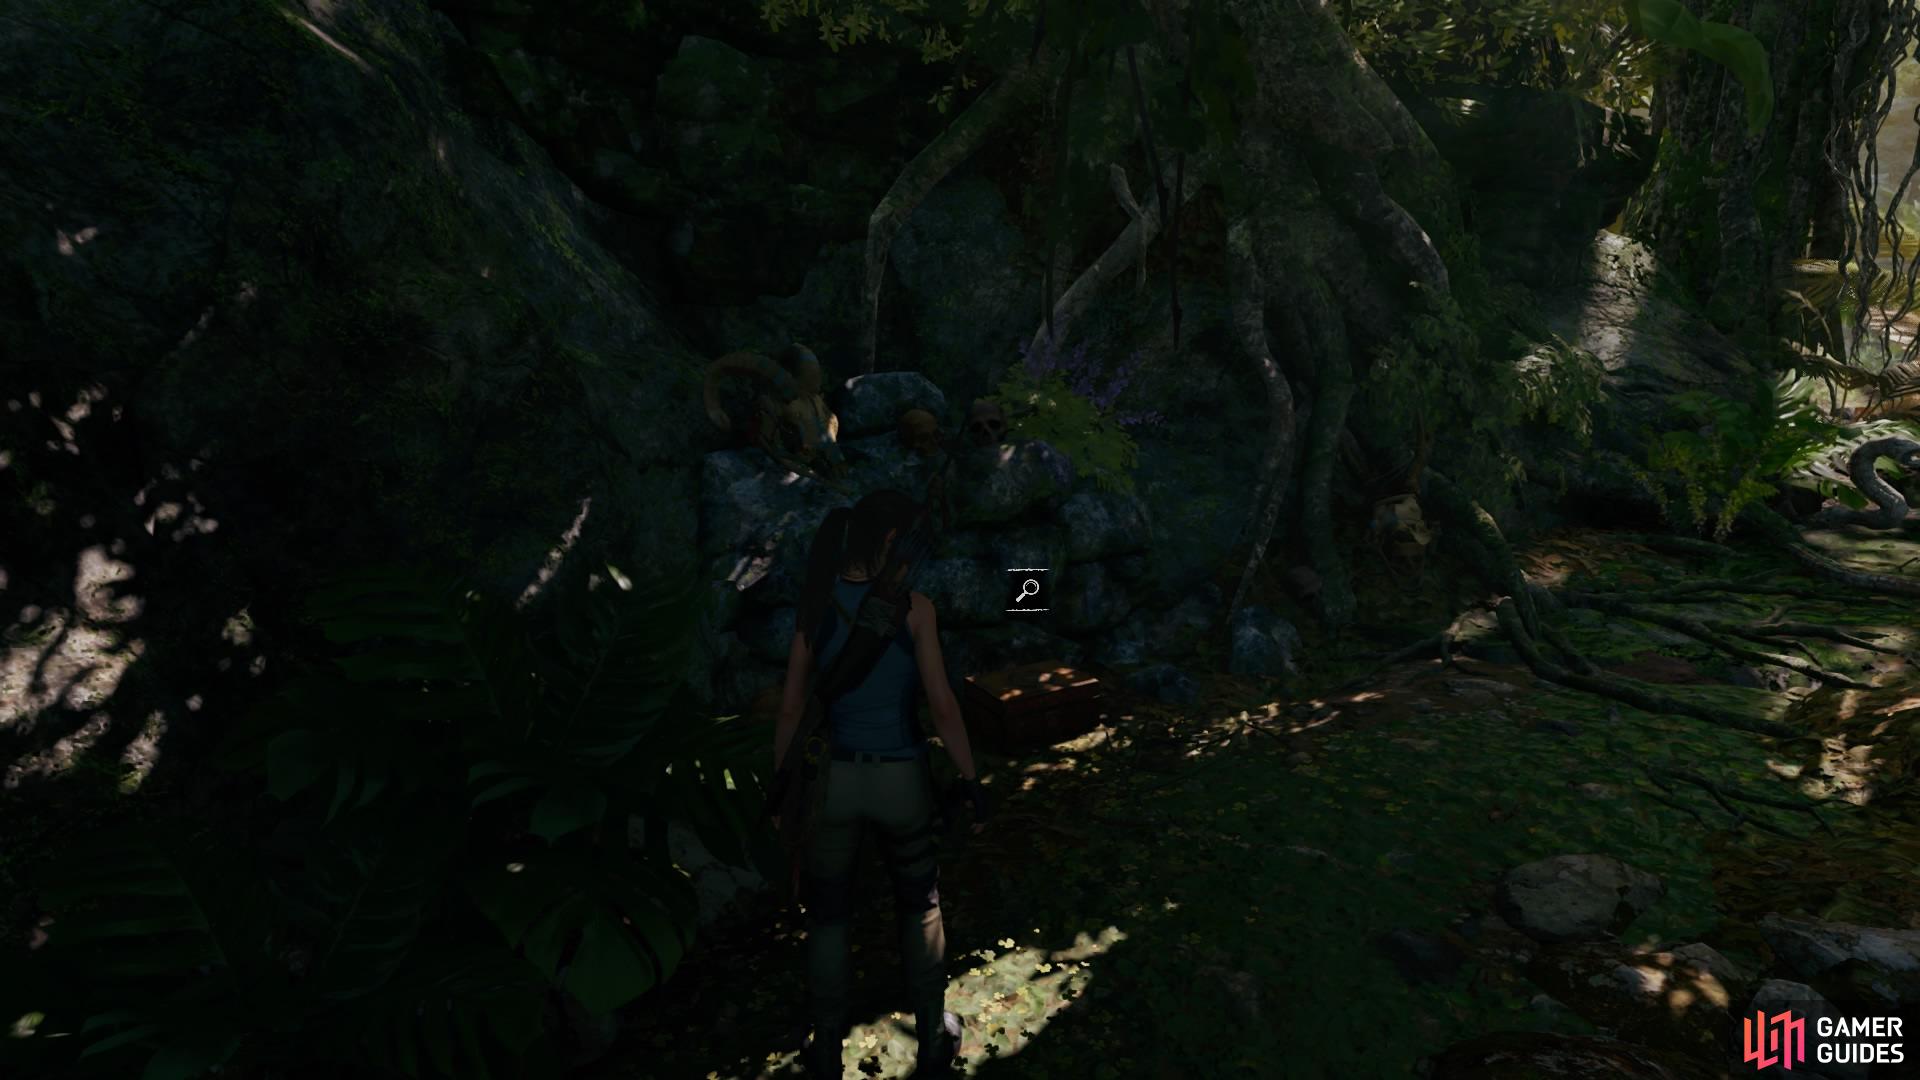
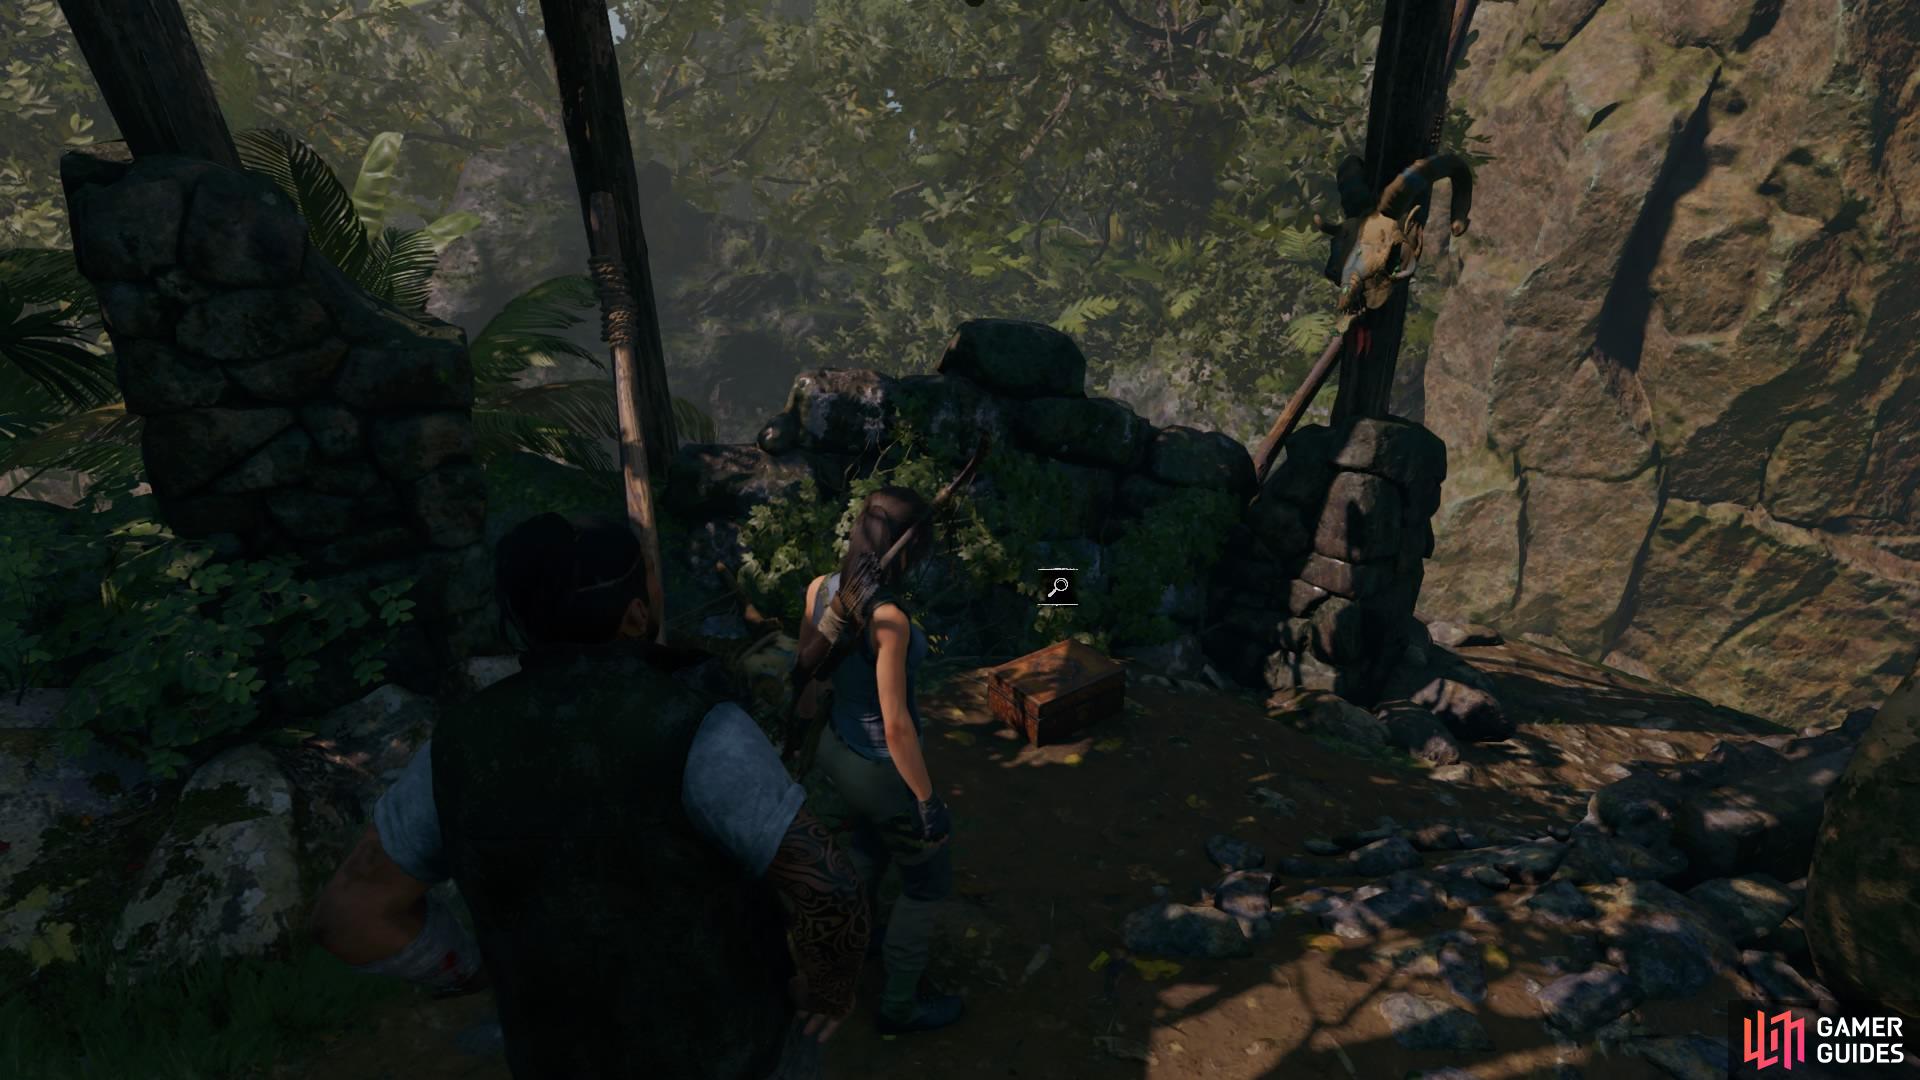
Before you move on to your next objective, you can thoroughly search the area for multiple resources, salvage crates, and even a few survival caches, which we highly recommend doing. You’ll also find yourself coming across a Crypt and a Challenge Tomb (links), but we have those covered in their respective guide sections.
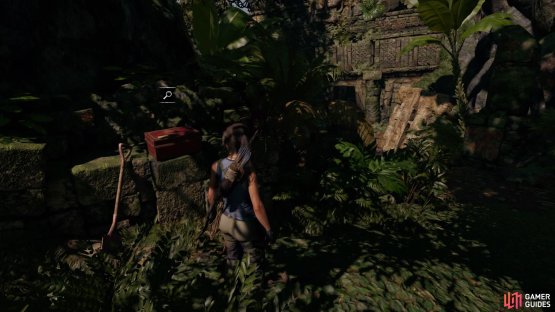
There are two Relics and a Document nearby. You’ll have to return later for one of the Relics, though.
Coming from the Base Camp and facing the pool of water, head over to the right side and towards the back until you see a scratched tree that you can climb up. Perch on the branch and look over to the ledge with the white paint. Hop over to find Relic - Sextant.

(1 of 2) Climb the tree to jump to the ledge


Climb the tree to jump to the ledge (left), Find the Sextant Relic (right)
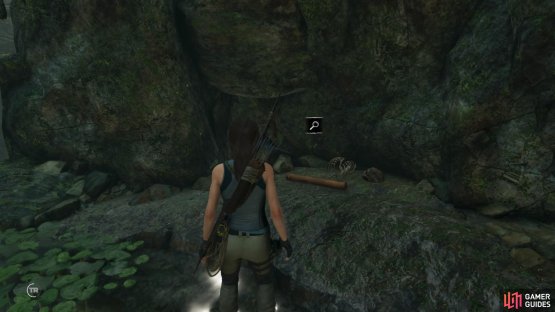
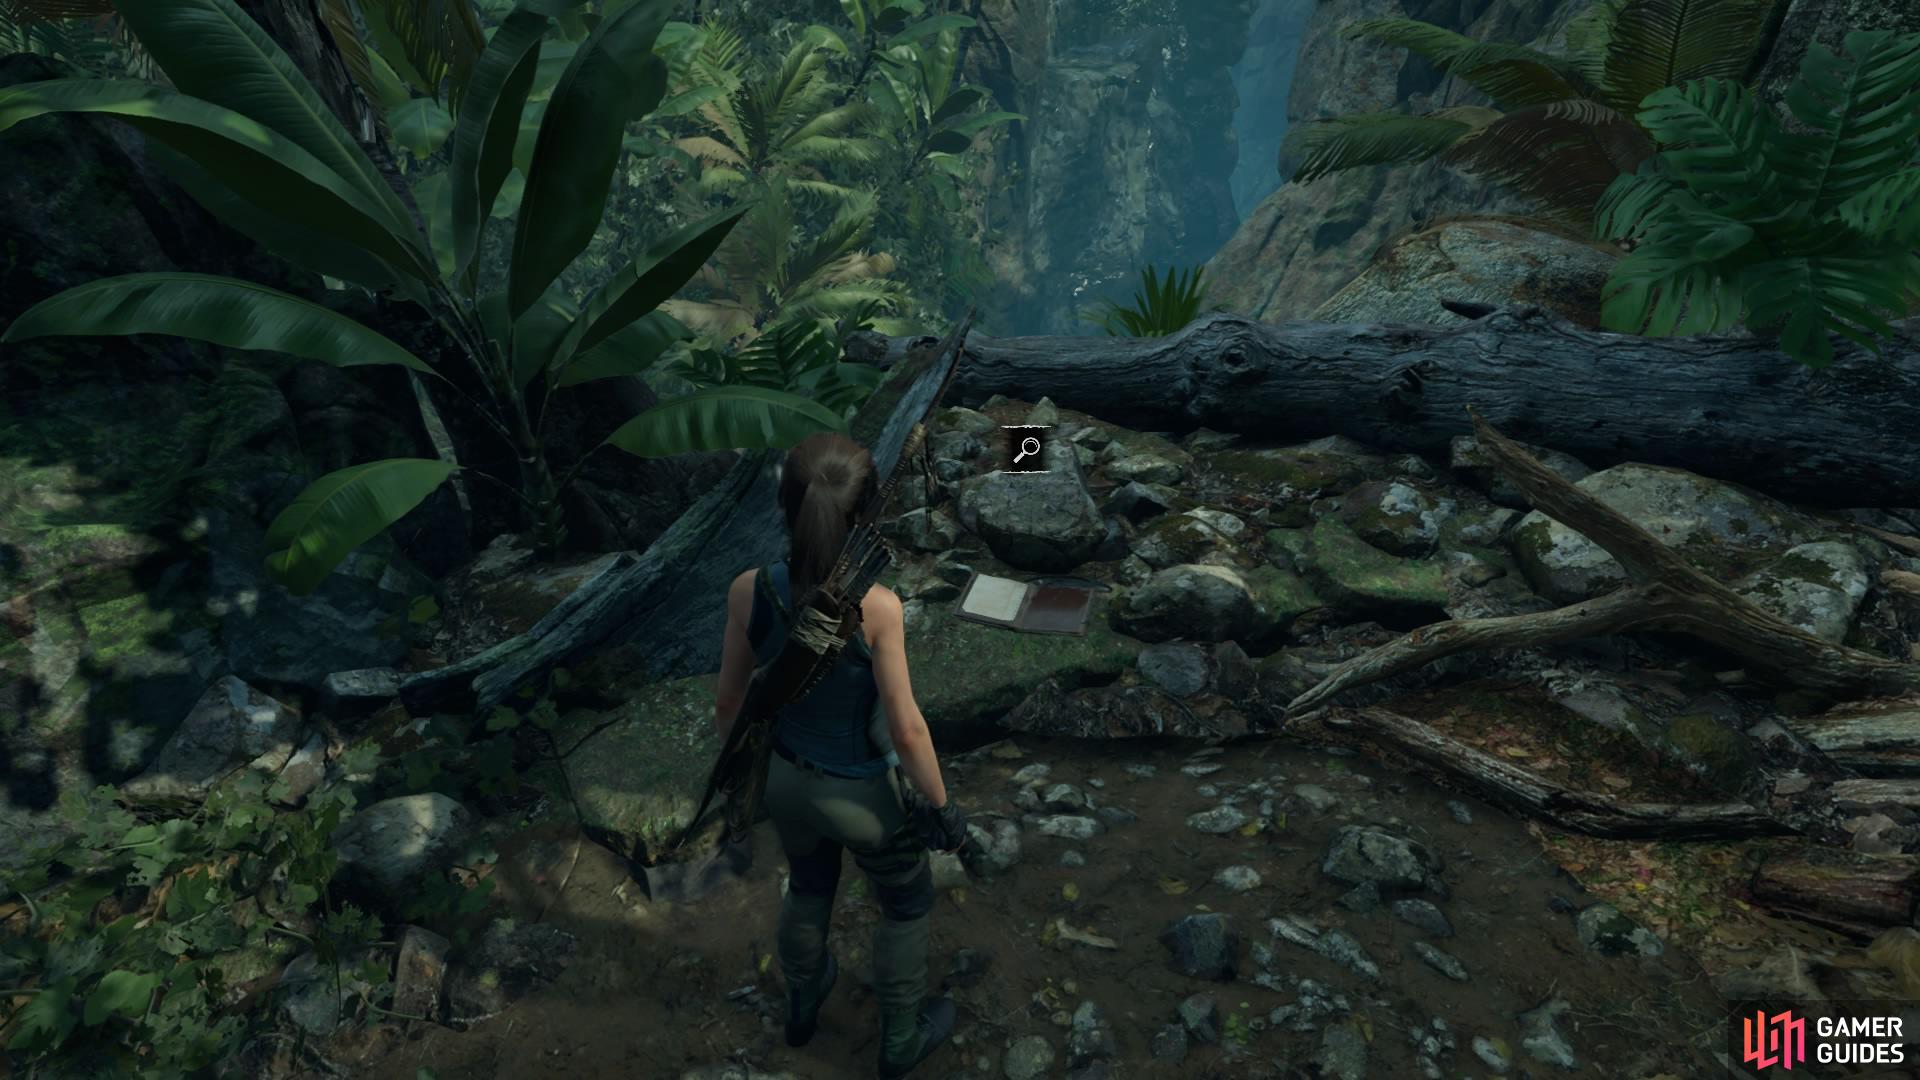
Underneath this platform is a hole that you can drop down from to find a shallow pool of water on the edge of a cliff. Just to the right of the pool is the Document - Jack’s Journal 6. Then scramble back up to continue with the next objective.

(1 of 2) Drop down through the hole


Drop down through the hole (left), Pick up the Document (right)
CROSS THE RAVINE
Find the tree stump with the rope coiled around it on the right side of the area. Tether a rope between the two points and use it to get over to the other side. Move forward into the jungle to discover a blood trail.
(1 of 2) Cross the ravine

Cross the ravine (left), Follow the blood trail (right)
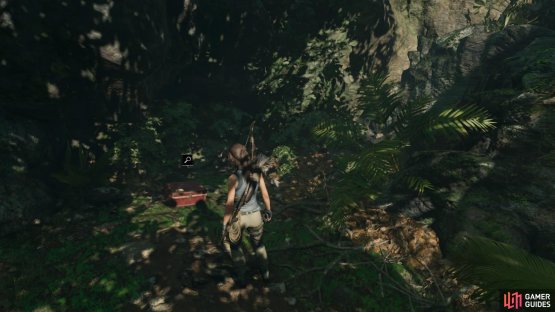
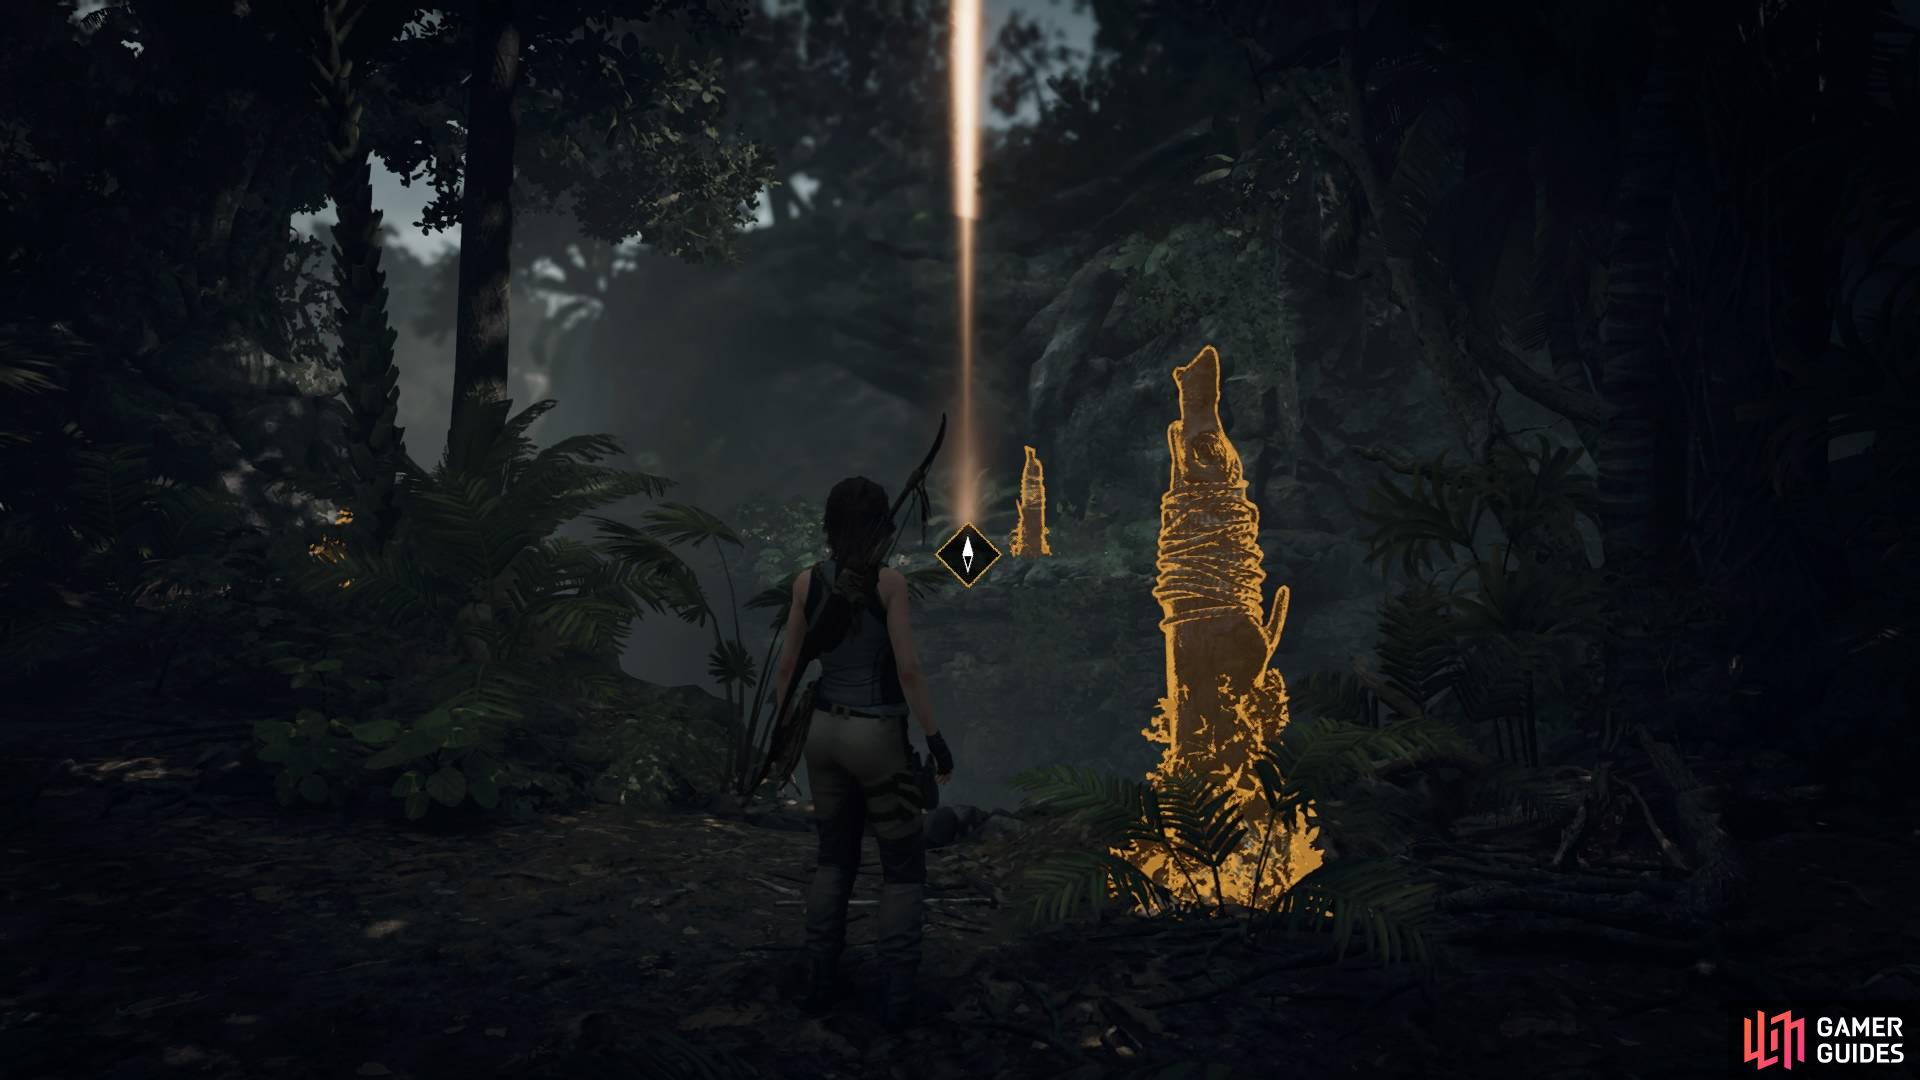
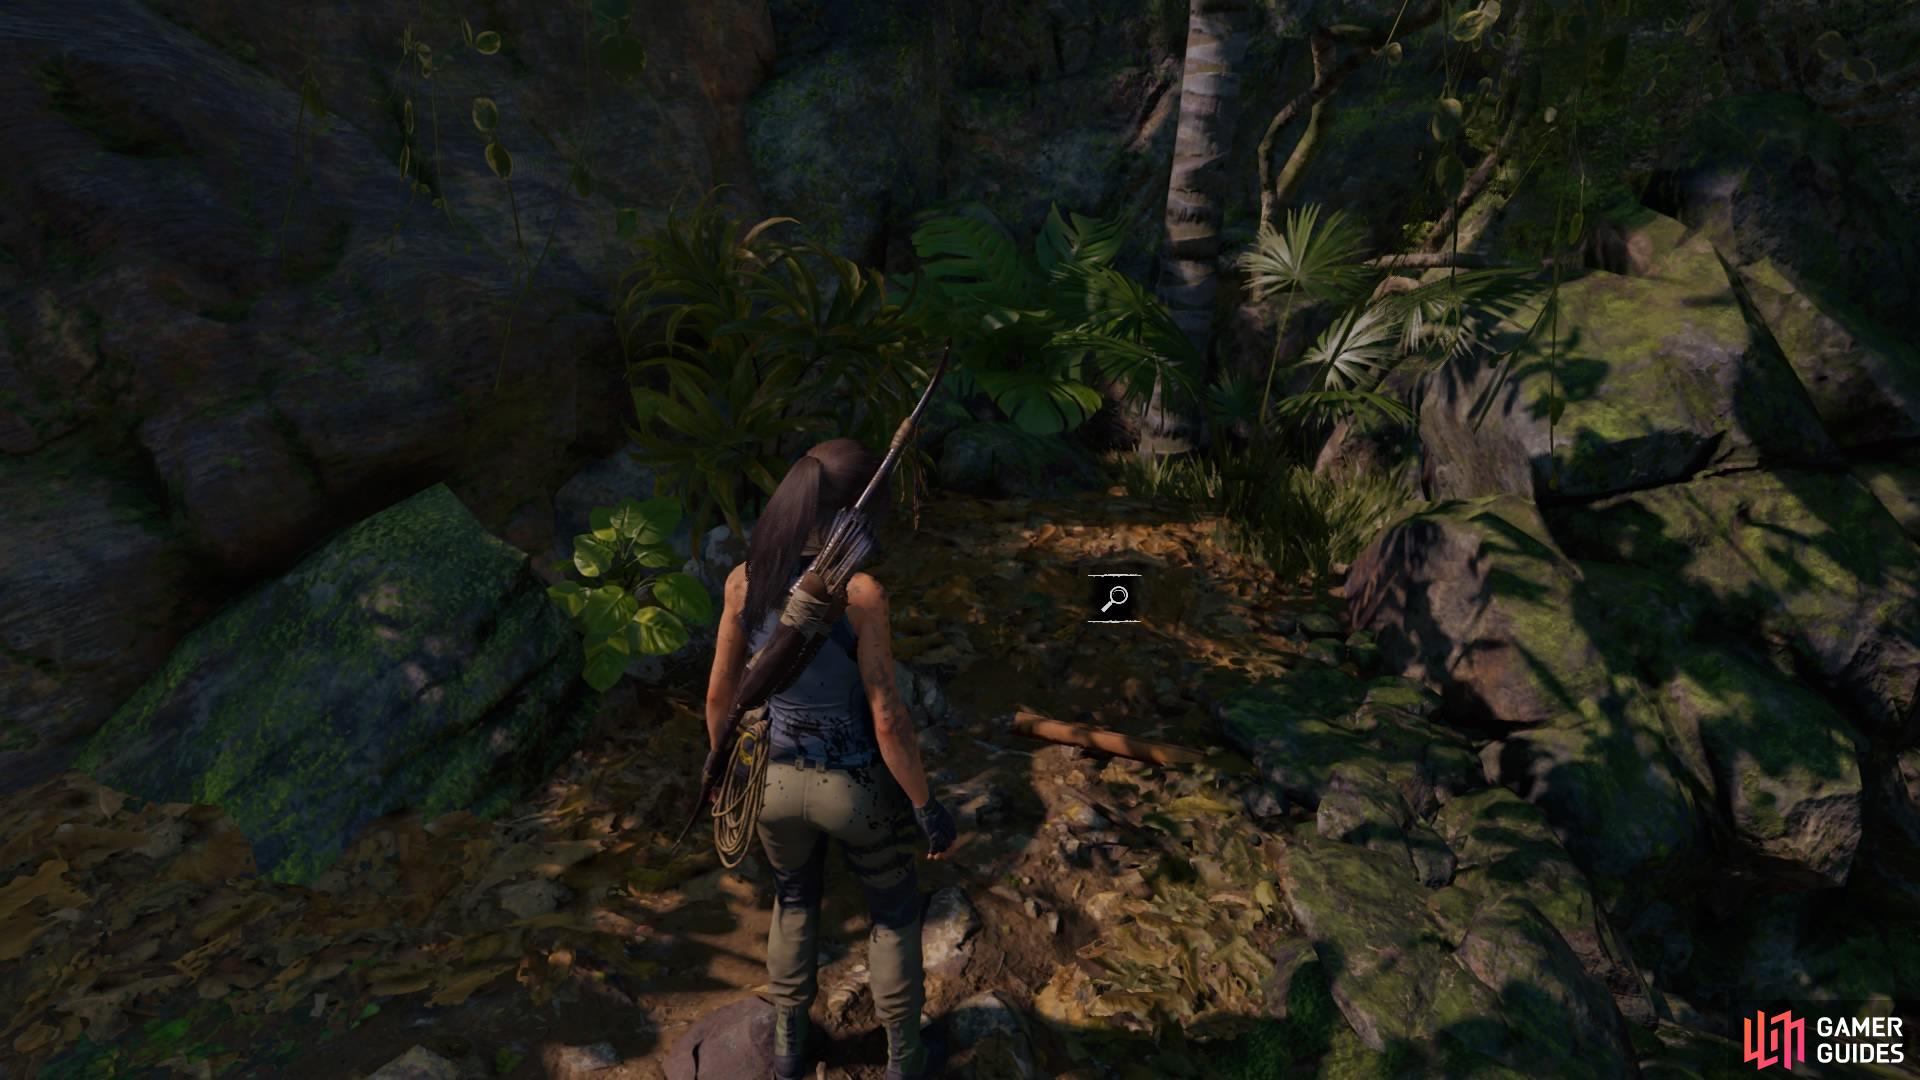
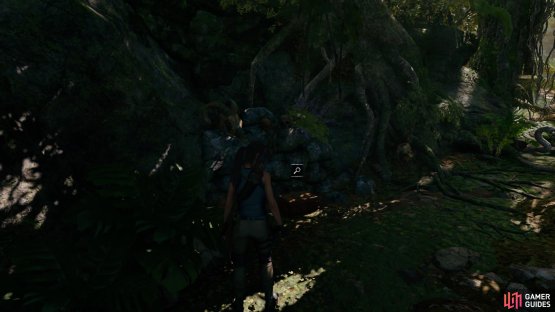
Before you continue, cut off to the left where you can collect some resources and Document - Sismite.
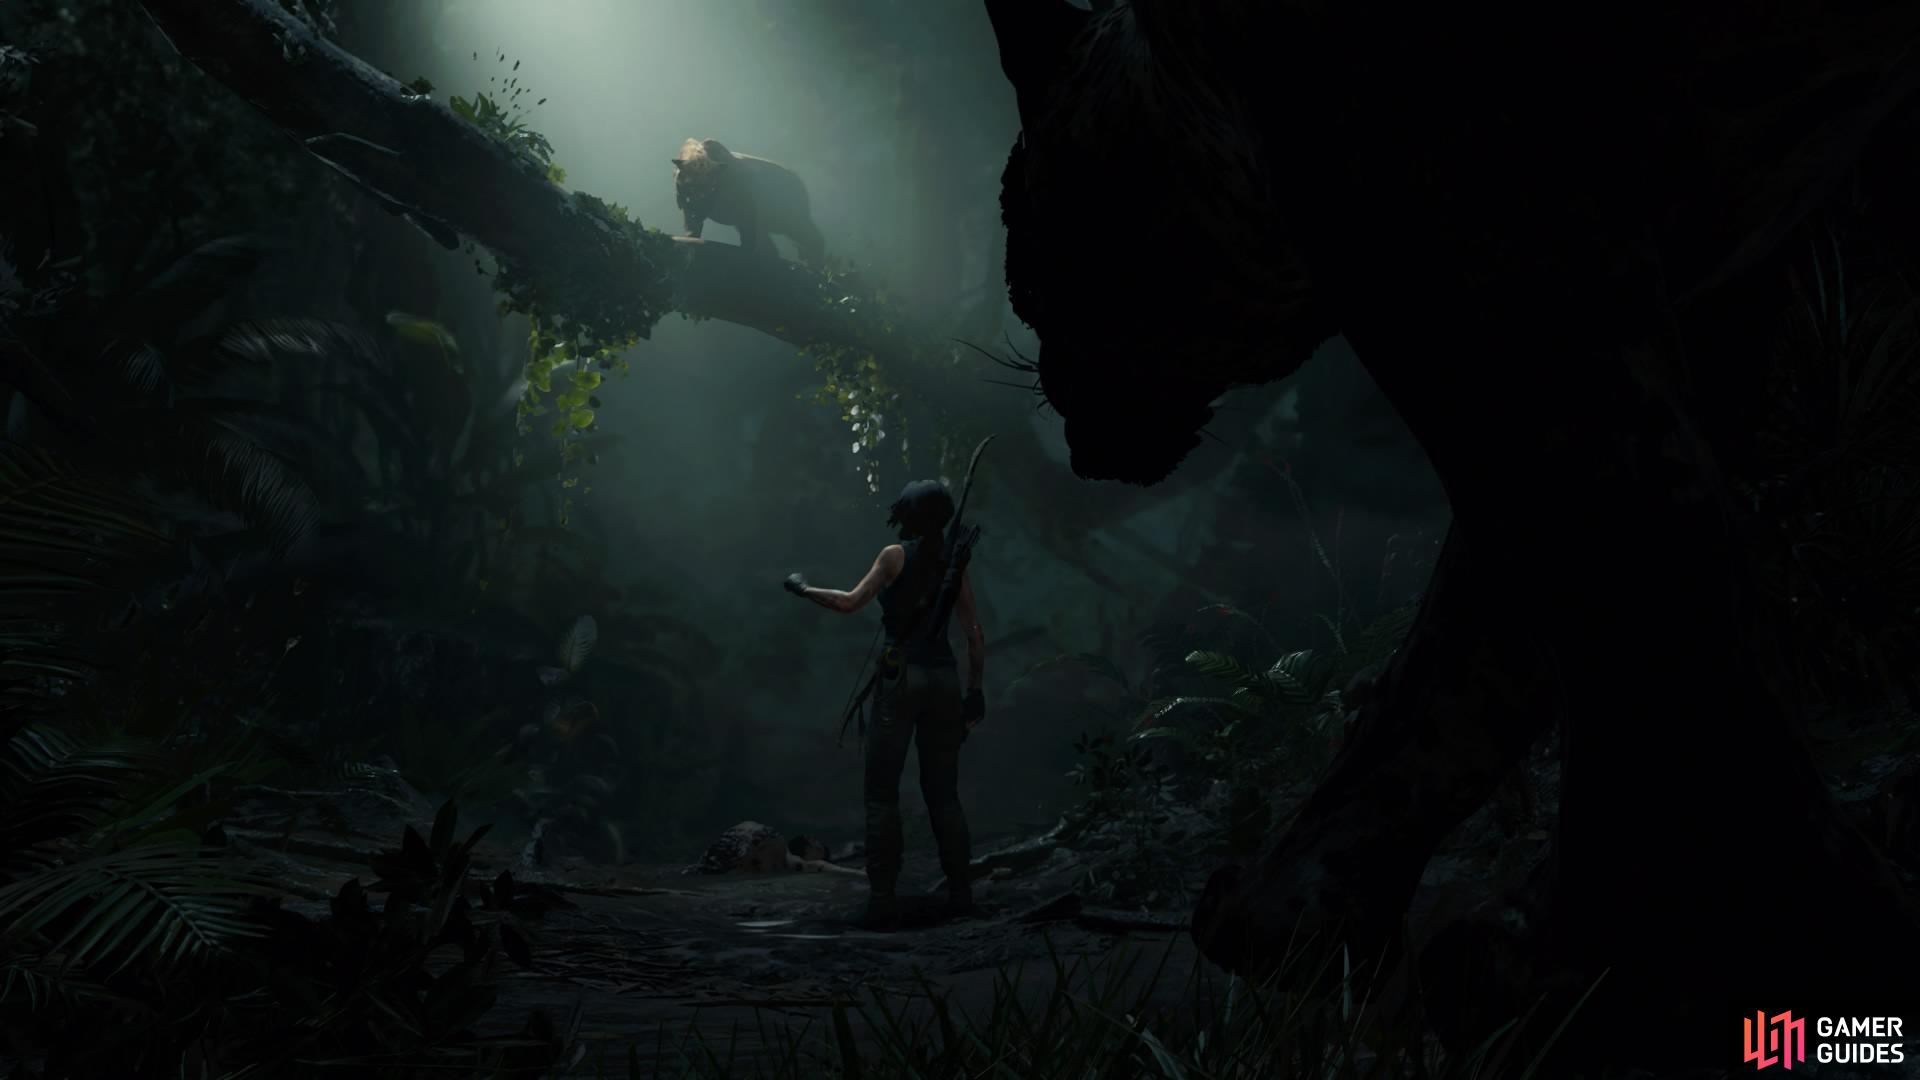
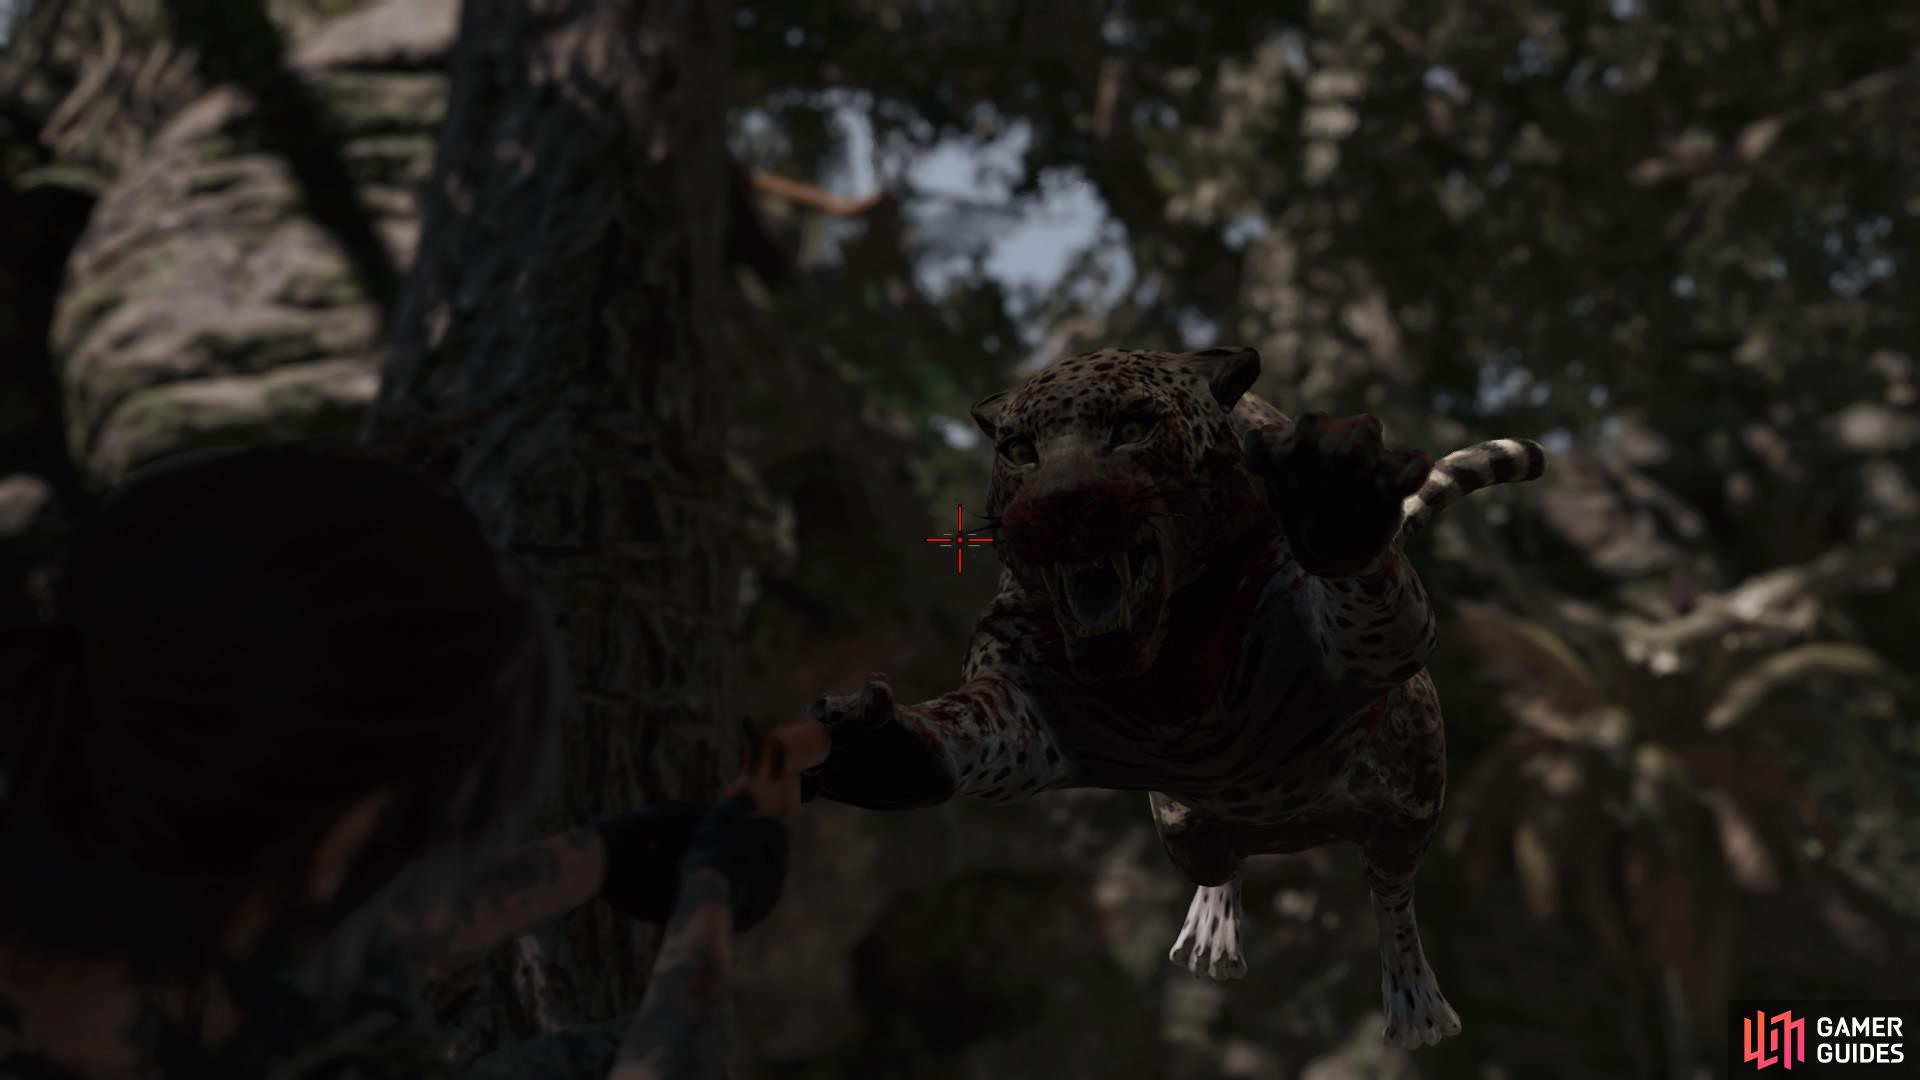
Now continue up the hill and drop down into the next area to activate a cutscene, where Lara will encounter two jaguars. They will leave you alone for now, so follow the path out of their territory.
FIGHT THE JAGUARS
Once you reach an enclosed area, you’ll be blocked in by the jaguars. They’ll attack you one at a time but each hit causes a high amount of damage. Medicinal bushes are scattered around the area so make sure to pick them up and heal as needed throughout the fight.
They’ll attack from any and every direction, so keep your eyes peeled for their attack. When they lunge to swipe at you, roll out of the way, and when they pace back and forth for a few seconds, that’s your chance to get in a few arrows.
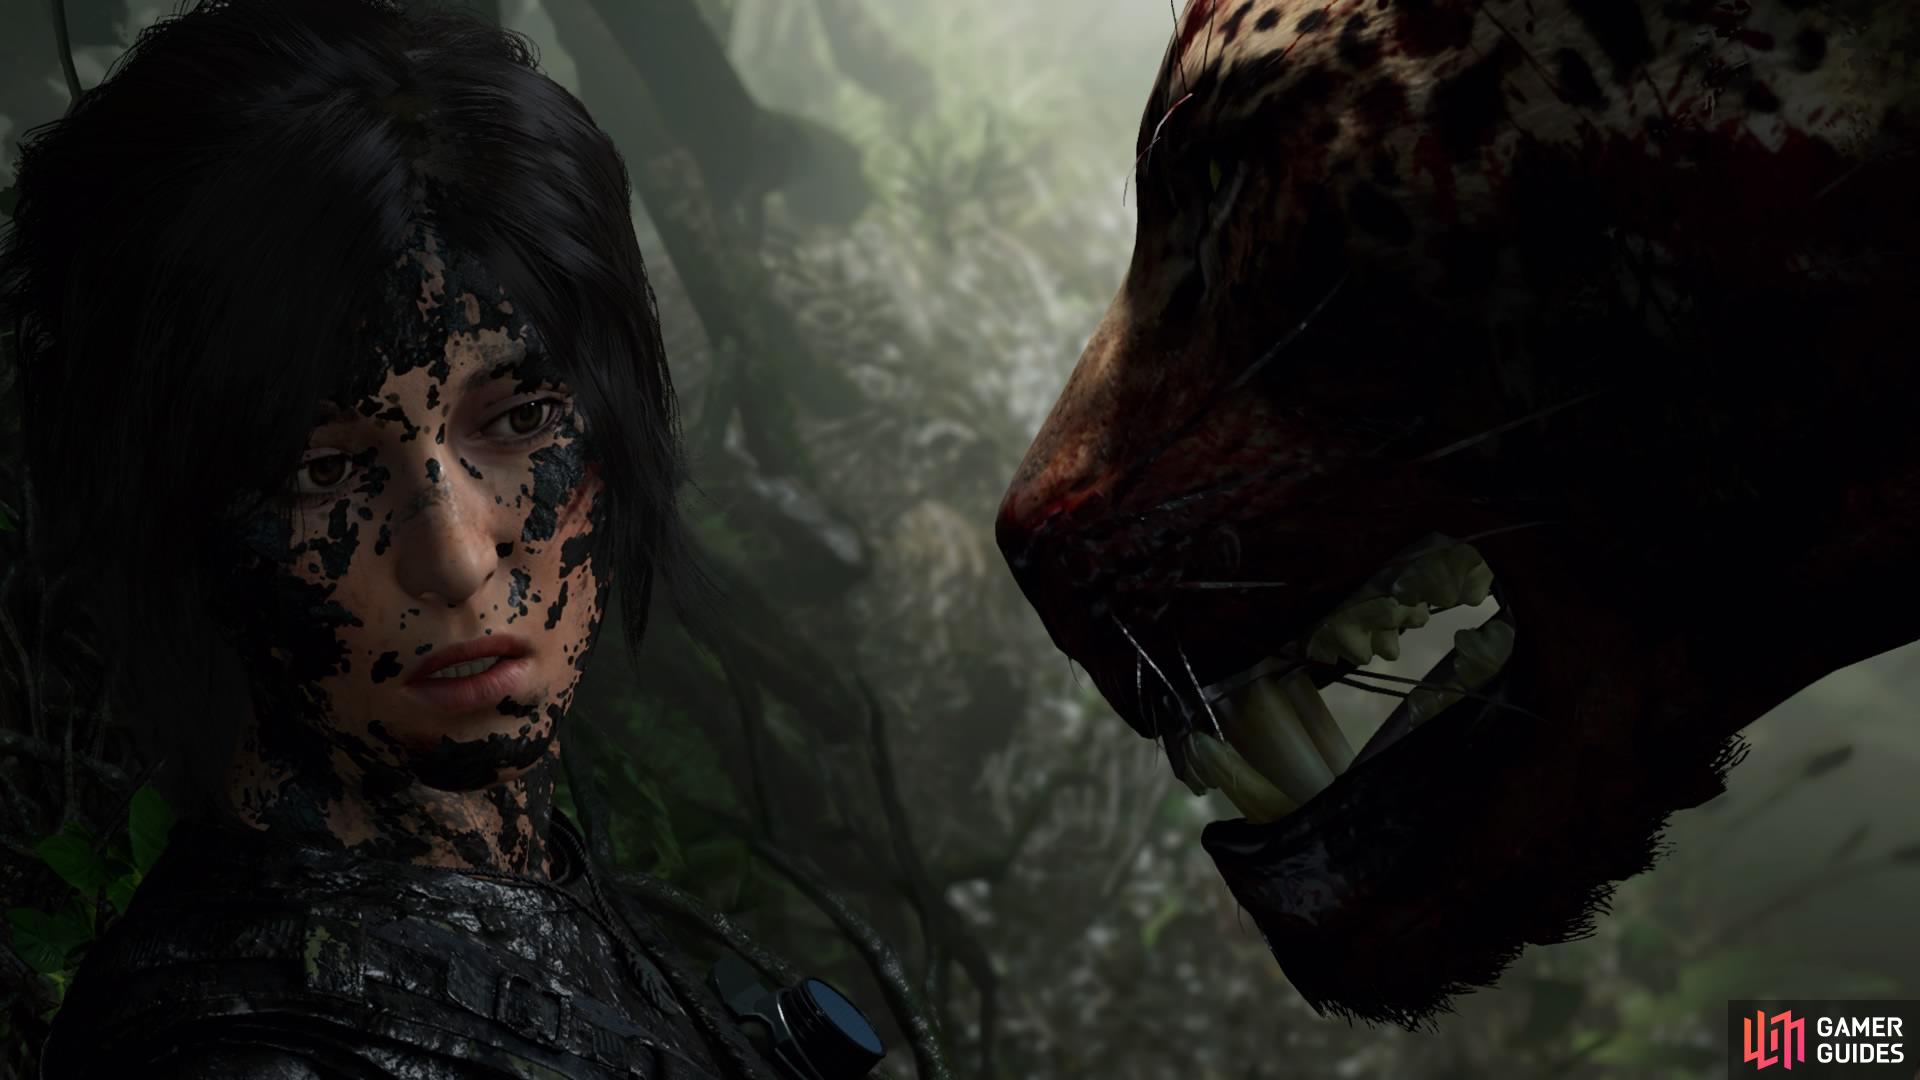
The aim is to stay alive for as long as possible until one of them finally pins Lara to the ground to go in for the fatal blow. She’ll block its bite with her bow, so wiggle the left analog stick quickly back and forth until Lara stabs the jaguar’s skull with her knife. The second jaguar will appear but will leave with the animal’s corpse.
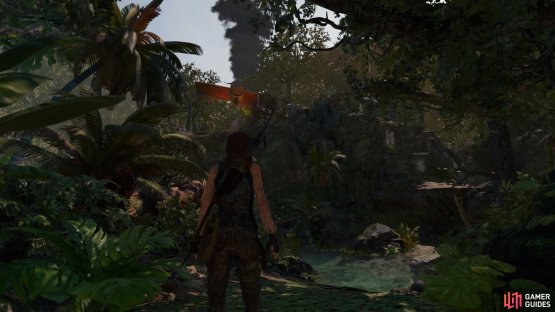
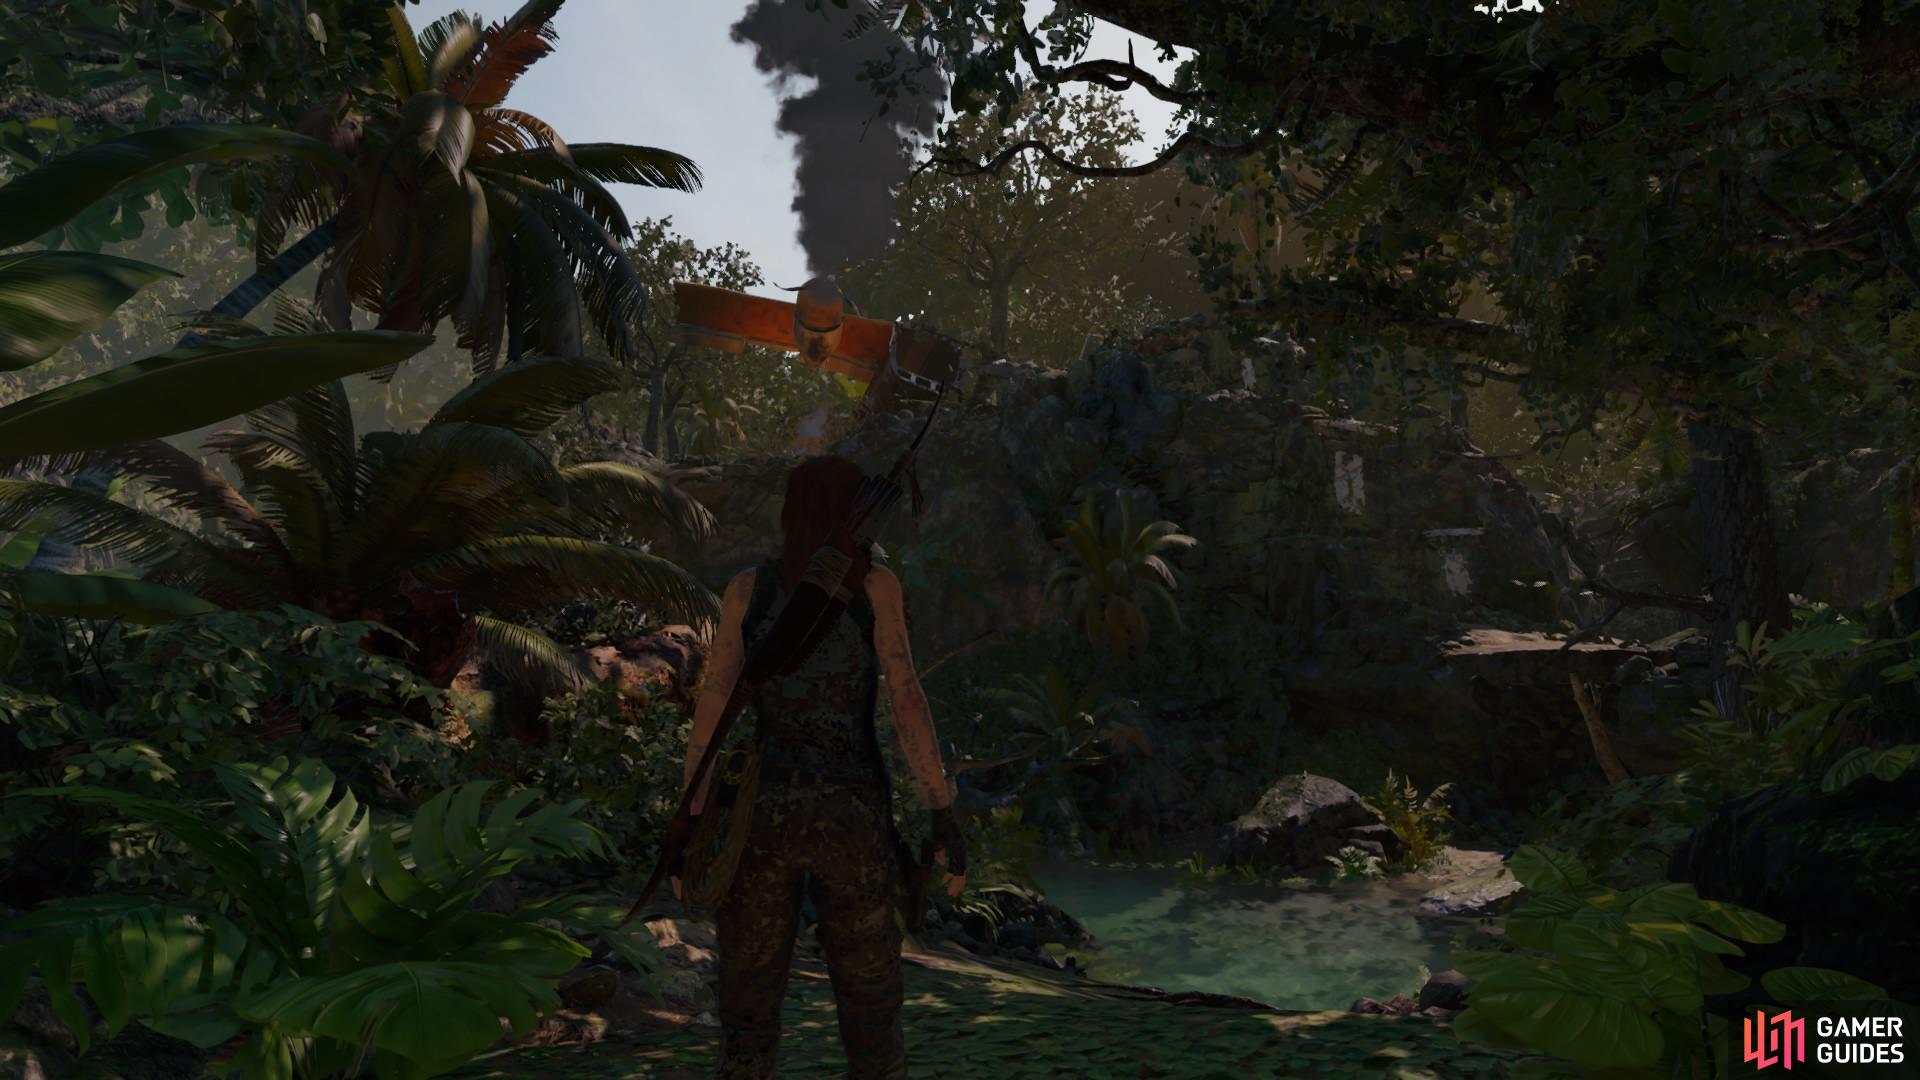
REACH THE CRASH SITE
(1 of 2) Leave the enclosure

Leave the enclosure (left), Make your way up to the crash site (right)
Leave the enclosure by scrambling up the wall at the back (you can pick up resources before you go) and follow the path until you spot the crash site atop a cliff.
(1 of 2) Jack’s Journal 3

Jack’s Journal 3 (left), Jack’s Journal 5 (right)
Climb the scratched tree in front of you, then look to the right for Document - Jack’s Journal 3. Turn around and follow the path right towards the river – stick to the right wall to find another Document - Jack’s Journal 5.
Now continue the ascent up the rocks until you reach the Plane Fuselage Base Camp. You’ll be reunited with both Jonah and your climbing axes.
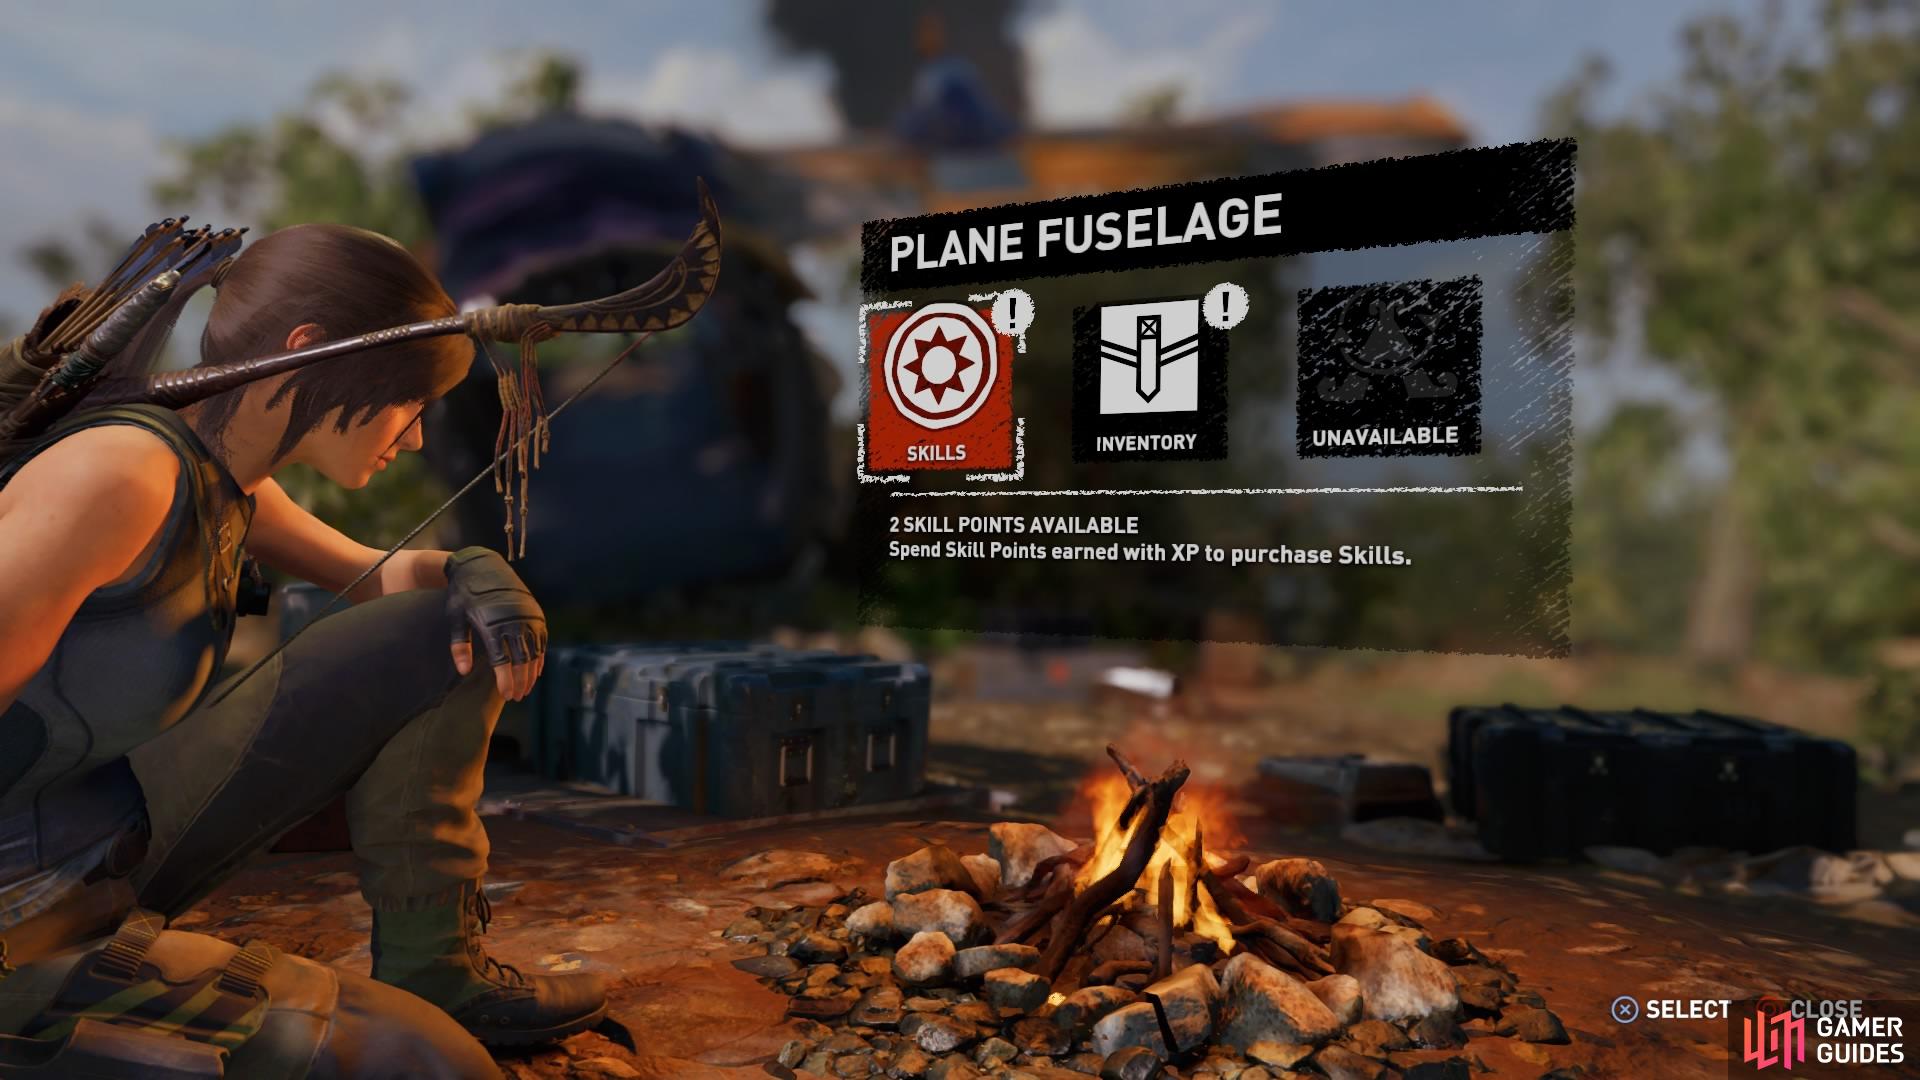
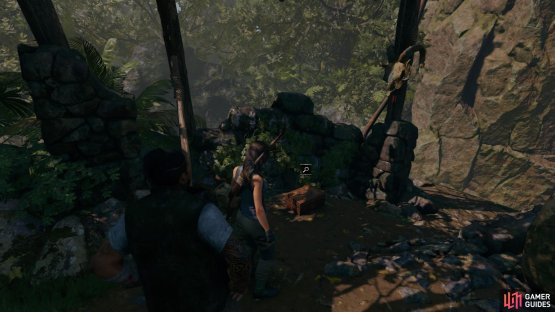
Before continuing, take a moment to look around for resources and salvage crates, including the area below. You can also stop at the Base Camp to make upgrades on your bow and spend any accumulated Skill points.
The second crypt of this chapter is accessible here now, thanks to the return of the climbing axes in your inventory, which we have covered in the Crypts section of the guide.
Follow Jonah when you’re ready to continue the level.
ROUGH LANDING – FIND KUWAQ YAKU
Your next objective is to find the village of Kuwaq Yaku, so with Jonah back by your side, help him remove the tree that blocks your path. Continue forward until you come to the irrigation system.


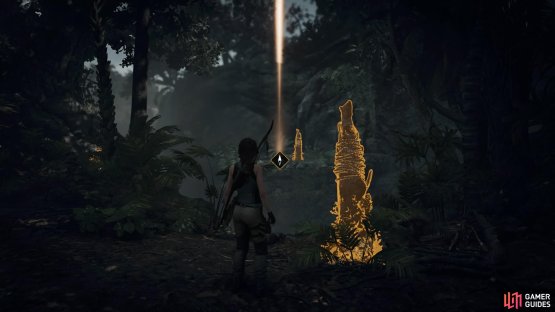
(1 of 2) This monolith is unreadable at this point in the game
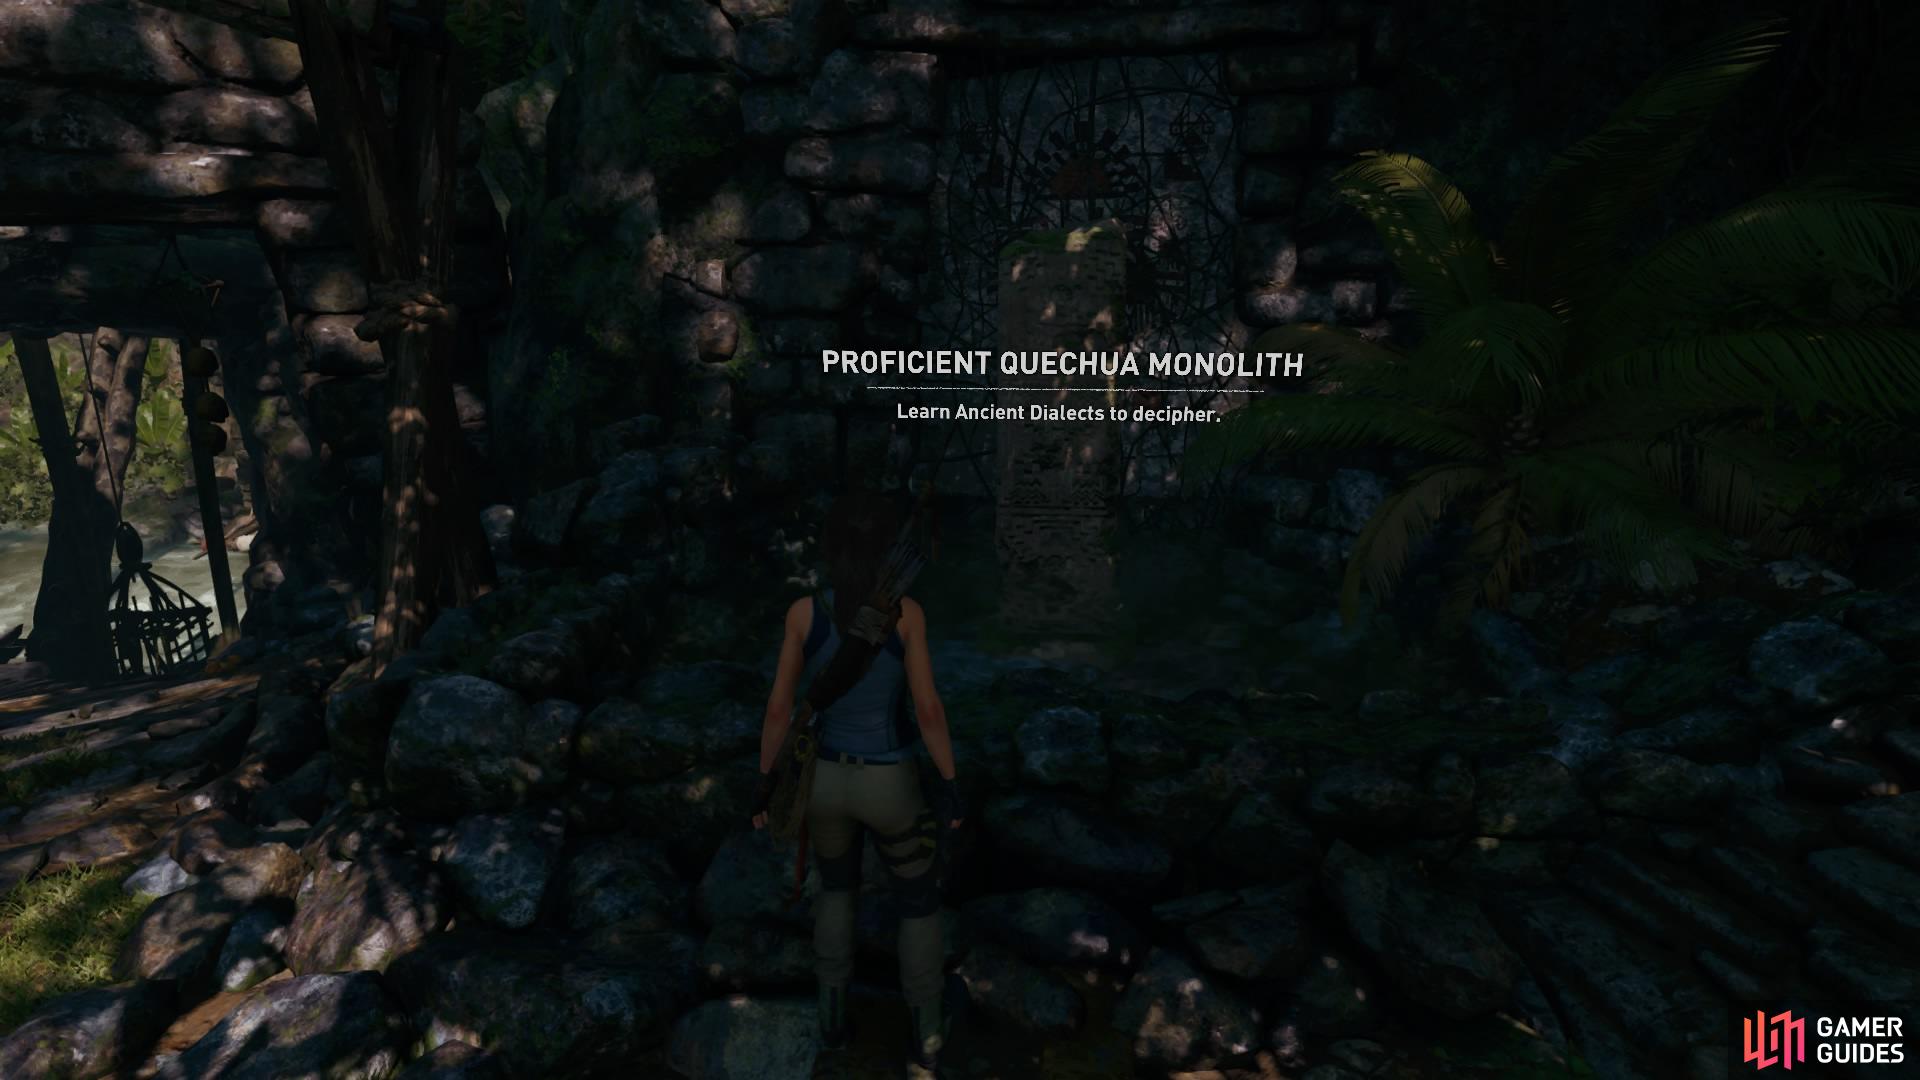
This monolith is unreadable at this point in the game (left), Inspect the mural (right)
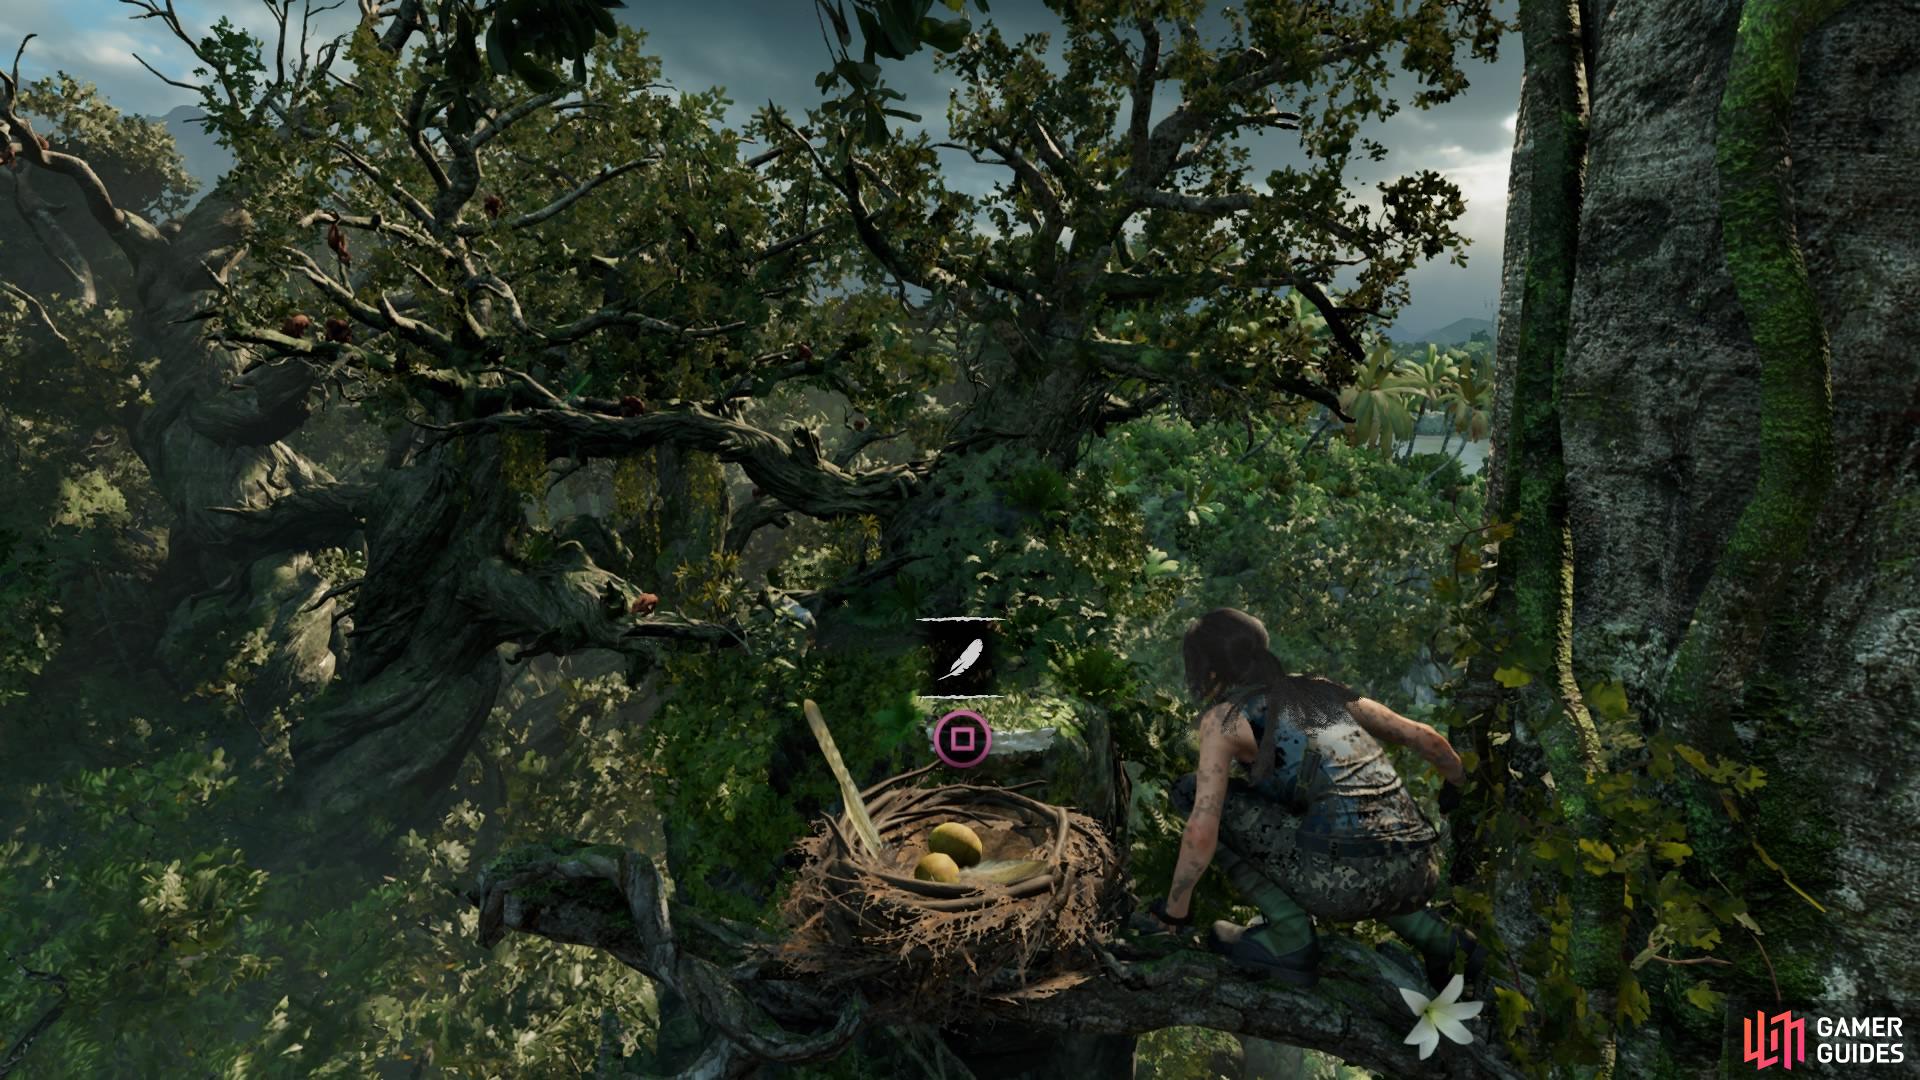
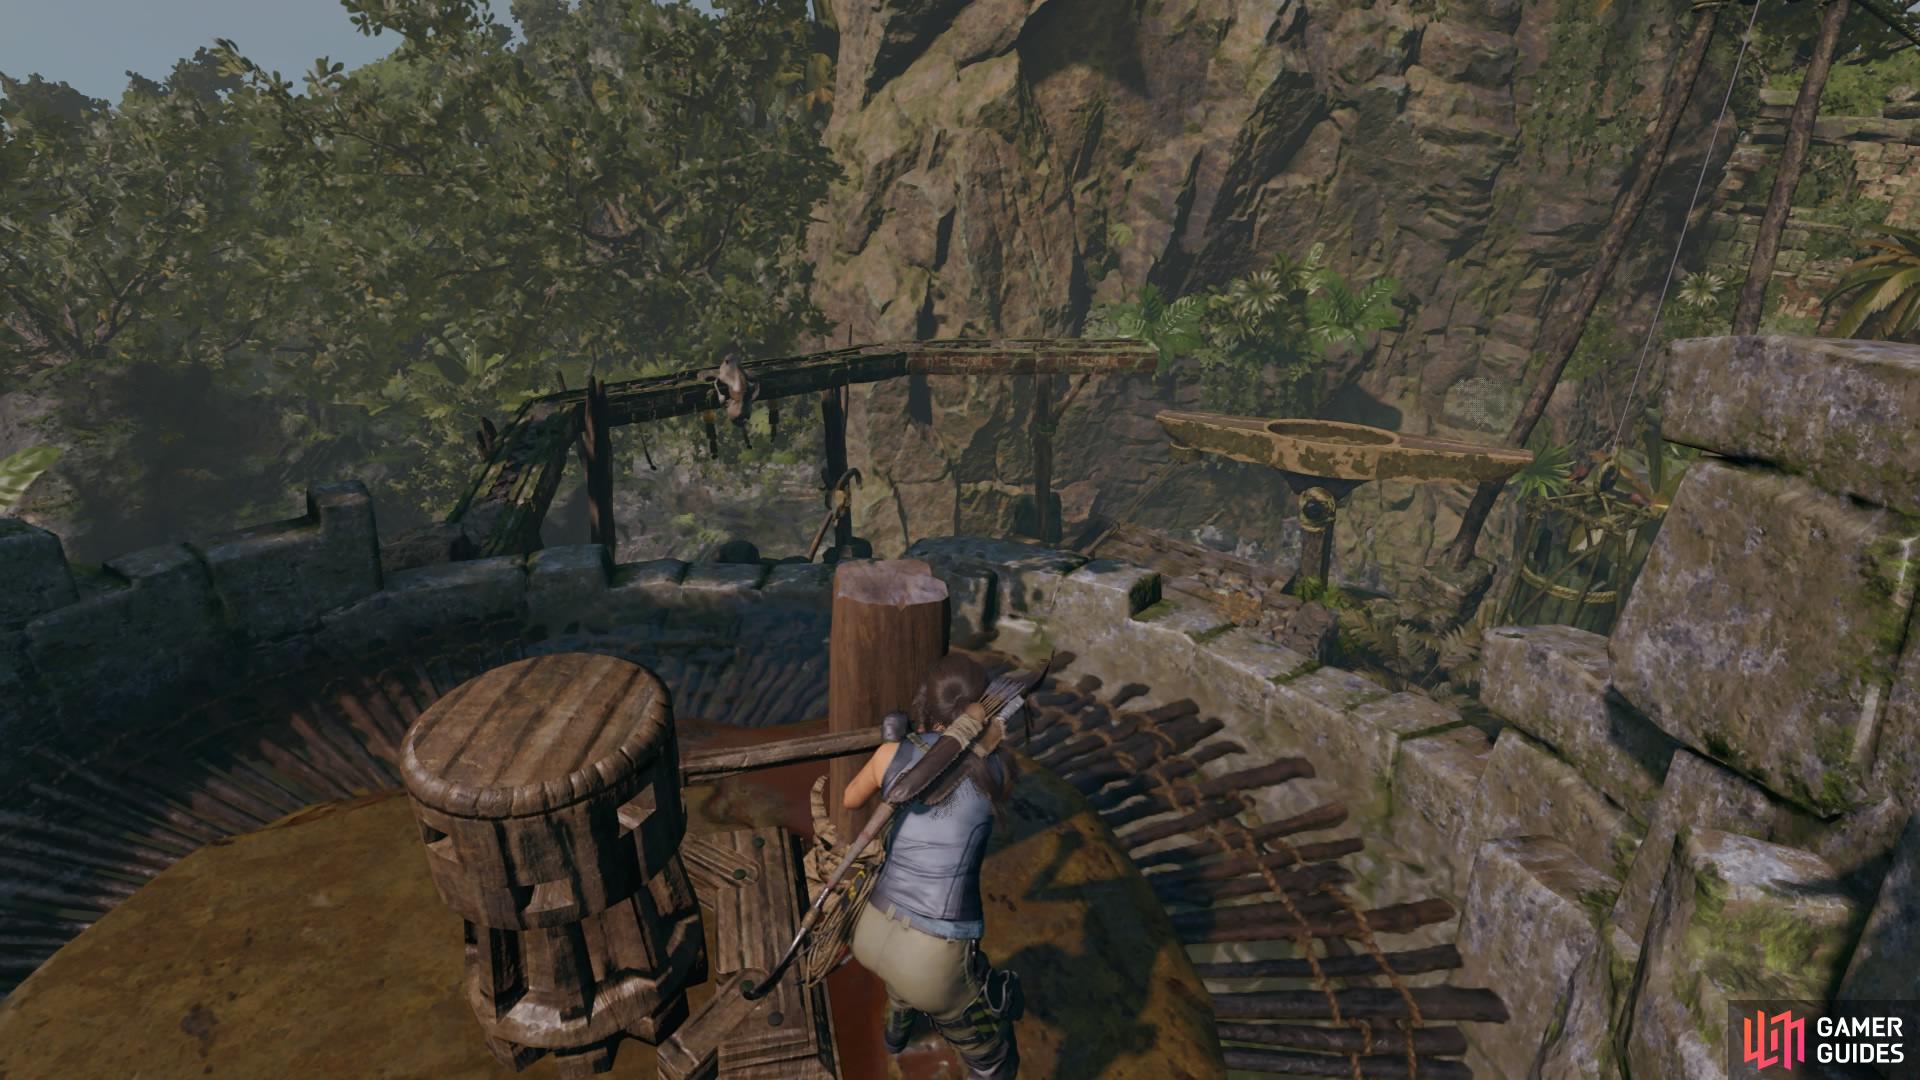
Ahead are some steps going up on the left, and some steps going down on the right. But first, if you look to your left you will find a mural, and to your right is a monolith, but this is unreadable right now. From the monolith, follow the steps on the right to pick up Relic – Bowl of Powder.
Head up the steps to Jonah on the upper platform. Next to the wheel on the left is Relic – Llama Figurine.
(1 of 2) Relic - Bowl of Powder
Relic - Bowl of Powder (left), Relic - Llama Figurine (right)
Now you need to fix the irrigation system to get across the bridge by manipulating the counterweights, so here’s how to do it:
Look left to find the ladder that leads to a lever. Pull the lever backwards to start the water flow.
Drop back down and interact with the lever connected to the wheel where Jonah will help. Push it all the way forward and wait for this first attempt to fail.


(1 of 2) Pull the first lever to begin the water flow
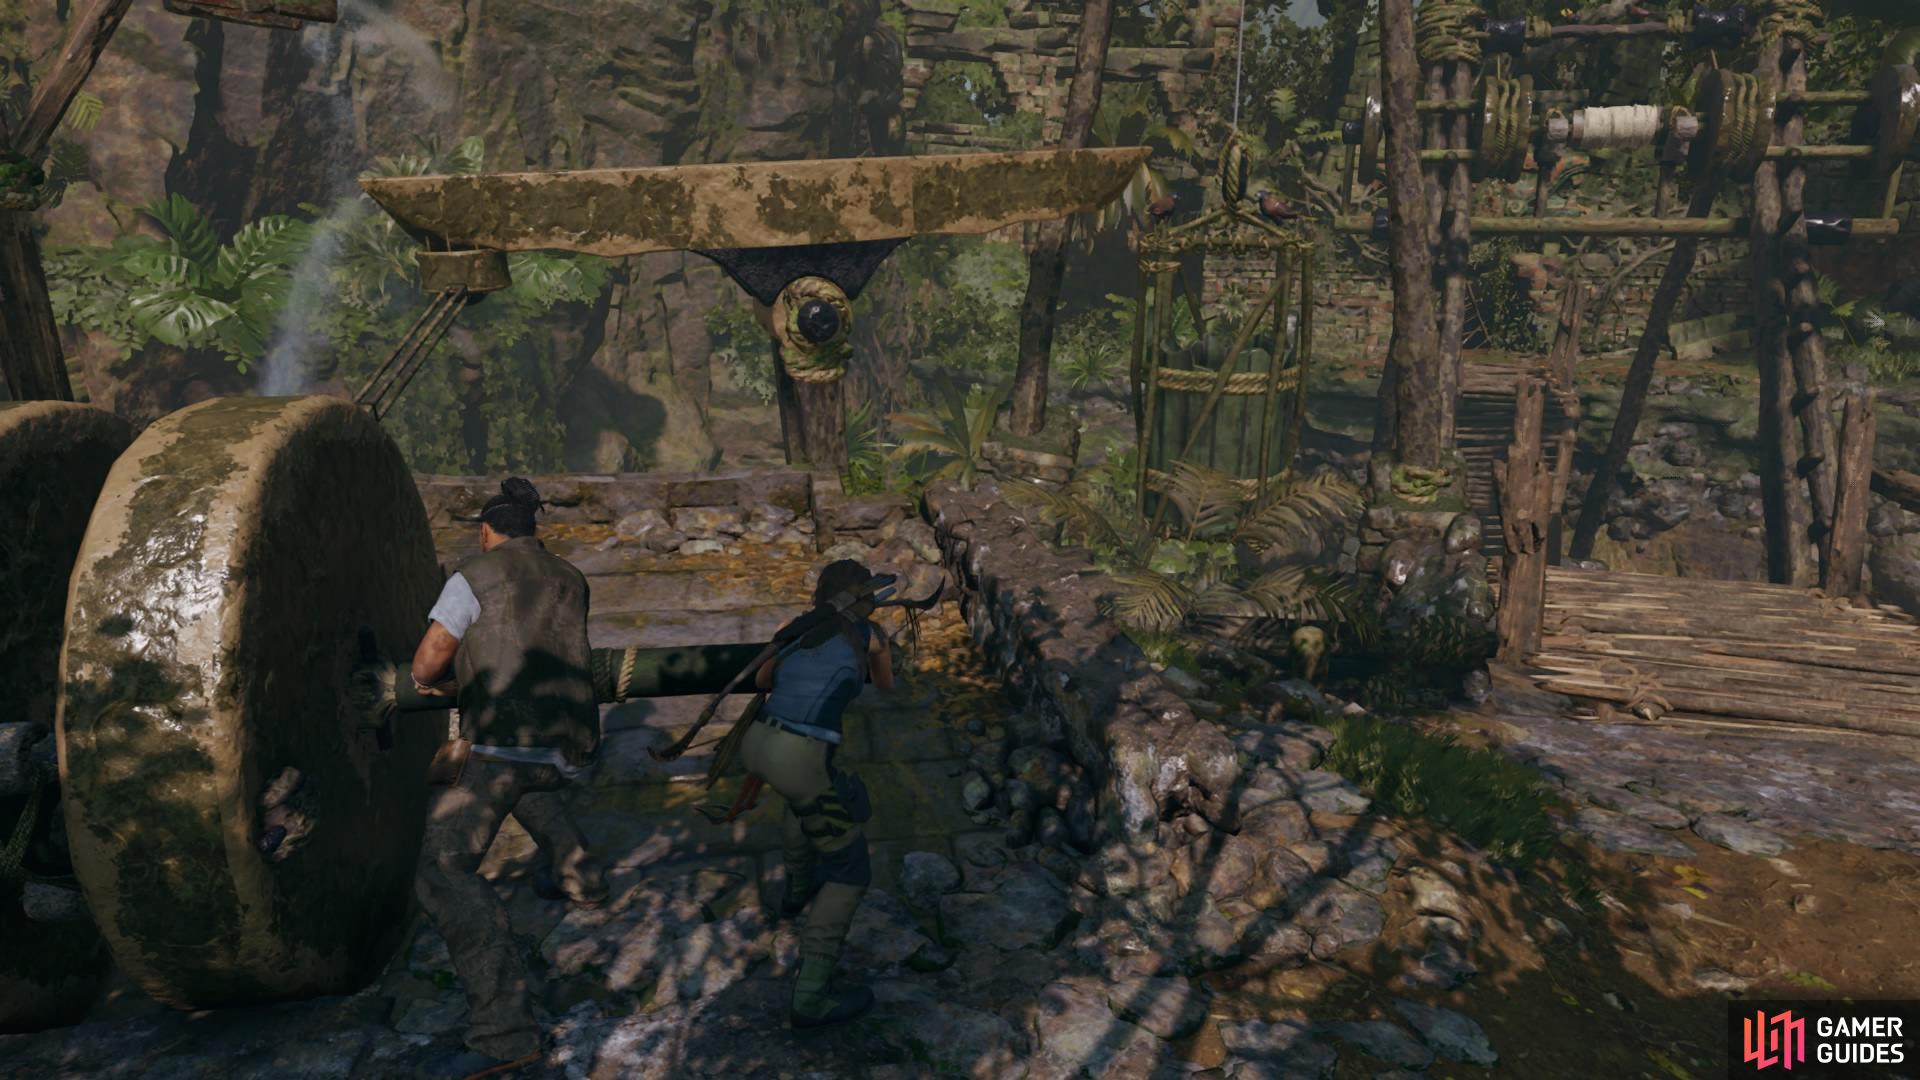
Pull the first lever to begin the water flow (left), Jonah will help you push the second lever (right)
Push the lever forward again (Jonah will hold it in place) and quickly run to the right down the steps to stand in front of the white coil of rope.
Tether a rope between the two points, and the bridge will rise into place.
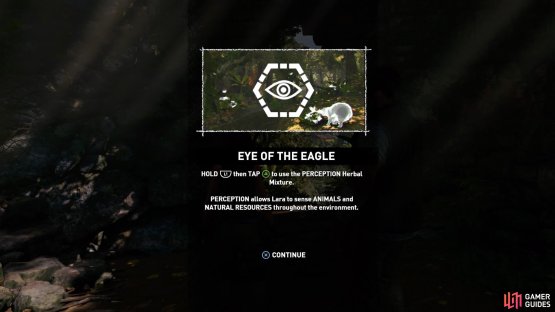
Now you can head back up to Jonah and cross the bridge to enter the temple ahead. Lara will automatically inspect the stele in the room, granting you a Skill called ‘Eye of the Eagle’. This Skill lets you use and craft perception plants.
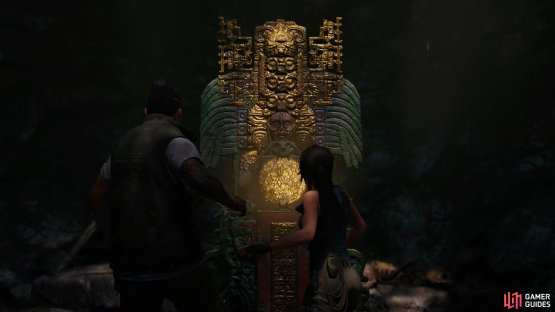
(1 of 2) Lara will automatically interact with the stele
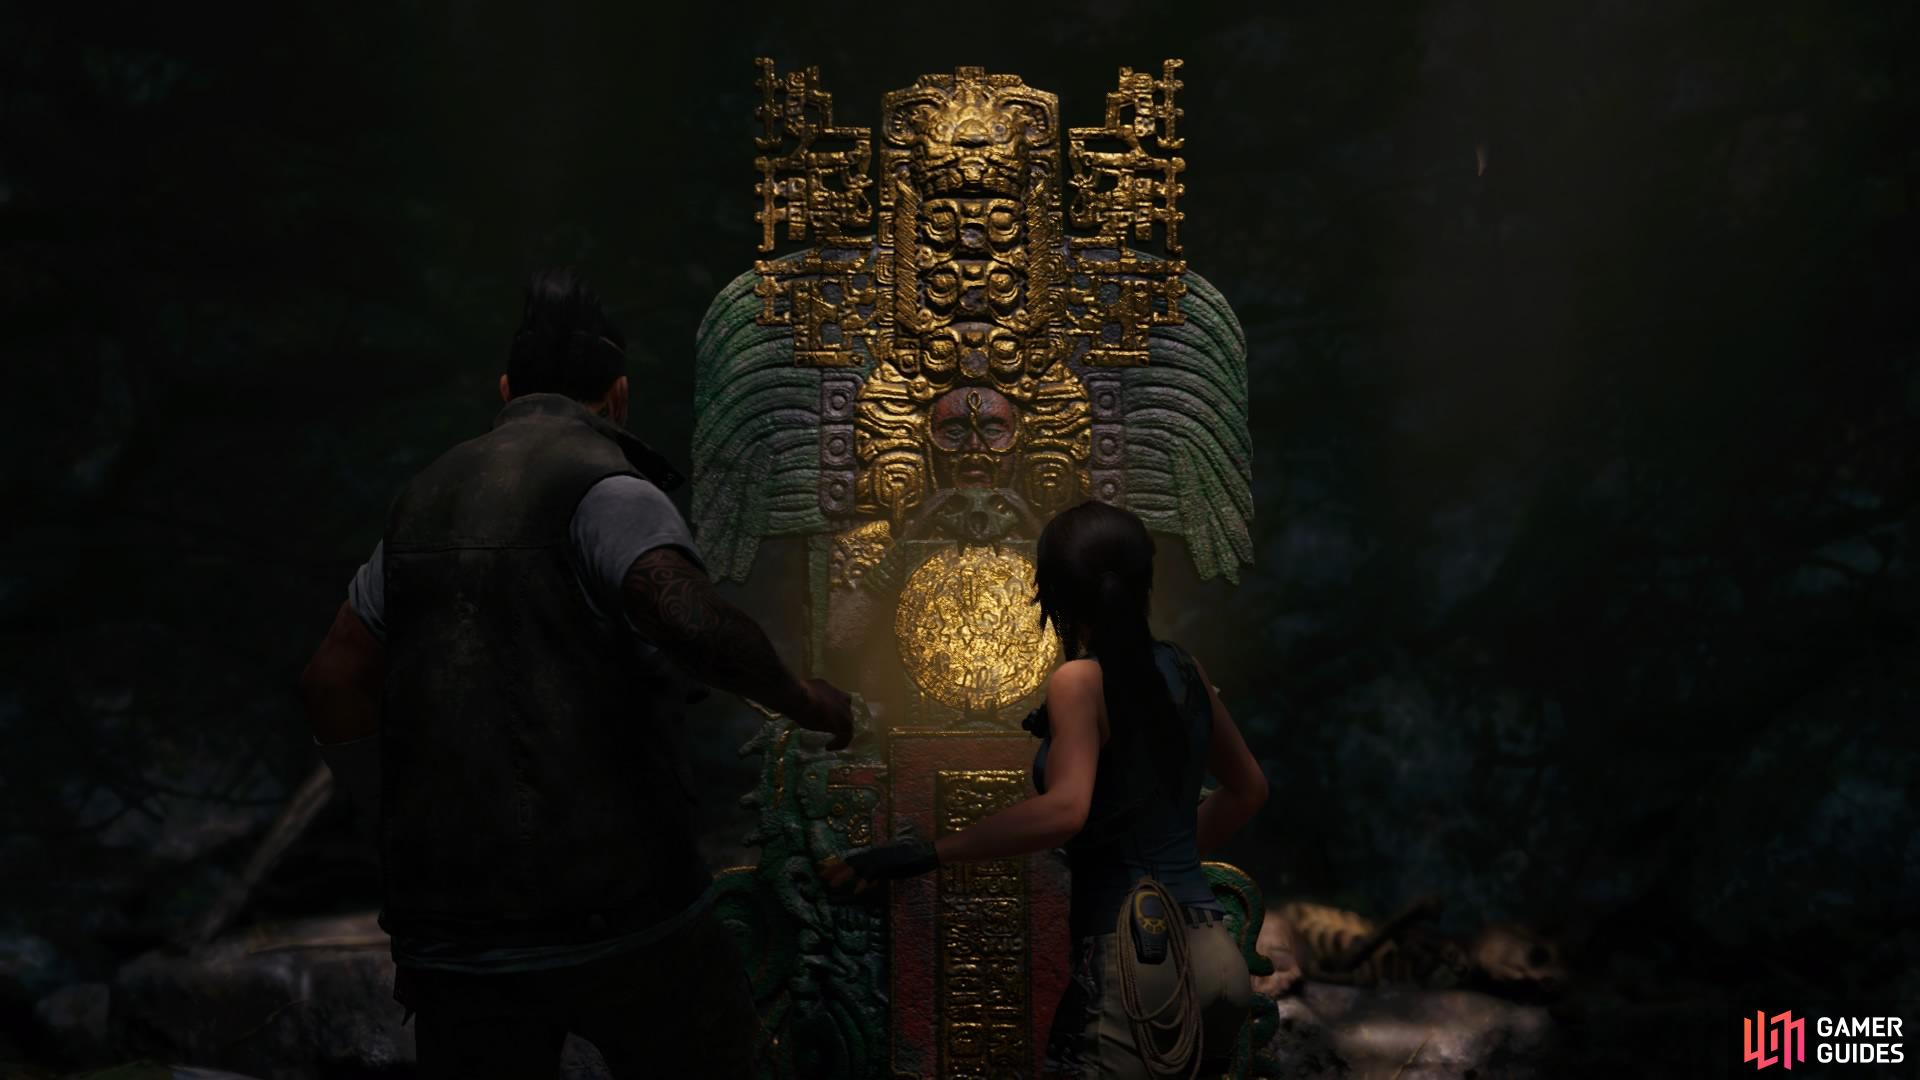

Lara will automatically interact with the stele (left), Gain the Eye of the Eagle Skill (right)
Exit the room and follow the path until you reach the Jungle Ruins Base Camp. As soon as you drop down, run up the steps ahead of you to interact with the mural. Then turn around to find Relic – Pistol Parts sitting on a wall to the left of the Base Camp.
(1 of 2) Inspect the mural


Inspect the mural (left), Relic - Pistol Parts (right)
From this viewpoint you’ll notice the doorway ahead of you down some steps – this is the linear path forward. Ignore it for now and take the time to search the area for resources and spend any Skill points.
There is a Challenge Tomb right next to you here, which you can access now or come back to later. Either way, we have it covered in the Challenge Tombs section of this guide.
KILL THE JAGUAR
Head to the tunnel down the steps to the left of the Base Camp. As Lara and Jonah remove the barrier, Lara will get attacked by a jaguar while Jonah is still trapped on the other side. Jonah will slide a flare gun to Lara, so shoot the jaguar as it pounces before it can kill you. This will make the jaguar run.
The battle area is quite large, so there’s plenty of room to run around, evade, and jump to higher platforms to get away from the jaguar. There is also an abundance of resources in the area, so stock up as needed during the fight.
If possible, always keep the jaguar in your sights. One of the easiest ways to do this is to activate Perception – it will highlight plants and animals in the area, including the jaguar so you can track it’s every move.

When the jaguar lunges for an attack, quickly evade by scrambling and rolling away. You could try to get in a quick melee attack, but we suggest keeping a distance as much as possible. If the jaguar manages to pin Lara to the ground, you can avoid a fatal blow by quickly wiggling the left analog back and forth, followed by hitting the correct button as the circle reaches the shaded area.
Hiding in the trees is a good tactic, enabling you to get in a few good shots. But the jaguar will eventually climb up after you to attack. As soon as you hear it clambering up the tree, jump down and run.
Continue to get in as many hits as you can until the jaguar finally collapses, ending the fight. Take a moment to gather resources if you like, and then return to Jonah to end the chapter.
No Comments