| Region Summary | . |
|---|---|
| Base Camp | 5 |
| Challenge Tomb | 1 |
| Mission Giver | 1 |
| Region Challenge | 3 |
| Treasure Chest | 2 |
| Crypt | 2 |
| Relic | 4 |
| Document | 18 |
| Mural | 10 |
| Survival Cache | 14 |
| Monolith | 3 |
WHERE THE TWINS CONFER - EXPLORE KUWAQ YAKU
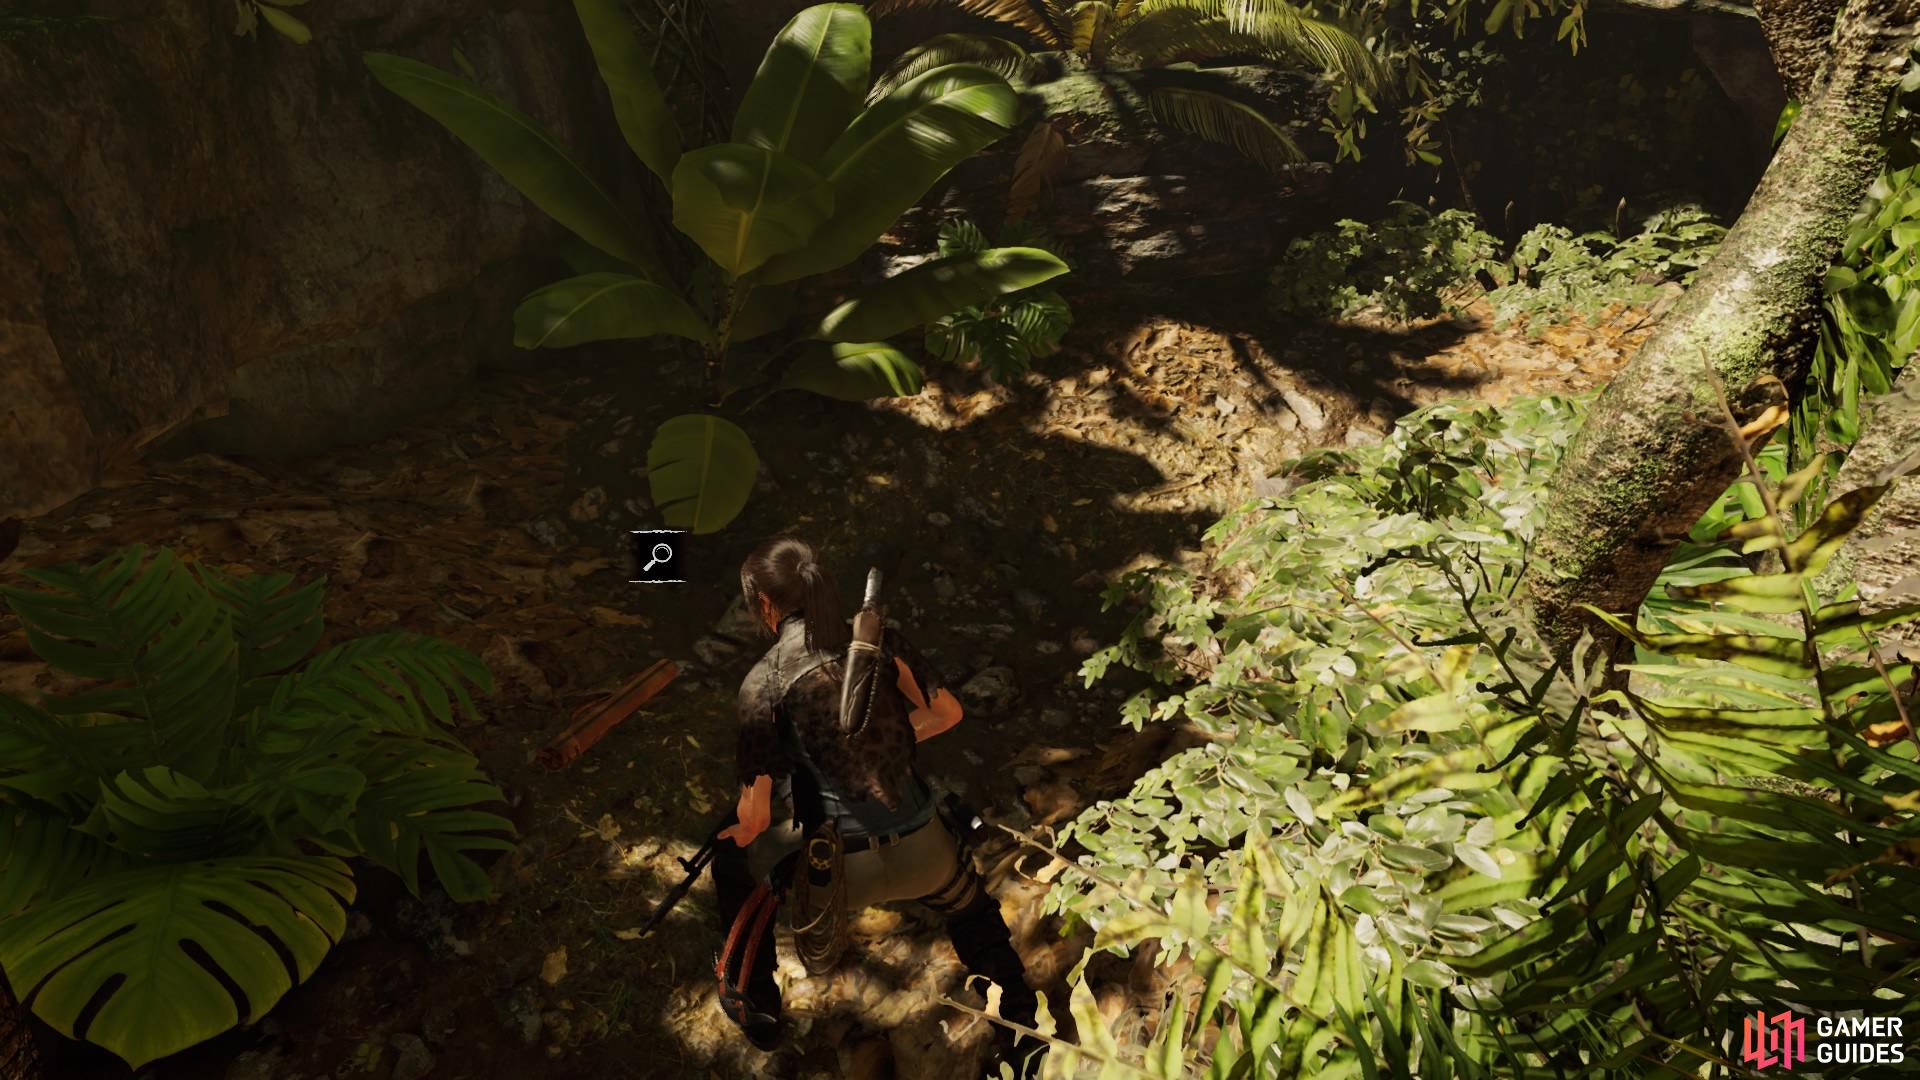
After leaving Jonah and Abby you can explore the village to your heart’s content. You can talk to the villagers, complete a side mission, and find plenty of resources and collectibles, so it’s worth exploring for a while before continuing with the main story.
The challenge tomb and crypt are also available right away, and the first Base Camp is at the bottom of the steps ahead.
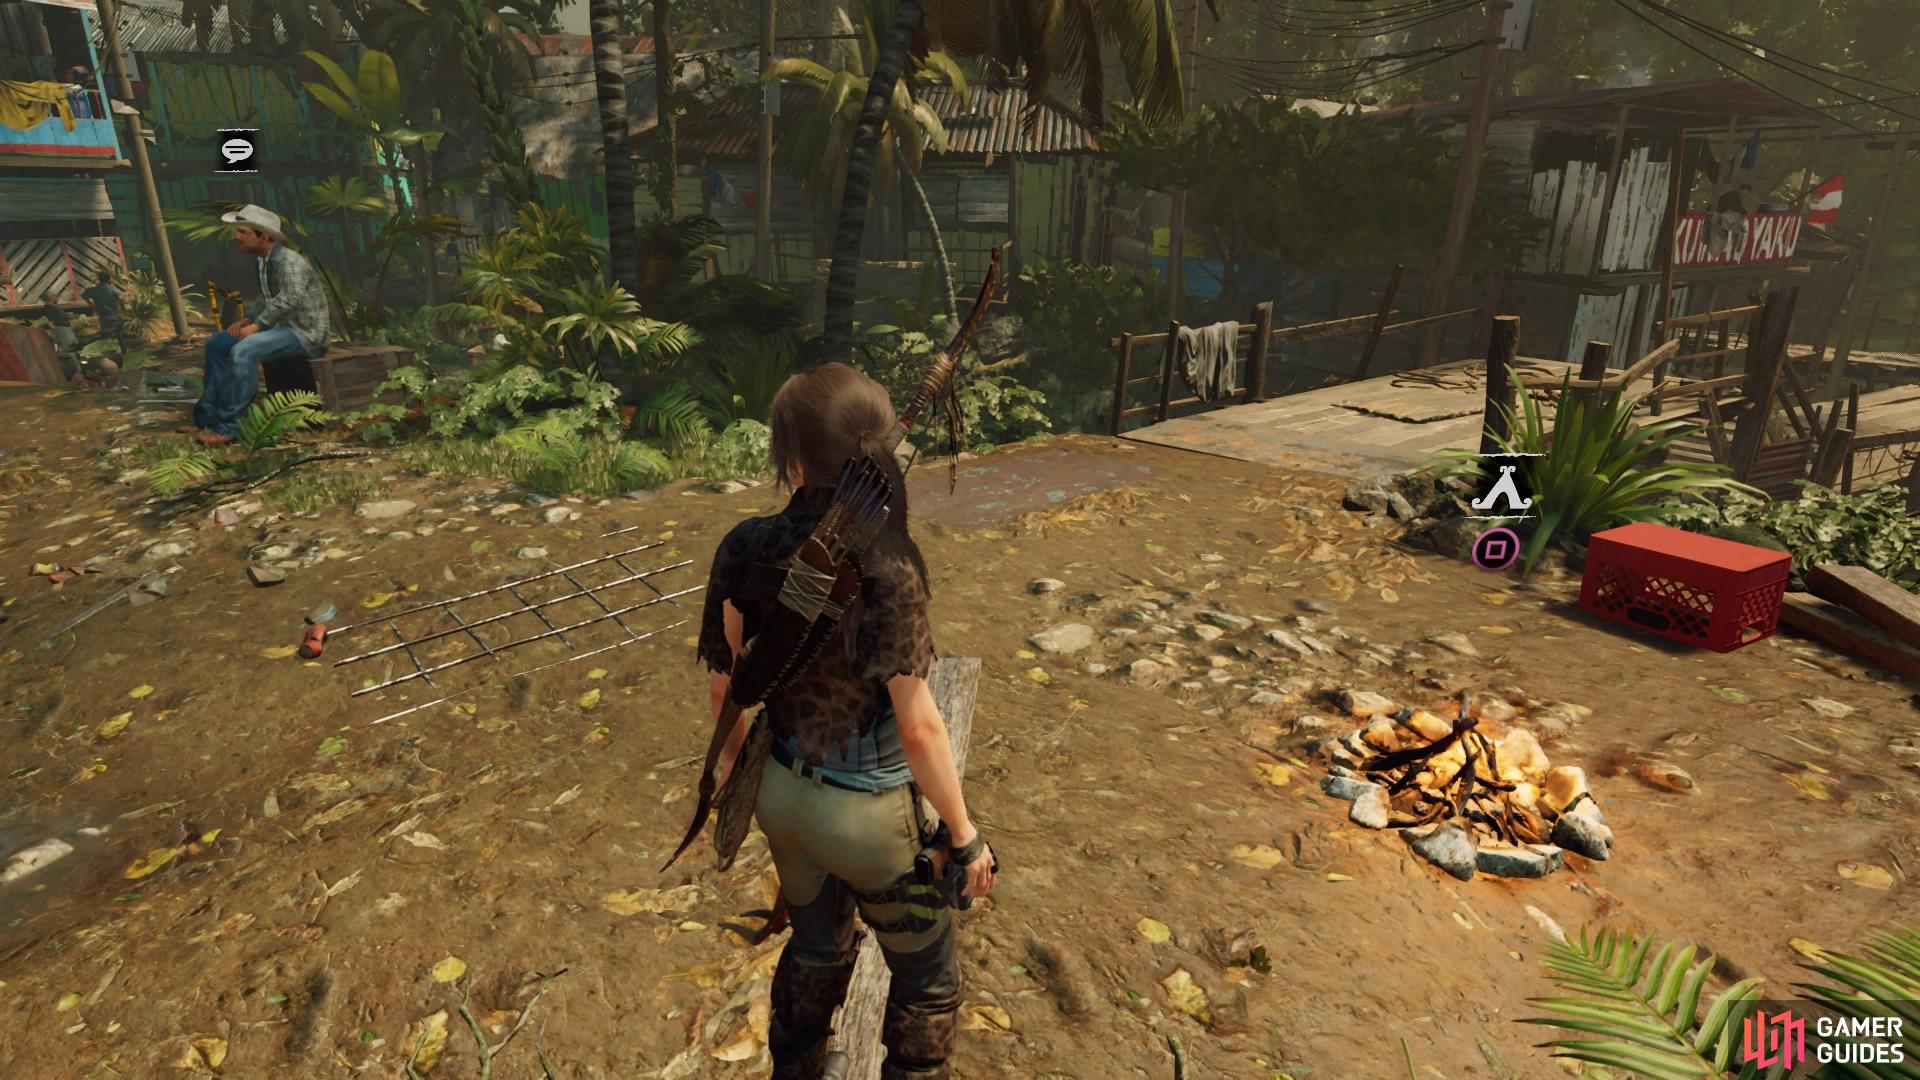
There are three region challenges throughout Kuwaq Yaku - Bottom Feeder, Crude Awakenings, and Nam Deus - which we have covered in the challenges section of this guide.
PATH OF THE LIVING: REACH THE TEMPLE OF LIFE
Whether you decided to explore first or not, to continue the story simply follow the yellow waypoint marker on the map towards the Incan ruins in the north.
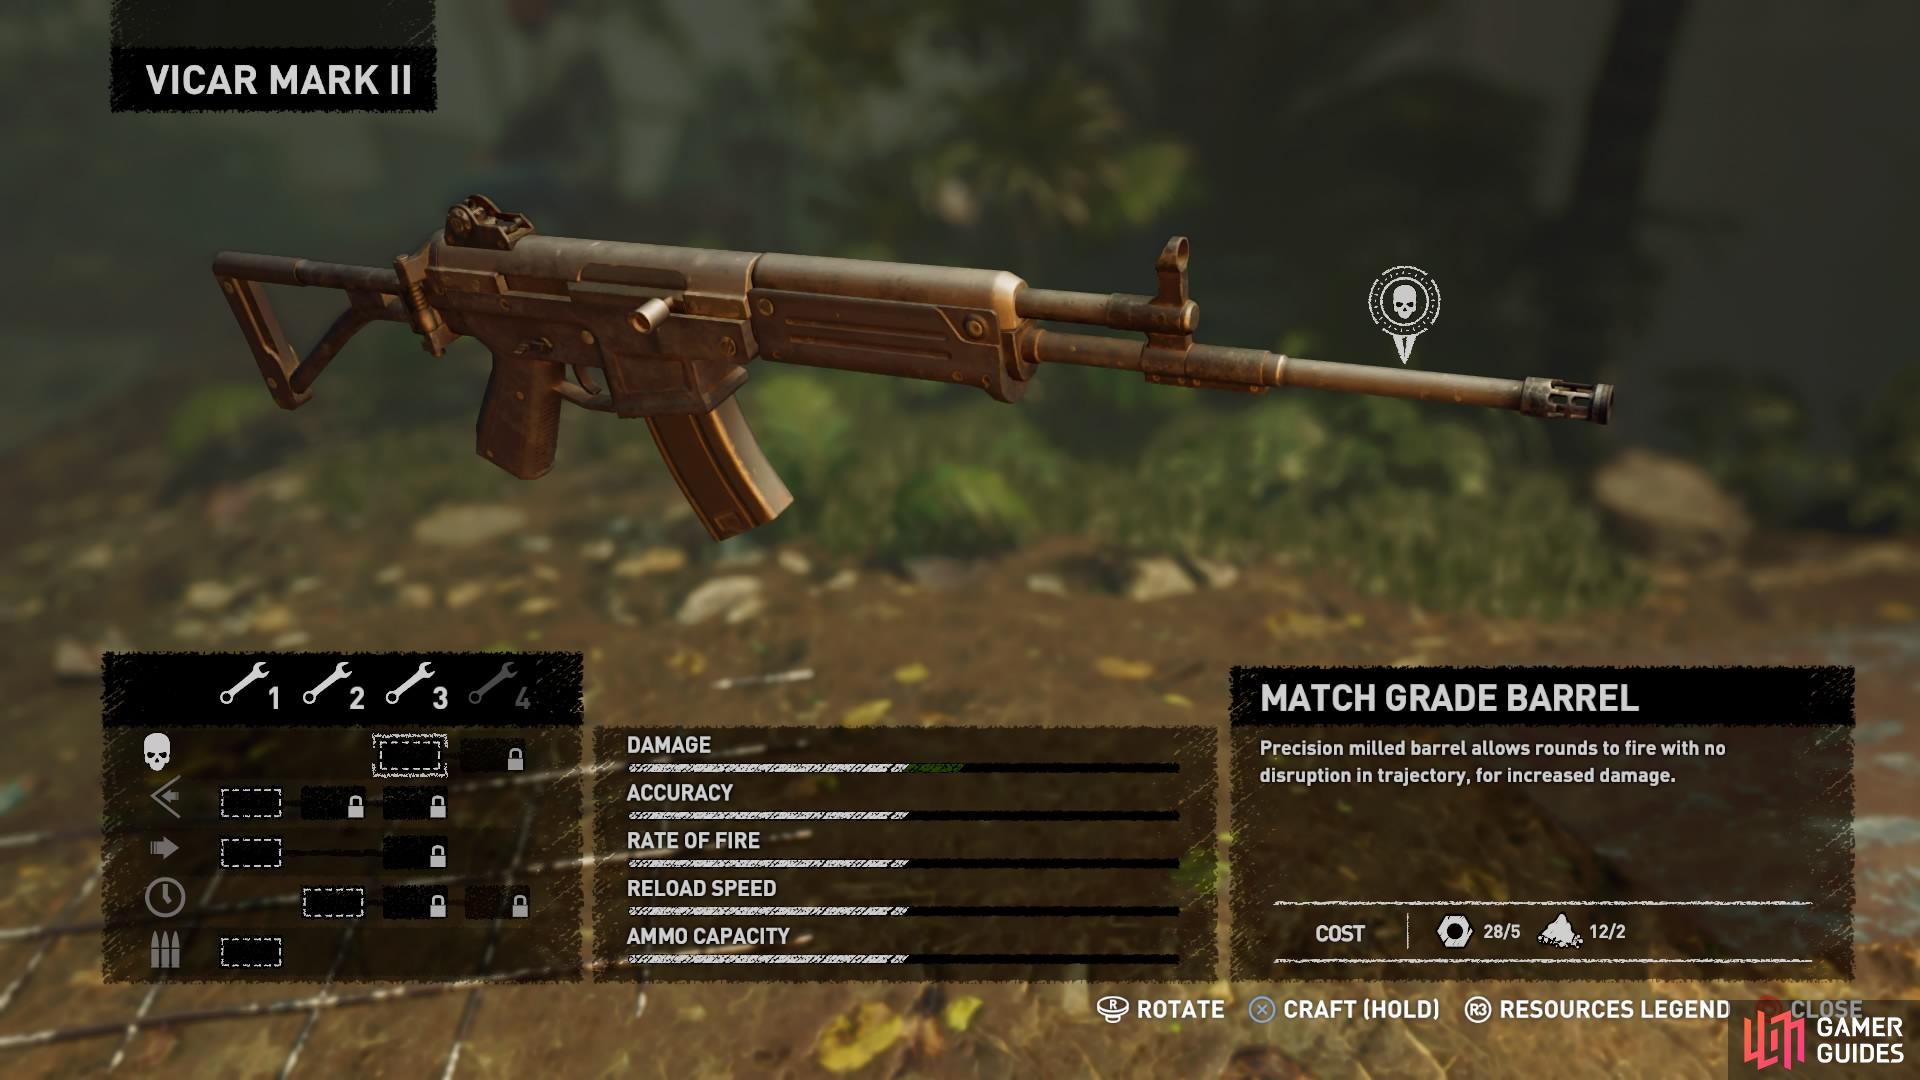
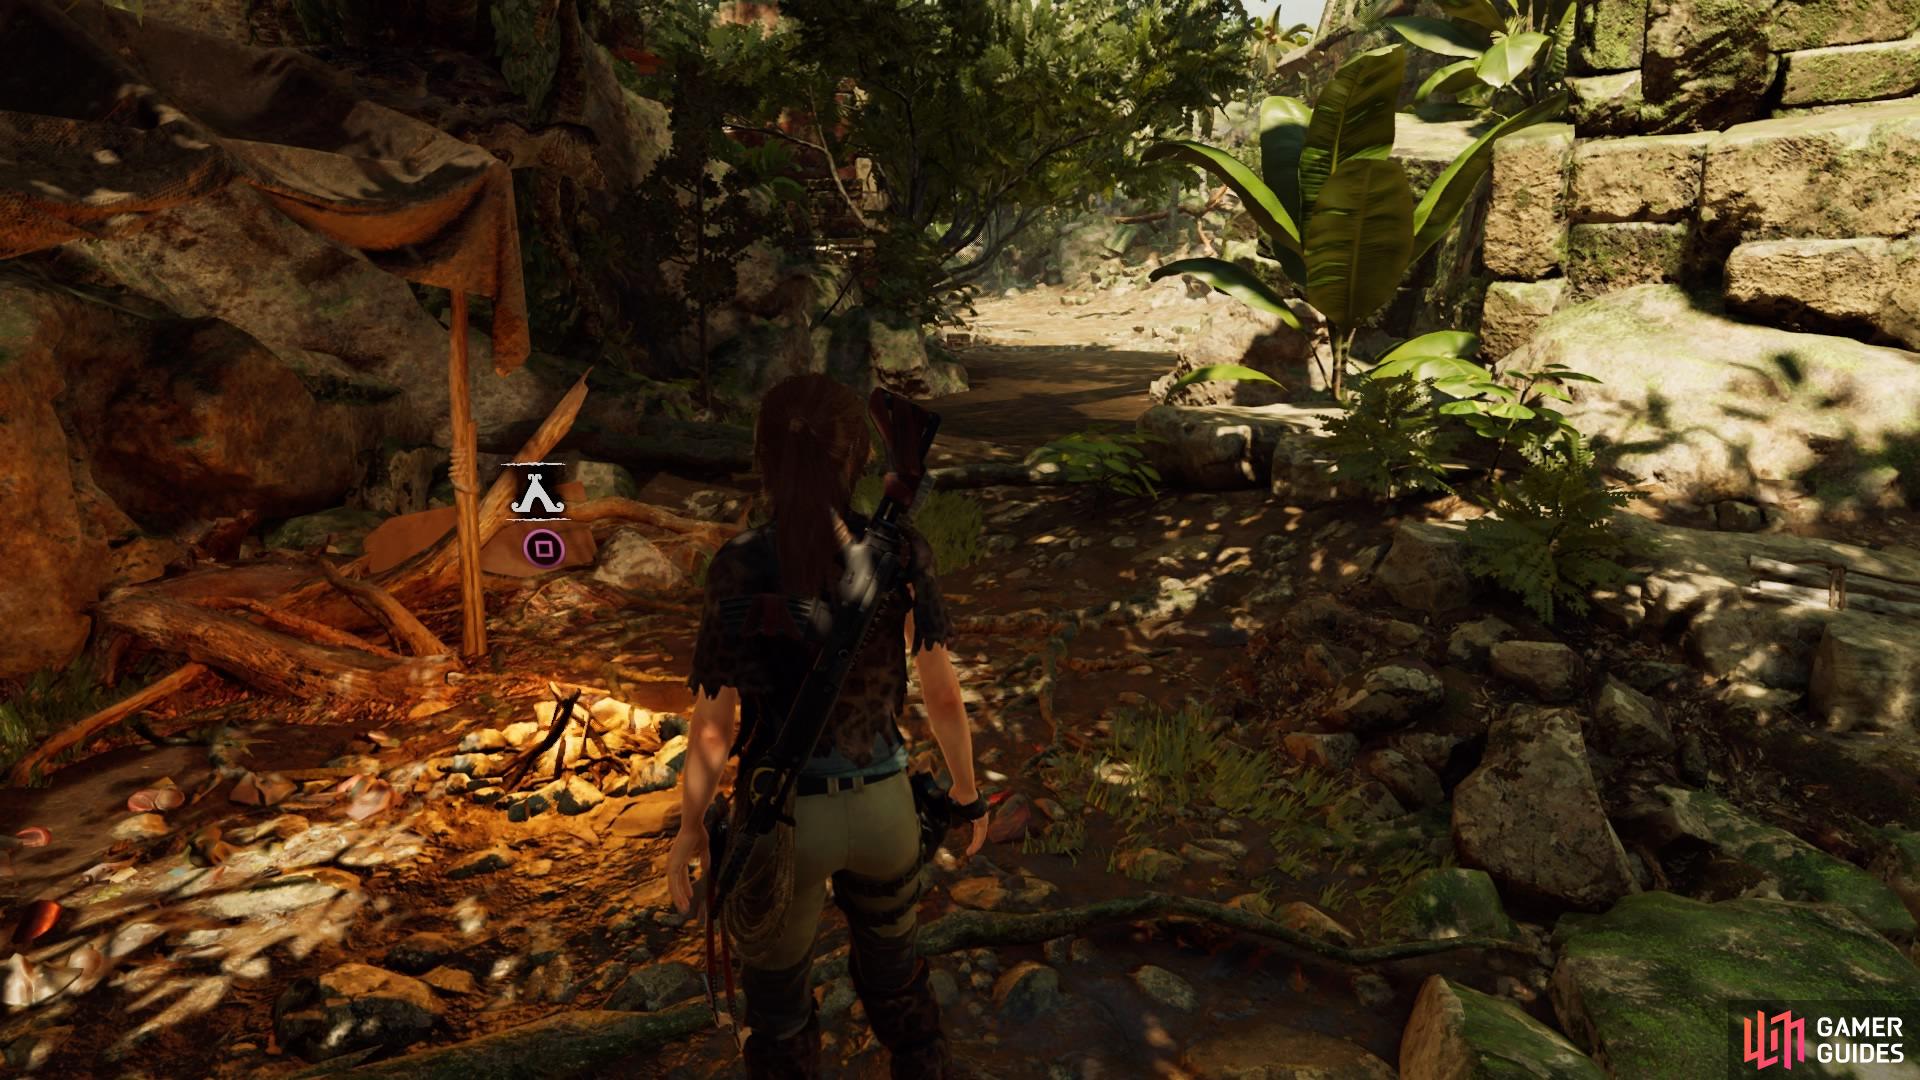
If you pass under the archway, you’ll find a small market. The Merchant is in the back right corner, and you can purchase a variation of gear and resources from him using the gold coins you’ve collected. You’ll probably have a good amount by now to at least buy a weapon or outfit piece if you wish to.
| ITEM | COST (GOLD) |
|---|---|
| J&D Model 27 (Handgun) | 4200 |
| C&T S55 (Handgun) | 4100 |
| GF RAL (Rifle) | 3200 |
| Pistol Sight (Handgun Attachment) | 1700 |
| Pistol Suppressor (Handgun Attachment) | 1800 |
| Pistol Ammo Pouch | 1600 |
| Rifle Ammo Pouch | 1500 |
| Vestige: Nine Strides’ Harness (Upper Outfit) | 3200 |
| Vestige: Hide Boots of Urqu (Lower Outfit) | 4300 |
| Arrows | 180 |
| Handgun Bullets | 180 |
| Machine Gun Rounds | 180 |
| Medicine | 90 |
| Perception Plants | 90 |
| Focus Plants | 90 |
| Salvage | 120 |
| Black Powder | 150 |

Visit the Merchant for goods
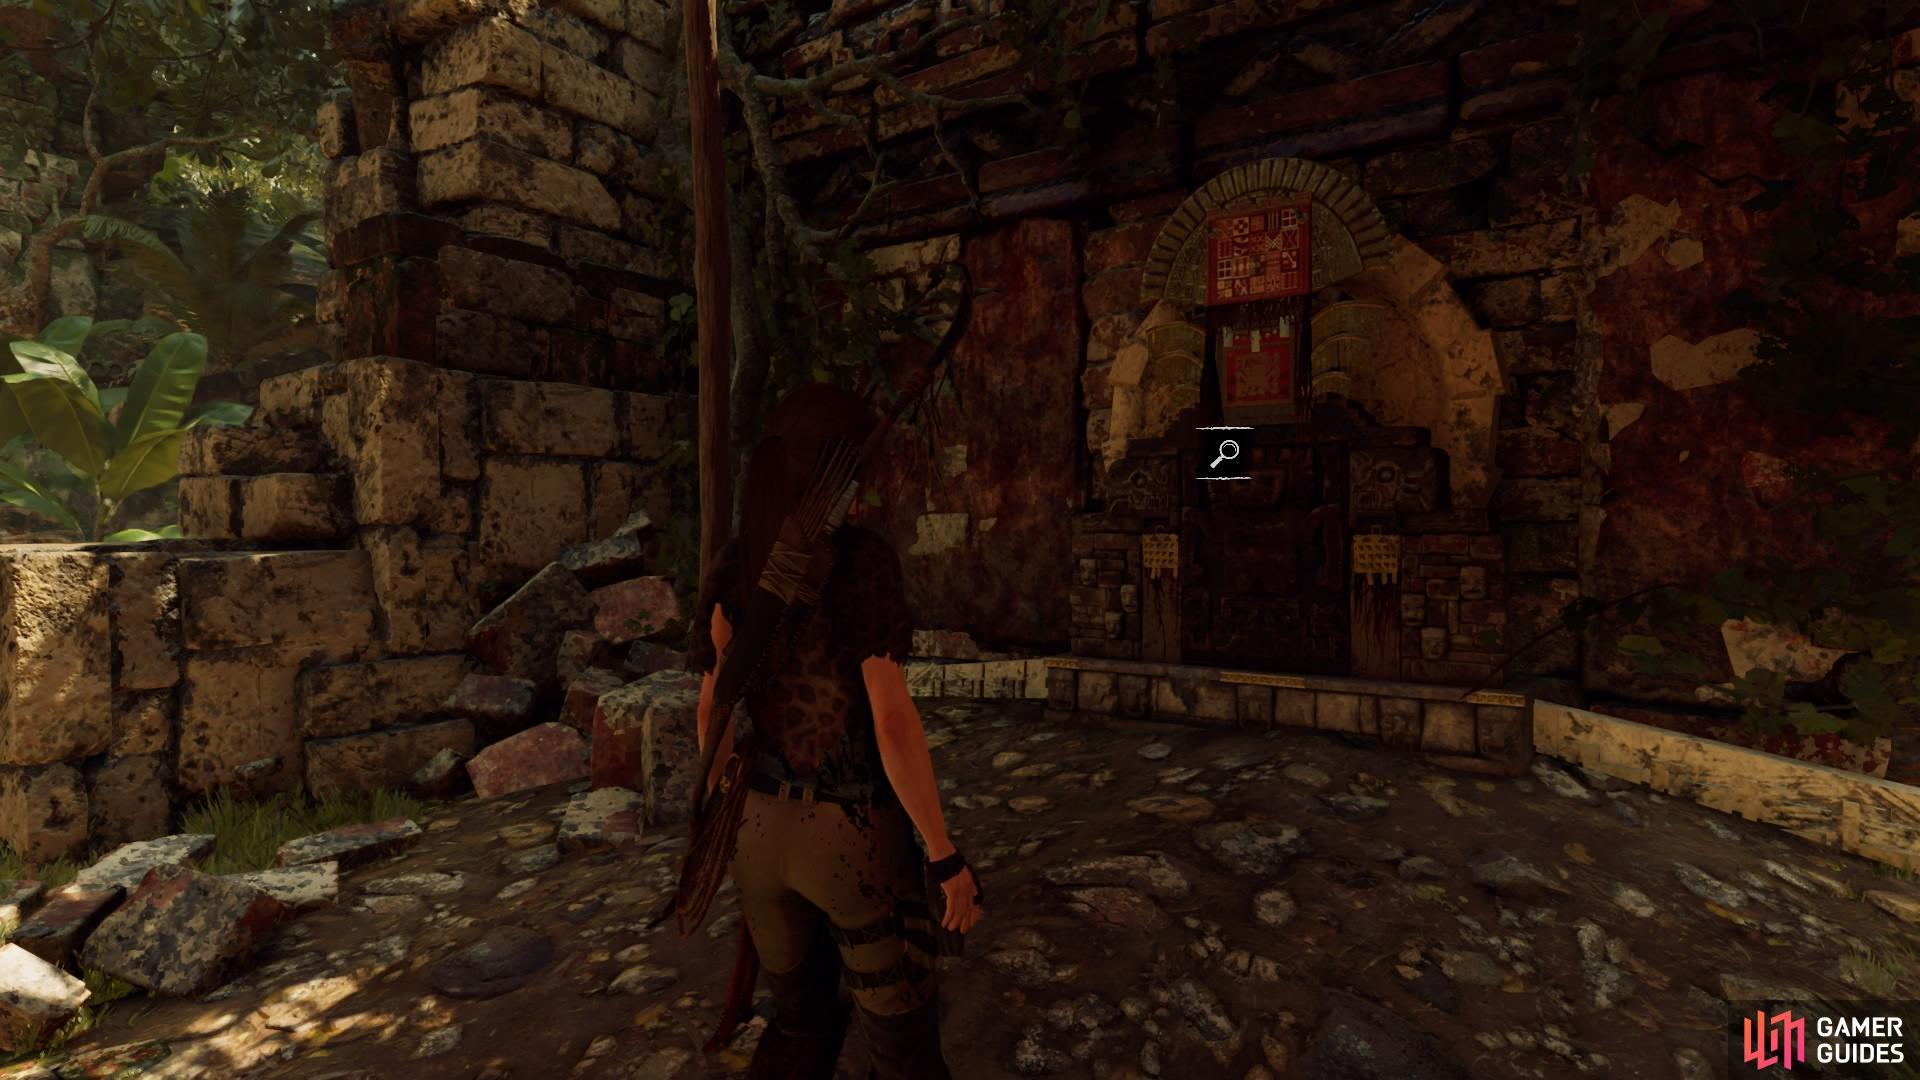
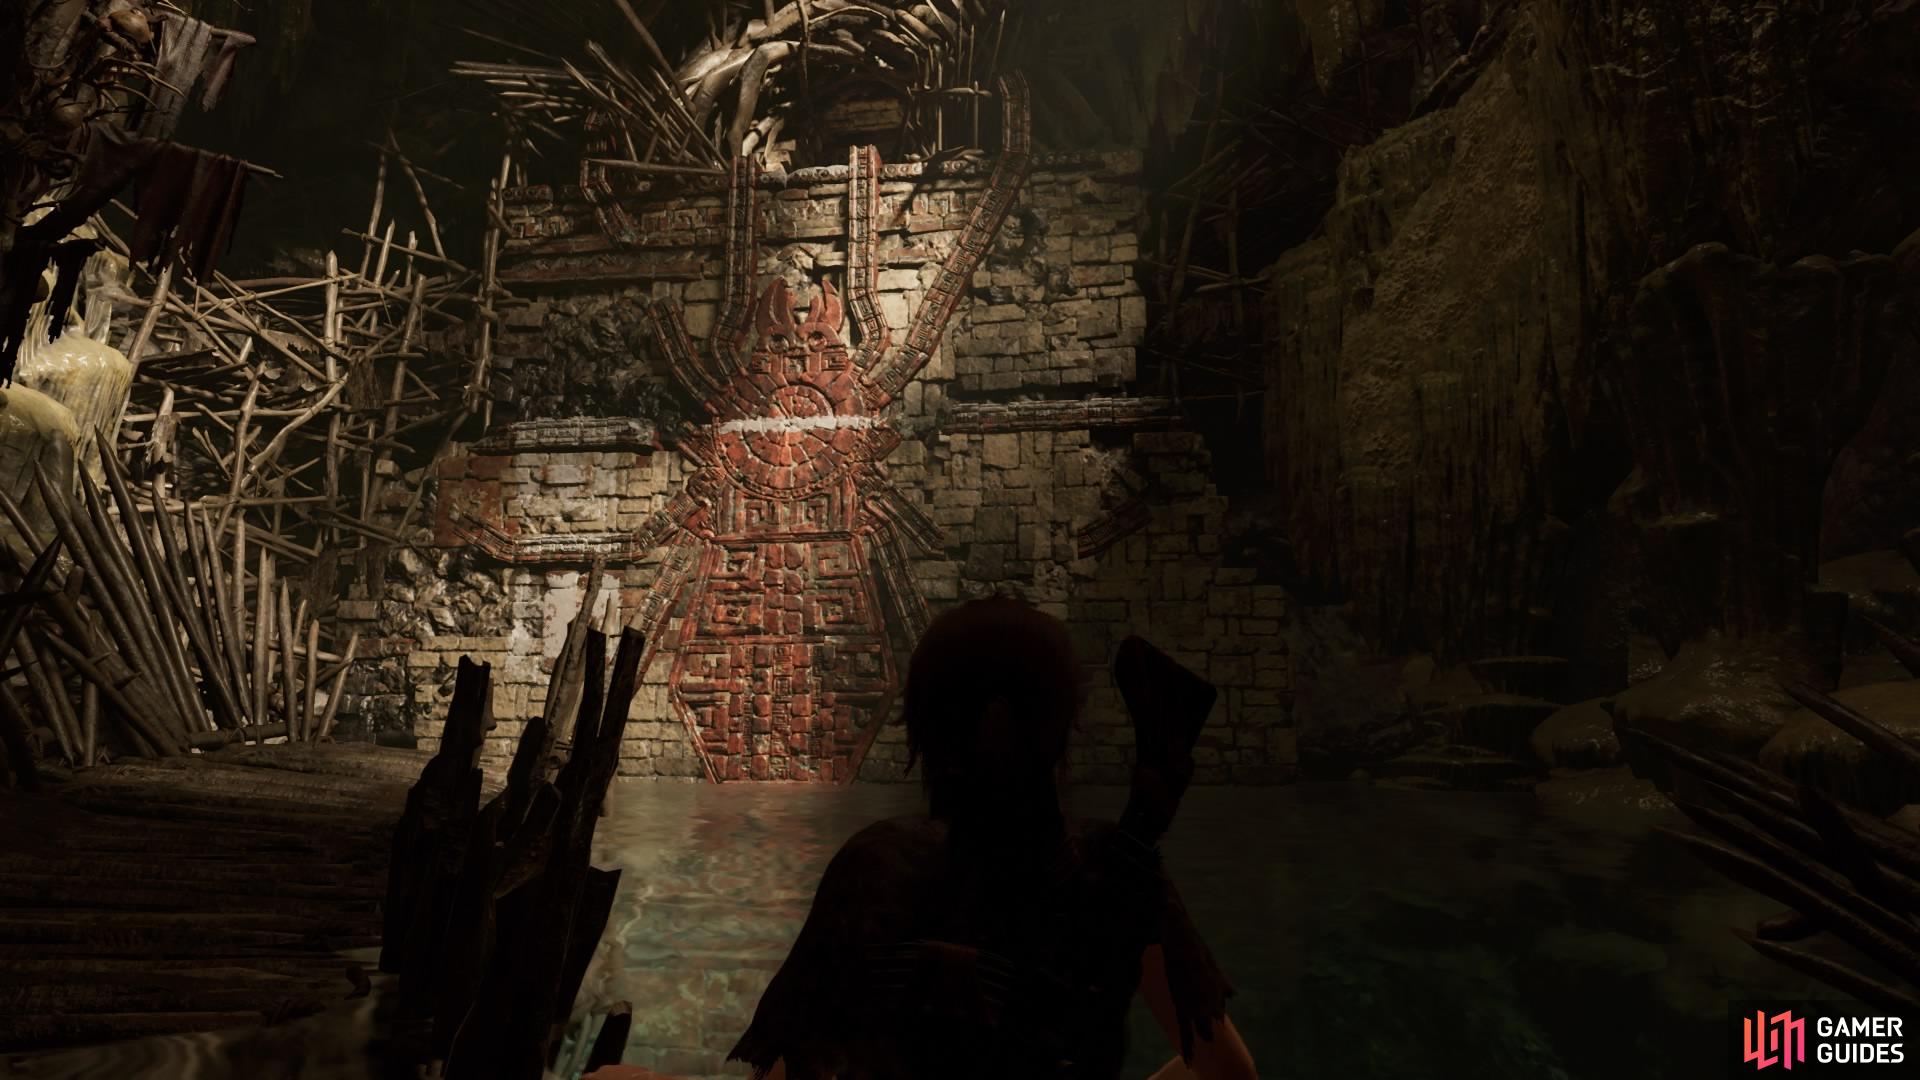
Inspect the mural
Leave the market and inspect the mural on your right, then continue into the temple for a cutscene.
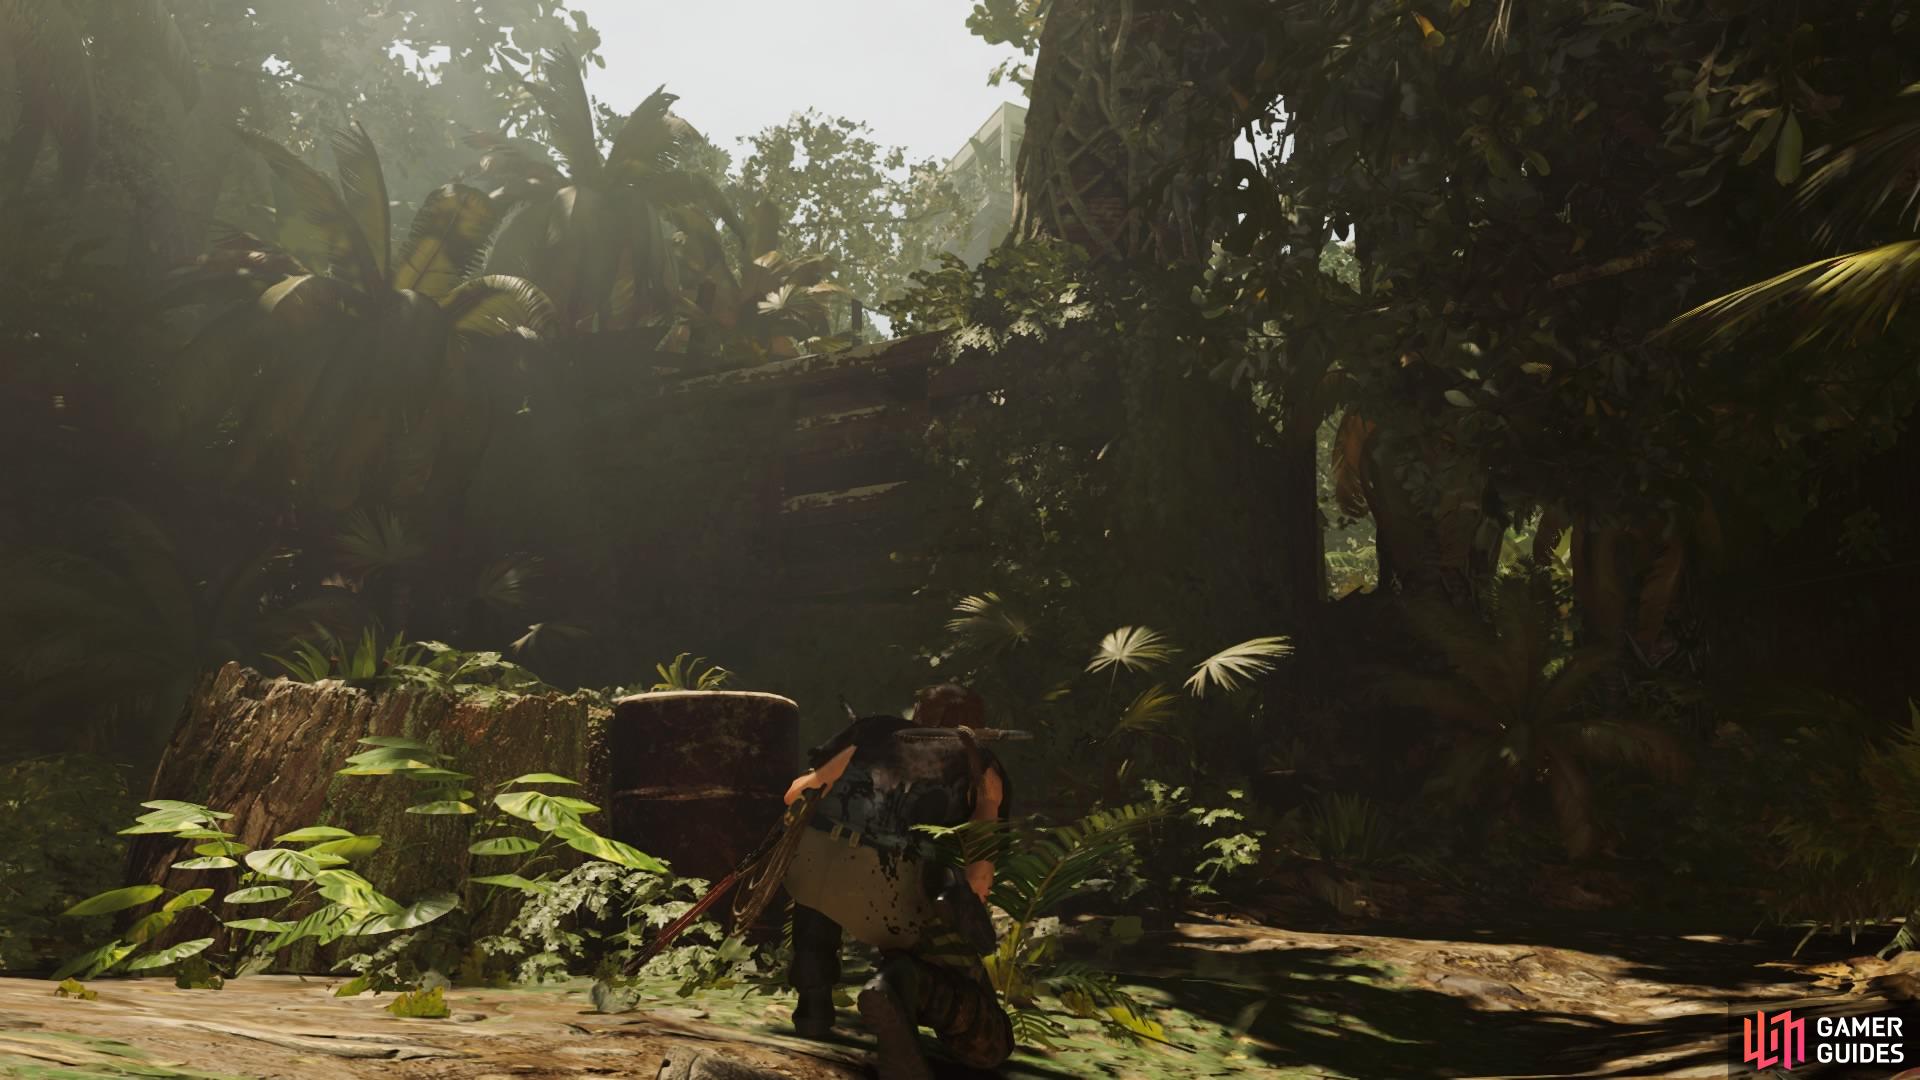
When you have control again, dive into the water below and swim left under the bridge and through a hole in the fence. You’ll come to a dock with five Trinity soldiers patrolling the area.
Stick by the first, closest enemy – once he’s isolated, you can drag him into the water without being spotted. Now you’re left with one enemy walking along the dock ahead of you, two along the furthest walkways, and a single enemy standing on the upper walkway at the back. Take out each one using stealth tactics – if you get spotted, dive back under the water until you lose them, and start over.
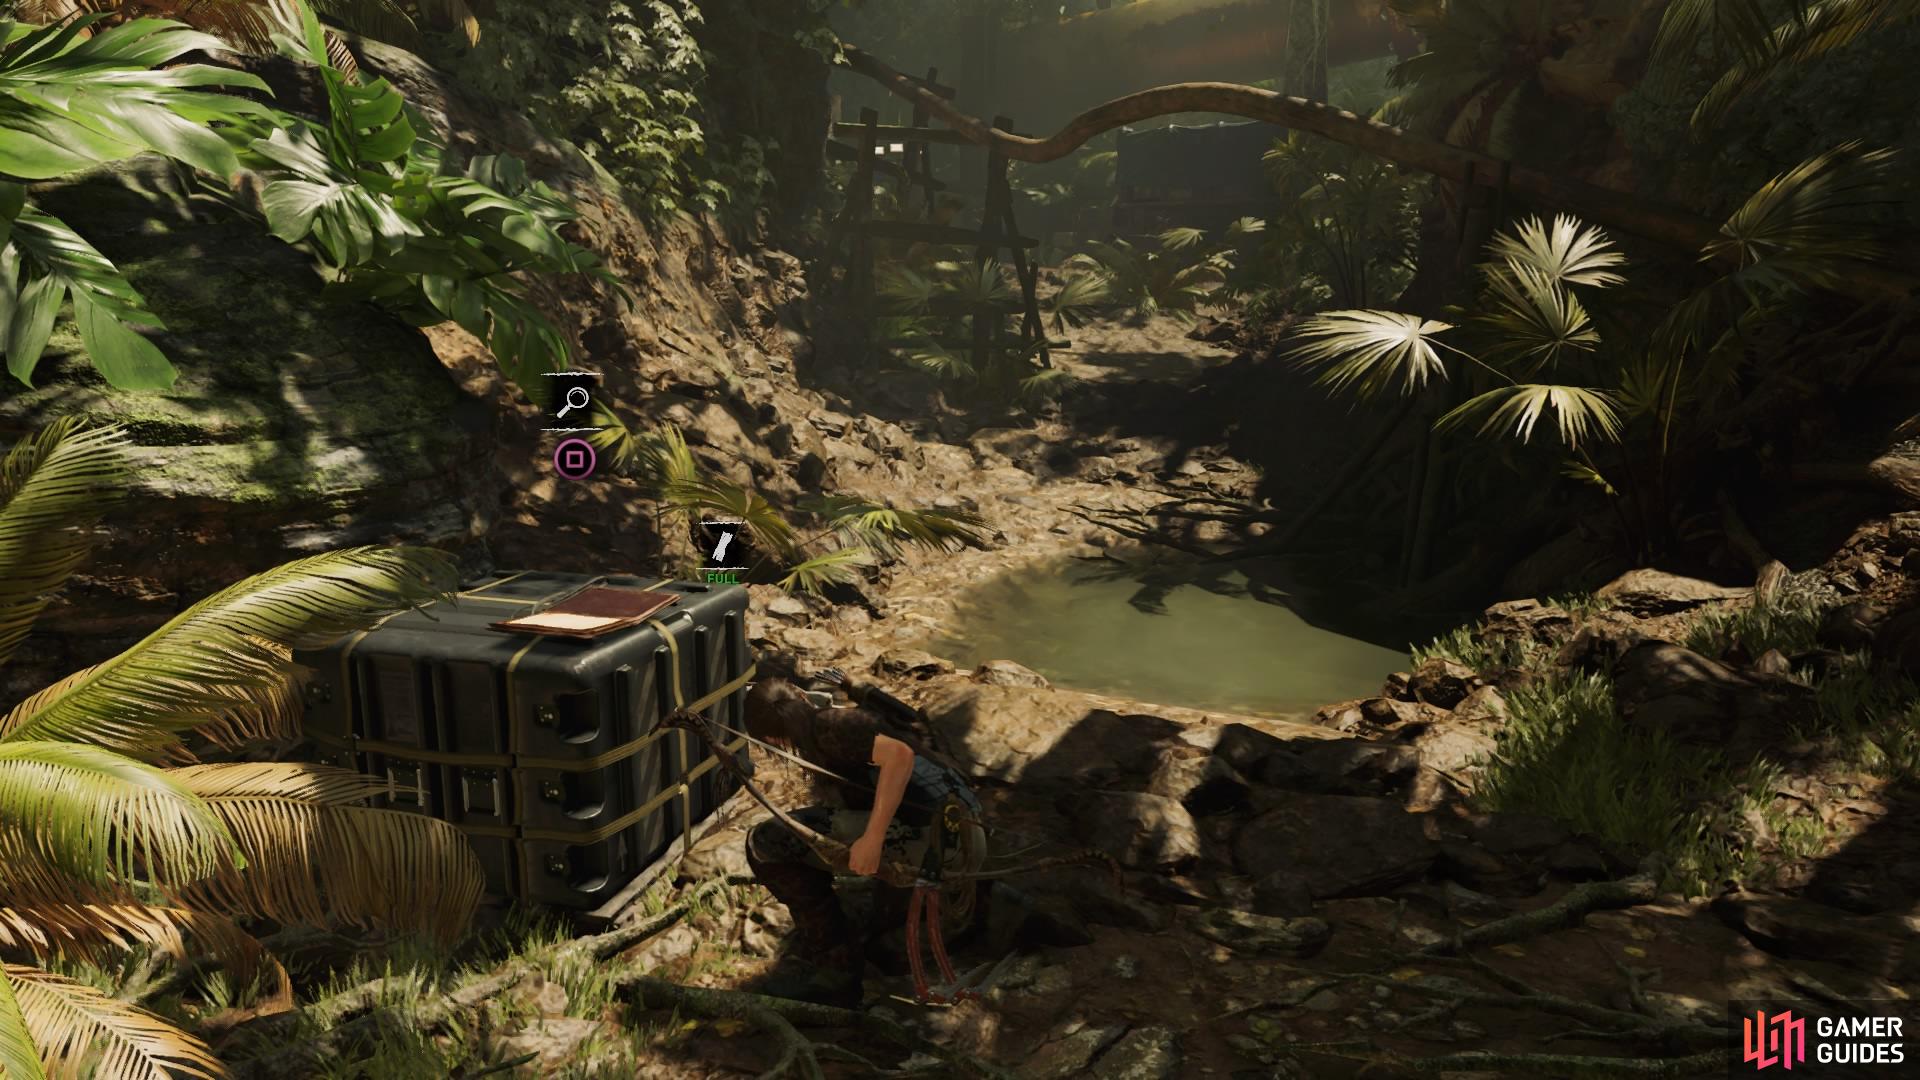
Make your way across the dock and head to the upper walkway on the left - on a table you’ll find Document - End Times. Now continue forward to find the Docks Base Camp (Jonah and Abby will speak over the radio when you reach it).
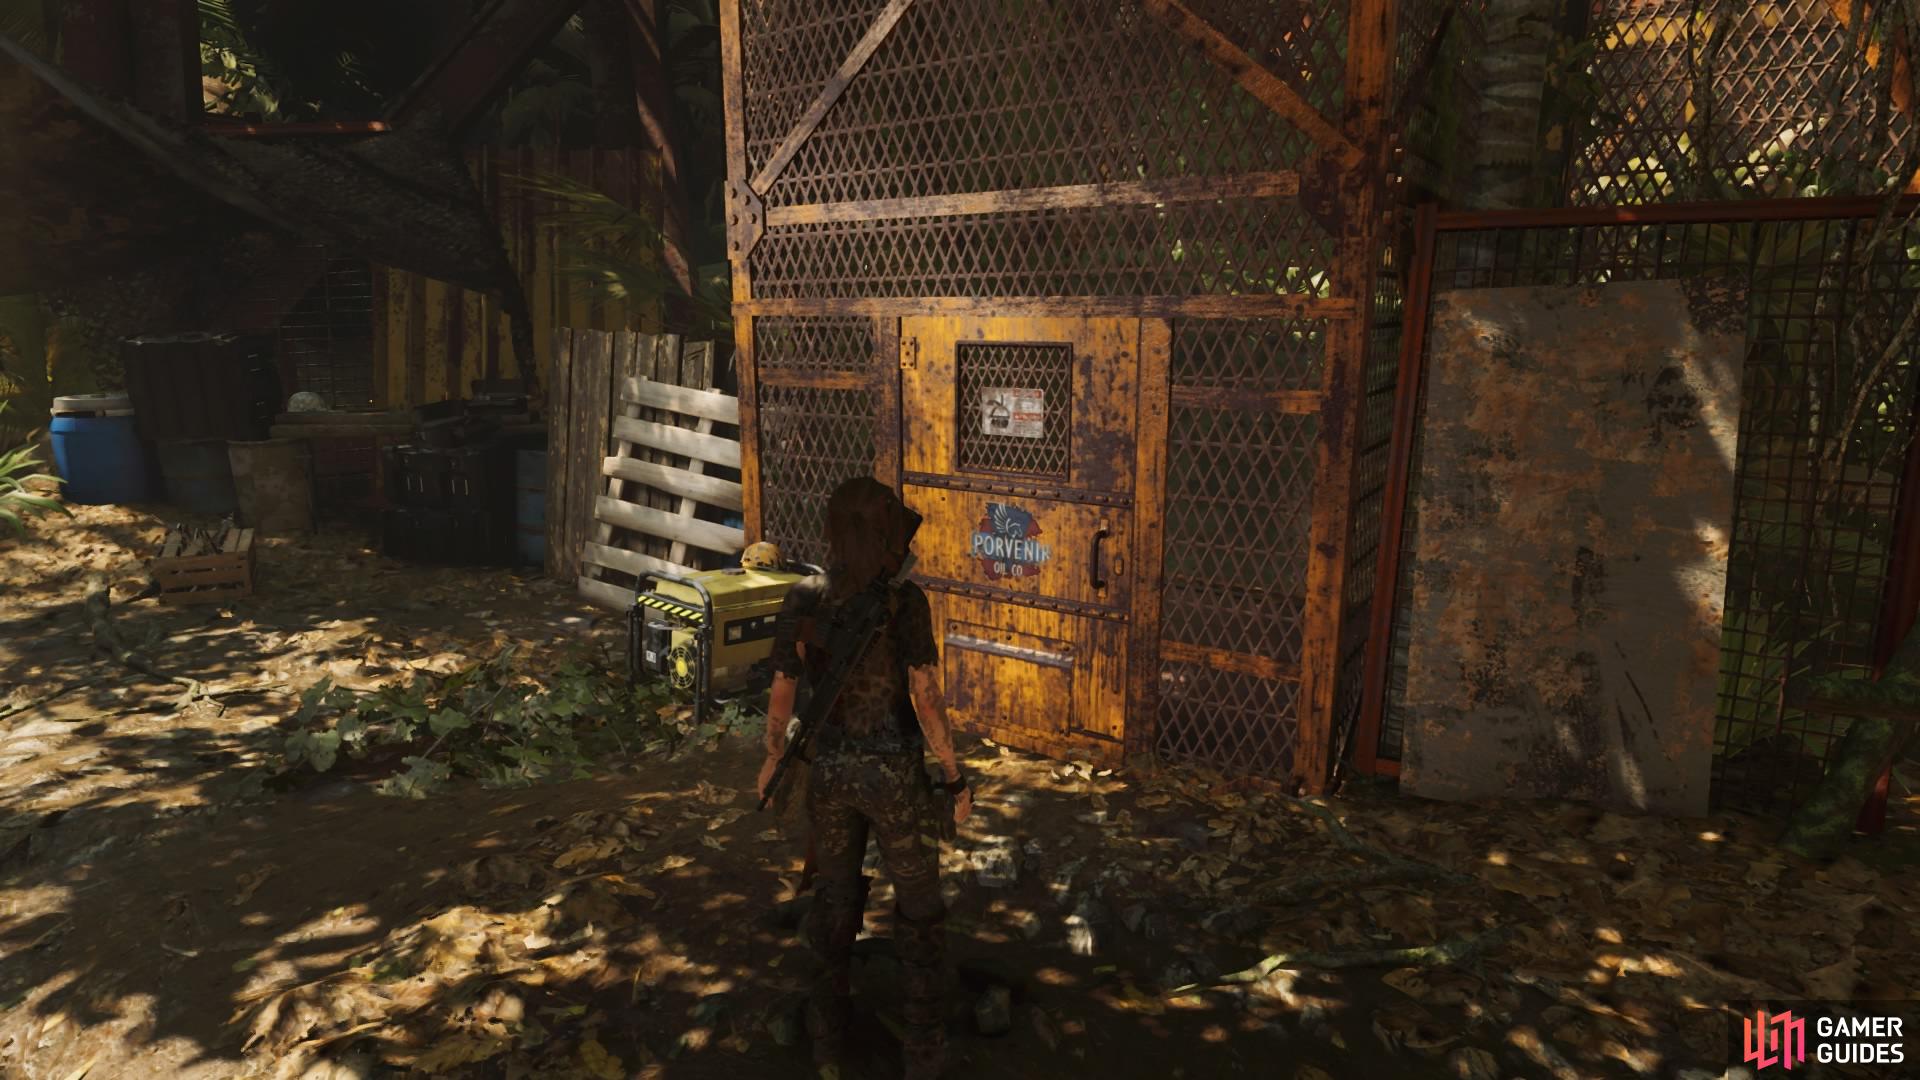
INFILTRATE THE PORVENIR CAMP
From the Docks Base Camp, you’ll find Document – Croft Report on a crate to your left. Now continue forward until you see a parked truck ahead of you. Behind the truck is Document – Site Scrubbed.
Find the mud patch to cover yourself in mud – this will provide camouflage against enemies, making it harder for them to spot you, and will completely conceal you against mud-covered walls.
Document - Croft Report
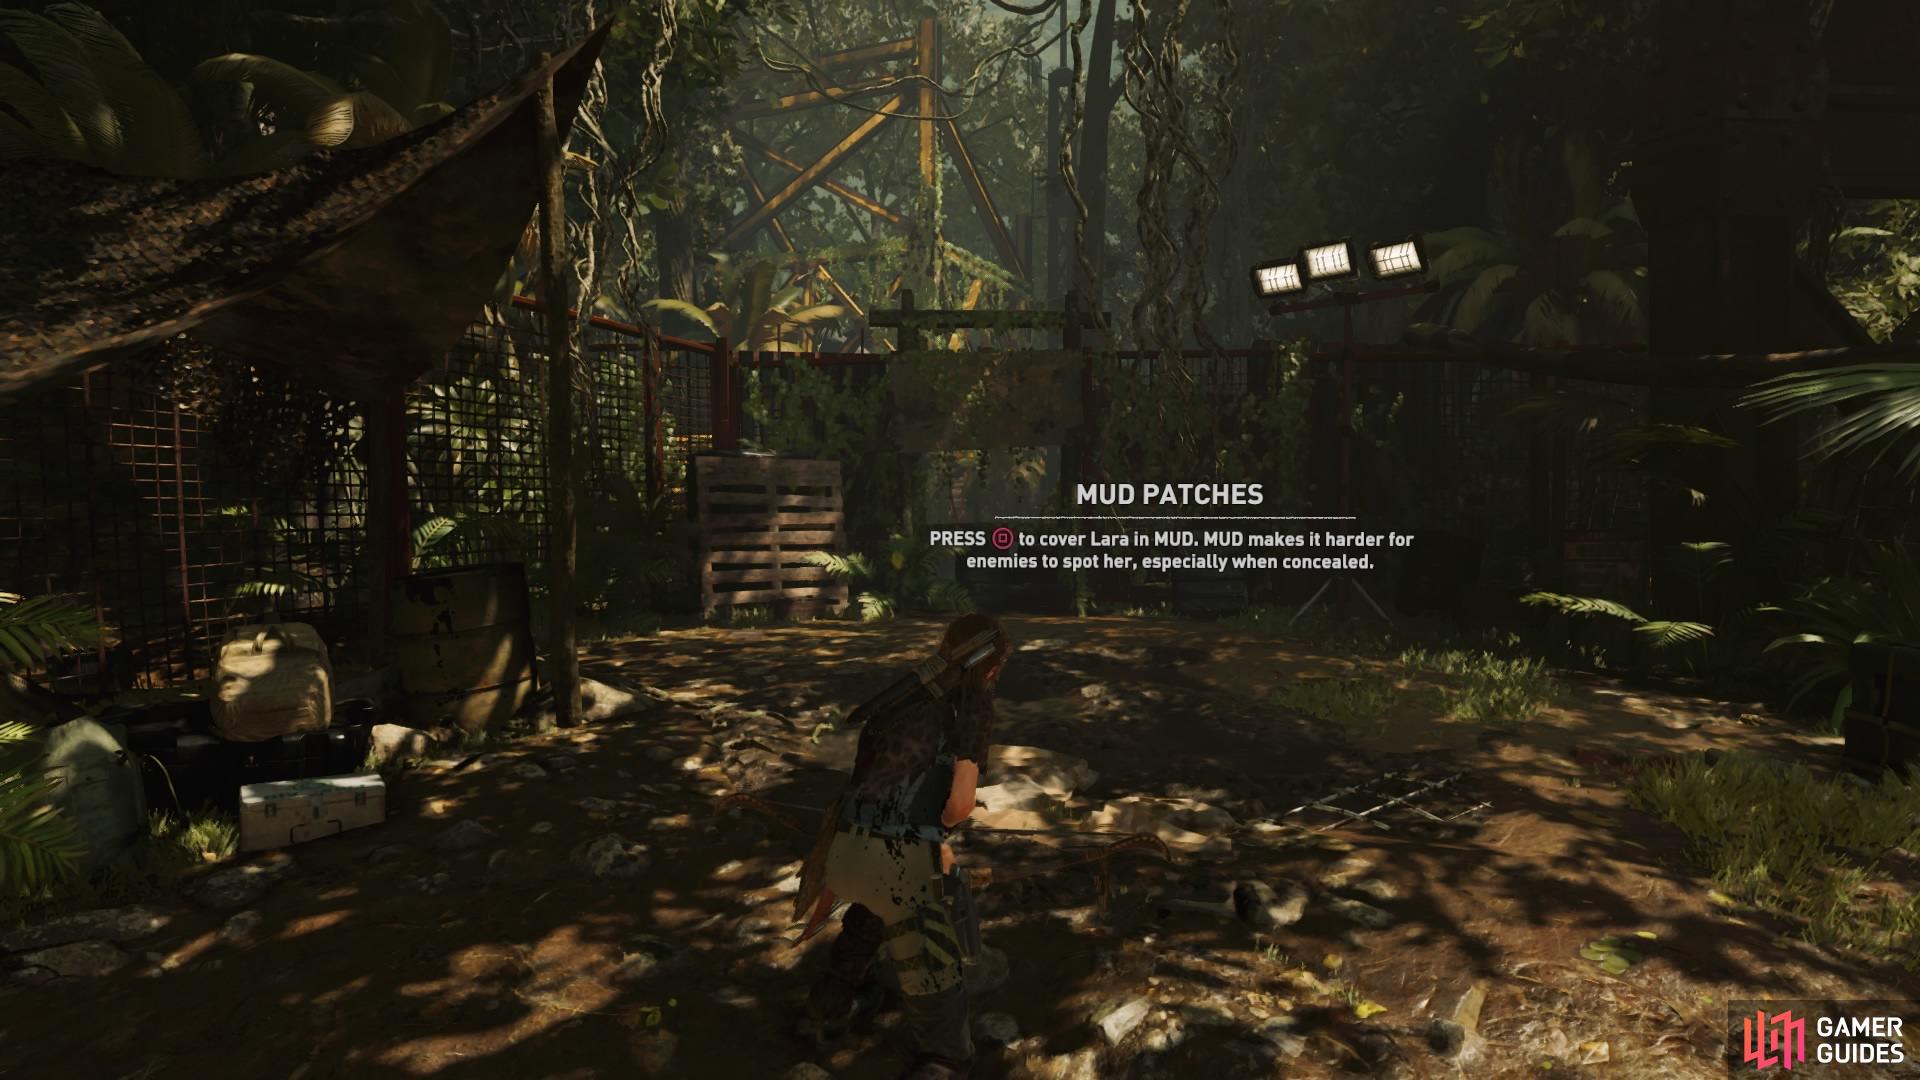
Use mud patches for stealth
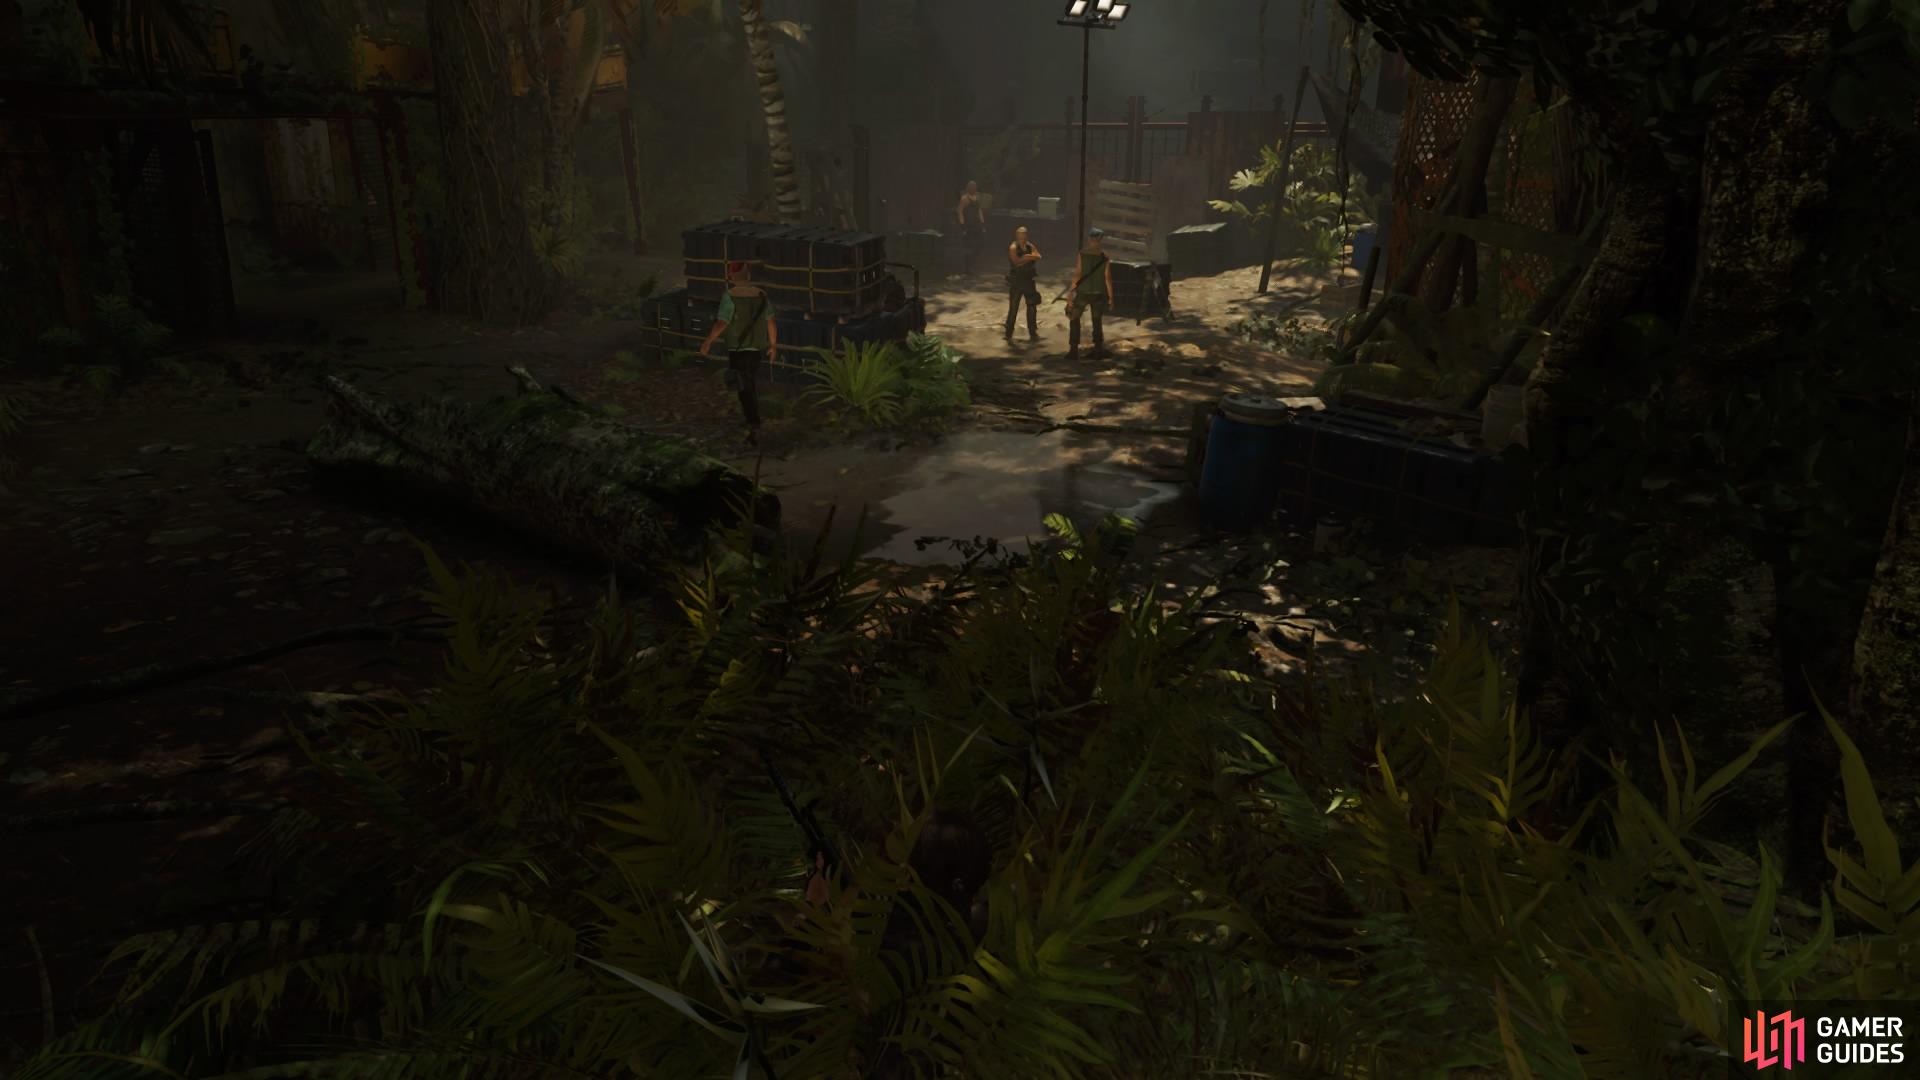
Squeeze through the hole in the fence ahead and go straight to the muddy wall in front of you. Four Trinity solders patrol this first area, but feel free to eliminate them as you please. You can stealth kill the first guy with no problem, and then proceed how you like.
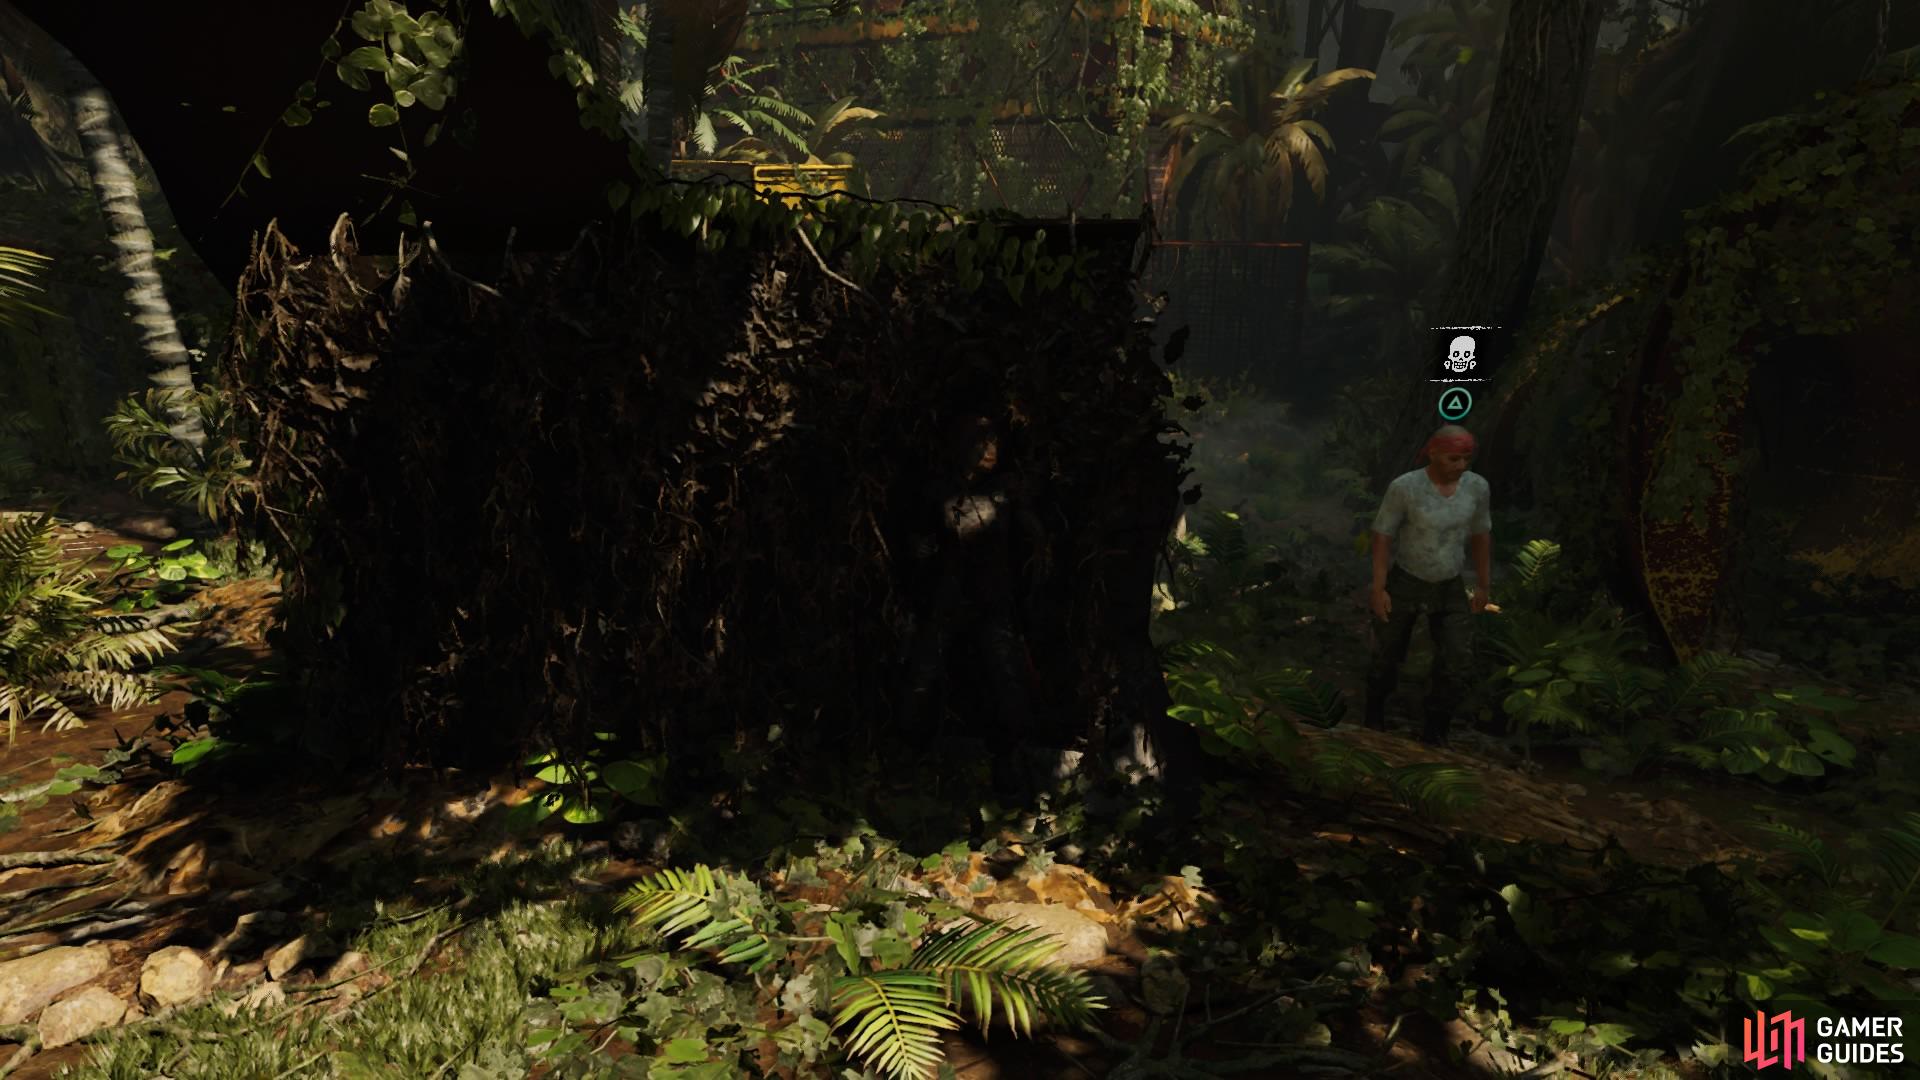
Move forward through the area until you can hear more men talking. There’s another four, so move into the concealment bush and wait for the first guy to kneel down behind some crates and take him out.
Move into the structure on the right and hide in the concealment bush in front of you – wait for the second guy to stand beside the bush and take him down without being spotted.
Then hide behind the forklift truck. Pick up the bottle from the crate and throw it behind you in the structure you just came from. This will separate the remaining two soldiers, allowing you the chance to kill them easily.
Take out the enemies
Exit the area through the yellow door
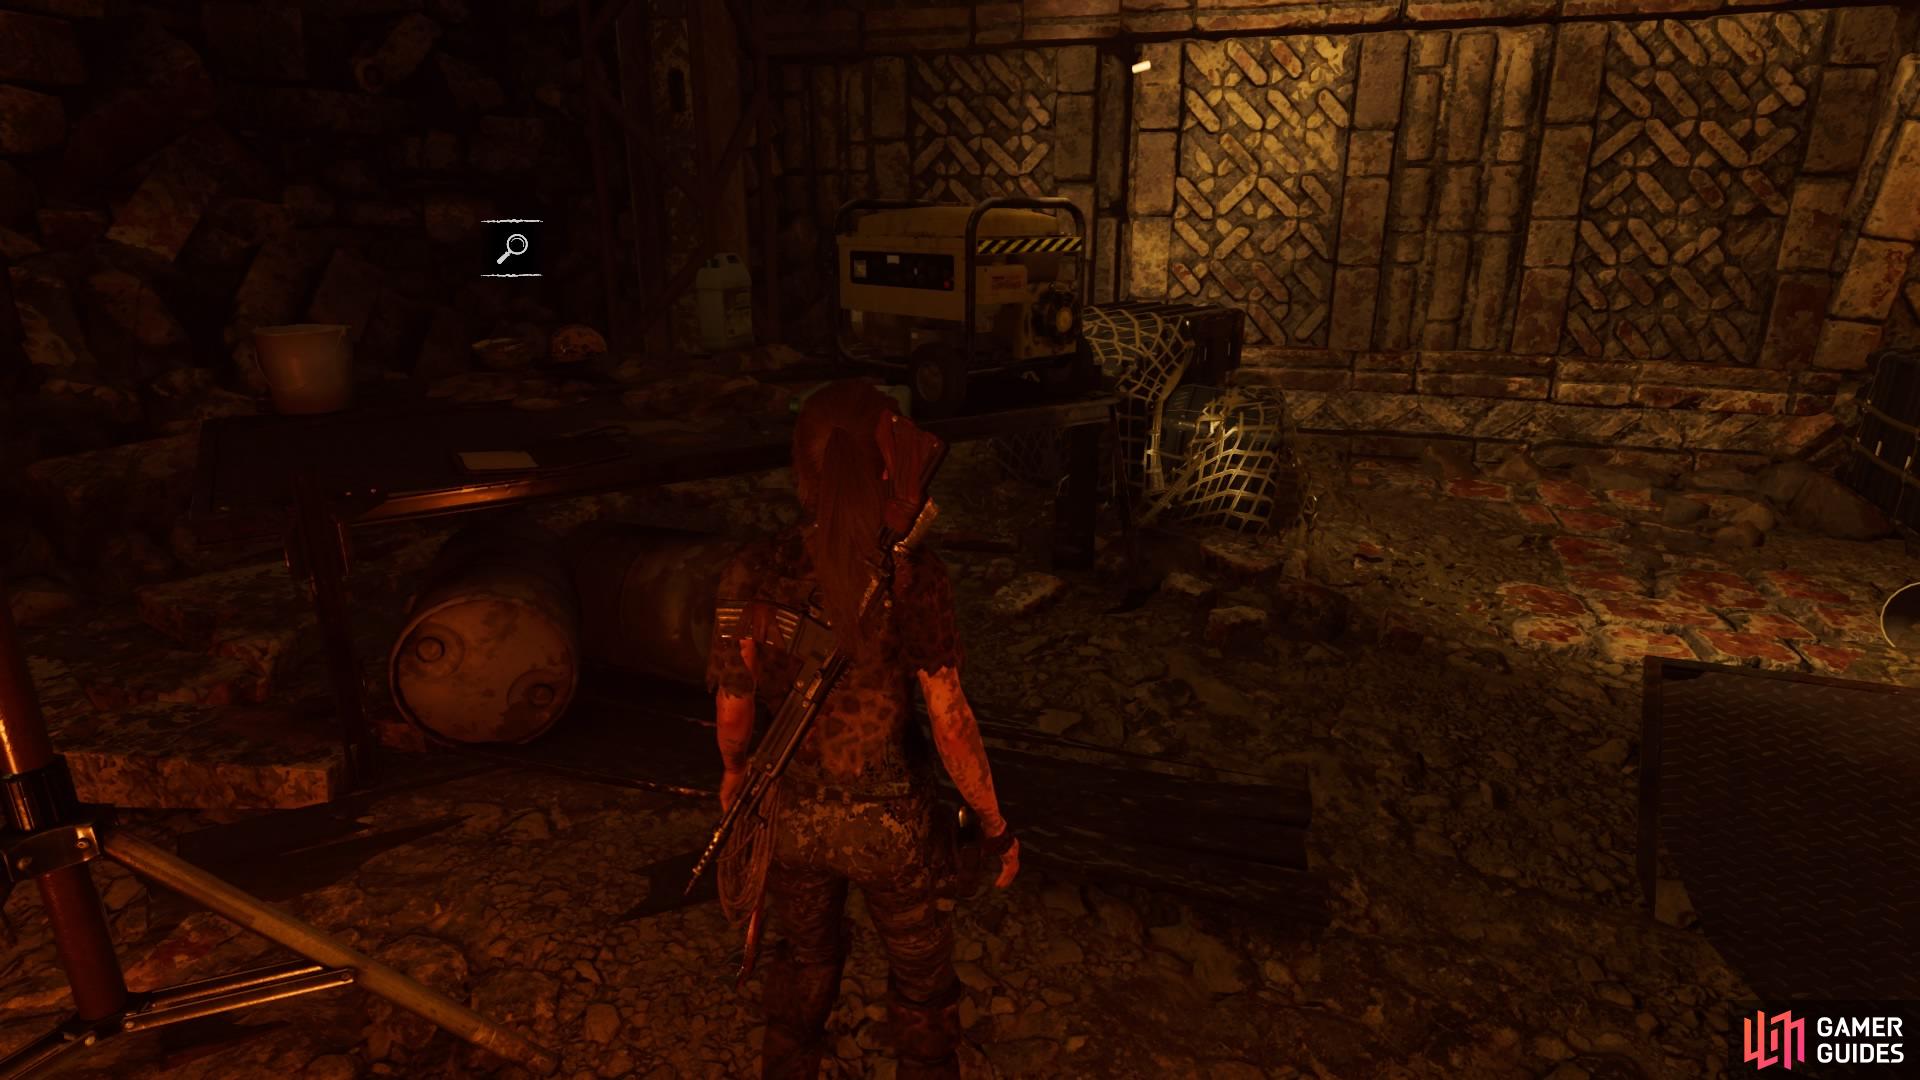
EXPLORE THE TRINITY EXCAVATION
Pry open the yellow door and jump to the craggy wall, then rappel down into the excavation site below. Follow the straight path, collecting resources as you go. You’ll also find Document – Temple Survey and an Archivist Map along the way.
Document - Temple Survey
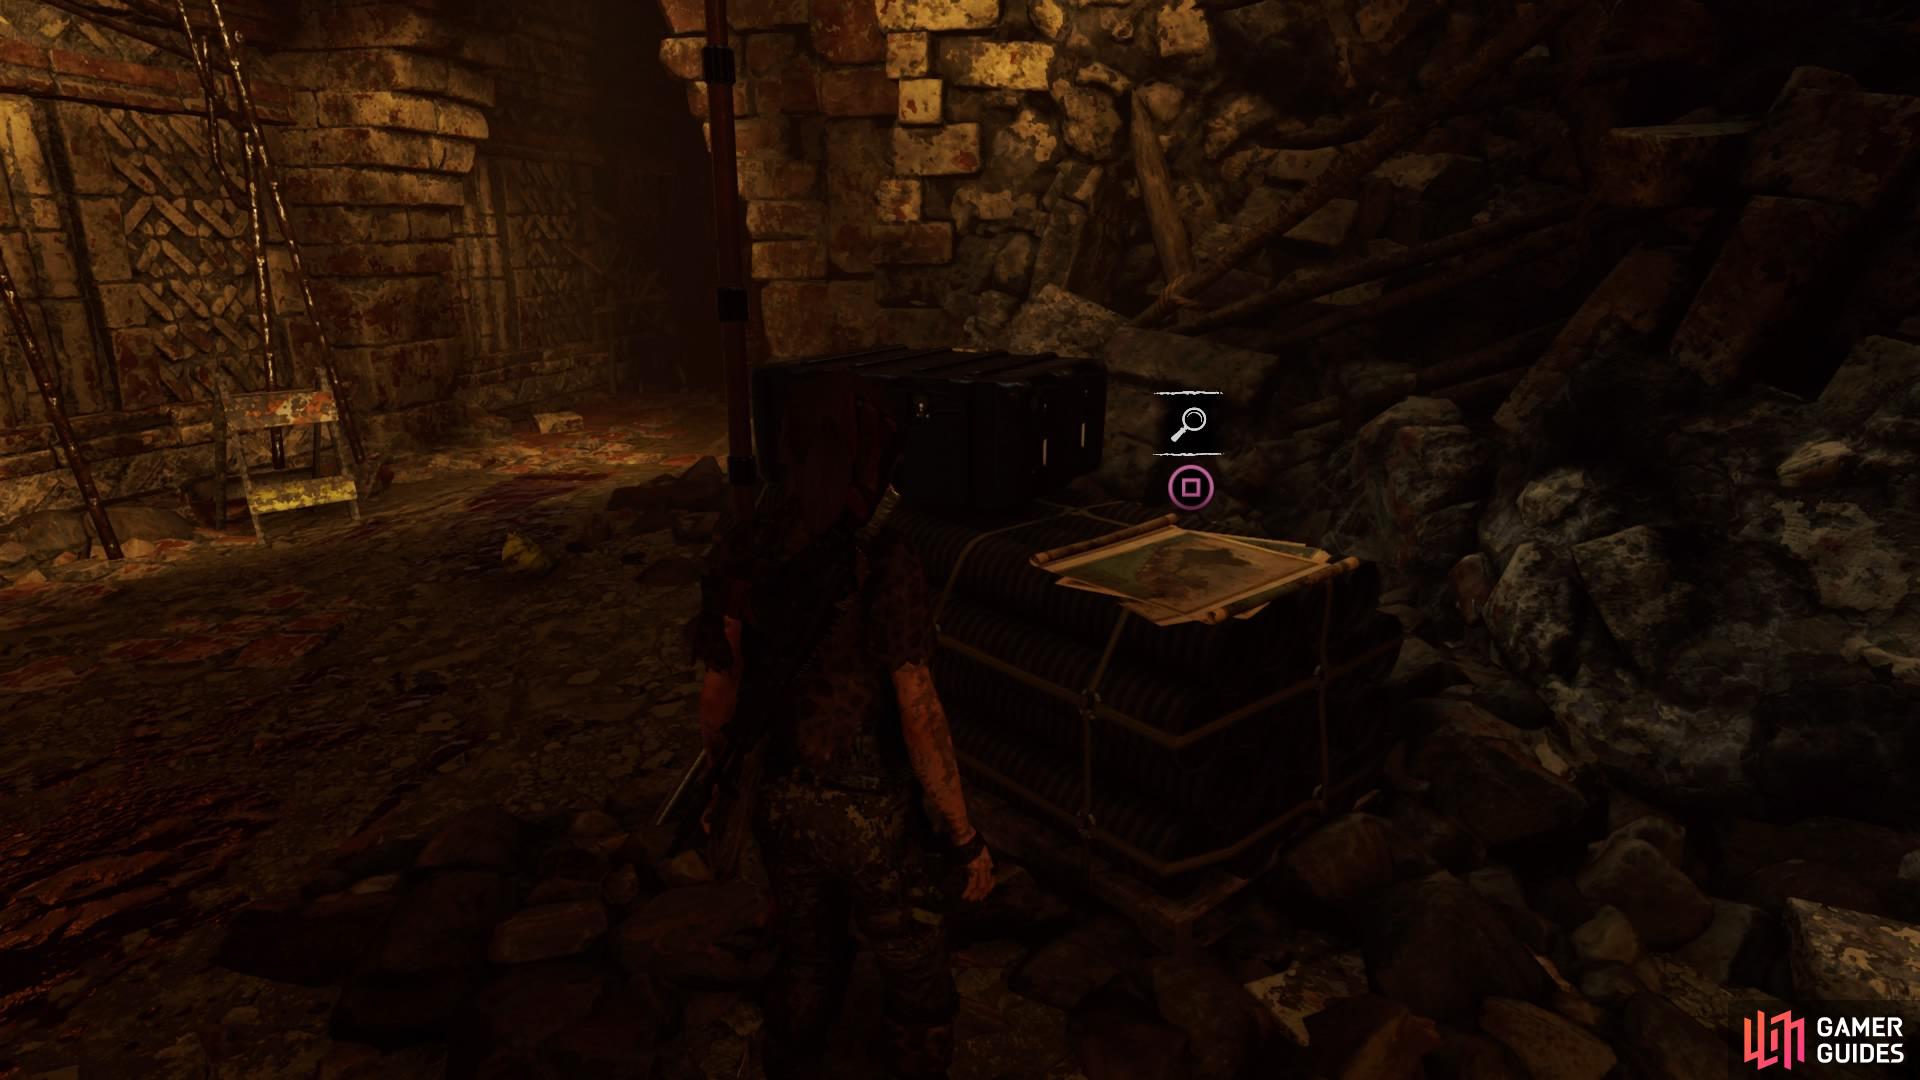
Archivist Map
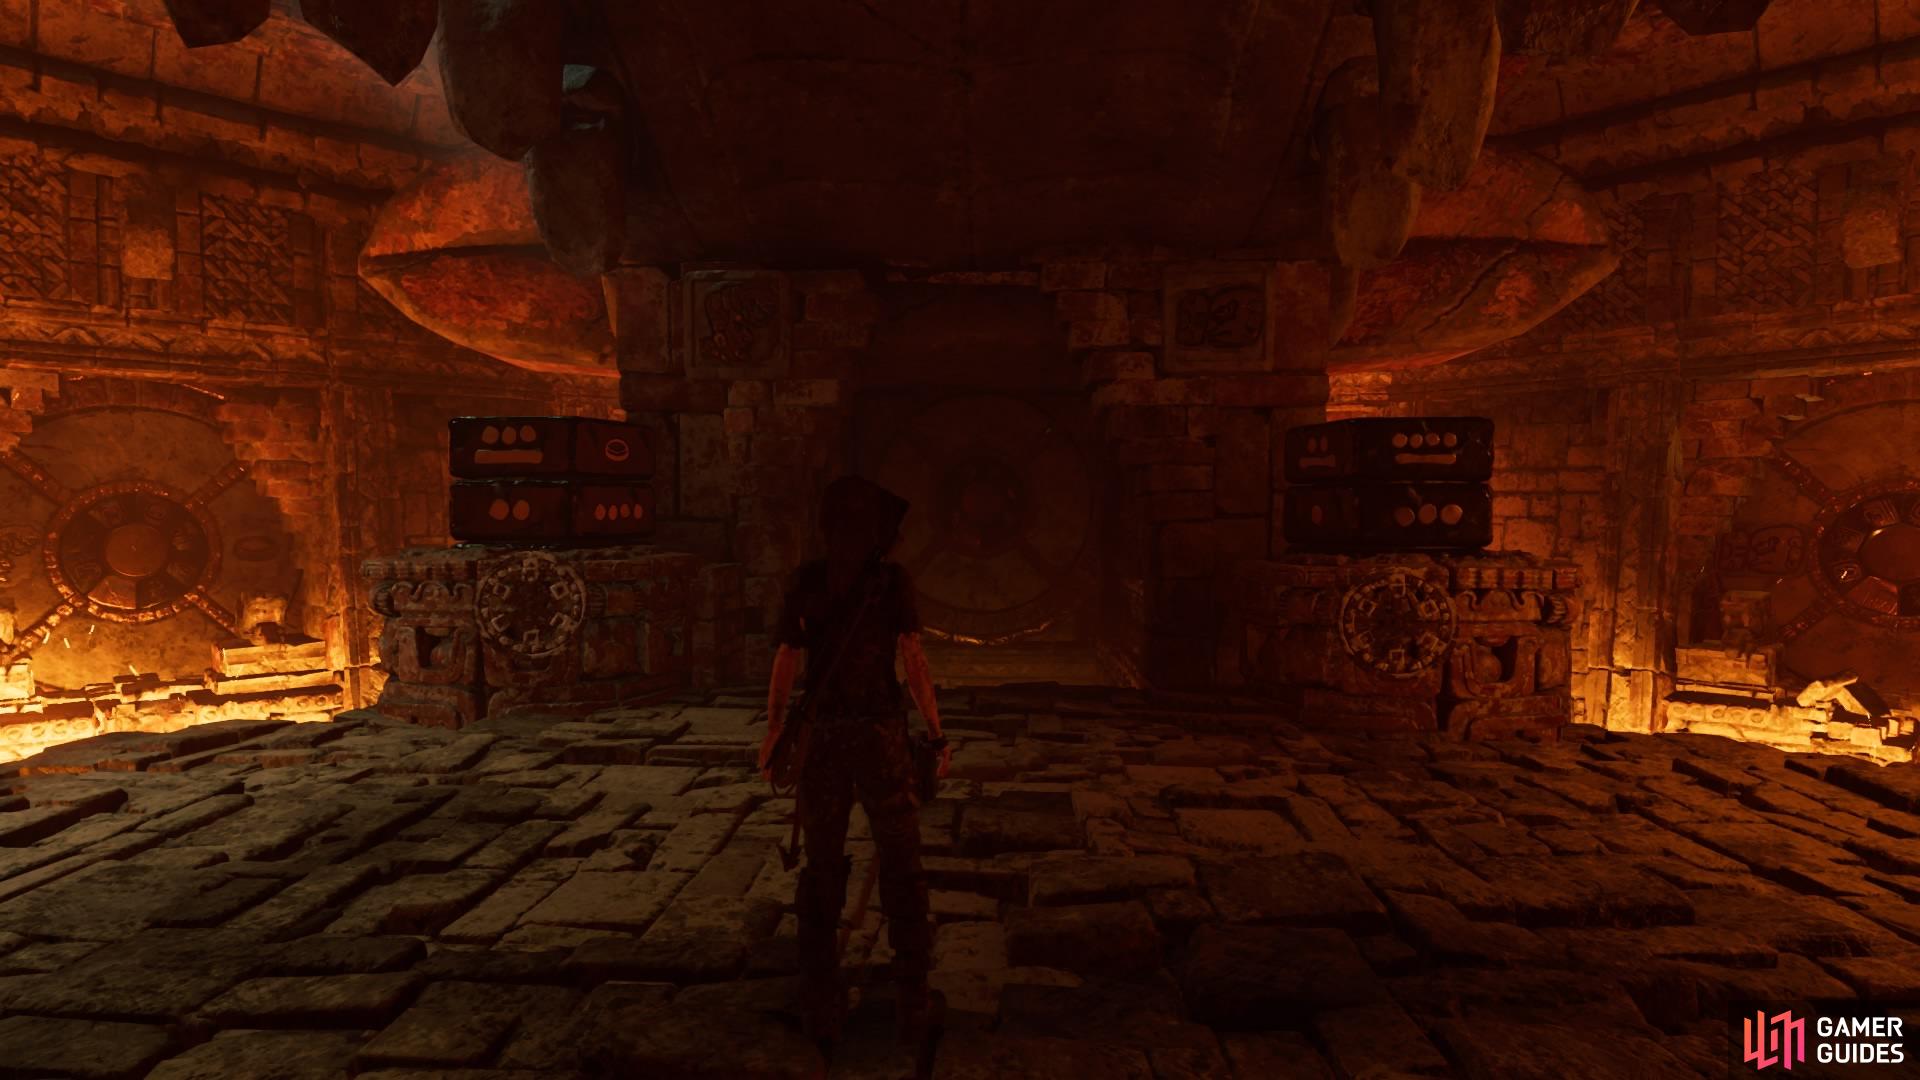
Continue forward through the tunnel until you reach the next room. Through the archway ahead of you is a mural to inspect, then head right through the door to reach the Temple of Life. Head across the bridge to reach the puzzle that will open the door.
To complete the puzzle, you need to set the correct numbers into the two tower blocks. If you get it wrong, the central passage floor will collapse. Use the cranks to turn the tower blocks – the first correct number will open up the doors on either side of the room to reveal clues to the answers.
Solve the puzzle by doing the following:
– Interact with the left crank until it reads zero. Then cross the bridge and interact with the door to reveal the graphic behind it.
– Interact with the right crank until it reads 1. Cross the bridge and open the door to reveal a second graphic.
– Return to the left block and set the number to zero, and the right block to 3. Head down the central passage to open the first door.
– Return to the left block to set another zero, and the right block to 5. Open the second door in the central passage.
– The final numbers are given to you by Jonah and the Maya Date photograph (Artifacts > Path of the Stars). Set the left block to zero and the right block to 7.
– Open the final door in the central passage and enter the next room.
HEAD BACK TO KUWAQ YAKU
As you move toward the mural on the back wall, a cutscene will occur. Once you have control again, you can find Document – Balams on the left side of the room, as well as a monolith. Read the monolith (if you’ve met the requirements) and find the treasure behind the jaguar statue in the back right corner of the room.
Head into the next room to find the stele – Lara will interact with it automatically to receive the Eagle’s Talon Skill. Behind the stele, through the archway, you can pick up Document – Birthing the Serpent.
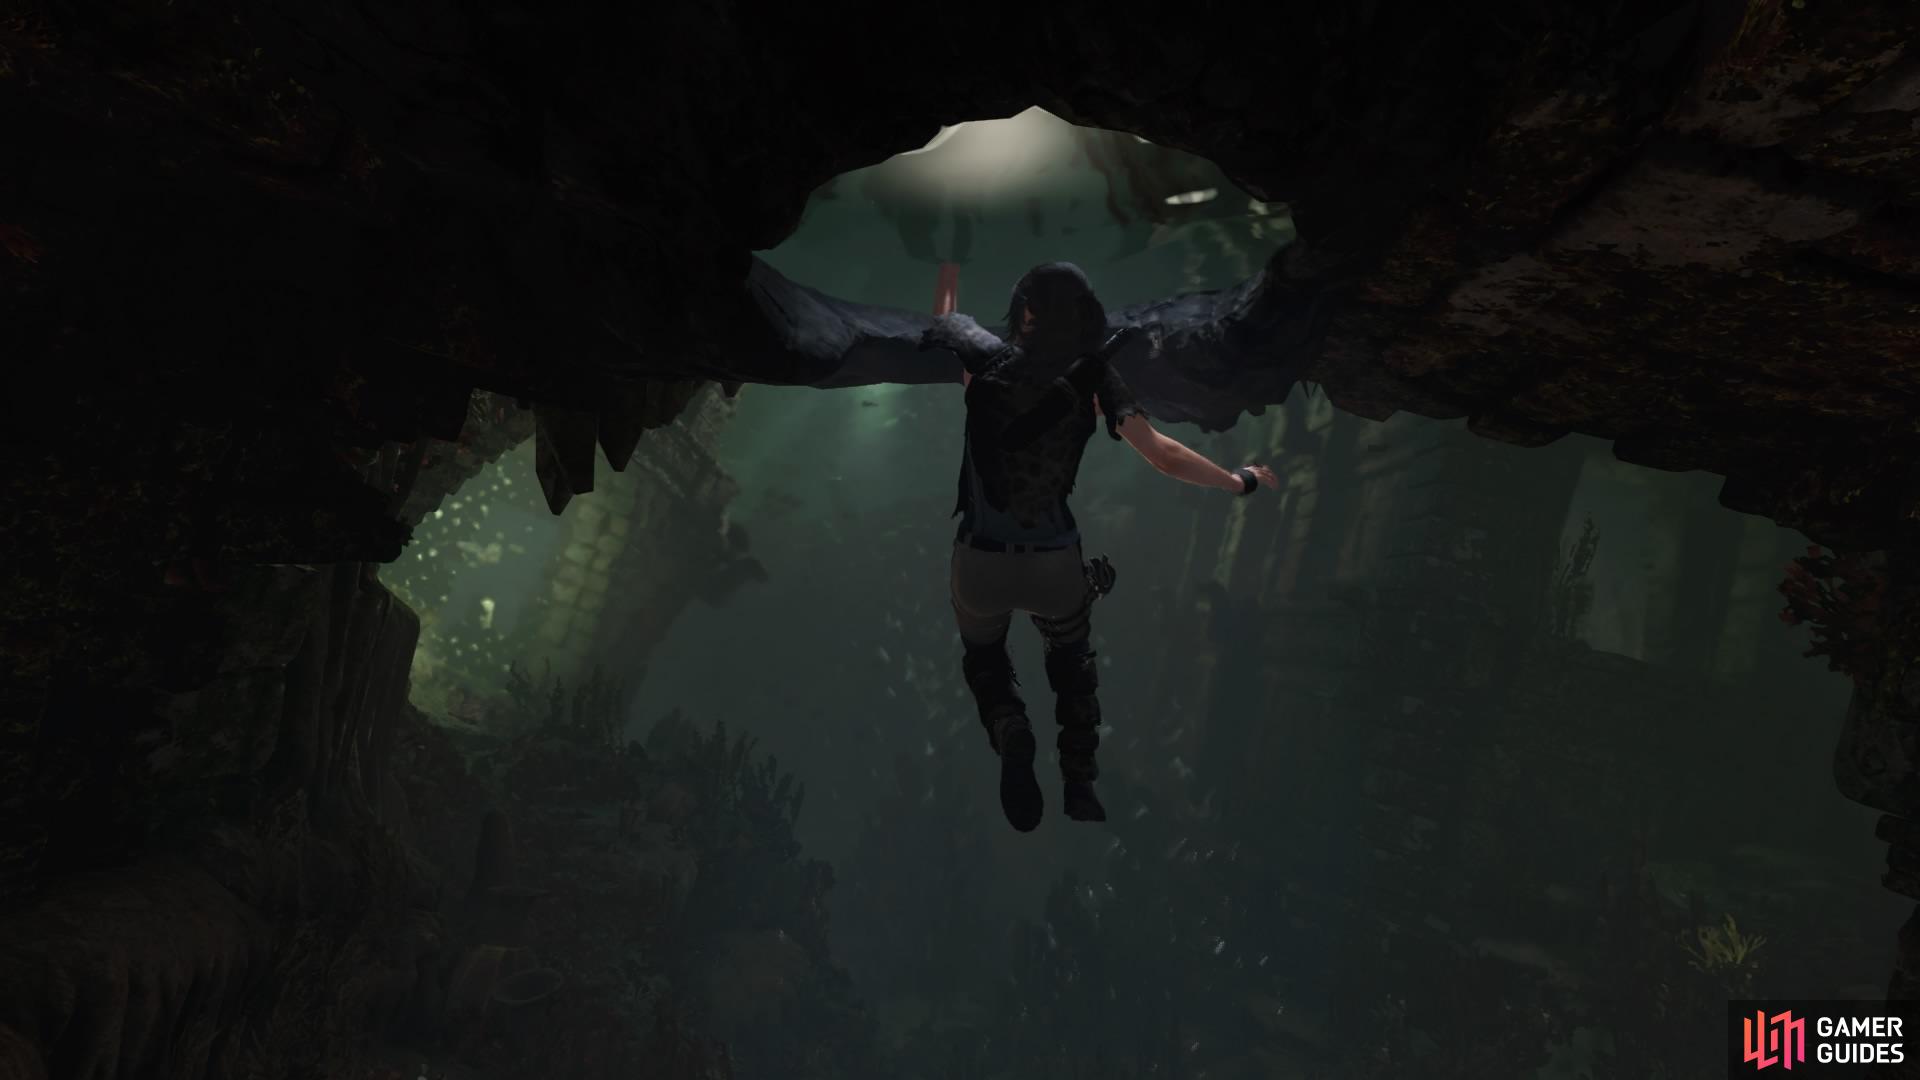
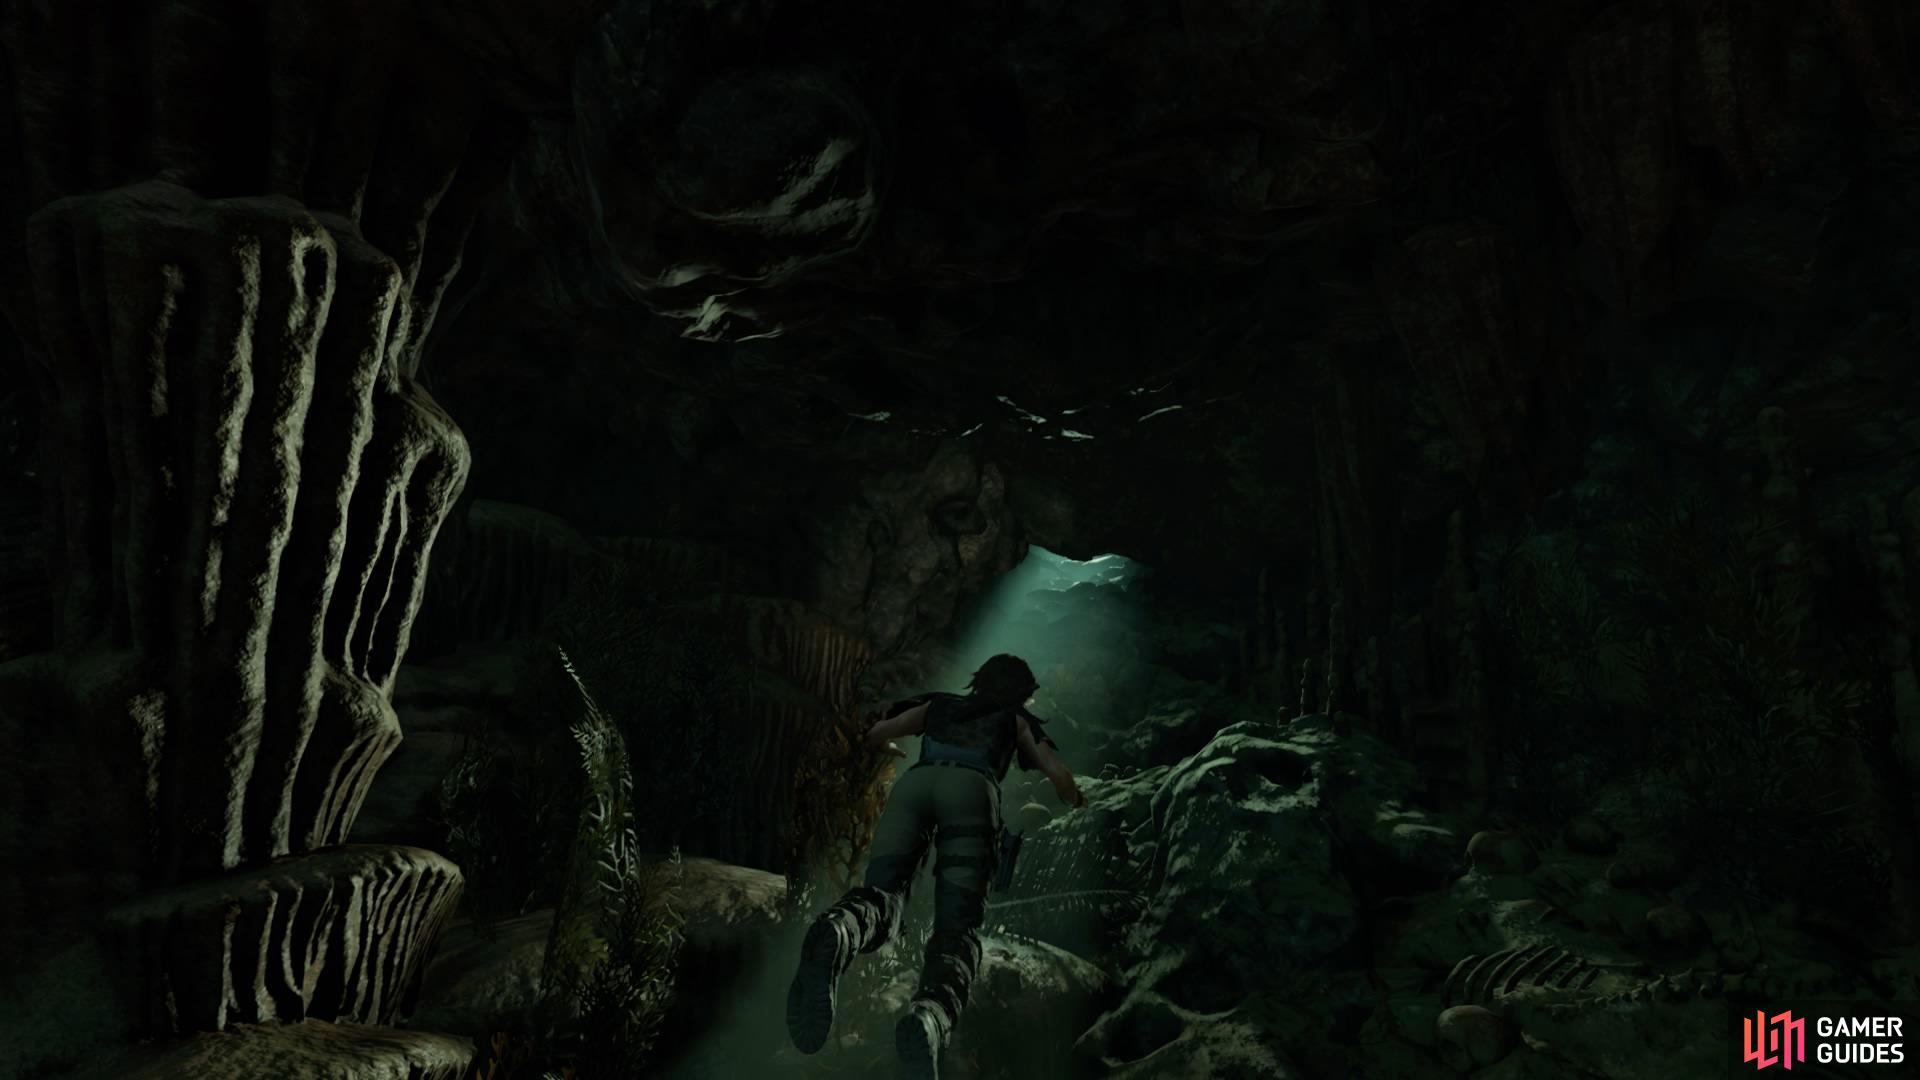
Now head out of the right side of the room. Dive straight down into the water below and swim into concealment to hide from piranhas.
Wait for the piranhas to swim past you and swim quickly ahead towards the trapped air. The exit ahead is up on the far wall but it’s difficult to get through with all the piranhas in the way. Instead, head through the ruins on the left and avoid the piranhas to reach the air pocket ahead. From the pocket, keep moving forward and follow the path right and down.
Hide from the piranhas
Use the air pockets
In the next area, stick to the left and swim for the air pocket. Then follow the steps on the right until you come to a room filled with light from above. Swim up until you reach the surface and exit the water ahead to return to the jungle.
PATH OF THE DEAD – RETURN TO KUWAQ YAKU
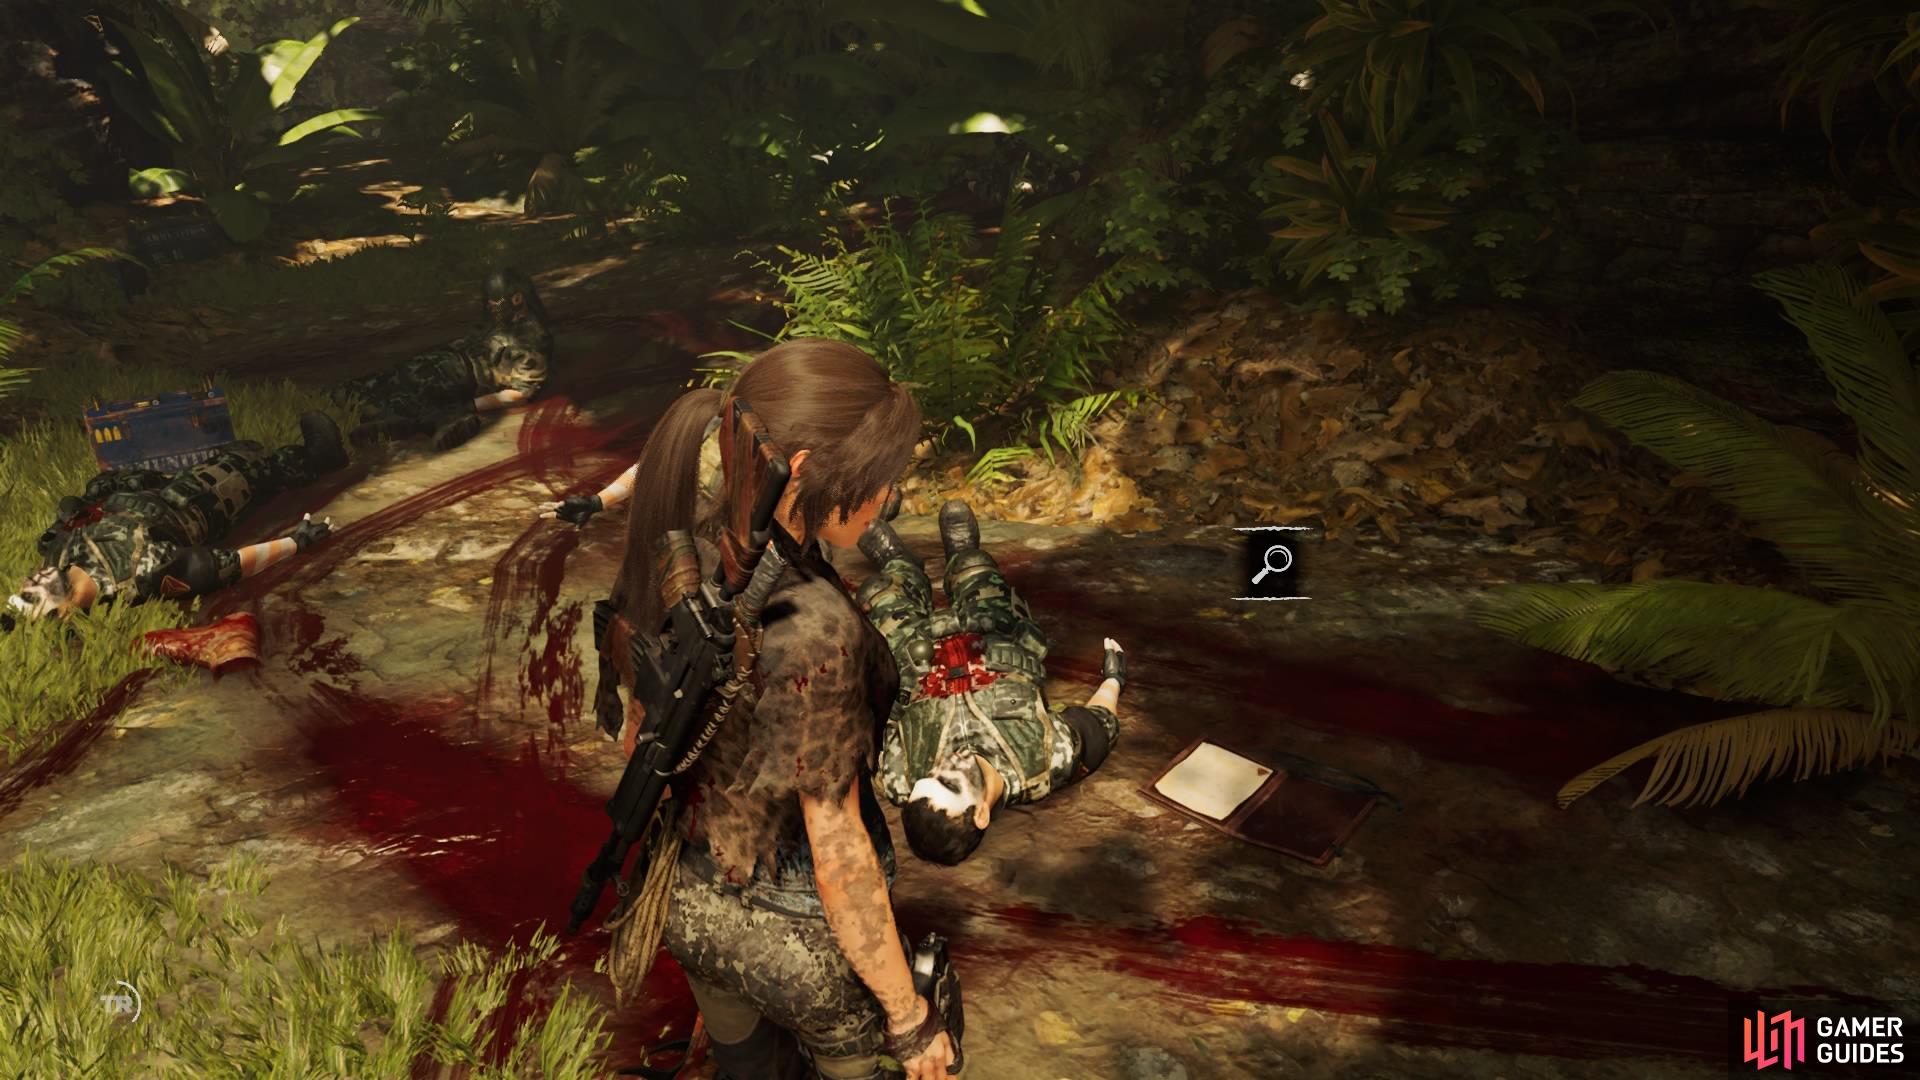
Move forward to hear Trinity soldiers talking. Before taking the fallen tree log on the right, quickly go into the left area to pick up Document – Misdirection behind the tree.
Go right to jump into the tree-canopy
Document - Misdirection
Now go right and jump into the tree. There are two men below – wait a moment for them to split and then perform an Eagle’s Talon kill on the closest enemy to string him up. You can then perform a stealth takedown on the second guy with no problem.
Move into the next area by following the path left. After observing the short cutscene, you can run ahead to find Document – Operation Update on the right side of the trail.
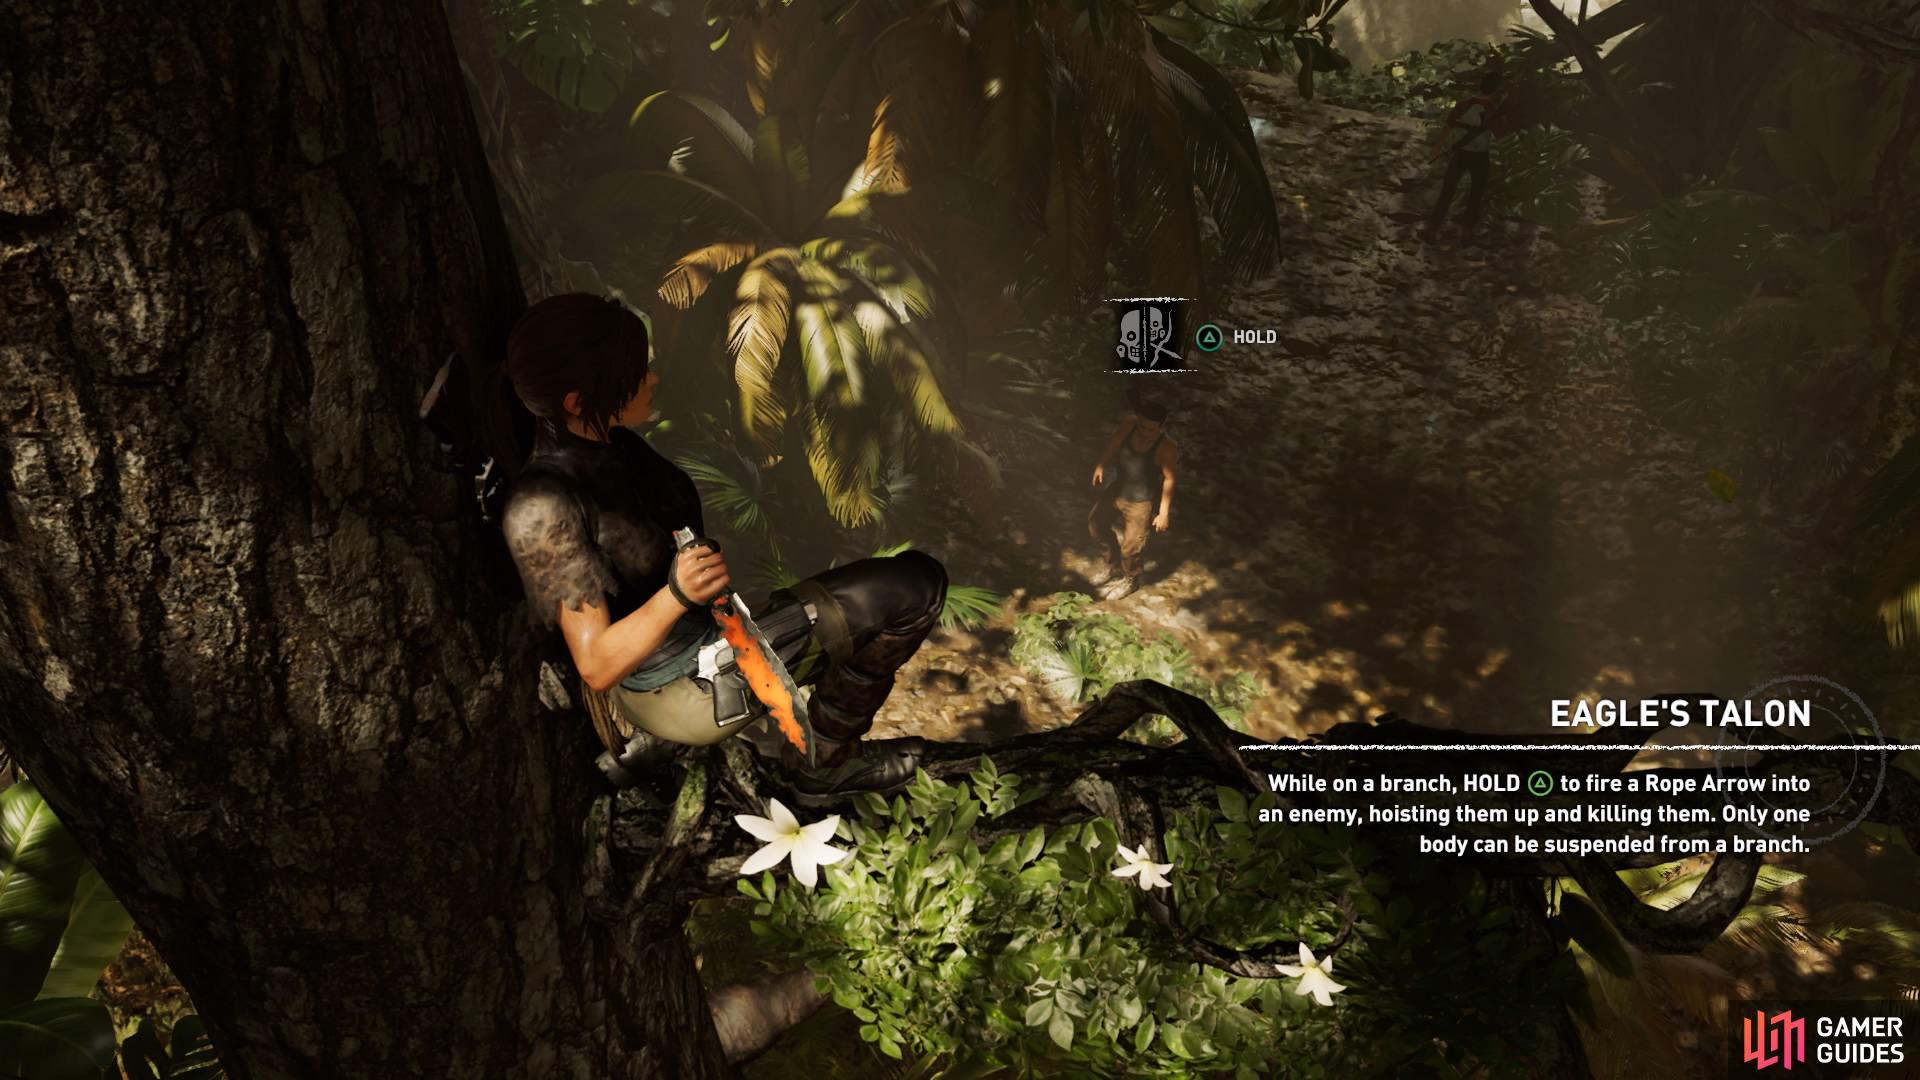
Perform an Eagle’s Talon stealth takedown
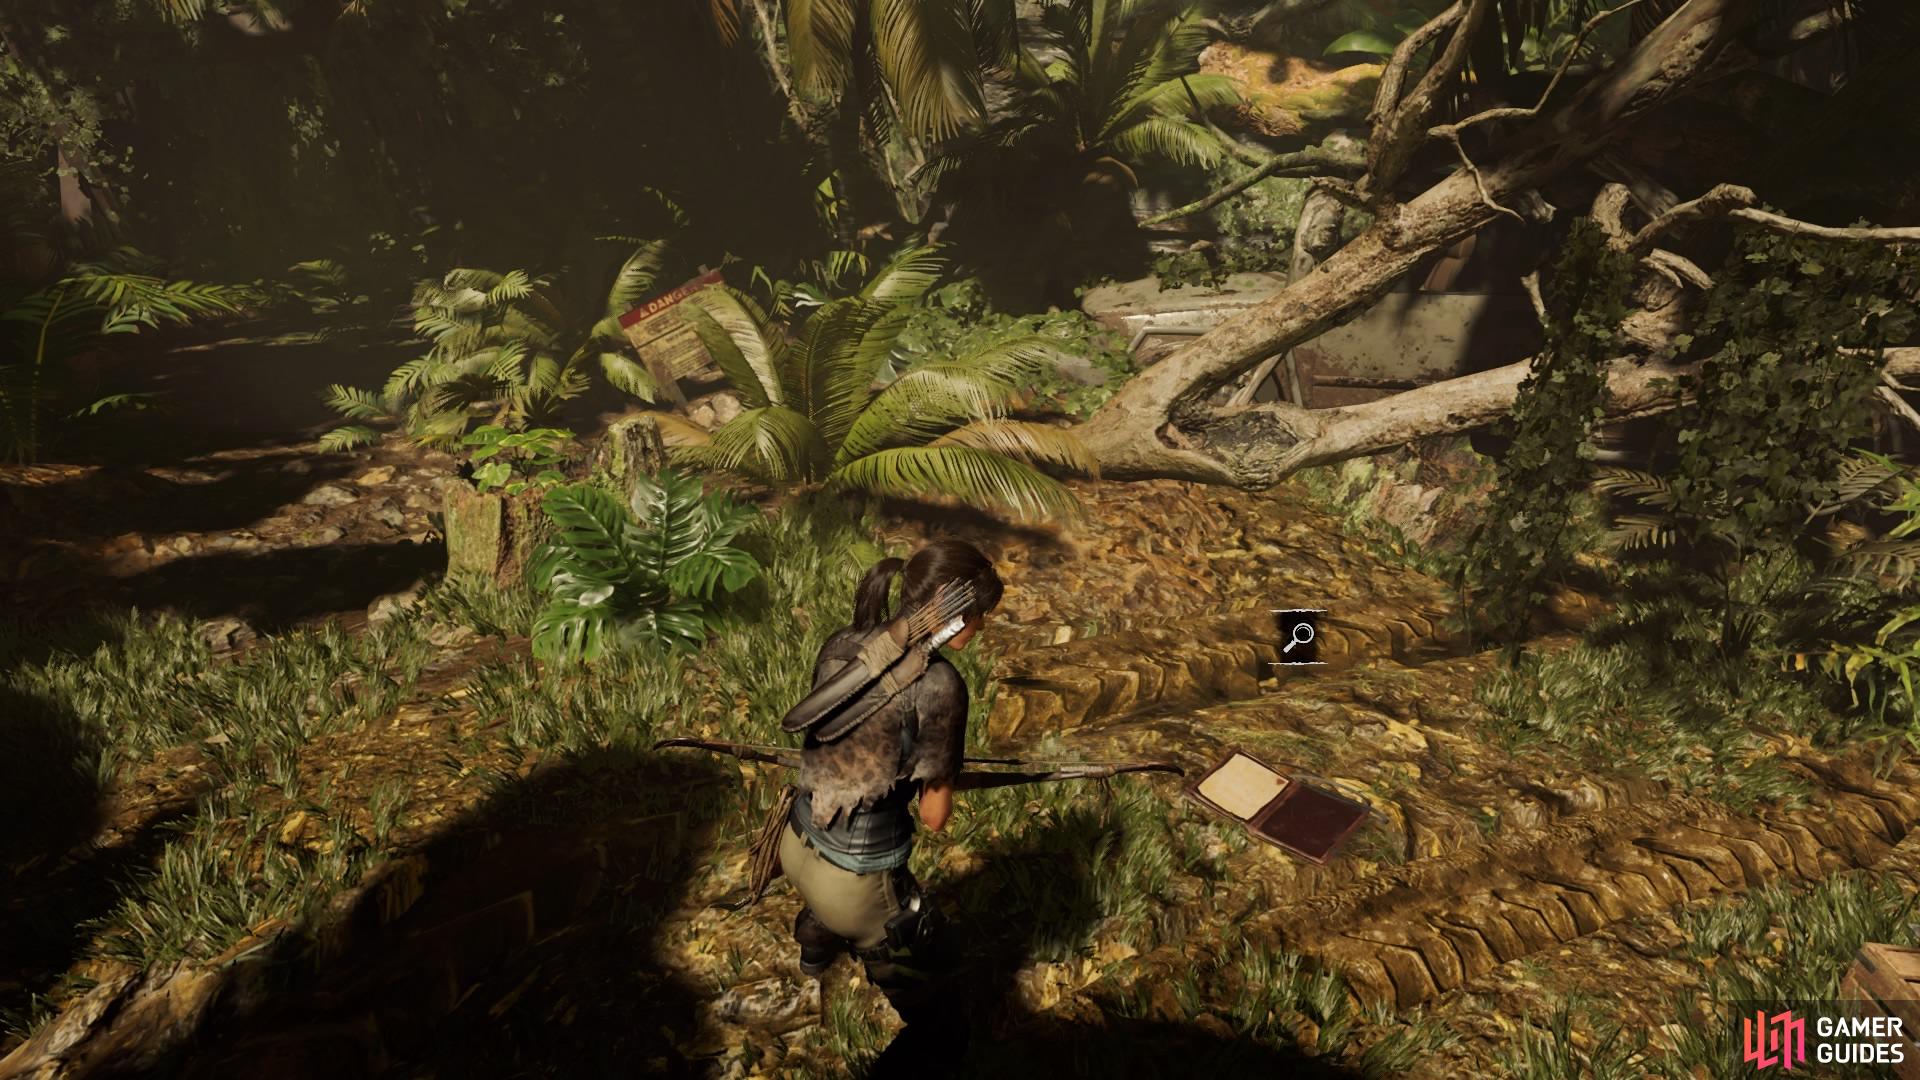
Document - Operation Update
Continue forward into the next area with a group of patrolling Trinity soldiers. Something’s got them spooked, so you can easily perform stealth takedowns on all of them if you time it right and plan accordingly.
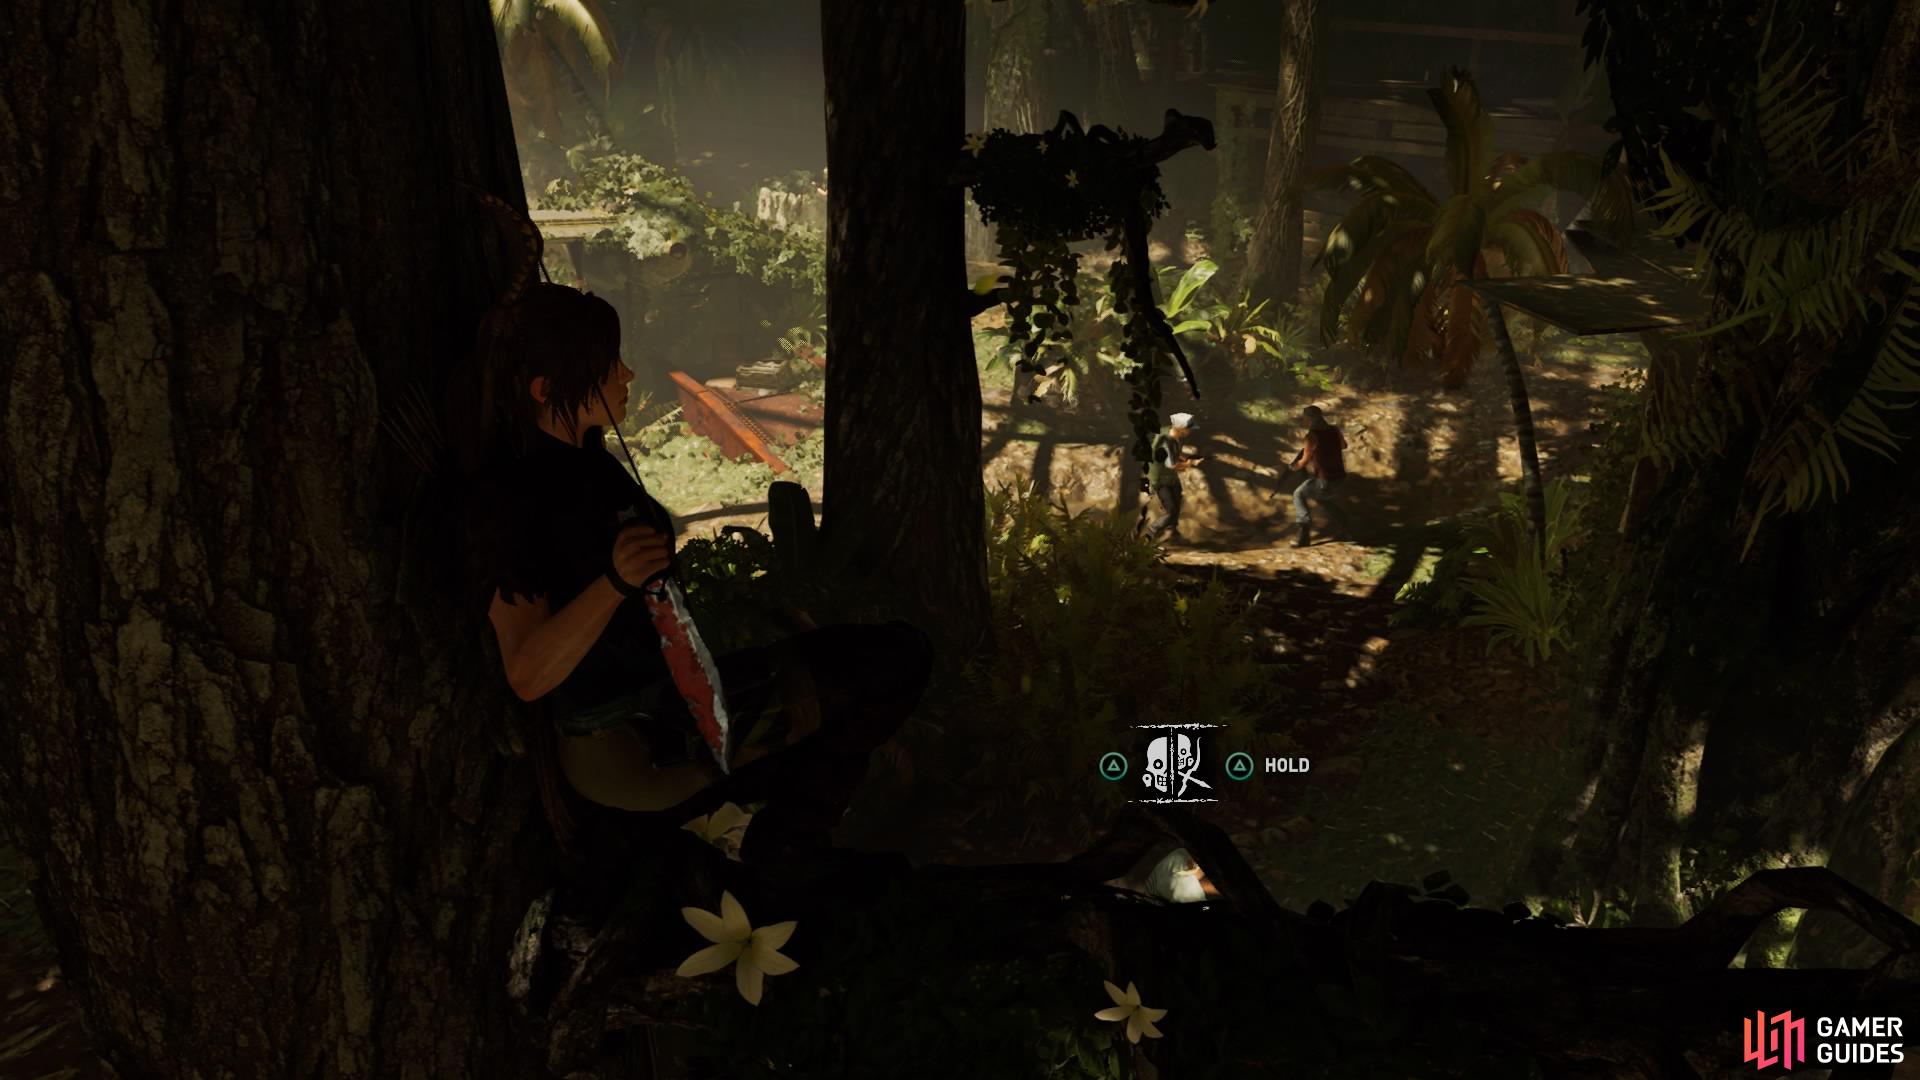
Scramble into the tree and wait for the guy below you to get close enough to perform another Eagle’s Talon kill – he usually goes unnoticed. Then move through the wooden structure on your right and hide in the concealment bushes to stealth kill the second guy.
The third man is facing the plane ahead – he’s an easy target to sneak up on and take out. Then look for another tree on the right-hand side that you can climb up and wait for the guy below you to get close enough – string him up with another Eagle’s Talon kill.
From here, you can sneak up the side of the plane to perform a stealth kill on the armoured soldier while he’s still distracted.
There are three men left at this point – do with them what you will. If you want to continue the stealthy route, there are bottles lying around that you can use to separate them from one another and take them out quietly. Otherwise, feel free to finish them off quickly with your weapon of choice.
Once they’ve all been dealt with, scramble up the far wall to reach the next area.
Exit the area by scrambling up the far wall
Document - Scouring the Globe
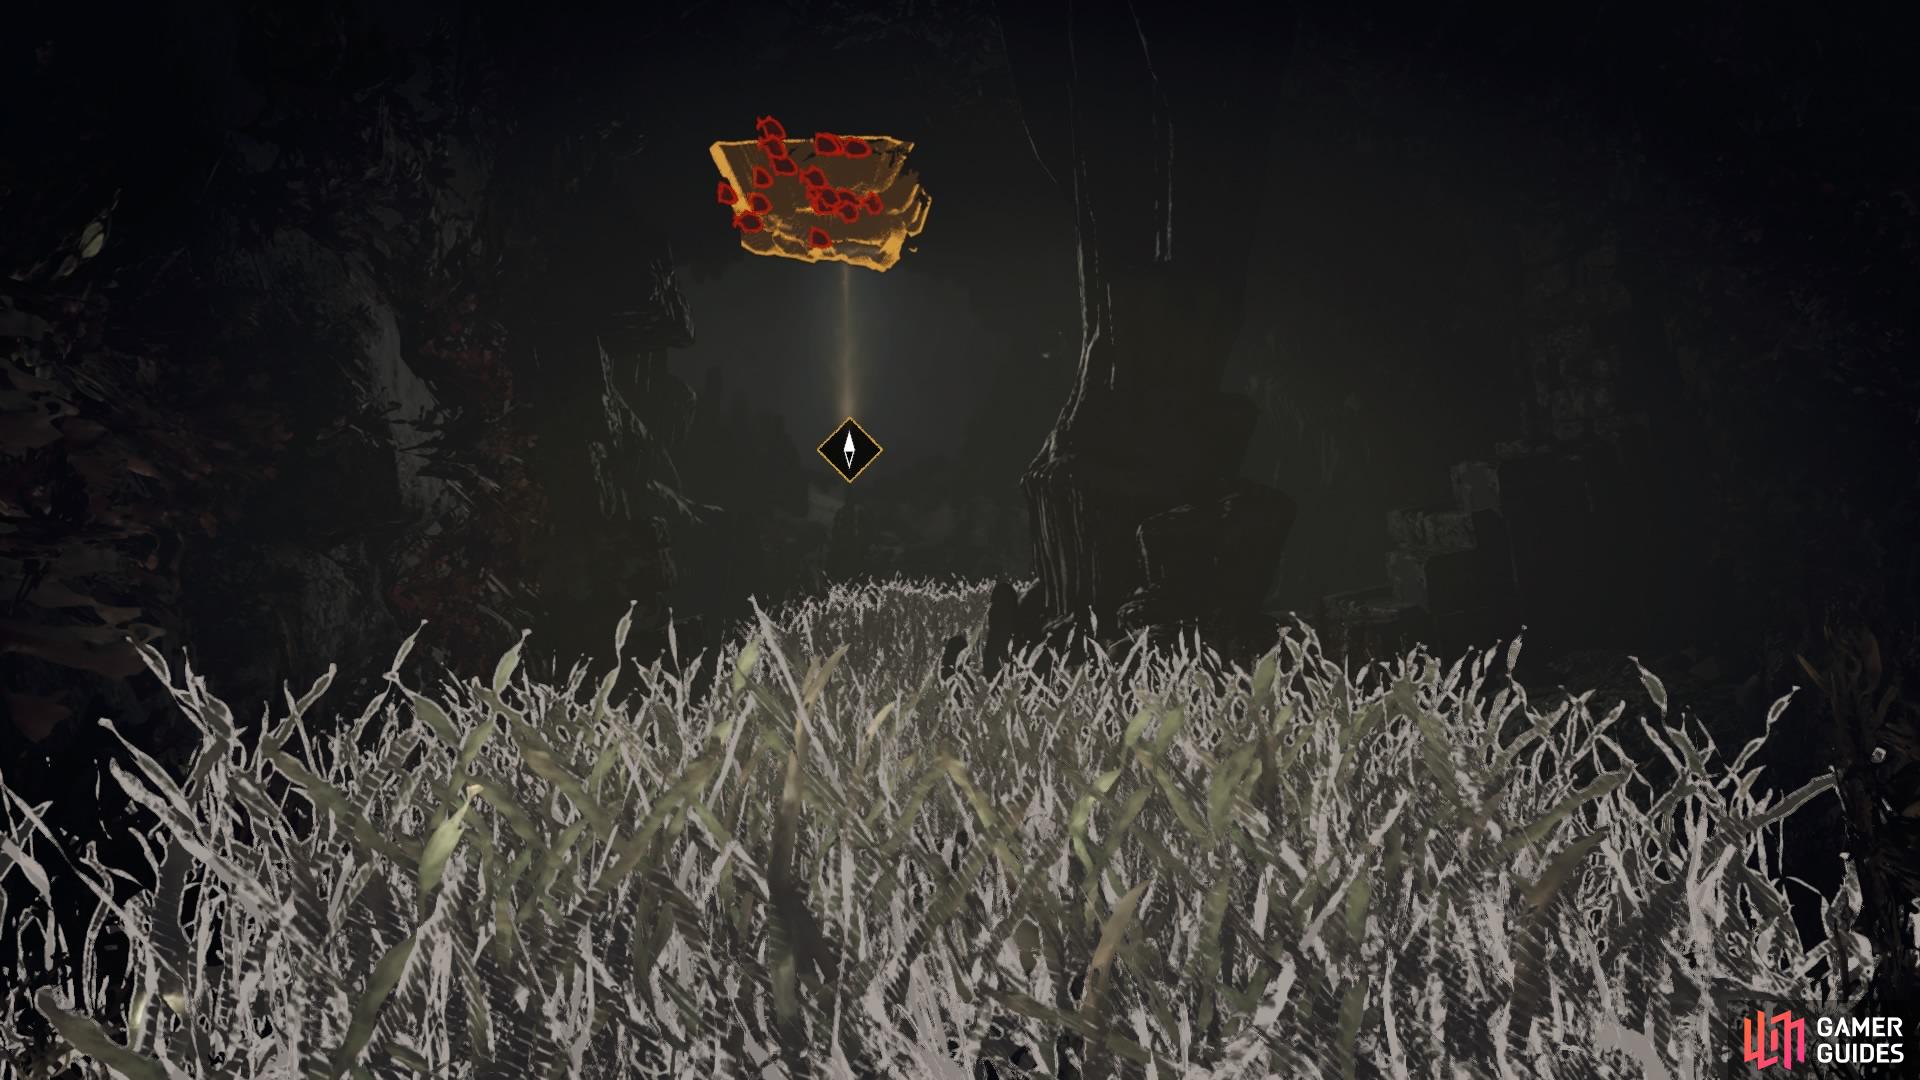
Head right, slosh through the mud, and squeeze under the tree roots. Go forward to the litter of dead Trinity soldiers and pick up the Document – Scouring the Globe, then continue forward to jump into the water below.
Follow the path to reach the ruins, head up the short steps on the left, and then turn right until you reach the Temple of Death Base Camp.
PATH TO THE HIDDEN CITY – COMPLETE THE TRIAL OF THE JAGUAR
Purchase any new skills and upgrade weapons at the Base Camp if you need to, then continue forward to return to the entrance of the Incan temple. Crouch through the hole in the wall and then descend the stairs immediately to your left to find Jonah and Abby at the bottom.
After the short cutscene, head down the steps and dive into the water below. Follow the tunnel and keep moving until you reach an air pocket, then swim forward and conceal yourself from the circling eel. Once it’s moved past you, fast swim towards the next air pocket.
Dive into the water below
Keep following the underwater tunnel straight forward
COMPLETE THE TRIAL OF THE SPIDER
Continue forward until you squeeze through a crevice and resurface inside a cavern. You can check underwater for resources before you continue.
Stick to the left and jump to the wall to climb up. Then shimmy along the right to jump and attach yourself to a craggy wall to ascend to the top. The path splits here, but don’t worry about that as they both lead the same way.
Take the left path and follow it around until you reach a circular chamber with some Jade, then exit by crawling through the tunnel ahead.
Still sticking to the left, follow the path until you have to jump from the ledge – quickly throw your Grapple Axe to attach yourself to the craggy wall above. Lower yourself on the rope slightly, then swing back and forth until you can jump to the ledge on the far side.
Head down the corridor until you’re back outside to complete the chapter.
No Comments