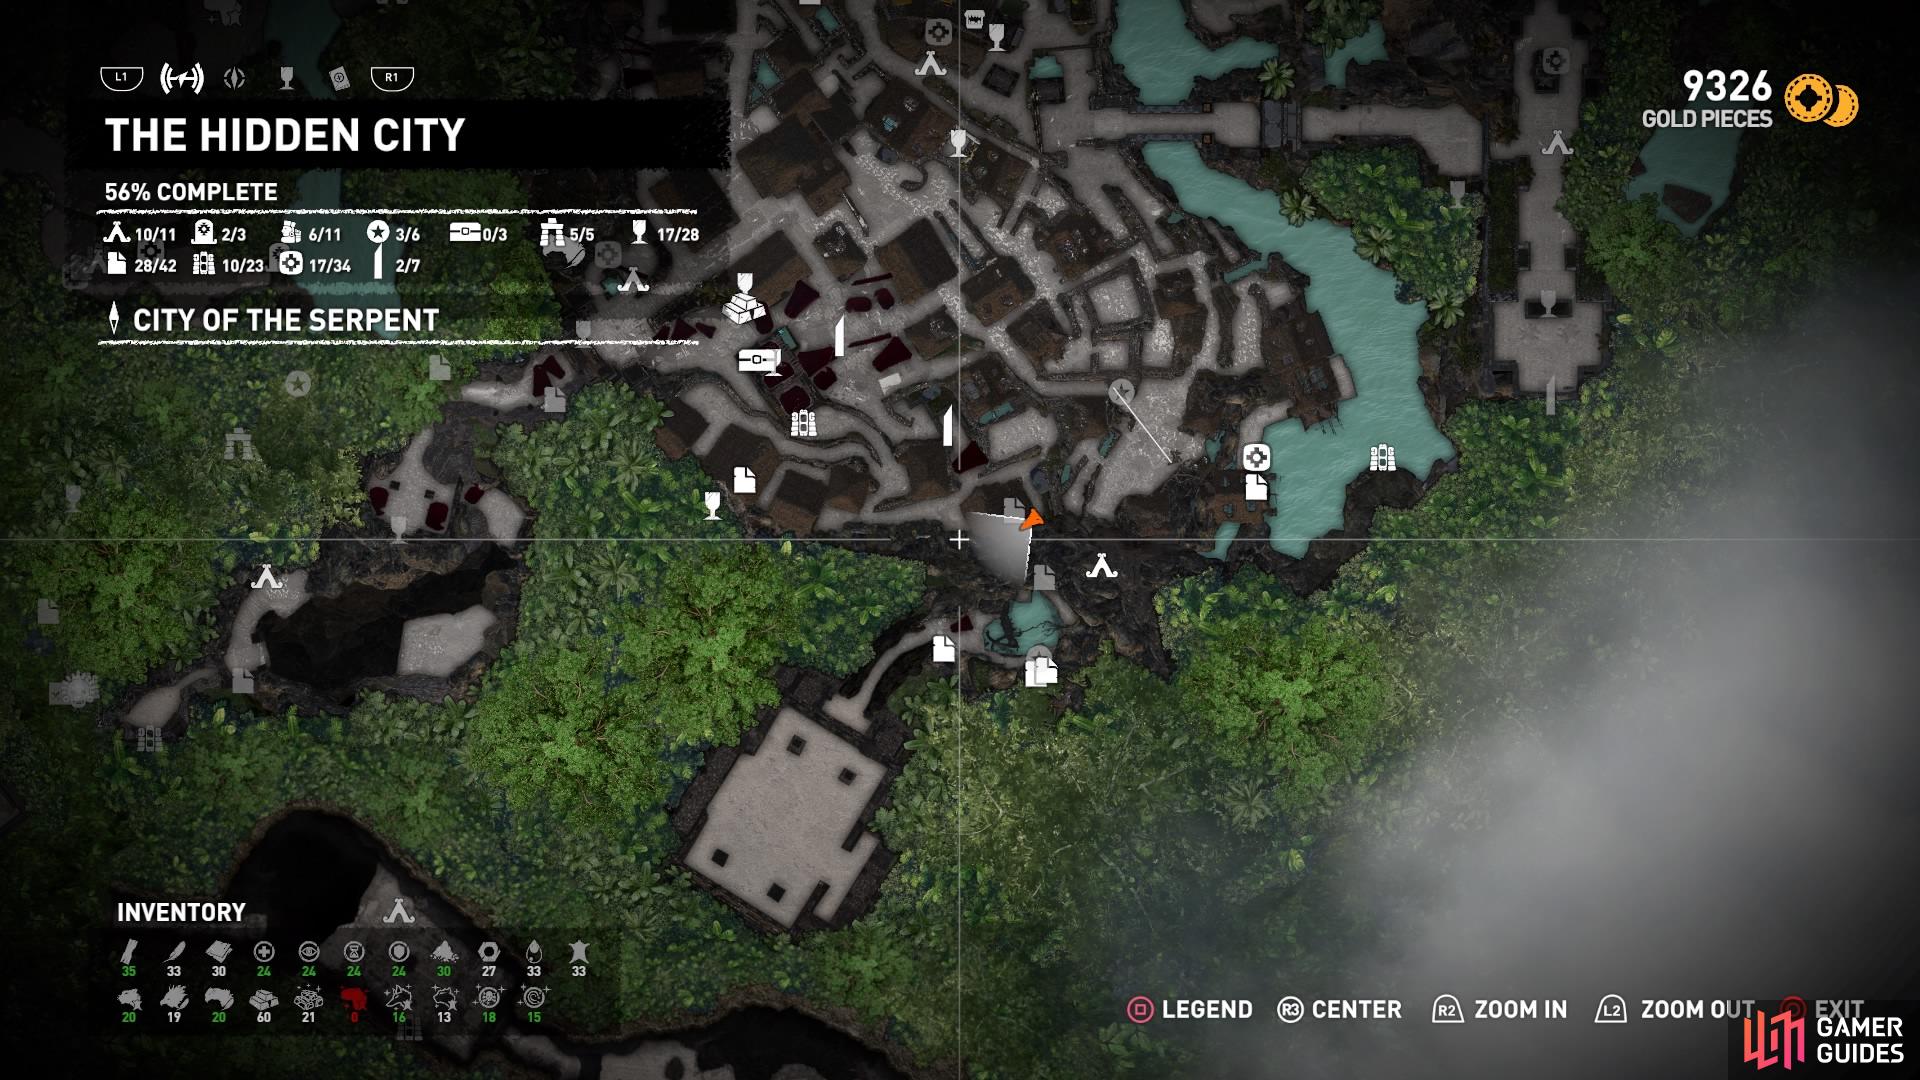
ACCESS THE CAVE
You can reach this tomb by two different entry points. On the south side of the village (you can begin at the Village Caves Base Camp if you’ve activated it) is a house with a well of water in the corner. Dive in and follow the tunnel to the cave.
Or, if you prefer, follow the steps alongside the house to the very top to find the craggy wall on the left. Climb up to the walkway and follow the path left to another climbable wall. Jump across the gap and rappel down to an altar, then swing across the pole to follow the tunnel into the cave.
ACCESS THE TOMB
The Temple Path Base Camp is available on the right side of the room. When you’re ready to continue, follow the steps up to the left and scramble up the wall to climb to the top. Pick up the Archivist Map and remove the pry barrier to reach the outside trail.
Temple Path Base Camp
Archivist Map
THE TOMB BASE CAMP
-
Throw the Grapple Axe to swing across the hook and attach to the cliff. Climb up and shimmy left, then jump to the next wall.
-
Rappel down as far as you can to wall-run to the left and grab the ledge. Then scale the craggy surface down and left, scramble up to the ledge, and jump left.
-
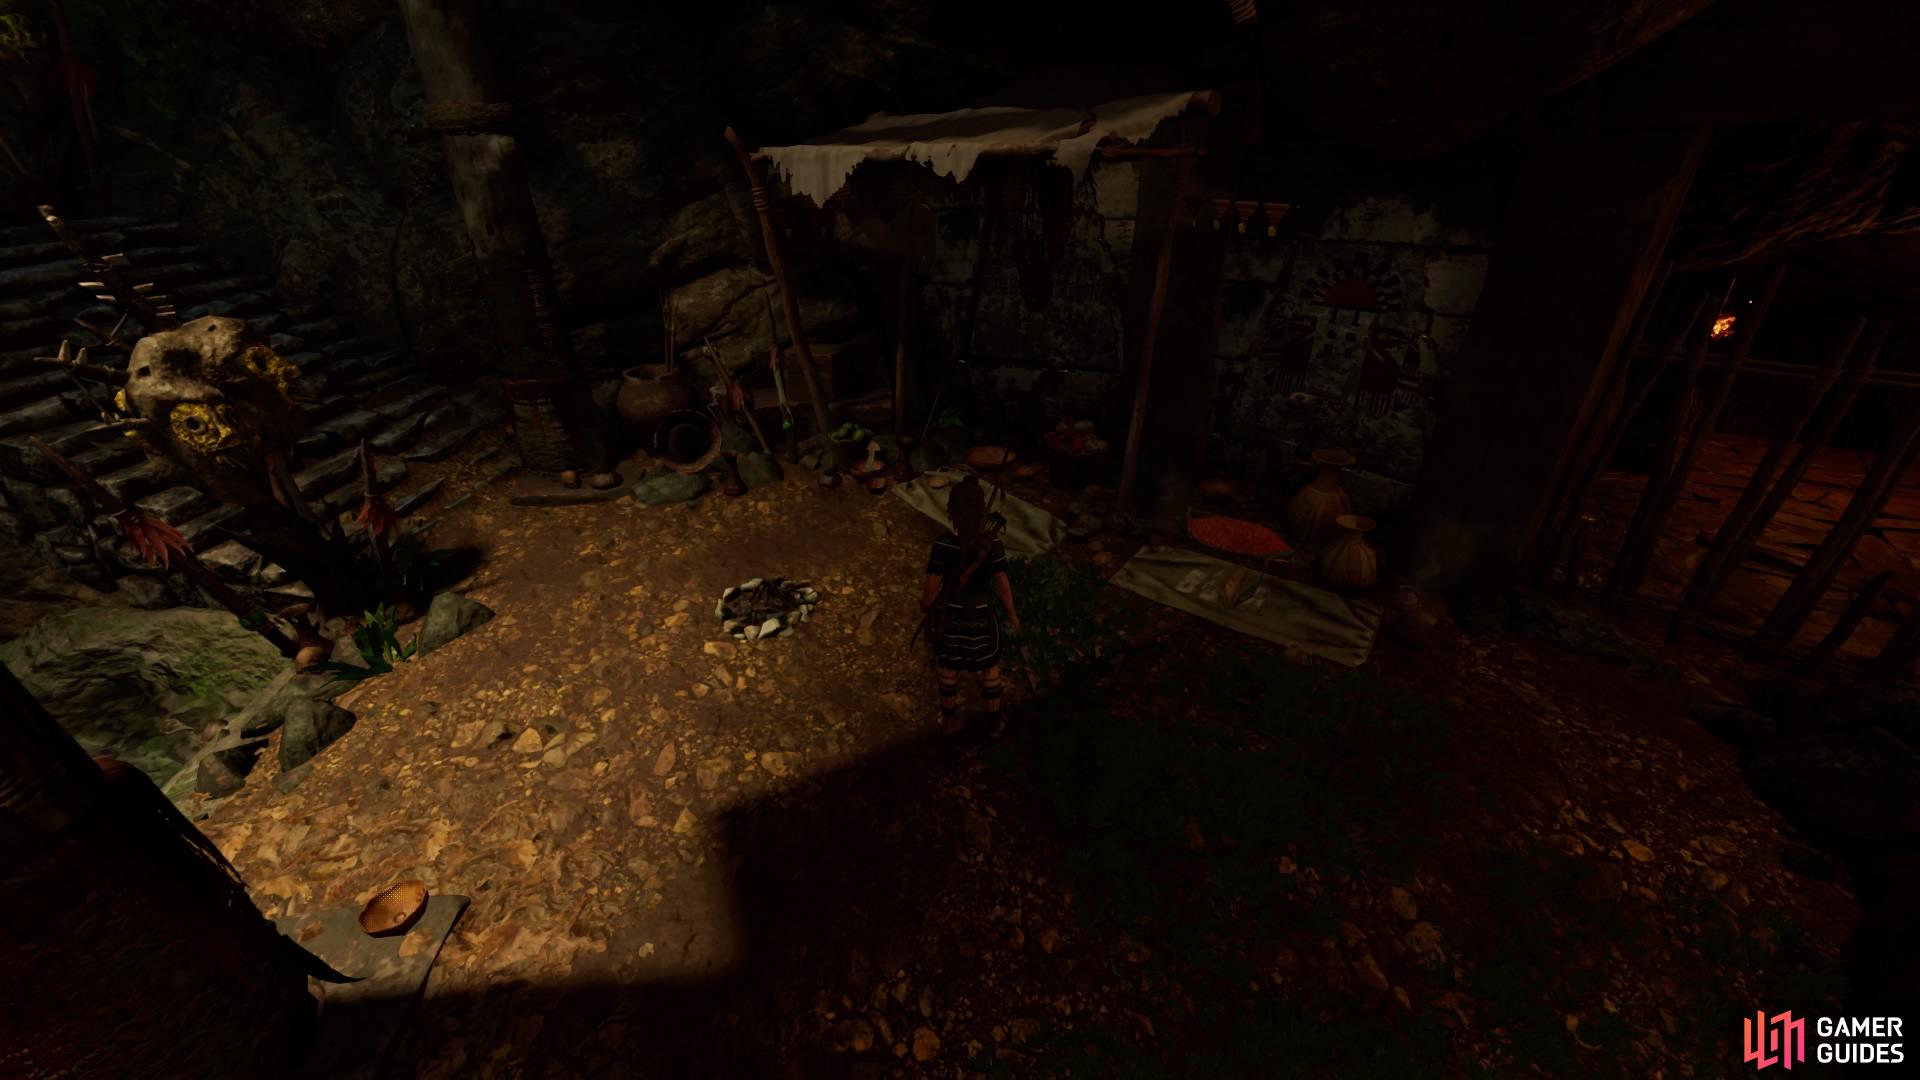
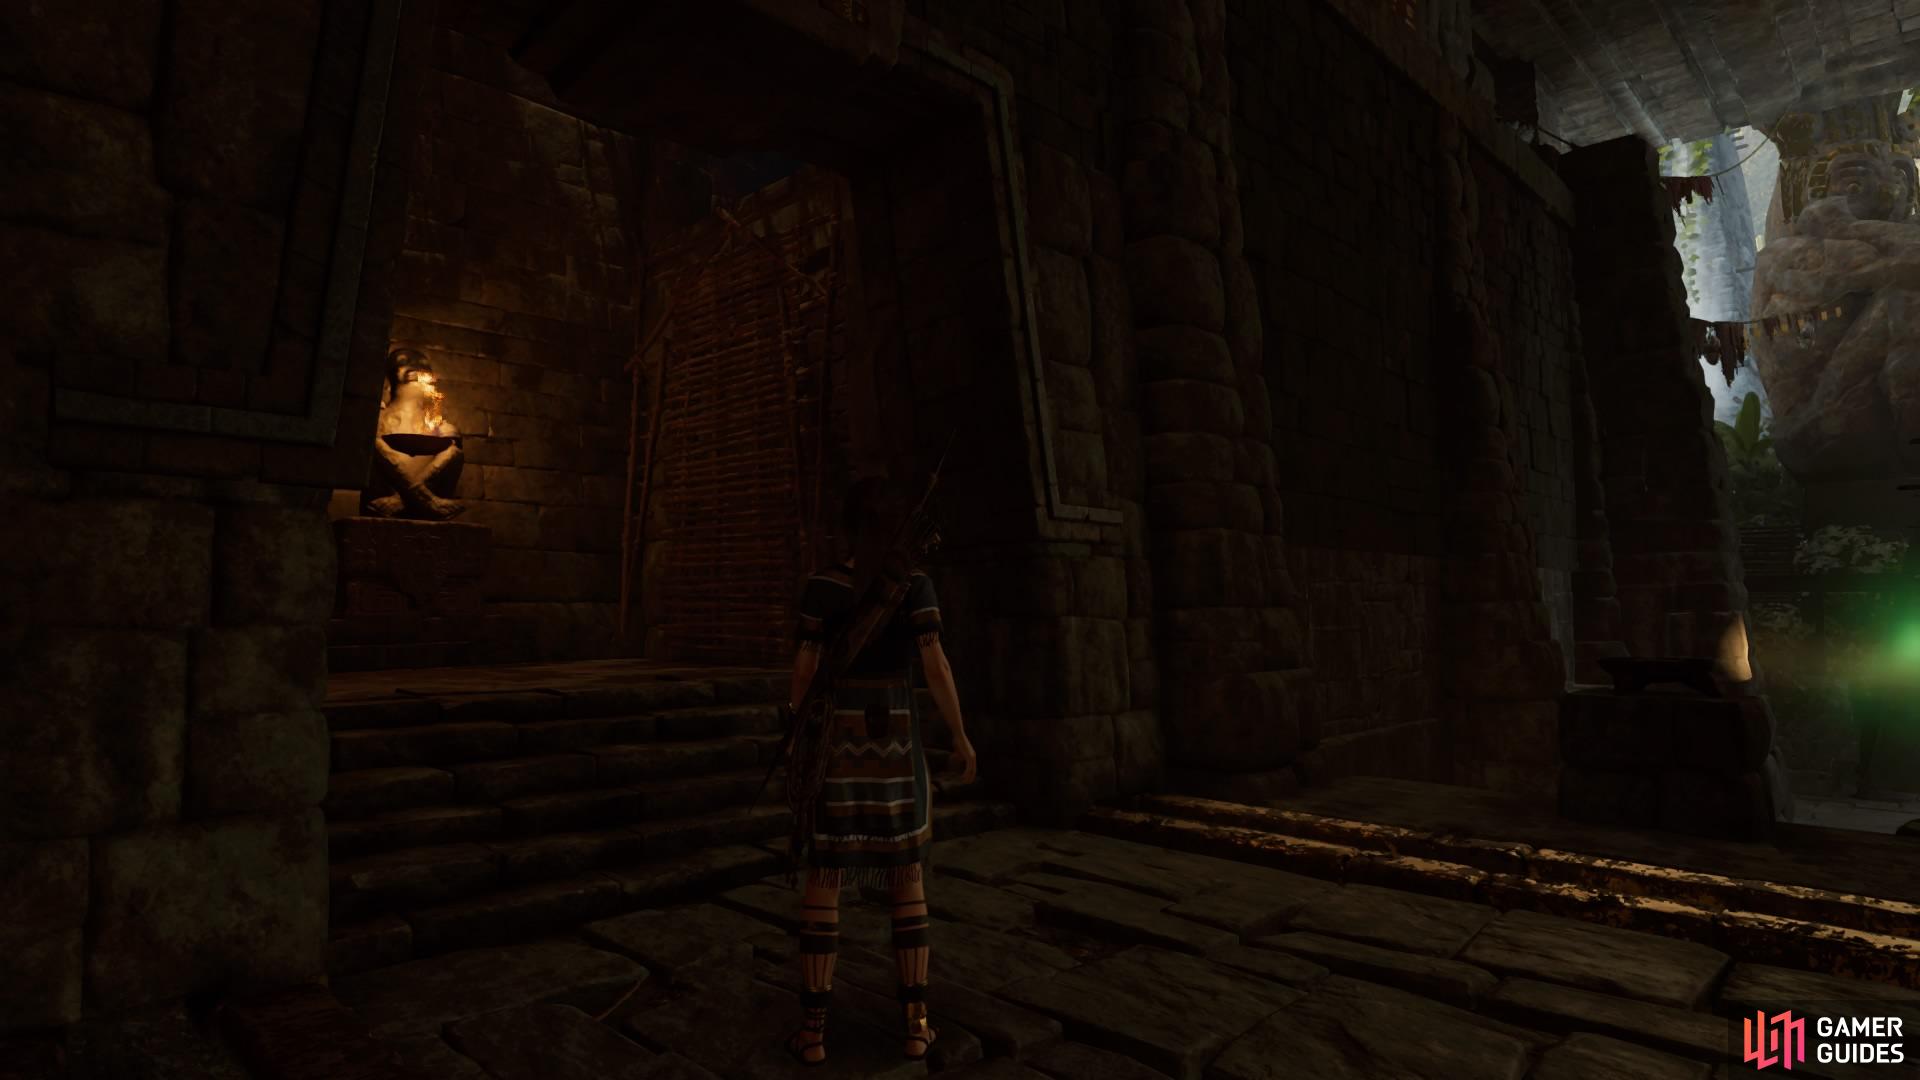
Make your way to the opening above to drop down into the chamber below. Pick up Document – The Monkey Twins and run to the ladder ahead. Down the steps on the right is a mural to inspect, so do that first, then climb the ladder to reach the Temple of the Sun Base Camp.
Through the doorway on the left, swing across the pole to attach to a craggy surface and rappel down to the bottom. At the back of the room, up the steps, is a mural.
Head through the left corridor to crawl under a gate into the main chamber.
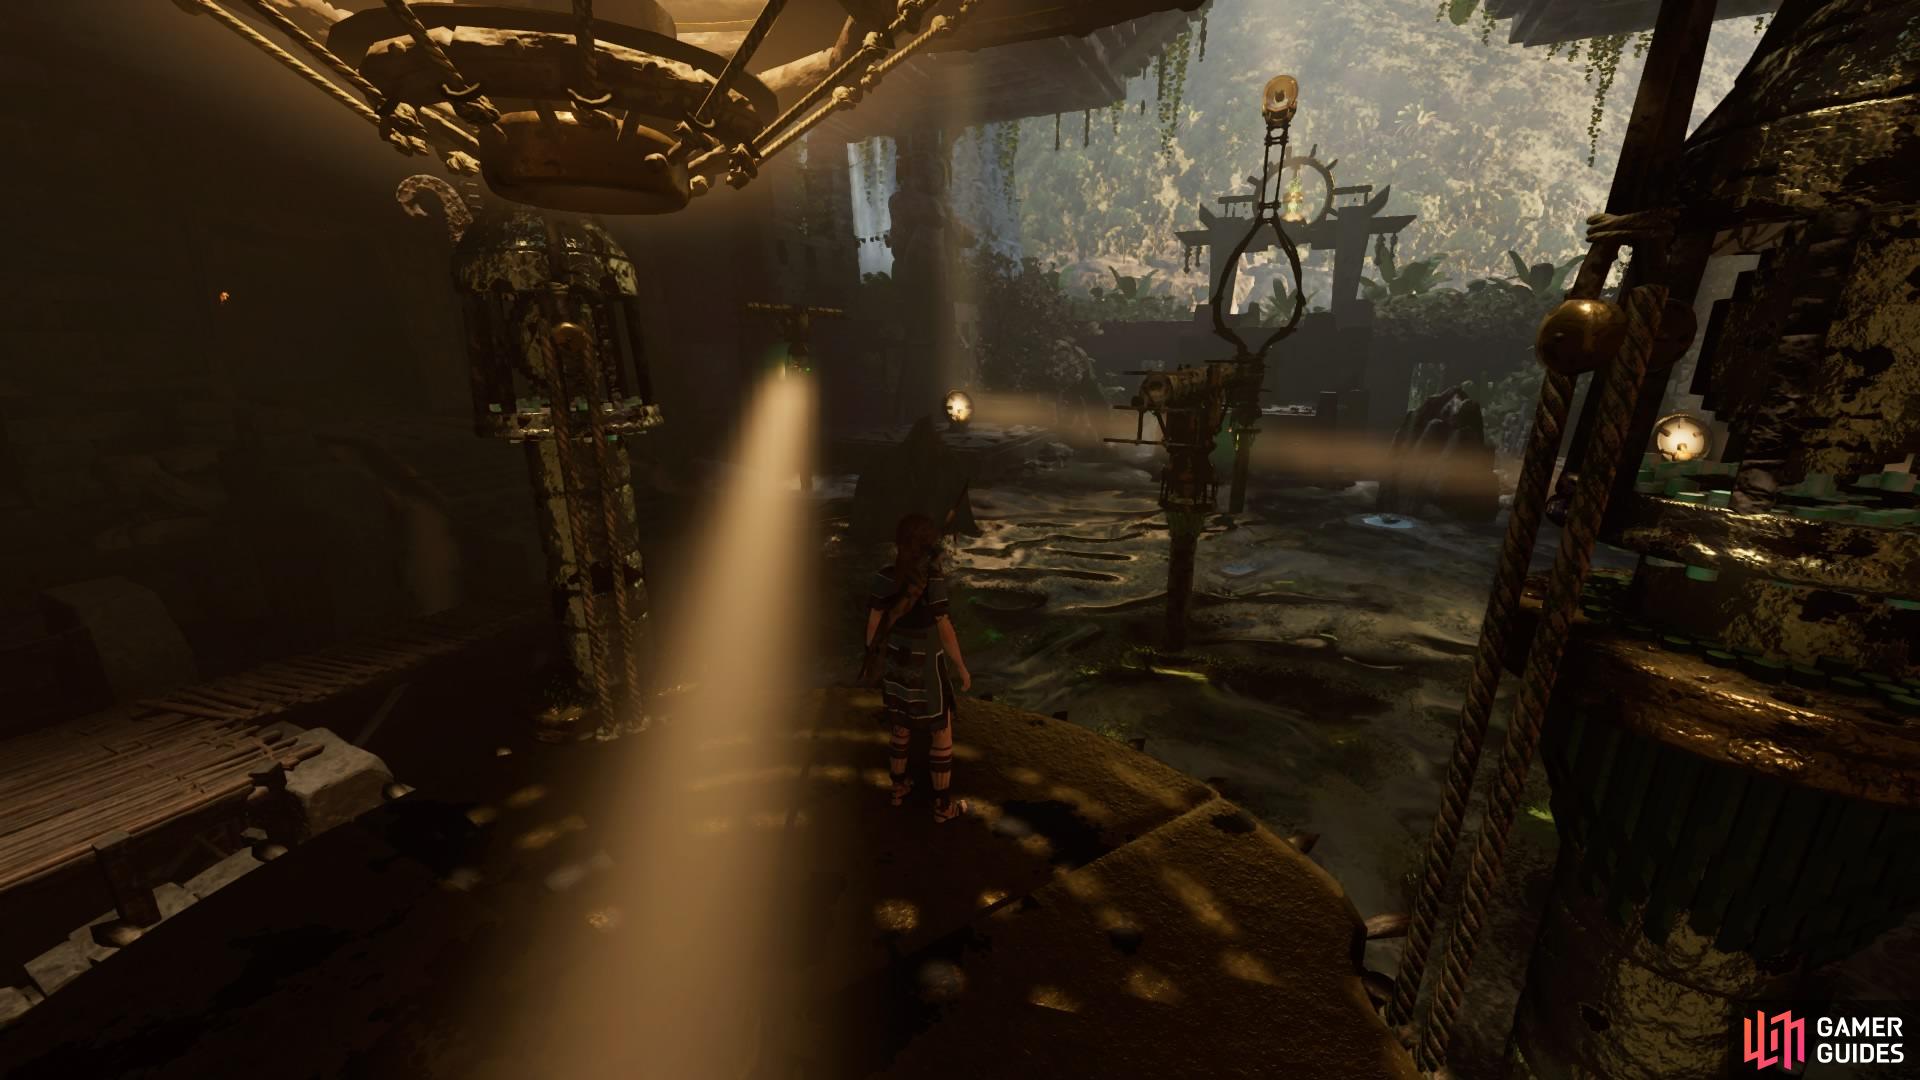
LOWER THE CENTRAL PAVILLION
The pavilion is in the centre of the room surrounded by rushing water – don’t fall in! You need to reach this platform to get to the stele on the far side of the room. There are beams located around the room, as well as four mirrors in each corner. Shine the reflected light from the mirrors into the beam’s sensors to make them rotate.
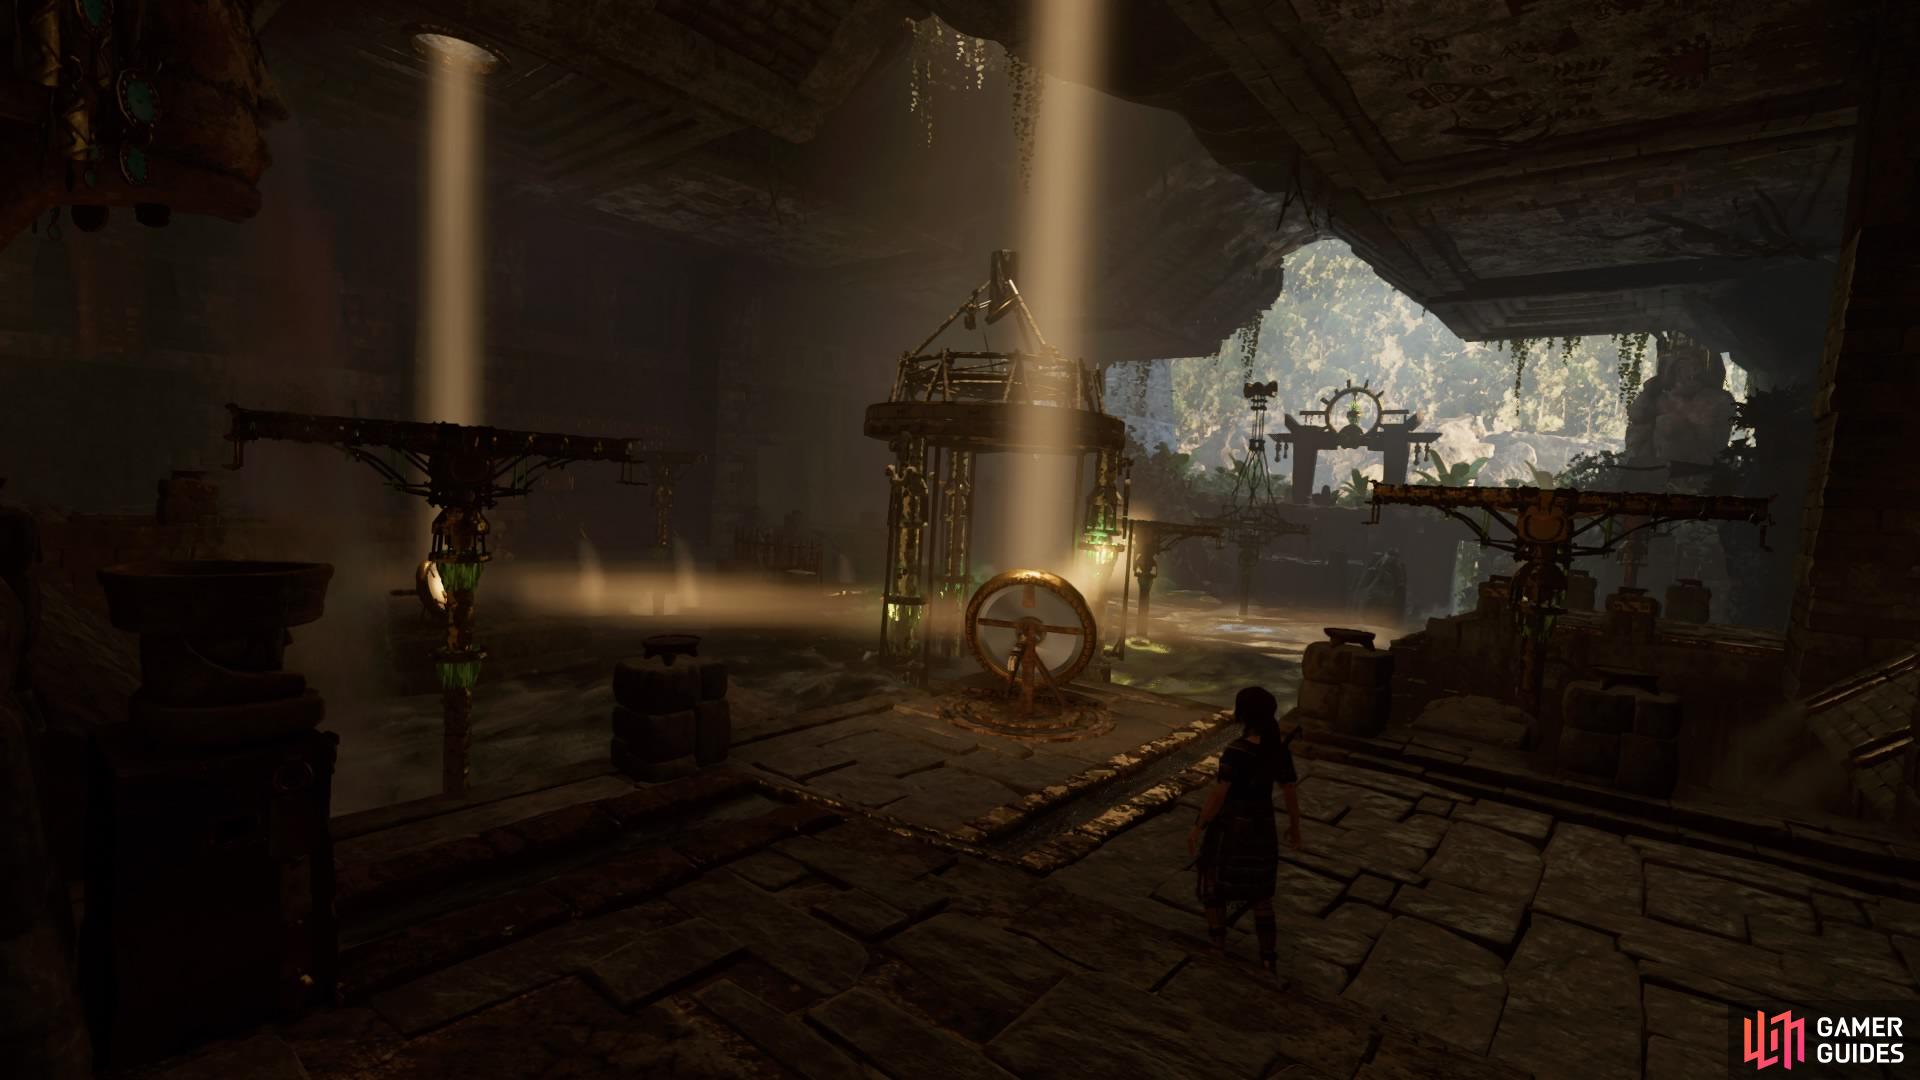
To reach the stele, follow these steps:
-
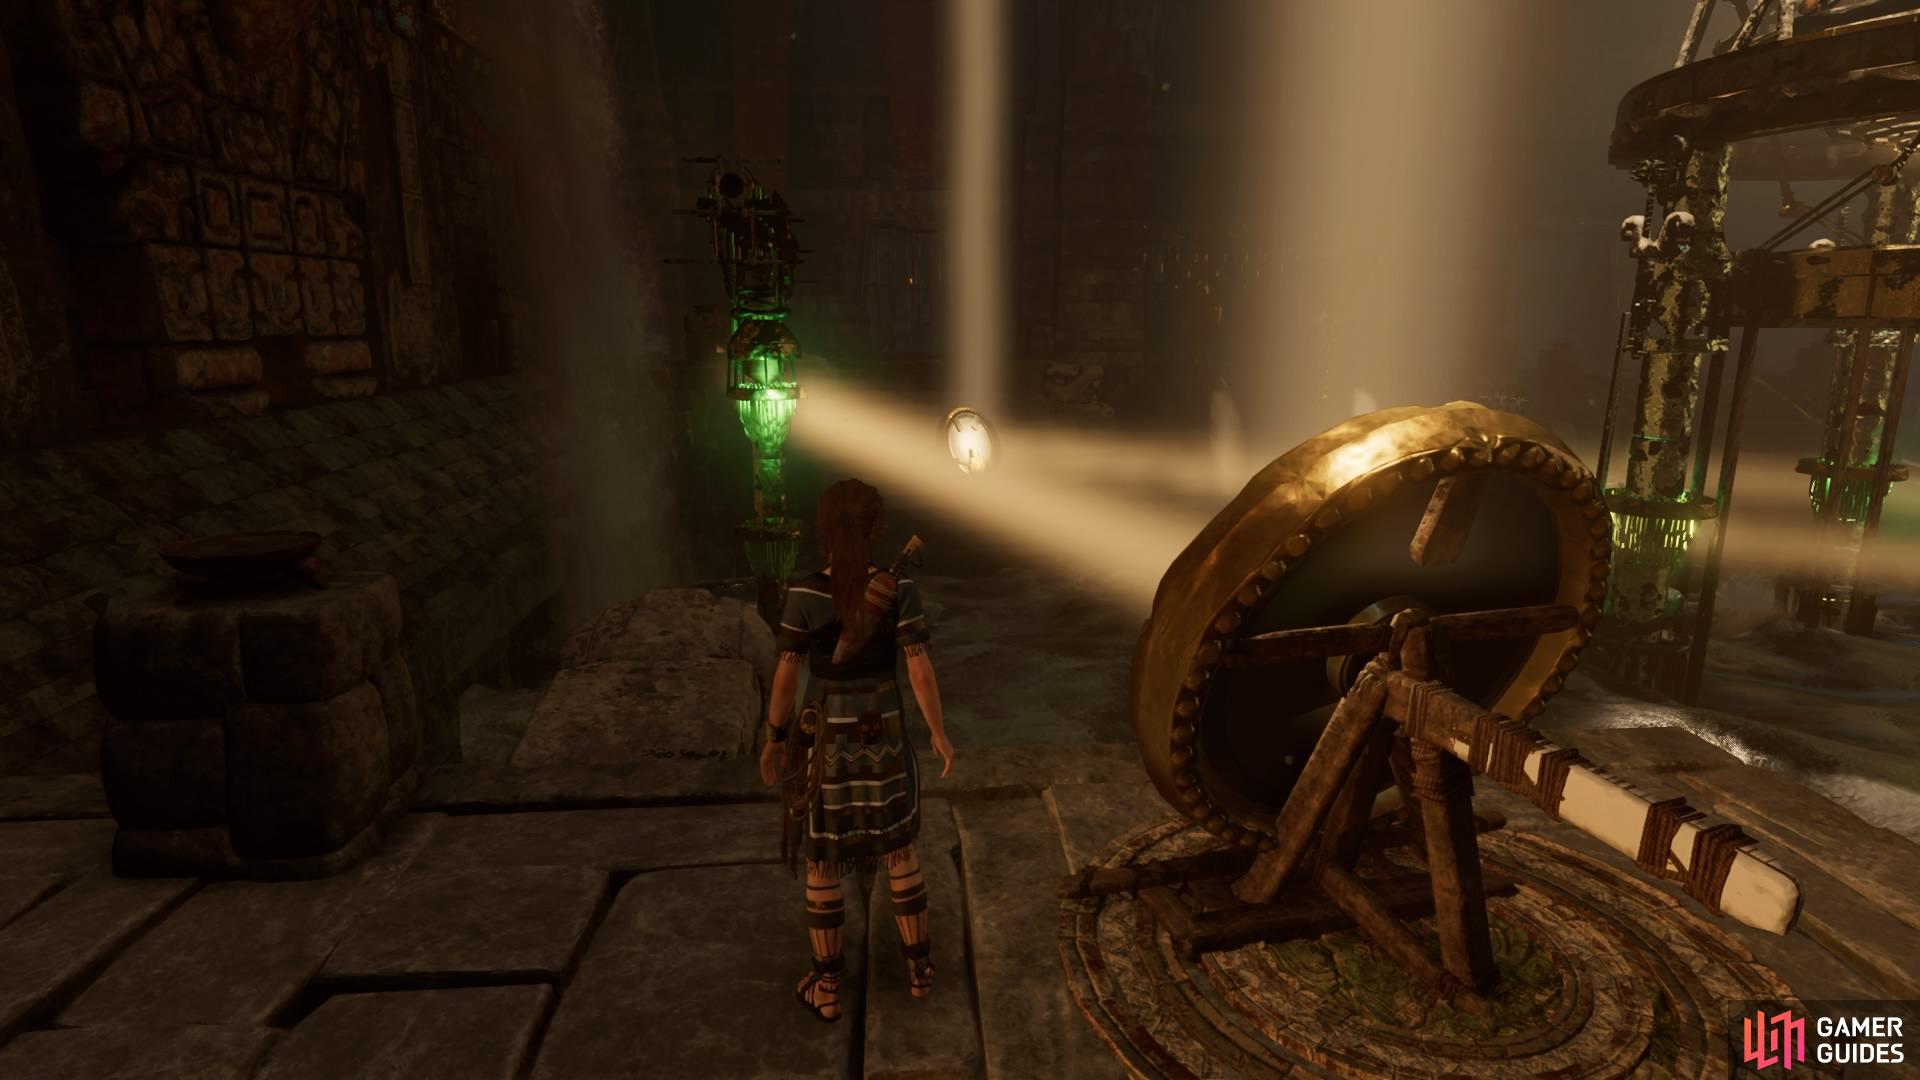
Step 1: Turn mirror 1 left to shine the light at the beam. Jump on and cross to mirror 2.
-
Step 2: Rotate mirror 2’s light through the central pavilion to hit the sensor on the far beam. Use your bow to zoom in and check if you’ve hit it (it’ll shine green). Return to mirror 1.
-
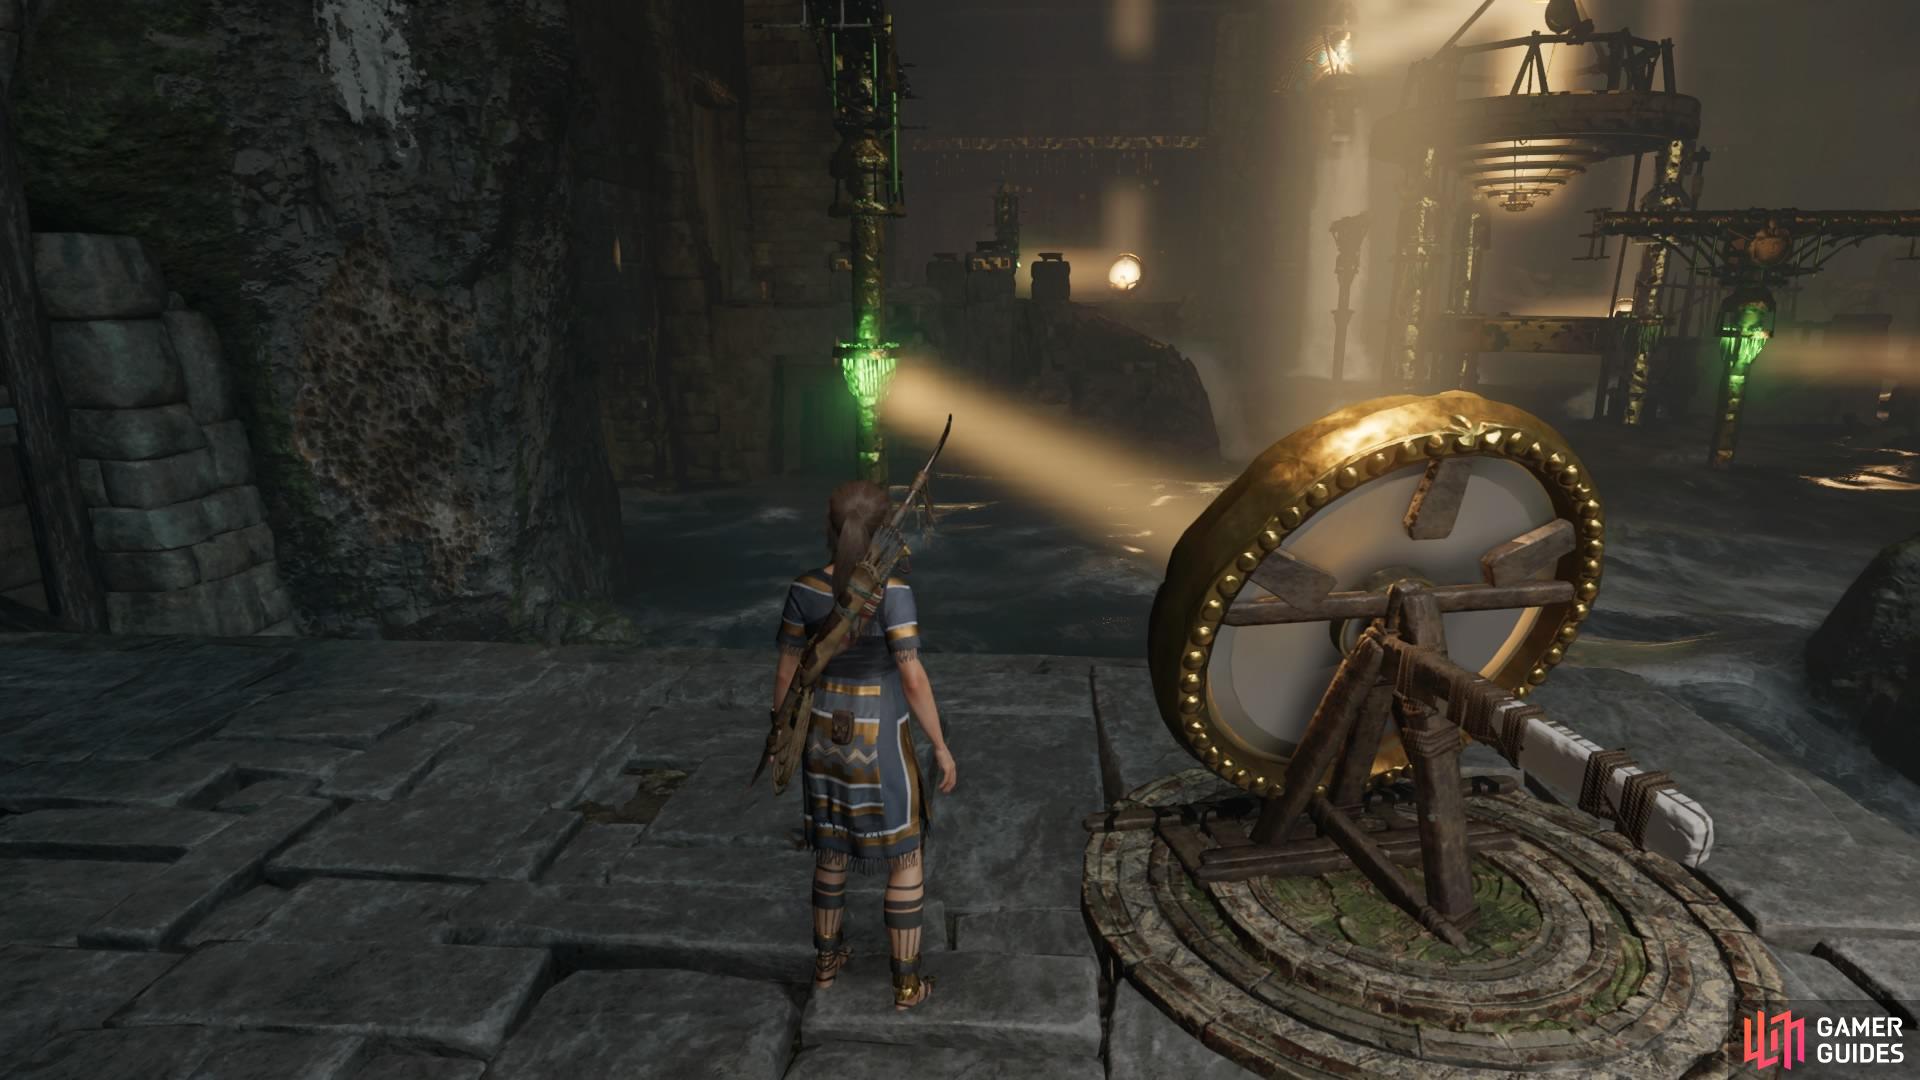
Step 3: Rotate mirror 1 to the right to hit the beam, then use it to cross to the platform in the middle. If mirror 2 is set correctly, you can cross the second beam to reach mirror 3.
-
Step 4: Rotate mirror 3 to the left to shine the light on the beam you just jumped from. Then climb the craggy wall to your left to jump back to the beam and cross over to mirror 1 again.
-
Step 5: Rotate mirror 1 left and cross over to mirror 2.
-
Step 6: Rotate mirror 2 to the right to take over for mirror 1, then return to mirror 1.
Step 4/Mirror 3
Step 6/Mirror 2
-
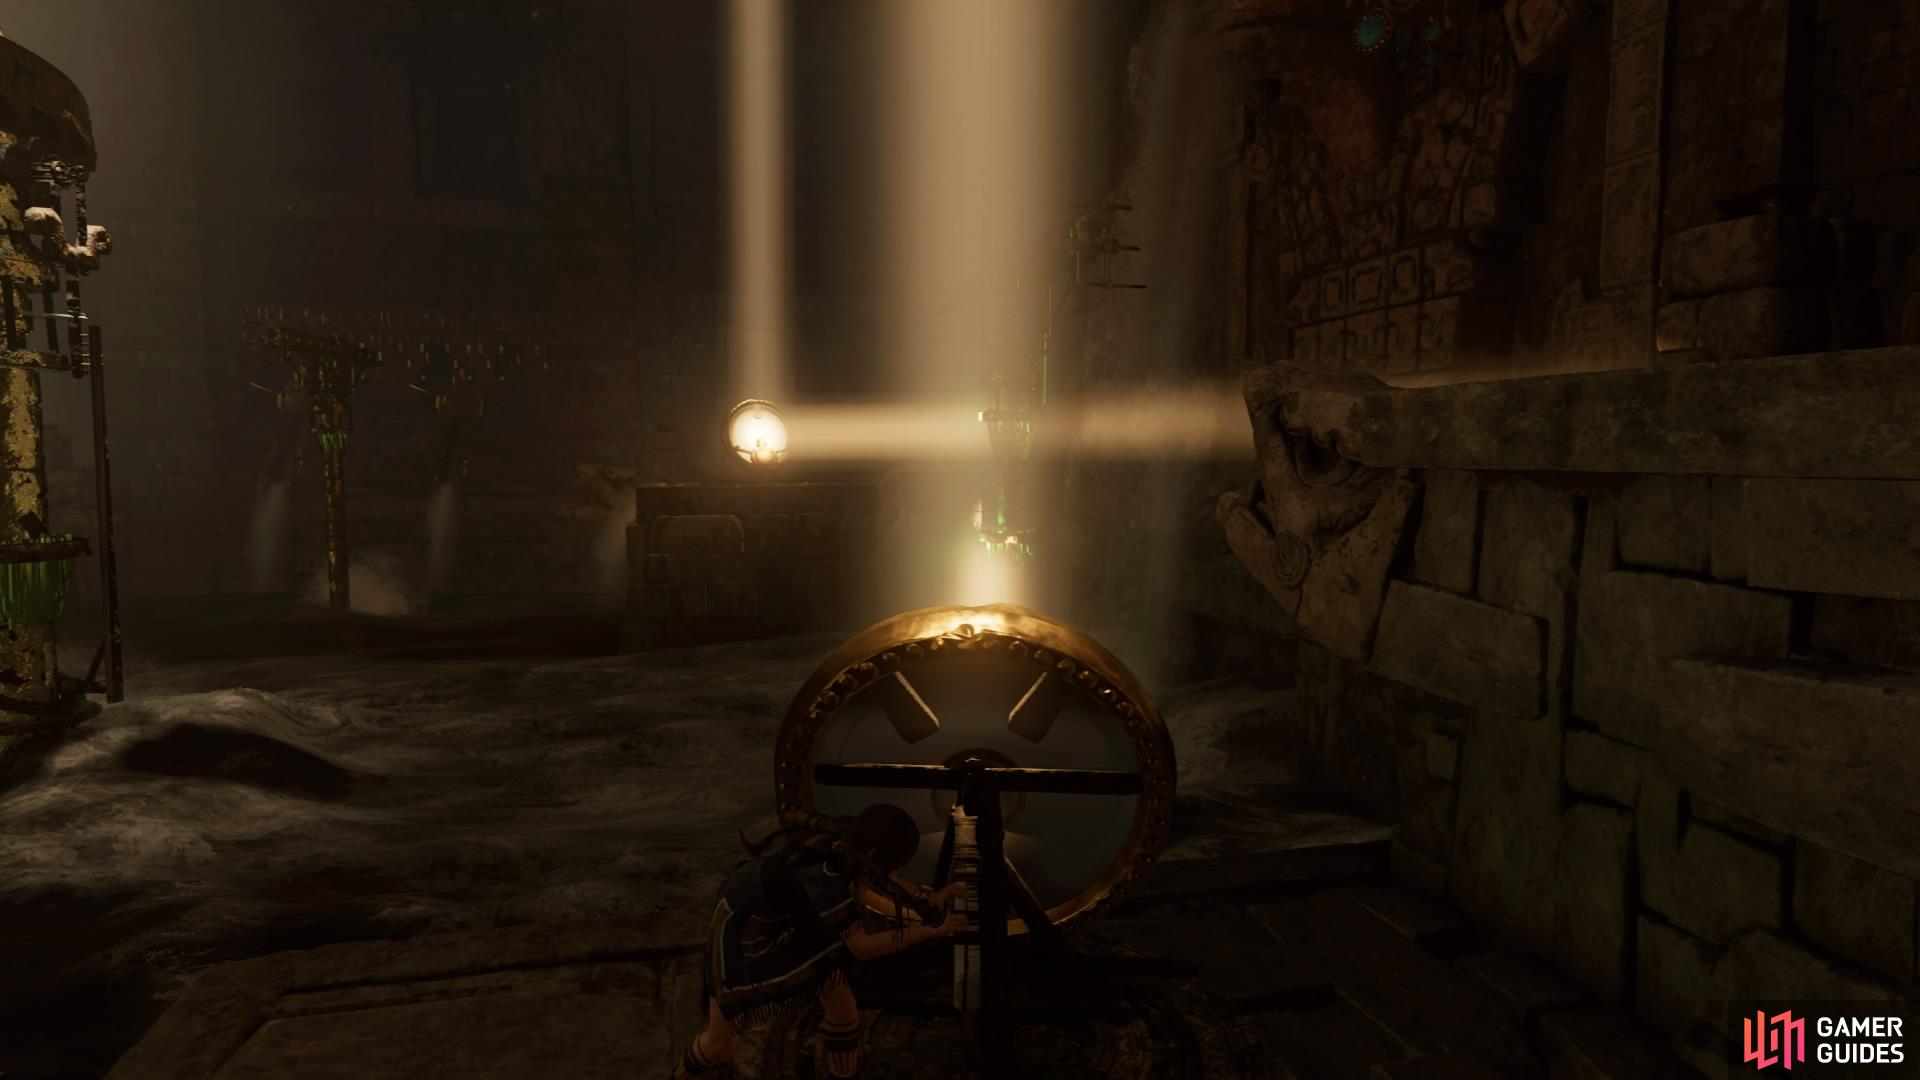
Step 7: Rotate mirror 1 through the central pavilion to hit the beam on the far side. Return to mirror 2.
-
Step 8: Rotate the mirror left so that it turns the beam leading to mirror 4. Go to mirror 4.
-
Step 9: Now rotate mirror 4 to the left so that it shines on the beam ahead. This lowers the central pavilion and lines up the path to the stele.

REACH THE STELE
To the right of your current mirror, inspect the mural, then scramble up the wall and shimmy around to jump back to the beam. Head to the middle and follow the walkway to the pavilion. Now you can cross the two beams and jump to the stele at the back of the room.
EXIT THE TOMB
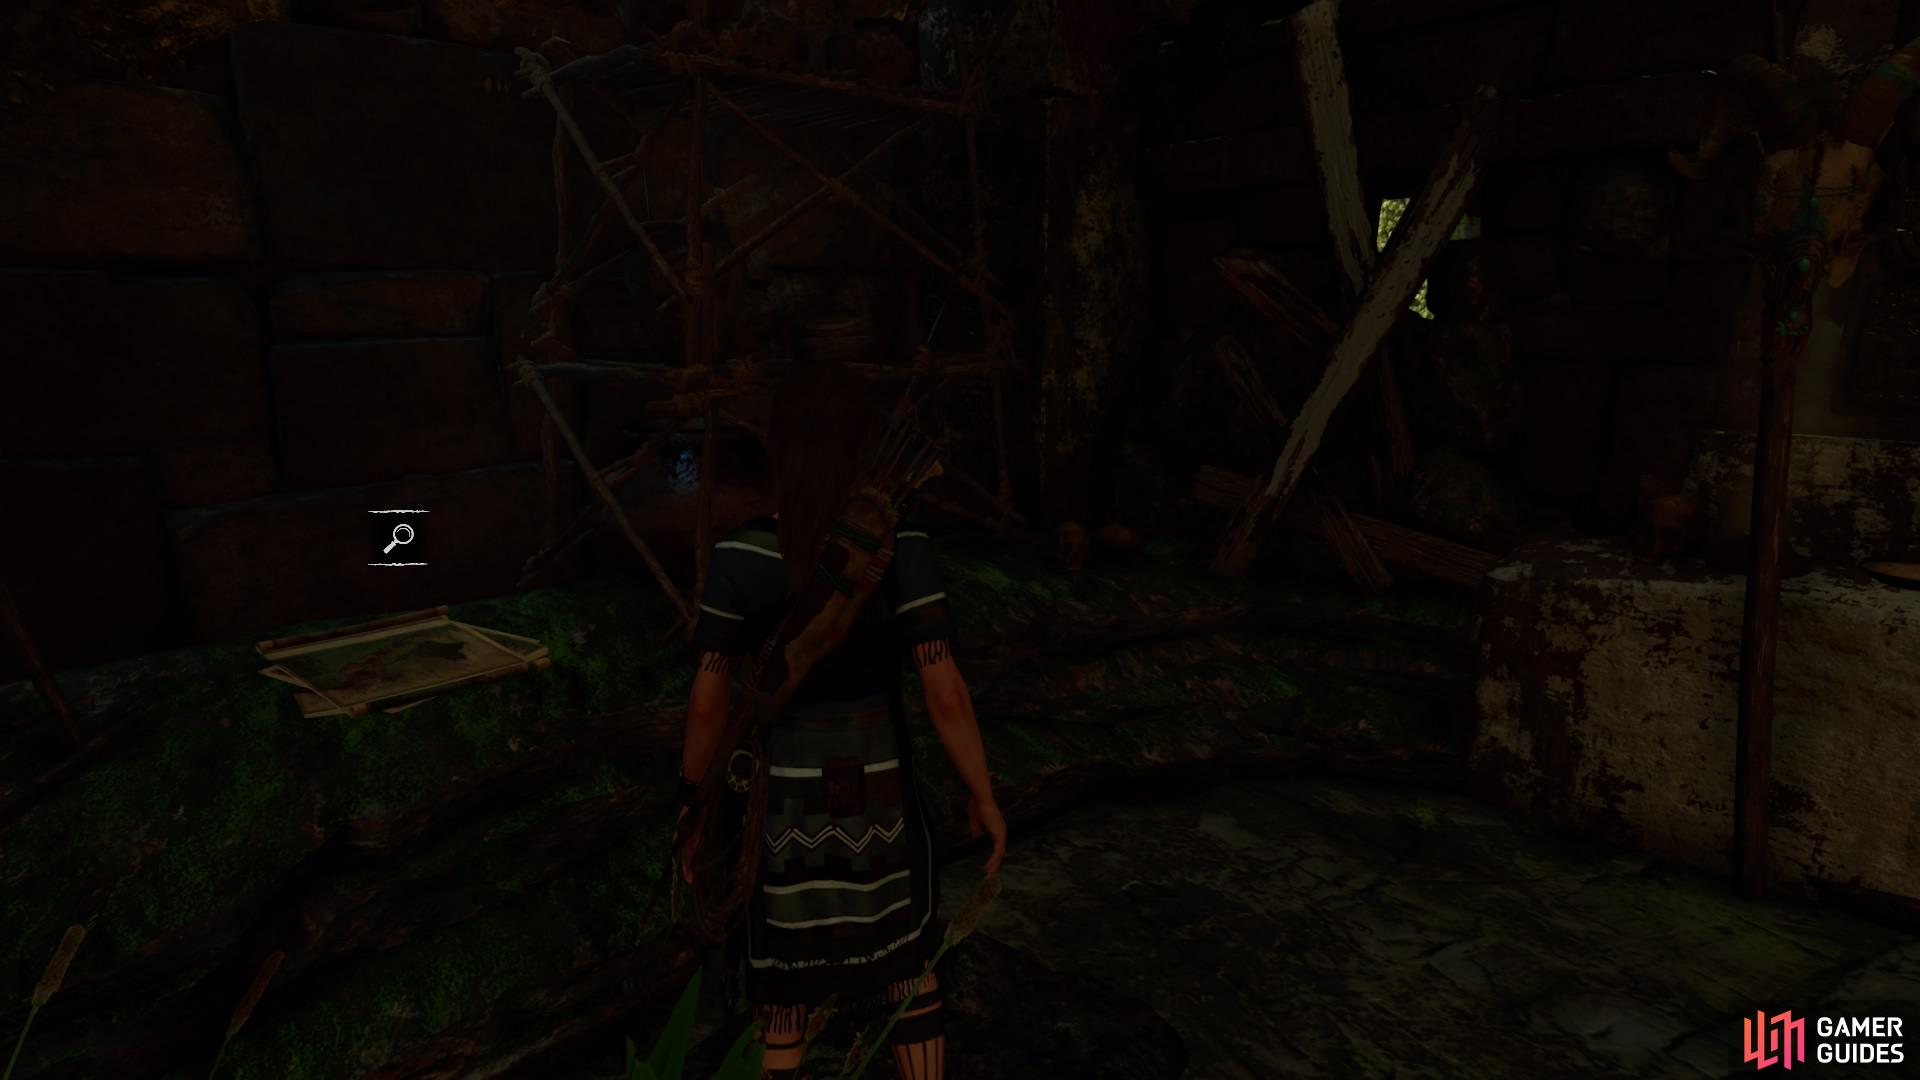
Go back the way you came until you’re standing between the two beams separating mirrors 2 and 4. Ahead is a corridor (search for valuables) with wooden boards on the right. Scramble up the wall and follow the trail back outside.
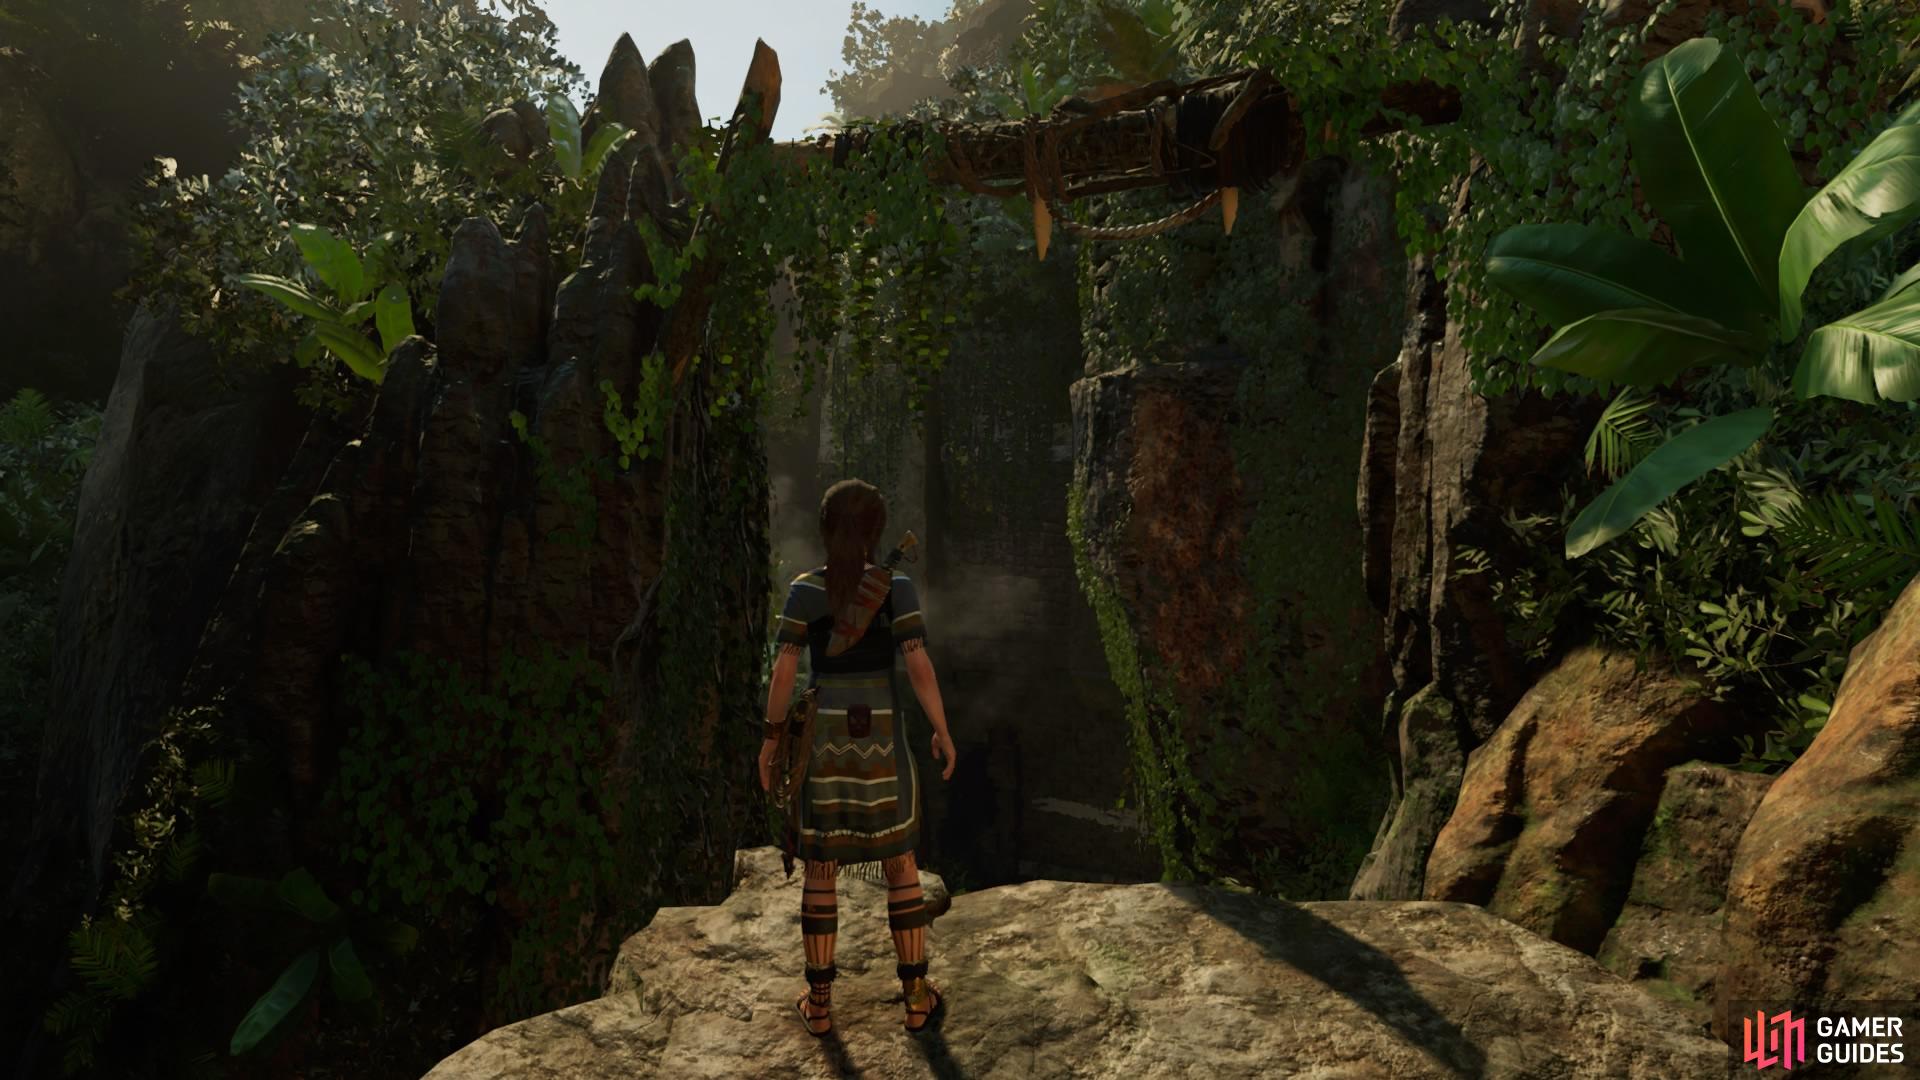
Tether a rope between the two coils and crawl across, then climb the craggy surface up to the ledge and shimmy around the left.
At the next craggy surface, rappel down to swing over to the other side. Now simply follow the trail back inside the cave to the Temple Path Base Camp.
No Comments