| Region Summary | . |
|---|---|
| Base Camp | 1 |
| Challenge Tomb | 0 |
| Mission Giver | 0 |
| Region Challenge | 0 |
| Treasure Chest | 0 |
| Crypt | 0 |
| Relic | 0 |
| Document | 0 |
| Mural | 0 |
| Survival Cache | 0 |
| Monolith | 0 |
EYE OF THE SERPENT - FIND THE INNER STRONGHOLD
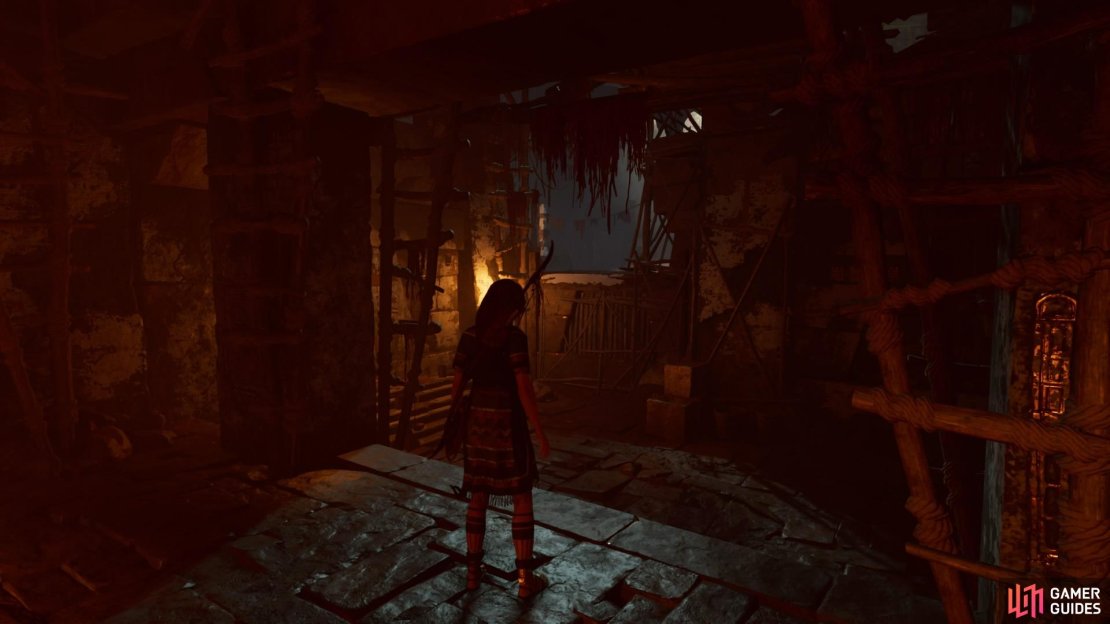
Attach to the craggy wall and rappel down into the temple. Look around this small area for resources, and Lara will automatically equip her weapons. Then move forward and hoist yourself up onto the platform. Balance across the beam to the other side, then jump to the ledge on the left. Shimmy around and climb up to find the Mountain Temple Base Camp.
(1 of 4) Enter the temple
You can search the small room on the right for some resources, then follow the path forward to scramble up the wall. Jump the small gap and immediately slide down the rope to reach the lower platform.
You can sneak up on the lone cultist here by performing a stealth takedown.
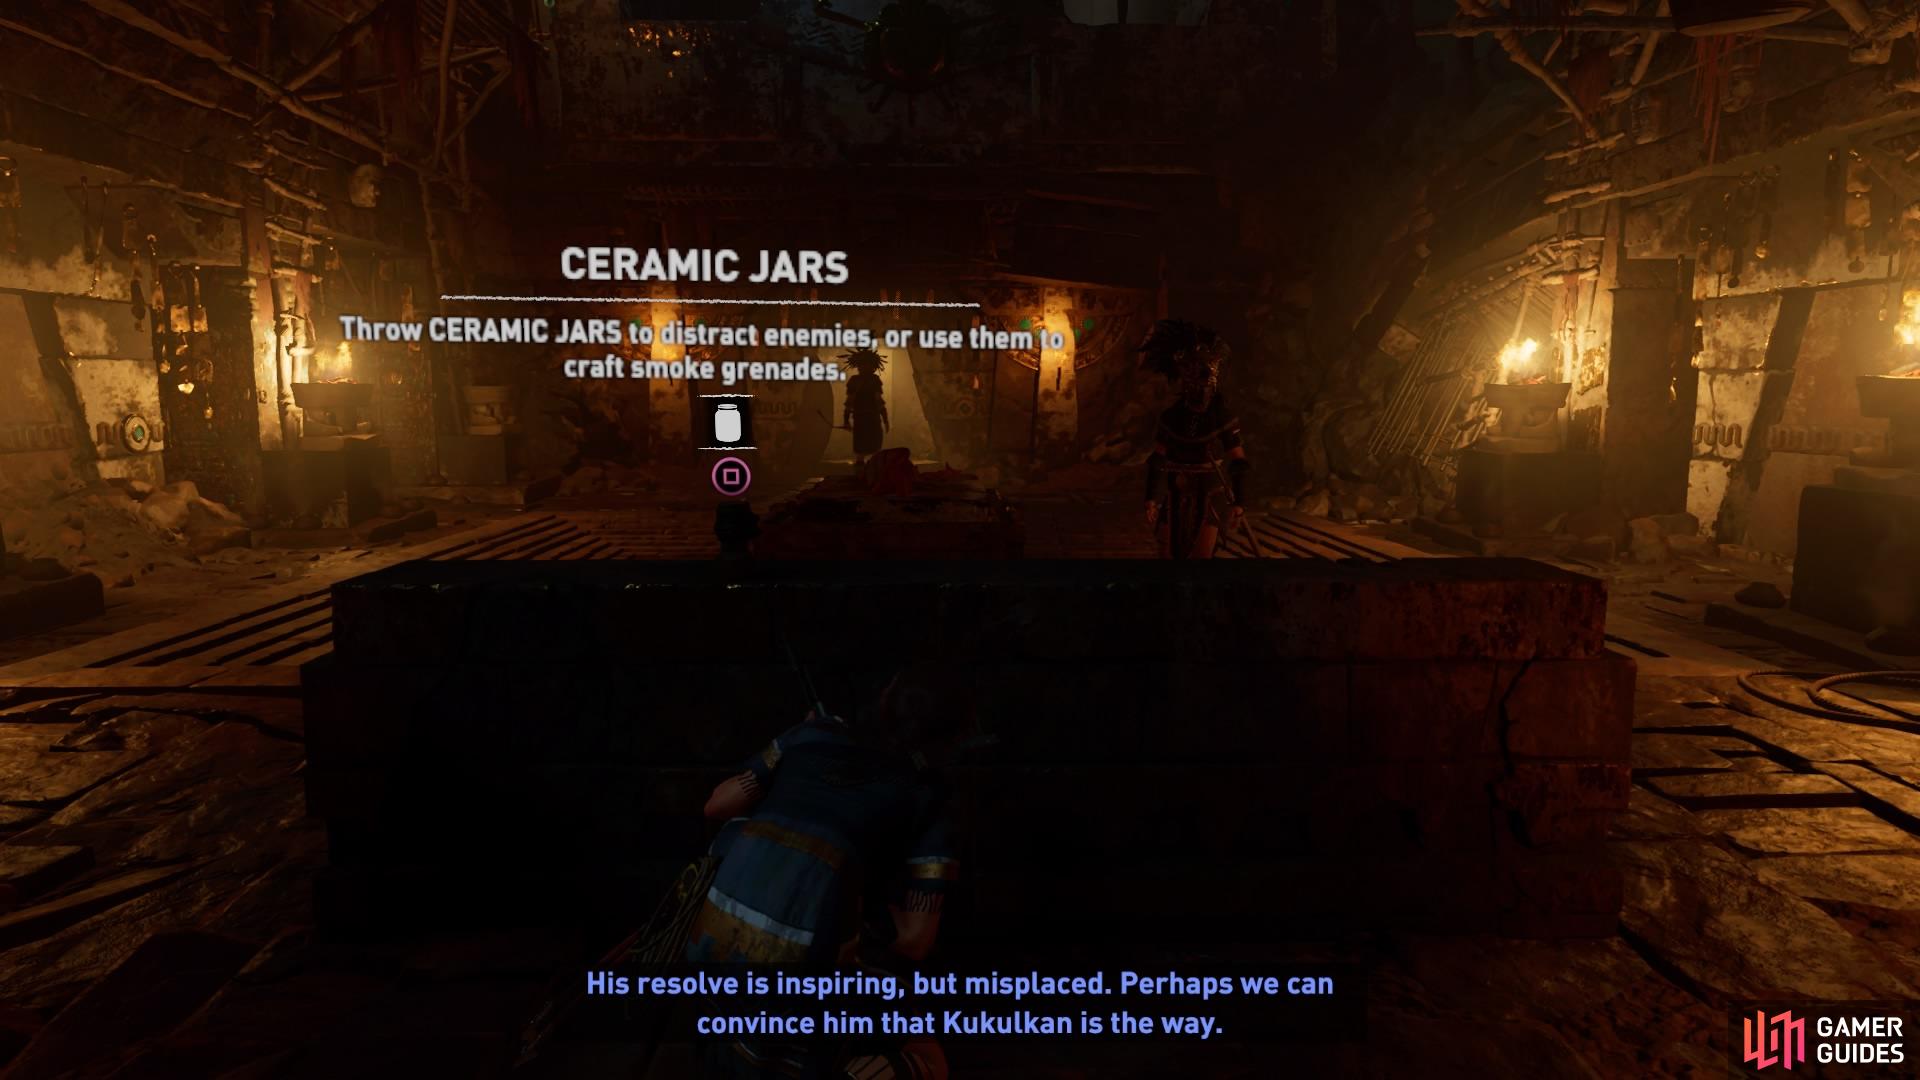
Head up the steps on the right and crawl through the opening ahead to duck behind a small wall. There are two cultists in this room, so pick up the ceramic jar to craft a smoke bomb and throw it between them both when you’re ready. This will allow you to take them both out quickly.
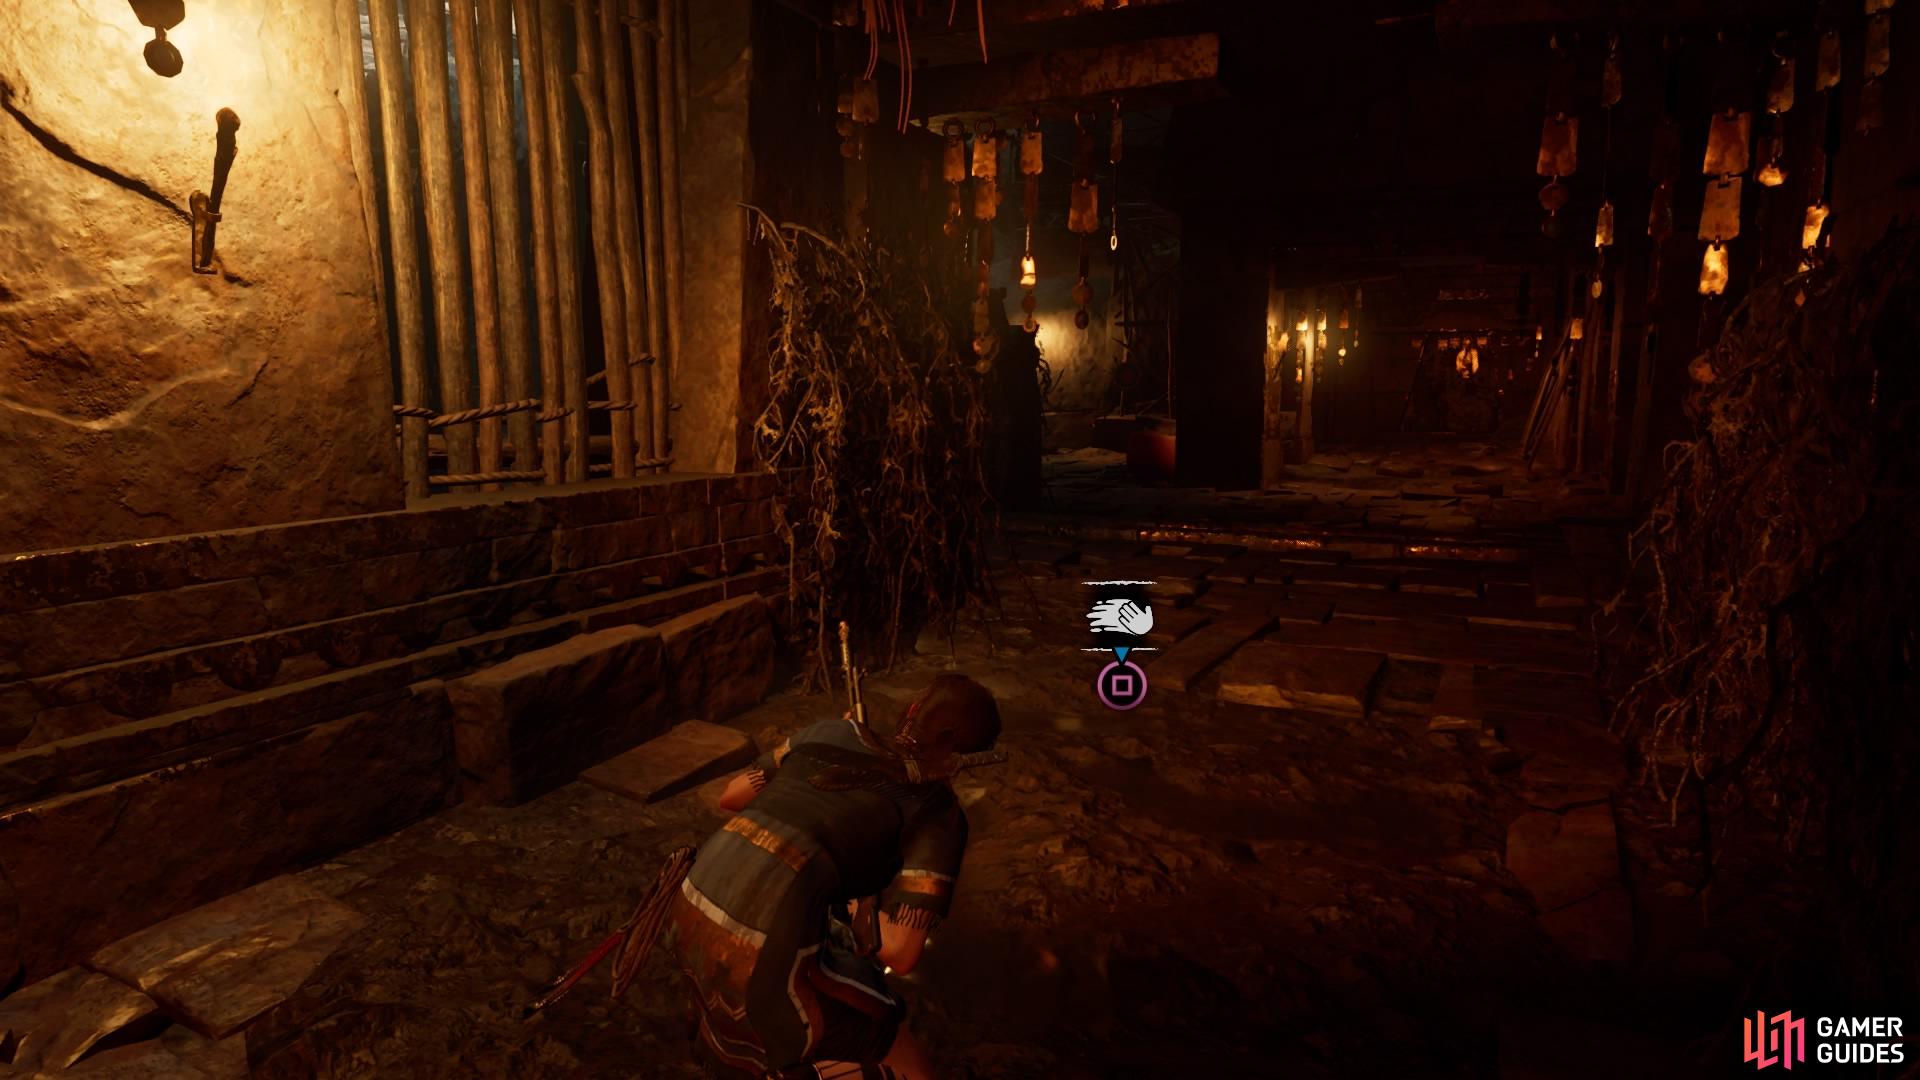
Exit the room on the far side by squeezing through the crevice to enter the next area.
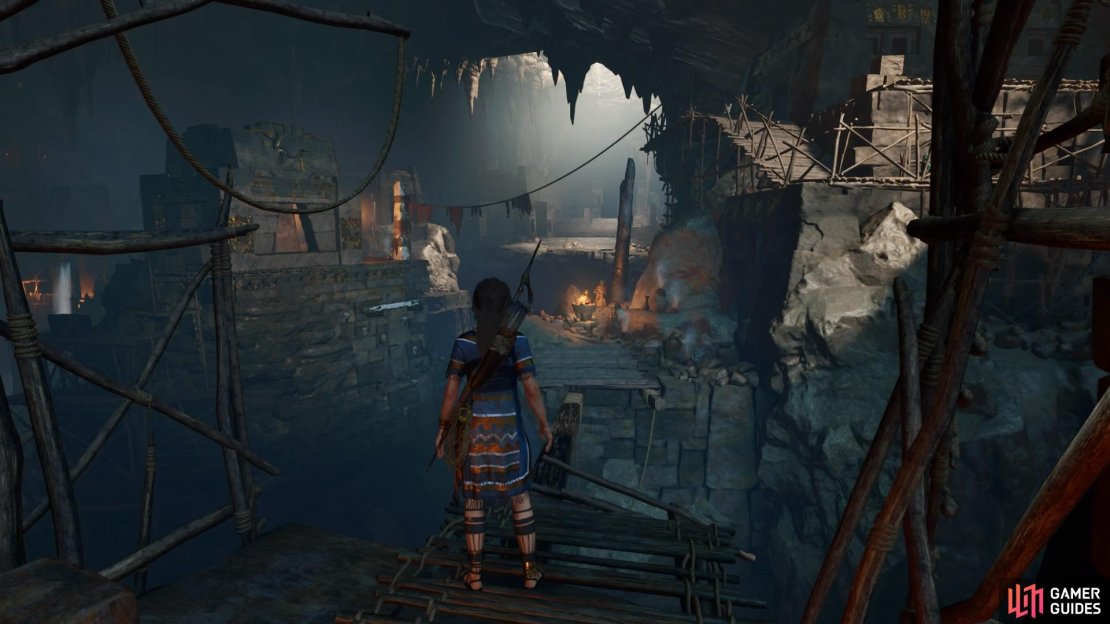
There are eight cultists in this cavern: two are training in the middle while the others all patrol the outer walkways. If you move to the small wall, the two cultists standing there will immediately move away. Head to the right to find a mud patch – you can hide yourself within various mud-covered walls, and there are ceramic jars on many of the ledges to craft smoke bombs.
There is no exact way to take out all of the enemies in this area, so it’s entirely your choice as to how to proceed. If you choose the stealthy option, this area provides many advantages for you to do so. However, you could just get yourself caught and retreat to a safe area to let them come to you. That way, you can just pick them off with your pistol or rifle one by one.
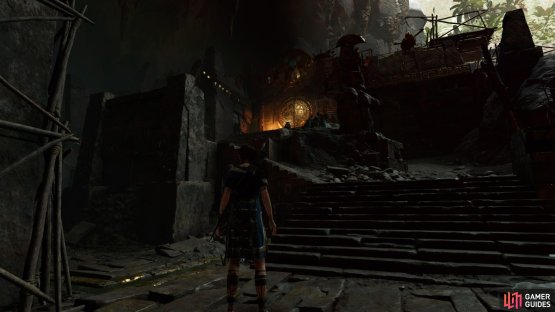

(1 of 2) Reach the gate
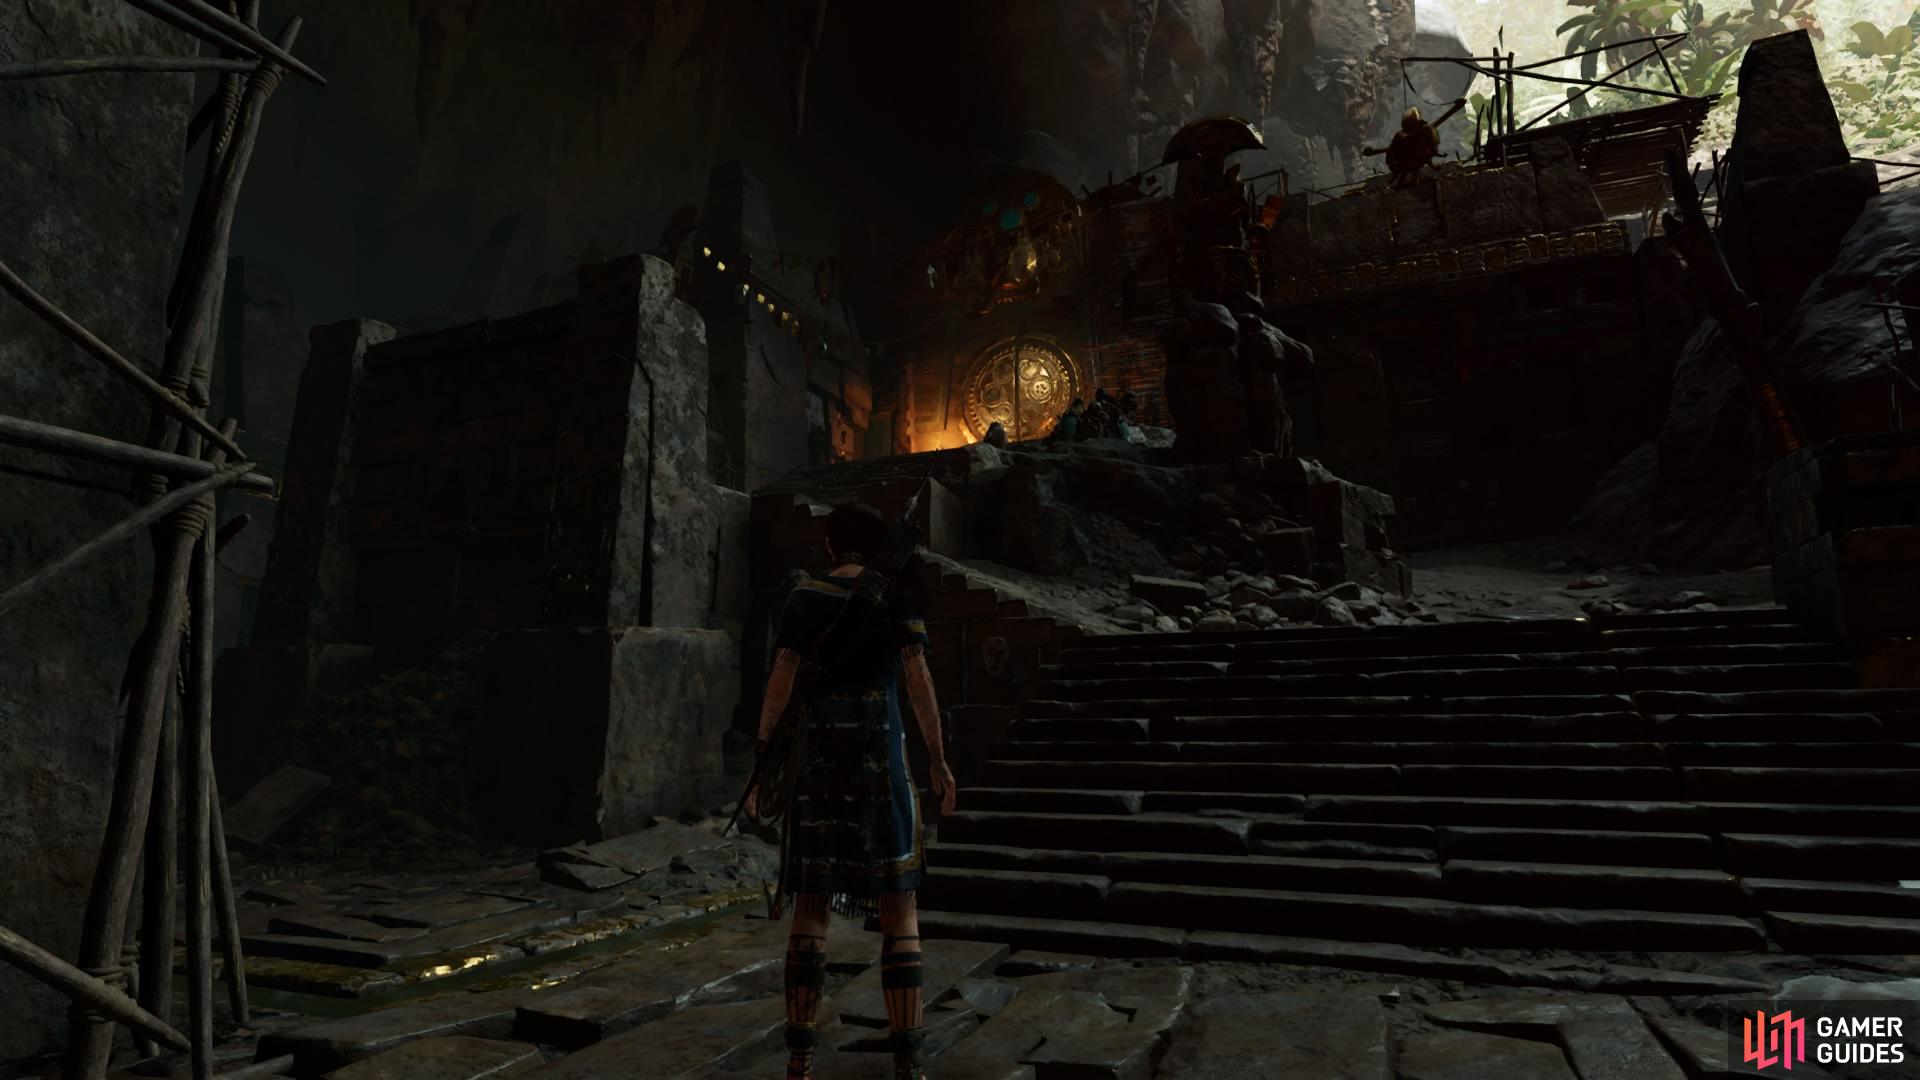
Reach the gate (left), Climb the wall (right)
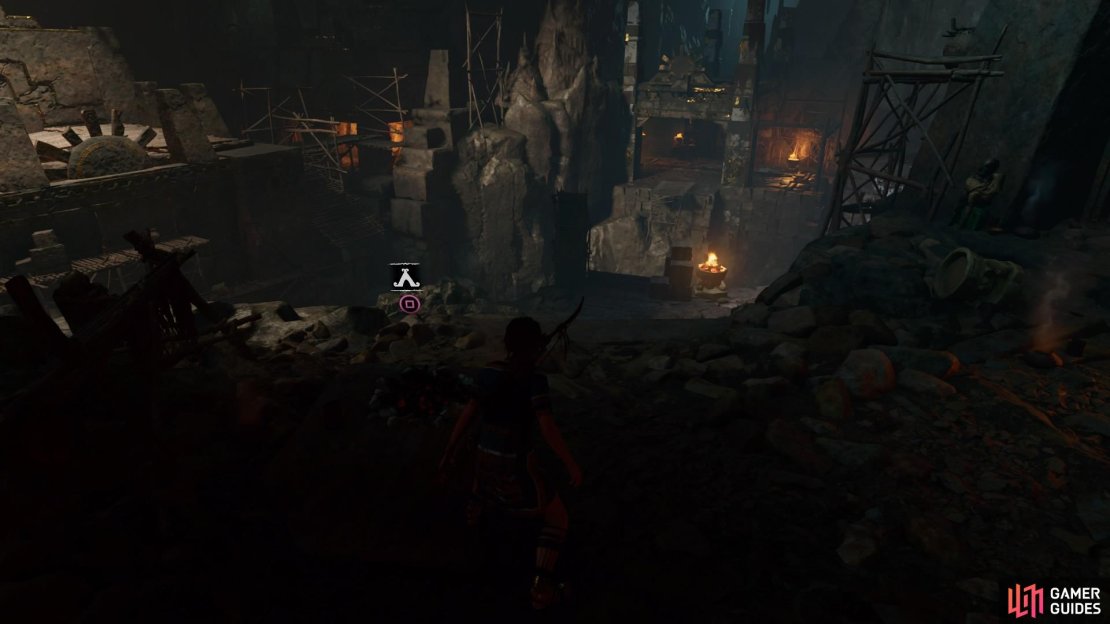
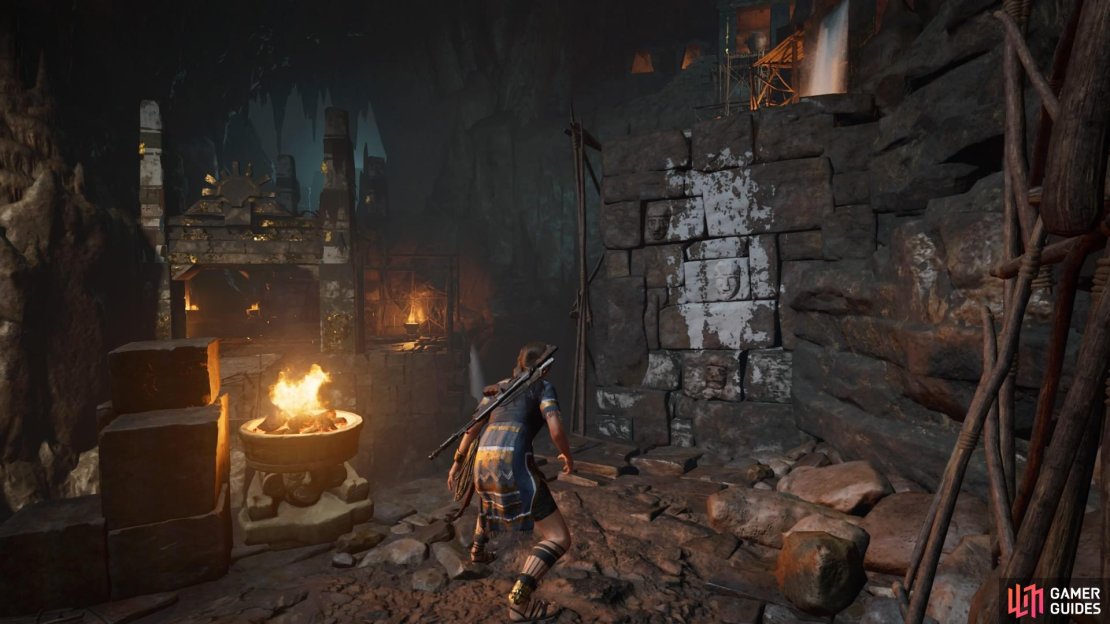
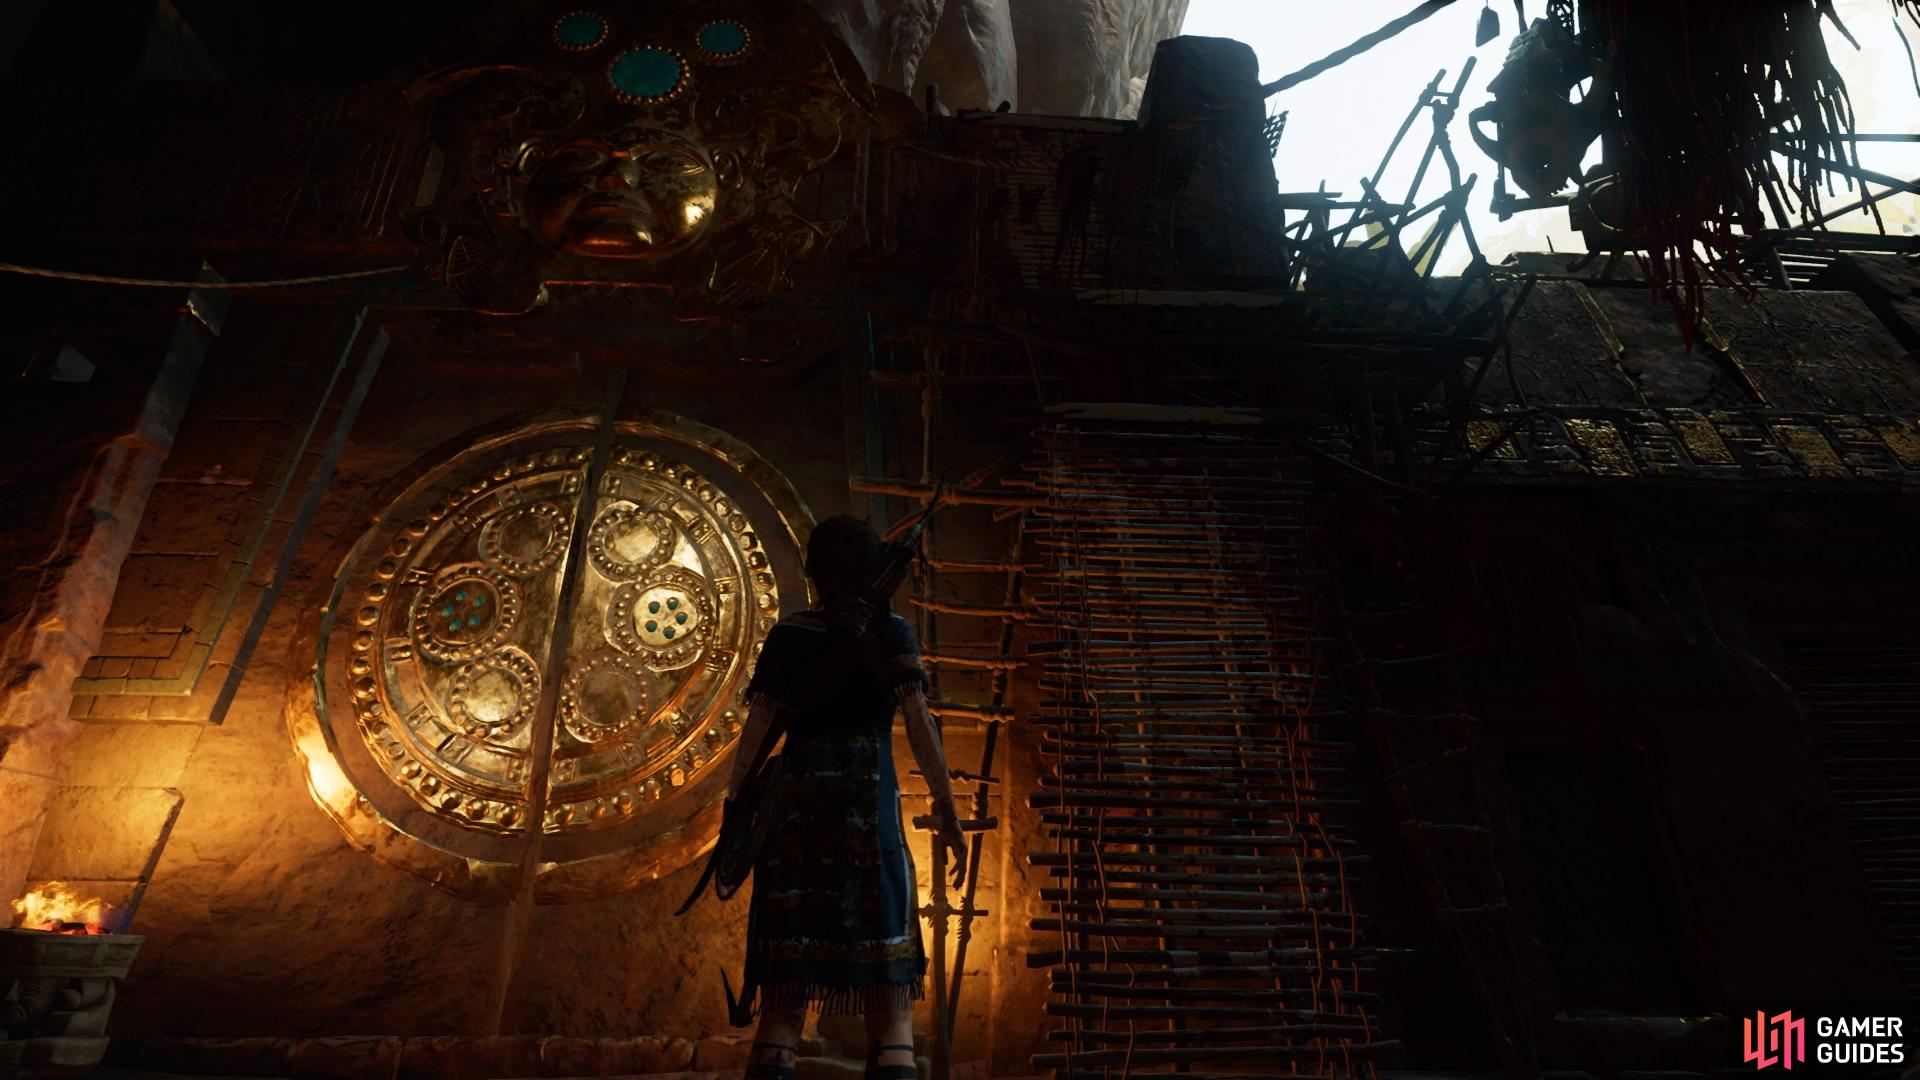
Either way, once you’re done, make your way towards the large golden door at the back of the area, and climb the wall on the right to have Lara automatically spin the wheel and open the gate.
FIND THE SILVER BOX OF IX CHEL
After the cutscene, you’ll regain control, so squeeze through the narrow opening to enter the next area.
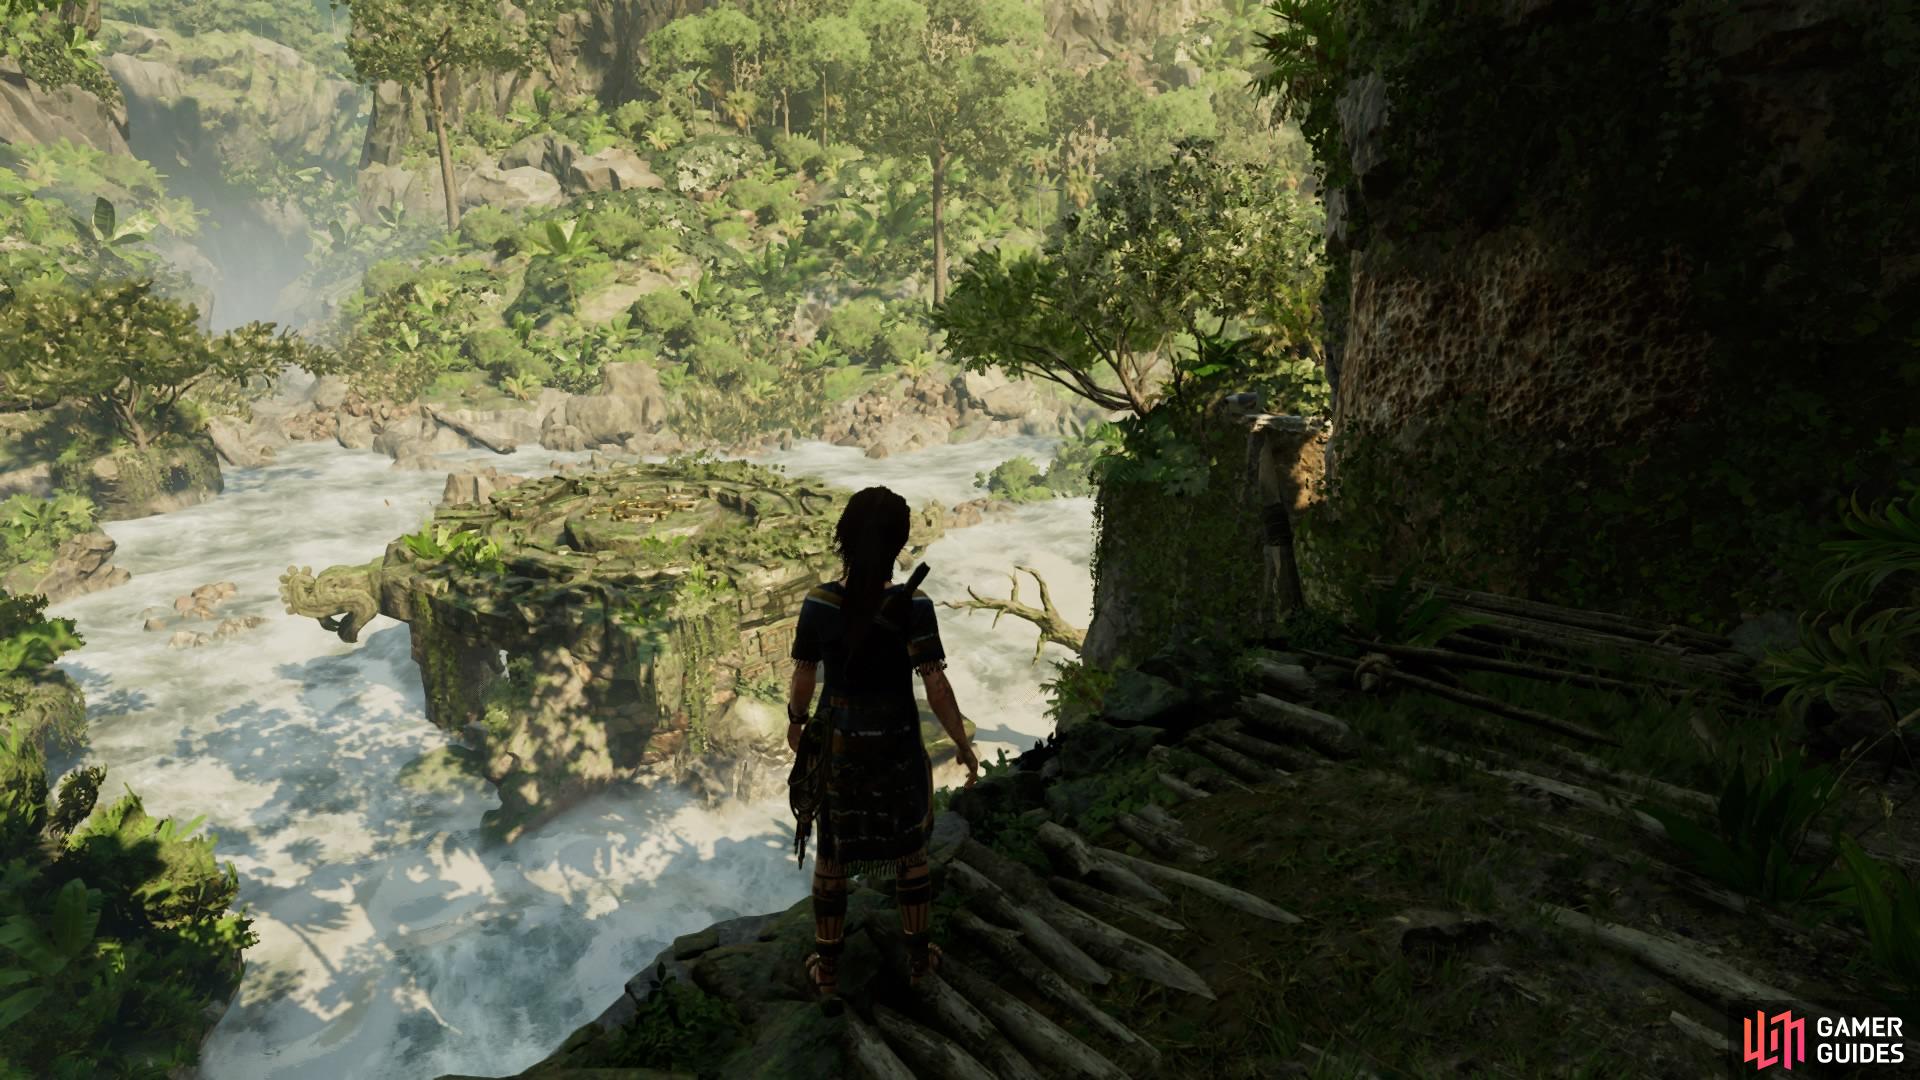
From here, head right to jump off the walkway and attach to the craggy wall and scale left. Then jump to the ledge and quickly press the interact button if Lara loses her grip.
Shimmy around and then scale down the craggy wall until you can rappel down. Wall run to catch the pole on the right and then attach to the next craggy wall. Rappel down to the platform below.
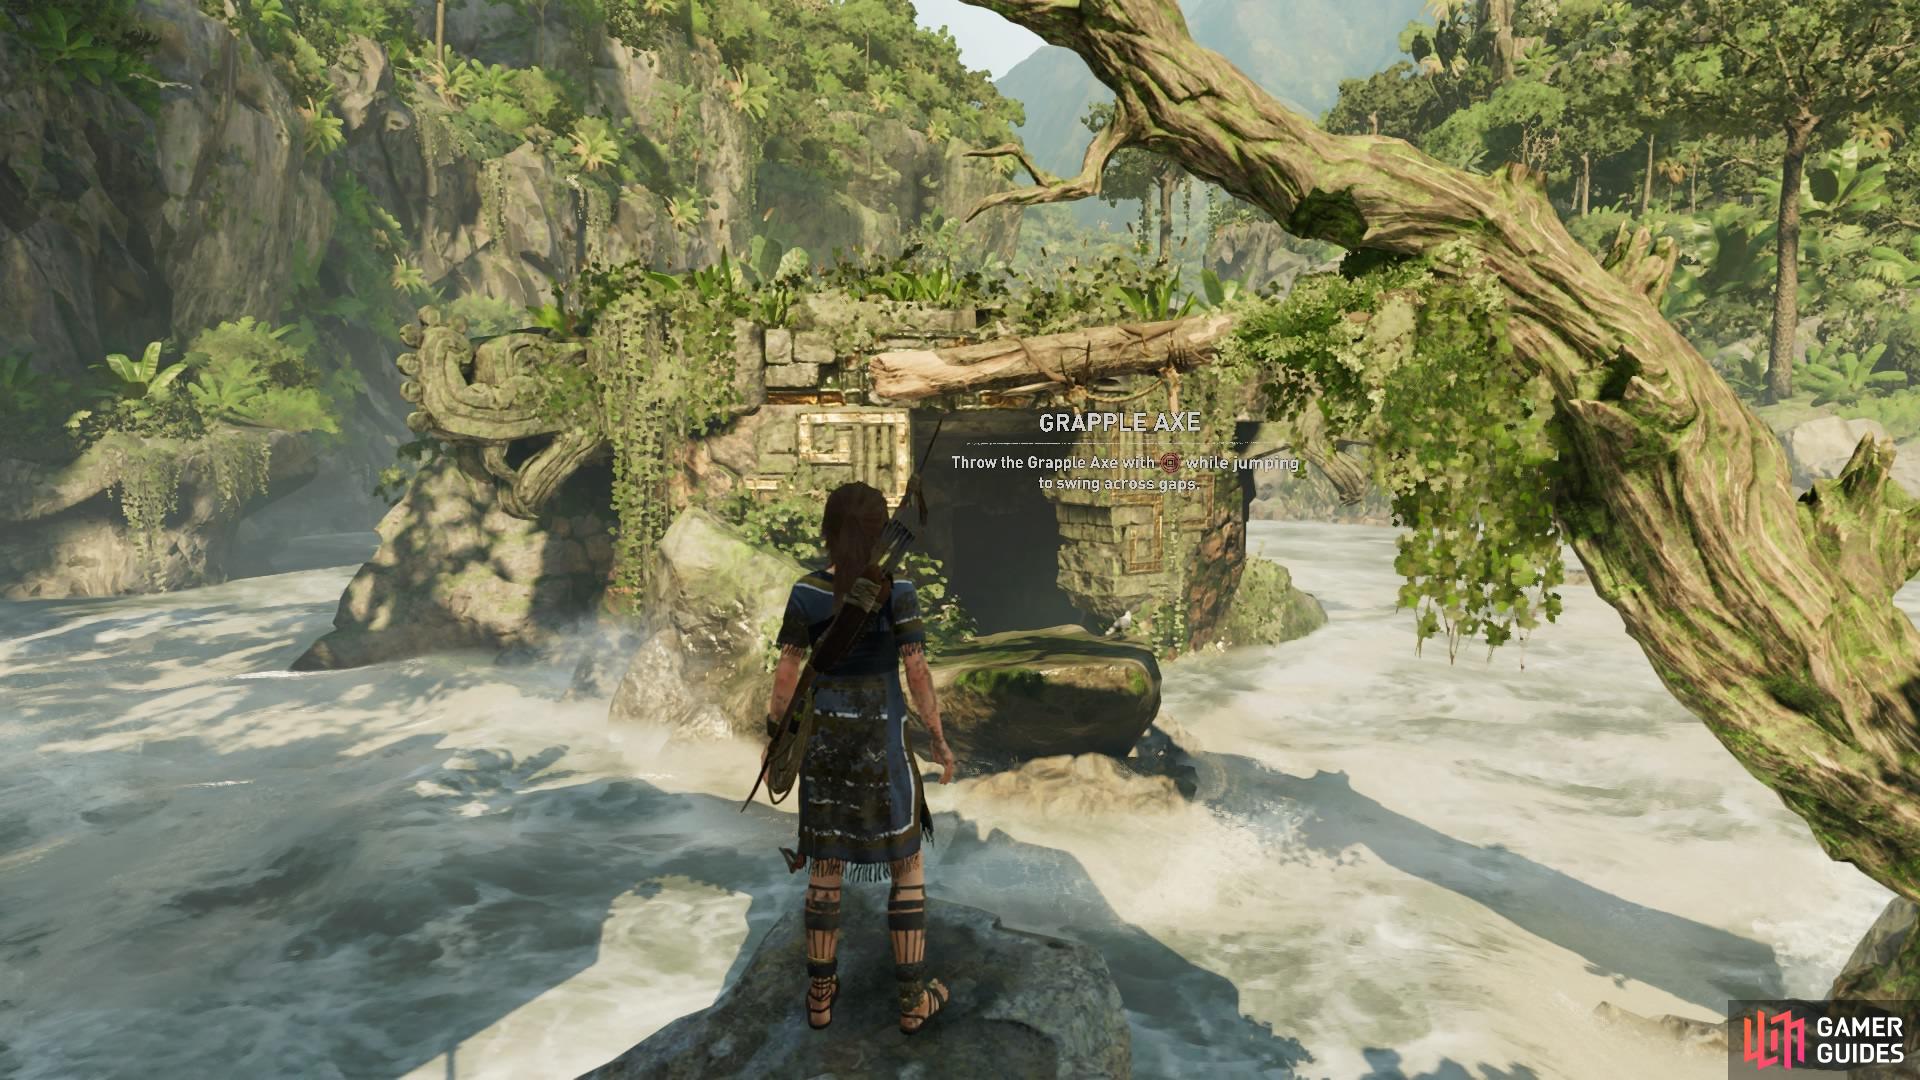
Run forward and jump, quickly followed by throwing out the Grapple Axe to swing to the other side. This is the temple entrance, so head in and jump to the craggy wall ahead, followed by rappelling down and dropping into the water below.
No Comments