CITY OF THE SERPENT – SPEAK WITH ETZLI
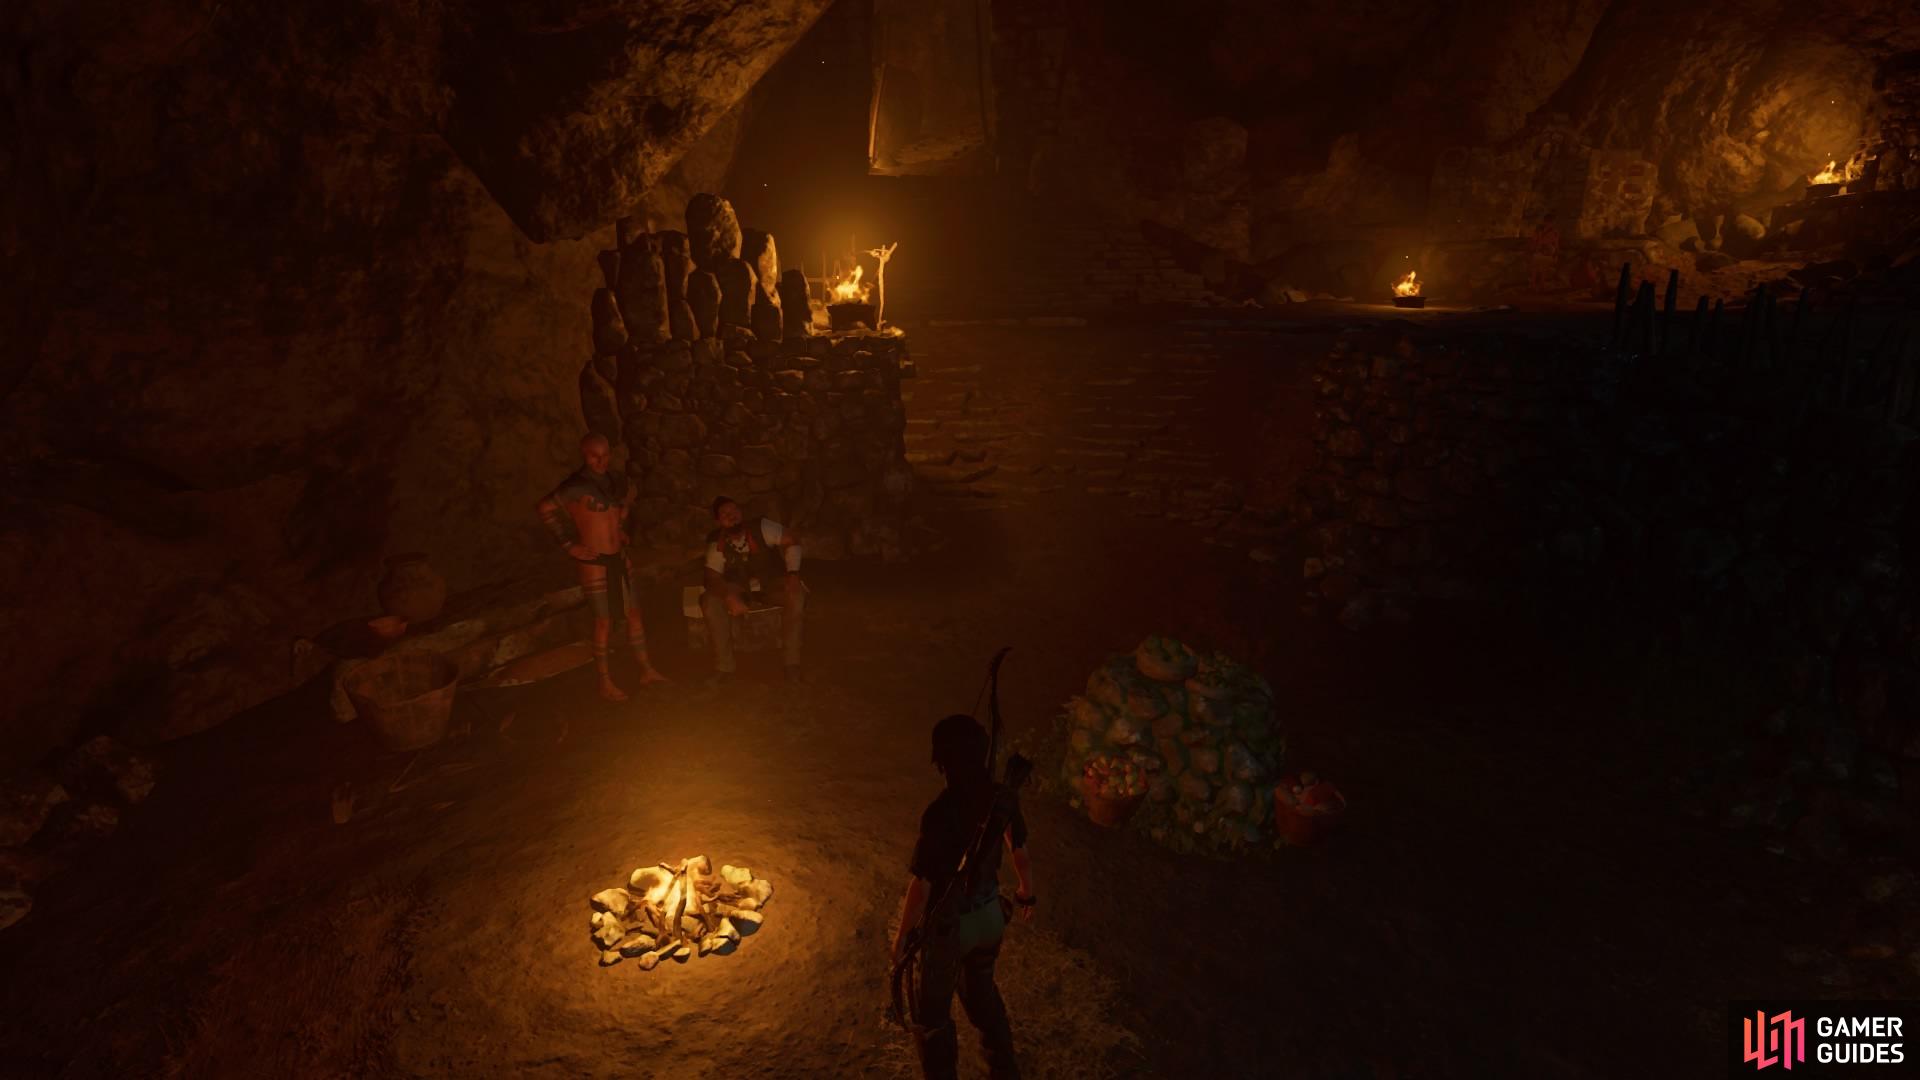
Lara returns to Etzli and Uchu in Paititi where you’ll begin at Skull Cave. You can prepare here for everything you might need before the long battle ahead. When you’re ready to leave, find Etzli standing by the alter to begin the final mission.
| Region Summary | . |
|---|---|
| Base Camp | 1 |
| Challenge Tomb | 0 |
| Mission Giver | 0 |
| Region Challenge | 0 |
| Treasure Chest | 0 |
| Crypt | 0 |
| Relic | 0 |
| Document | 0 |
| Mural | 0 |
| Survival Cache | 0 |
| Monolith | 0 |
CITY OF THE SERPENT – SWIM THROUGH THE IRRIGATION SYSTEM
Swim straight ahead and dive into the hole in the wall. Follow the tunnel – it’s a long way, so fast-swim and make sure to take a breath at both air pockets along the way.
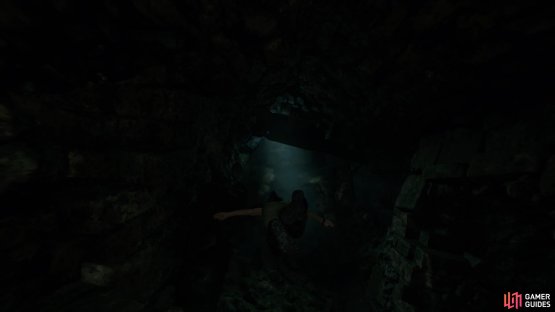
(1 of 2) Fast-swim through the tunnel
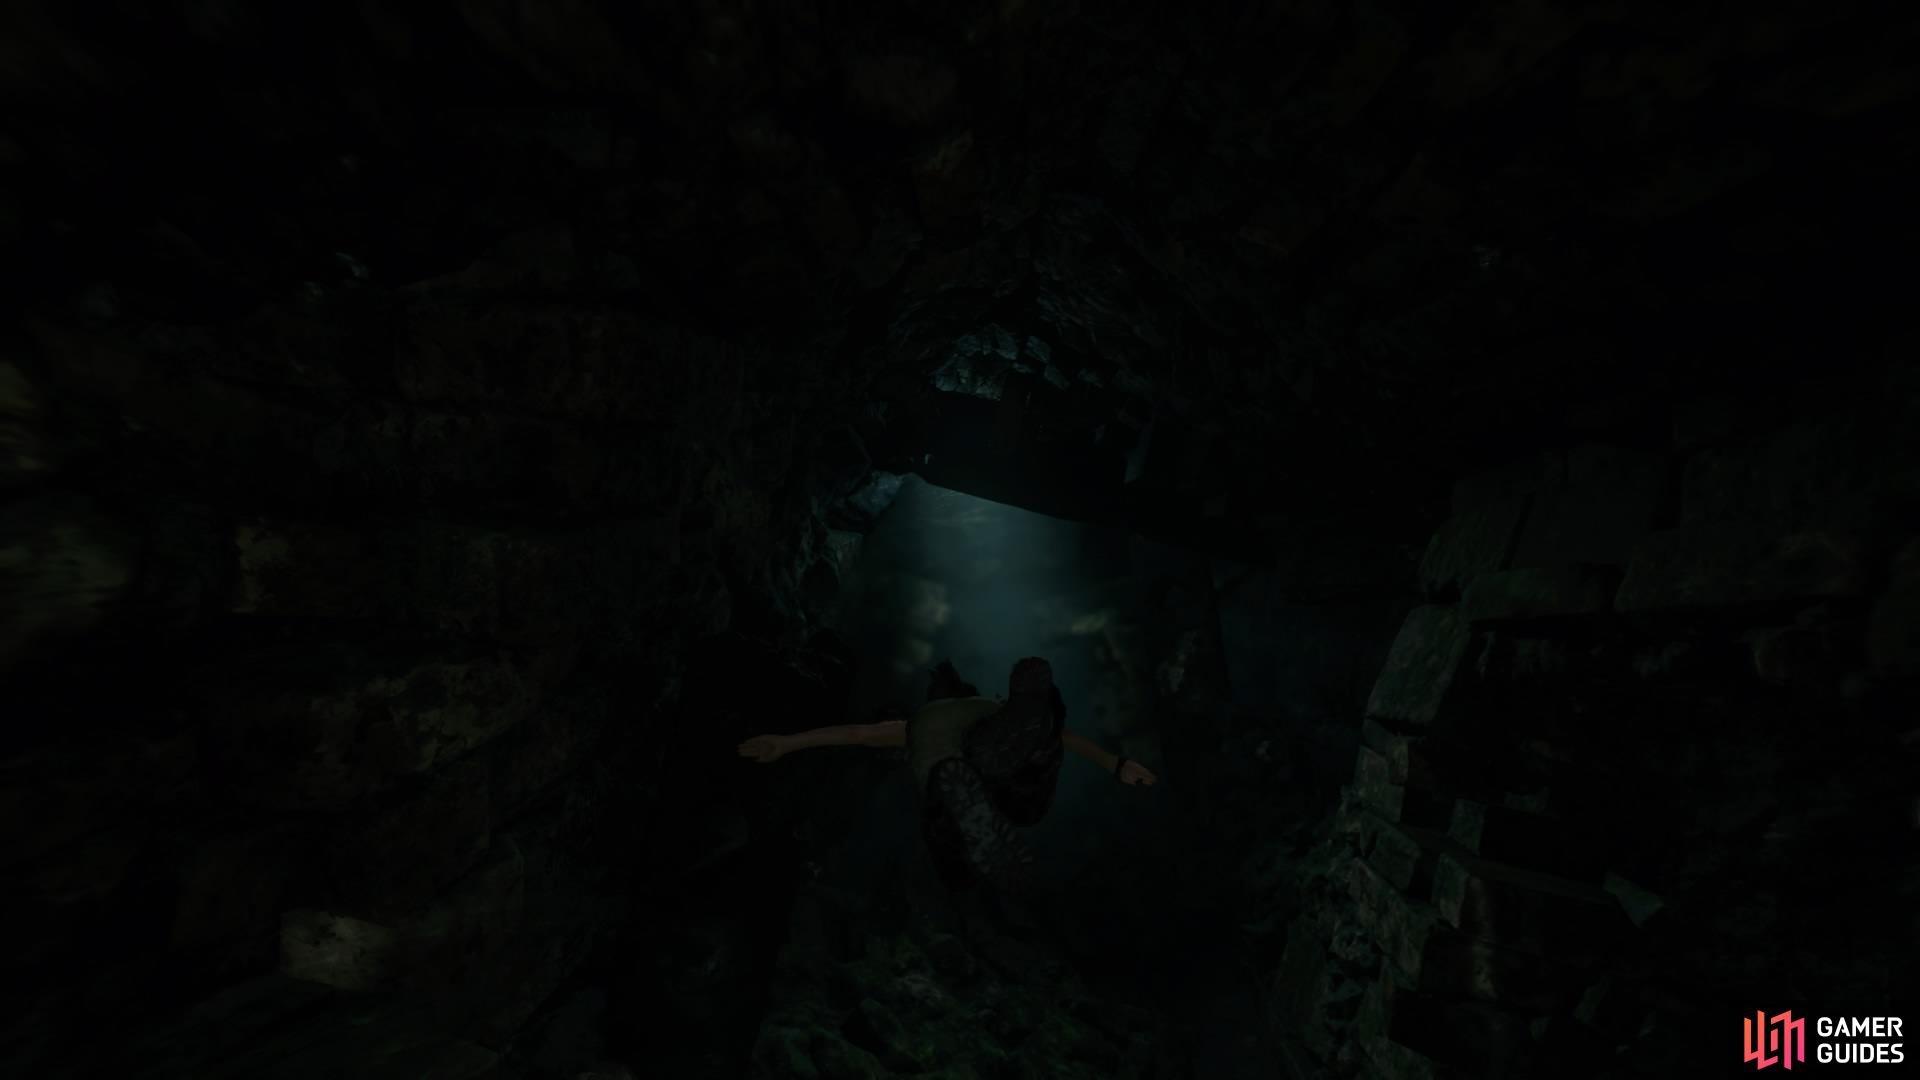
Fast-swim through the tunnel (left), Use the air pockets (right)
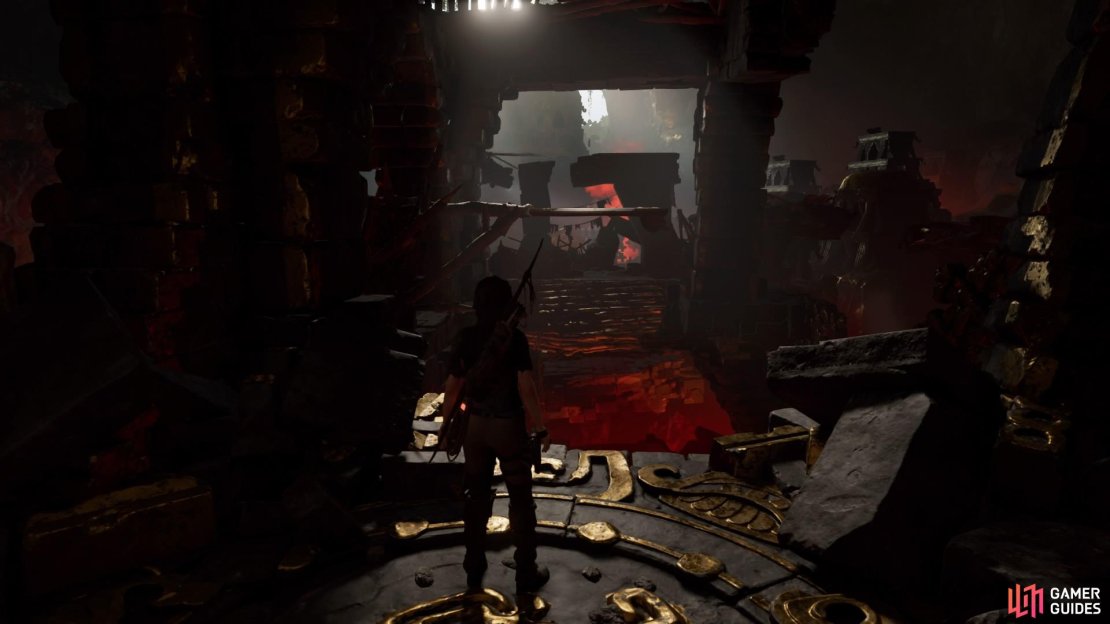
GO TO THE CRIMSON FIRE
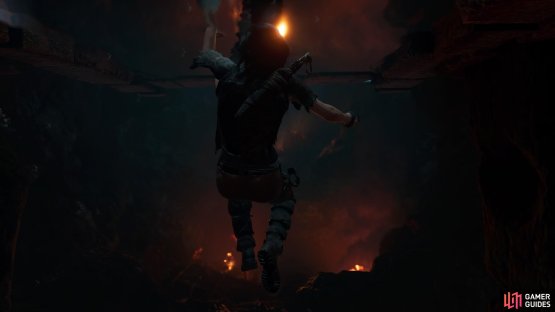
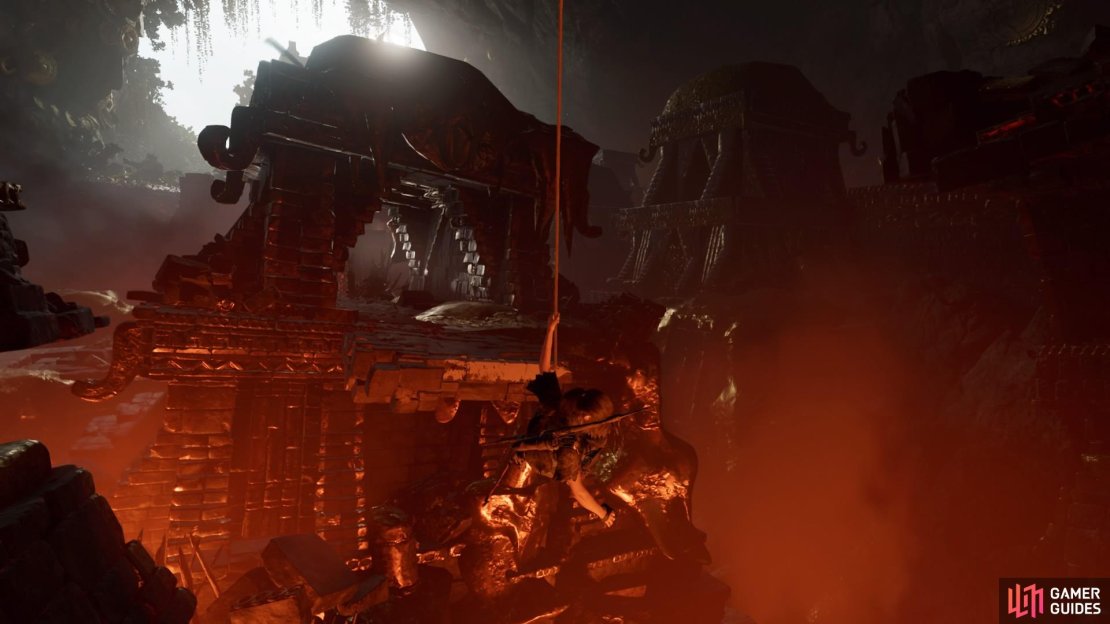
When you resurface, get out of the water and duck through the tunnel. Follow the path to the right, hop the small gap, and jump to the metal hook using the Grapple Axe to swing to the craggy wall. Scale right and up until you can pull yourself onto the platform.
Swing across the pole to reach the ledge and quickly grab on when Lara loses grip. Then pull up and jump over the gap in the walkway. Continue straight ahead – balance across the log and jump off the end, throwing your Grapple Axe to attach to the craggy surface. Pull yourself up and traverse right until you can’t go any further, then rappel down to swing across to the platform below.
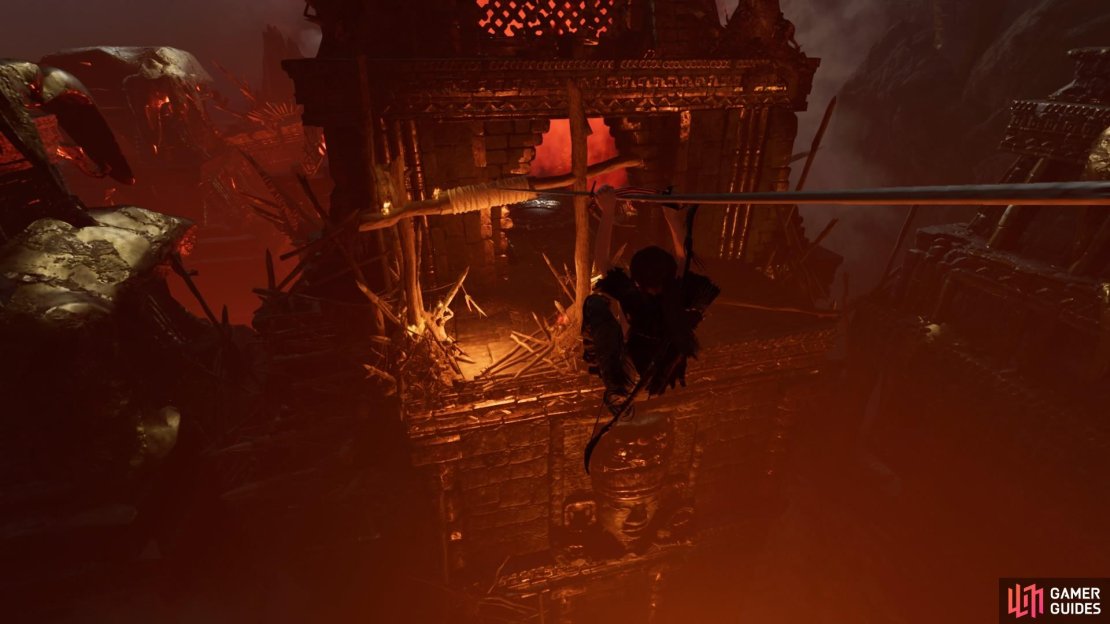
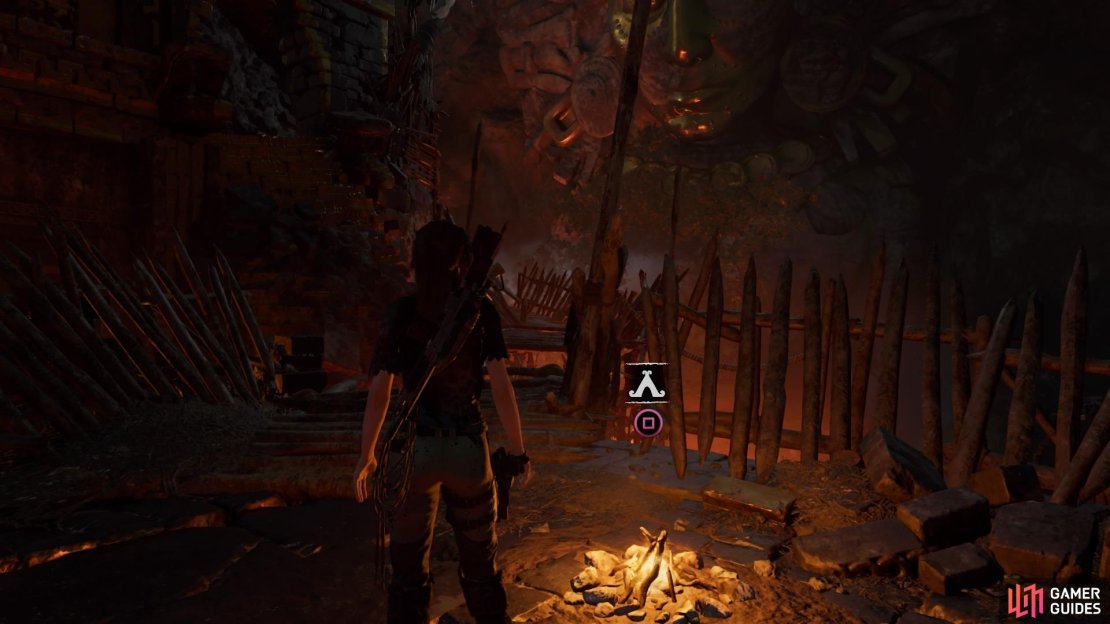
Run through the tunnel and at the far end tether a rope between the post and the beam on the other side. Zipline down for a cutscene with a familiar face.
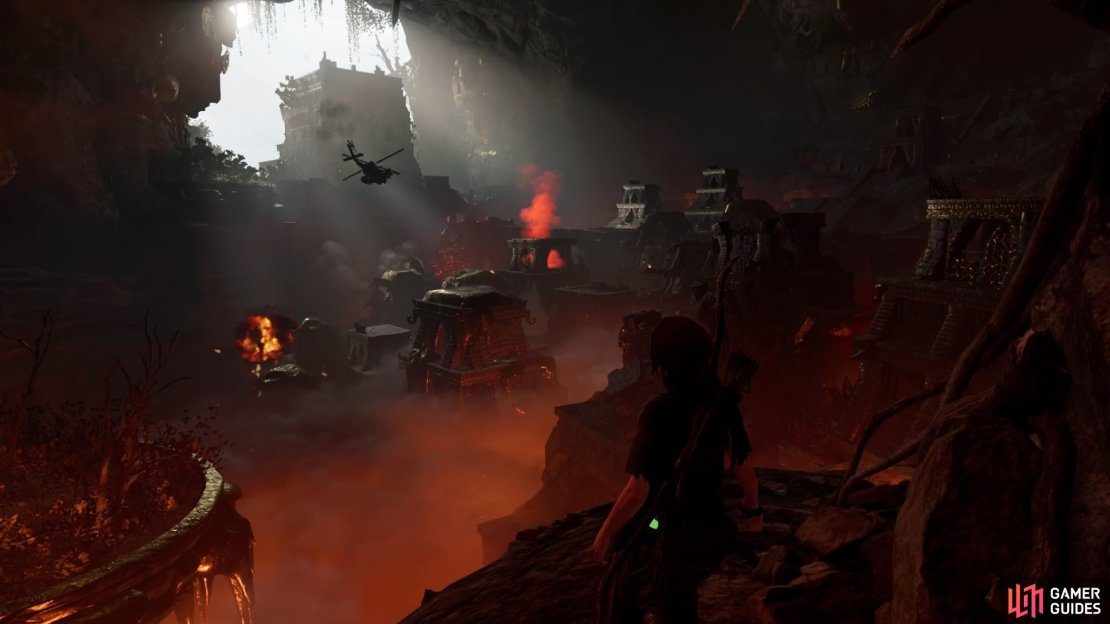

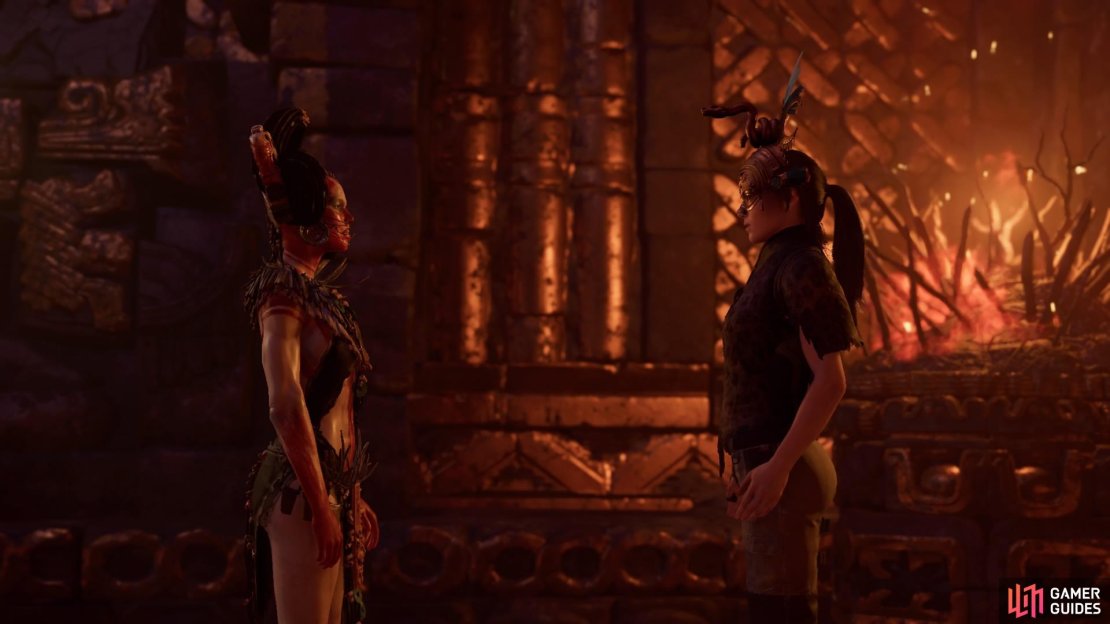
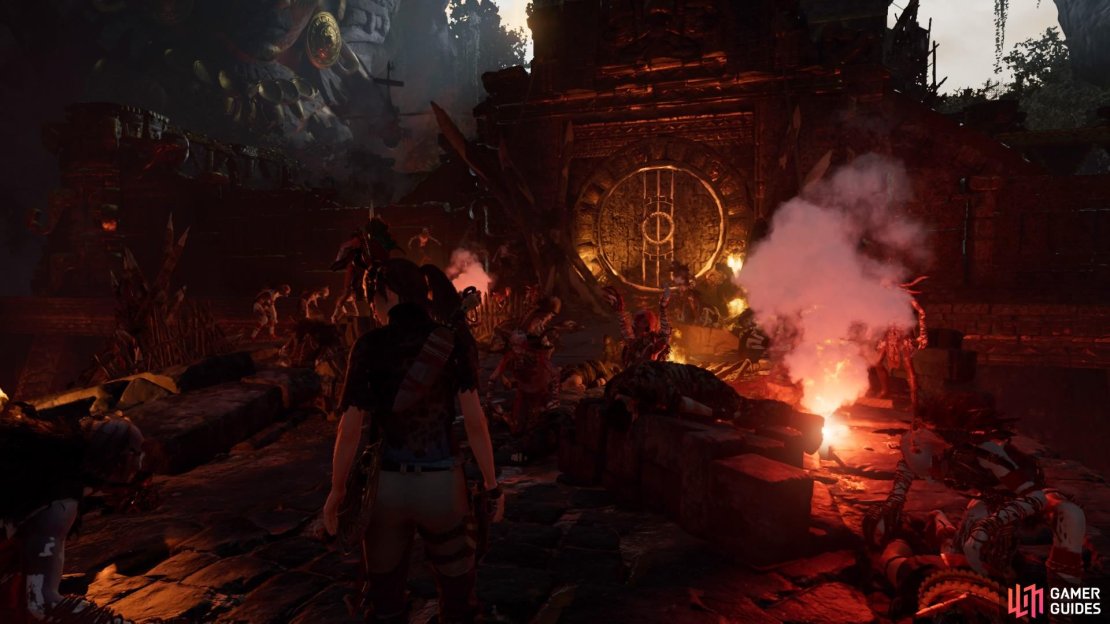
LEAD THE YAAXIL TO THE PYRAMID
As an unexpected turn of events, you now get to fight alongside the Yaaxil!
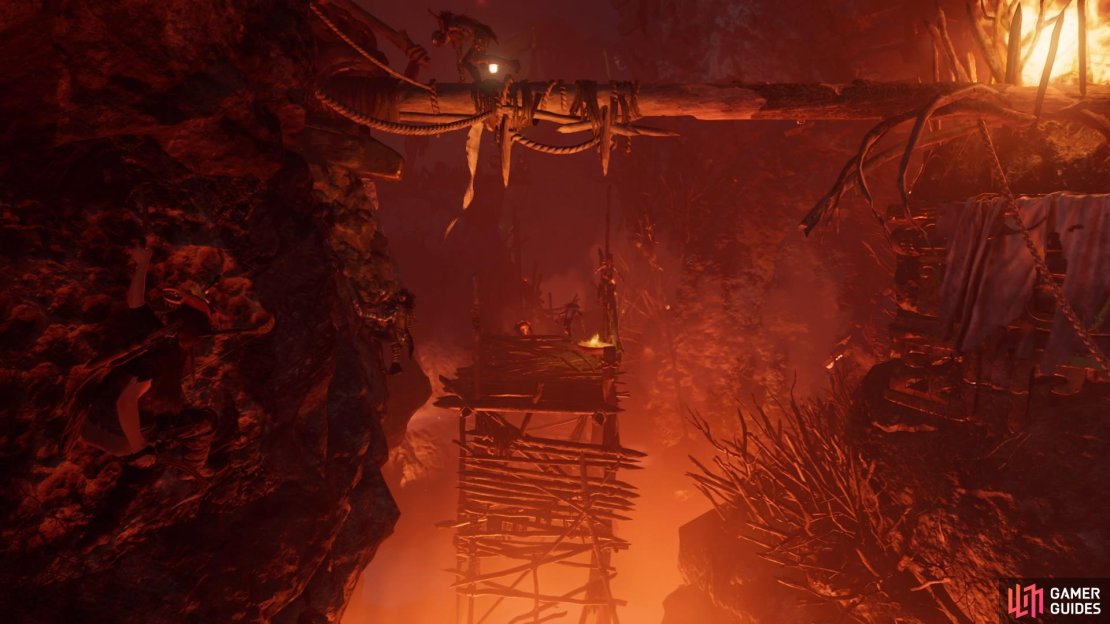
Once you have control again, follow the path forward through the Yaaxil to the large round door and head through. On the other side, swing across to the cliff face and follow the Yaaxil right, using the Grapple Axe to swing across the metal hook and onto the walkway.
Run forward, hop the gap, and scramble up the wall. Traverse left and onto the craggy wall, then scale up to the top. Head forward again, jumping the next gap, and jump again to throw the Grapple Axe and swing across to the next craggy surface. It’ll begin to collapse, so quickly scale right and then up until you reach the upper walkway.

(1 of 3)
Head through the Yaaxil to the next large, round door for another cutscene.
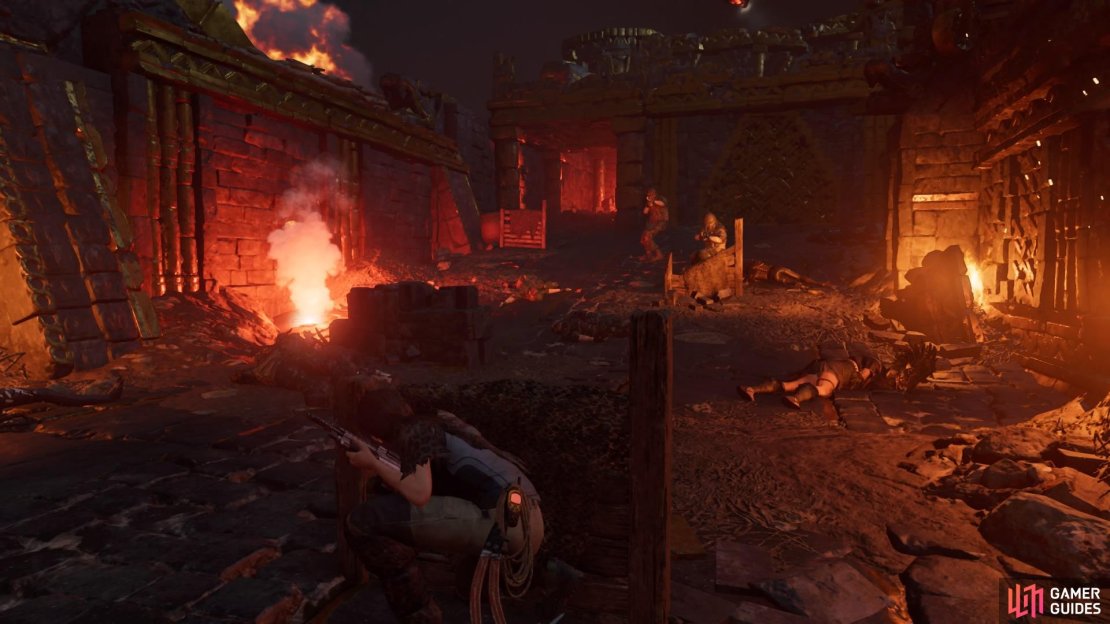
DEFEAT TRINITY
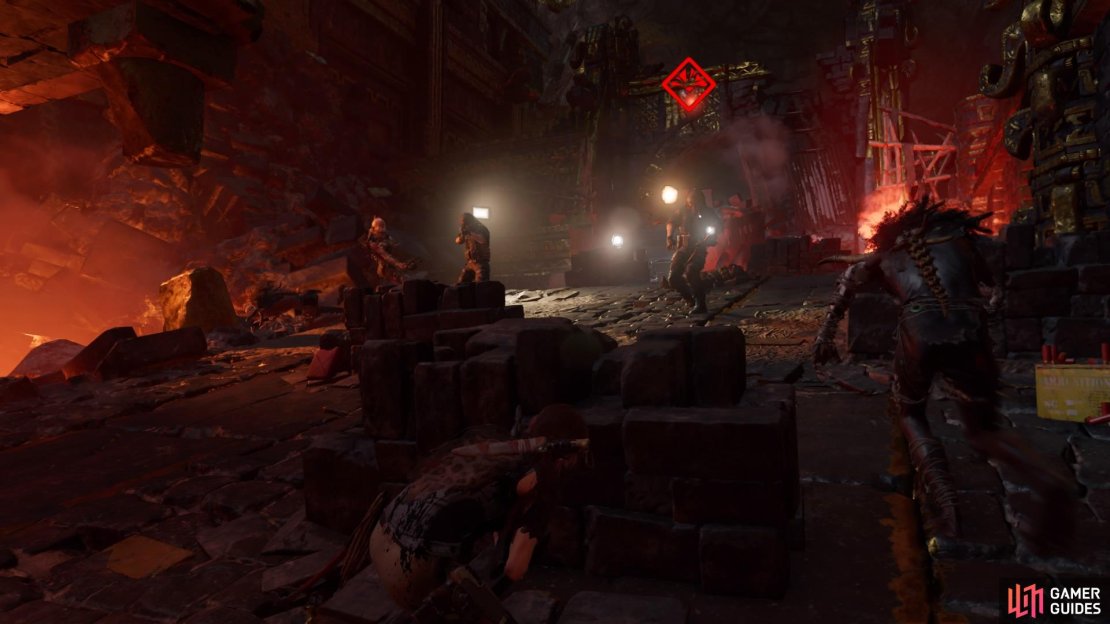
When you have control again, it’s time to help the Yaaxil take down the Trinity soldiers blocking your path. Equip your weapon of choice and get rid of them quickly. You can even shoot the red explosive urns to help you out.
Continue to push forward until turning a corner pits you against a tank (ACP). Simply stay in cover and keep taking out the soldiers as they arrive. Once you’ve taken out enough of them, the Yaaxil will automatically take care of the ACP.
On the right of the tank, scramble up the wall to reach the Base Camp for a quick breather. If you have any unused skill points, it might be worth taking a look at the Combat Skill Tree for anything that will give you an advantage later.
(1 of 3)
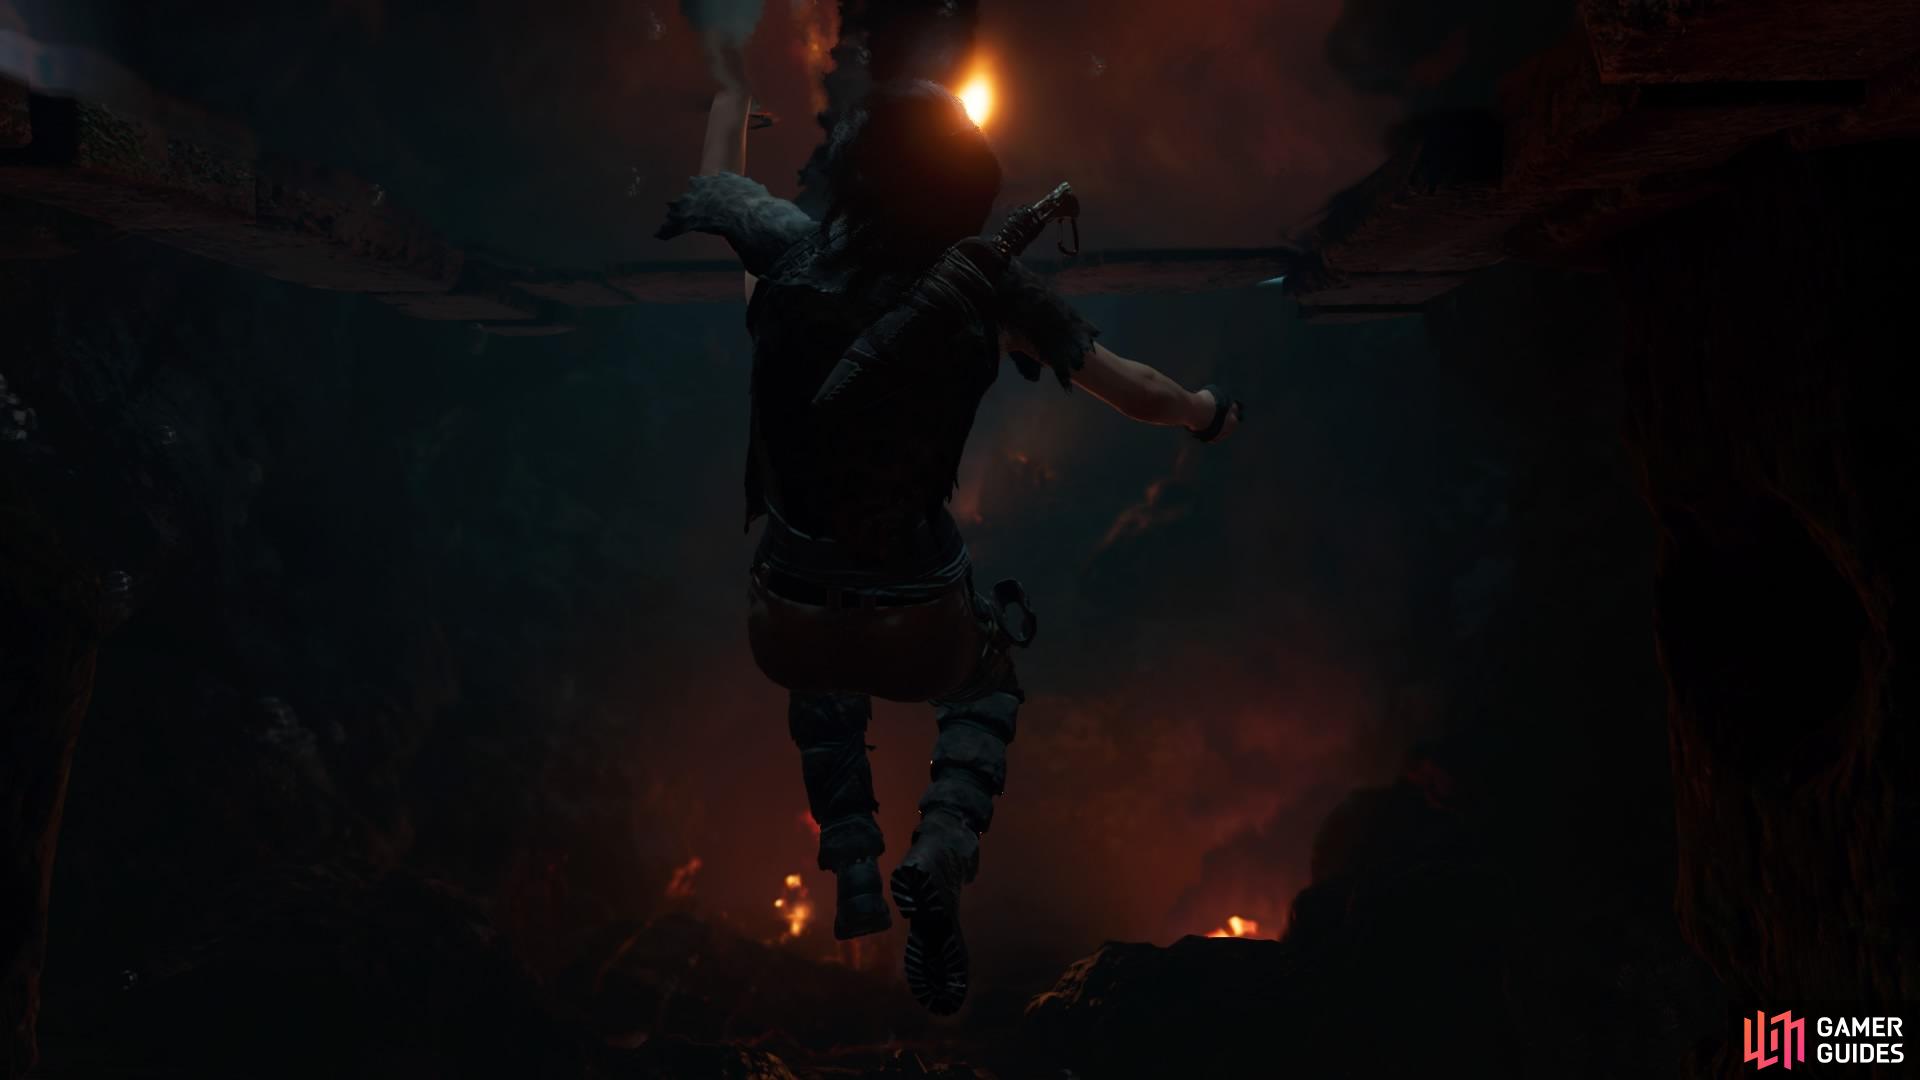
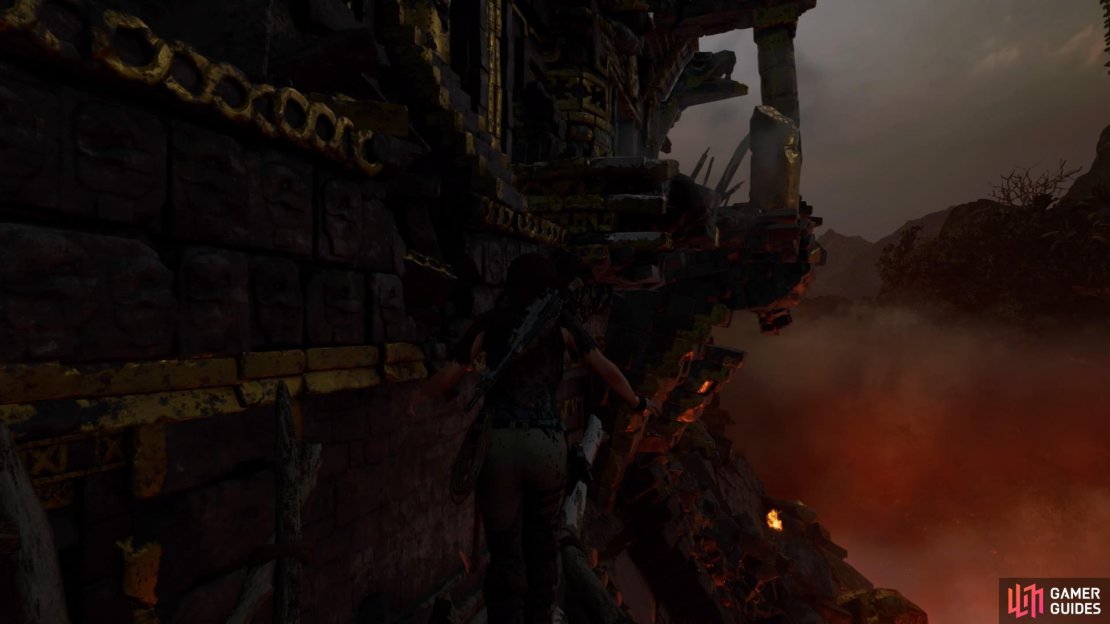
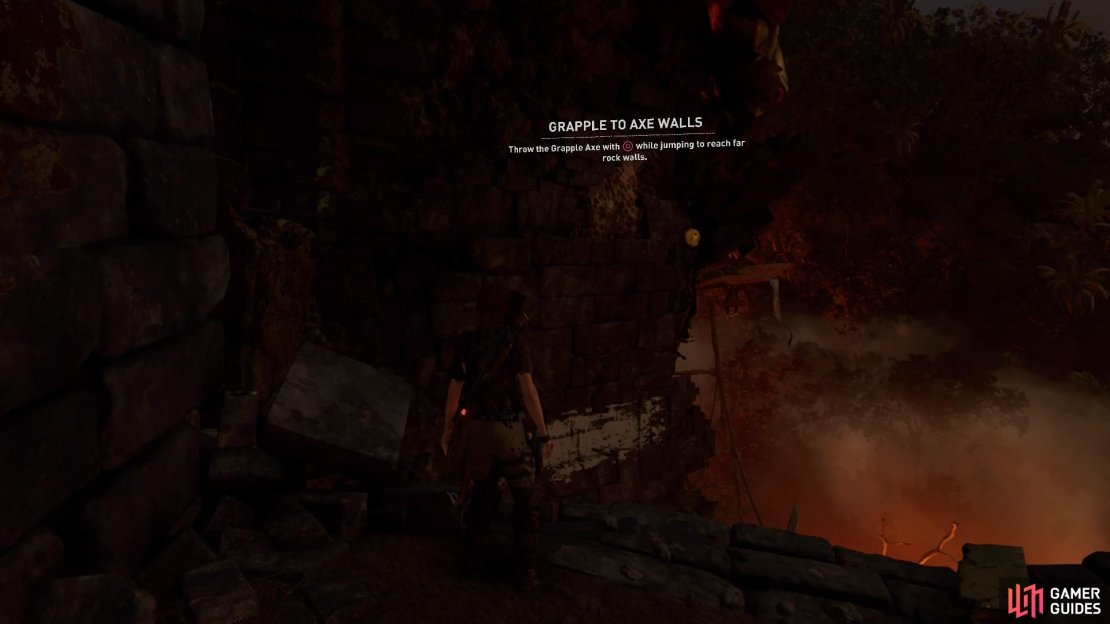
When you’re ready, run forward along the wooden platform and attach to the craggy wall at the end. Scale up and right until you reach the top, then balance along the wooden beam and take a big leap towards the yellow ledge. You’ll have to throw the Grapple Axe to catch it, then climb up, slide down the crumbling platform, throw the axe again to catch the metal hook, and swing to the craggy wall.
Scale up the wall to the top, run forward and throw the Grapple Axe again to attach to the wall ahead, and wall-run over to the right to another metal hook. You’ll swing to a wooden beam that pivots to the next wall.

(1 of 3)
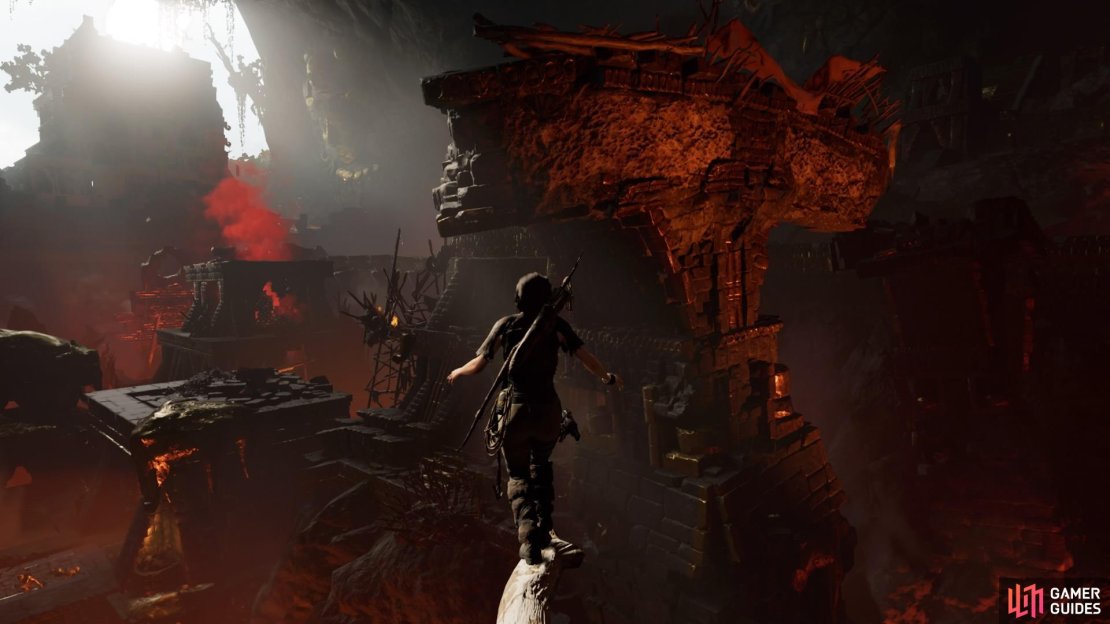
From here, continue to make your way up, careful of falling debris, until you reach the craggy surface that crumbles as you make your way around it. Scale right until you reach the end, then jump off and throw the Grapple Axe to attach to the overhang.
Now scale the overhang to the right until you can pull yourself up to the top, where you’ll finally have to face off against Dominguez.
No Comments