| Region Summary | . |
|---|---|
| Base Camp | 1 |
| Challenge Tomb | 0 |
| Mission Giver | 0 |
| Region Challenge | 0 |
| Treasure Chest | 0 |
| Crypt | 0 |
| Relic | 0 |
| Document | 1 |
| Mural | 2 |
| Survival Cache | 1 |
| Monolith | 0 |
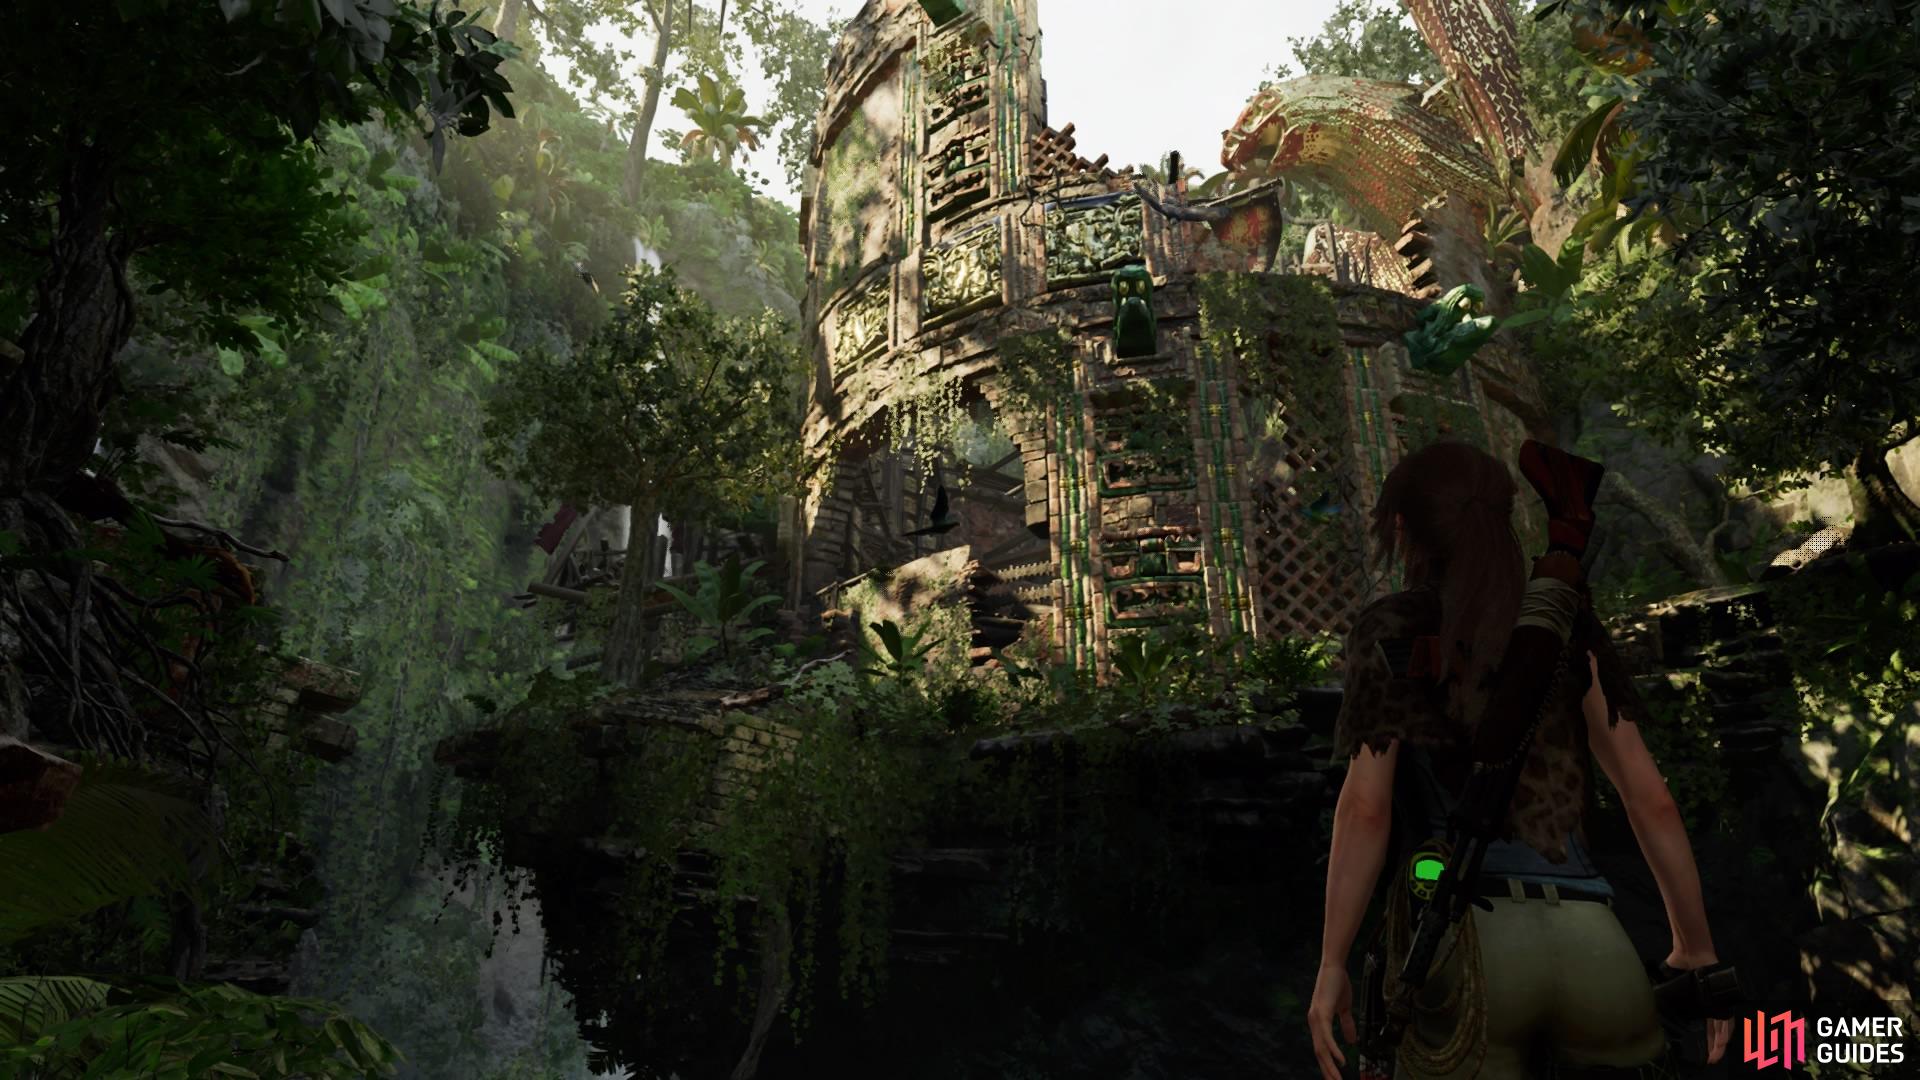
PATH TO THE HIDDEN CITY - COMPLETE THE TRIAL OF THE EAGLE
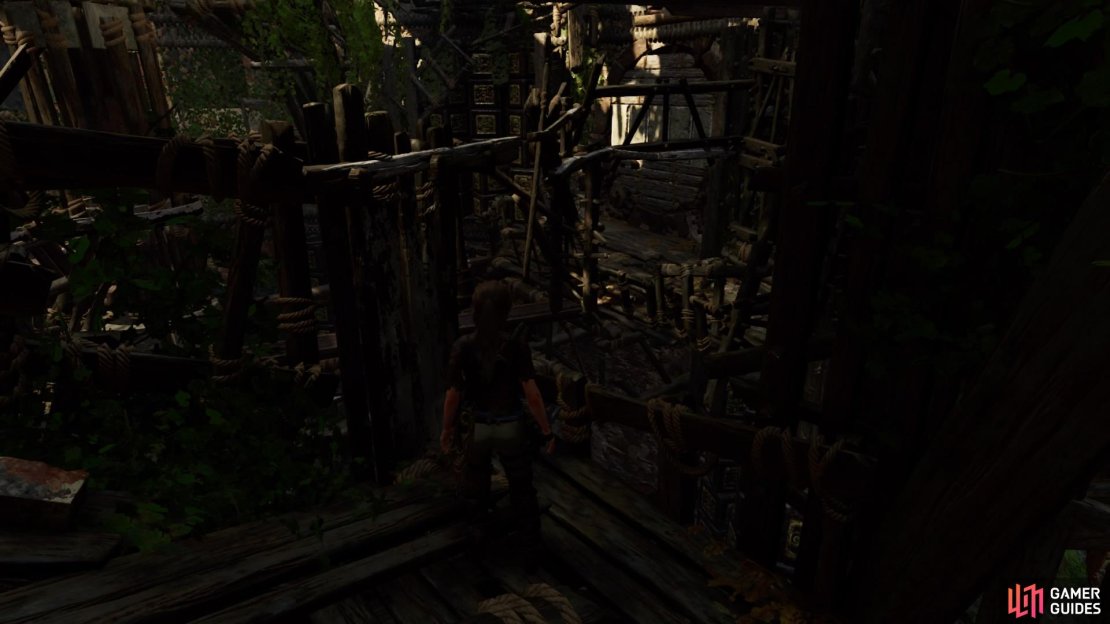
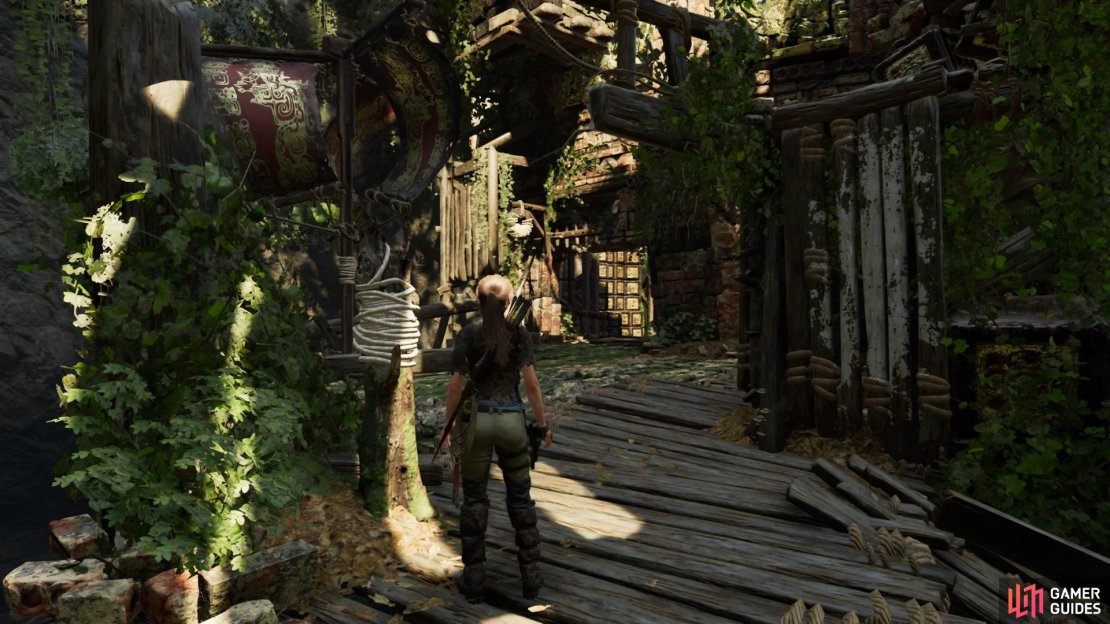
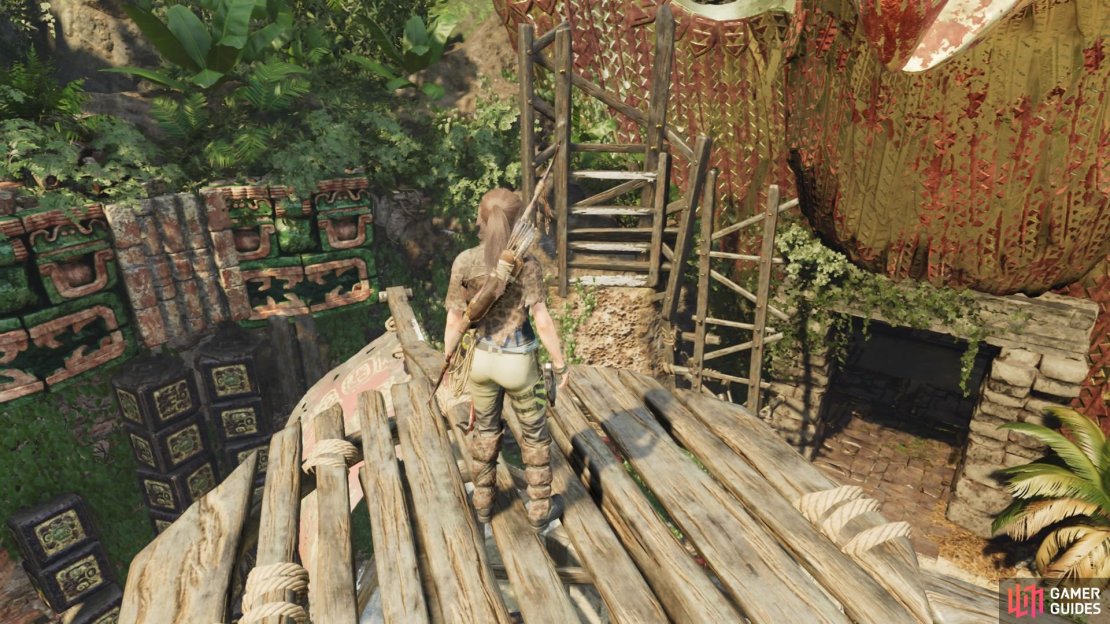
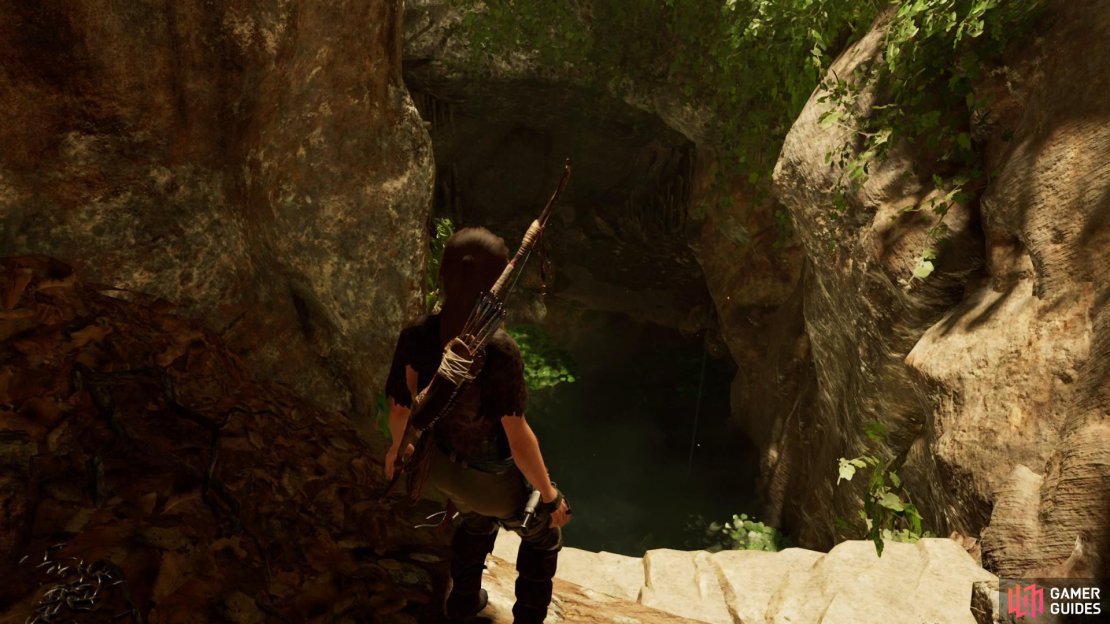
Follow the path left until you reach the Base Camp, and upgrade skills or weapons if necessary. When you’re done, leap forward to the steps – head right from here first, though, to inspect a mural and uncover a survival cache – and climb up the wooden platform.


(1 of 2) Base Camp
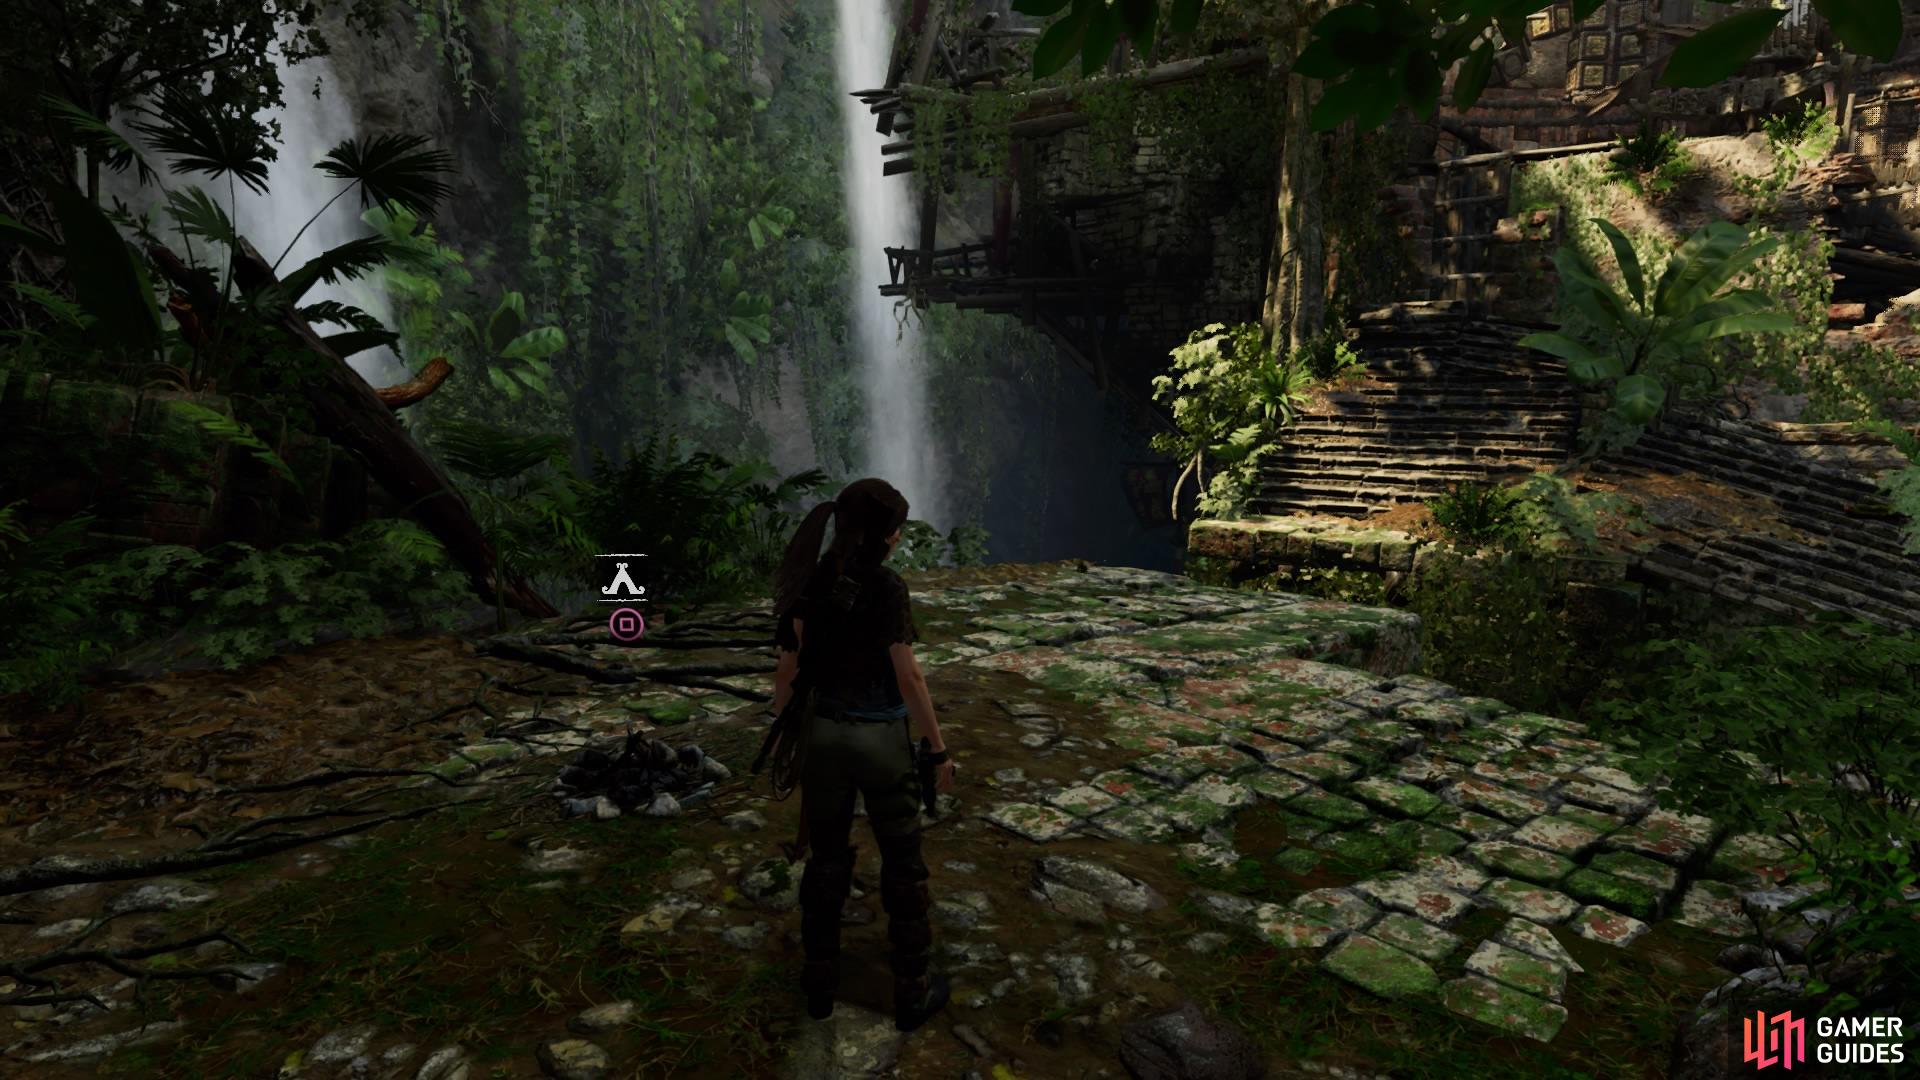
Base Camp (left), Mural and Survival Cache (right)
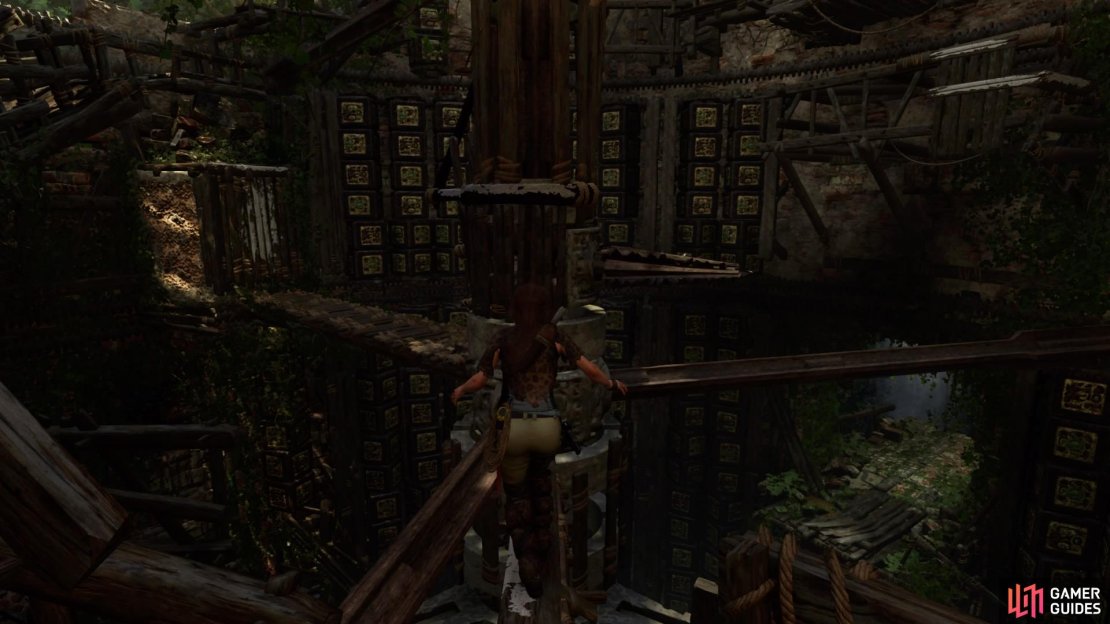
The trial, as you probably suspected, is another puzzle based on making your way to the exit via the central rotating pillar.
Follow these steps:
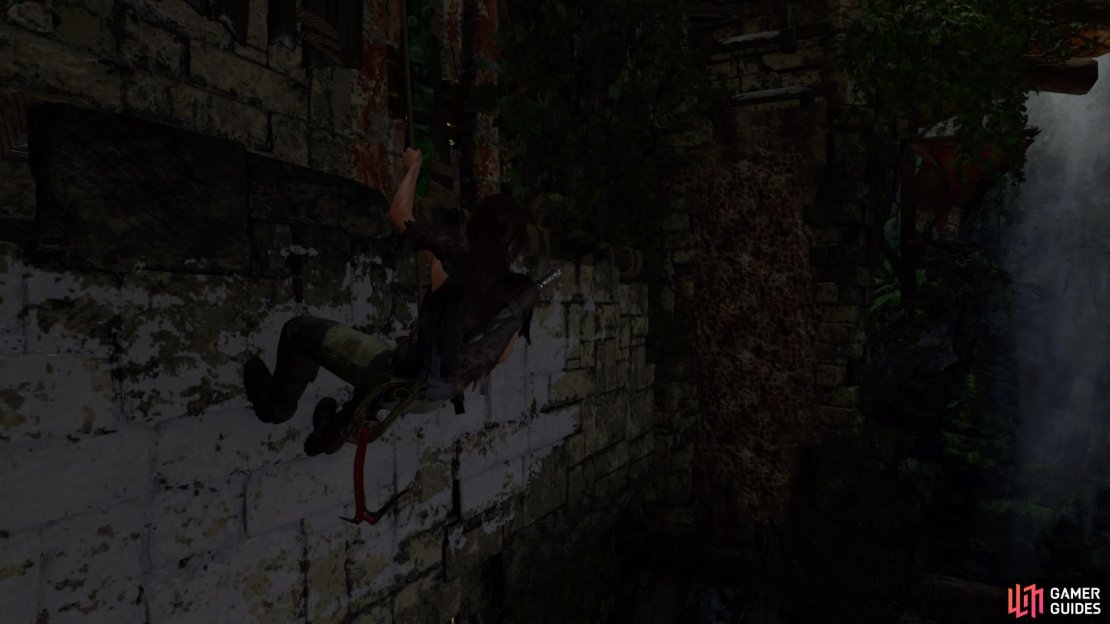
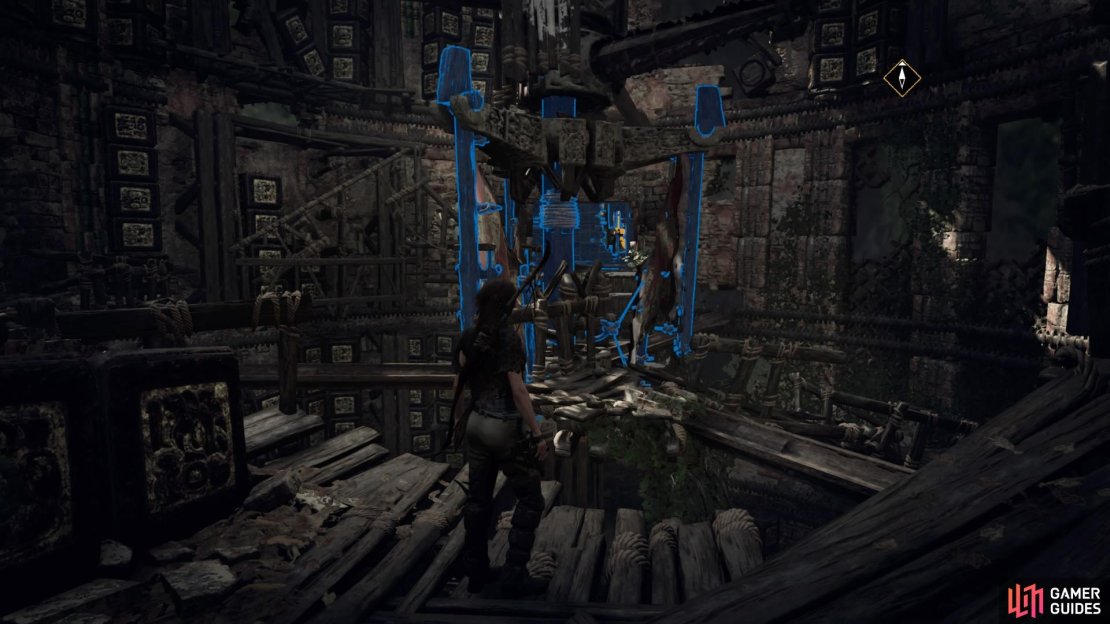
(1) Go right and climb on to the horizontal beam. Shimmy across until you can dismount on the other side.
(2) Tightrope along the beam toward the centre and jump on to the ledge that runs around the central pillar. Shimmy left until you can drop down on to the walkway below.
(3) Scramble up the wall, traverse left to the craggy wall, and rappel down on to the next lower walkway.
(4) Follow the path back to the centre and around to the other side, then jump to the outer wall and scramble up to the ledge.
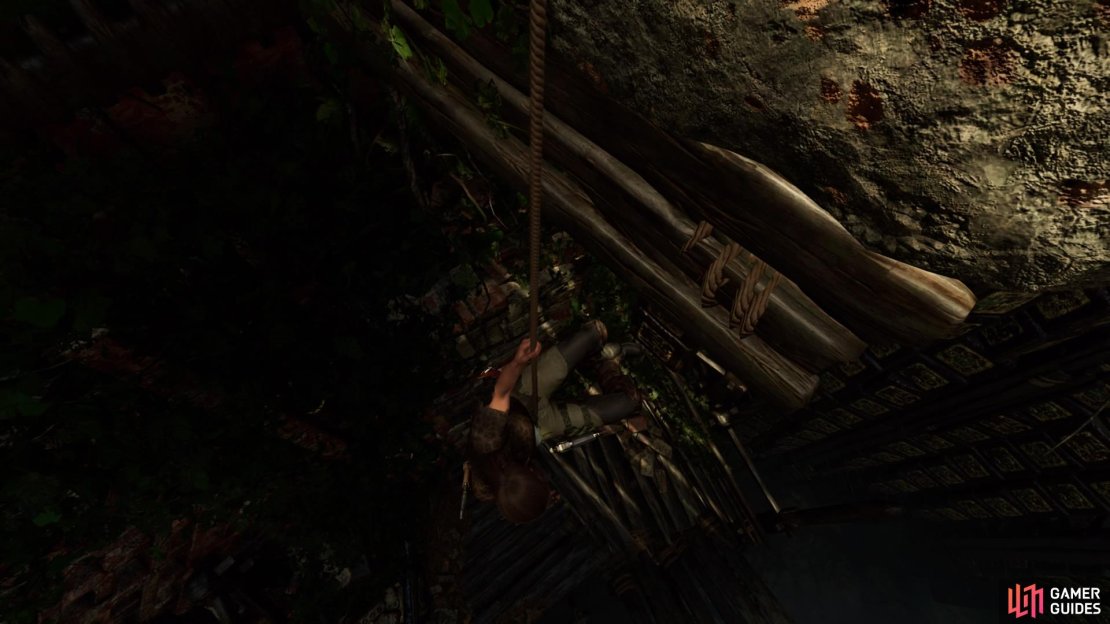
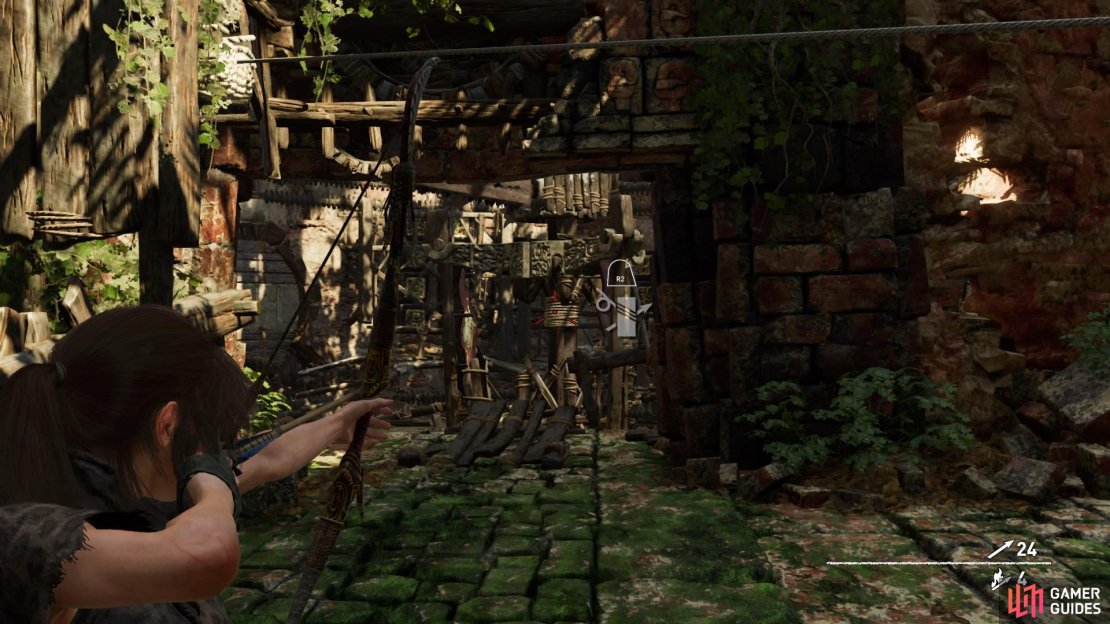
(5) Traverse right until you reach the craggy wall and rappel down. Wall-run to jump to the next craggy wall on the right and climb up to reach the first winch platform.
(6) Stand next to the winch and shoot a rope arrow to the coil around the central pillar.
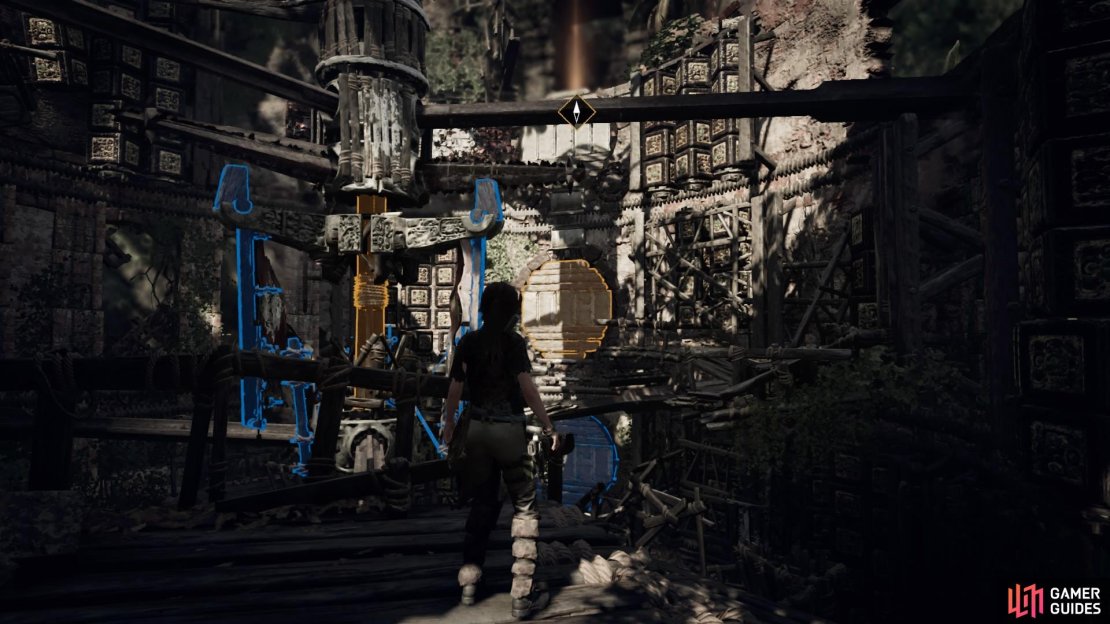
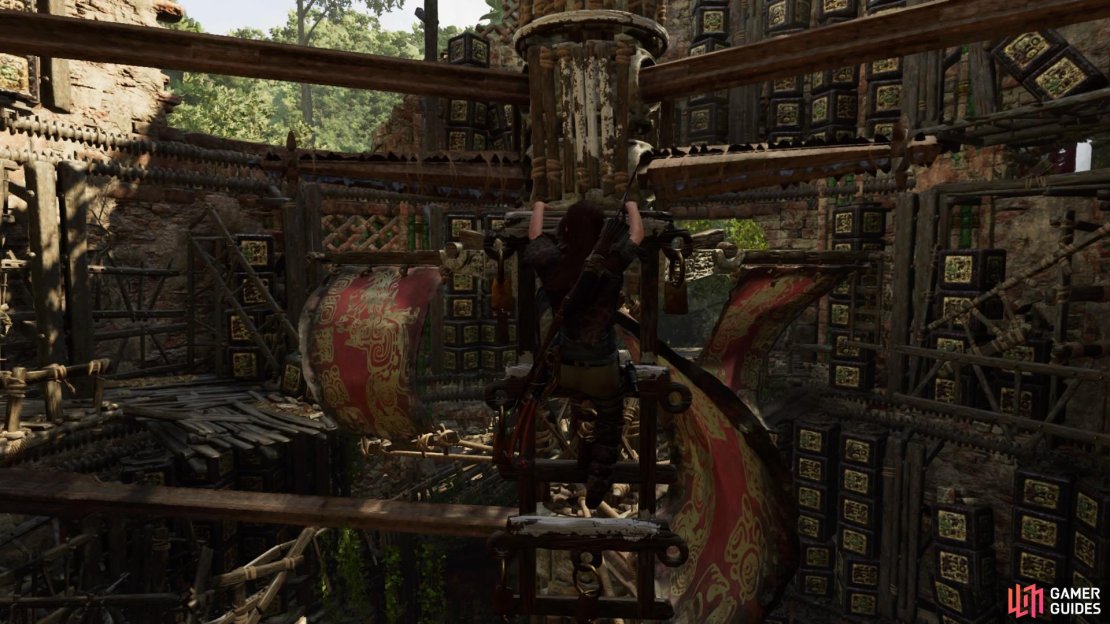
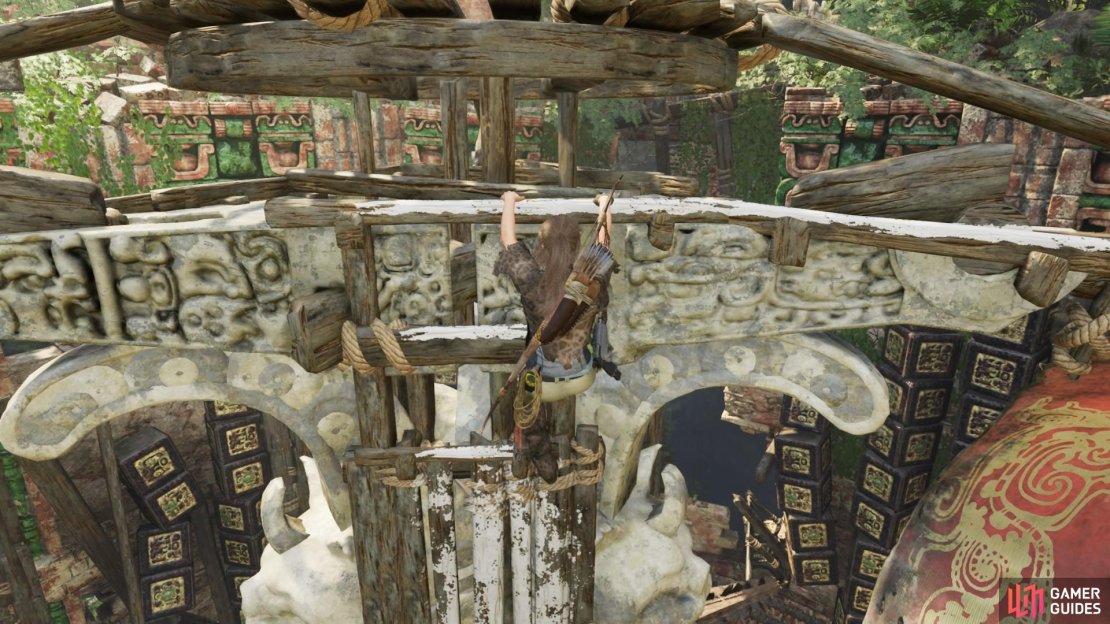
(7) Next, run toward the pillar and jump to the rotating ladder to climb on to the beam.
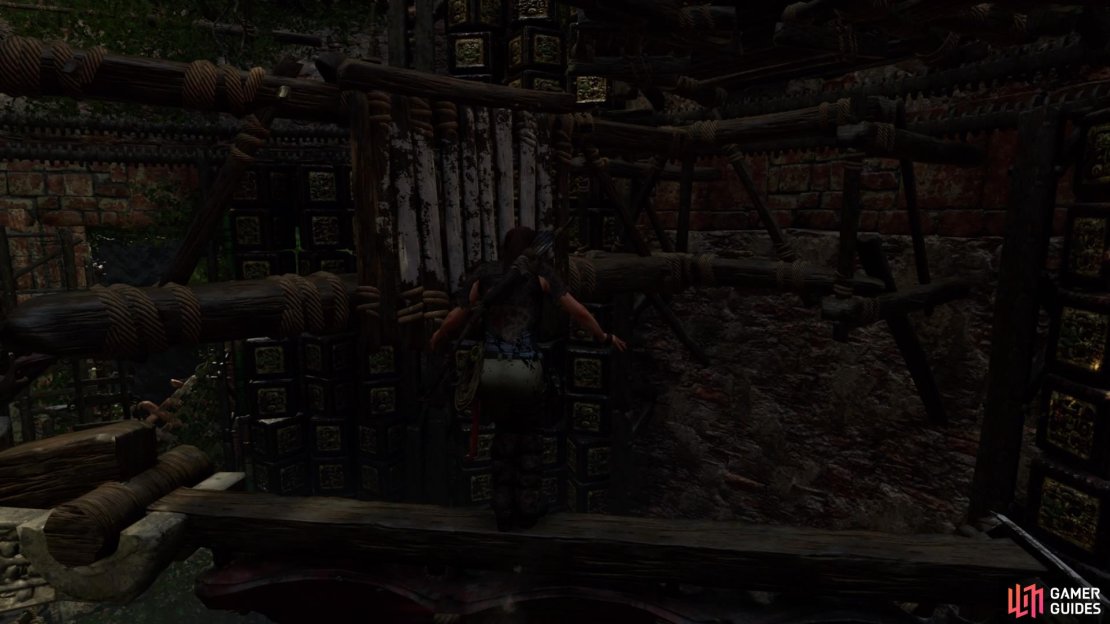
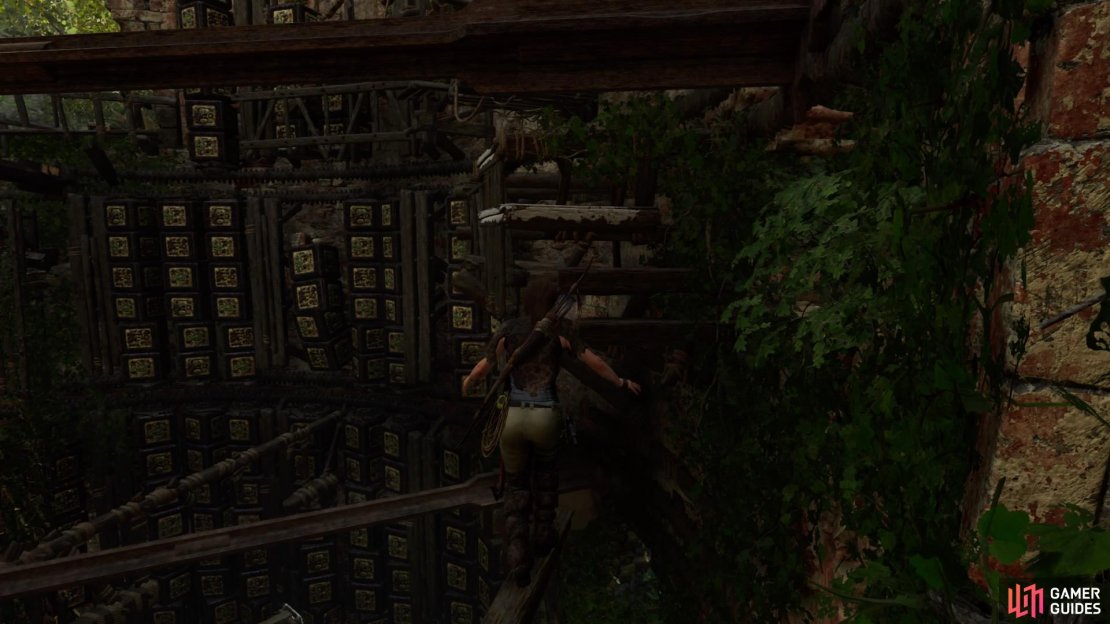
(8) Pause to pass a wooden frame, move inward to avoid the next one, and then move outward again to scramble up the wooden boards. Let the next arm pass you before climbing up to the beam above.
(9) Wait for the rotating ladder in the wall to turn upright and quickly climb up. Jump to the boards above and then head right to access to the next wooden platform.
(1 of 3) (7)
(10) Jump to the centre and follow the walkway forward, then left at the bottom.
(11) Jump to the ledge, shimmy left, and climb on to the stone floor.
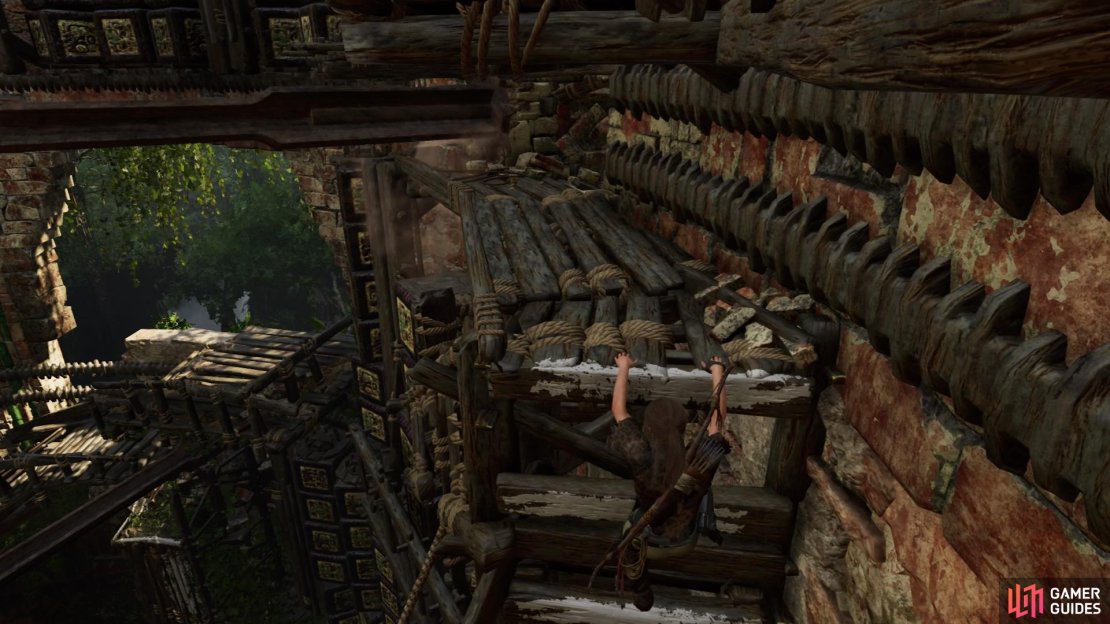
(12) Scramble up to the next walkway, but pause to let the arm pass over you.
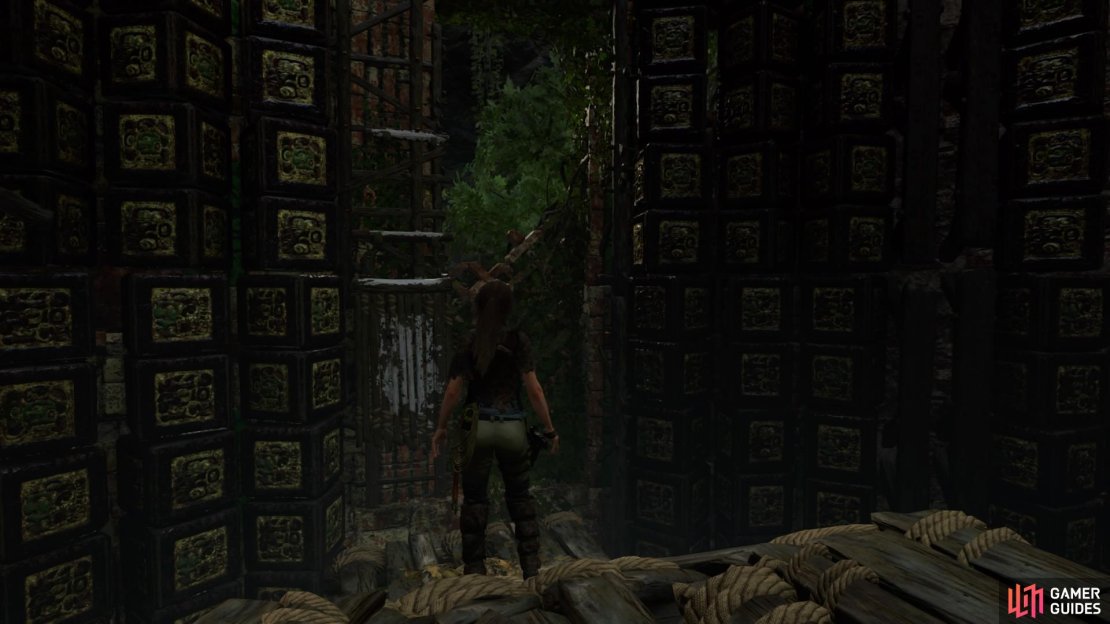
(13) Now climb up and crawl to the hole on the right to get back outside.
(1 of 4) (12)
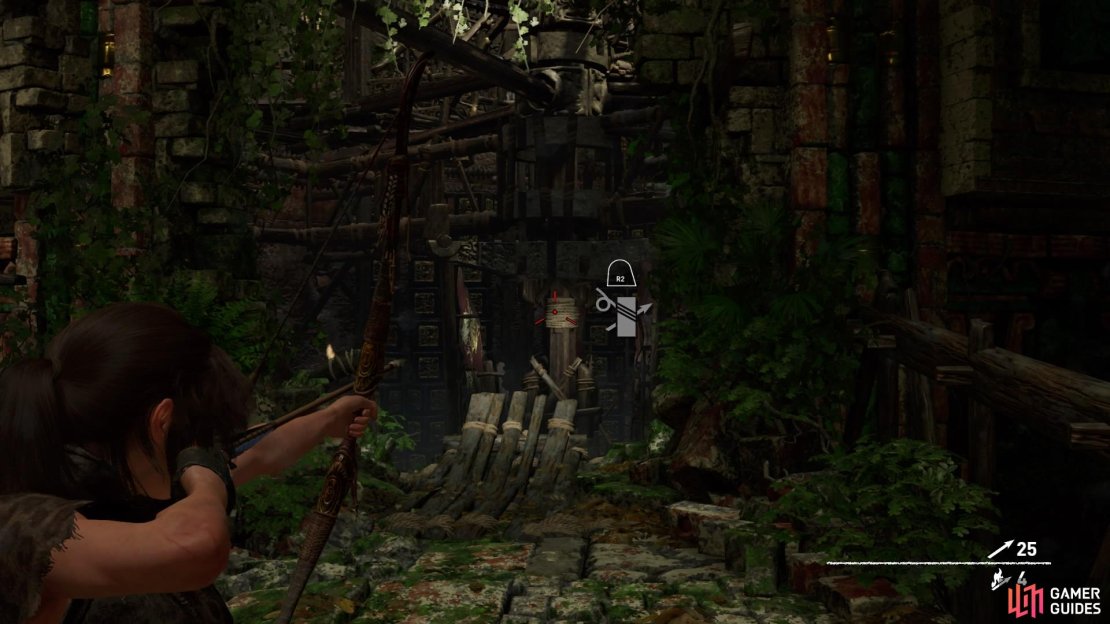
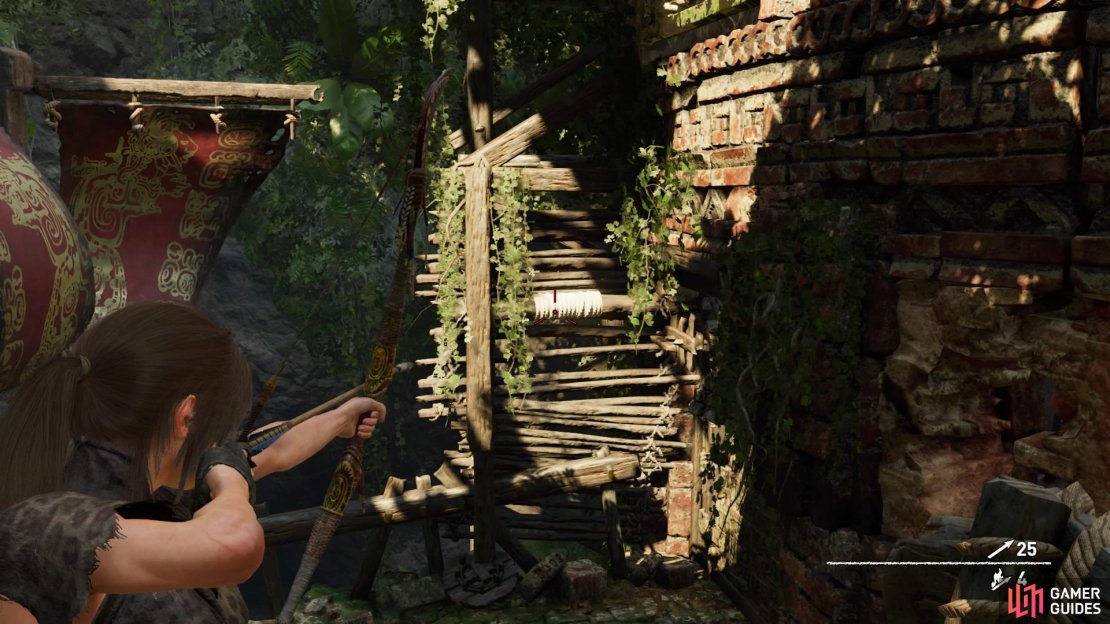
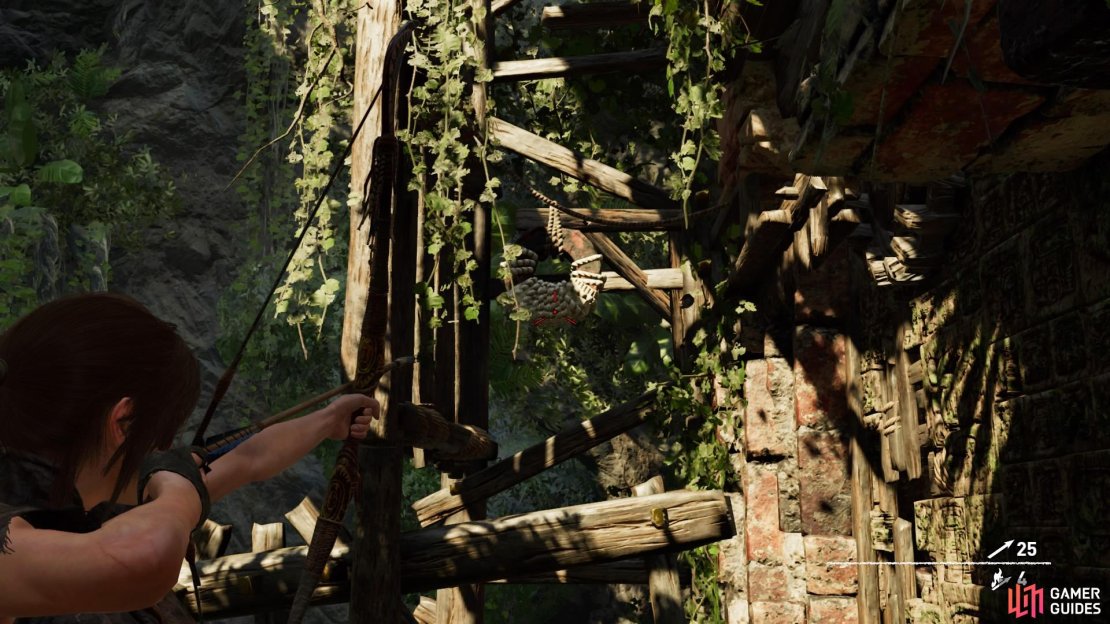
(14) Follow the walkway to the second winch. Opposite your line of sight is a white coil attached to some wooden beams. Fire an arrow at it to rope-pull the beams down and reveal a lever for the door.
(15) To you left is a wooden post. You need to rope-pull the lever out into view, then quickly stand by the post to tether a rope between the two points. This will hold the door open.
(16) Now you can tether another rope between the winch and the central pillar, just as you did before.
(1 of 3) (16)
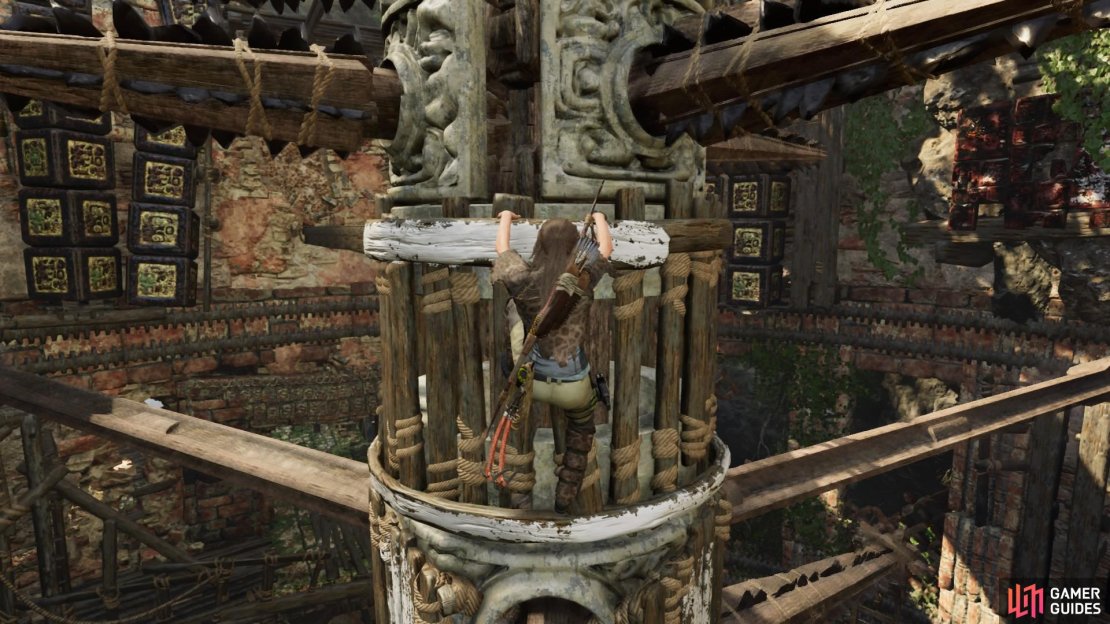
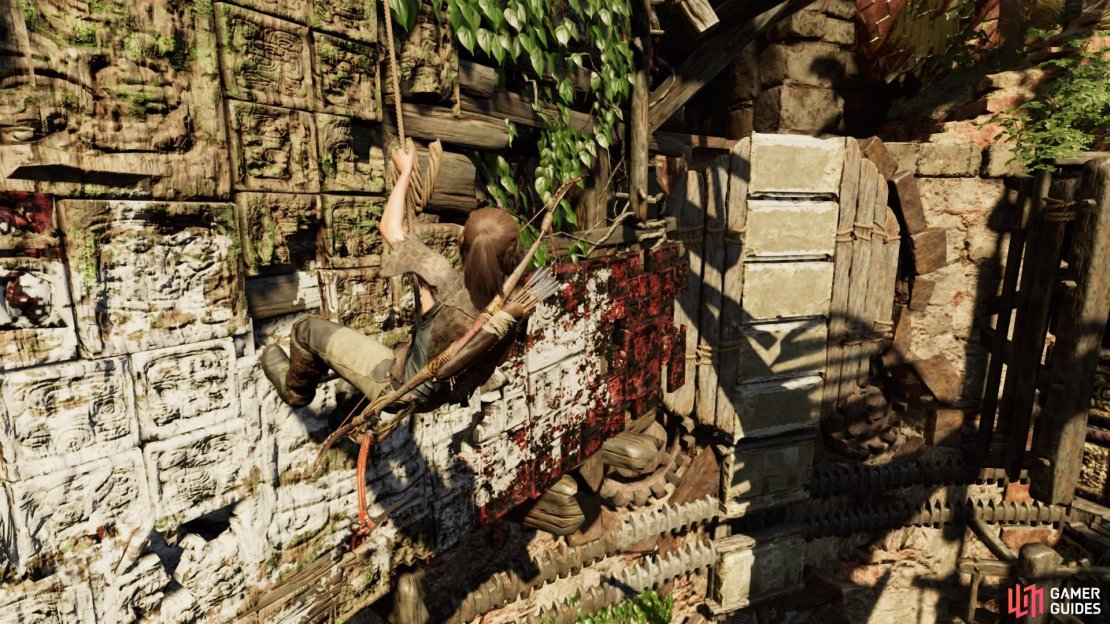
(17) Jump to the ladder to the dislodge the arm and quickly grab the ledge when Lara loses grip. Then climb up, waiting for the spikey arm to pass by, and move toward the pillar to scramble up the middle.
(18) Jump up, shimmy left, and climb up to tightrope to the outer wall. Attach yourself to it with the climbing axes and traverse right until you can climb up to the next platform.
(19) Head for the centre and jump to the rotating section of the pillar, then jump up to the horizontal boards and wait for the spikey arm to pass.
(20) Quickly jump up to scramble up the boards above and then continue to shimmy toward the sail.
(21) Hoist on to the beam and head to the central platform on the very top of the pillar. From here, you can use any of the protruding beams to the jump to the ladder on the outer wall next to the giant bird’s head.
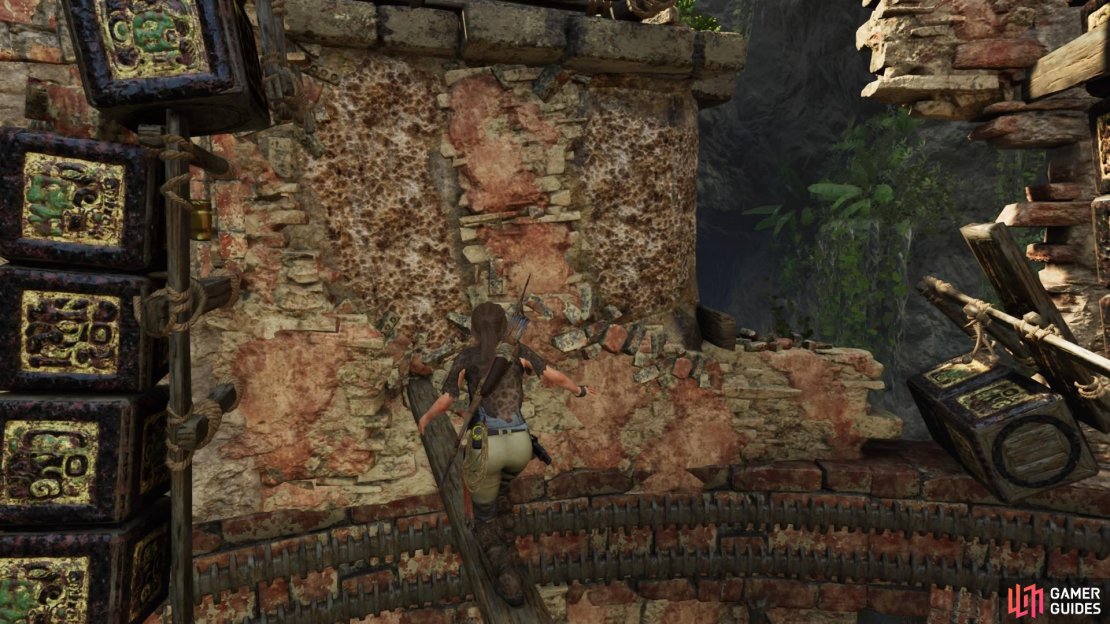
(22) Climb down the ladder and rappel from the craggy wall. Then wait for the rotating ladder on the right to turn upright, and wall-run to it.
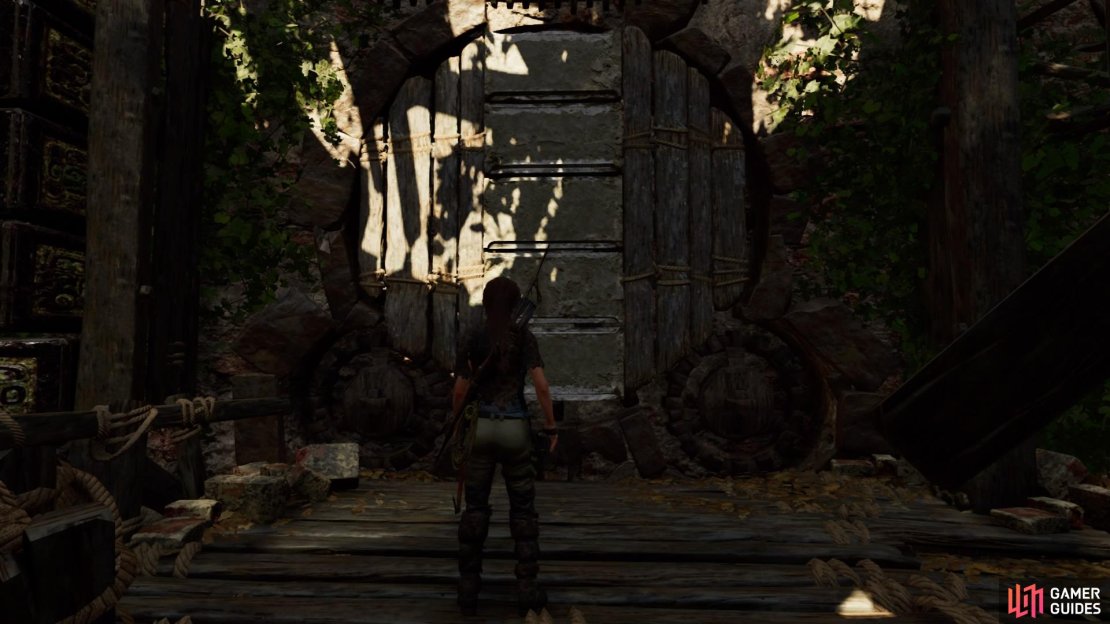
From here, climb up to the exit to reach the next room.
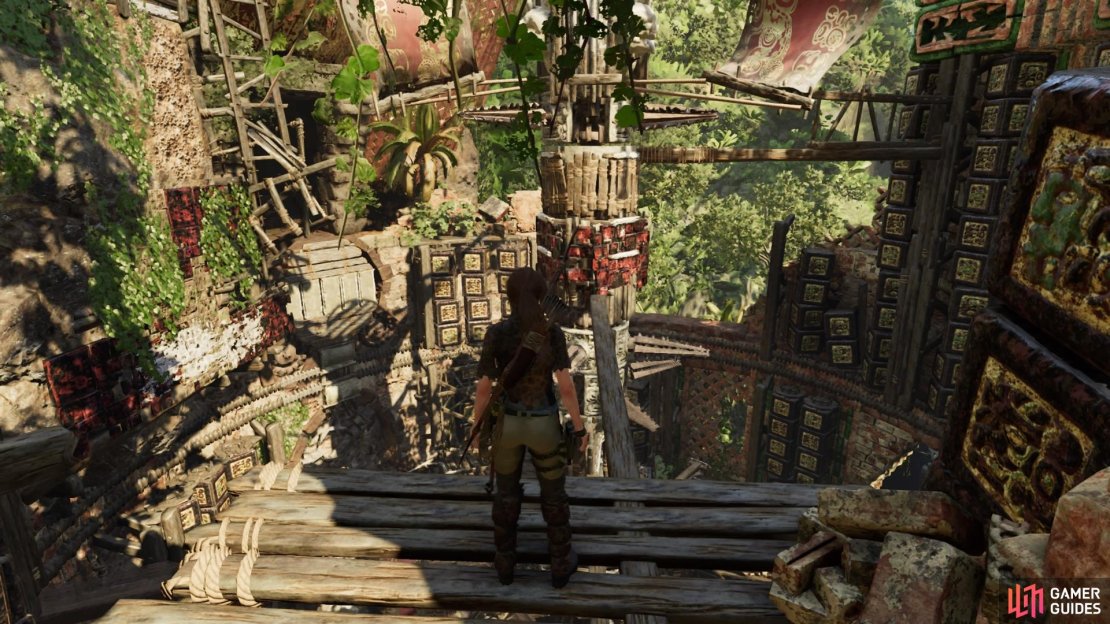
FIND THE HIDDEN CITY
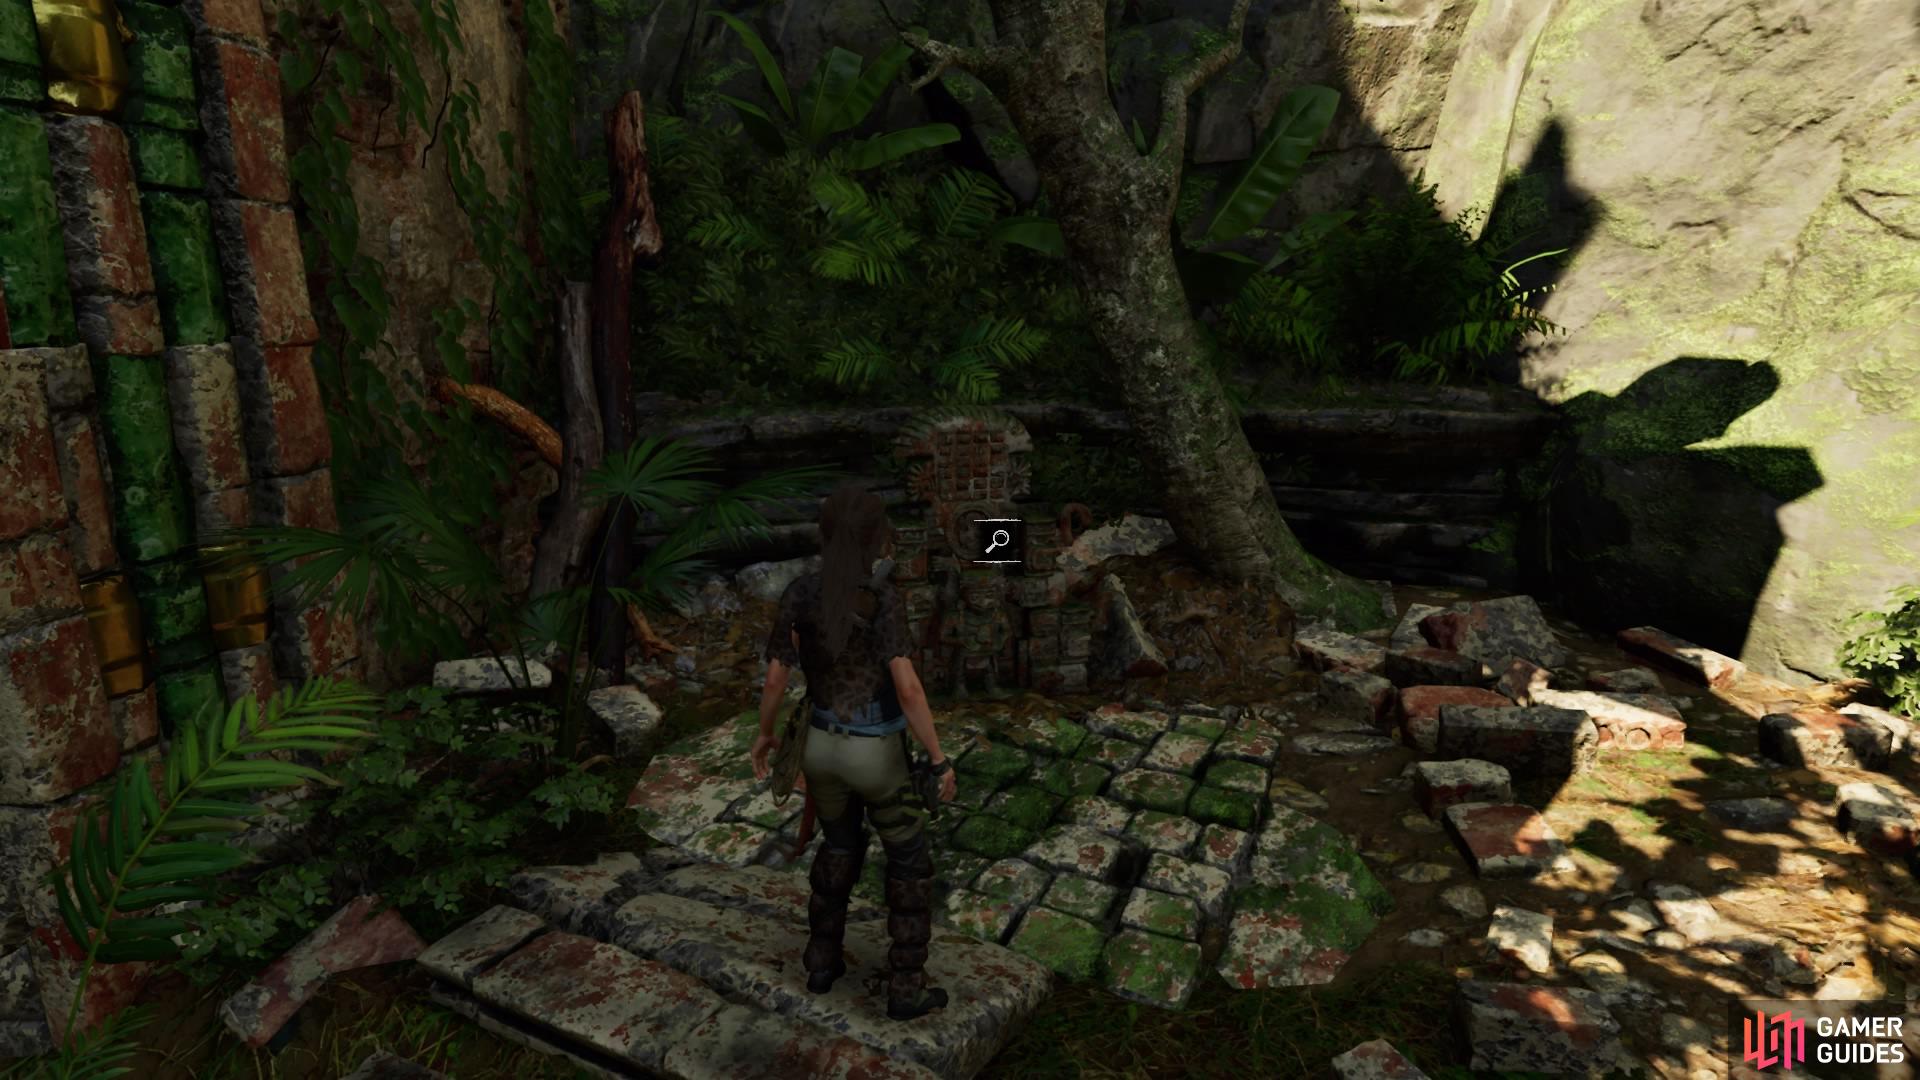
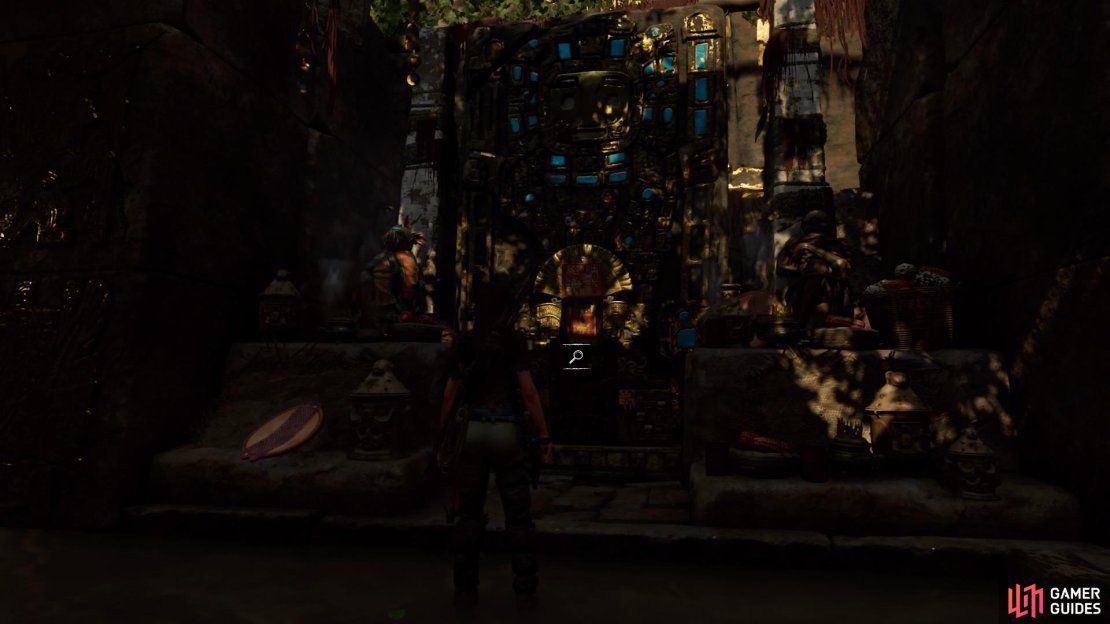
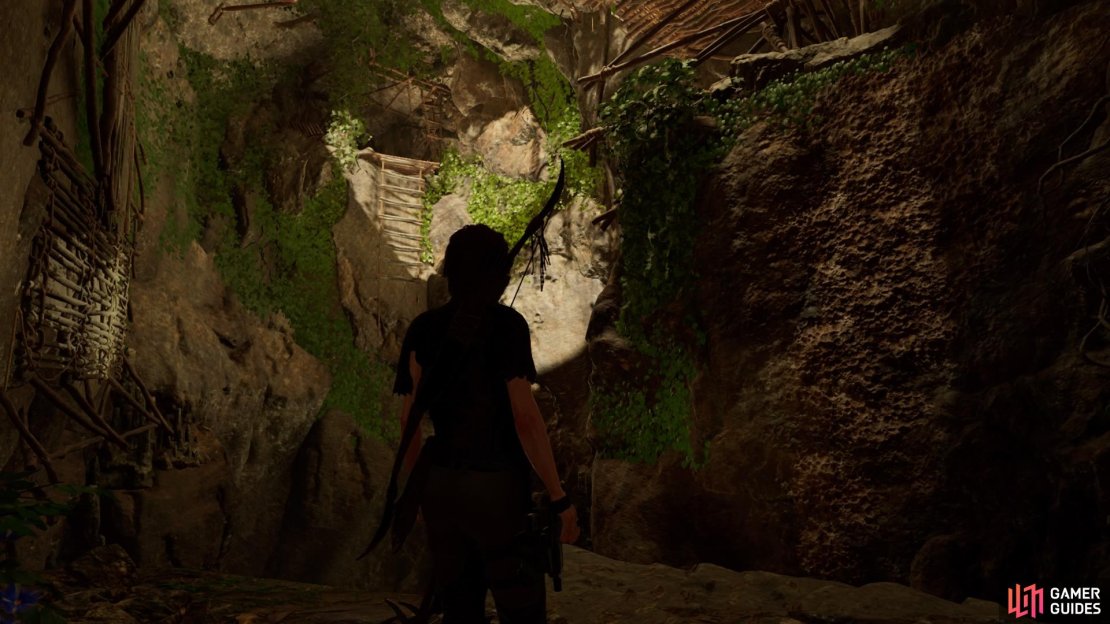
Pick up the resources in this room and inspect the mural at the back. Then follow the passageway on the left until you come to a pool of water. Dive in, climb out on the other side, and head forward to attach yourself to a craggy wall on the right.
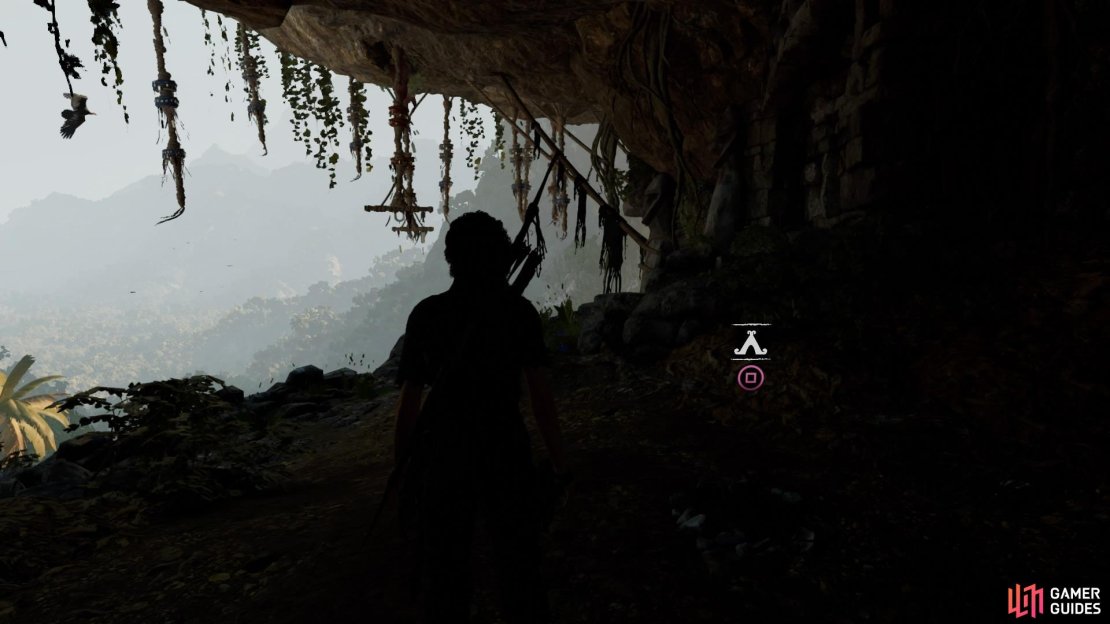
Make your way up and look for the wooden scaffolding ahead. Climb up and swing from the pole on the left to jump to the ladder. Then simply follow the short tunnel to come out into the next region.
(1 of 4) Inspect the mural
No Comments