ACCESS THE TOMB
The entrance to your first tomb is right next to the Jungle Ruins Base Camp. All Challenge Tomb entrances are marked by yellow painted skull décor, so if you see these, rest assured you’re in the right place.
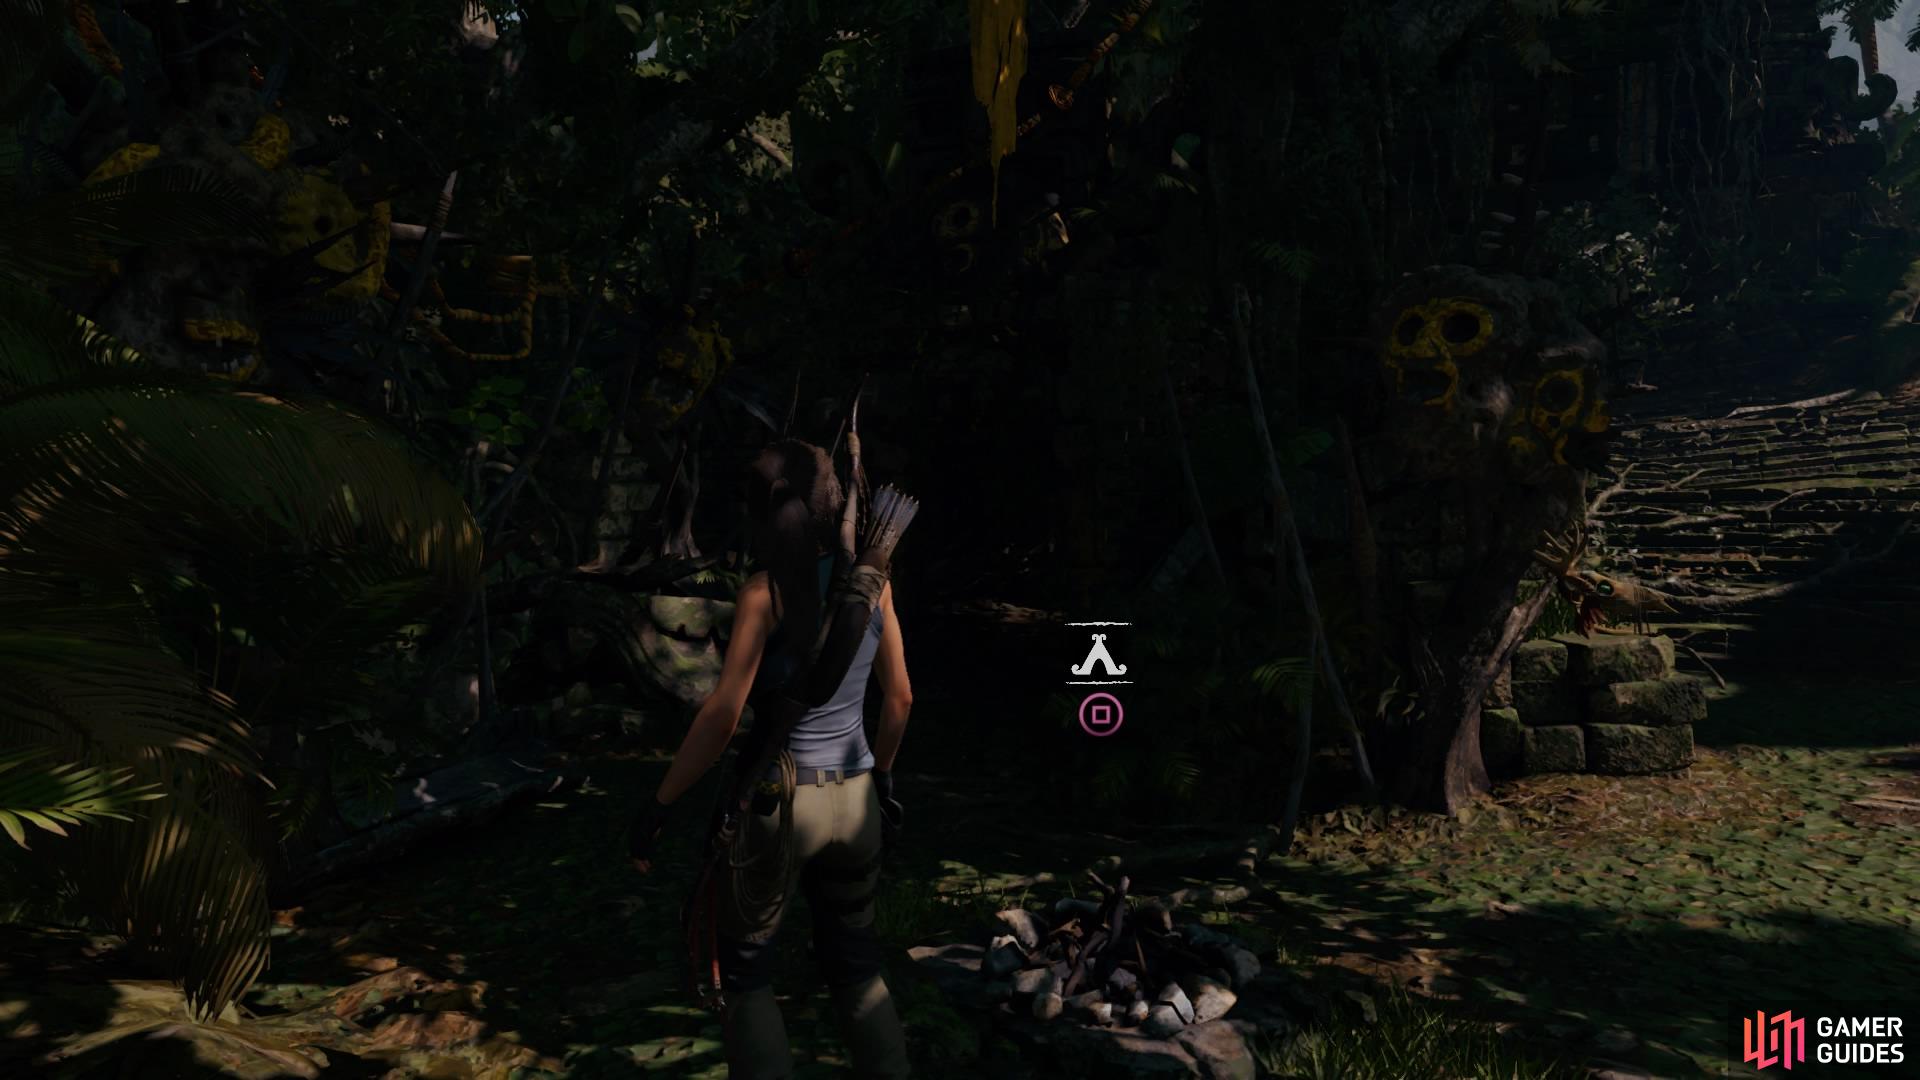
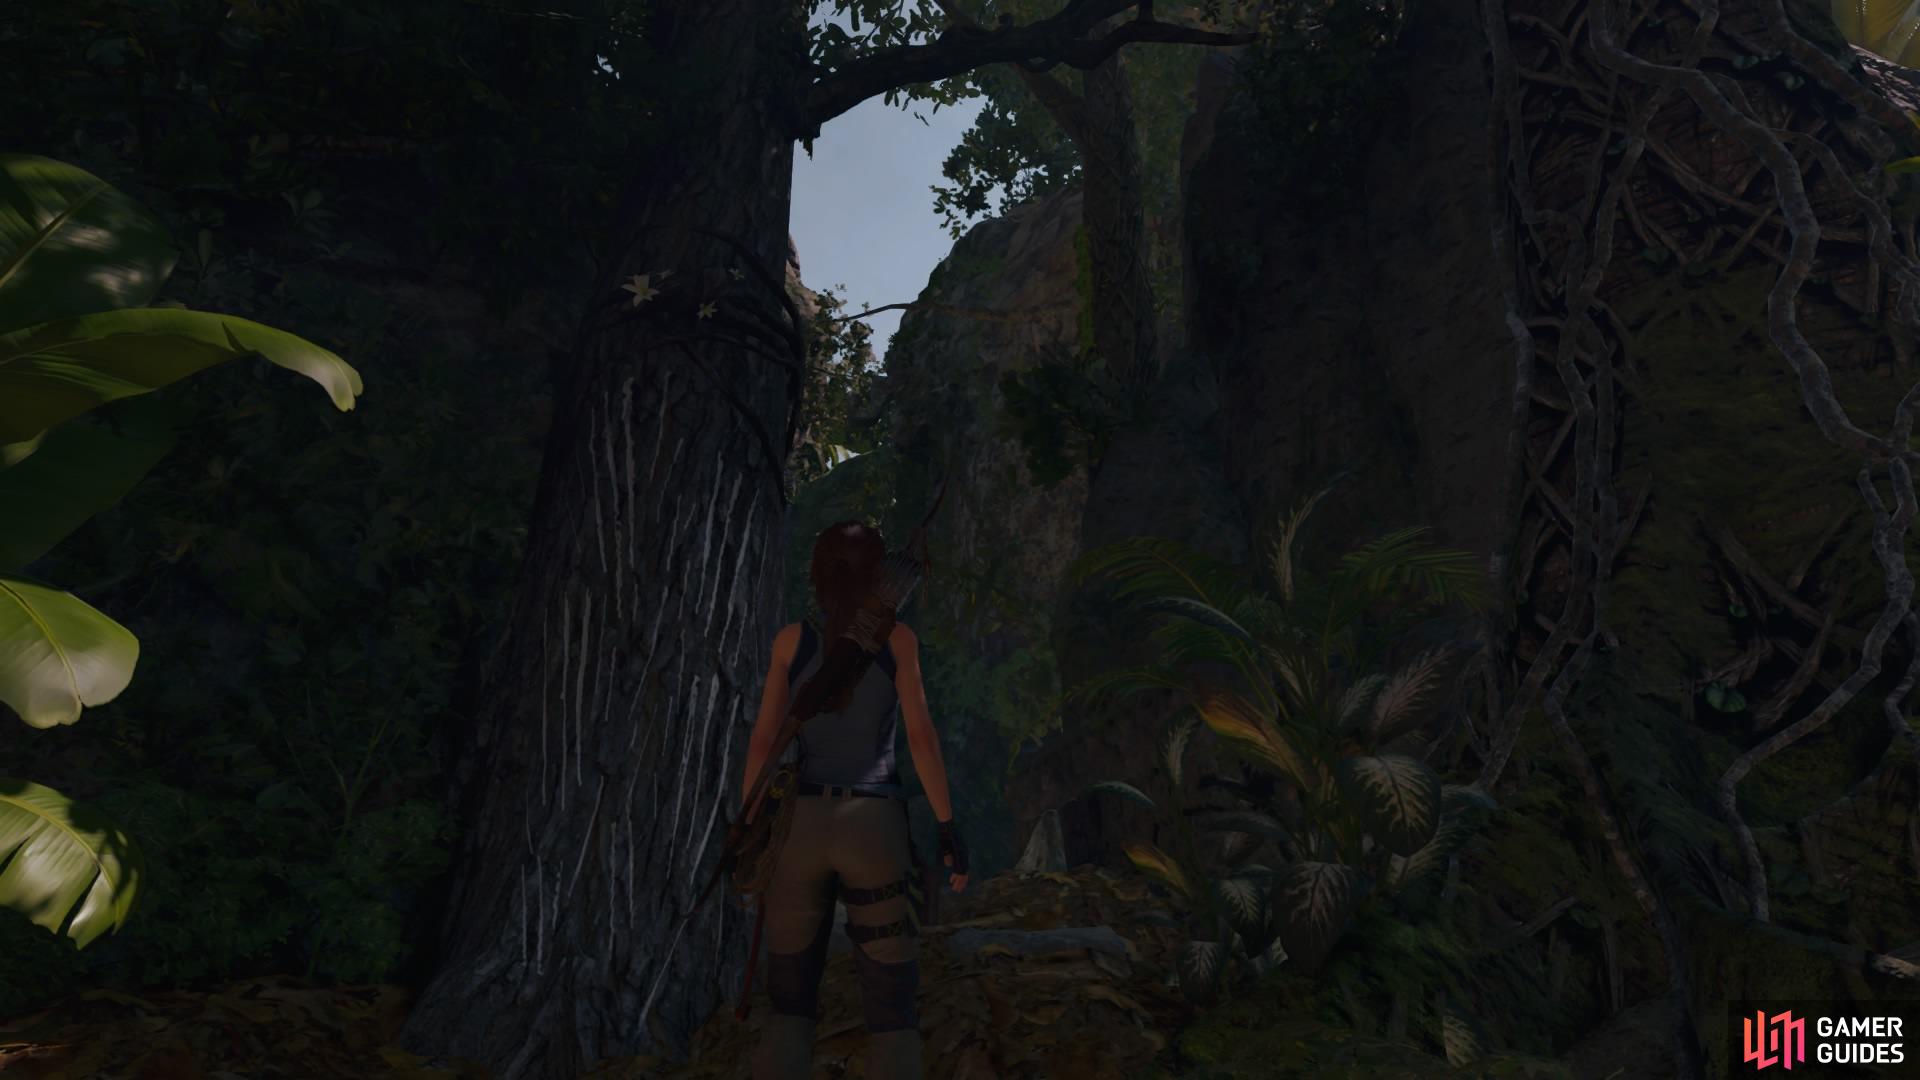
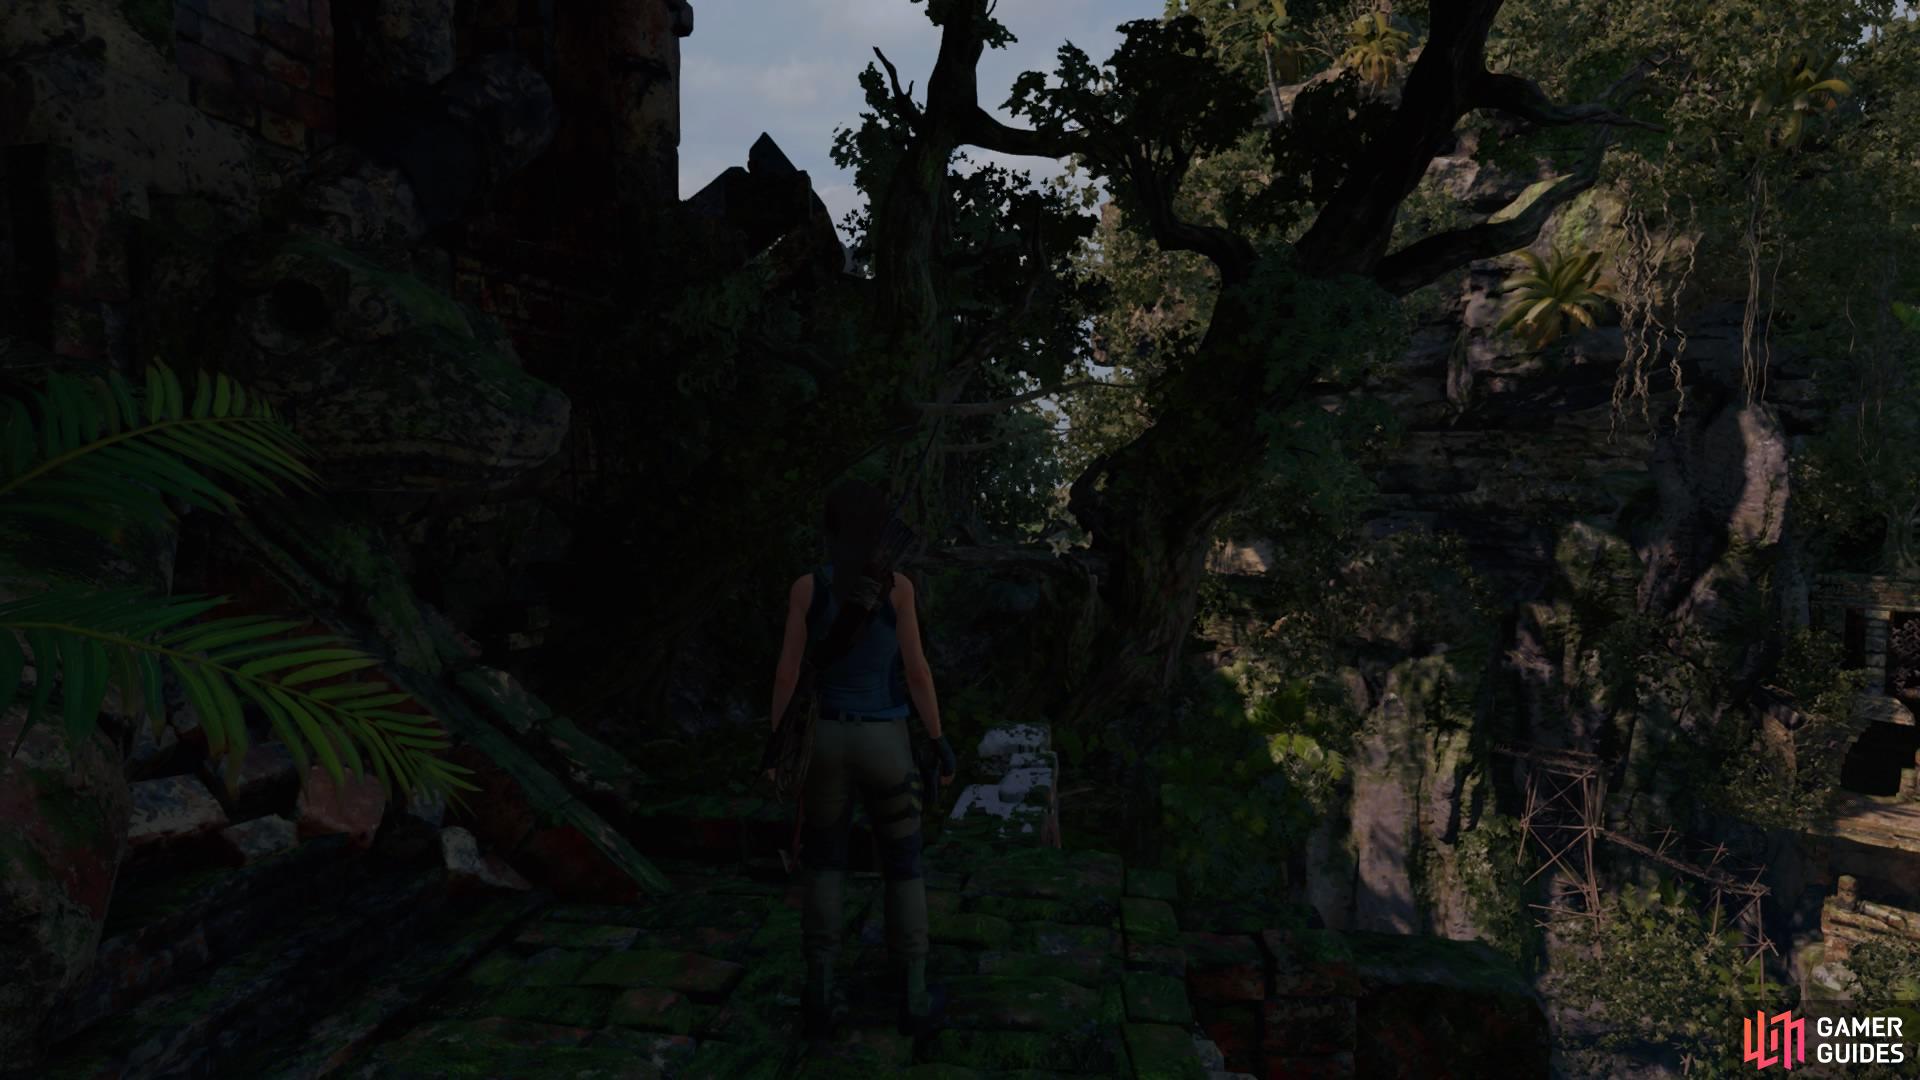
Enter through the doorway and head forward to crawl beneath a tunnel of roots to get inside. Then follow the trail forward until you have to duck under an activated spear trap, followed by climbing up a scratched tree to perch on the branch. Swing from the next branch and catch the craggy wall with your axe, climbing left to jump over some bricks and land on the other side.
Scramble up the tree
Jump to the craggy wall
THE TOMB BASE CAMP
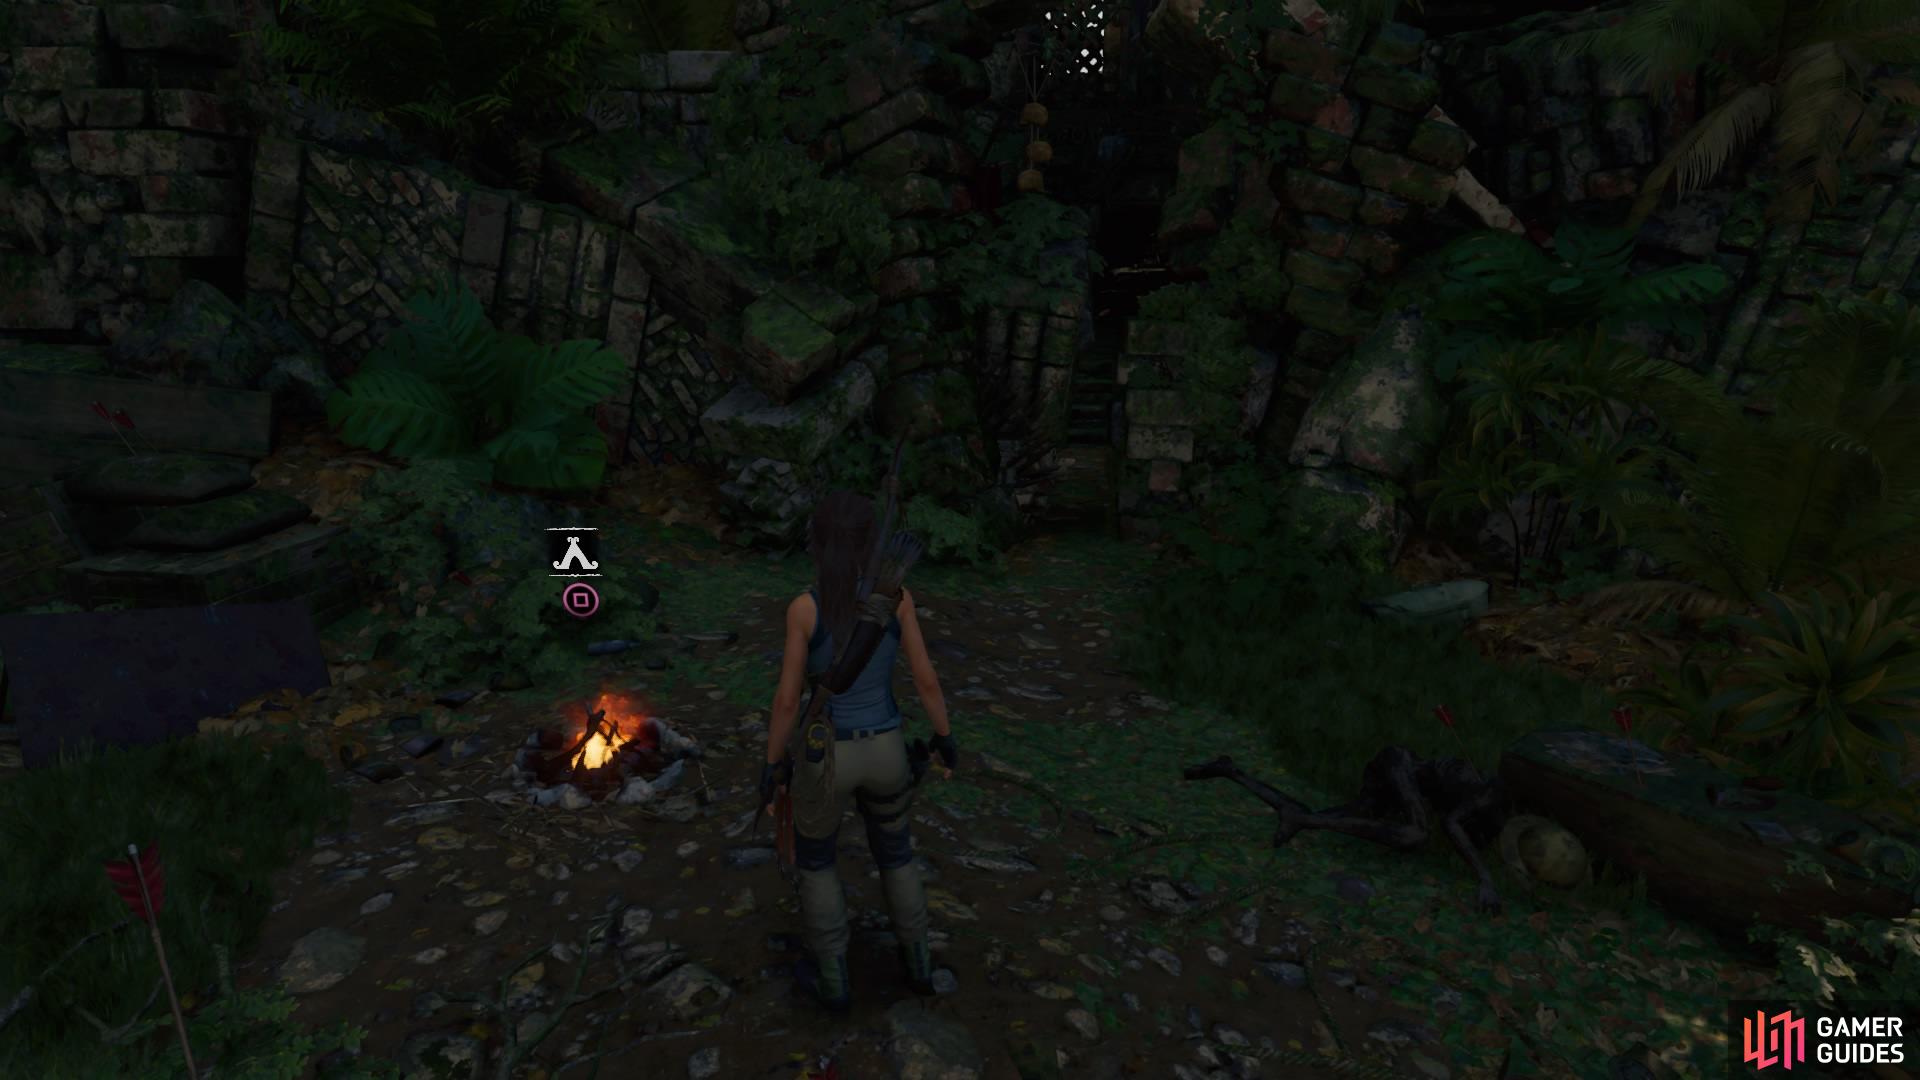
Disable the spear trap by cutting the tripwire and scramble under the spears. Before you continue the linear path, you can pick up an Explorer Backpack against the wall on the left next to the skeleton.
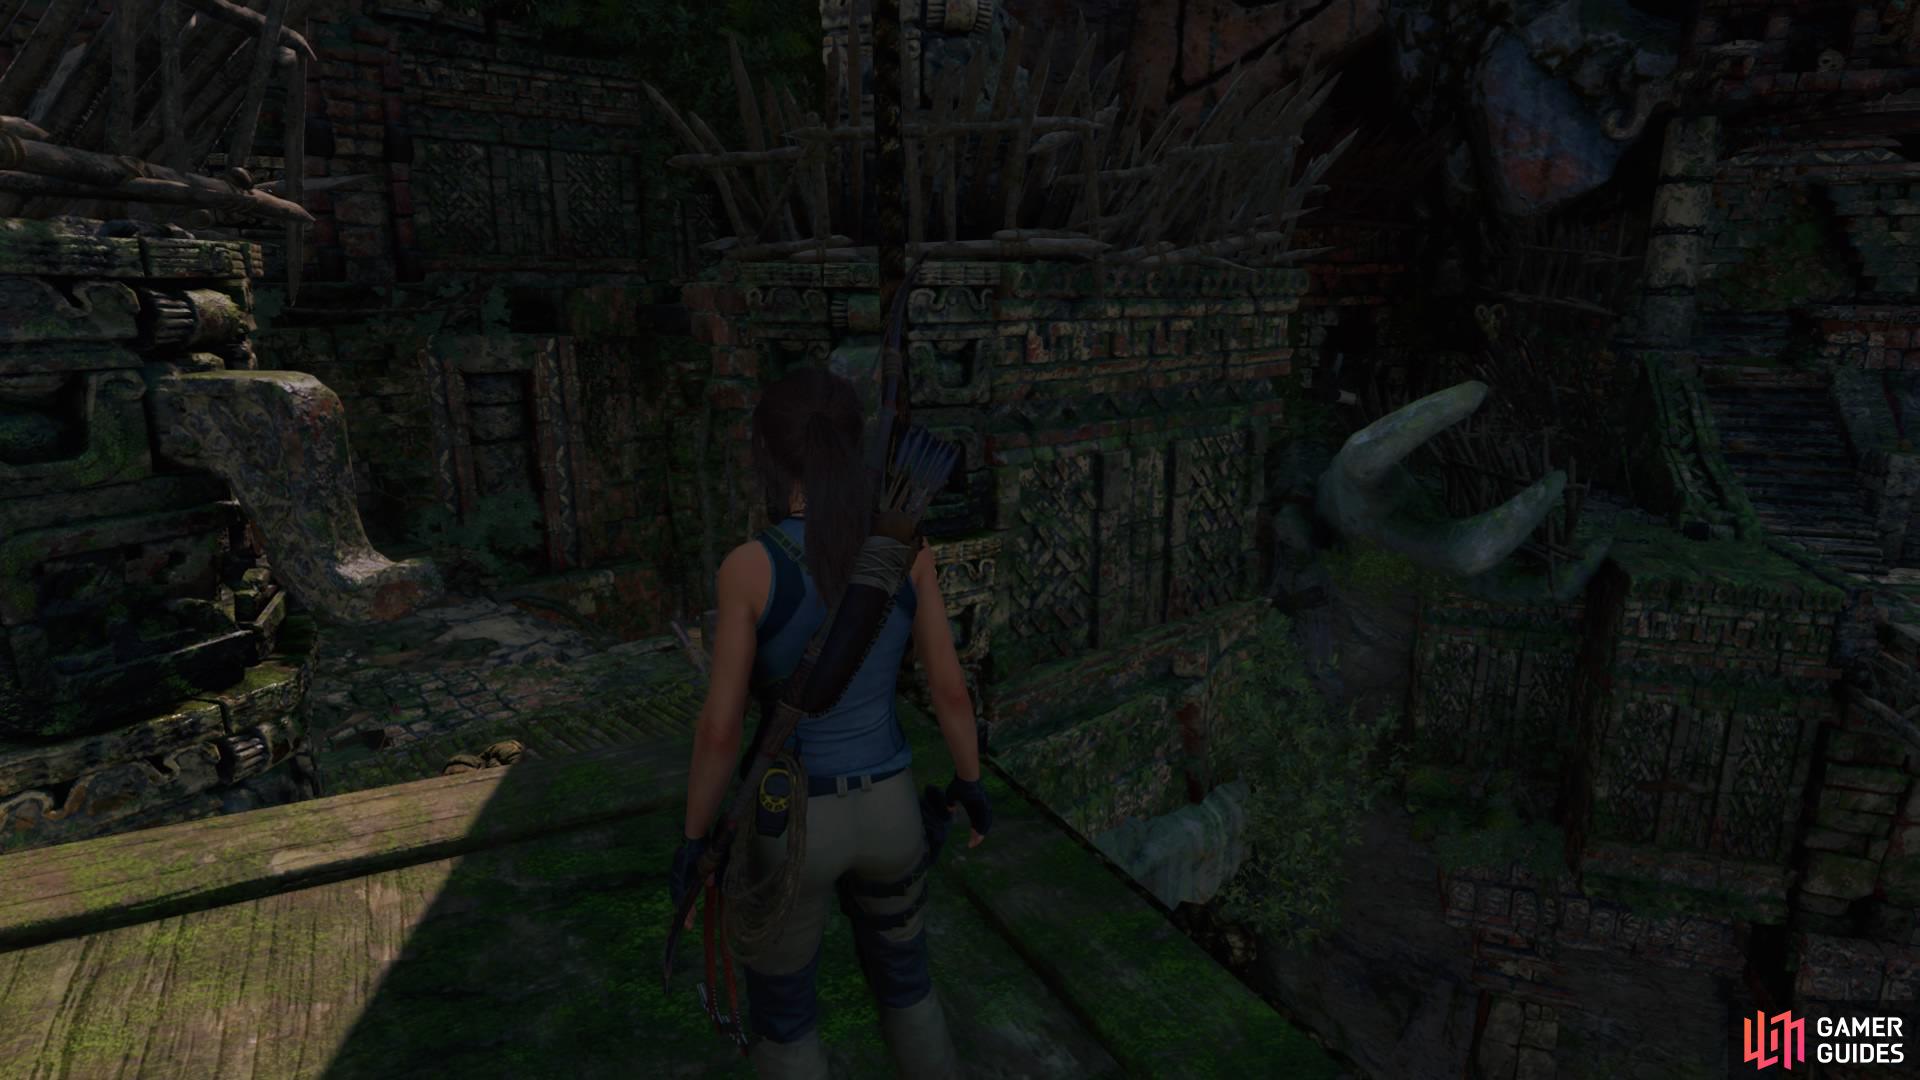
Then balance across the tree ahead of you to jump across the branches to the craggy wall. Rappel down from the wall and swing over to the other side. Follow the short trail to an abandoned camp site.
Pick up the Explorer Backpack
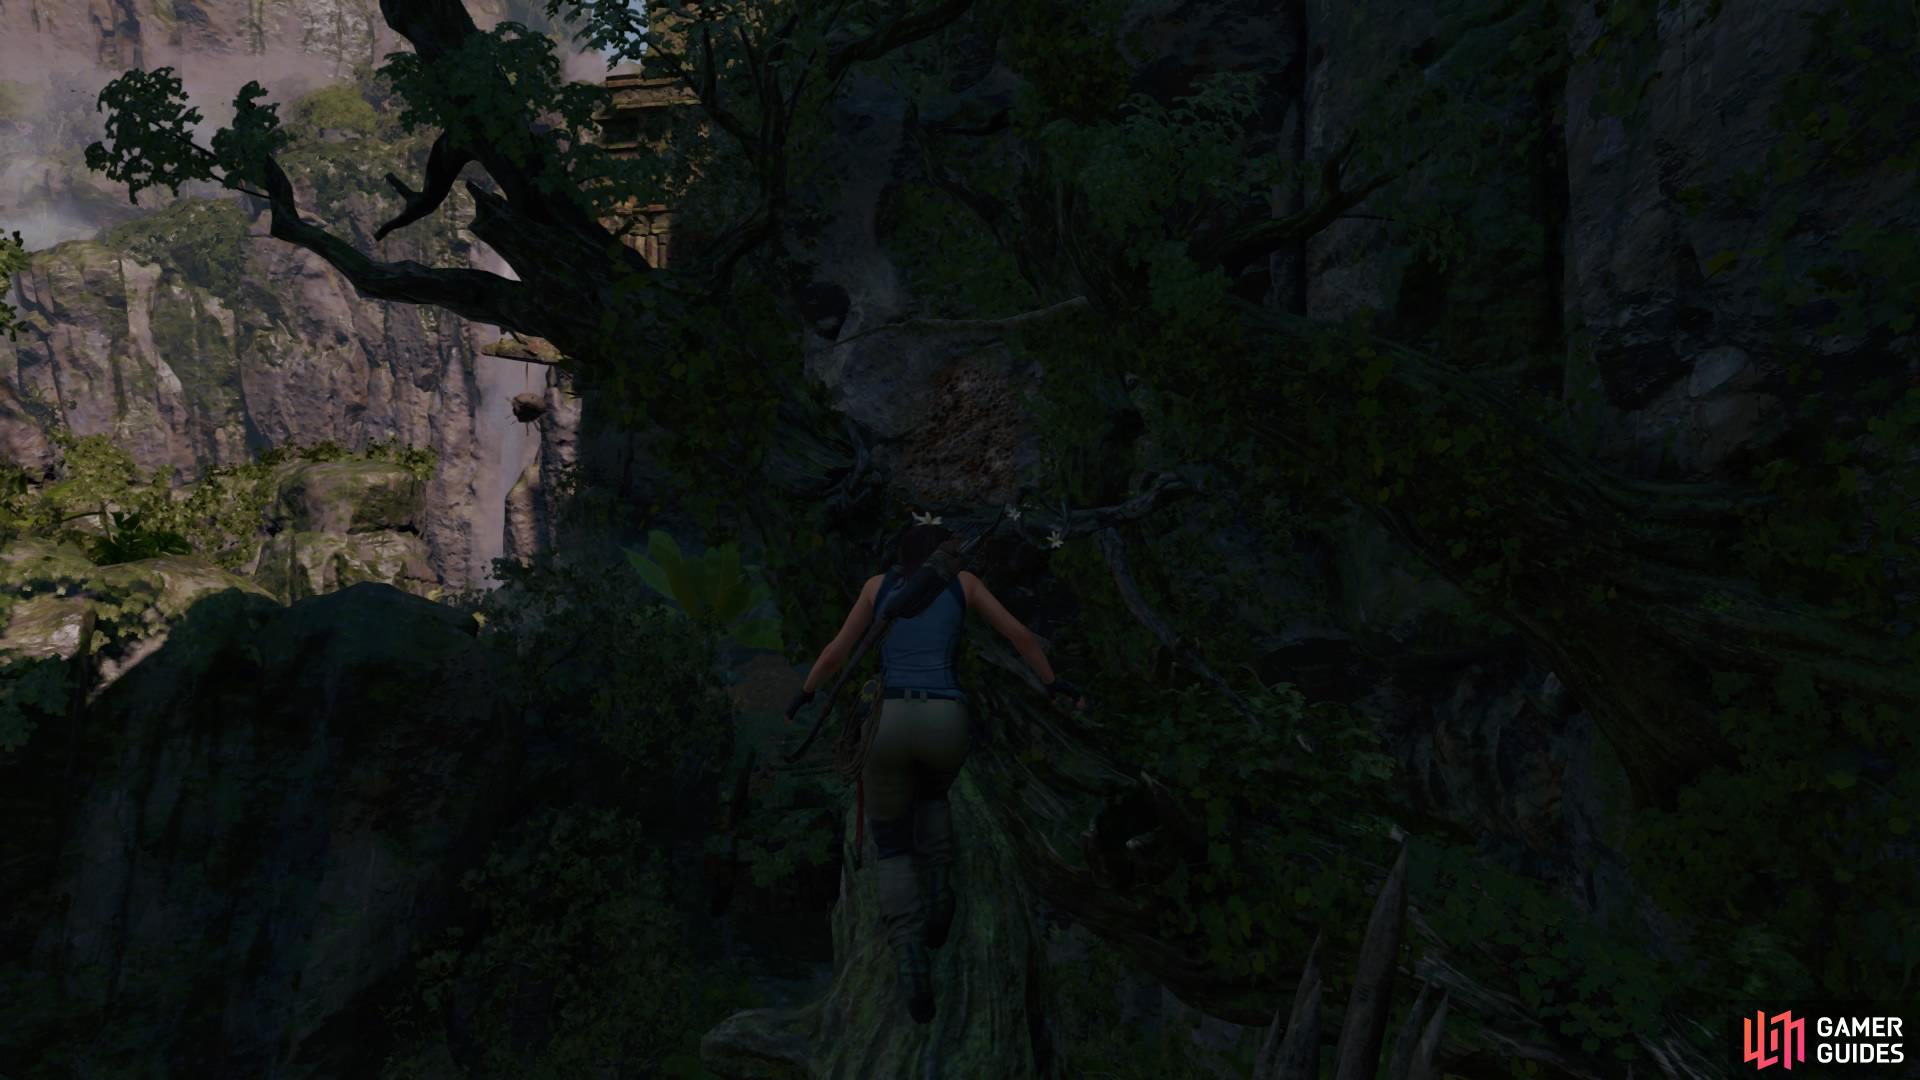
Jump through the trees
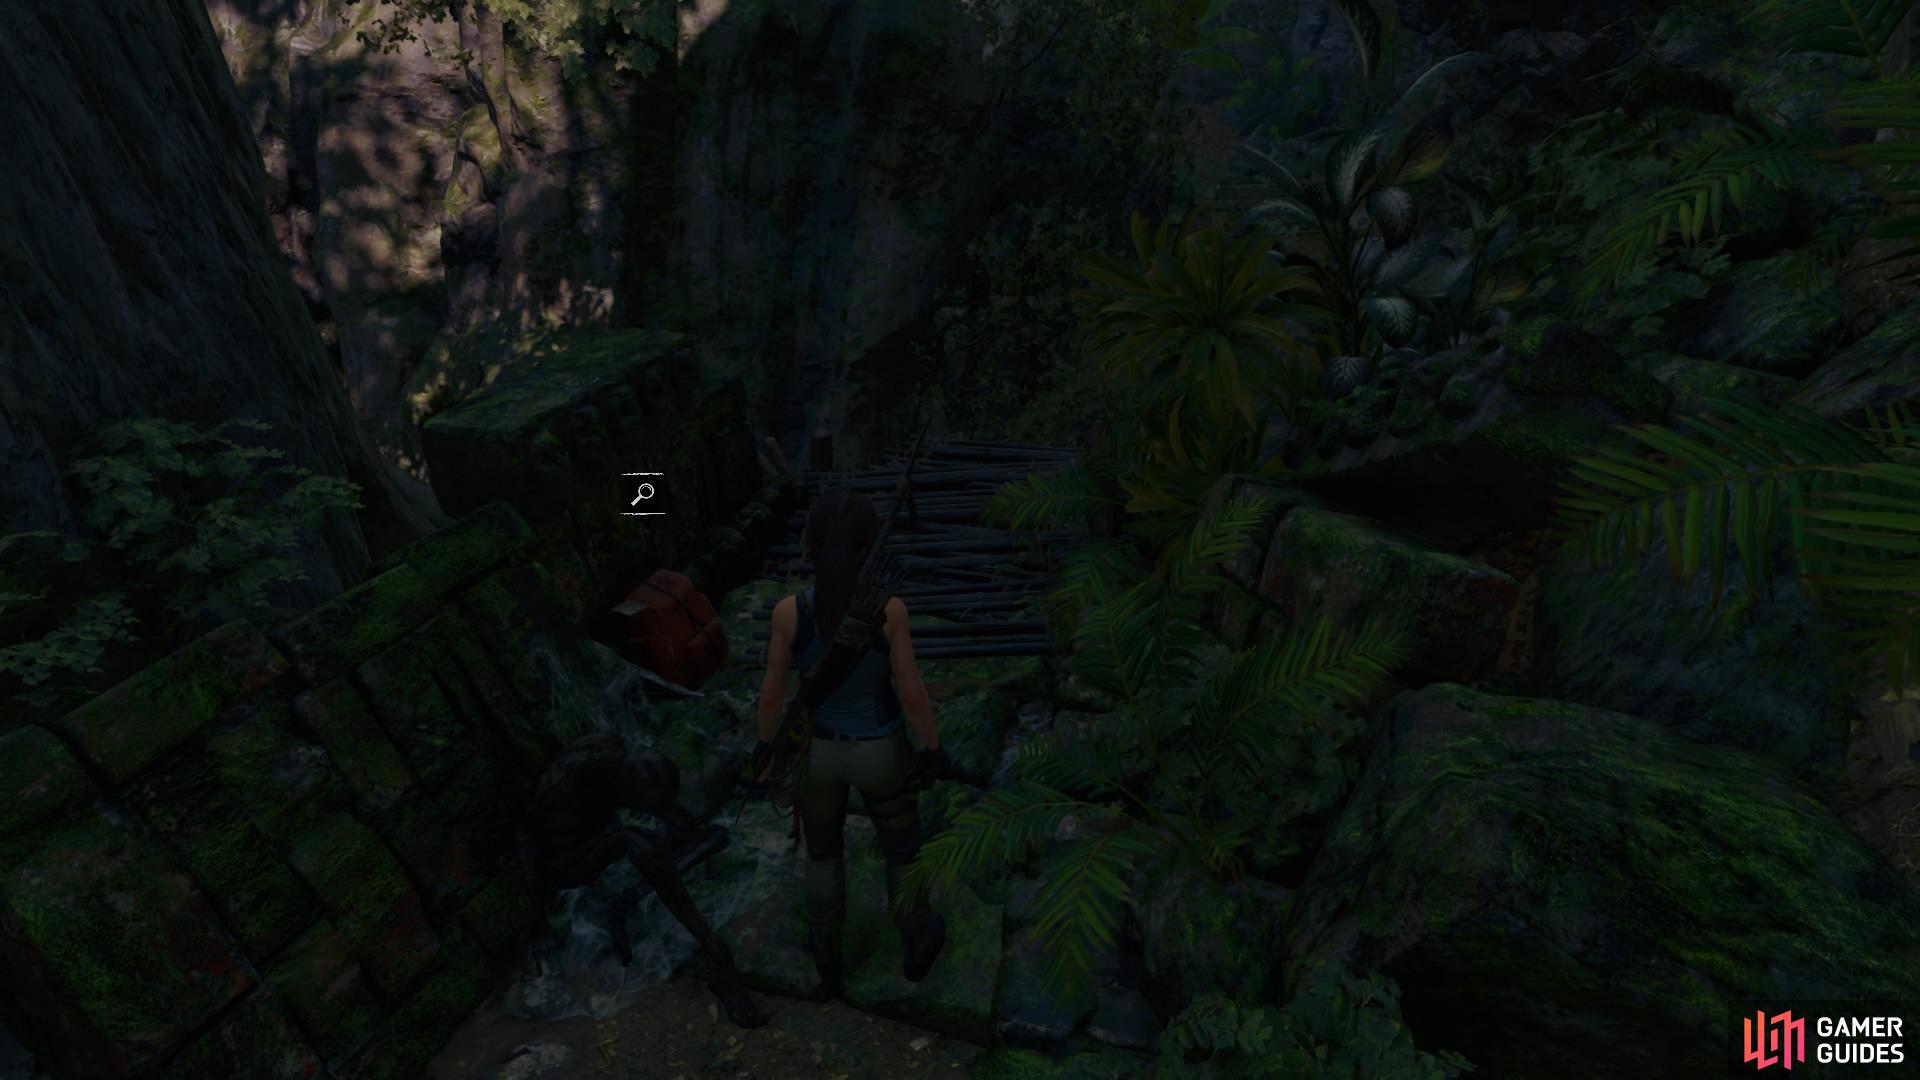
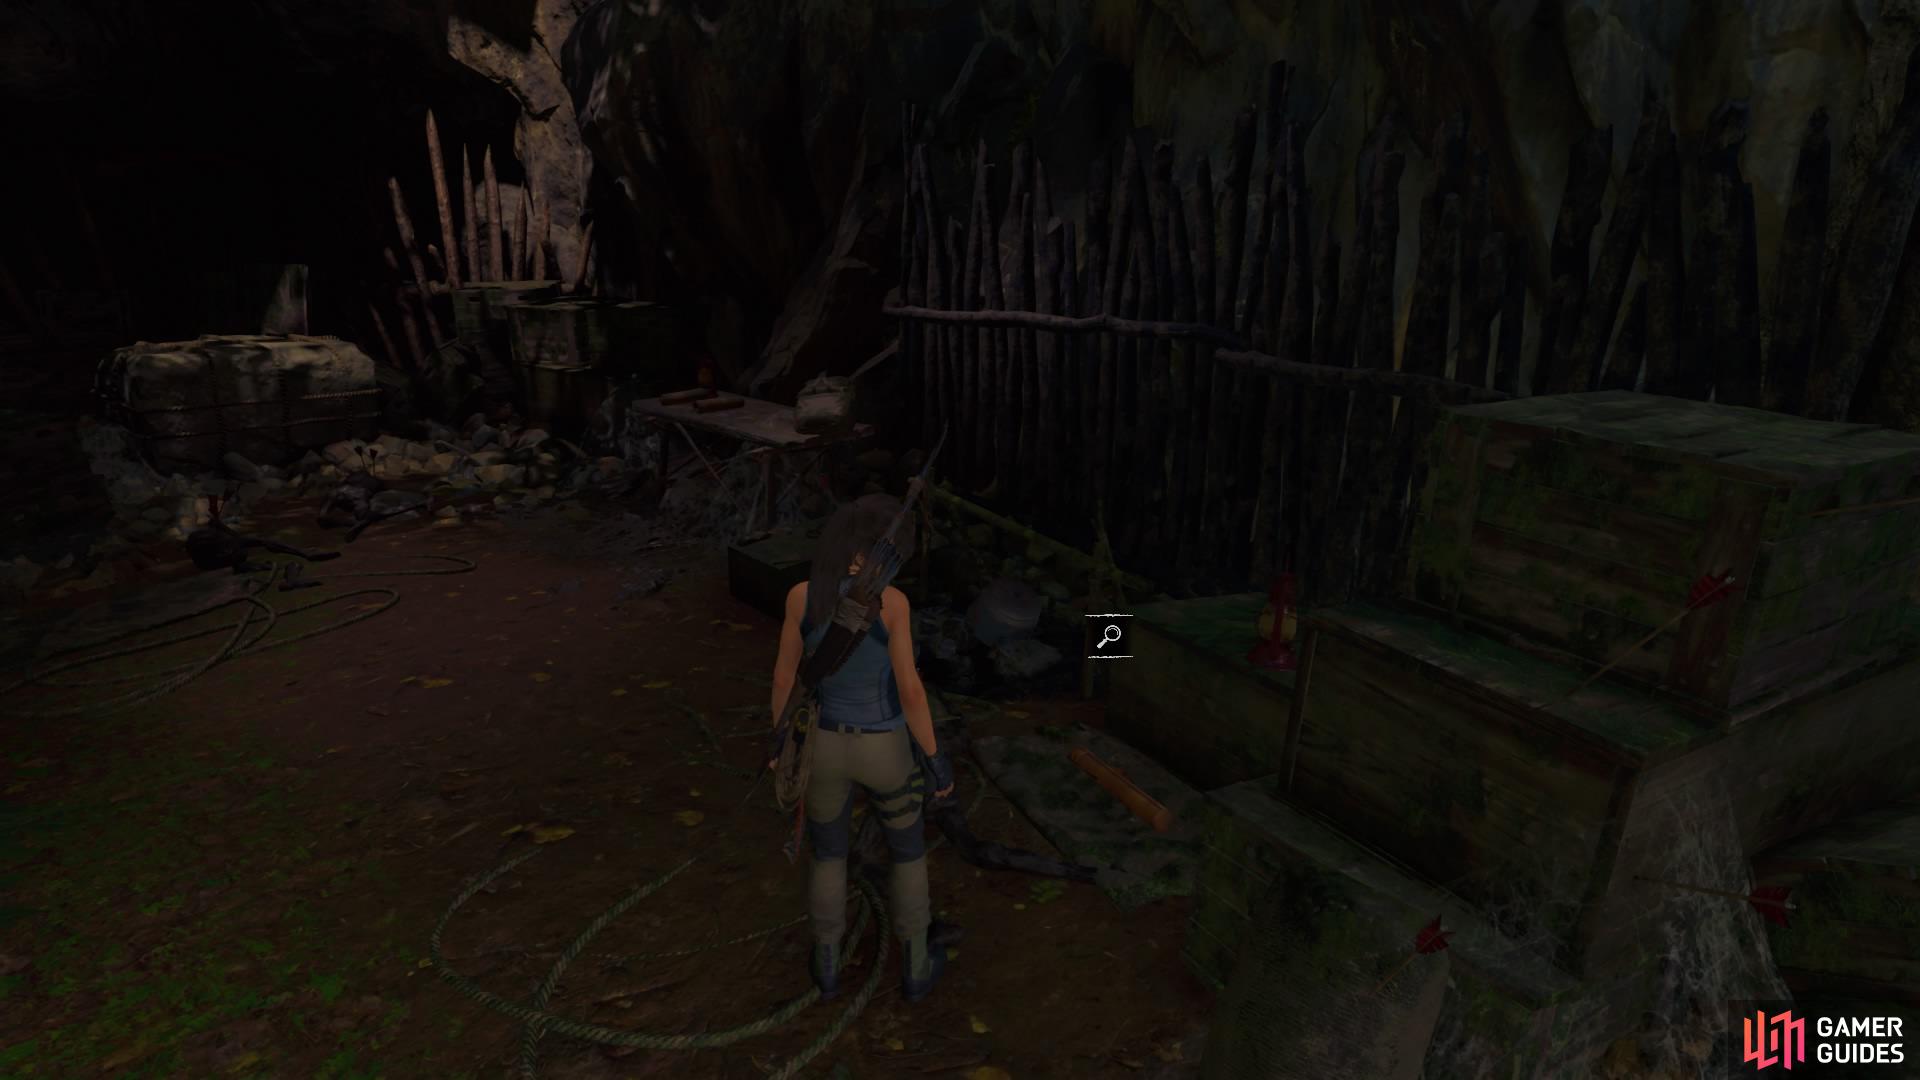
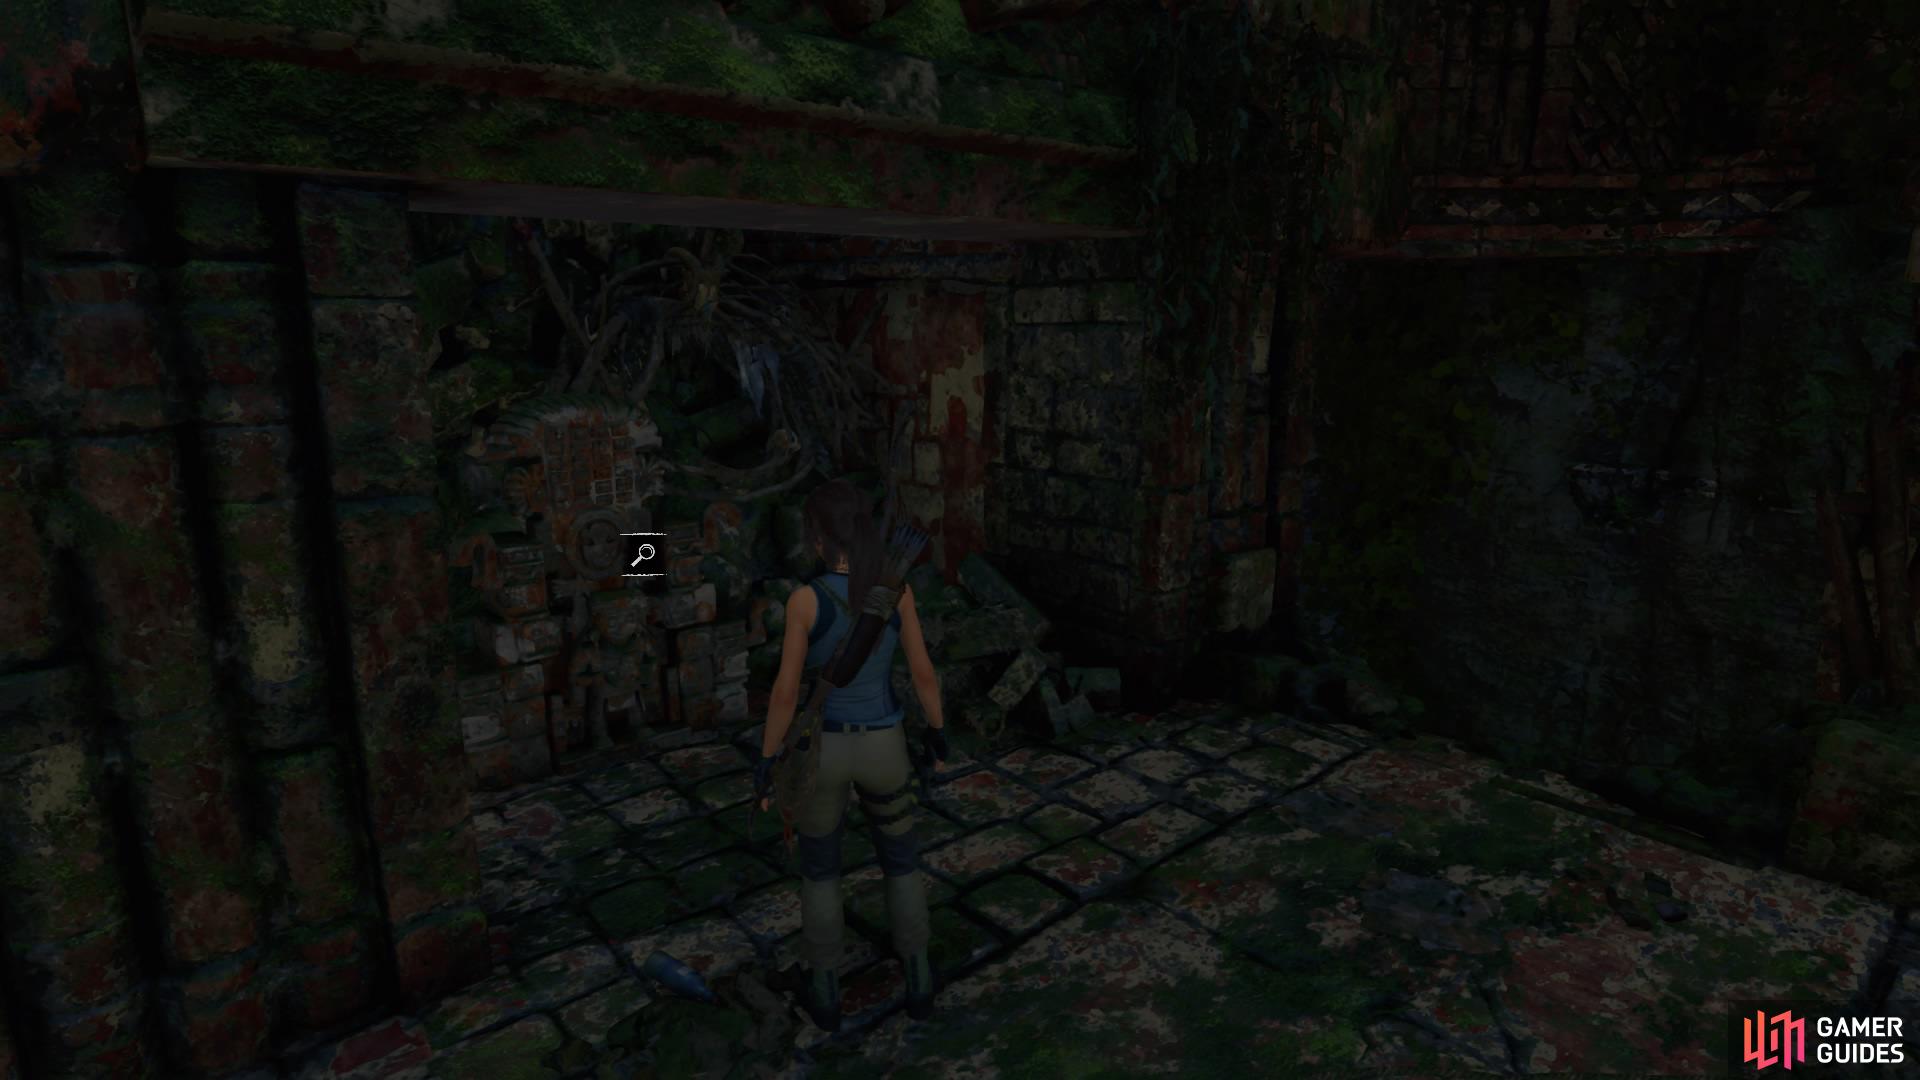
If you look around you can break open a few salvage crates and pick up some resources. On the table to the left you’ll find Document – At the Gate.
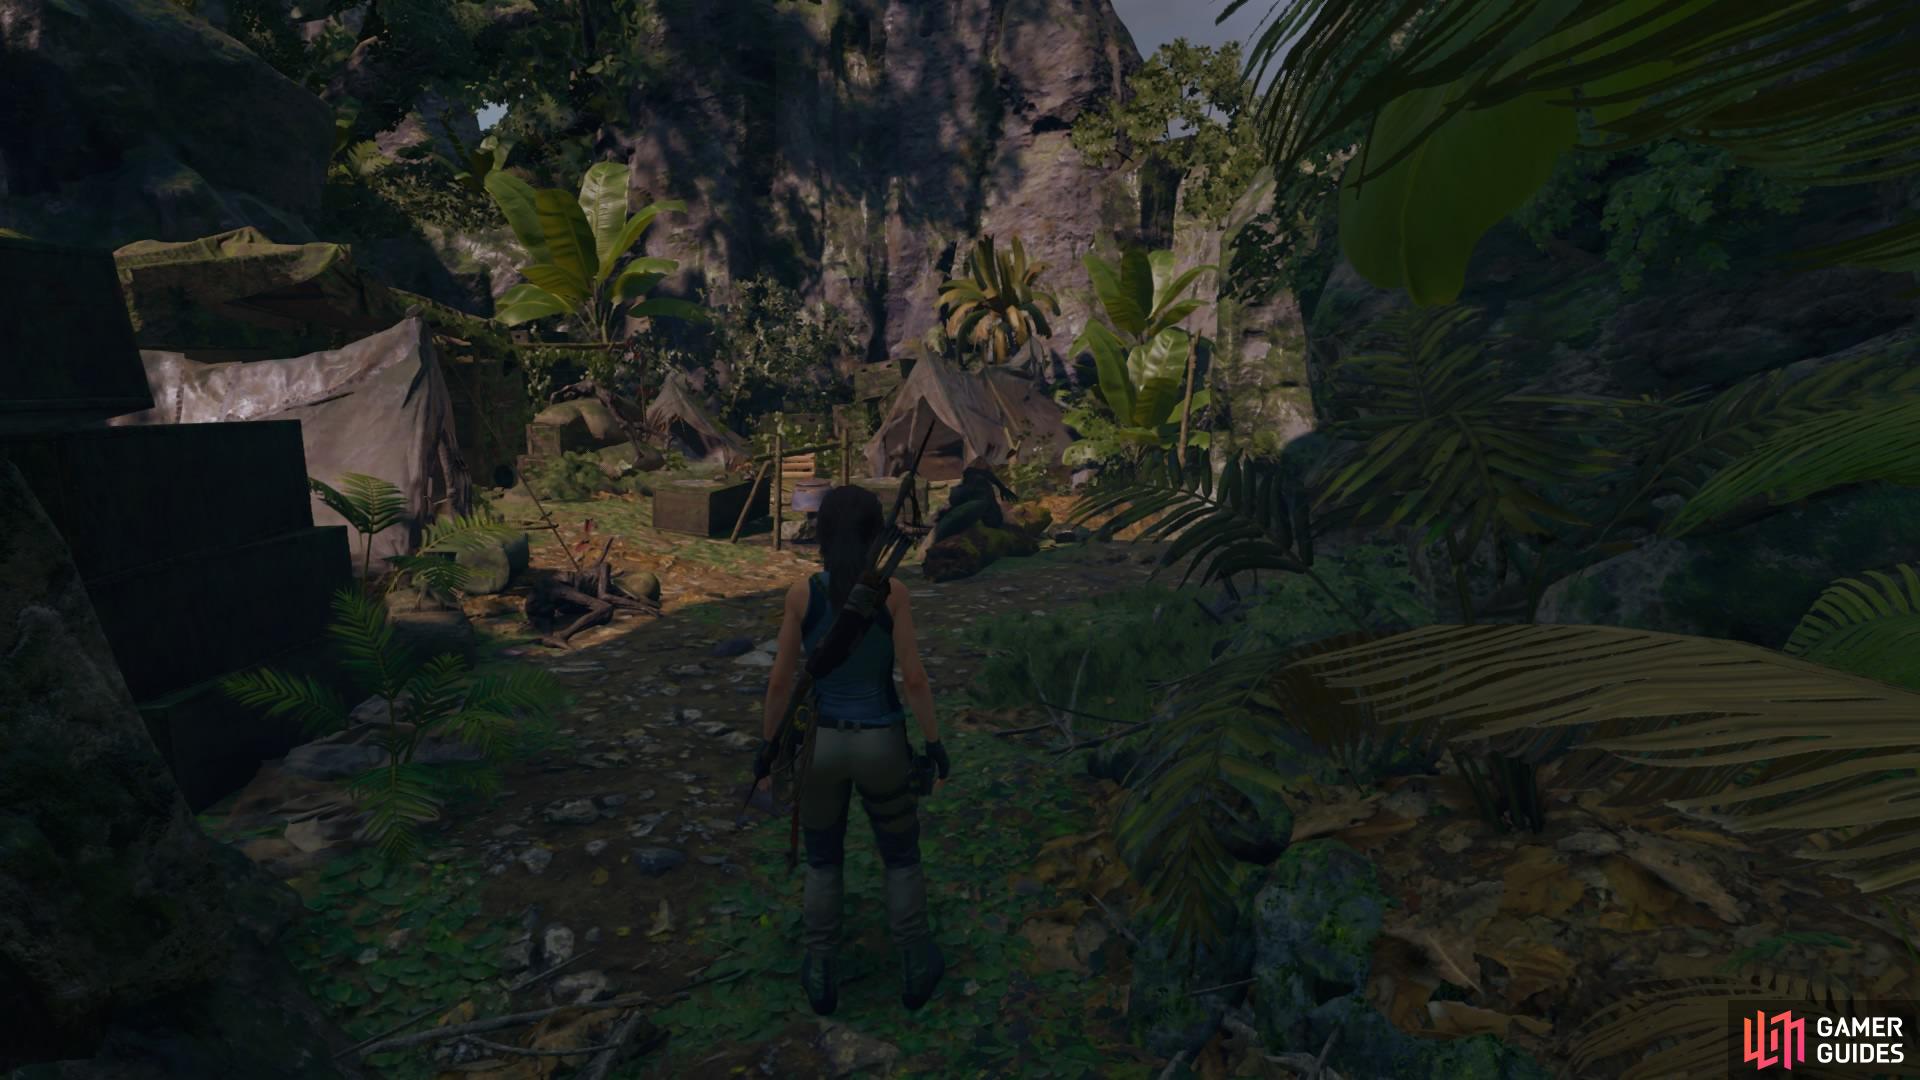
The abandoned camp site
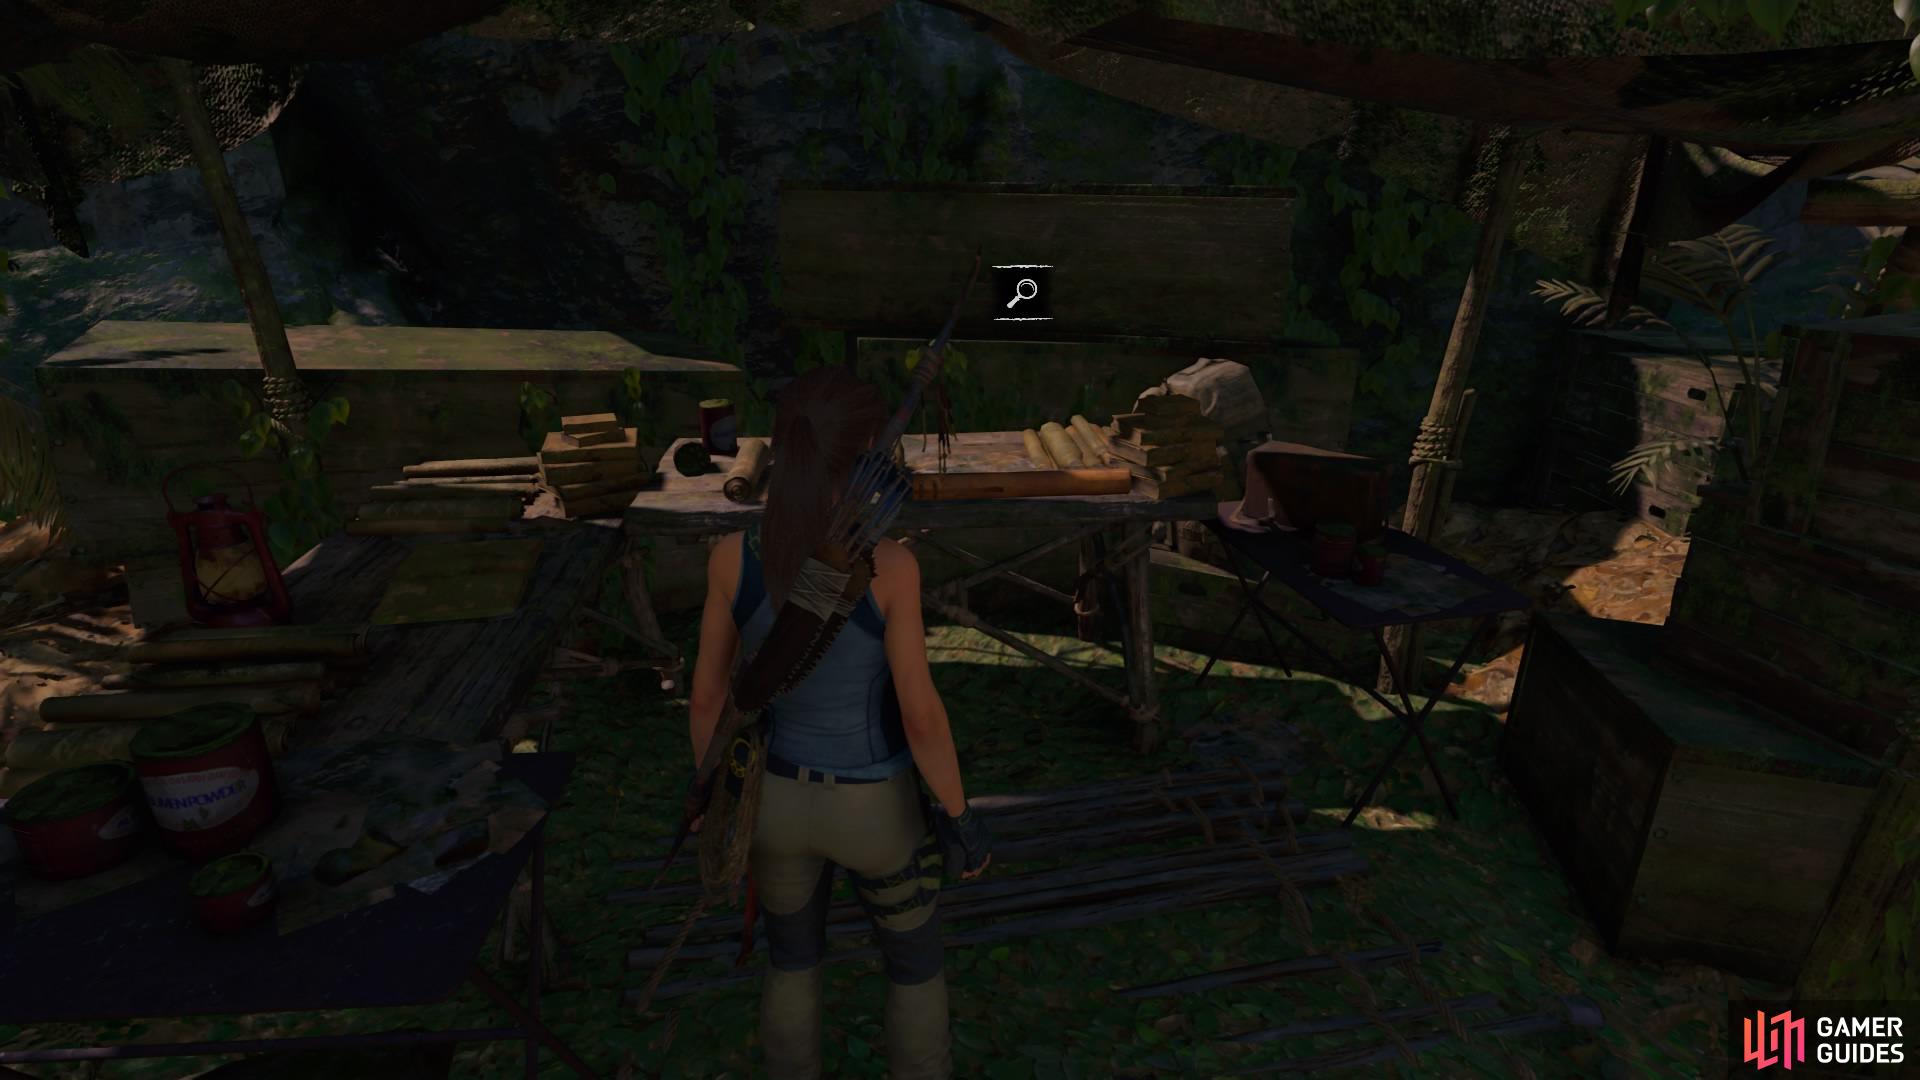
Document - At the Gate
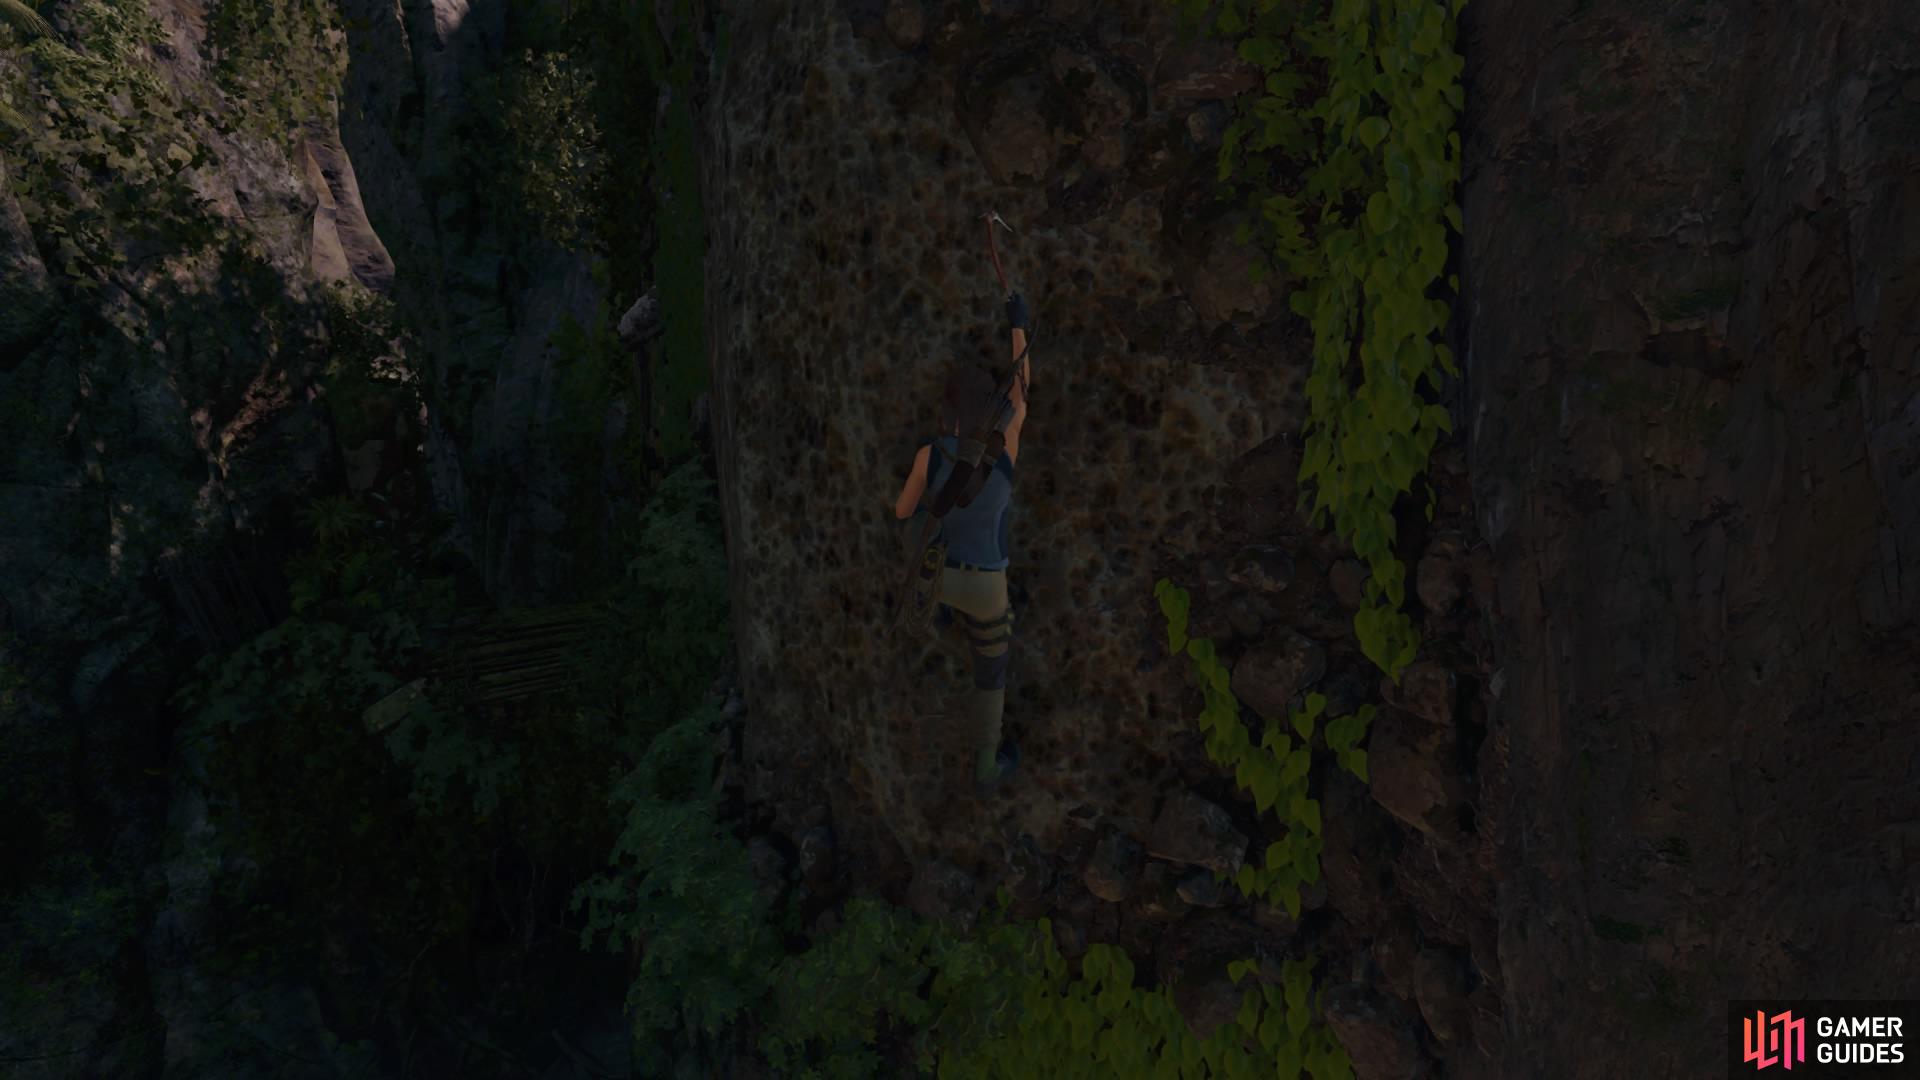
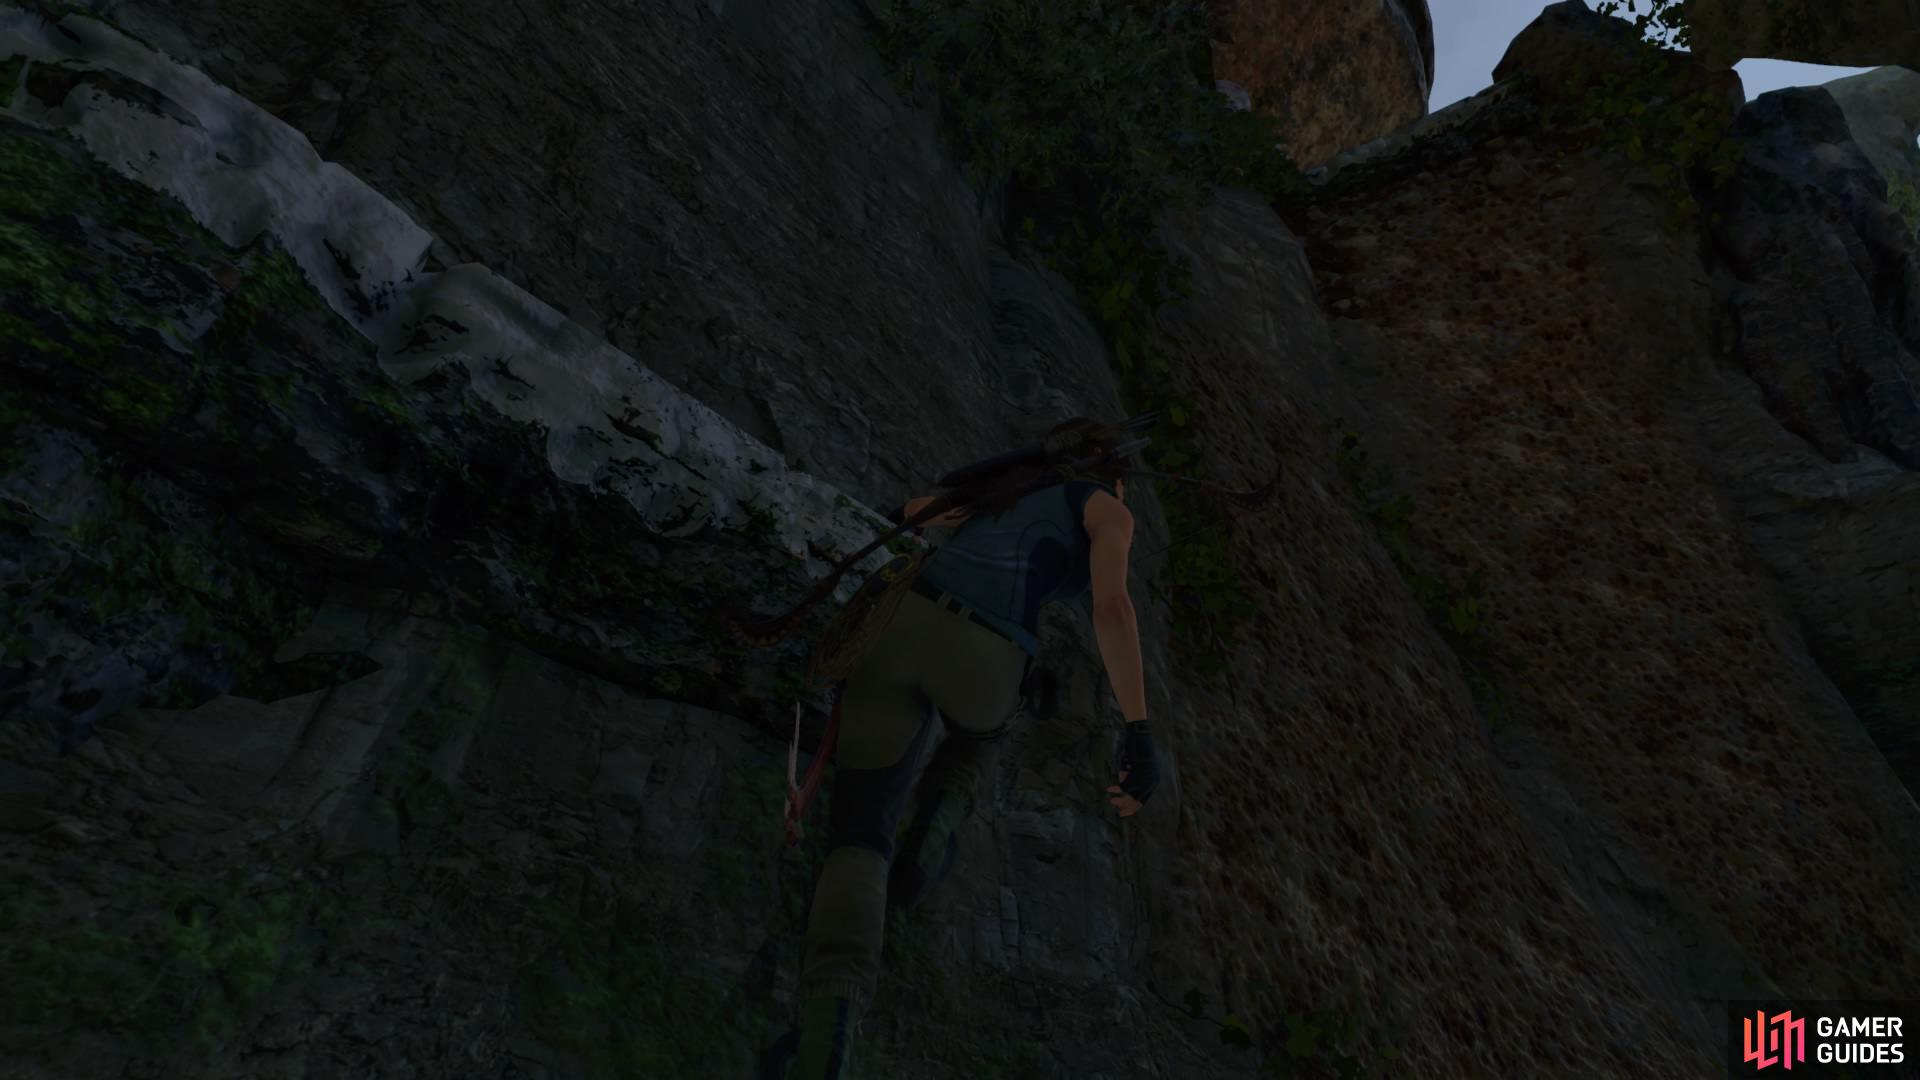
Now head right of the camp to scramble up a wall and attach to the rock face above. Traverse up and jump left, shimmying across until a falling rock causes Lara to lose her grip. Quickly tap the Interact button and then jump left to land at the site of the Canyon Ruins Base Camp where you can upgrade or purchase Skills if needed. There’s also a salvage crate nearby.
Ascend the rock wall
Reach the Canyon Ruins Base Camp
REACH THE STELE
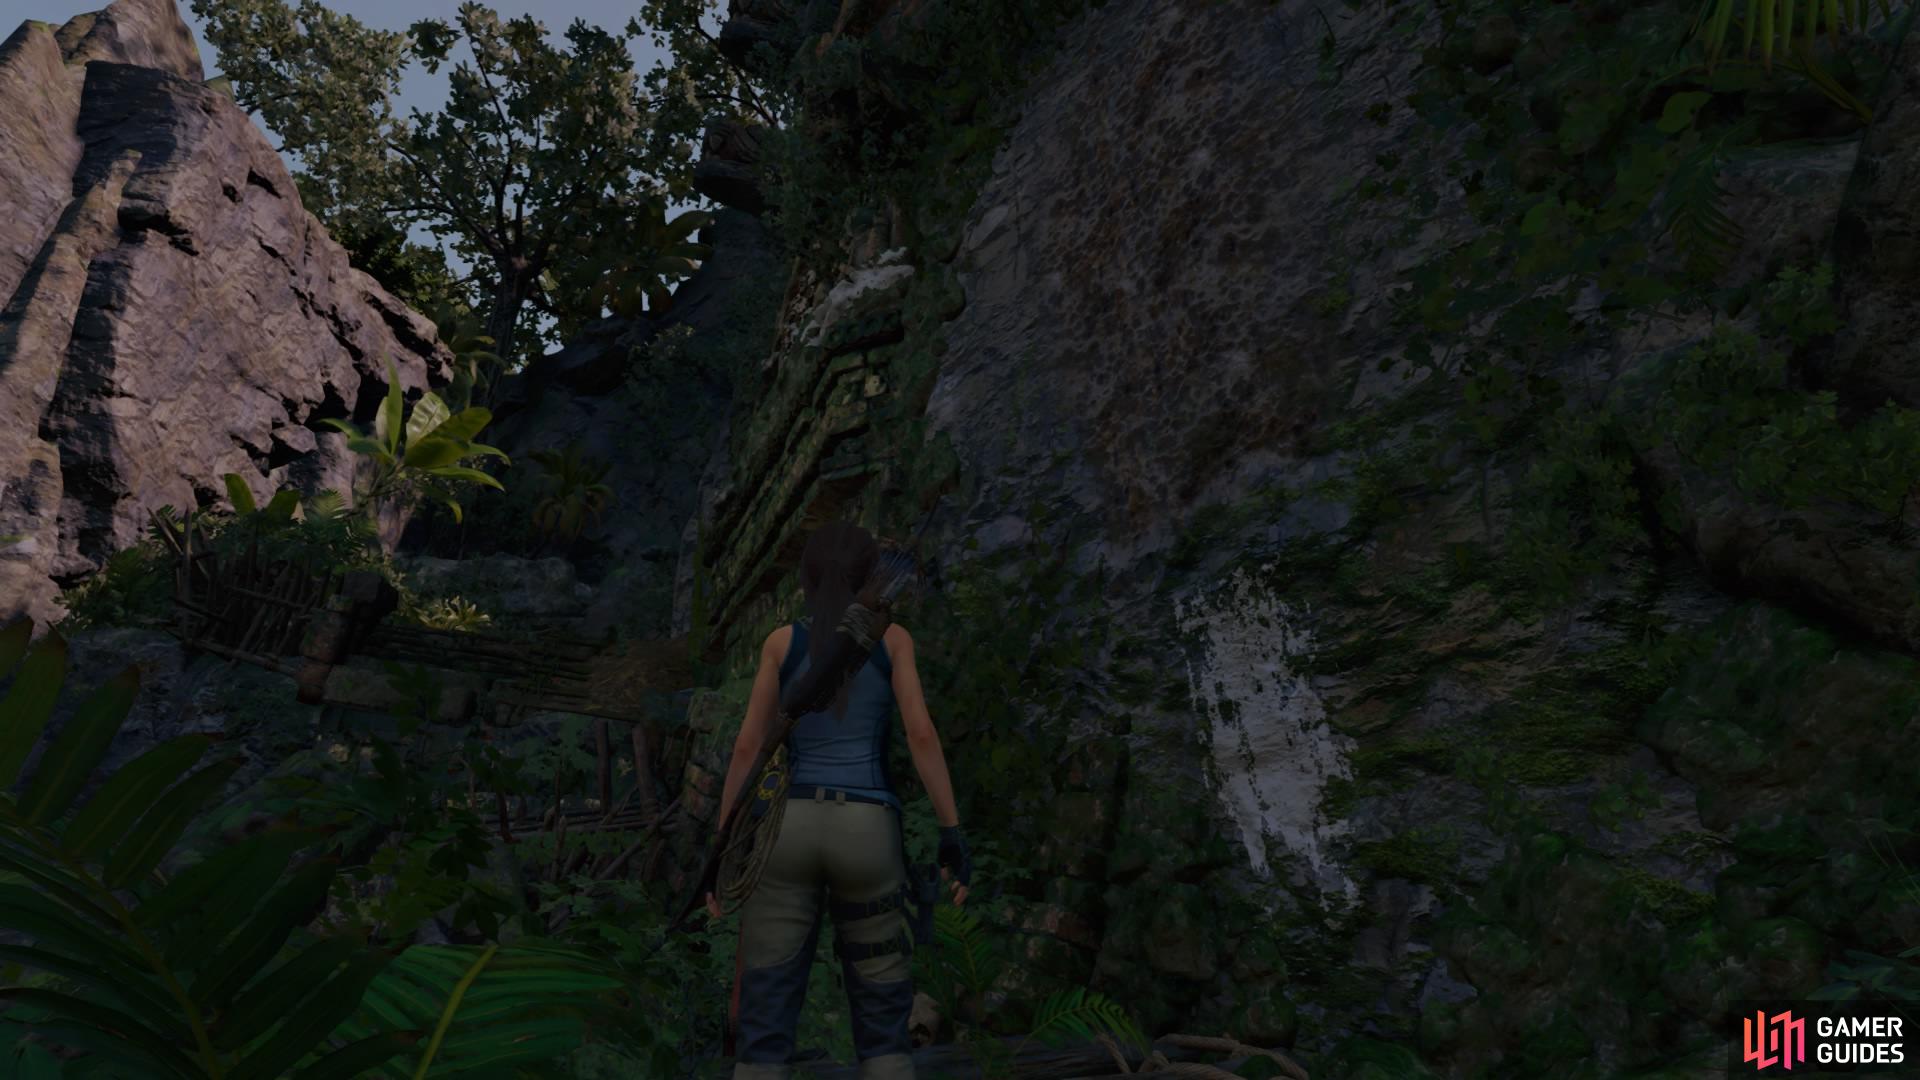
To the right is a gap in the wall – squeeze through to enter the room on the other side. Pick up some resources and then scramble up the far wall on the right to get back outside.
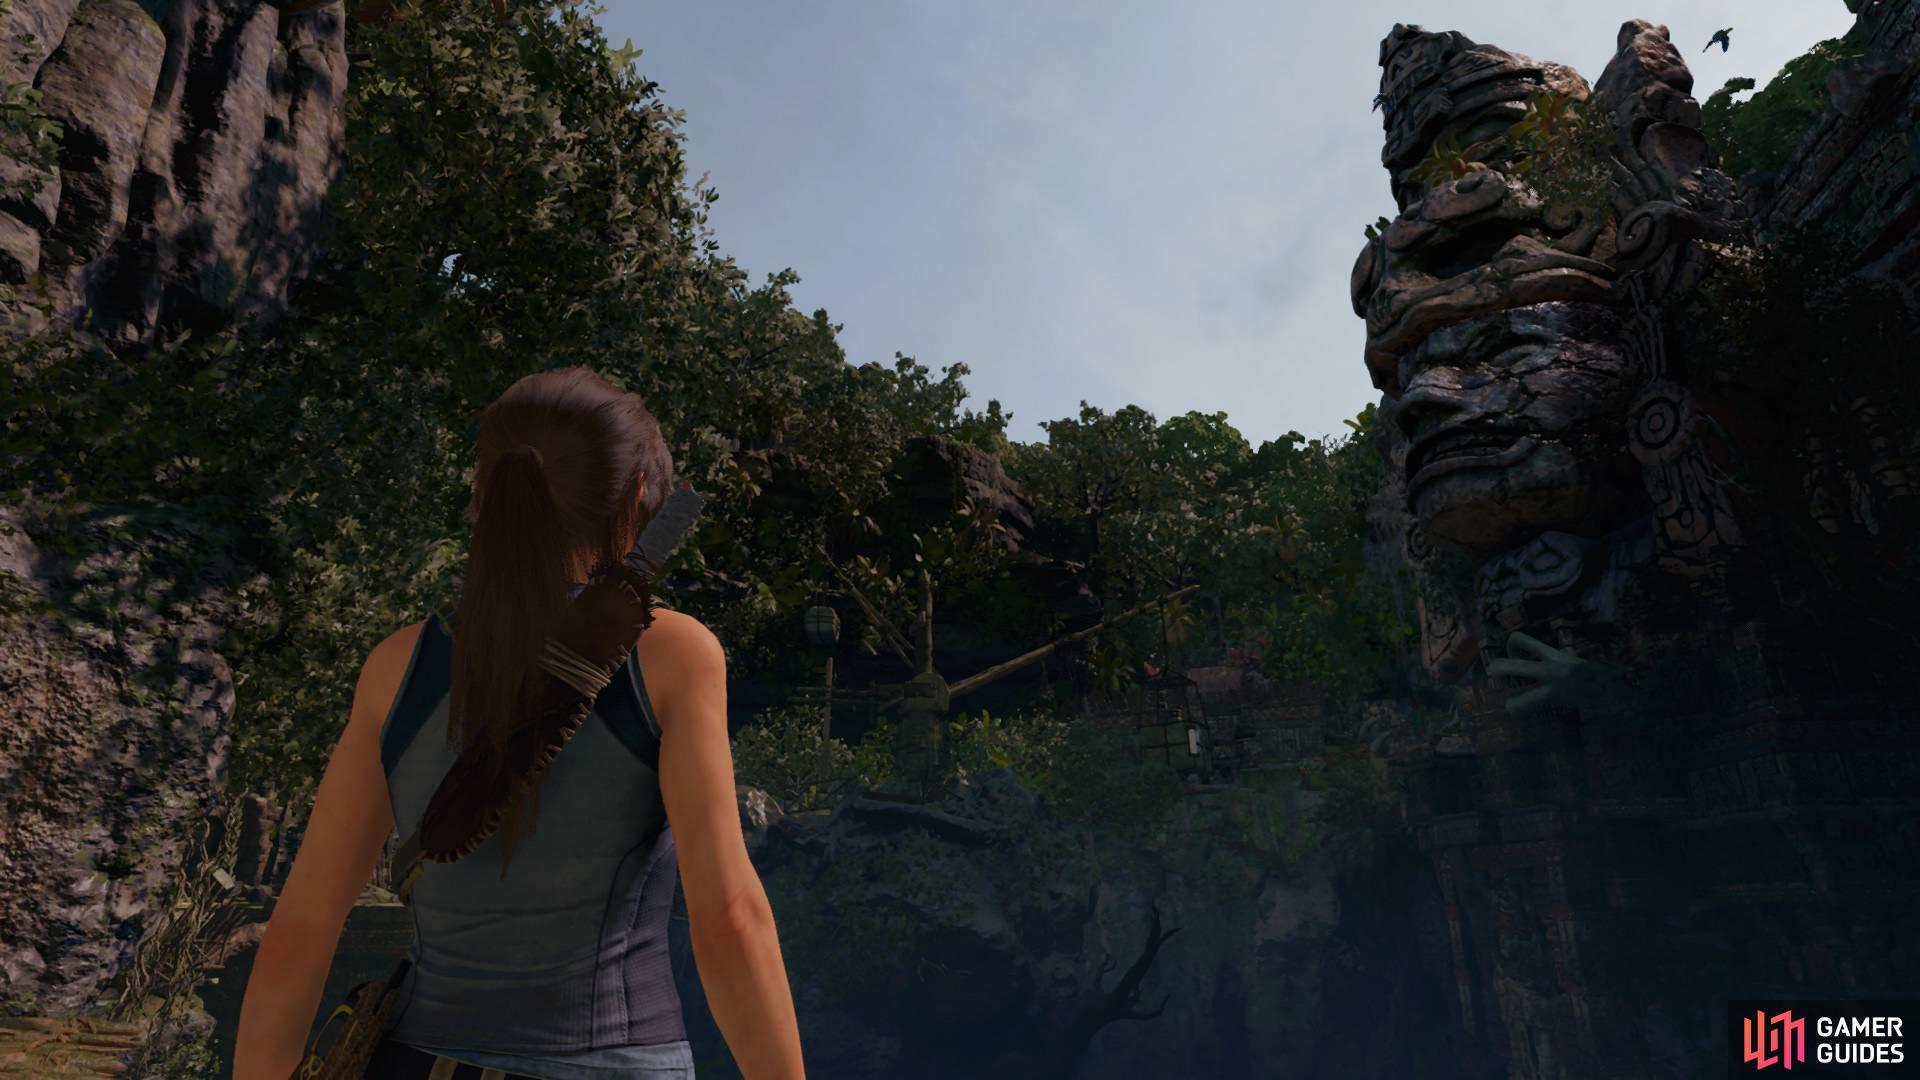
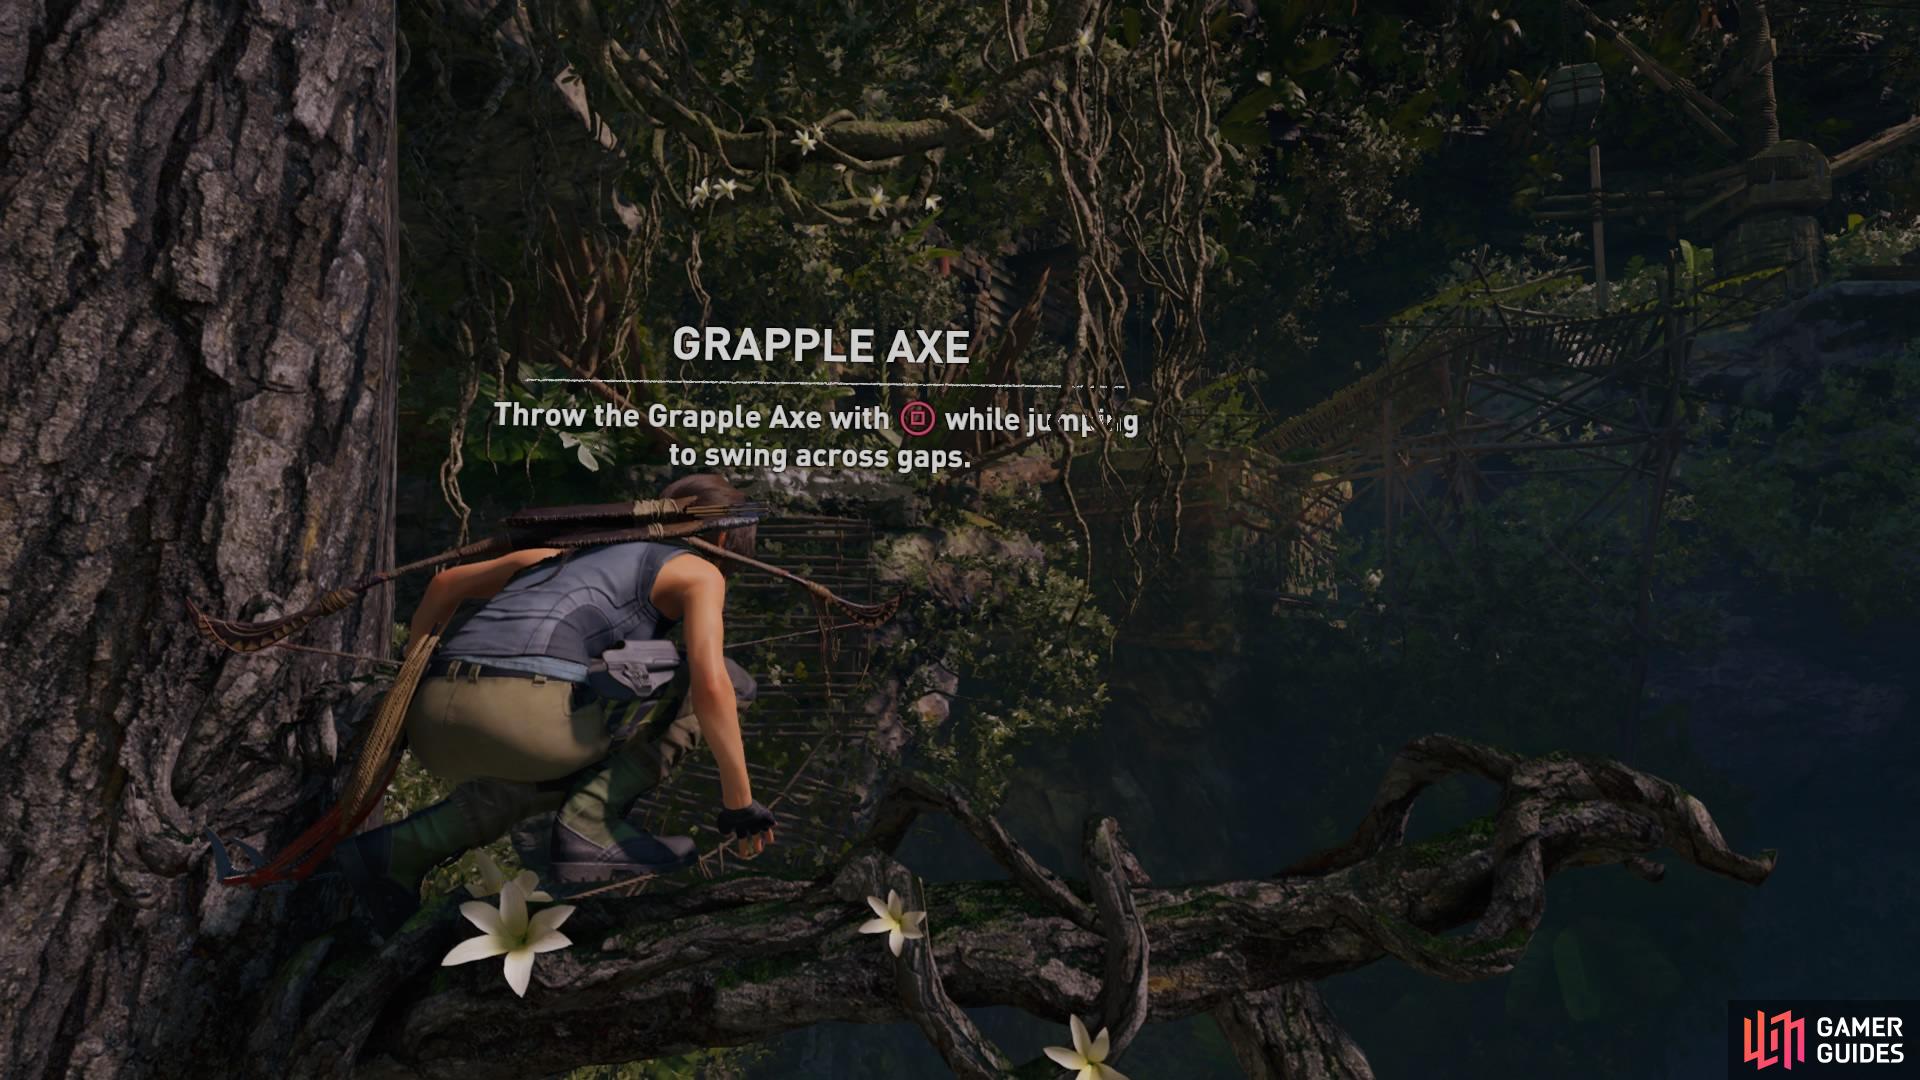
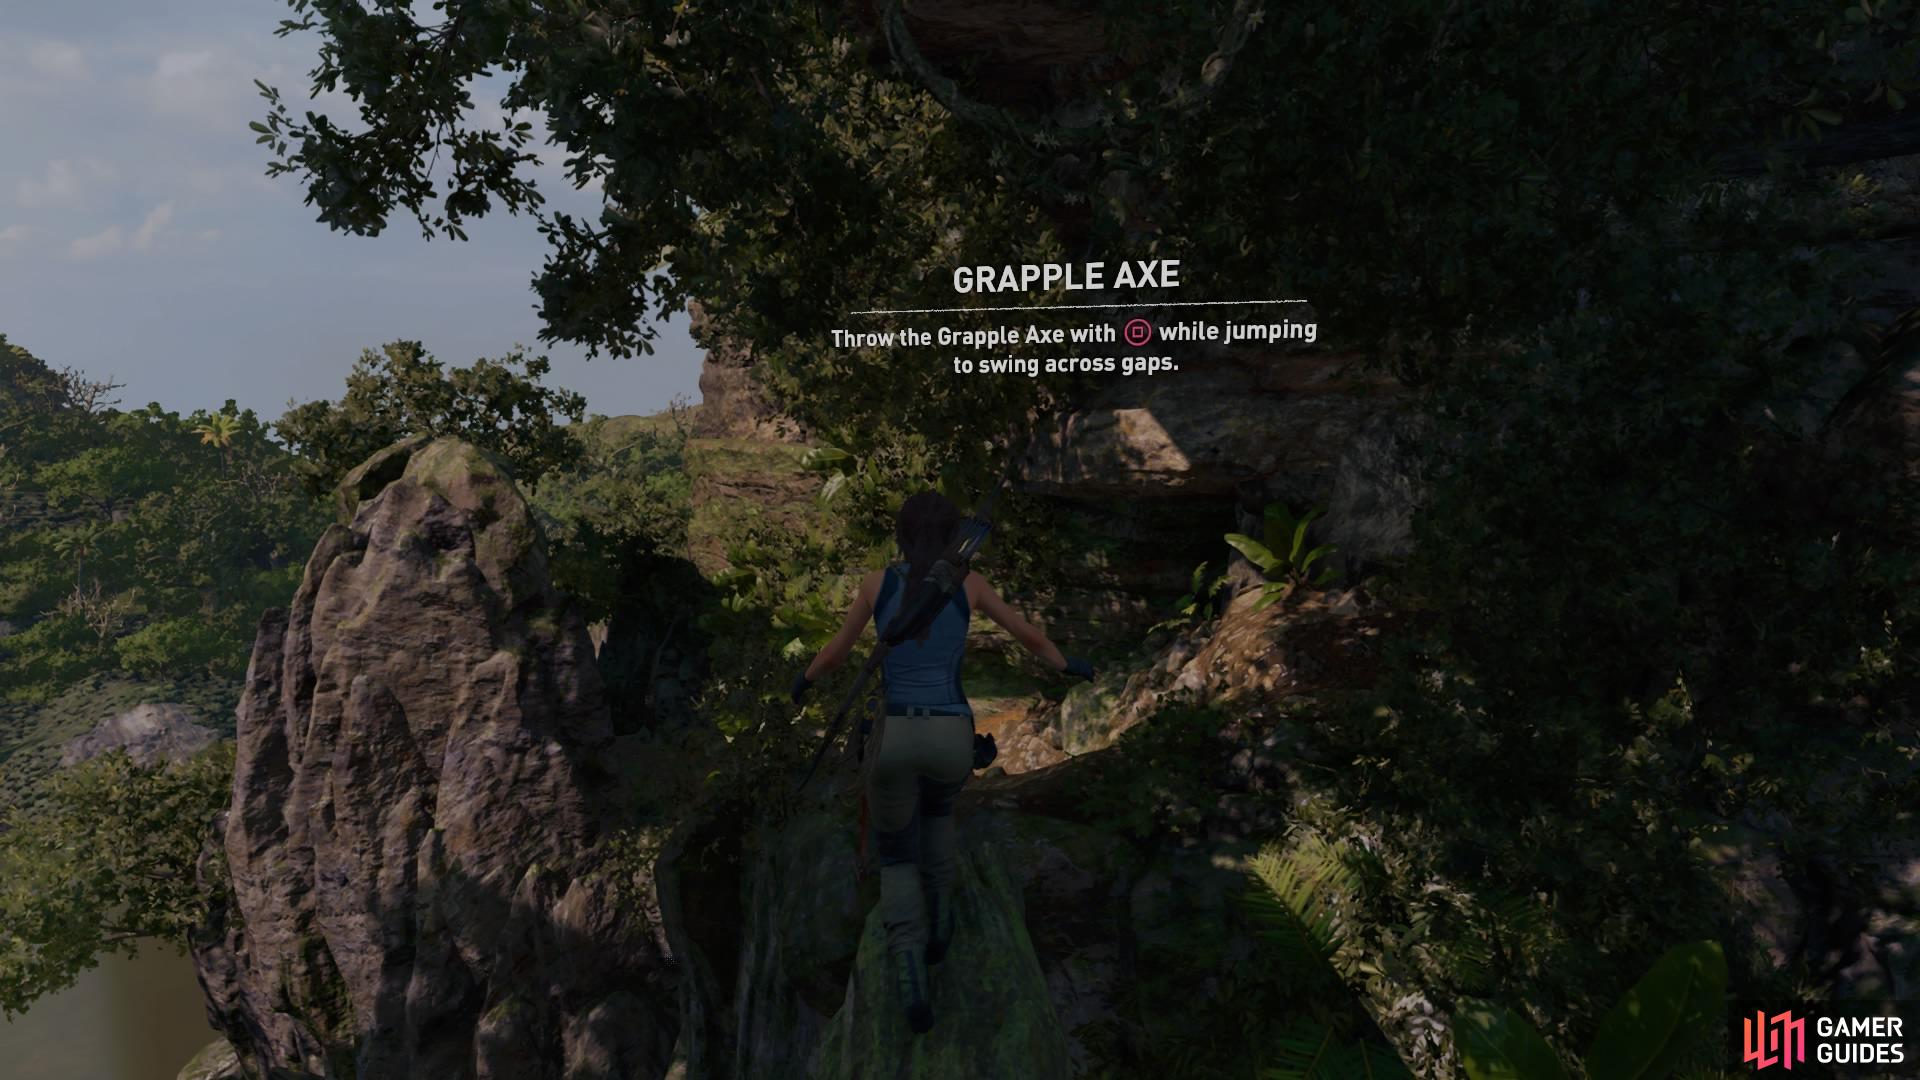
Run left and jump to the craggy wall, then rappel down to swing to the ledge below. You can go into the cubby hole immediately to your left for some resources, but then climb the scratched tree and use your grapple axe mid-jump to swing to the other side.
Swing across to the far ledge
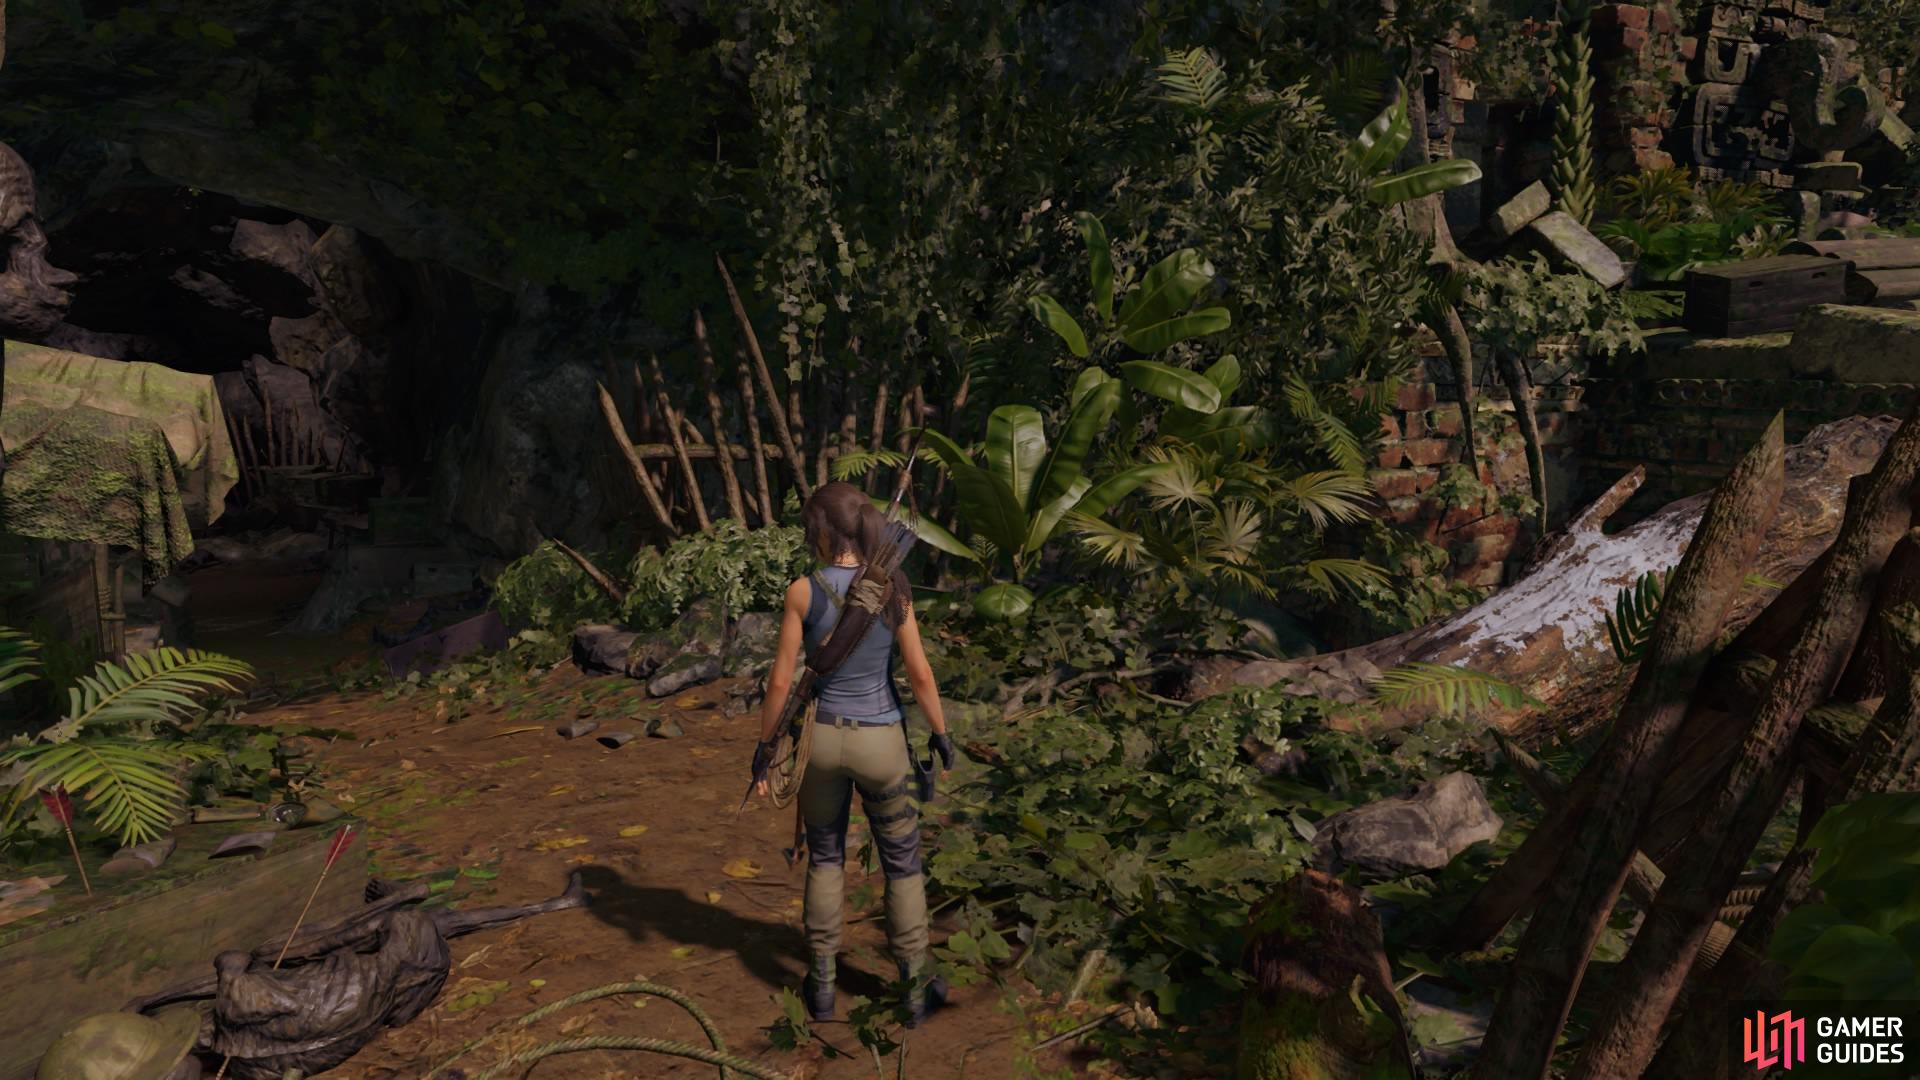
Head left into the cave for resources
Before you continue, head left into the cave to pick up some resources and a survival cache, as well as Document – Finger Length Away in front of some crates against the right wall.
Now go back outside and balance across the tree on the right. In order to get to the stele on the other side, you’ll have to complete a small puzzle.
The steps are as follows:
- Rotate the wooden contraption in front of you by pulling it backwards until it stops. Then stand below the beam wrapped with white rope and fire an arrow to the wooden post on the far ledge opposite. Climb across the rope and make your way to the crane.

Pull the lever backwards
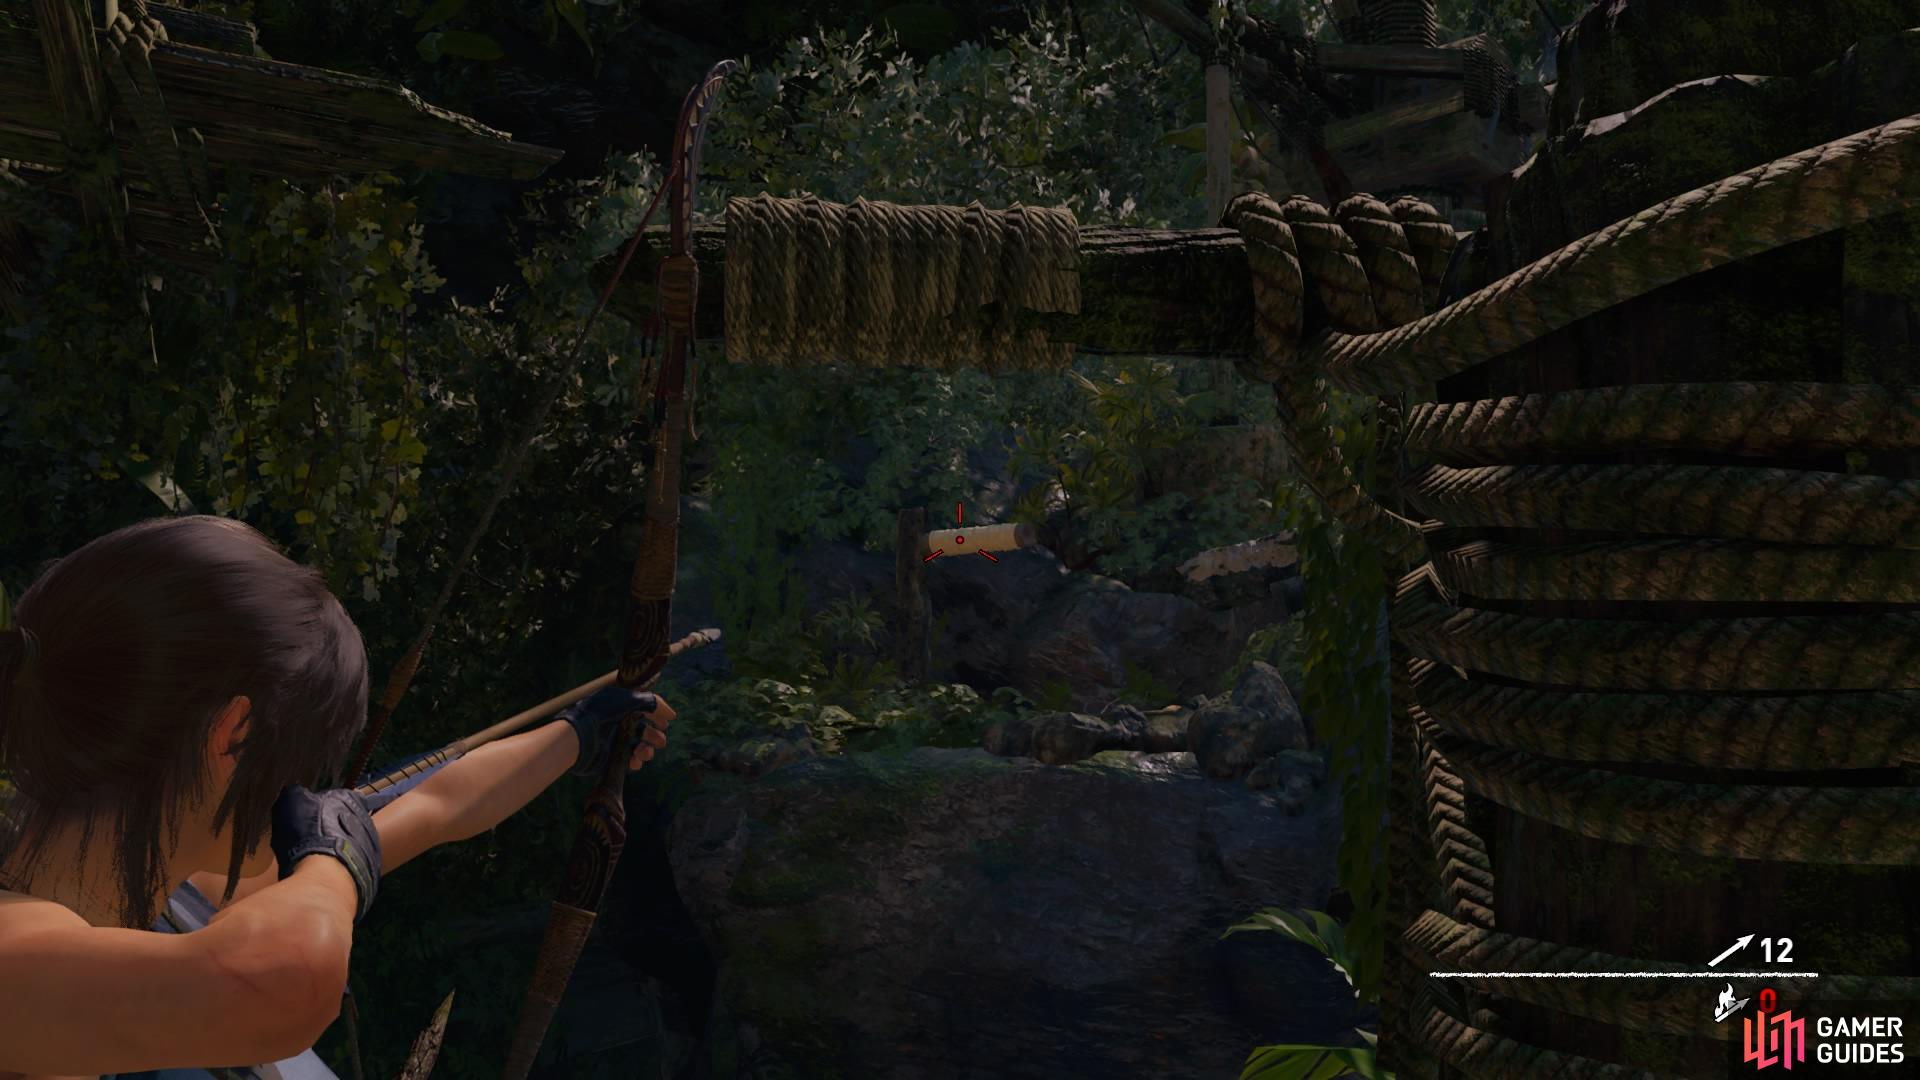
Tether a rope between the two points
-
Pull the lever backwards to rotate the crane and move a large hanging crate over to the right of the platform, then use the crate to hop back over to the first lever.
-
Push the contraption back to its original position and tether a rope between the beam and the side of the crate to hold it in place. Now climb up on to the crate and jump back over to the crane again.
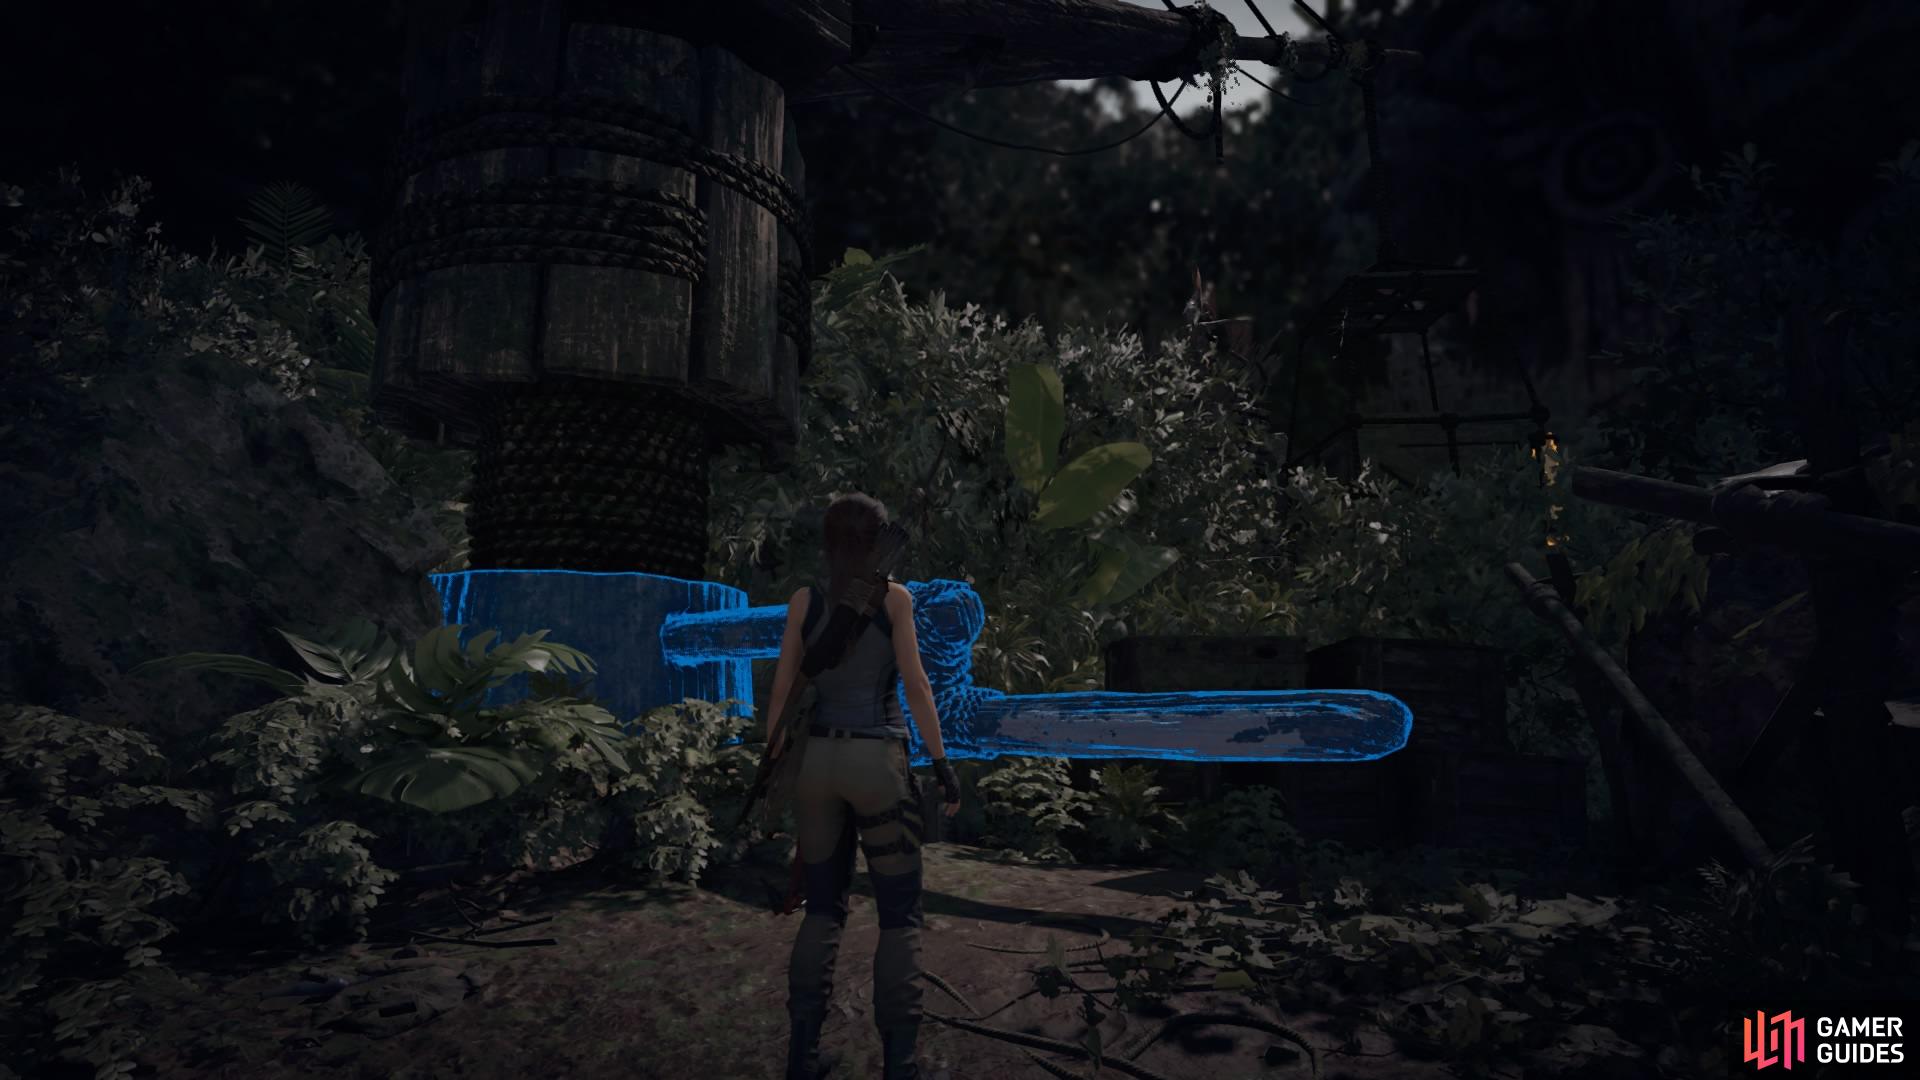
Pull the lever on the crane to move the hanging crate
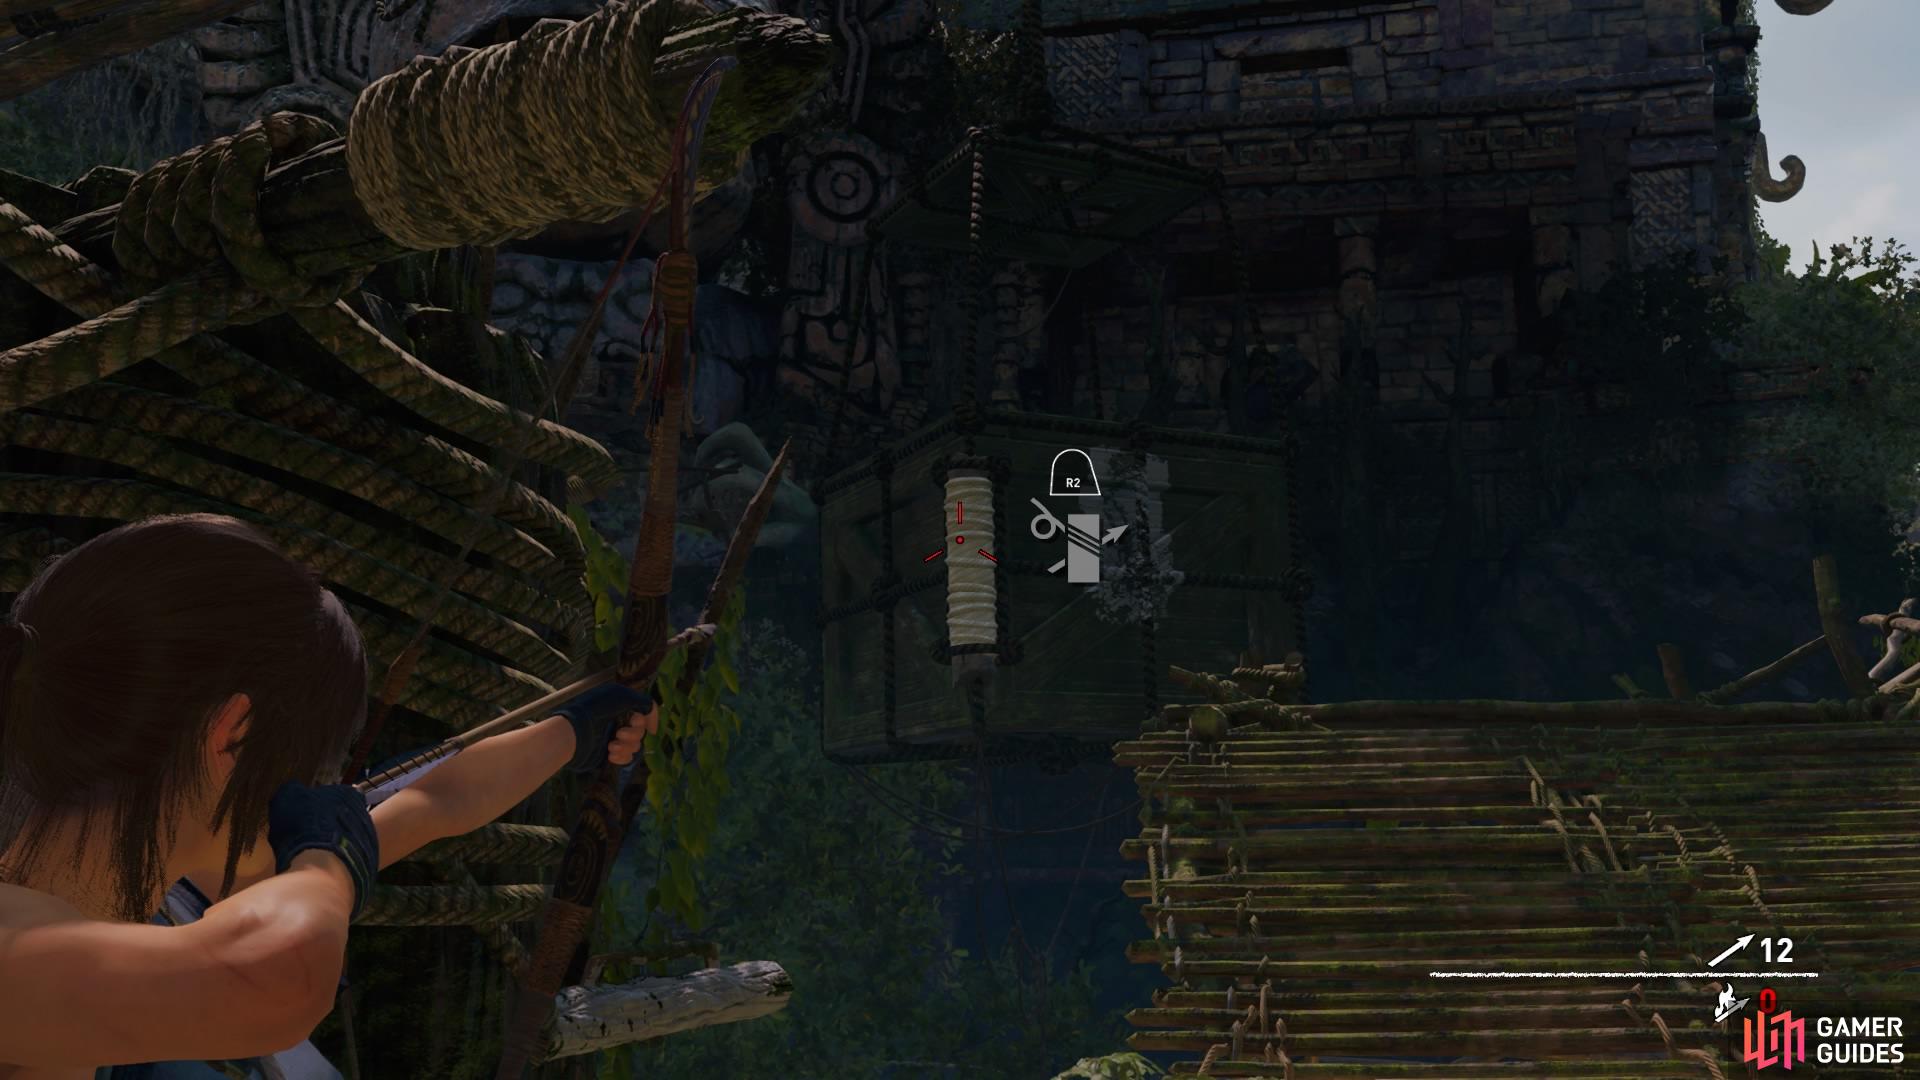
Attach the crate to the first contraption
- Pull the lever again – this will cause the crate to move back over to the left. Quickly jump to it to ride it around to the next platform and jump off.
Ride the crate to the other side
Inspect the mural
Check for resources nearby then head right to find a mural. Then jump to the wall, again on the right – Lara will slip from the first handhold and fall to the one below. Tap the Interact button to regain your grip and shimmy across to jump to the craggy wall.
Wait for the first rock to fall, then quickly jump to the next craggy wall to avoid the second. Now make your way up to find the stele and receive a new Skill, Eagle’s Perch.
Climb the craggy walls
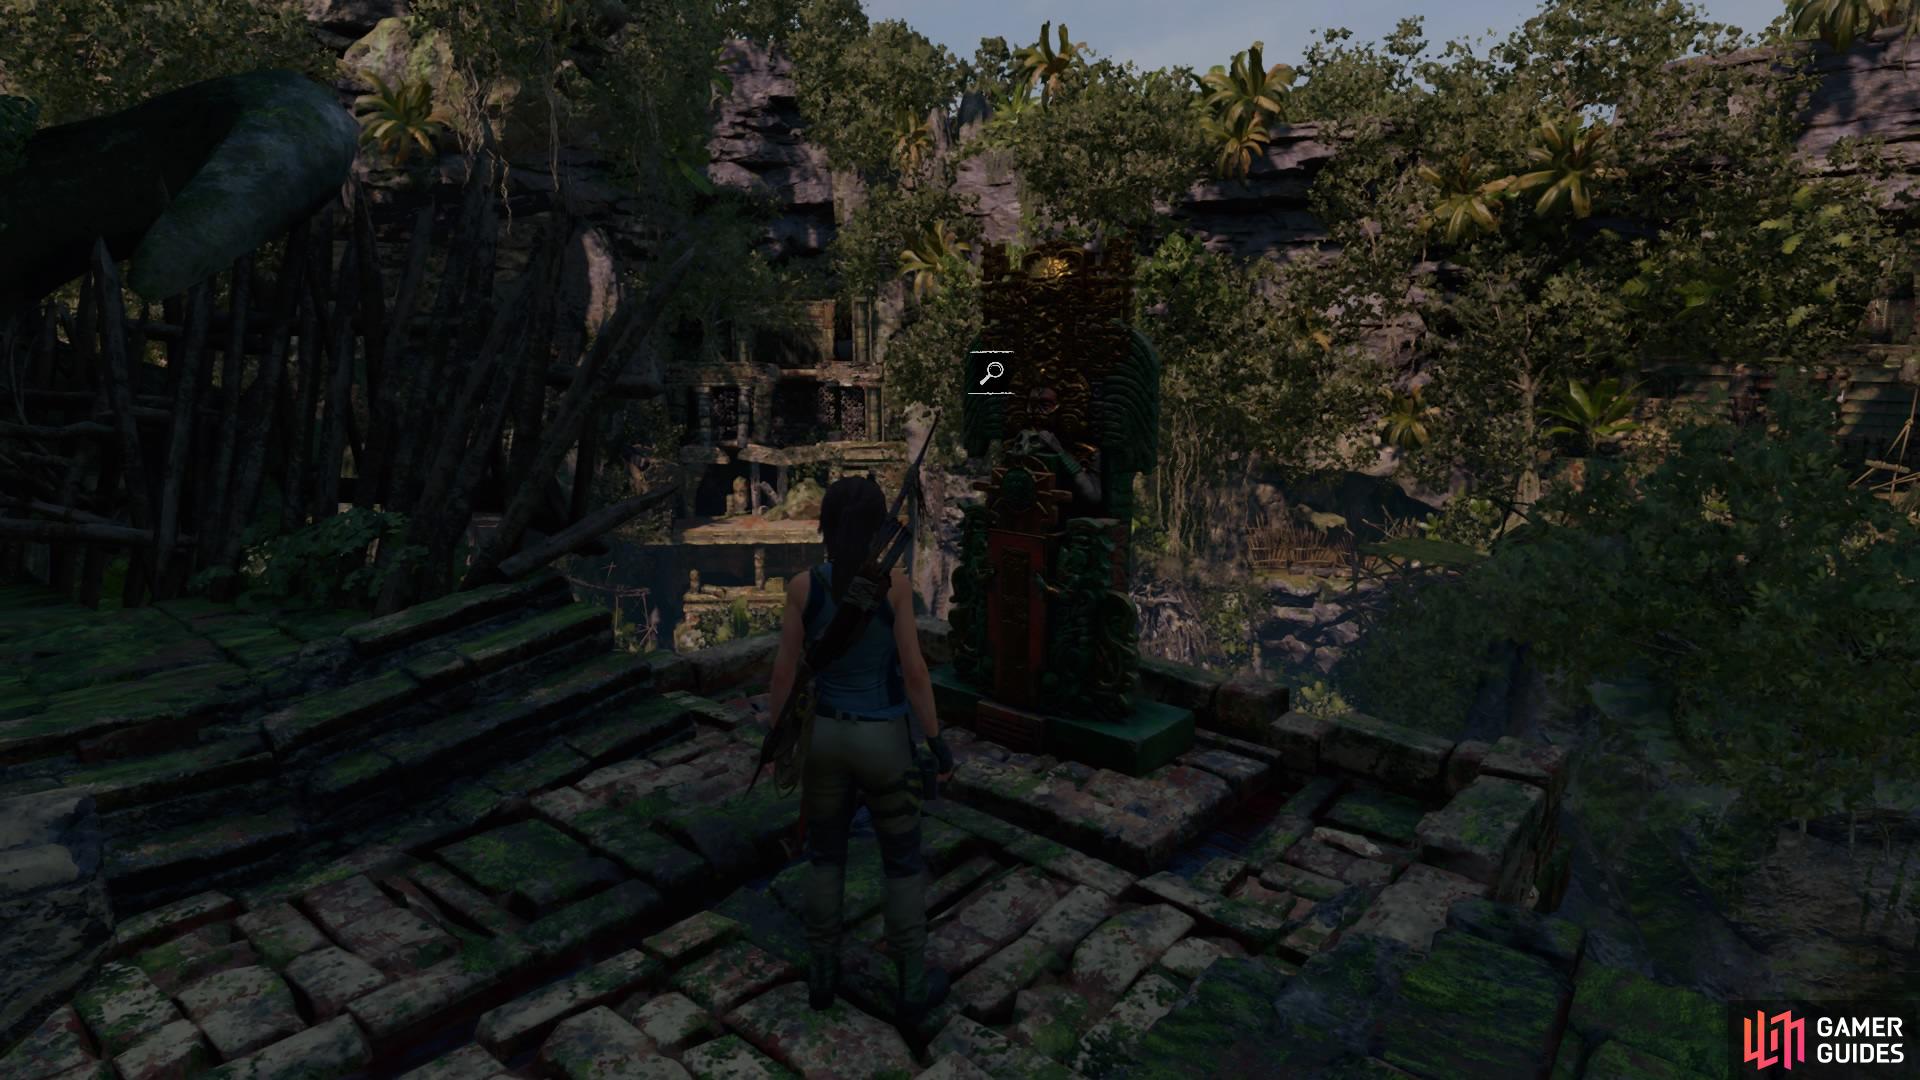
Inspect the stele for a new Skill
On either side of the stele, behind you, are two barricades you can pull down to find some Gold.
EXIT THE TOMB
Now that you’ve completed the tomb, it’s time to leave.
Head left of the stele to balance across a tree and jump through the branches. Go forward to balance across another tree and use your grapple axe mid-jump to swing across to a muddy slope.
Jump through the trees
Swing across to the muddy slope
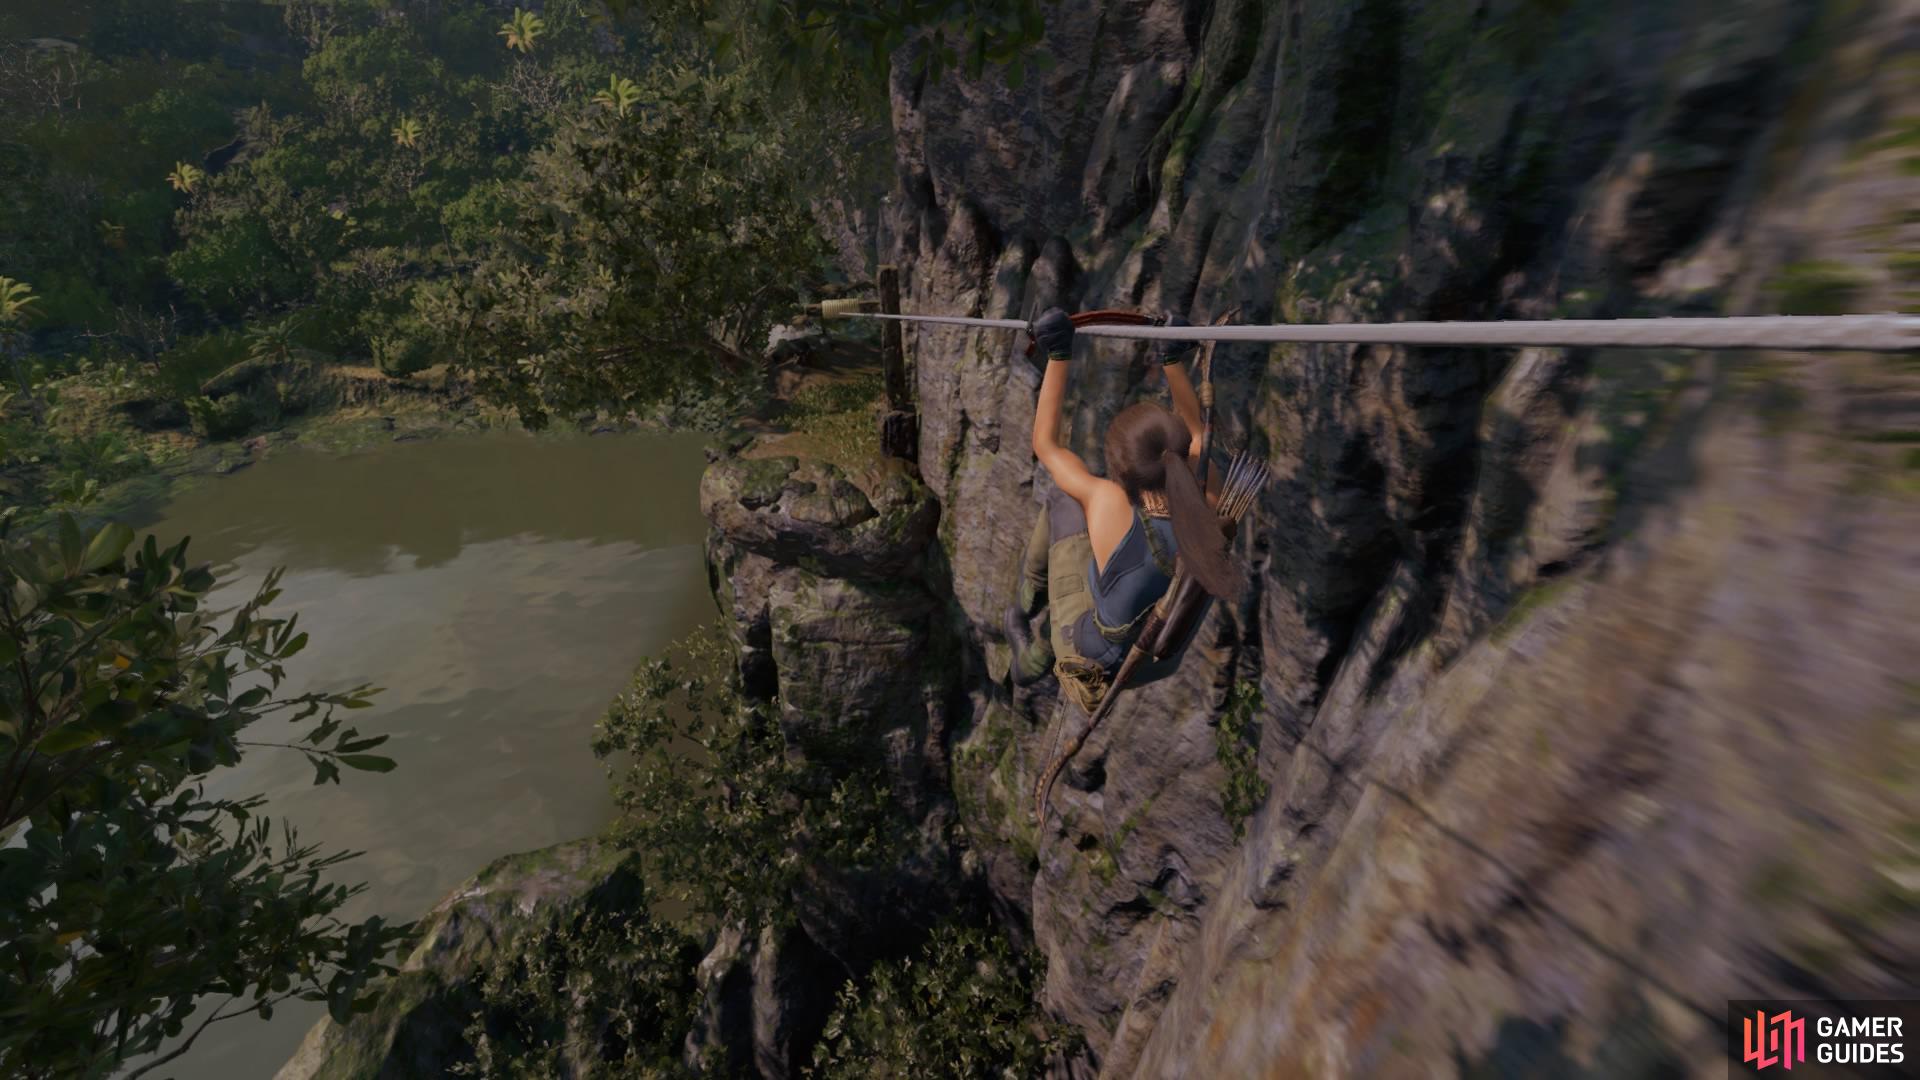
Follow the path, tether a rope between the two wooden posts, and slide down to the trail below. Now simply follow the path to leave the tomb the same way you entered to return to Jonah.
No Comments