
This page explains how to navigate Viper Bluffs to reach Viper Manor in Chrono Cross: The Radical Dreamers Edition.
How to Reach Viper Bluffs
If you wish to recruit Guile and have him lead you to the manor, visit the bar in the first section of Termina. Guile is hanging around towards the far left, near the barkeep. He took on a bet with the fortune-teller at the overpass and needs to enter Viper Manor.
Guile knows how to enter the manor, but lacks a boatsman. Tell him you’ll help him. Guile will then join your party. With Guile in tow, make your way to the shrine area of Termina, located all the way east. From where the sacred sword is, go north underneath the shack and around to where Korcha’s boat is.
Speak to Korcha and pay him 100G to borrow his boat. Korcha says he doesn’t know how to get to Viper Manor. But that’s where Guile comes in. With Guile’s guidance, Korcha will drive his boat all the way around the north side of the peninsula, towards the back of Viper Manor: Viper Bluffs.
First Screen
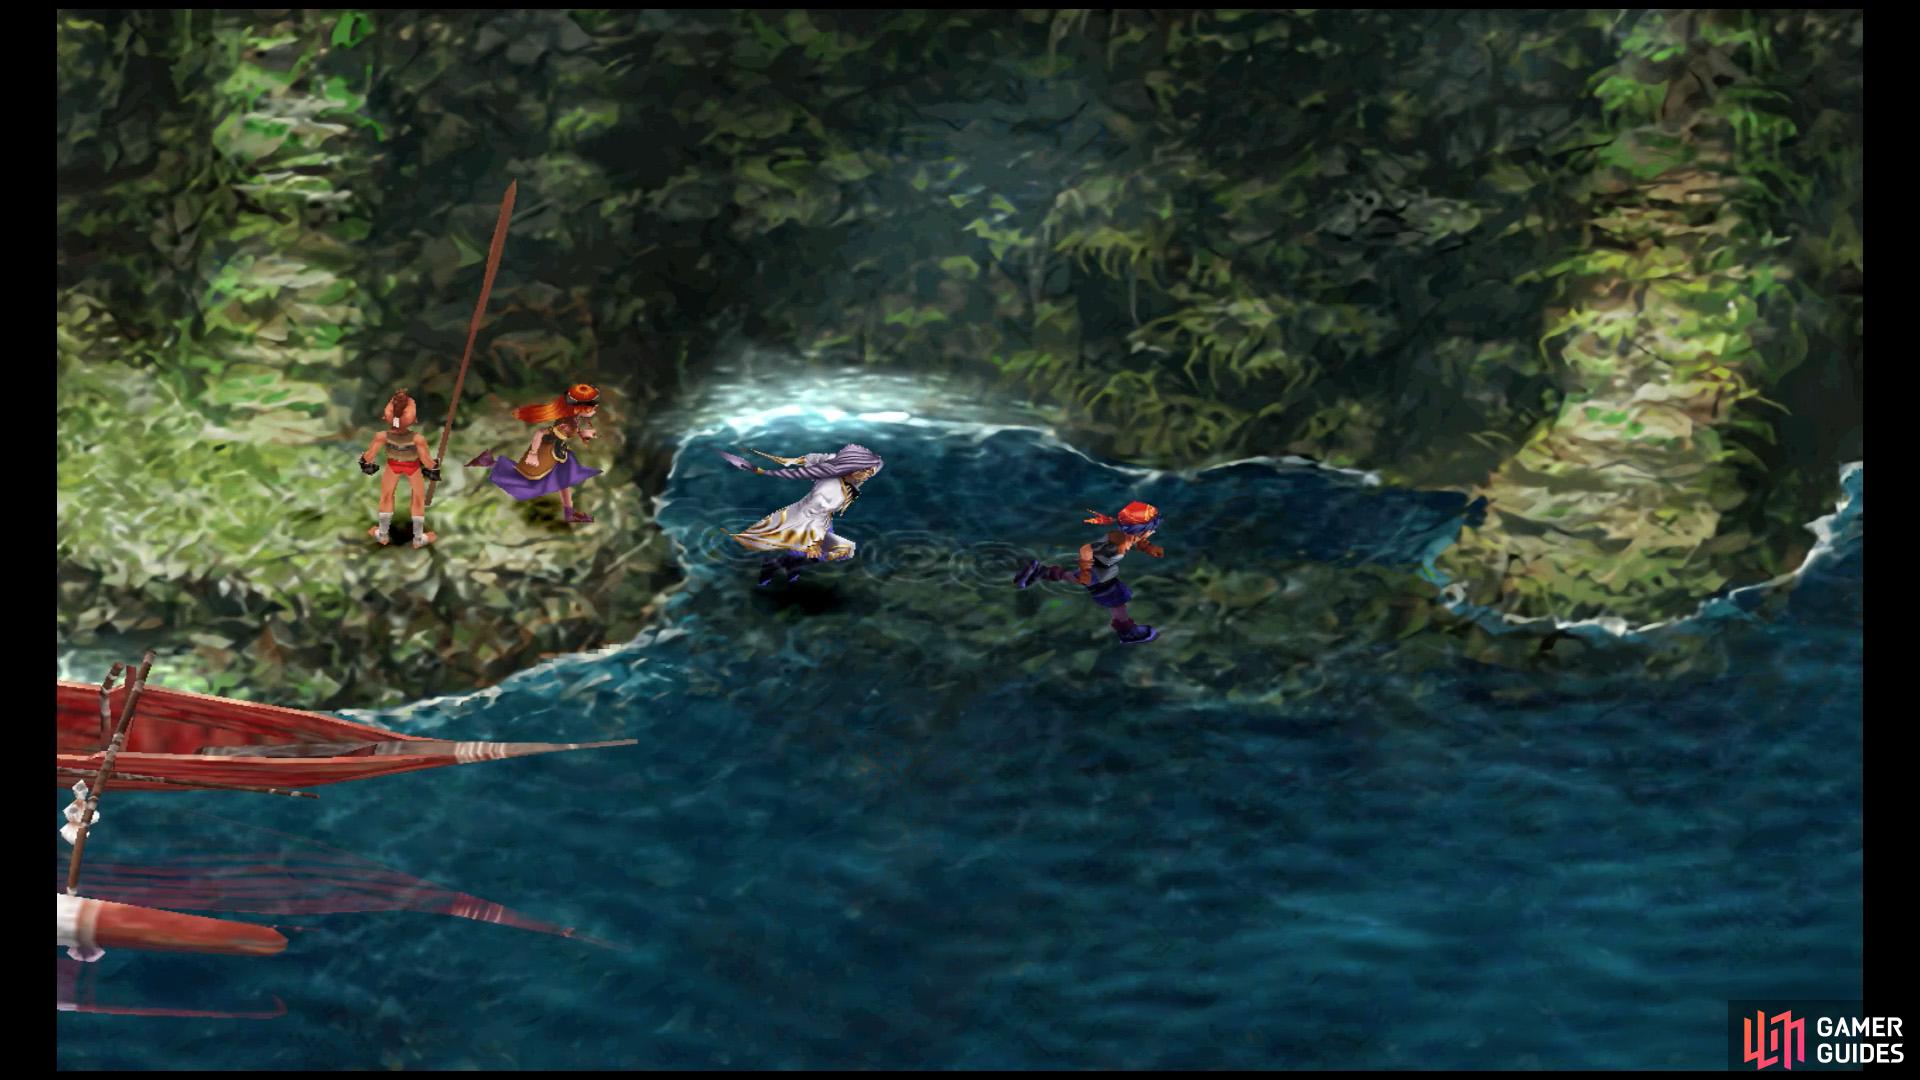
This shallow water path is very easy to miss.
Across the path, there’s a ladder to the east.
When you arrive, head directly east along the shallow the water, past Korcha. It can be hard to notice if you’re not looking for it!
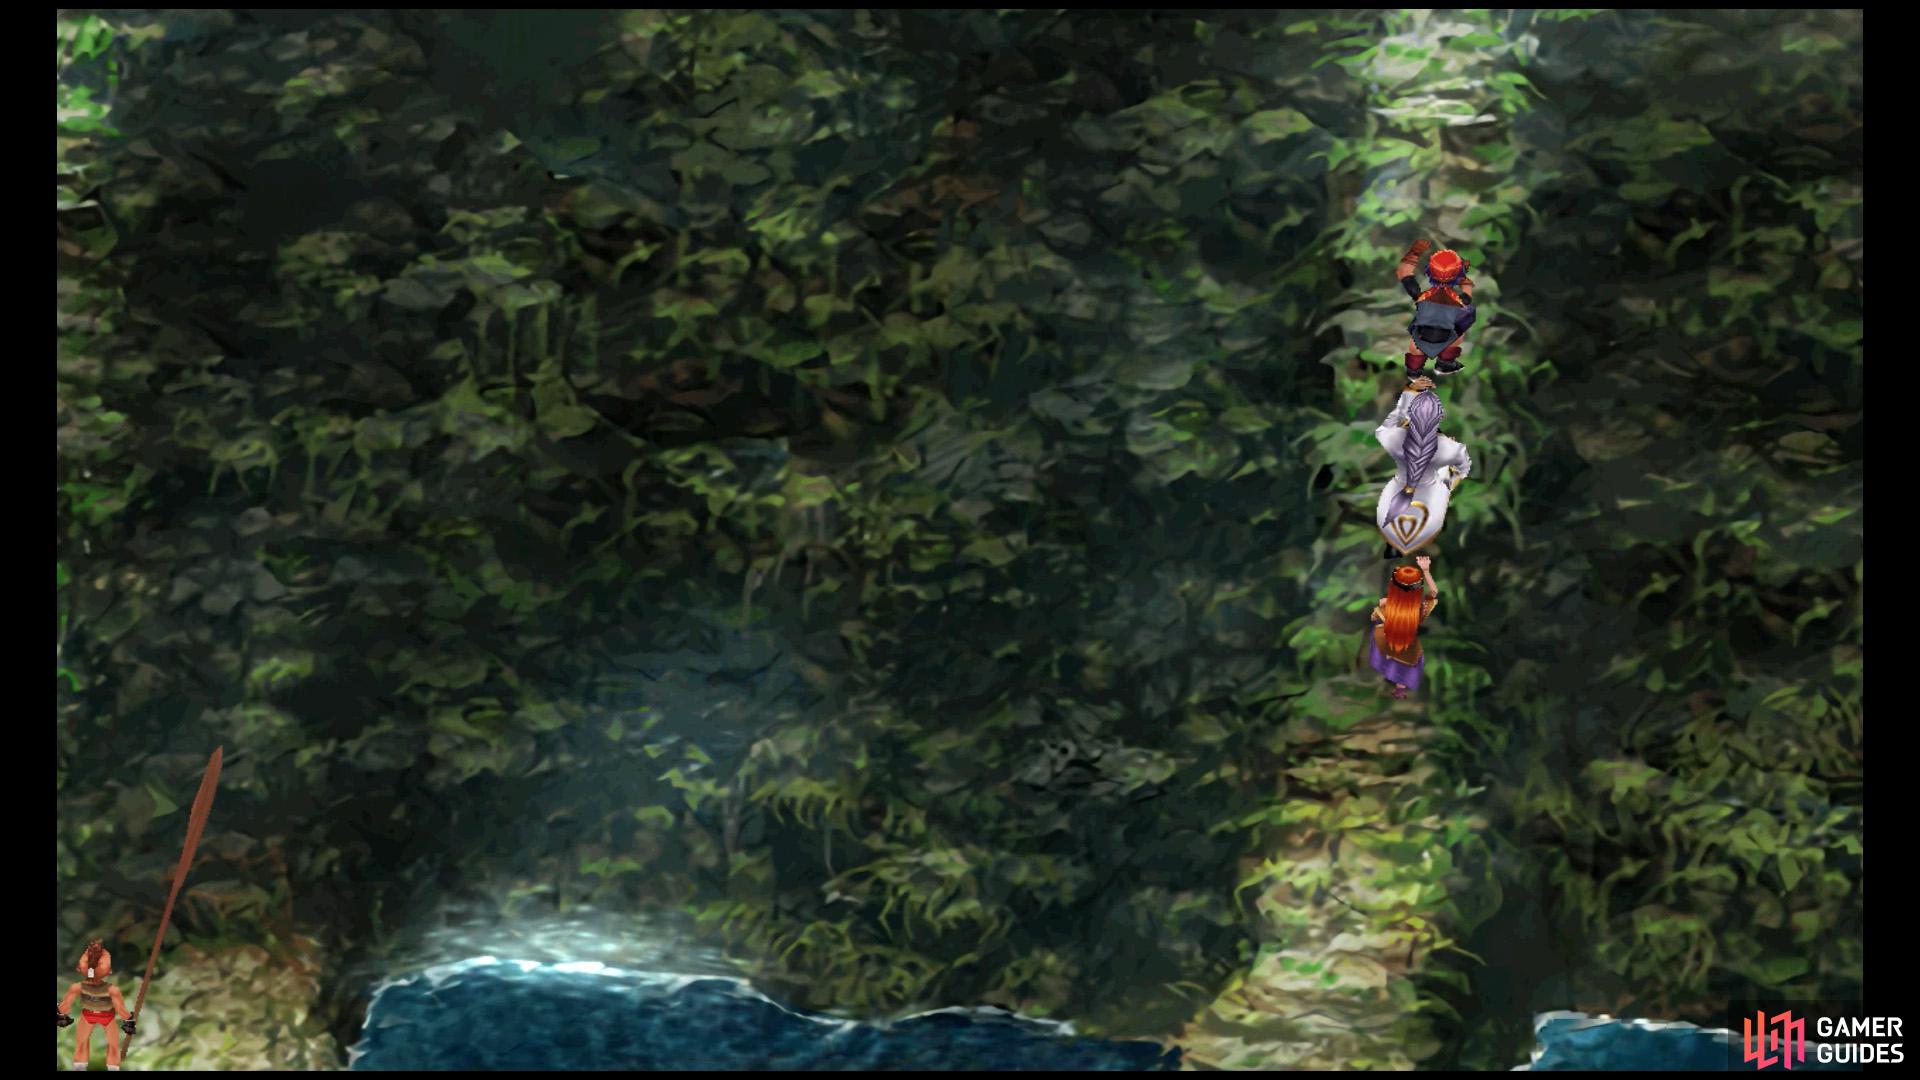
Climb up the eastward ladder towards the next screen. If it’s your first time, a security guard will frantically begin lobbing boulders down at you. Getting hit by these will inflict 10 damage and knock you from a ladder.
Anyway, go west through the small tunnel. There’s a bat enemy along the way. At the far end, cautiously climb up the very tall ladder. Observe the water spout near the bottom of the ladder. If you climb near it when water is gushing out, you’ll be knocked further down.
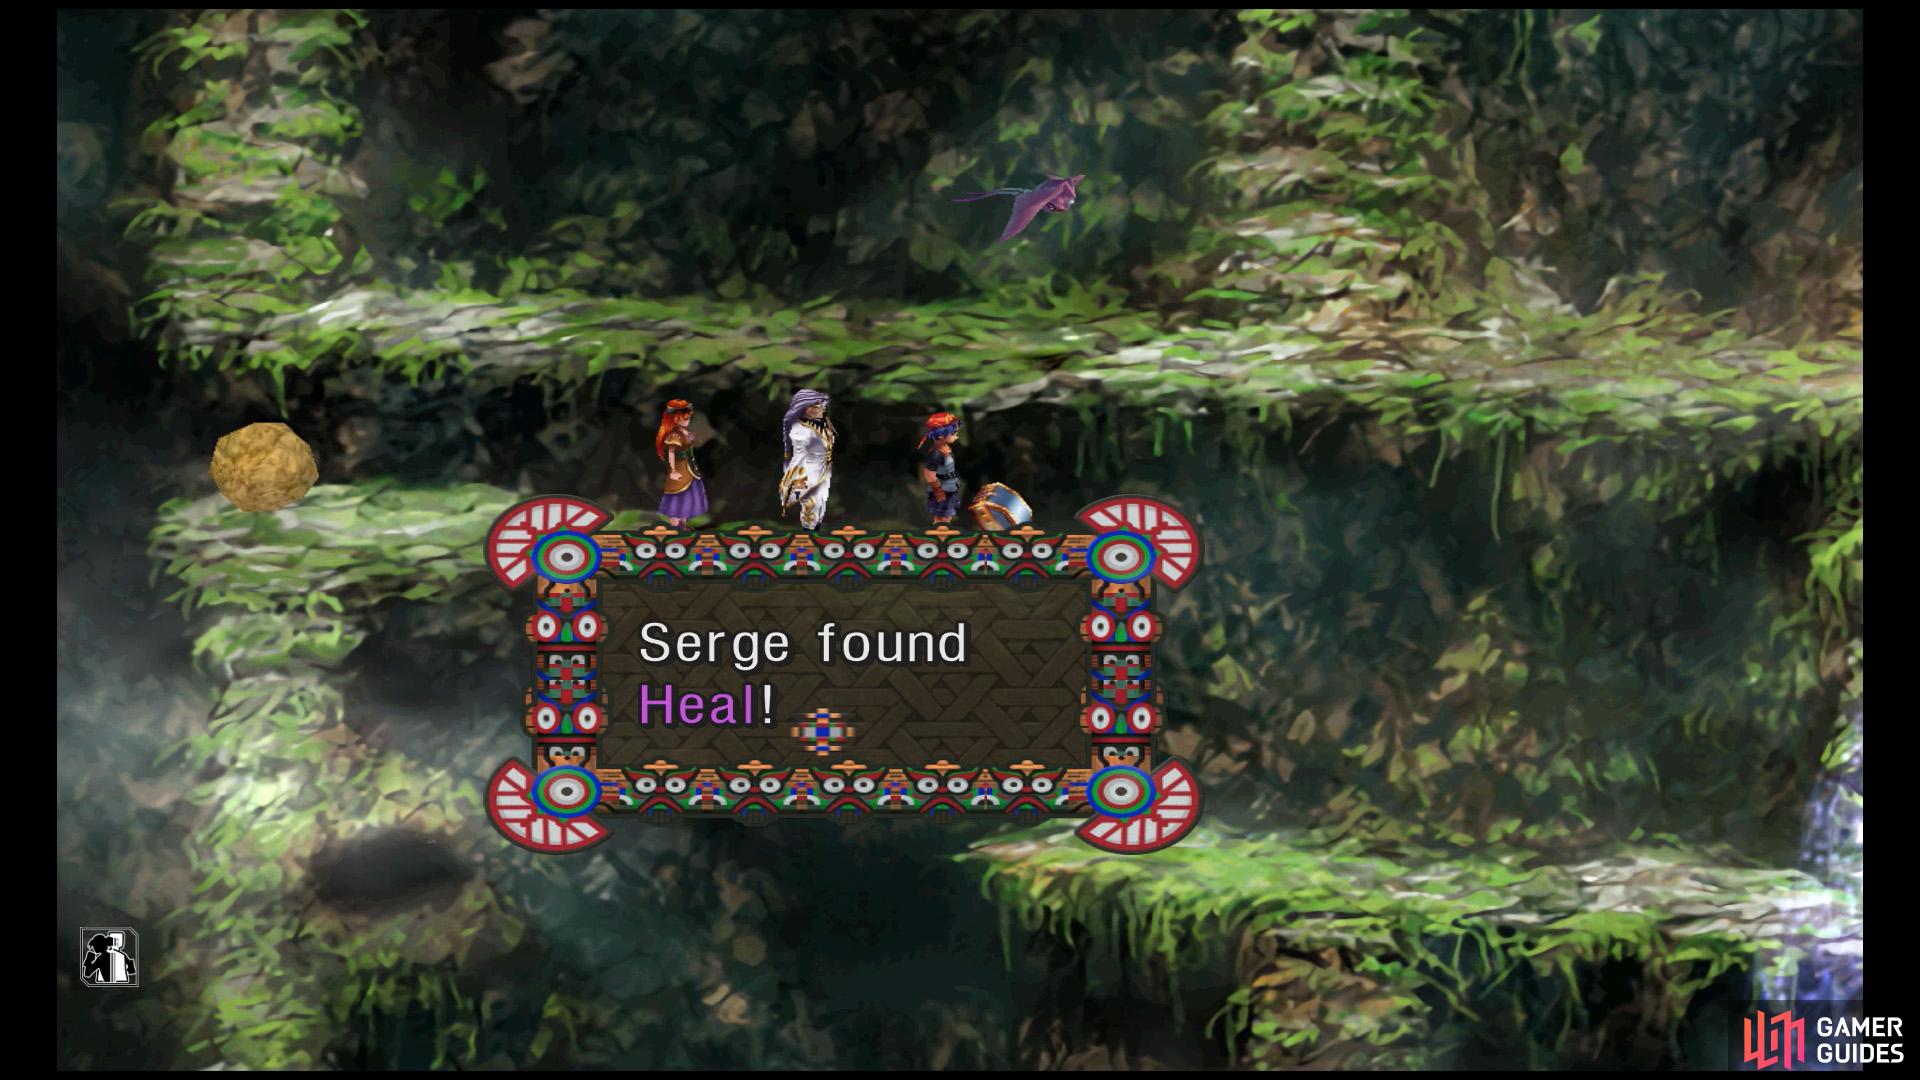
Heal Element.
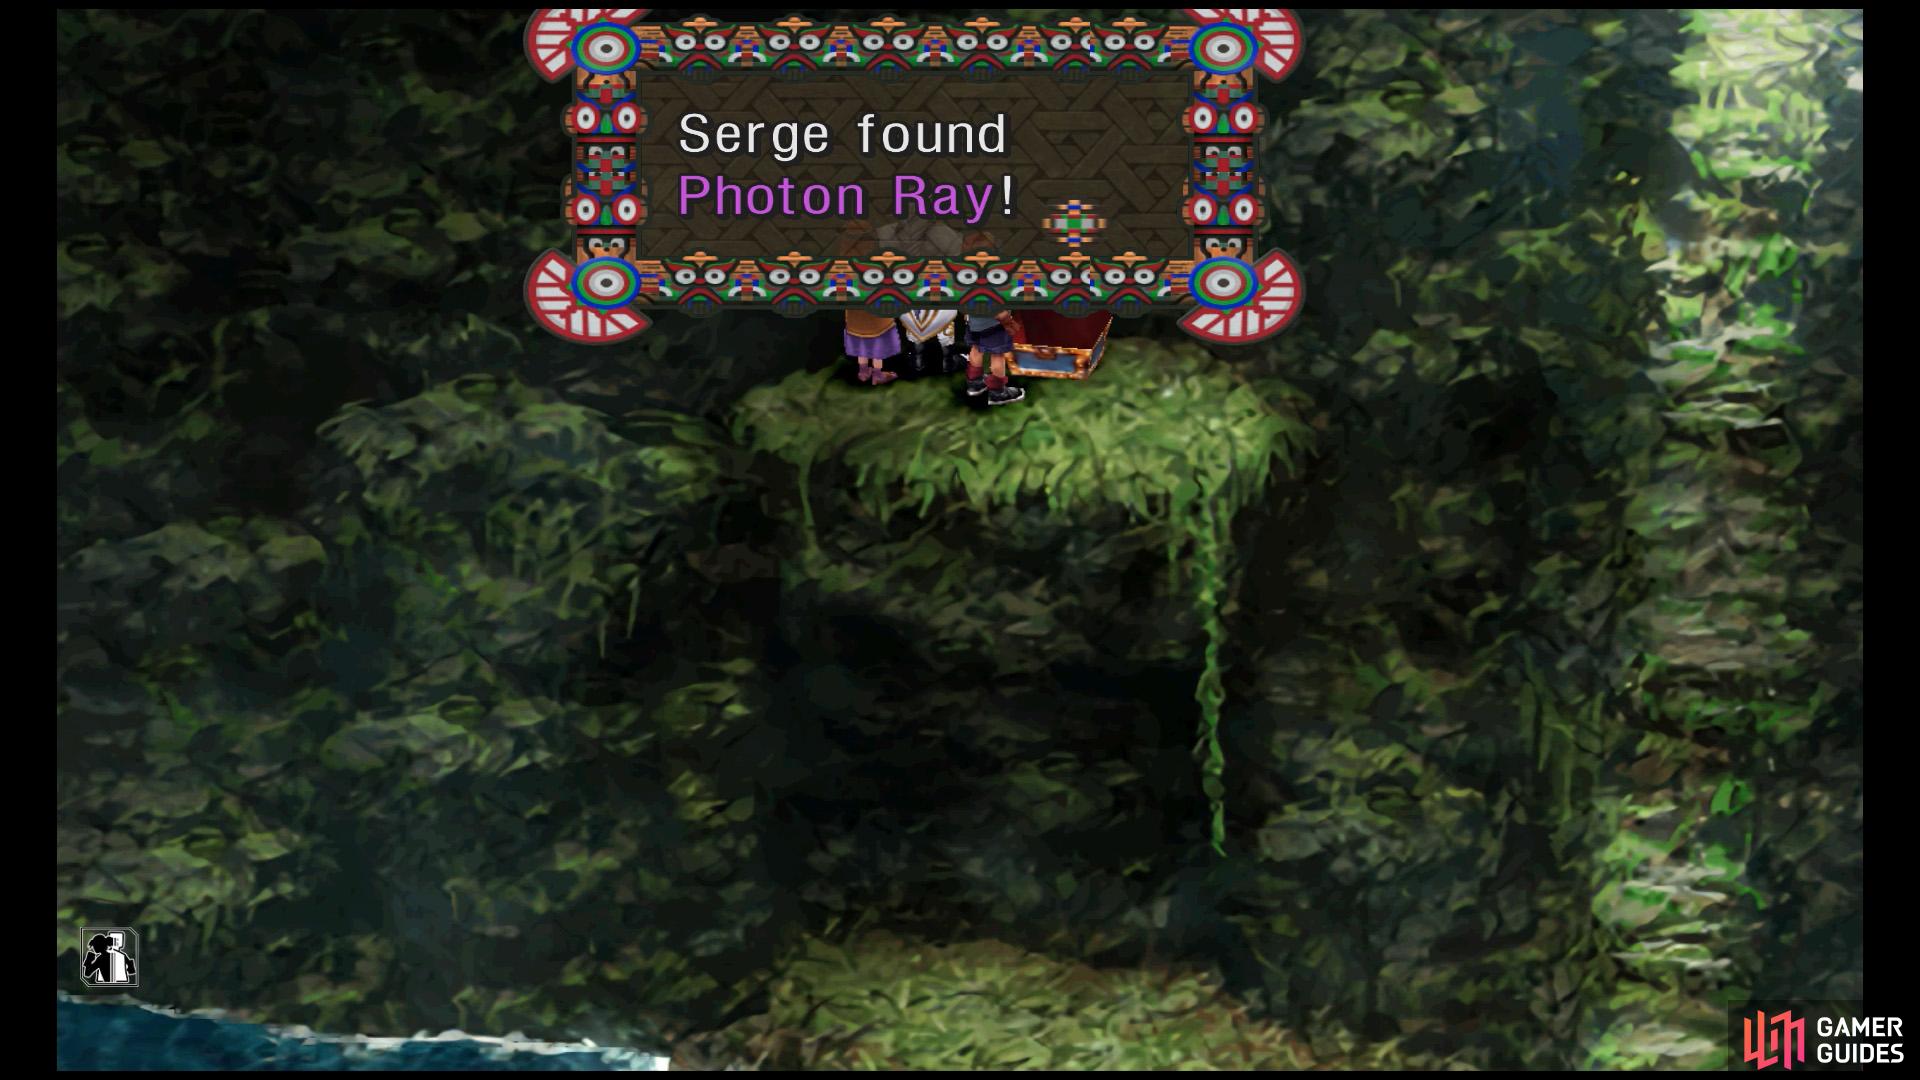
Photon Ray Element.
Hang a short distance below the spout, then climb up when it’s gone. You’ll also need to cross your fingers that a stray boulder doesn’t fly your way… At the top, open the chest for a Heal Element. Now climb down and let the water spout push you down.
You’ll be back at the first screen. Open the nearby chest for a Photon Ray Element, then climb down the vine back to where you started. Now climb up the ladder in front of the boat.
Second Screen
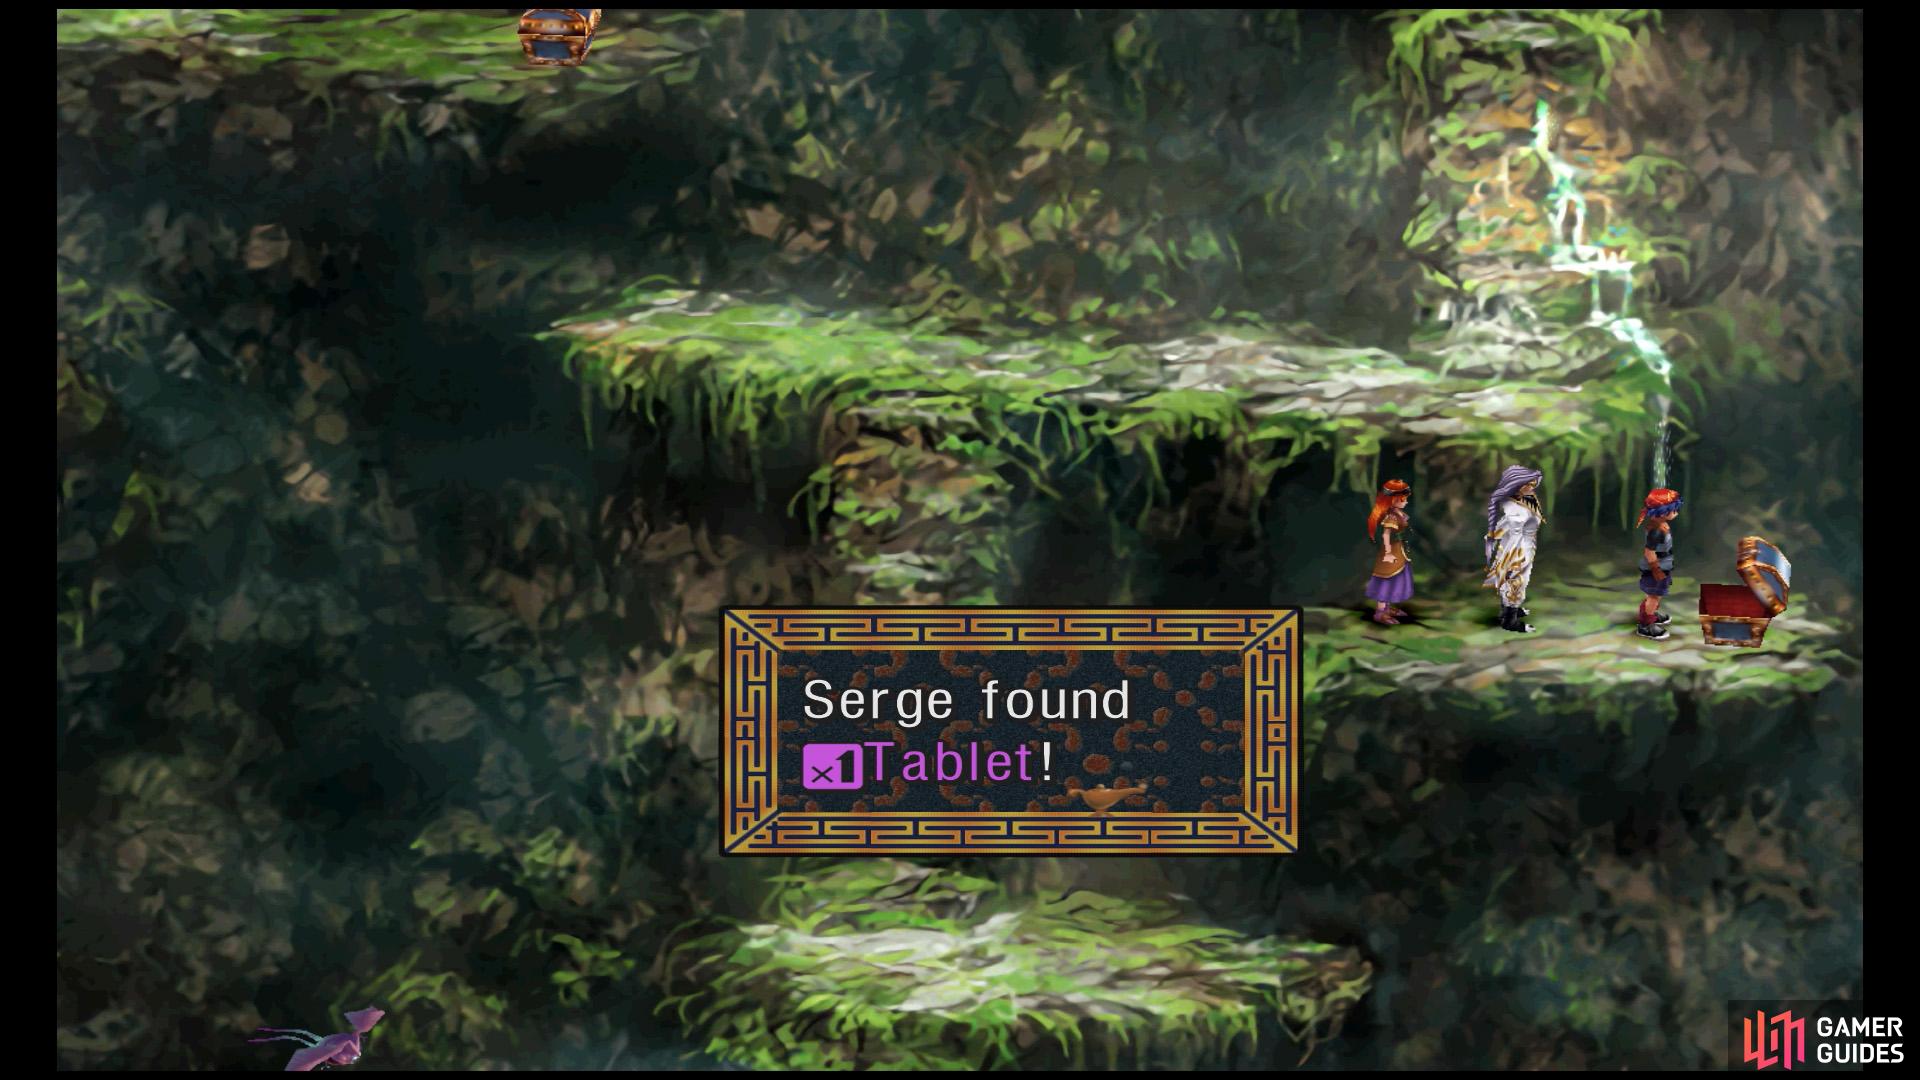
Tablet Element.
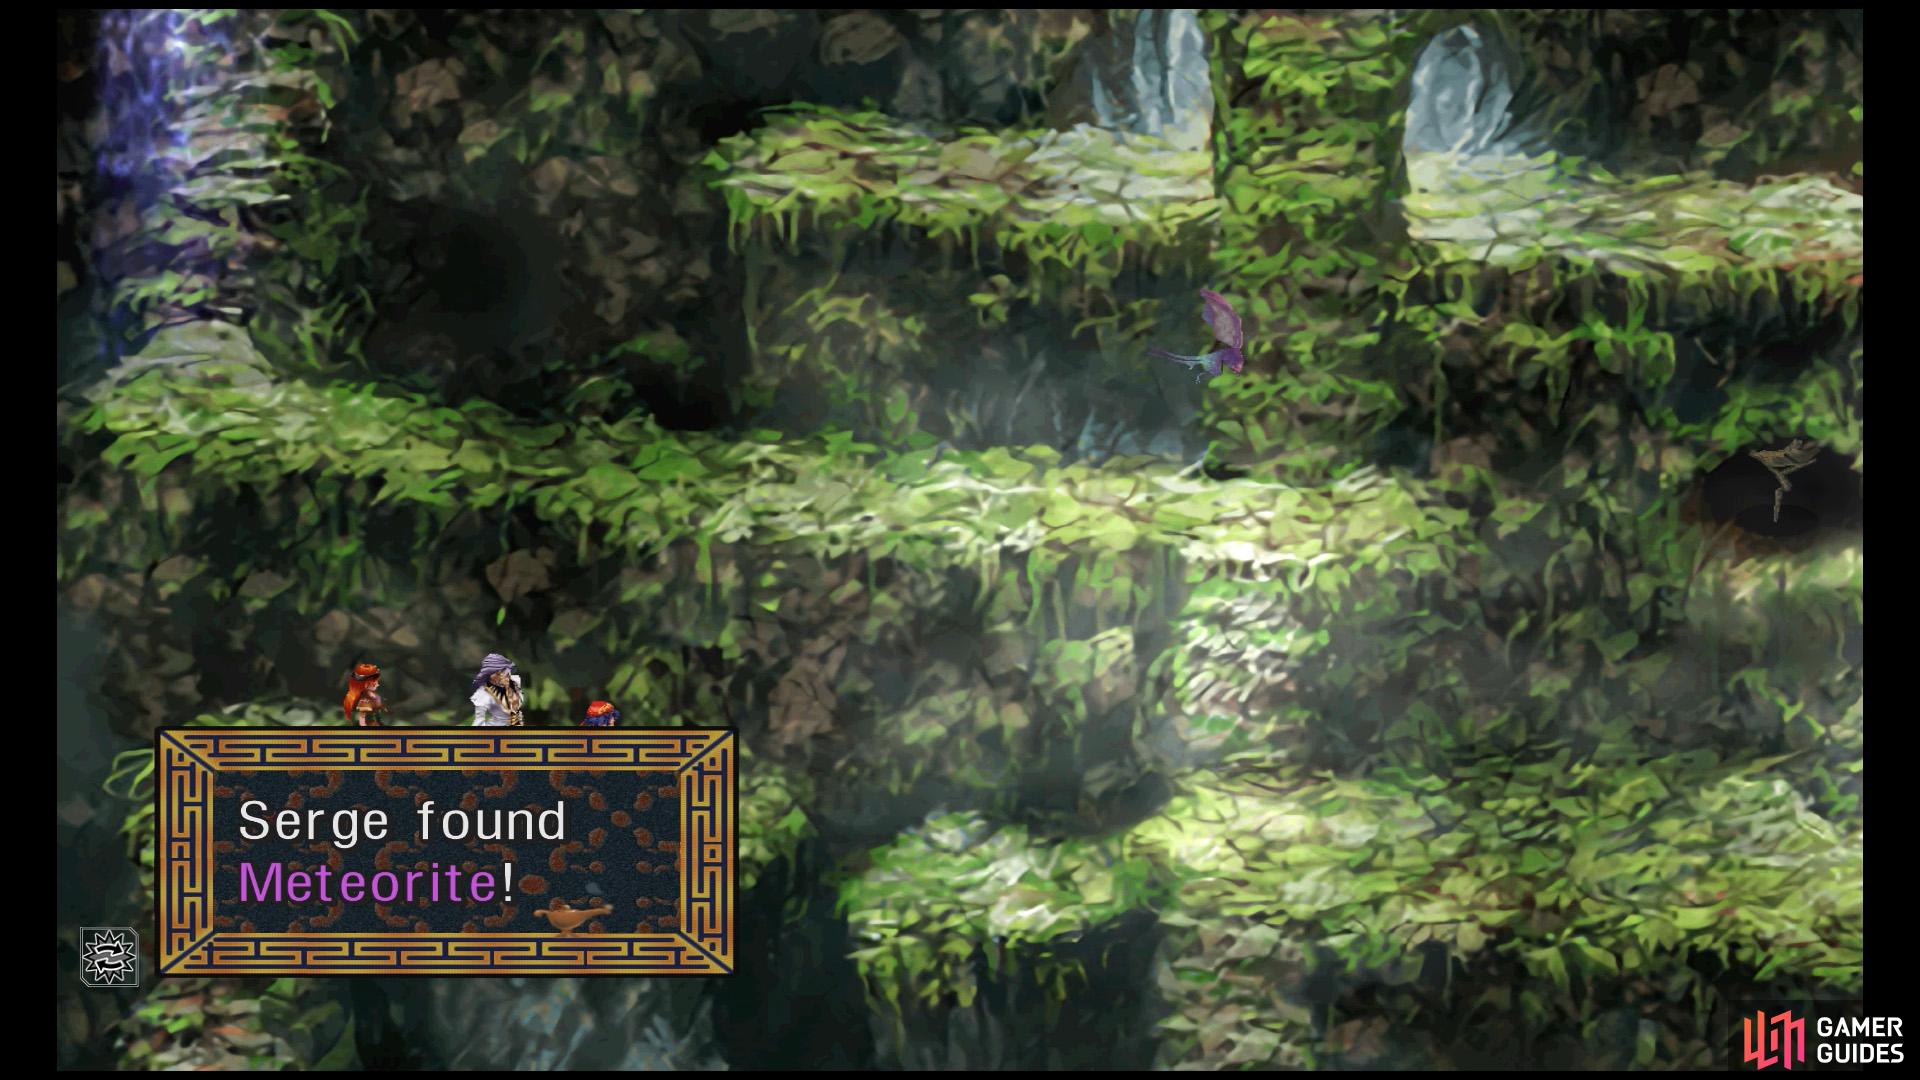
Meteorite Element.
Keep climbing up until you reach another water spout on the right. You probably know what to do. Let the water push you down to the next ledge, where there’s a chest containing a Tablet Element. Then drop off the vine back to the bottom of this screen.
From here, climb up the ladder when the water spout is gone. Next, head all the way left and ascend the westward ladder. At the next screen, prise open the chest for a Meteorite Element. That sounds pretty cool. Return to the previous screen and head towards the center.
Go up the middle ladder. On the left, there’s an enemy that will try and pounce you. It’s possible to bypass it if your timing is good. Or you can press the button to turn off encounters. That said, we’d just fight it in hopes of getting decent drops. Keep going to reach the last area.
Third Screen
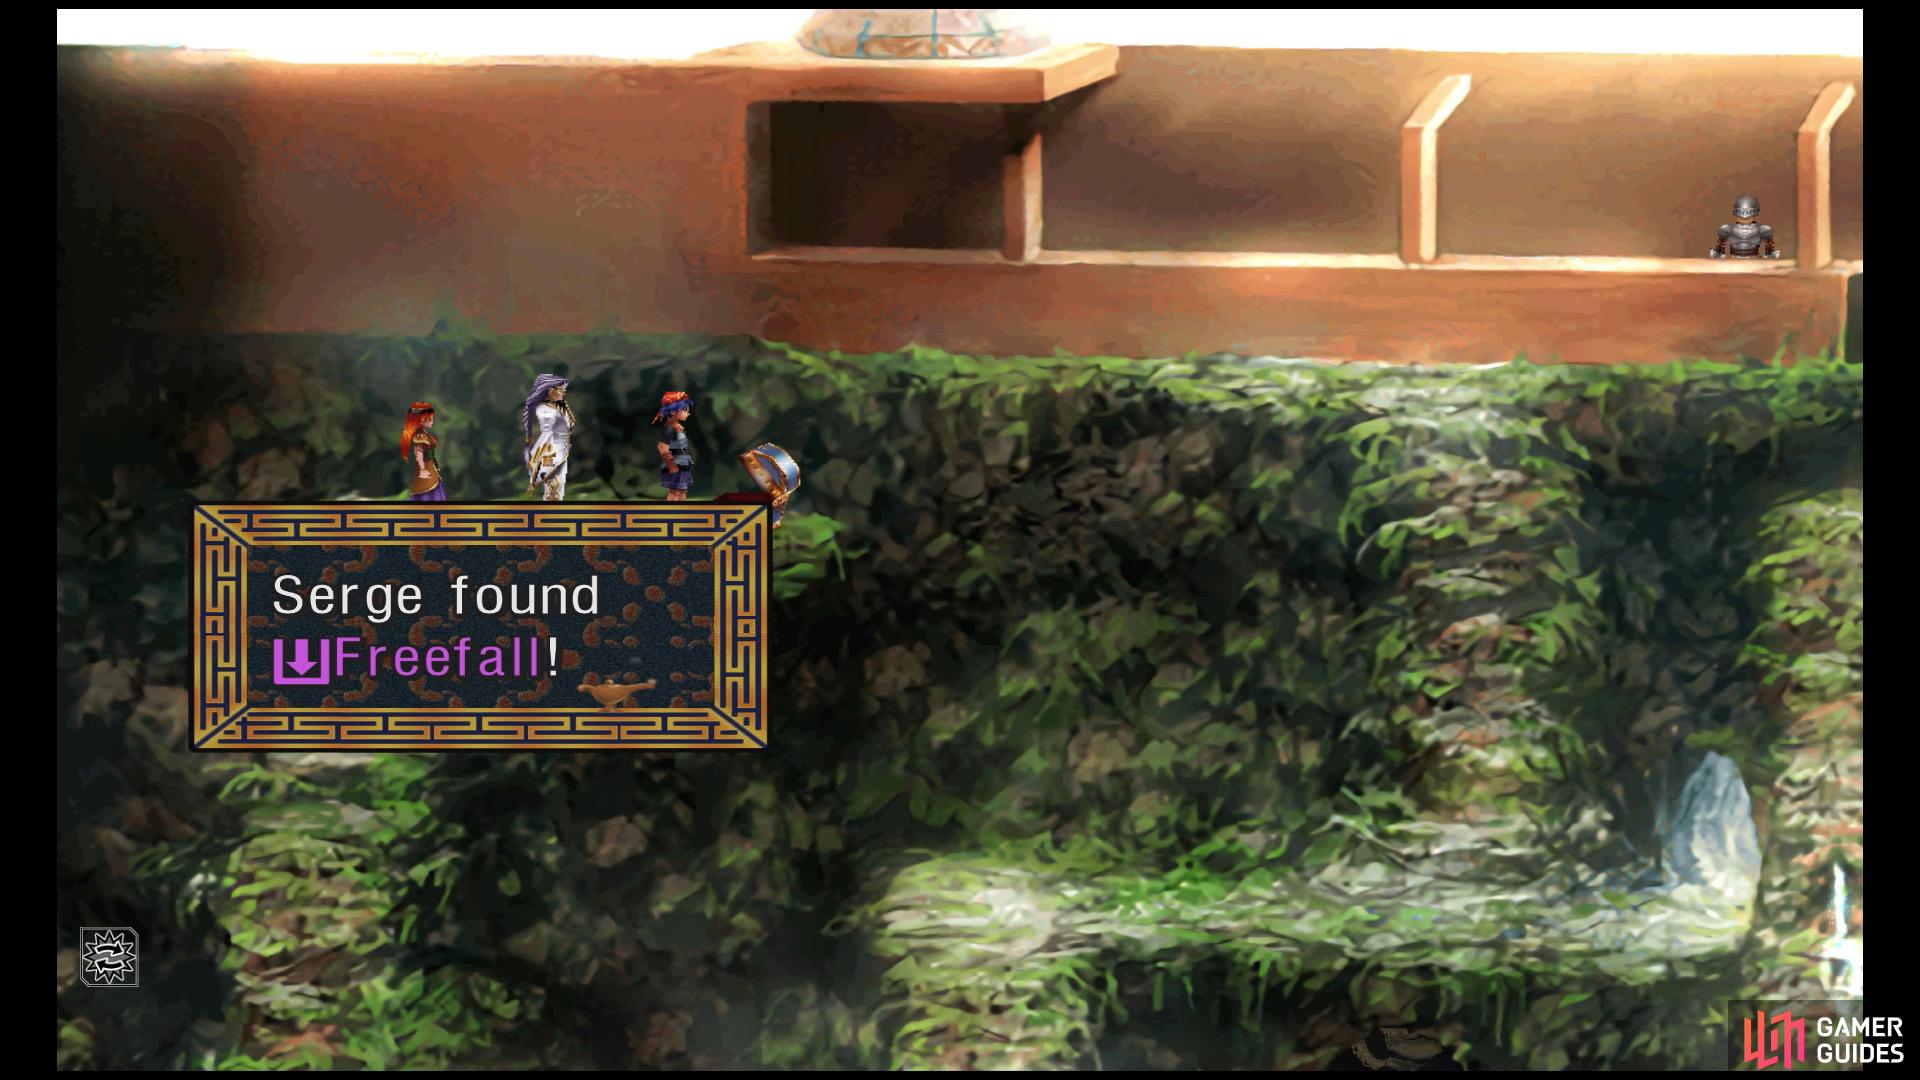
Freefall Element.
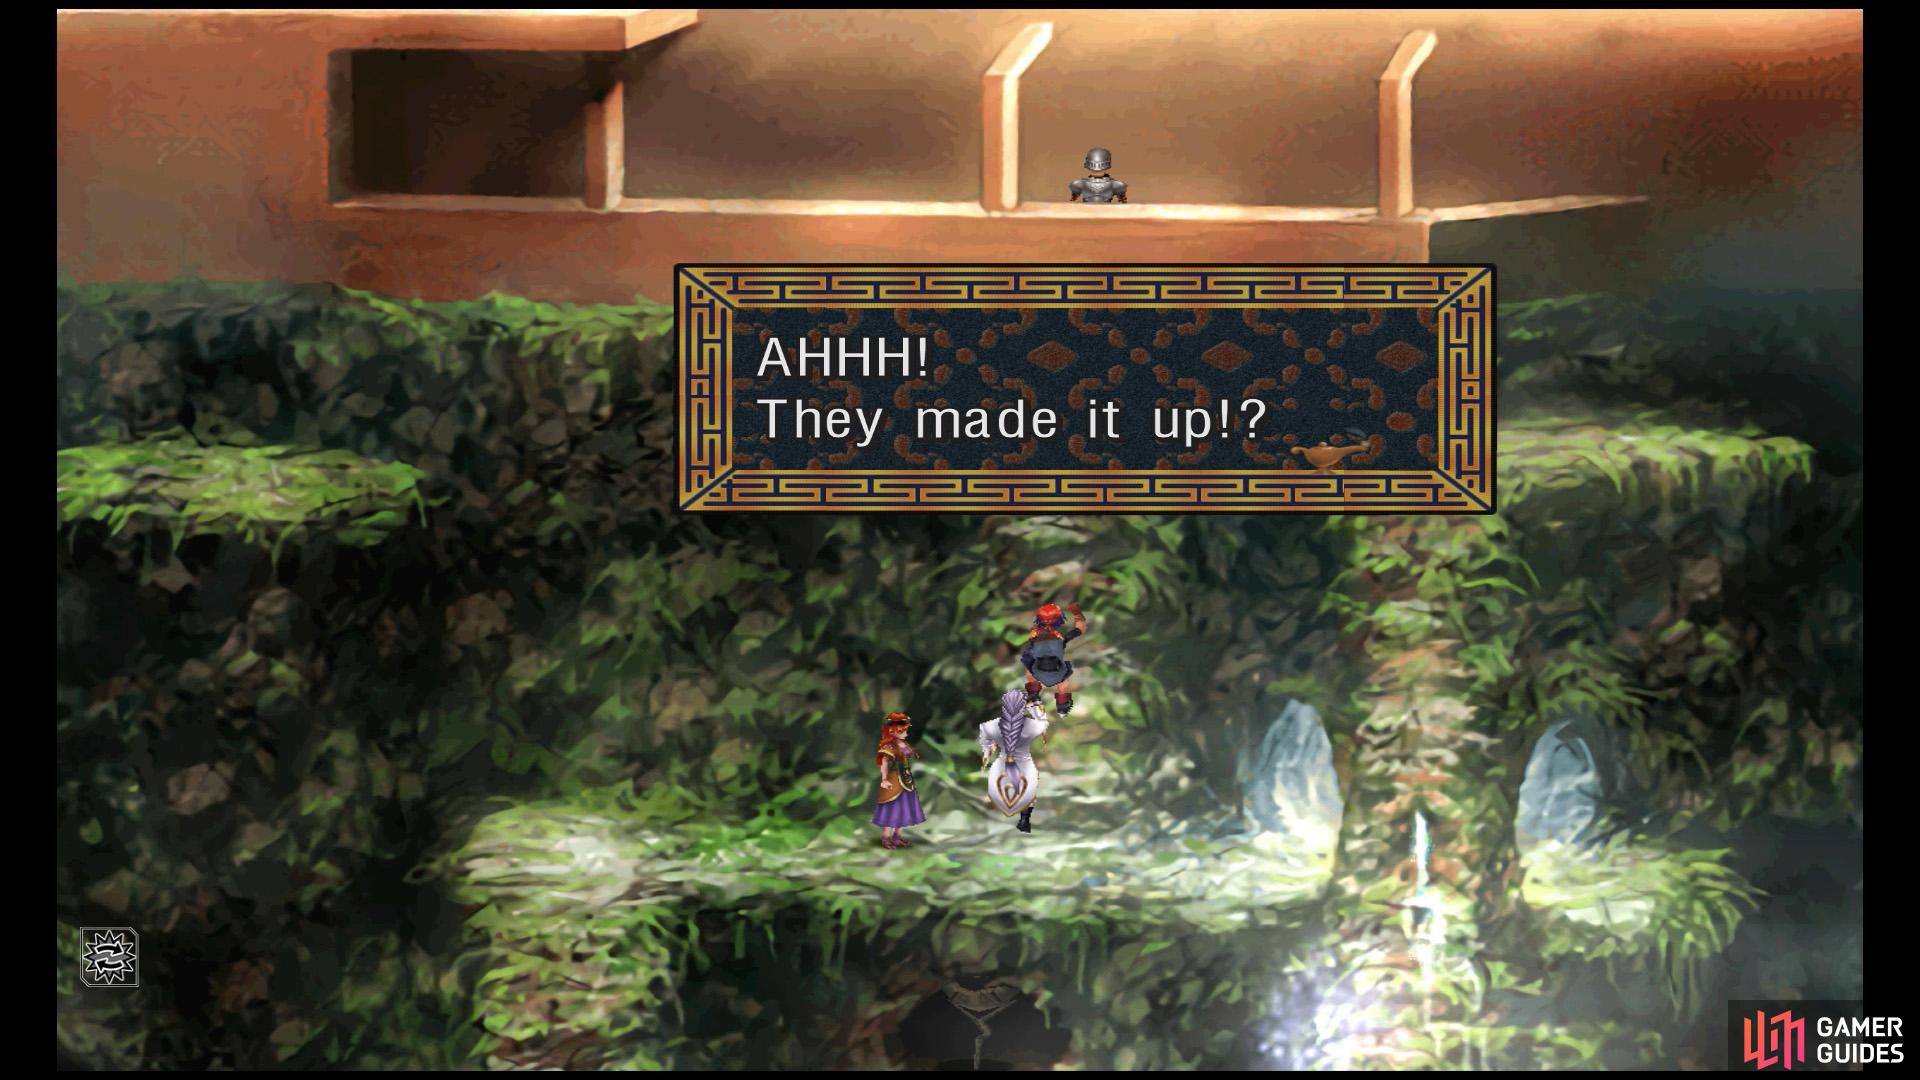
Get too close and the guards will jump down and fight you!
This is the final stretch. Go up the first mini ladder, then proceed west. Here, there’s a very tall ladder with a water spout and enemy ambush near the midle. Nevermind the stray boulders that can knock you down. But with patience, you should reach the top, where a Freefall Element awaits.
Return to the start of this screen and immediately head east instead. Climb up the eastward ladder, mindful of another lurking foe on the left. Next, climb up the ladder just above. Afterwards, go left a bit and descend the mini ladder.
From here, continue left through the small tunnel, then climb up the taller ladder at the end. Finally, proceed right and begin ascending the ladder just before the manor wall. Before you go any further, the guards above will jump down to fight you.
Boss Fight: Acacia Privates
How to Defeat Them
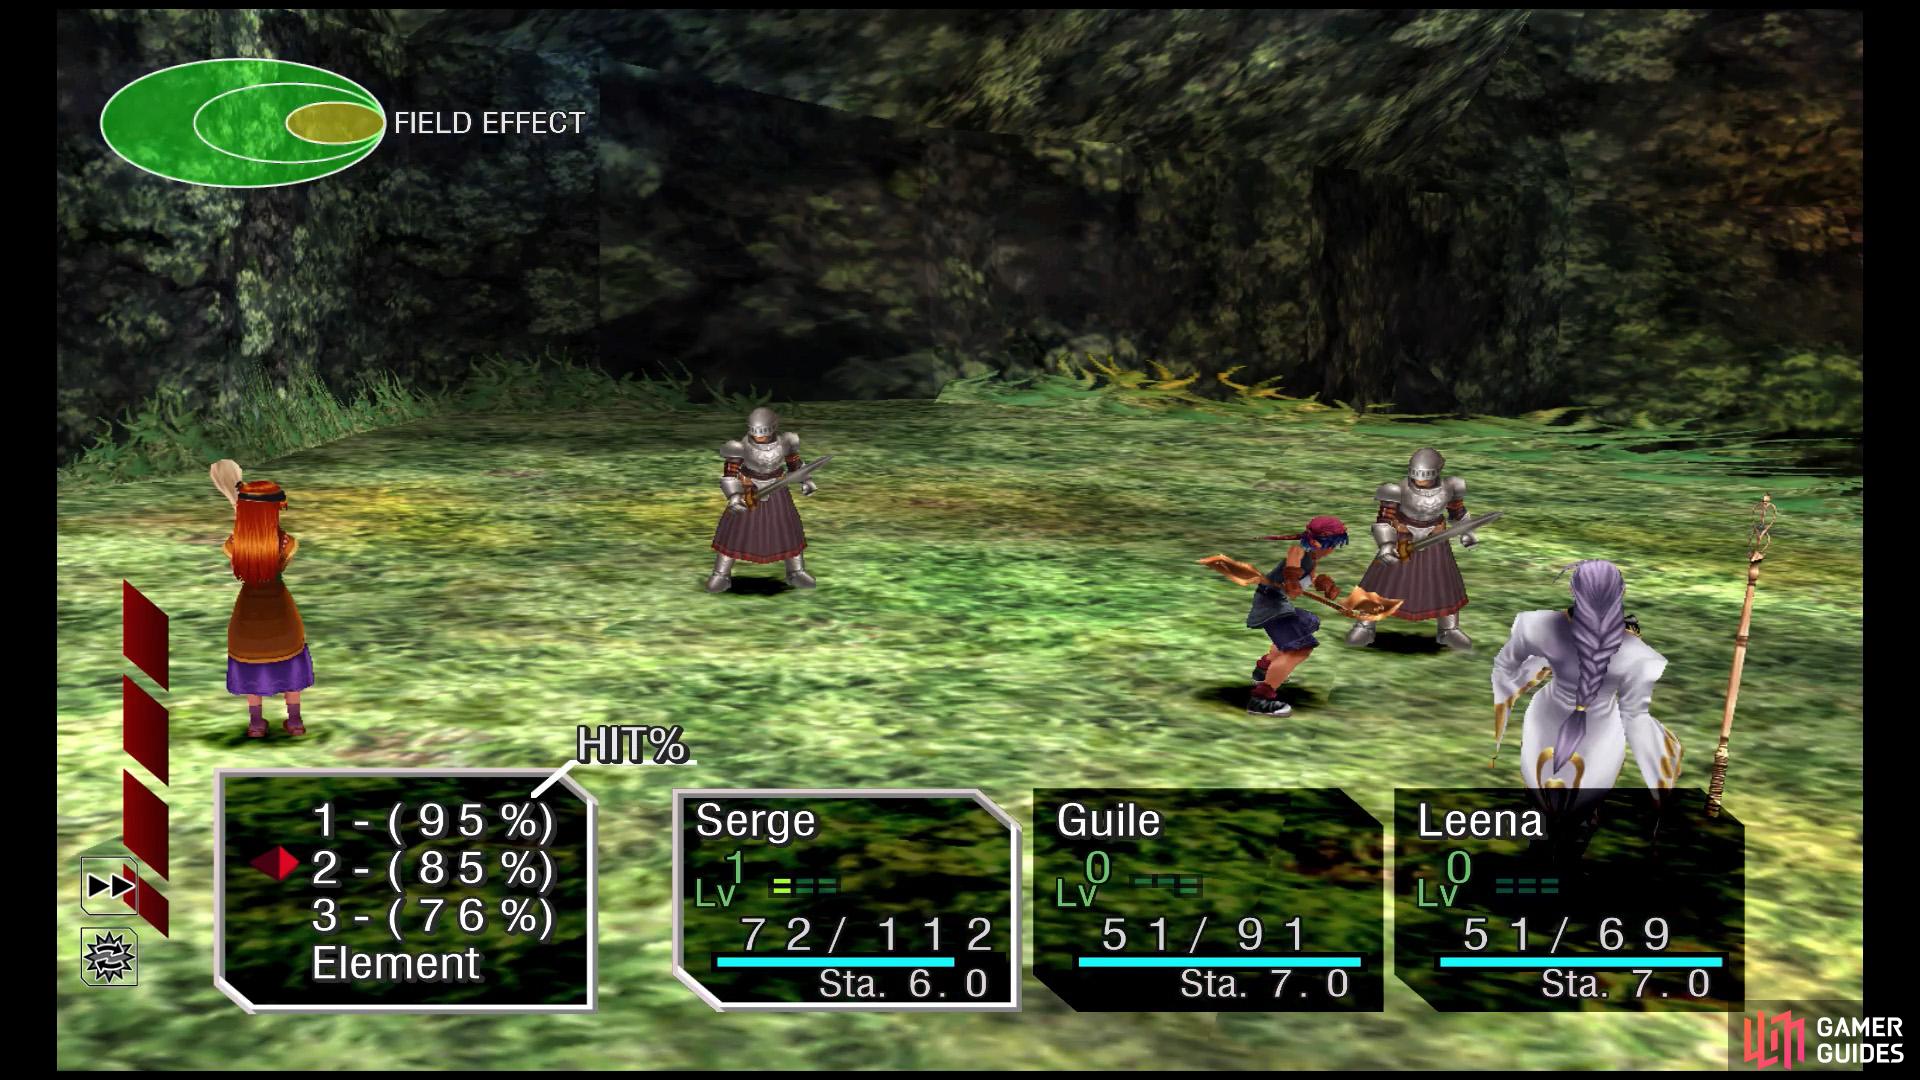
This fight is easy if your party has full health.
If you’re confident, let Auto-Battle take over.
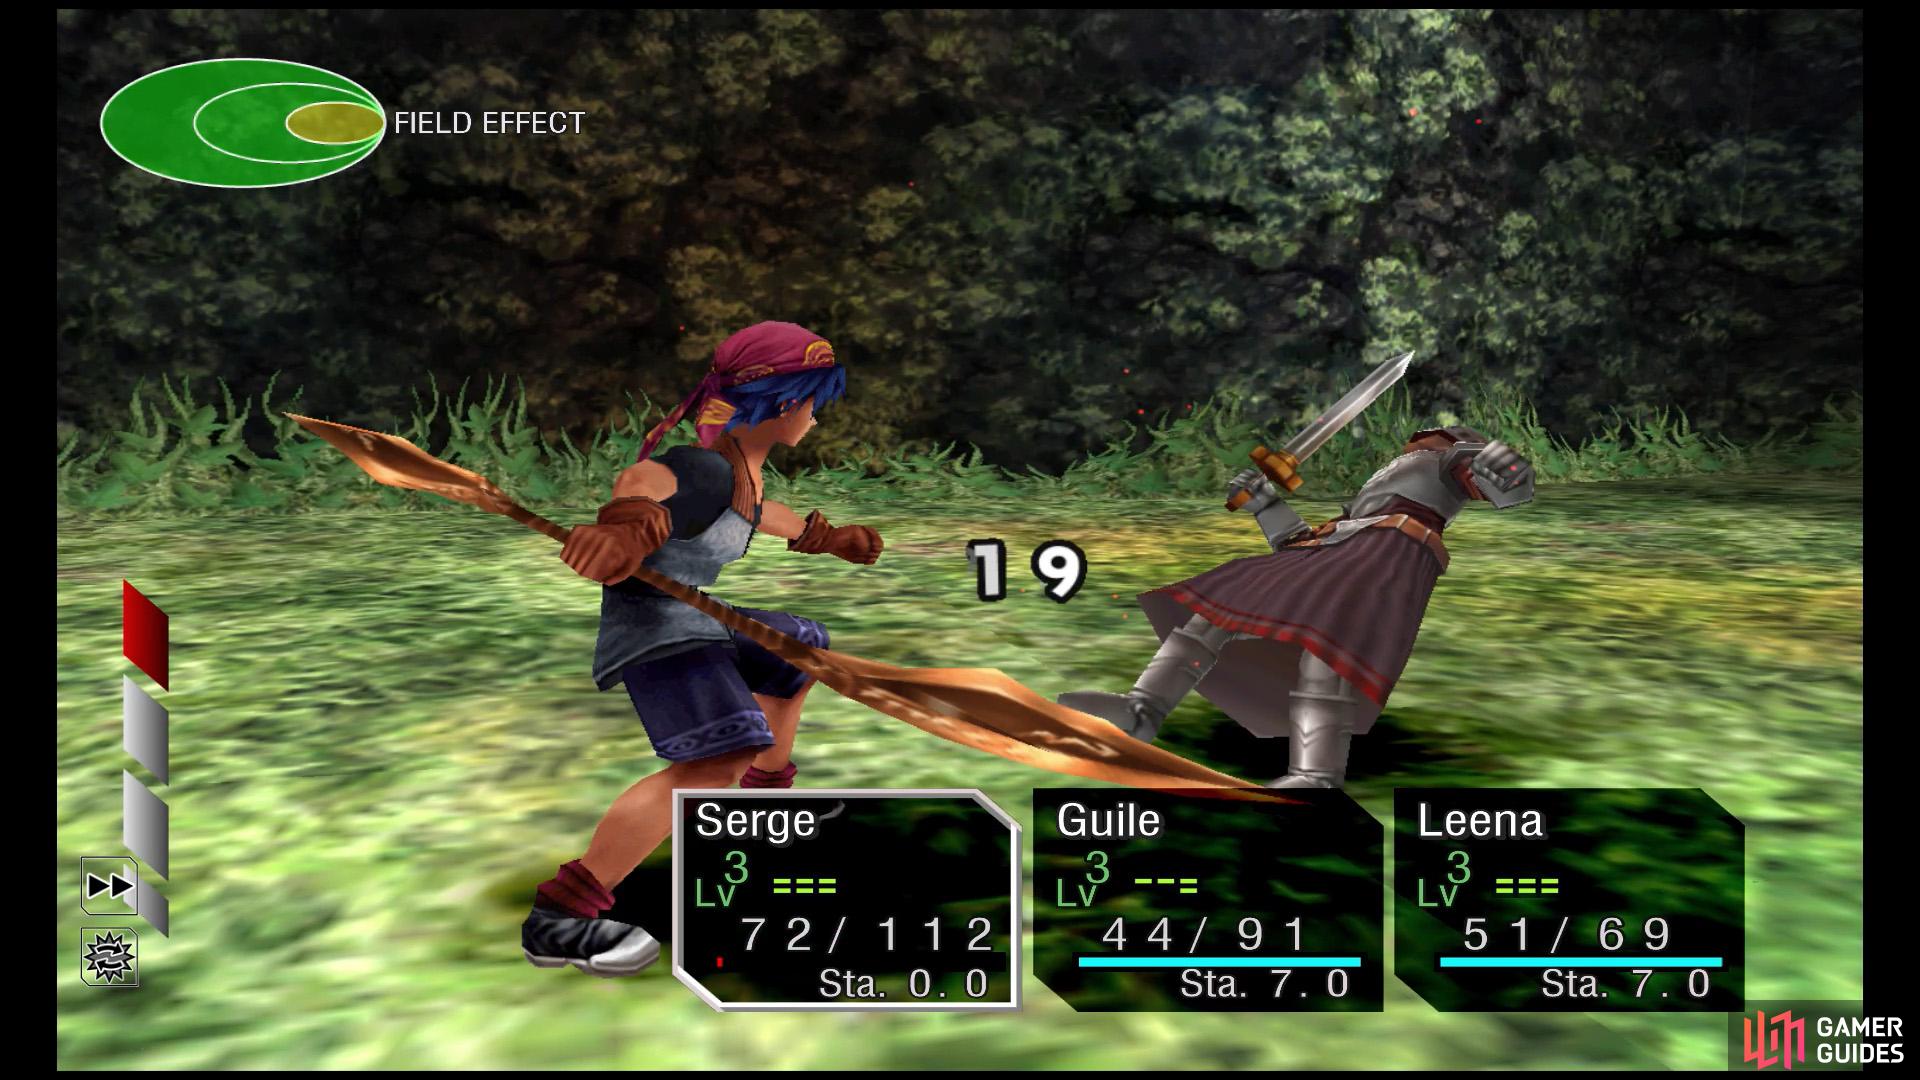
You will battle two Acacia Privates. This is a “boss” fight, but really, it’s hardly any different from a regular enemy encounter. That said, if you’re ill-prepared and/or weakened after climbing the cliff, they can be a rough wake-up call. So make sure to heal up before you fight them!
If your characters are healthy and kitted out with decent gear, you could probably just turn on Auto-Battle and see how the battle unfolds. We managed to win easily. But if anyone’s in danger of keeling over, you’ll want to disable Auto-Battle and use healing Elements.
Don’t think you’re in the clear after thrashing the guards though. In anger, they’ll toss a boulder your way, but it misses and presumably hits an angry eagle man. Cue the “real” boss battle.
No Comments