Part 1: Naval Combat
This mission is essentially an introduction to attacking and plundering on the high seas. What we need to do is first sail our way up to the green search zone on the map. Once we arrive, pull out Shay’s spyglass using the button prompt indicated on screen and zoom in and out to identify ships in the area. When focused on a vessel, the spyglass will give you information about the class of ship, what threat level they pose, the sorts of weapons they have and any cargo they might be carrying.
Go for a bit of a sail around the search area and use your looking glass on all the ships you come across until you find a Royal Navy schooner. Once you have located one, an objective marker will appear above it. Sail your way over to and use your broadside cannons and explosive shot to damage it until it is incapacitated. At this point, move in close and hold down the button prompt to initiate a boarding sequence.
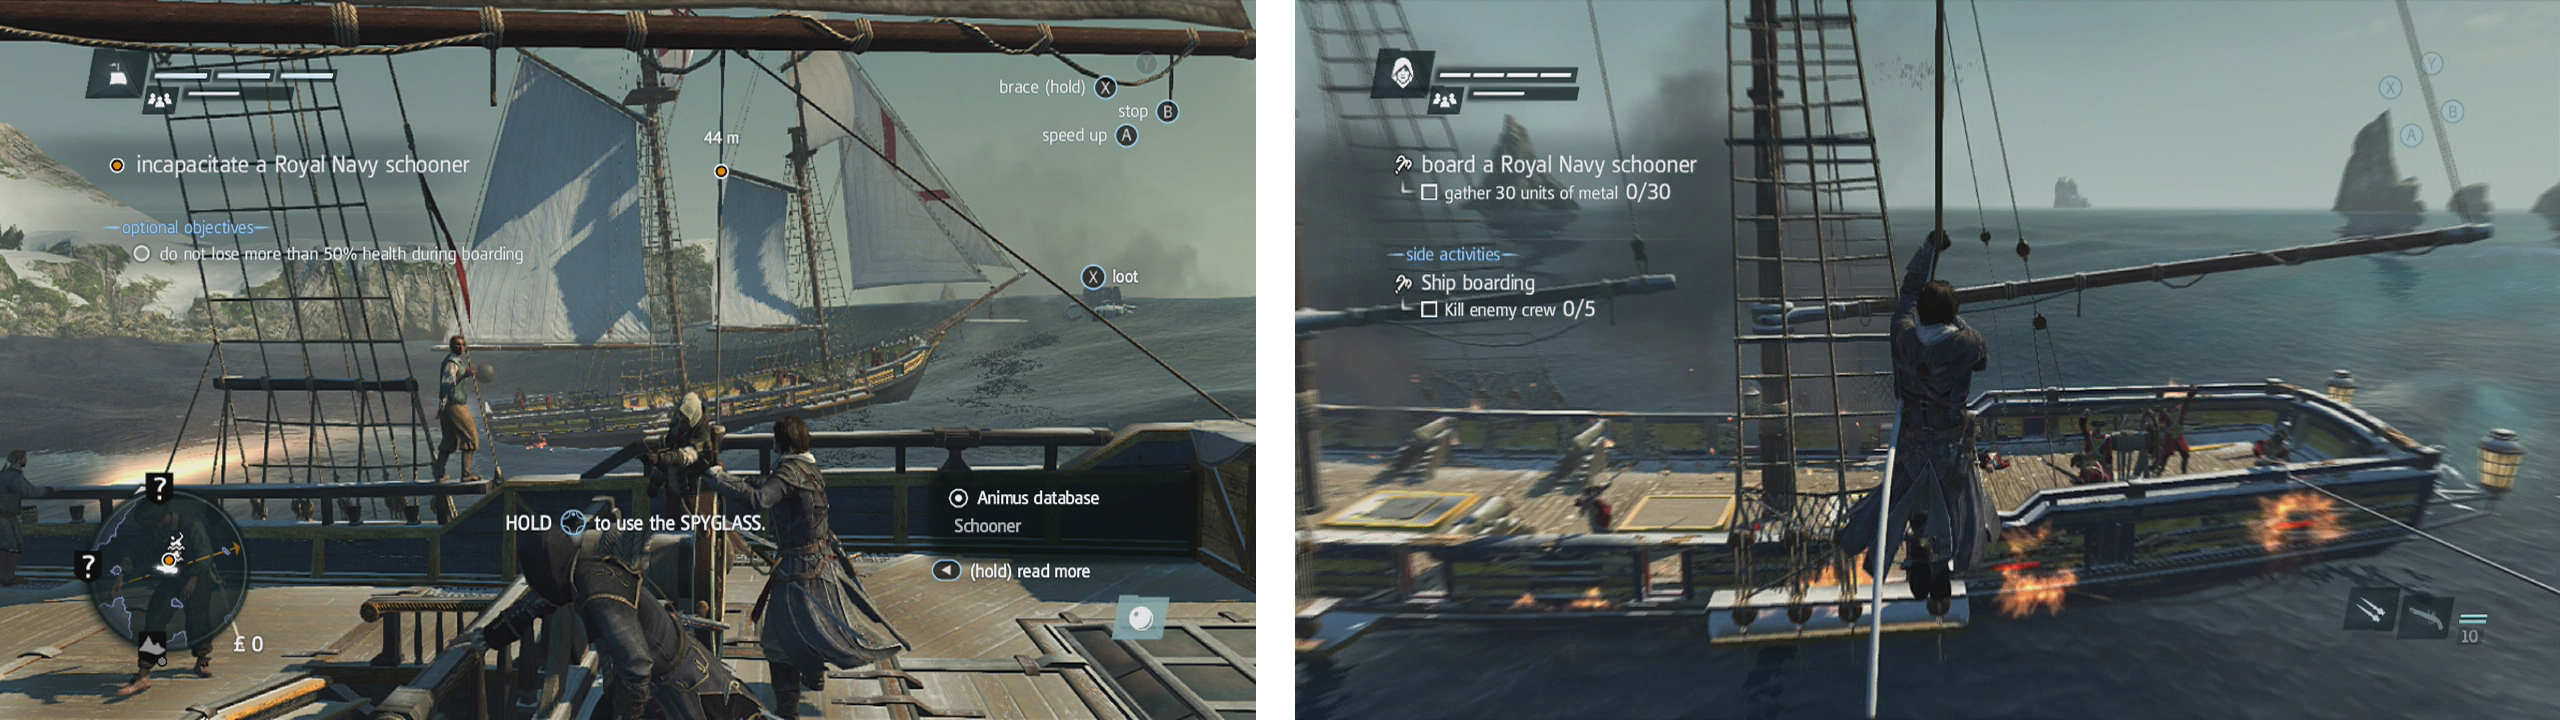
Find and attack a schooner (left) to incapactitate it. Afterwards, board it (right) and kill the crew.
Once Shay lets go of the wheel, quickly head over to the railing nearby. We need to clear out 5 enemy soldiers from the deck of the other ship. Note that there is an optional objective at this point requiring that you do not lose more than 50% health during the boarding sequence. To make things a little easier, you can get a head start on the necessary kills by using your pistol from the deck of the Morrigan. If you run out of ammo, swing over and kill additional enemies on the schooner’s deck until you complete the mission quota to complete the boarding sequence.
At this point, you can either repair the Morrigan if required, or salvage the enemy ship for 750L, you get to keep it cargo either way.
Part 2: Upgrading
Sail up to the port of Perce to the north and dock. Make your way to the Harbourmaster’s shop nearby and purchase some ship upgrades:
- Hull Armour (intermediate) for 500L and 10 metal
- Broadside Cannons (intermediate) for 500L and 10 metal
Now that we have upgraded our ship, we’ll need to set sail for the fort of Anticosti to the north.
Part 3: Naval Combat
As you make your way towards the objective marker, you will locate a small group of Royal Navy vessels made up of a Schooner and four gunboats. We’ll now have an opportunity to go for the missions’ second optional objective – destroy these 5 vessels in less than 3 minutes.

Destroy icebergs to damage the gunships (left). Once you have cleared the ships, sail for Anticosti (right).
As you approach them, shoot a volley or two to get their attention. Keep an eye out and if you see a nearby iceberg or two, destroy them as the large waves created by the falling ice can damage and incapacitate the smaller boats such as gunboats very quickly. Essentially, manoeuvre your way around the area damaging the enemies in any way you can until they are all sunk.
Once the fight is over, continue onward to Anticosti. Dock outside and enter the fort. Run over to the objective marker and interact with the door for a scene to end the mission.
No Comments