Part 1: Locate
As with the previous memory, we’ll begin this one behind the wheel of our ship.
Make your way over to the objective marker in the distance. As you get closer and closer, the weather is going to become more and more difficult. It will start snowing quite heavily which will affect your visibility and the wind will also pick up and that can play havoc with your steering unless you are able to counteract its effects quickly. As such, you should slow down and navigate through the islands here with care until you reach the large green investigation area.
Part 2: Naval Combat
As you arrive, you’ll be ambushed by a fleet of six ships consisting of a Frigate, two brigs and three gunships. This can be quite tricky as in addition to the firepower of the ships ahead, you’ll also need to be on the lookout for icebergs and with the visibility not being great it’s important to constantly look around to keep tabs on your surroundings.
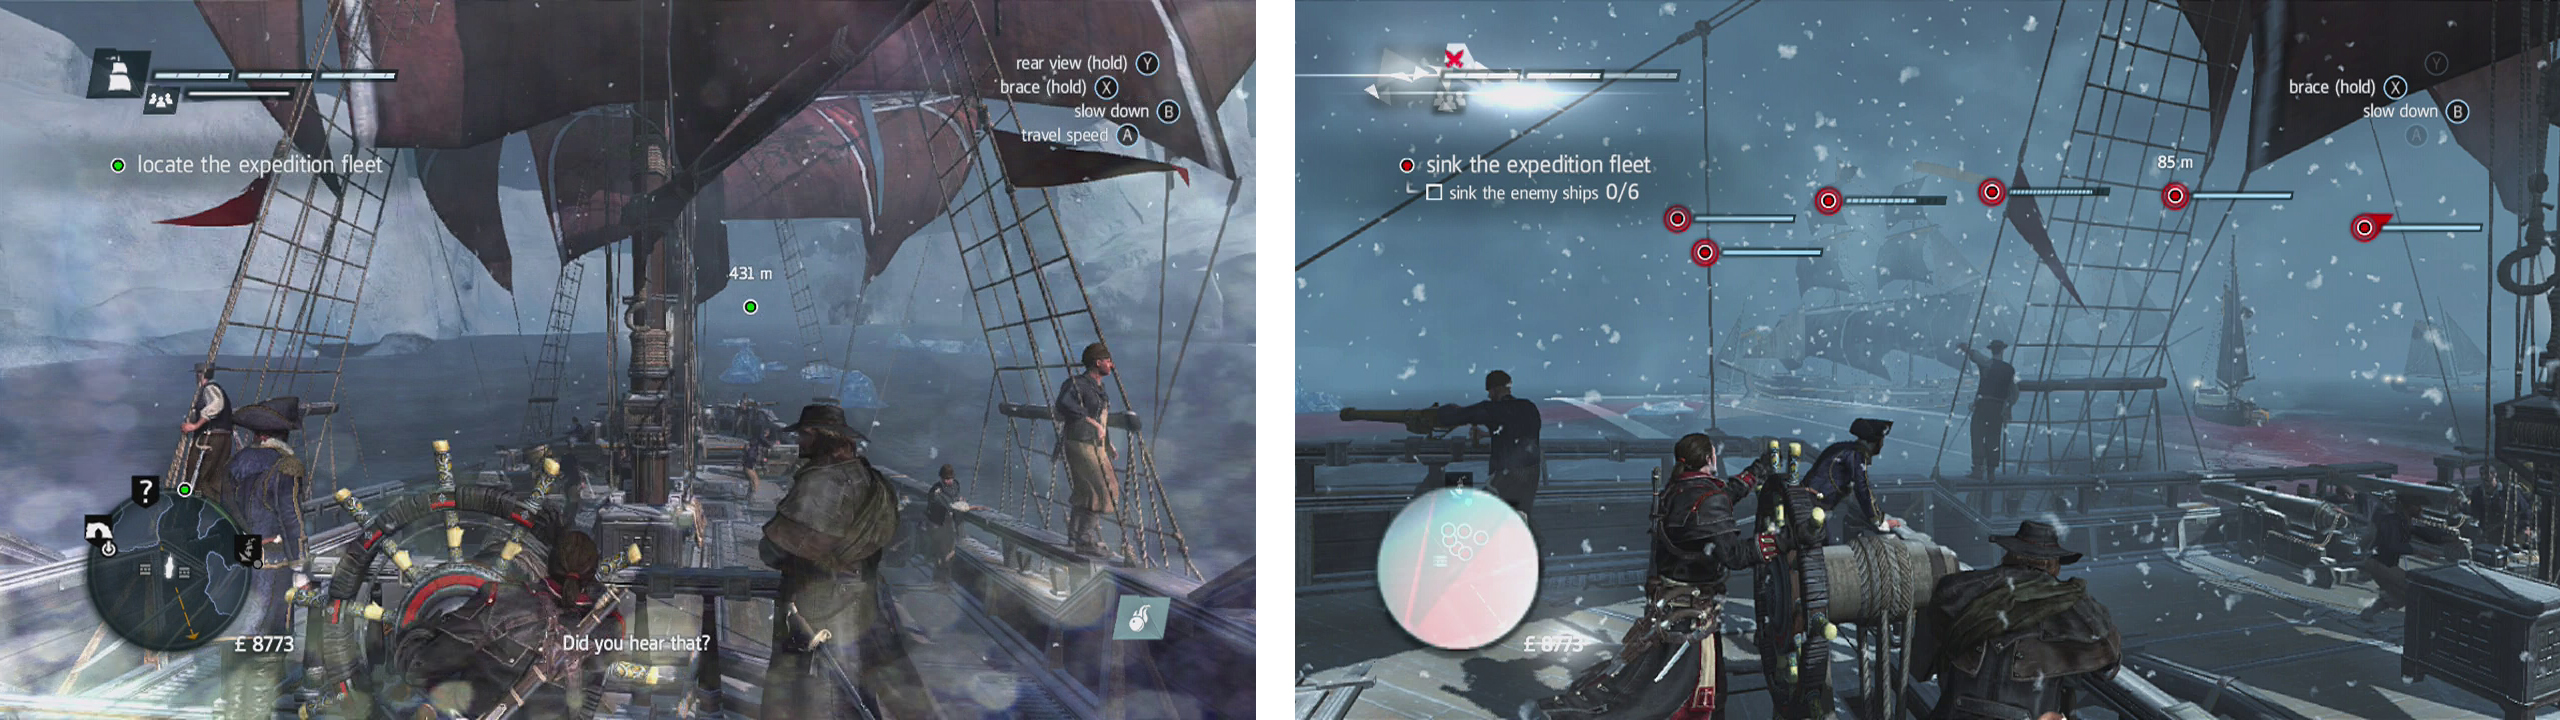
Head for the green search area (left). Destroy the ships here (right) to continue.
As per usual, you’ll want to use your mortars to damage the larger ships as much as possible from a distance (and try to get a few gunships as collateral if possible). When things get close, switch to your broadside/heavy shot and continue pounding away. If necessary, use your speed to put your distance between the Morrigan and the enemy ships and drop mortars on them from a distance and repeat the process.
Once all six ships have been defeated a short scene will play out.
Part 3: Naval Combat
We’ll now have to take on our target’s ship. Before we go anywhere, you’ll need to note that during this particular section of the memory there is an optional objective for not hitting any icebergs. The problem is there are a lot of them dotting the landscape here and a hostile ship so you need to be painfully aware of your surroundings. You can shoot and destroy icebergs if they get in the way, and I would advise you to do so – just don’t use that ram of yours!
The first thing we need to do is locate the enemy ship. If you turn slightly to the left following the scene and use your spyglass, you should be able to spot it in the distance when fully zoomed in. Once you have identified the ship, the battle will begin in earnest.
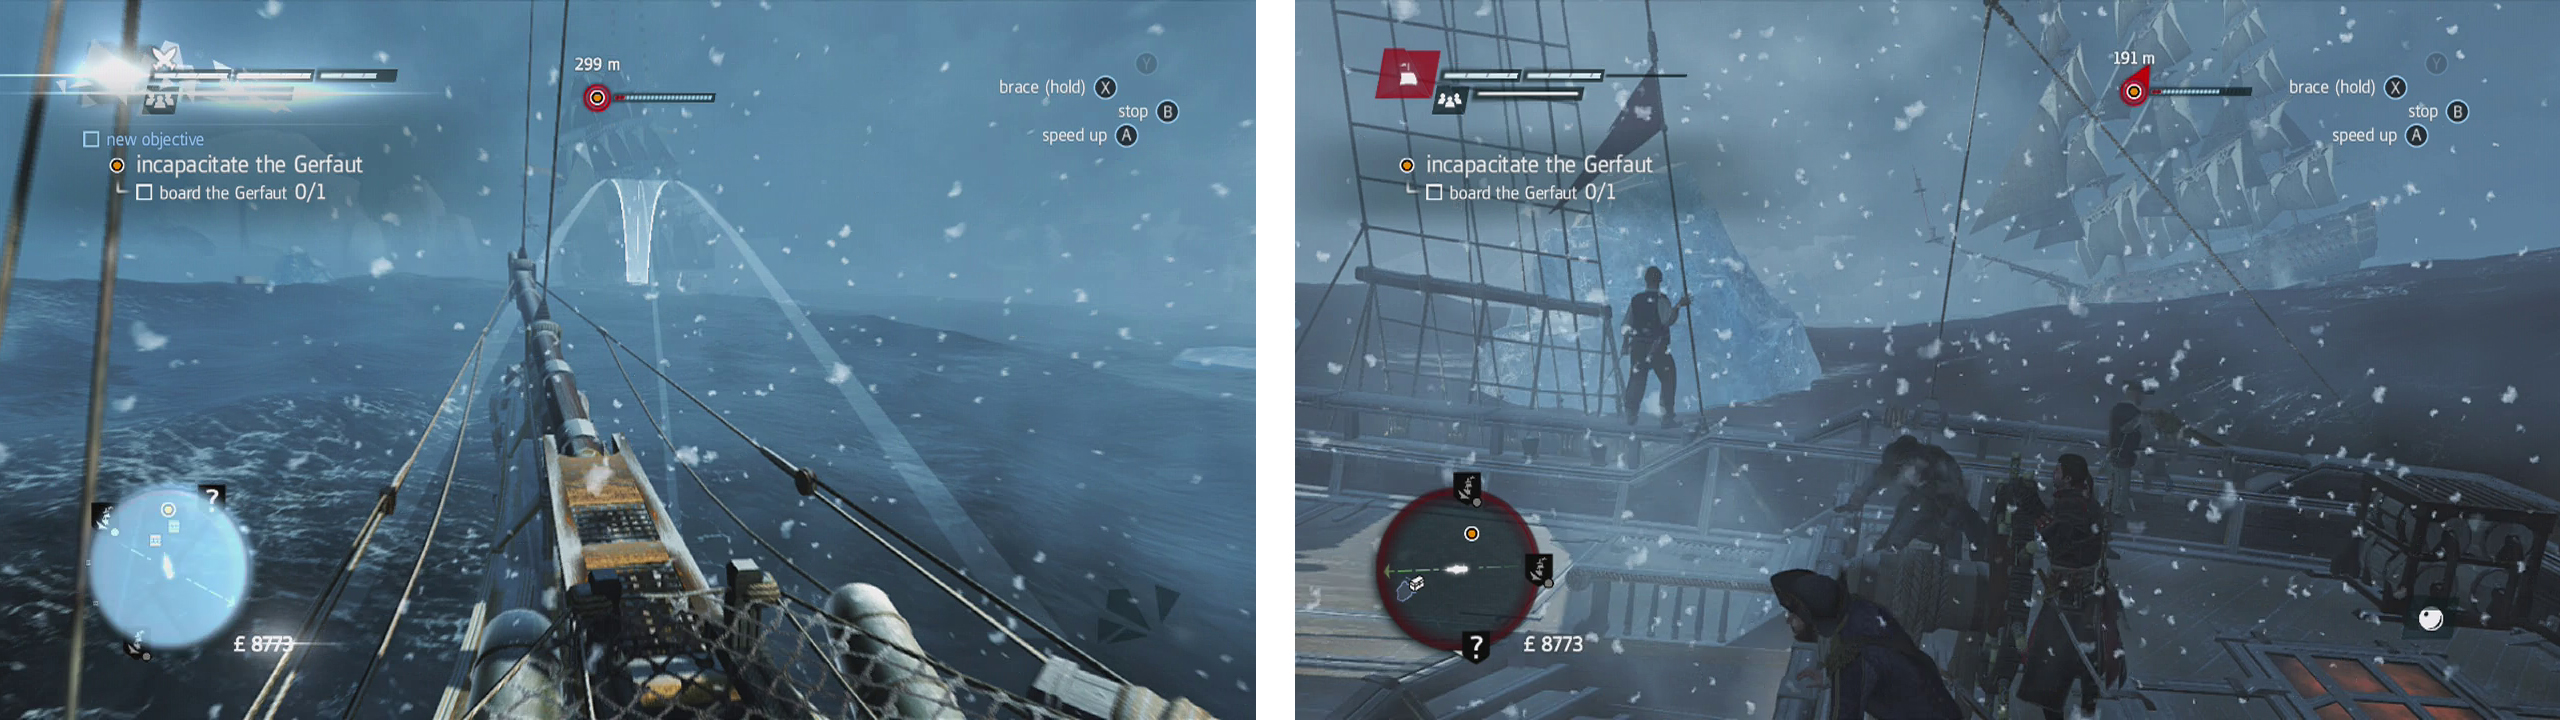
Once you have spotted the ship (left) you’ll have to take it down - be sure to avoid the ice bergs for that optional objective (right).
The good news is, the bad guys ship will have to deal with the icebergs as well and as such you can use them as a bit of shield when guarding incoming attacks. I personally recommend trying to stay away from the ship to begin with, shooting as many icebergs as you can and dropping mortars and broadside/explosive shot onto the enemy’s ship when an opportune moment arises.
Once you have cleared enough of the icebergs to be able to manoeuvre a bit more freely, pull out your usual tactics of mortars followed by broadsides. Unfortunately, once the area is clear, the enemy ship can pick up speed extremely quickly. If you see the ship sail right out of your range of attacks and then turn suddenly you know that it is about to ram at you with speed. If you do see it coming, do not try to steer to either side of it or it will slam directly into the side of your vessel. Instead, try to turn all the way around so that your back is facing the oncoming ship and slightly off-centre. This will cause a glancing blow which will reduce the damage taken and you can hit it with a heavy shot or two as it comes up your side.
Continue to plug away at the ship until it is damaged enough to be forced to stop, pull up alongside it and start a boarding sequence.
Part 4: Assassinate
The final part of this sequence is boarding the enemy ship and assassinating our target. Note that the second optional objective kicks into effect now and it wants us to kill our target without taking any damage. This is actually extremely easy.
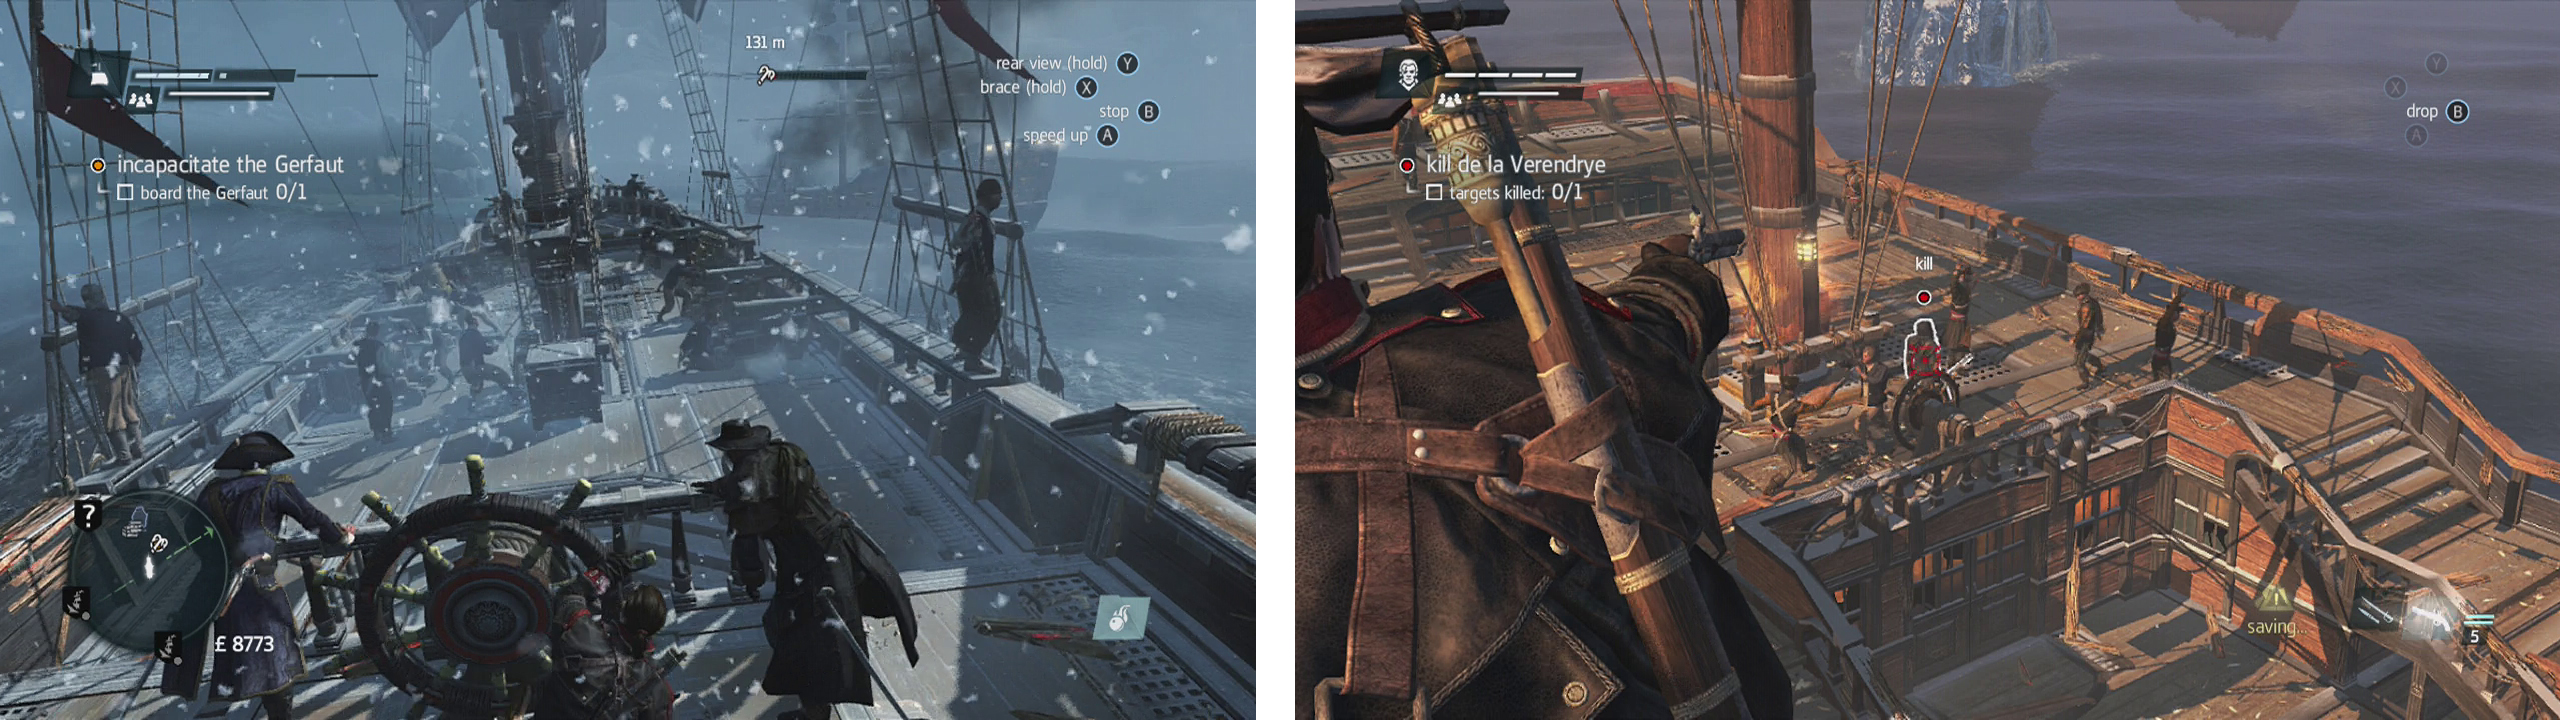
Initiate boarding (left) and then climb to the rigging and shoot the target (right) to earn the second optional objective.
As soon as the boarding sequence begins, run down to the mast closest to the wheel and use the rope lift to reach the platform in the rigging above. Once the two ships come together, simply hop across to the beam holding the enemy ship’s sail that comes in line with our position, run across until you are above the deck, target the marked bad guy and perform an air assassination on him to quickly end the sequence.
No Comments