Part 1: Investigate
As soon as you regain control of Shay, turn around and activate Eagle Vision – see that glowing triangle above the door? That is one of four in the area and we need to approach each of them and interact with a hidden panel.
Climb one of the walls either side of the door to reach the upper area and hop across to activate the first panel. Now work your way along the beams surrounding the large columns in the centre of the room. Use your Eagle Vision regularly to keep track of the locations and activate the panels on the left and right of the room.
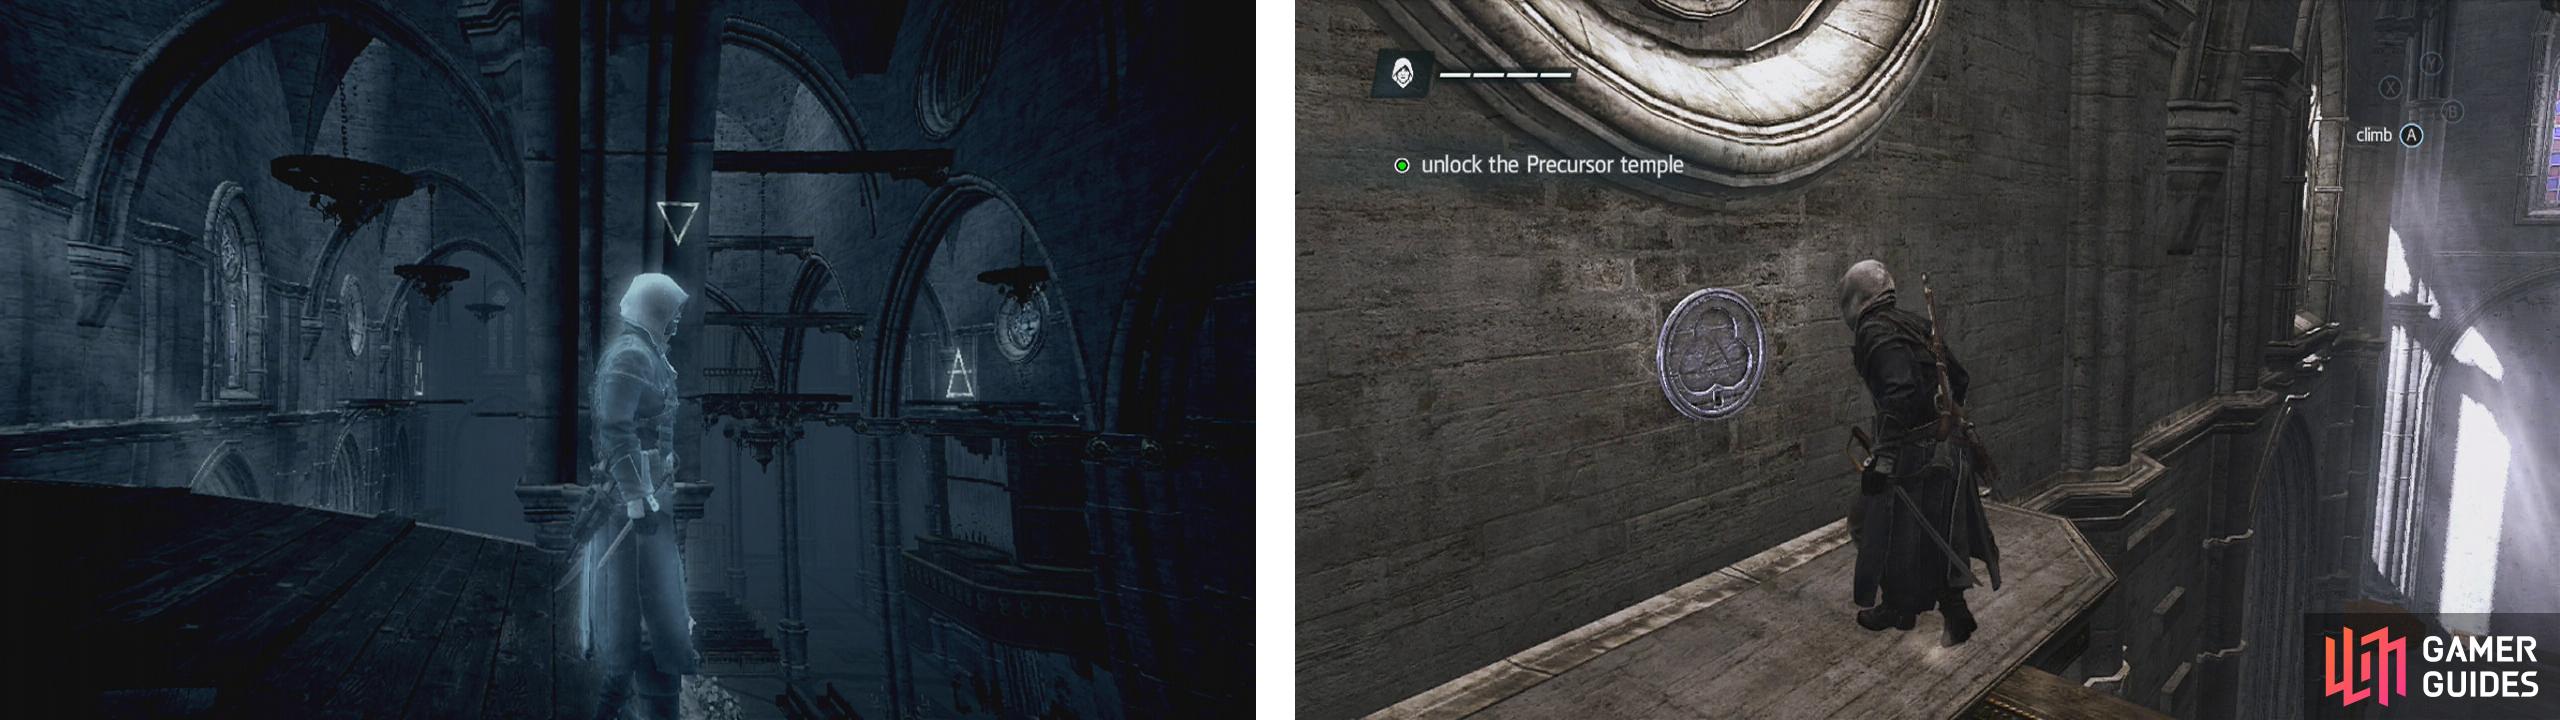
Inside the church, use eagle vision to find the glowing symbols (left). Interact with the levers at each symbol (right) to open a secret passage.
The final panel is located high up, above a metal grate in the centre of the room. Jump from the central chandelier to the ladder built into the grating. Climb this to reach some handholds we can use to access the platform above housing the switch.
Once all four switches have been activated, return to ground level and approach the objective marker for a short scene. Follow the new path that opens here all the way to the end and interact with the item there for another brief scene.
Part 2: Escape
Run back up the stairs we came from and take a right, continue through the crack in the wall here to reach an objective marker. You’ll find yourself outside the church and everything is falling apart.
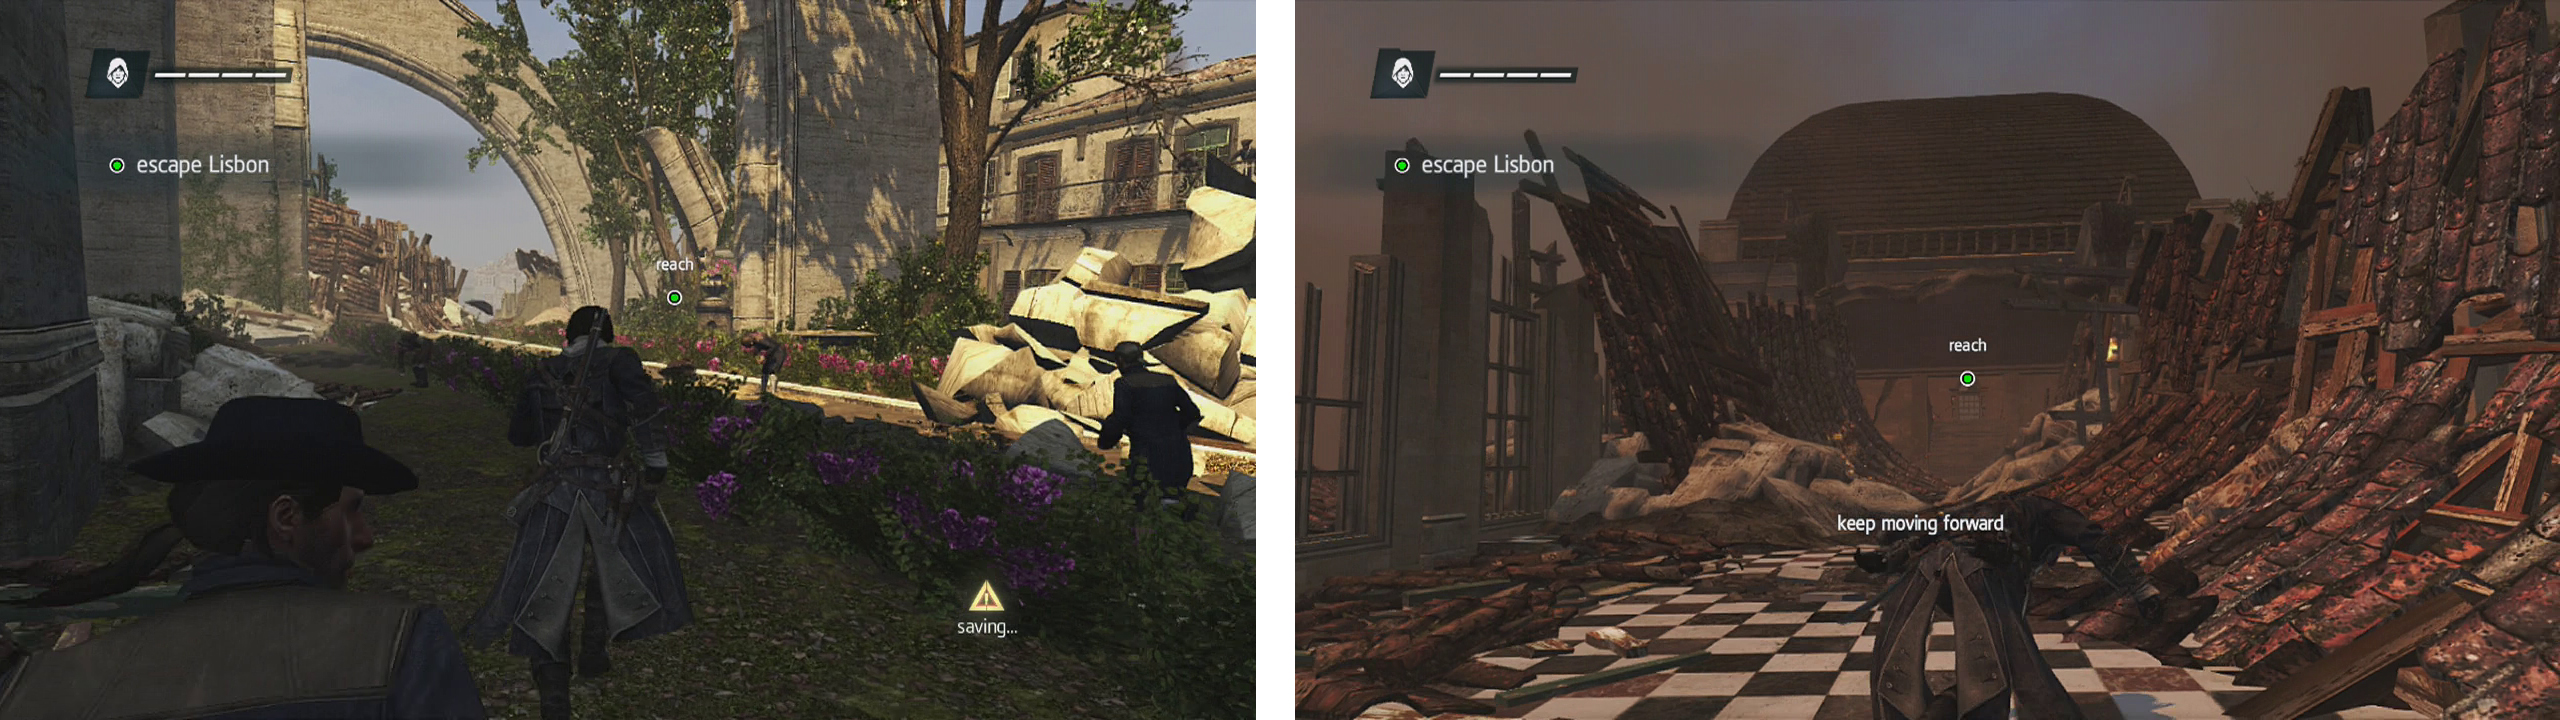
Exit the church (left) and race through the streets until you reach the end (right).
Essentially the remaining part of this level is one long platforming section that requires us to pilot Shay in a full sprint through a fairly obvious set route. It is around 2-3 minutes long and there are frequent checkpoints, so don’t worry about dying too much. There are a few scenes along the way as well, so be sure to put Shay back into a sprint as soon as they finish!
Eventually, after a decent run, you’ll reach the end and the mission will be completed.
No Comments