This is a potentially long level depending on the choices you made in previous chapters. If Kara and Alice were killed during ‘Stormy Night’, all future chapters of their story will be unavailable. If they’re still alive, then wherever you ended up finding shelter will dictate how you navigate this chapter. Since we’re steering you towards the good ending, hopefully they are still alive.
For these reasons, we’ve broken down this chapter into their respective pathways, so scroll through to find the branch that fits how you’ve played the game so far.
PARKING LOT BRANCH
Leave Alice Asleep in Car: Just exit the car – this is unmissable.
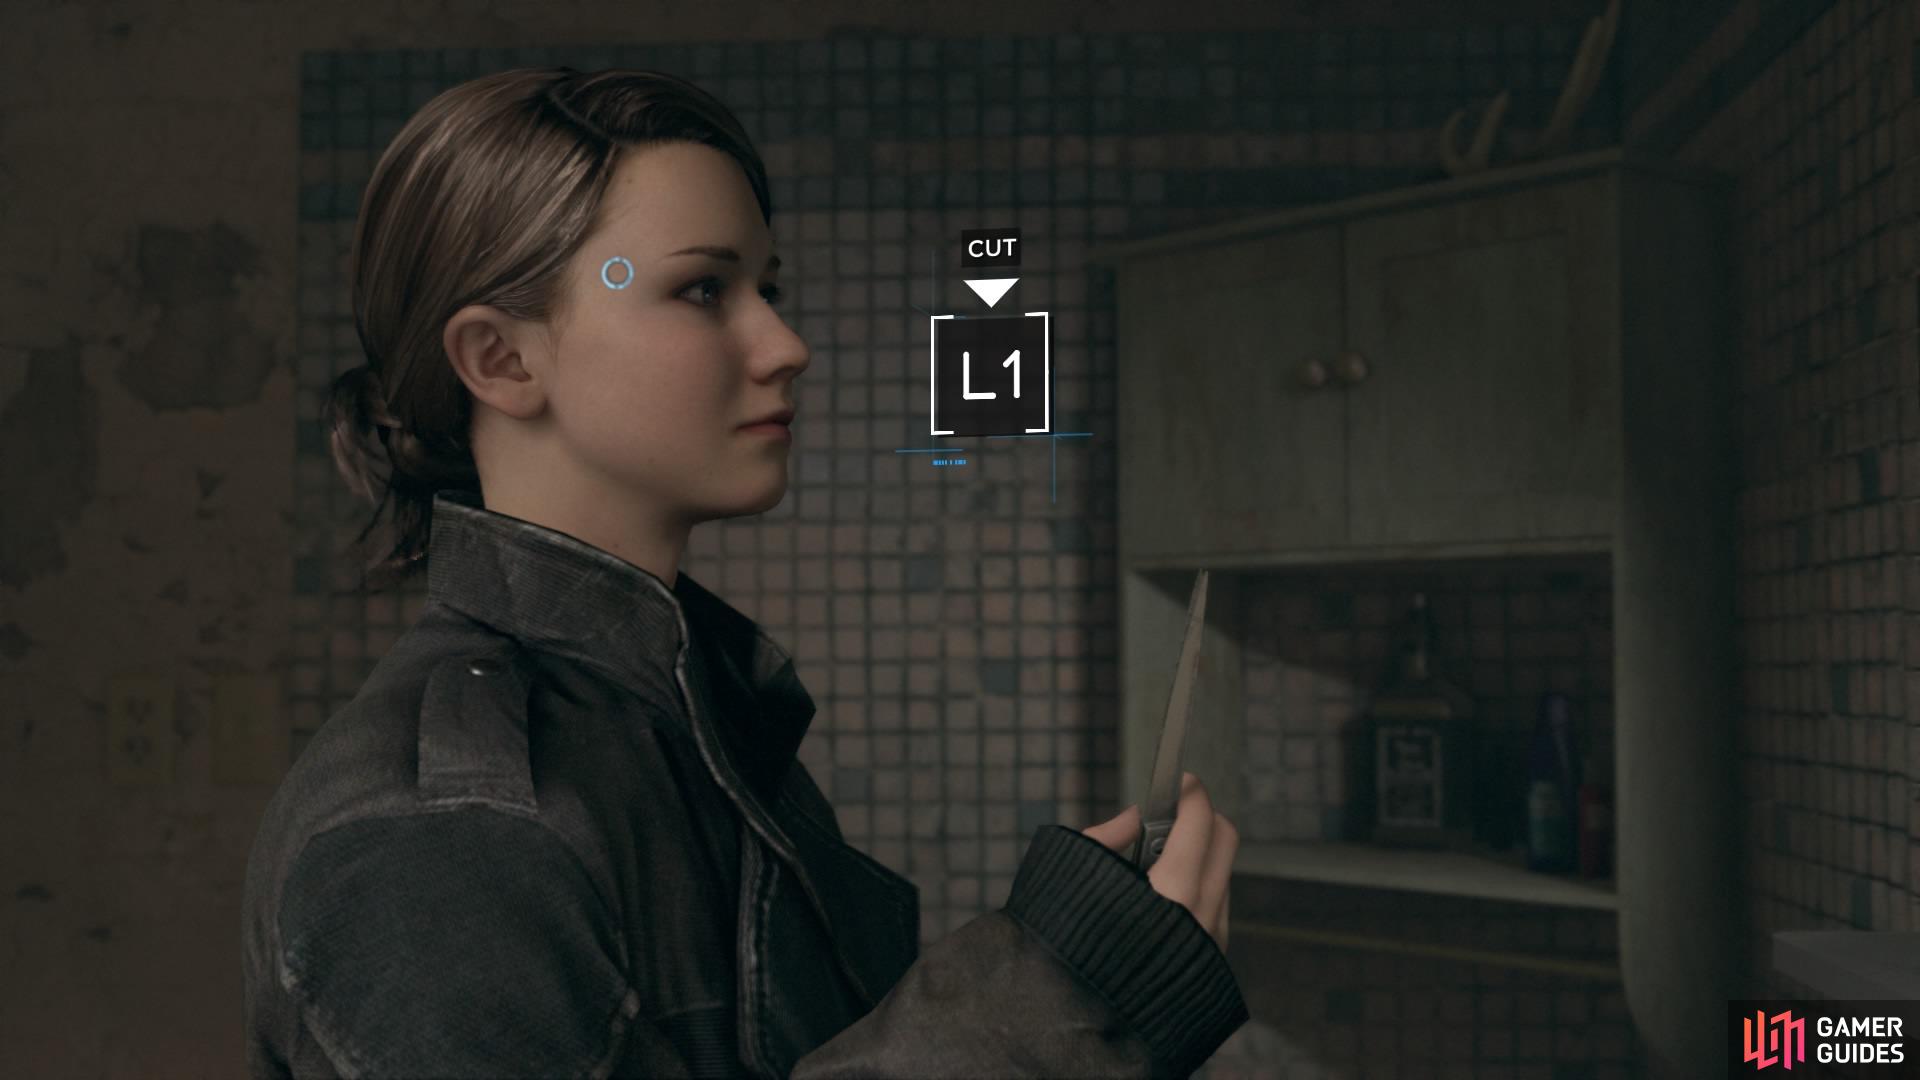
Find some Rusted Scissors: You can find them stuck in a tire lying in front of the car.
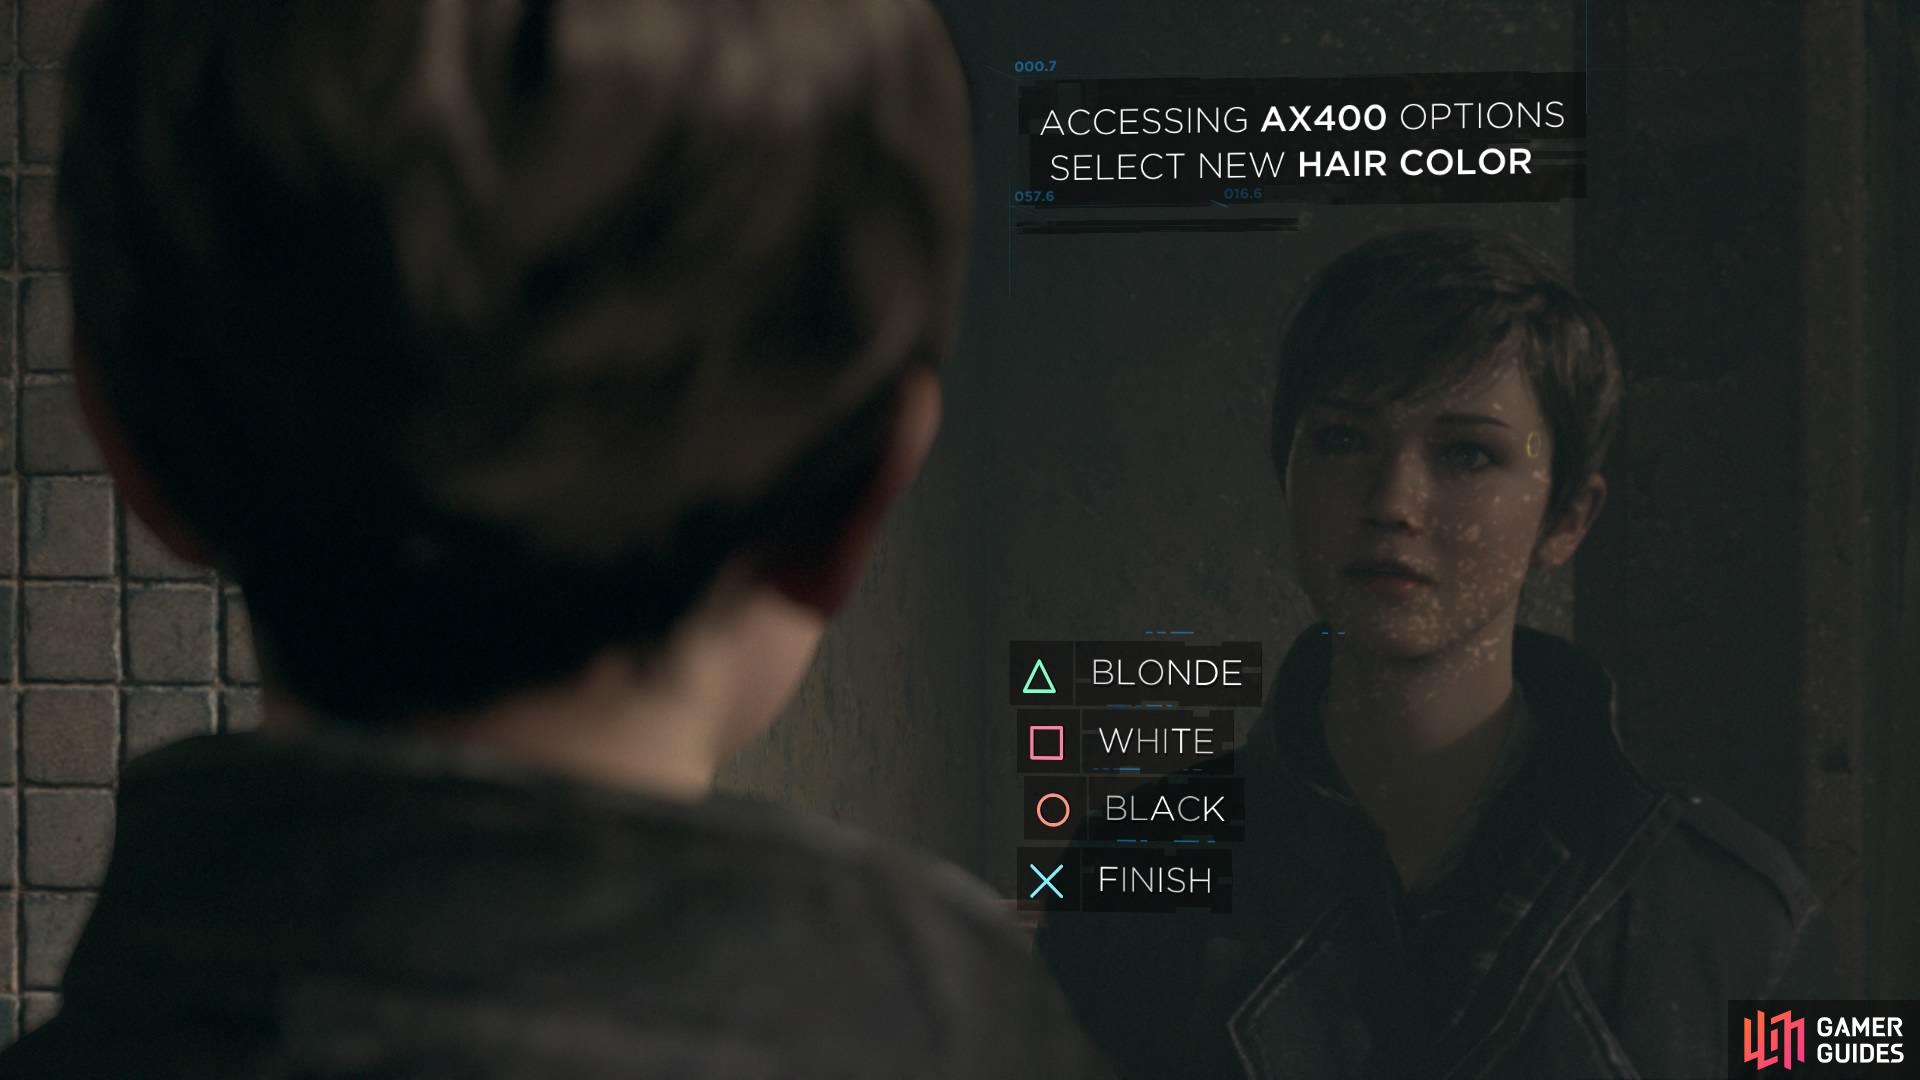
– Cut and Colour Hair: Whatever you choose is how Kara will look for the remainder of the game. She’ll automatically cut her hair short, and then you can choose to colour her hair brown, black, white, or blonde.
– Removed LED: No matter what, Kara will always cut out the LED from the side of her head to further her disguise.
Try to Open Car Trunk: At the back of the car, try to open the trunk. It won’t budge.
– Find a Crowbar: On the other side of the car is a crowbar by the fence around the abandoned house.
– Find New Clothes: Use the crowbar to open the trunk and take the clothes that are inside.
Check Neighbourhood: Go to the door that you entered to get into the parking lot and look around – Kara will spot the police scouting the area.
Magazine: Directly in front of the car is the next magazine. Read both articles to make it register.
Find Burnt Android: If you check the back wall you’ll find an android that has been discarded behind the dumpster.
Wake Alice/Leave Lot: This is the natural course of events, so it’s unmissable.
Afterwards, you’ll return to Connor as he begins to investigate the supermarket. But since the police have no leads here, there’s nothing to do. Then you’ll return to Kara again.
Walk Towards the Train Station: This is the main objective.
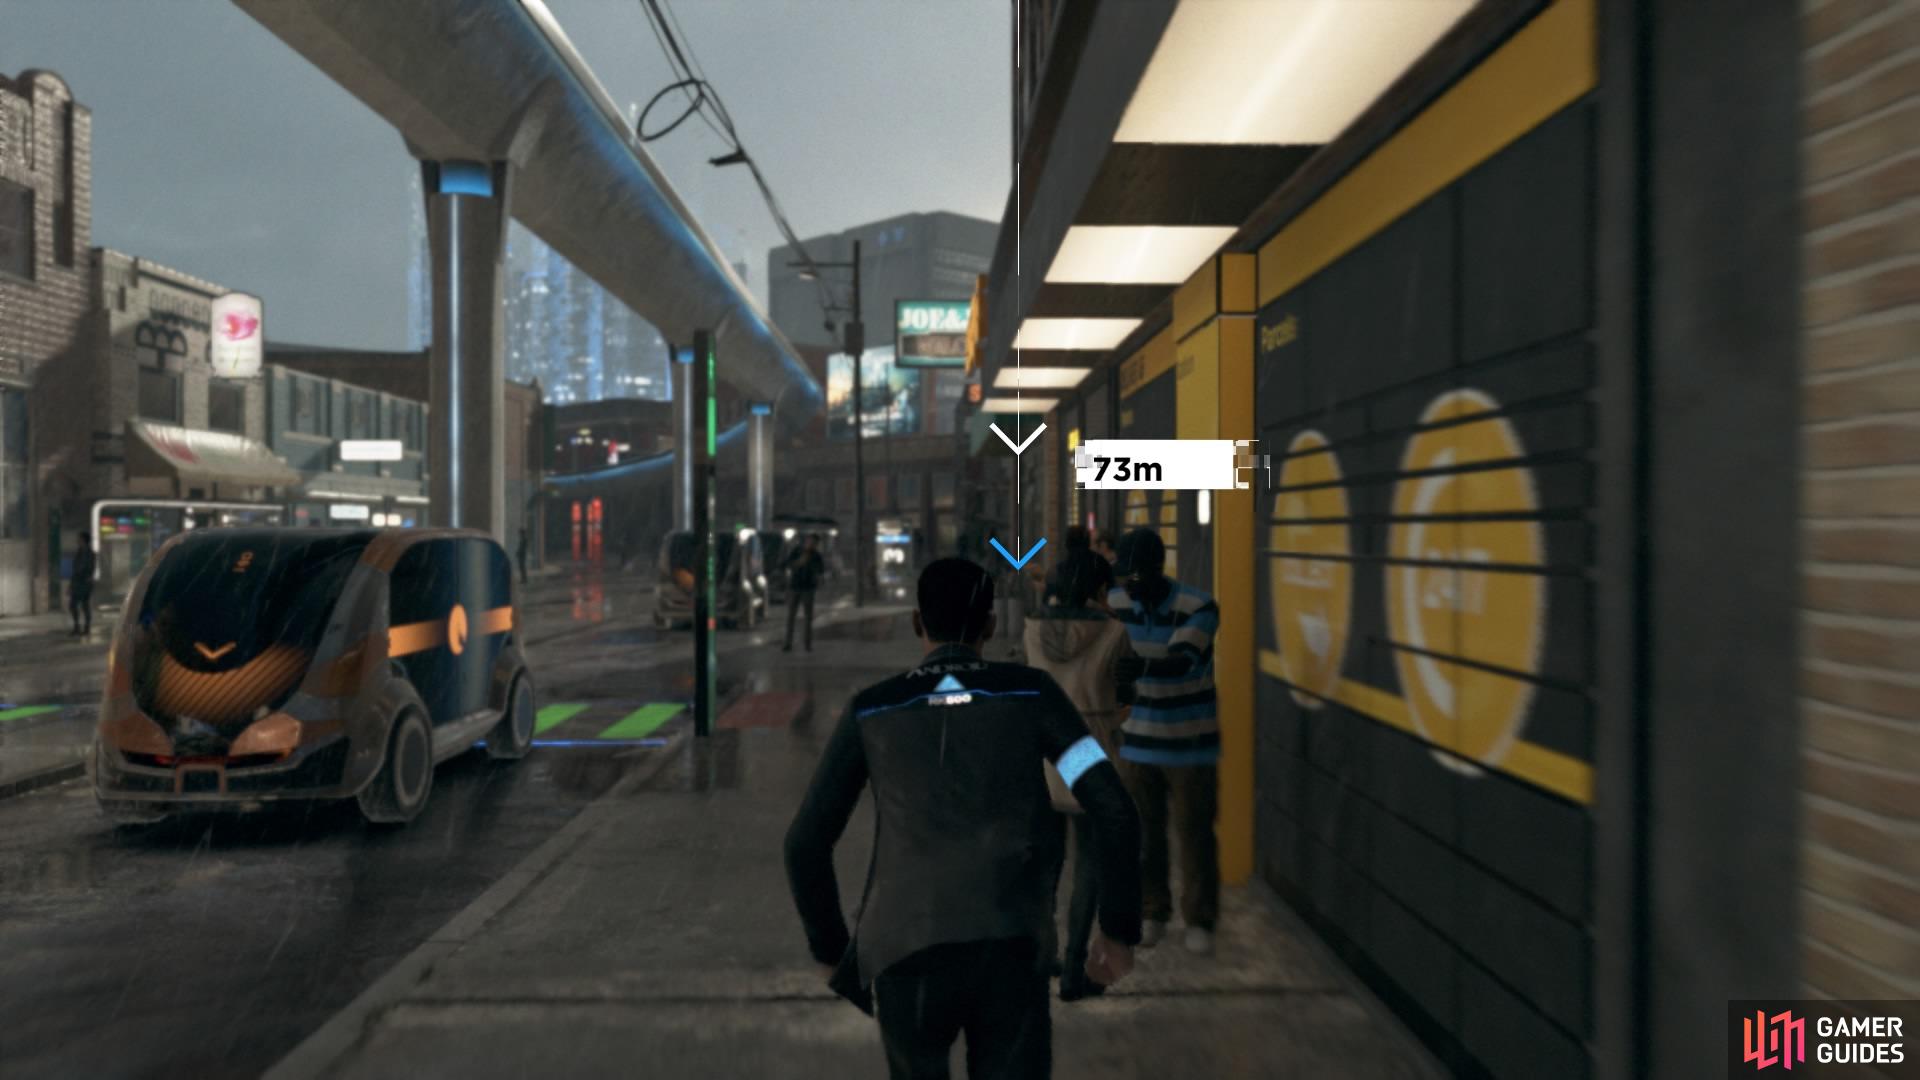
– Sneak Past the Police: Following the button prompts, cross the street in the direction of the motel and take cover. Then cross the street to the left side of the laundromat, and head right to use the bus shelter as cover. When it’s safe, you can continue to quickly cross the street, but if you’re too slow you’ll get caught, so act fast! When you reach the other side you’ll be prompted to use an umbrella for more cover, then you can keep going to the ATM machine.
Now scroll down further for the PURSUIT section to end the chapter.
MOTEL BRANCH
– Talk to Alice/Draw her a bath
– Cut and Colour Hair (same options as the previous branch)
– Remove LED
– Finish Drawing Bath
Now you can explore the motel room:
– Look at the clock
– Look outside
– Look at painting
– Find magazine (read both articles to make it register)
– Change channel
– Alice hears about Todd
– Cheer her up
– Look for breakfast
Now you’ll return to Connor and Hank. They’ll interrogate the receptionist and then you can follow Hank to the hotel room. However, this can lead to one of two things: either Kara and Alice have already left (if so, read below) or Connor will end up pursuing them (if so, head to the PURSUIT section further down to end the chapter).
KARA AND ALICE ON THE STREET
If you left the hotel room before Connor and Hank arrived, then you can simply start heading toward the train station. Sneak past the police to reach the train safely. If you get spotted, scroll down to the PURSUIT section.
ABANDONED HOUSE/SQUAT BRANCH
A lot happens here if you chose this option, and the police will always eventually arrive to investigate. These are all the things you can do for this path.
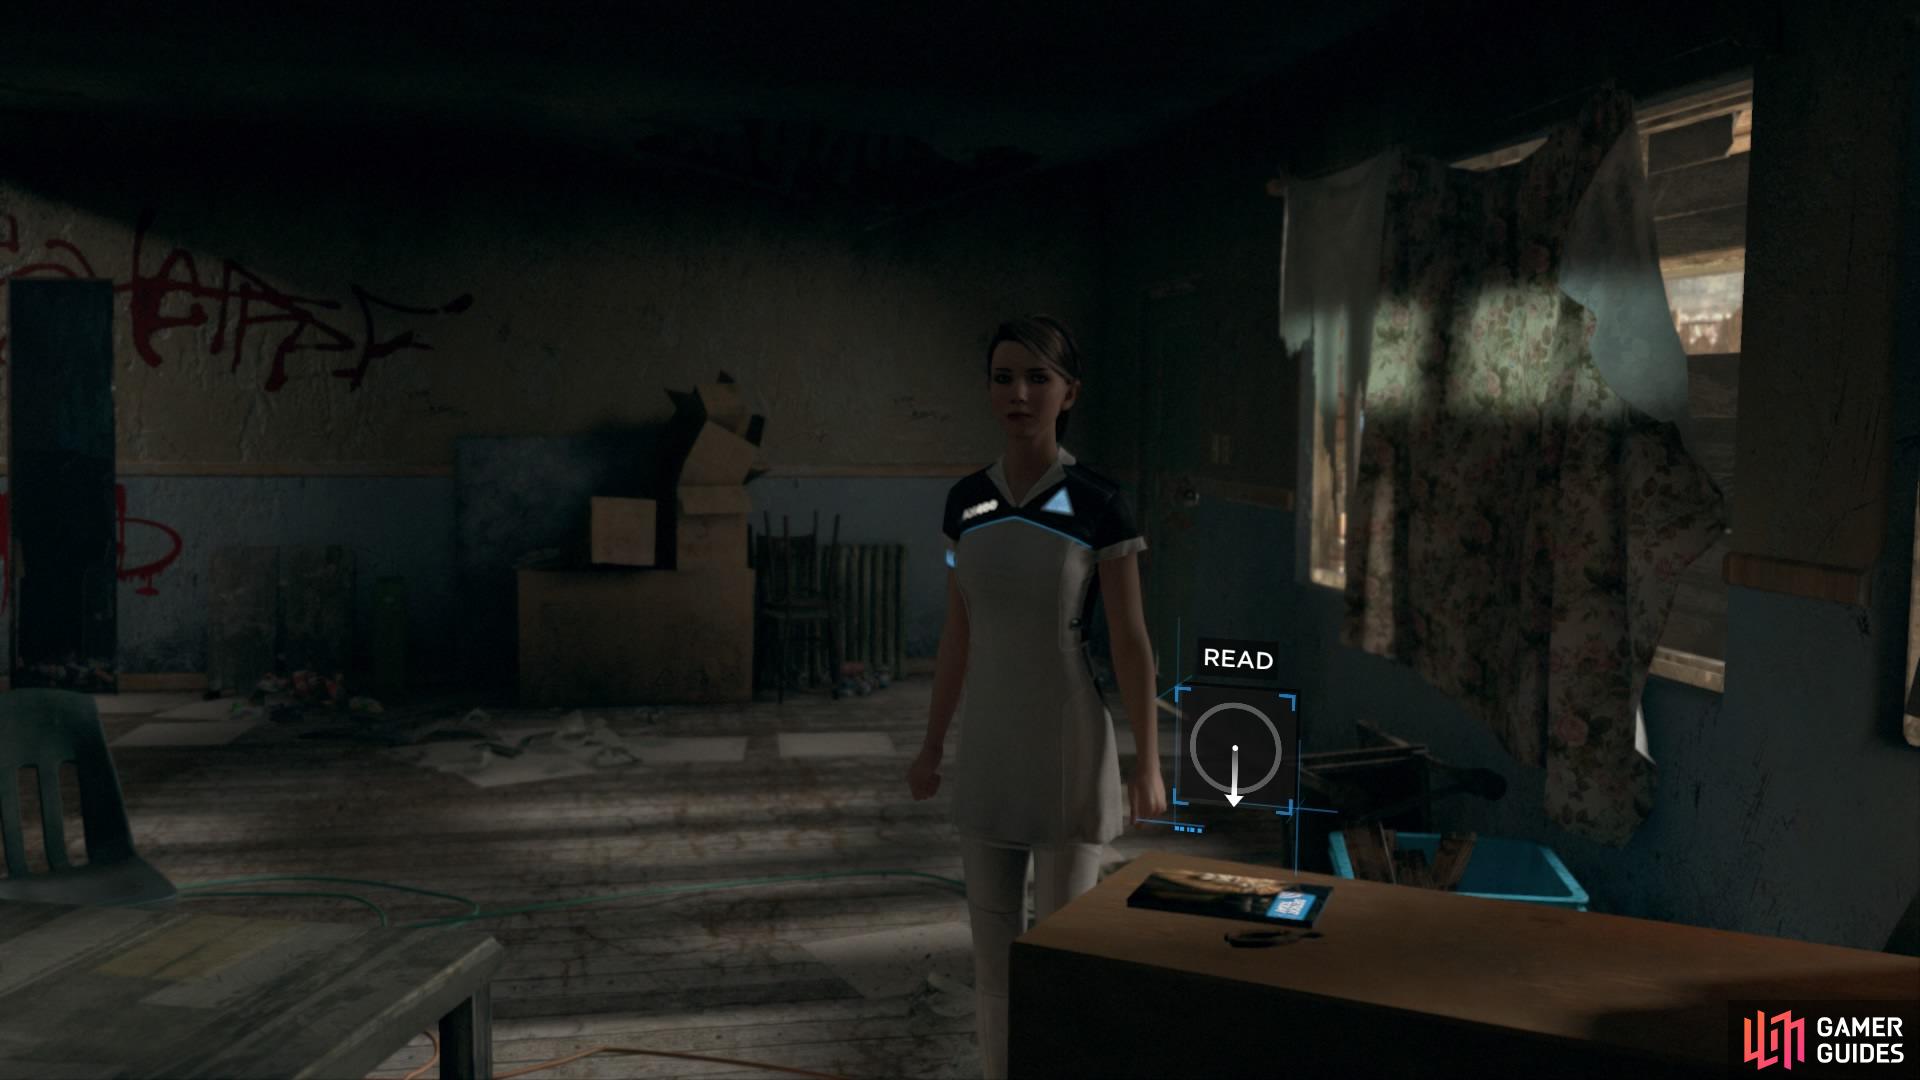
Magazine: Find the magazine on the table in the room you wake up in. Read both articles to make it register.
Find the magazine by the wood in the blue box
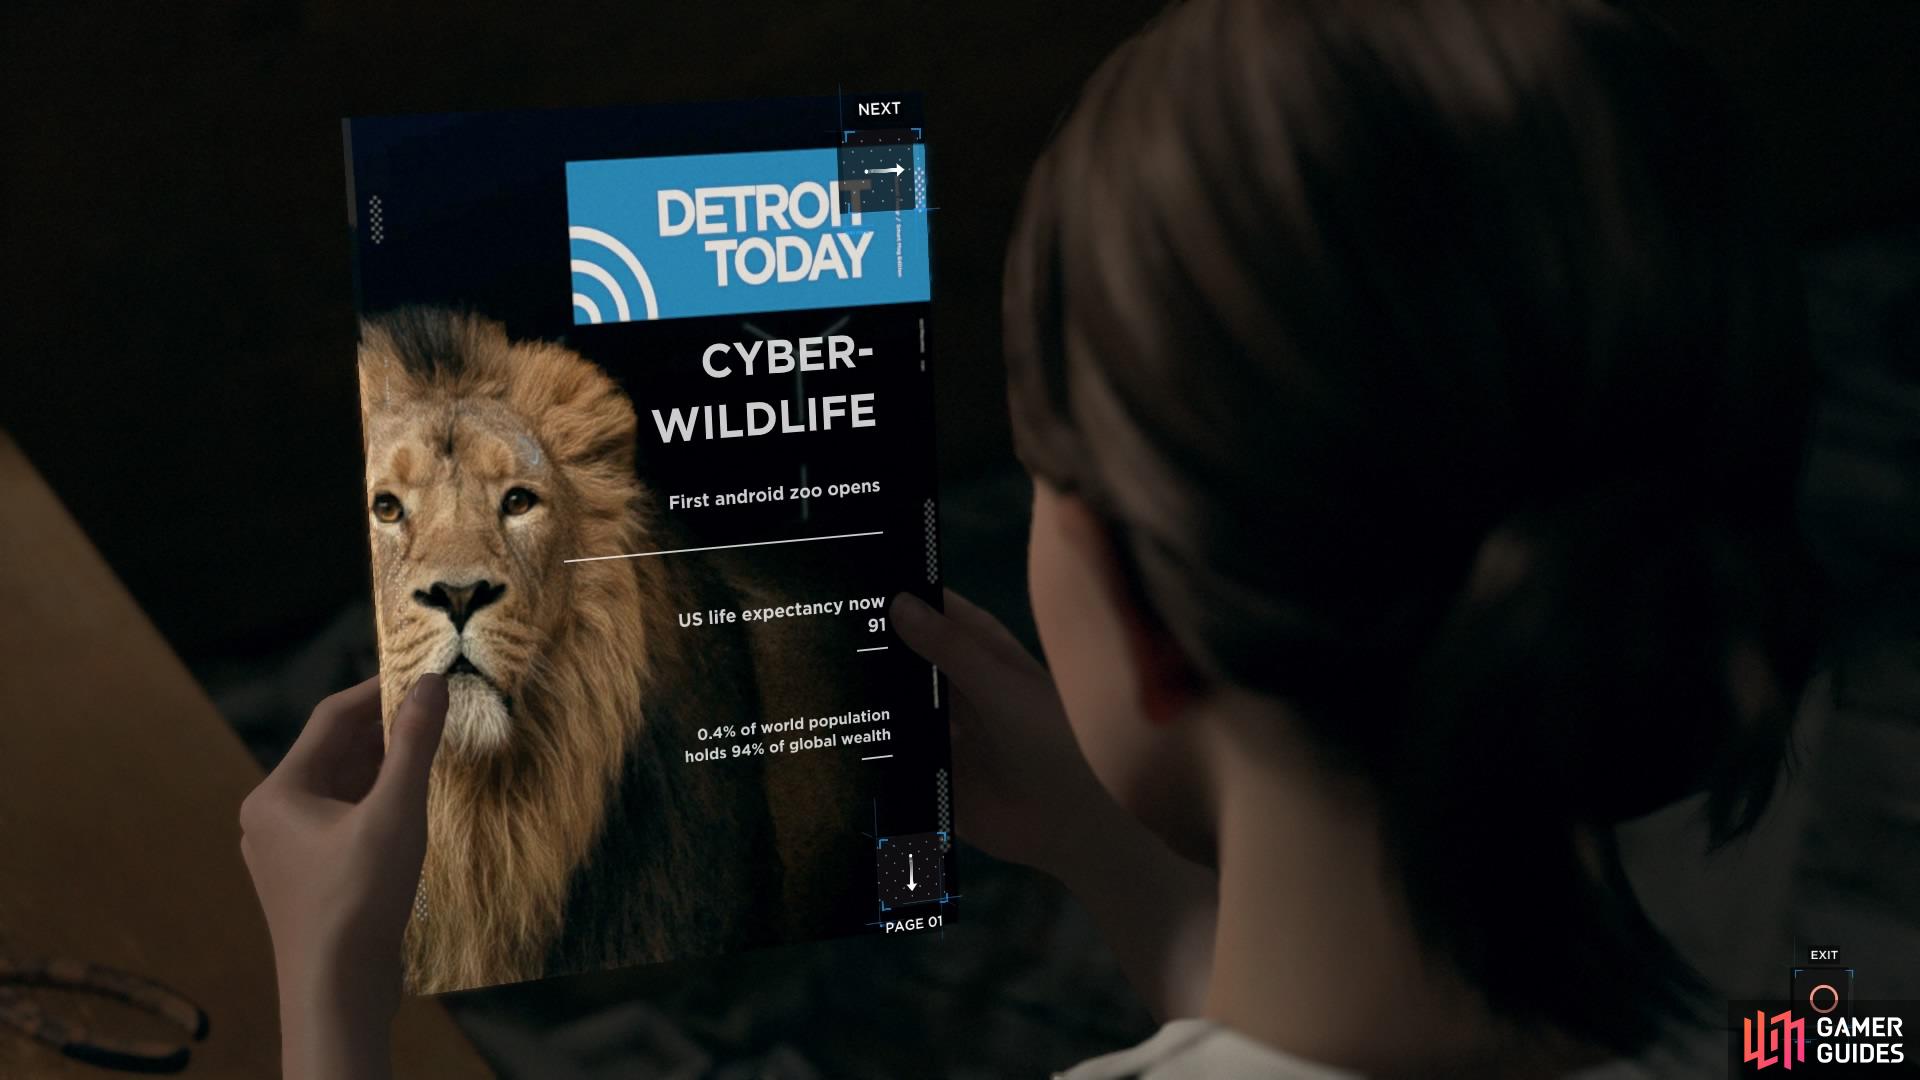
Read both articles
Re-light Fire: Pick up the wood by the window and throw it into the fireplace.
Check on Alice: Simply interact to have Kara kneel down and look at her while she’s still asleep.
Read Leaflet: Go into the kitchen and check the trash can to find it.
Look at Ralph’s stuff: To the right of the kitchen you’ll find some of Ralph’s belongings, so take a look at them.
– Steal Money: You can choose to take some of the money when prompted to do so.
Once you’ve done all this, head upstairs.
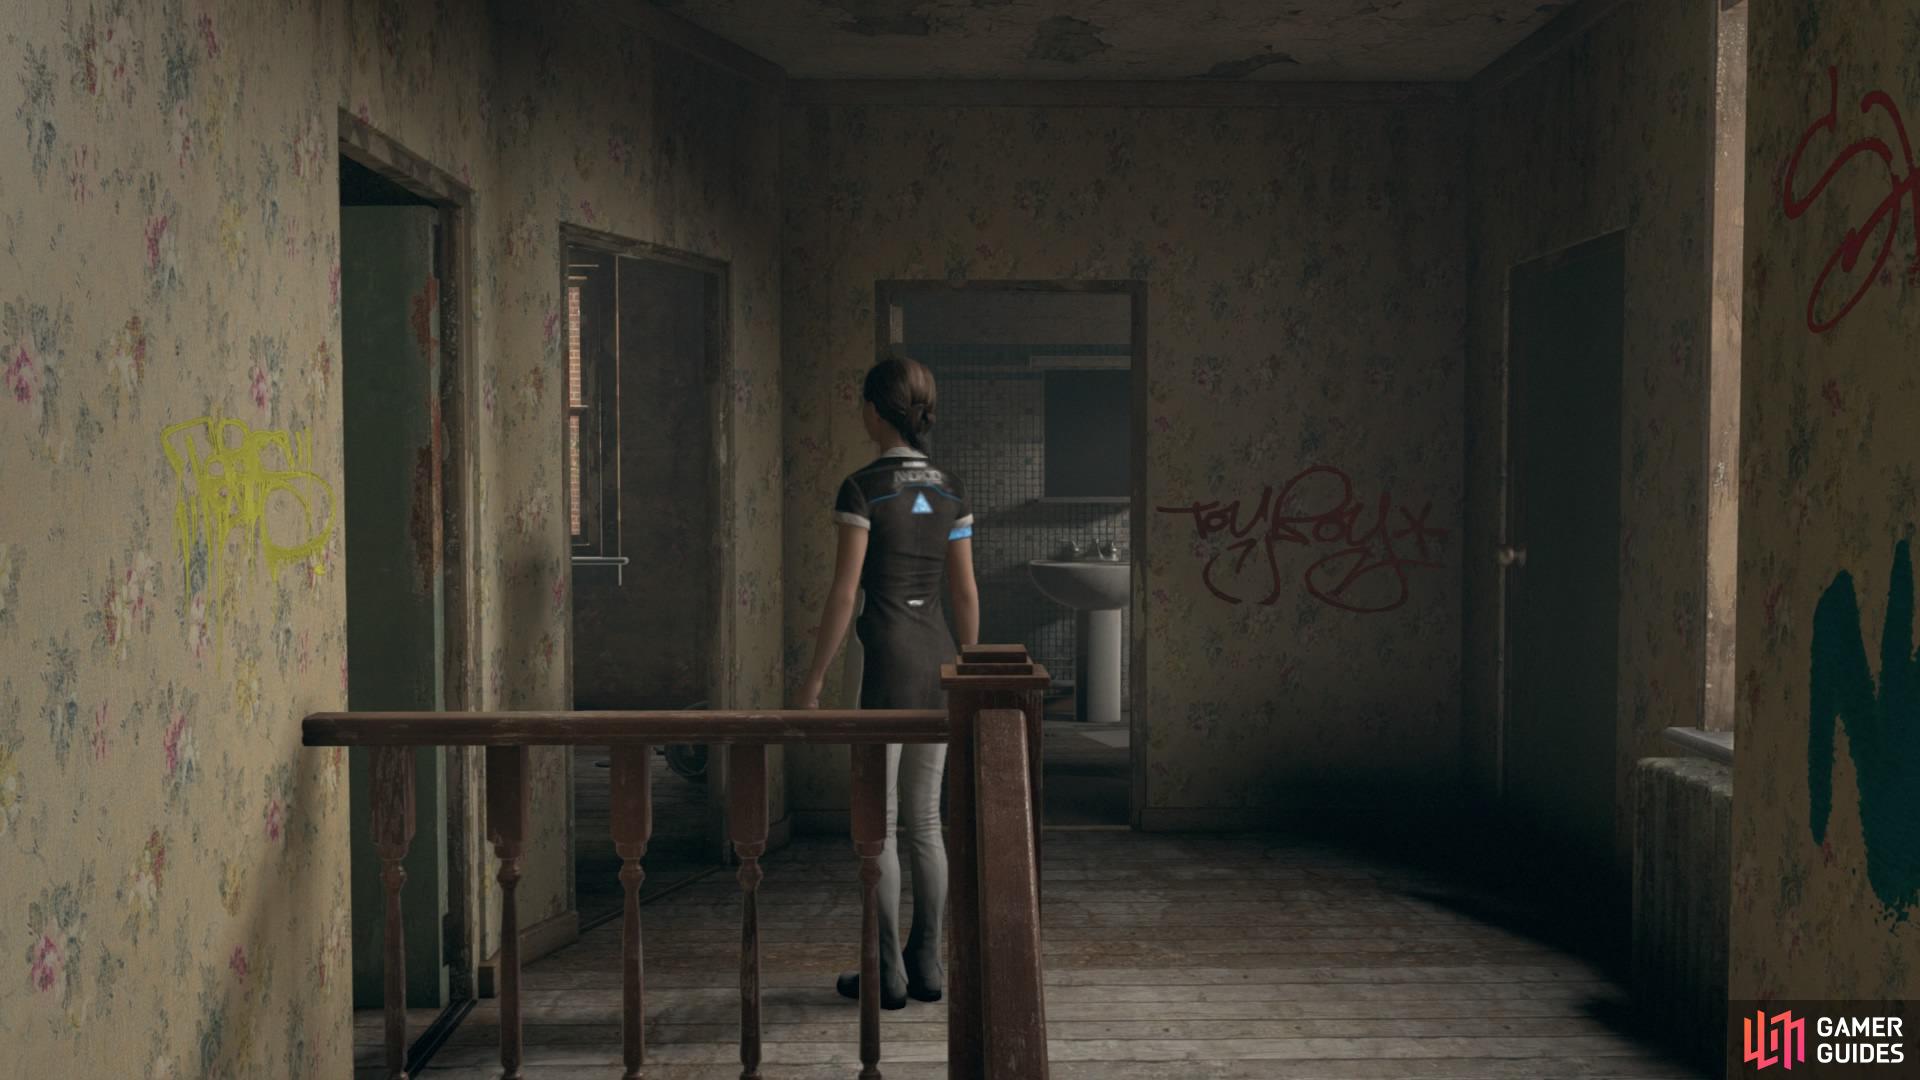
Head in to the first room on the left
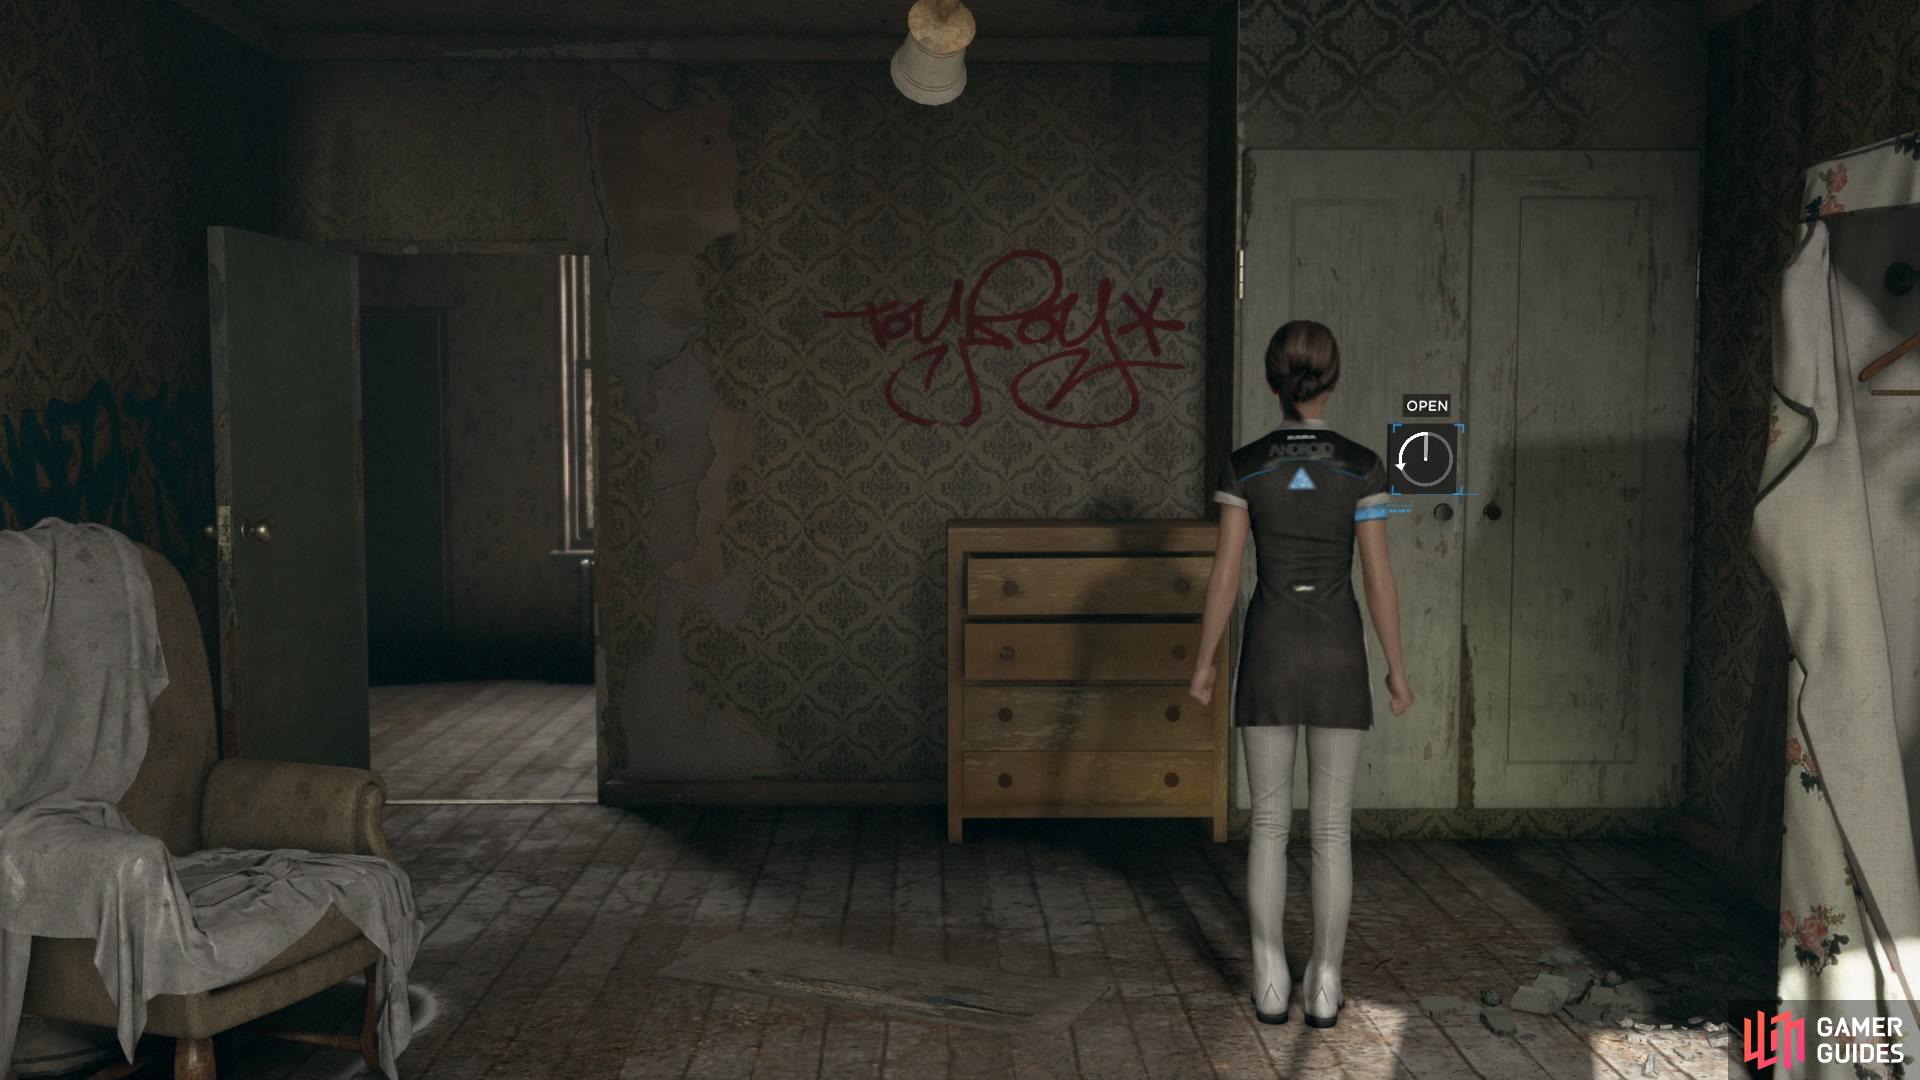
Find the clothes in the closet
Change Clothes: You can only do this if you haven’t already stolen the clothes from the laundromat in a previous chapter. You’ll find the clothes in a wardrobe in one of the empty rooms. Then you get two more choices:
– Take Gun Back: Once you’ve taken the new clothes, remember to pick up the gun again.
– Leave Gun: Once you’ve taken the new clothes, forget the gun. When you have an argument with Ralph later, the option to check you still have it will appear, causing Kara to realise she left it upstairs.
Use the scissors in the bathroom to cut Kara’s hair
Then choose a new colour as a disguise
Cut and Colour Hair/Removed LED: Go to the bathroom. Same as the other branches above, these options will always appear, and Kara will automatically take out the LED.
Find Corpse: After changing your appearance in the bathroom, check the bathtub before you leave to have Kara discover a dead body. This will unlock a dialogue option for later.
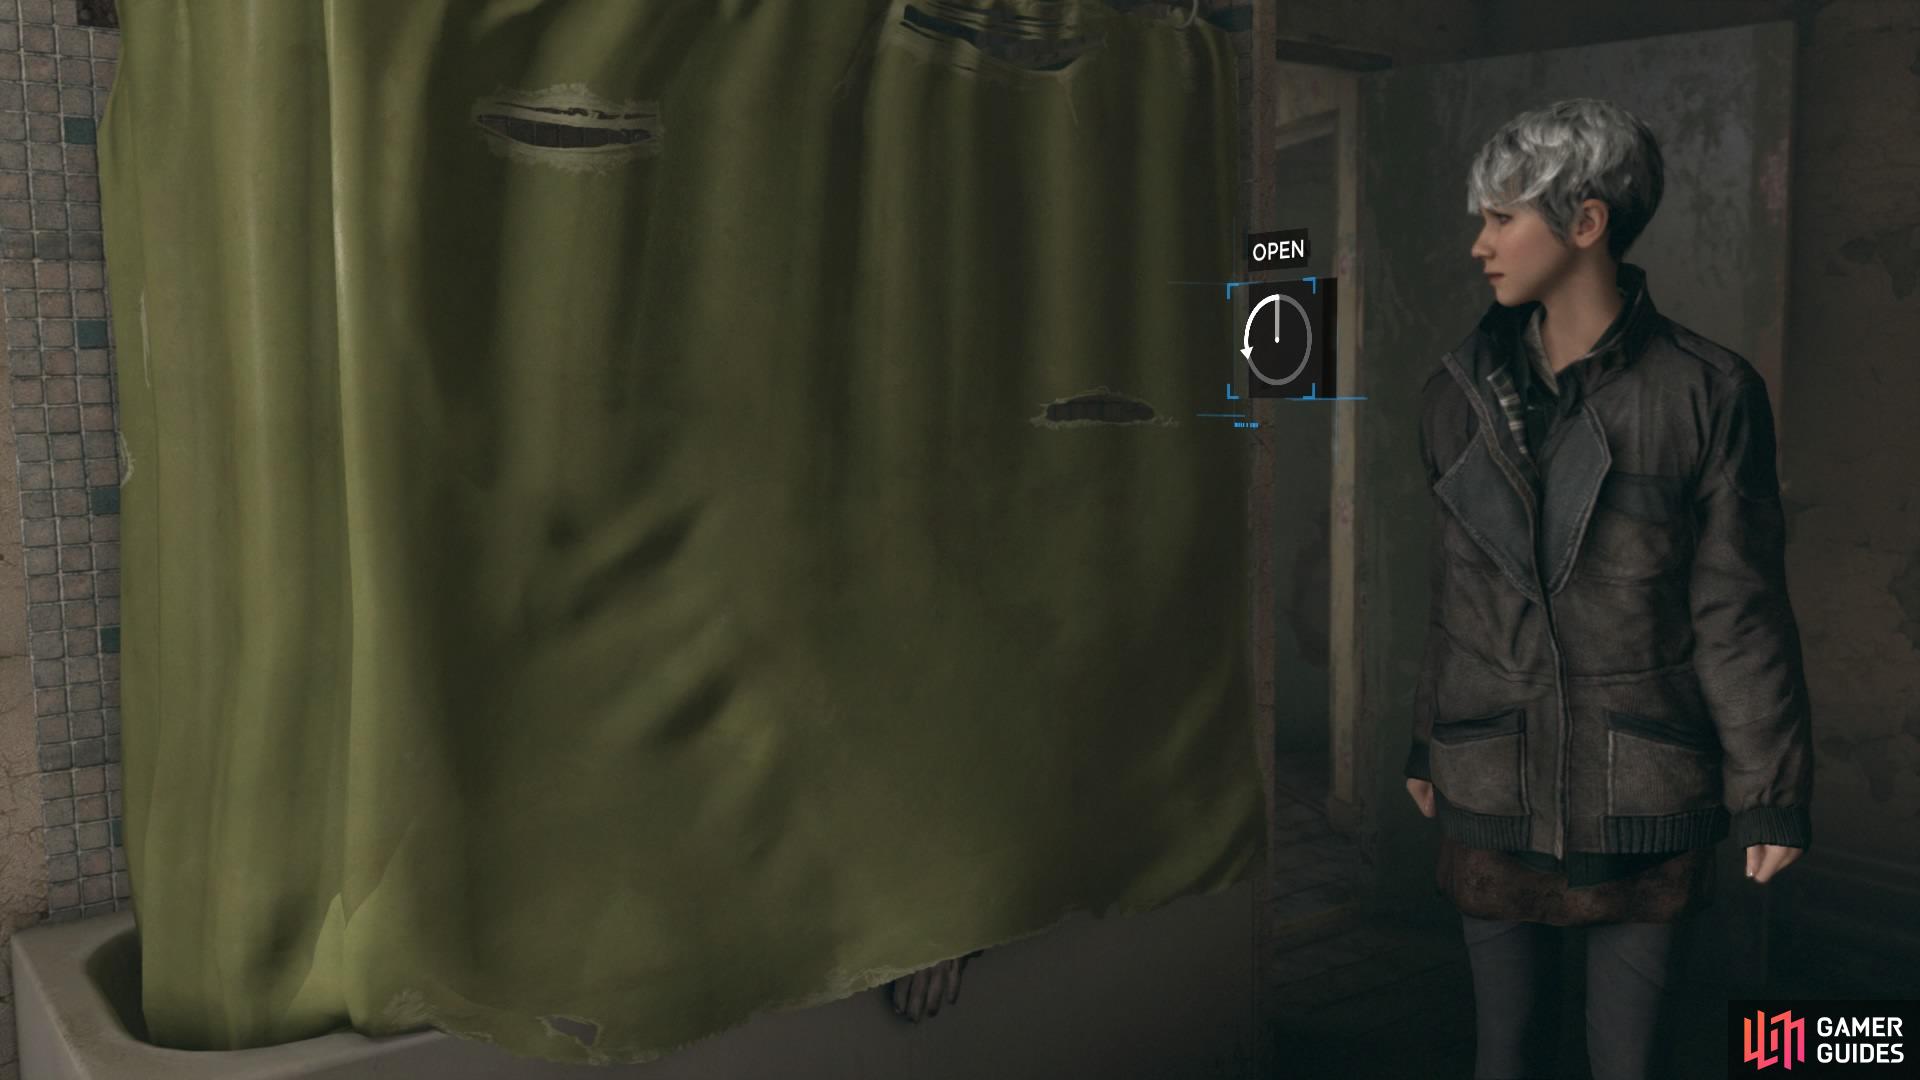
Check the bath tub before you leave
Sit at the table with Ralph and Alice
Go Downstairs: As you head back down the stairs, a cutscene will occur that shows Connor and Hank standing across the street.
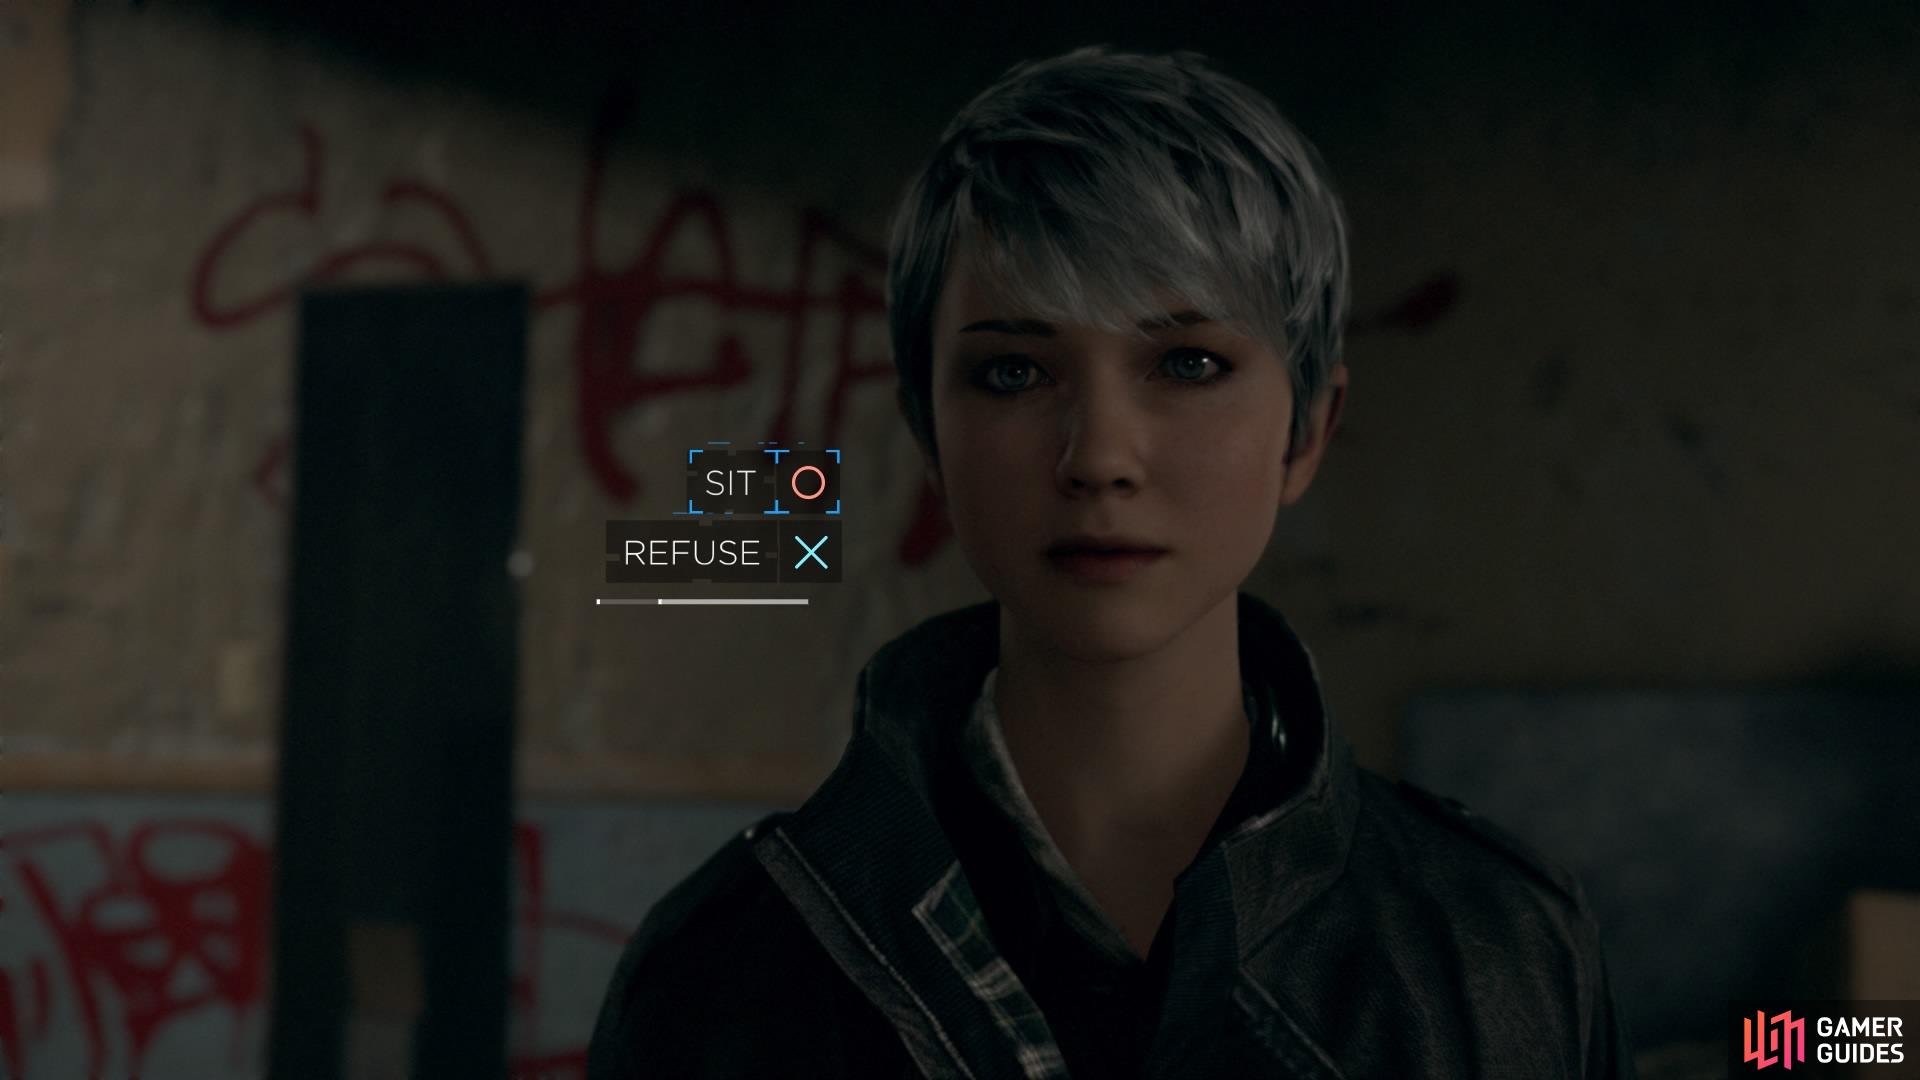
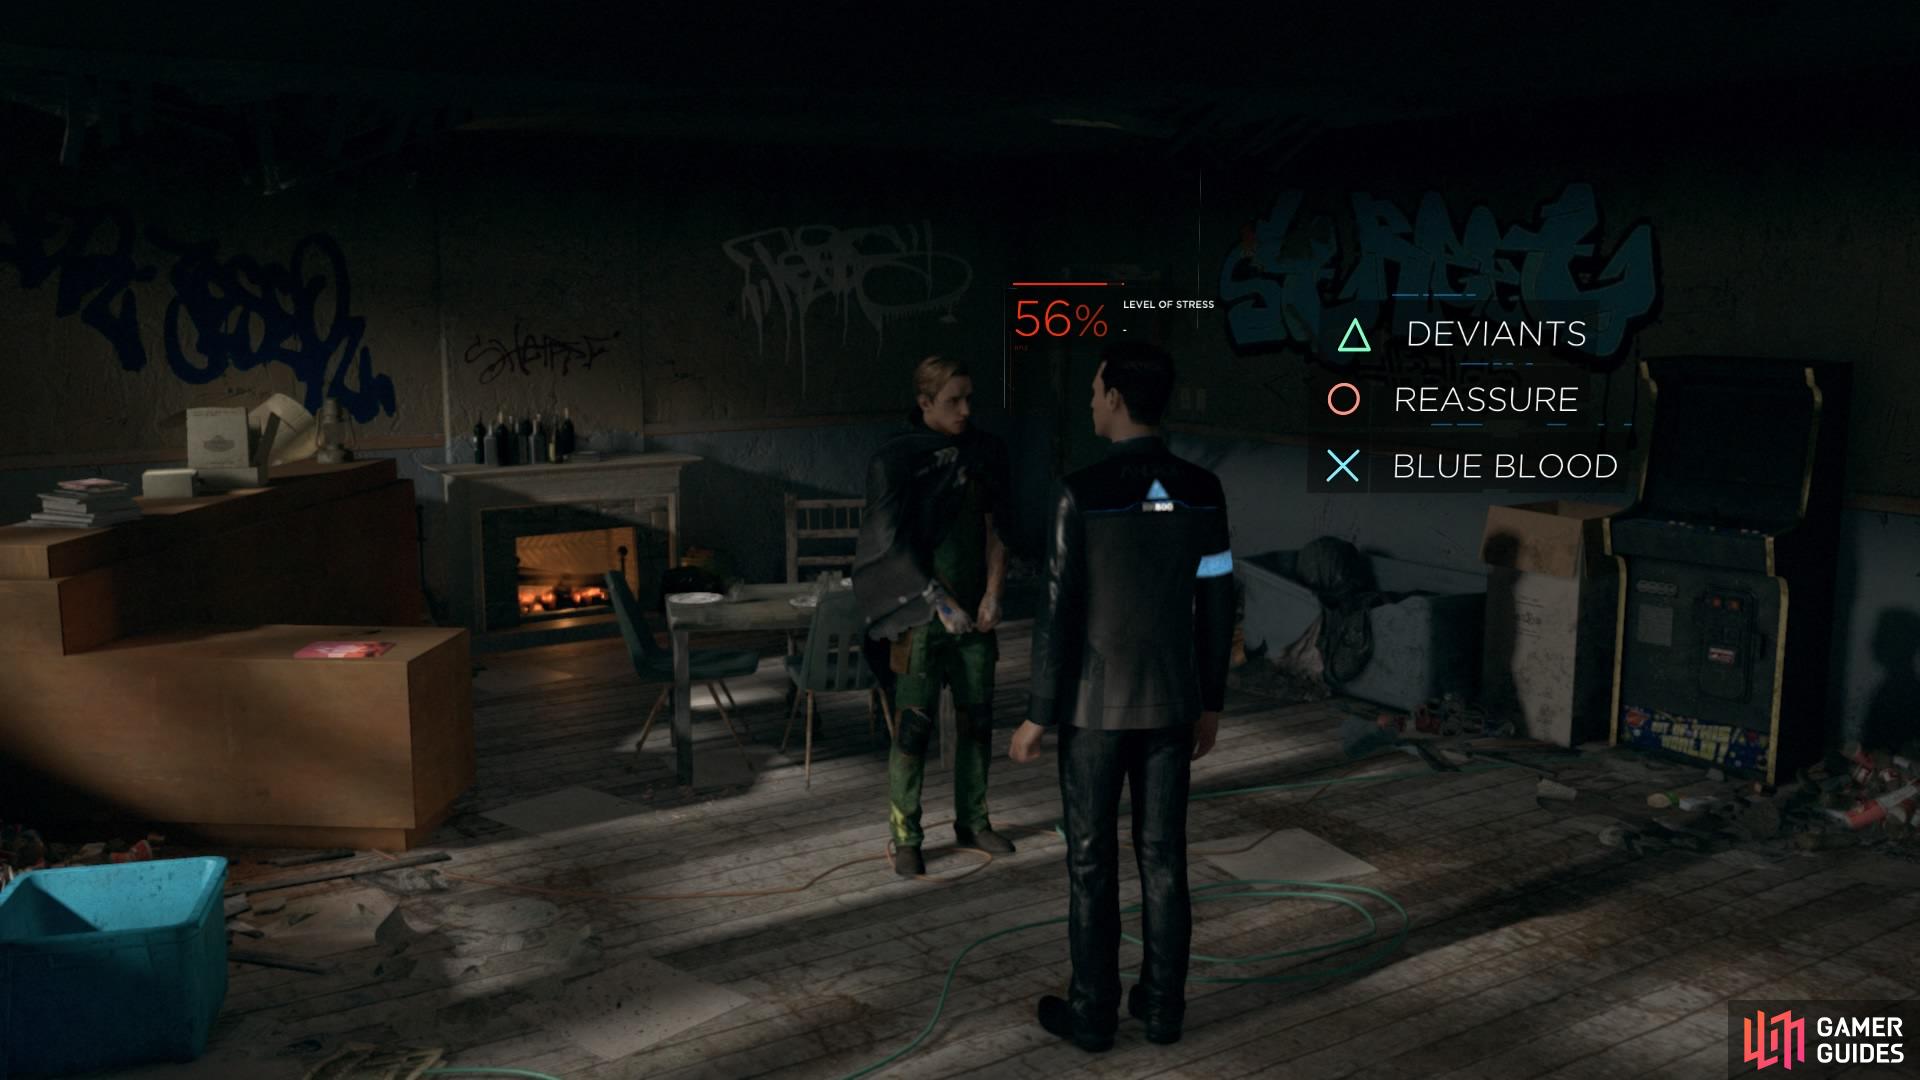
Ralph wants a Family Meal: Kara will get downstairs to find Ralph scaring Alice again.
– Agree to sit: Sit down when Ralph asks you to.
– Refuse to sit: When Ralph tells you to sit, refuse and he’ll threaten Alice.
Sit Down: No matter which you chose before, you’ll always end up sitting down anyway.
– Discuss Corpse: If you discovered the body in the bathroom, tell Ralph that you saw it.
– Convince Ralph: Choose BLUFF to make Ralph let you leave the house.
– Threaten Ralph: If you have the gun, use it to threaten him.
Ralph Apologises: If you didn’t choose the gun before, then Ralph will just apologise instead.
Interrupted by Connor: No matter what happens you will always be disturbed by Connor coming by to investigate the house.
Now you’ll have control of Connor again as you find your way inside the house. Just walk around the corner and enter the house by the front door.
Ask him questions and perform a scan
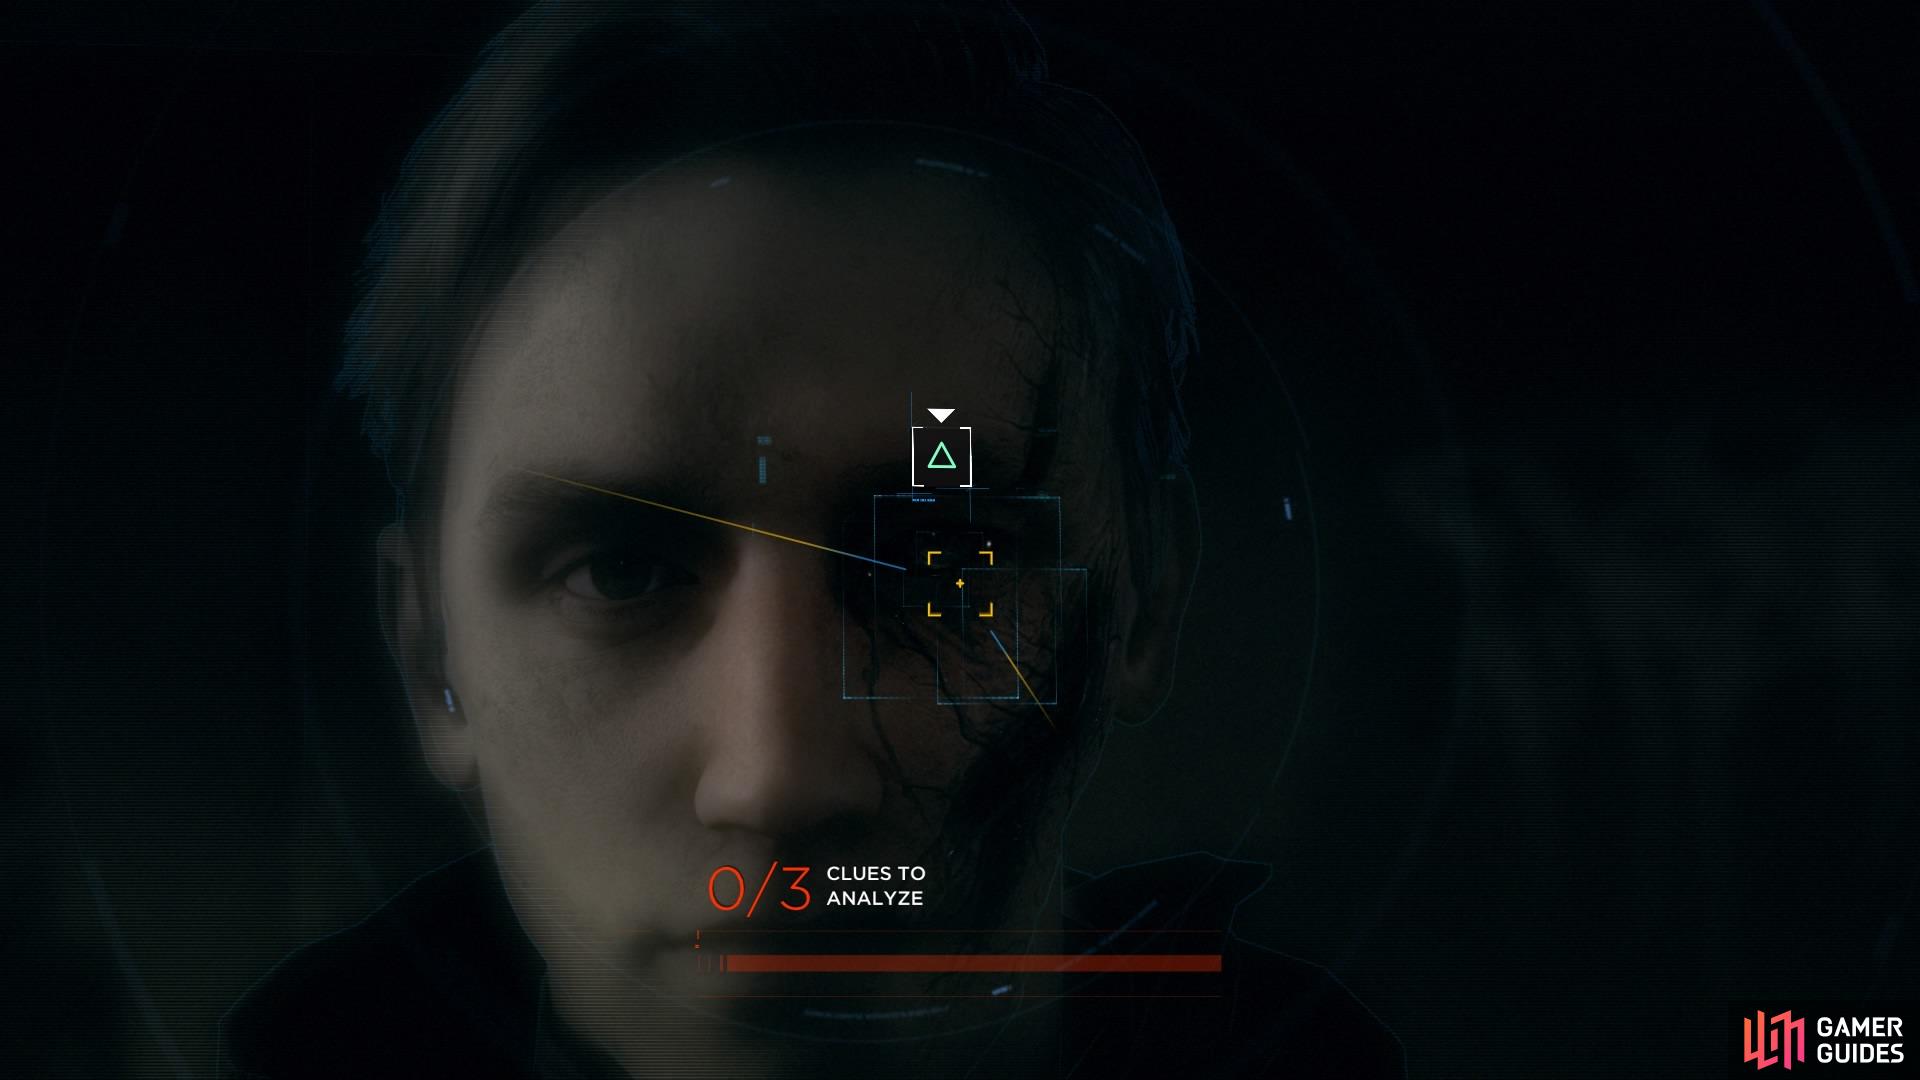
Scan his face for clues
Interrogate Ralph: Two things can happen here depending on your choices as Kara.
– Ralph gives Kara up: If Kara threatened him with the gun, Ralph will tell Connor that Kara and Alice have just left.
– Ralph stays quiet: If Kara was nice to Ralph, then he won’t say anything, and Connor will have to search the house.
Investigate Ground Floor: You’ll start off searching the downstairs area (assuming Ralph stays quiet).
– Analyse Ralph: Move close to Ralph and press R2 to scan him – he’ll have three clues on his head to find.
– Check Upstairs: Connor will begin to ascend the staircase before asking Ralph if anyone is up there. When he says no, Connor will believe him, and leave it alone to return to the living area.
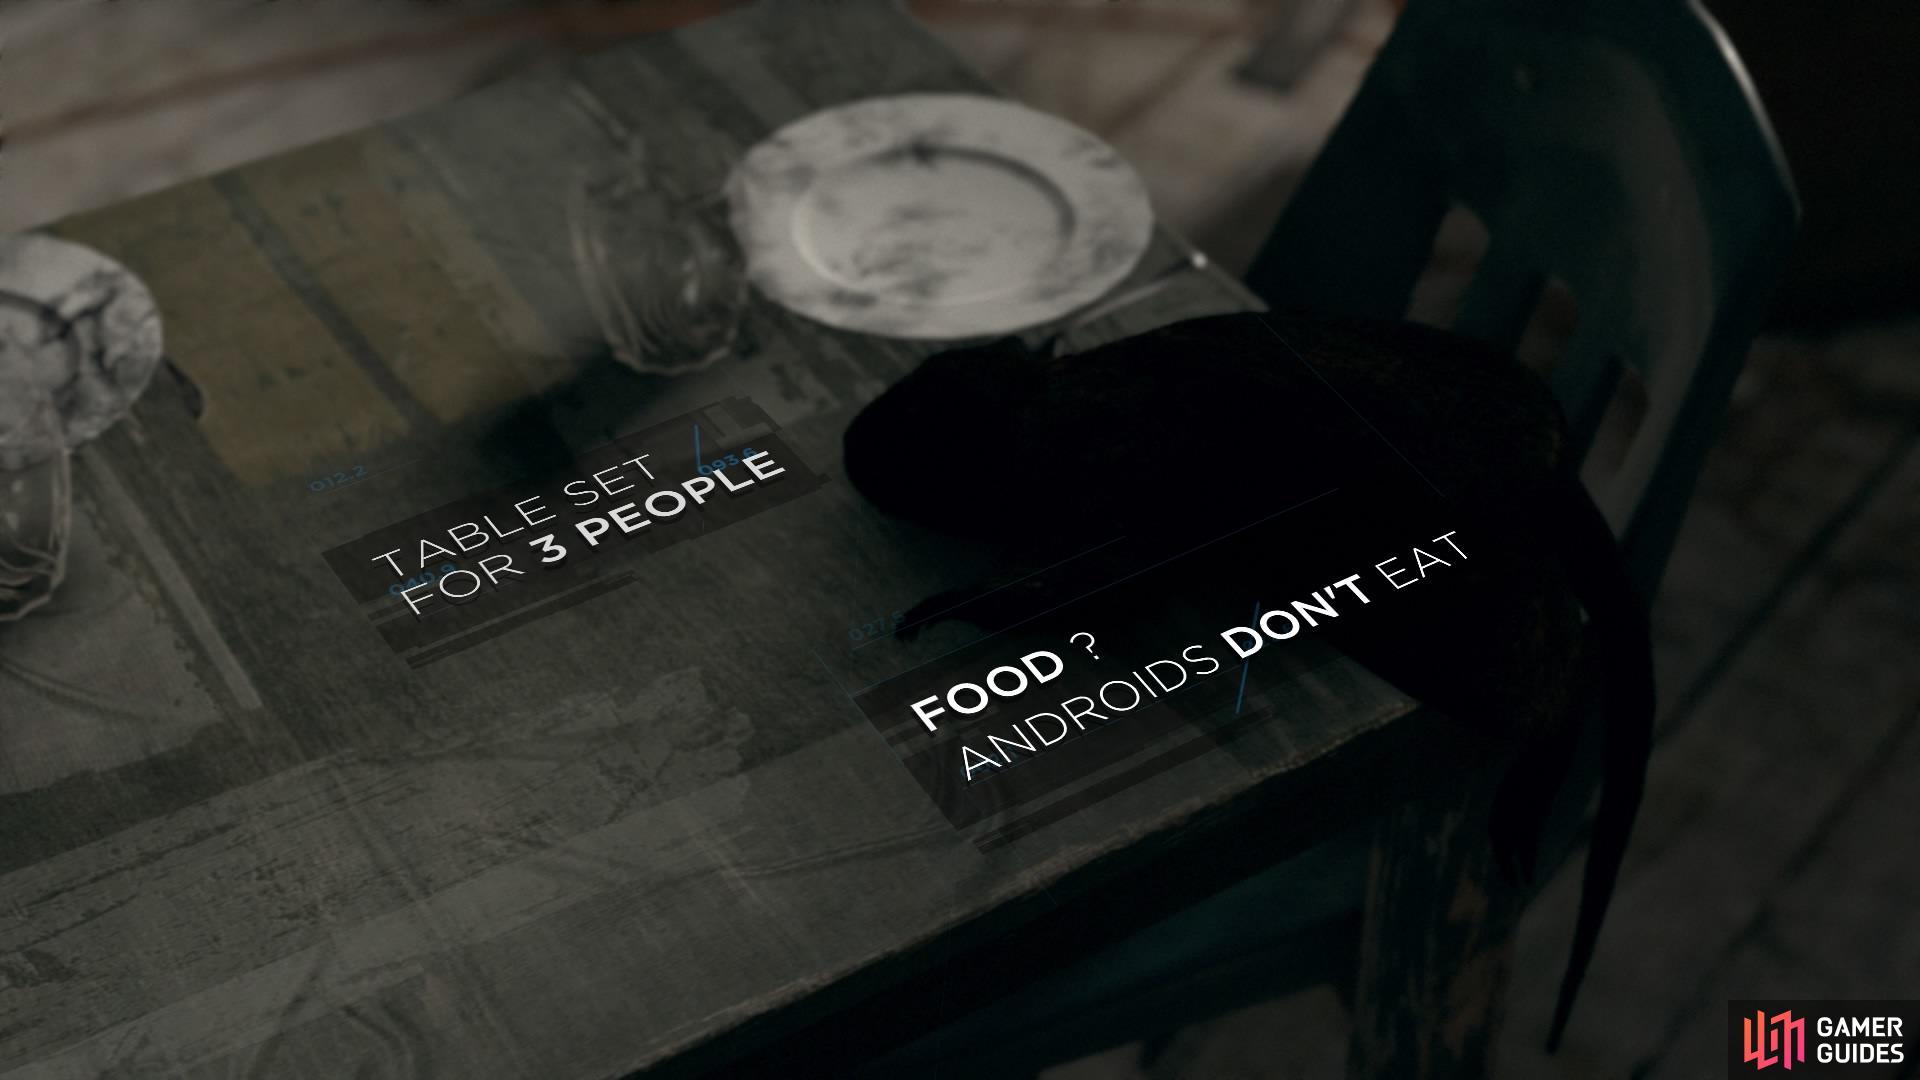
– Check Table: Scan the contents laid out on the table to gather the clues.
– Check Fireplace
– Check Kitchen: Go to the door to have Connor simply peek inside, and nothing more.
Search the house for clues
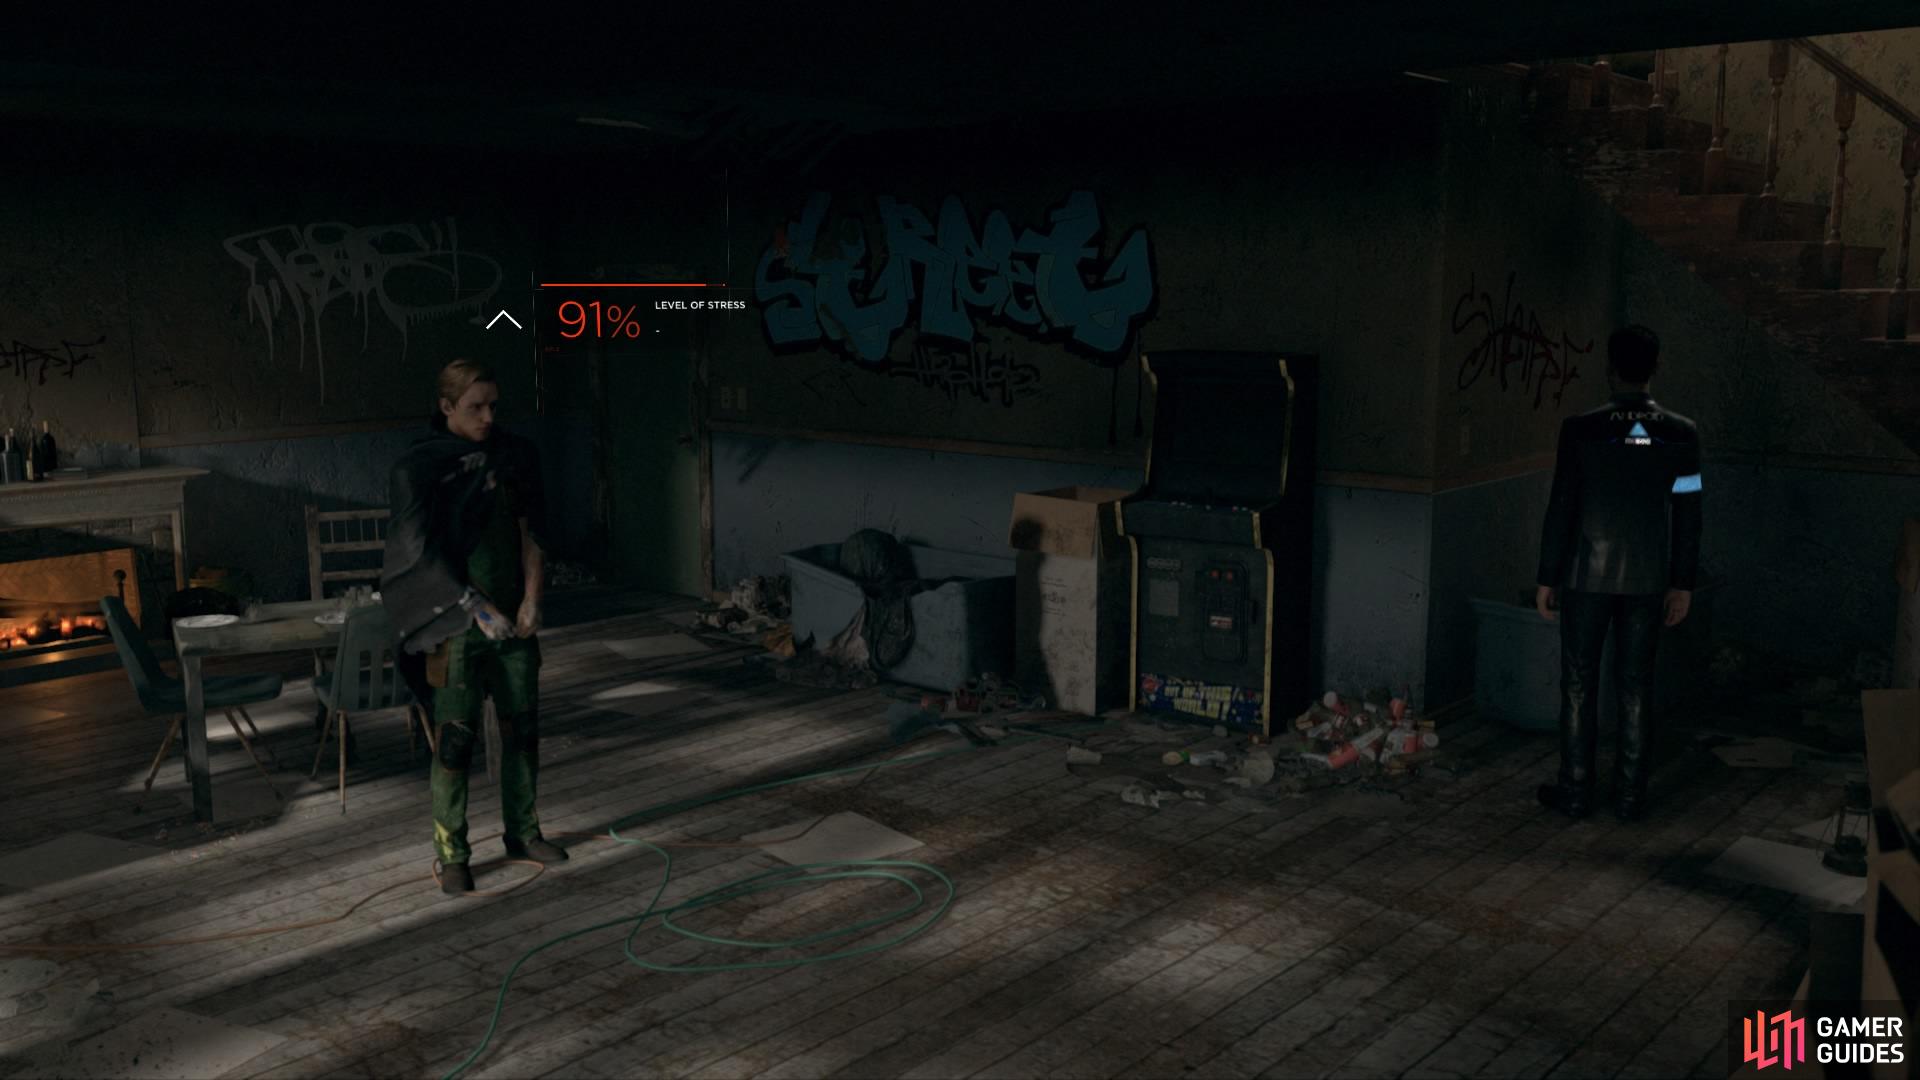
Check under the stairs to activate the pursuit
After a while, Hank will come in and order you to leave. Ralph will have disappeared, and Kara and Alice will have gone undetected in their hiding place. Connor and Hank will leave, and Kara will be free to go.
Or, if time hasn’t run out enough for Hank to drag you away, you can have Connor check under the stairs. Whilst searching the room, you can keep an eye on Ralph’s stress meter – it will go up and down depending on where you are in the room, which should give you an indication as to where he’s hiding the girls. If you get too close to the side of the stairs, Ralph will attack Connor, giving Kara and Alice time to run away.
If this happens, head to the PURSUIT section to end the chapter.
PURSUIT BRANCH
Many decisions at the end of each branch will lead to Connor’s pursuit of Kara and Alice. Depending on where you decided to take shelter for the night previously, read through those steps first before coming here. Below are all the possible choices to end the chapter.
Reach the Fence Too Late: As Connor, don’t move at all. The chase sequence will fail after some time. When you have control again, run towards the first checkpoint where an officer will tell you which direction they went. Don’t go any further than this, and they’ll escape.
Reach the Fence in Time: If you’re fast, you’ll get to the fence just as Kara and Alice are climbing over it.
– Obey Hank: Hank will tell you not to go after them because it’s too dangerous on the highway. Choose GIVE UP. This will lead to Kara and Alice get to the other side by successfully completing the button sequences.
– Defy Hank: When Hank tells you not to go, choose PURSUE to have Connor hop over the fence and chase the girls across the highway (this will decrease your reputation with Hank).
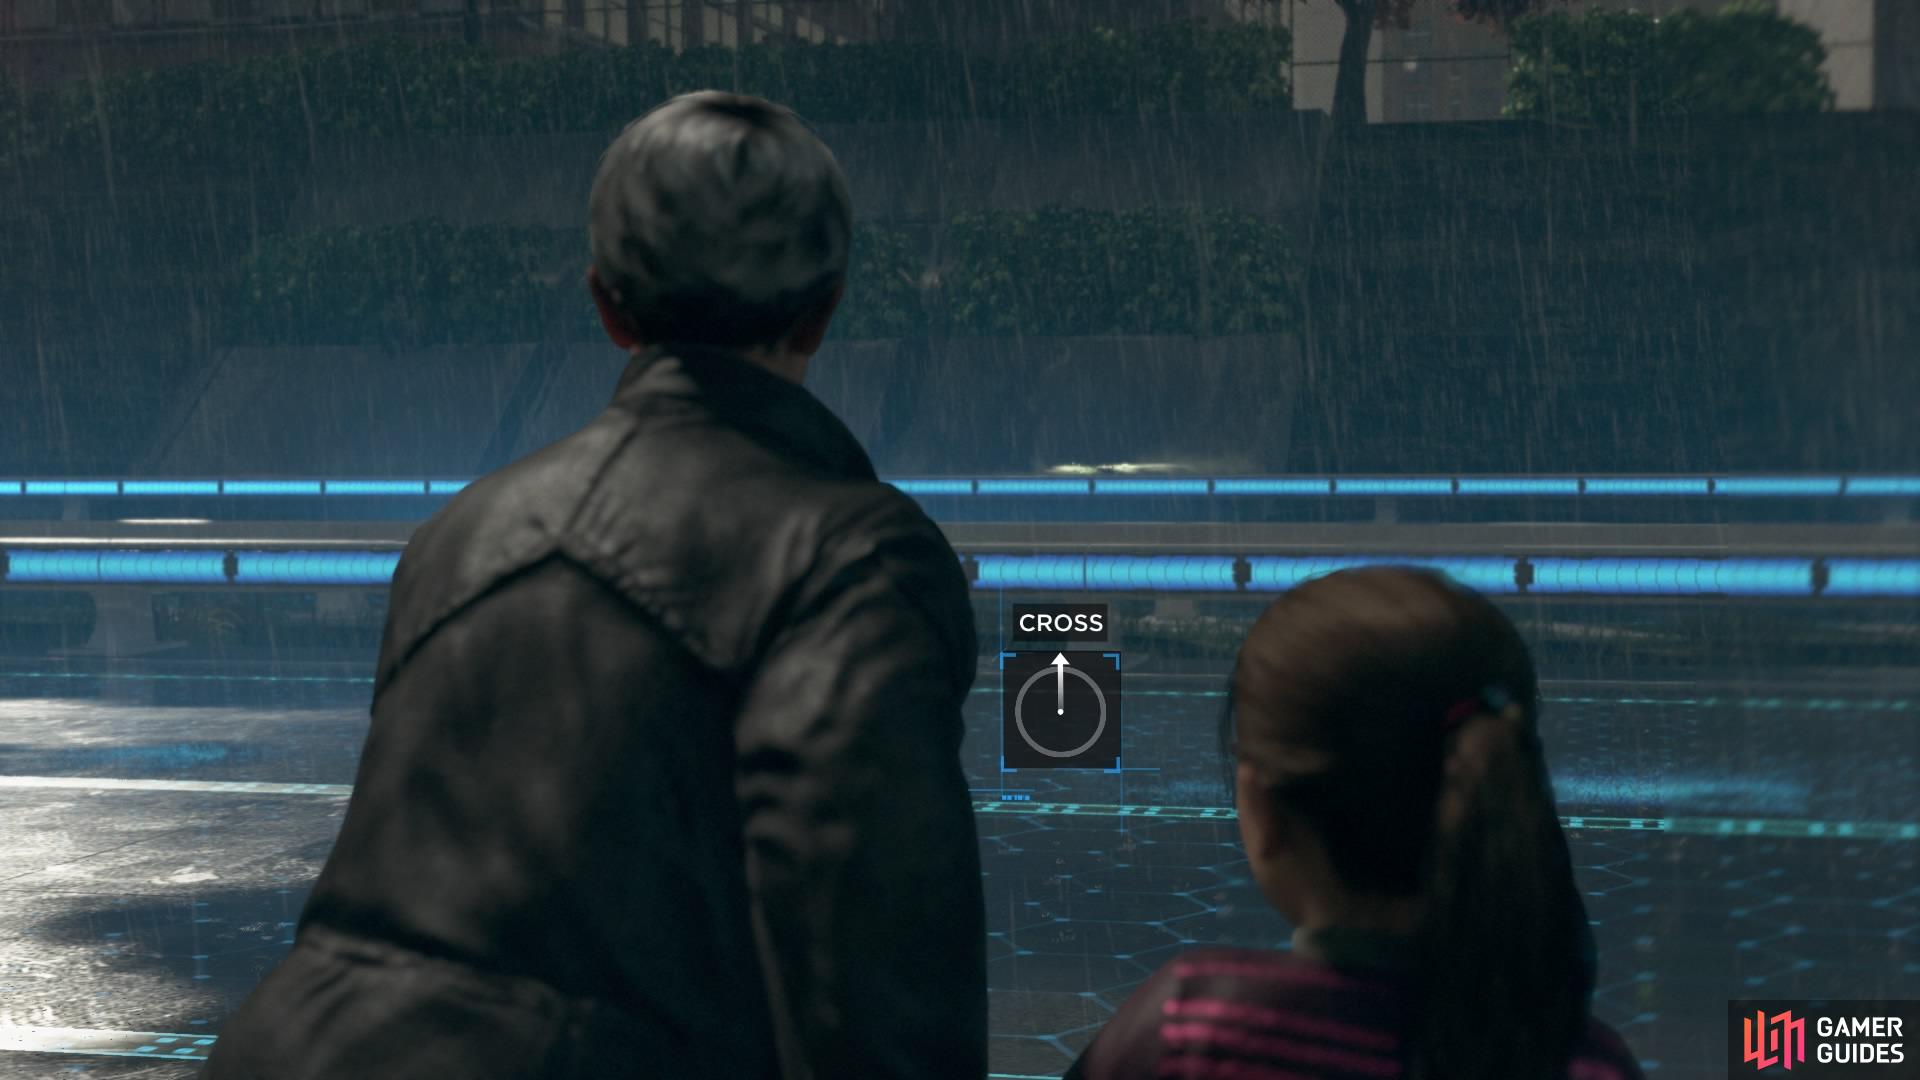
Get Kara and Alice to the highway
Follow the button prompts to avoid the cars
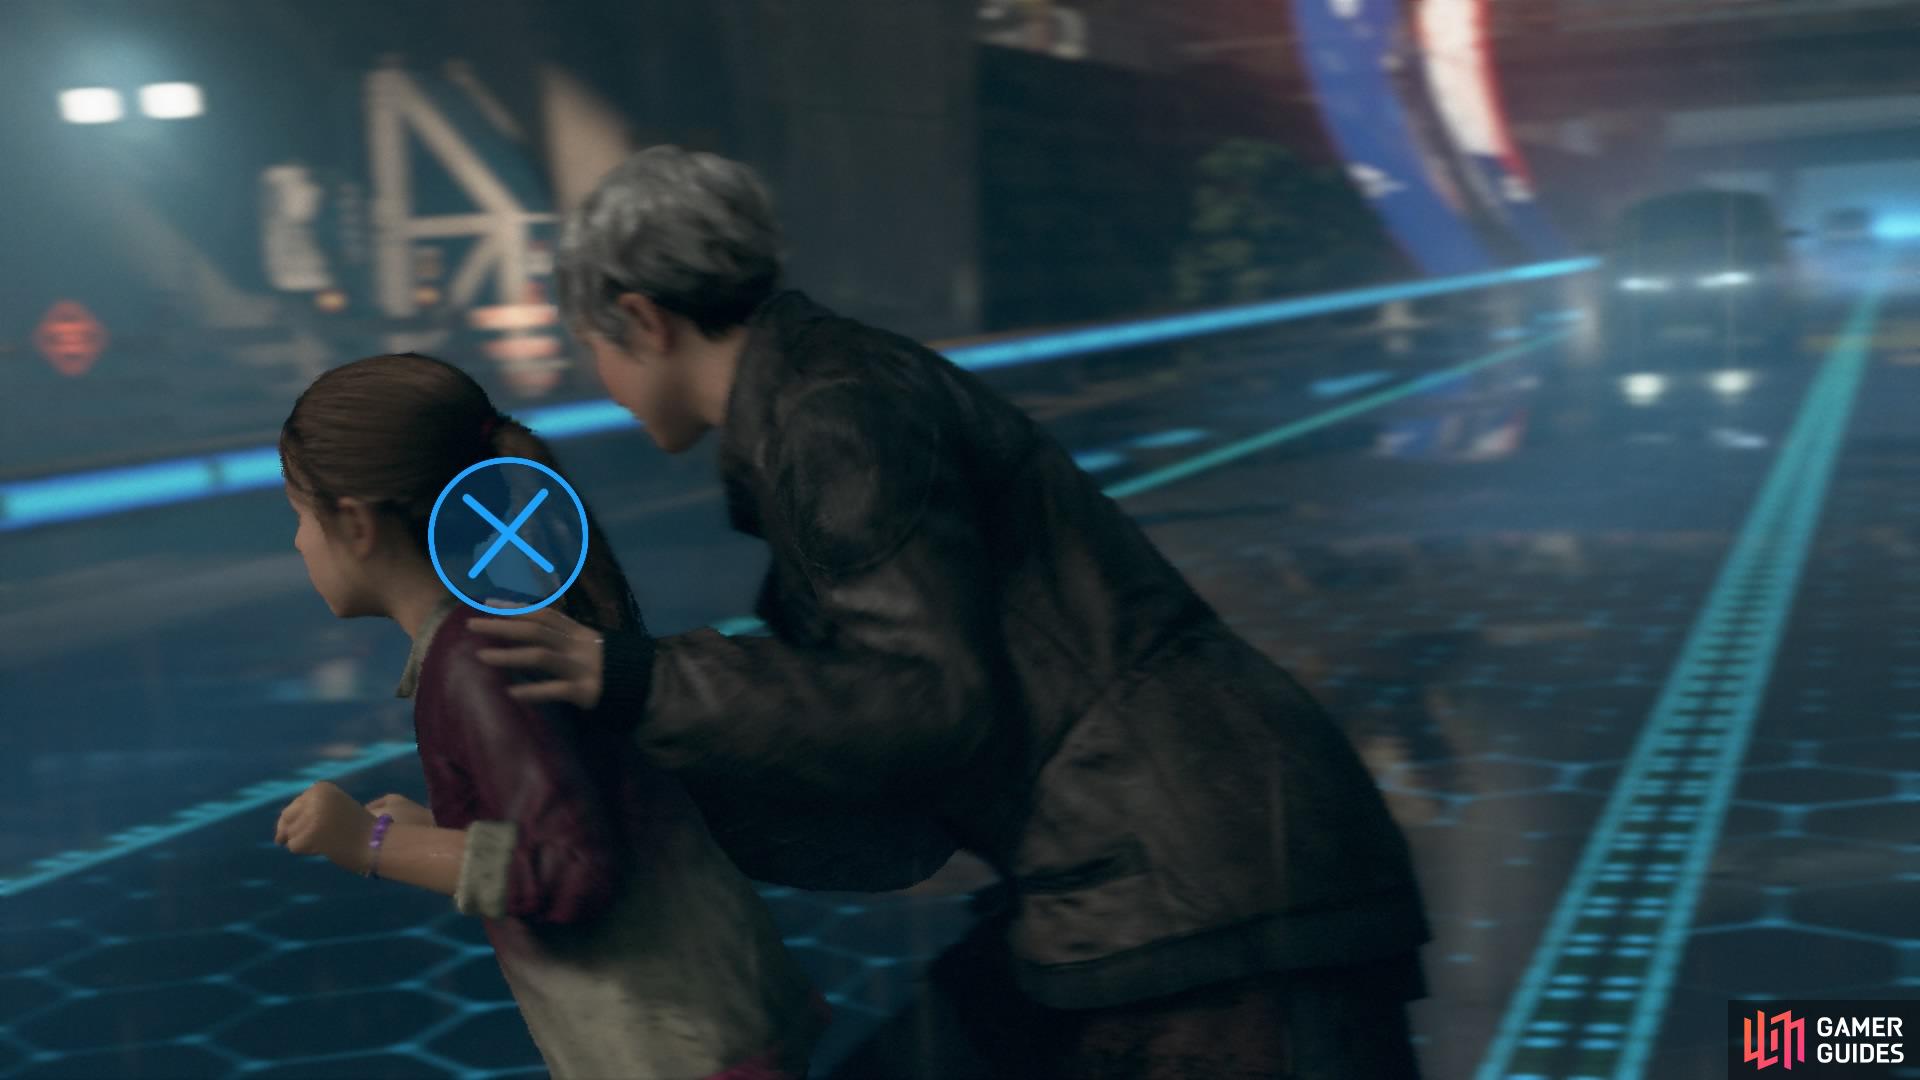
Following this are many ways to complete the highway section. You can get all three characters killed at this point by simply failing to complete the quick time event as they attempt to run through traffic.
– Car hits Kara and Alice (experienced difficulty): Fail the button sequence while crossing the first lanes.
– Kara and Alice reach Middle Section: Complete the button sequence so they pass the first lanes.
– Car hits Kara and Alice (experienced difficulty): Fail the button sequence while crossing the second lanes.
– Car hits Connor: Fail the button sequence on the first lanes.
– Kara and Alice get to the other side: Complete the button sequence while crossing the second lanes.
– Connor reaches Middle Section/Kara and Alice Cross Last Section/Connor Catches Kara: Complete the button sequence while crossing the first lanes.
– Kara Loses Connor: While fighting against him, successfully complete the button sequence.
– Connor Avoids Collision: When Connor loses Kara in the fight, complete the button sequence to survive being hit. OR:
– Connor gets hit by Car: Fail the button sequence after the fight.
– Car hits Kara (experienced difficulty): Fail the button sequence during the fight with Connor.
All of these things become optional depending on whether you let Connor defy or obey Hank’s order to pursue the girls across the highway.
Remember: we’re guiding you towards the good ending, so for this playthrough, try to keep everyone alive! If someone gets killed, quit out to the main menu and reload the last checkpoint.
No Comments