We’re back in the Zen Garden with Connor again for another visit with Amanda. As you make your way around, Look at the Magic Stone again. At the back of the garden, on the right side, will be the graveyard – but only if Connor has died in any of his previous chapters. If he has, then Visit Graves.


(1 of 2) Find Amanda standing on the ice
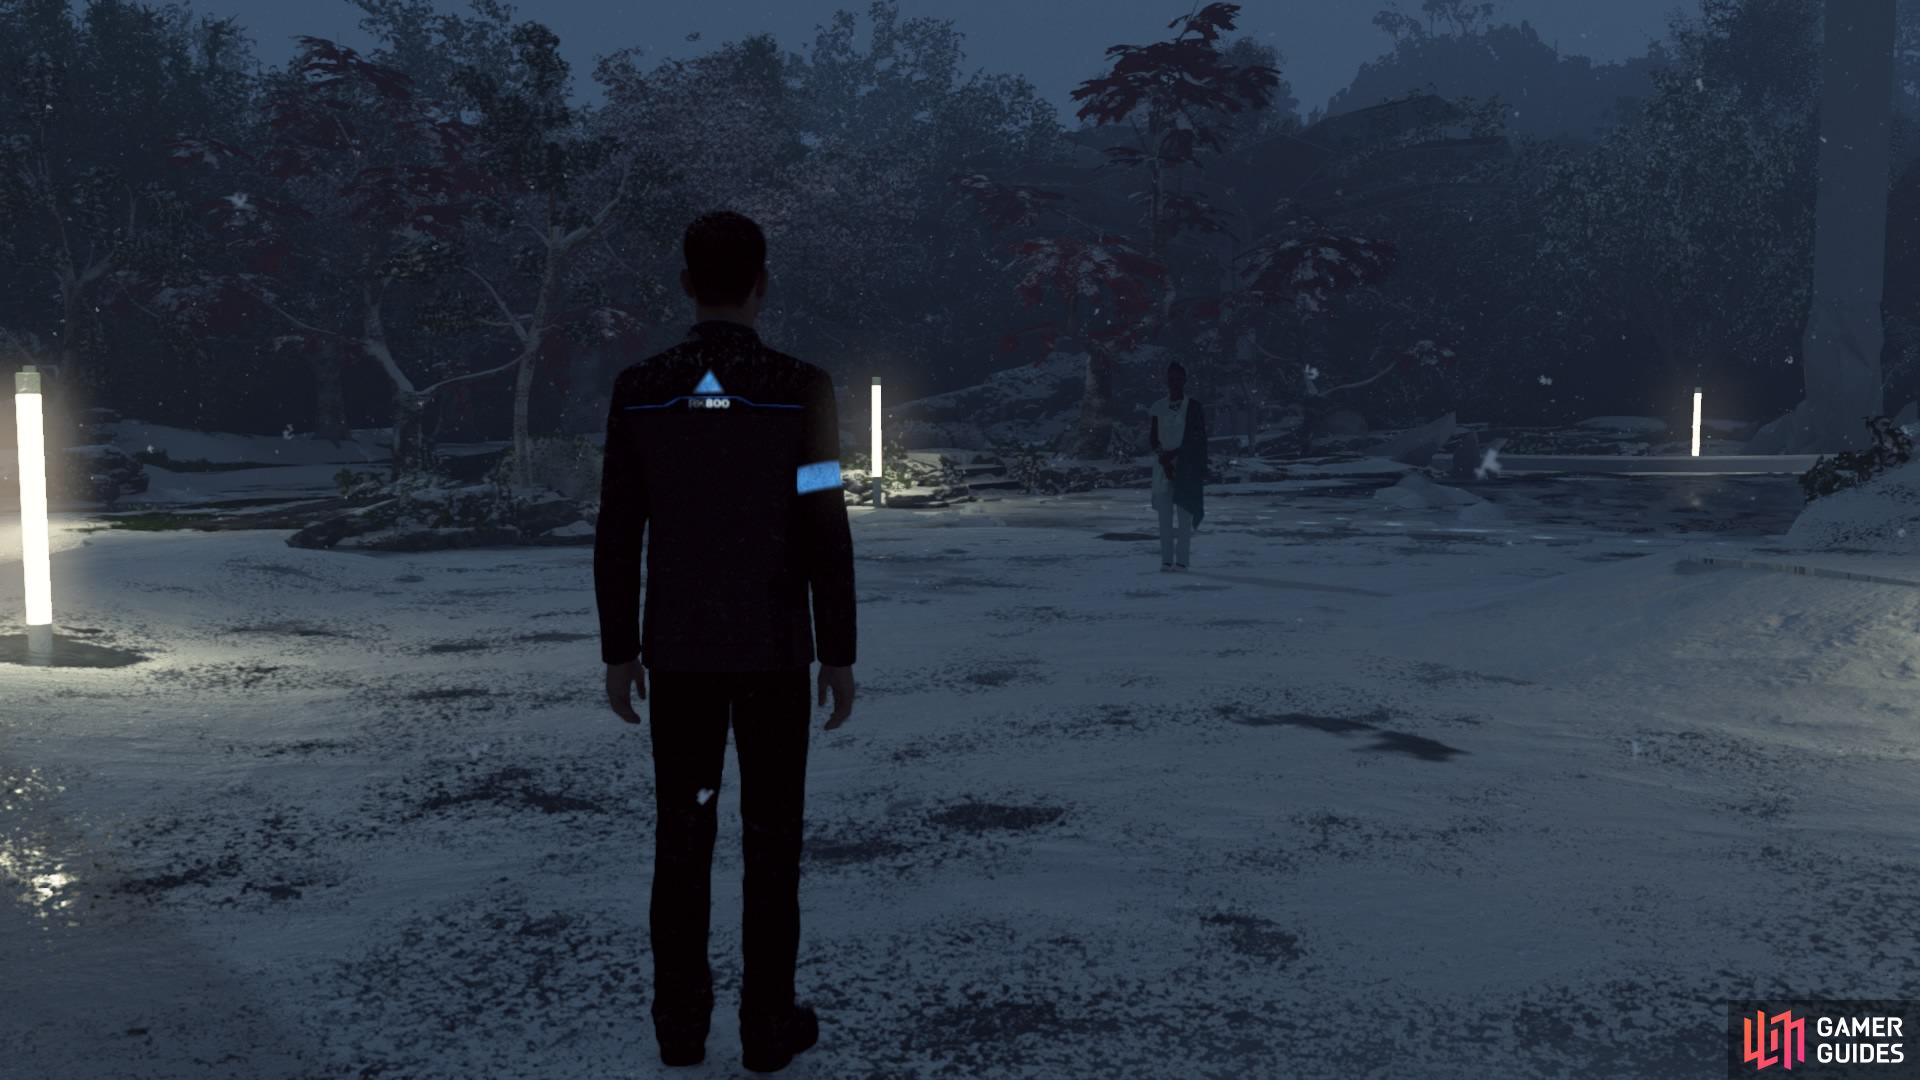

Find Amanda standing on the ice (left), Talk to her (right)
Continue on to Talk to Amanda, which is an unmissable objective. When you’re done here, you’ll return to the police station to find Hank.
Fowler and Hank Argue – Unmissable.
Know Jericho’s Location – If Connor chose to shoot Chloe during ‘Meet Kamski’, then Kamski will have given you the key to Jericho. However, this outcome ends this chapter early.
– Talk to Hank
– Followed by Connor Left For Jericho which ends the chapter.
Jericho’s Location Unknown – If Connor chose not to shoot Chloe during ‘Meet Kamski’ then he and Hank leave without the key to Jericho. This means you have to uncover Jericho’s location by yourself (which also gets you the BLOODHOUND trophy, so we recommend taking this path). However, things get complicated from here, and there are a lot of options and a few different outcomes that follow.
Insufficient Evidence – If you have no deviant bodies to interrogate, it’ll be impossible to get Jericho’s location. This ends the chapter with Connor was Decommissioned due to failing the mission, and he will not be brought back – his story will end here, and he will not have access to the rest of the game.
You’ll have no deviants to interrogate if:
– The deviant from ‘The Interrogation’ survived.
– You saved Hank during ‘The Nest’ instead of chasing after Rupert.
– You let both Traci androids get away during ‘The Eden Club’.
– You did not find Simon during ‘Public Enemy’.
– You didn’t pick up Connor’s chest component in ‘Public Enemy’ before the timer ran down to zero, allowing the deviant to escape.
Sufficient Evidence – You’ll need at least one deviant body in the evidence room to interrogate, which will get you Jericho’s location.
You’ll acquire the deviant bodies if:
– The deviant from ‘The Interrogation’ died.
– You chased after Rupert instead of saving Hank during ‘The Nest’.
– You killed both Traci androids during ‘The Eden Club’.
– You found Simon during ‘Public Enemy’.
– You picked up Connor’s chest component in time and caught the deviant during ‘Public Enemy’.
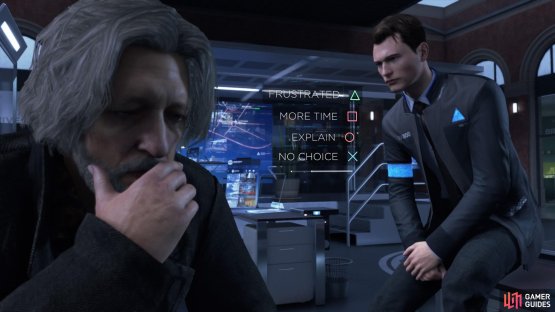
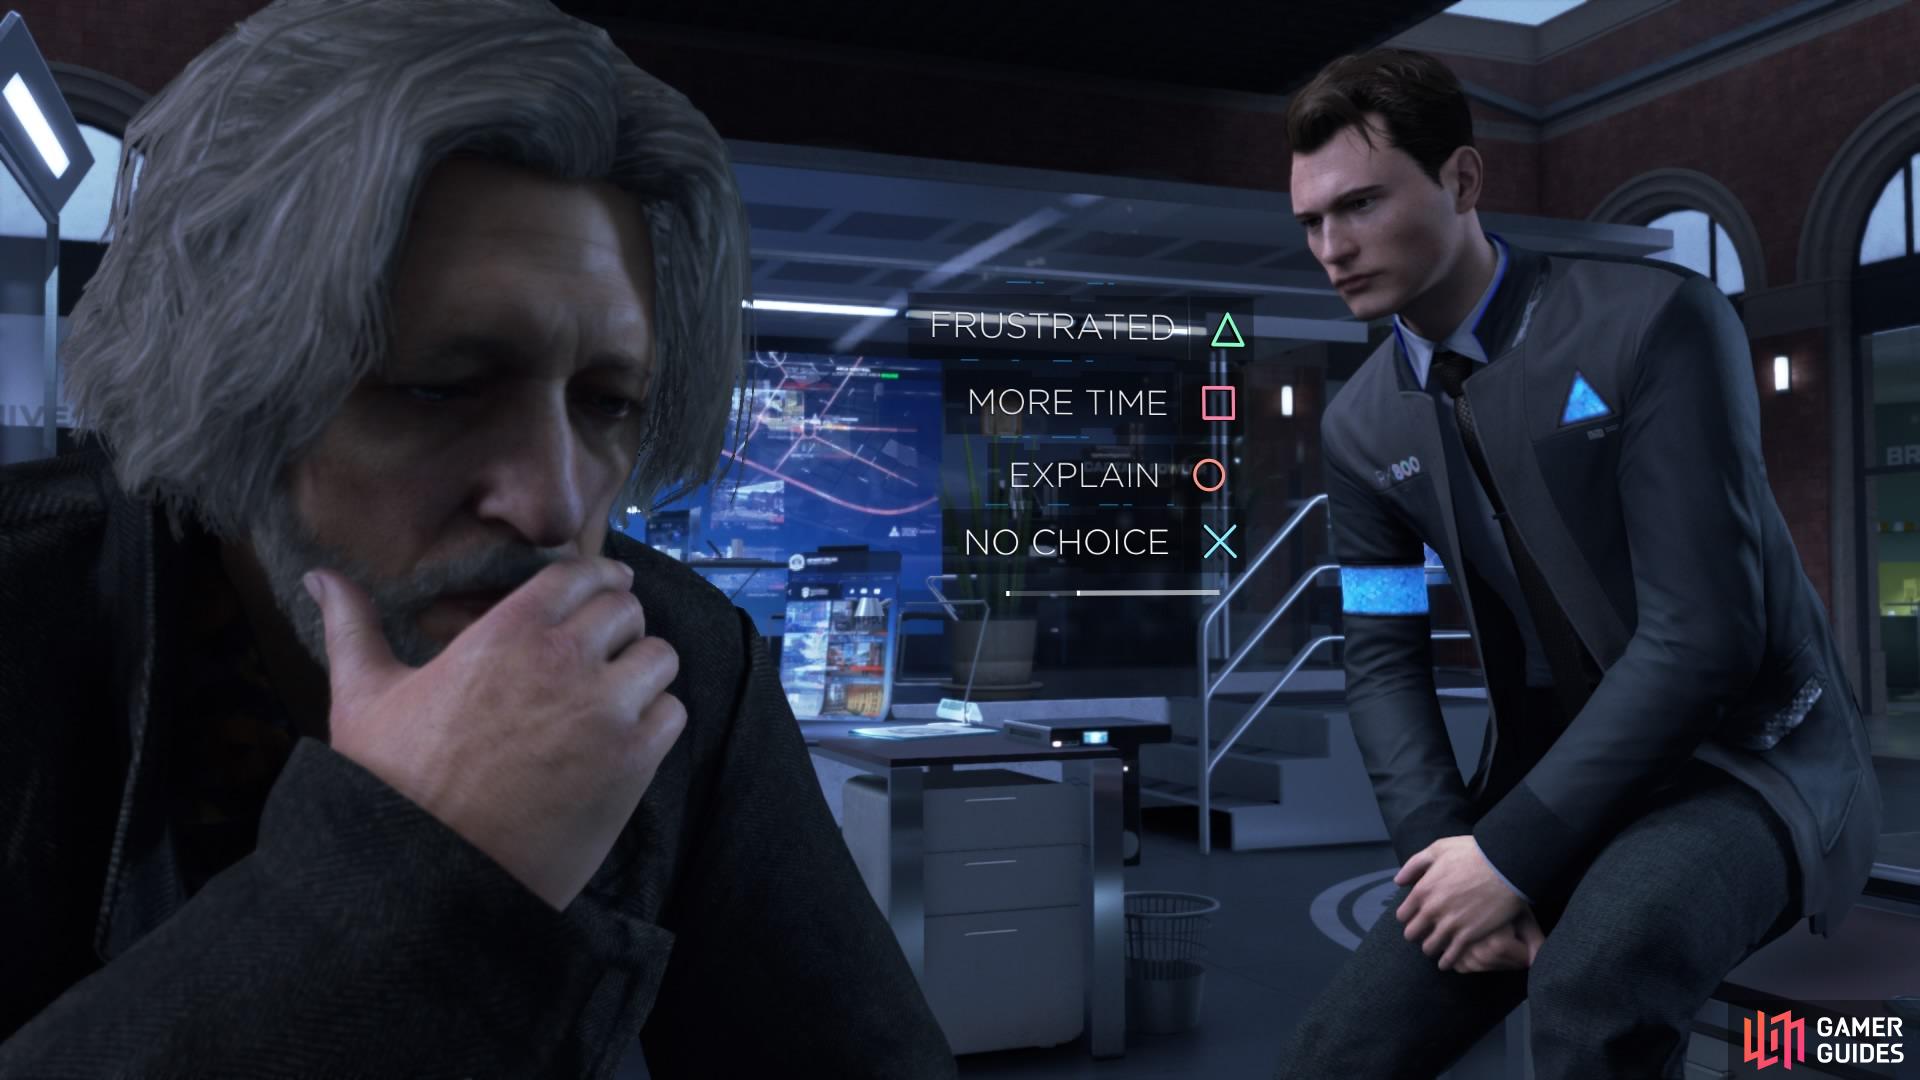
Before you can go into the evidence room, you’ll have to speak to Hank first. What he chooses to do will depend on your reputation with him, and there are two ways this can go.

(1 of 2) Talk to Hank
Talk to Hank (left), Try to choose dialogues that won’t decrease reputation (right)
Hank Resigns and Leaves – When you try to convince Hank that you can still find Jericho, he’ll be hostile towards you. If your reputation with him is very low, he’ll choose not to help you, resign, and walk out. This leads to his ultimate demise when he commits suicide during a later chapter, ‘Night of the Soul’. If you want the good ending, avoid building a negative reputation with him as much as possible and keep him alive.
Alternatively, if your relationship with him is simply neutral, he’ll disagree to help you and just leave without killing himself later.
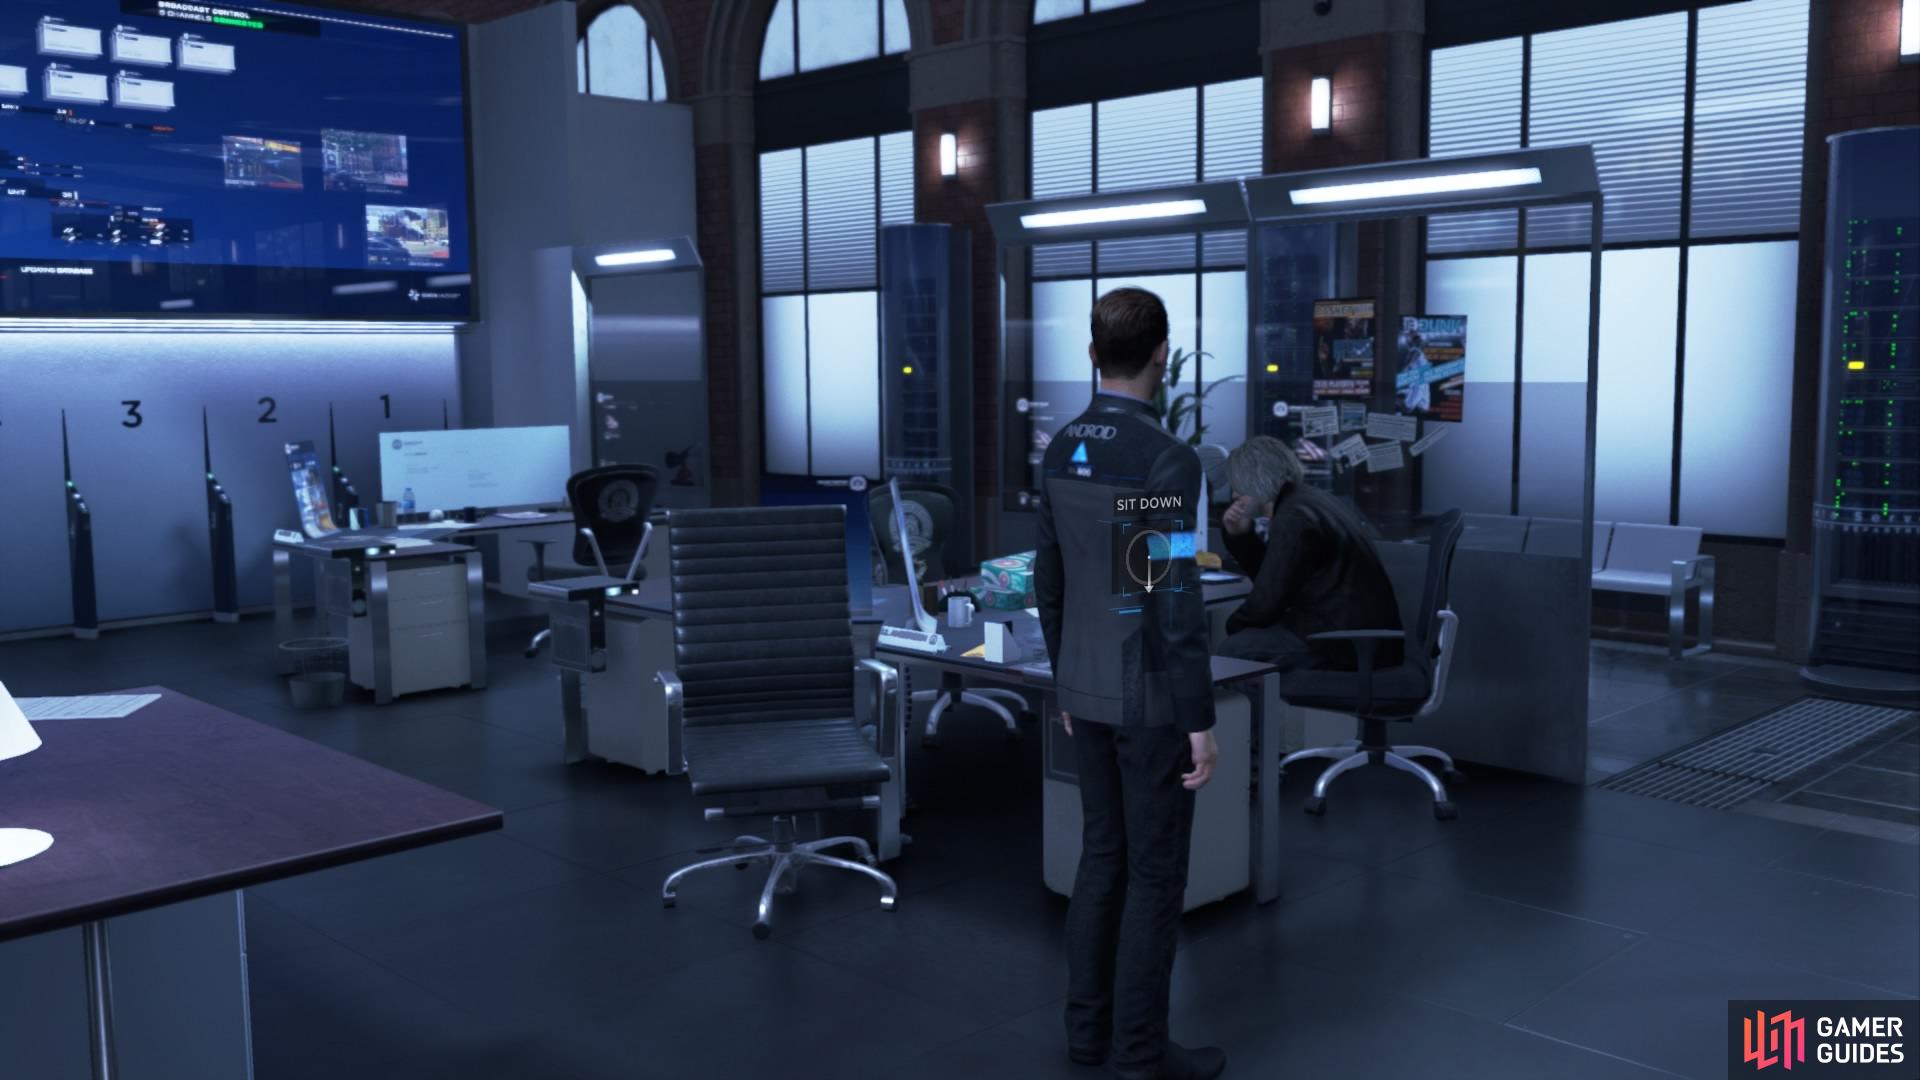
Hank Goes to His Desk – When Hank arrives, he’ll go sit at his desk. He’s not in a good mood because you guys have just been taken off the case. But Connor is determined that you both can still find Jericho, so when Connor suggests it, Hank will help you. Your reputation with him has to be high for this (friends) so that Hank does not resign and kill himself later. We recommend this path for the sake of the good ending and the SURVIVORS trophy.
– Talk to Hank: Go through the options, be nice to him, and he’ll agree to help you one last time by causing a distraction.
– Perkins Arrives: When the awful FBI agent shows up, Hank will start a fight with him in the corridor to distract anyone from seeing you head to the evidence locker.
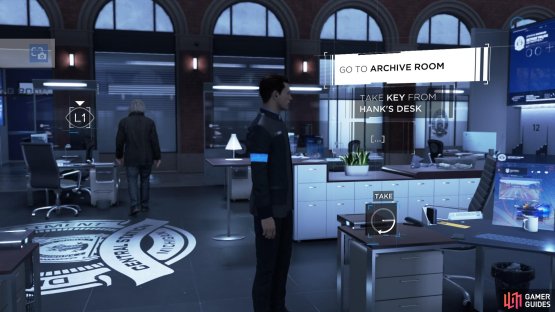

(1 of 2) Take the key from Hank’s desk

Take the key from Hank’s desk (left), Head to the basement (right)
– (If Hank doesn’t help you, you can go to the prison cell to use the prisoner as a distraction instead)
If you want to unlock the Out of Time node, just stand around for six minutes until the timer runs out. This will lead back to Connor was Decommissioned and the chapter will end early.
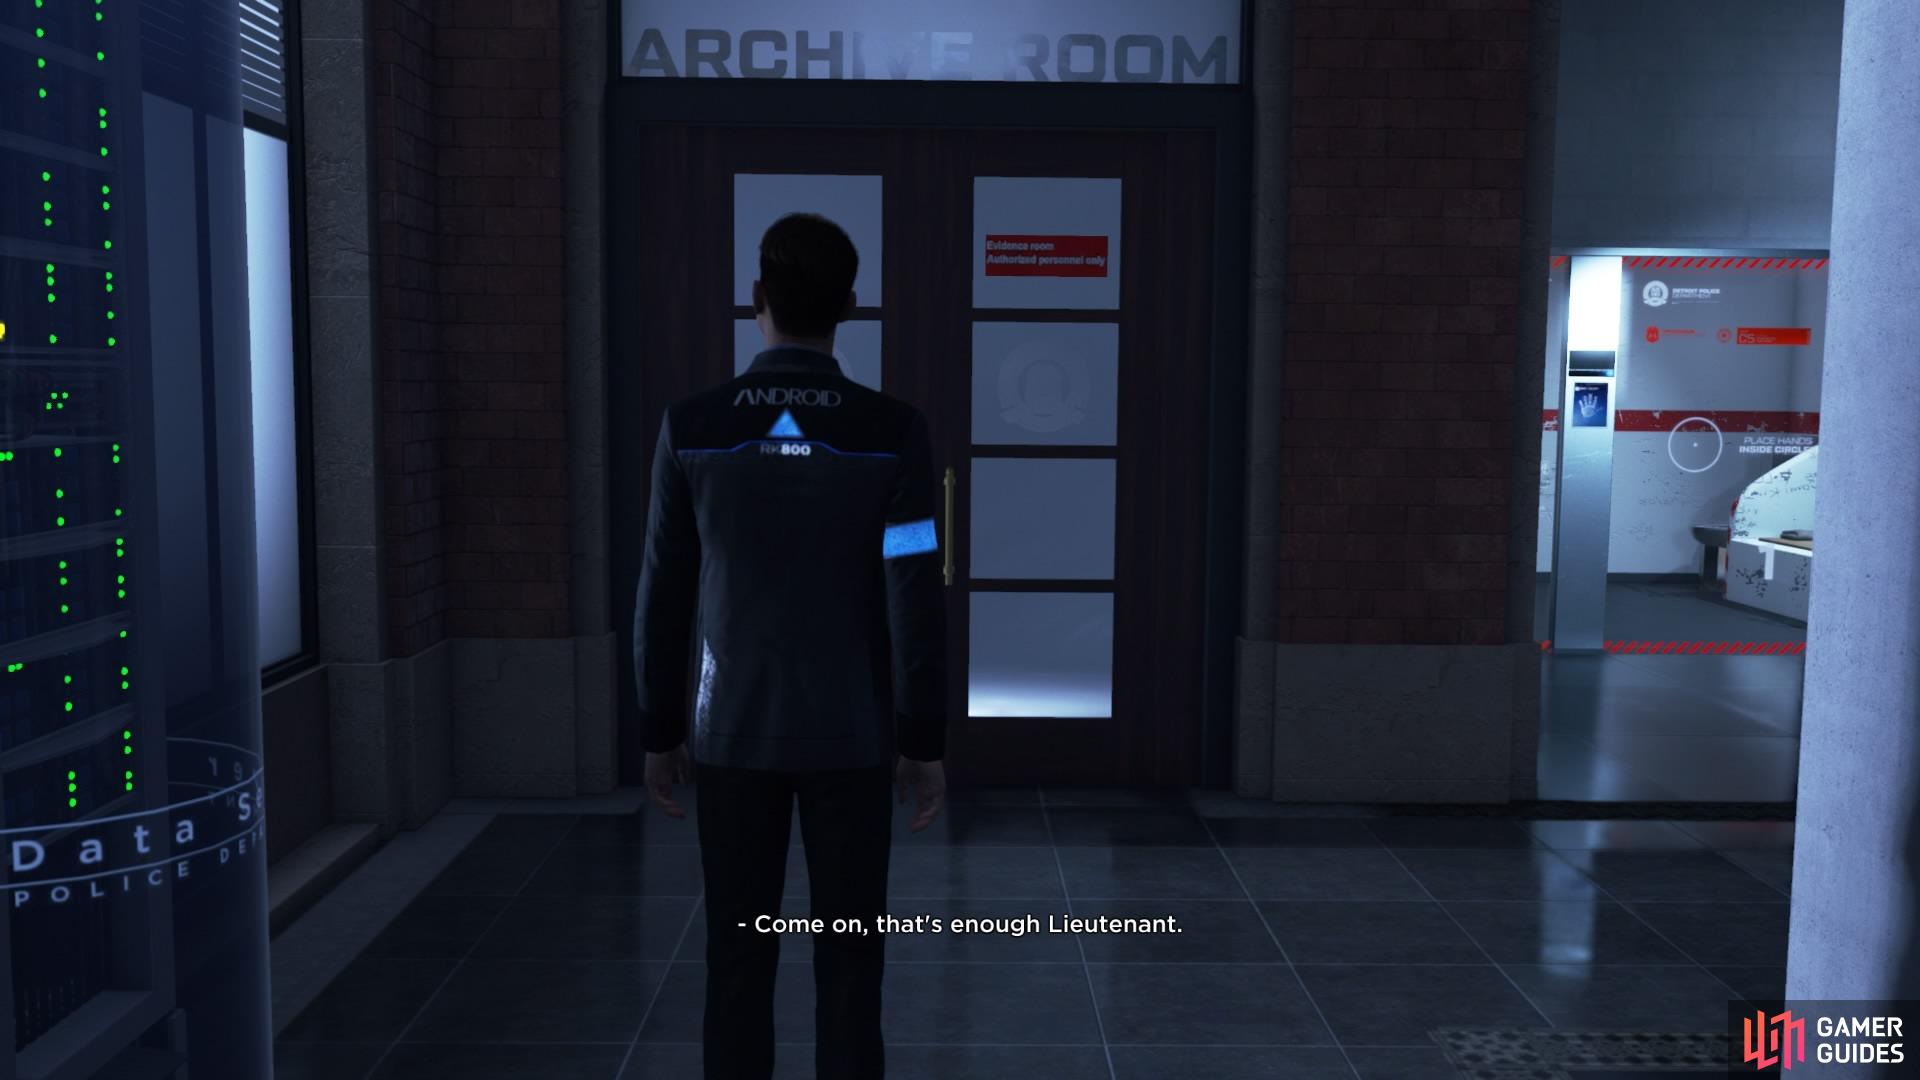
Once Hank has Perkins distracted, Take the Key from Hank’s desk and Rush to the Basement on the left side of the prison cells. When you reach the door, however, you’ll be confronted once again by Gavin.
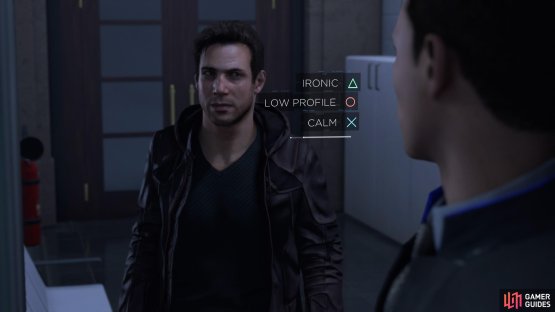

(1 of 2) When confronted by Gavin, choose CALM to keep him off your trail

When confronted by Gavin, choose CALM to keep him off your trail (left), Then continue to the evidence room (right)
– Ignore Gavin: Choose to LEAVE, which makes him suspicious.
– Dismiss Gavin: Choose ANSWER > IRONIC which also makes him suspicious.
– Answer Calmly: Choose ANSWER > CALM to convince Gavin that you are no longer on the case and that you’ll be leaving soon (recommended).
After talking to Gavin, you’ll automatically Go Down to the Basement.
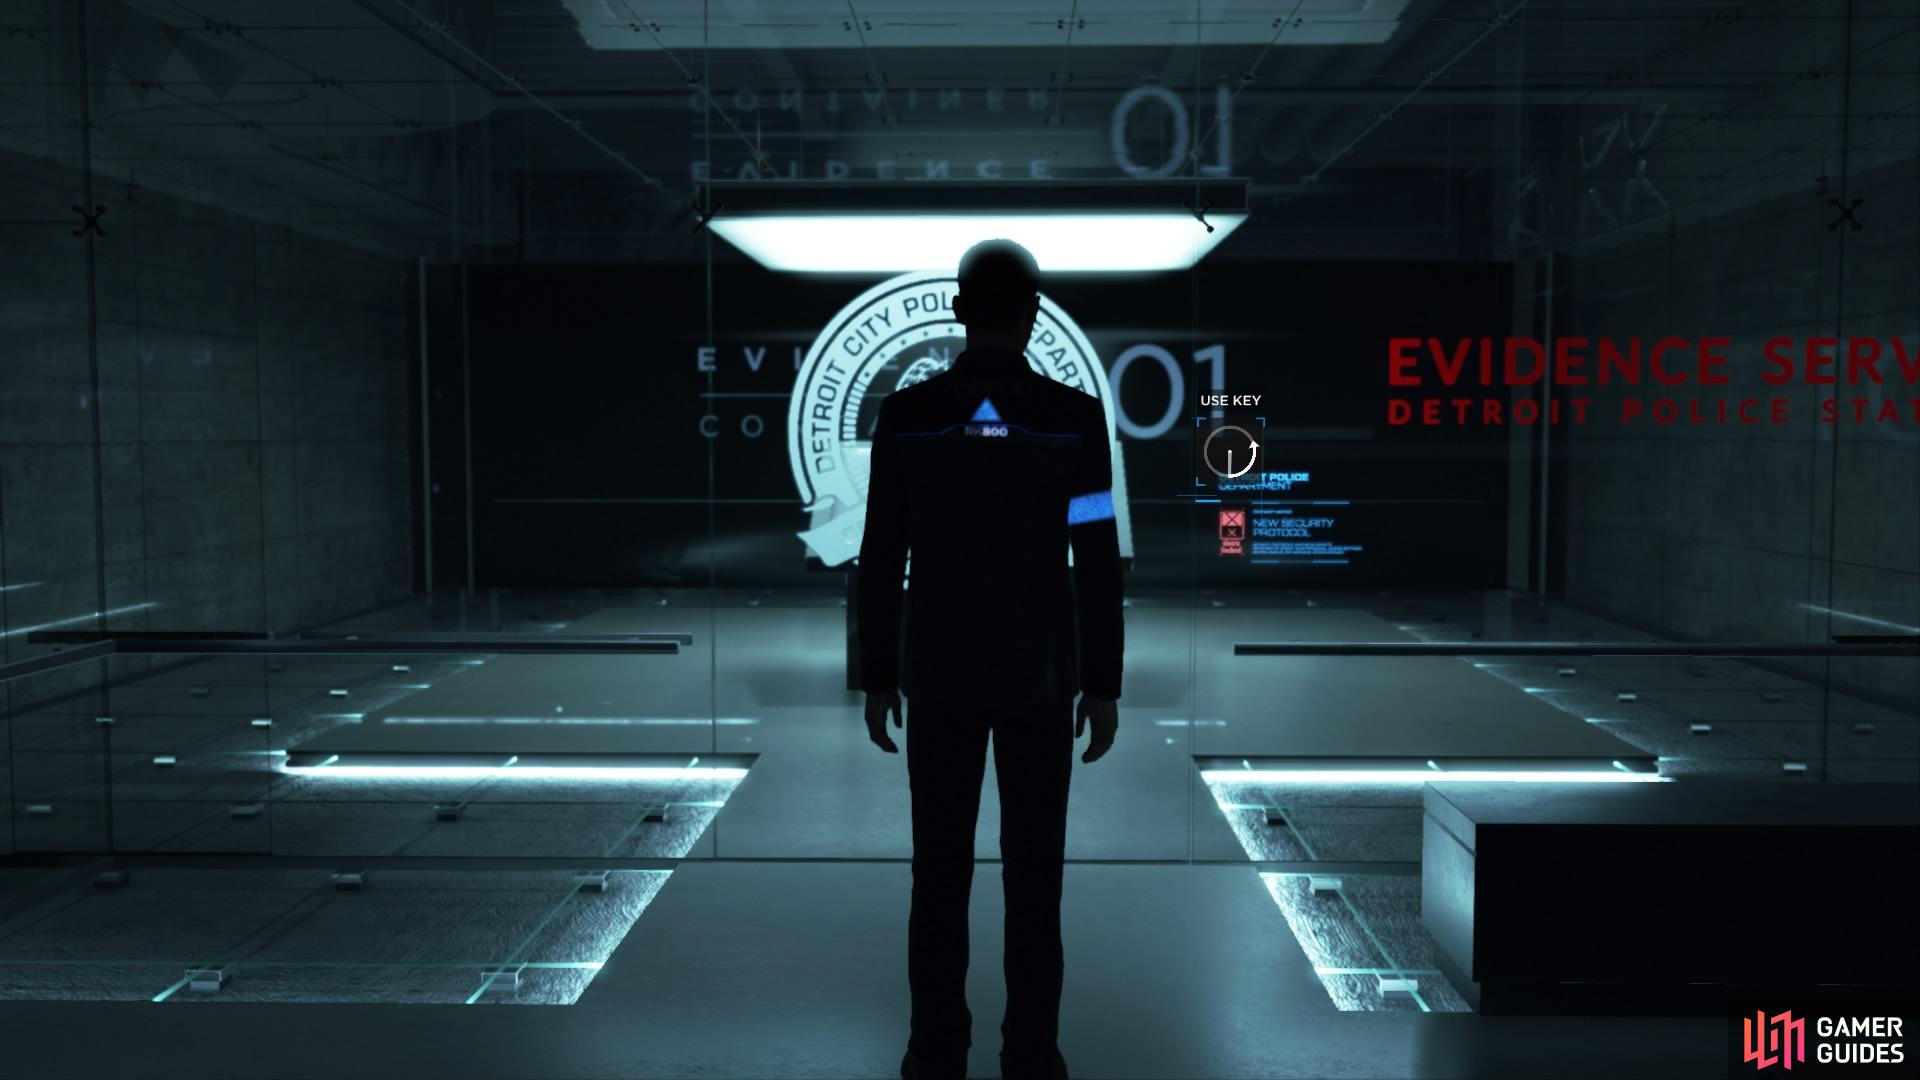
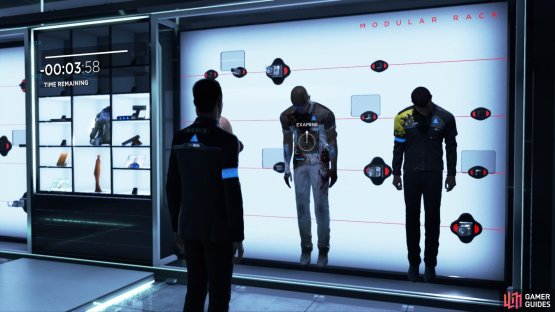
There are a lot of things you can do here, so you should be able to retrieve Jericho’s location one way or another.
Guess Hank’s Password – To access the evidence, interact with the control panel and choose FUCKINGPASSWORD. This will Unlock Evidence.
Carlos’ Android – If the deviant you found in the attic and interrogated earlier in the game killed himself, his body will be available here.
Carlos’ Android Memory – You can also find his memories here, too, if you managed to retrieve them from him during ‘The Interrogation’.

(1 of 2) Interact with the interrogation android

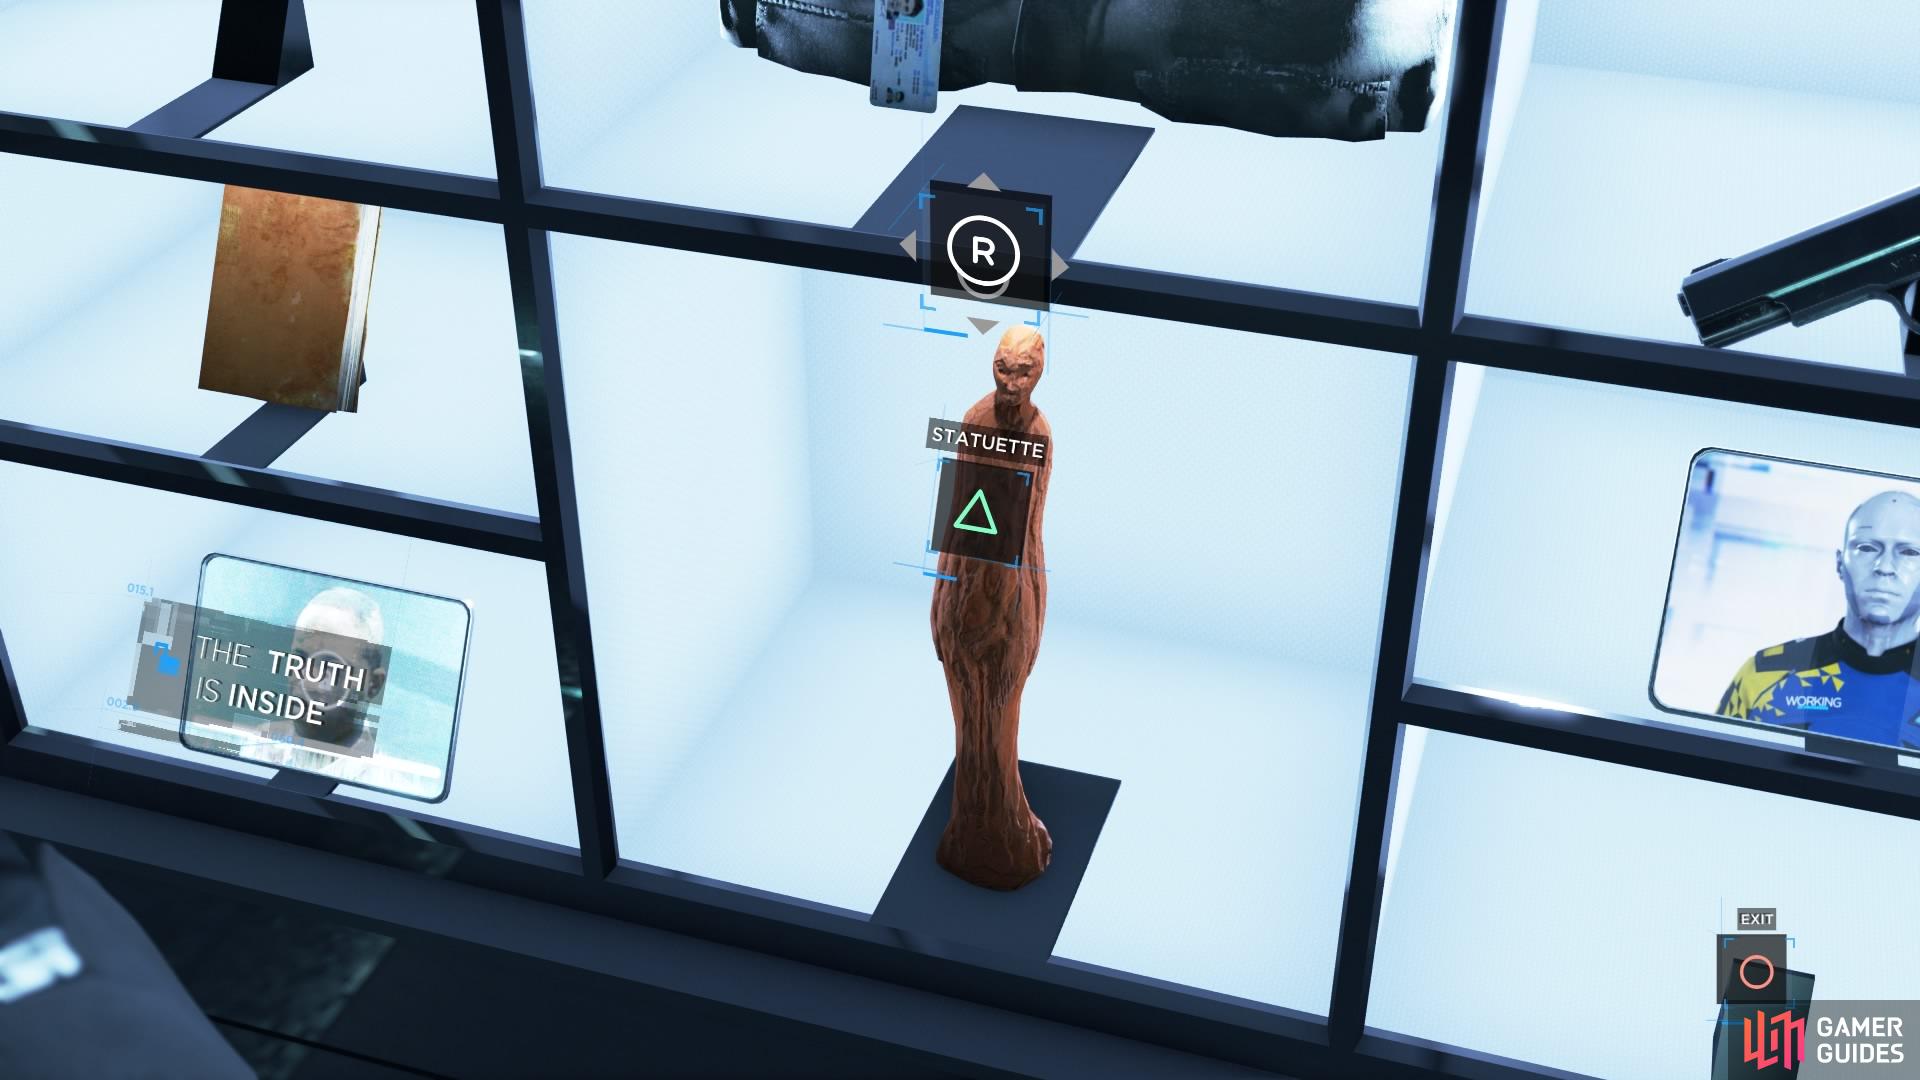
Interact with the interrogation android (left), Watch the tablet with his memories on for a clue, followed by examining the statue (right)
Carlos’ Android Statue – If you found it in the shower it will now be evidence.
– Break Statue: You can only break the statue if you received a tip from the deviant during ‘The Interrogation’ (“The truth is inside.”) – make him trust you for this to happen.
– Retrieve Map: Inside the statue is a map.
– Link Map: You can link the map to the Jericho Tablet received from Simon.
– Unable to Link Map: Don’t link it to the tablet; wait for time to run out and do nothing.
Jericho Tablet – If you found Simon on the roof during ‘Public Enemy’ you should have been able to probe his memory before he died.
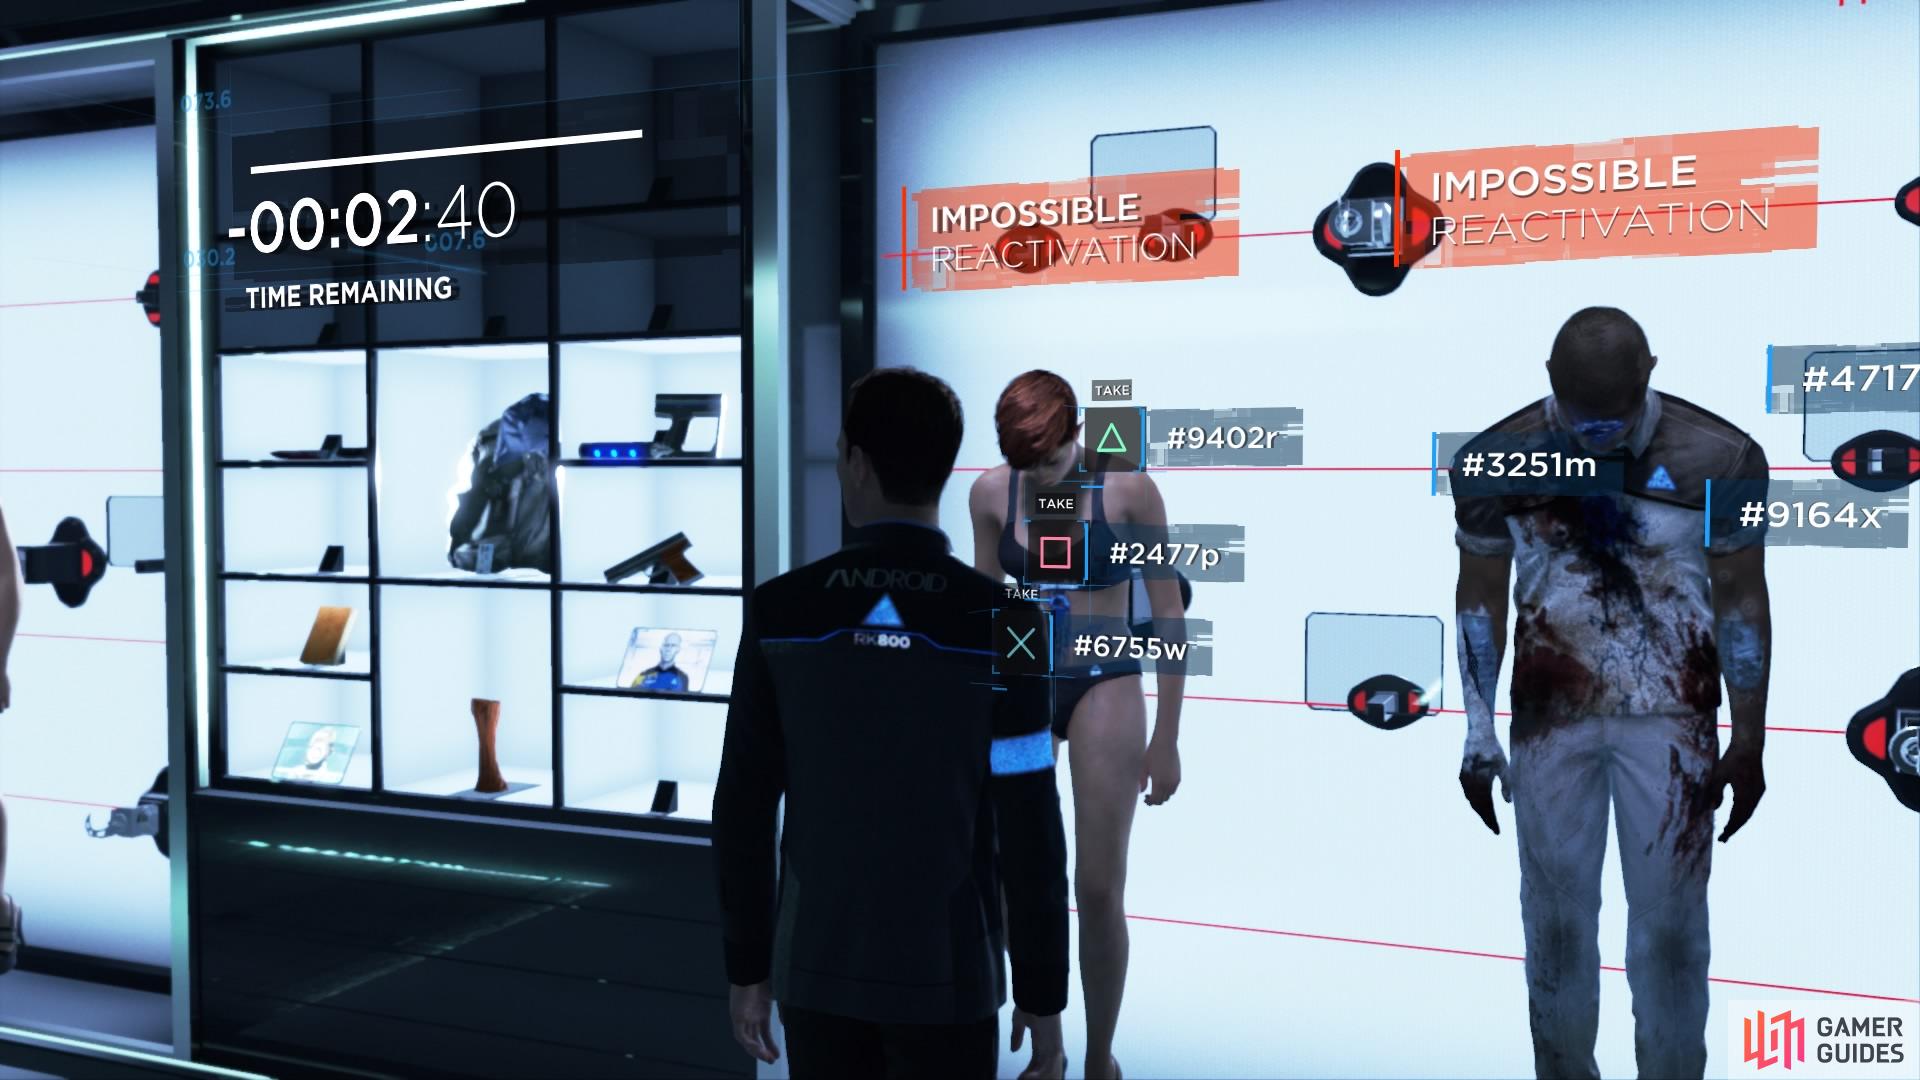
Daniel’s Body – The Deviant from ‘The Hostage’ will always be here no matter what, but he is useless to the investigation. If you reactivate him and talk to him, he will not give you any information.
Rupert’s Body – If you chased him down and caught him in ‘The Nest’ instead of saving Hank, then Rupert kills himself, which makes his body available in the evidence locker.
– Reactivate Rupert: Interact with his body.
– Get Decryption Key
– Analyse Diary: If you found his diary hidden in the wall during ‘The Nest’, then you can interact with it here.
Blue and Brown Haired Traci – If you shot the Traci androids during ‘The Eden Club’, then their bodies will be here (win the fight against them, and choose to shoot them).


(1 of 2) Examine the Traci androids
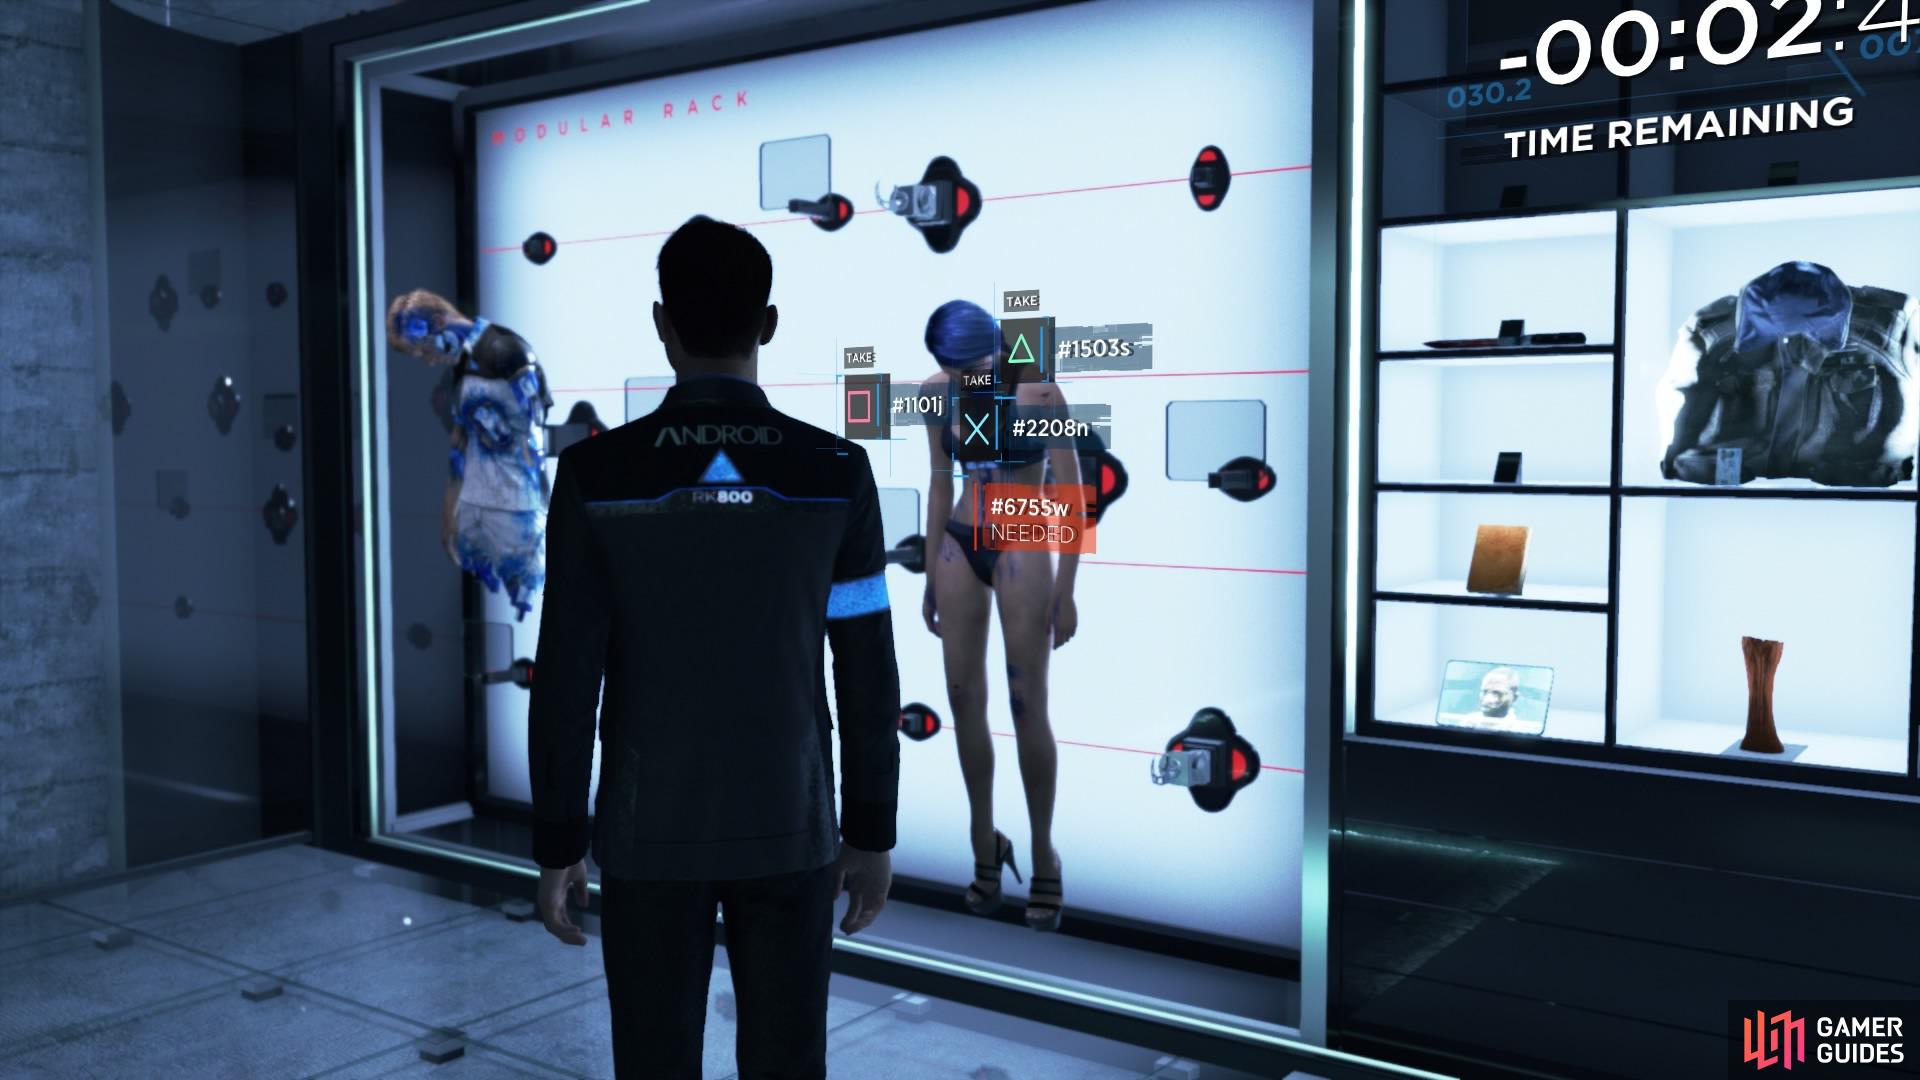
Examine the Traci androids (left), Use the component from the brown-haired Traci to reactivate the blue-haired Traci (right)
– Reactivate Blue Haired Traci
– Talk to her
– Remove Second Traci’s Head: Walk over to the brown haired Traci android and take off her head.
– Trick Traci: Hold the brown haired Traci’s head in front of the other one and fool her into believing that she is still alive.
– Download Jericho Key: Tricking the blue haired Traci will get you the key.


(1 of 2) Take the Traci’s head to her partner
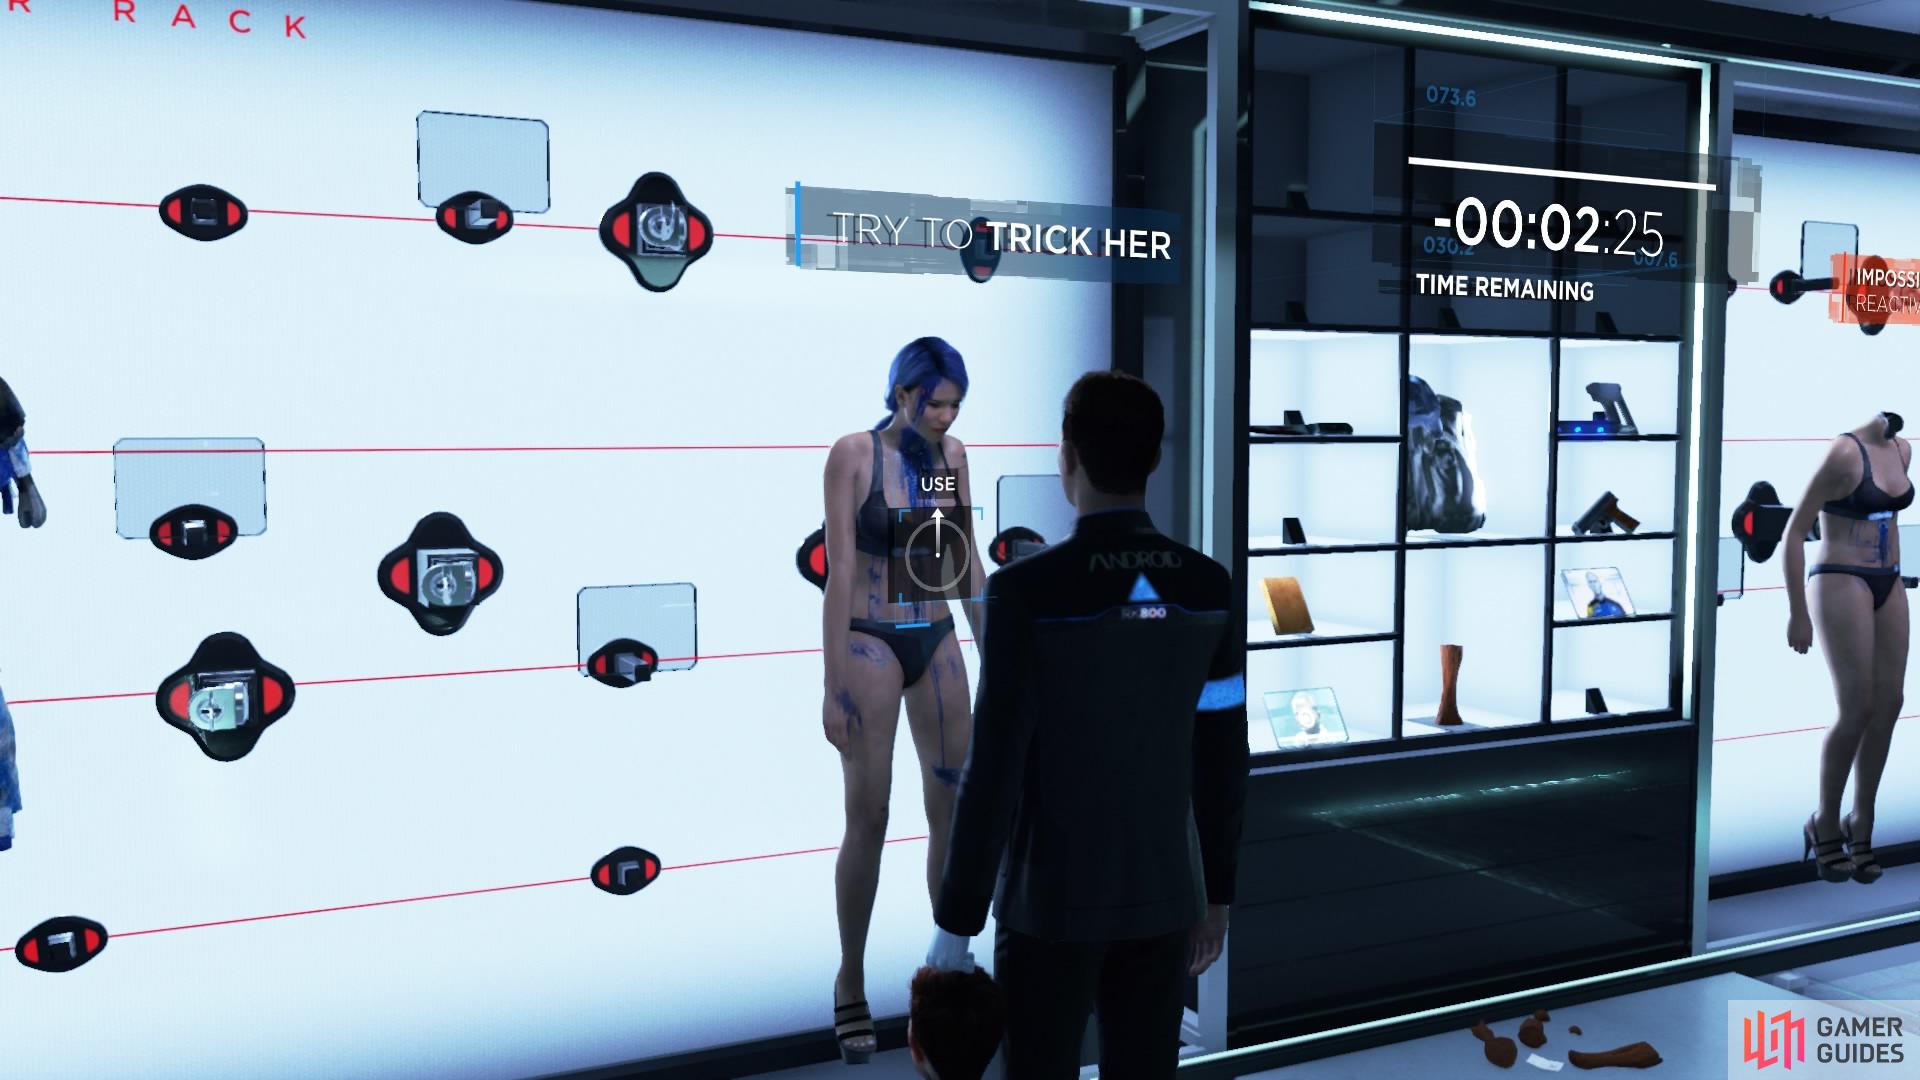

Take the Traci’s head to her partner (left), Trick the Traci android into giving you information (right)
Markus’ Broadcast Video – If you watched Markus’ broadcast during ‘Public Enemy’, the video will be available for playback on the middle shelf.
– Impersonate Markus: Connor has a neat little party trick in which he can emulate other people’s voices. Watch the broadcast video and go over to either Simon or the kitchen deviant and reactivate them to talk to them. Impersonate Markus’ voice to trick them into giving up Jericho’s location.
– Download Jericho Key
Alternatively, to get the Out of Time node, just stand around in the evidence room and do nothing. This will result in the Connor was Decommissioned ending of the chapter.
Locate Jericho – You were successful in receiving the whereabout of Jericho.
– Leave Evidence Locker: Once you have what you need, leave.
– Connor Eluded Perkins: You have to be fast in finding Jericho while in the locker, otherwise someone will come along and find you, which can end badly. The best thing to do is to react to Gavin calmly when he catches you outside the evidence room door, which will make him leave (everyone else will be distracted), and when you’re done you should be able to walk out of the evidence room without a hitch and end the chapter.
If you left Gavin feeling suspicious earlier, then Gavin Returns as soon as you leave the evidence room.
Fight Gavin
– Lose Fight: Don’t press any of the button prompts during the fight.
– Gavin Destroys Connor: Because he’s such a nice person, Gavin shoots Connor in the head, which ends the chapter. But Connor will get rebooted and return to the game.
– Win Fight: Alternatively, successfully hit all the button prompts during the fight to finally put him in his place!
– Connor Incapacitated Gavin: With this satisfying victory under your belt, you’ll be free to leave and end the chapter.
No Comments