This chapter is long and has many nodes to unlock on the flowchart. You’ll soon come to find that this chapter will require a few replays to navigate all the possible pathways and achieve different outcomes. It’s also rather pivotal to a lot of choices you can make later in the game but, in consistency with this guide, we advise you take the good route to continue towards that golden SURVIVORS trophy.
To begin, there are three nodes that will complete automatically within the opening cutscene: Witness Android Discrimination, Back in Jericho, and Markus Explains His Plan. Afterward, you’ll gain control of Markus as he heads into the Stratford Tower.
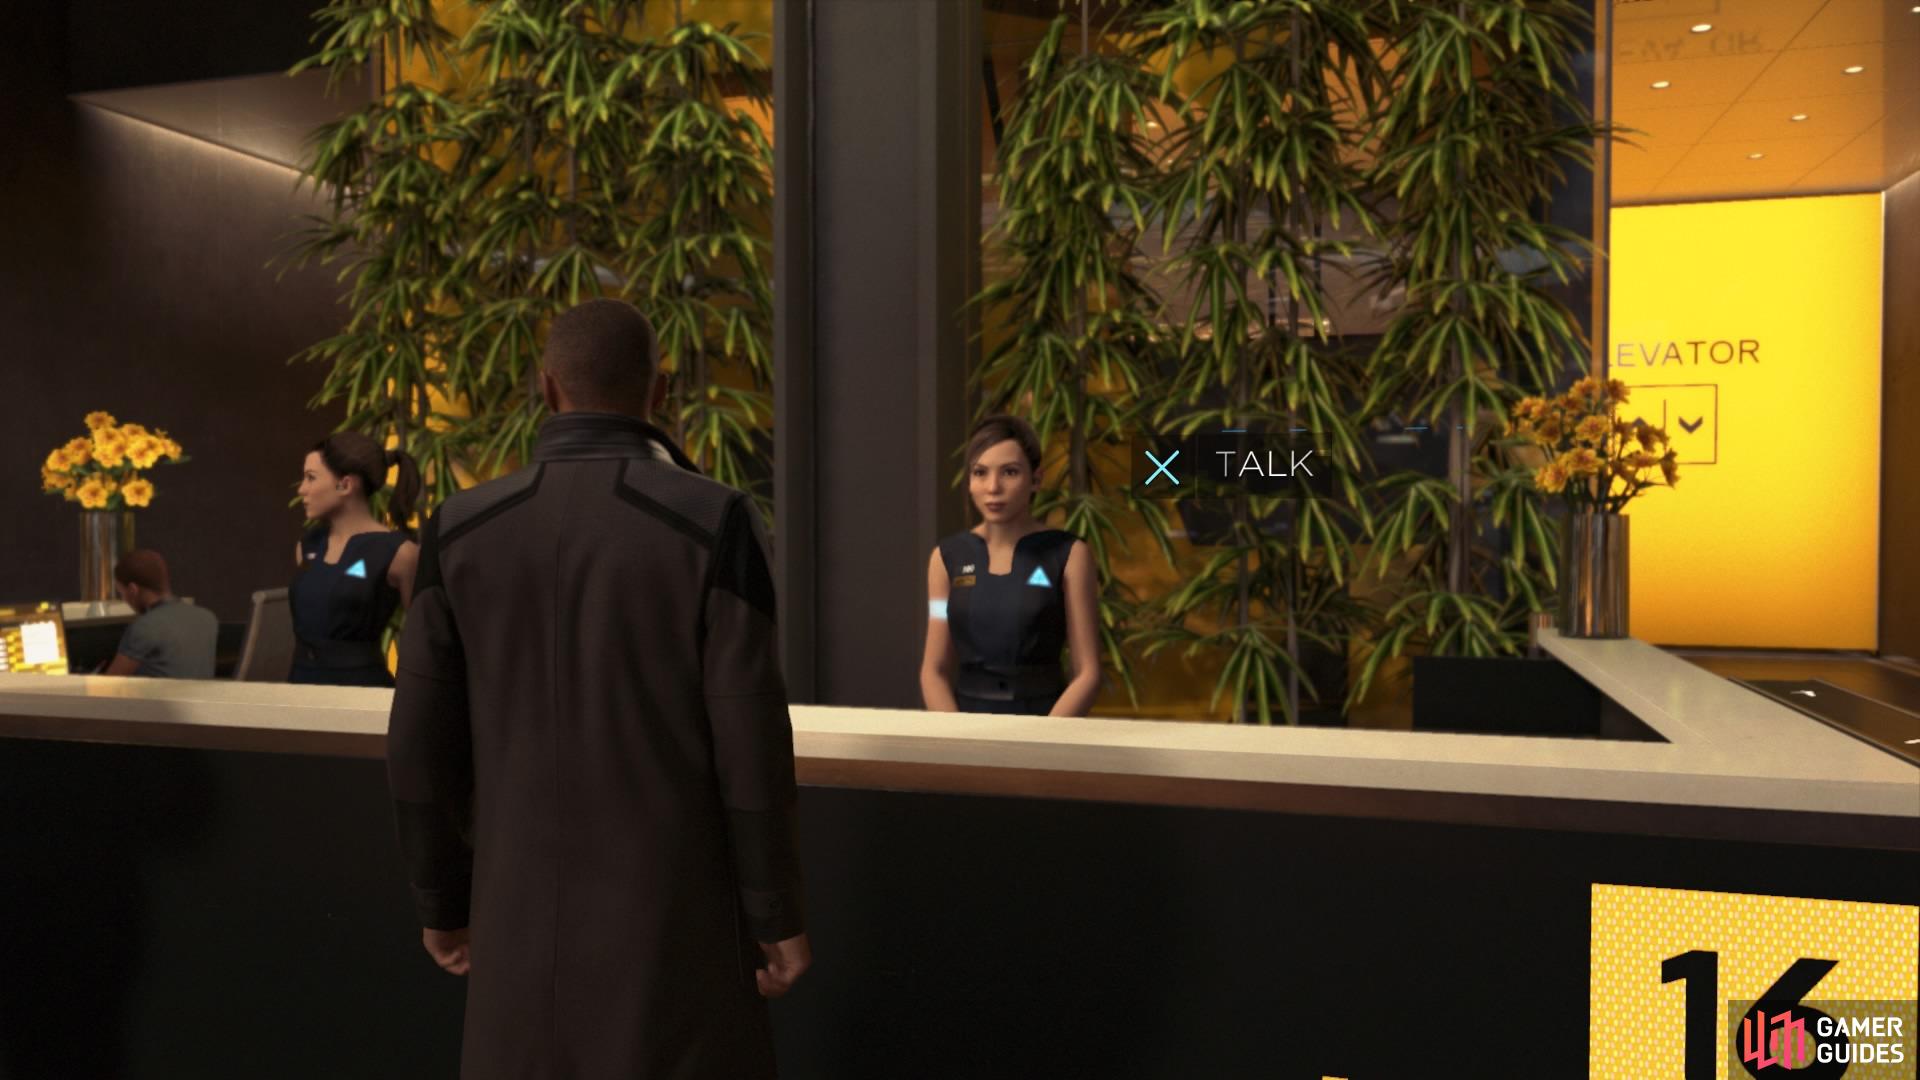
Talk to the receptionist
Create a distraction to make the supervisor leave
Talk to Android Receptionist: On the right side of the desk, talk to the android.
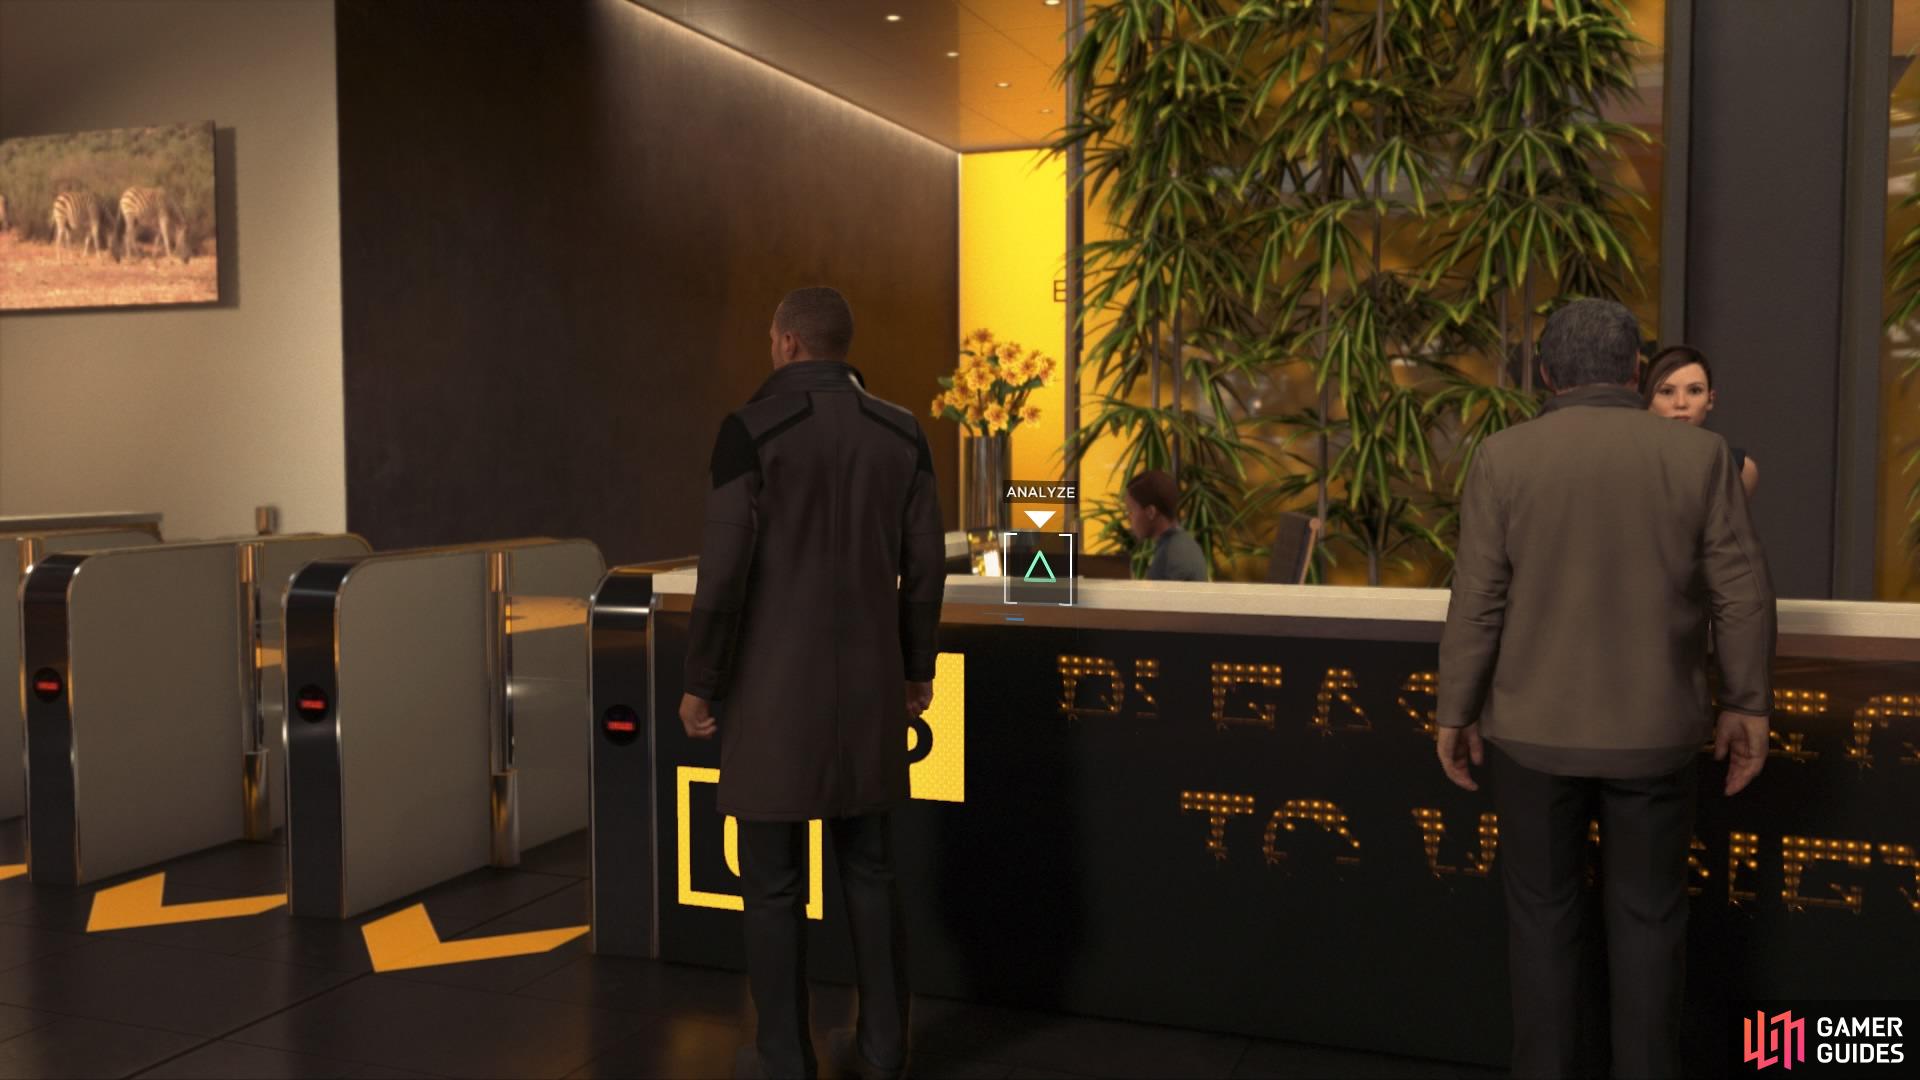
Analyse Superior’s Desk: On the left side sits the supervisor – you have to distract her. Analyse all the clues on and around her to unlock three possible options that will lure her away from the desk.
– Call Supervisor: First, after analysing the clues, press X to call her phone.
– Pose as Fireman: Choose this dialogue to tell her that her house is on fire.
– Pose as Teacher: Choose this dialogue to tell her that her child is sick.
– Pose as Parking Attendant: Choose this dialogue to tell her that someone has crashed into her car.
– Supervisor Leaves: Pick any of the above and she will leave regardless of your choice.
Talk to Unsupervised Android Receptionist: Now you can complete the main objective by talking to the receptionist on the right again, followed by three unmissable tasks. Convert Receptionist, Pass Security, and Take the Elevator.
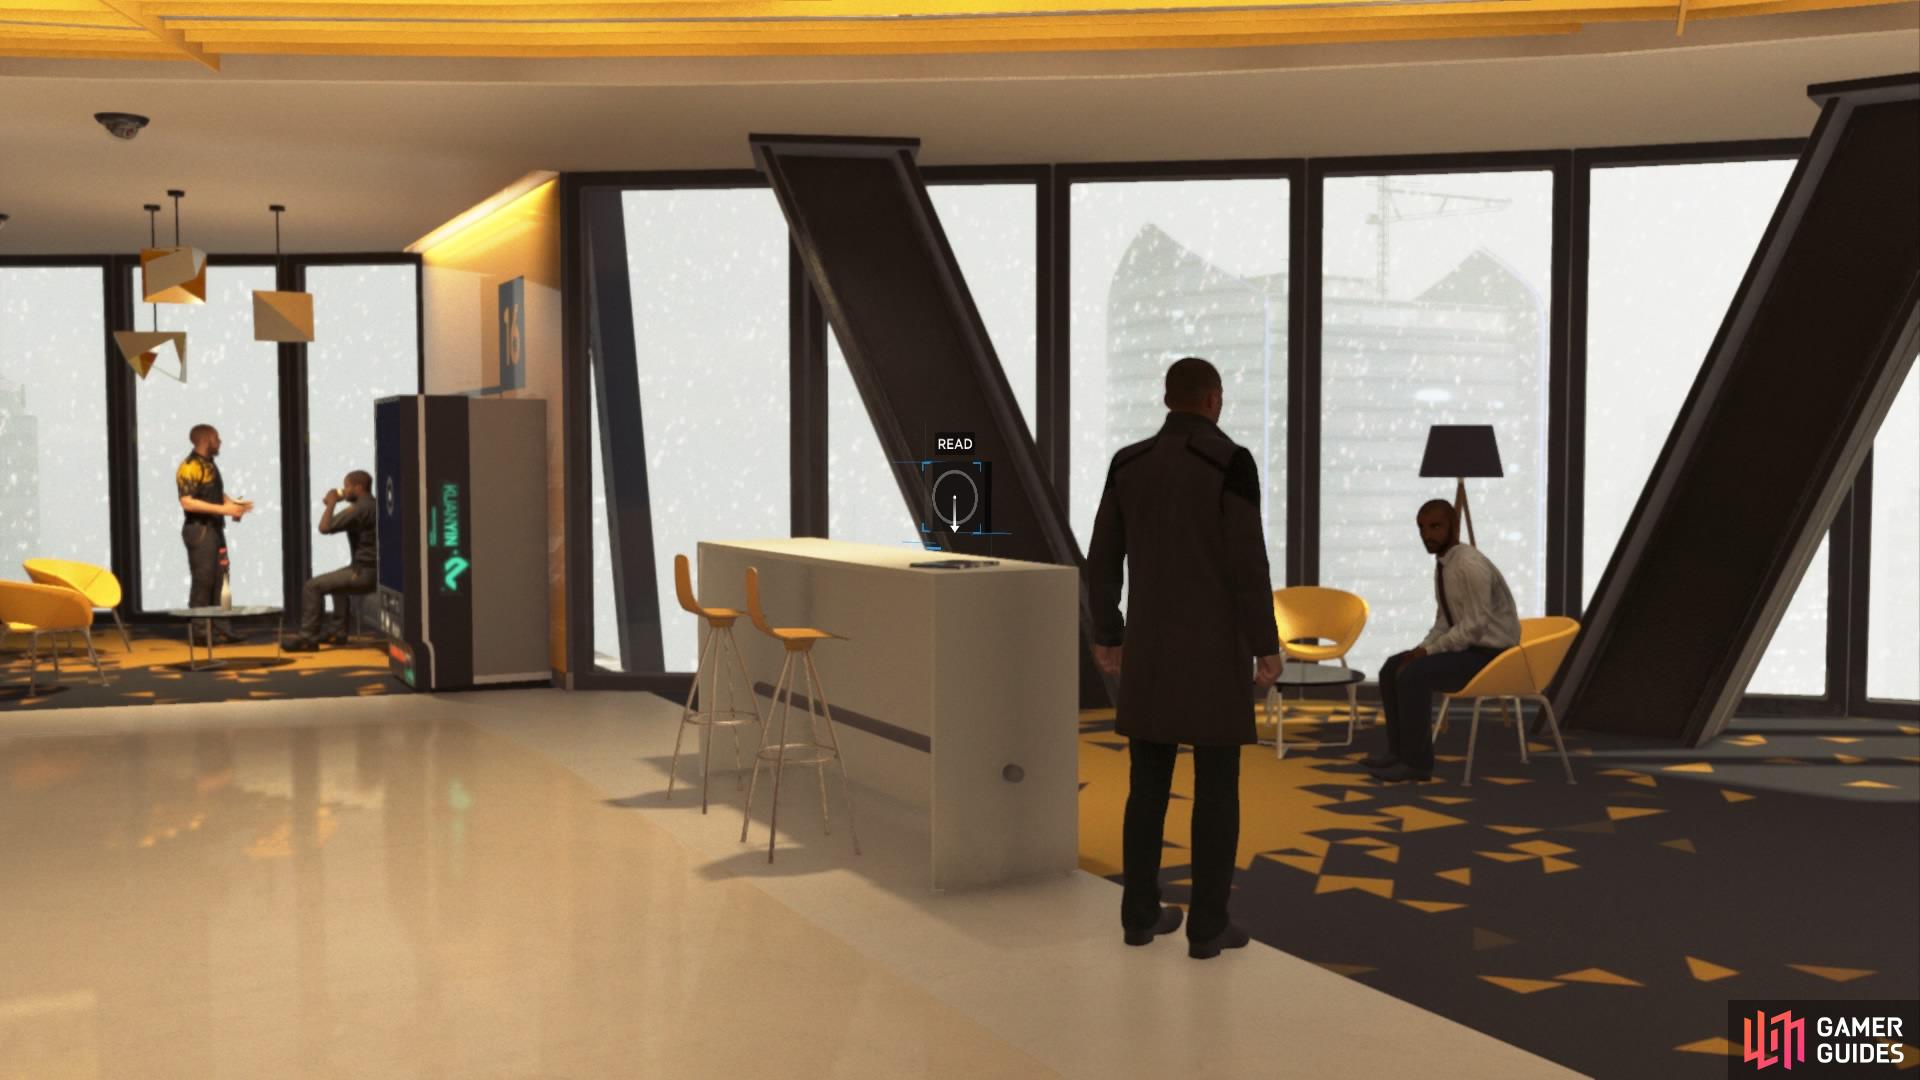
Find the magazine in the cafeteria
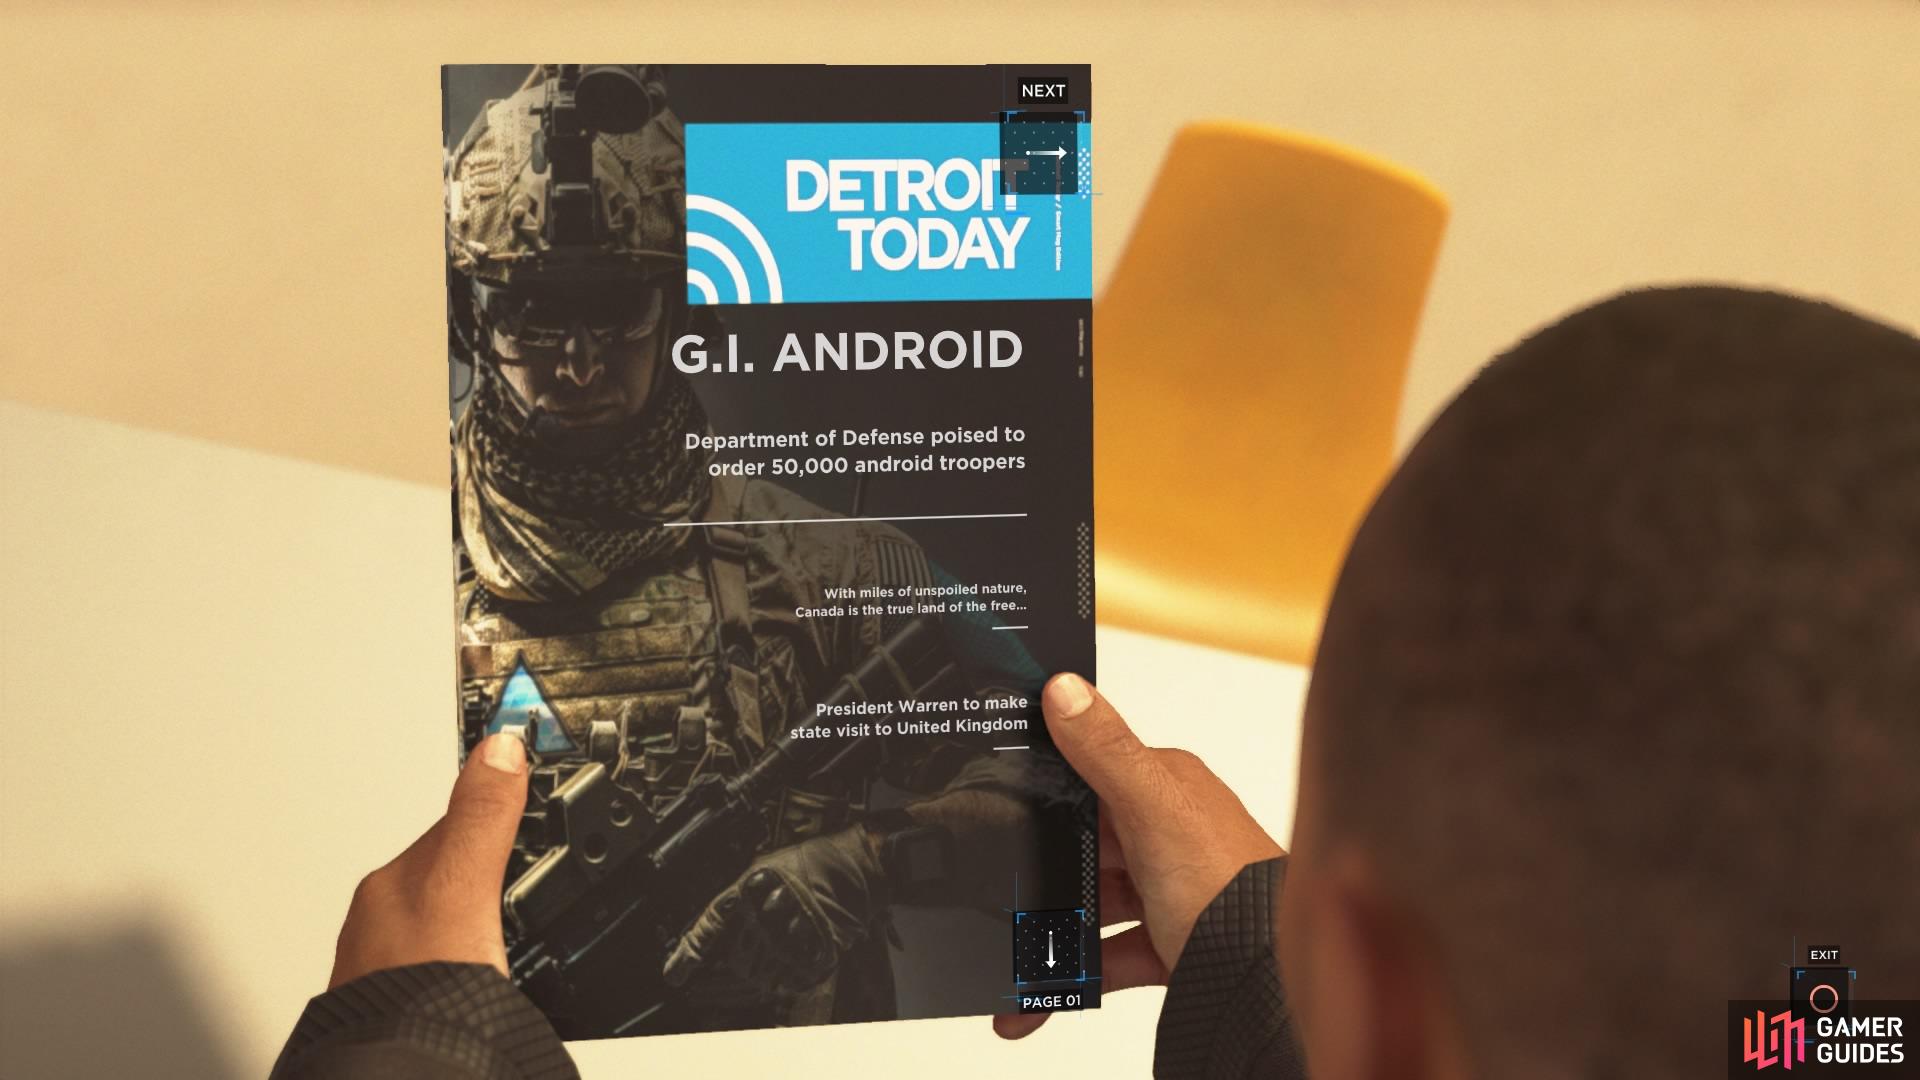
Read both articles
You’ll come to the checkpoint once you’ve taken the elevator all the way up to the 47th floor. When you arrive, you can find the next magazine on a counter in the restaurant area. Pick it up and read both articles to make it register. From here, the next set of tasks are quite linear, and most are unmissable, so just follow the objectives as prompted.
– Retrieve Package
– Acquire Maintenance Badge
– Take Cart
– Let North In
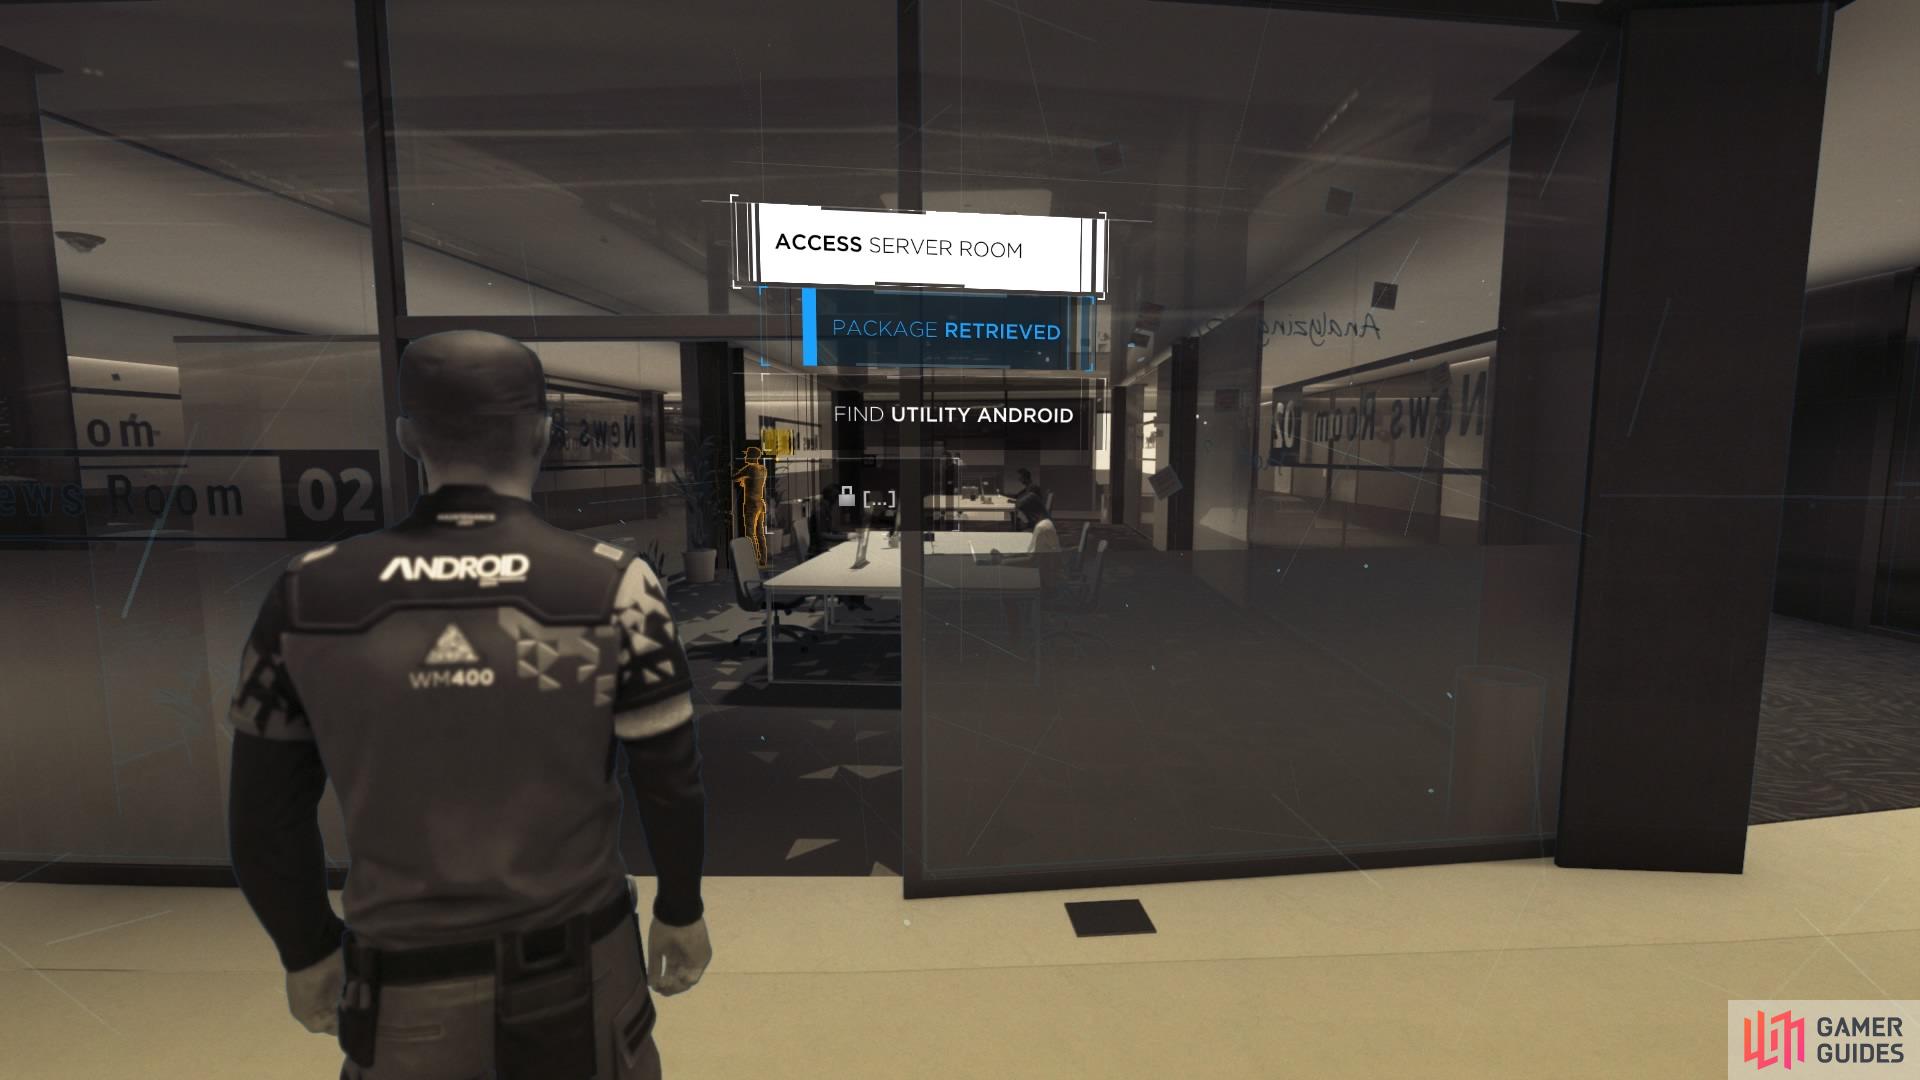
Find the utility android
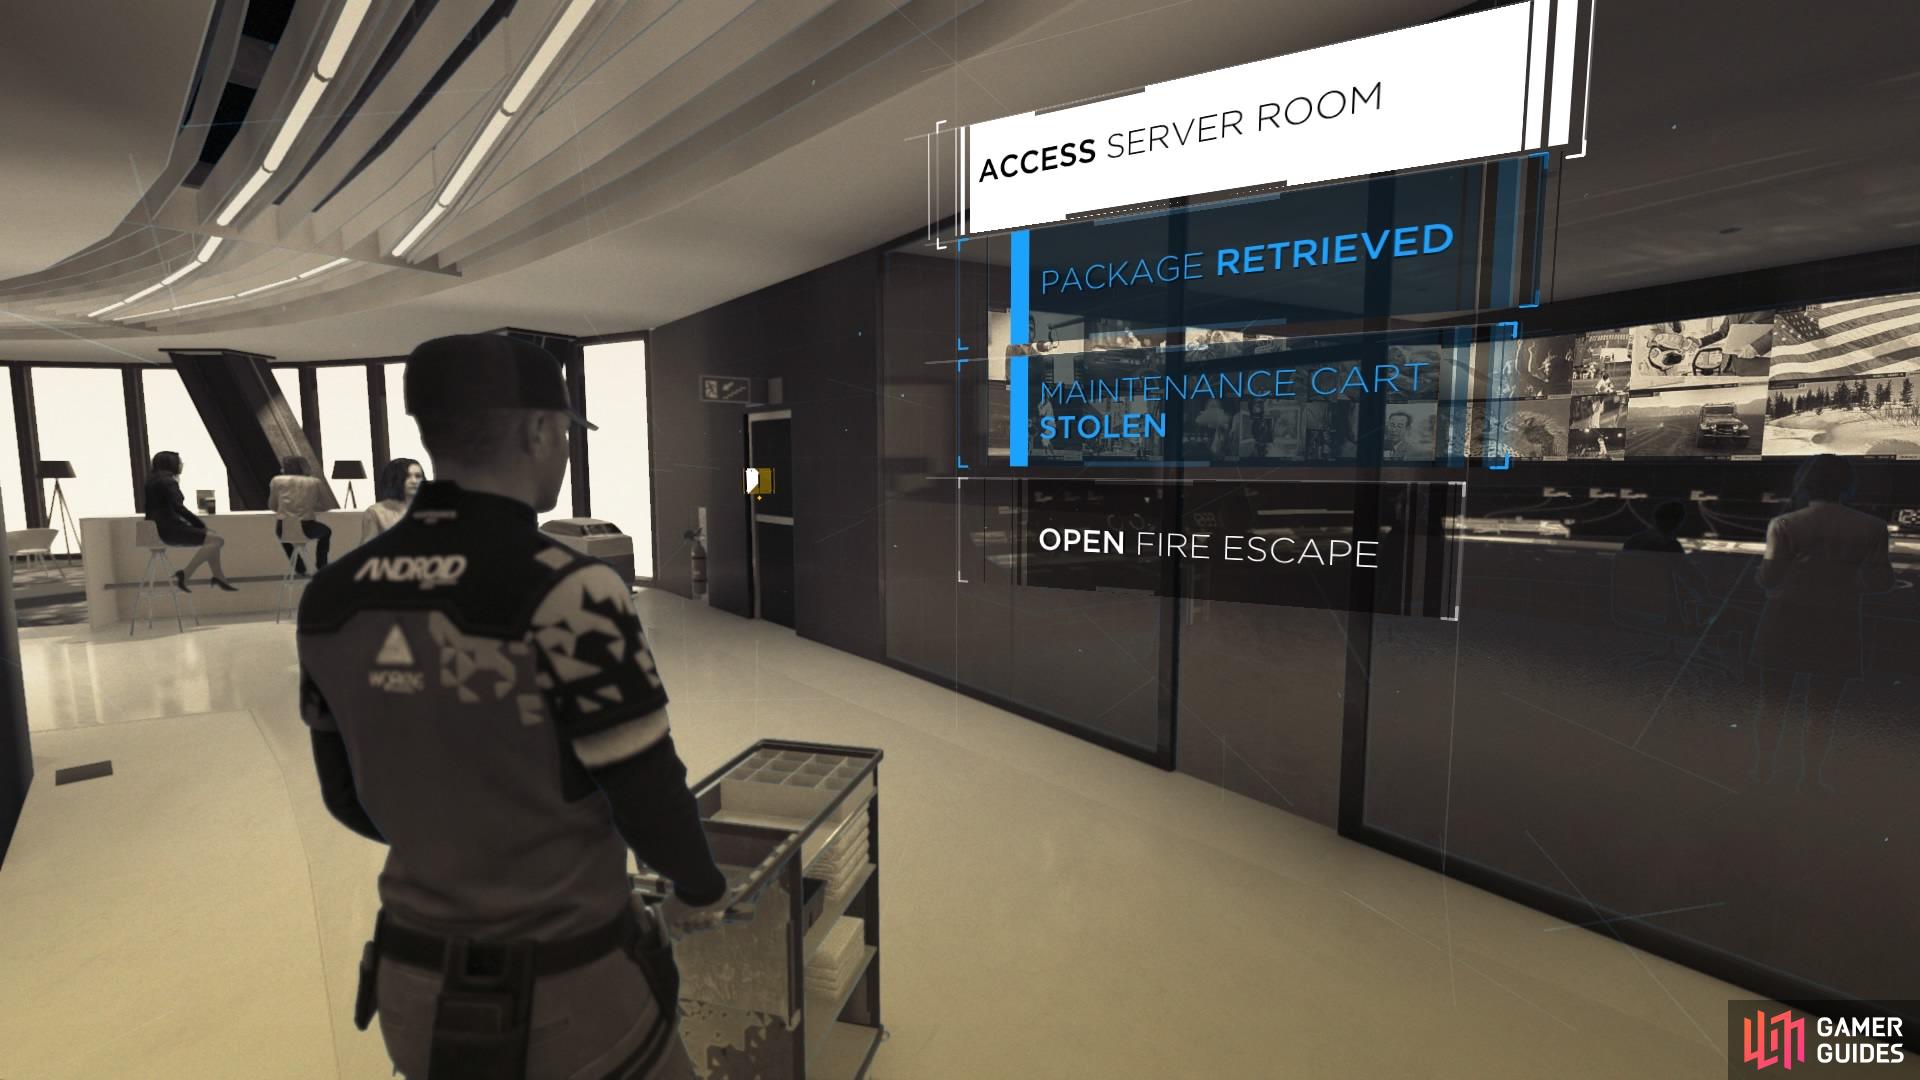
Take the cart to the fire exit to let North in
Security Blocks the Server Room: You need to find a way in to the server room, but first you’ll have to distract the guards by the doorway. Hold R2 to find two options for this task.
– Hack Robot: You can hack the robot that’s moving around the area by the elevators, which will cause the guards to move away and check what’s wrong with it.
– Hack Dispenser: Or you can the dispenser in the cafeteria at the end of the hallway where the guards are standing. Either of these options will activate Security Distracted.
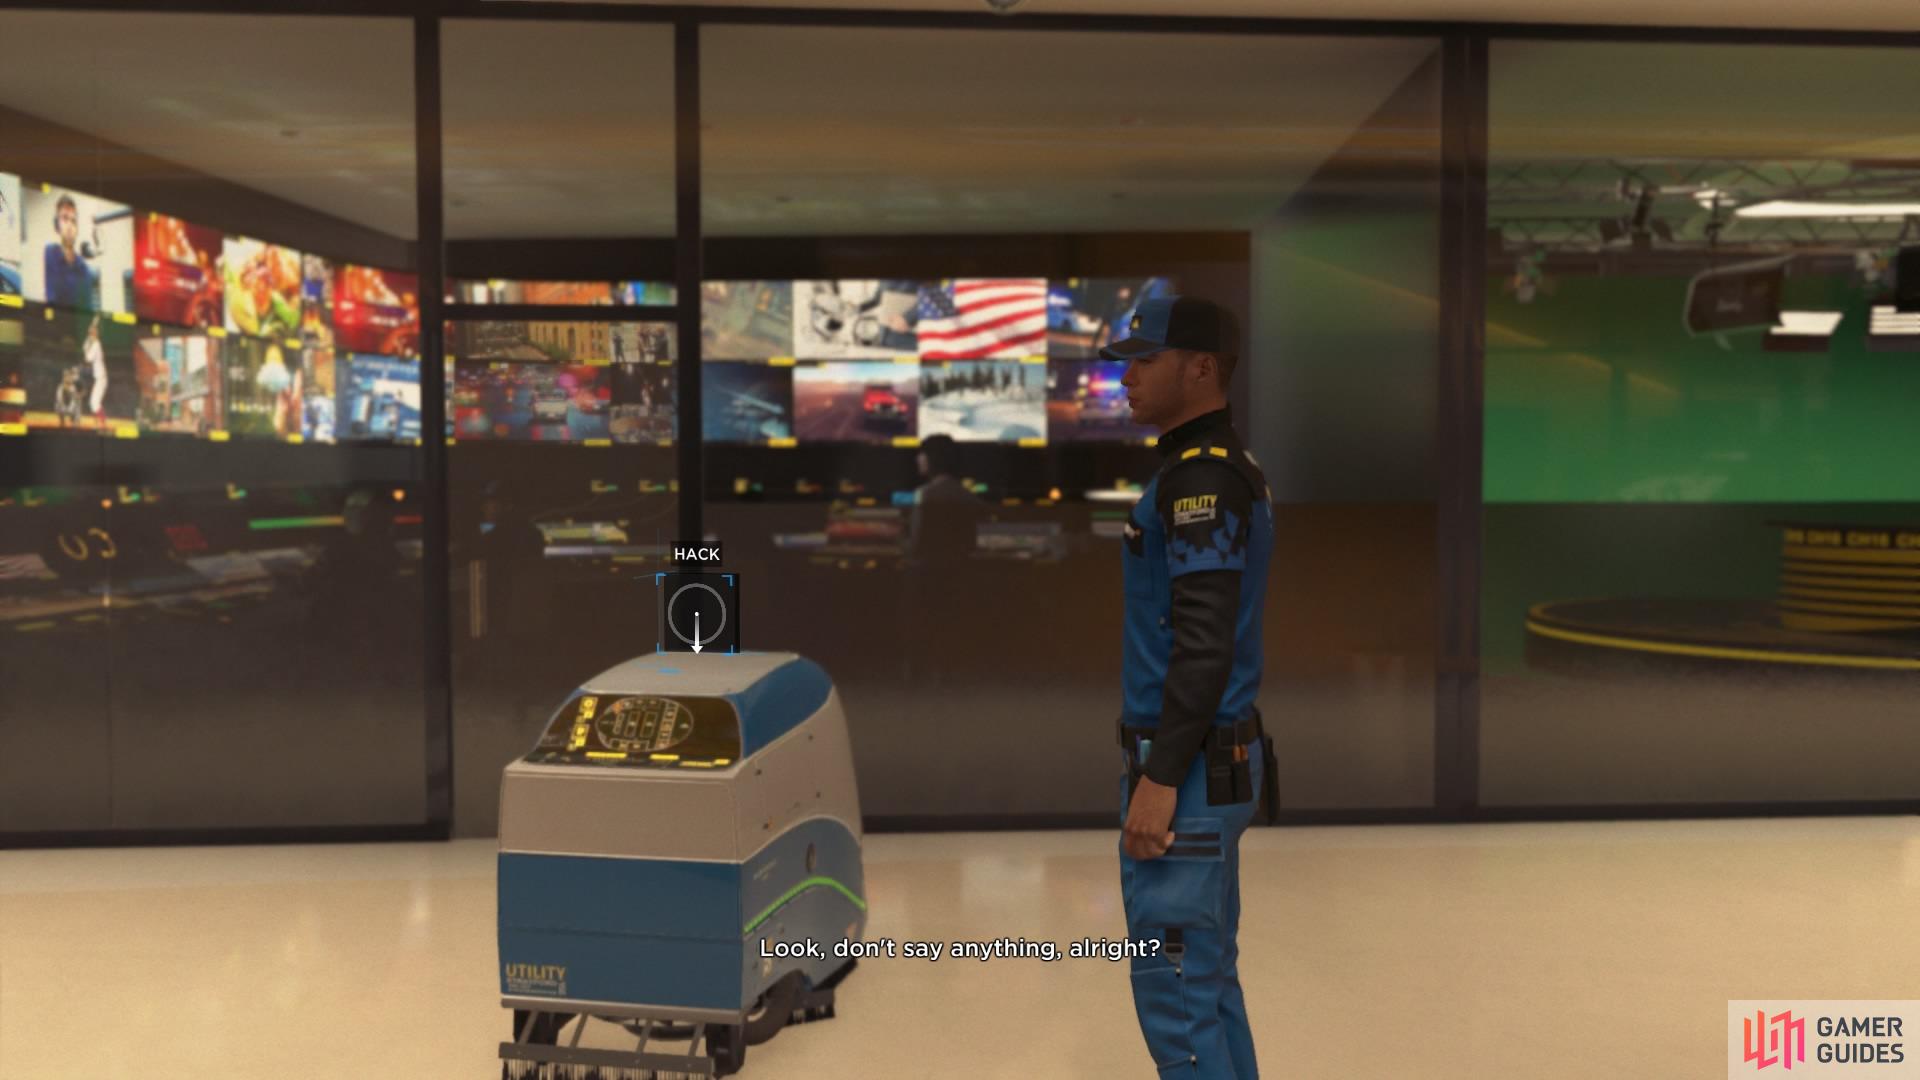
Hack the machine to distract the guards
Get inside the server room
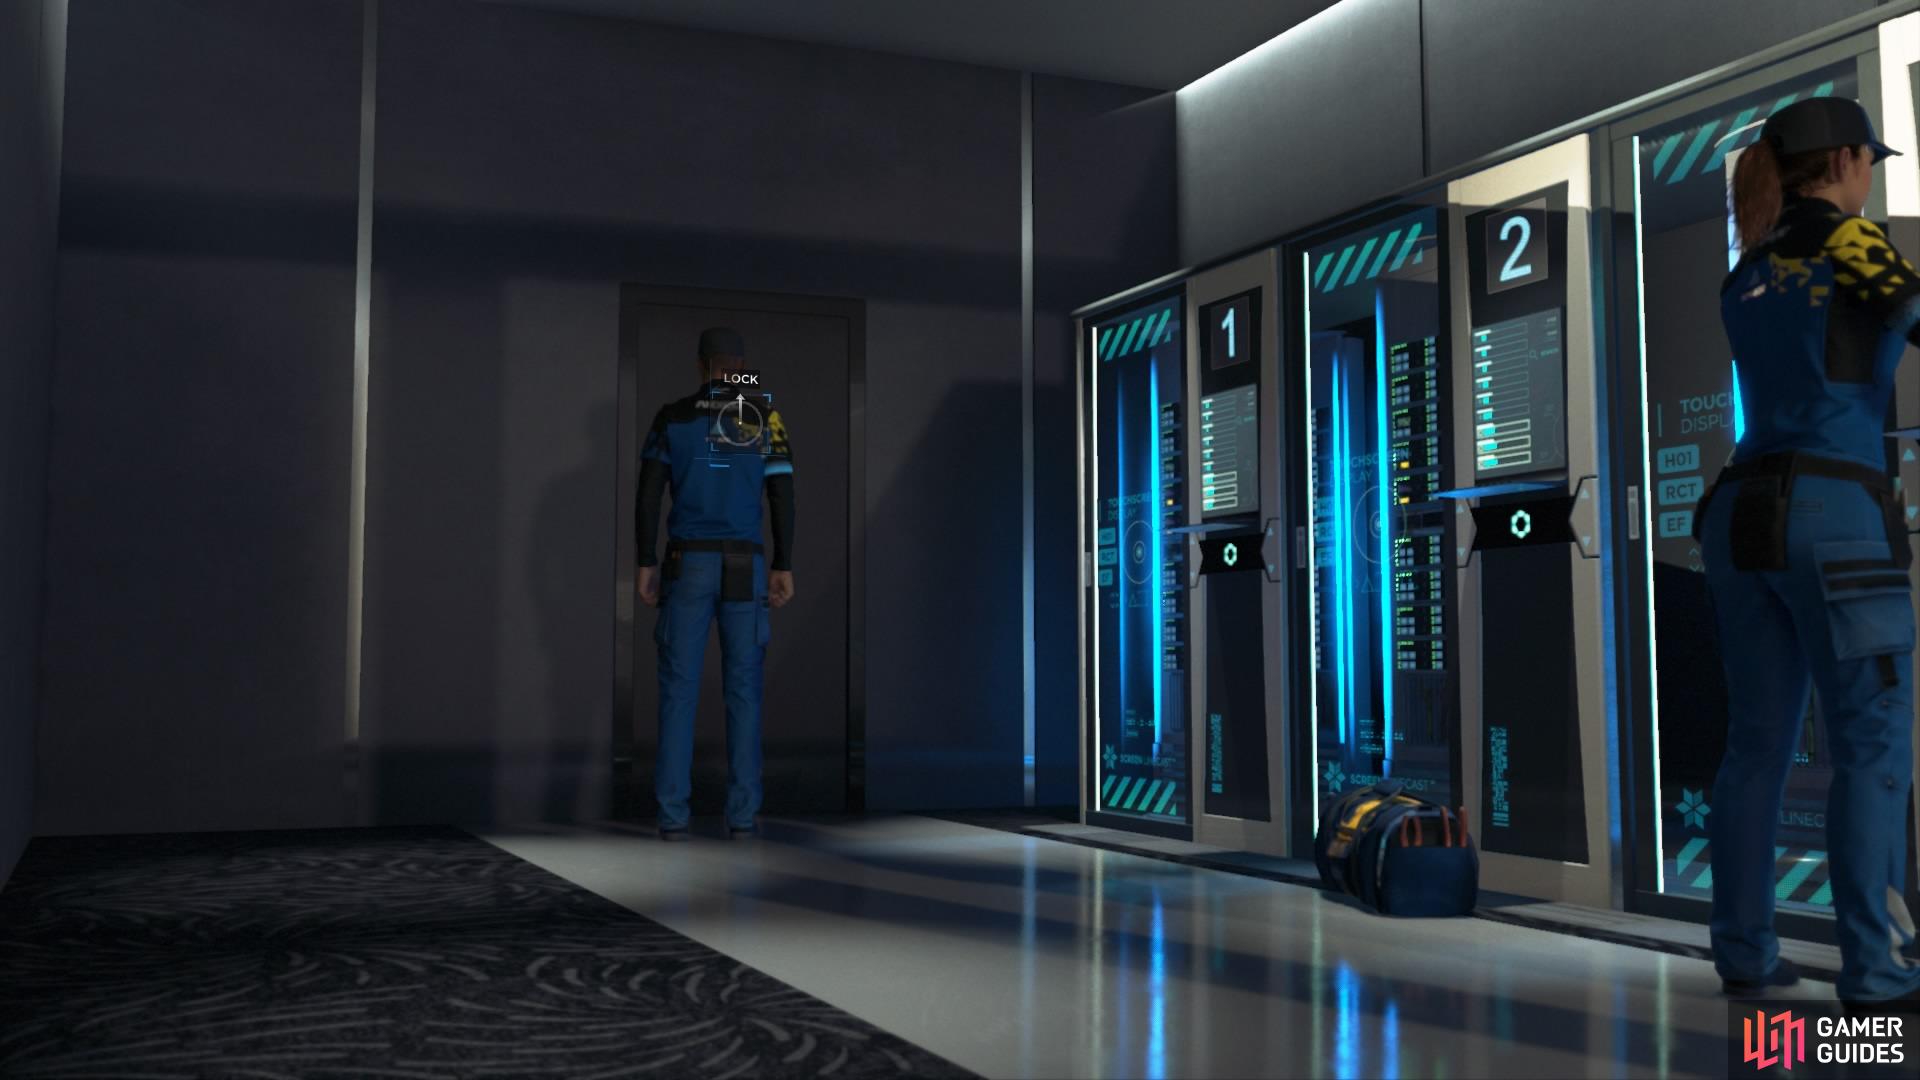
Enter Server Room: When you get into the room, choose from two paths.
PATH – FORGET TO LOCK THE DOOR
For this path, you cannot lock the door to the room. Keep walking and start to unpack the bags so you can use the window cutter on the window at the back.
Employee Interrupts: As soon as you attach the window cutter, an employee will wander into the room. Now you get three options that will achieve different results.
– Use Alibi: Choose ALIBI, then North Stuns the Employee before he can sound the alarm.
– Stall: Choose STALL.
– Draw Gun: Choose DRAW GUN which will automatically Stun the Employee by knocking him unconscious. This will also lead to Leave Employee to be Found and you’ll continue to cut open the window and carry on with the mission.
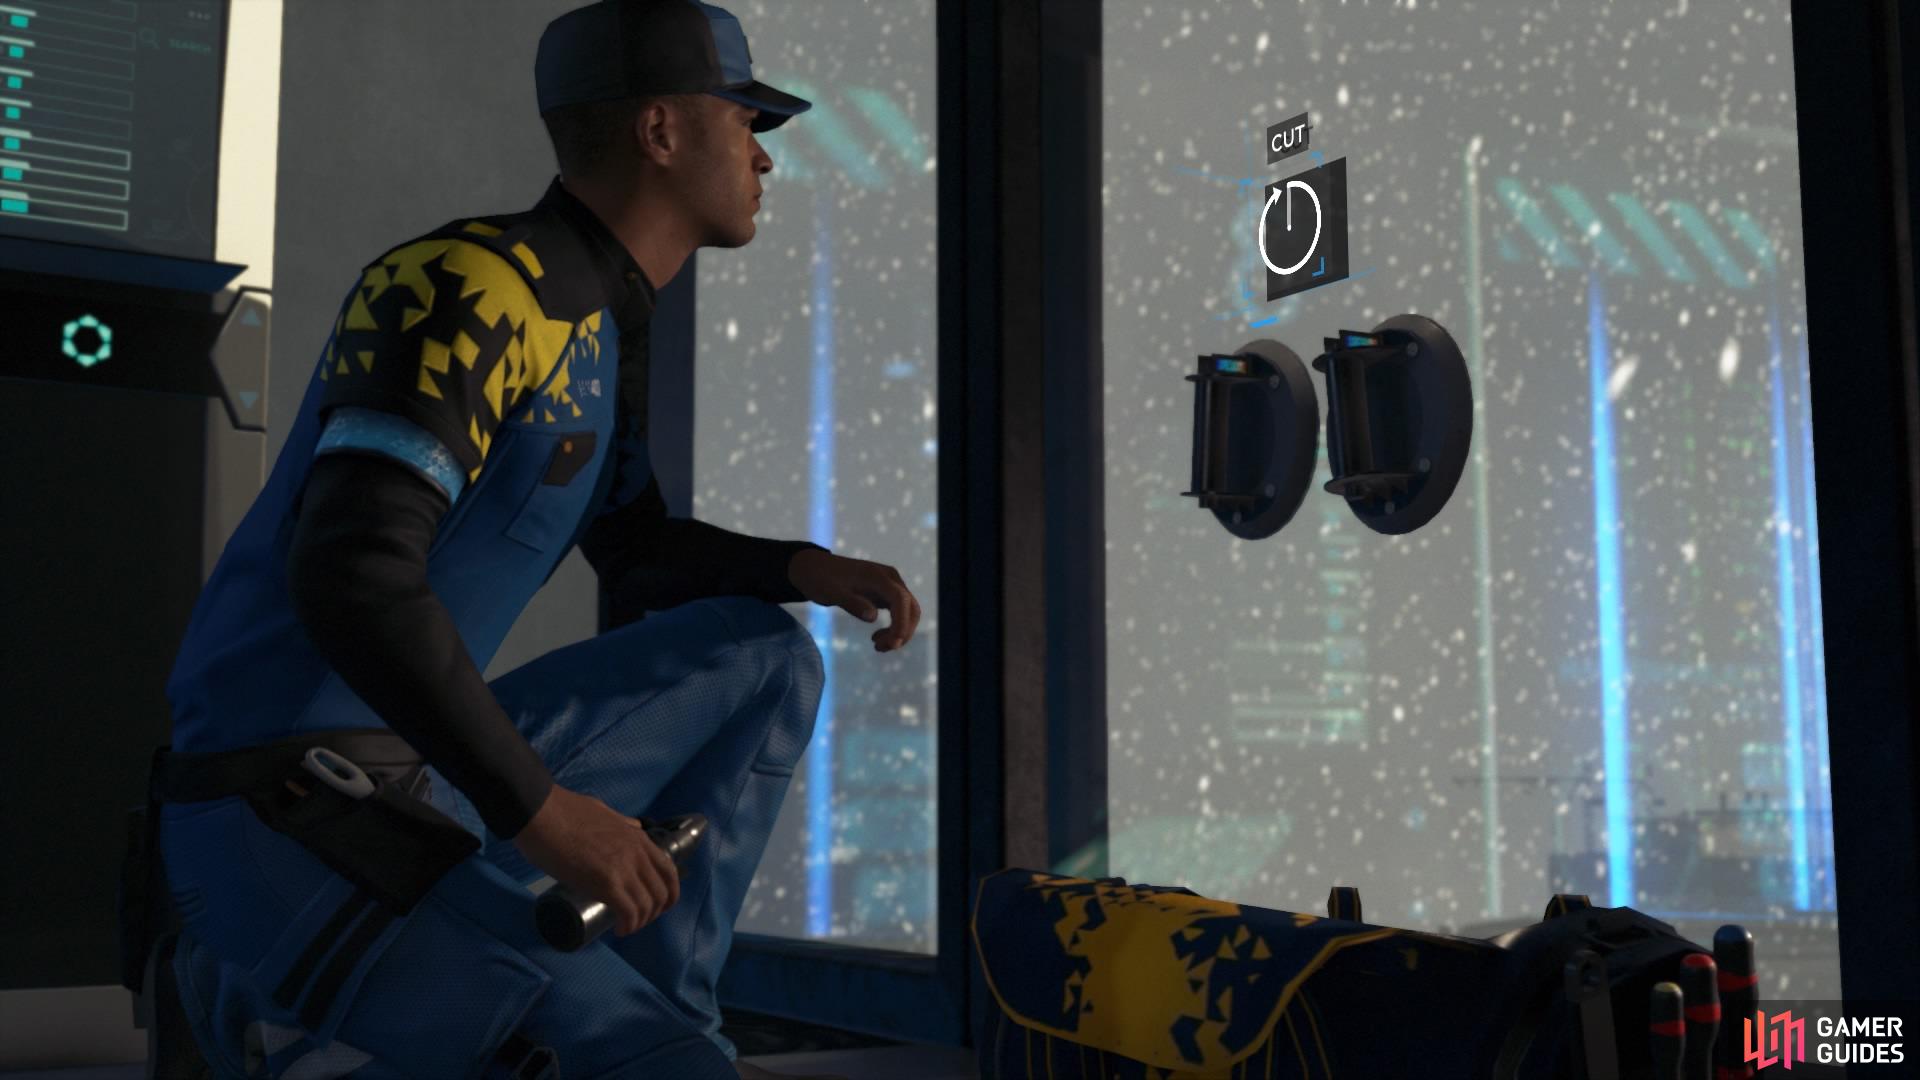
Cut the glass
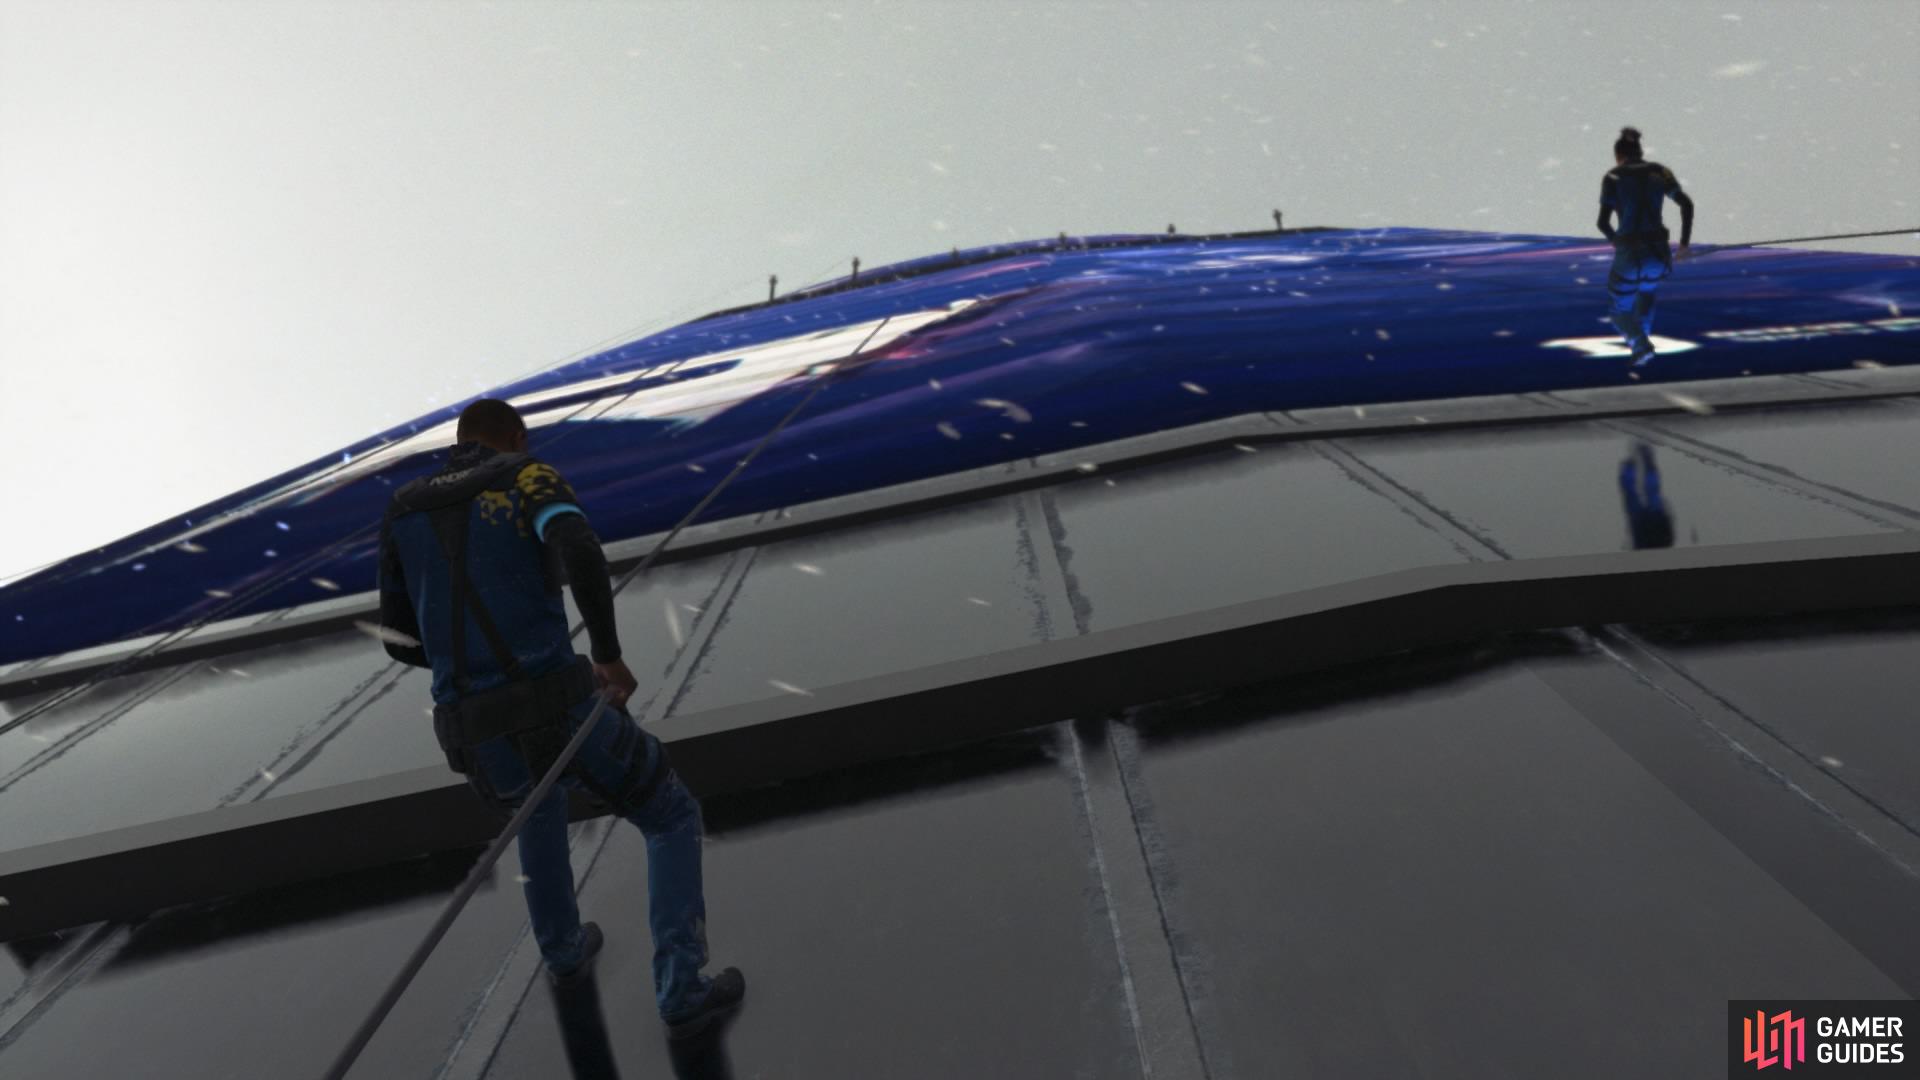
Ascend the tower
PATH – LOCK THE DOOR
This path is simple and straightforward, and everything from this point is automatic and unmissable.
– North Calls Cradle
– Prepare to Cut Glass/Cut the Glass
– Outside the Tower
– Attach the Rope
– Ascend
– Reach Top Floor
– Cut the Glass
Either way, you should make it to the top floor as long as the wandering employee doesn’t manage to ring the alarm.
– Call the Elevator
– Blow Door Open
– Reach Main Access Corridor
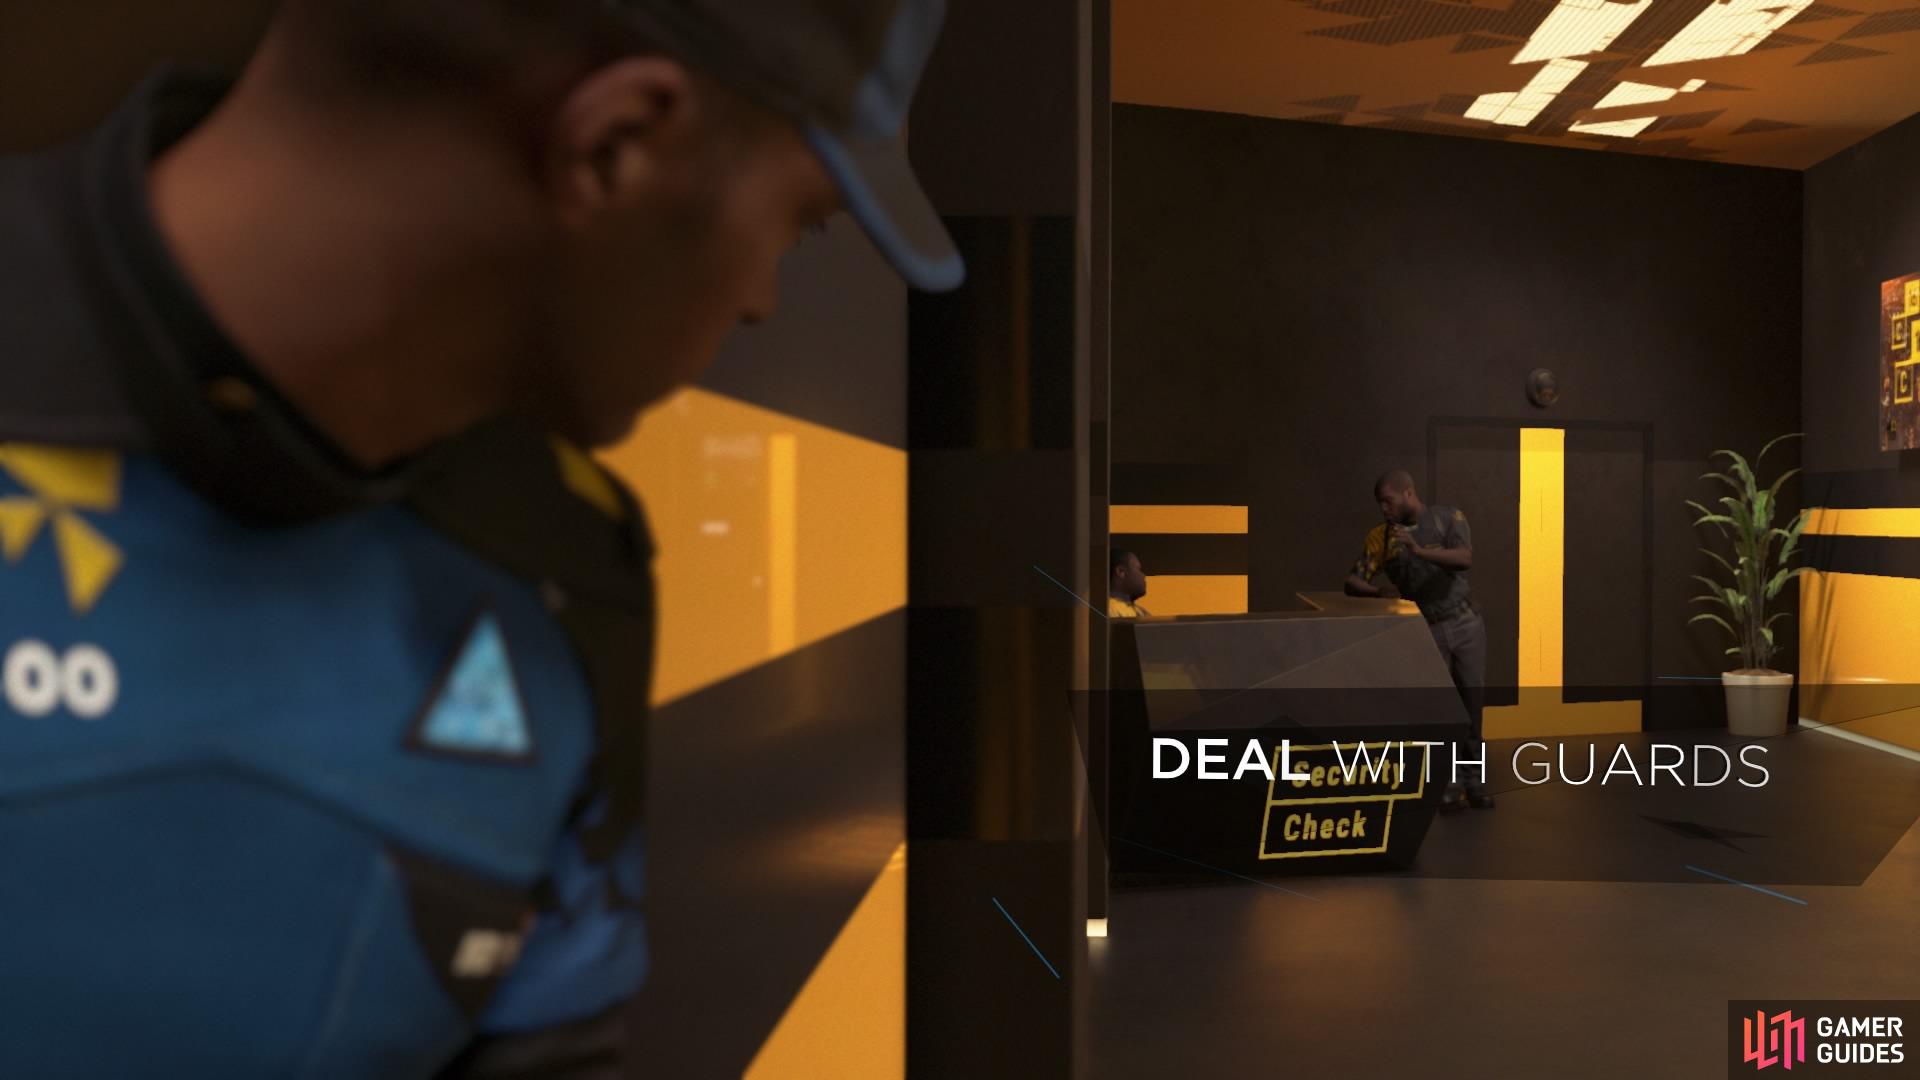
Security Blocks the Way: When you get close to the broadcast room, you’ll find two security guards at the desk outside.
Attack: Your first option is to choose ASSAULT, which is the violent approach of the two.
– Draw Gun: Make your way towards the guards and pull out your gun when prompted.
– Shoot Guard on Phone: Shoot the guard on the left using L1 – this will result in the other guard shooting Simon, something that can have a massive impact on the rest of the chapter as well as future ones.
– Shoot Guard Drawing Weapon: Shoot the guard on the right using L1 and Simon will NOT get shot. This can still impact the rest of the game from this point.
– Alert Central Security: This only happens if you allow the guards to call for backup.
– Security Suspects Something: Pick the ASSAULT option but don’t do anything as you approach them.
– North Attacks: If you pick ASSAULT but don’t do anything, North will attack instead.
– Simon Damaged: If you pick ASSAULT and shoot the guard on the left (on the phone) then Simon will get hurt by the other guard.
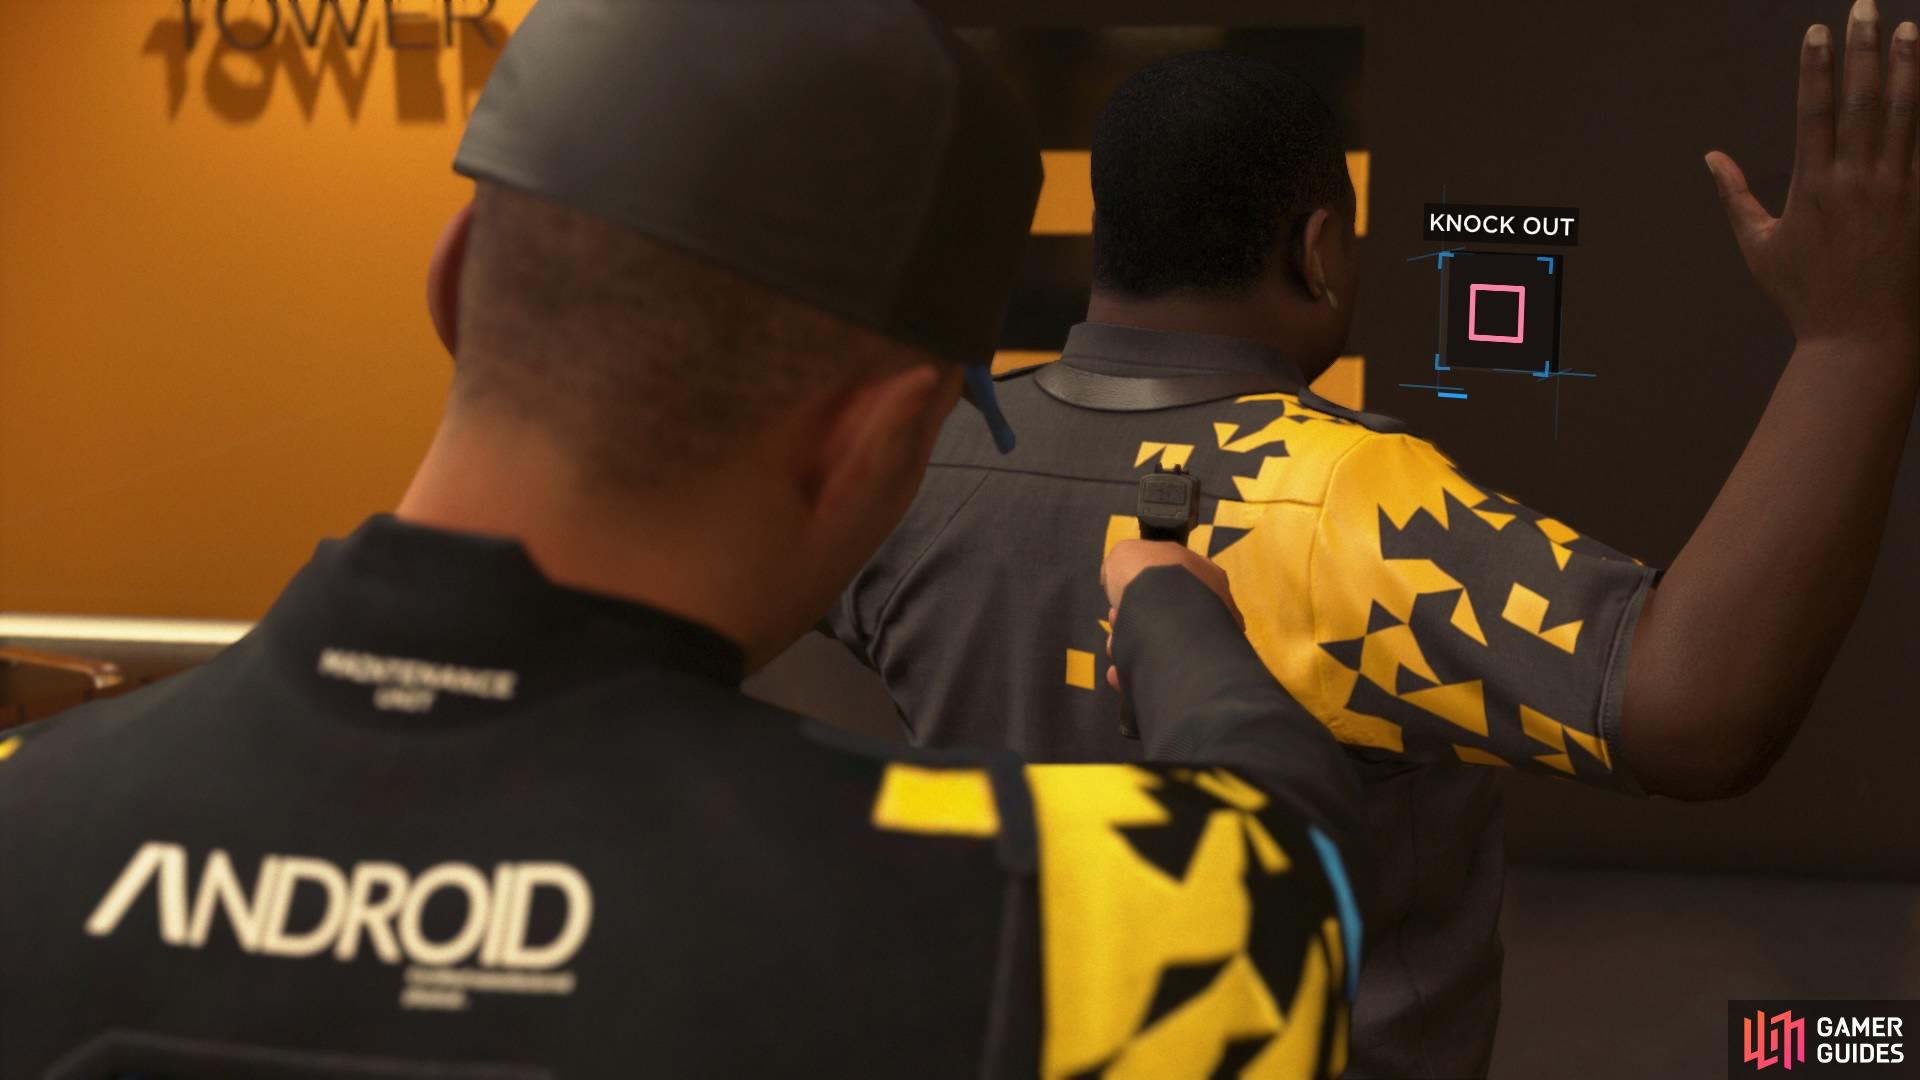
Ruse: This is the second option and non-violent (which we recommend if only to keep Simon from getting hurt). Simply choose RUSE and draw your gun to scare the guards. Then you can incapacitate them by pressing square to knock them out.
Afterward, you’ll gain access to the broadcast room. Ring to Enter, North and Josh Threaten the Operator, and Operator Tries to Escape will happen automatically.
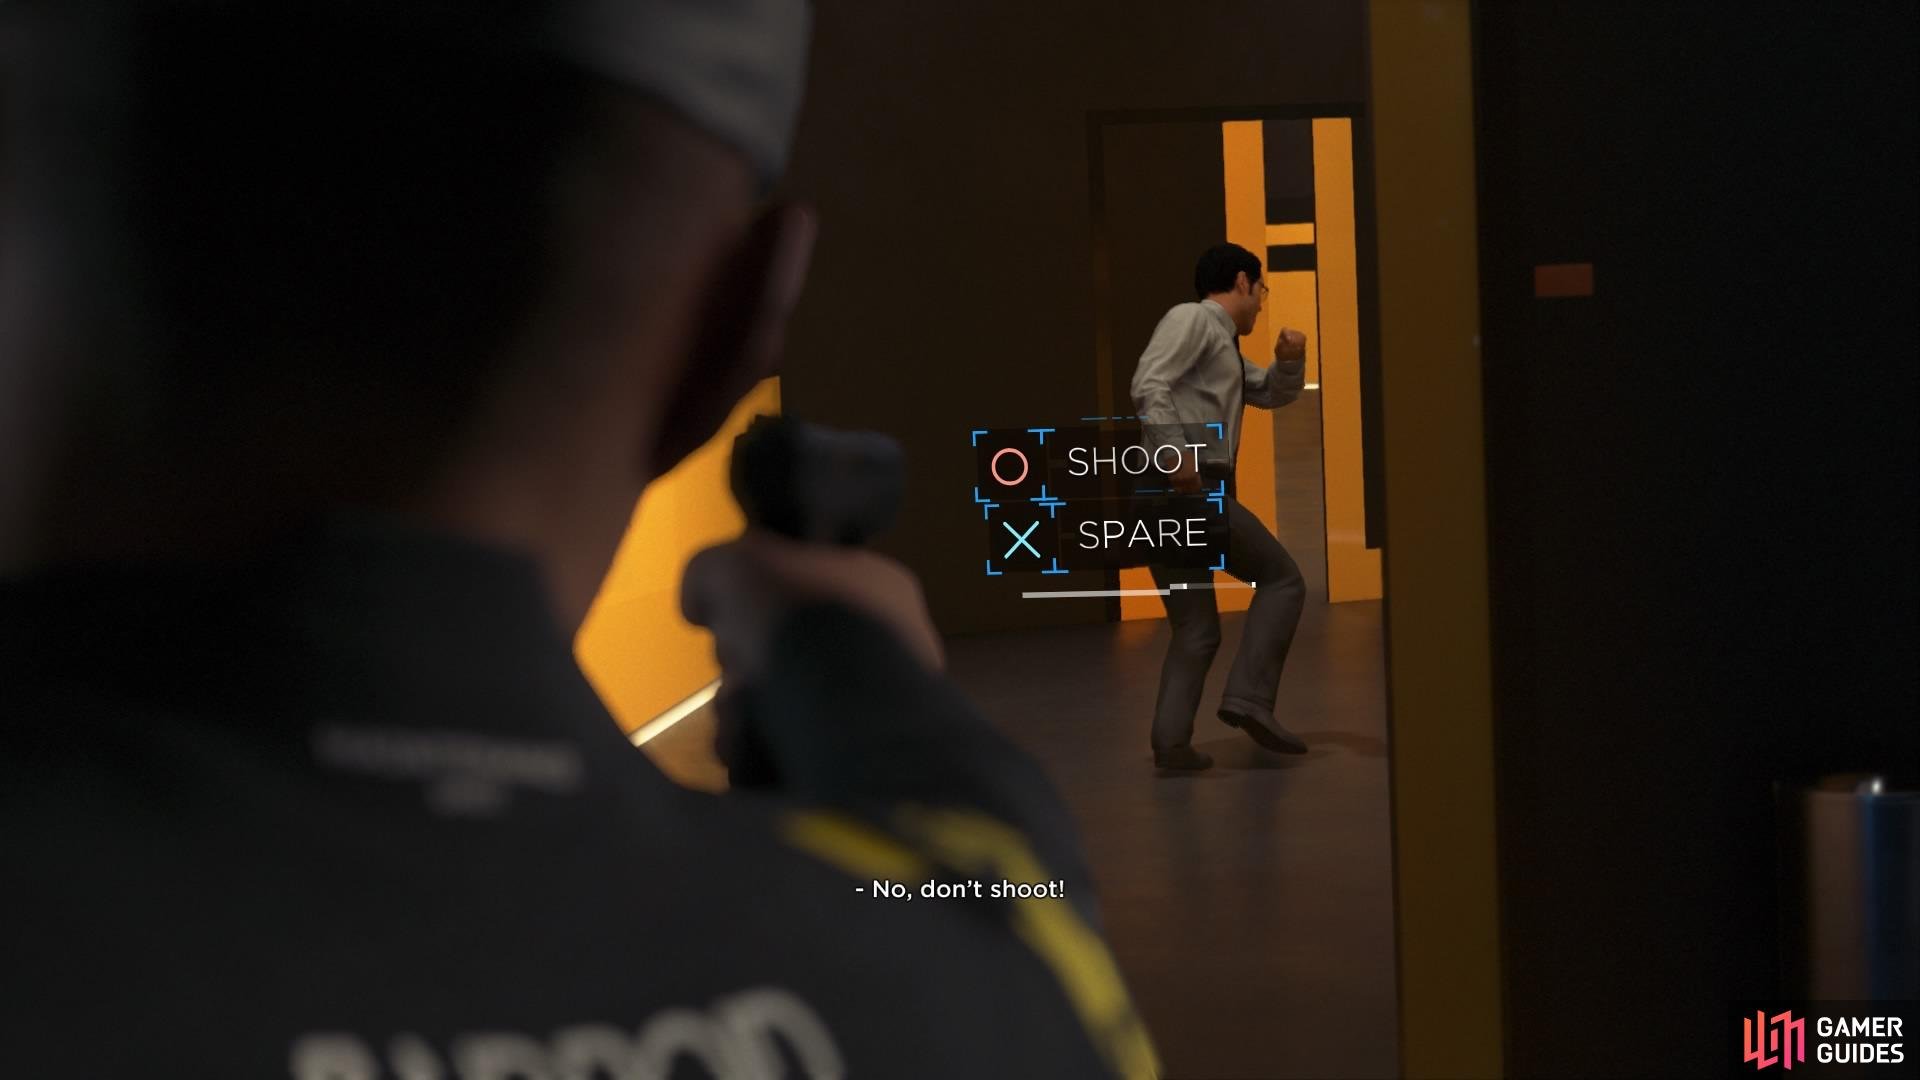
– Shoot Operator: When the operator tries to run from the room, he’s going to sound an alarm. At this point, you can choose to shoot him to stop this from happening. However, killing him will decrease the public opinion of androids. On the plus side, killing him does not affect the SURVIVORS trophy.
– Don’t Shoot Operator: This option can make the situation more complicated, but it’s recommended for the sake of the public opinion. Choose SPARE when he runs away, which will result in backup arriving once the broadcast has ended.
Deal with Android Operators: Have Markus point his gun at them to make them step aside.
Prepare to Broadcast: The broadcast is an automatic process, with a lot of options. But feel free to choose whatever you like as you go.

– Begin Calmly
– Begin Determinedly
– Demand Recognition
– Demand End of Slavery
– Demand Equal Rights
– Demand Free Speech
– Demand Justice
– Demand End to Segregation
– Demand Right to Work
– Demand Universal Suffrage
– Demand Right to Own Property
– Demand Means of Reproduction
– Demand Territory
– End Peacefully
– End Determinedly
After you have given your desired speech, SWAT Storms the Room if you chose to SPARE the operator when he ran away.
– Simon Damaged: This is a direct result of the SWAT arriving.
– Leave Simon: You can choose to save him or leave him. For this node, leave Simon behind to get killed by the SWAT team. This achieves Simon is Killed and will not get you the SURVIVORS trophy.
– Save Simon: Instead of leaving him behind, take him to the roof with you when prompted to make the choice. This will result in Simon Saved if you press the button prompt quickly. Or, you can Fail to Save Simon by failing the button prompts and letting the soldiers kill him anyway.
Leave Broadcast Room: If the operator did not sound the alarm, then you can just escape the building with no hassle once your speech is over.
You’ll end up on the roof (which is the natural progression of the chapter) where you’ll have to decide an injured Simon’s fate. He’ll get injured no matter what if you don’t choose to shoot the operator when he runs away, but there is still a chance to save him.
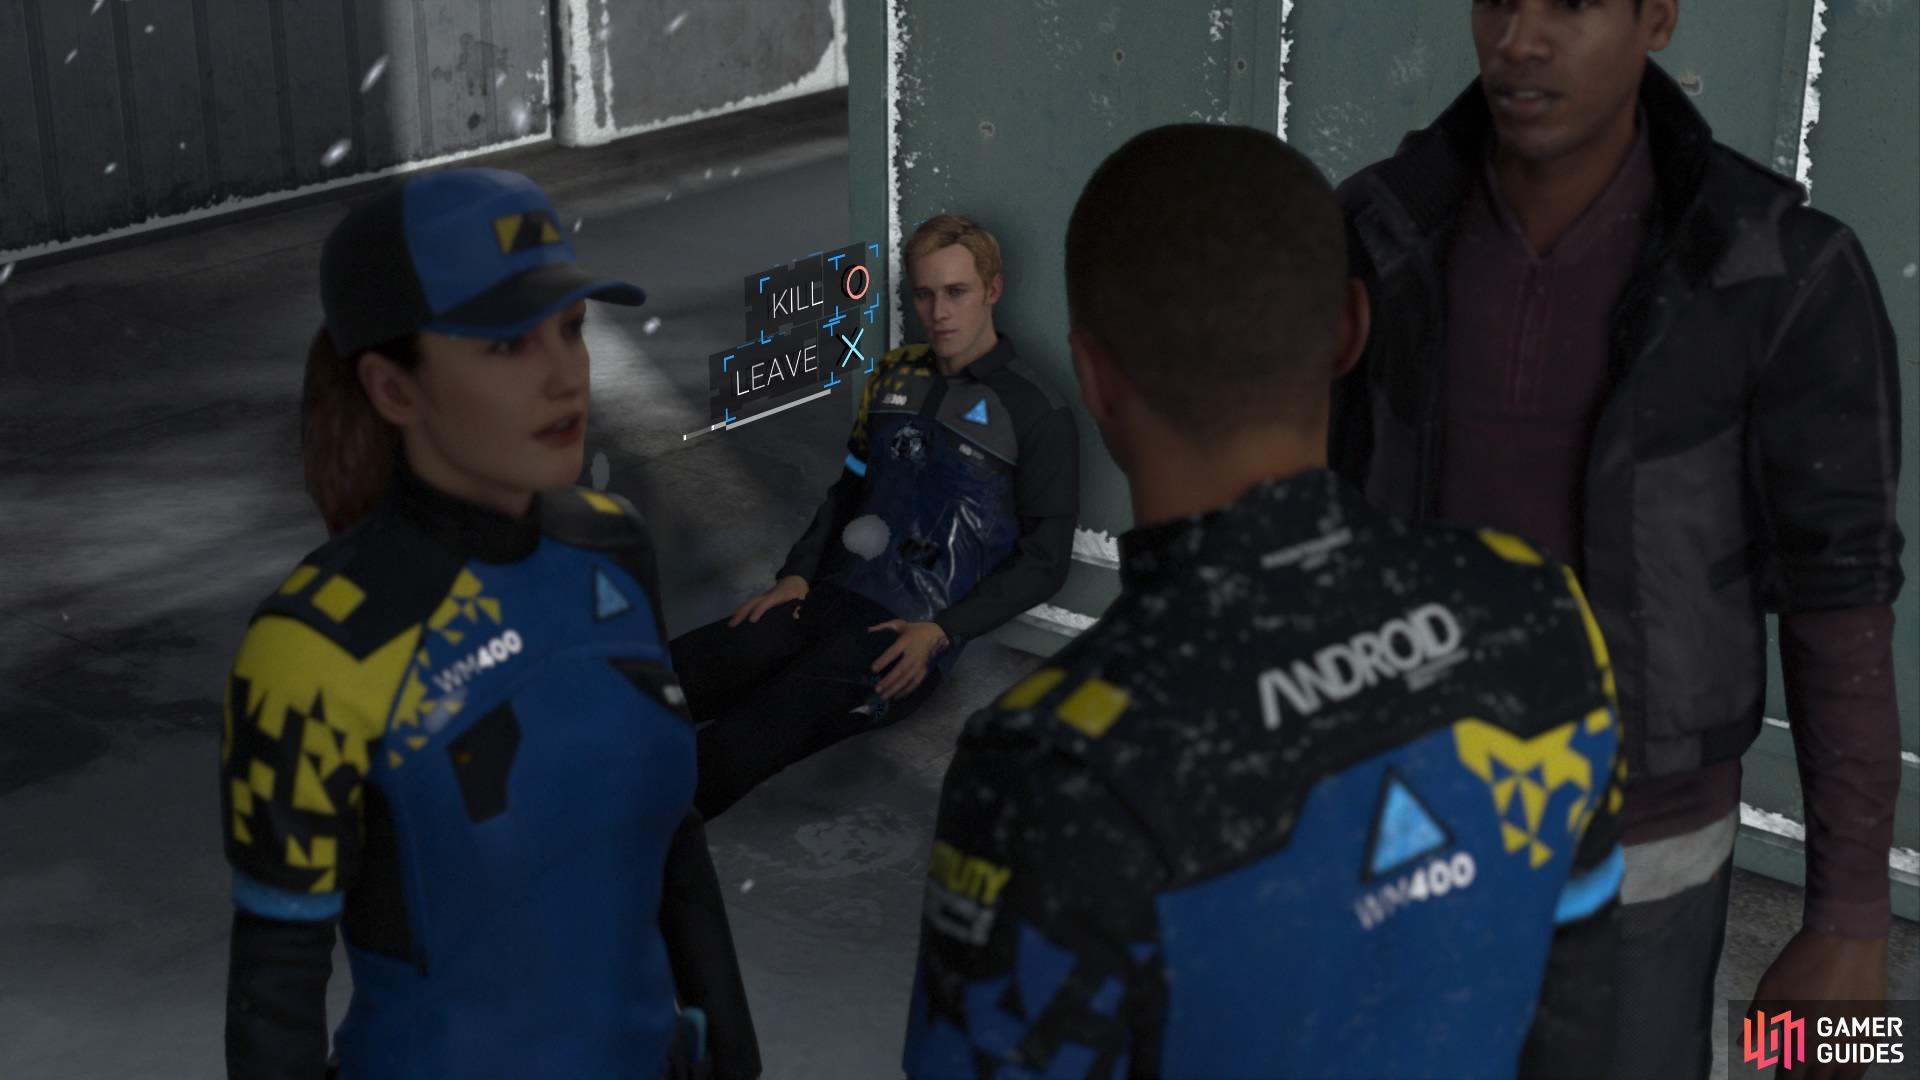
Simon Can’t Continue: Either you chose ASSAULT at the security desk and shot the guard on the phone, or you SPARED the operator and he called for backup. For this node, make sure you get Simon to the roof.
– Leave Simon: Choose to leave Simon behind and leave him alive. This will have a cross-chapter impact in which he will hide from the police in the next chapter. Connor will either find him or ignore him – if he ignores him, then Simon can re-join you later in the game.
– Execute Simon: You can choose to kill Simon so that he can’t be used against you by the police in the next chapter, but doing this will lock future chapter content. We recommend not taking this route.
Run to Jump: While on the roof, make your escape by running towards the railing when the SWAT team breaks down the door.
– Reach Roof Edge
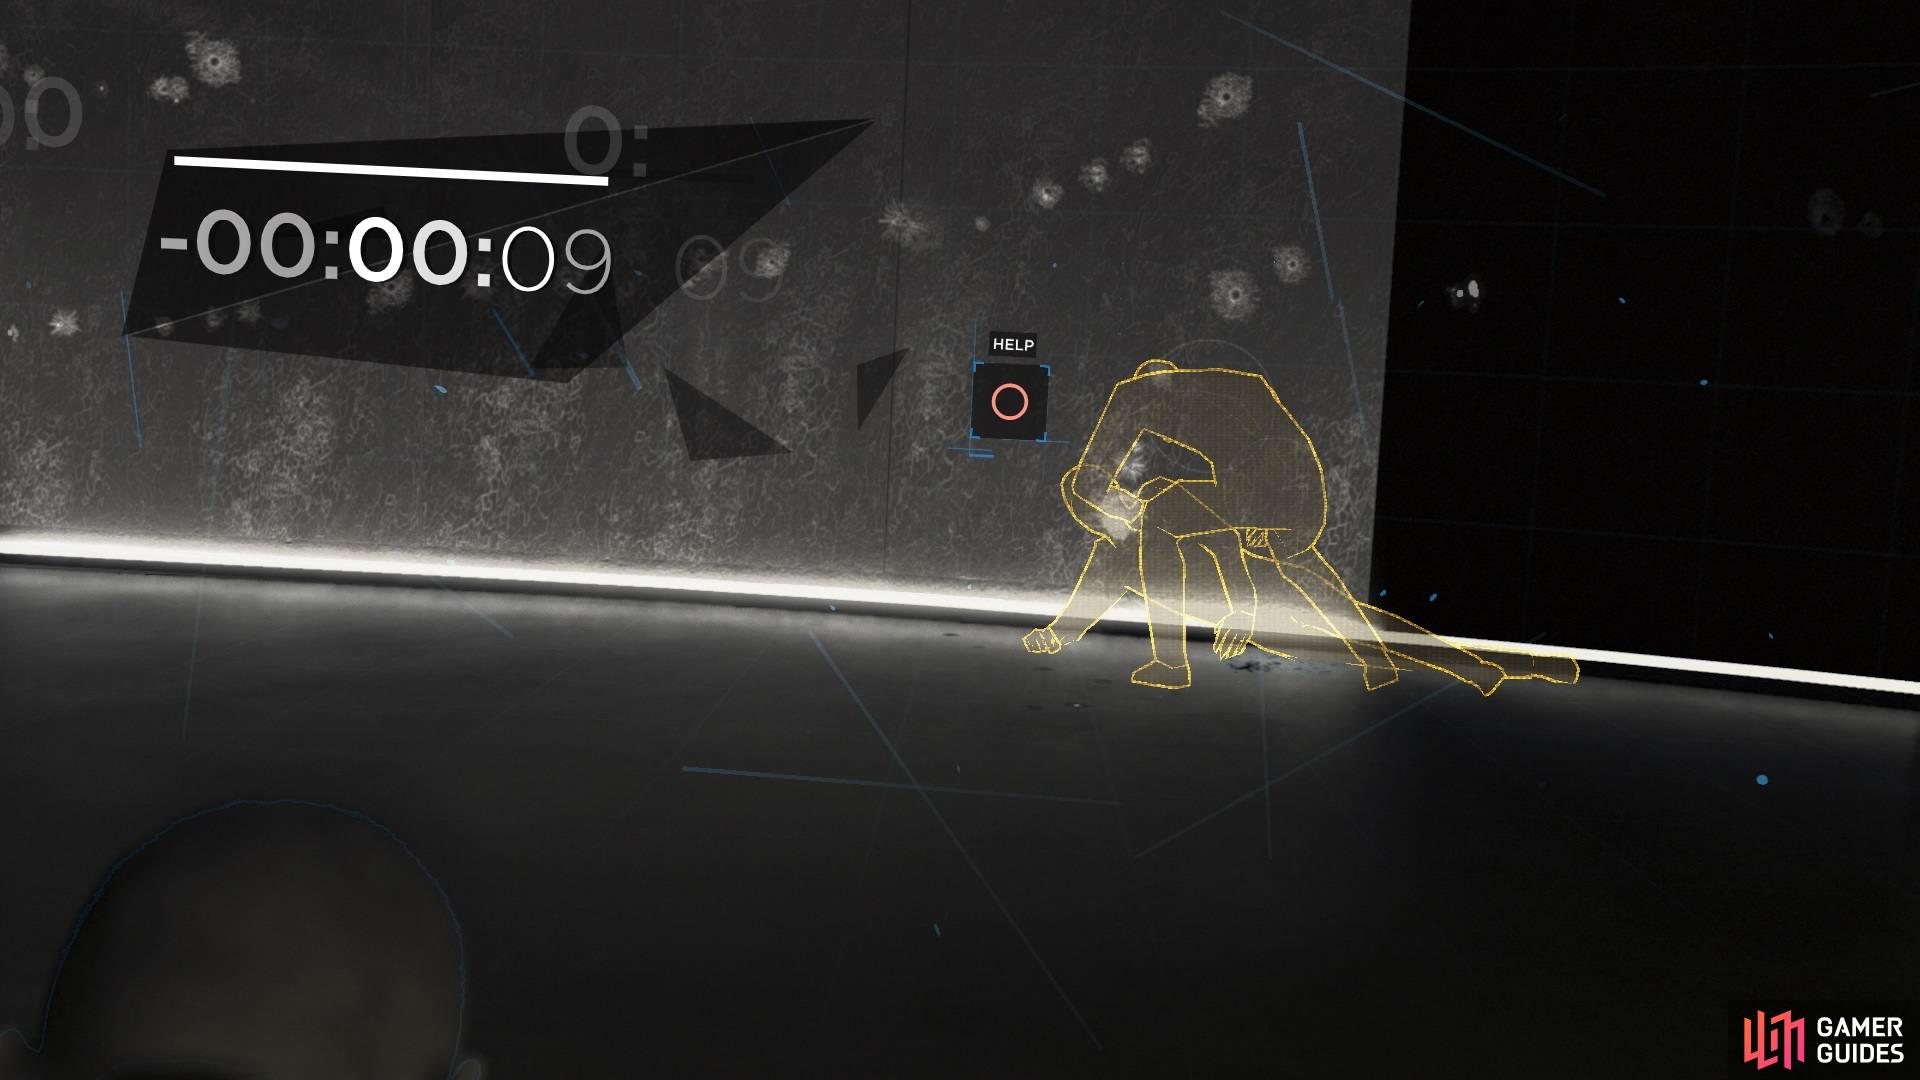
– Get Shot: This will have a cross-chapter impact. Instead of running towards the edge of the roof, just stand still to have Markus get shot by the SWAT team. This can result in North helping Markus if you continue not to move when prompted.
Jump: This is an automatic end to the mission.
Media Reacts: This is automatic cutscene at the end of the chapter. Depending on what you demanded and how many people you killed, the news will make different reports. If you spared everyone and chose to be peaceful, public opinion will go up in favour of the androids.
This chapter’s endings are as follows:
– The Group Escaped but Simon Was Left Behind
– The Group Escaped but Simon Was Destroyed
– The Whole Group Escaped
To grab these endings, make sure to follow all the points outlined above.
No Comments