| Icon | Title | Category | Subcategory |
|---|
Hawezar Dungeon
| Icon | Title | Details | Screenshots | |||||||||||||||||||||||||||||||||||||||||||||||||||||||||||||||||||||||||||||||||||||||||||||||
|---|---|---|---|---|---|---|---|---|---|---|---|---|---|---|---|---|---|---|---|---|---|---|---|---|---|---|---|---|---|---|---|---|---|---|---|---|---|---|---|---|---|---|---|---|---|---|---|---|---|---|---|---|---|---|---|---|---|---|---|---|---|---|---|---|---|---|---|---|---|---|---|---|---|---|---|---|---|---|---|---|---|---|---|---|---|---|---|---|---|---|---|---|---|---|---|---|---|---|

|
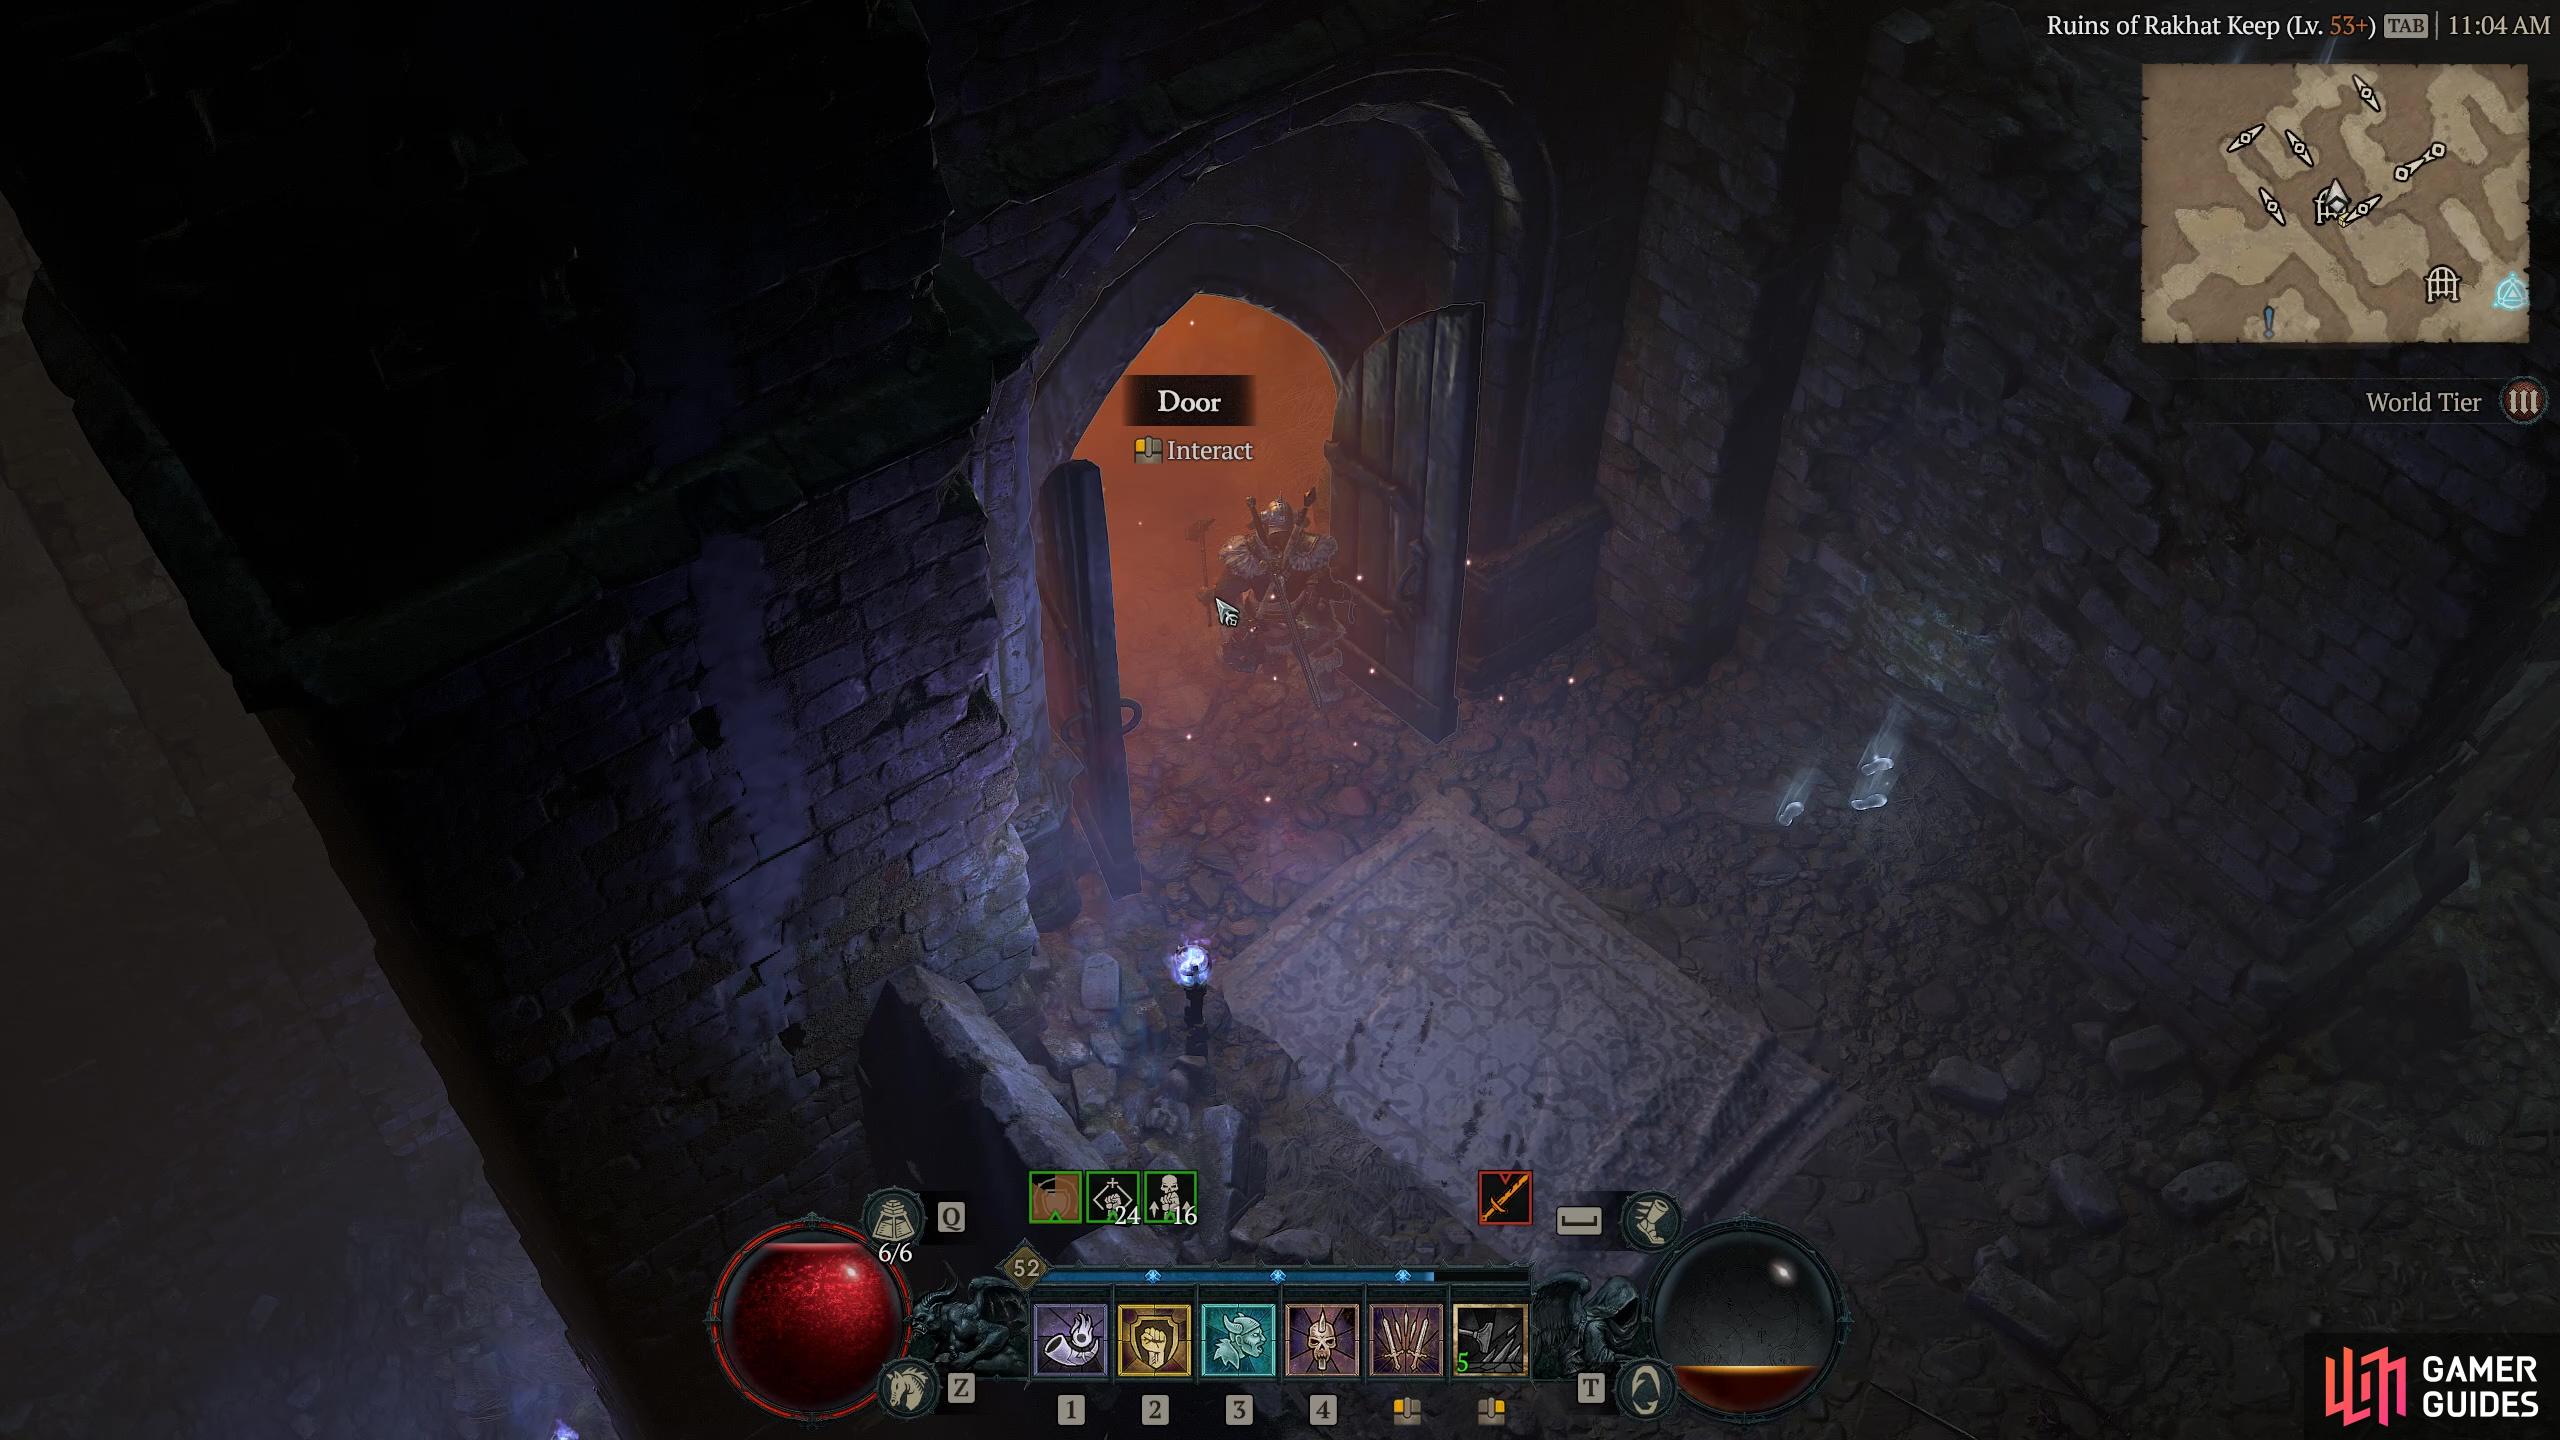
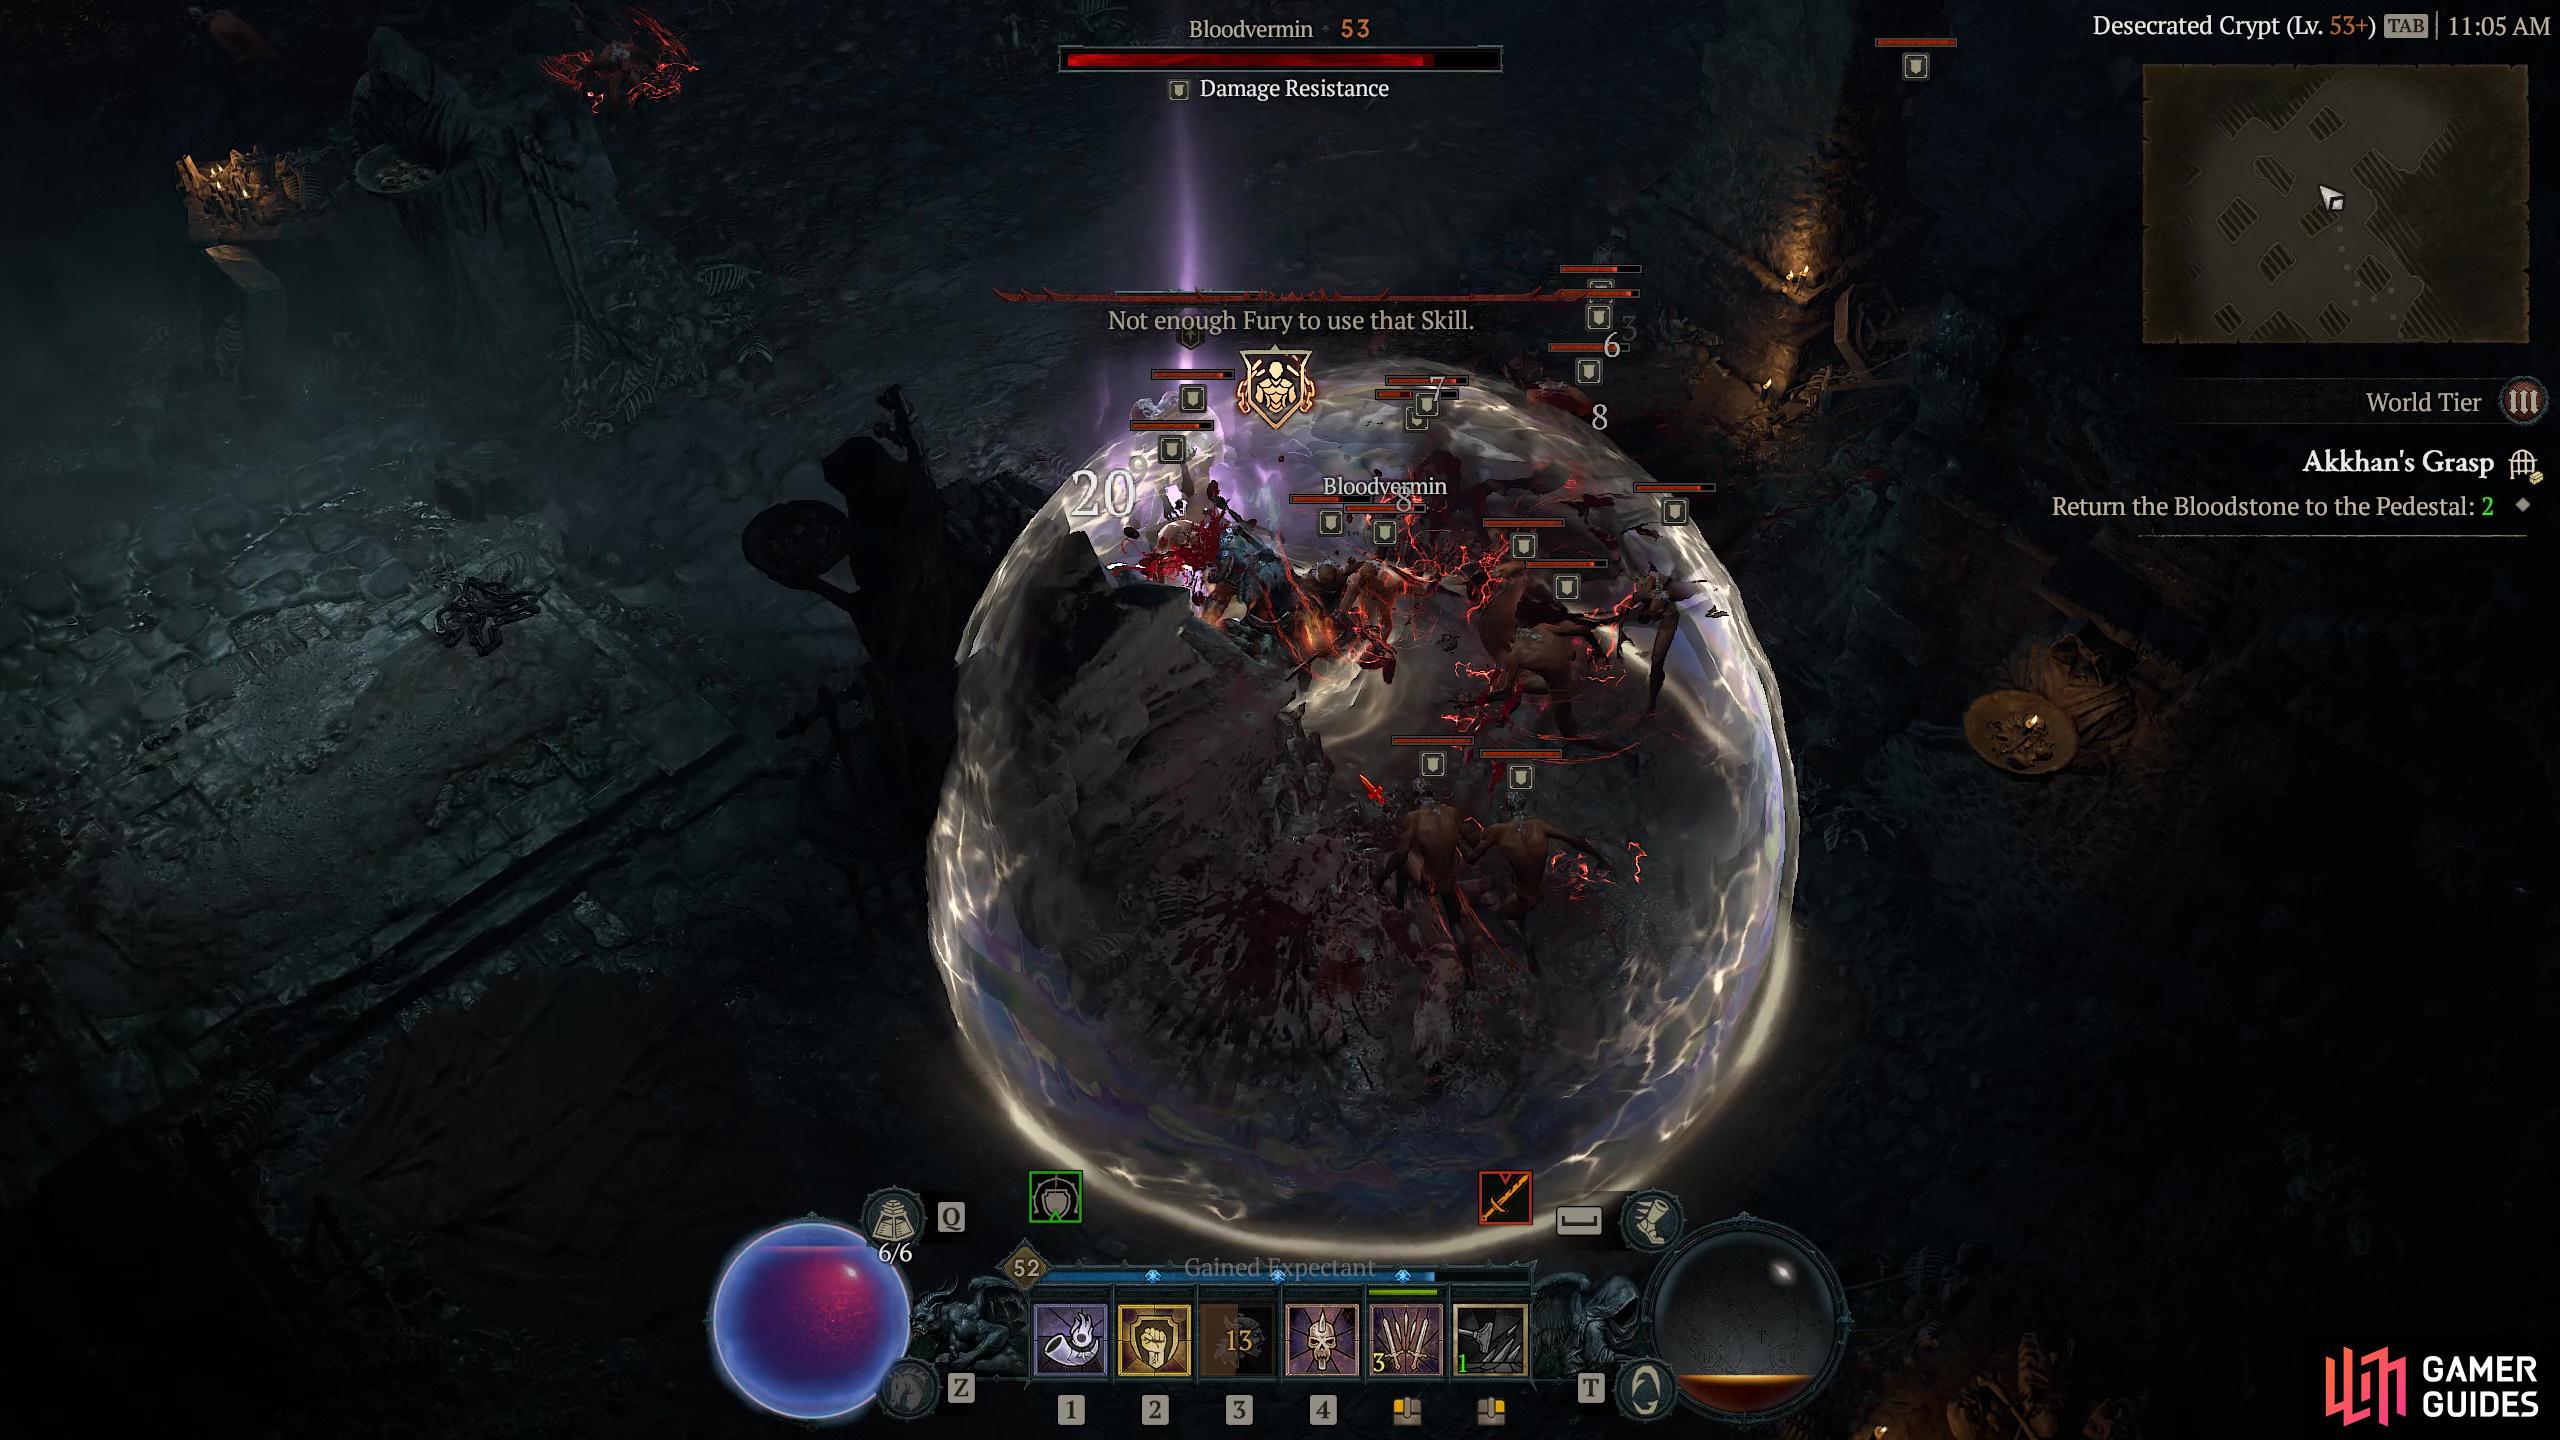
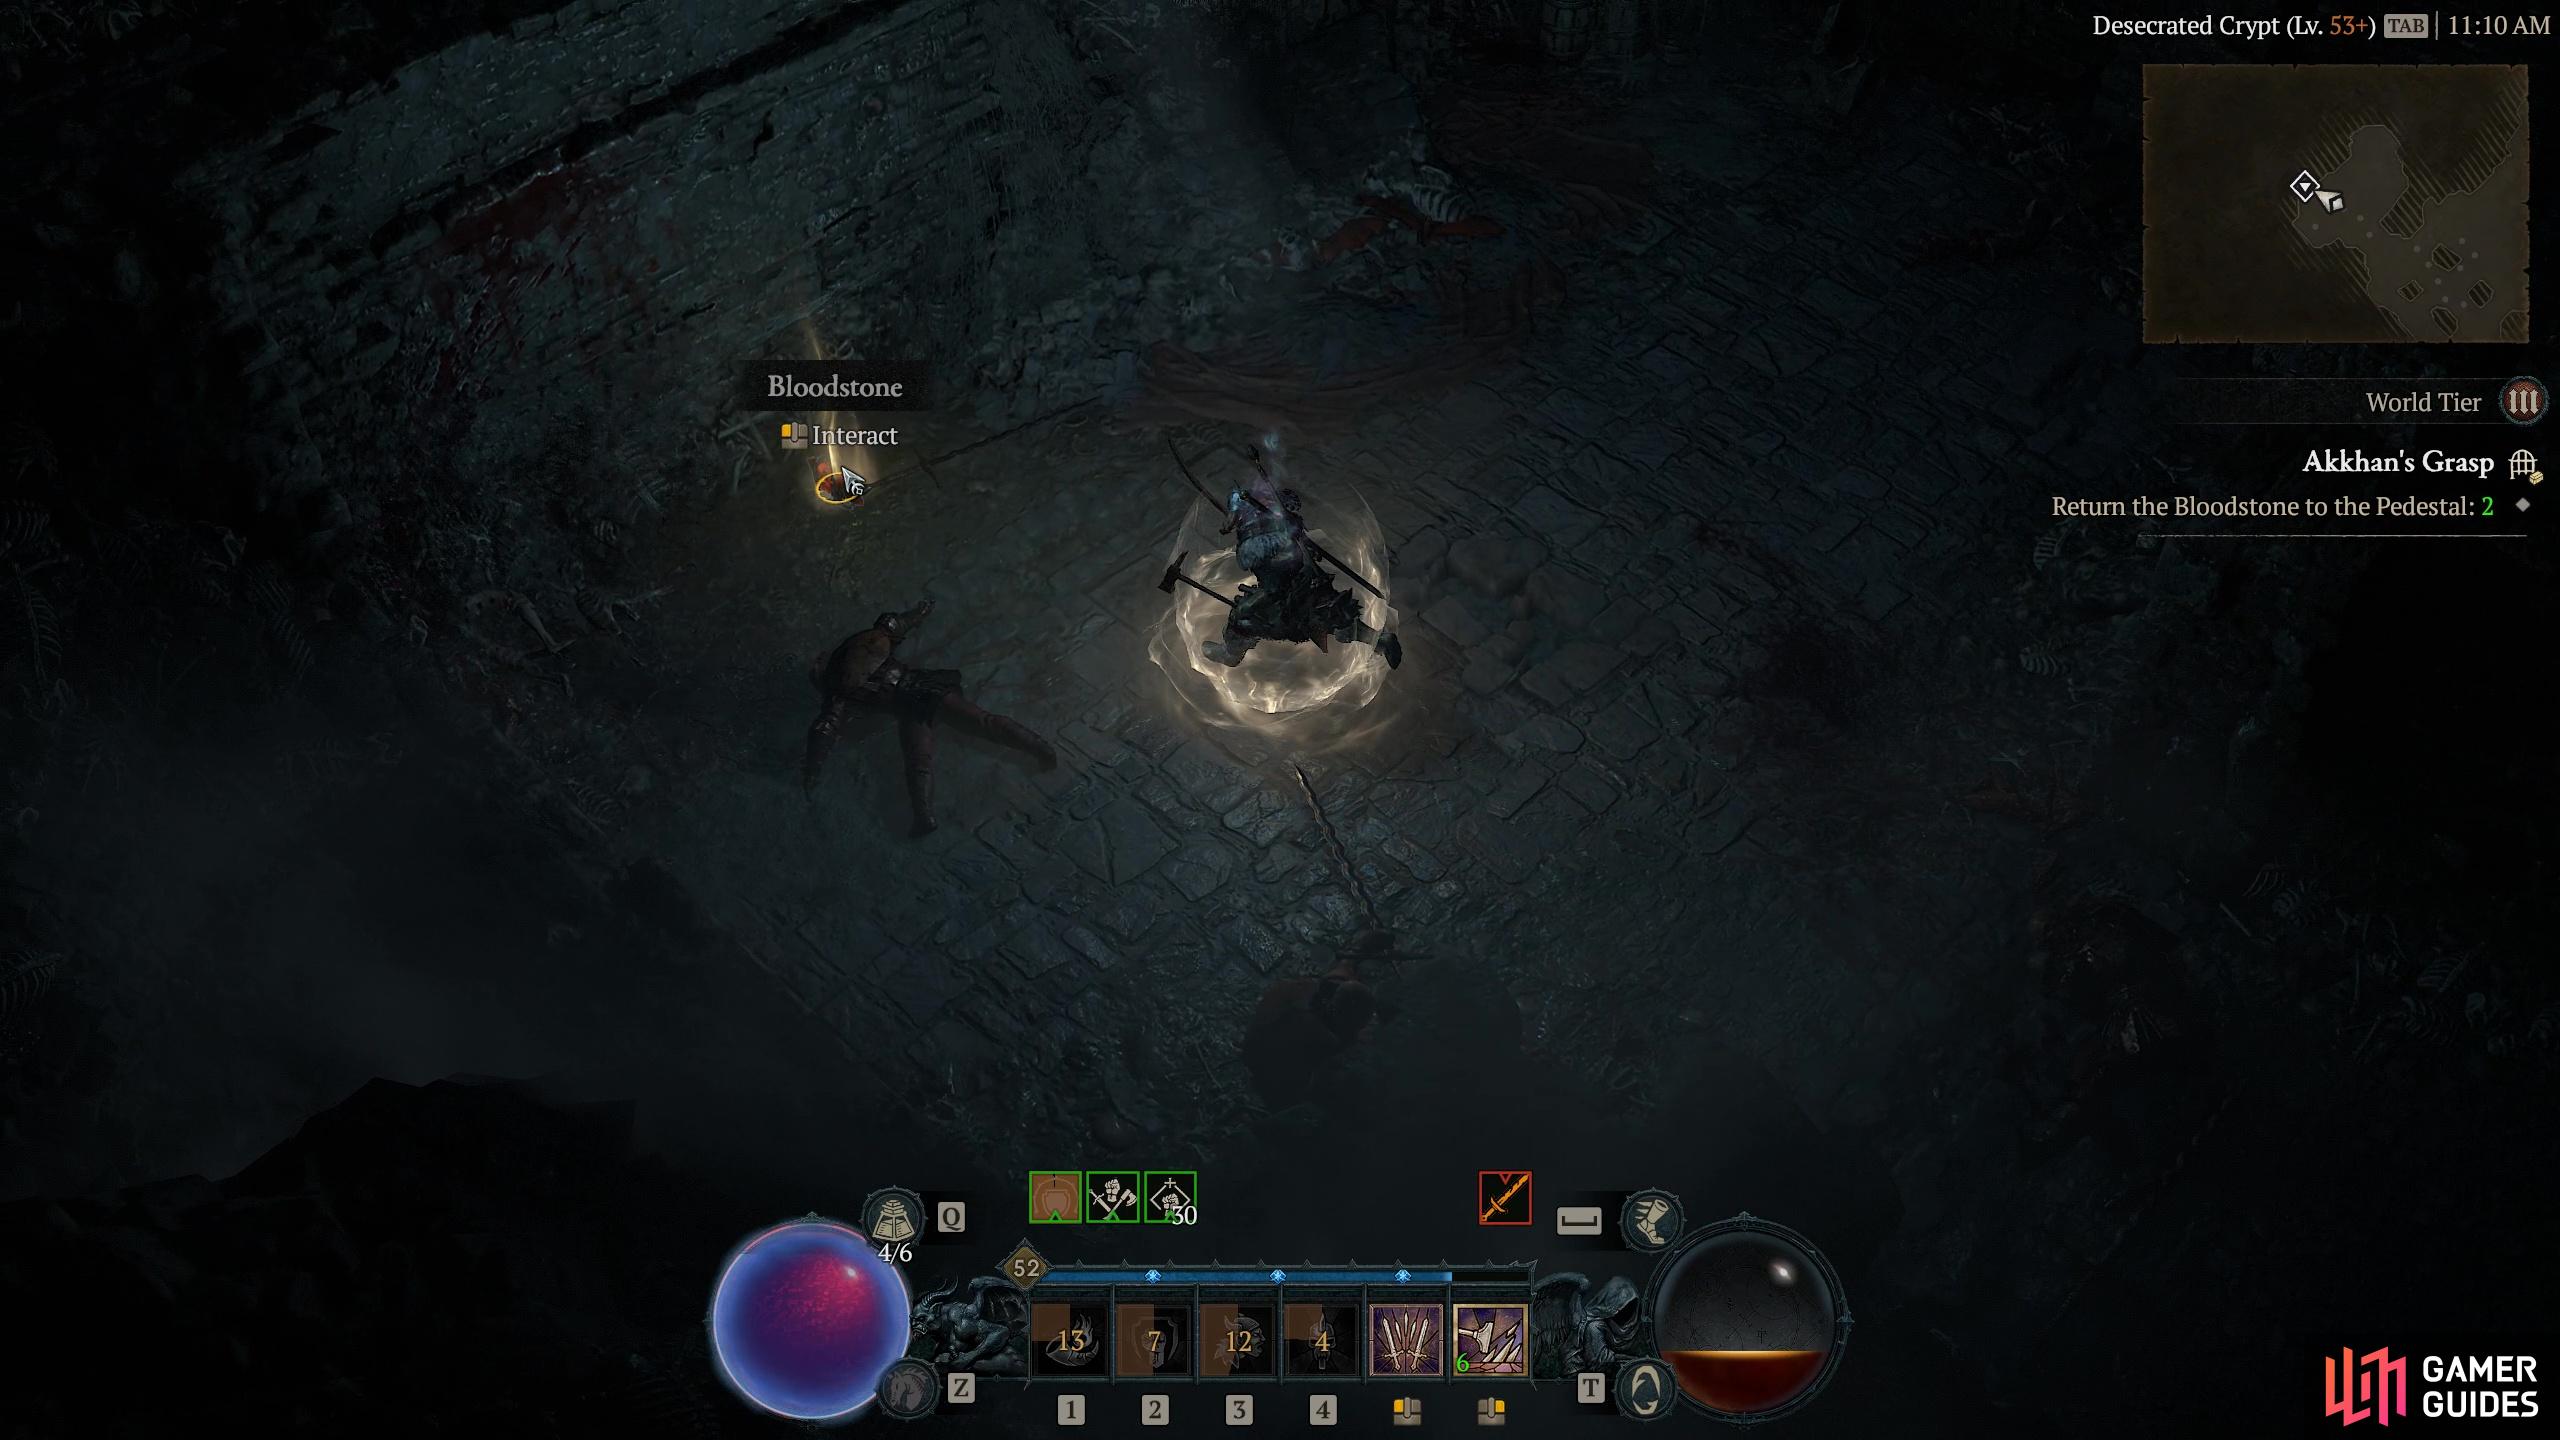
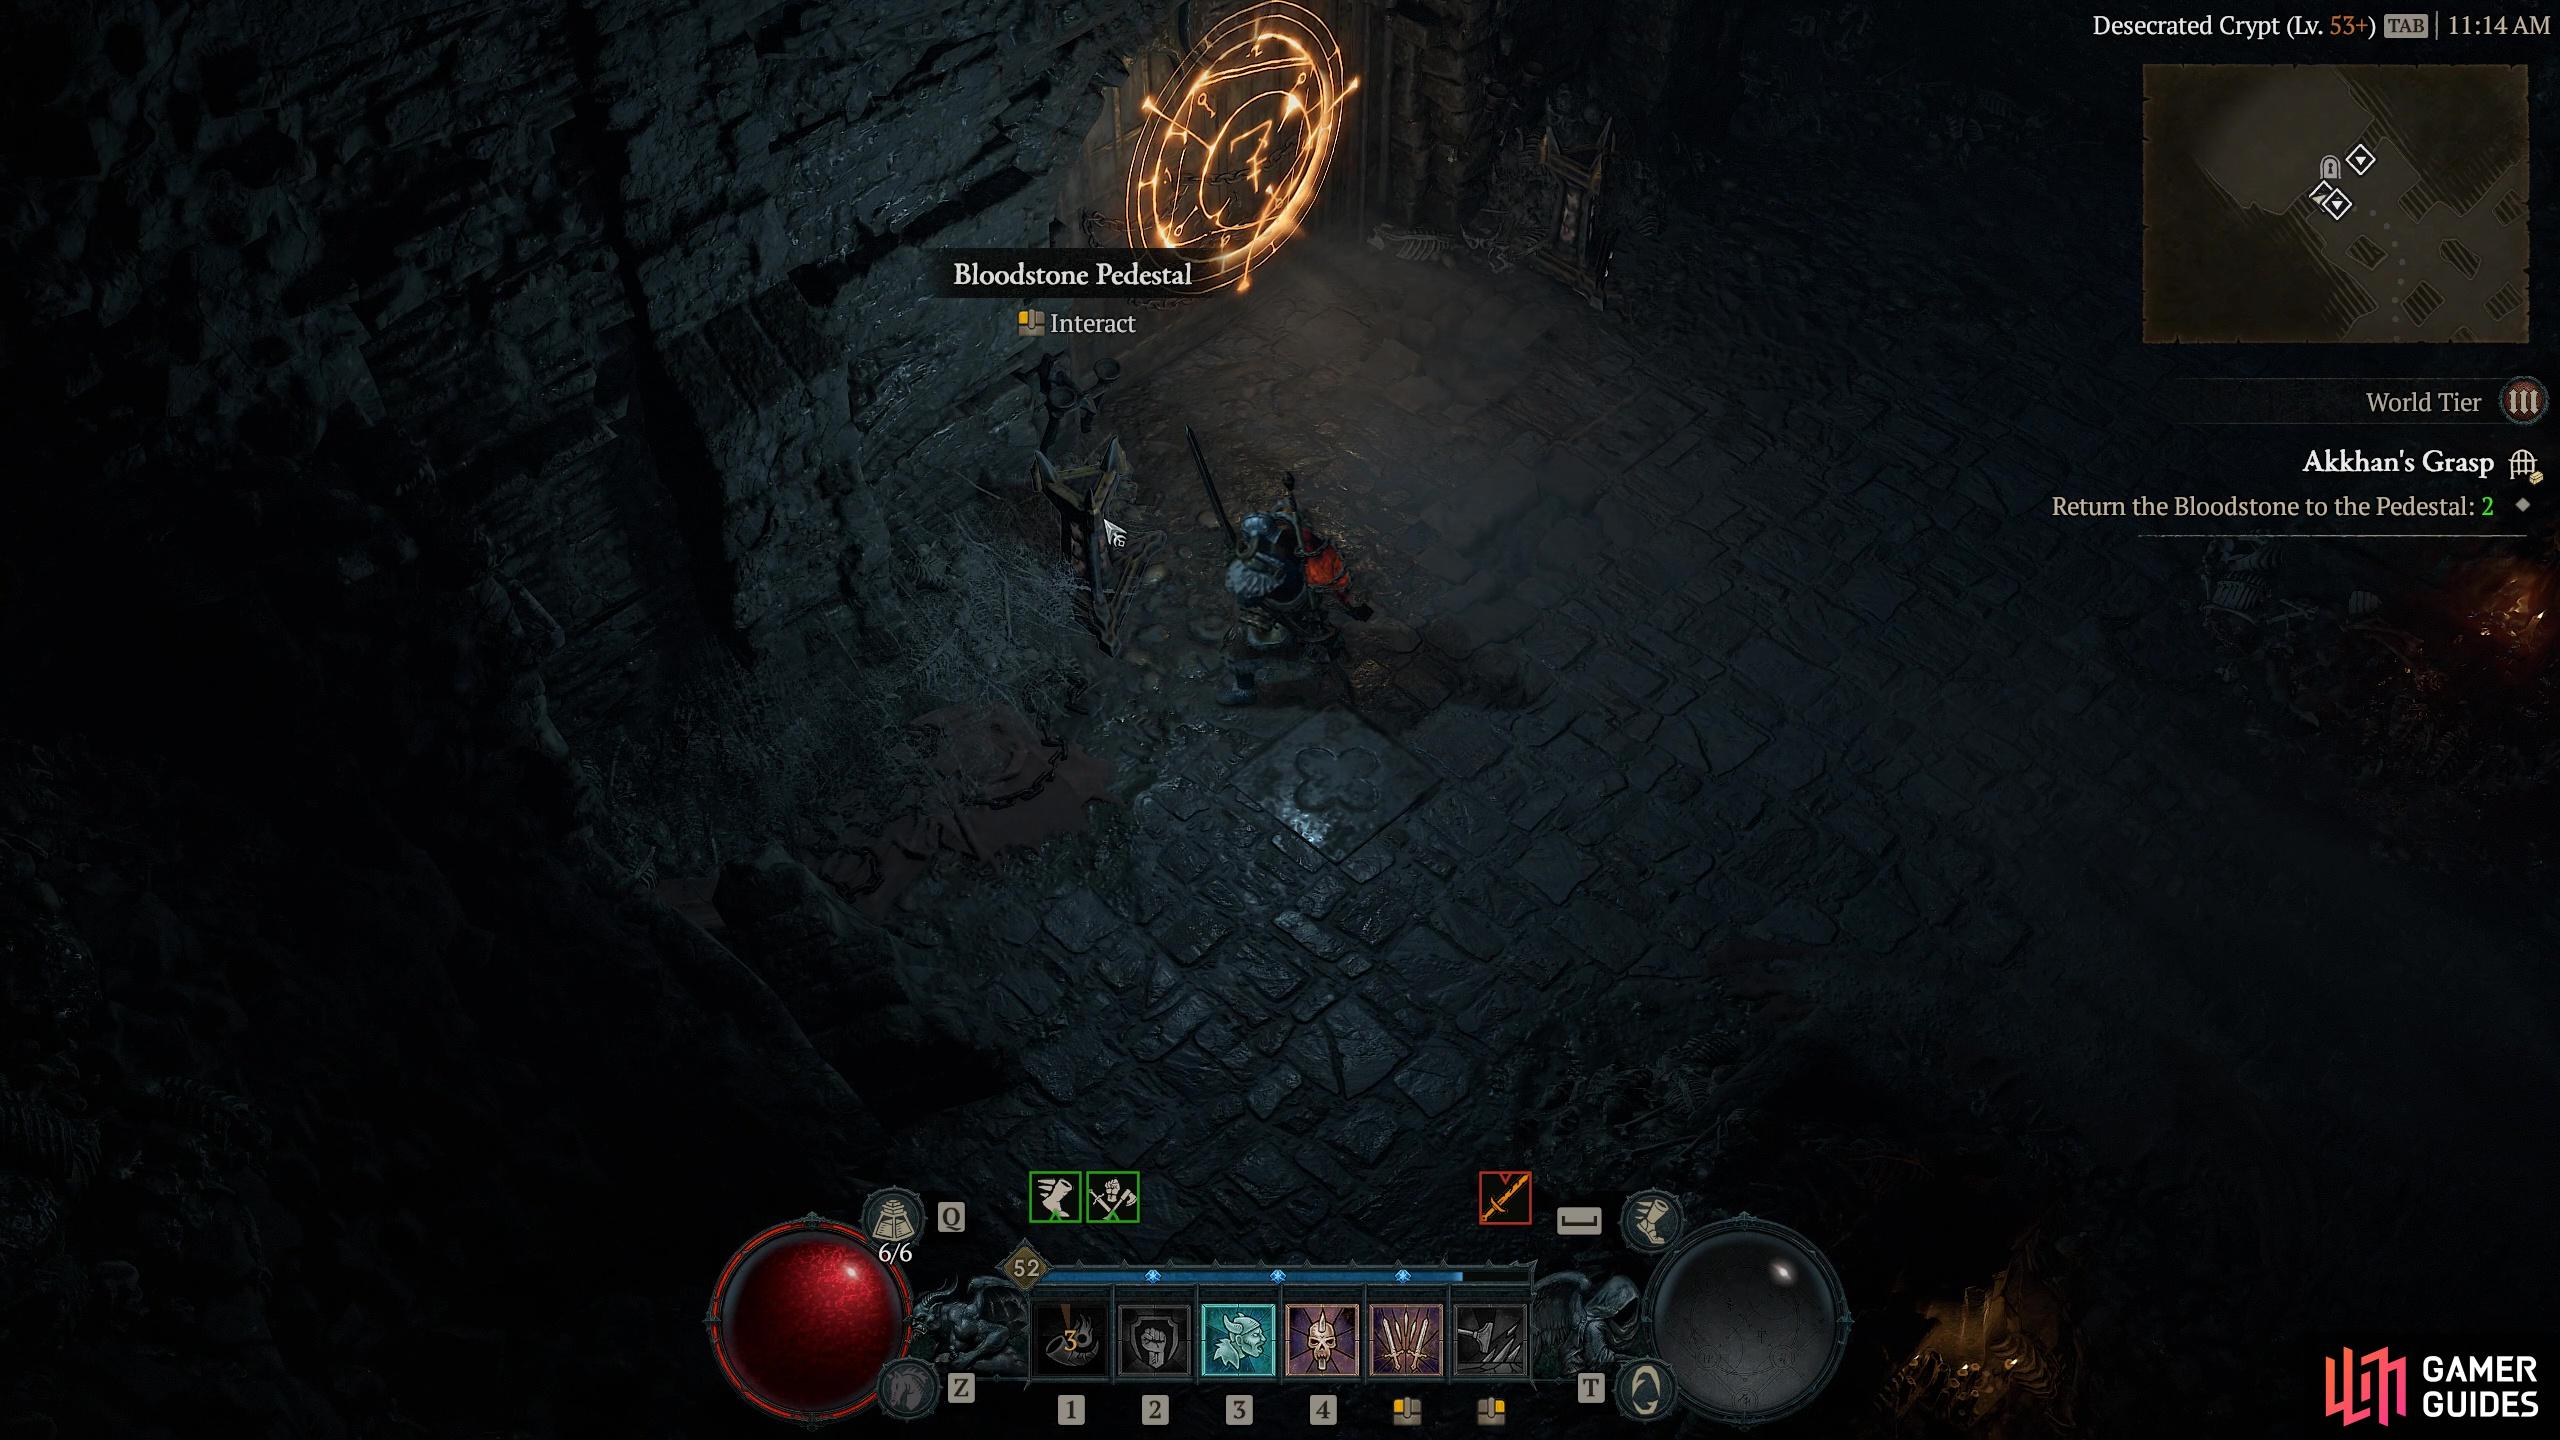
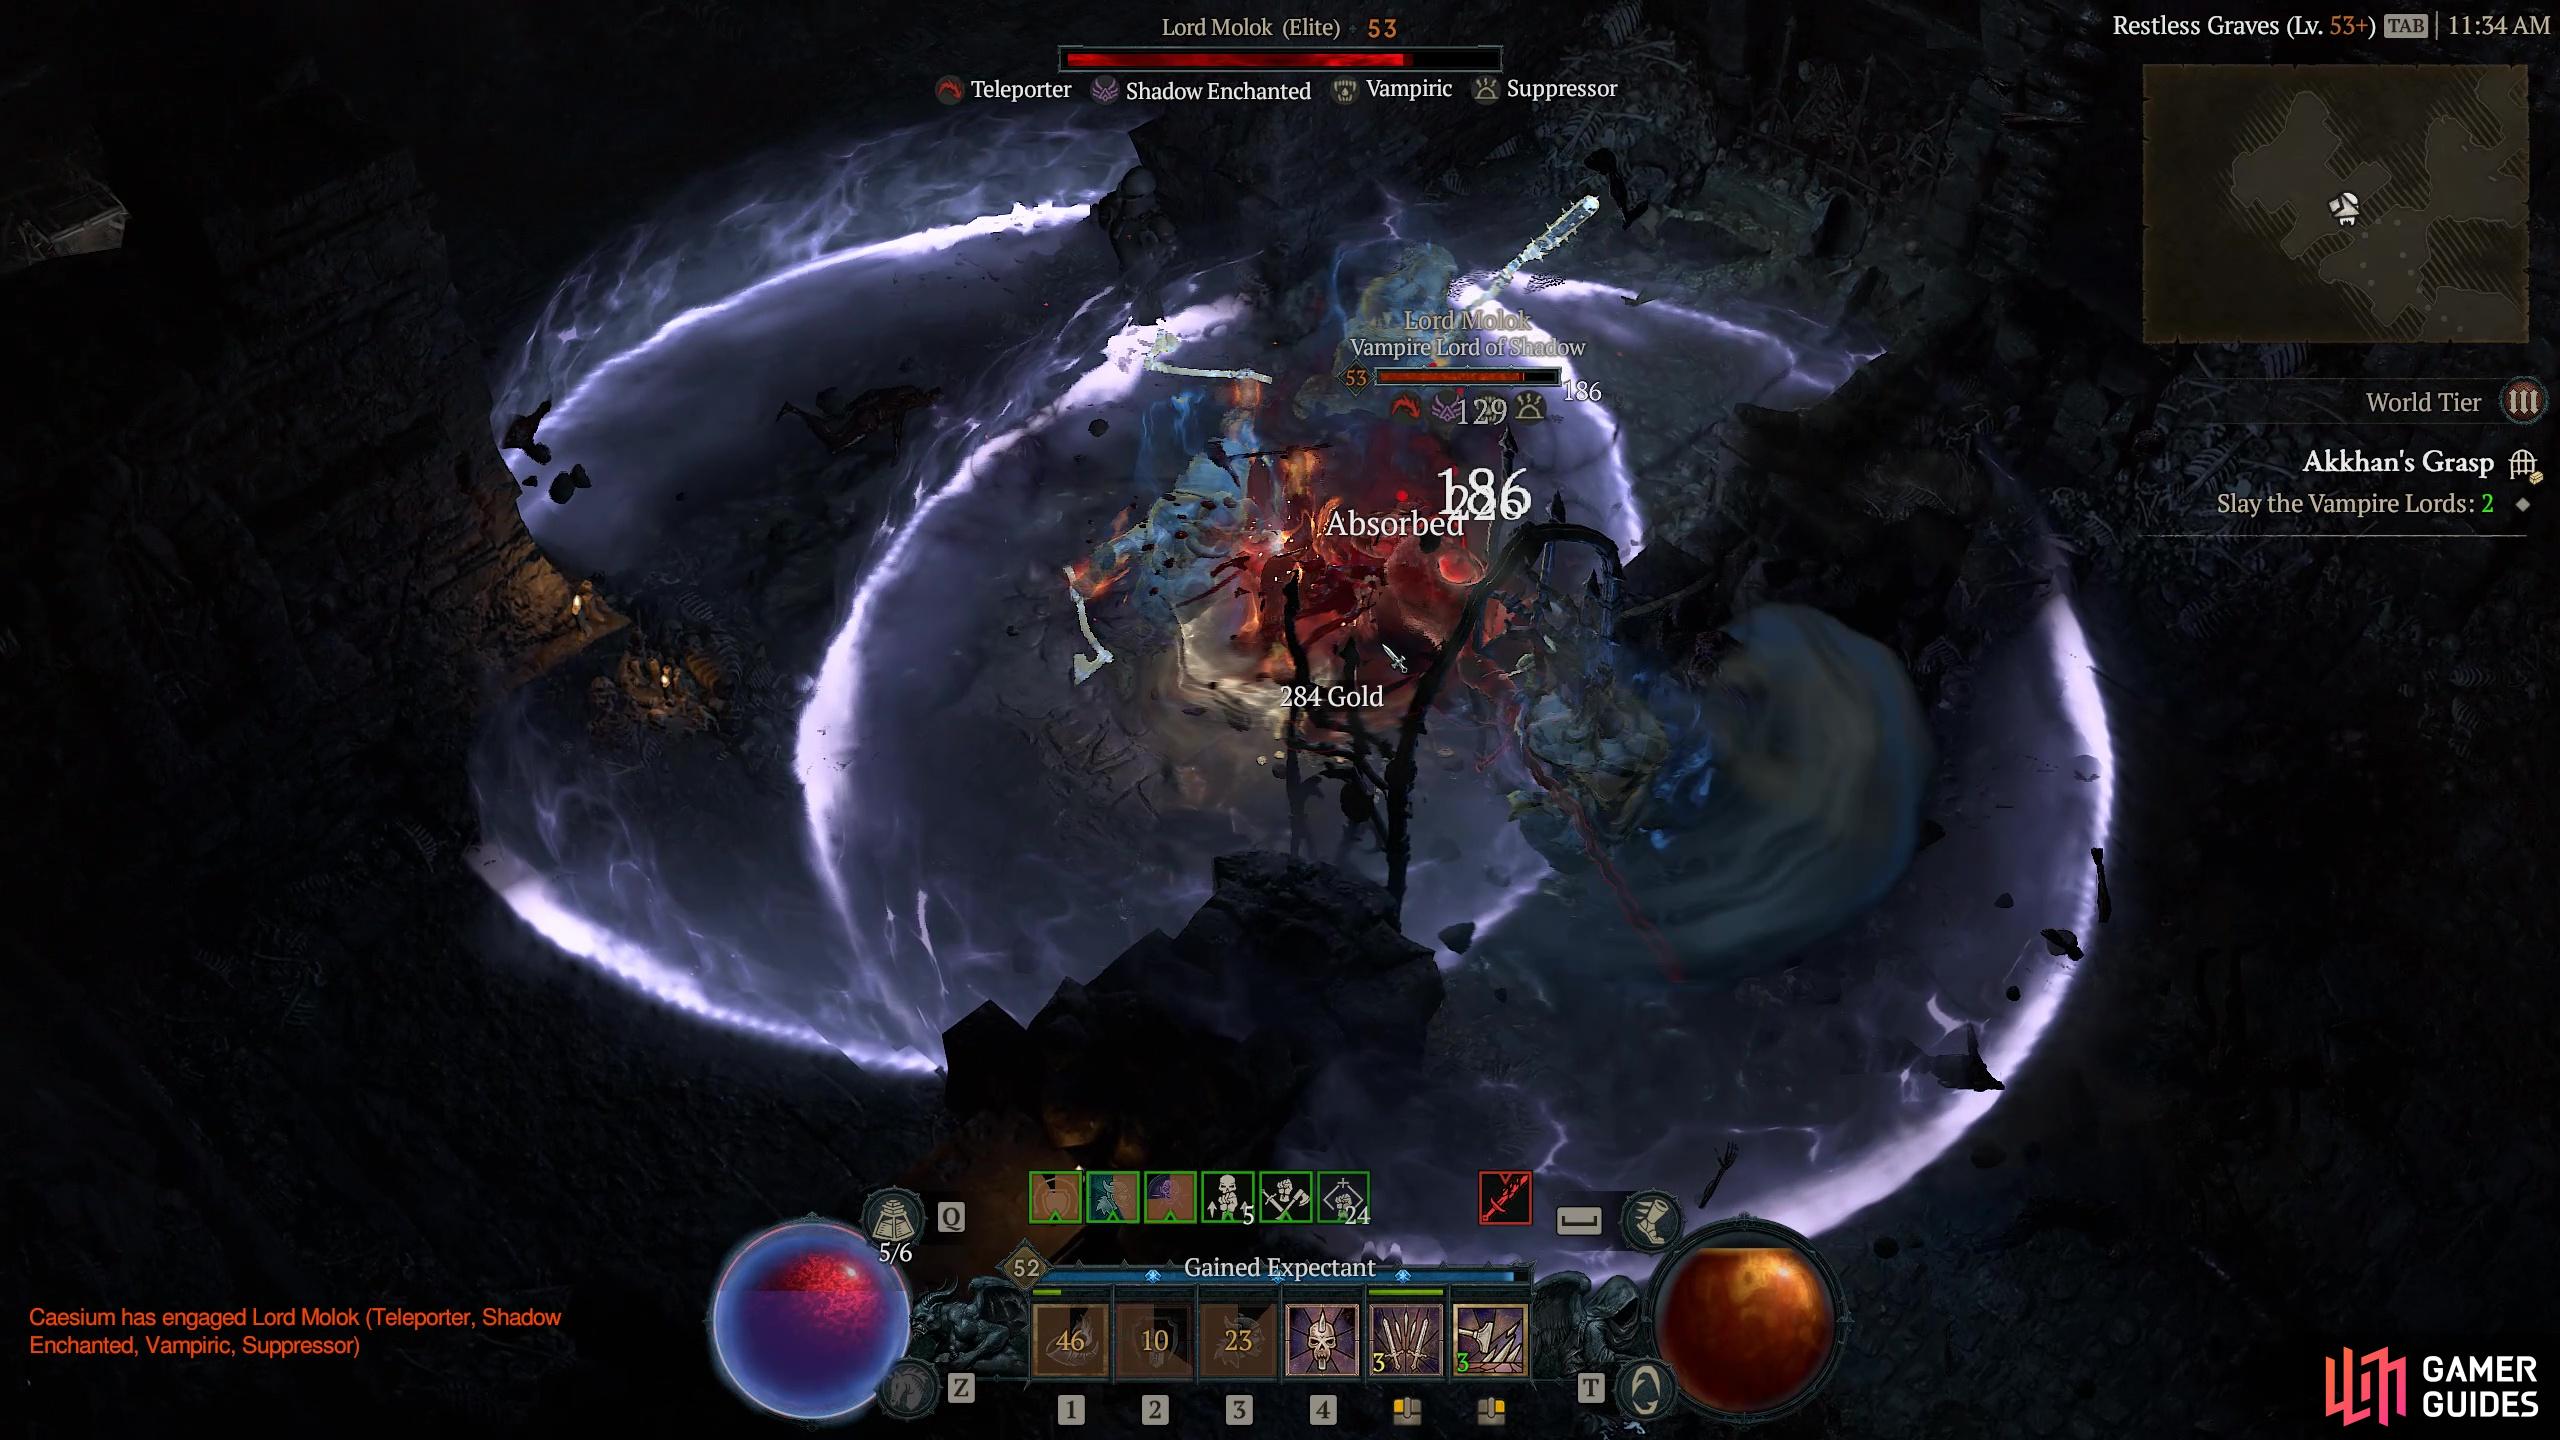
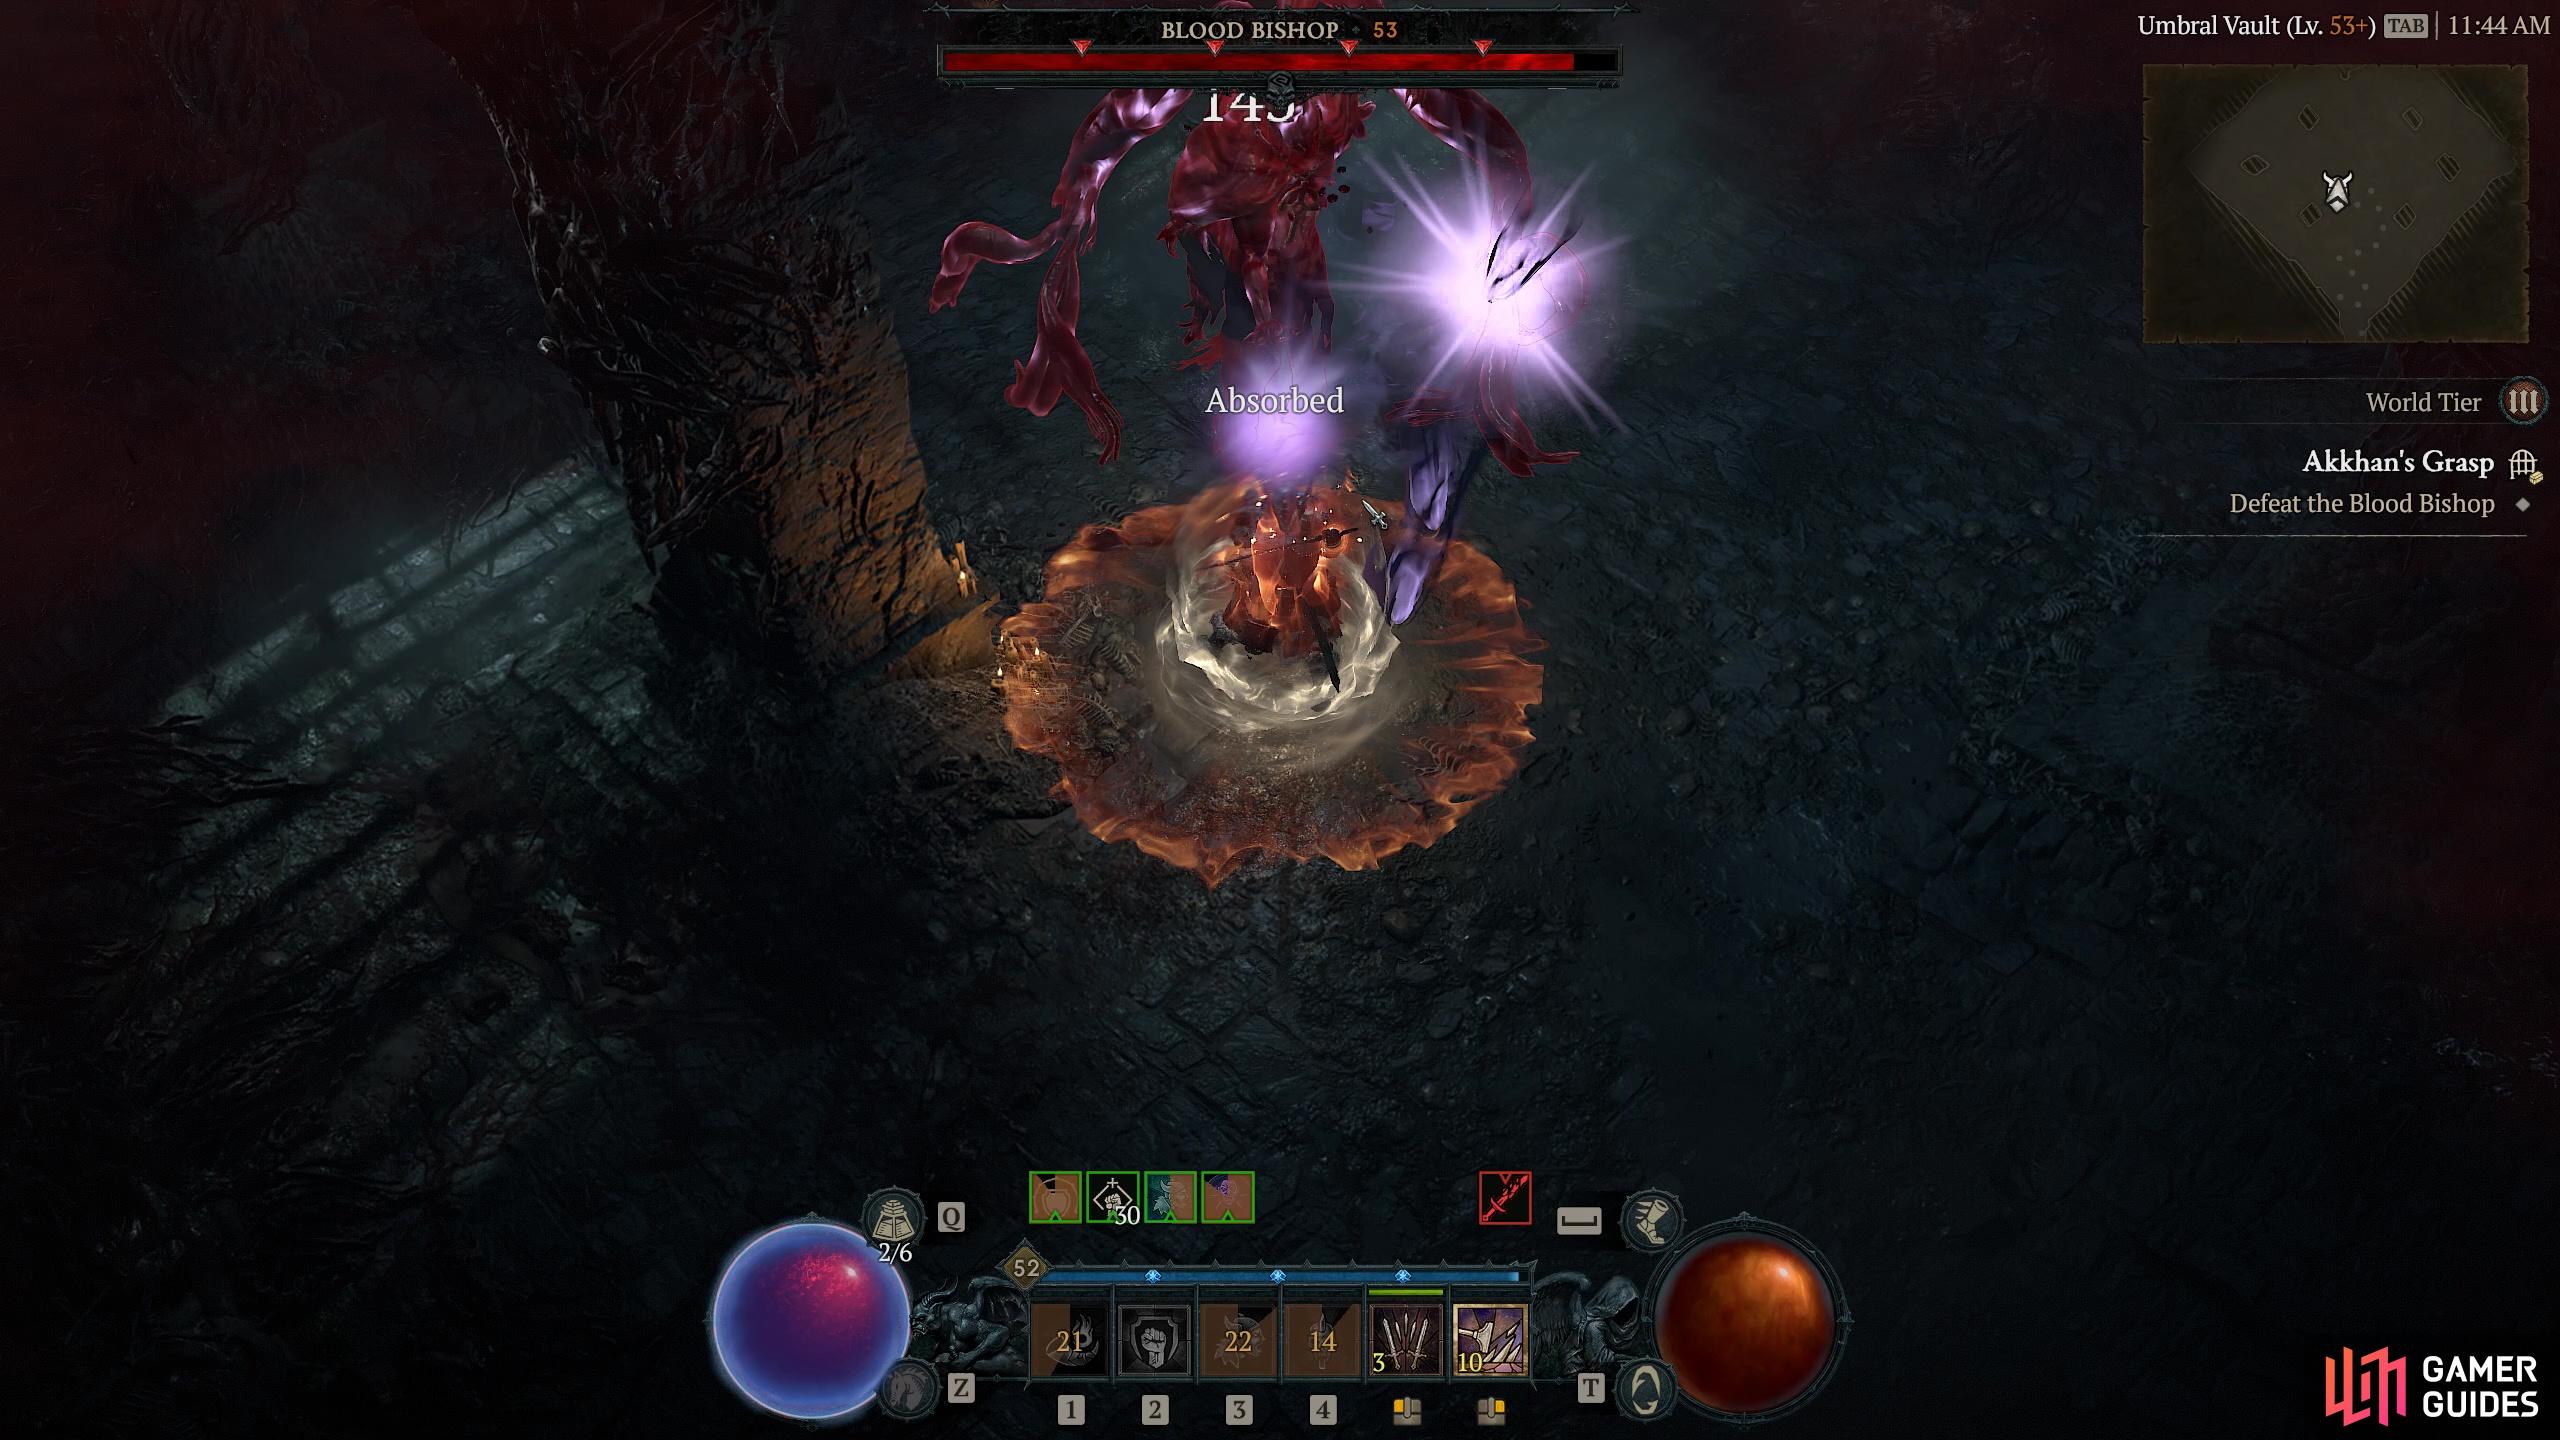
Akkhan's Grasp |
Evil and blood seep through the tomb’s ruptured seals
Objectives
Description
A deep, intense dungeon filled with vampires and their ilk, some of which are quite difficult to finish off, especially for solo adventurers. The first section in the standard collecting two Bloodstones and returning them to their pedestals. After this you can move on to the Restless Graves where ultimately you will need to slay two tough Vampire lords to progress. While well defended you can use the nearby rooms to lure and funnel some of the lesser enemies to their doom before facing off against the Lords themselves - each of which is located in a different section of the dungeon. Once they have been removed it is on to the final battle with our old friend the
Enemies
Bloodvermin
Vampires
1× Lycidas Pusblister
Bosses
Putrid Remains
Zombies
1× Lord Molok
Bosses
1× Lord Tidus
Bosses
1×
Region
Item Reward
1×
|
|
|||||||||||||||||||||||||||||||||||||||||||||||||||||||||||||||||||||||||||||||||||||||||||||||

|
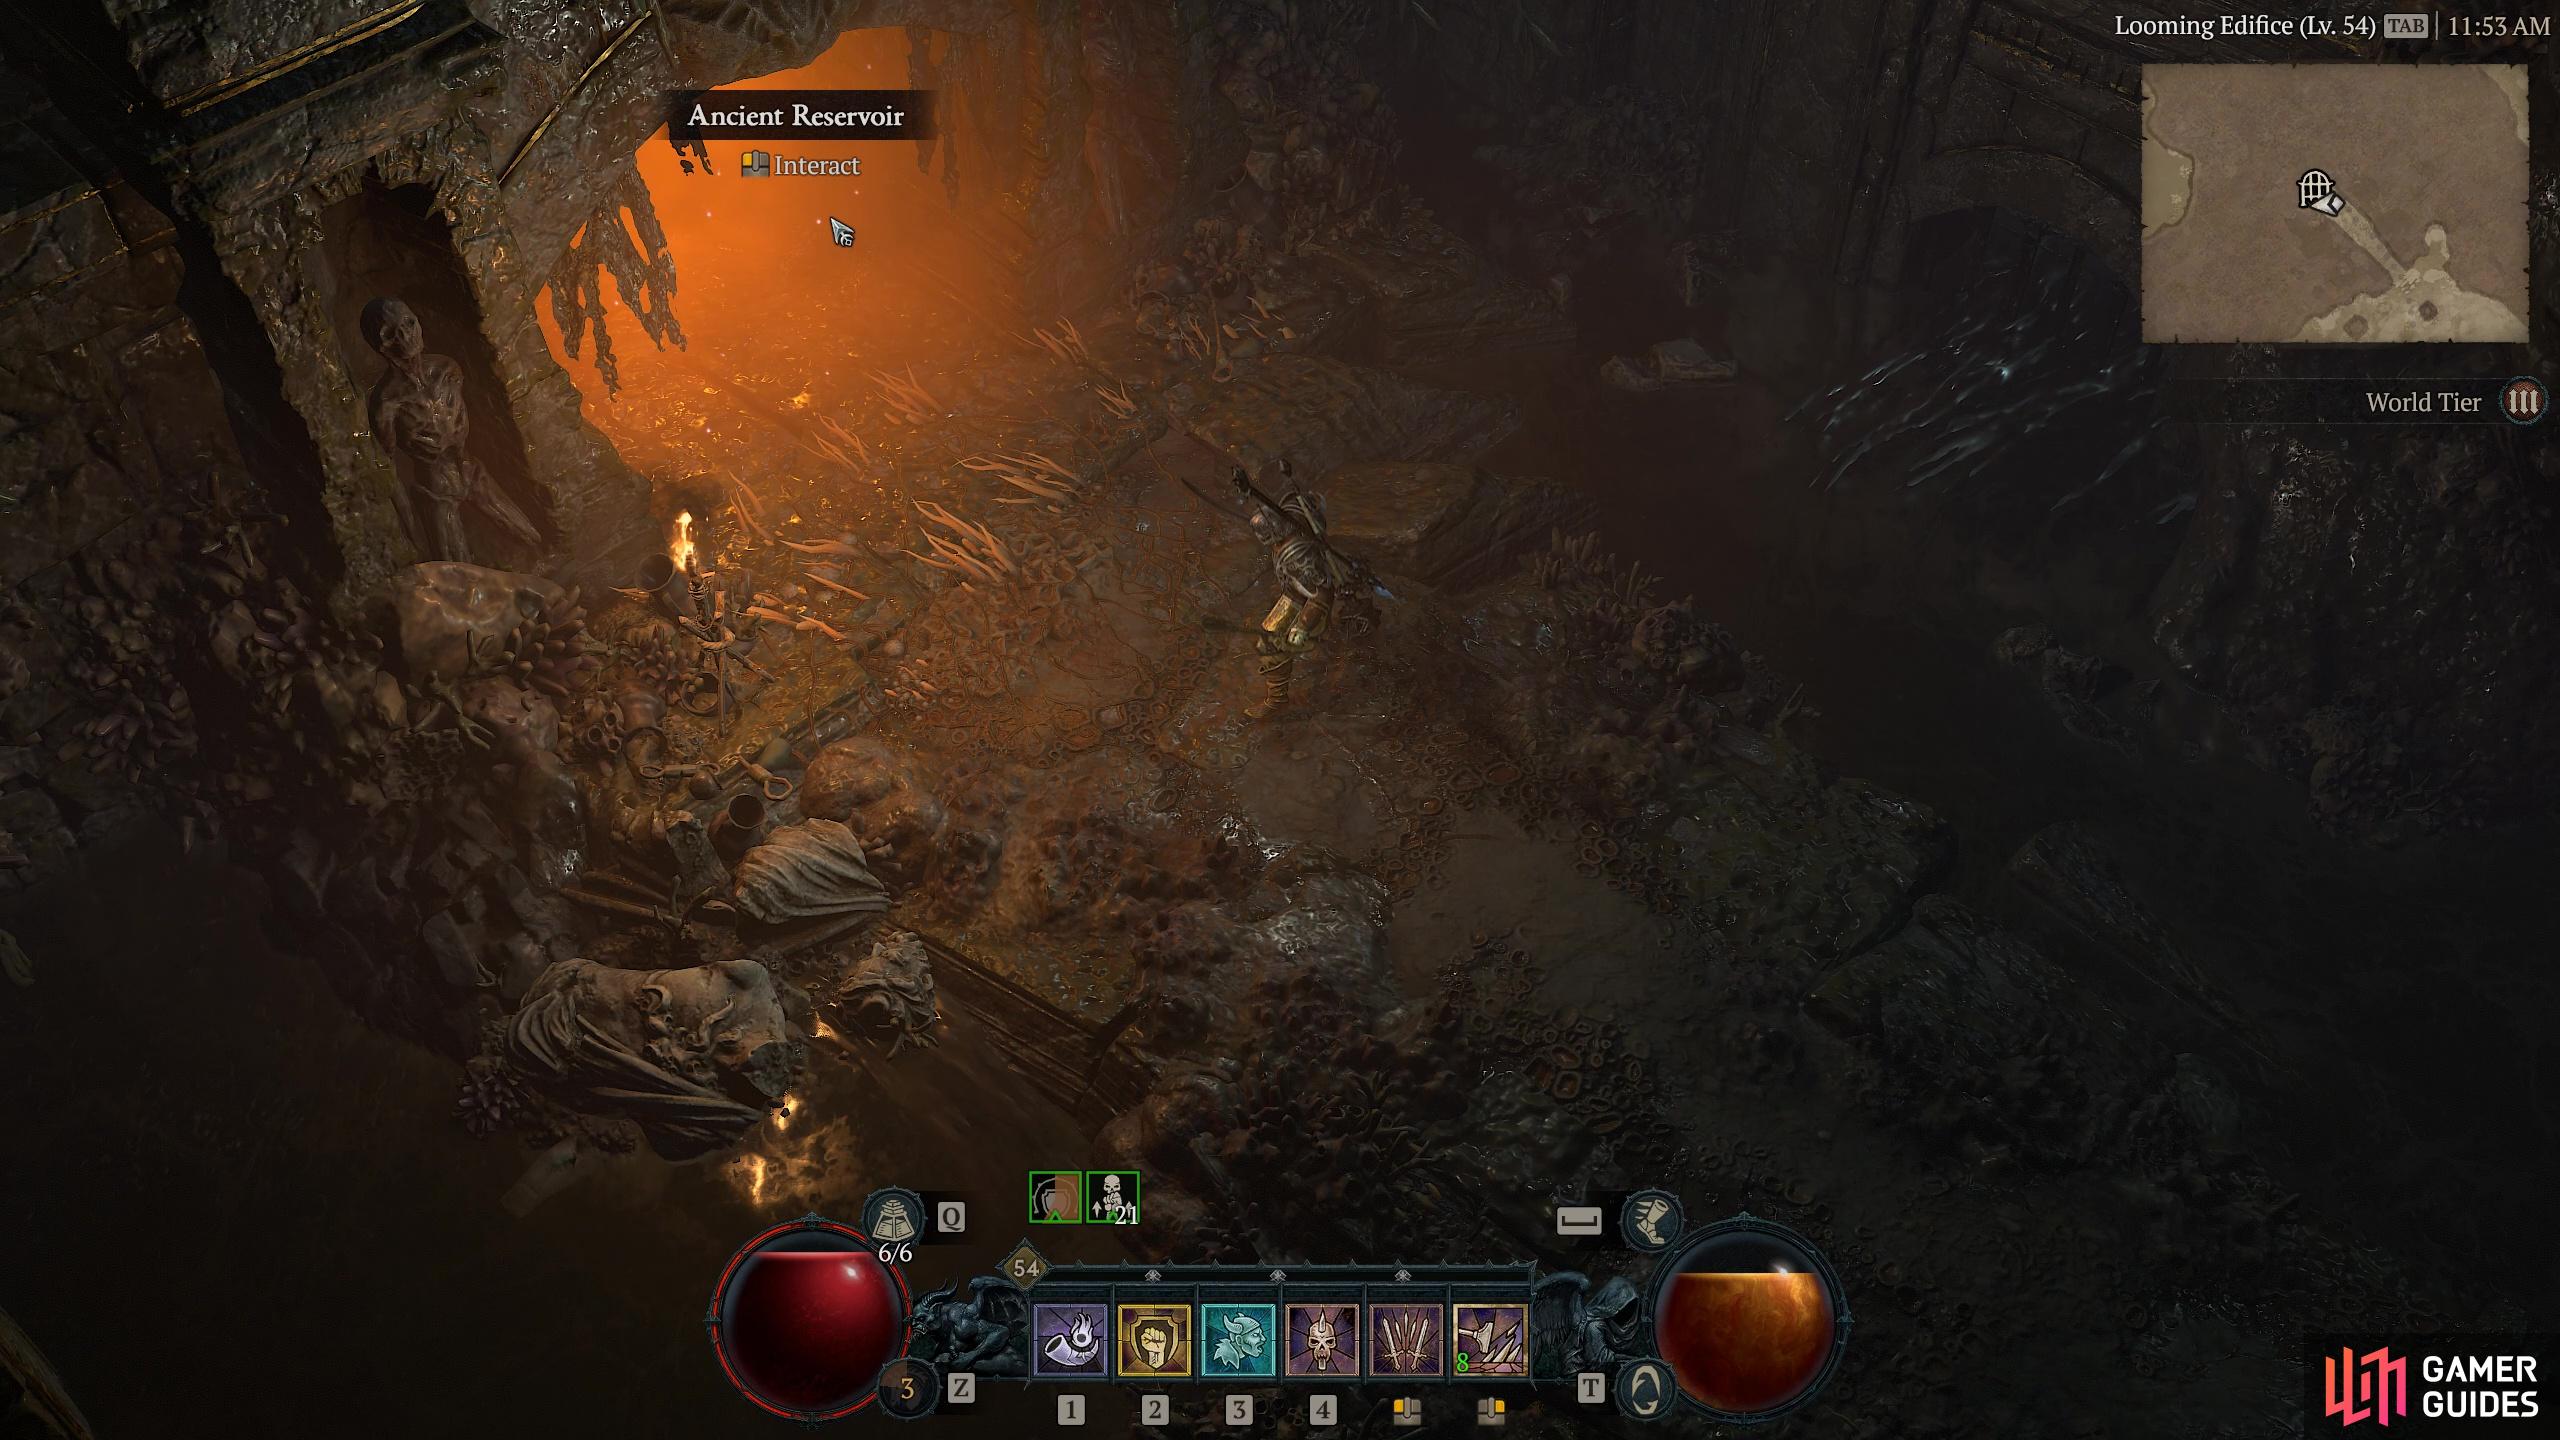
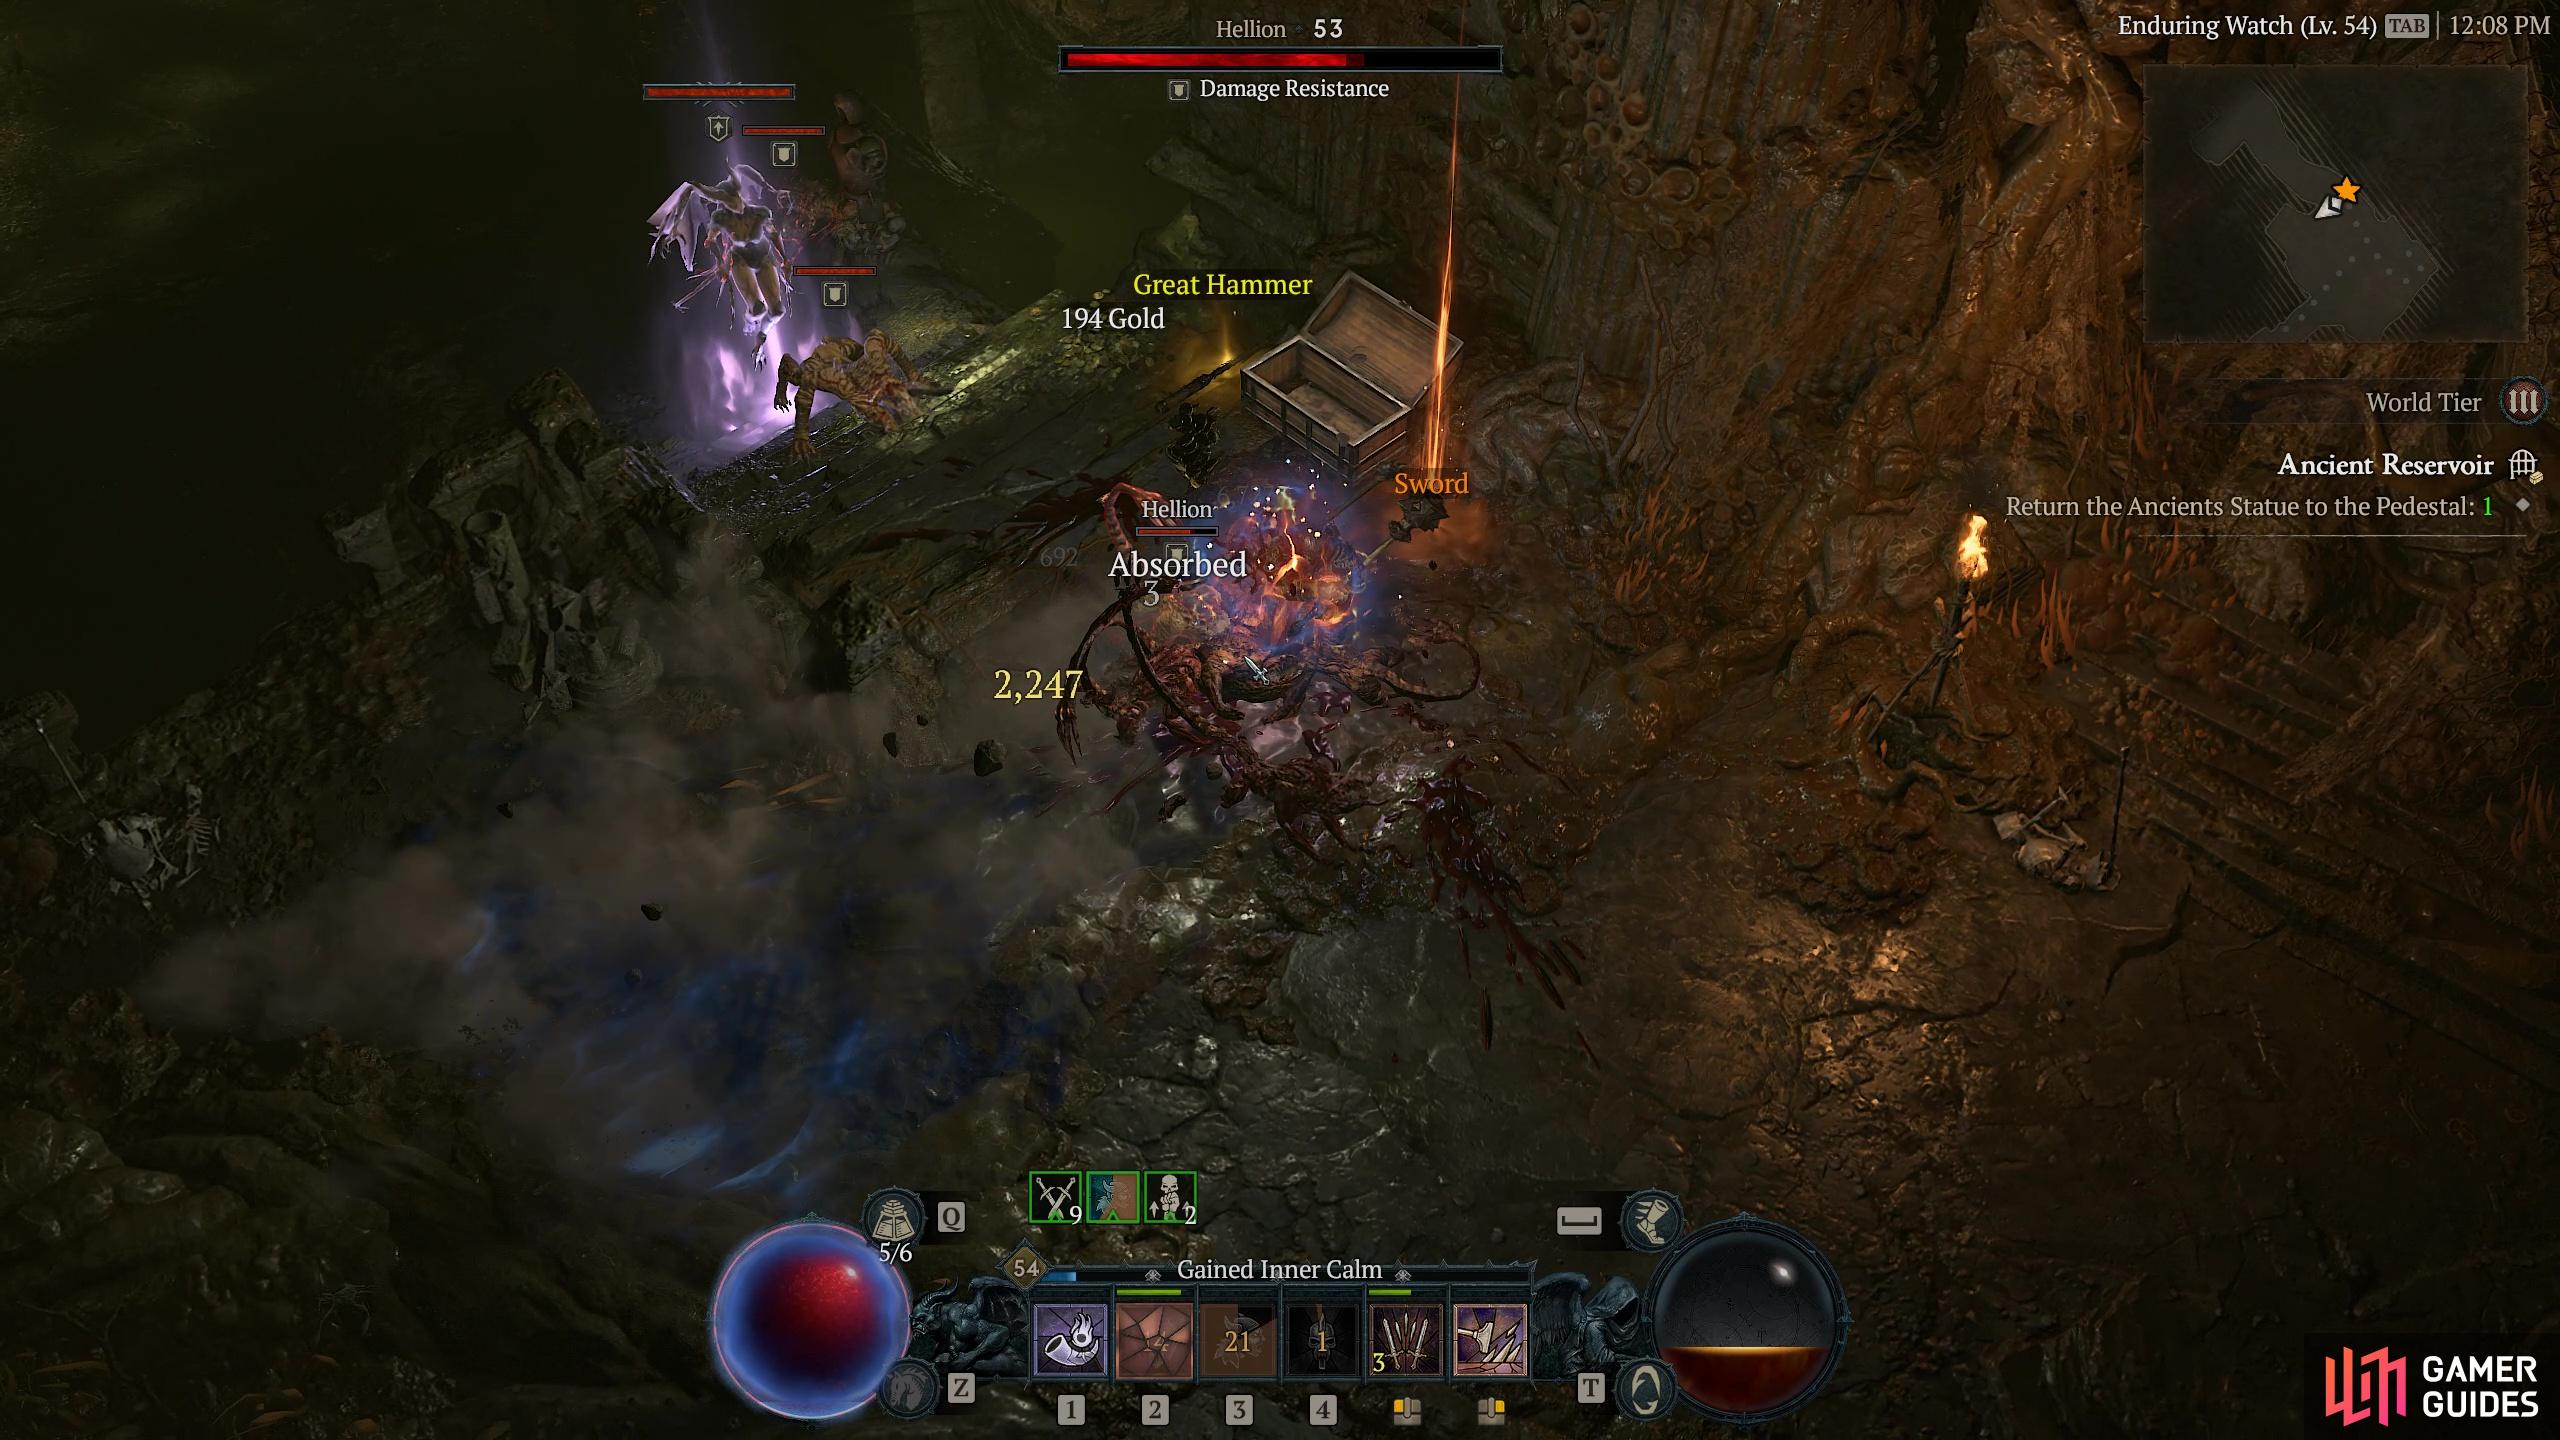
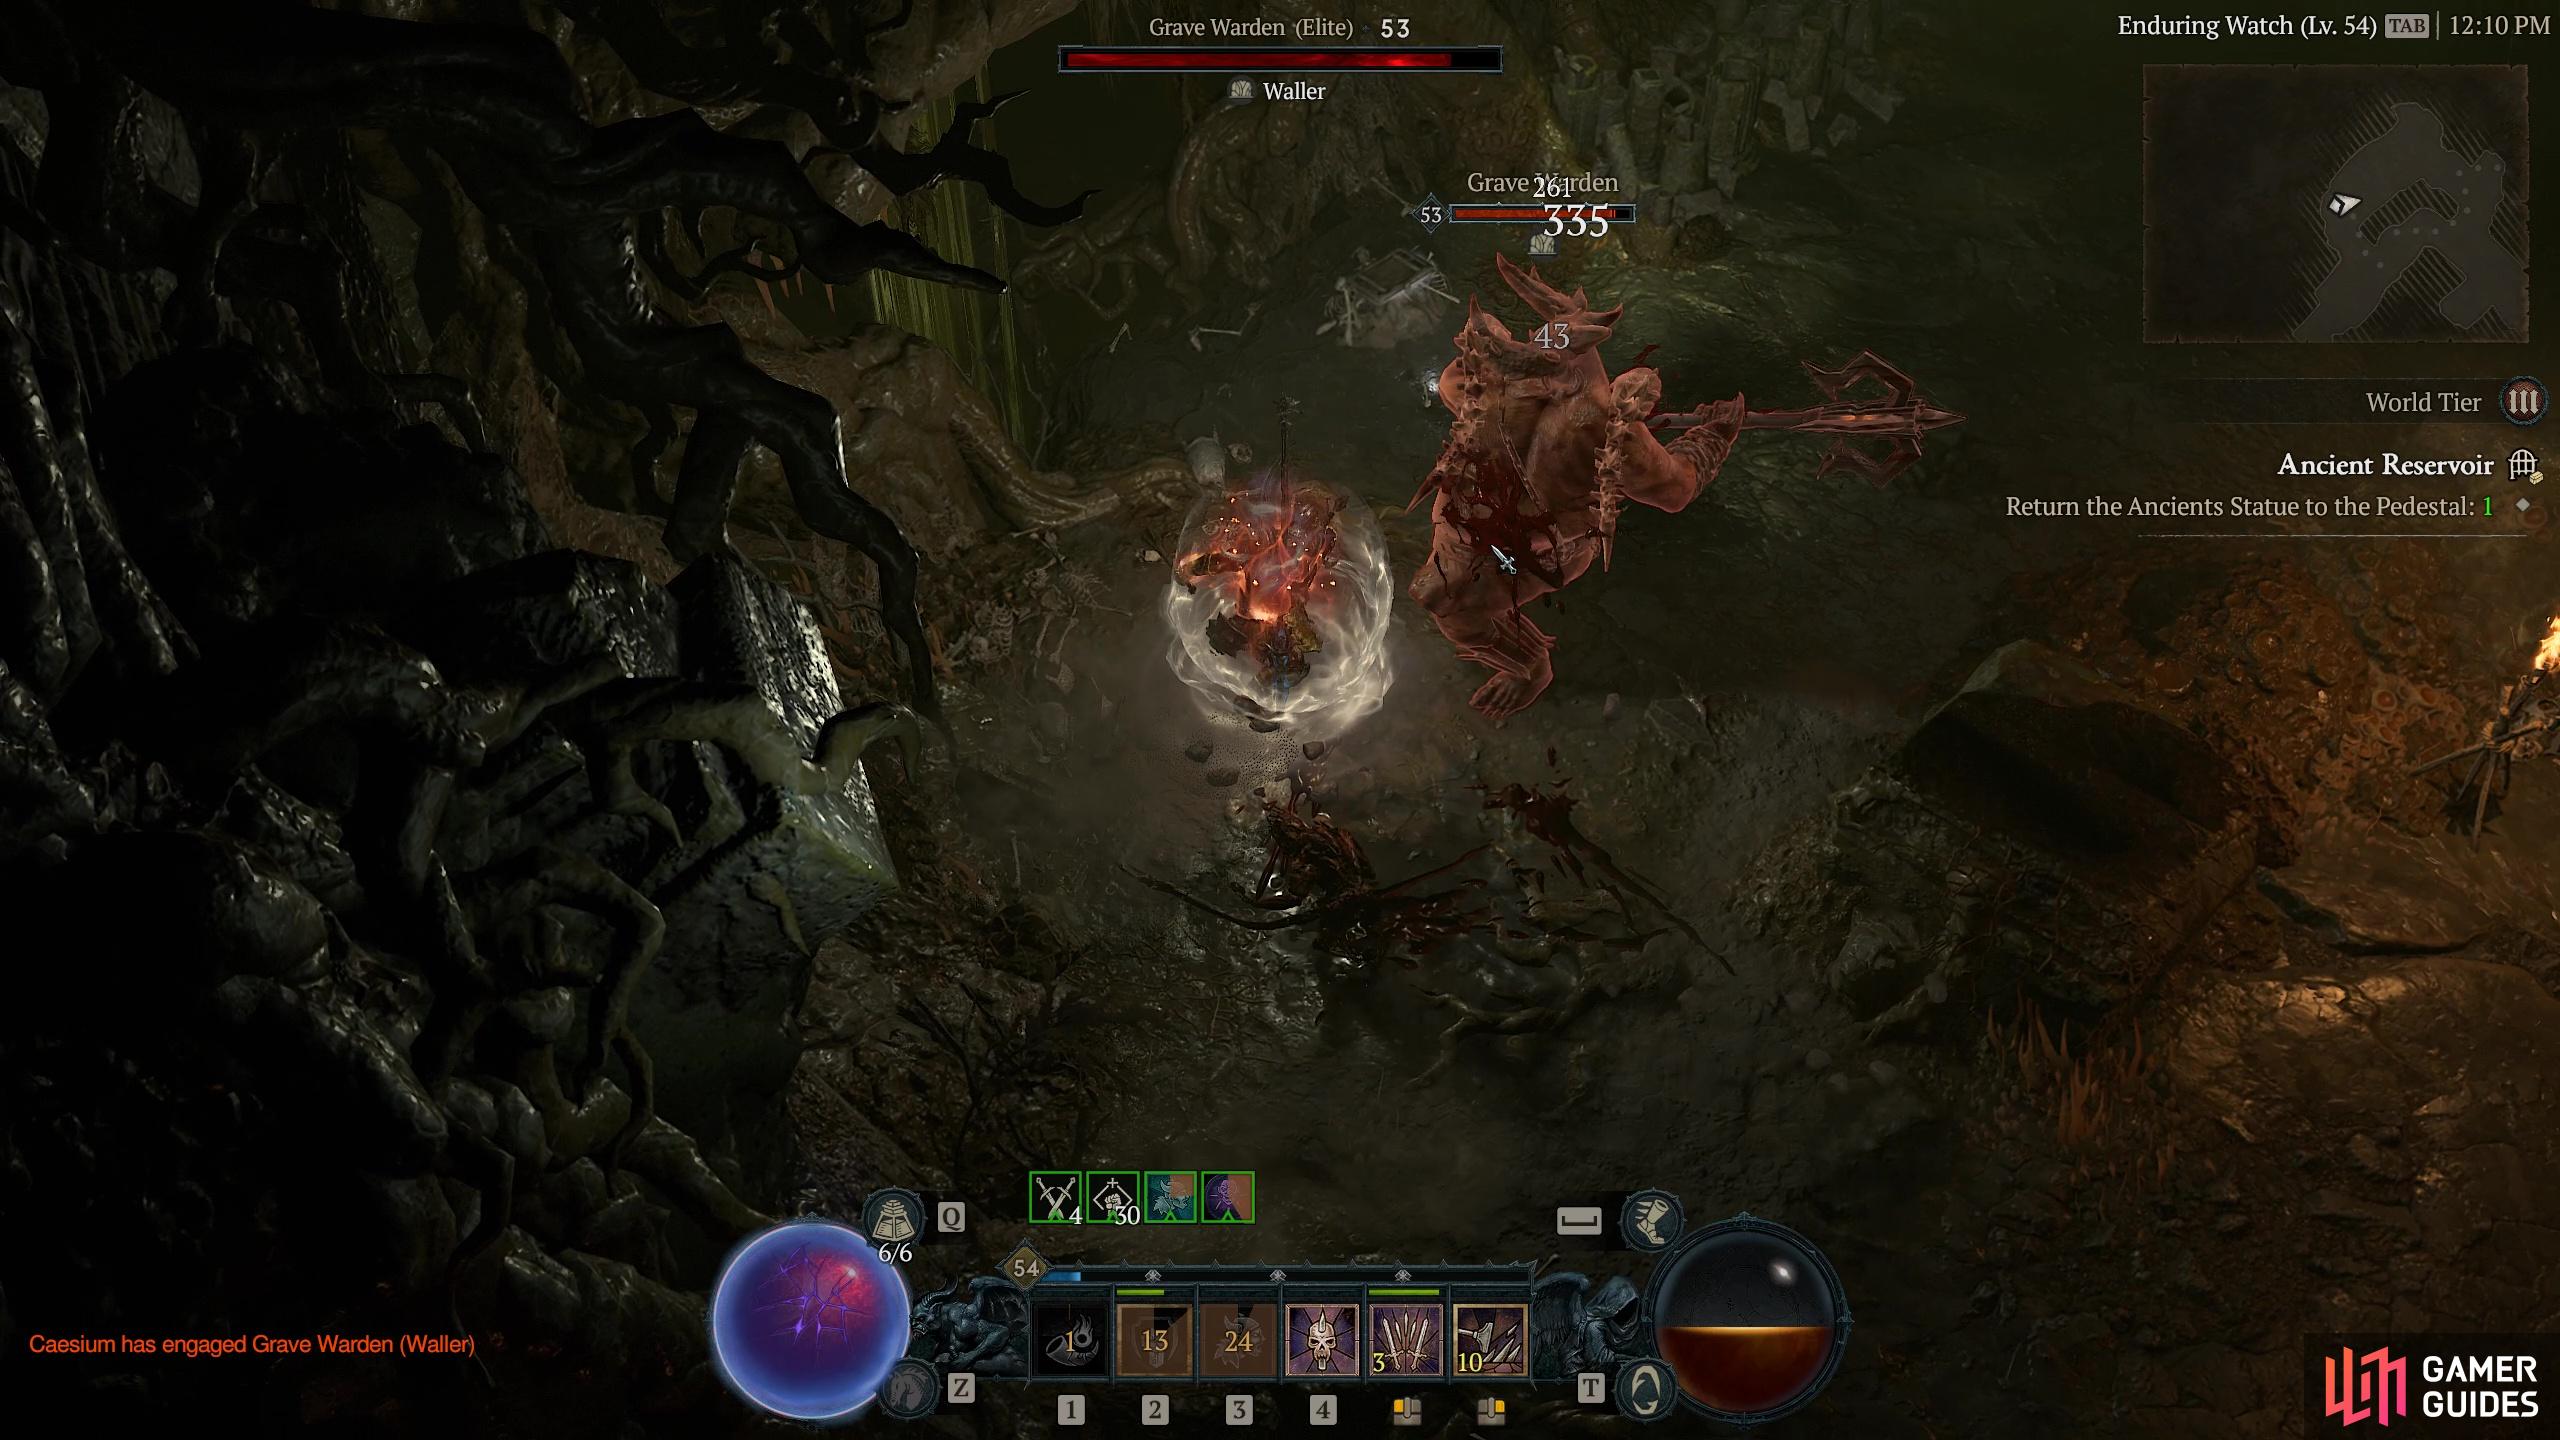
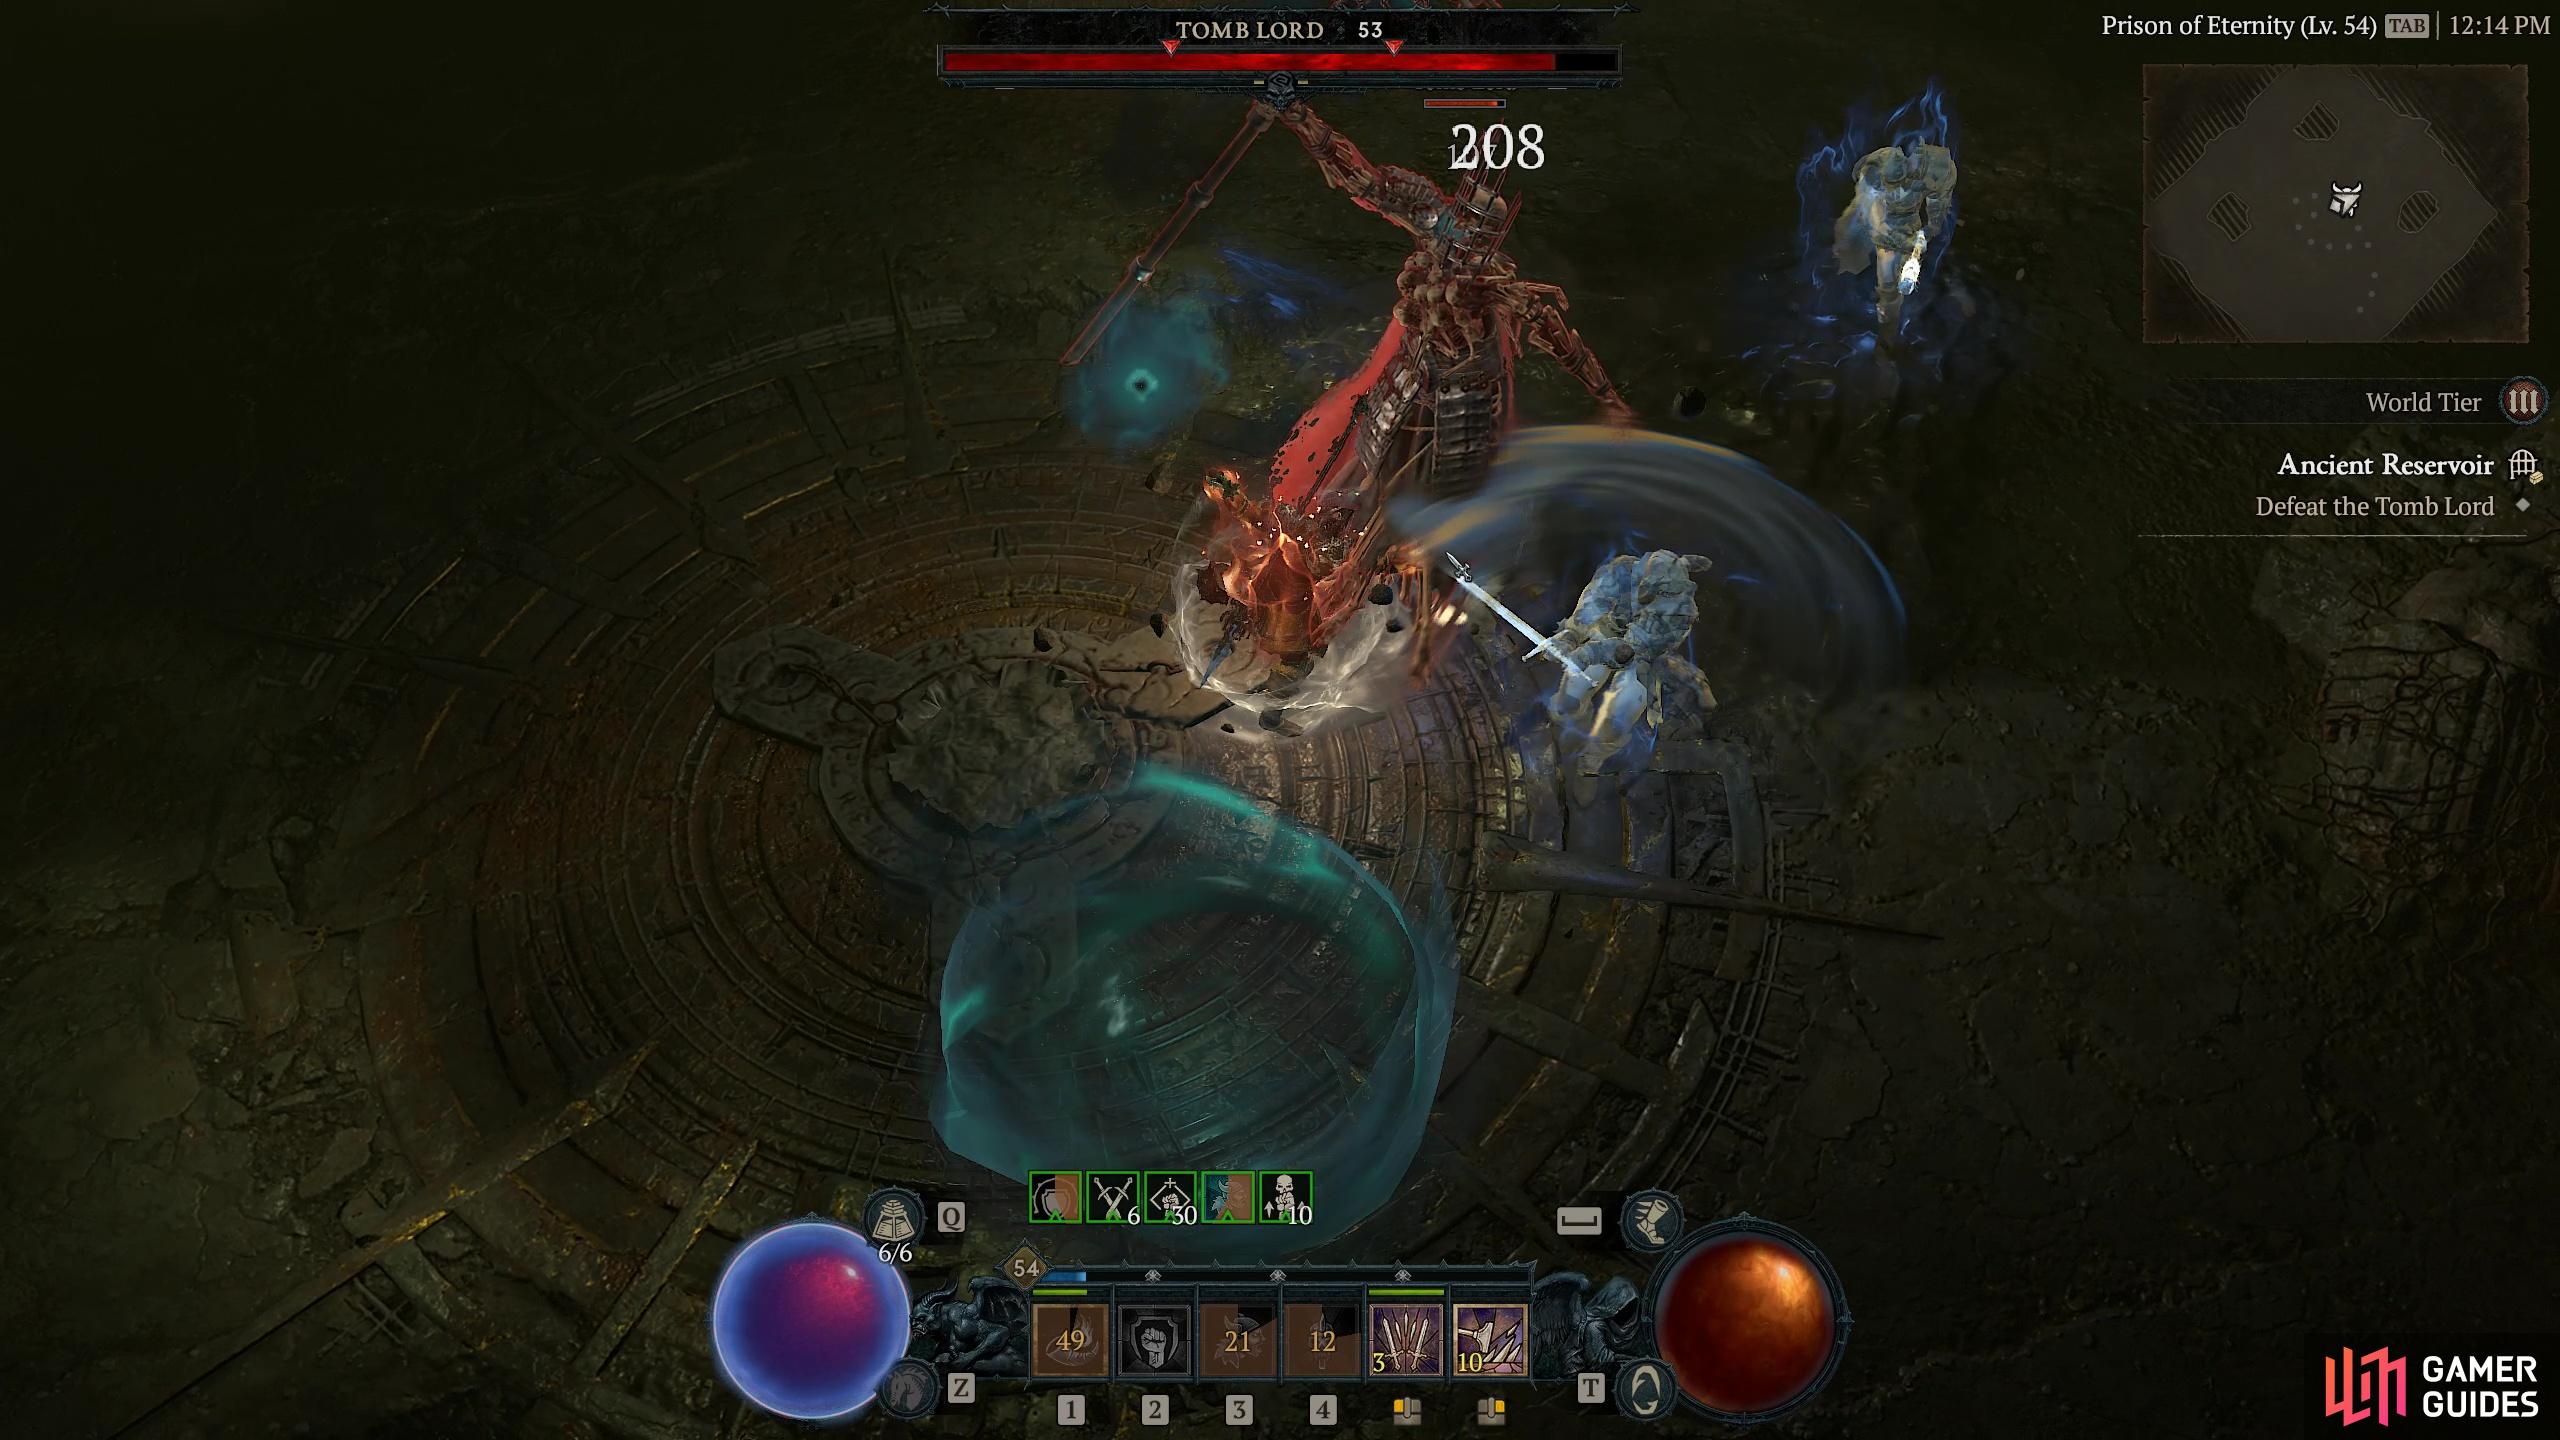
Ancient Reservoir |
A tainted wellspring runs under these ruins.
Objectives
Description
The Ancient Reservoir is a relatively straightforward dungeon compared to some. It’s also one of the shorter ones in Hawezar. Upon entering it you get a nice, simple first objective to simply slay all the enemies in the Tainted Aqueduct. So that is what we must do. Move through the dungeon systematically killing everything in sight, and when you get to below 20 or so your objective will update to tell you how many enemies remain. Hunt them down to finish your first part. Once complete you are told to travel to Enduring Watch, which is literally the next room, before being given your next objective - to find two Ancients Statues and return them to their pedestals. You will quickly find the first on the path to your left but will have to hunt around a little further west for the second. Watch out when you place a statue as it will spawn a bunch of enemies at your location near the door and the healing well. Carry on past the Pedestals and follow the route around until you locate the second statue and bring it back to the empty Pedestal to unlock the door. Pass through the door along the corridor into the room with the giant monolith. Activate it and it will morph into the Dungeon boss, the
Enemies
Infernal Sister
Demons
1×
Region
Item Reward
1×
|


|
|||||||||||||||||||||||||||||||||||||||||||||||||||||||||||||||||||||||||||||||||||||||||||||||

|
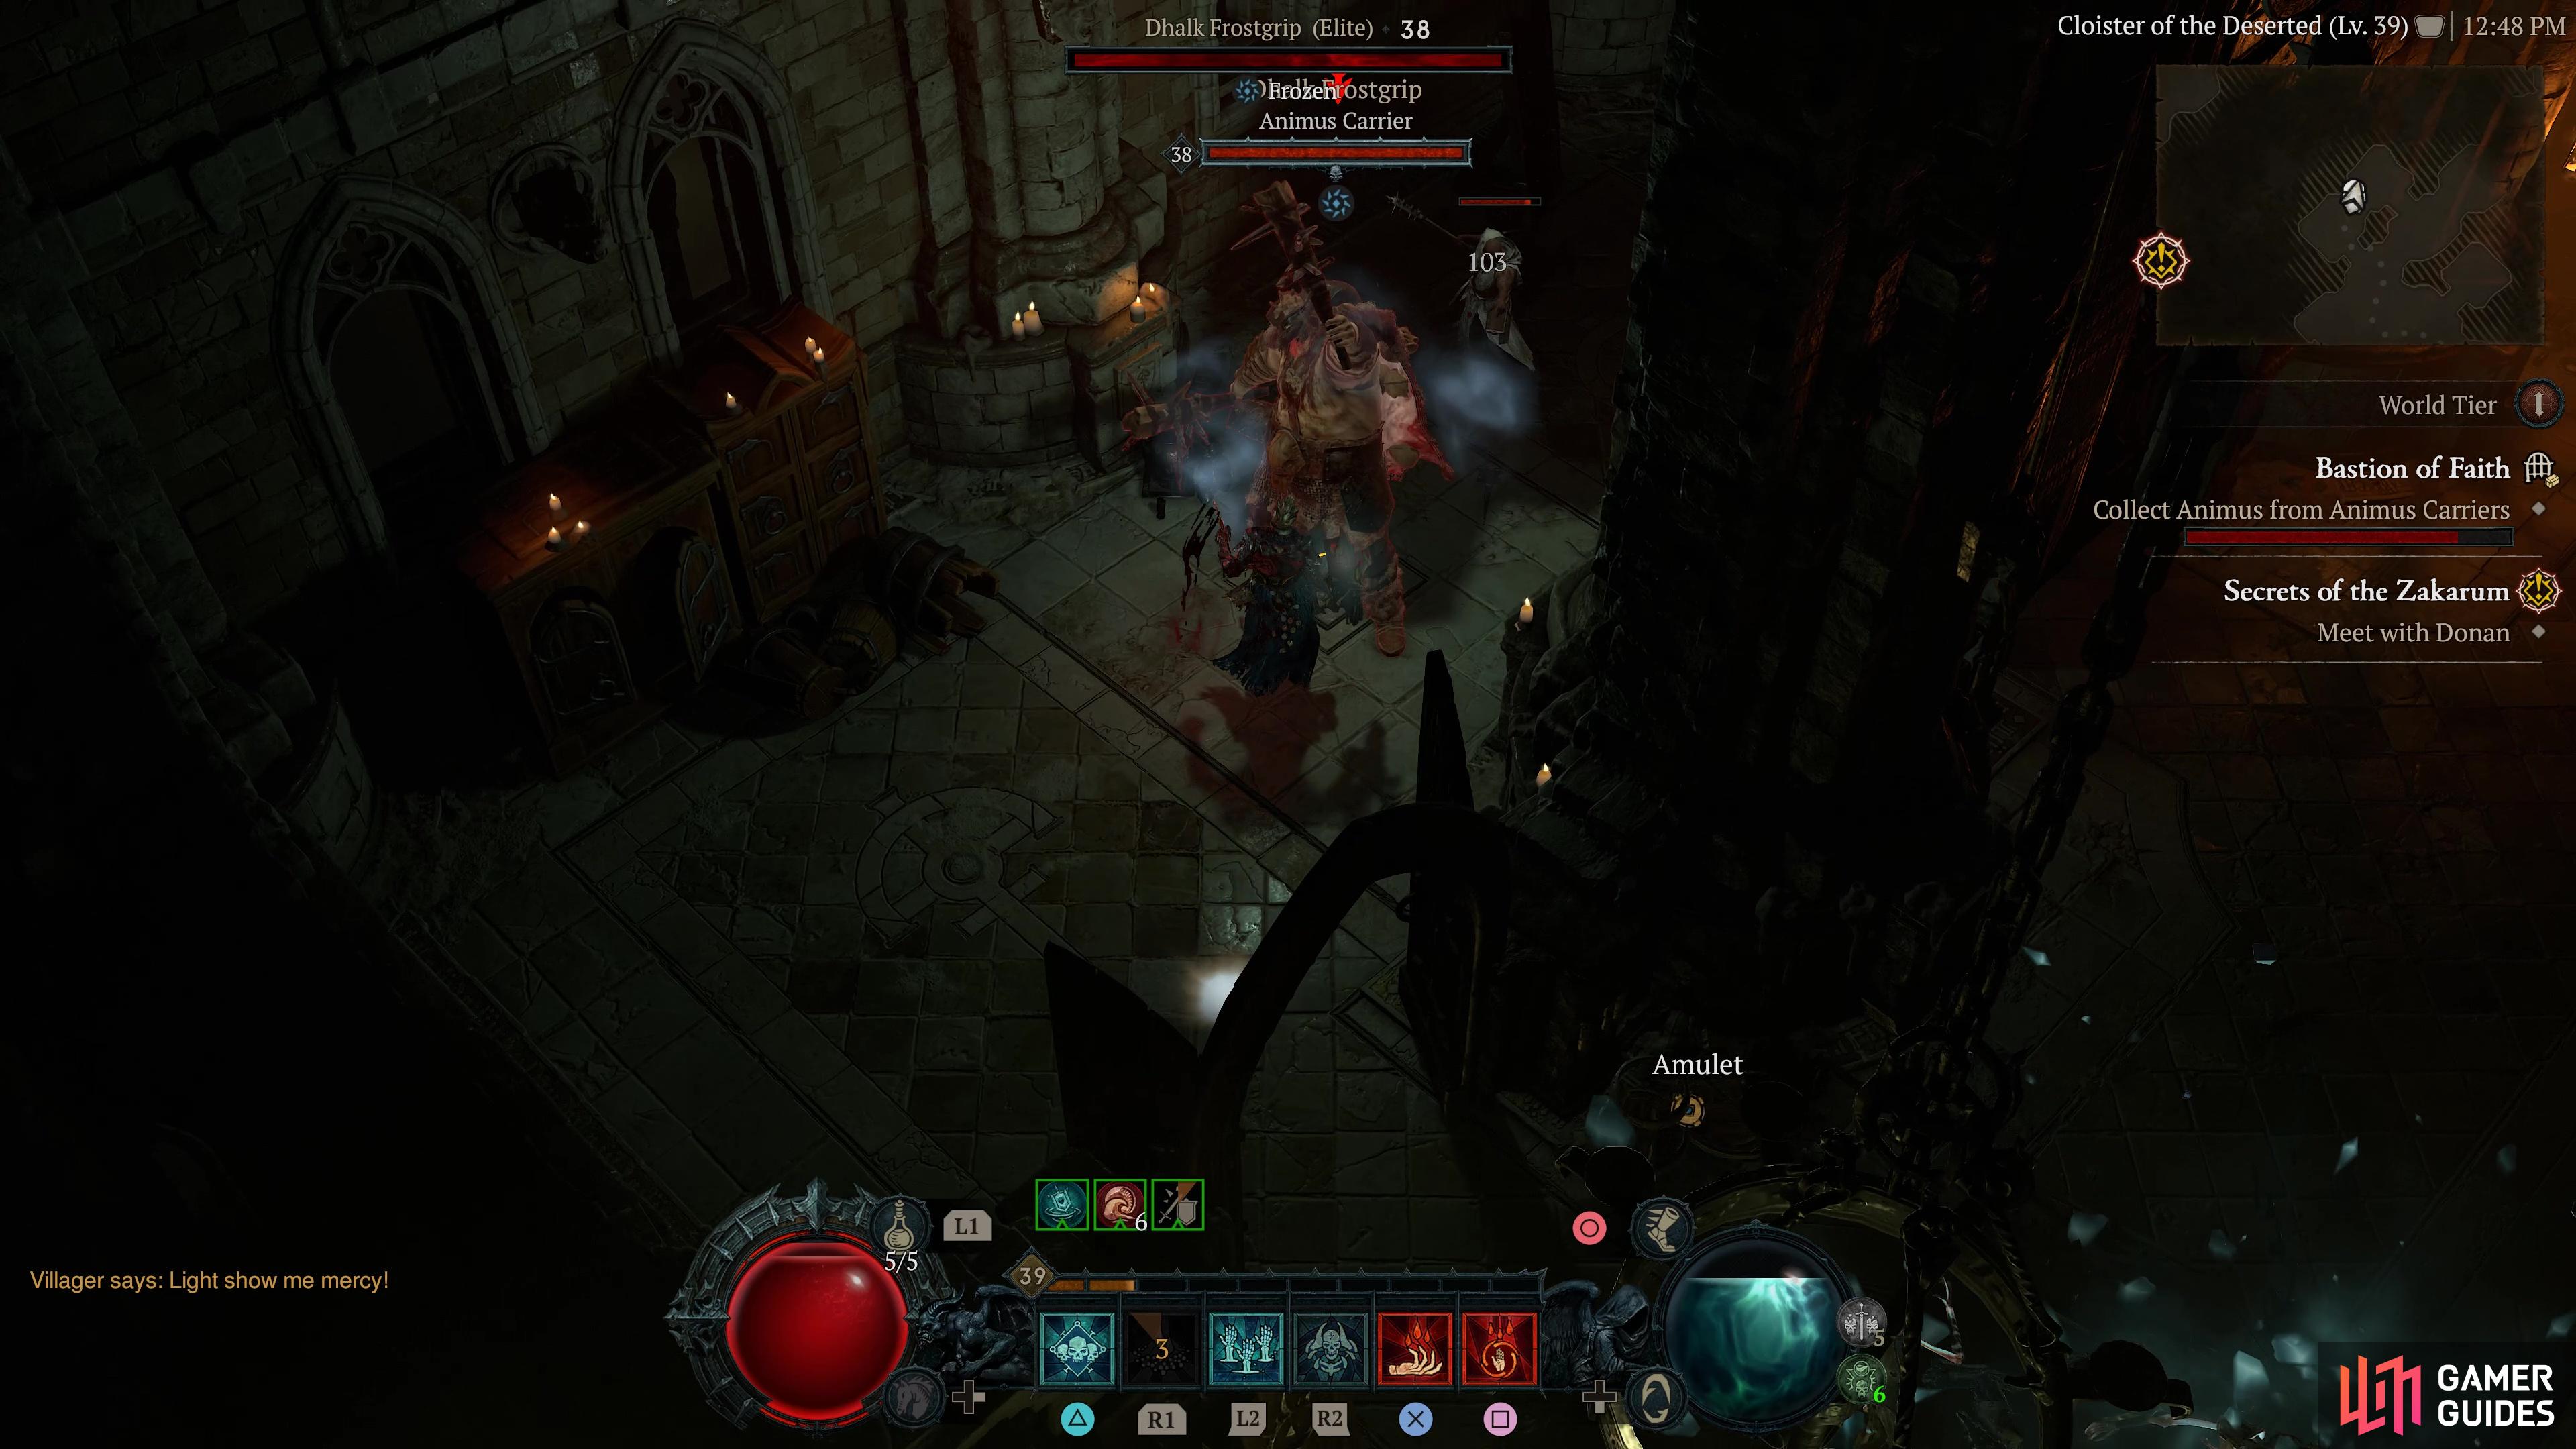
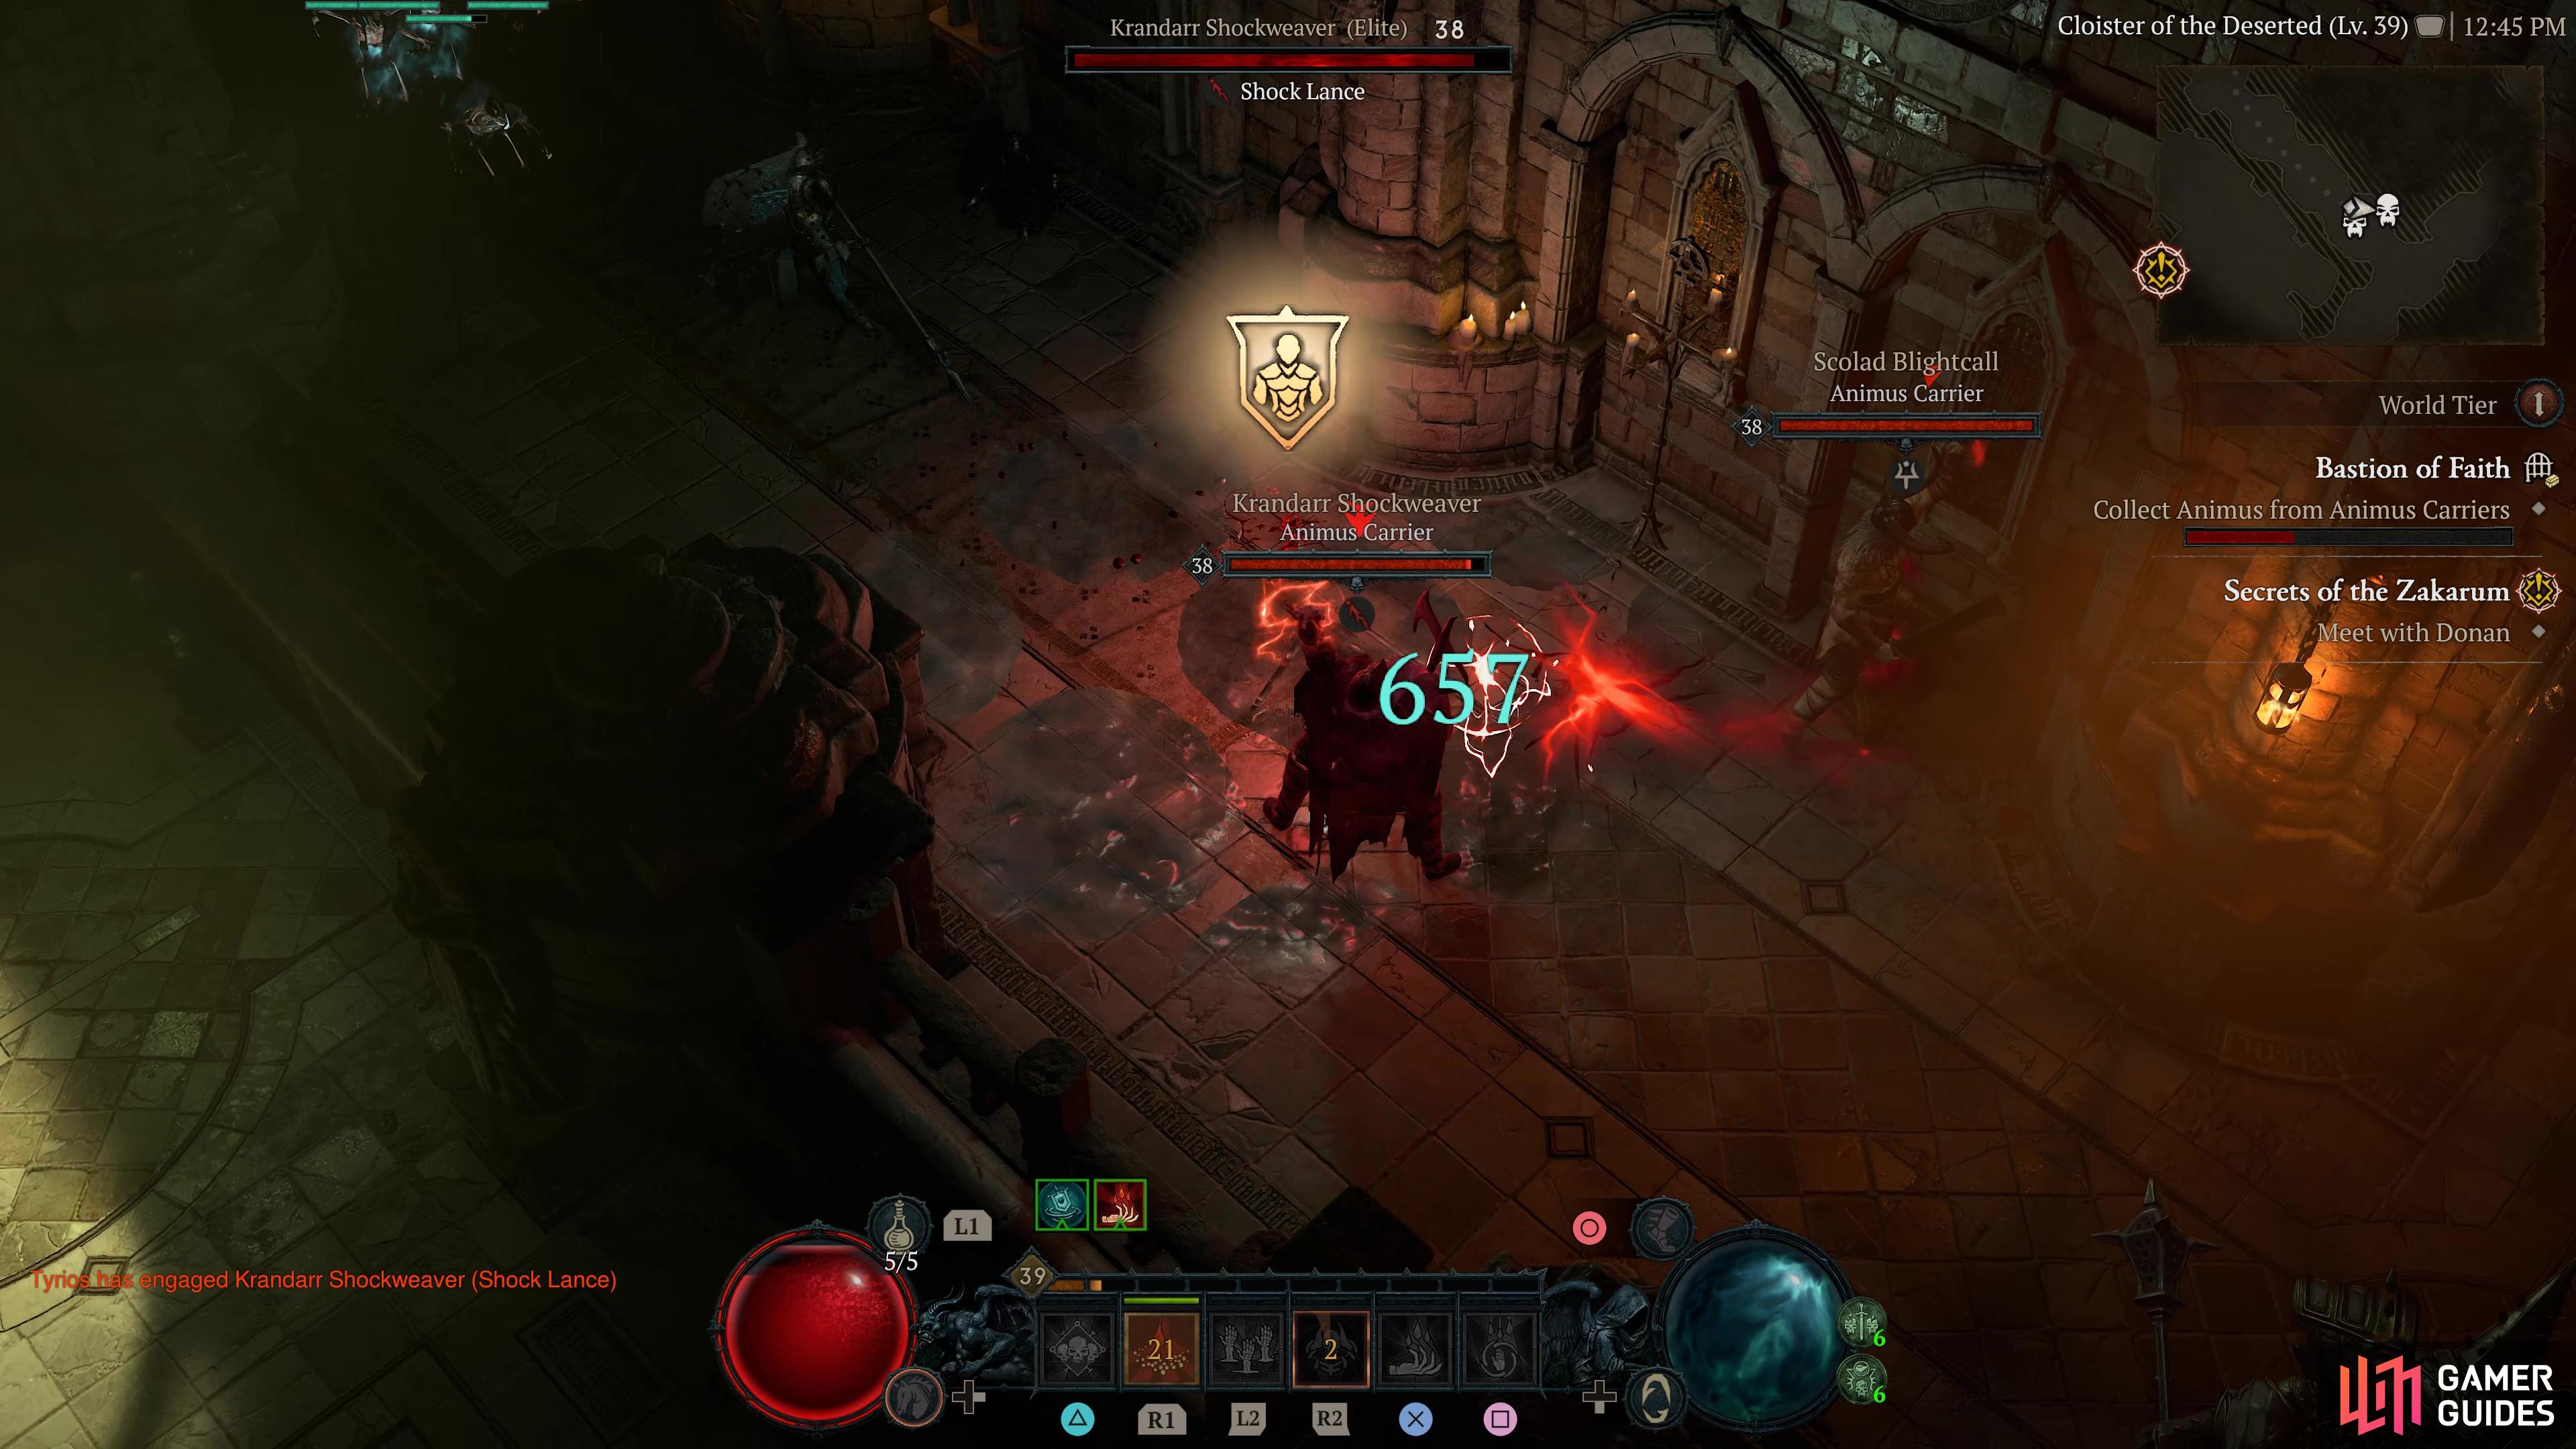
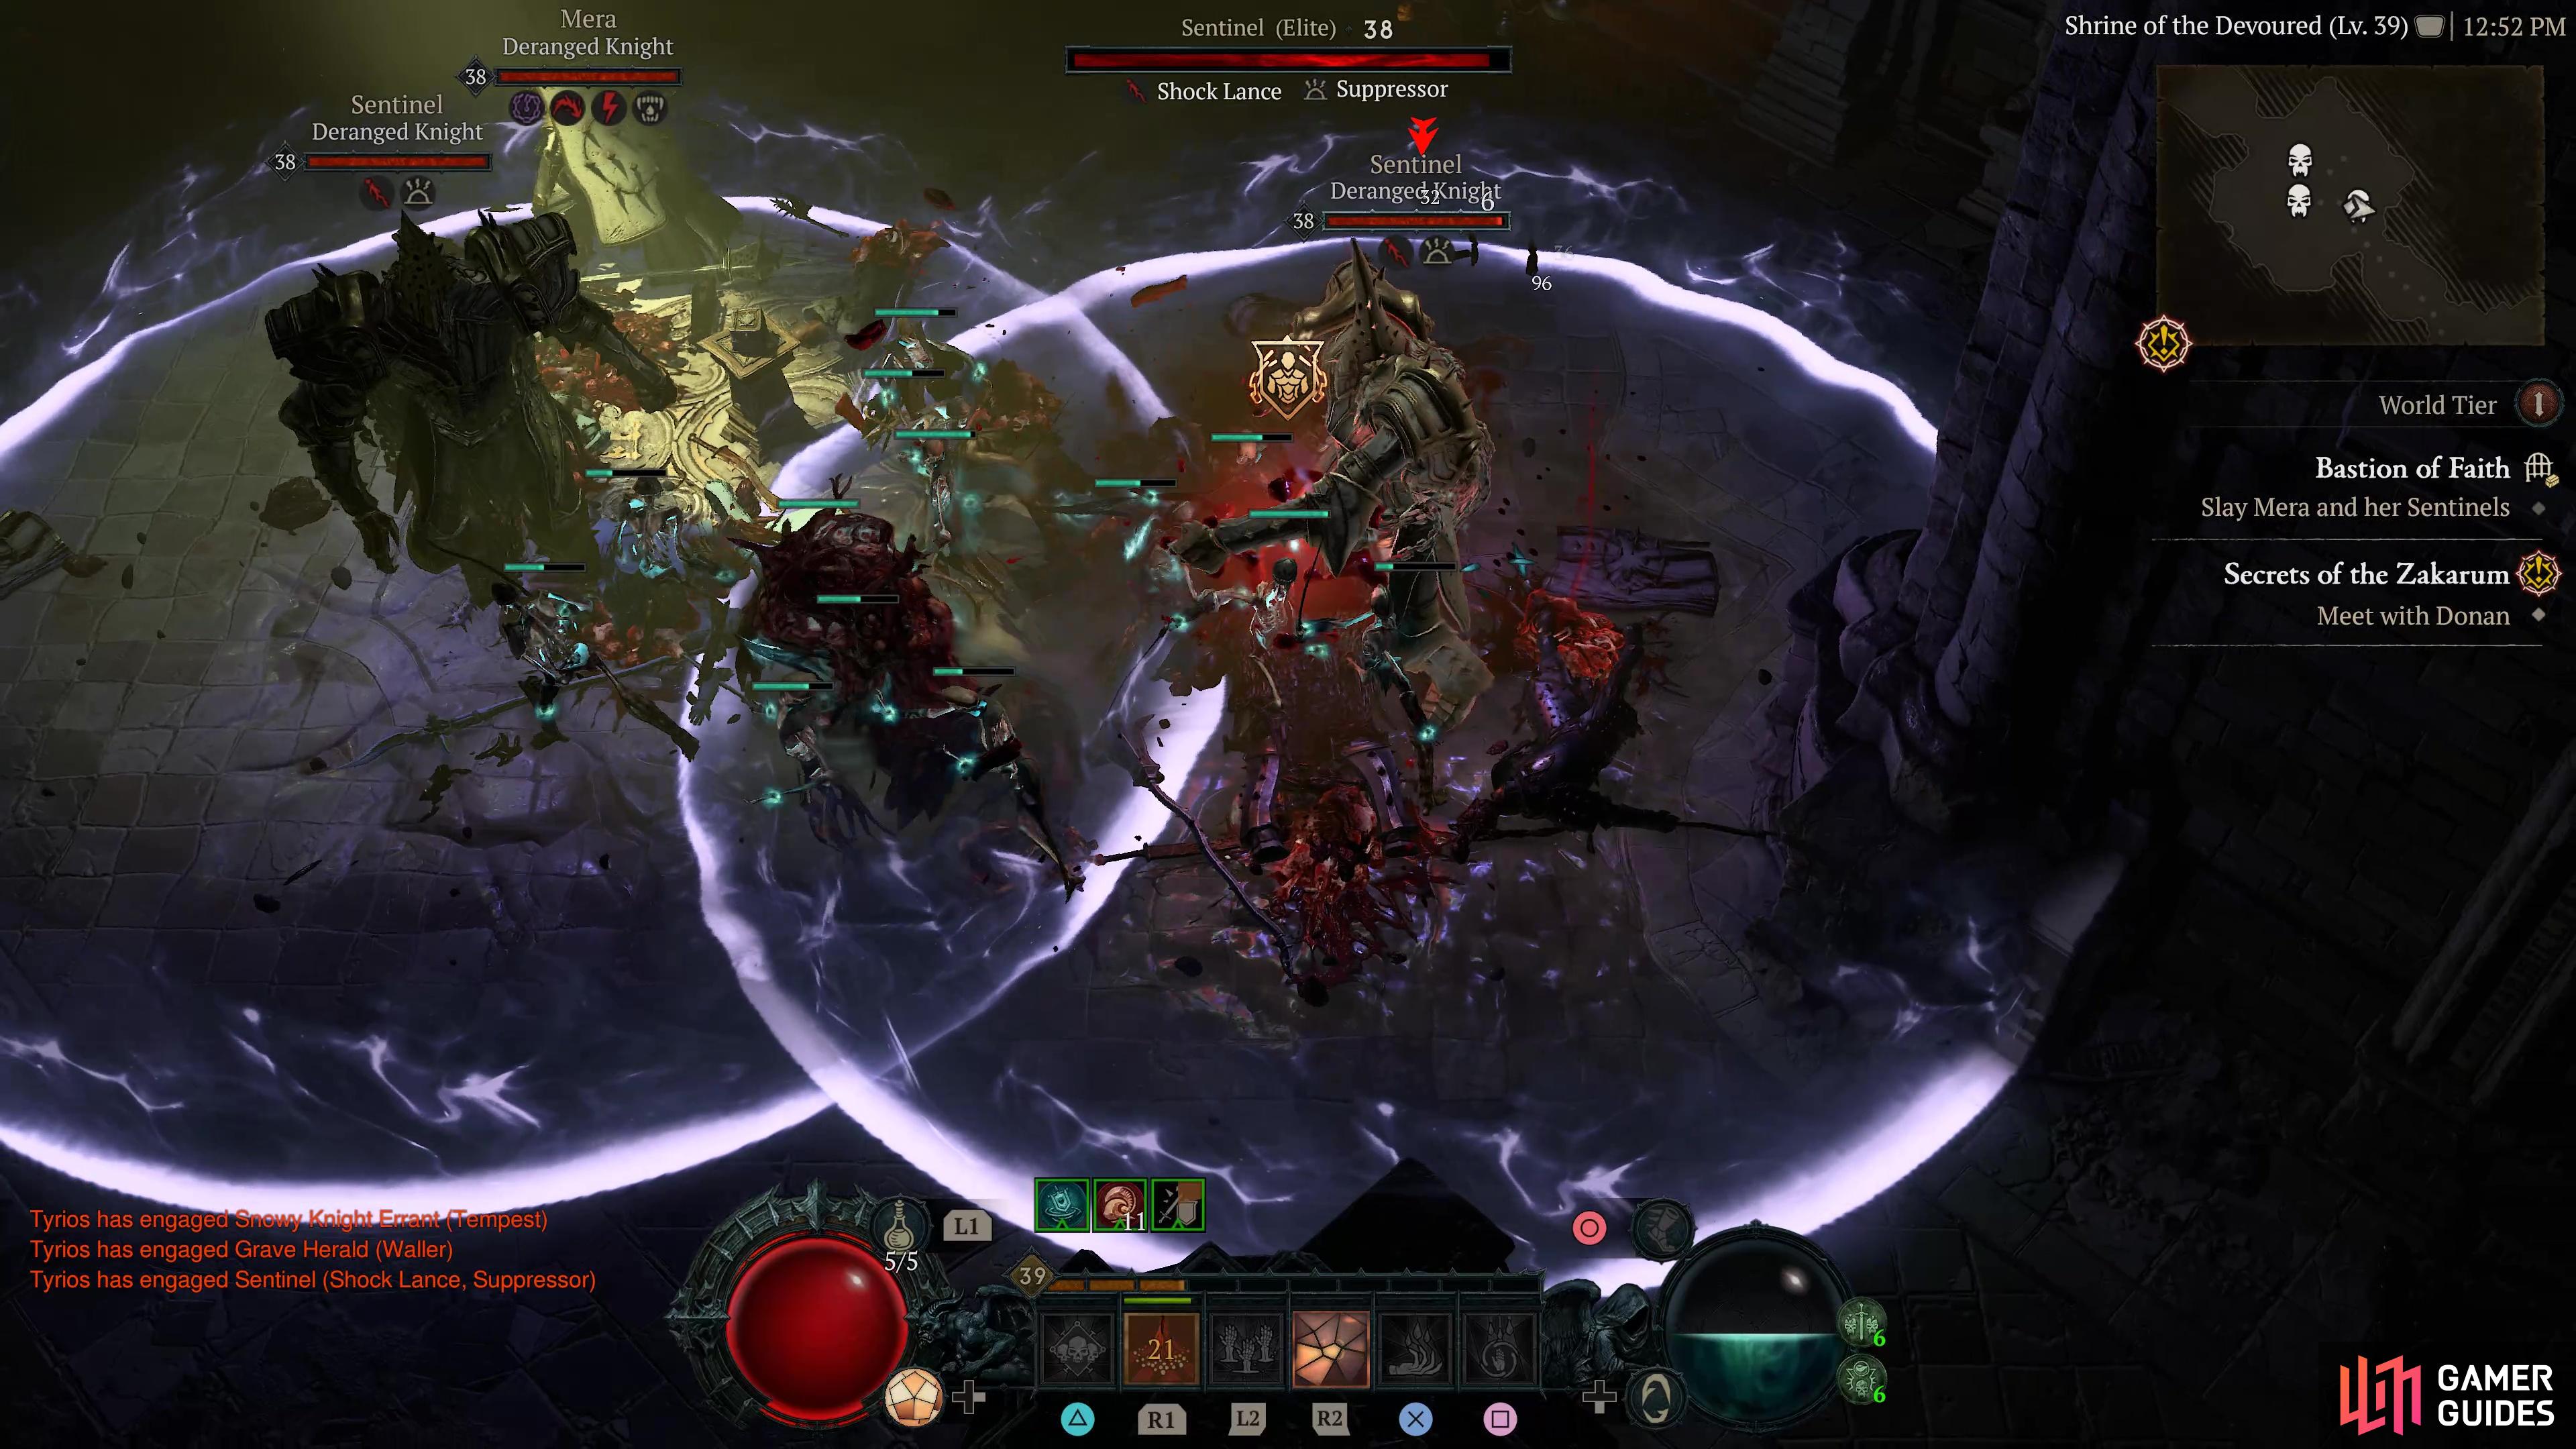
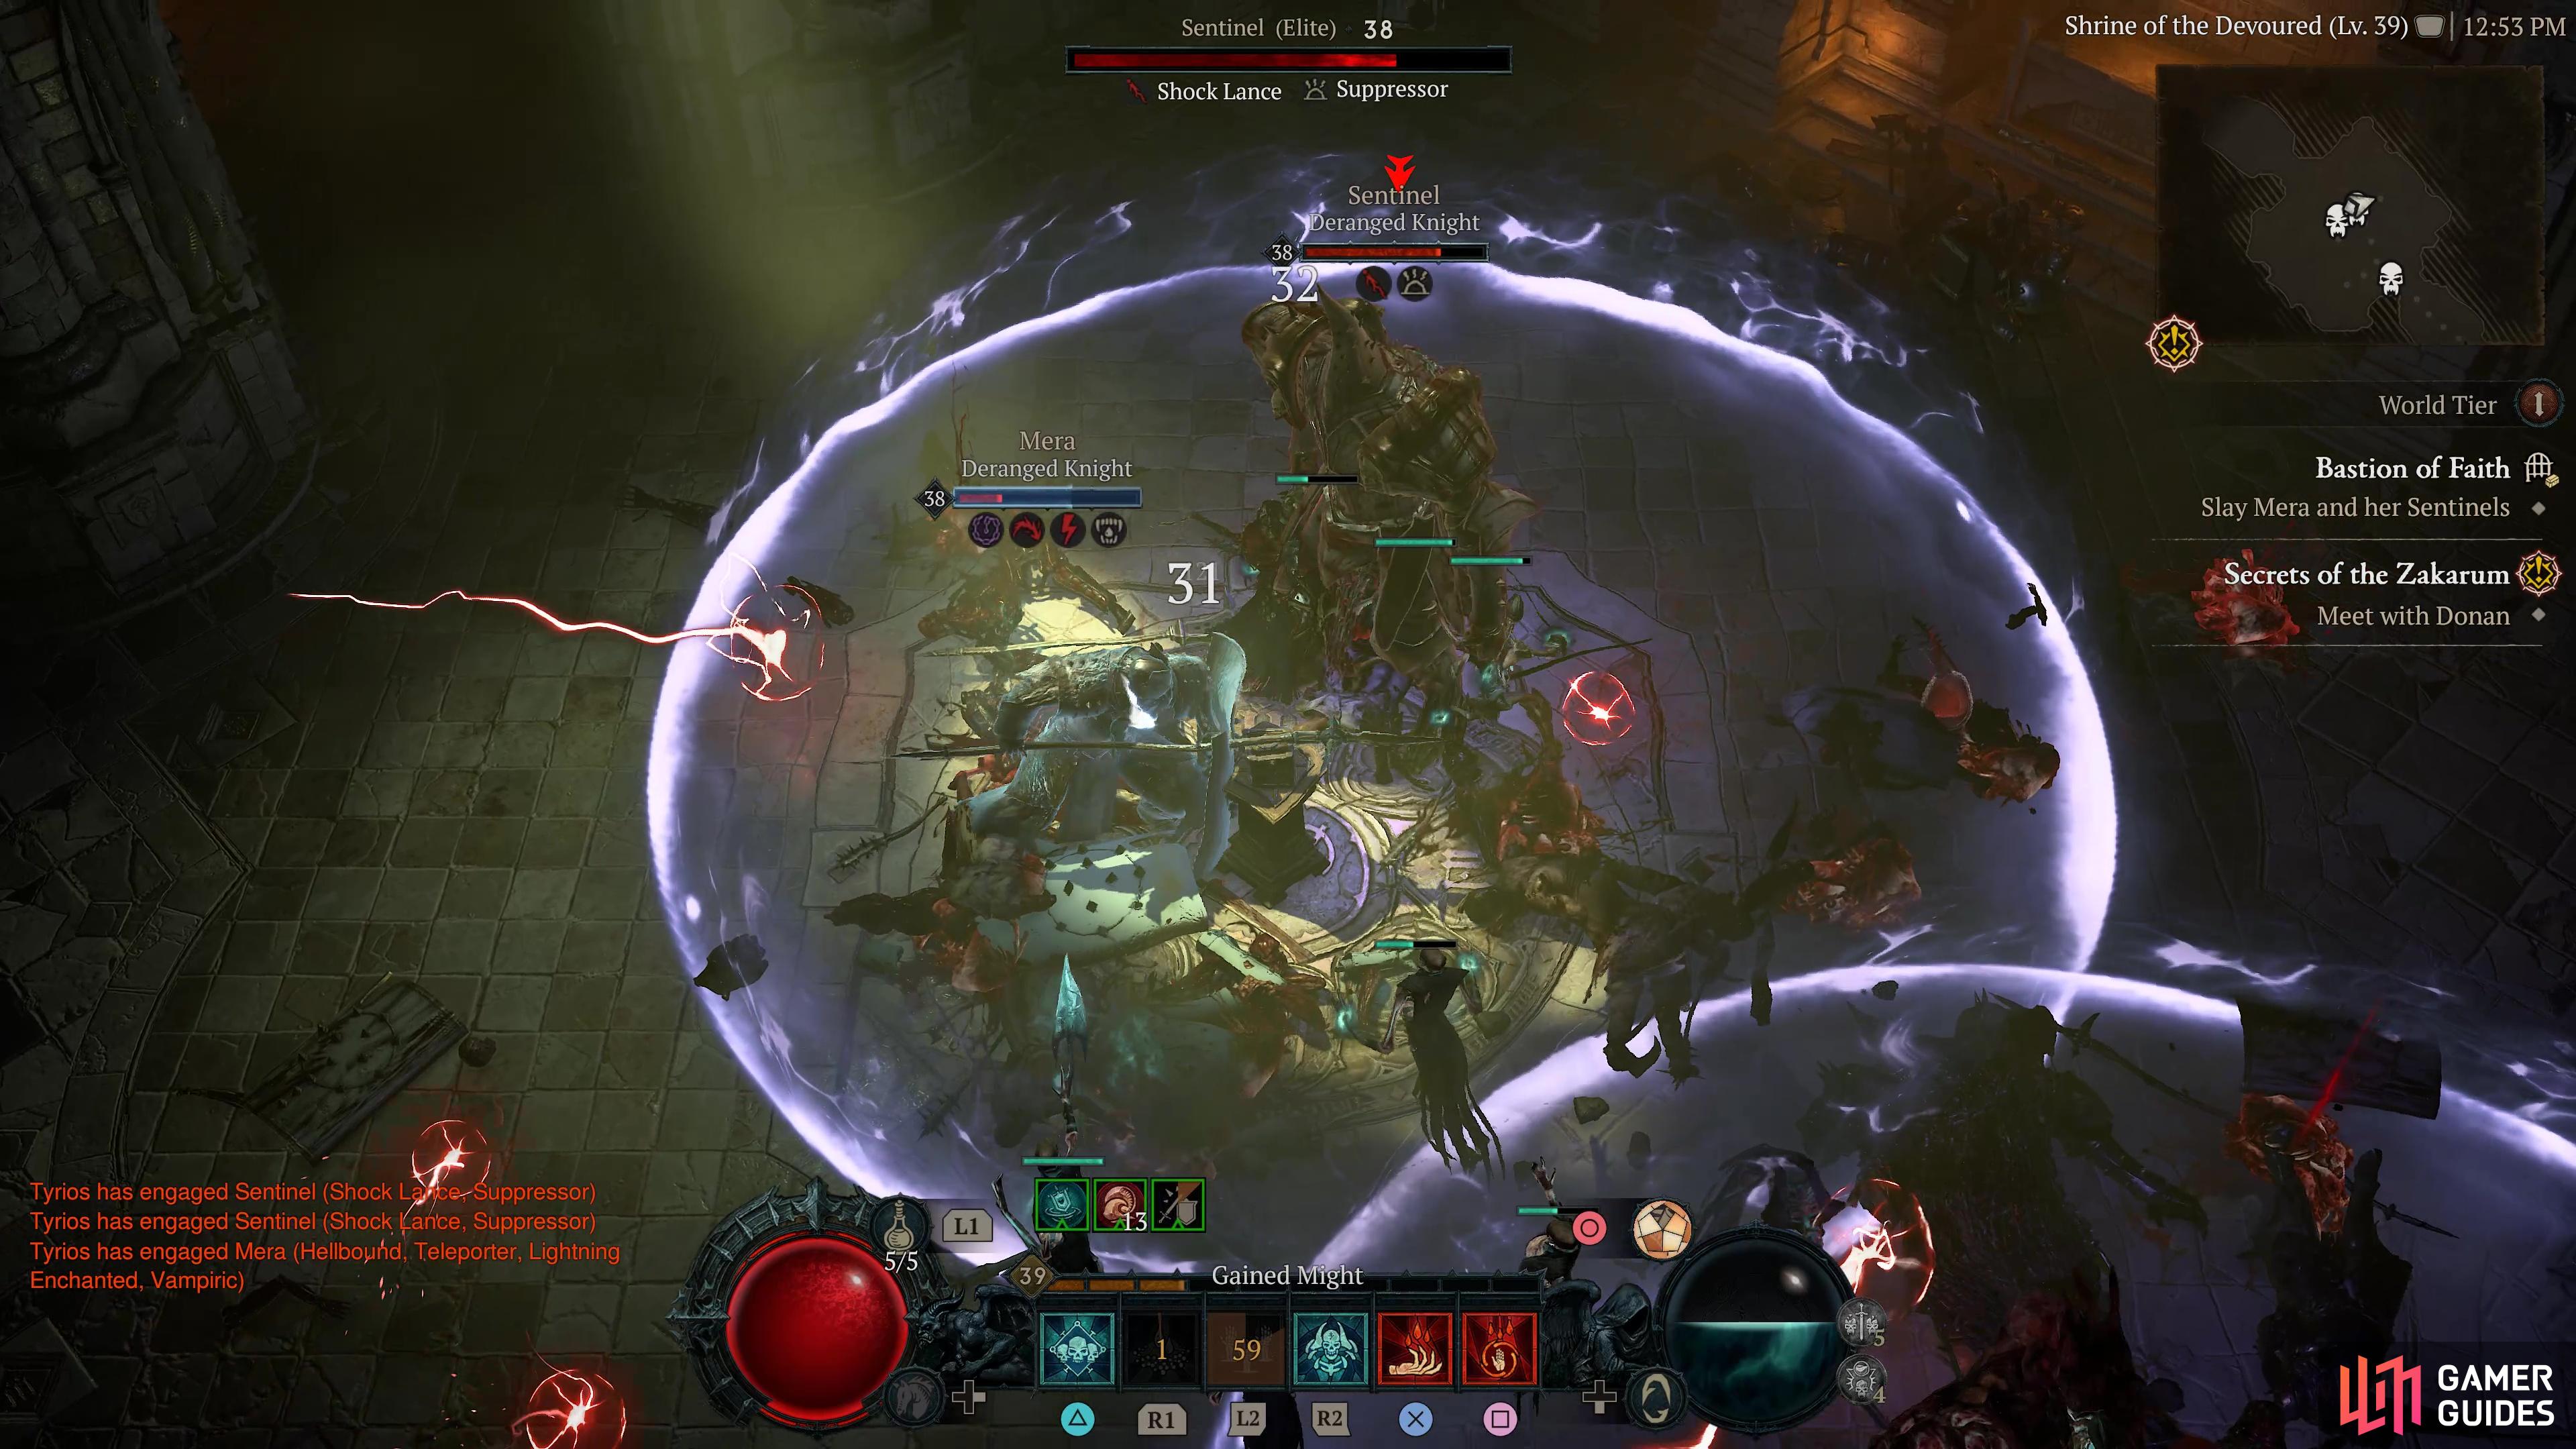
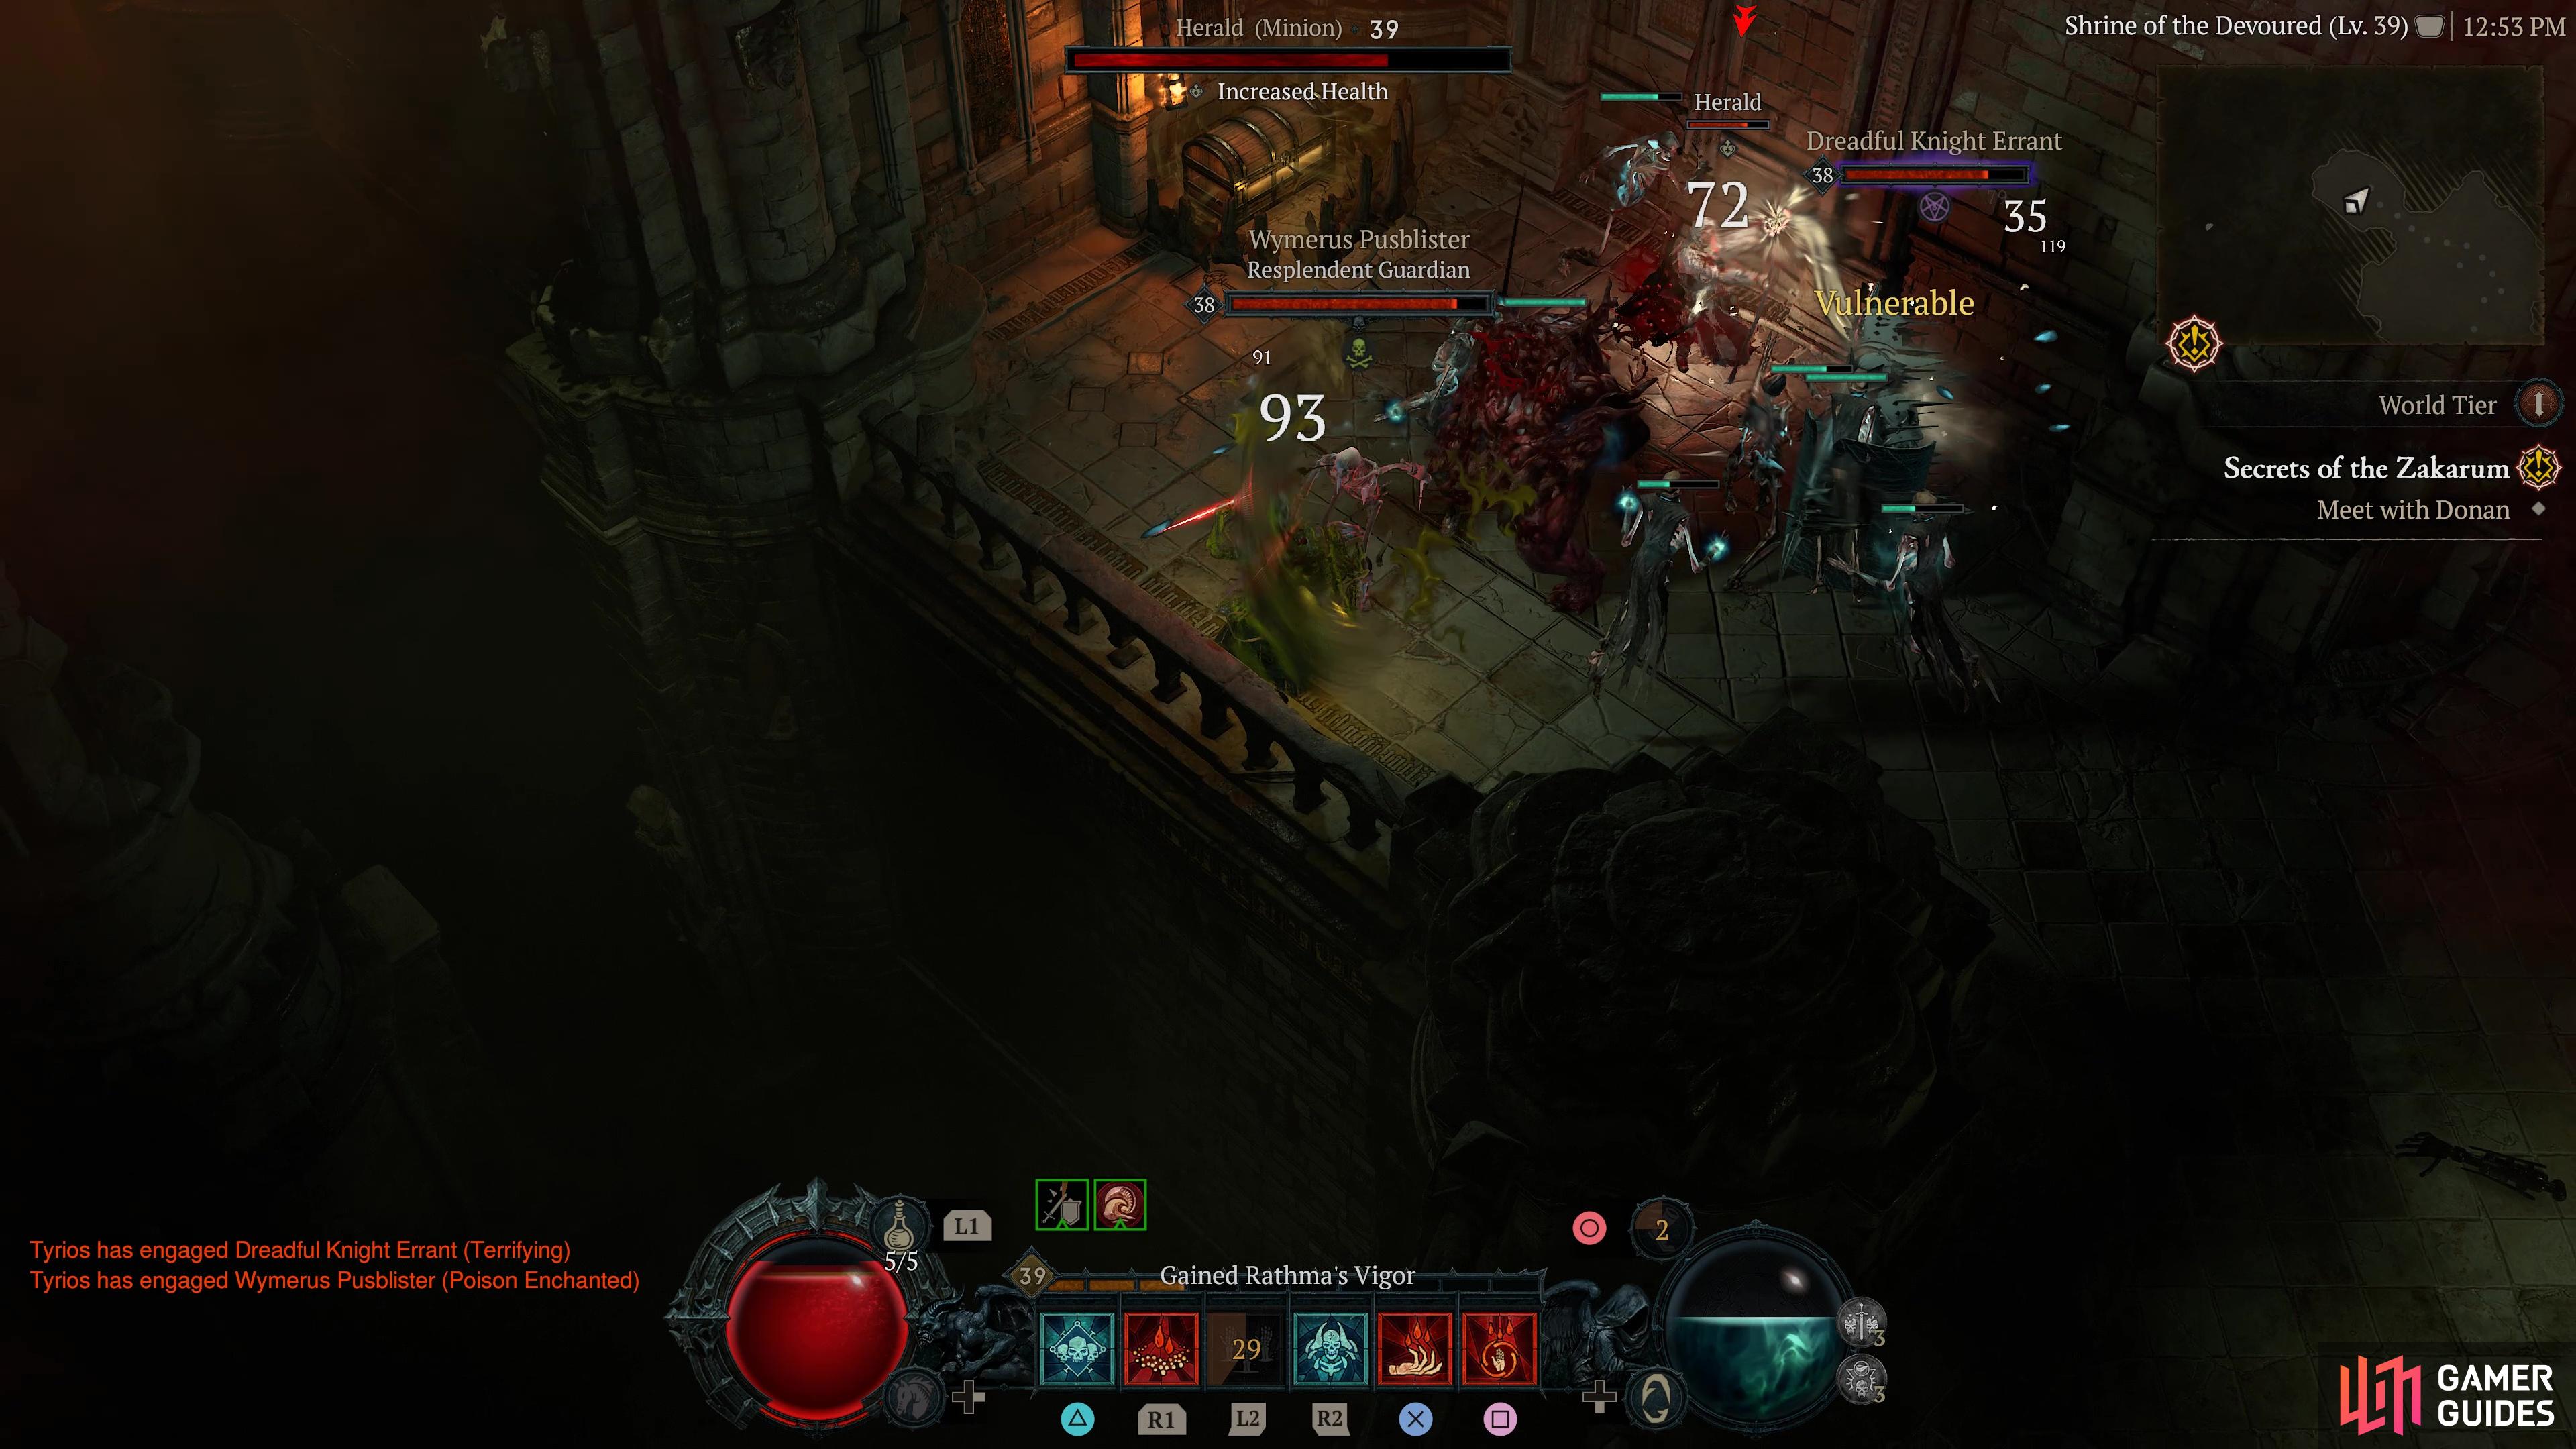
Bastion of Faith |
Lost and starving, the knights became beasts.
Objectives
Description
The Bastion of Faith is a dungeon filled with Knight enemy types. It’s not a massive dungeon but does have some explosive traps littered throughout so beware! You must collect the Animus from the carriers, grab the box and after that, slay enough enemies to make Mera appear with her Note: There is a room just behind the final room with Mera with a Resplendent Guardian and a Resplendent Chest.
Enemies
1×
1×
1× Knight Errant
Knights
1×
1×
1×
1×
1×
1×
1×
1×
1×
1×
1×
Detailed Location
Region
Item Reward
1×
|
|
|||||||||||||||||||||||||||||||||||||||||||||||||||||||||||||||||||||||||||||||||||||||||||||||

|
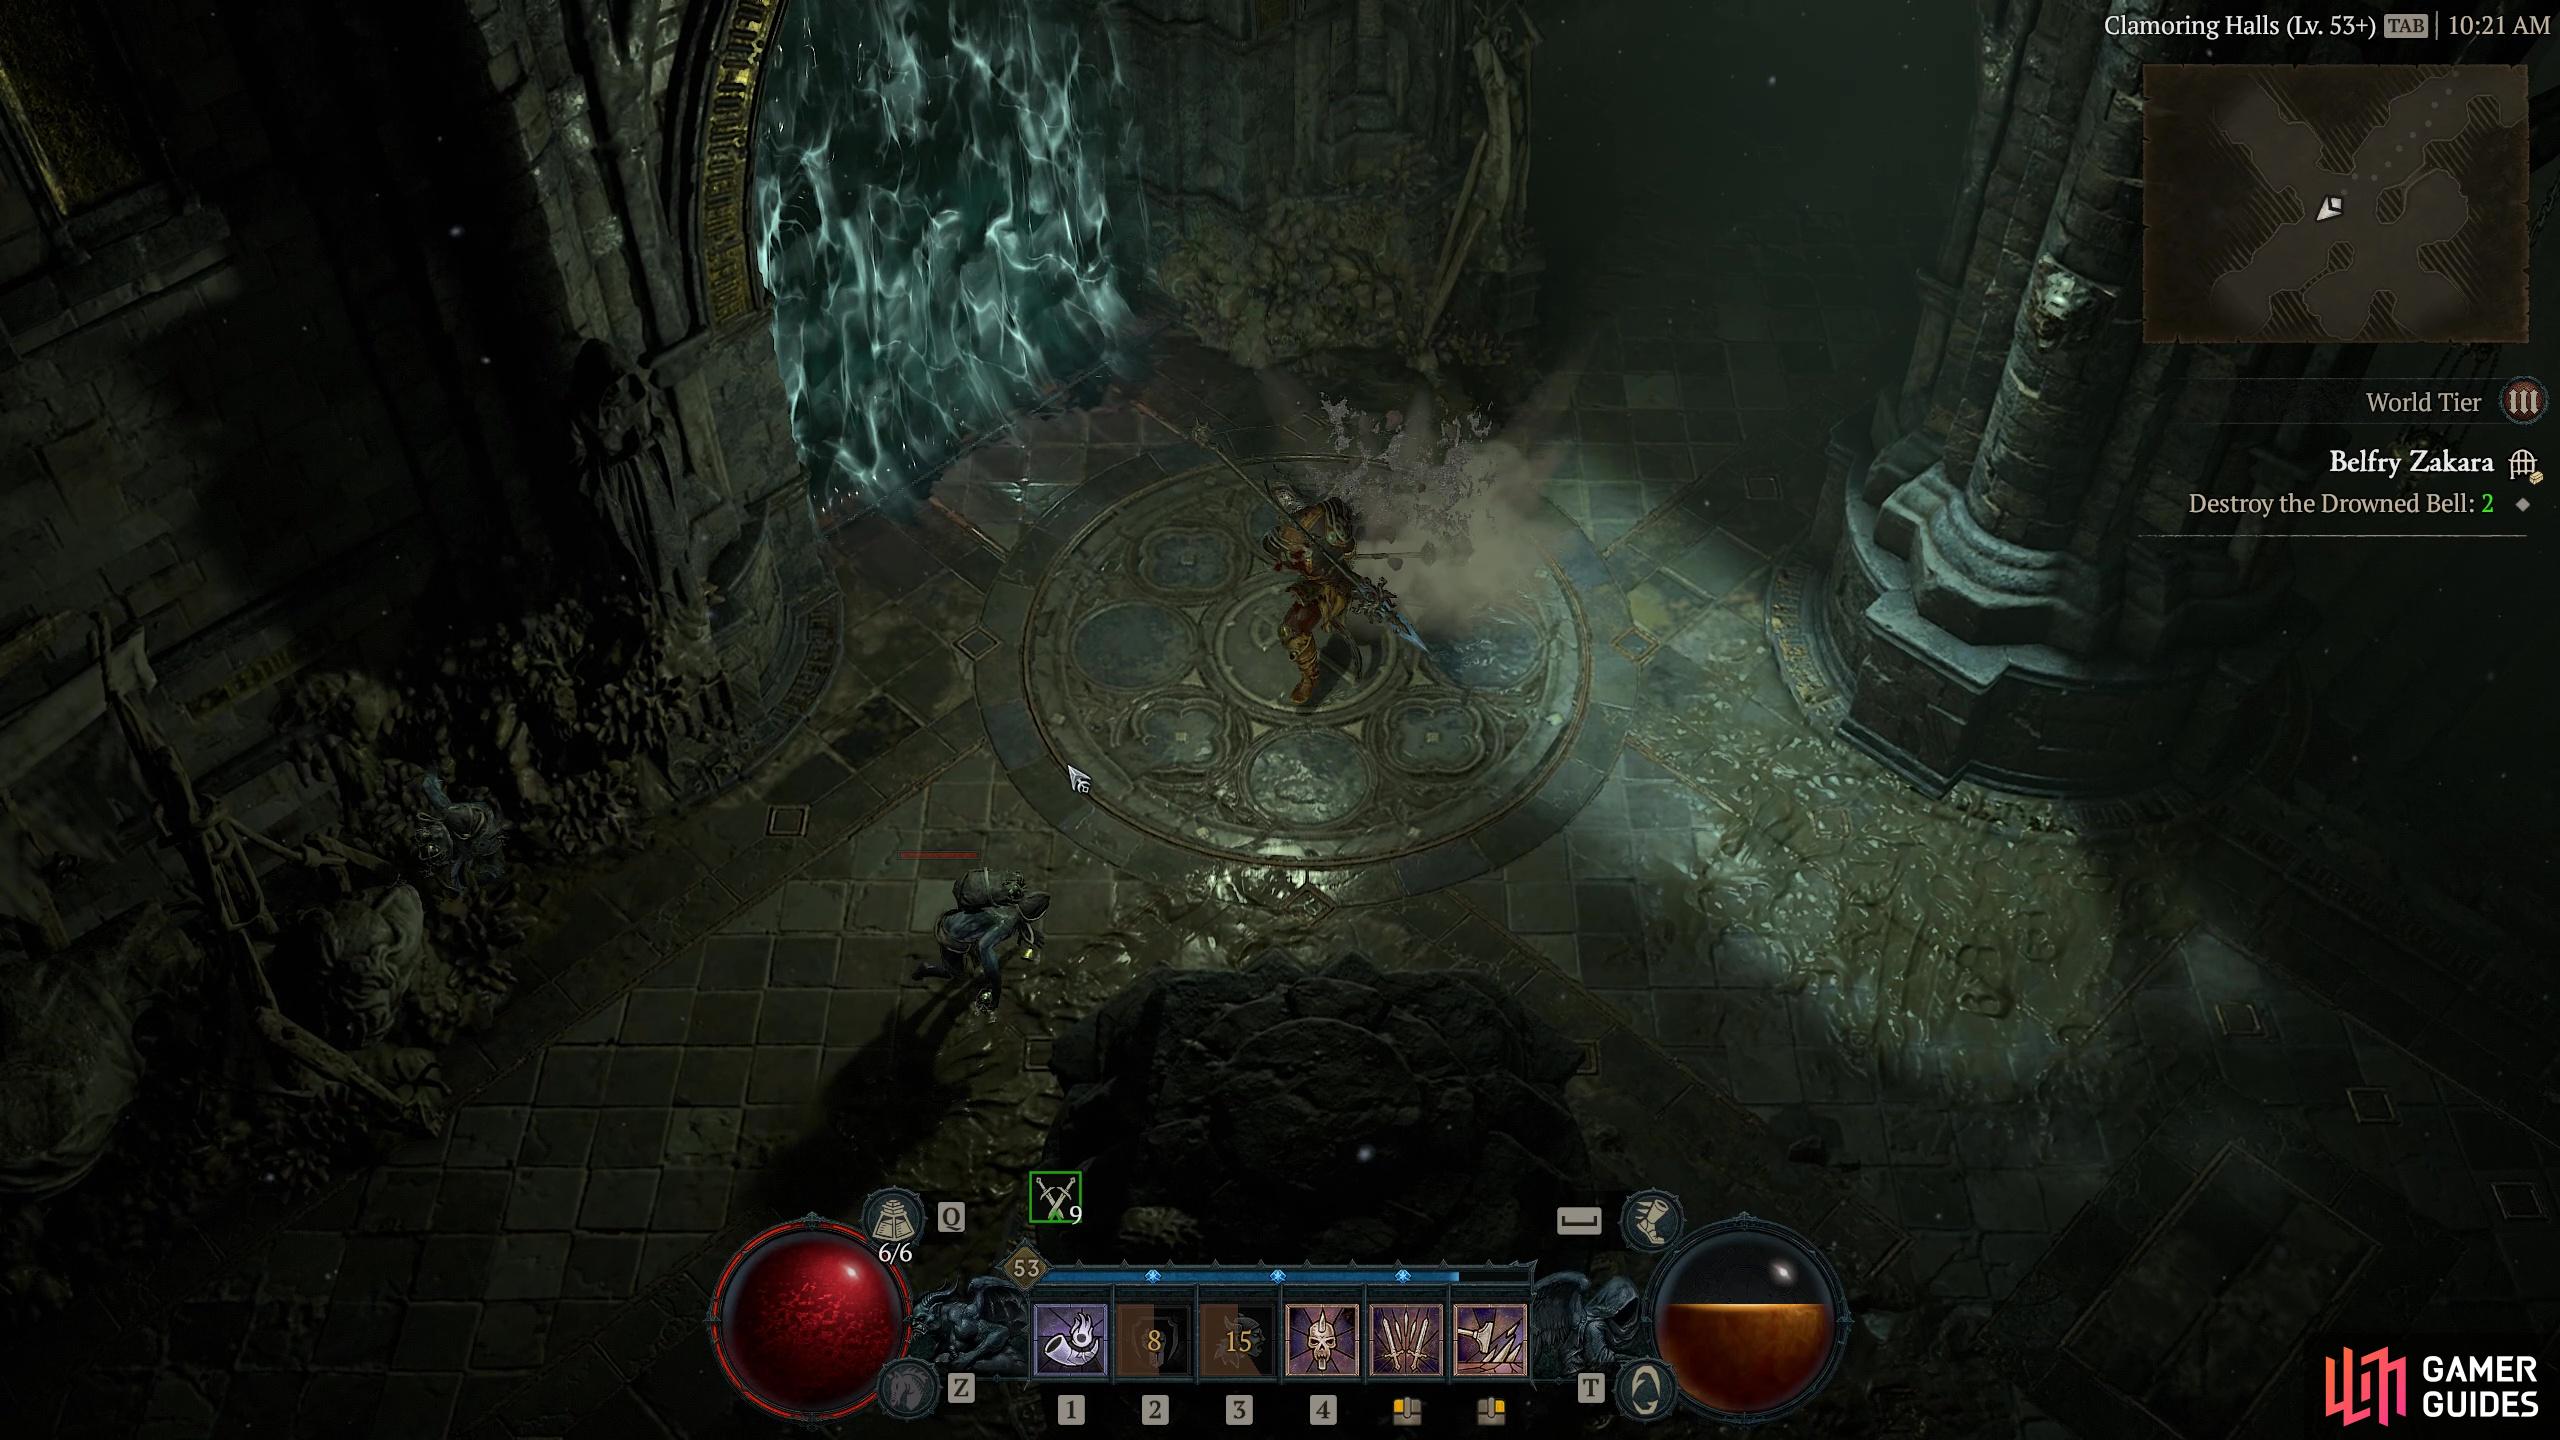
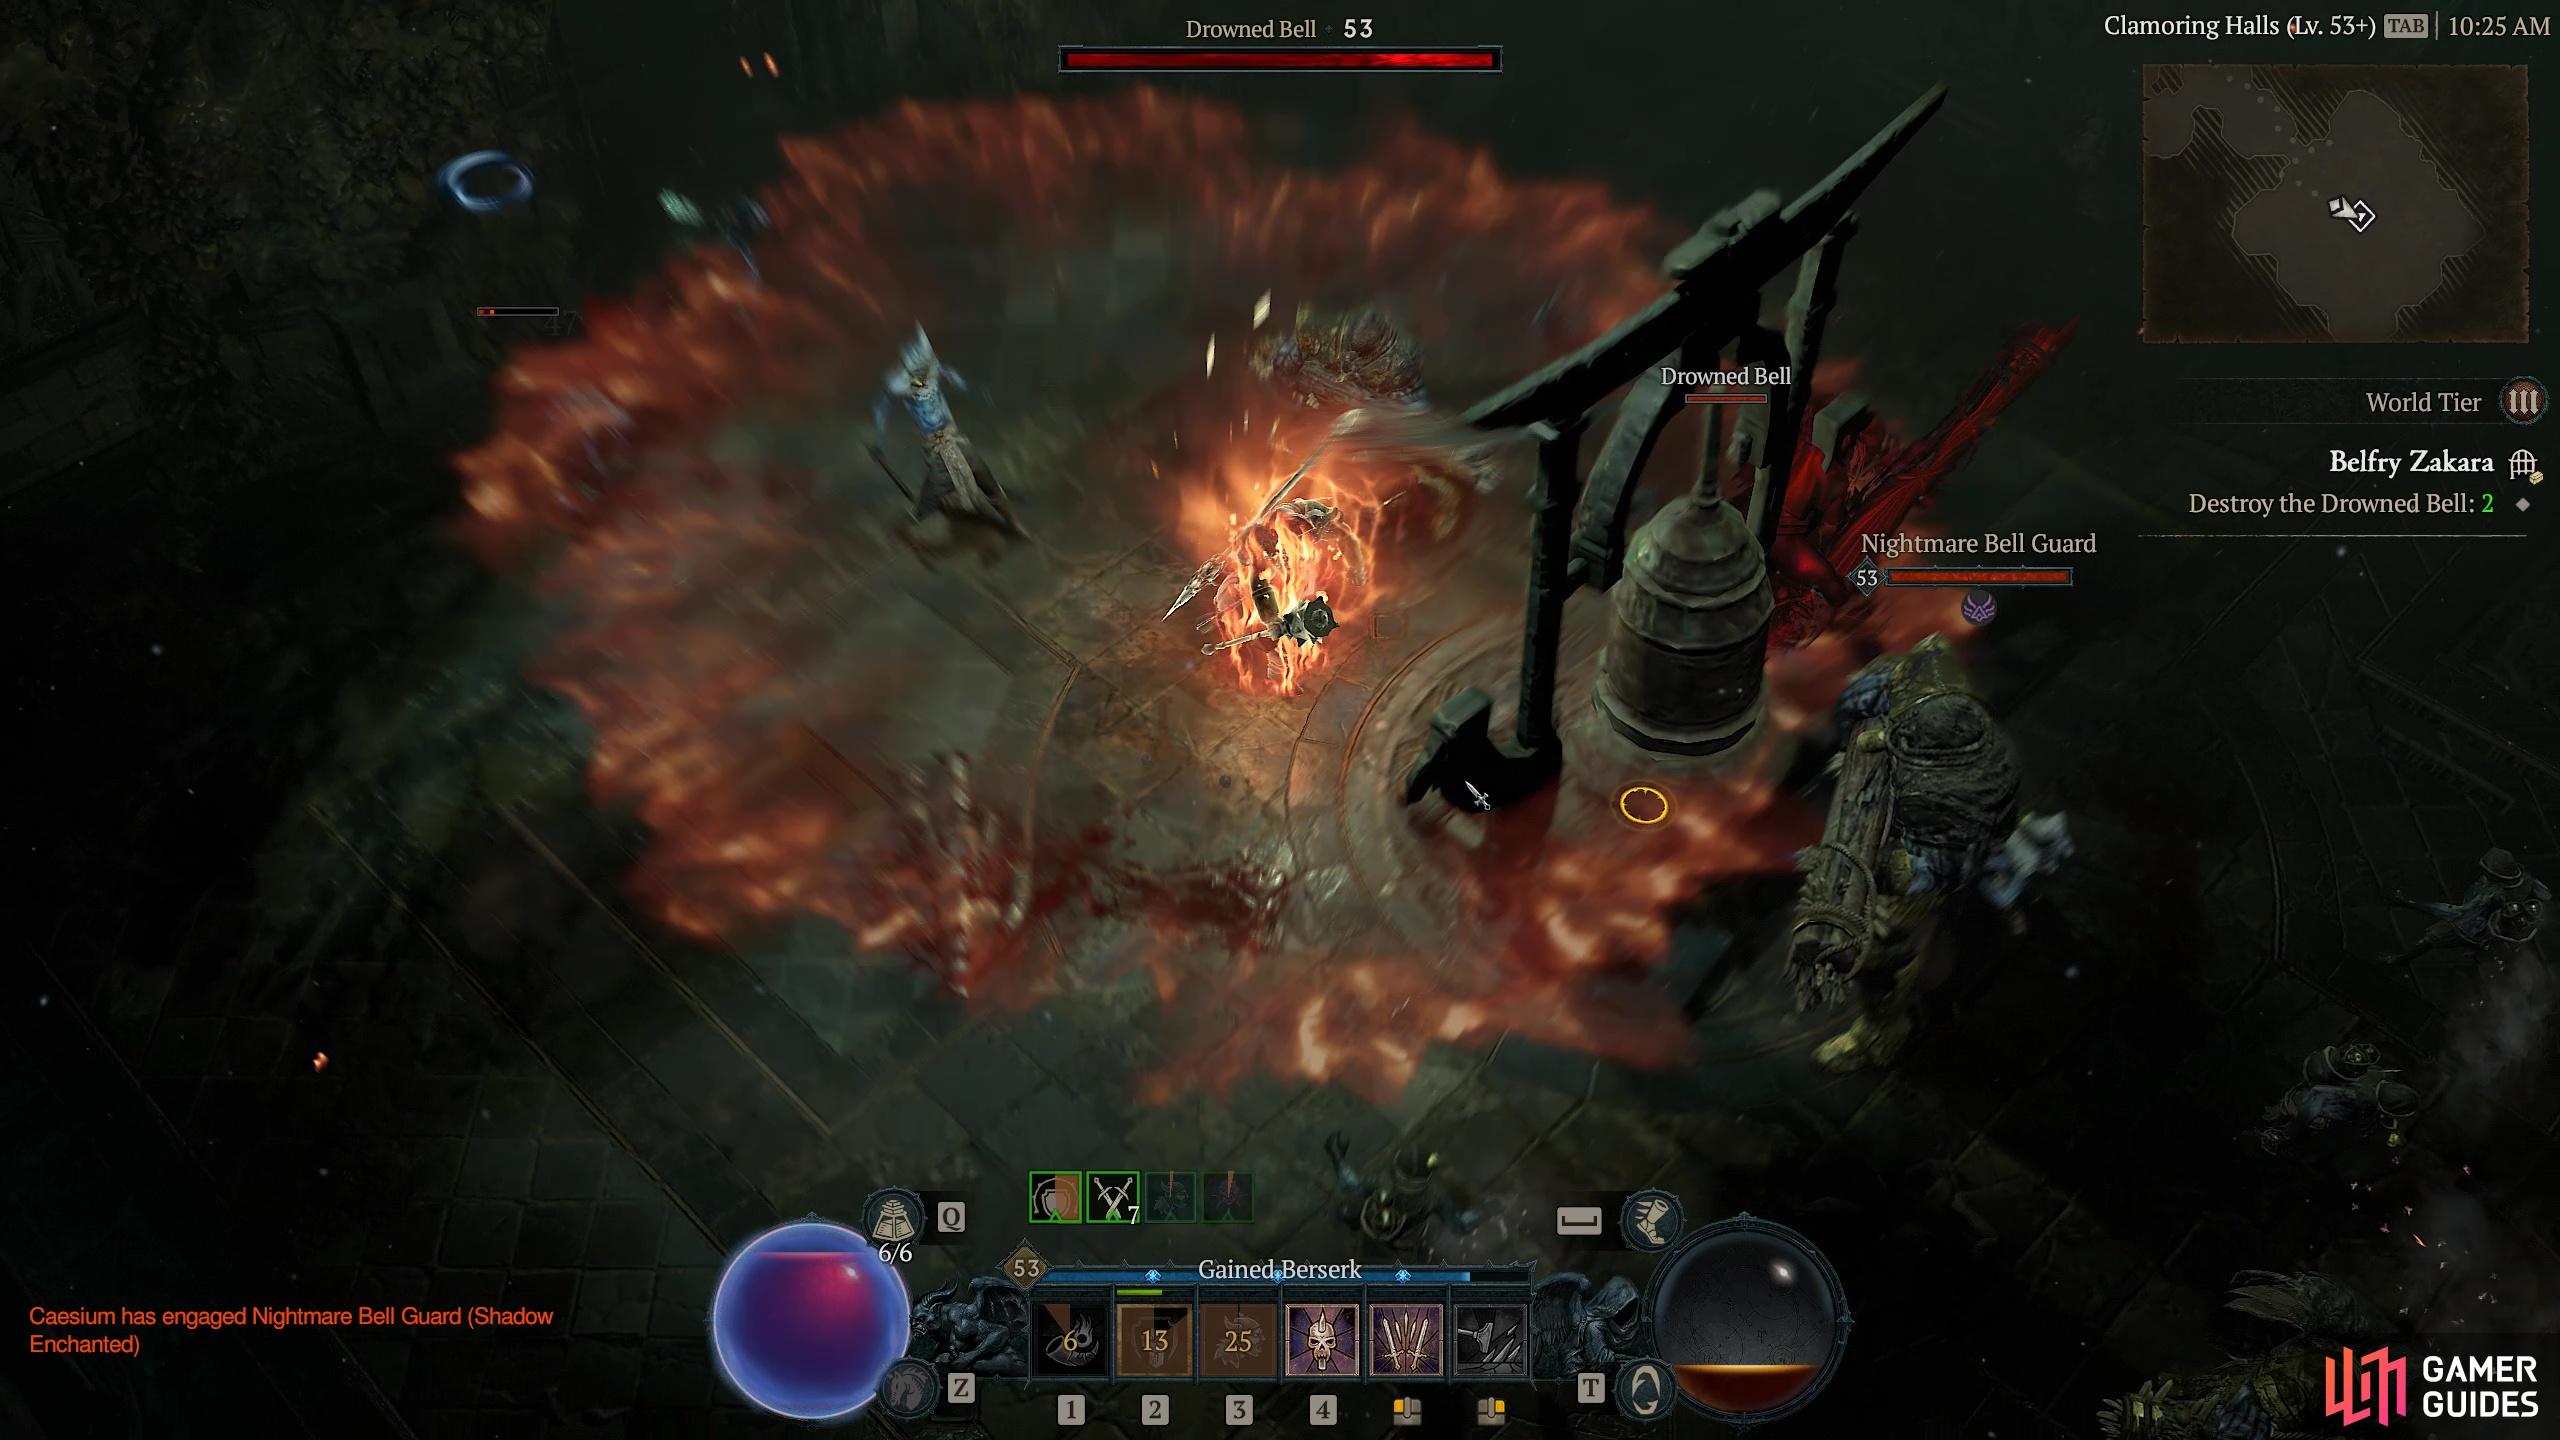
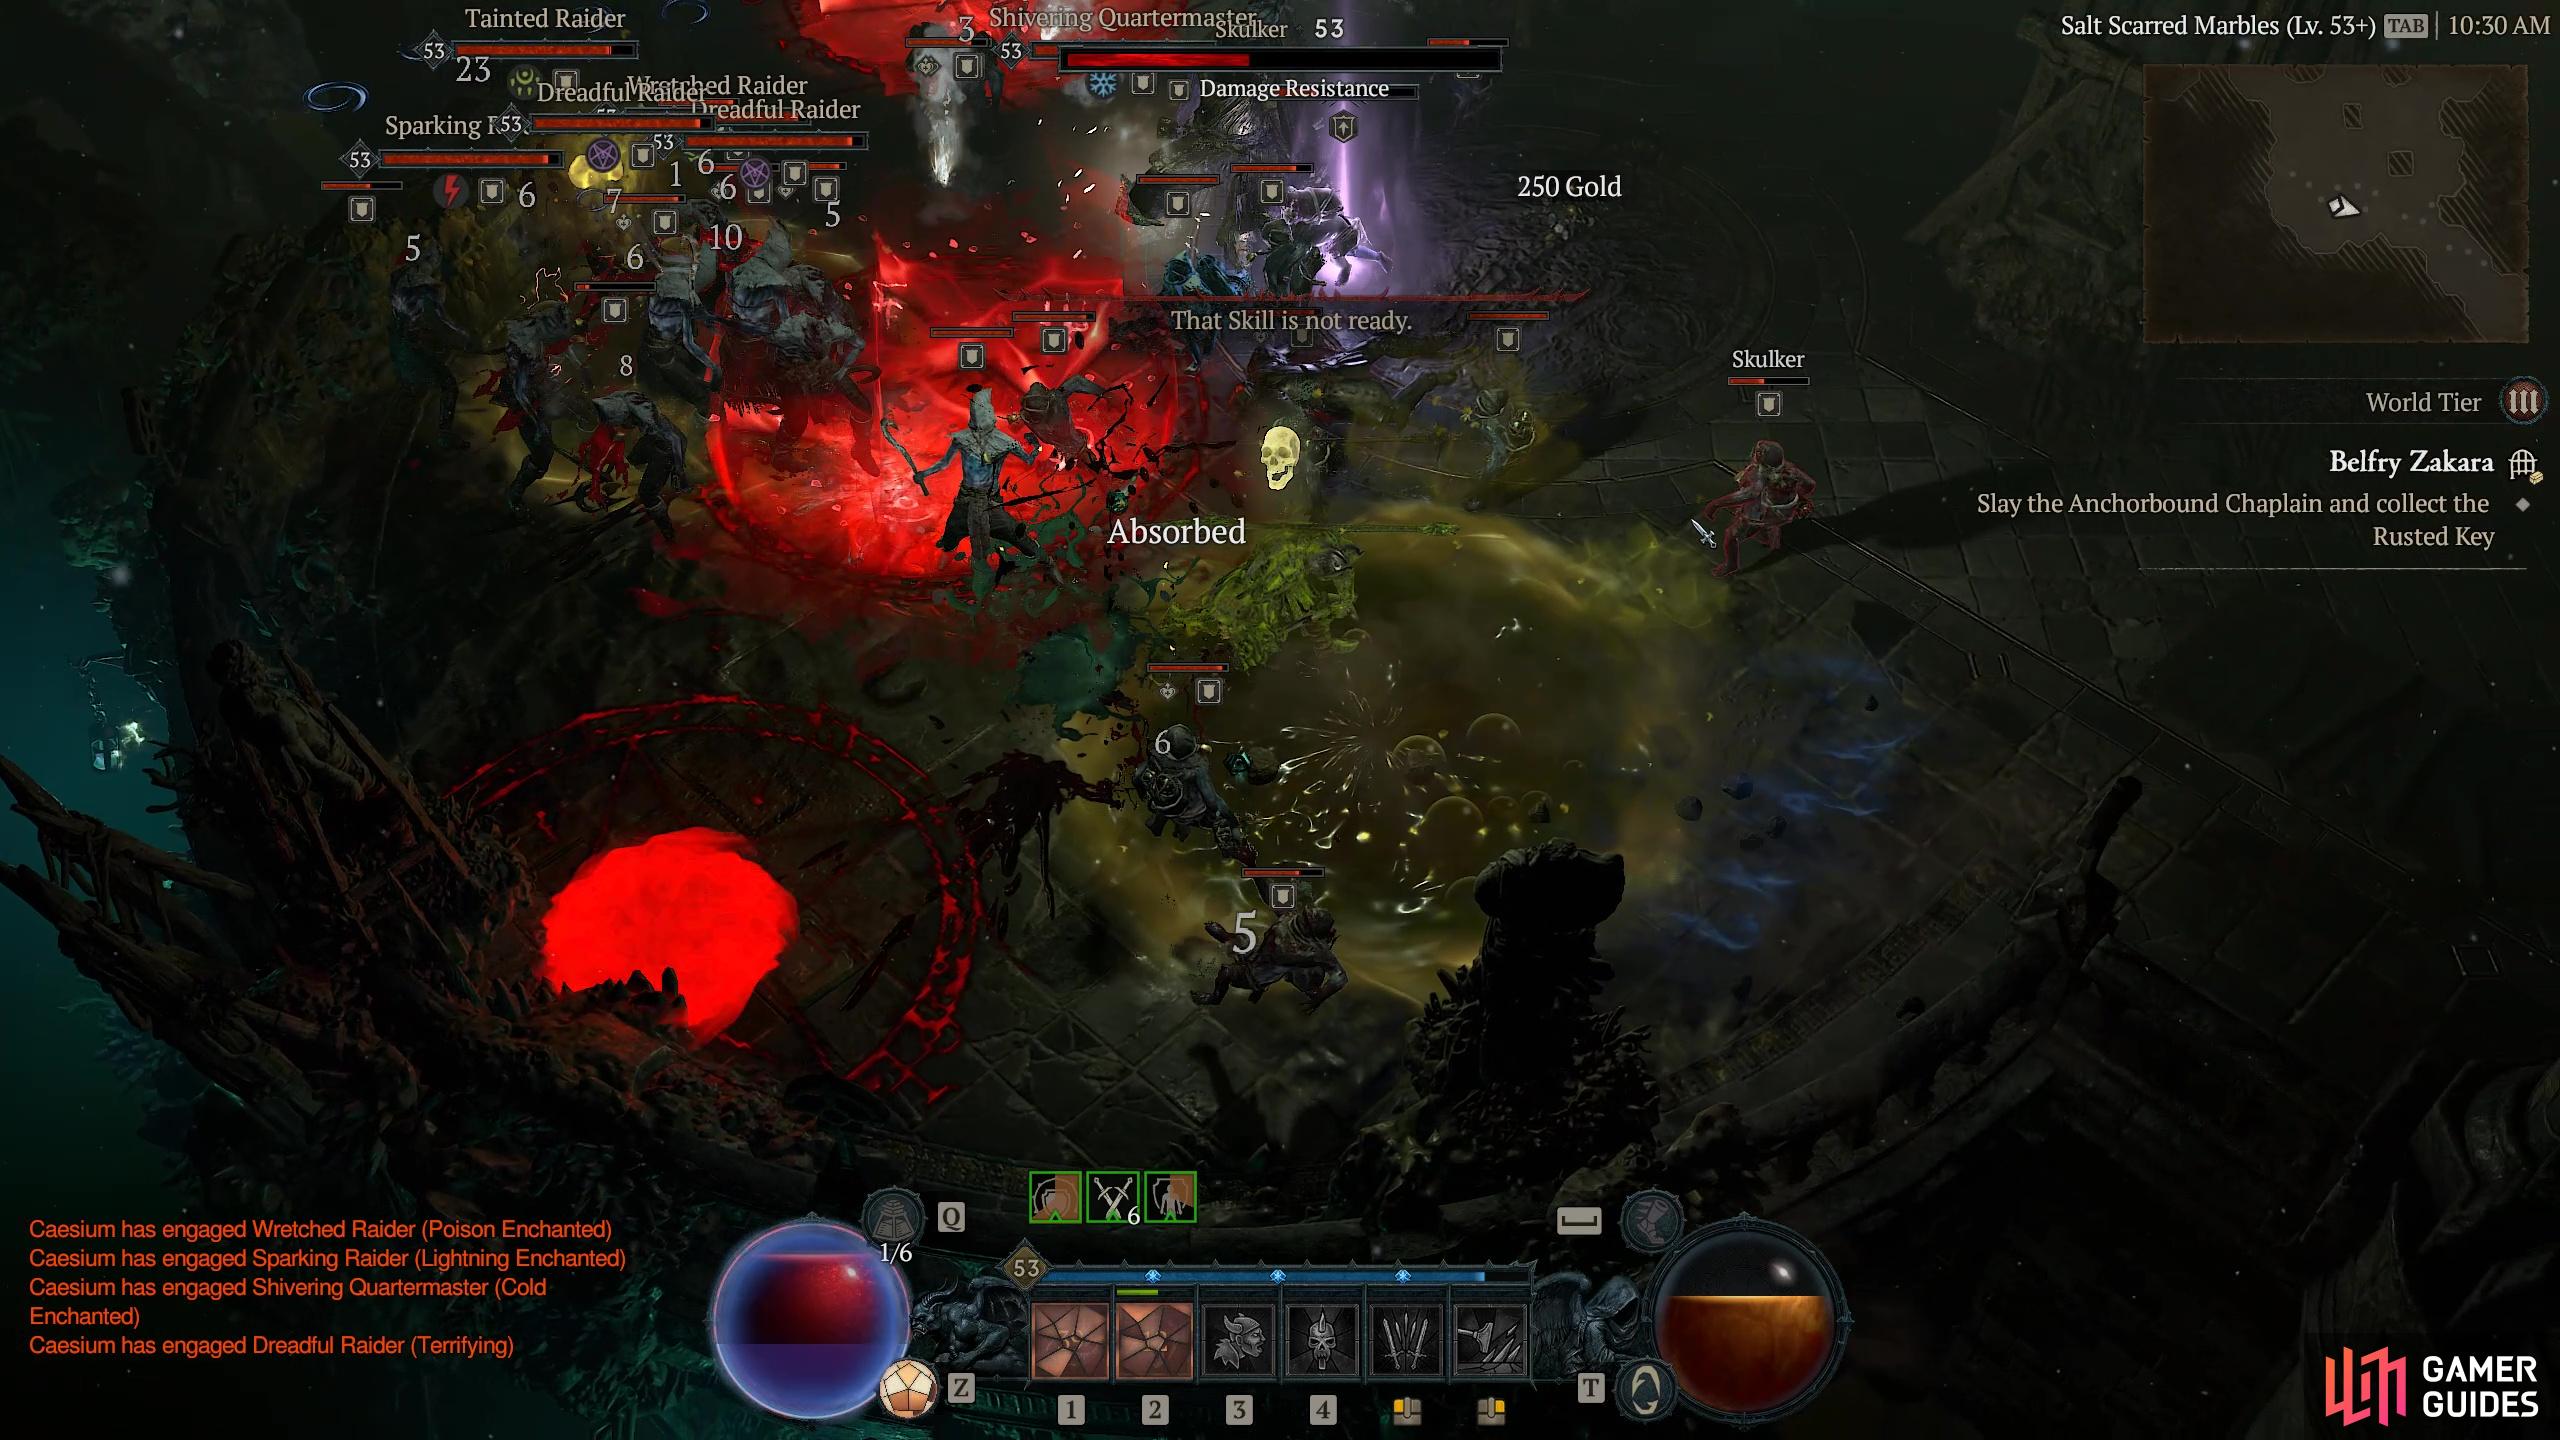
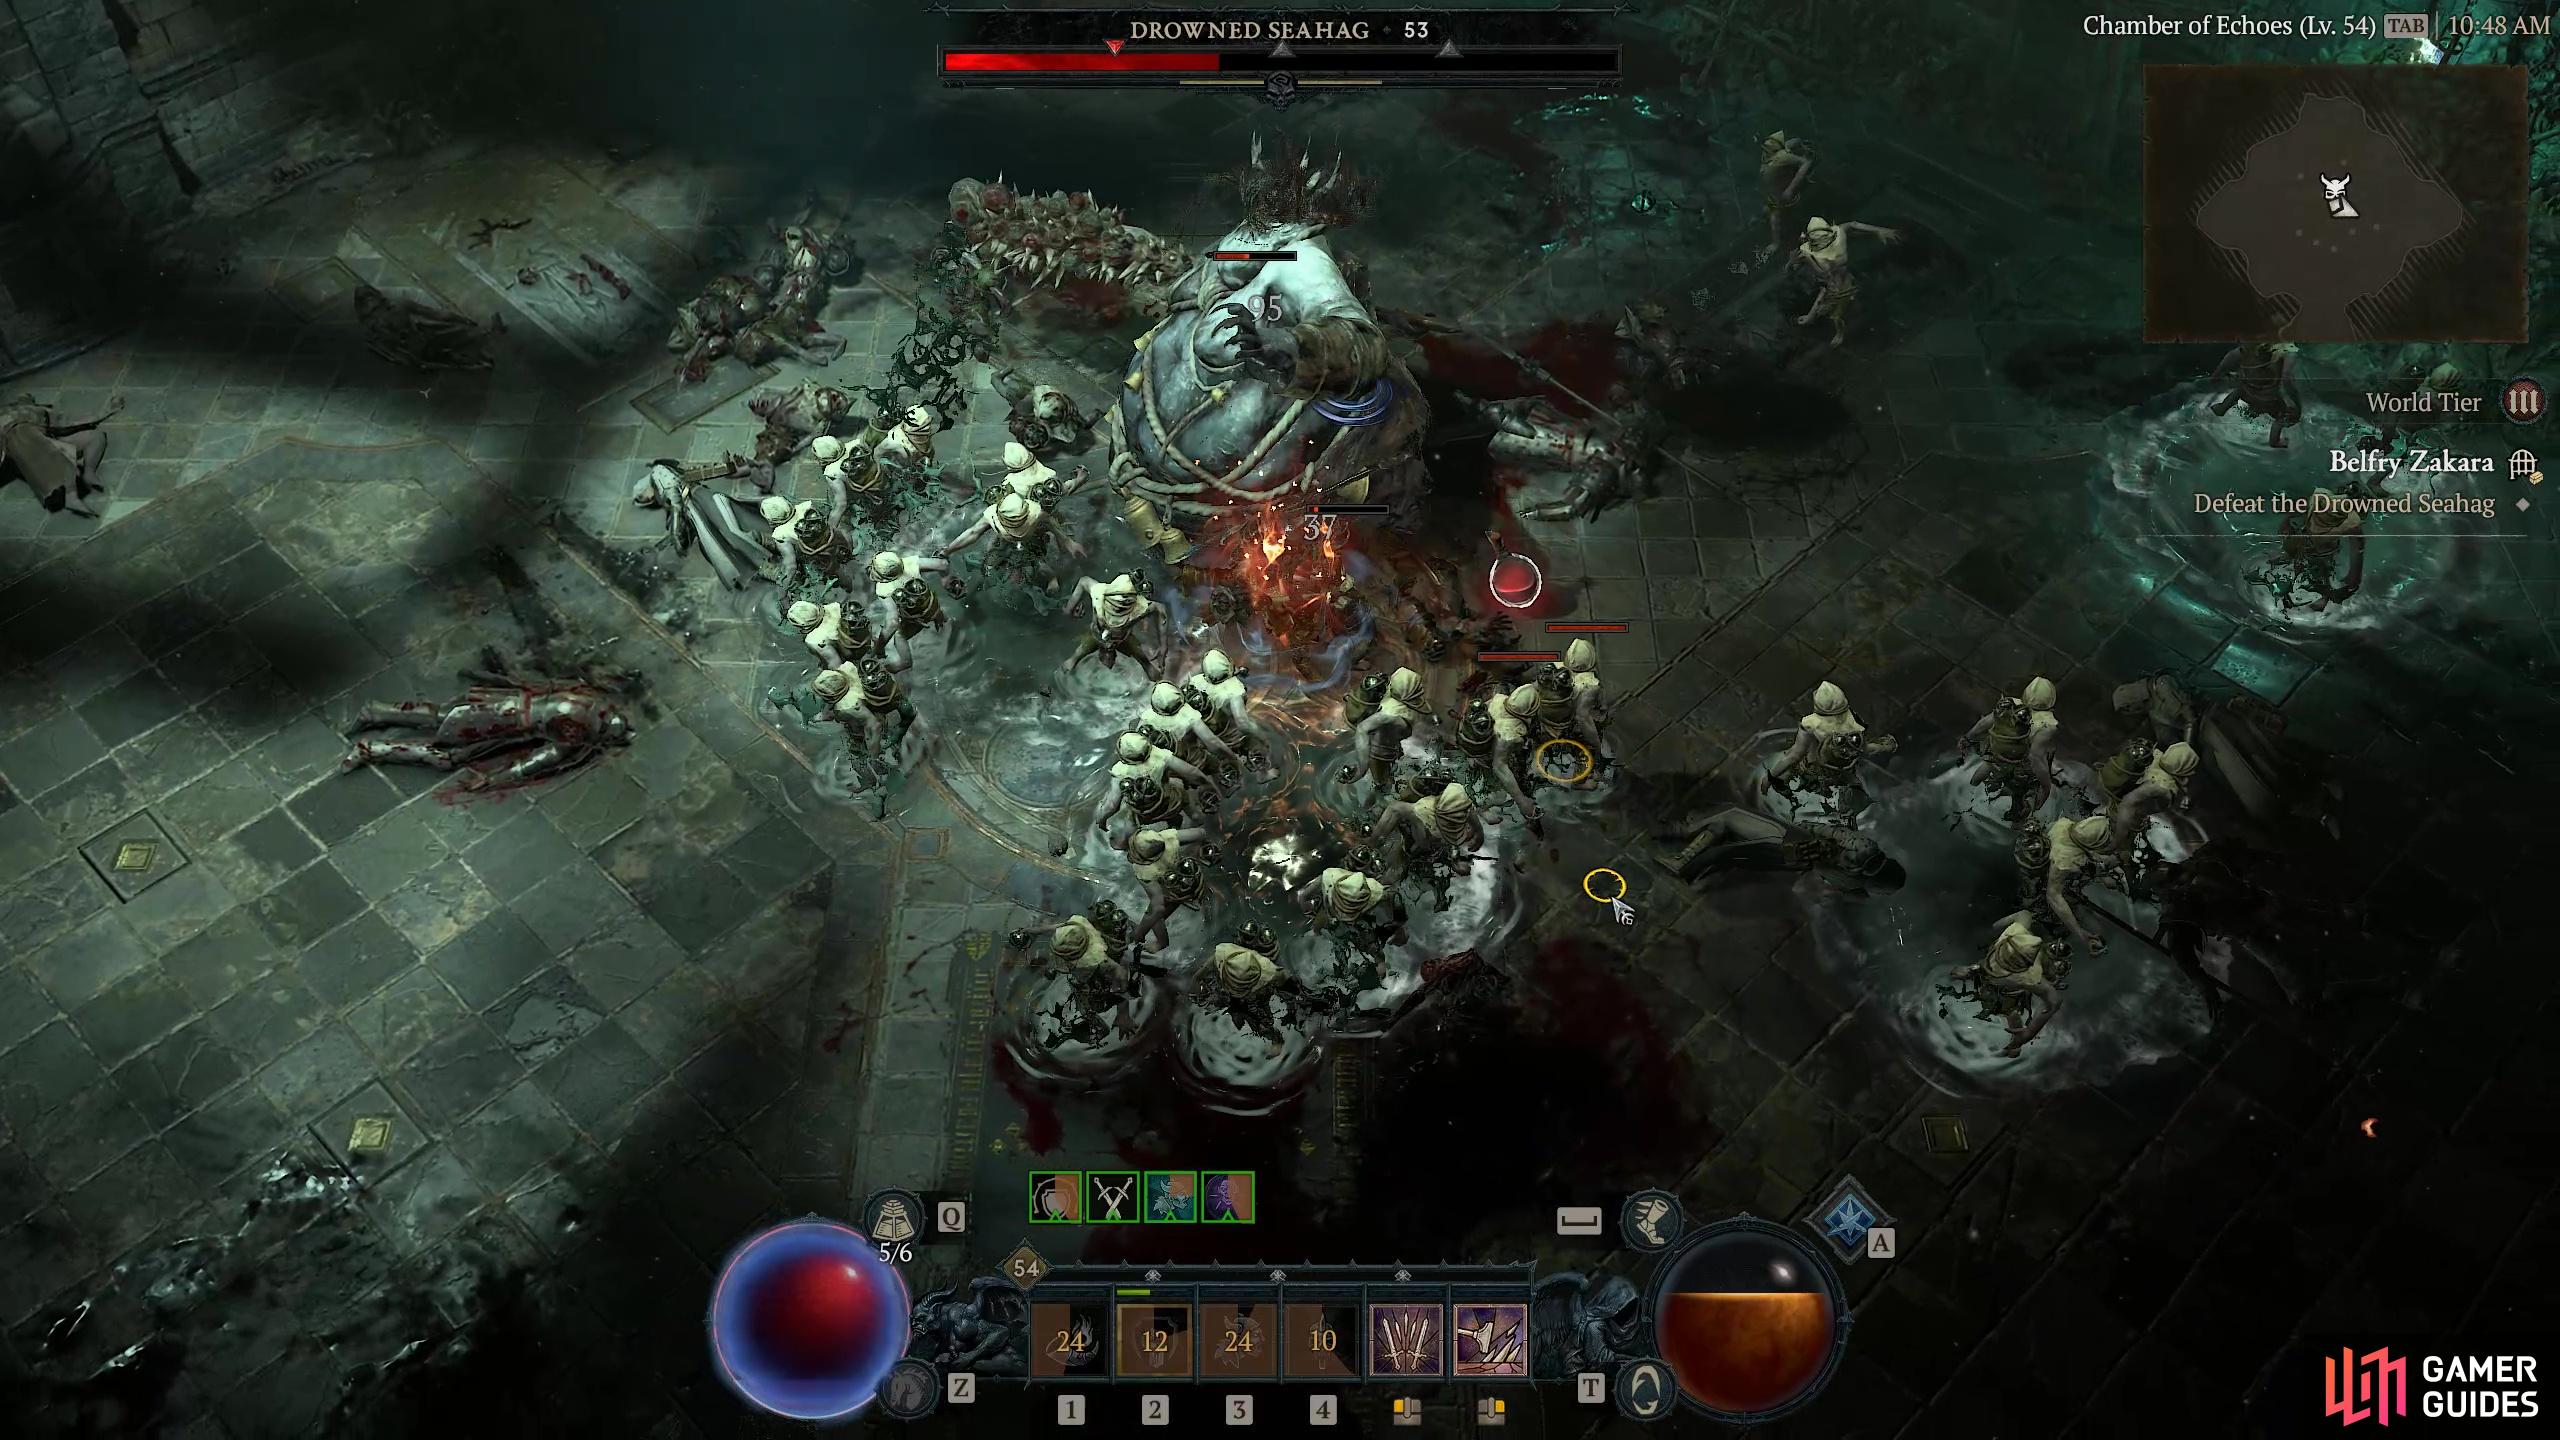
Belfry Zakara |
The Zakarum built this Cathedral. It honors the sea, now.
Objectives
Description
It’s probably fair to say that this is one of the toughest dungeons in Hawezar, if not Diablo IV - especially if you are playing solo. The sheer amount of enemies that will swarm you at times will make it very difficult to get out alive in one go. That said, it is a cool dungeon with a nice Druidic Aspect at the end of it, so it is definitely worth trying to clear out. The first objective is to destroy the two Drowned Bells, which will give you a good idea that this dungeon is going to be populated by the Drowned. A lot of them. The Bells are well-guarded by With the Bell Guards and their Bells destroyed the Salt Scarred Marbles see you hunting for the Anchorbound Chaplain who will drop a Rusted Key on death. Sounds simple but he is guarded by a large quantity of seriously buffed Raiders and Skulkers and it is very easy to get completely overwhelmed. Eventually we settled on a method of trying to funnel the enemies out so we could at least get a couple killed quickly out in the open. If you try to take them on in the room where the Chaplain resides, we don’t hold out much hope for you. Once good has triumphed over the drowned Chaplain there is a long trip to the door where they key works. Along the way there are plenty more buffed enemies to take out, but nothing on the scale you have just faced. Once you open the door it is into the Chamber of Echoes will you will face off against the
Enemies
Raider
Drowned
Skulker
Drowned
2× Bell Guard
Bosses
1× Anchorbound Chaplain
Bosses
1×
Events in this Dungeon
Region
Item Reward
1×
|

|
|||||||||||||||||||||||||||||||||||||||||||||||||||||||||||||||||||||||||||||||||||||||||||||||

|
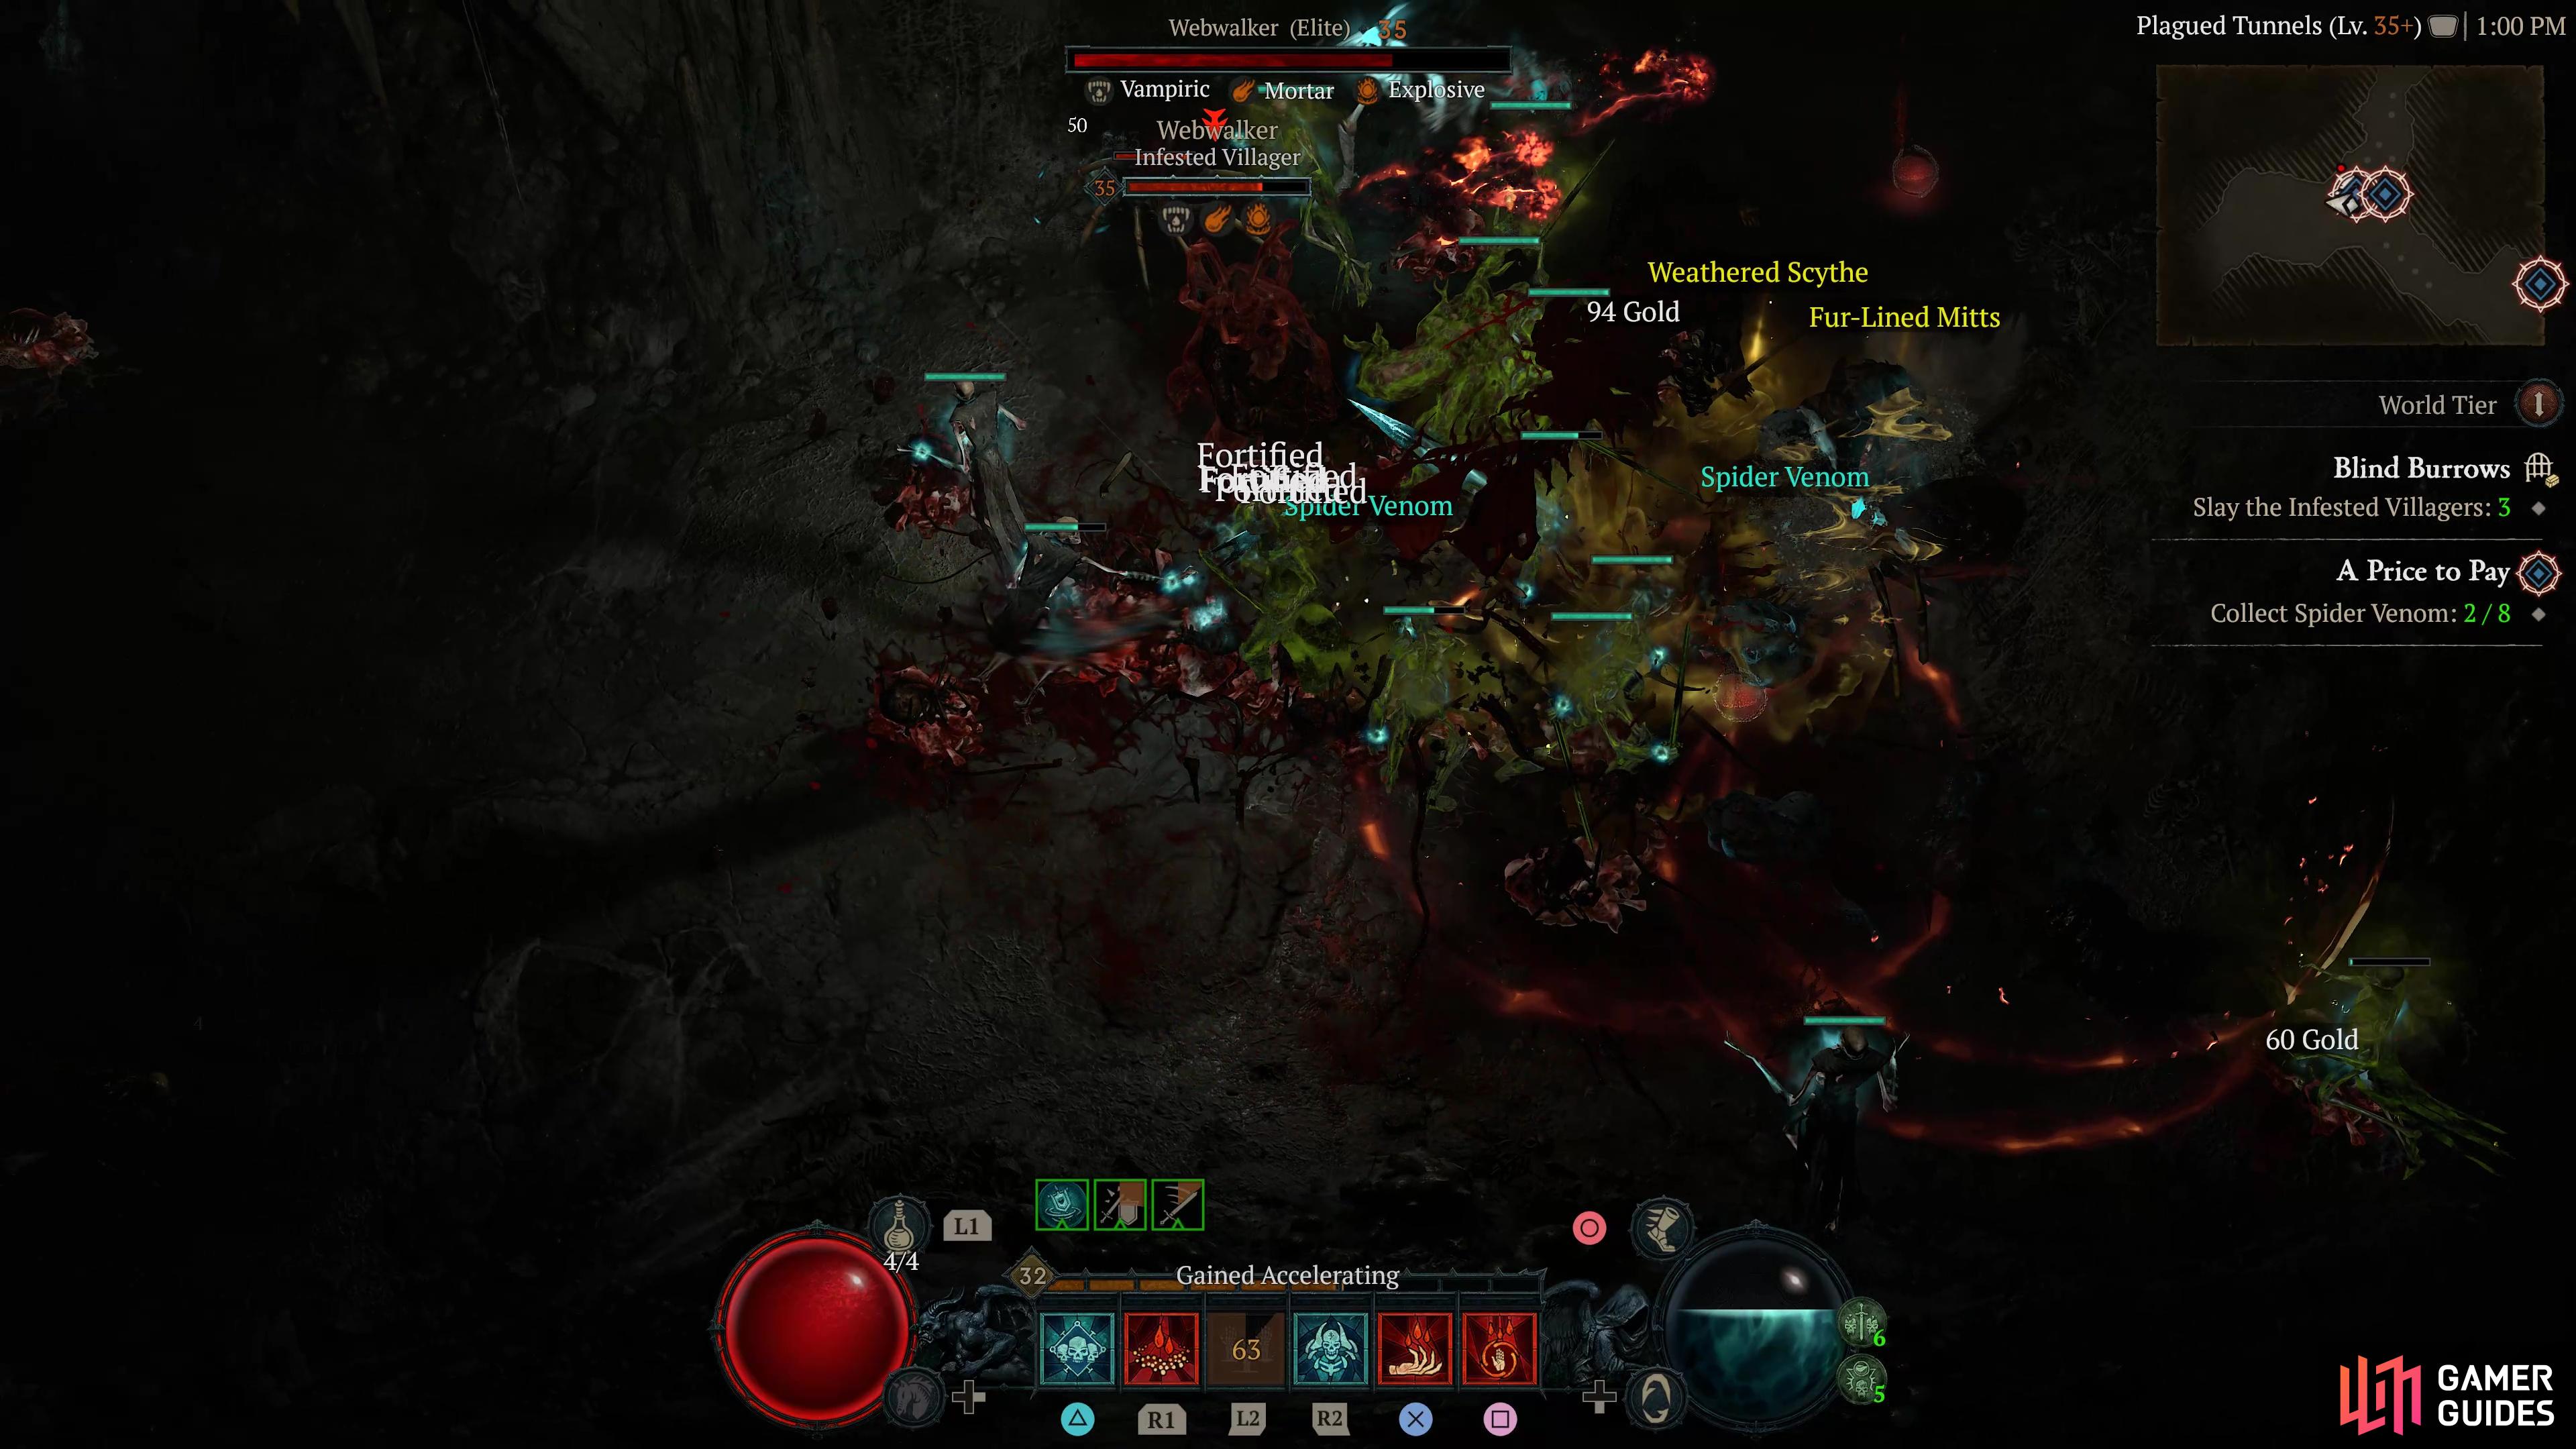
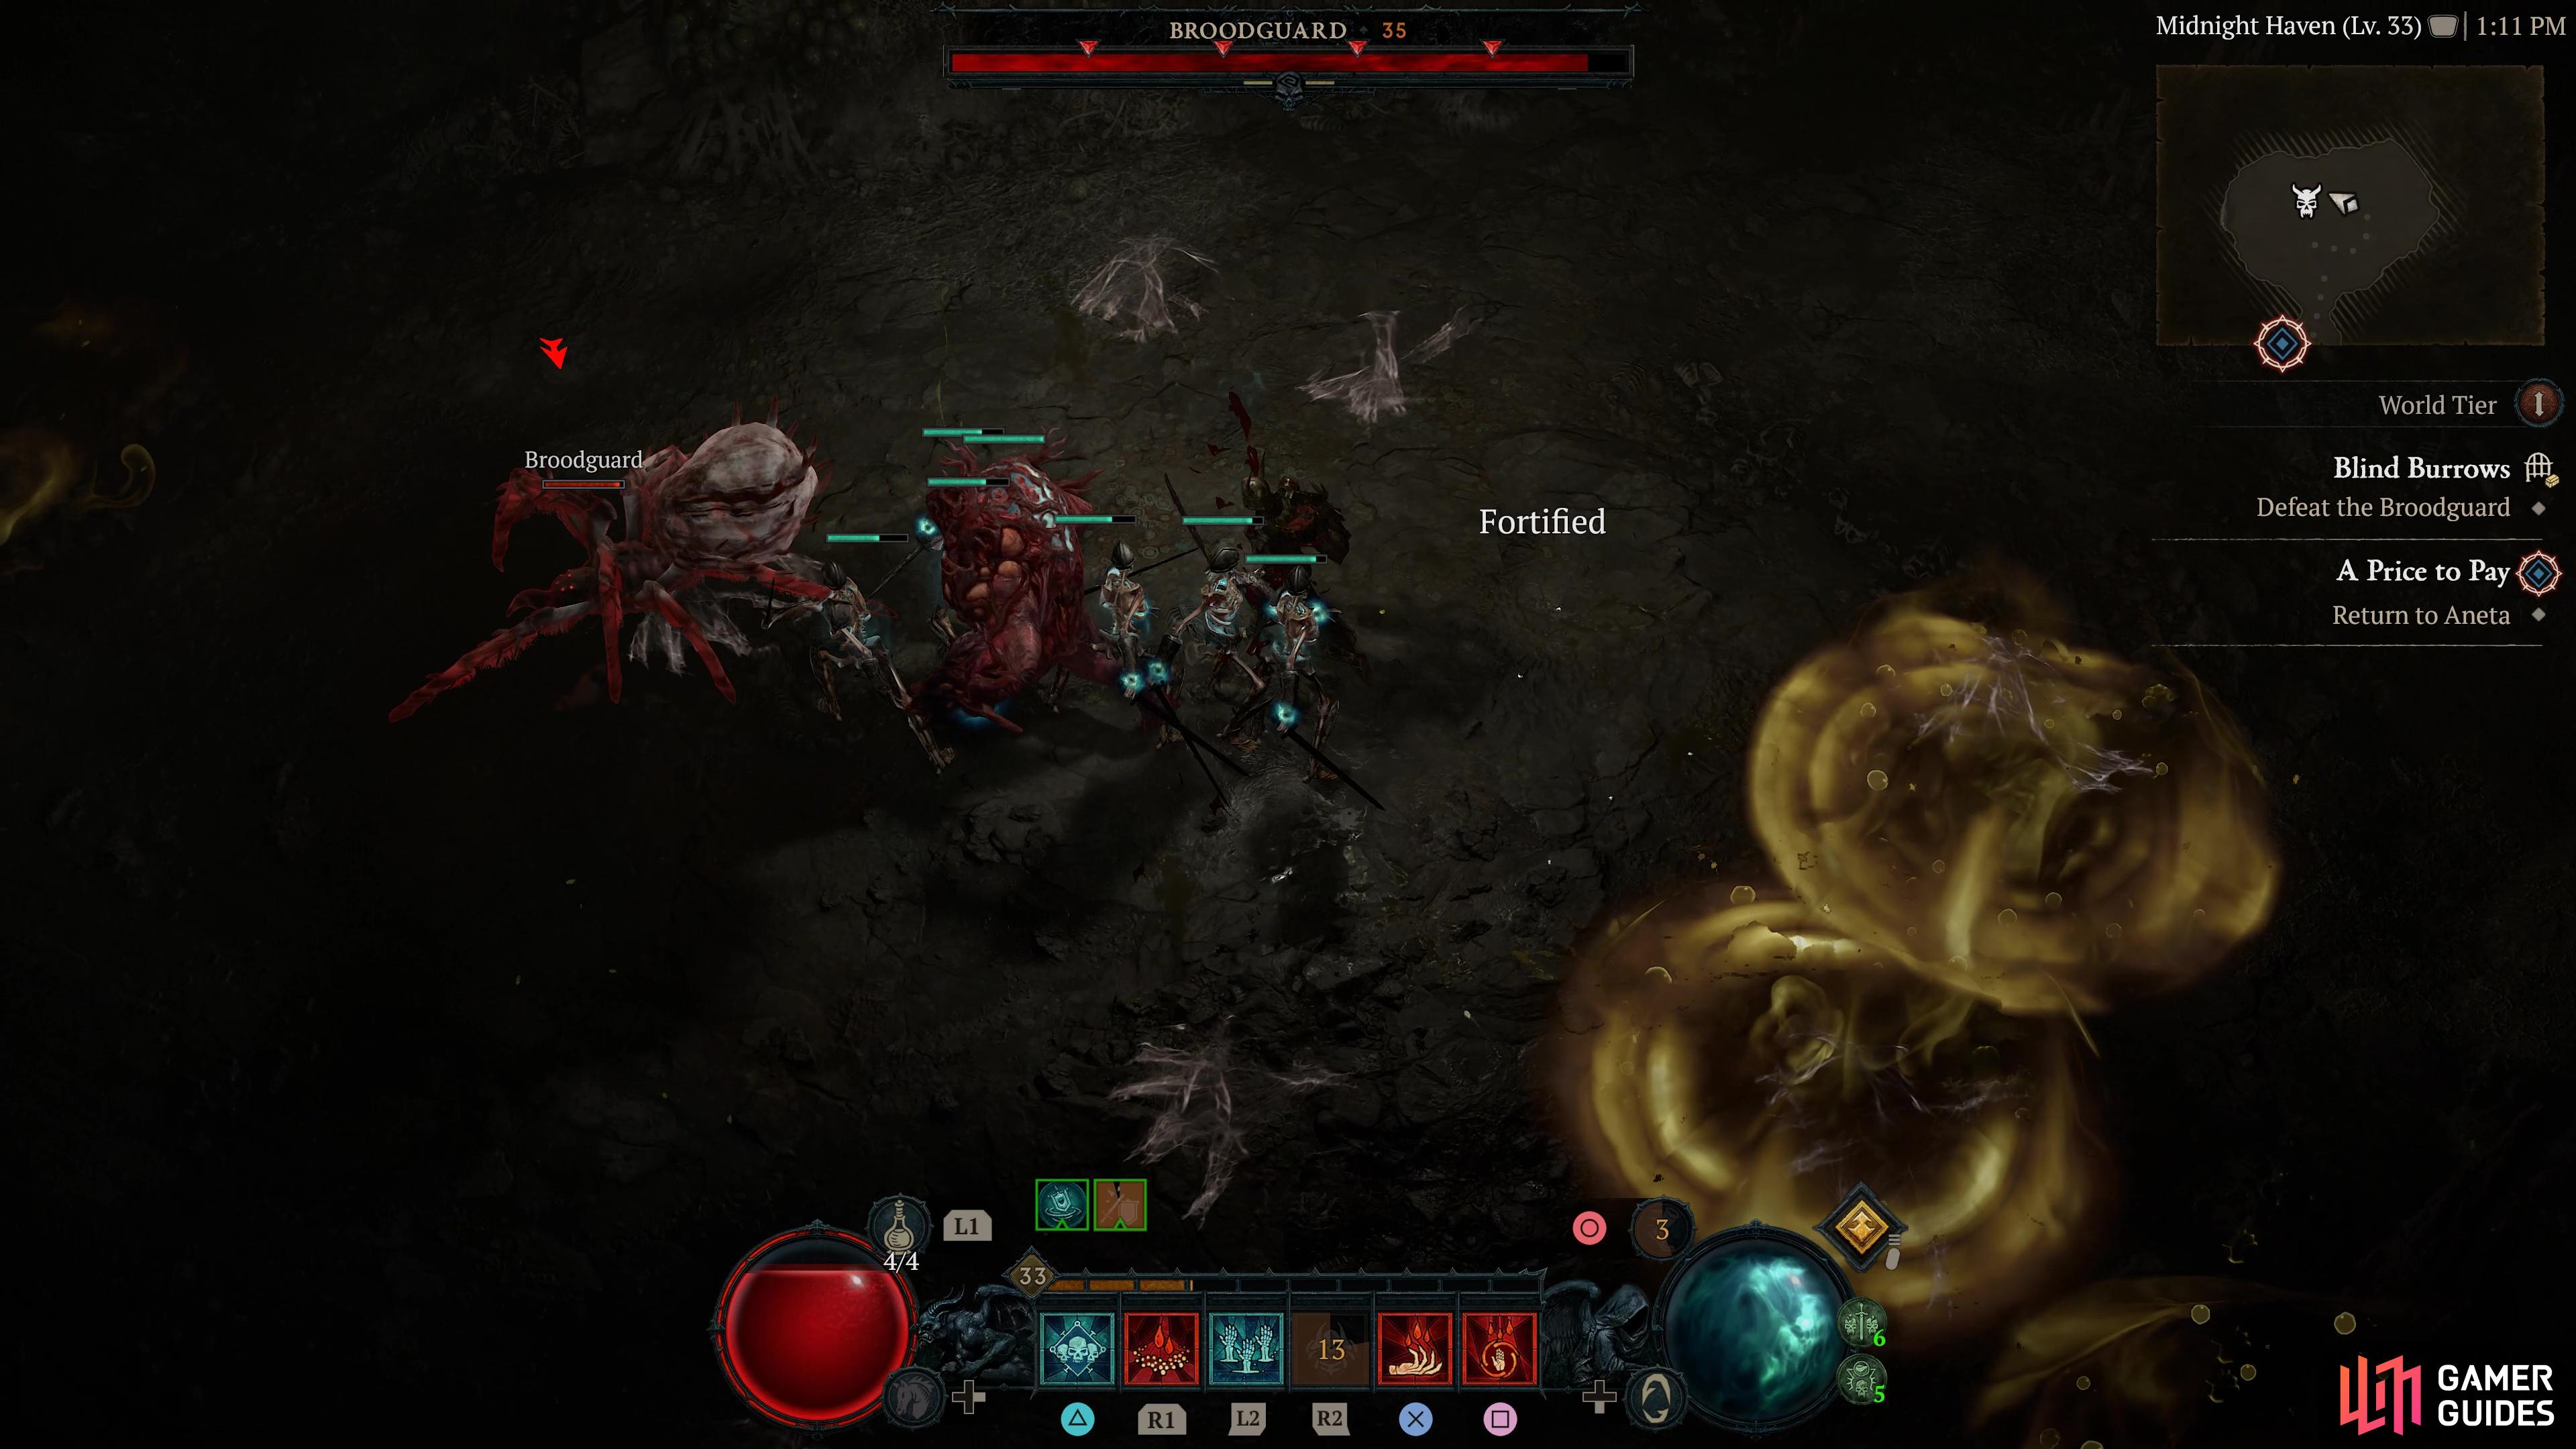
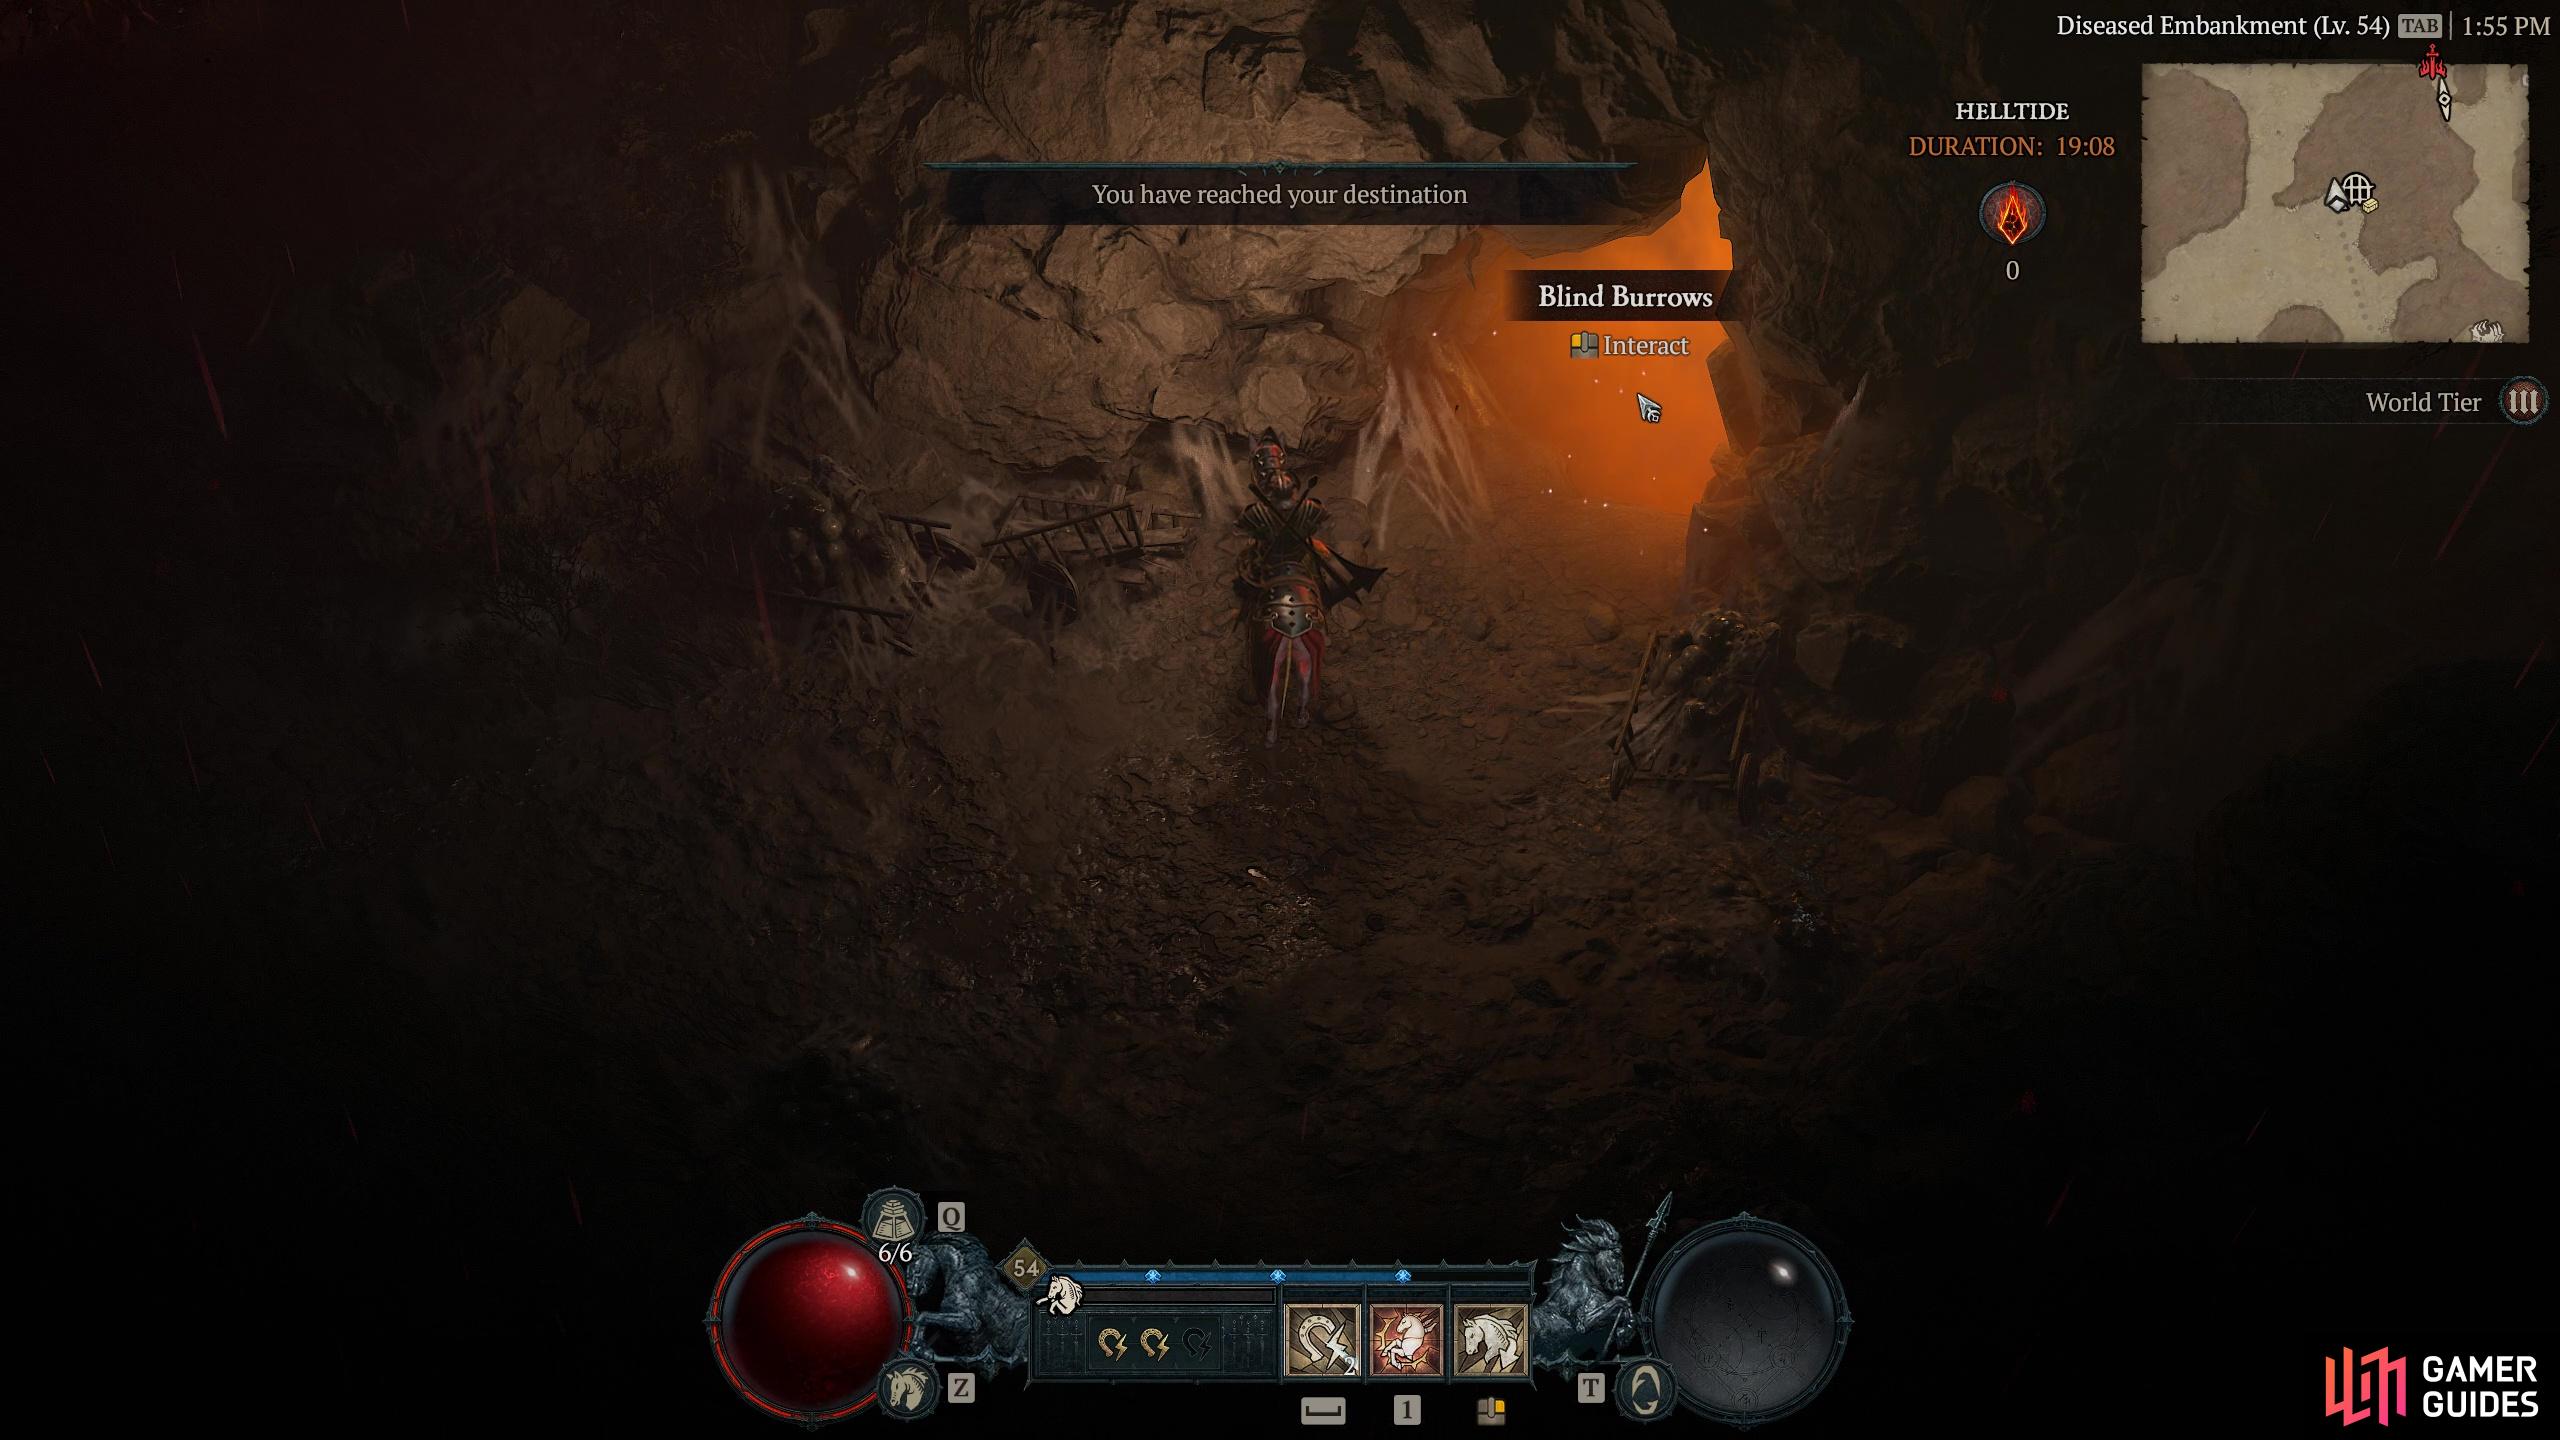
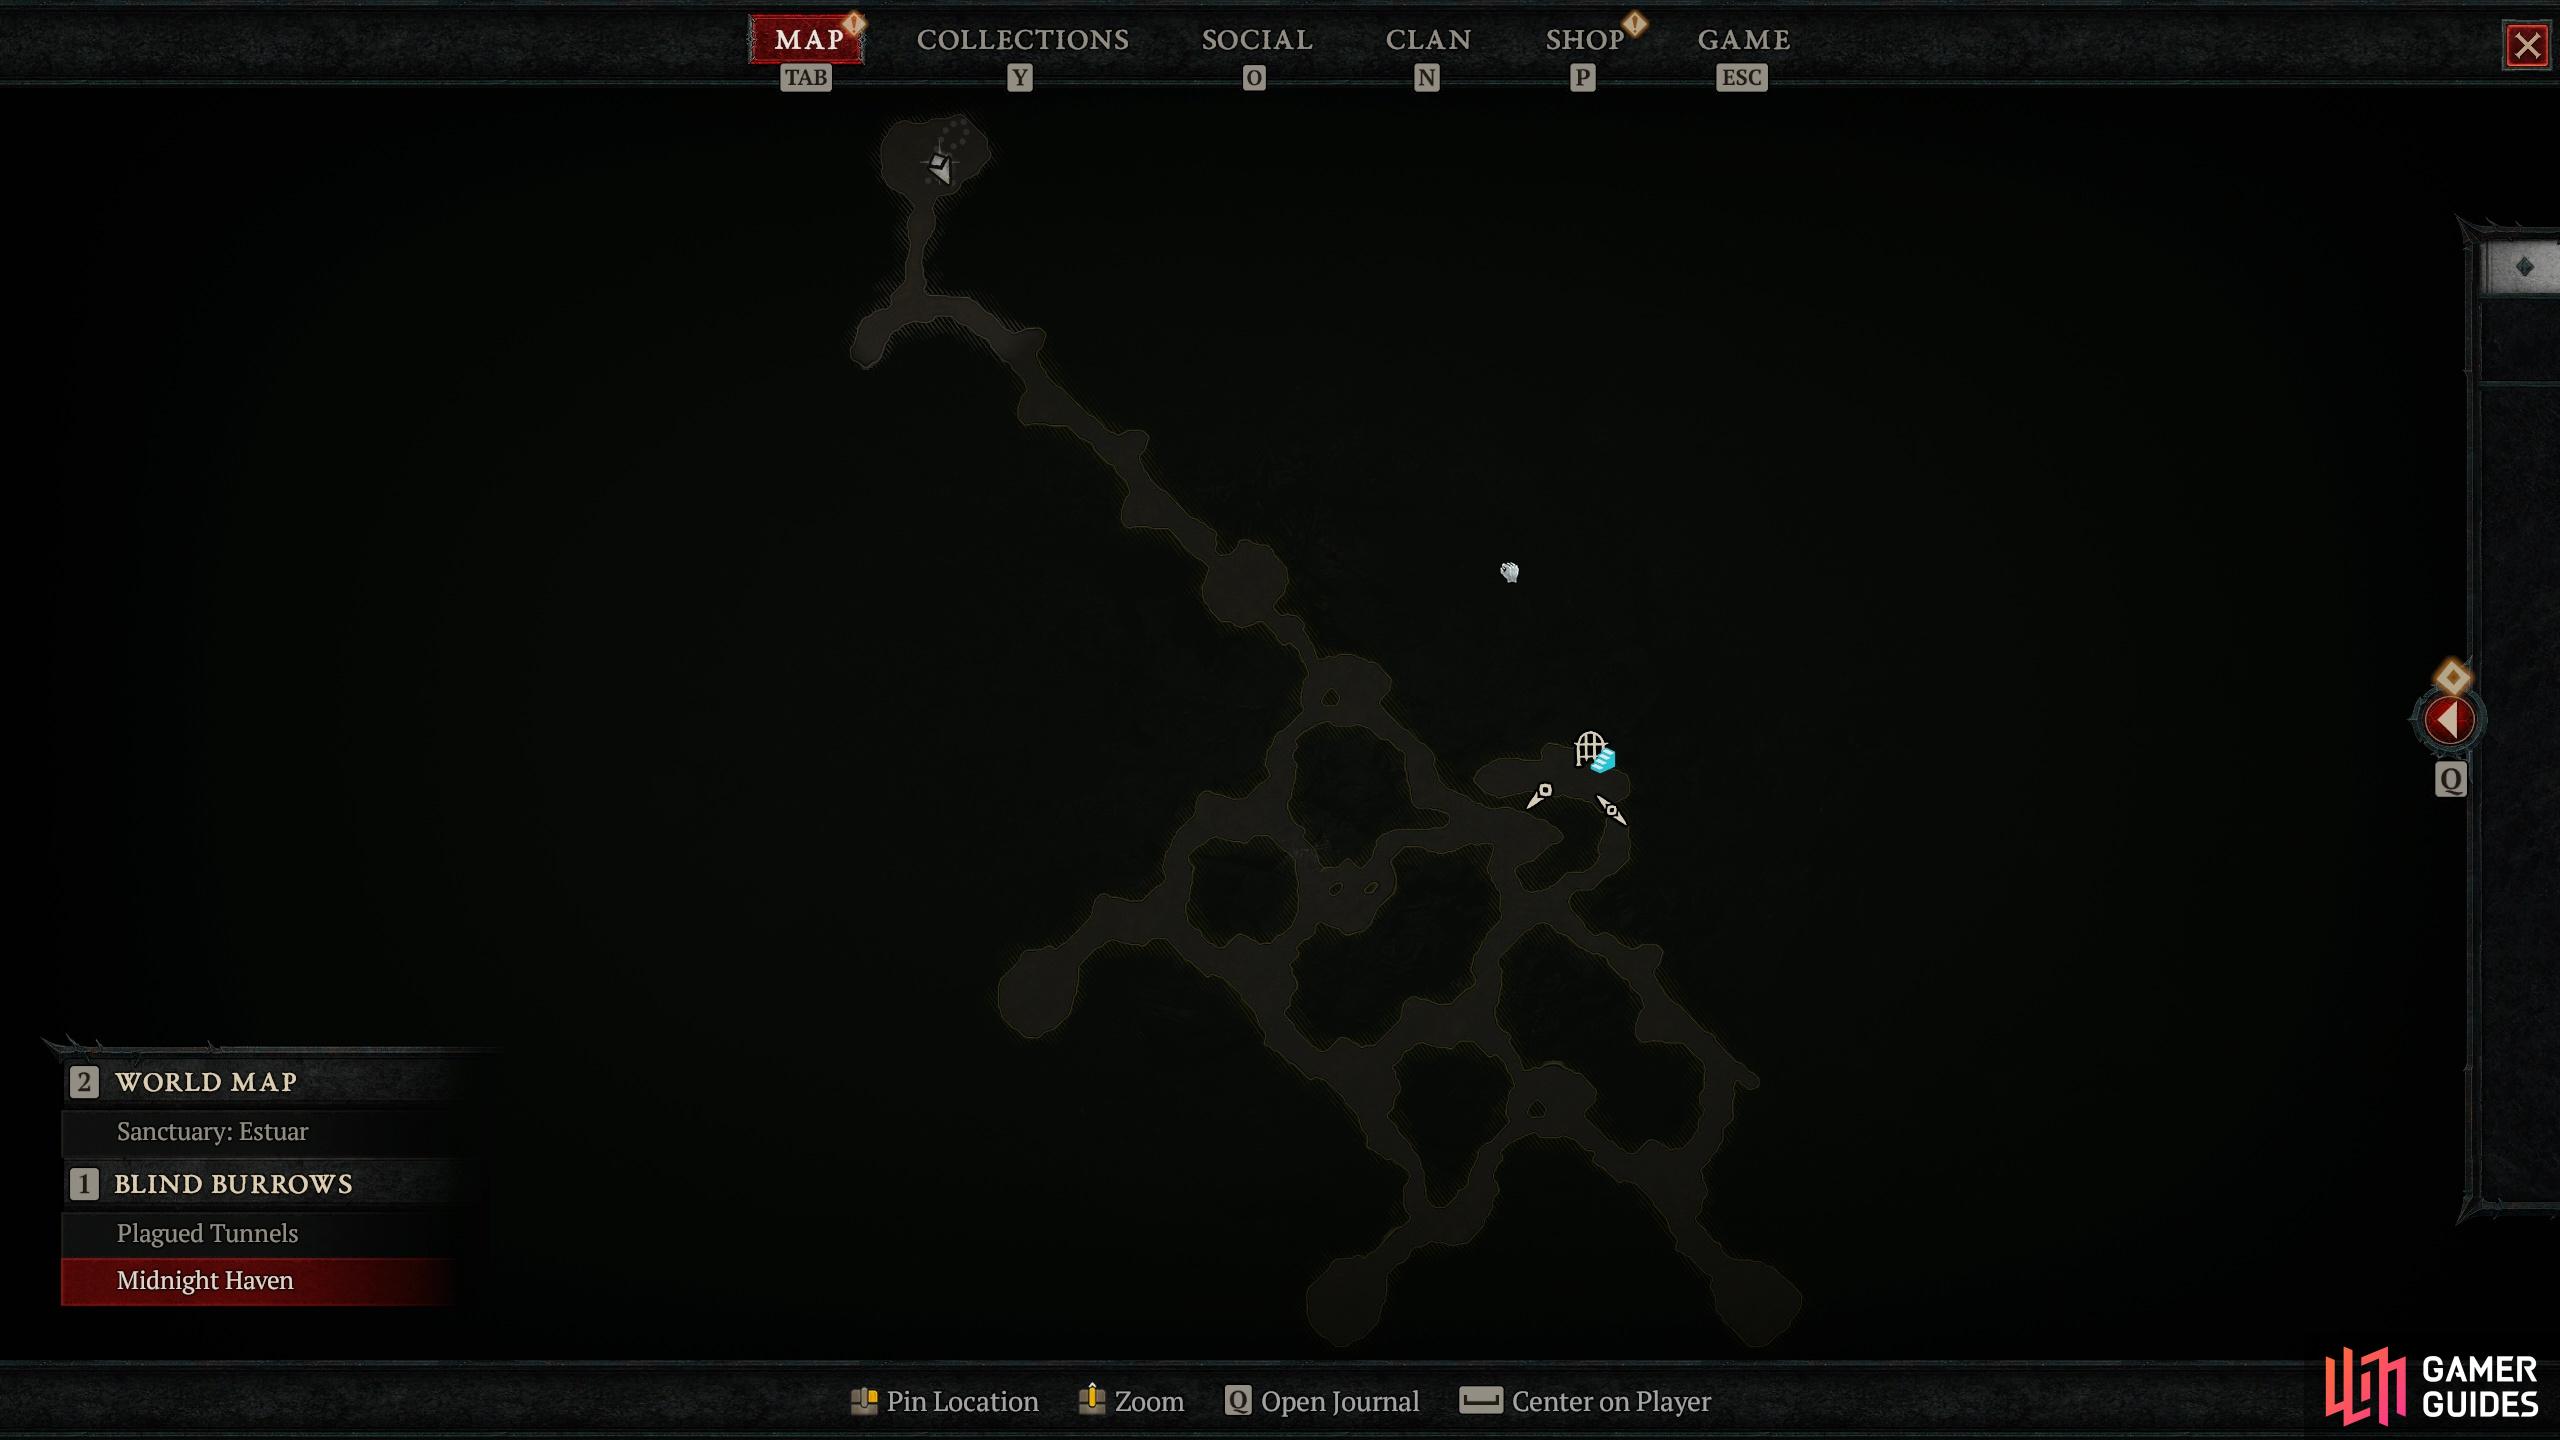
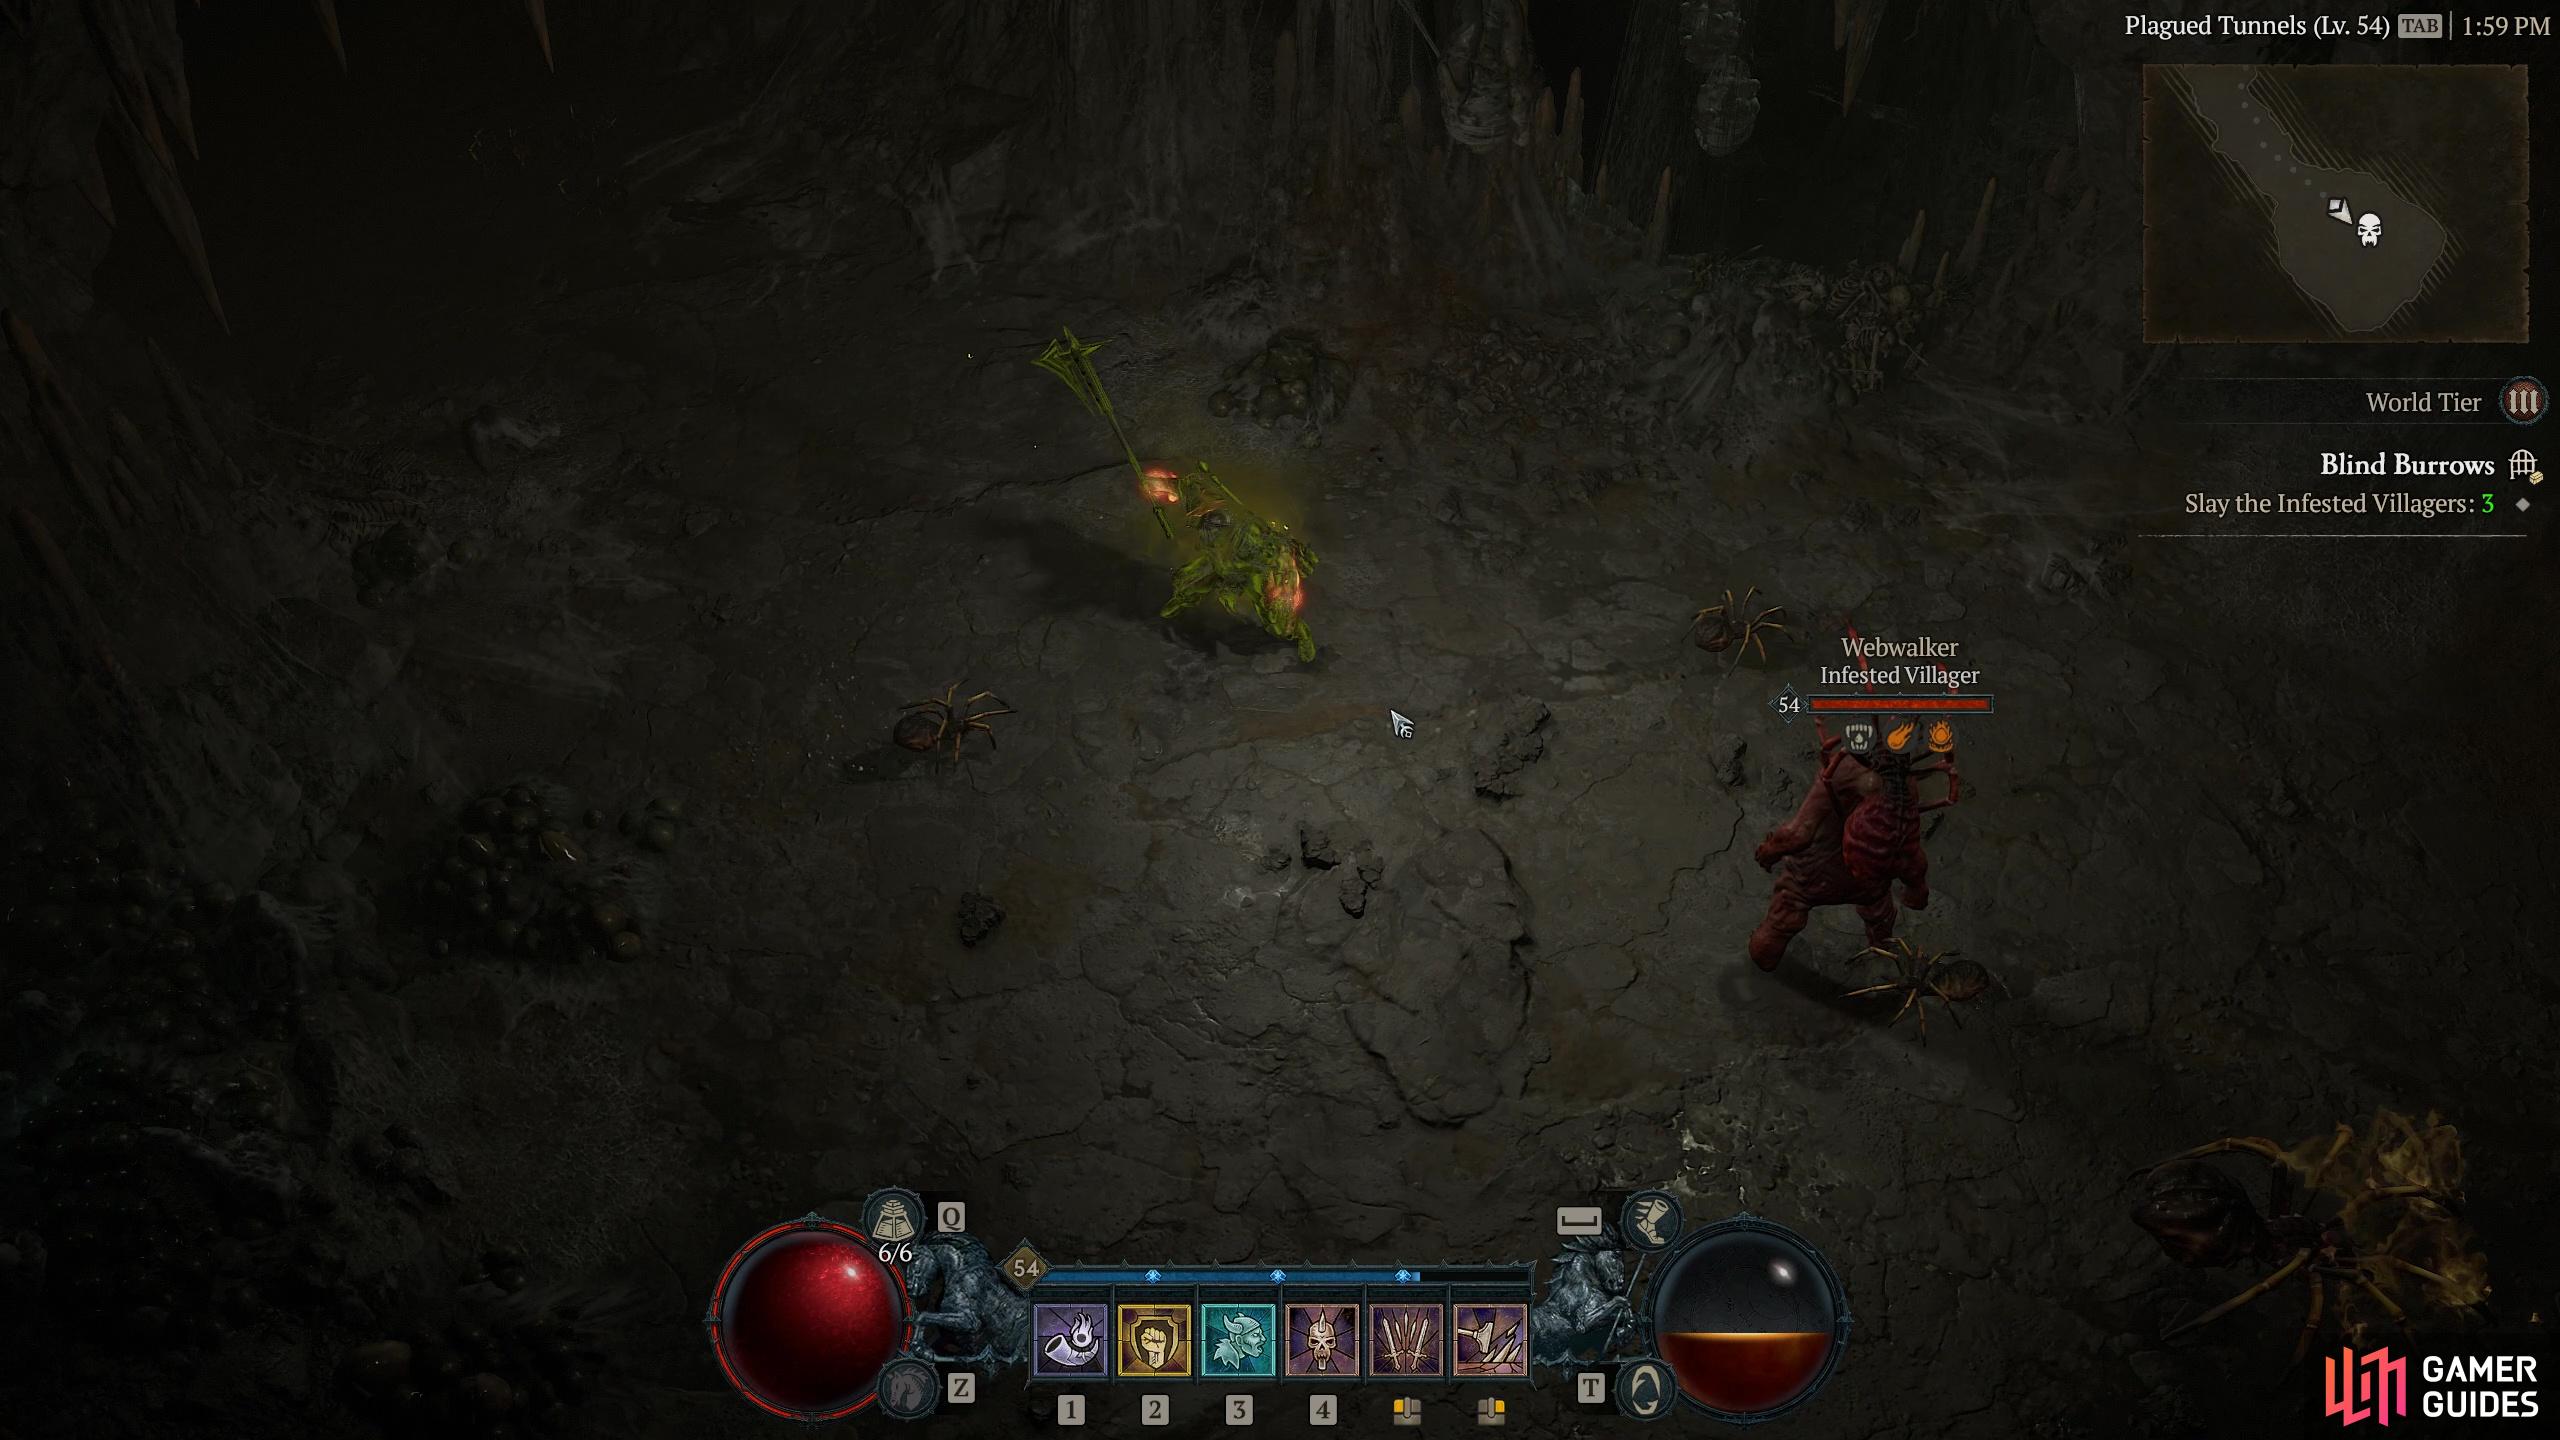
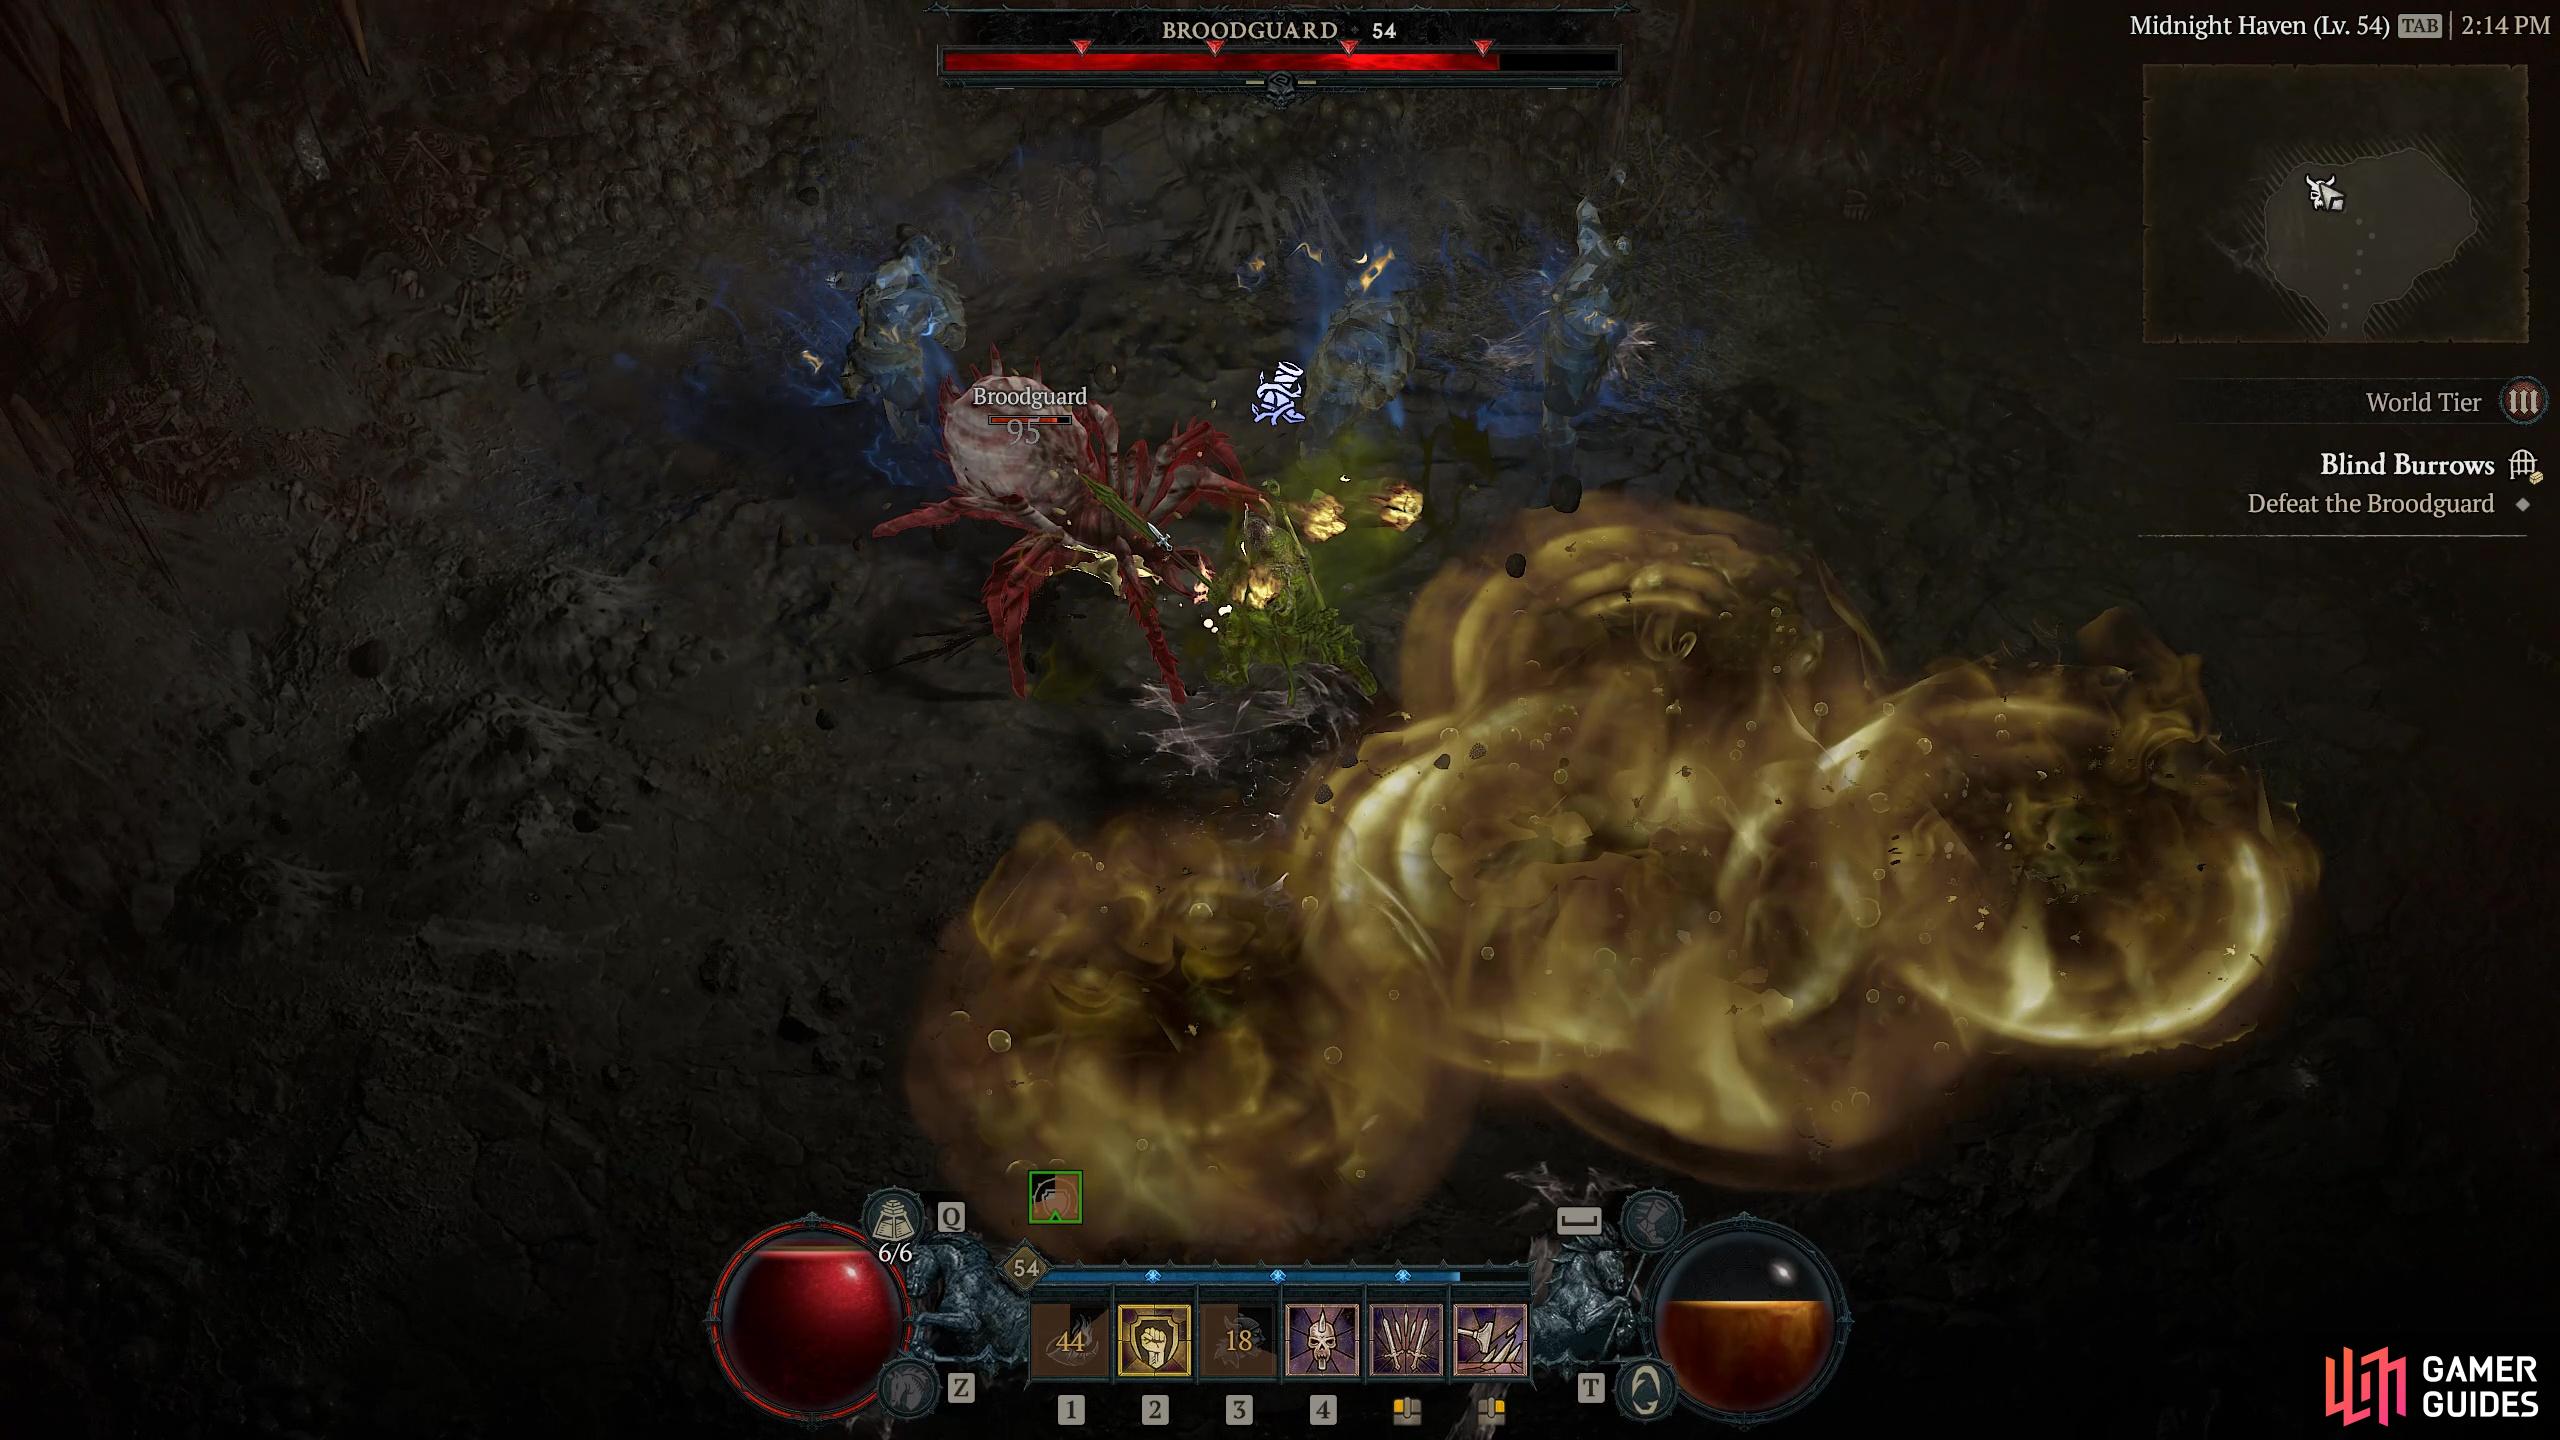
Blind Burrows |
The spiders here have acquired a taste for flesh.
Objectives
Description
Blind Burrows is not the place to visit if you have arachnophobia. This spider-infested hell-hole resides deep undergound and is filled with just about every eight-legged variety of enemy you can think of. It also contains plenty of one of Diablo IV’s most annoying enemies - the The dungeon itself is pretty straightforward. You are only tasked with finding and killing the three Webwalkers (Infested Villagers) who are spread throughout the map. These are Elite Arachnid One you have located and dispatched all three you can make your way to the Midnight Haven where you take on the tough boss, the While not requiring any great technique as such to defeat it, the Broodguard will spawn a lot of spider-type enemies including Arachnid Horrors. It is best therefore to concentrate on the boss, as killing off the horrors will merely multiply the enemies you are faced with with what they they spawn on death. XP FarmingBlind Burrows is a dungeon that has been used by players to farm large amounts of XP - if you want to read our page on exactly how to do that, head over here.
Enemies
Plagued Creeper
Spiders
3× Webwalker (Infested Villager)
Bosses
1×
Related Quests
1×
Region
General Reward
Gold, XP, +30 Hawazar Renown
Item Reward
1×
|
|
|||||||||||||||||||||||||||||||||||||||||||||||||||||||||||||||||||||||||||||||||||||||||||||||

|
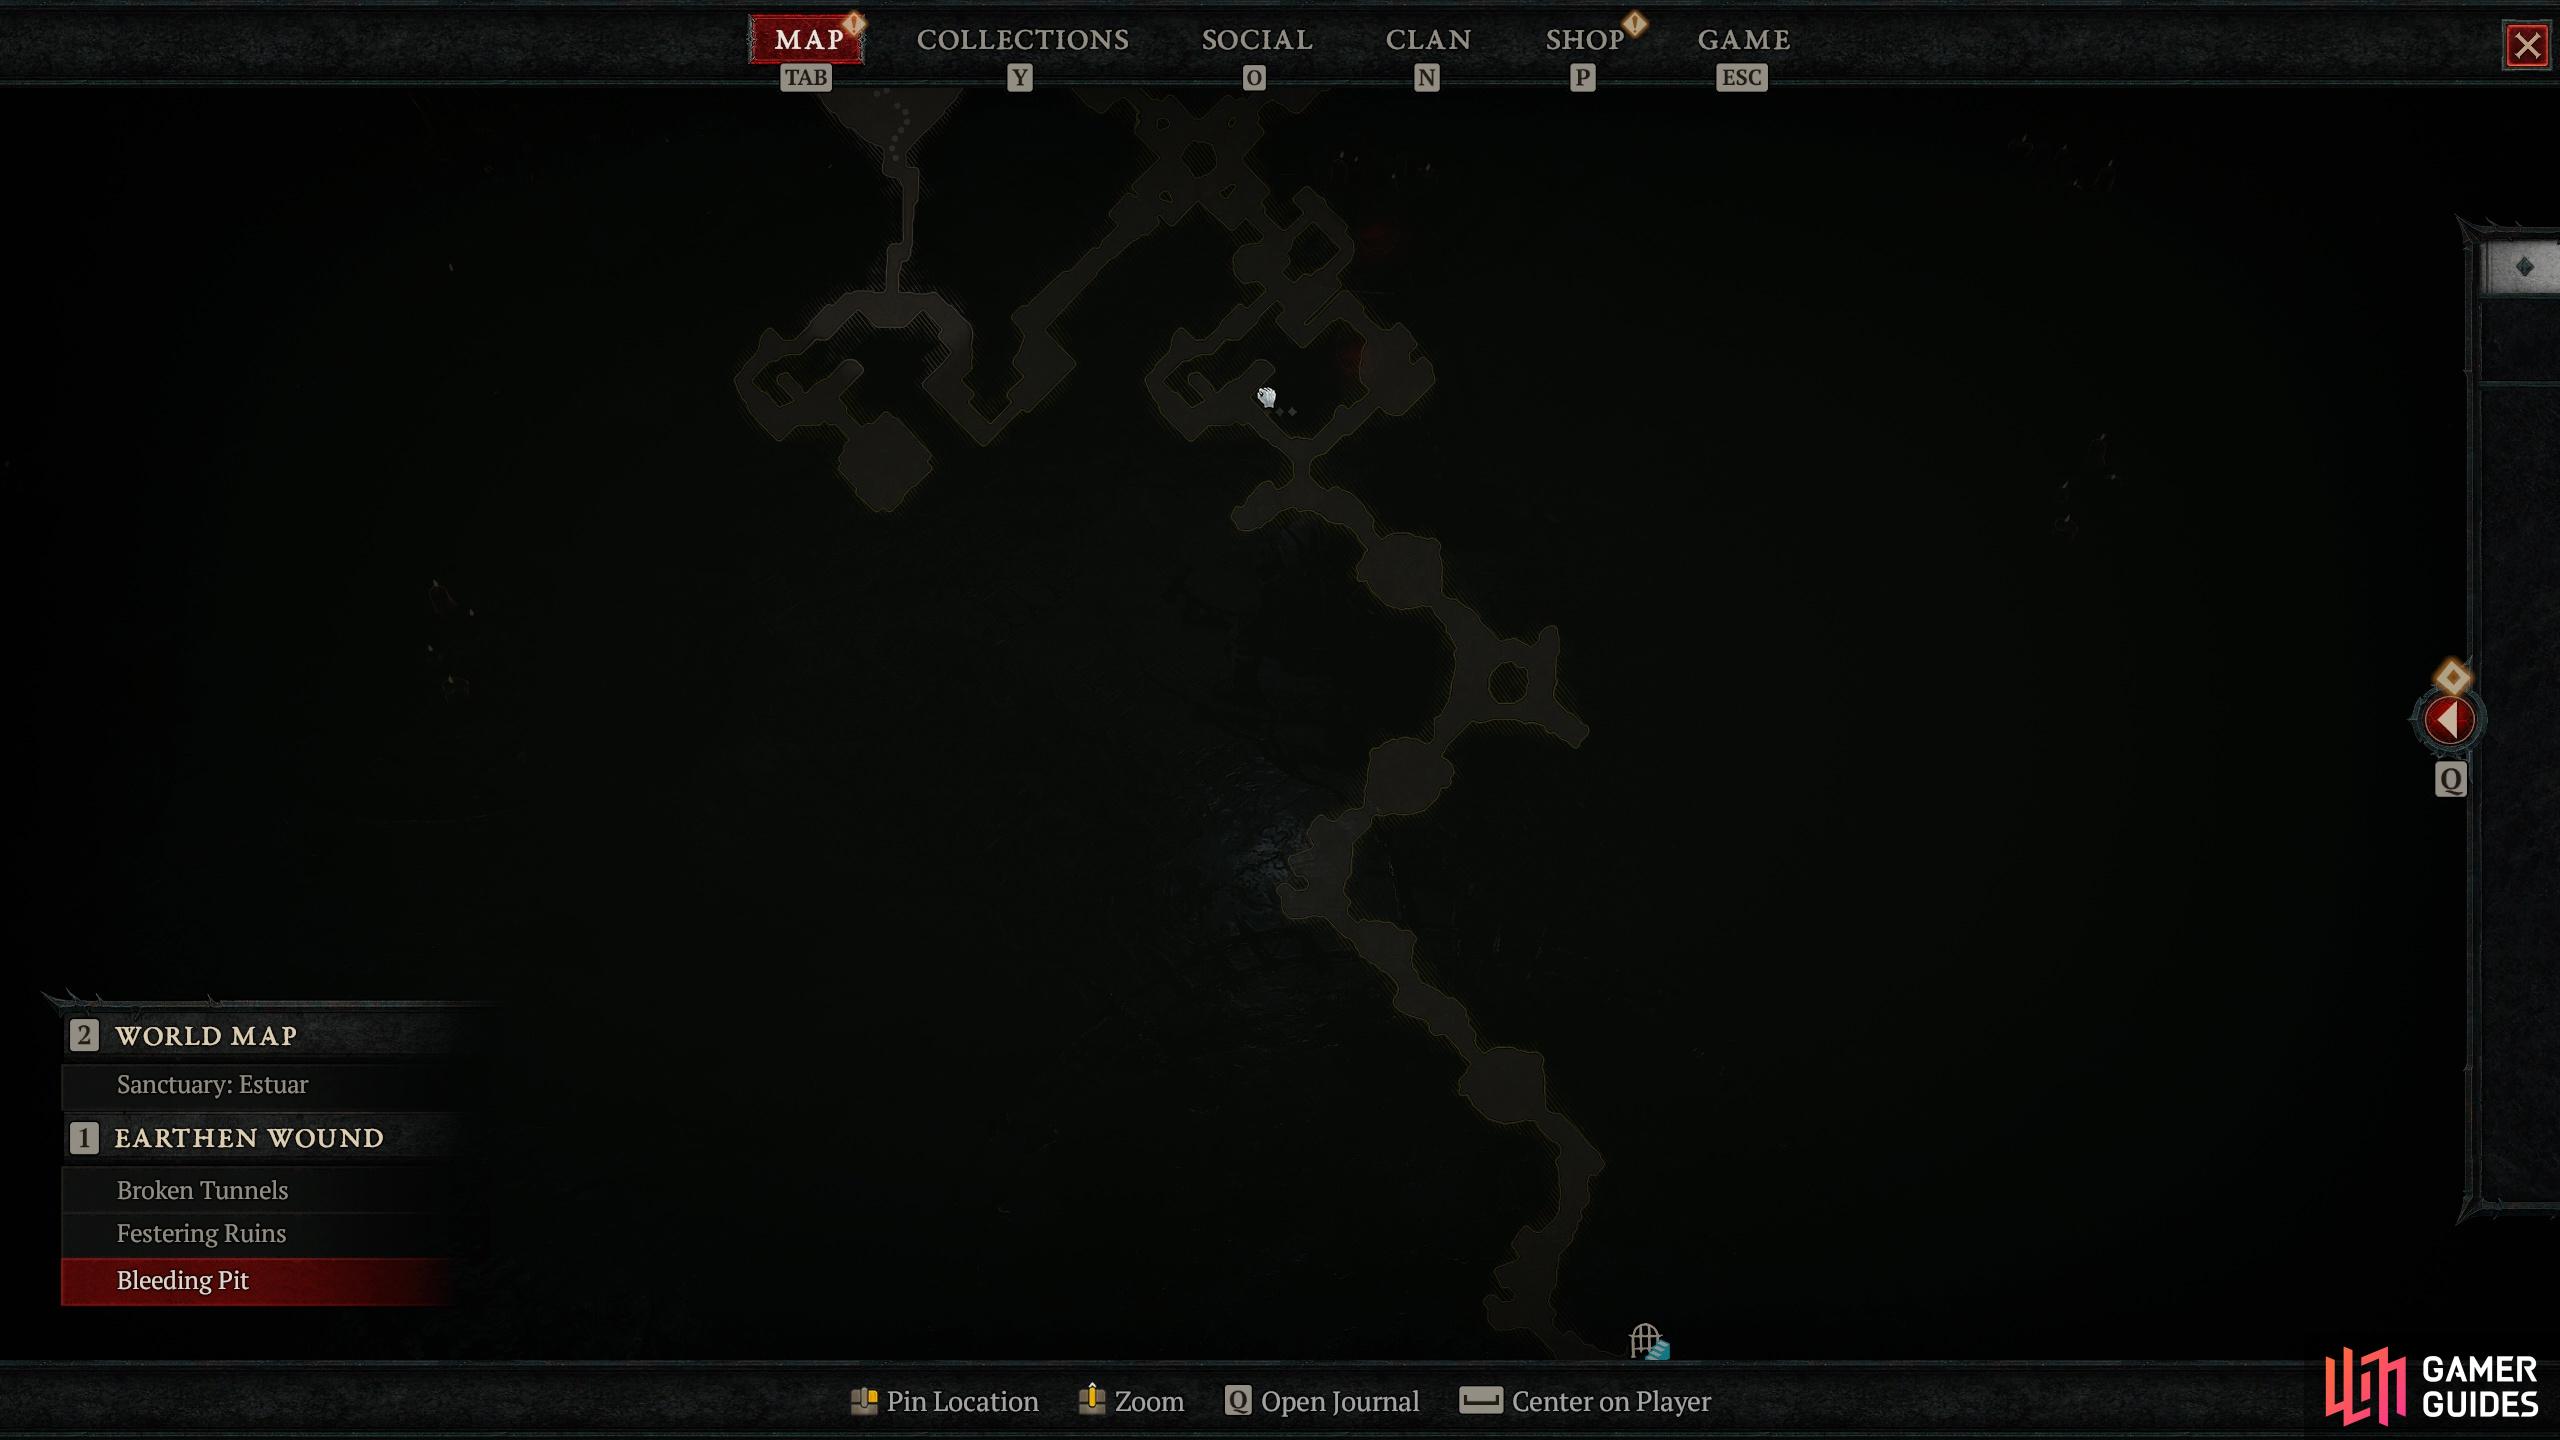
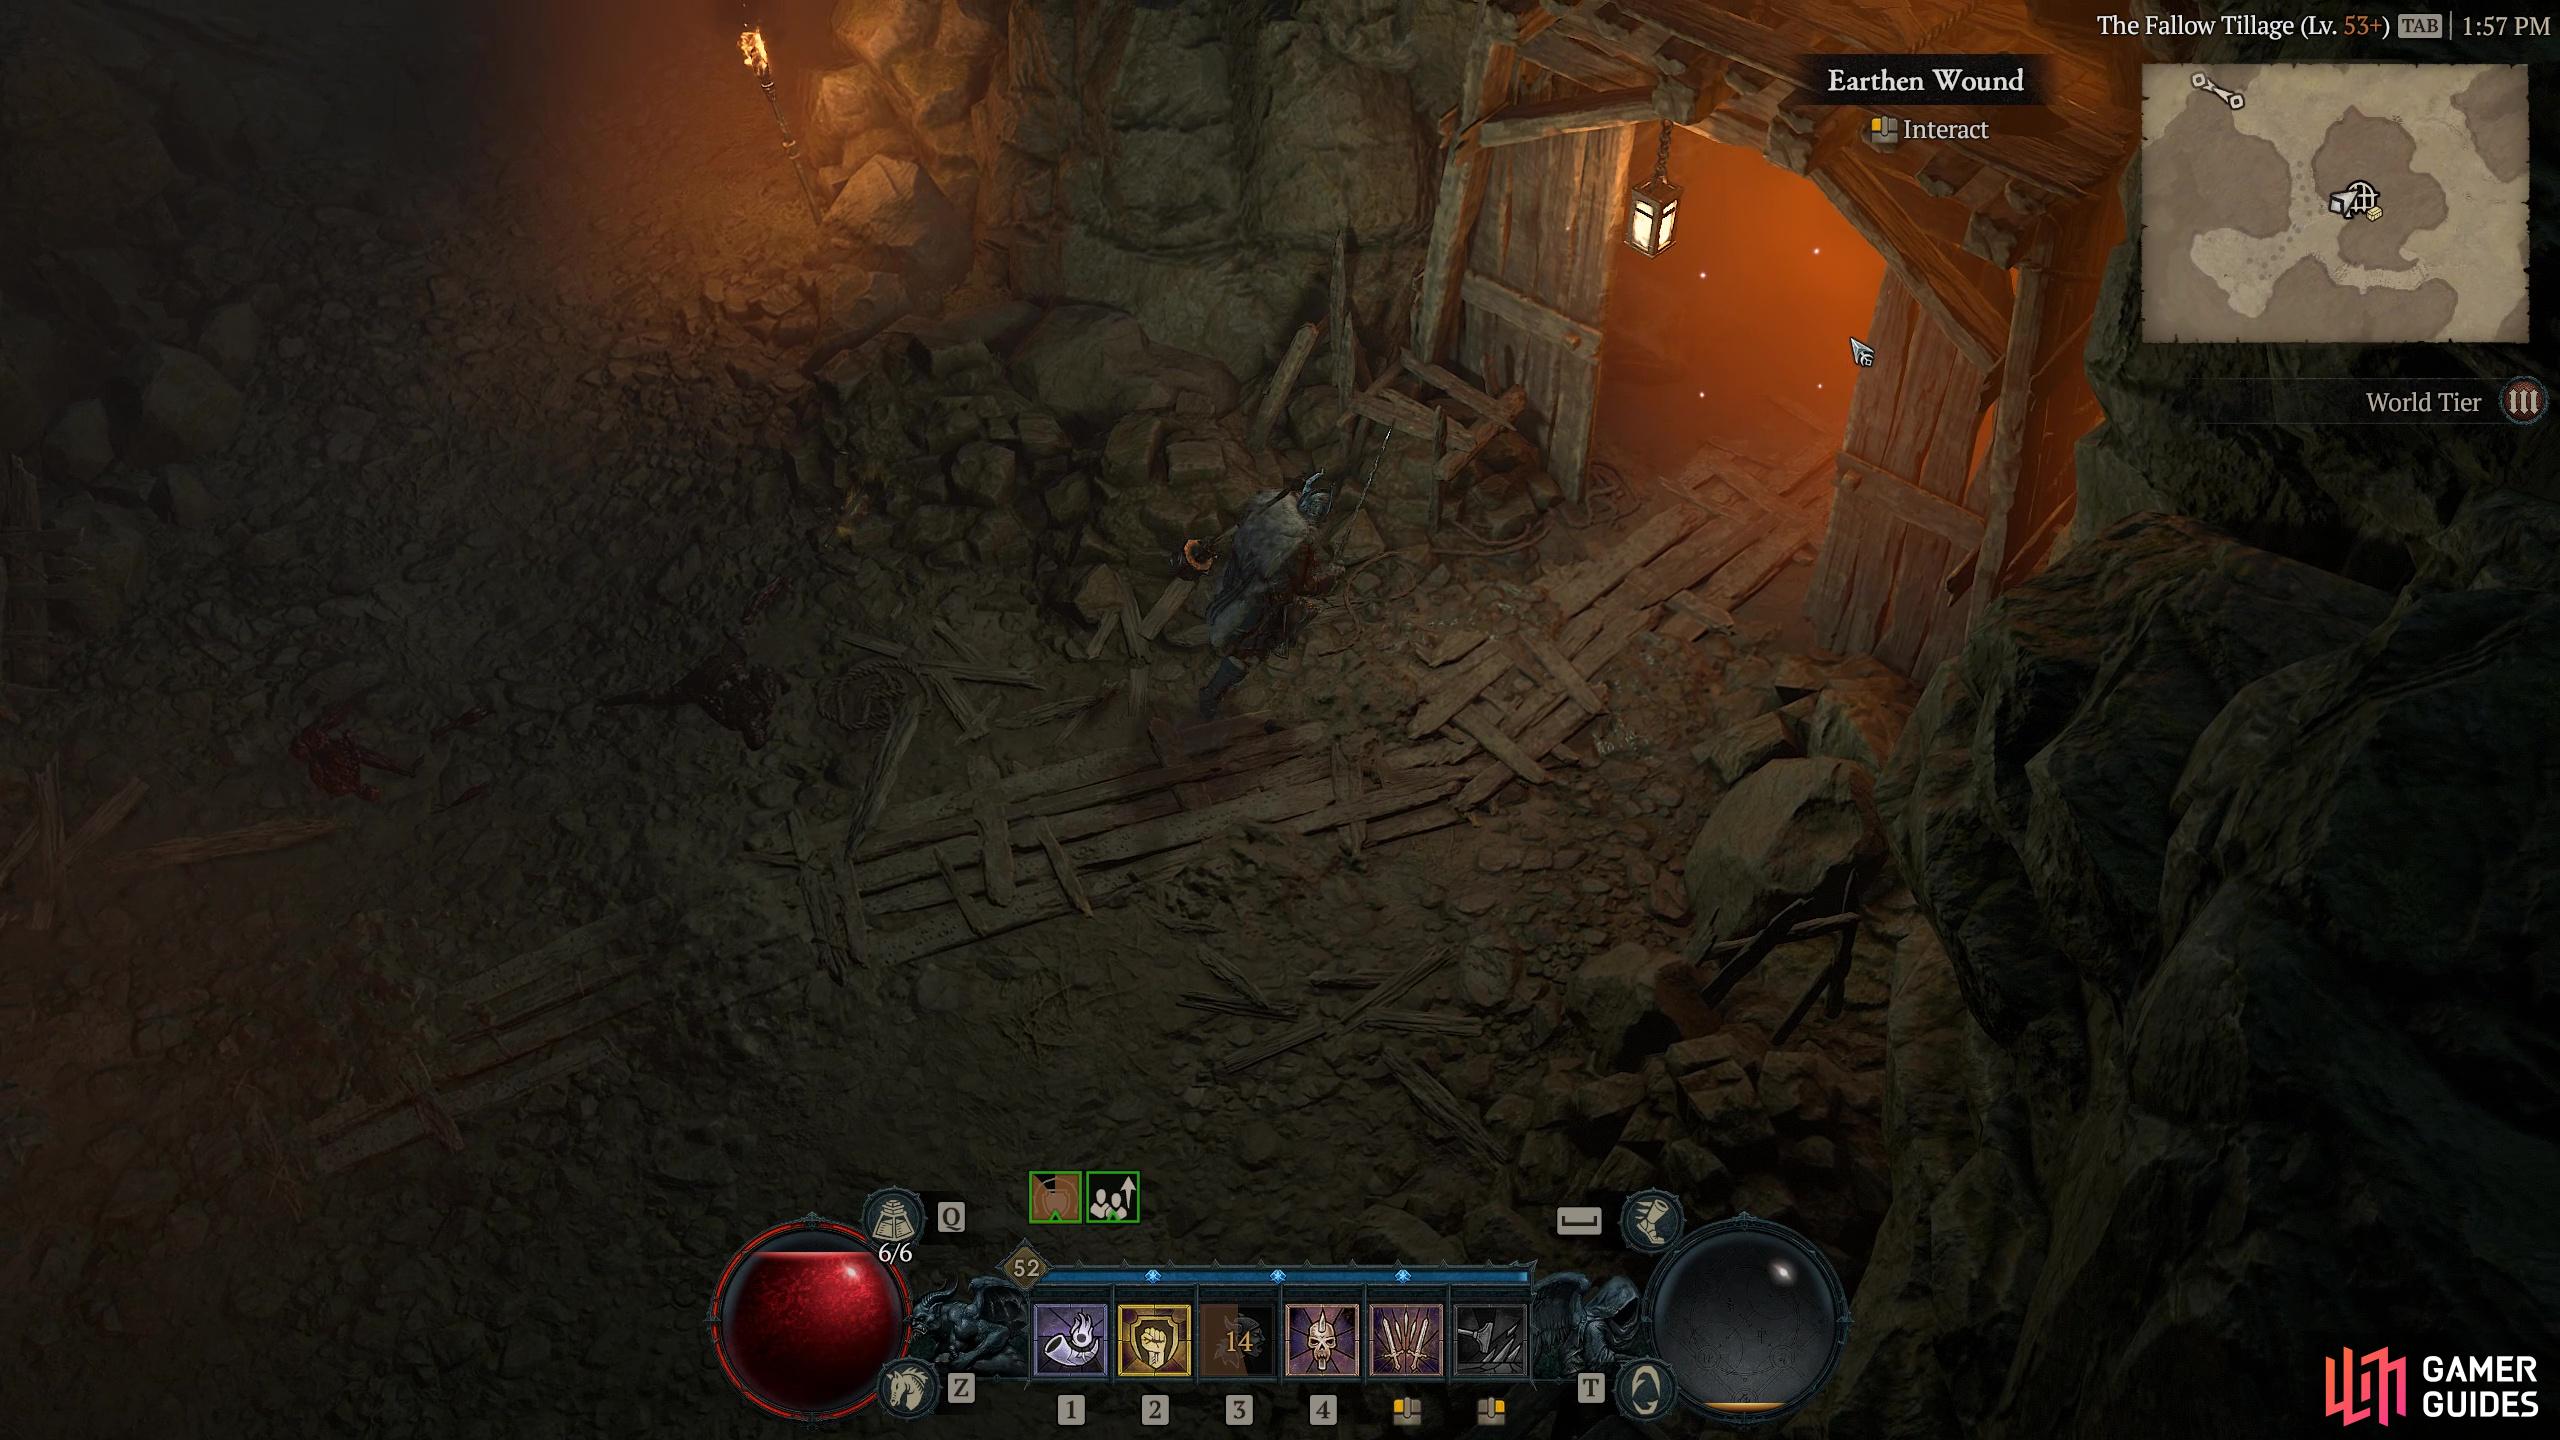
Earthen Wound |
The demons that dwelled here became a feast for cannibals.
Objectives
Description
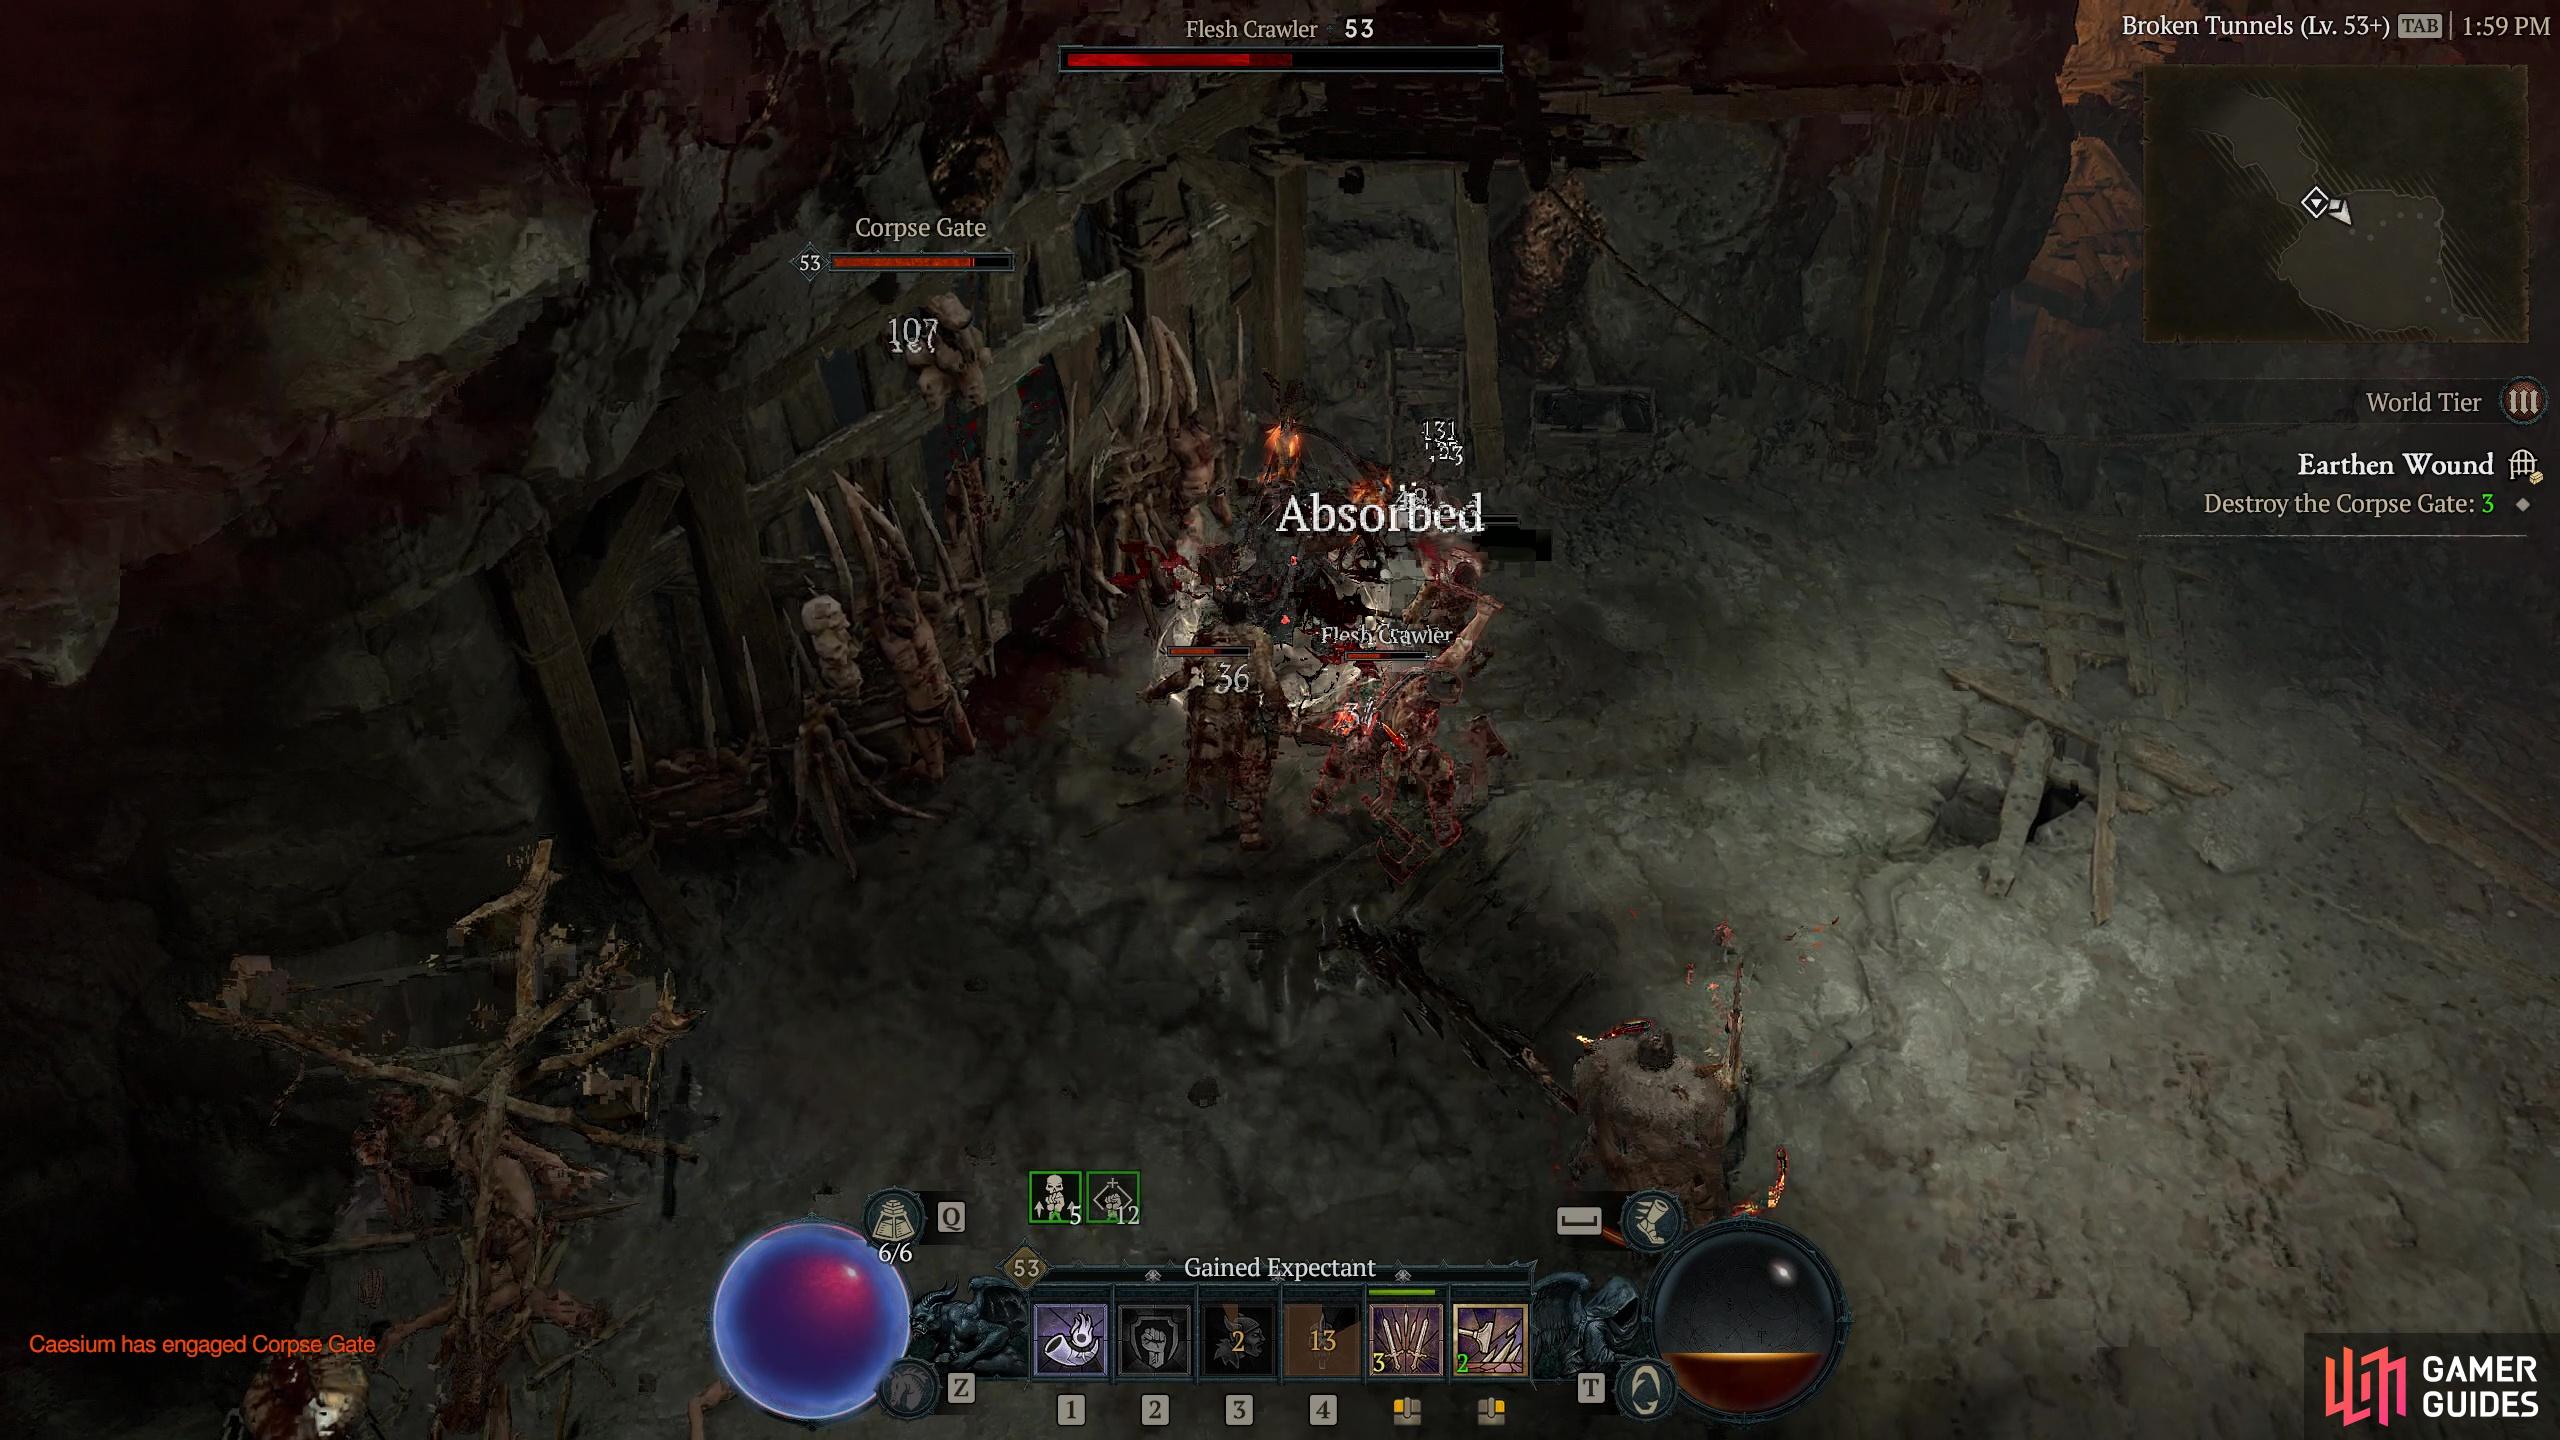
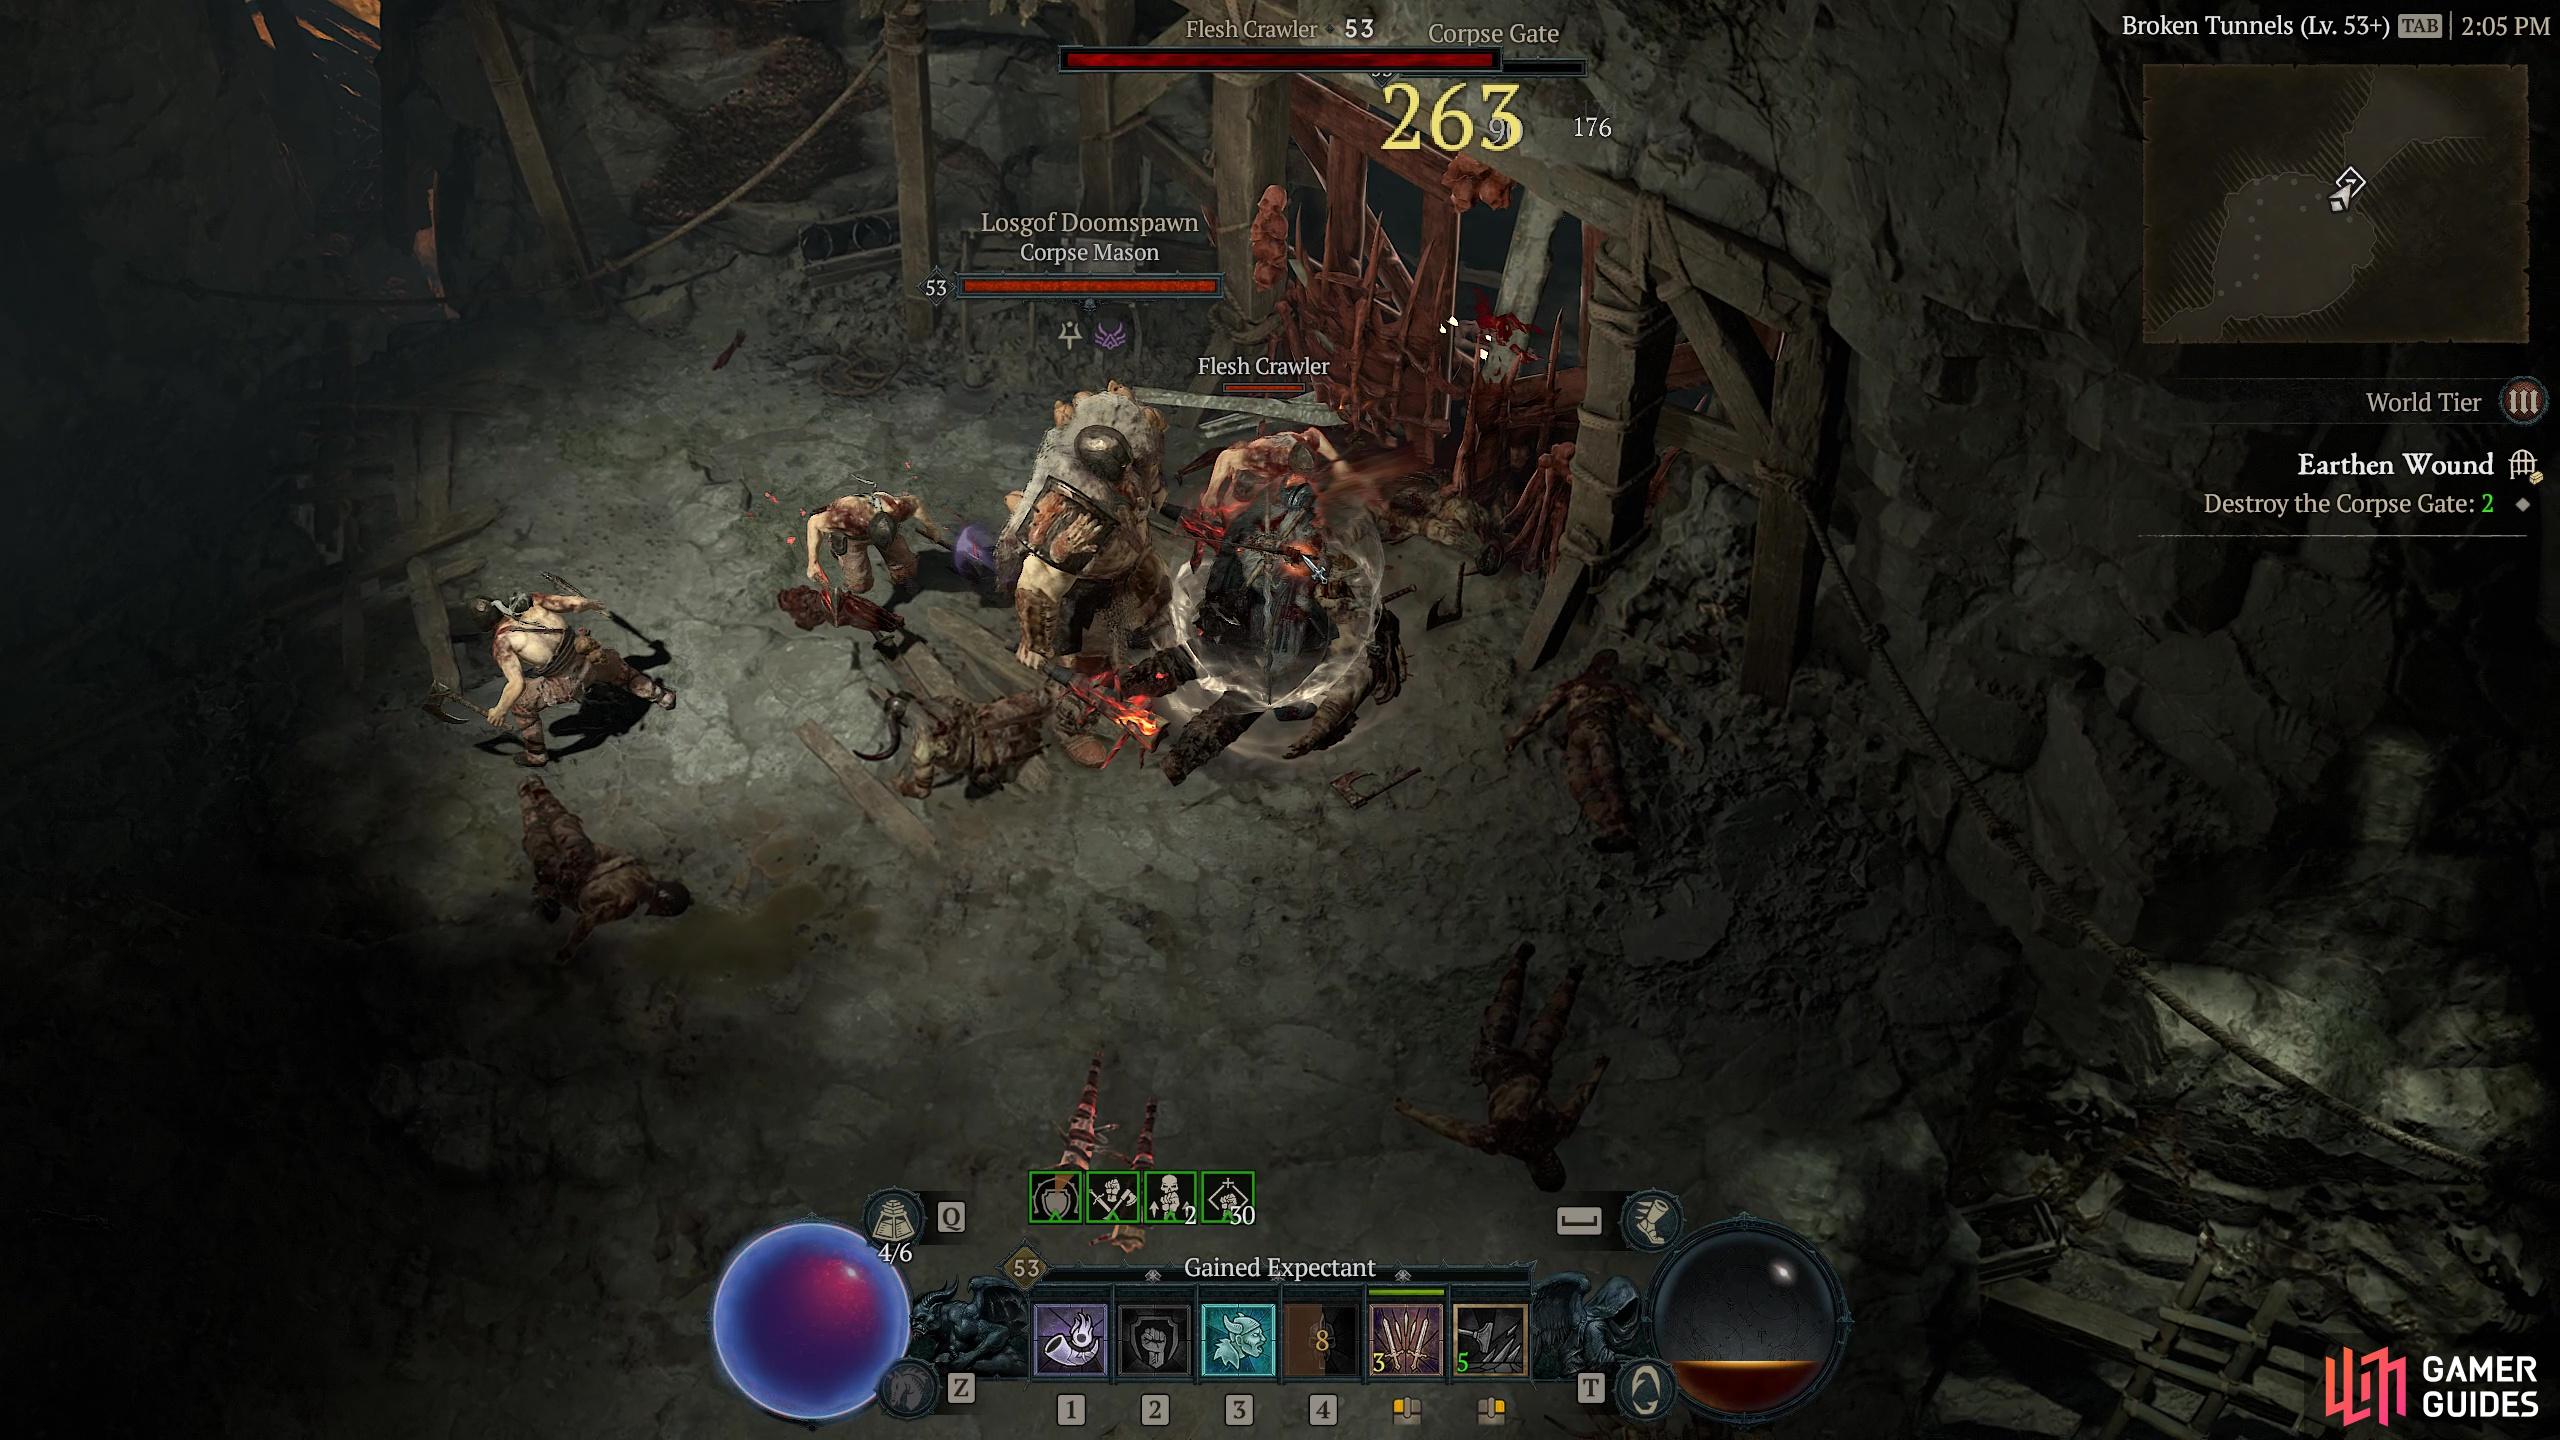
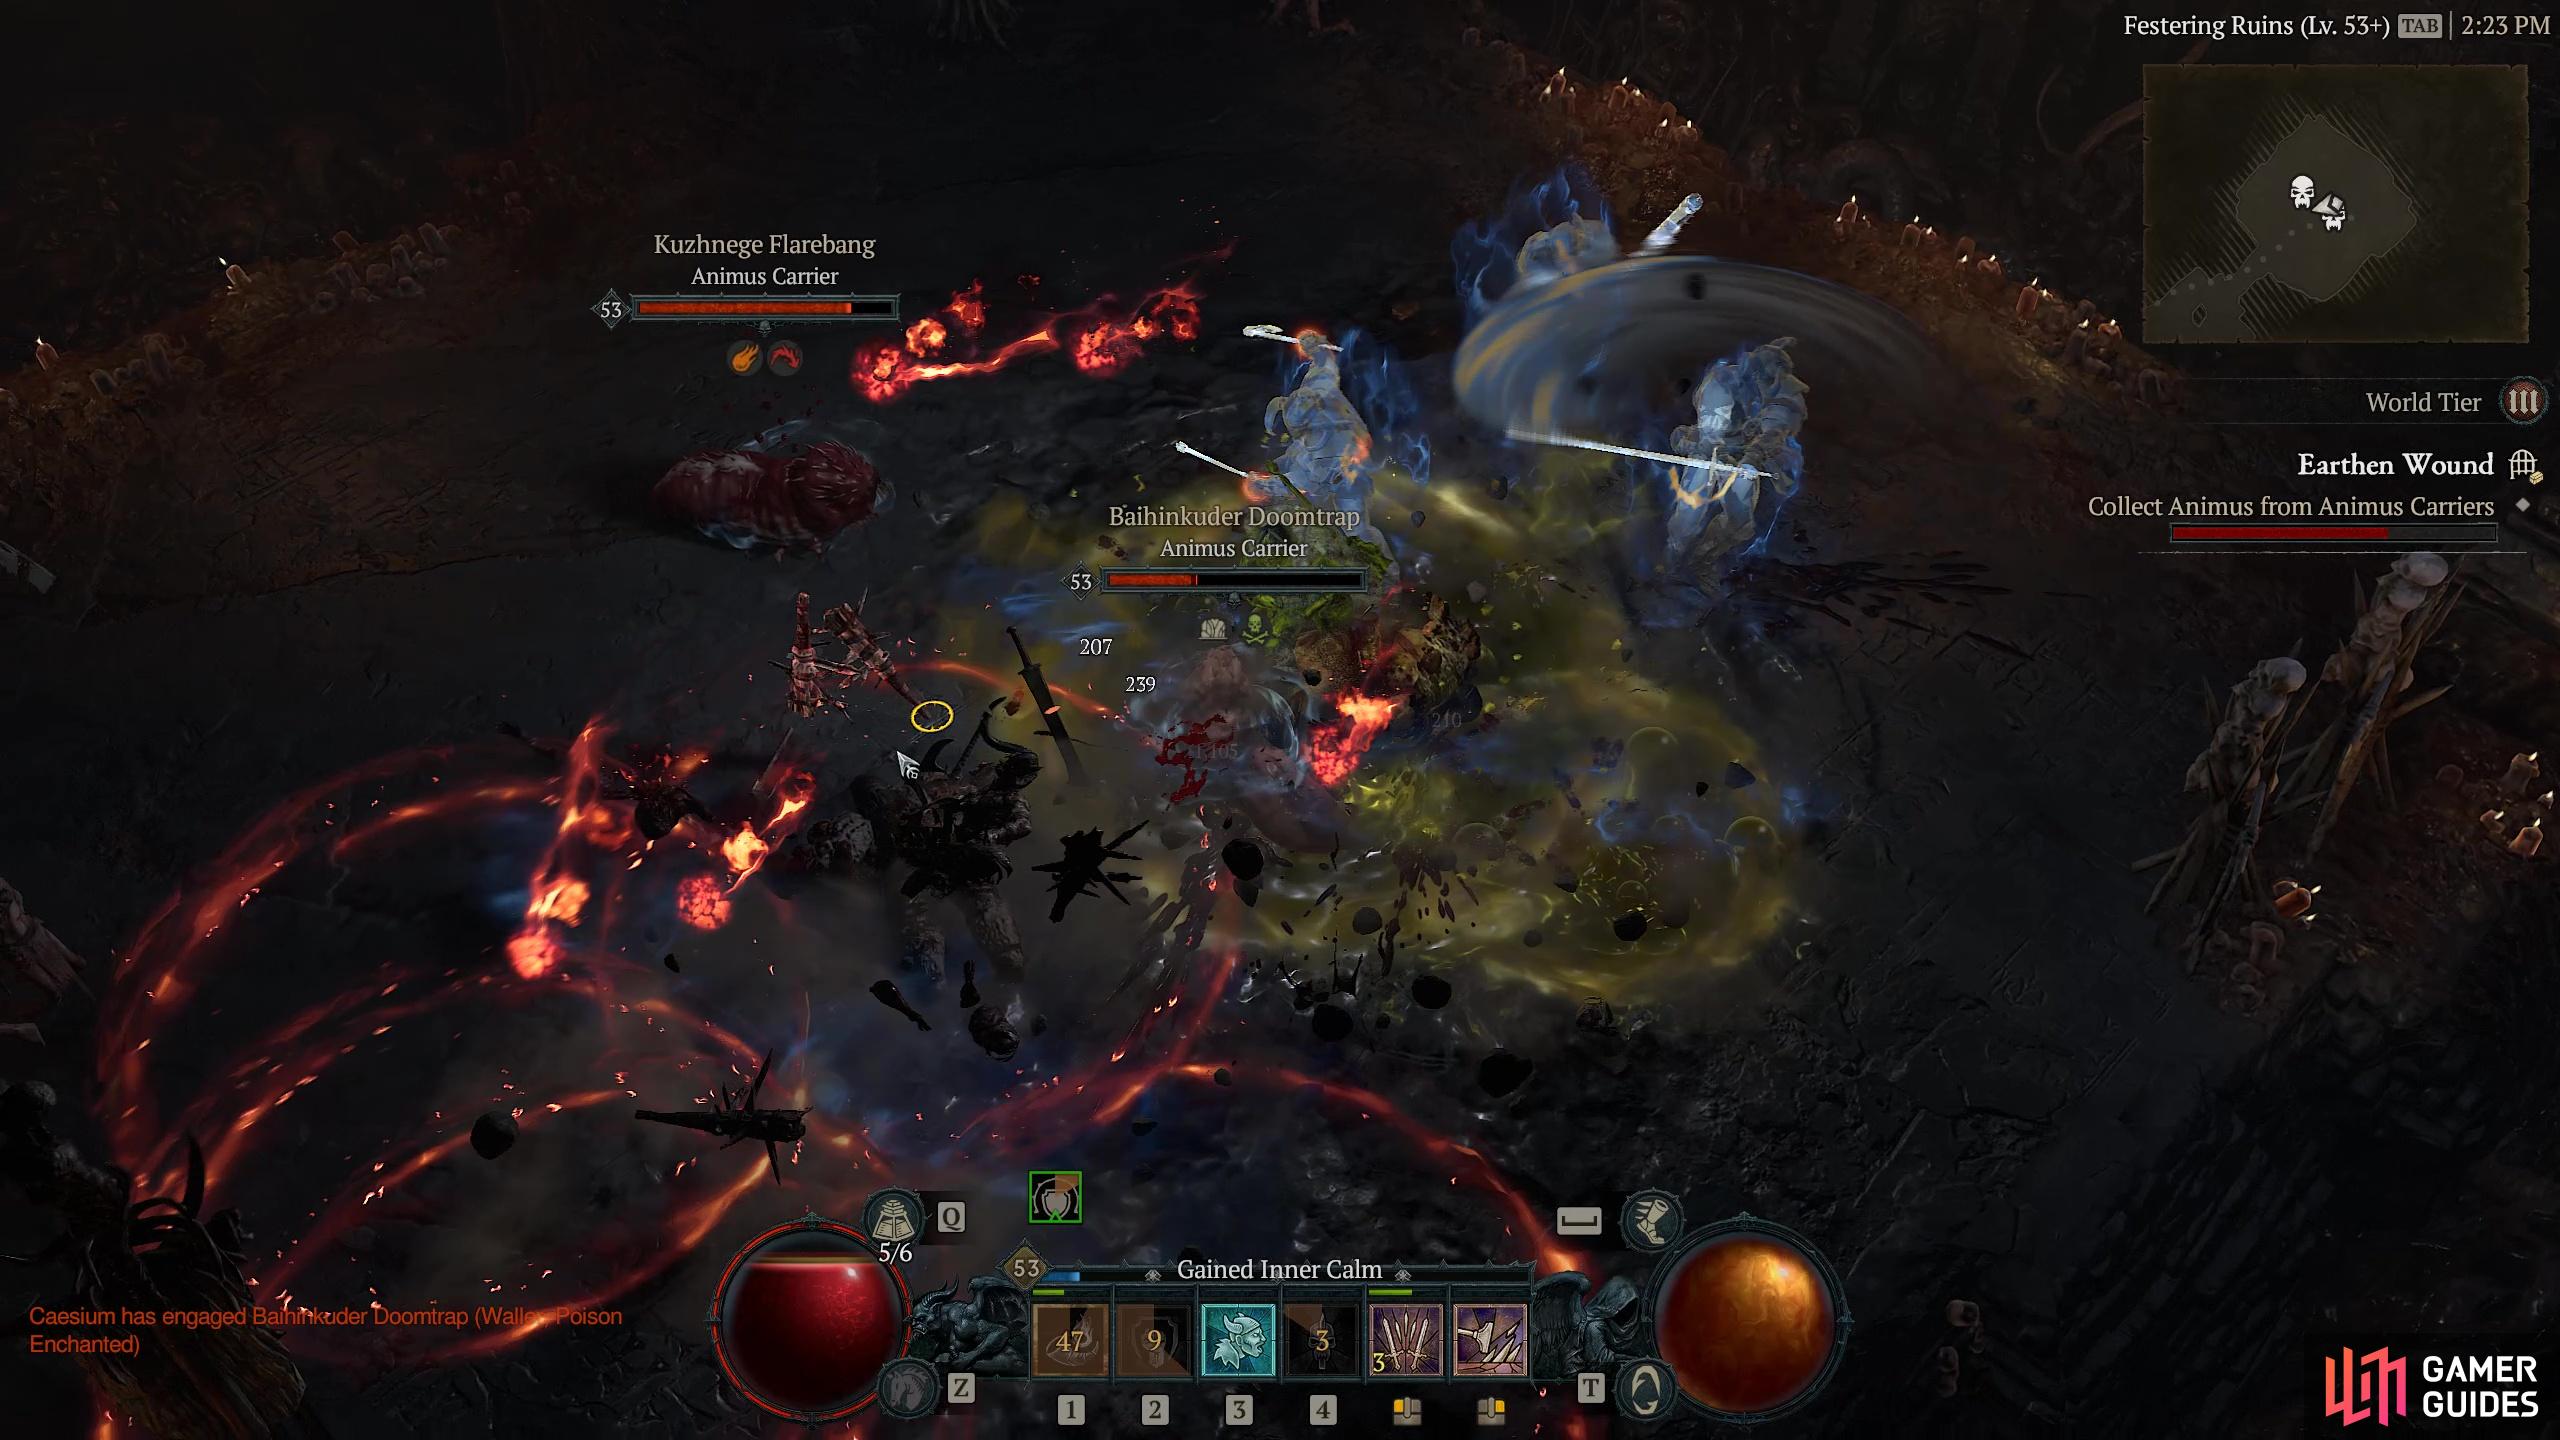
Once you enter the dungeon your first task is to destroy the three Corpse Gates within. These are all relatively close to the starting point and are seemingly unguarded, however as you inflict more damage to gates, more enemies will spawn but these can be easily eradicated. The first two waves can be polished off quickly but the third is slightly more serious. Tip Once the third wave has appeared, leave the gate alone until you have killed everything. Destroying the gate will let the enemies on the other side at you and you do not need the extra hassle. Once through the third Corpse Gate you will head to the Festering Ruins where you will need to collect Animus from the Animus Carriers. The Animus on this occasion is carried by six Elite Once you have gathered enough Animus, deposit it in the urn and then you can go an face the final dungeon boss - the
Enemies
1× Maulk Thunderdancer - Corpse Mason
Bosses
1× Logan Doomspawn - Corpse Mason
Bosses
1× Bemkeilr Flareney (Corpse Mason)
Bosses
1×
Region
Item Reward
1×
|
|
|||||||||||||||||||||||||||||||||||||||||||||||||||||||||||||||||||||||||||||||||||||||||||||||

|
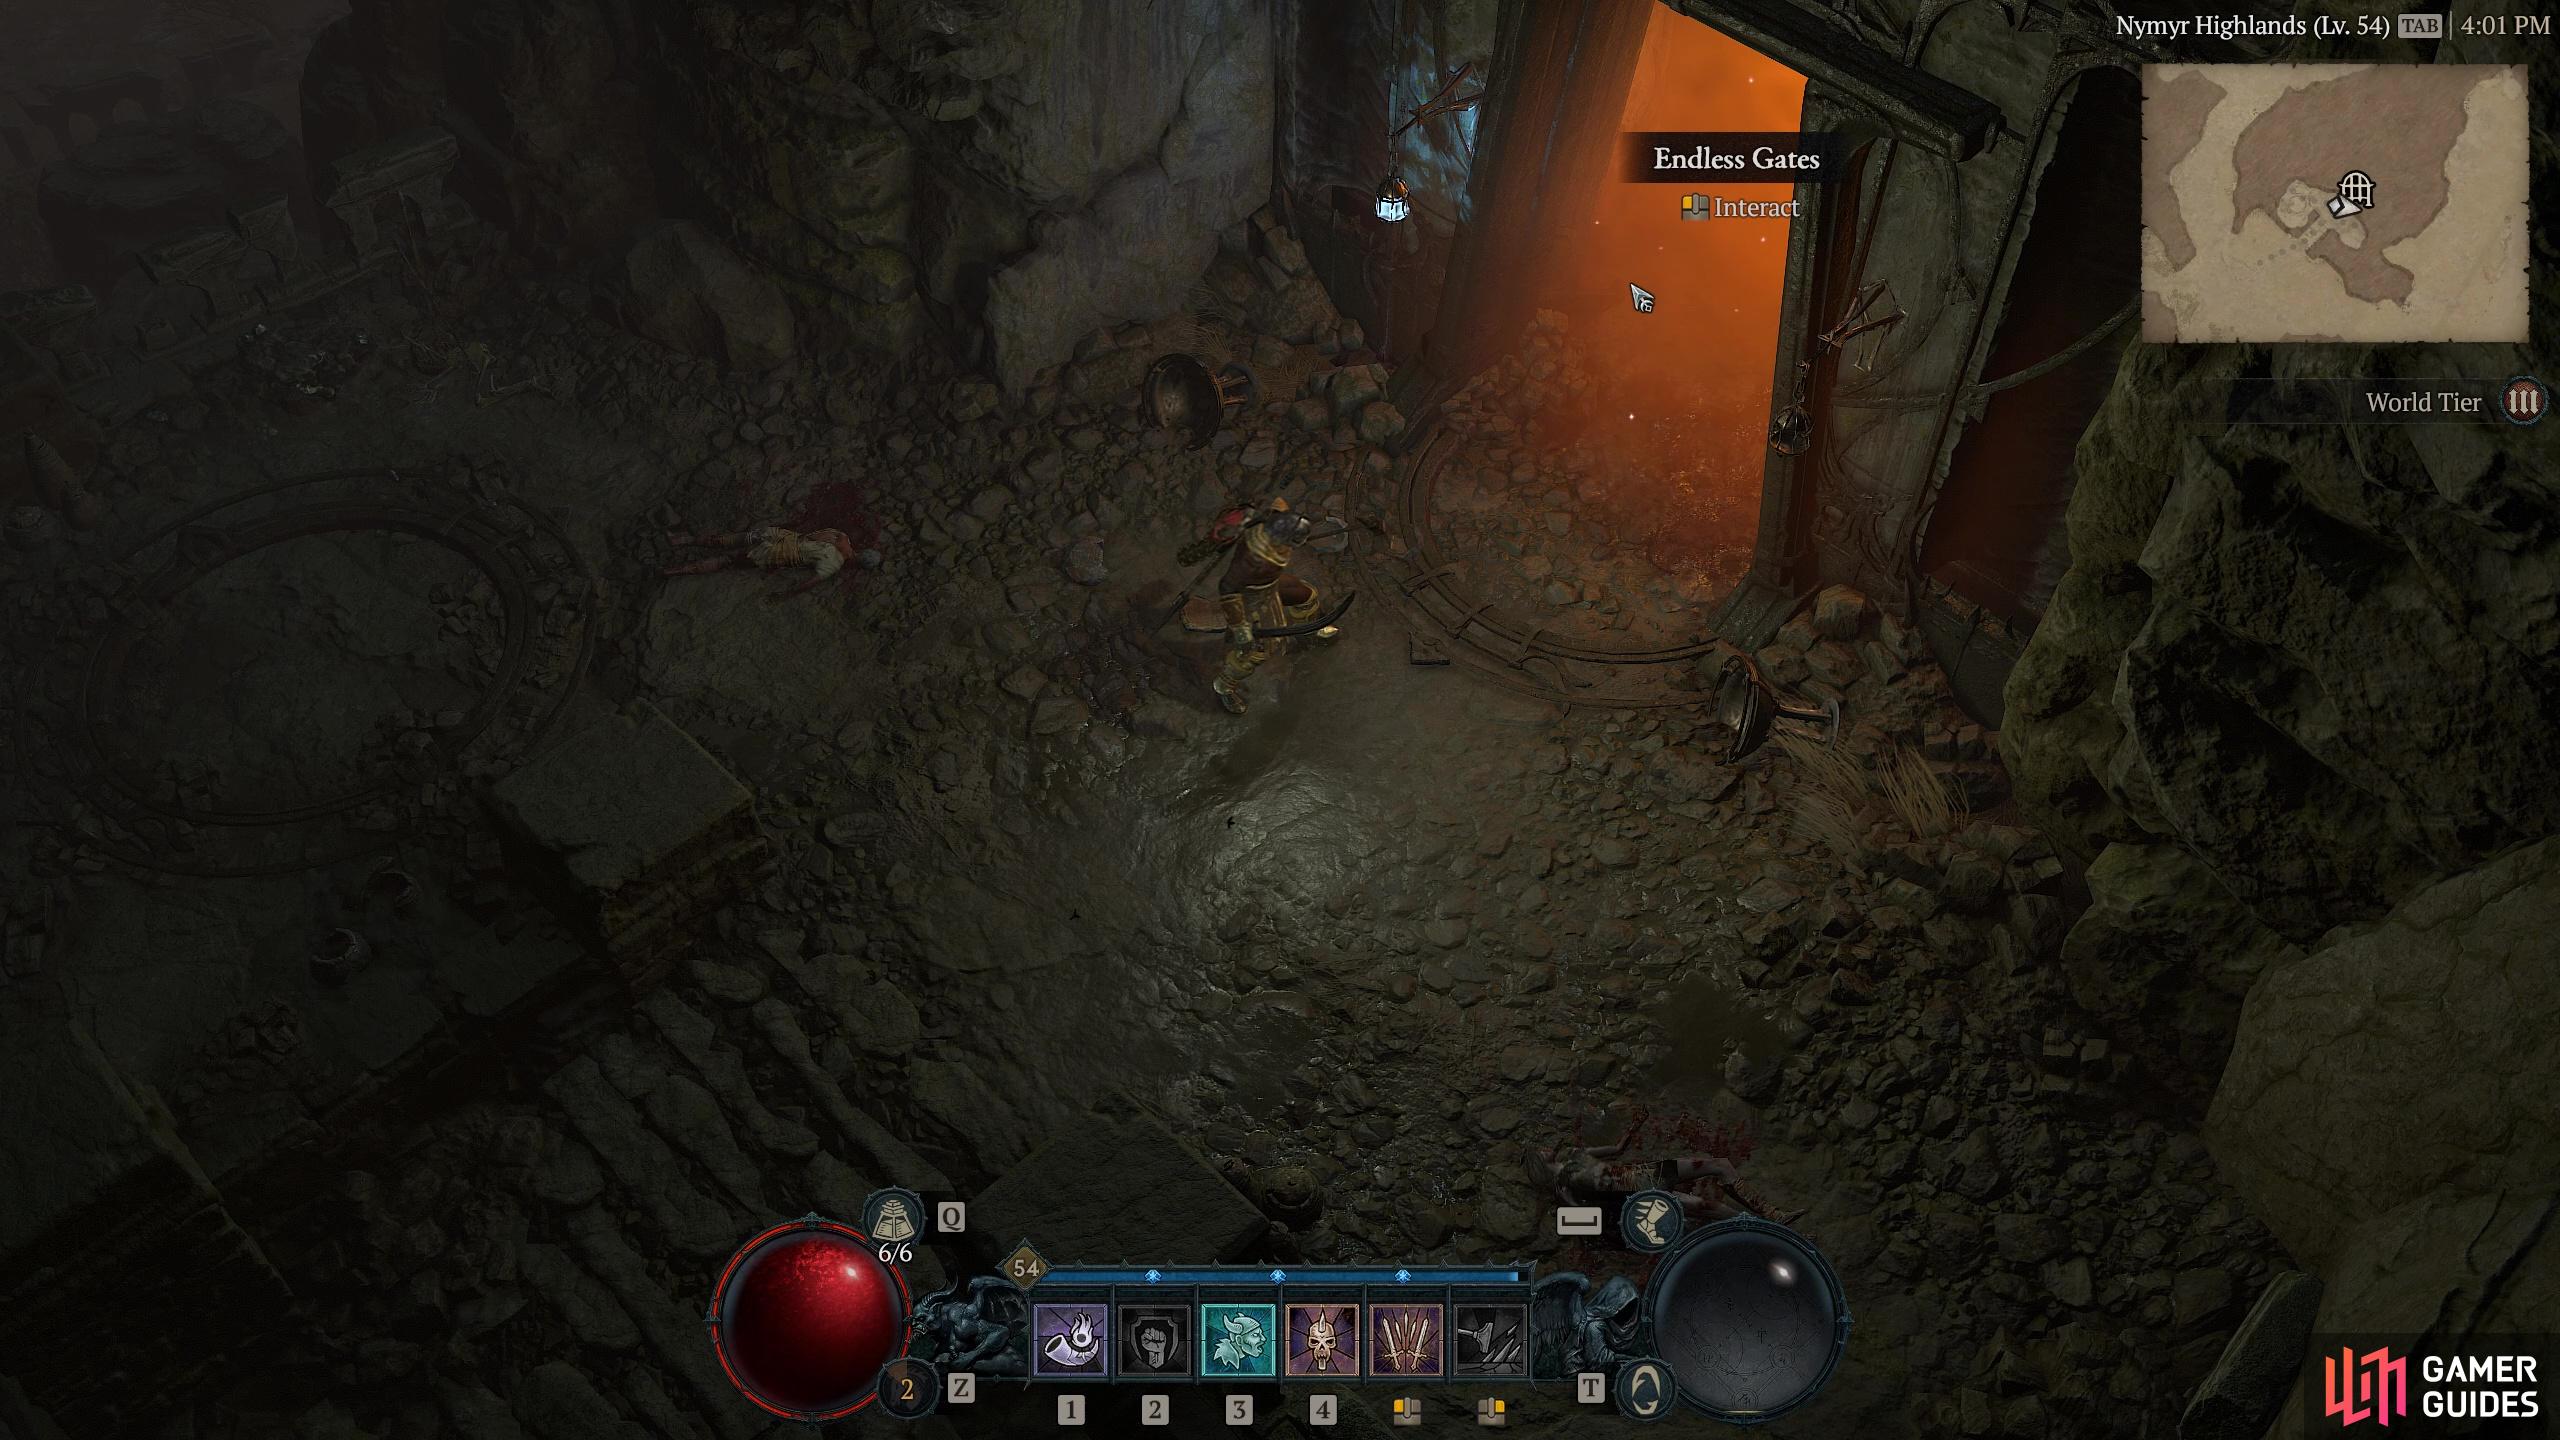
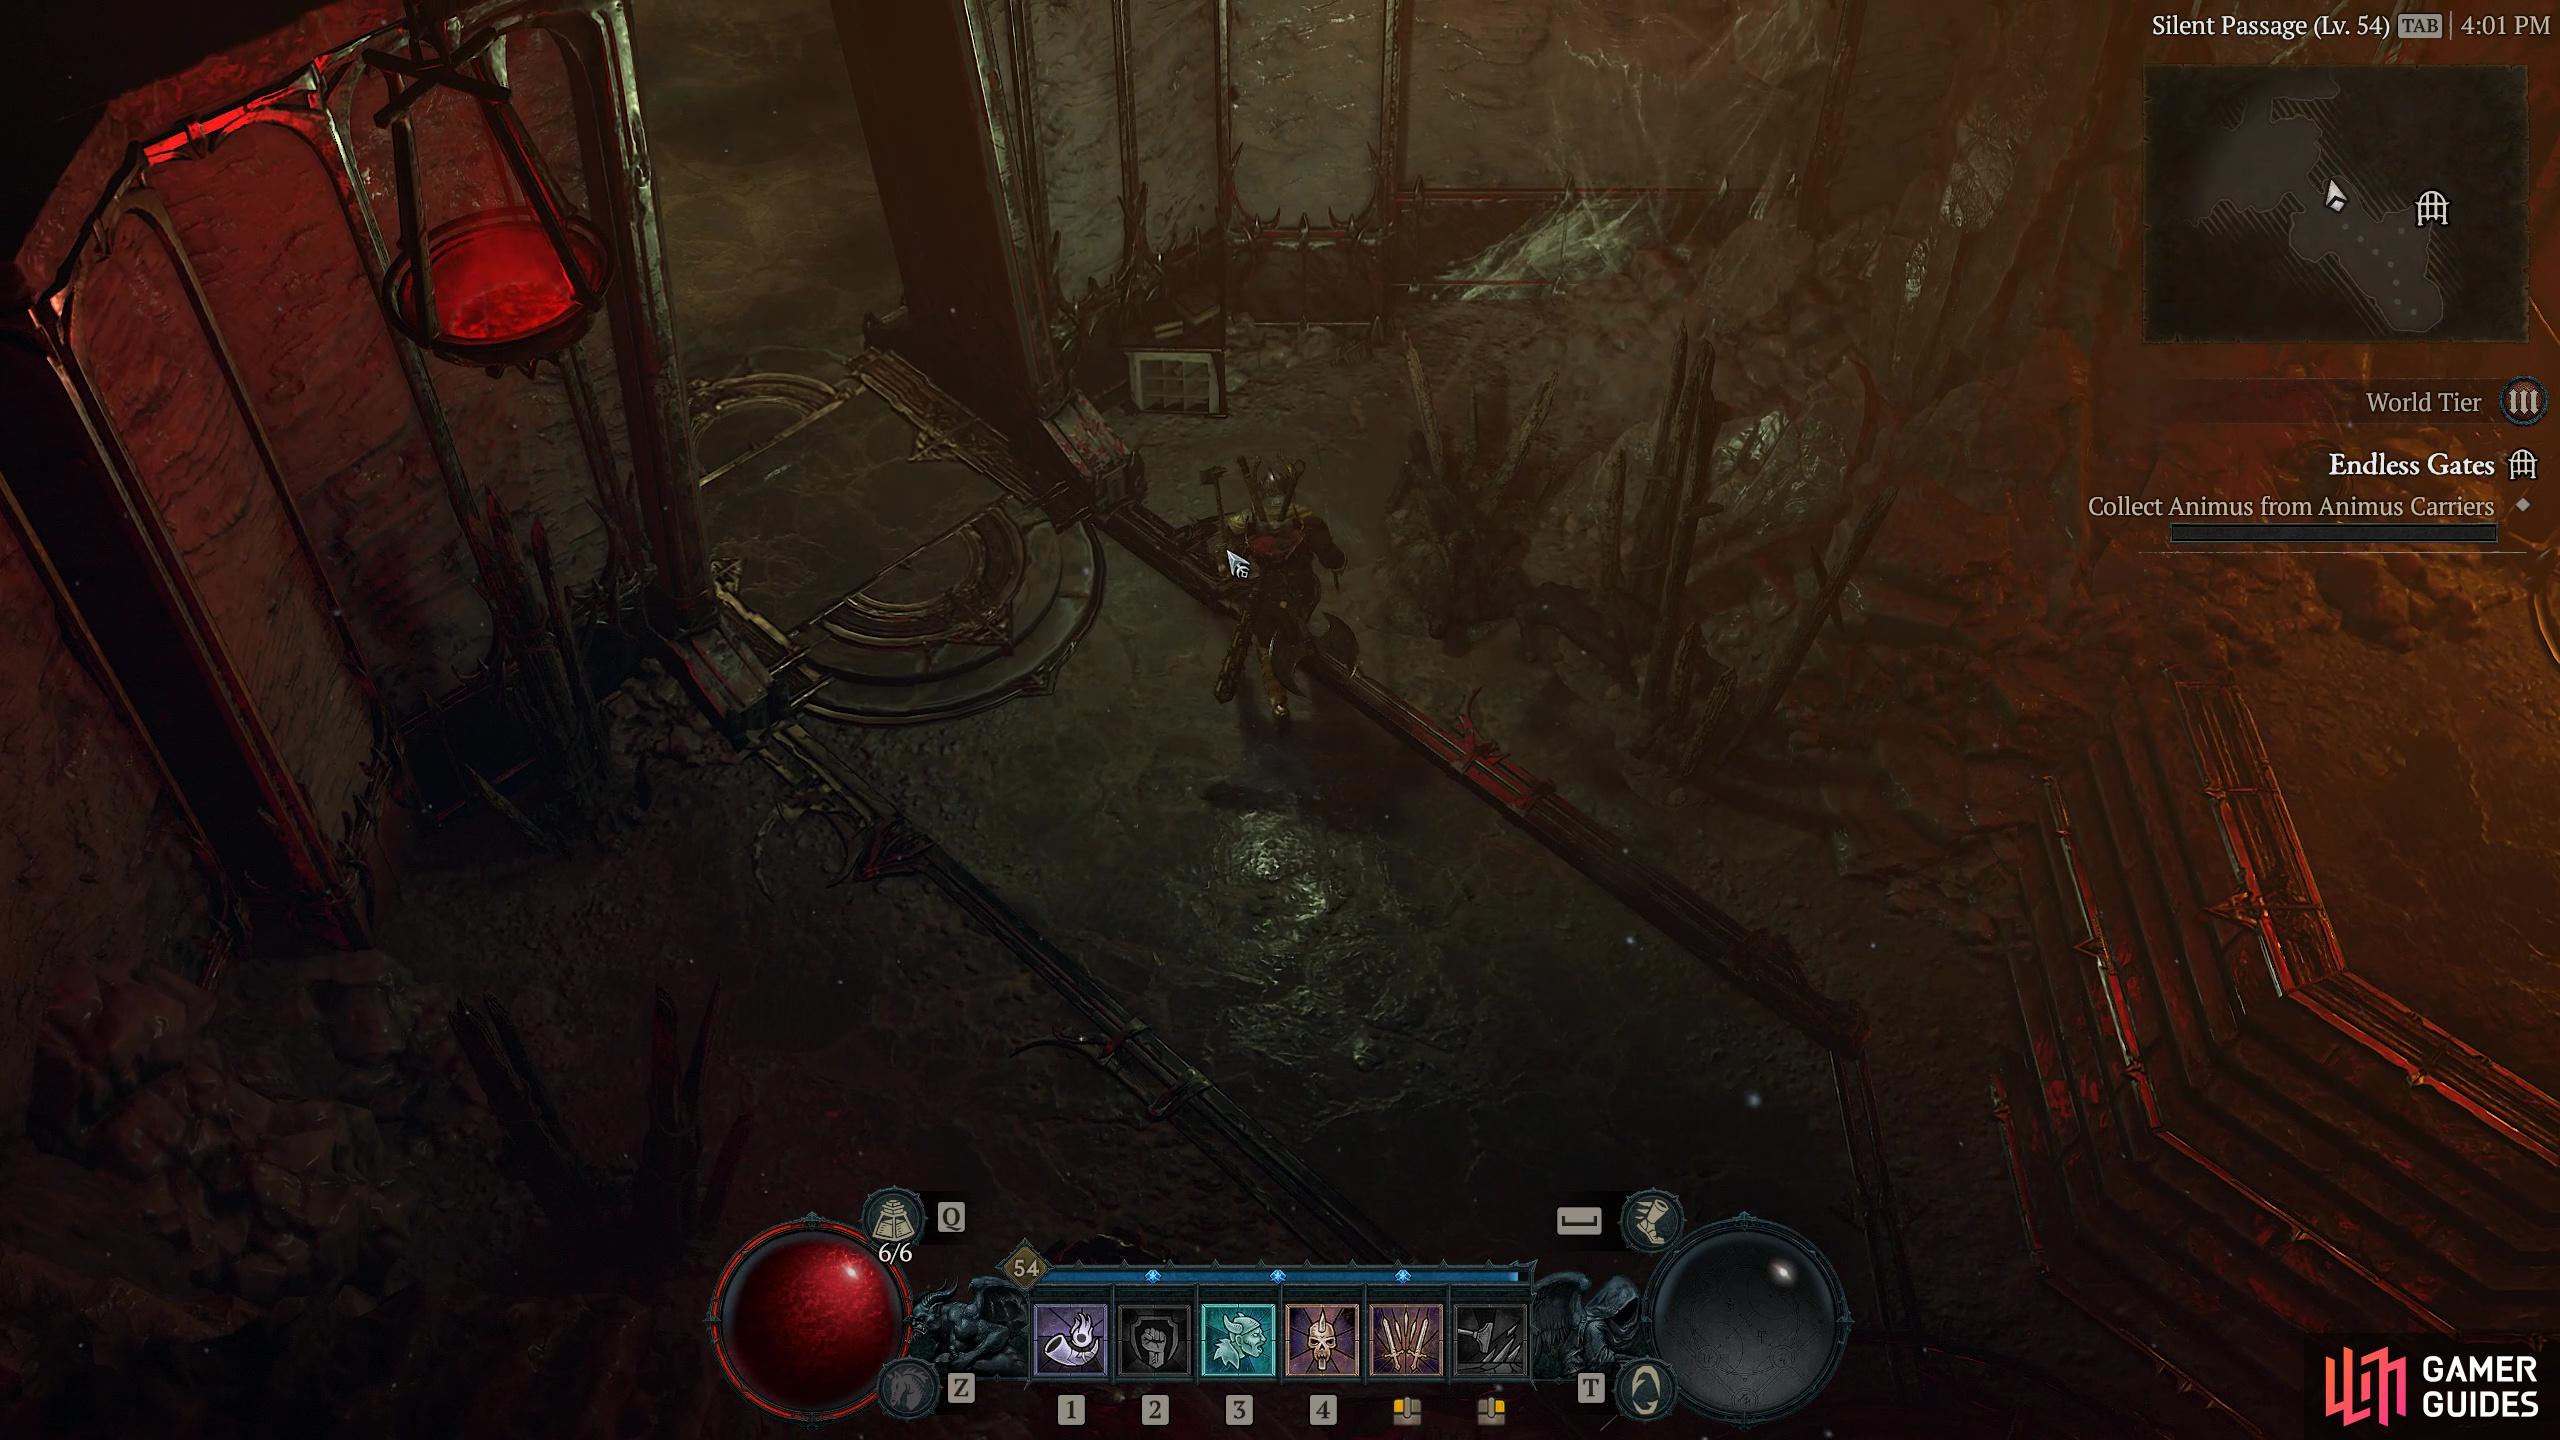
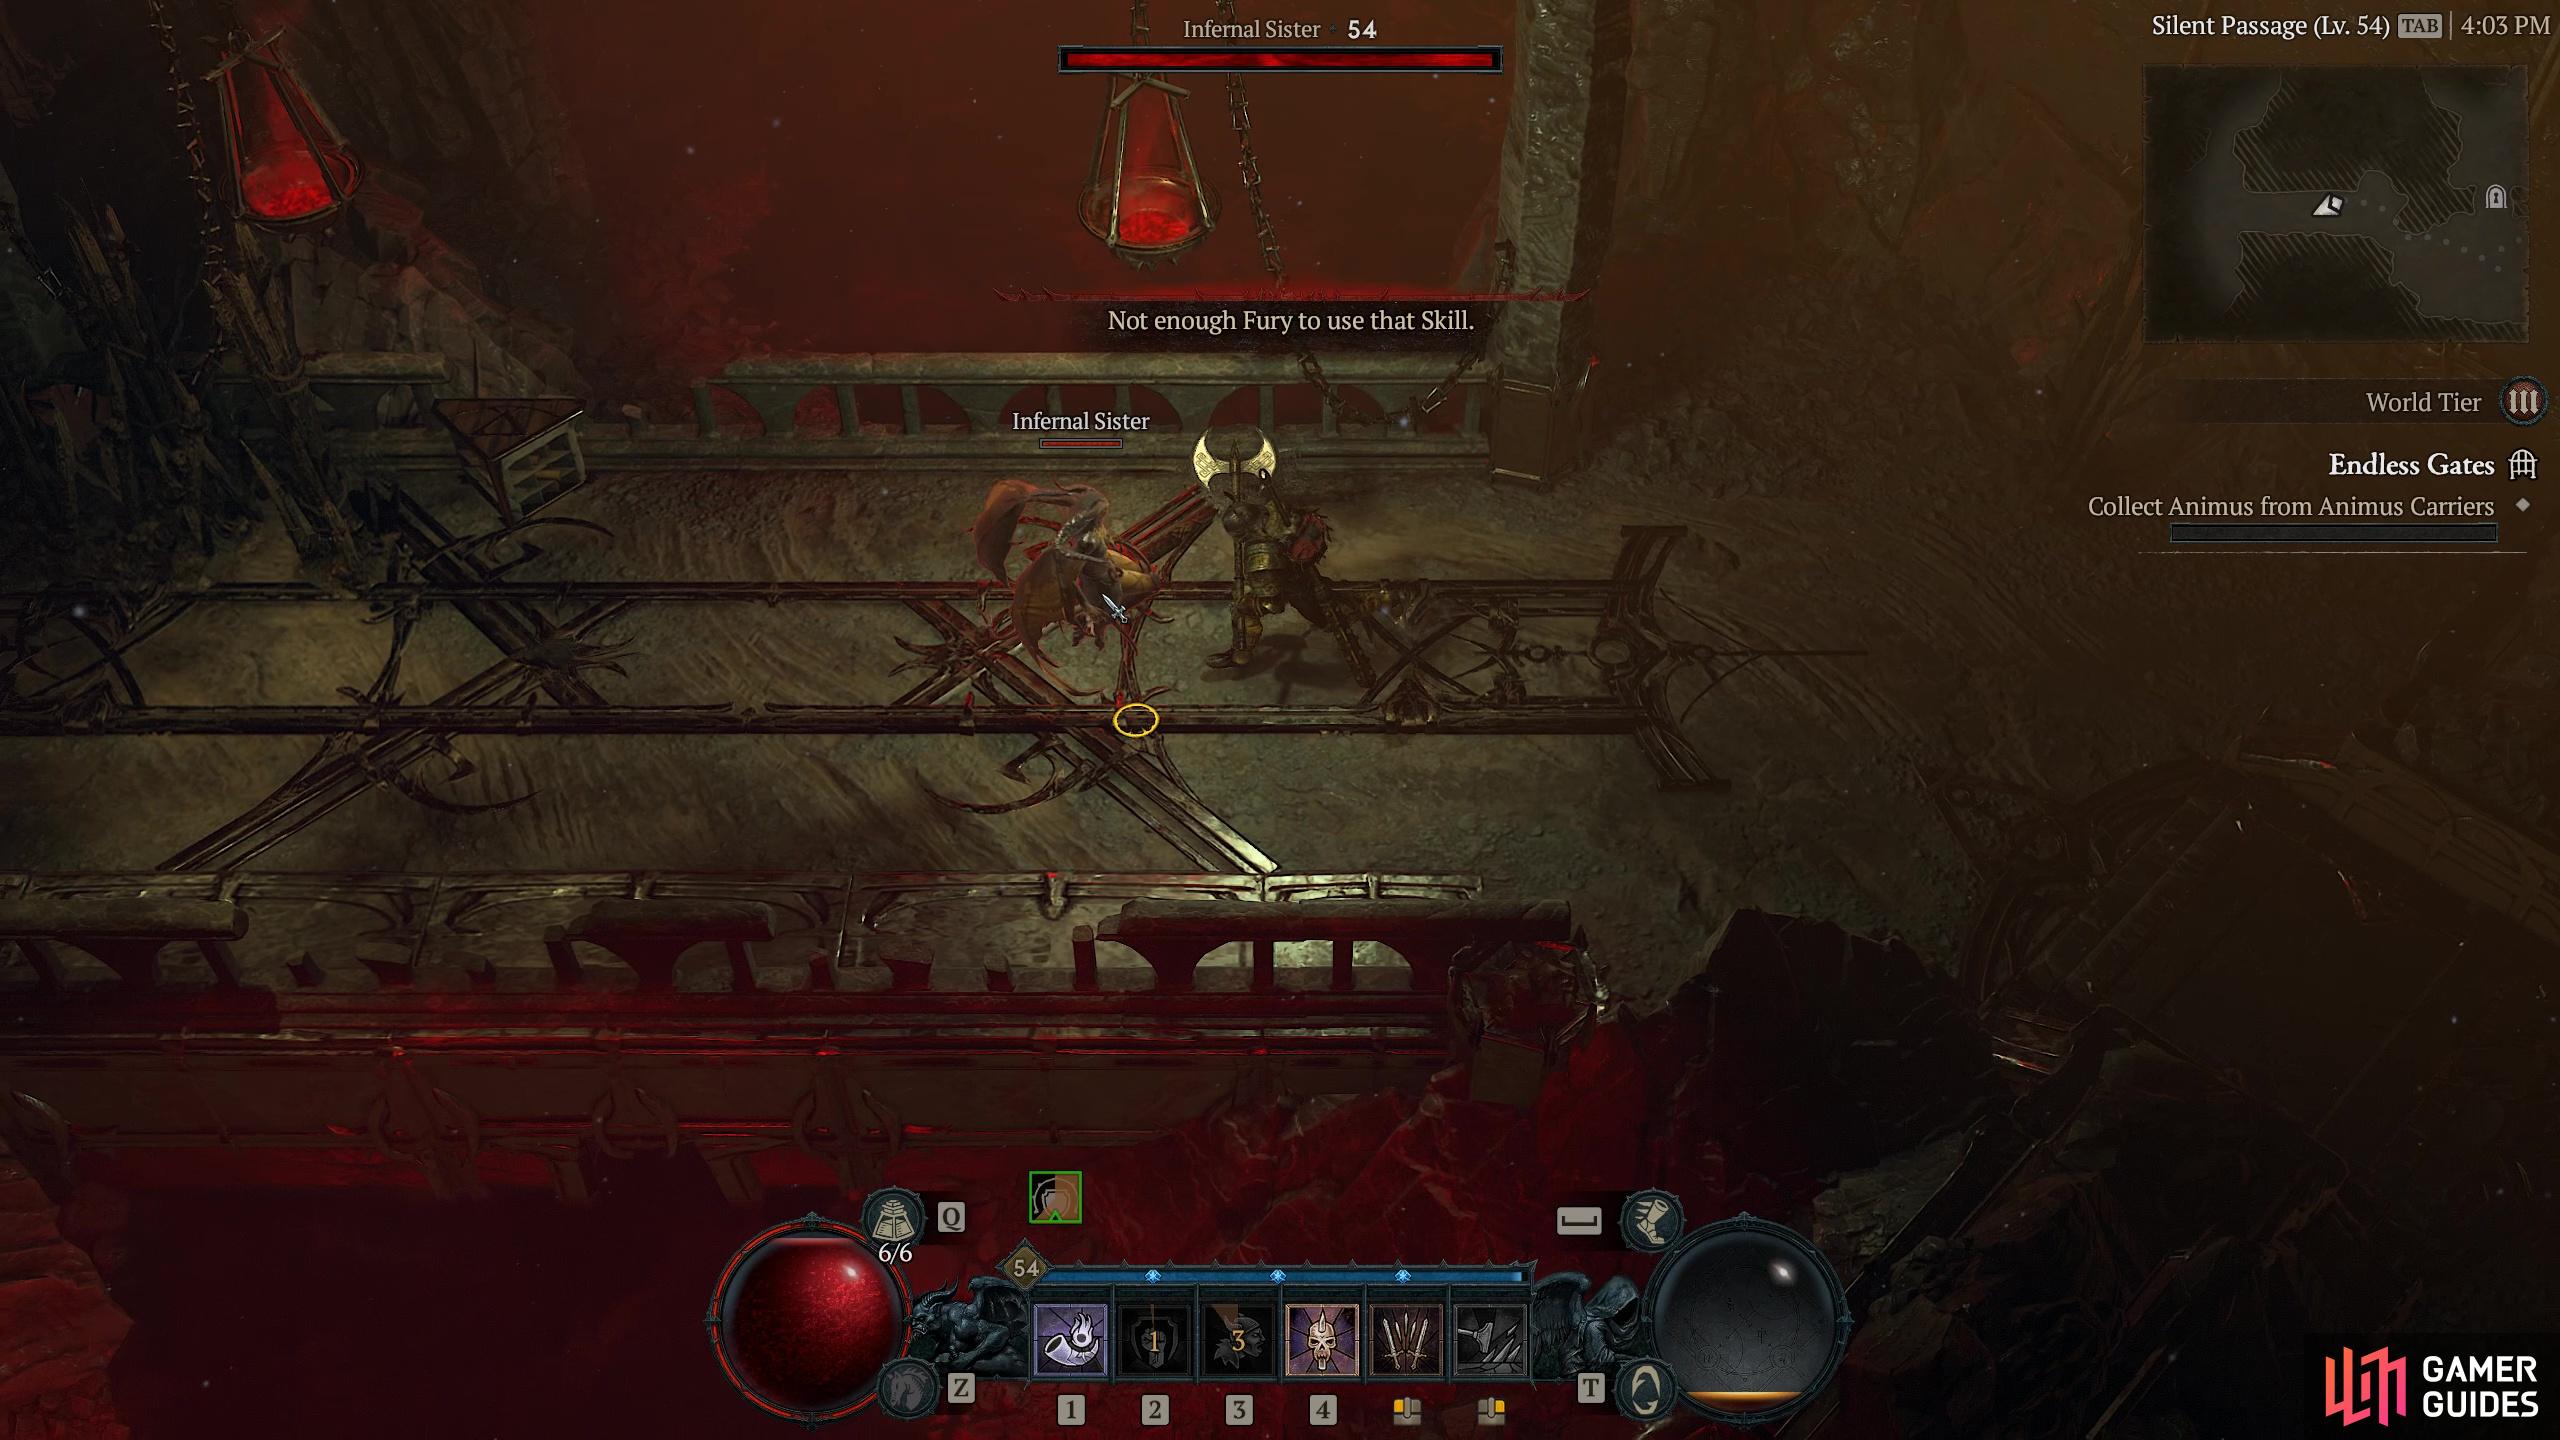
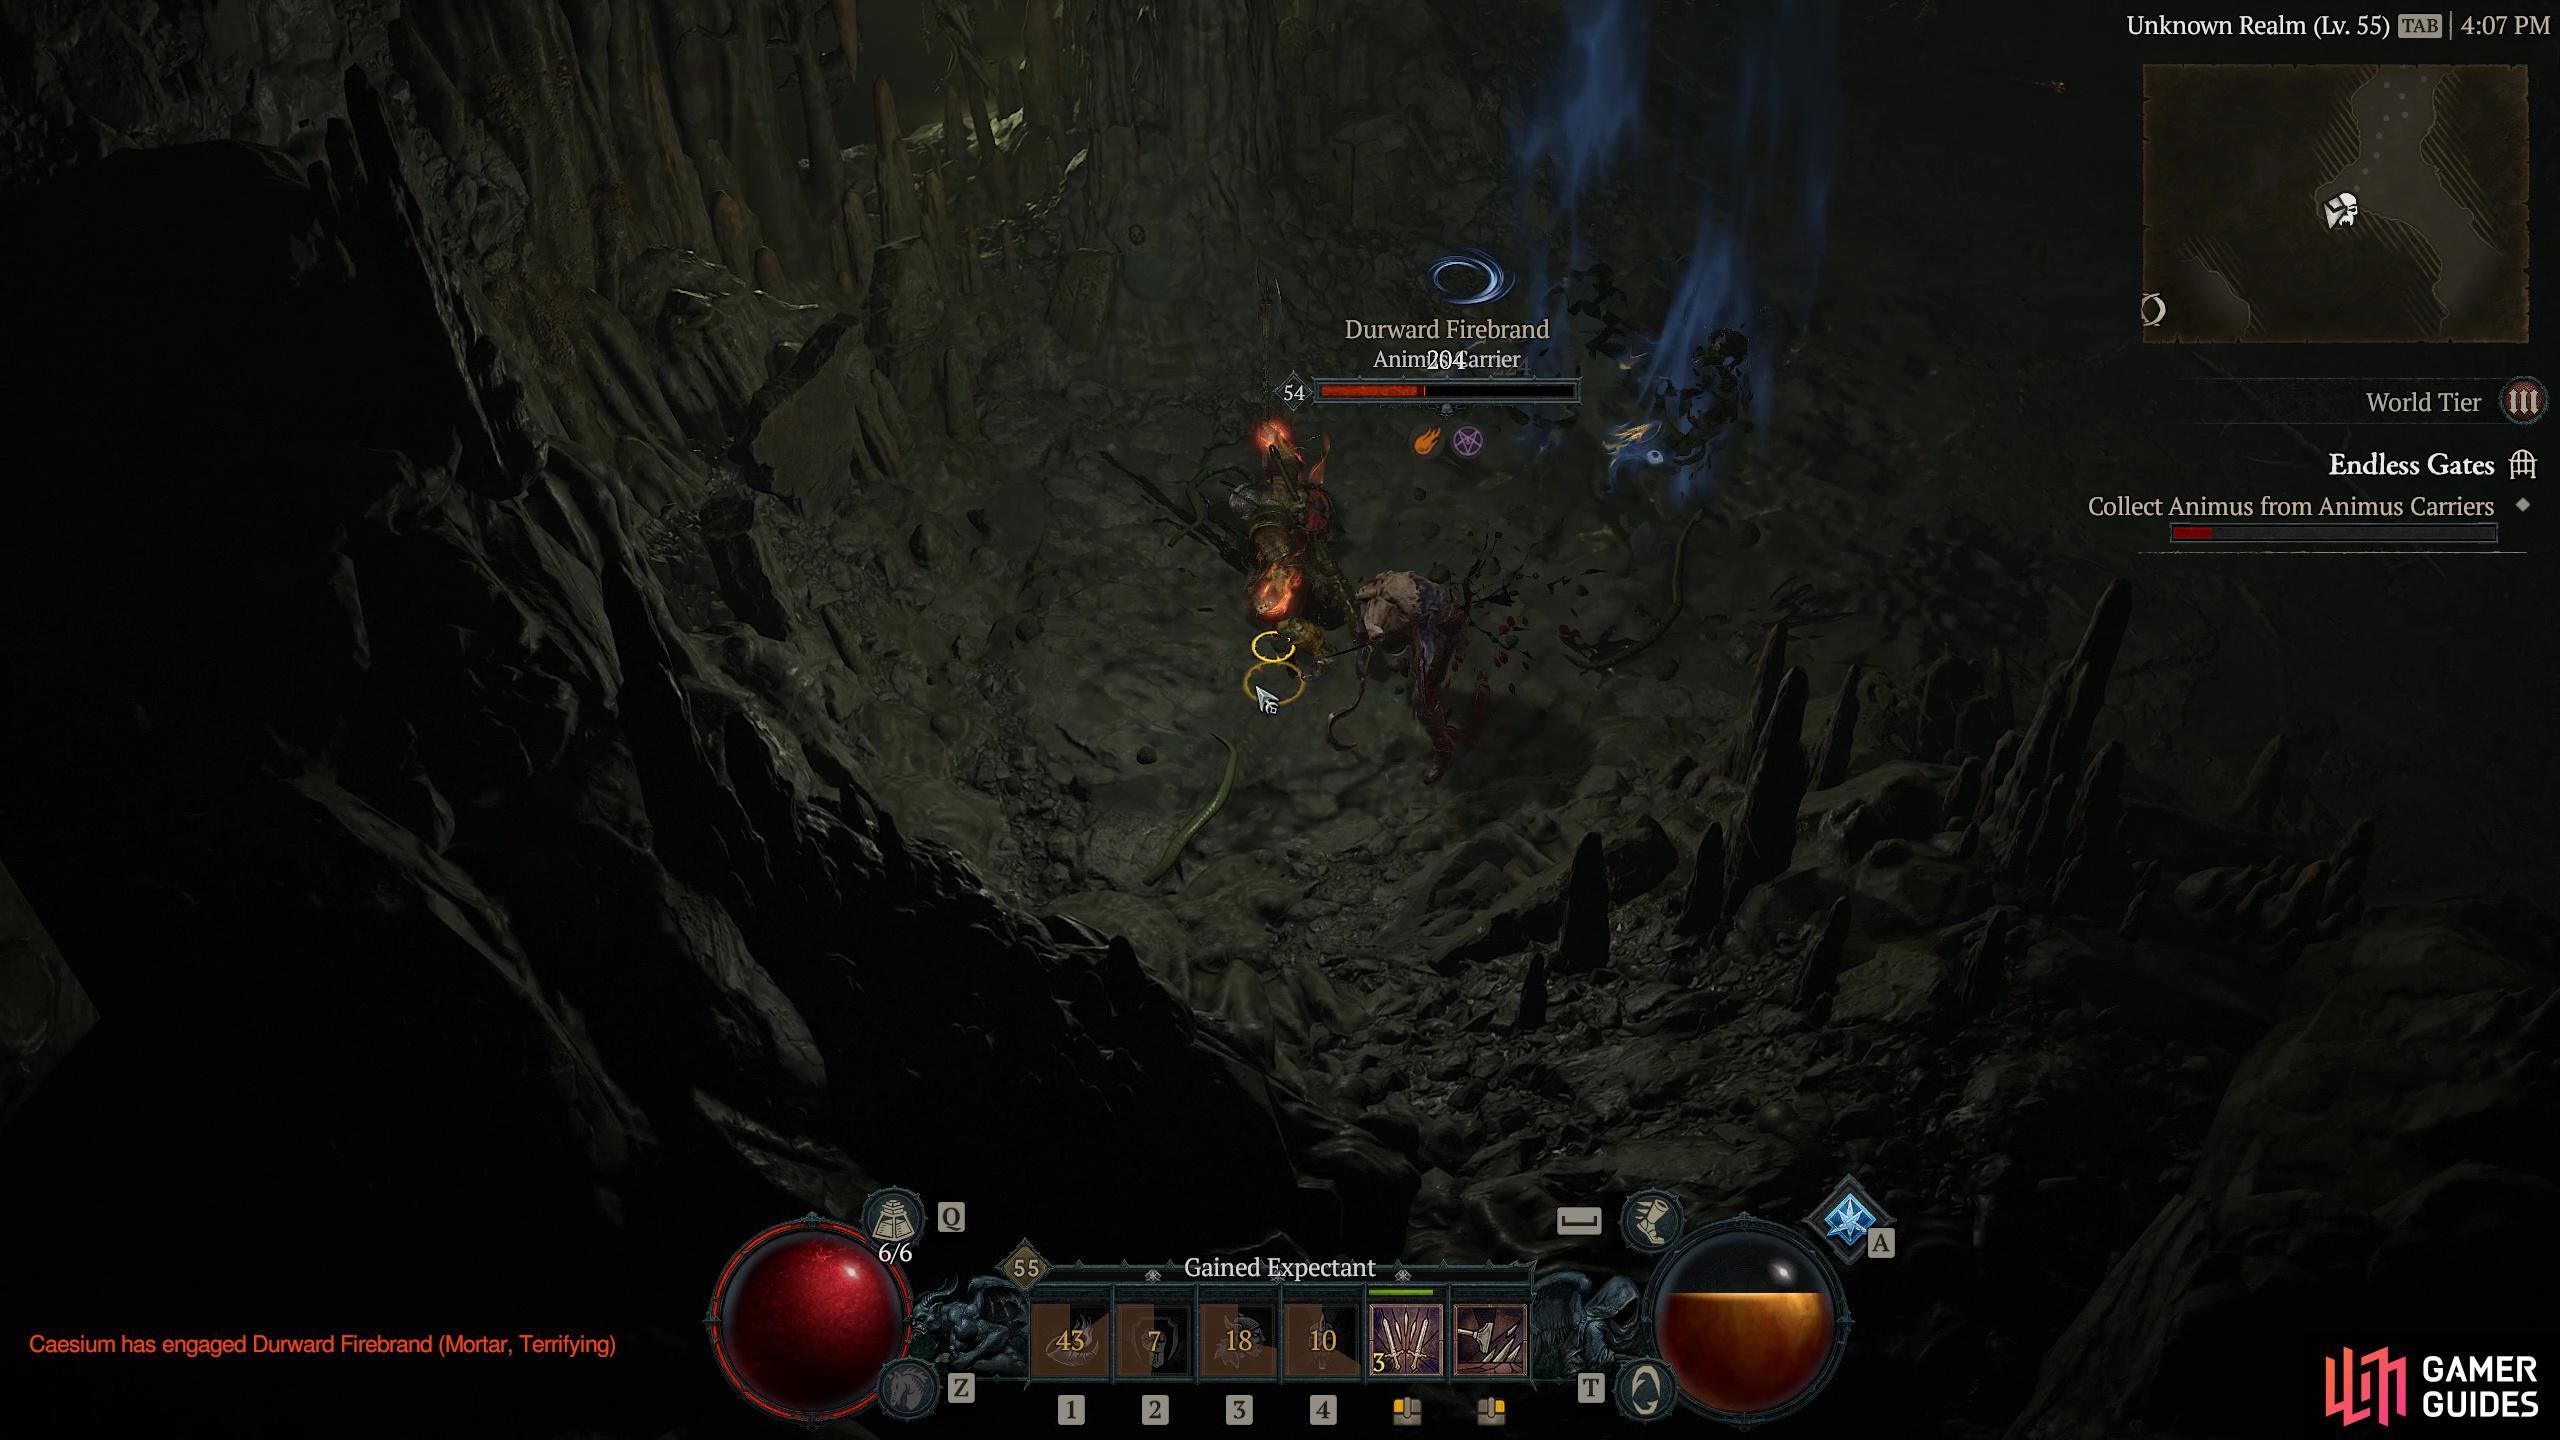
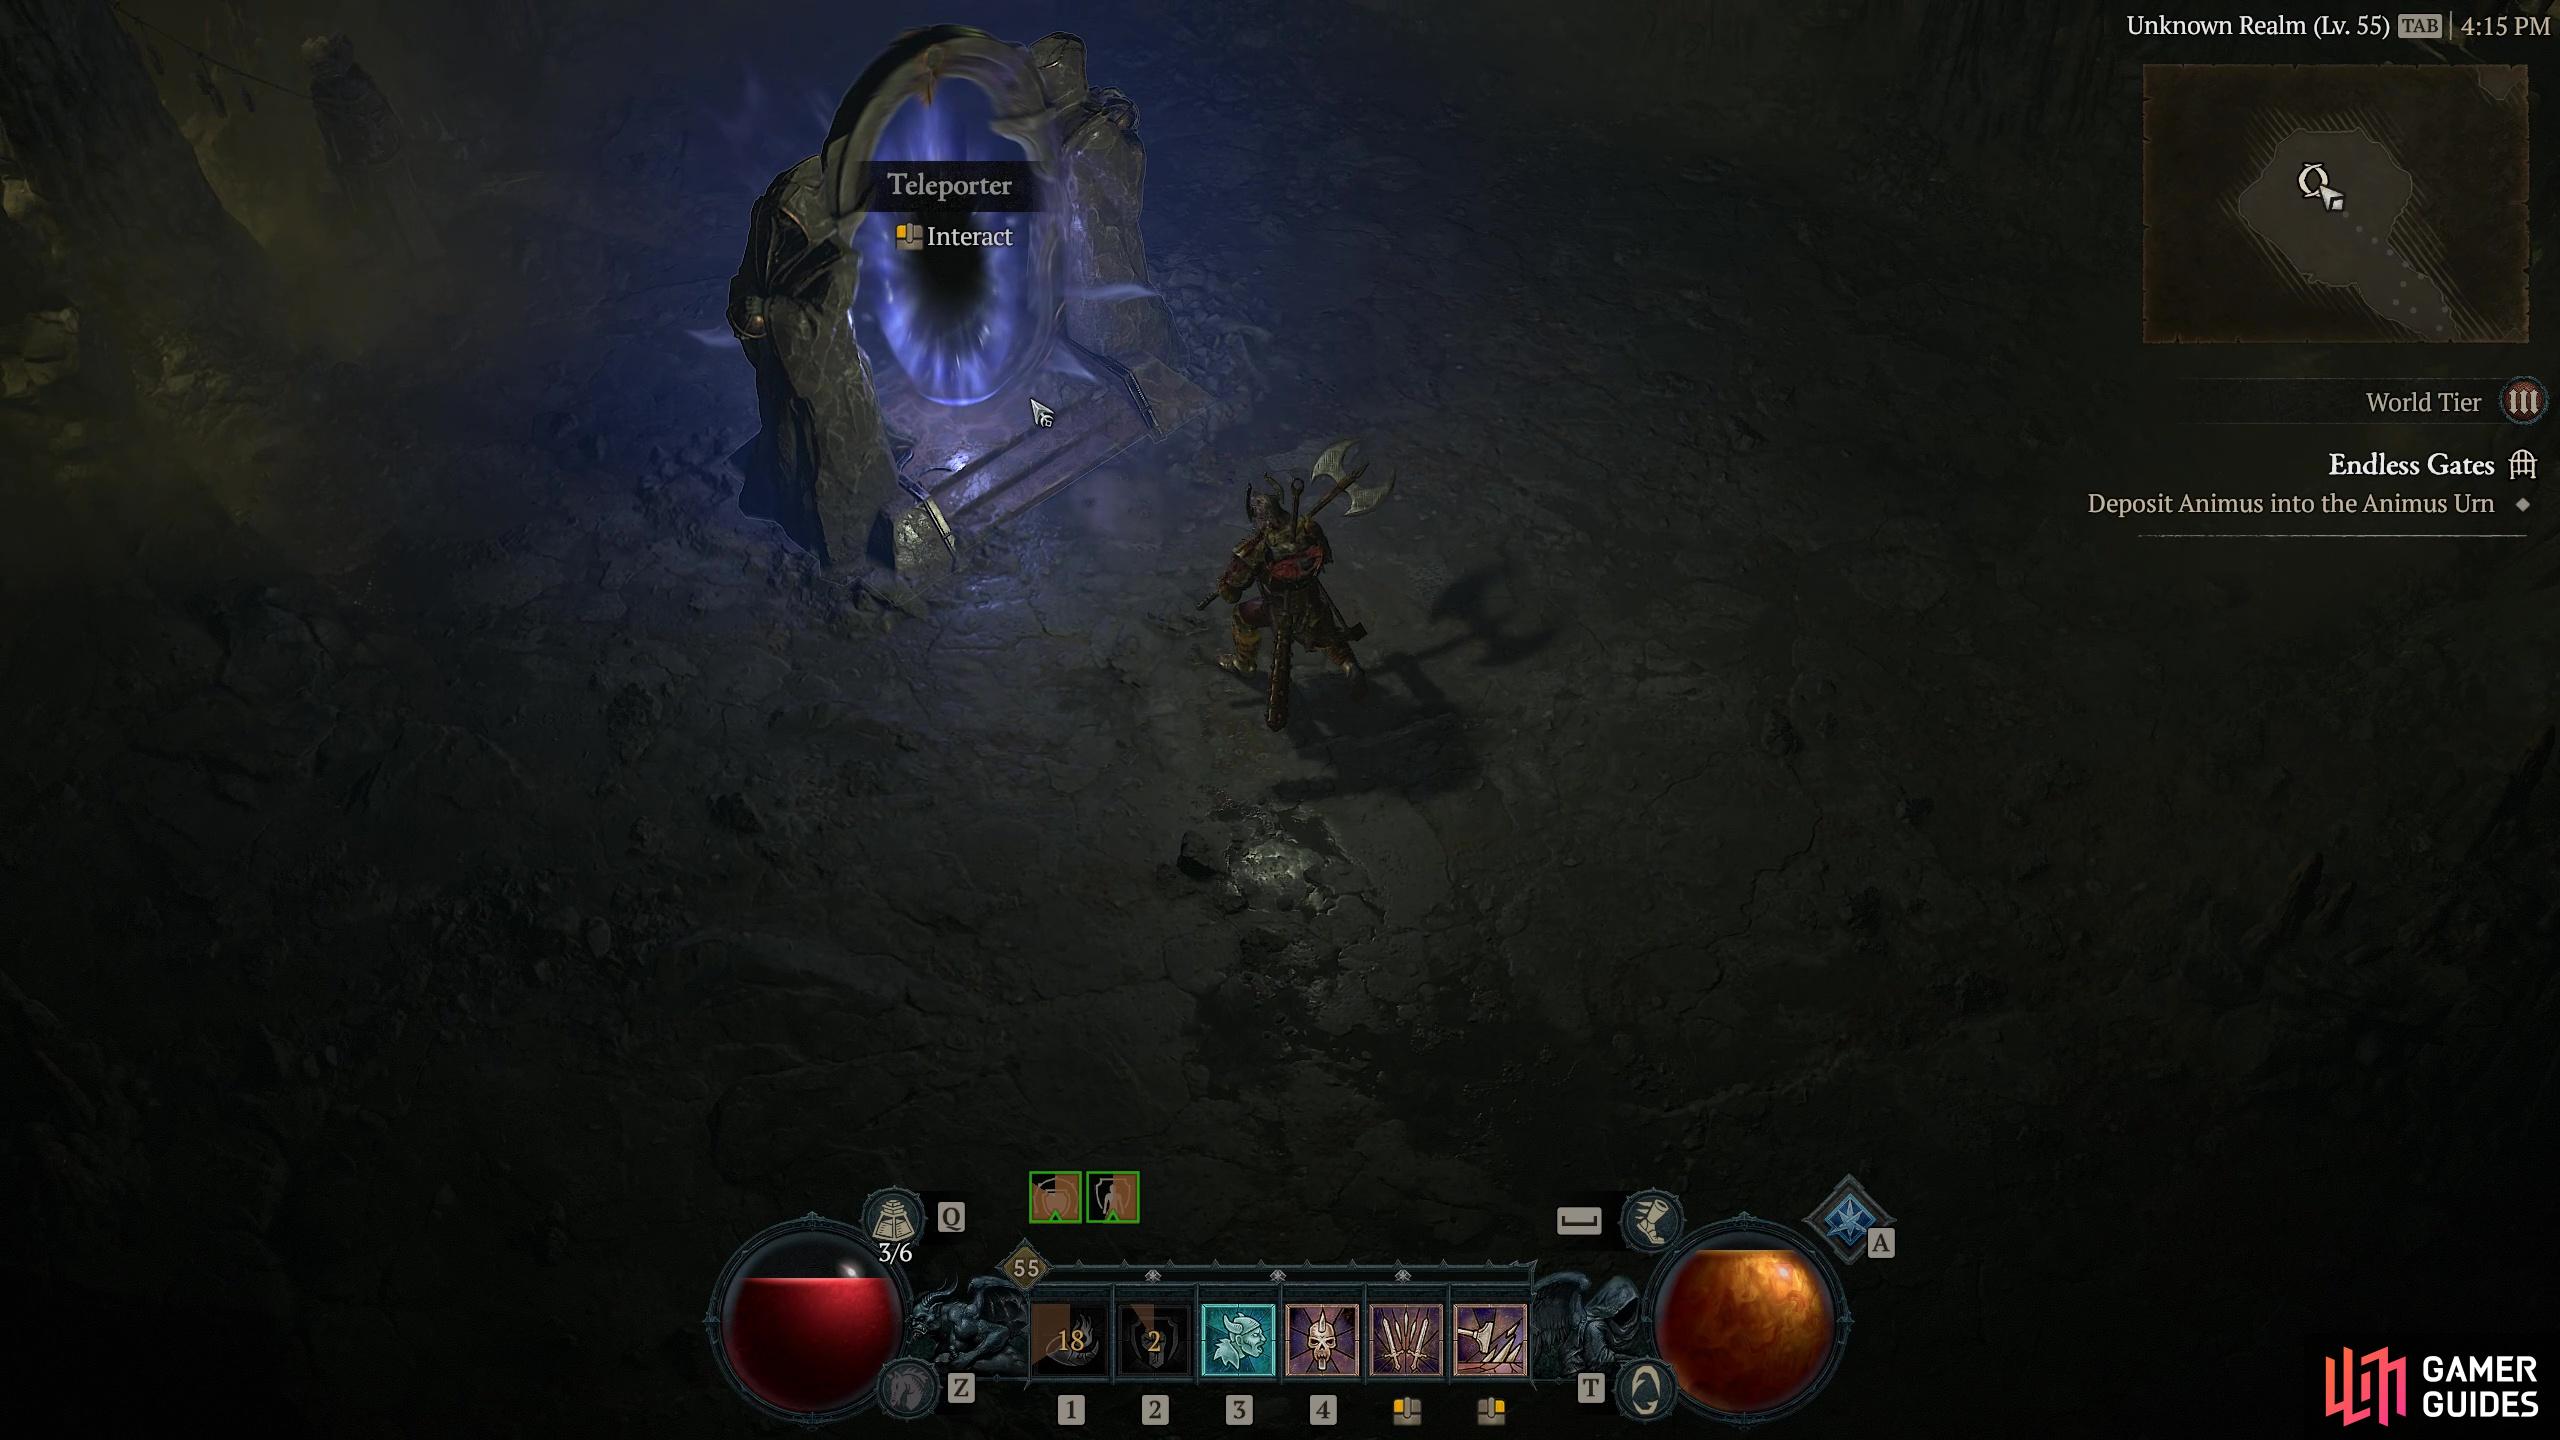
Endless Gates |
Unholy creatures run amok between realms.
Objectives
Description
This slightly confusing Hawezar dungeon introduces the concept of Teleport Gates to take you to the different realms of it’s layout. This can lead to a little confusion as to which gate goes where, so let’s have a look inside and try and clear up what is going on. Despite the slightly different than normal mechanic, Endless Gates is actually a beautiful looking dungeon too, oozing just enough creepy Satanicness to keep us all happy. To start with we need to collect Animus from the Animus Carriers and deposit it into the Animus Uen to open up a doorway to the next section. This is where the first of the Teleporters come in as the Animus Carriers are all in the Unknown Realm (think of it as different levers or layers of the dungeon. So head into one and you should find yourself there and you can begin your Animus Hunt). There are six Animus Carriers you need to kill but thankfully they are pretty close to each other and the Unknown Realm is not too large so you should be able to collect what you need fairly quickly. Once through the Teleporter you need to hunt down and kill Typhon the Keeper and pick up the Mage Key that he drops before heading to the Mage Door through yet another Teleporter to unlock it. Now head to the nearest Teleporter and you should find yourself in the Silent Passage. Here you will find the Animus Urn which opens a door once you interact with it. Make your way to the Nameless Corridors via the next Teleporter. This is where it can get confusing as not all Teleporters lead you to the bit you need to go to, so make sure you are in the Nameless Corridors and head to the Teleporter further SE. This should beam you to a room where you can only travel NE in the Silent Passage. There you should find a Healing Well and the Mage Door. Open it and pass through. There, dungeon boss, The
Enemies
Infernal Sister
Demons
1×
Detailed Location
General Reward
Gold, XP, +30 Hawezar Renown
Item Reward
1×
|

|
|||||||||||||||||||||||||||||||||||||||||||||||||||||||||||||||||||||||||||||||||||||||||||||||

|
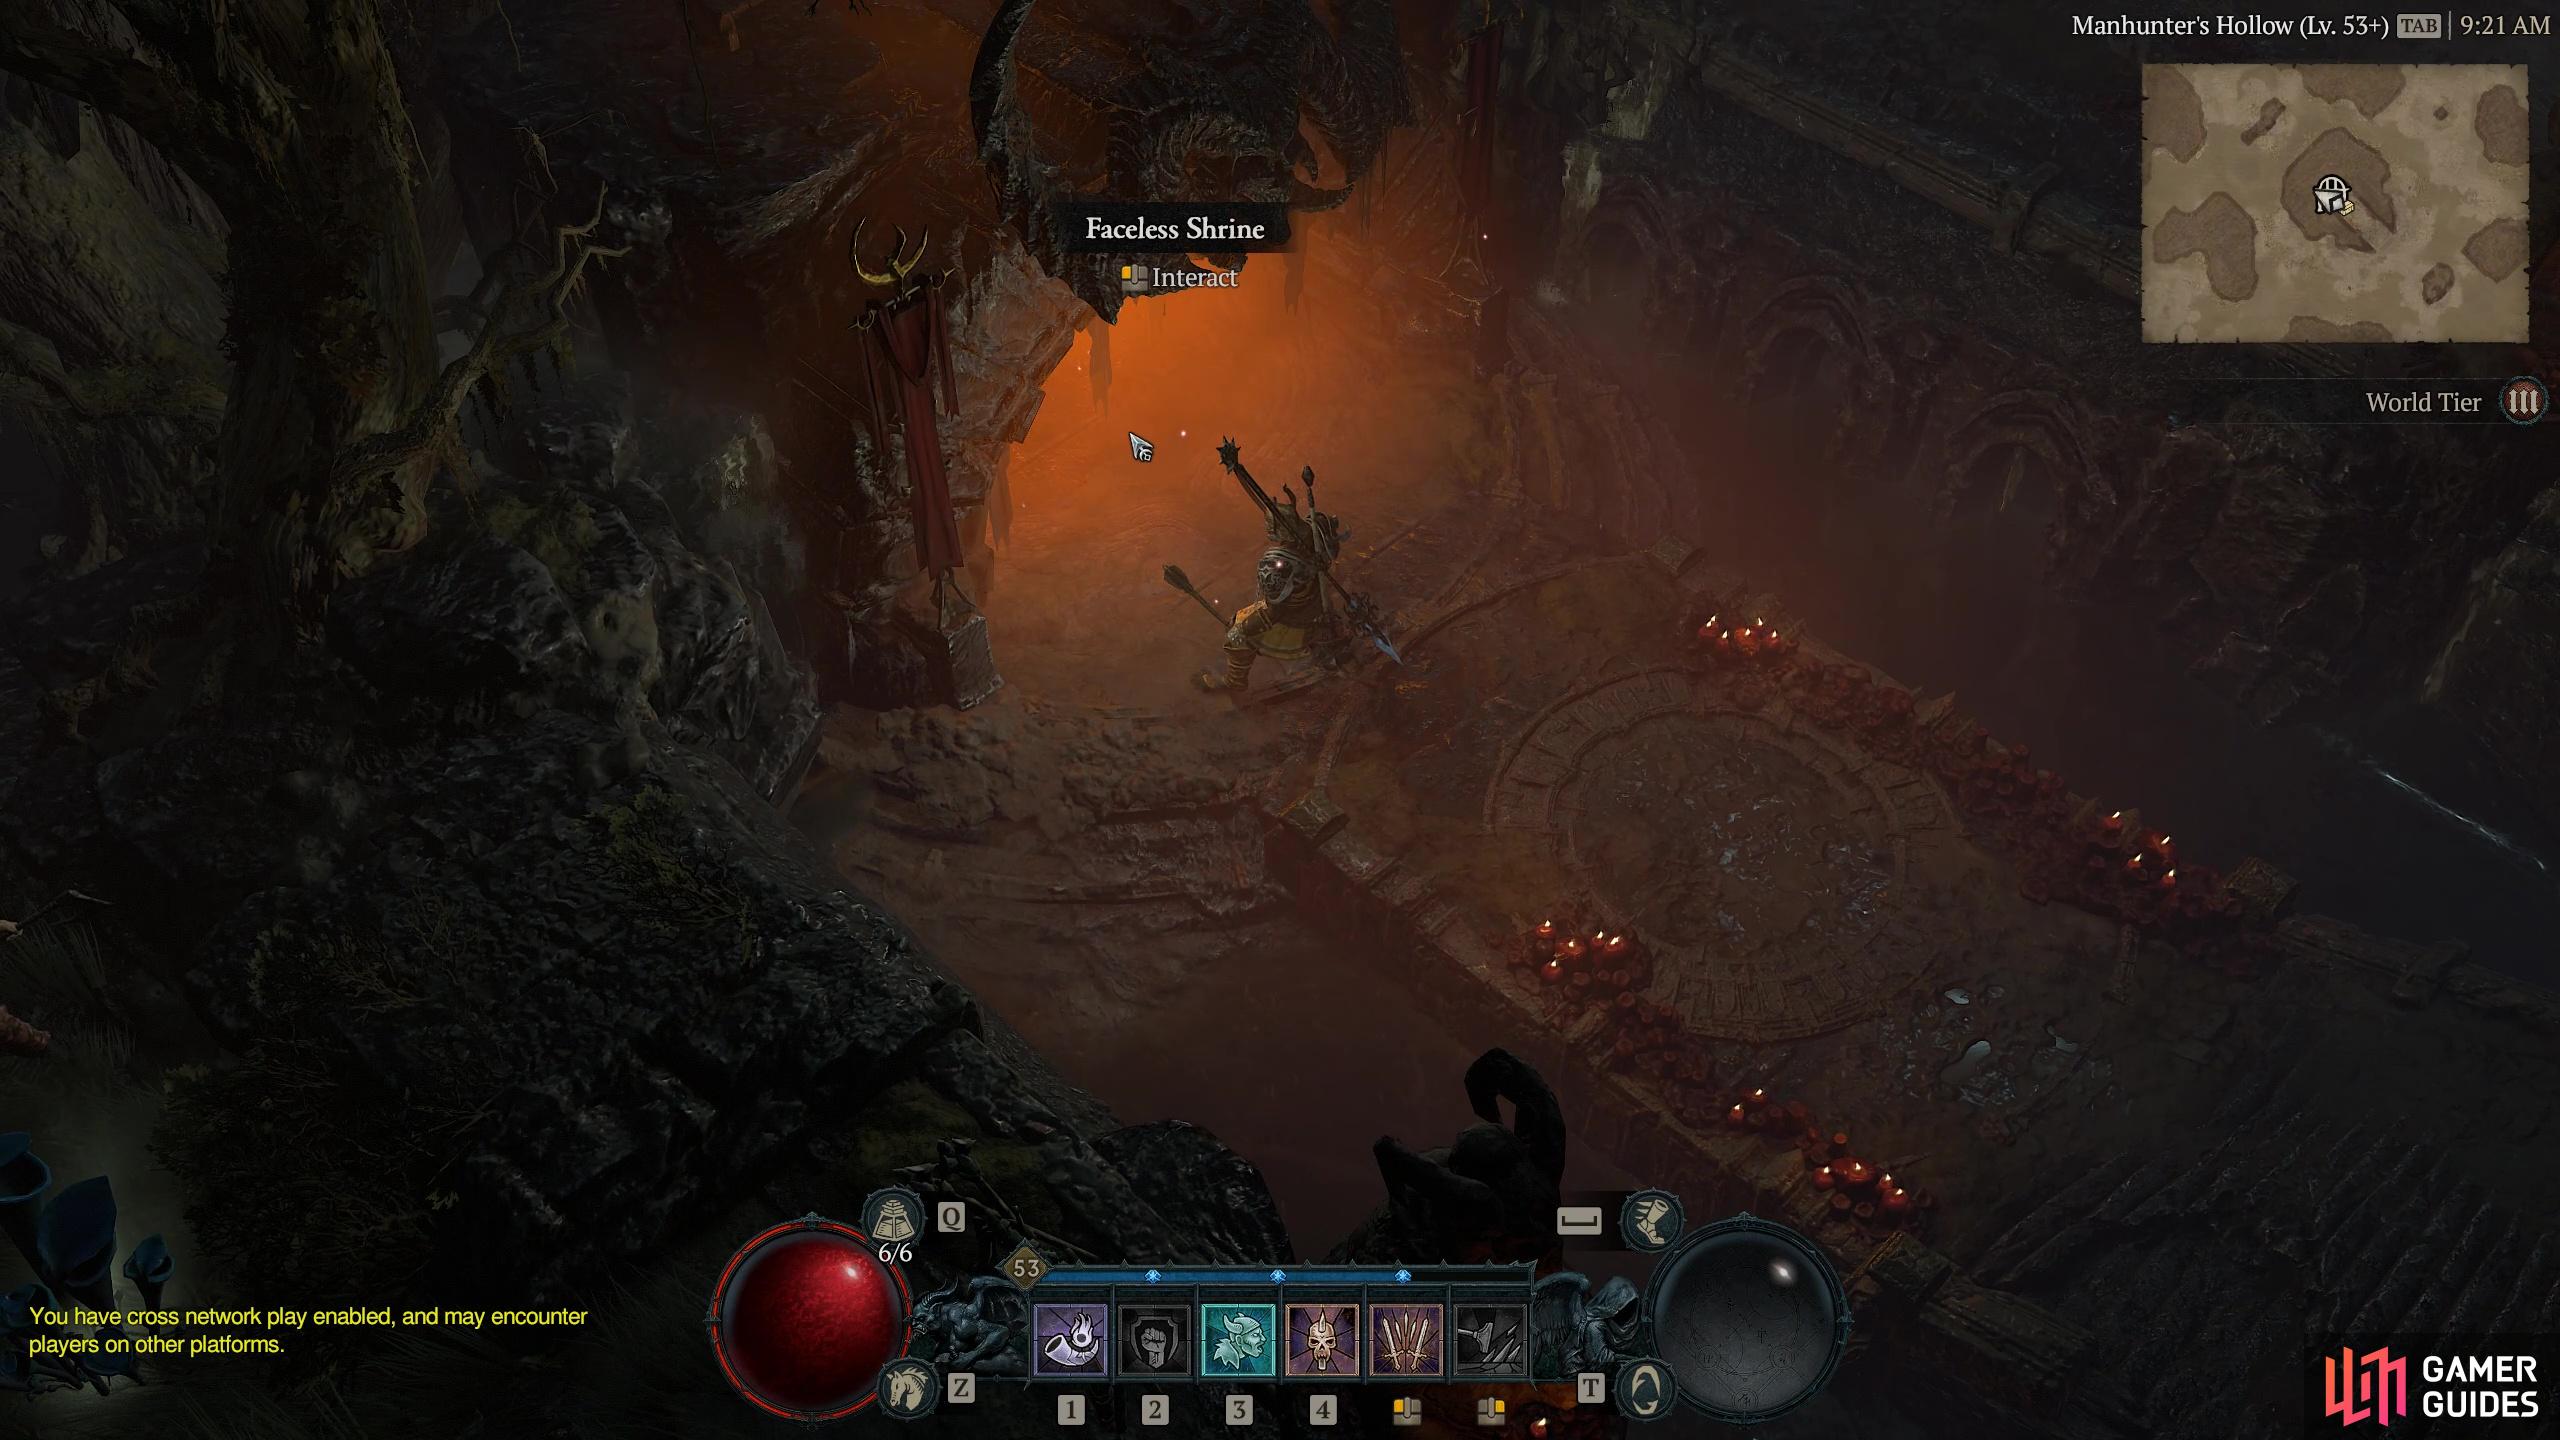
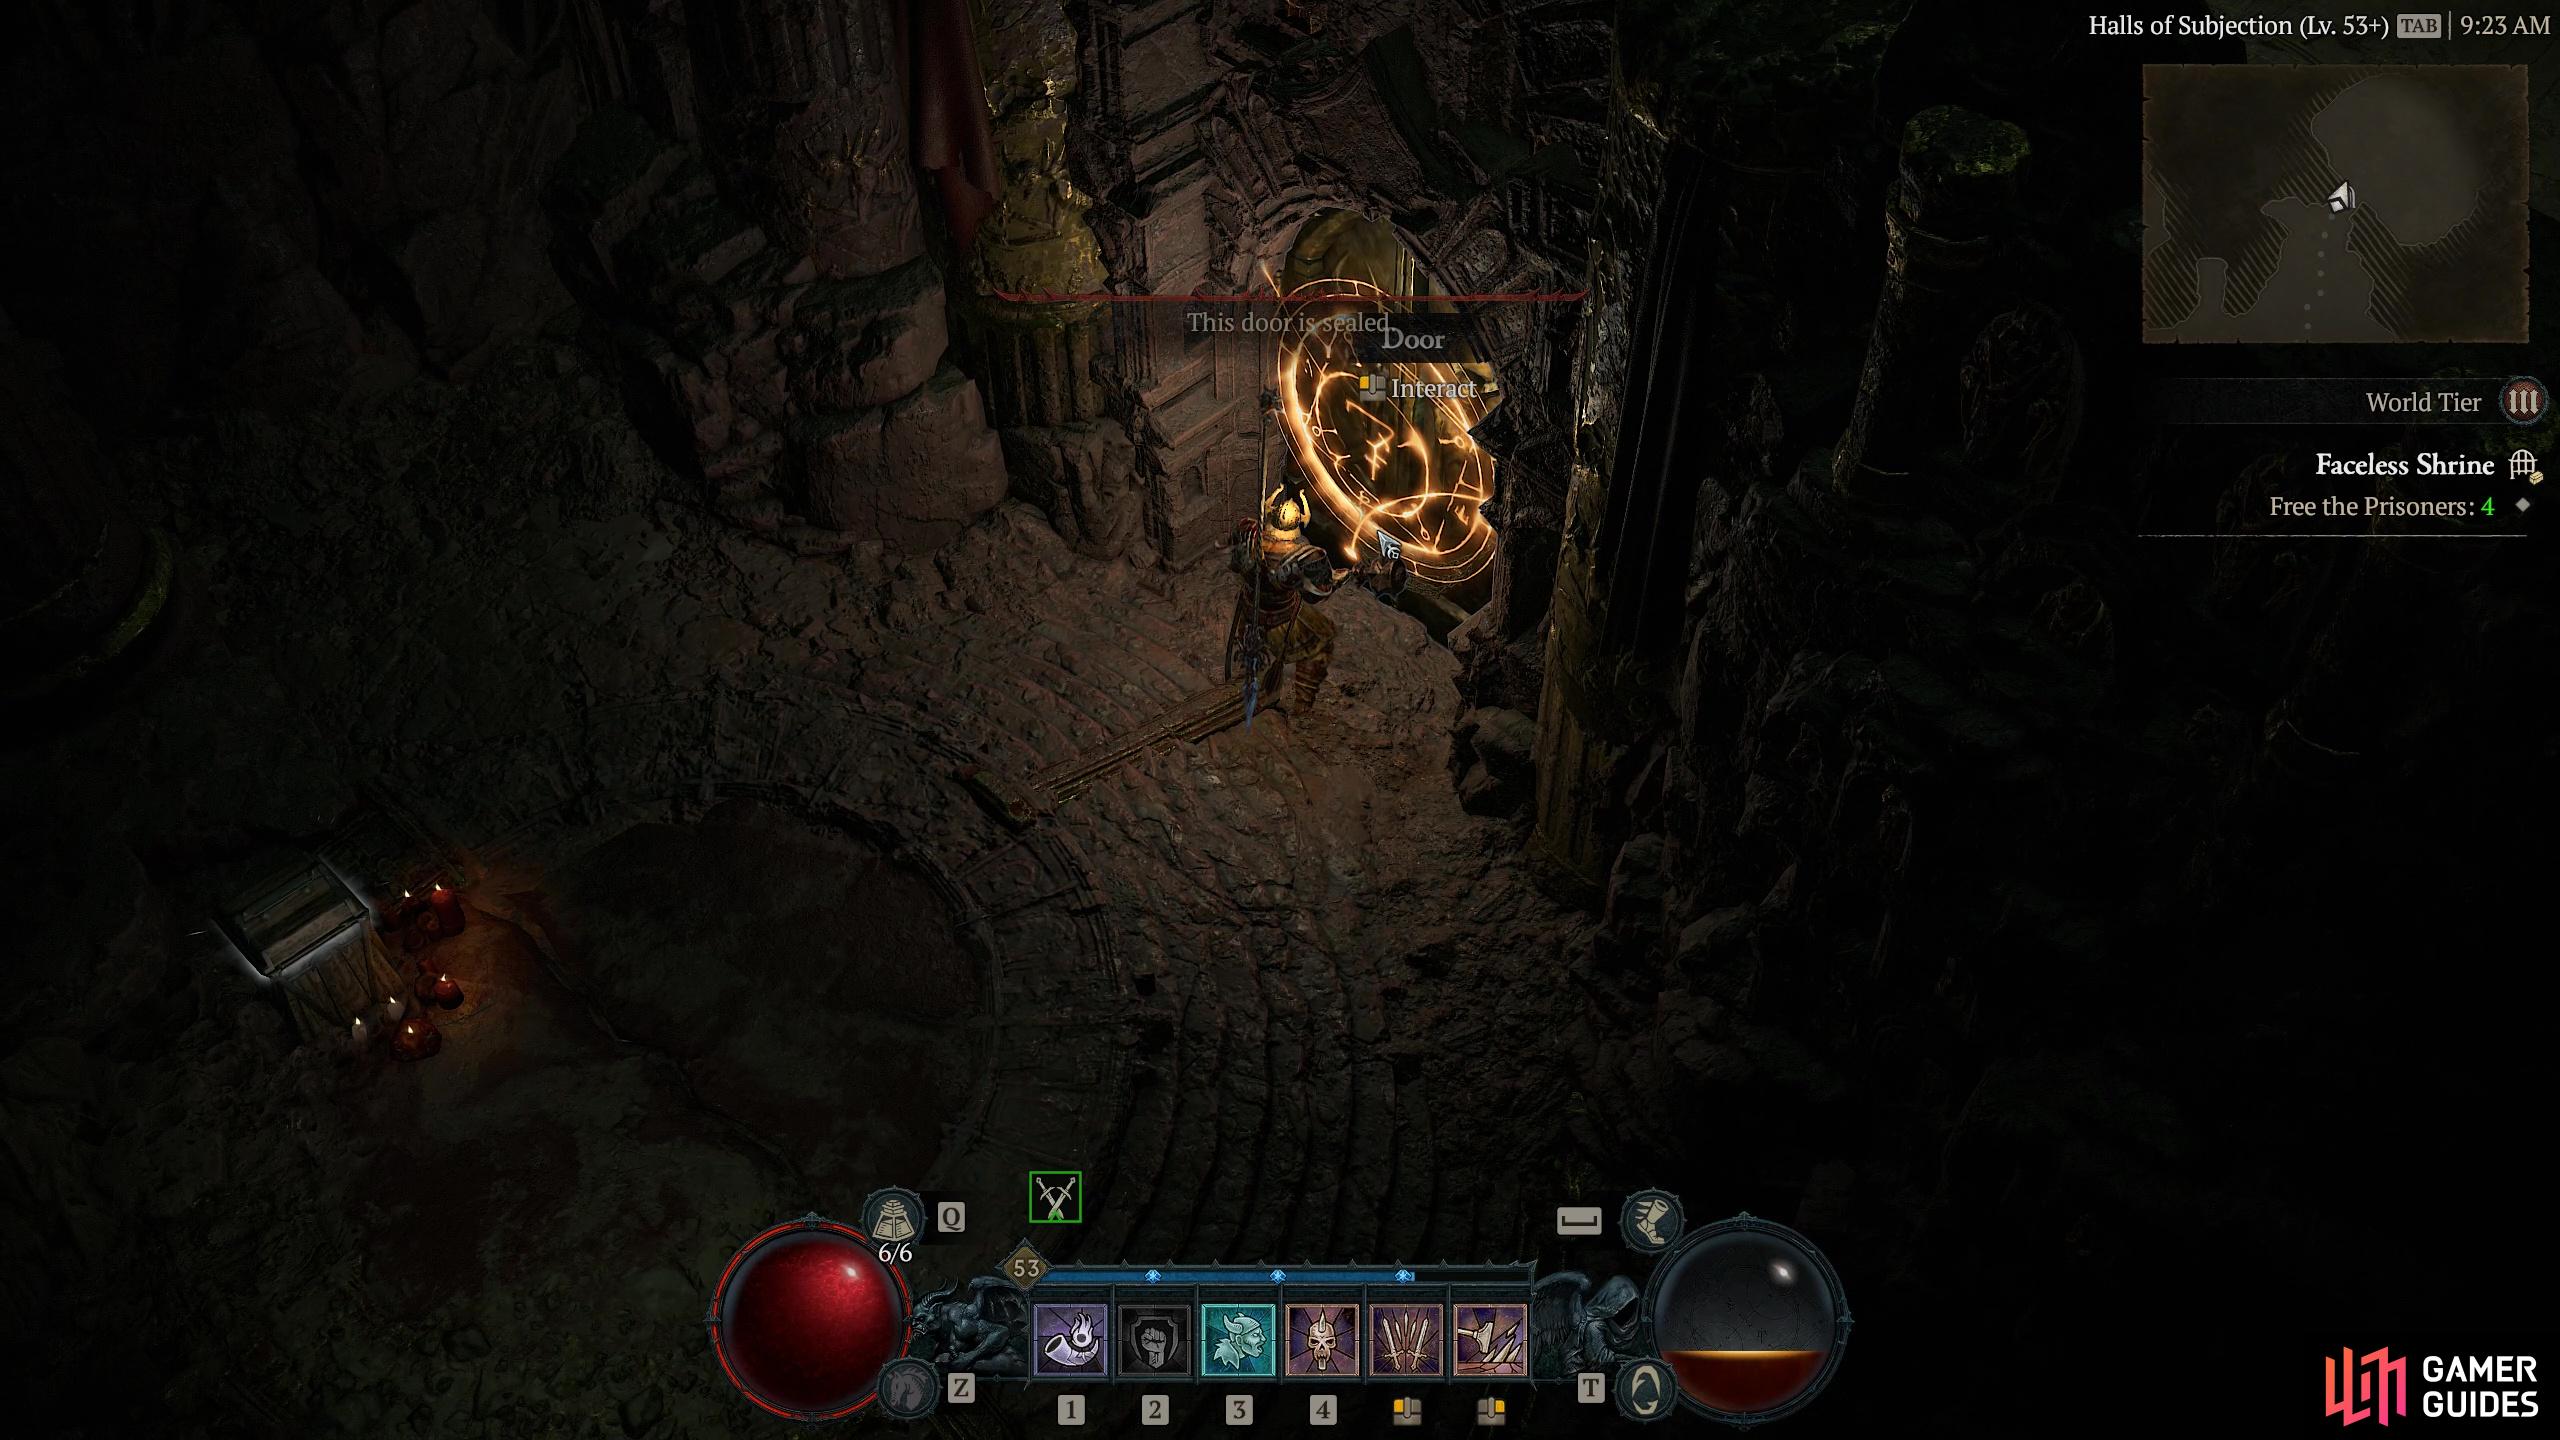
Faceless Shrine |
One of Hawezar’s less secretive cults. Sinners welcome.
Objectives
Description
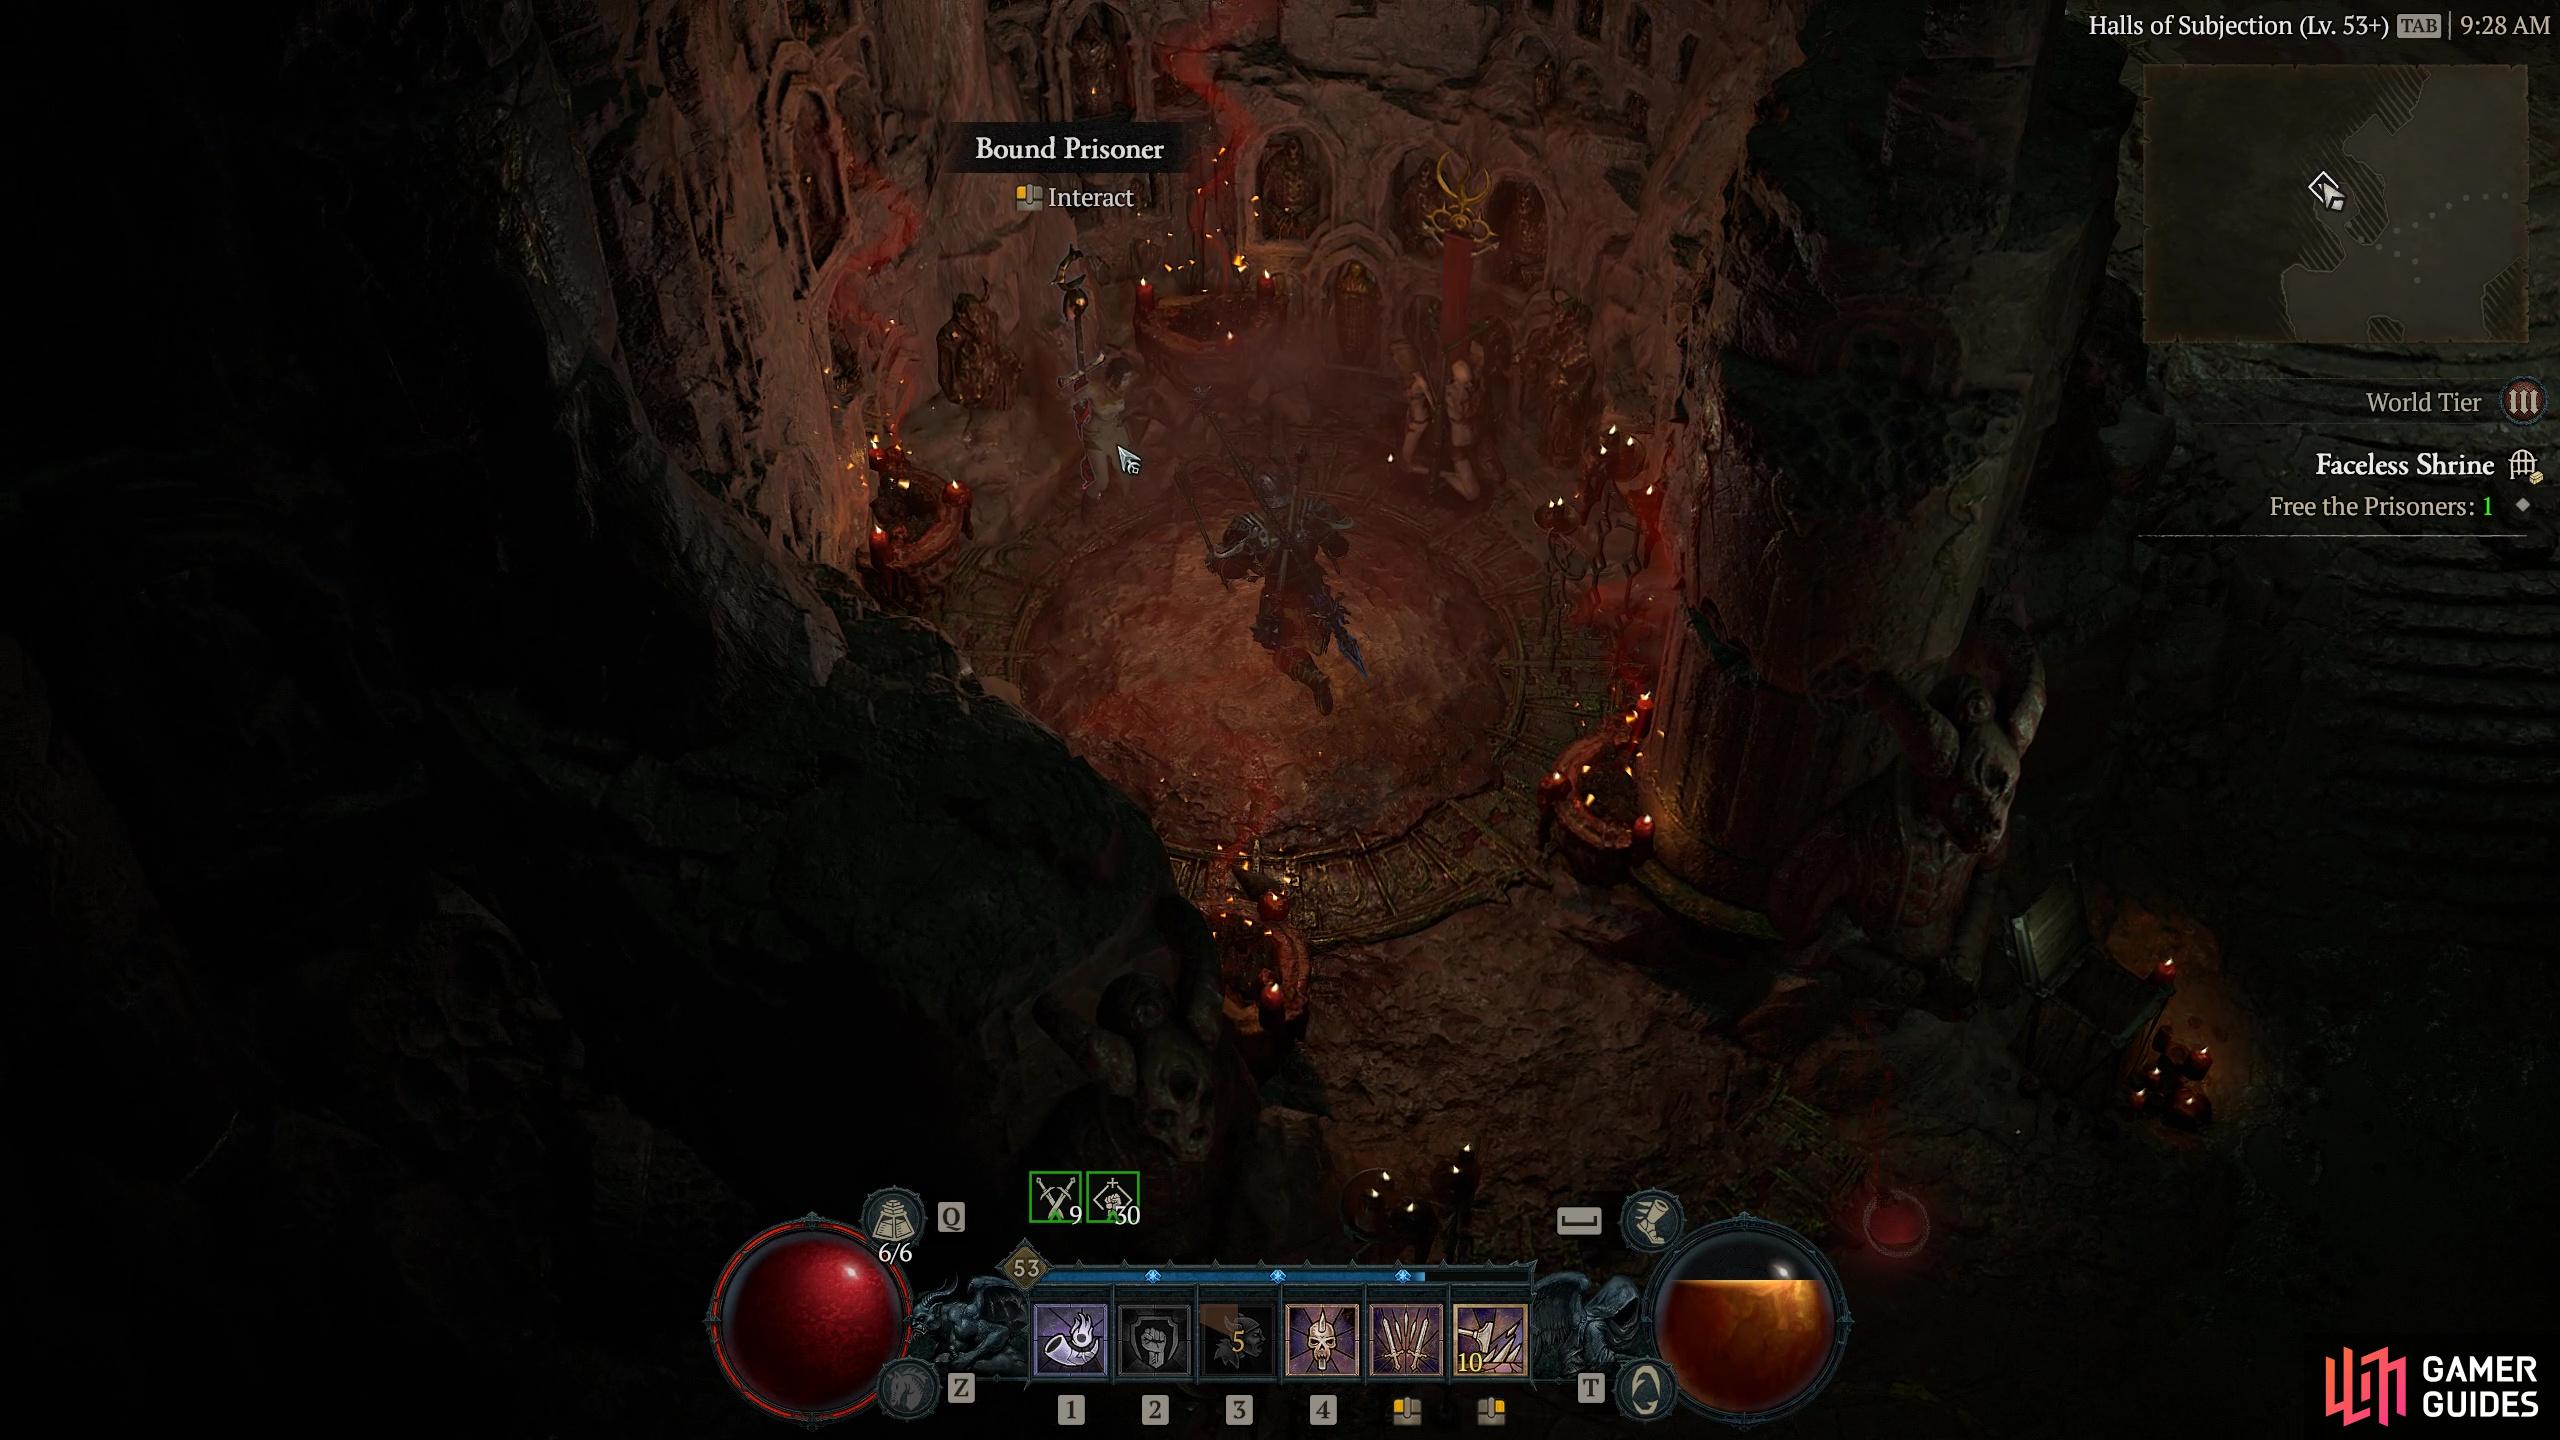
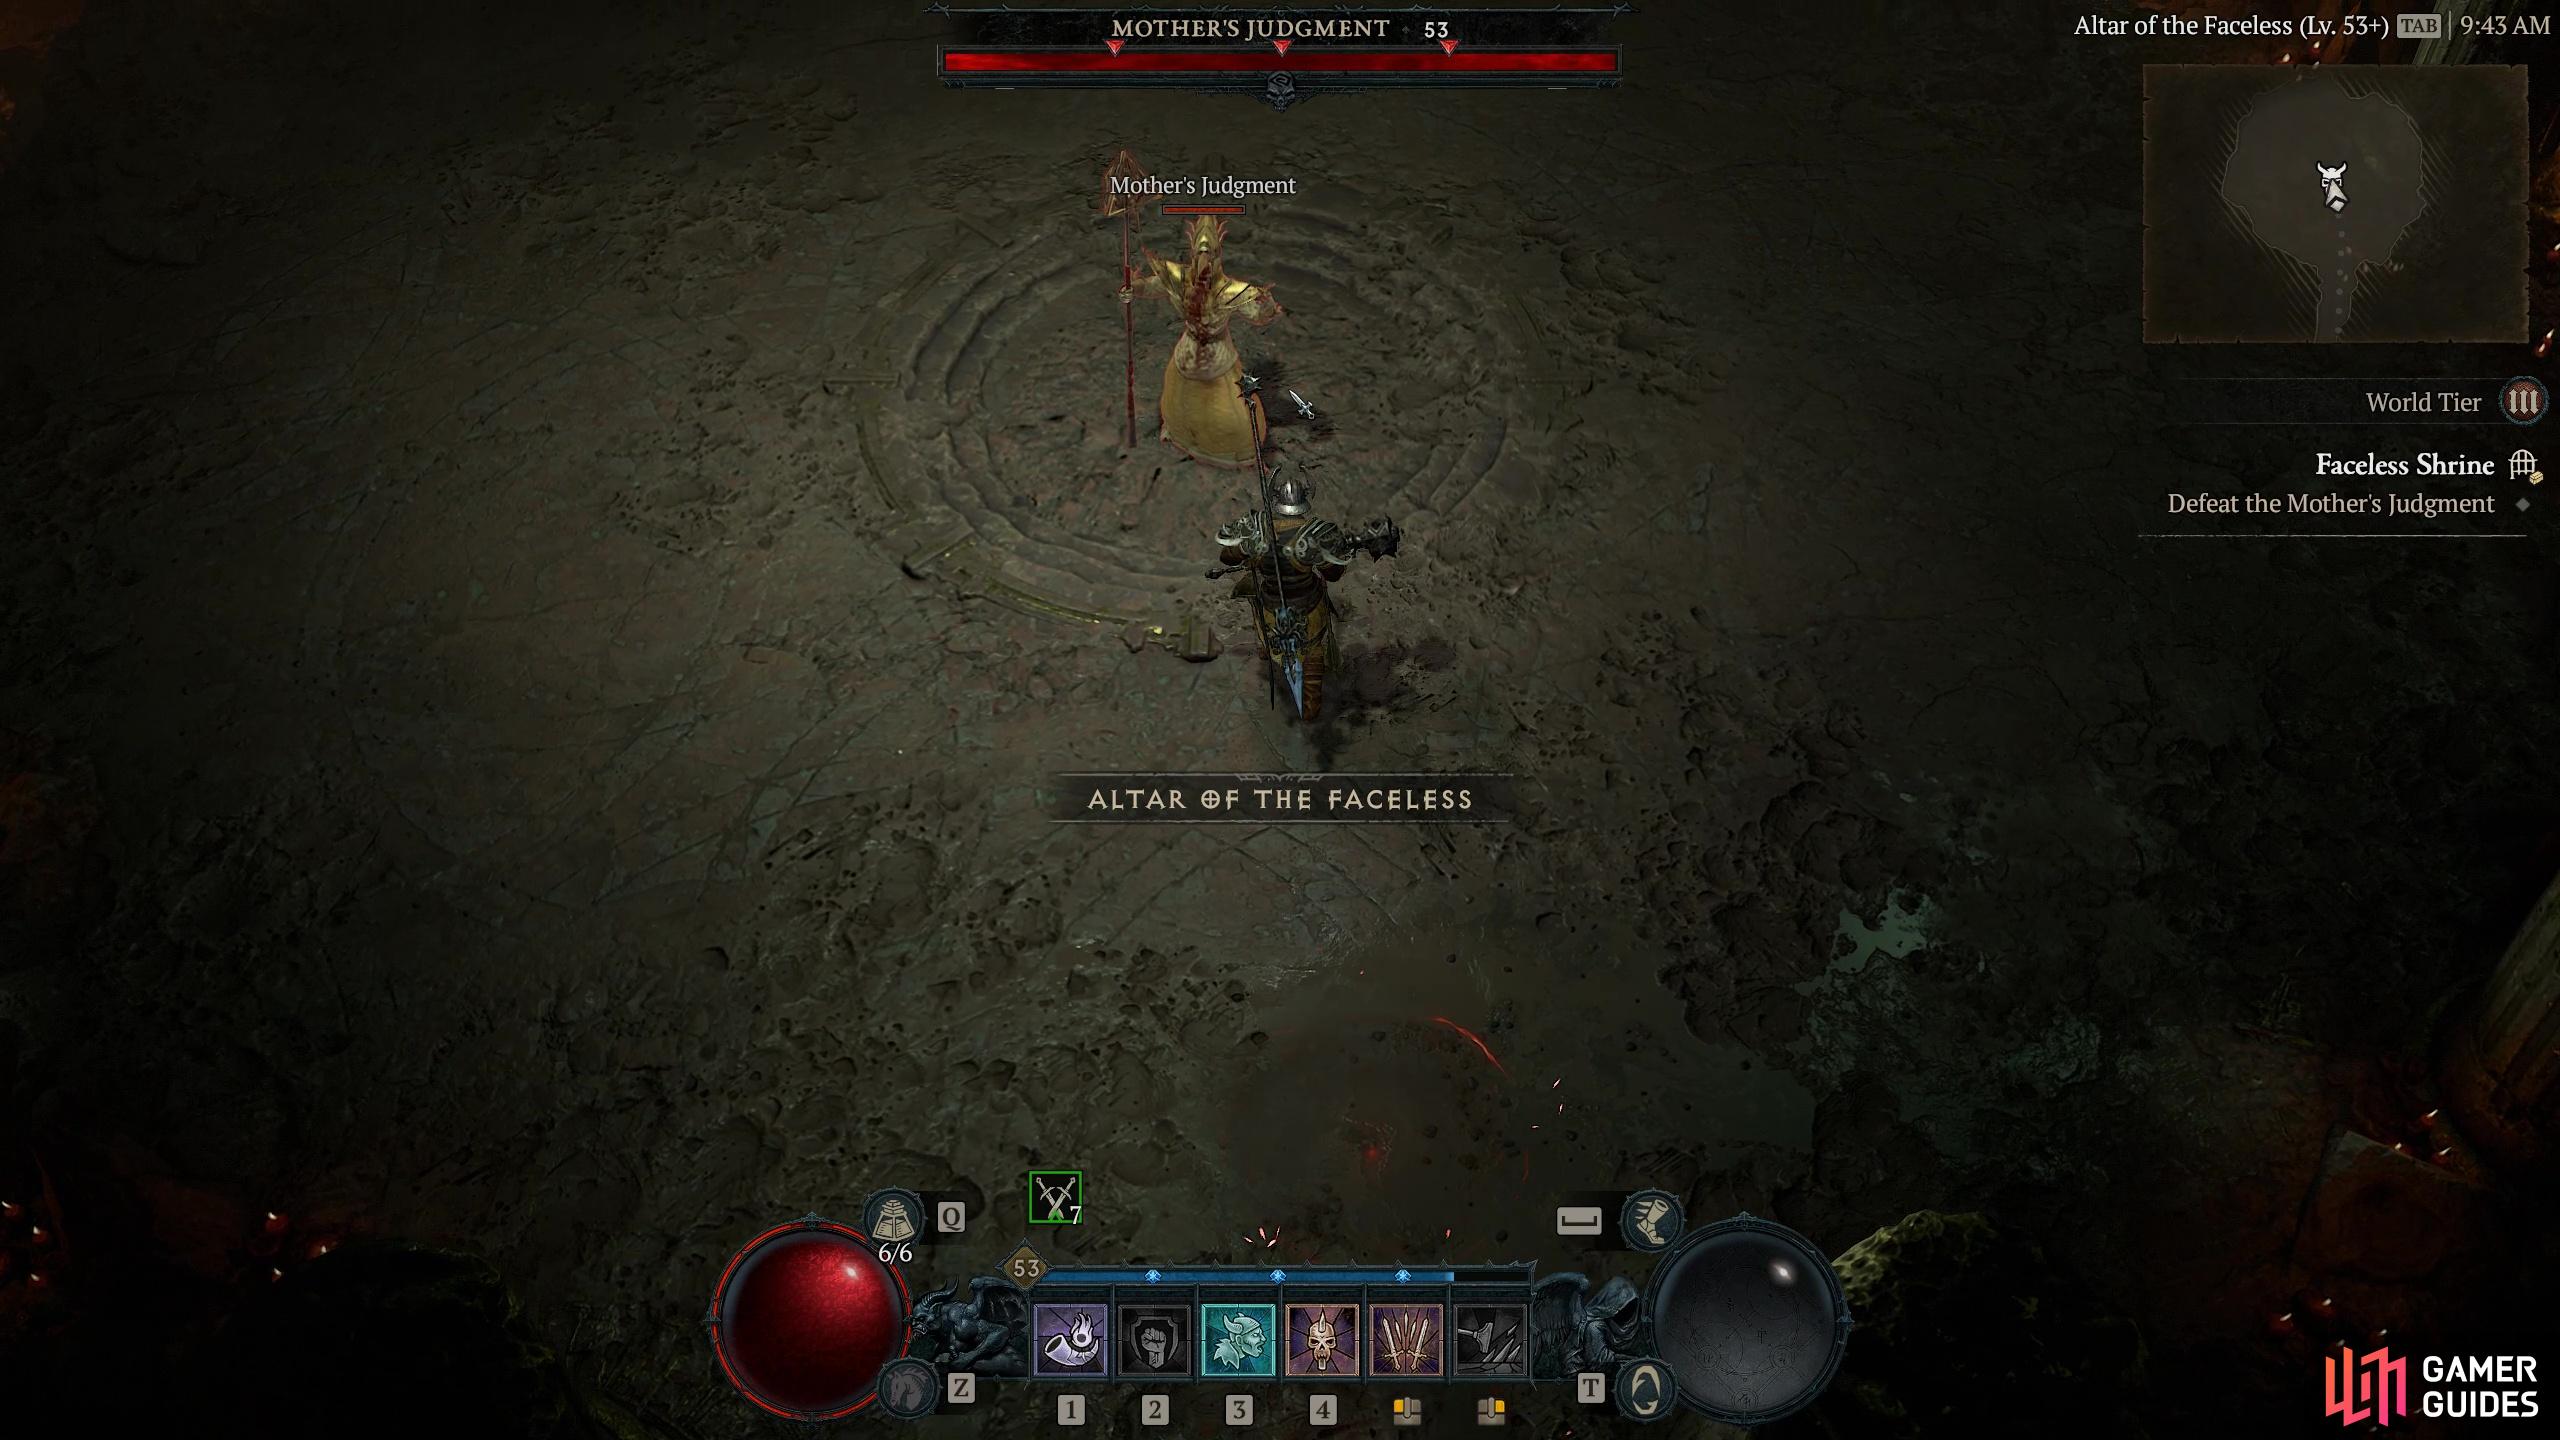
This dungeon is one of the cooler looking ones in Hawezar. As soon as you enter it it feels like an unholy shrine and you can expect to find enough cannobals in there to keep your bloodlust satisfied. In fact, the enemies in this dungeon are exclusively cannibals, cultists and demons. Not a creepy-crawly in sight. Almost immediately upon entering you will be into the fight and close by you will also find the first of the five bound prisoners you need to release. The rest are scattered around the initial areas, including one that is hiding in a small sanctum, but it should not take too long to find them all. Once done you need to head to the Chamber of Purging, killing Venkalth Shivermaw (Sentinel Guardian) along the way. He has a Vampiric Affix and Damage Reduction which means he can stick around for a while. It is best to kill off the numerous With that win behind you, you now need to find and destroy three Blood Obelisks before moving on to the final dungeon boss. Each Obelisk will spawn an Elite Ritual Leader when you reduce it’s health to about 80%. Once all three have been destroyed you must proceed to the Altar of the Faceless where you will take on the boss, the
Enemies
1× Venkalth Shivermaw (Sentinel Guardian)
Bosses
1×
Region
Item Reward
1×
|

|
|||||||||||||||||||||||||||||||||||||||||||||||||||||||||||||||||||||||||||||||||||||||||||||||

|
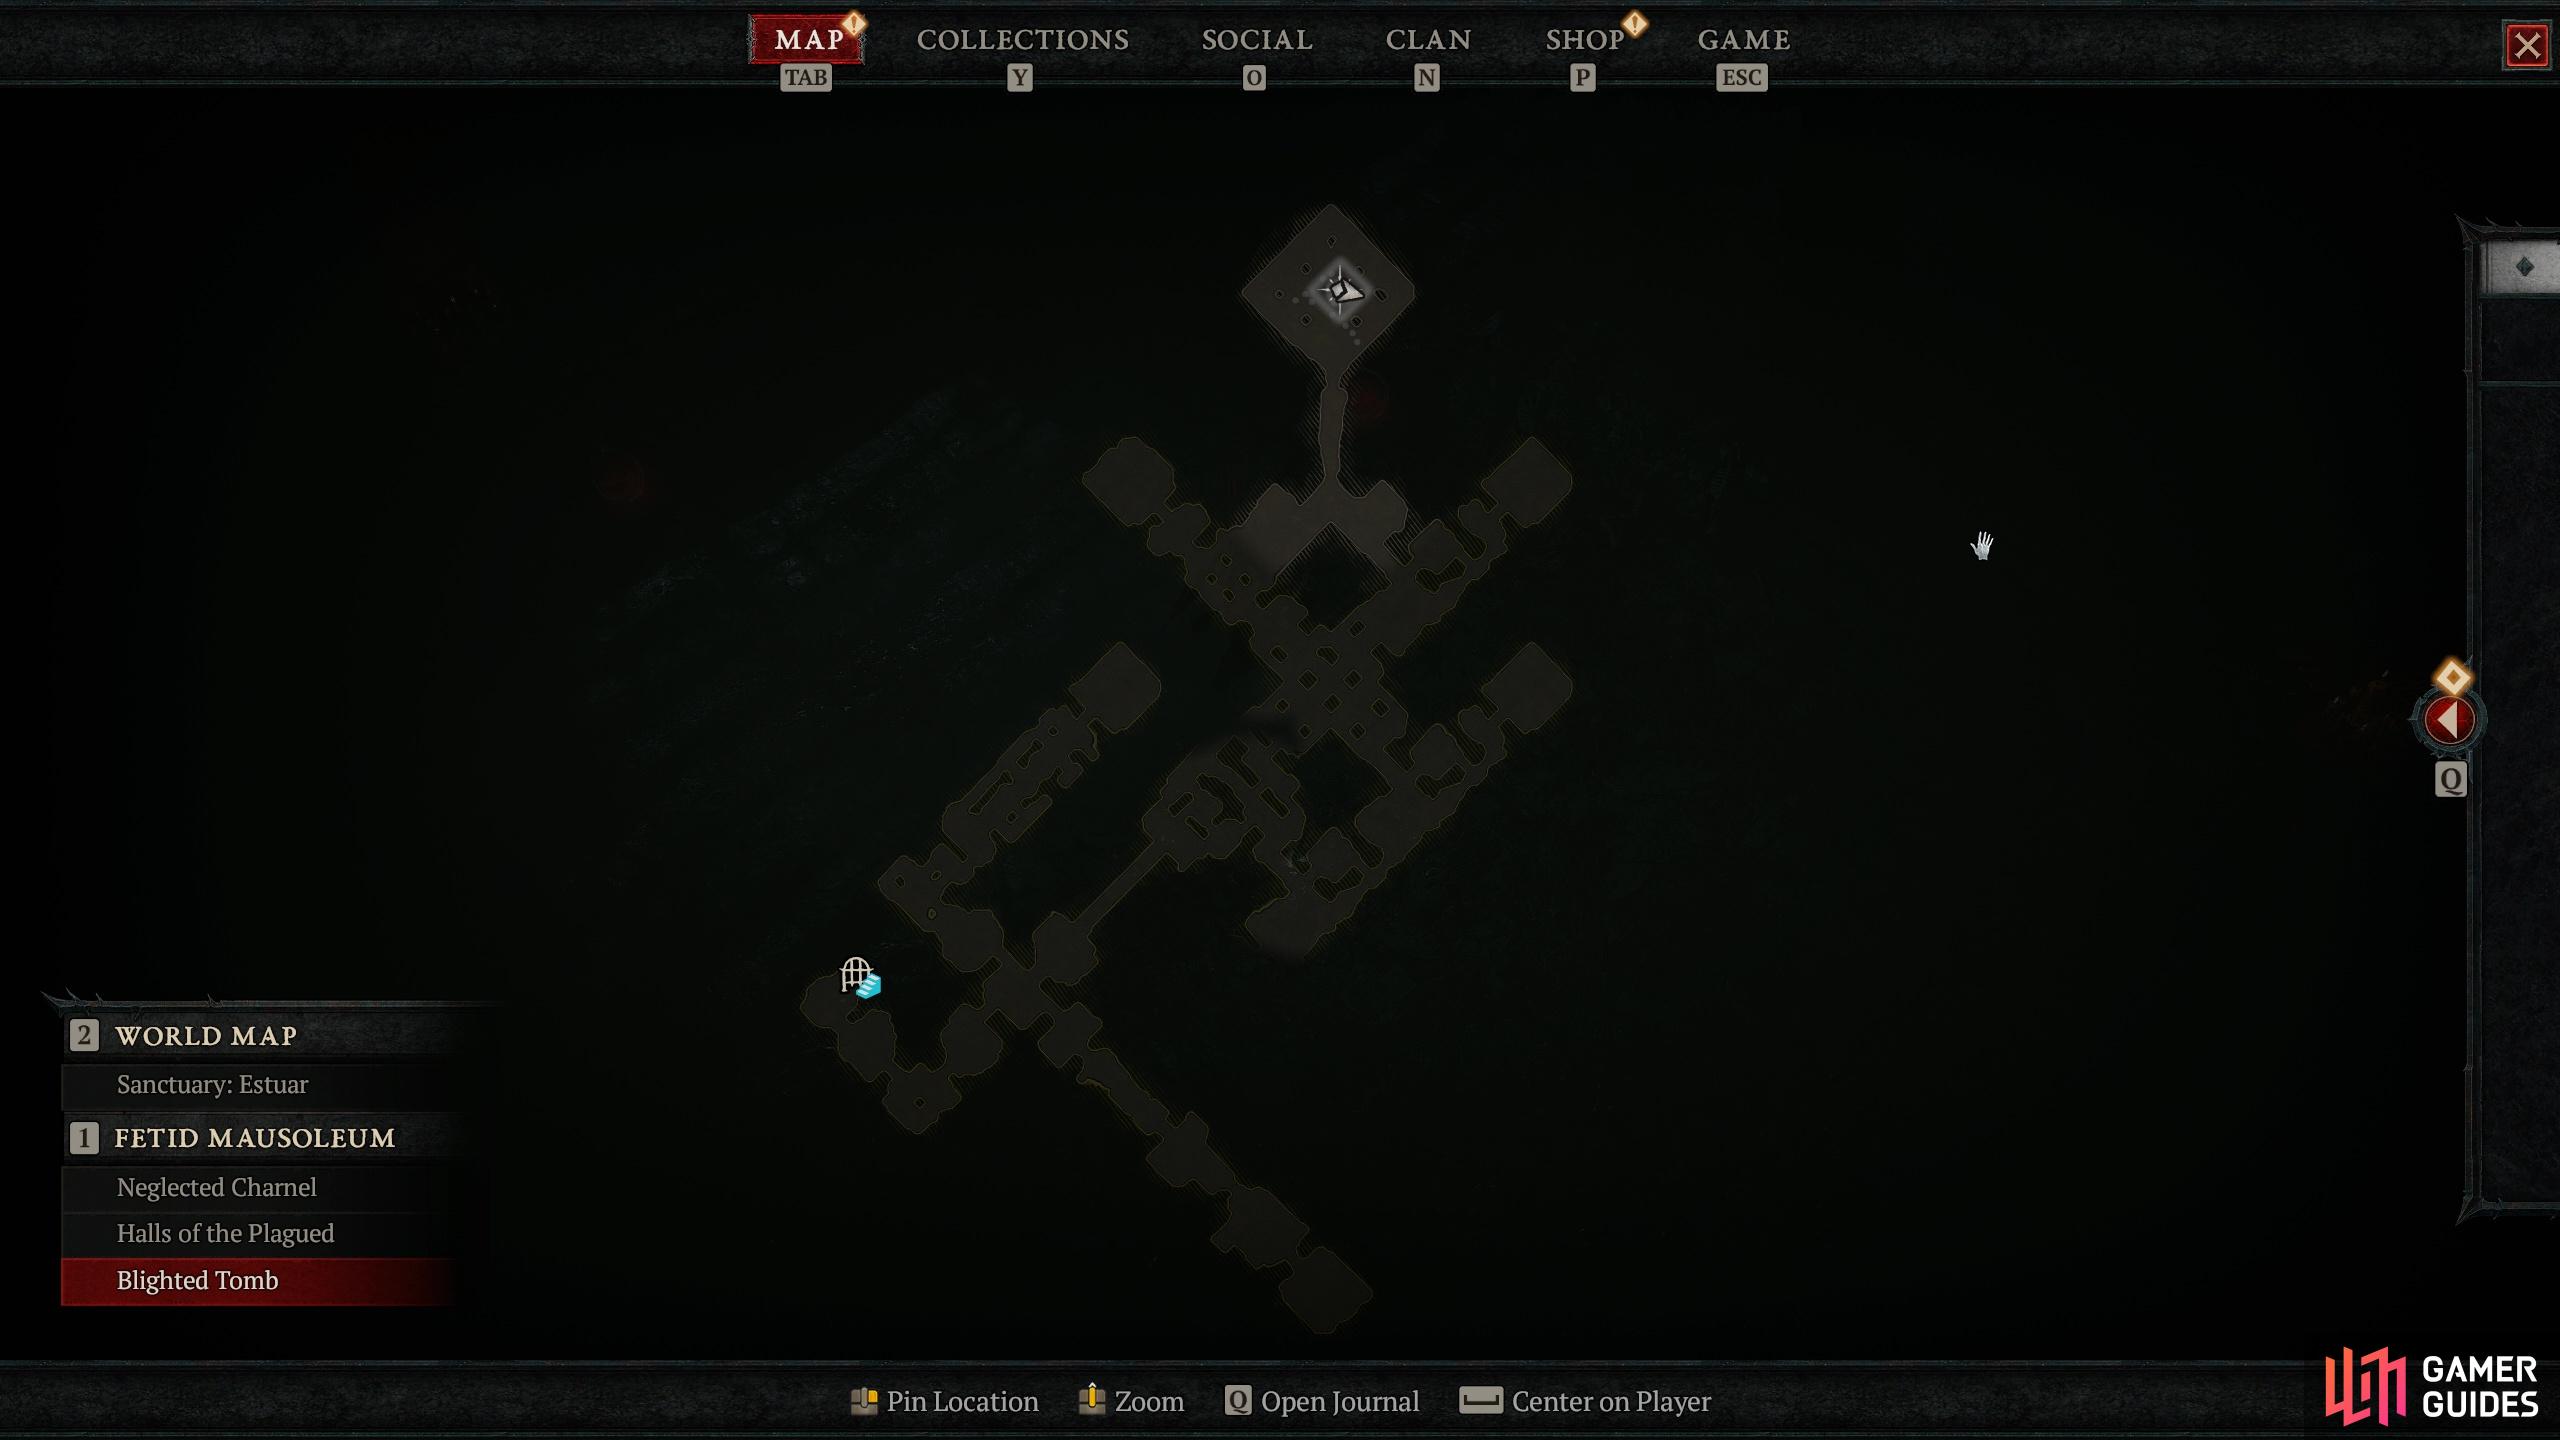
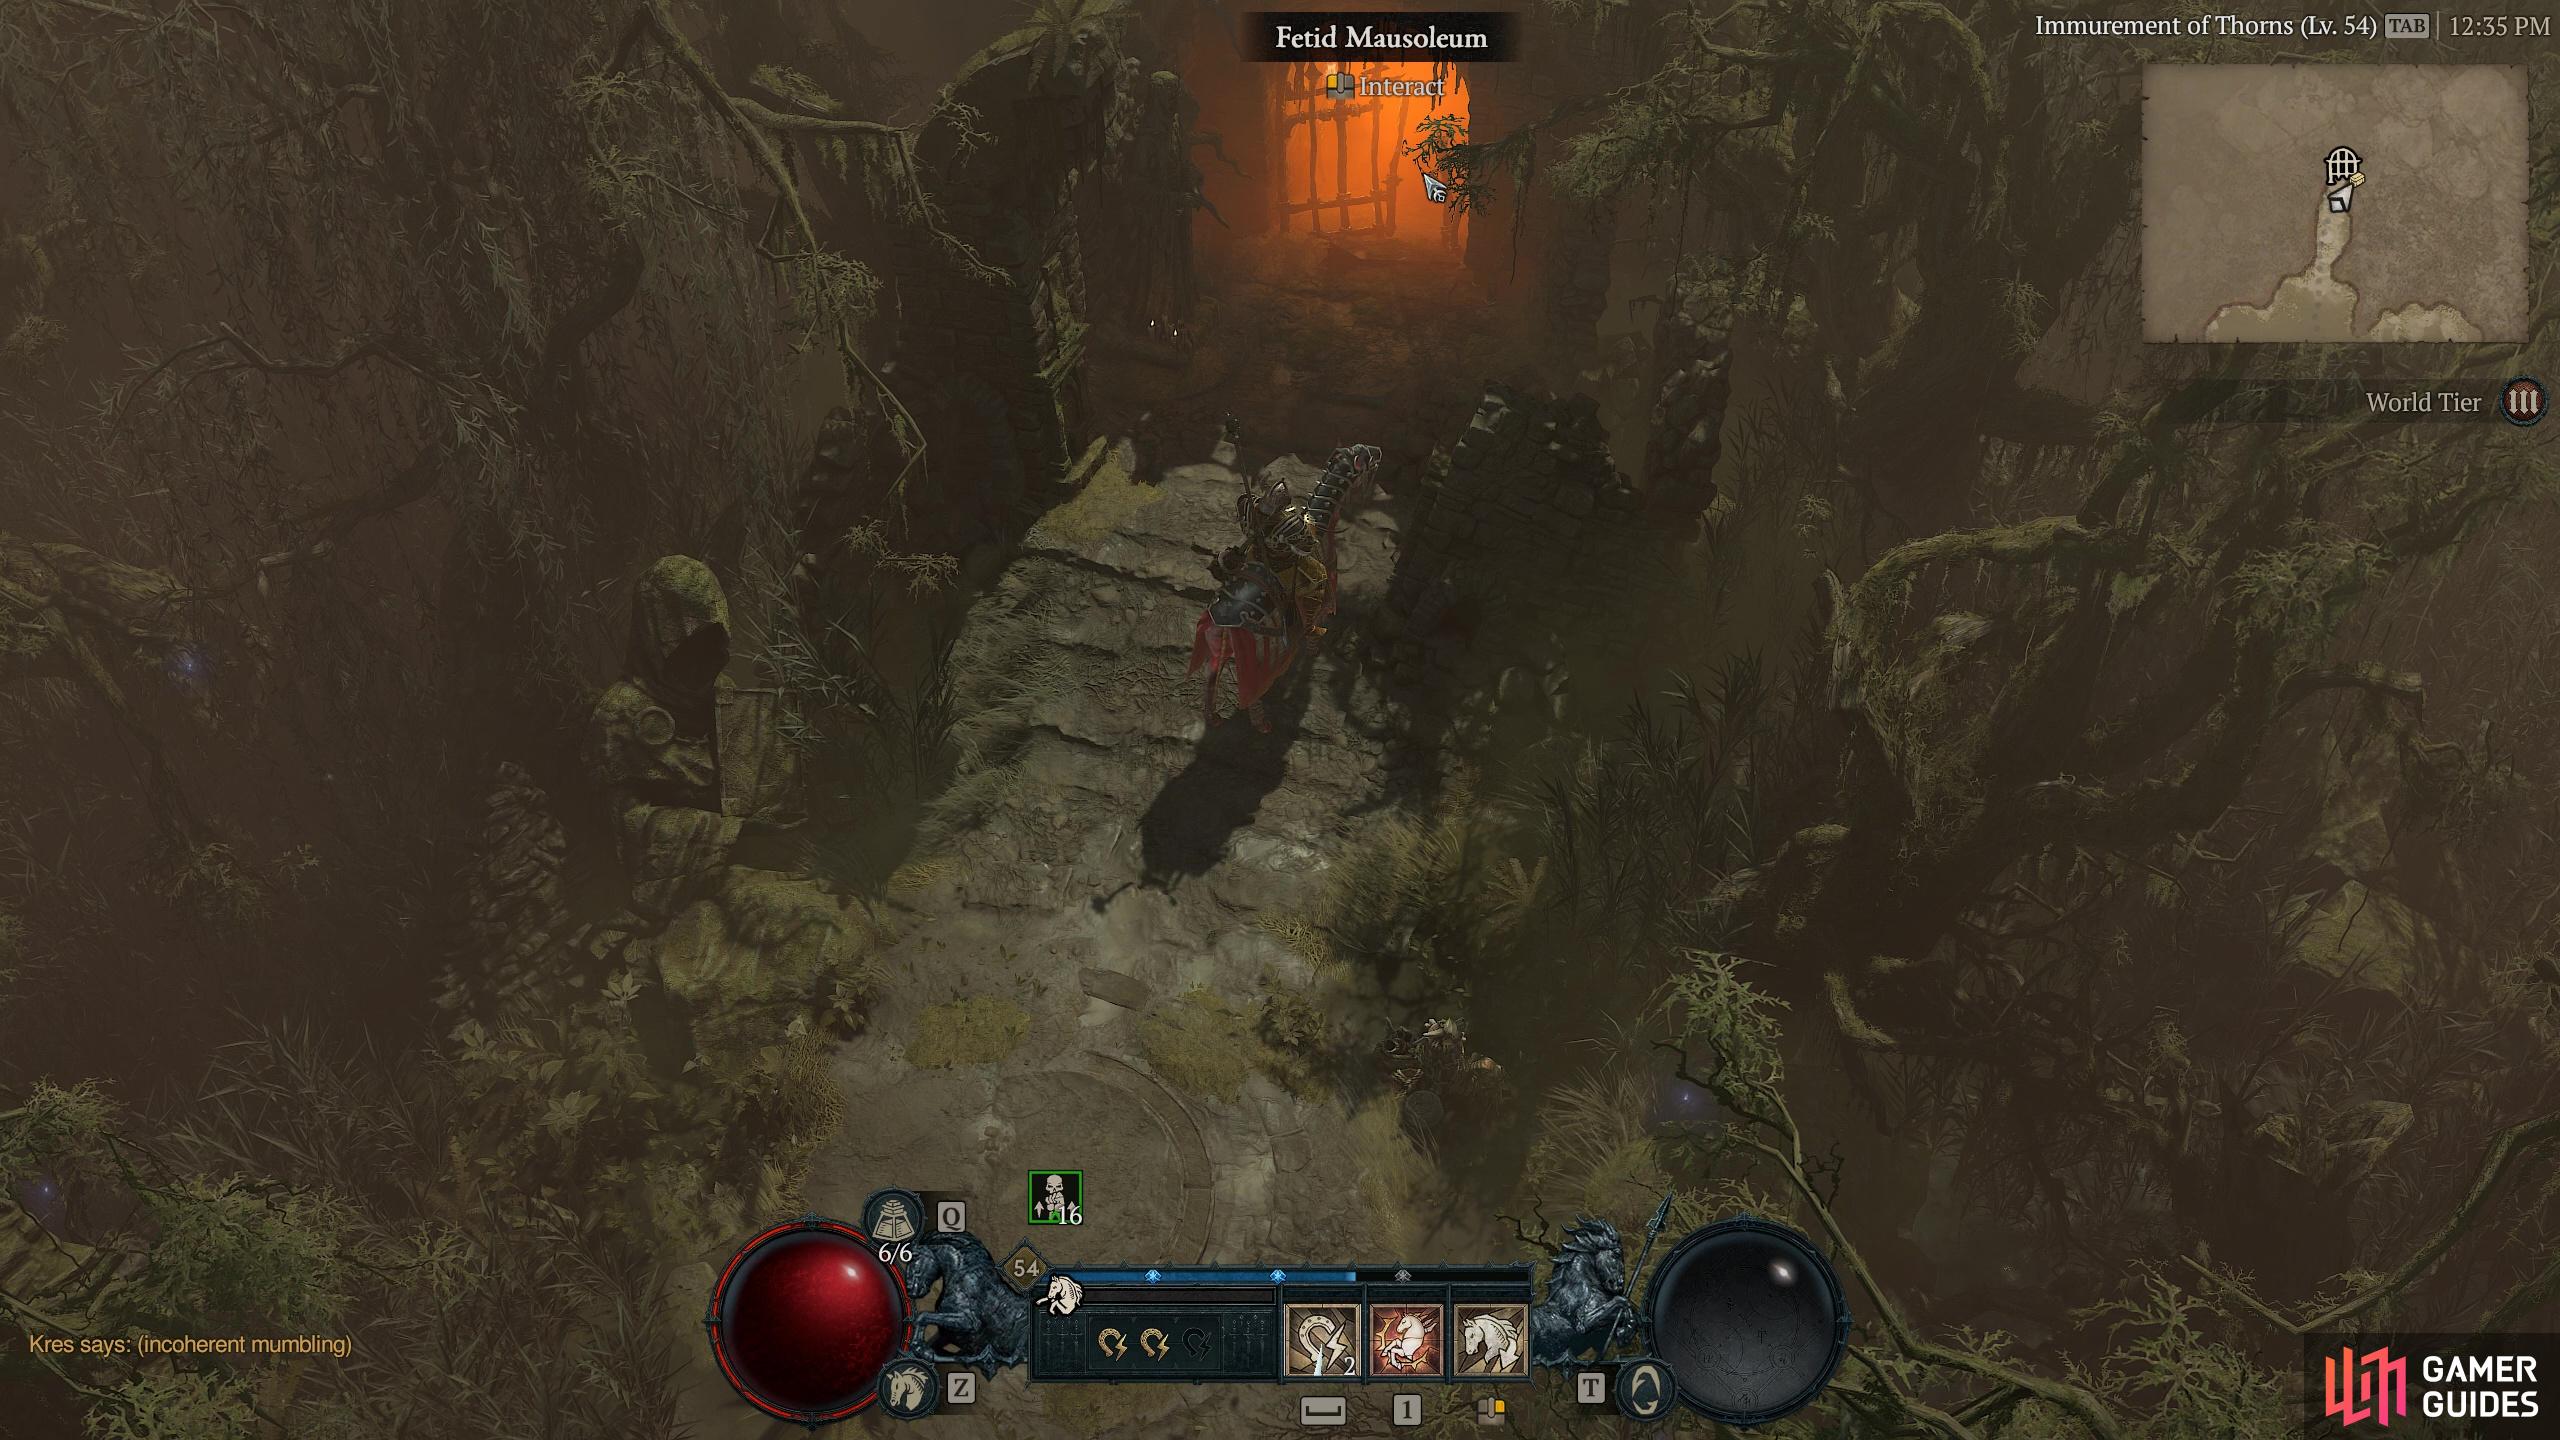
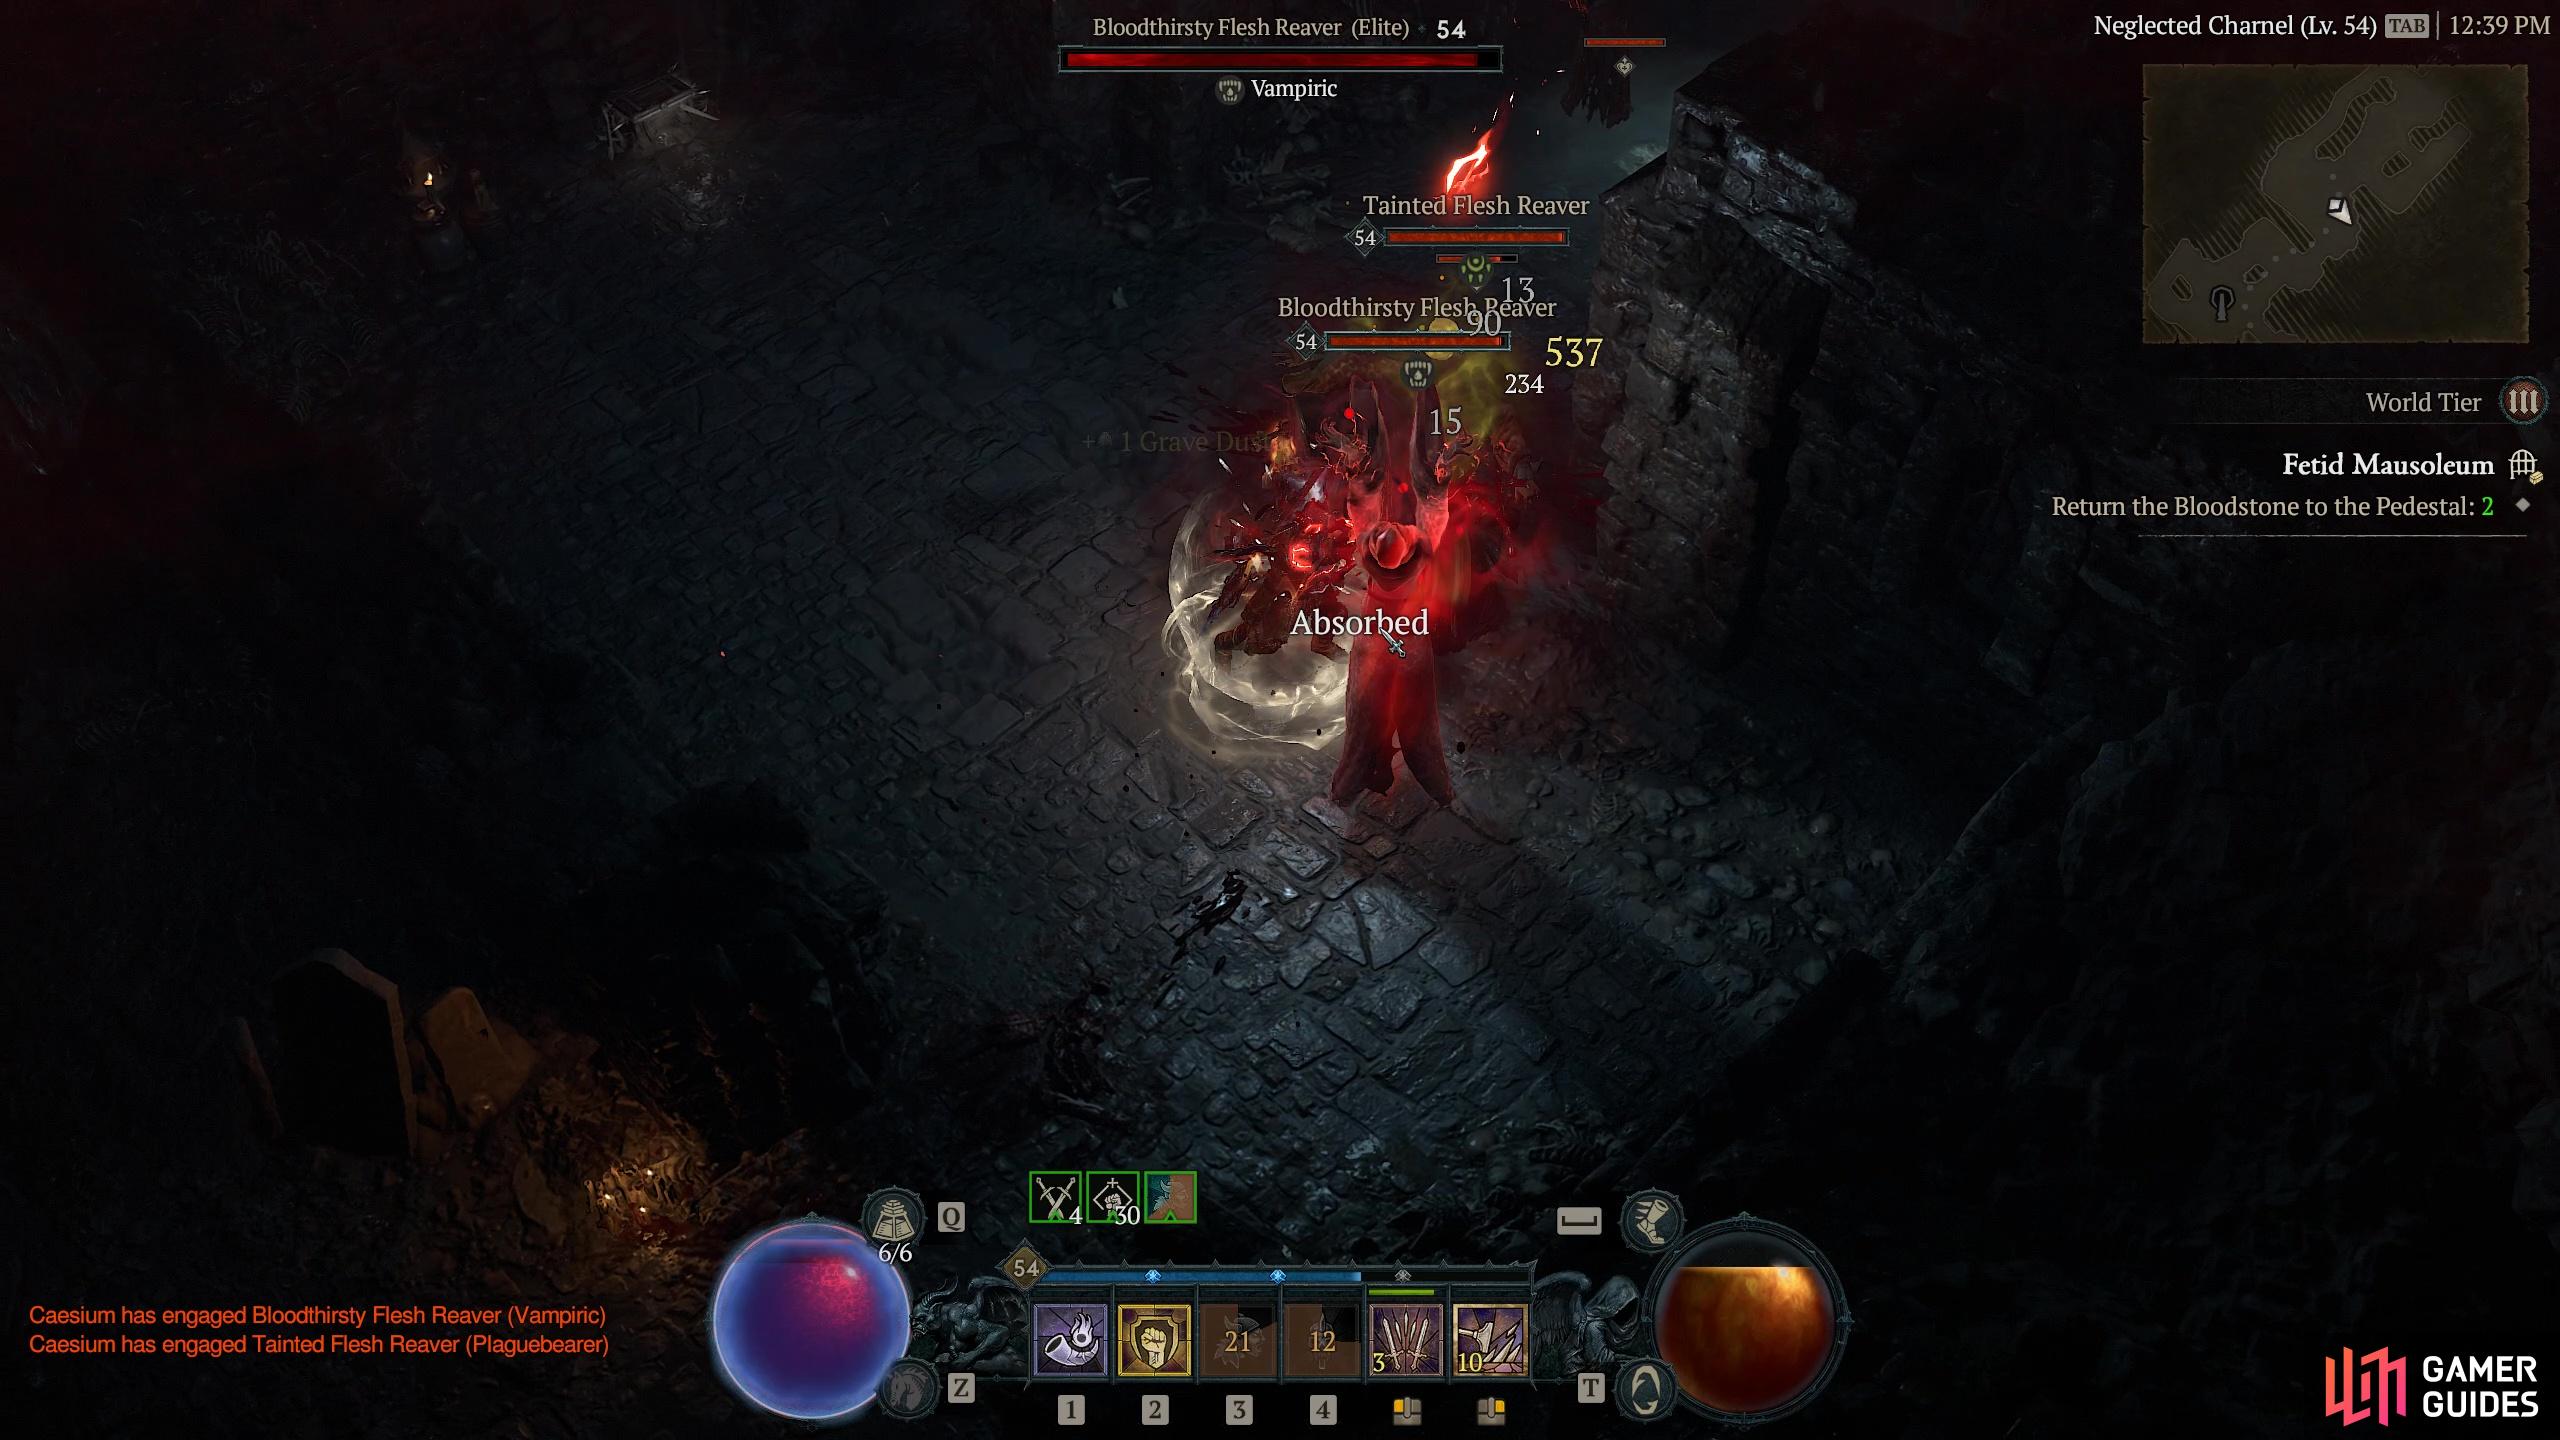
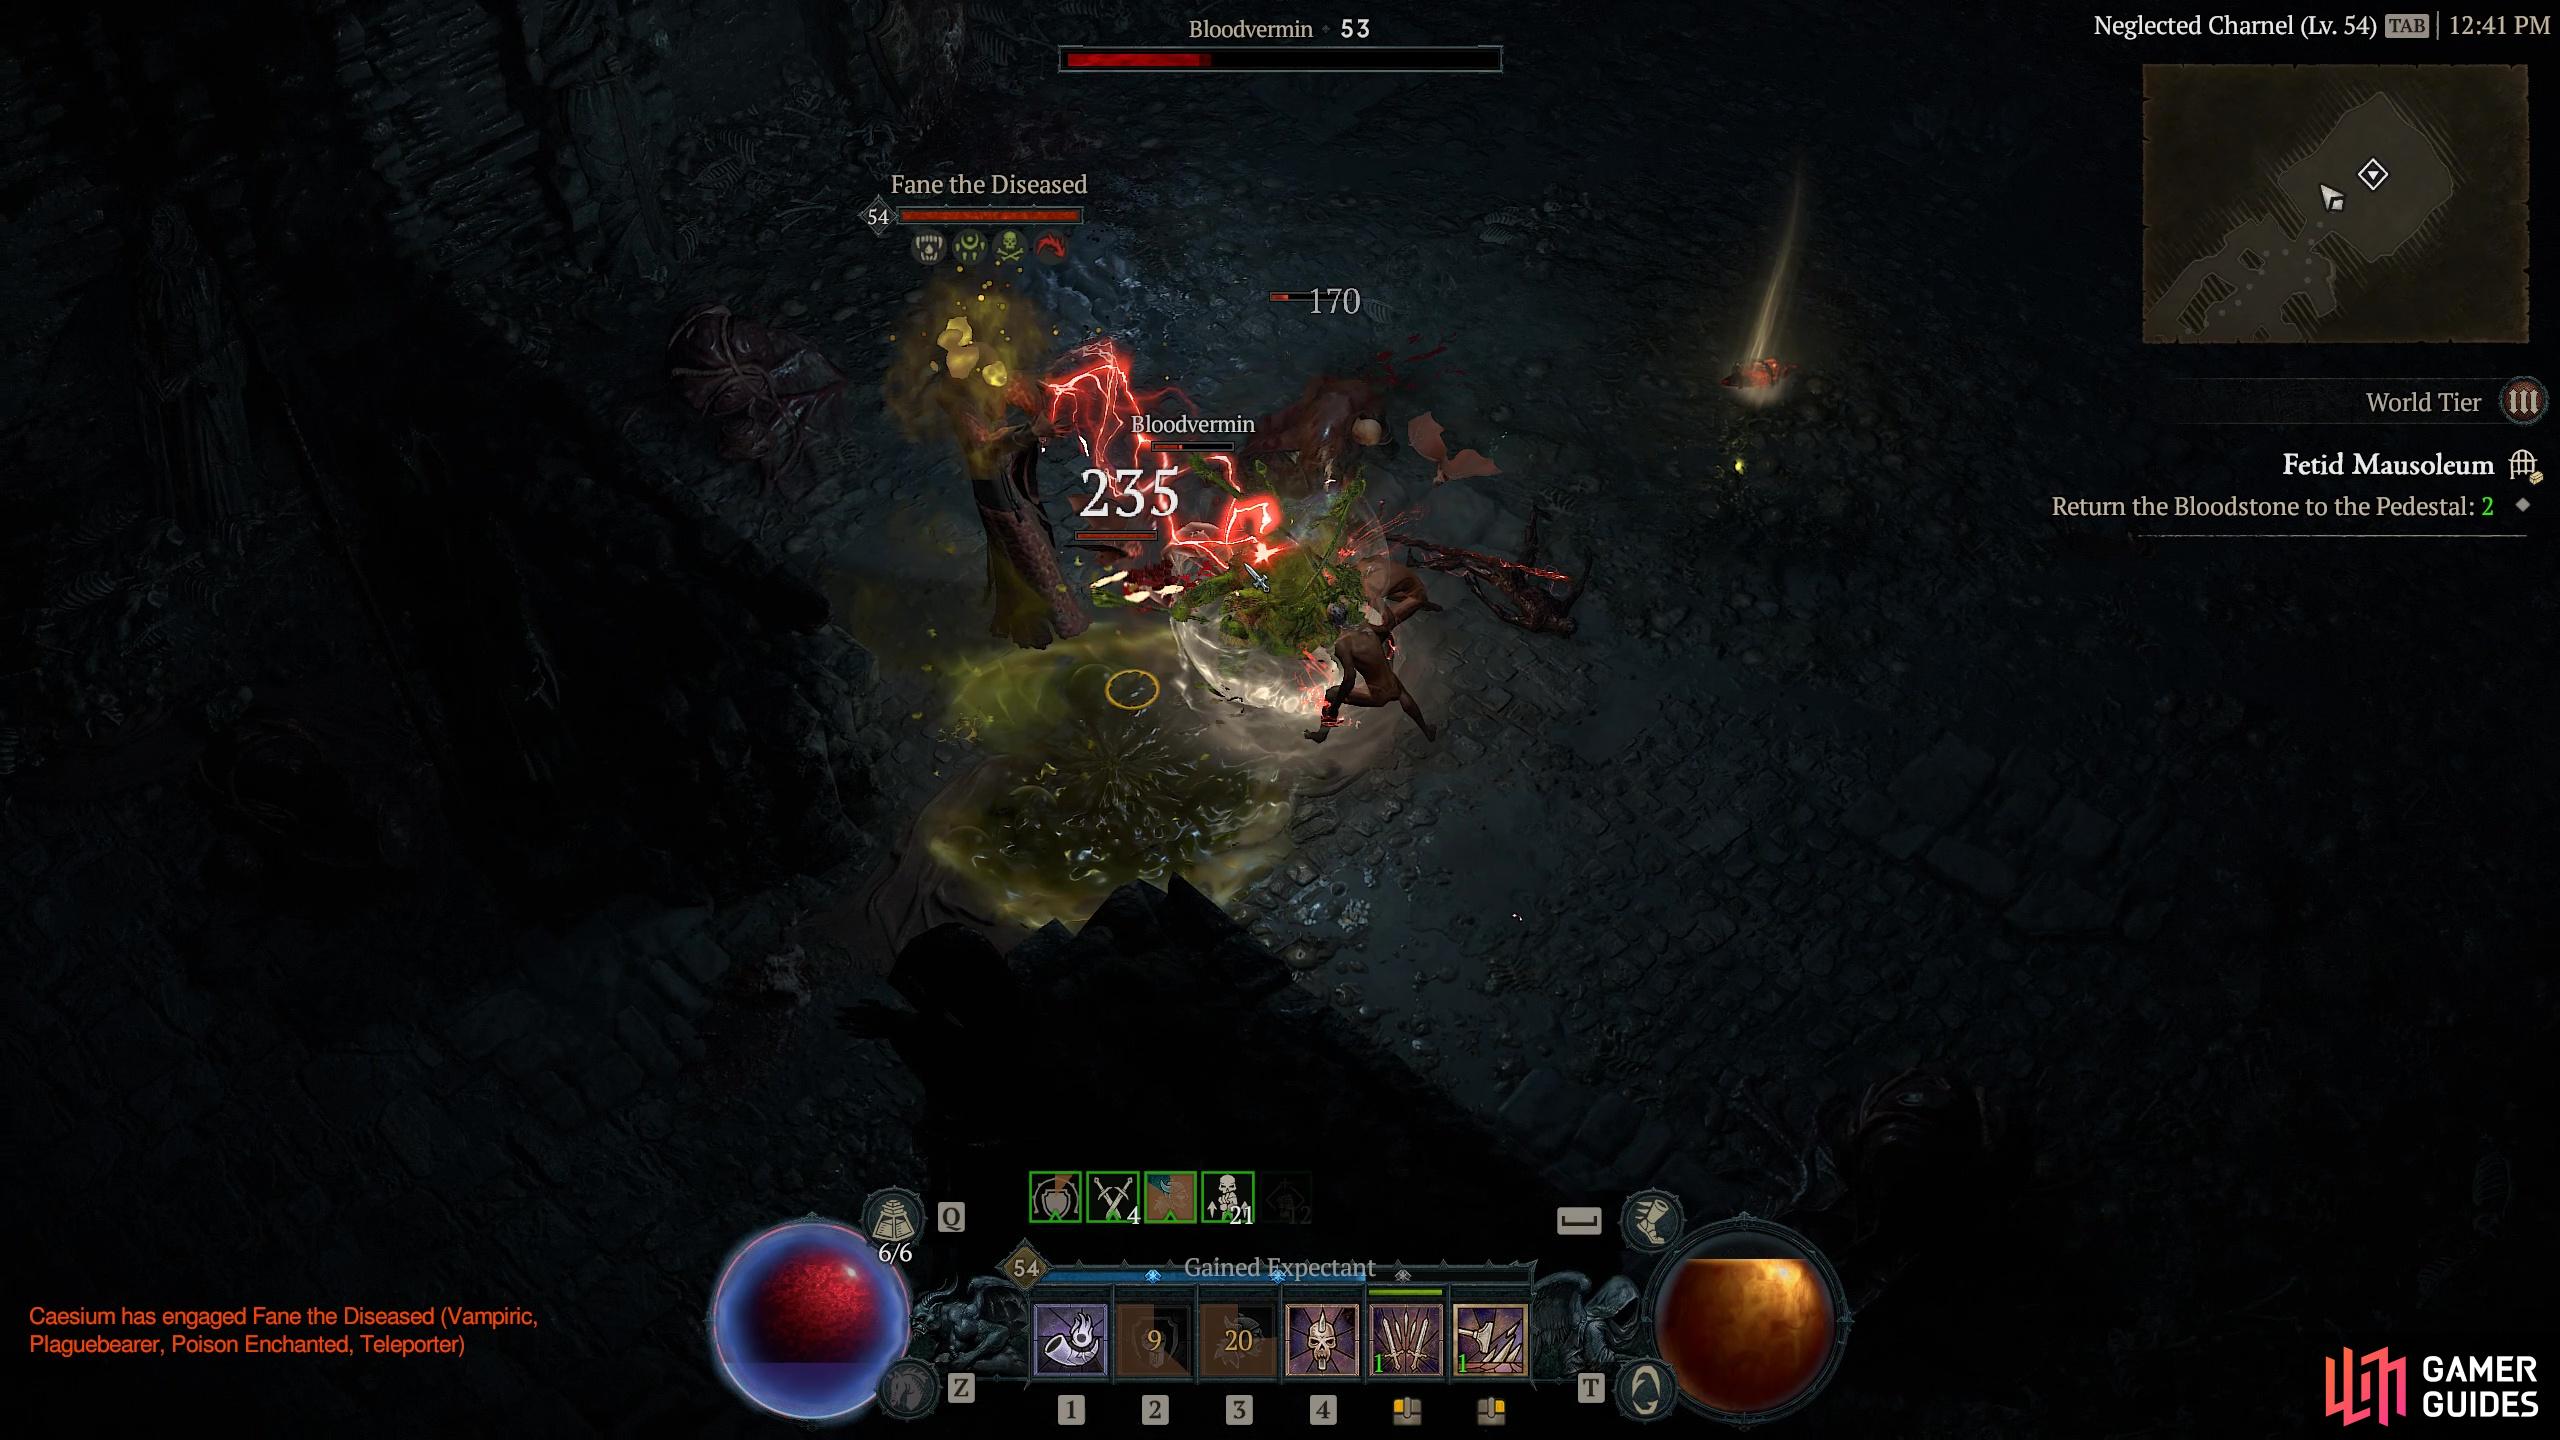
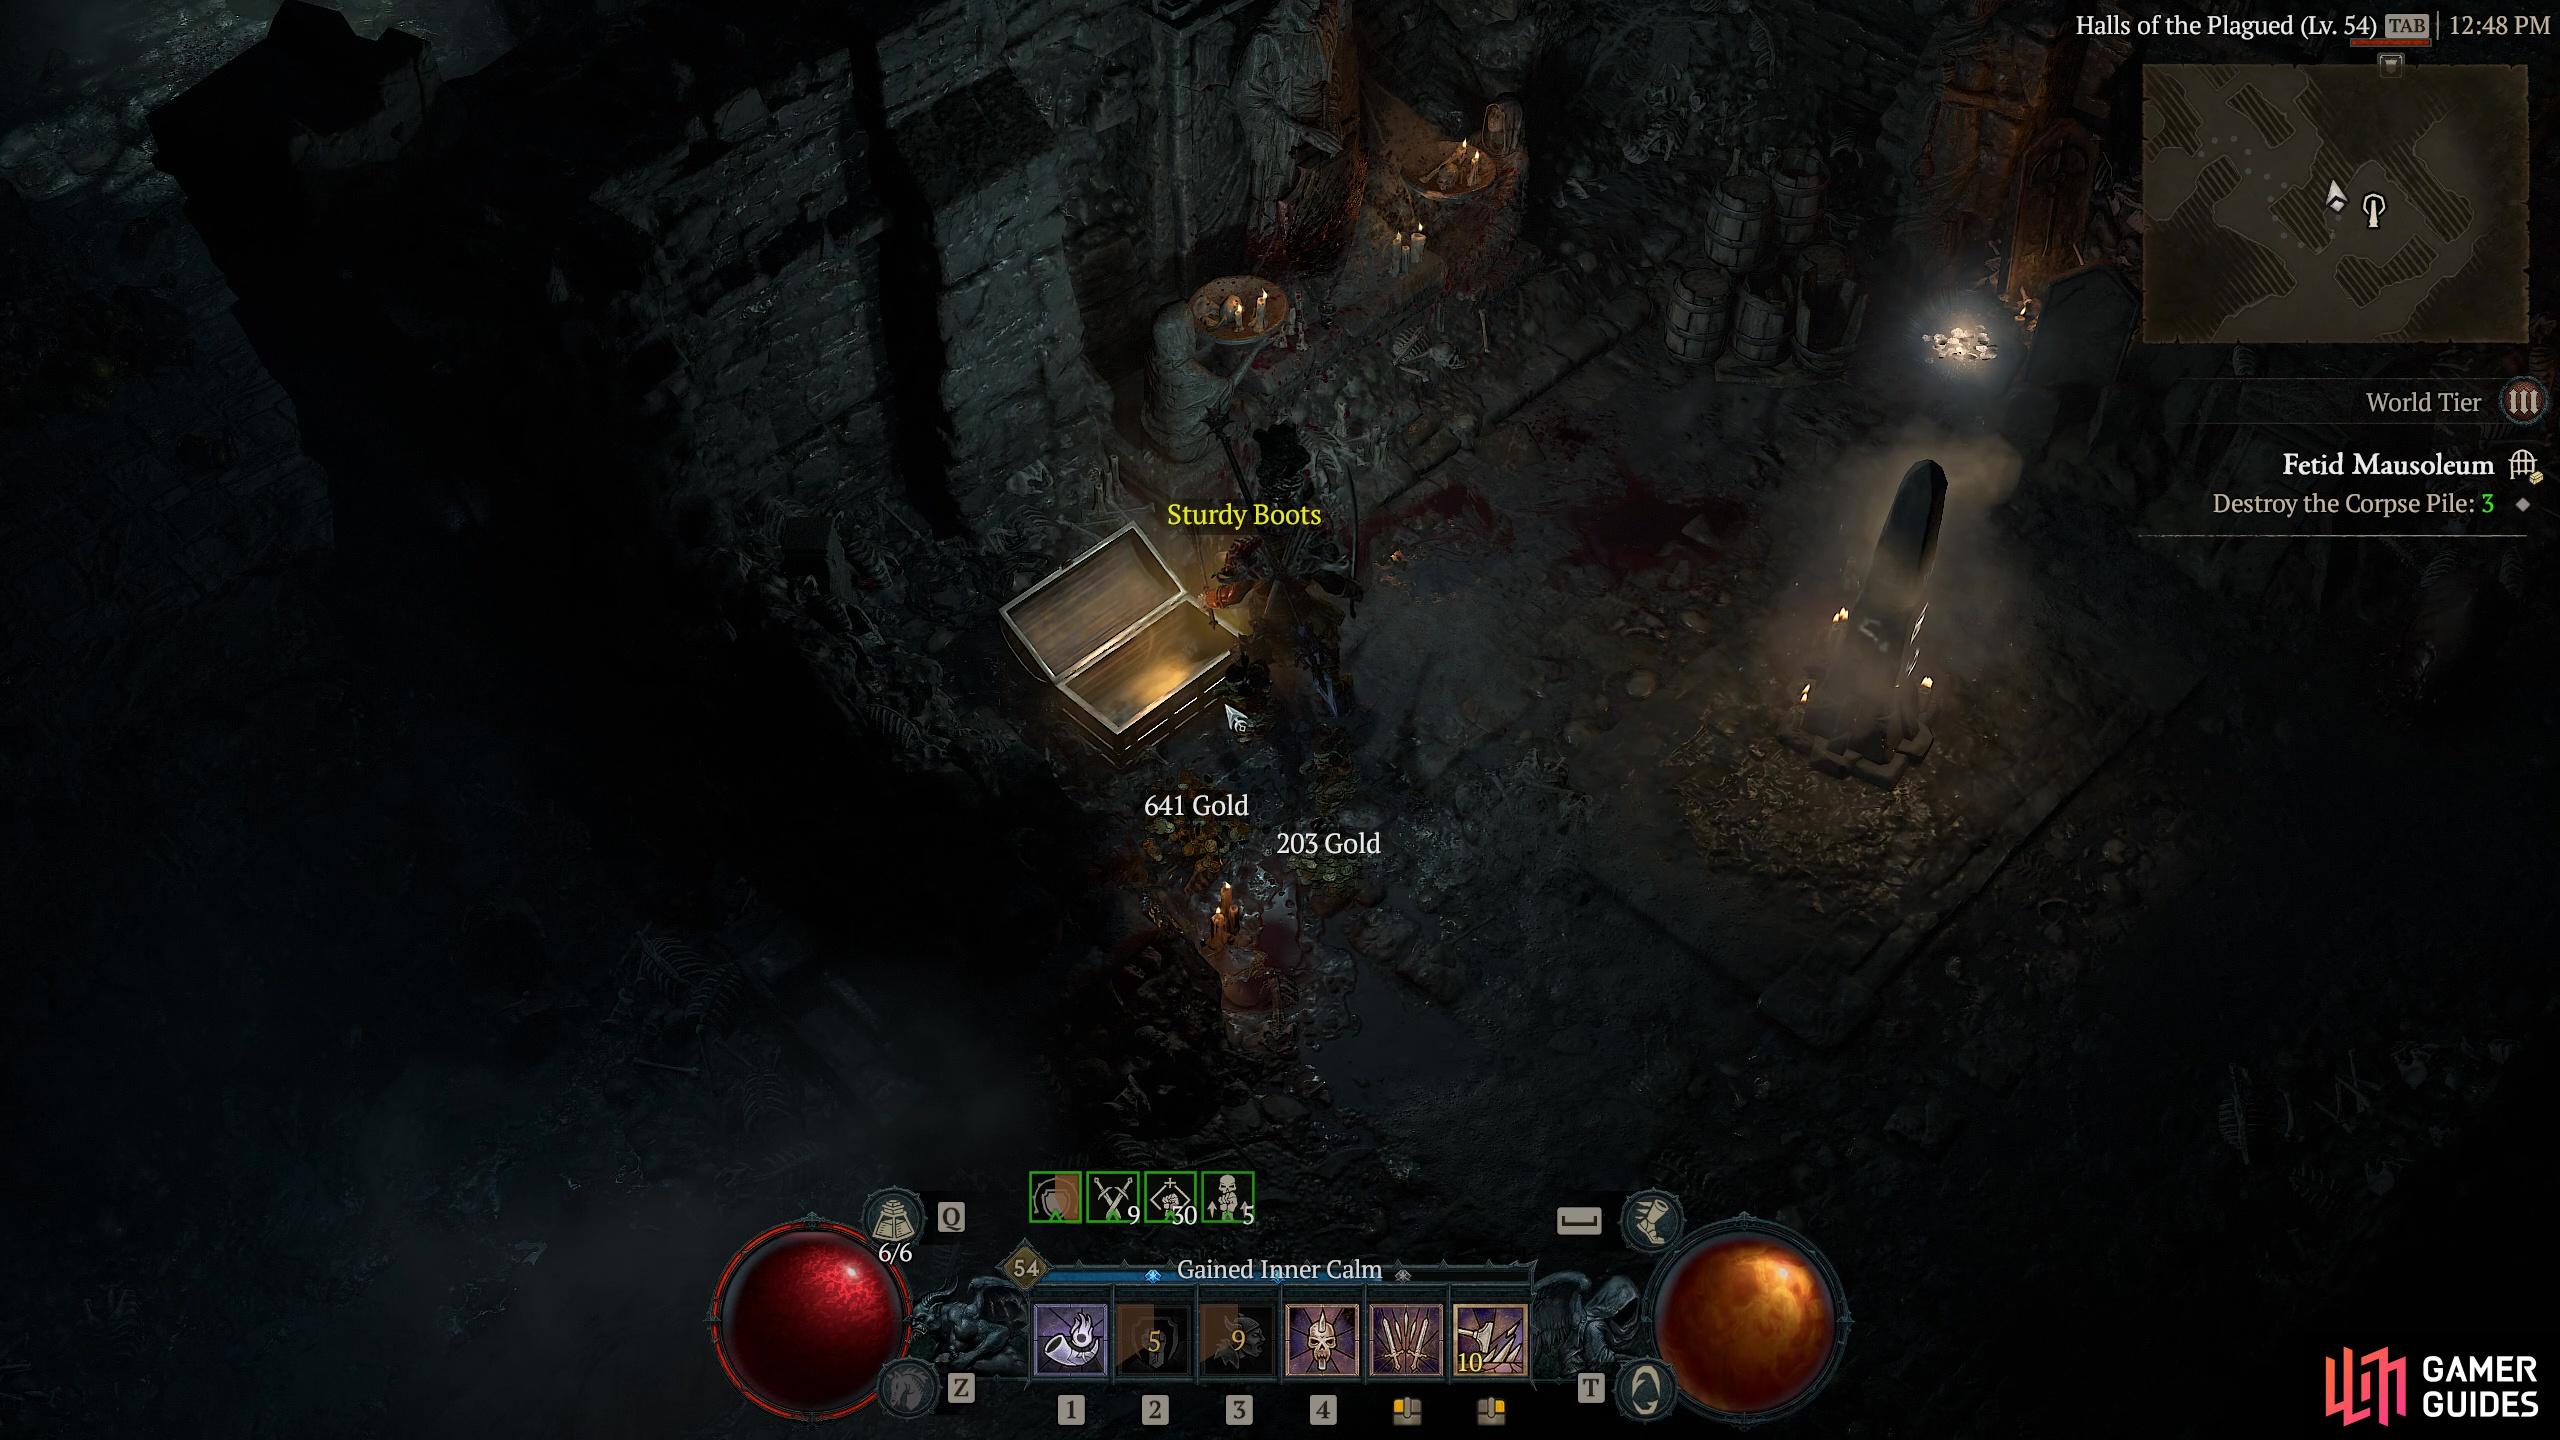
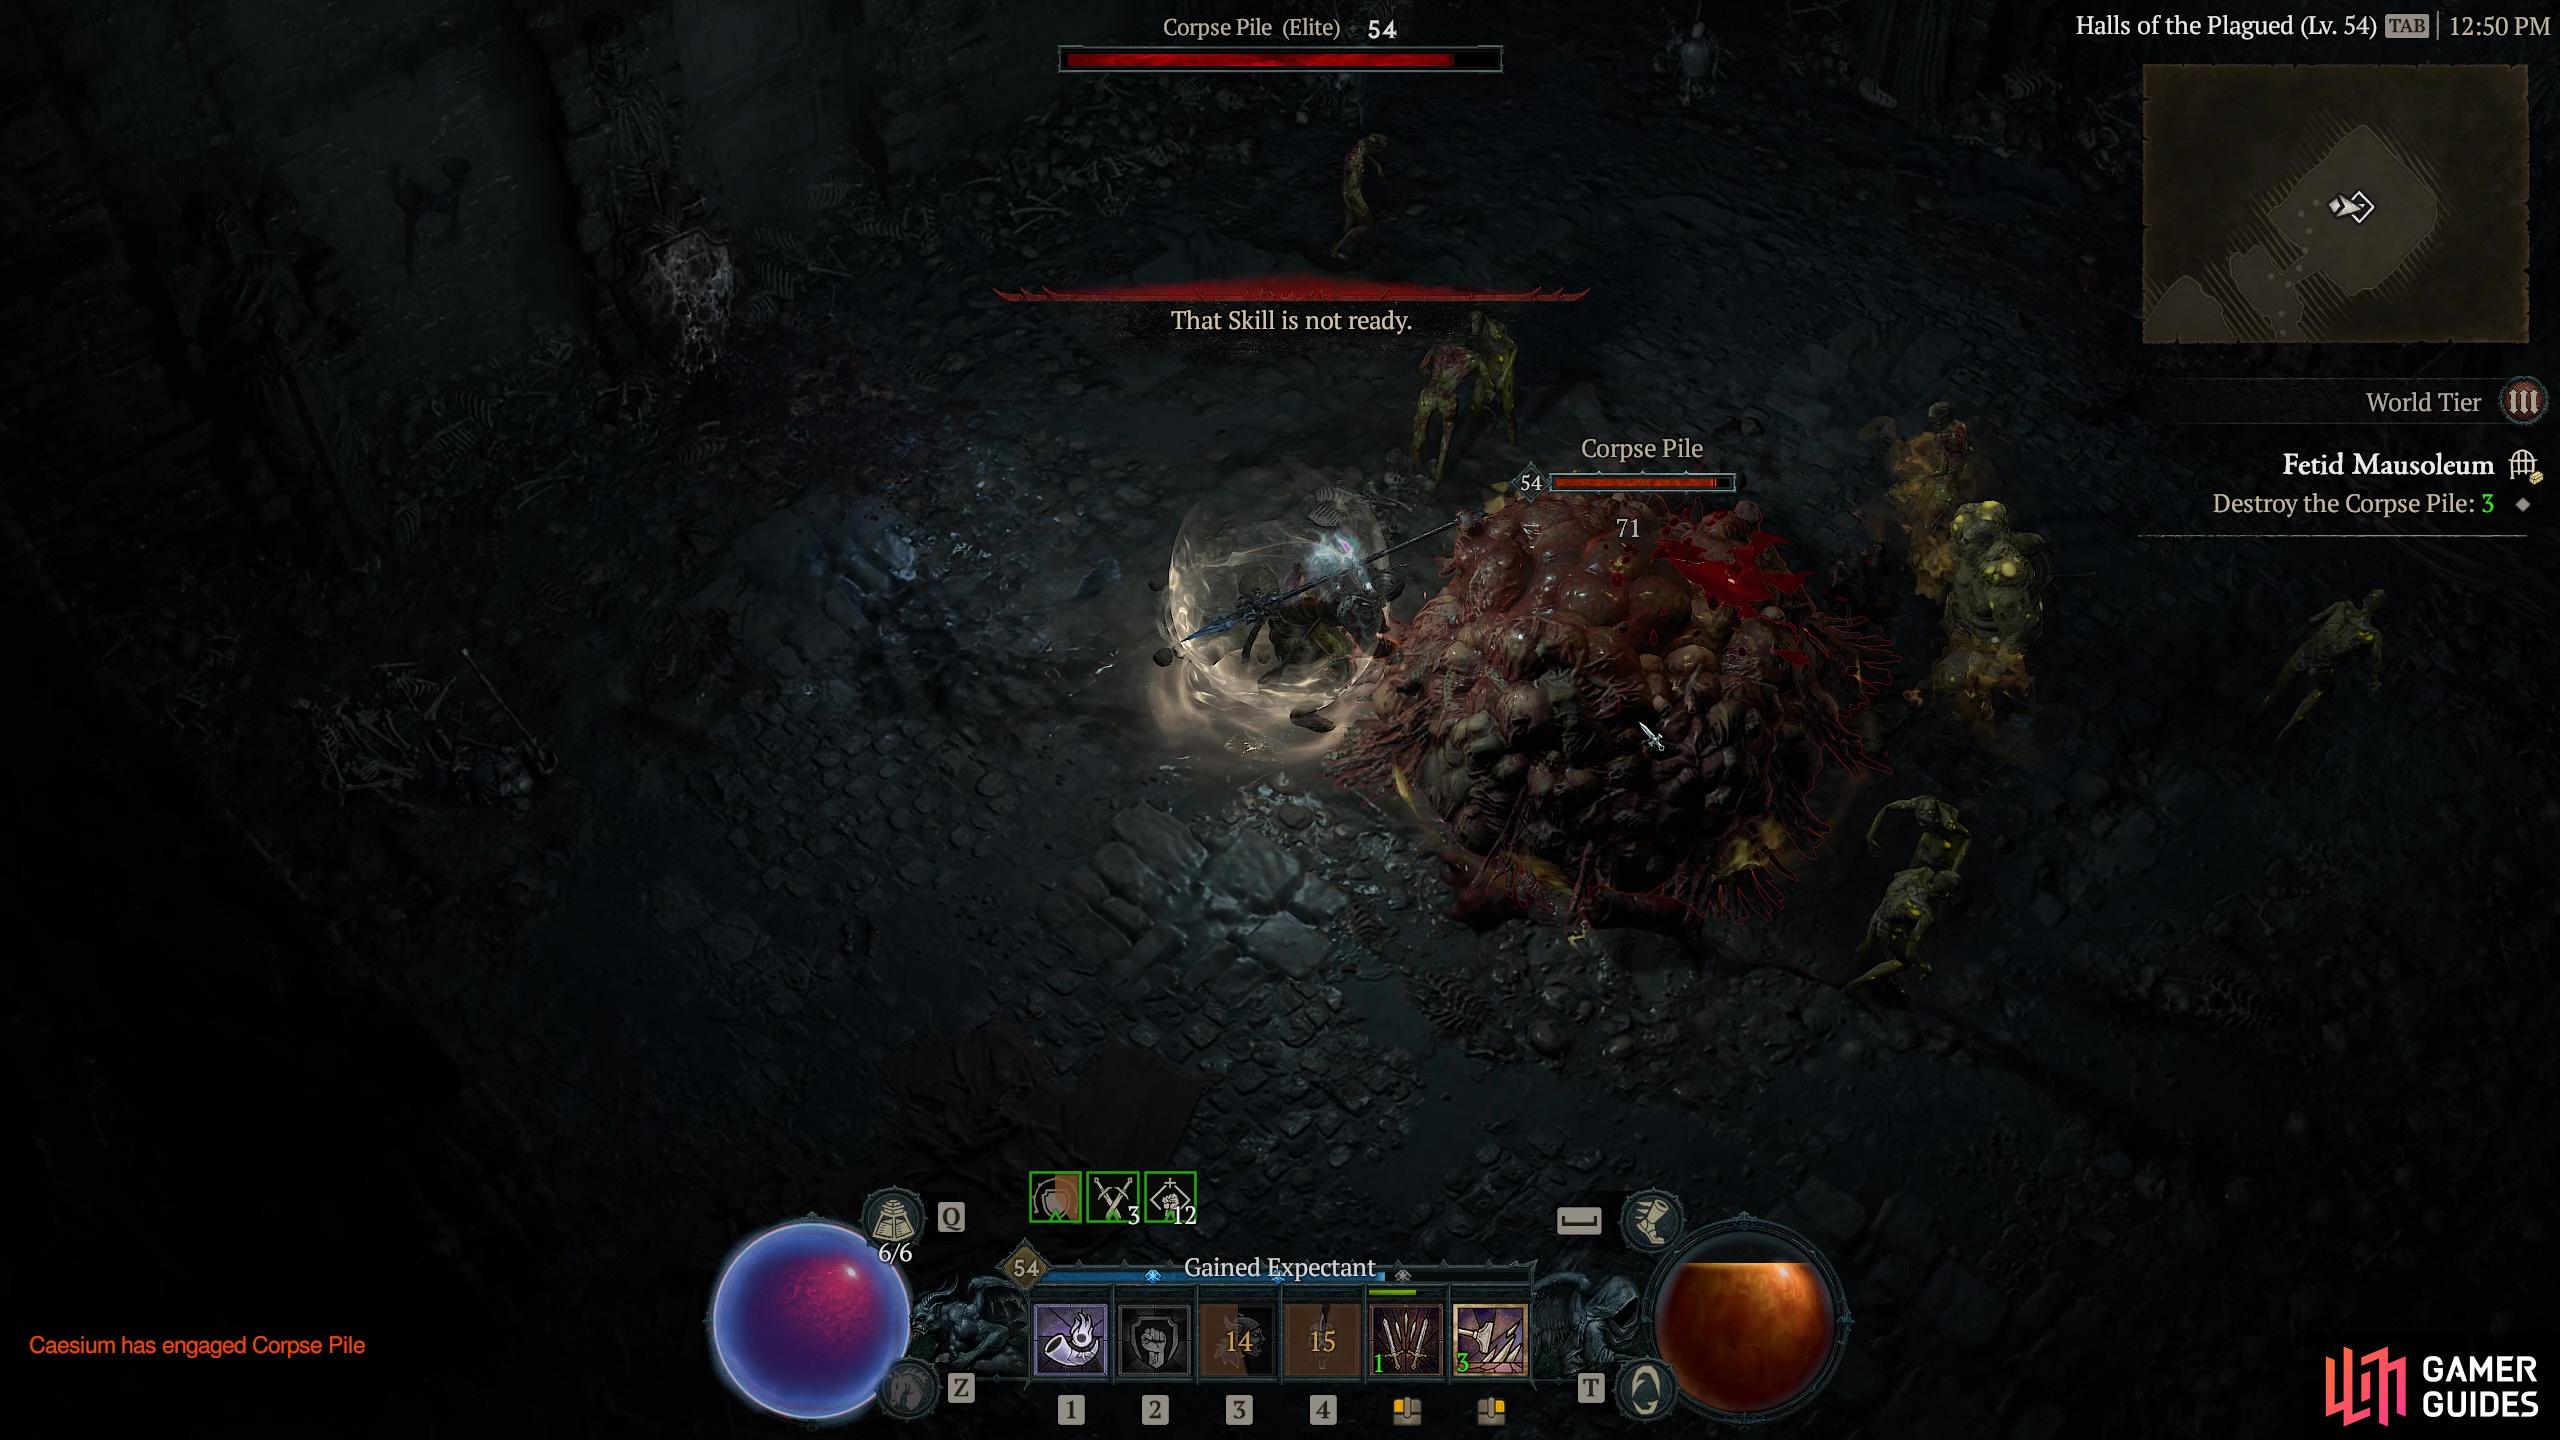
Fetid Mausoleum |
A forgotten tomb for the restless dead of Eridu.
Objectives
Description
A grim place full of the dead, the Fetid Mausoleum contains treats inside exactly as its name suggests. From the off you will be attacked by countless Bloodvermin all keen for a drop of your sweet, red wine for themselves. Each pedestal is fairly will guarded and will spawn and elite Stormblade such as Viktor the Diseased who will still probably need defeating some time after everybody else in the room as they tend to have Affixes such as Vampiric that can drag out a fight. One you have returned both Bloodstones a path will open up and you can move on to the Halls of the Plagued where you must now locate and destroy three Corpse Piles. The Piles can also launch attacks on you from range which means you can easily get distracted by the enemies while the damage is piling on from those. We suggest concentrating on ridding yourself of the piles before clearing the rest of the room. During the battle each Corpse Pile will spawn an elite
Enemies
Bloodvermin
Vampires
Flesh Reaver
Vampires
Stormblade
Vampires
1× Viktor the Diseased
Bosses
Putrid Remains
Zombies
1×
Detailed Location
Close by
Region
General Reward
Gold, XP +30 Hawezar Renown
Item Reward
1×
|
|
|||||||||||||||||||||||||||||||||||||||||||||||||||||||||||||||||||||||||||||||||||||||||||||||

|
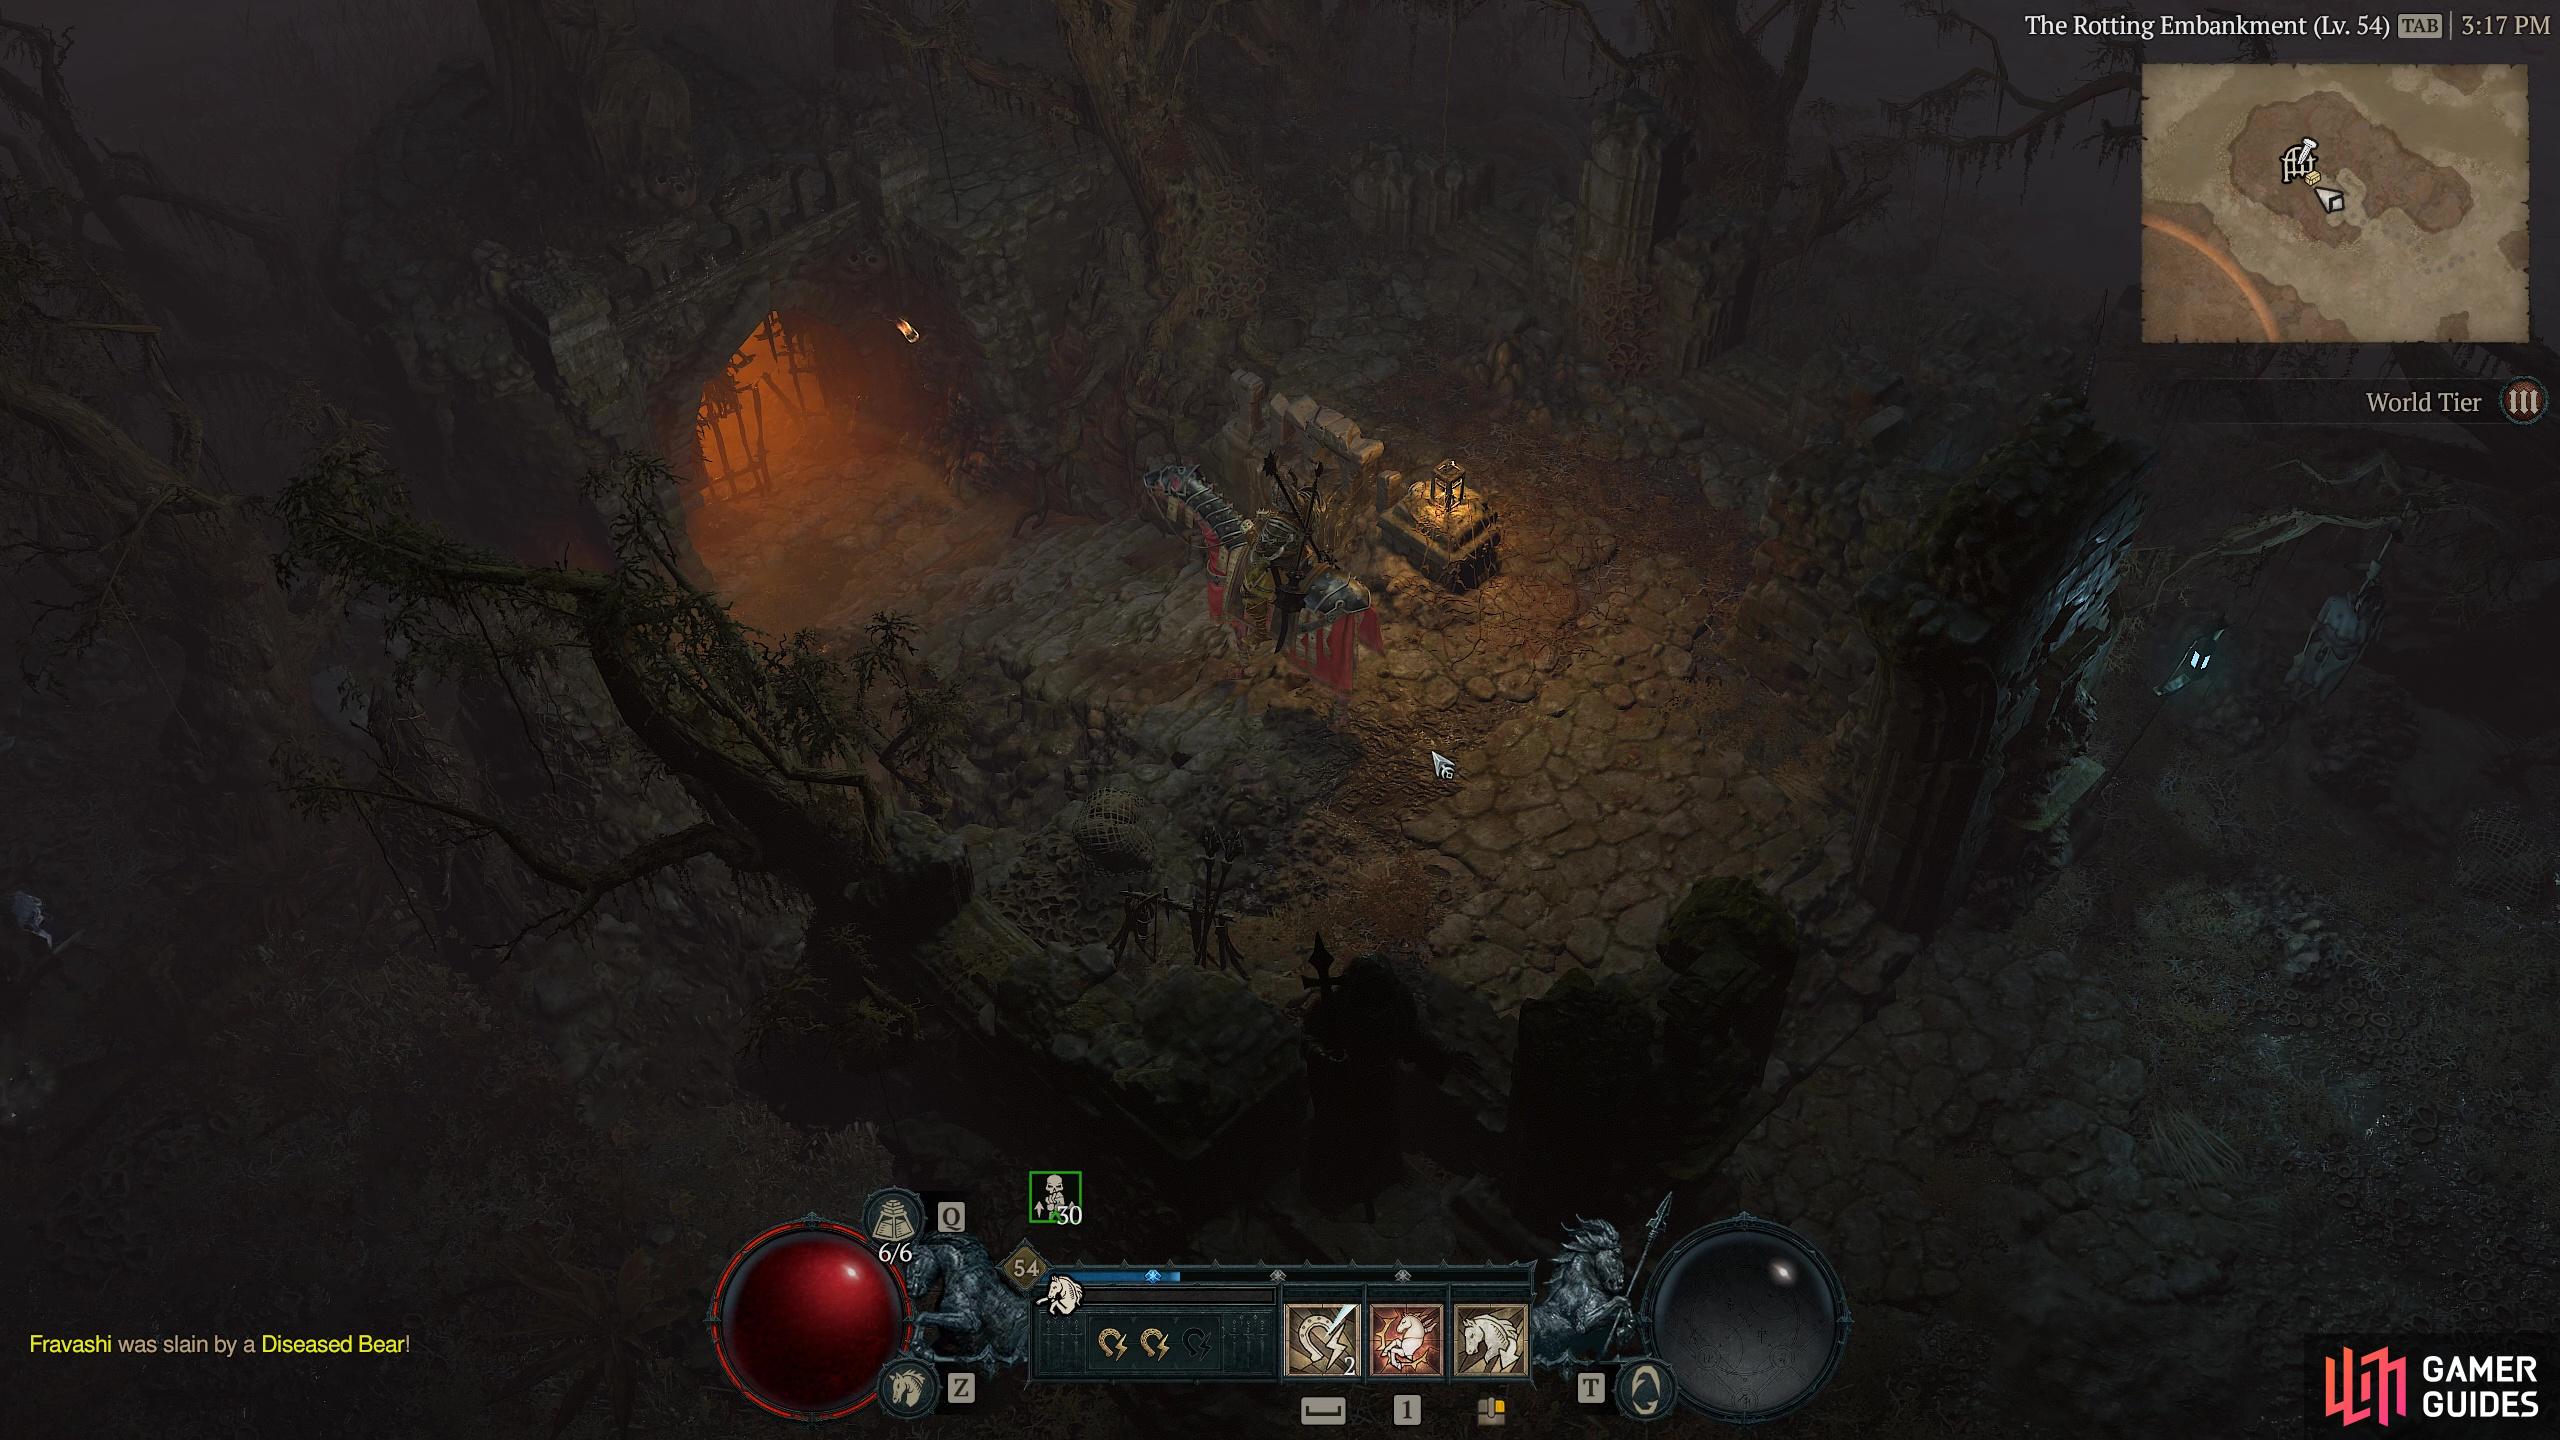
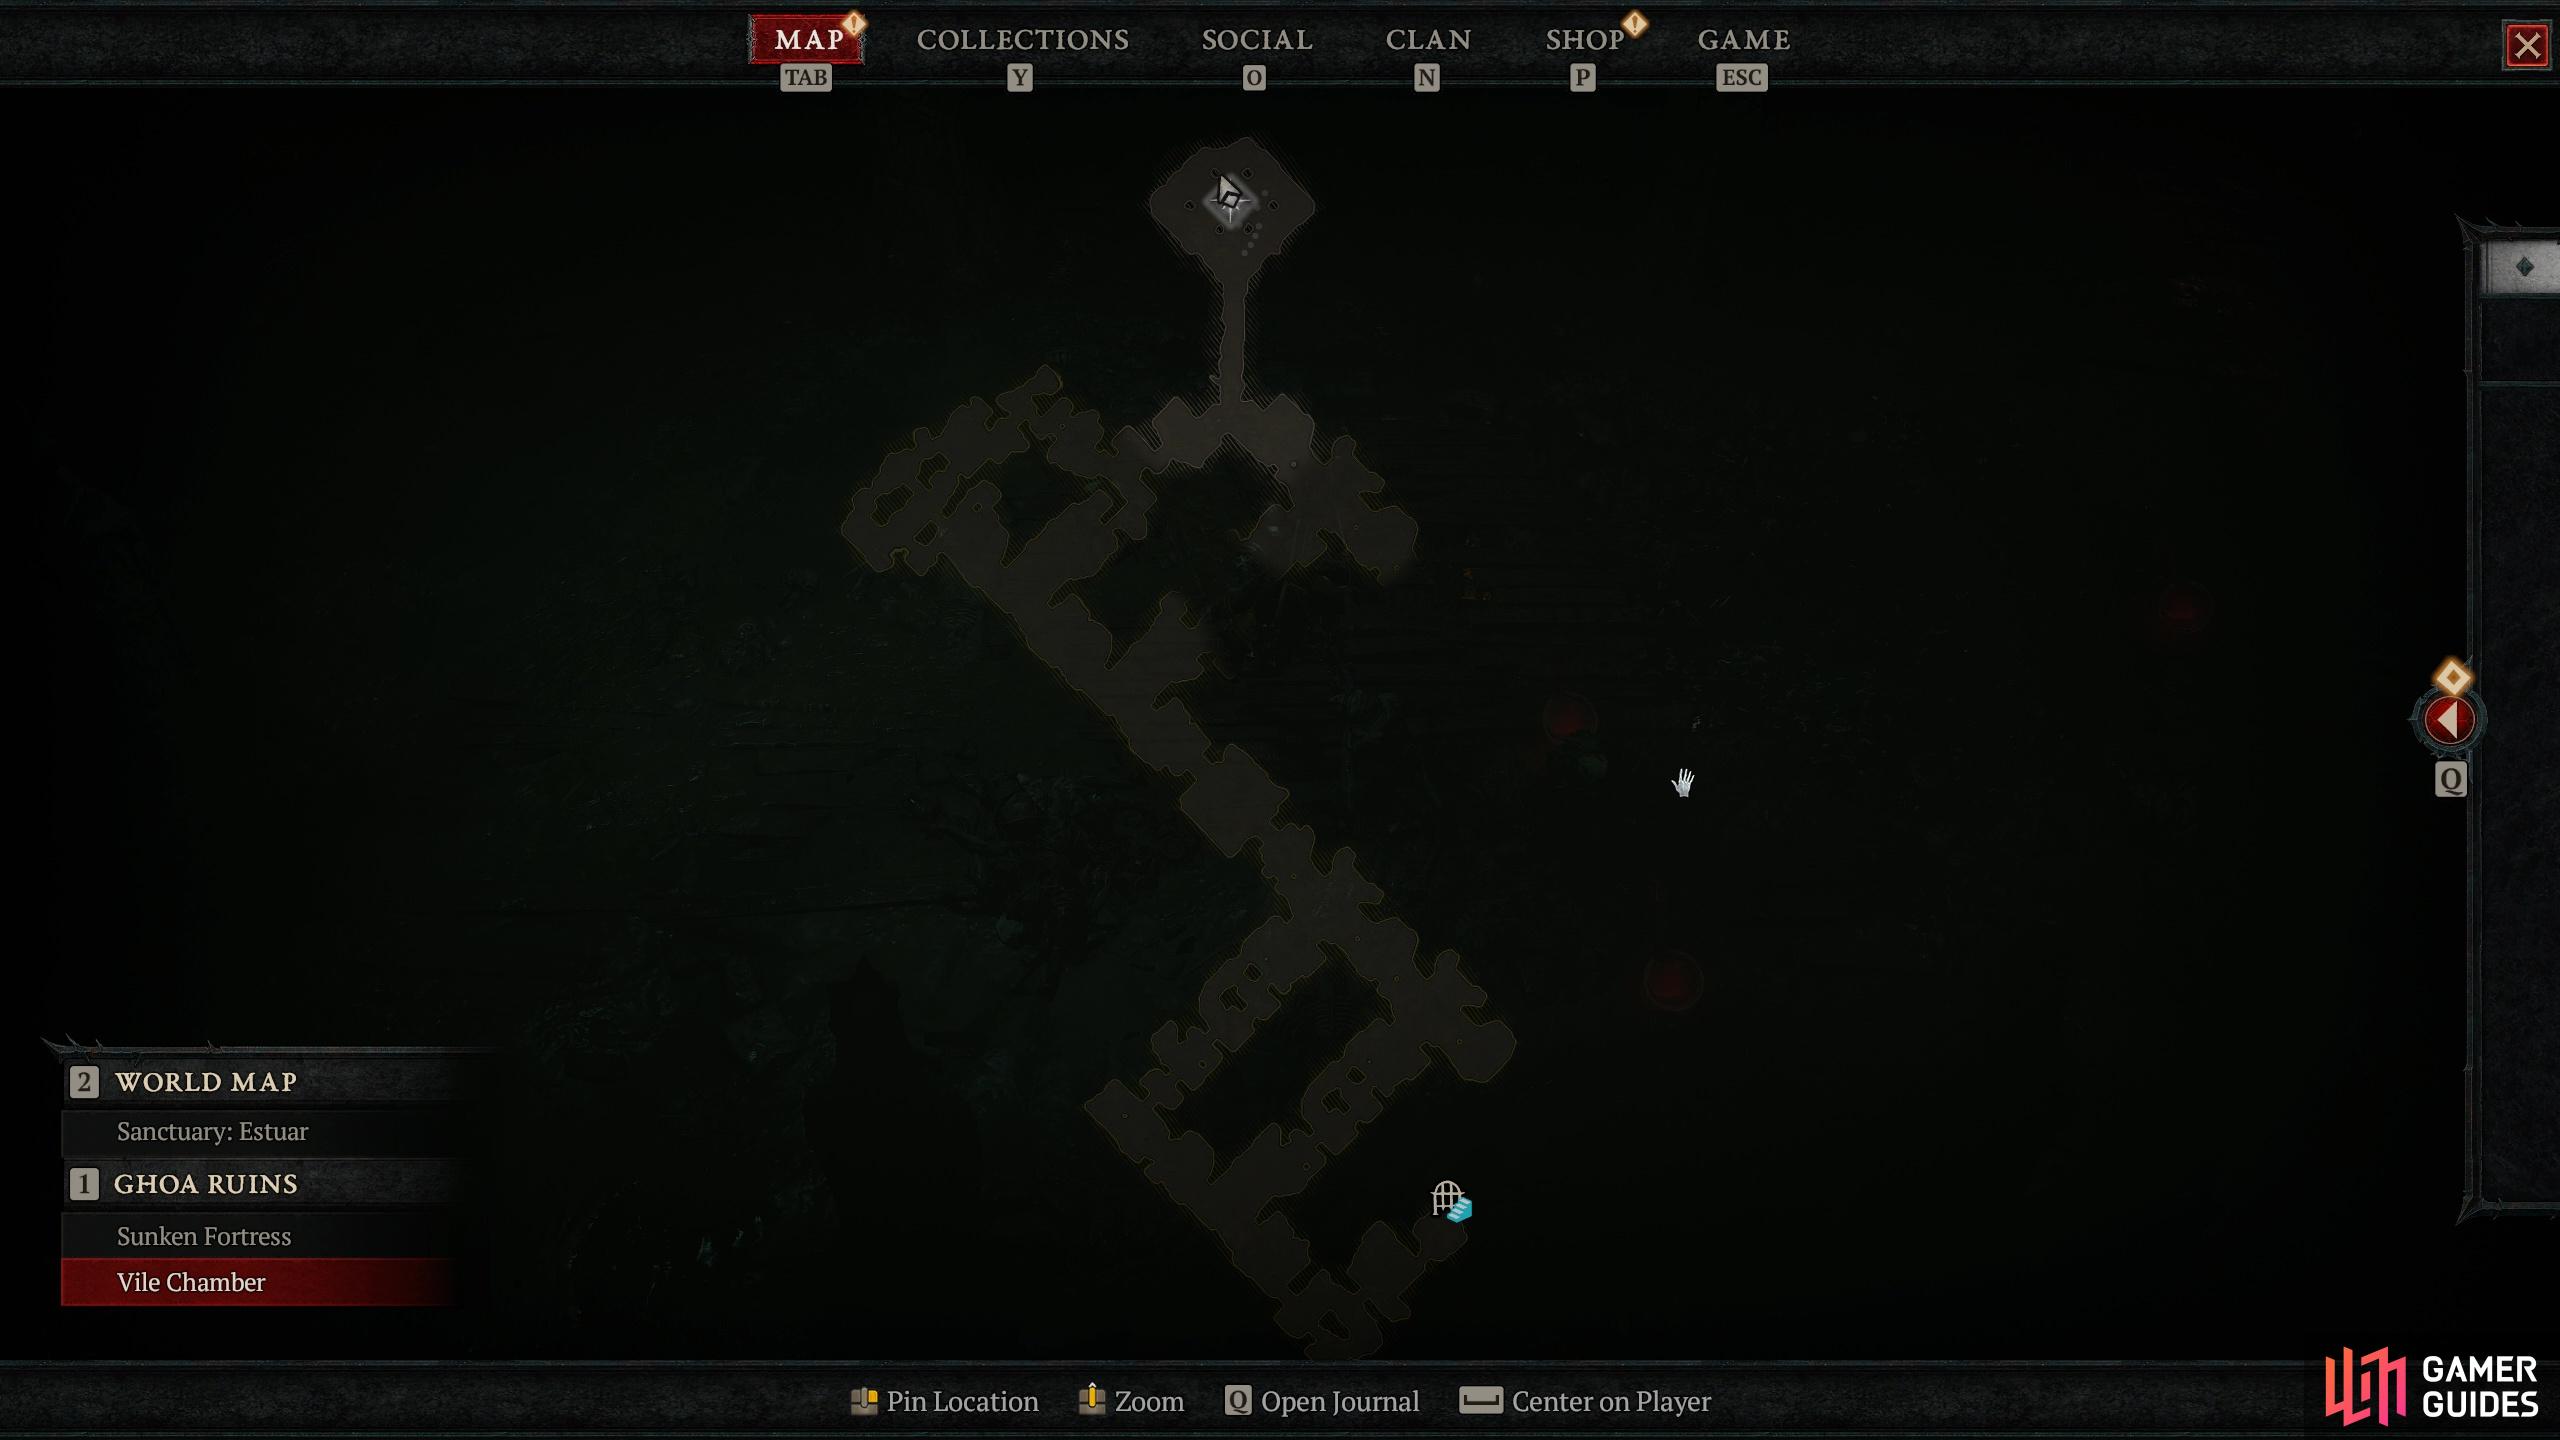
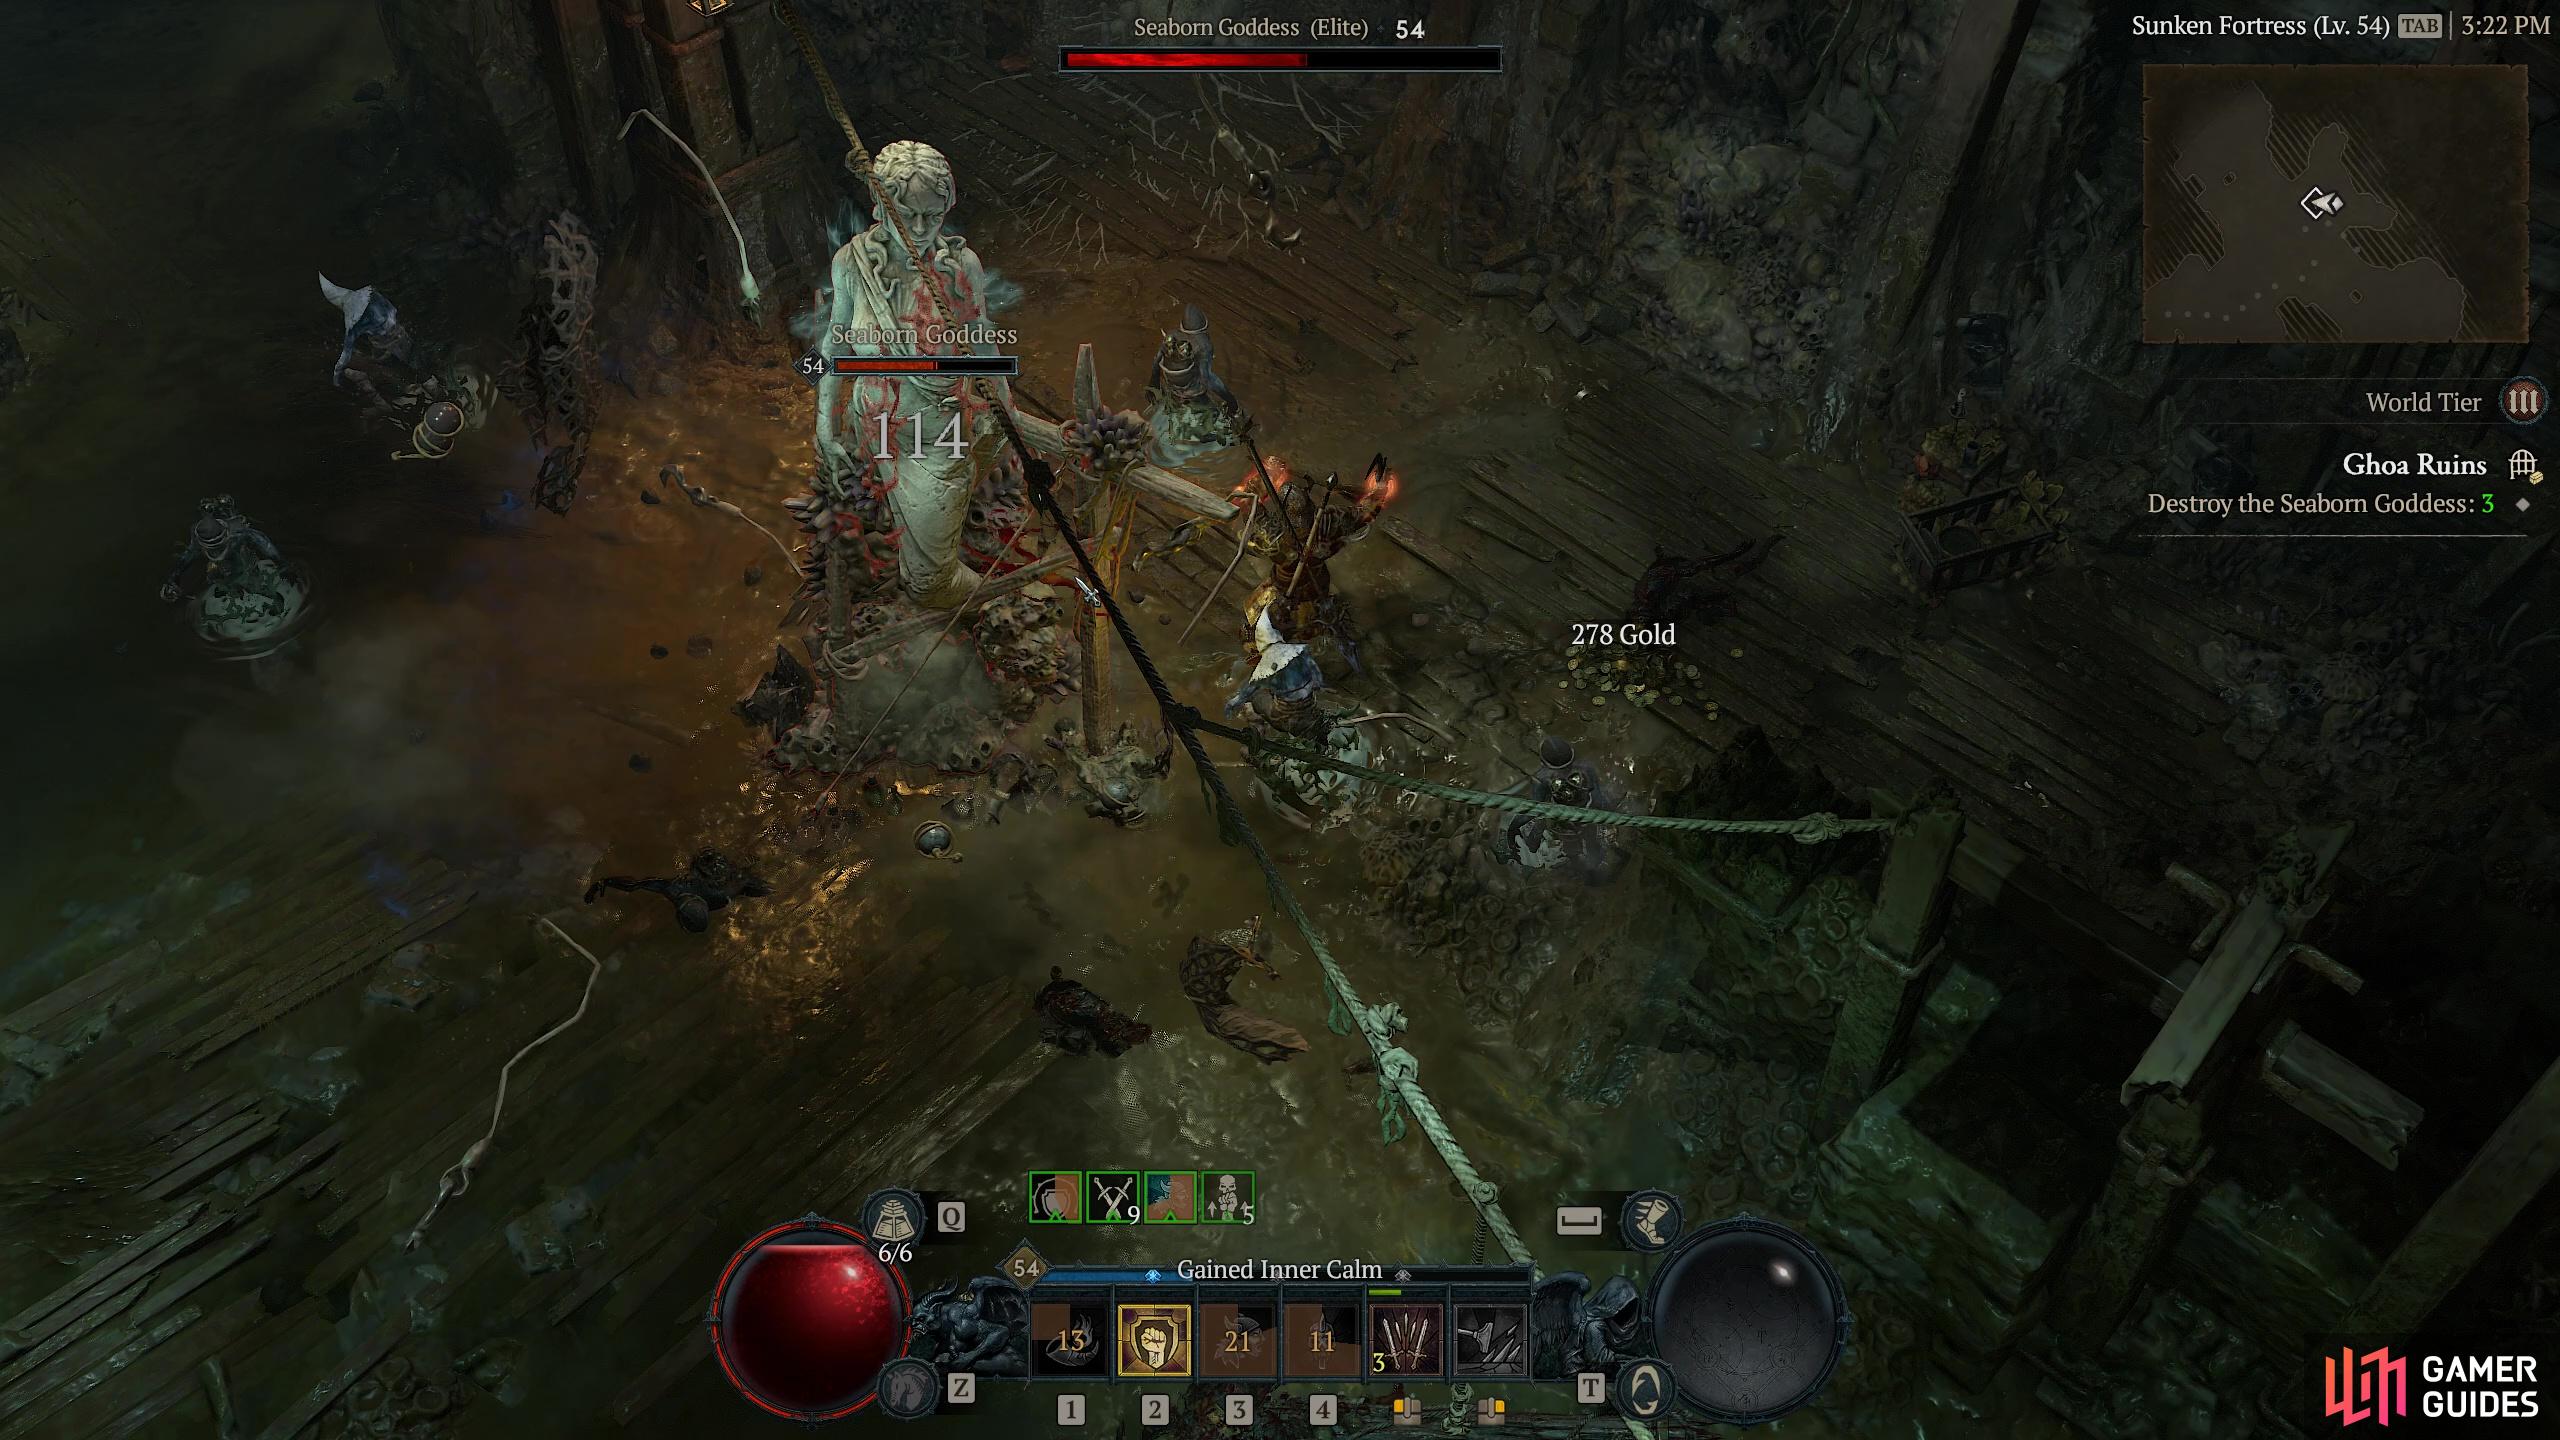
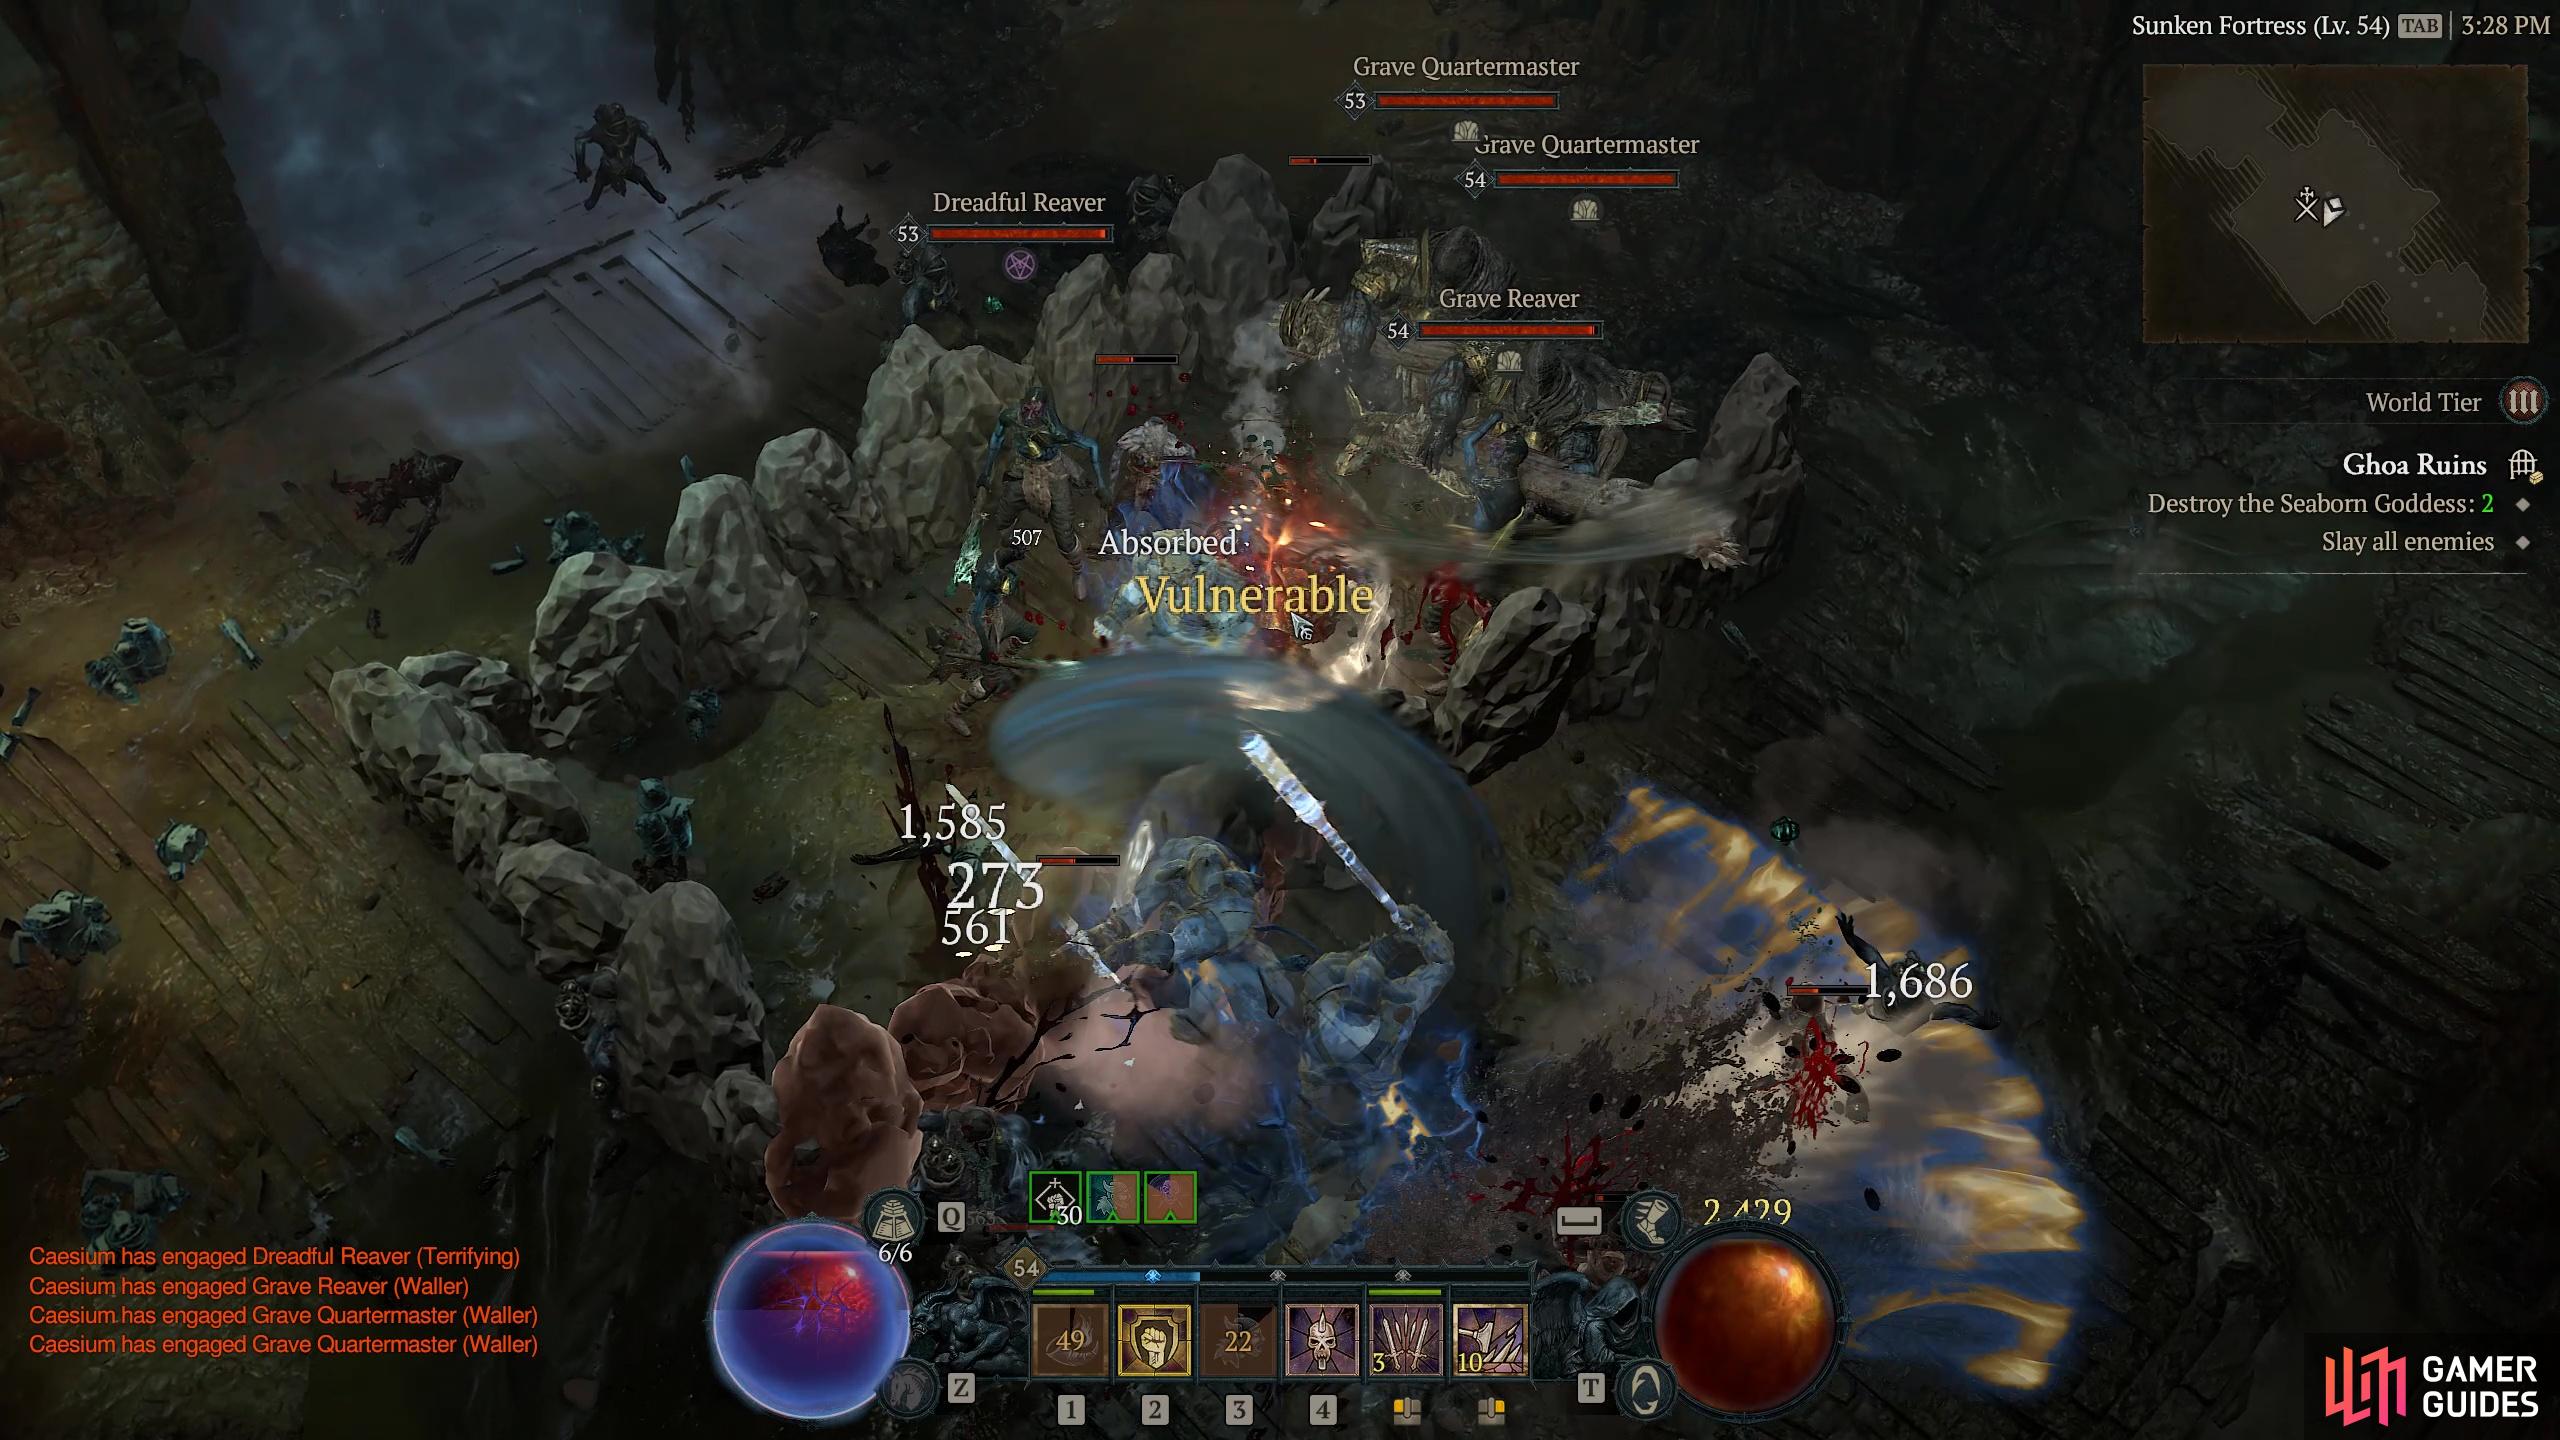
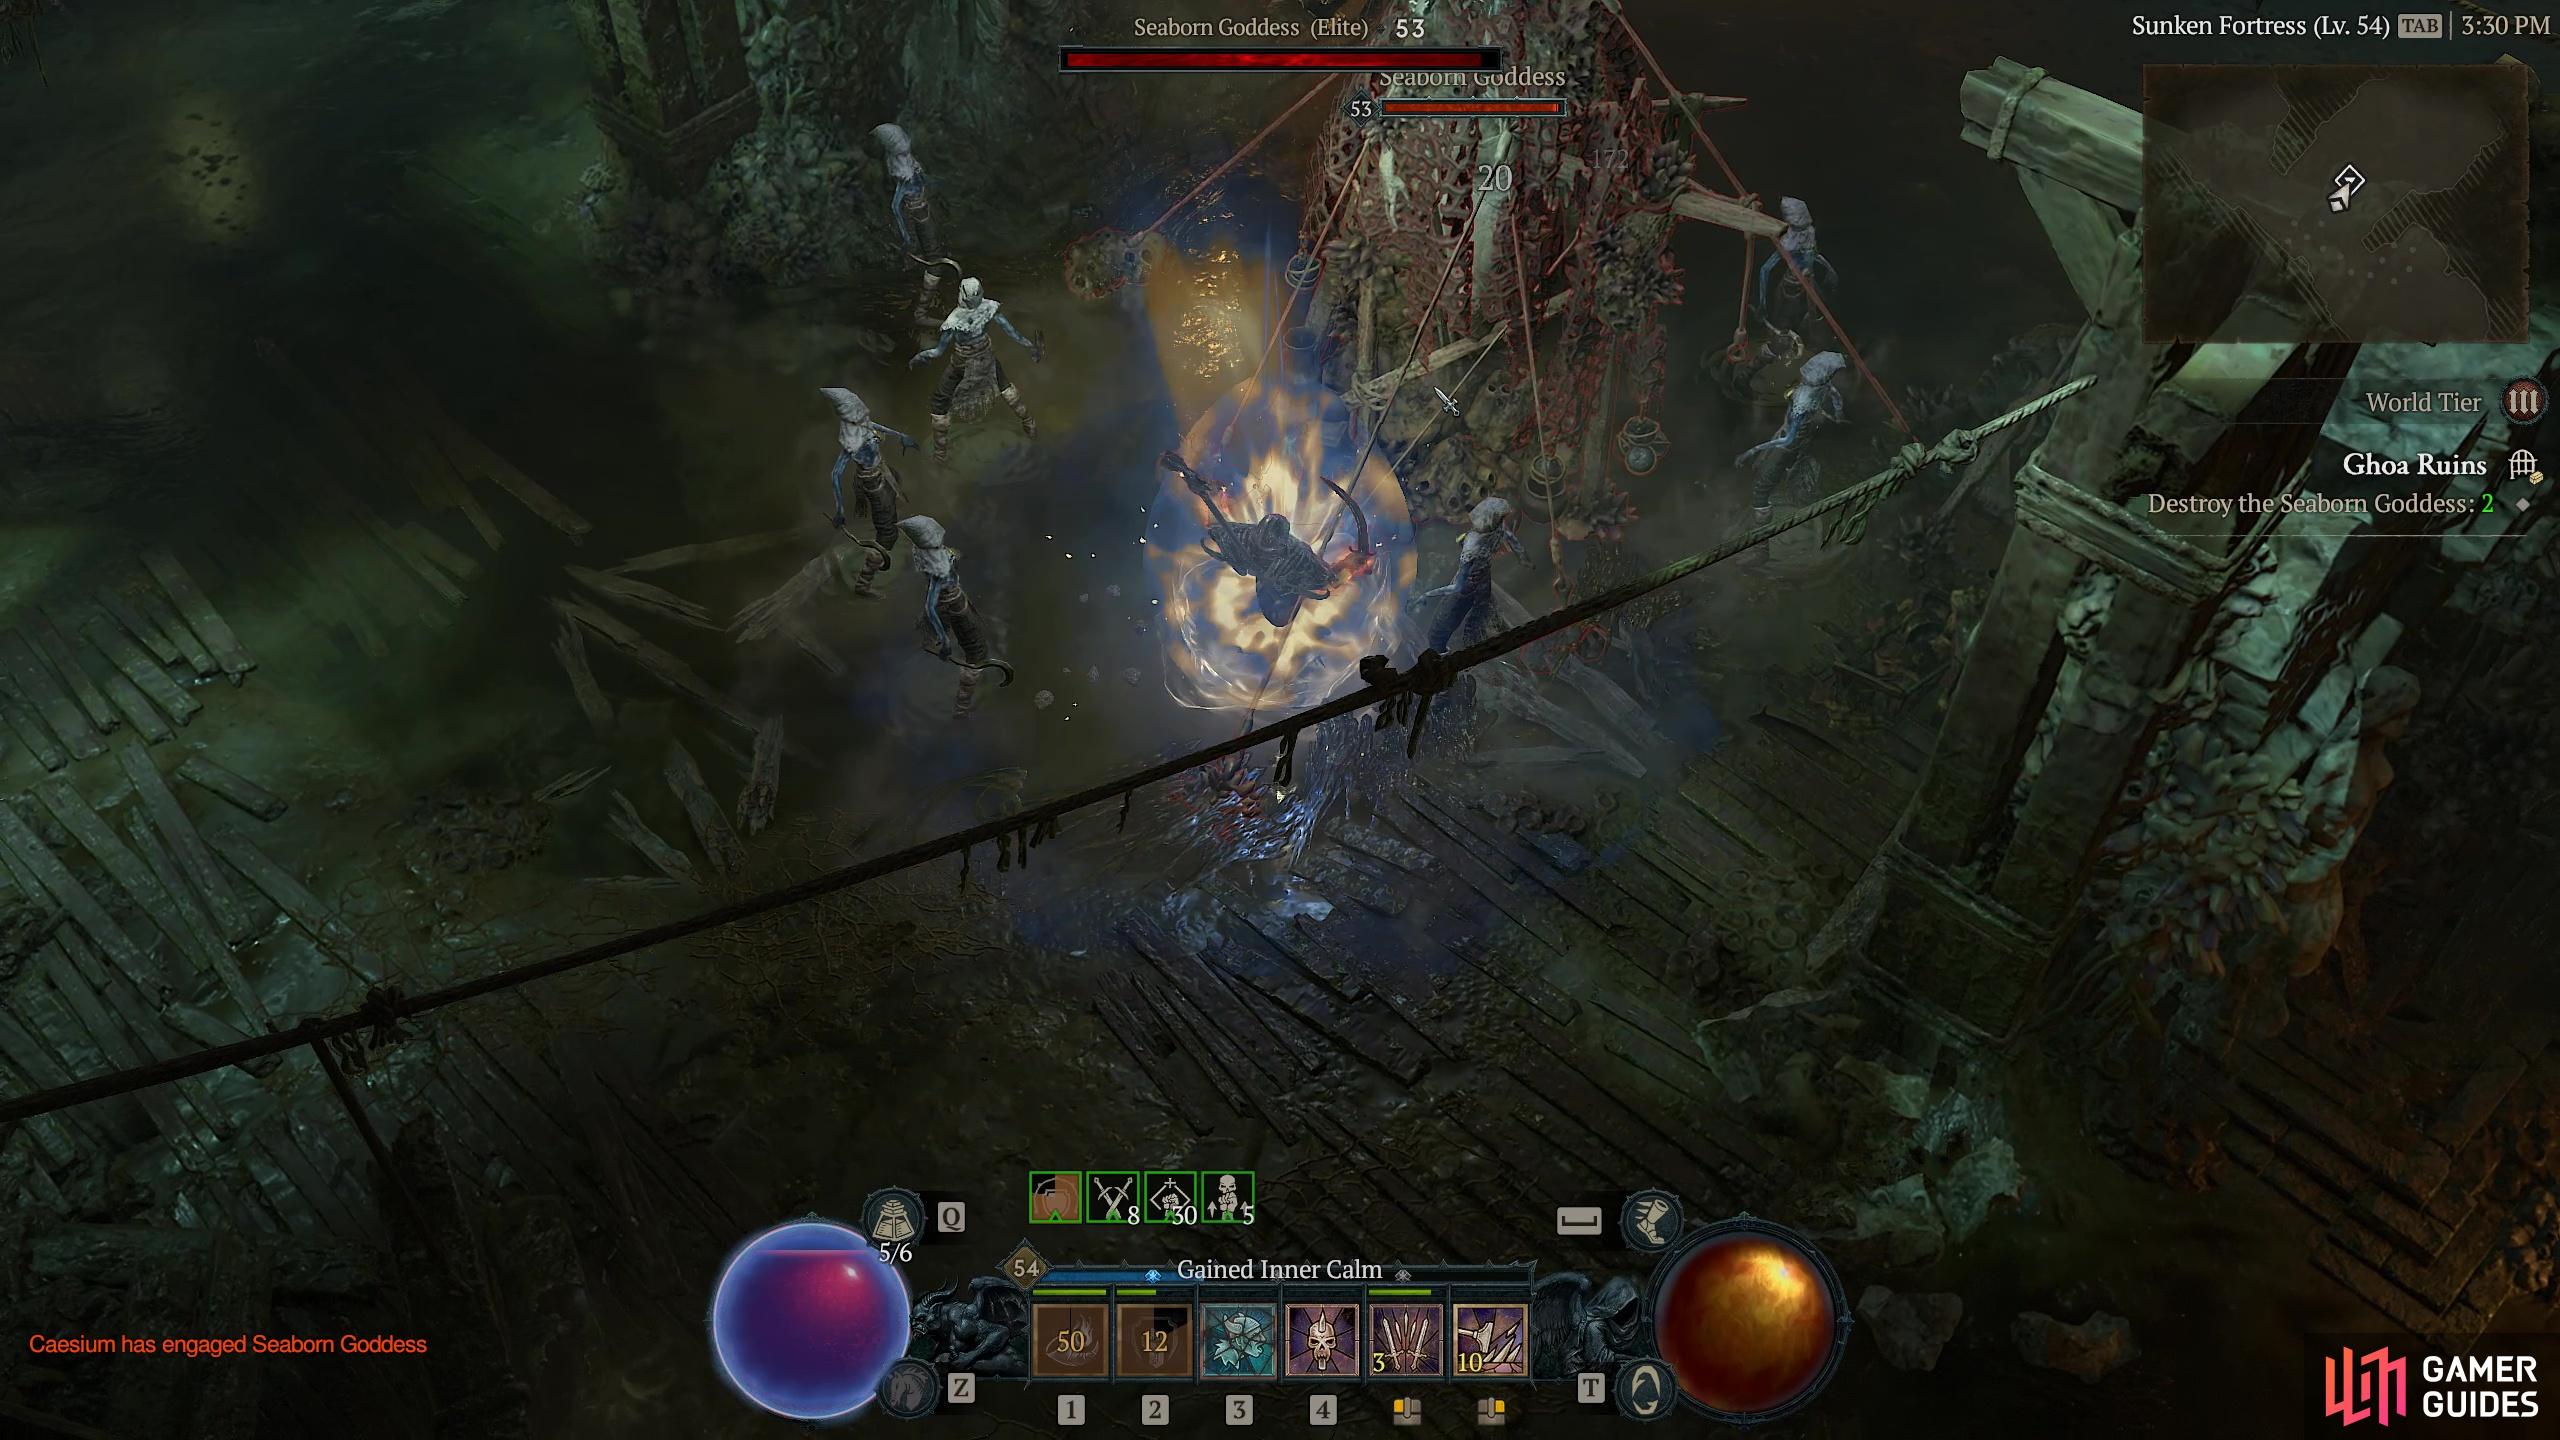
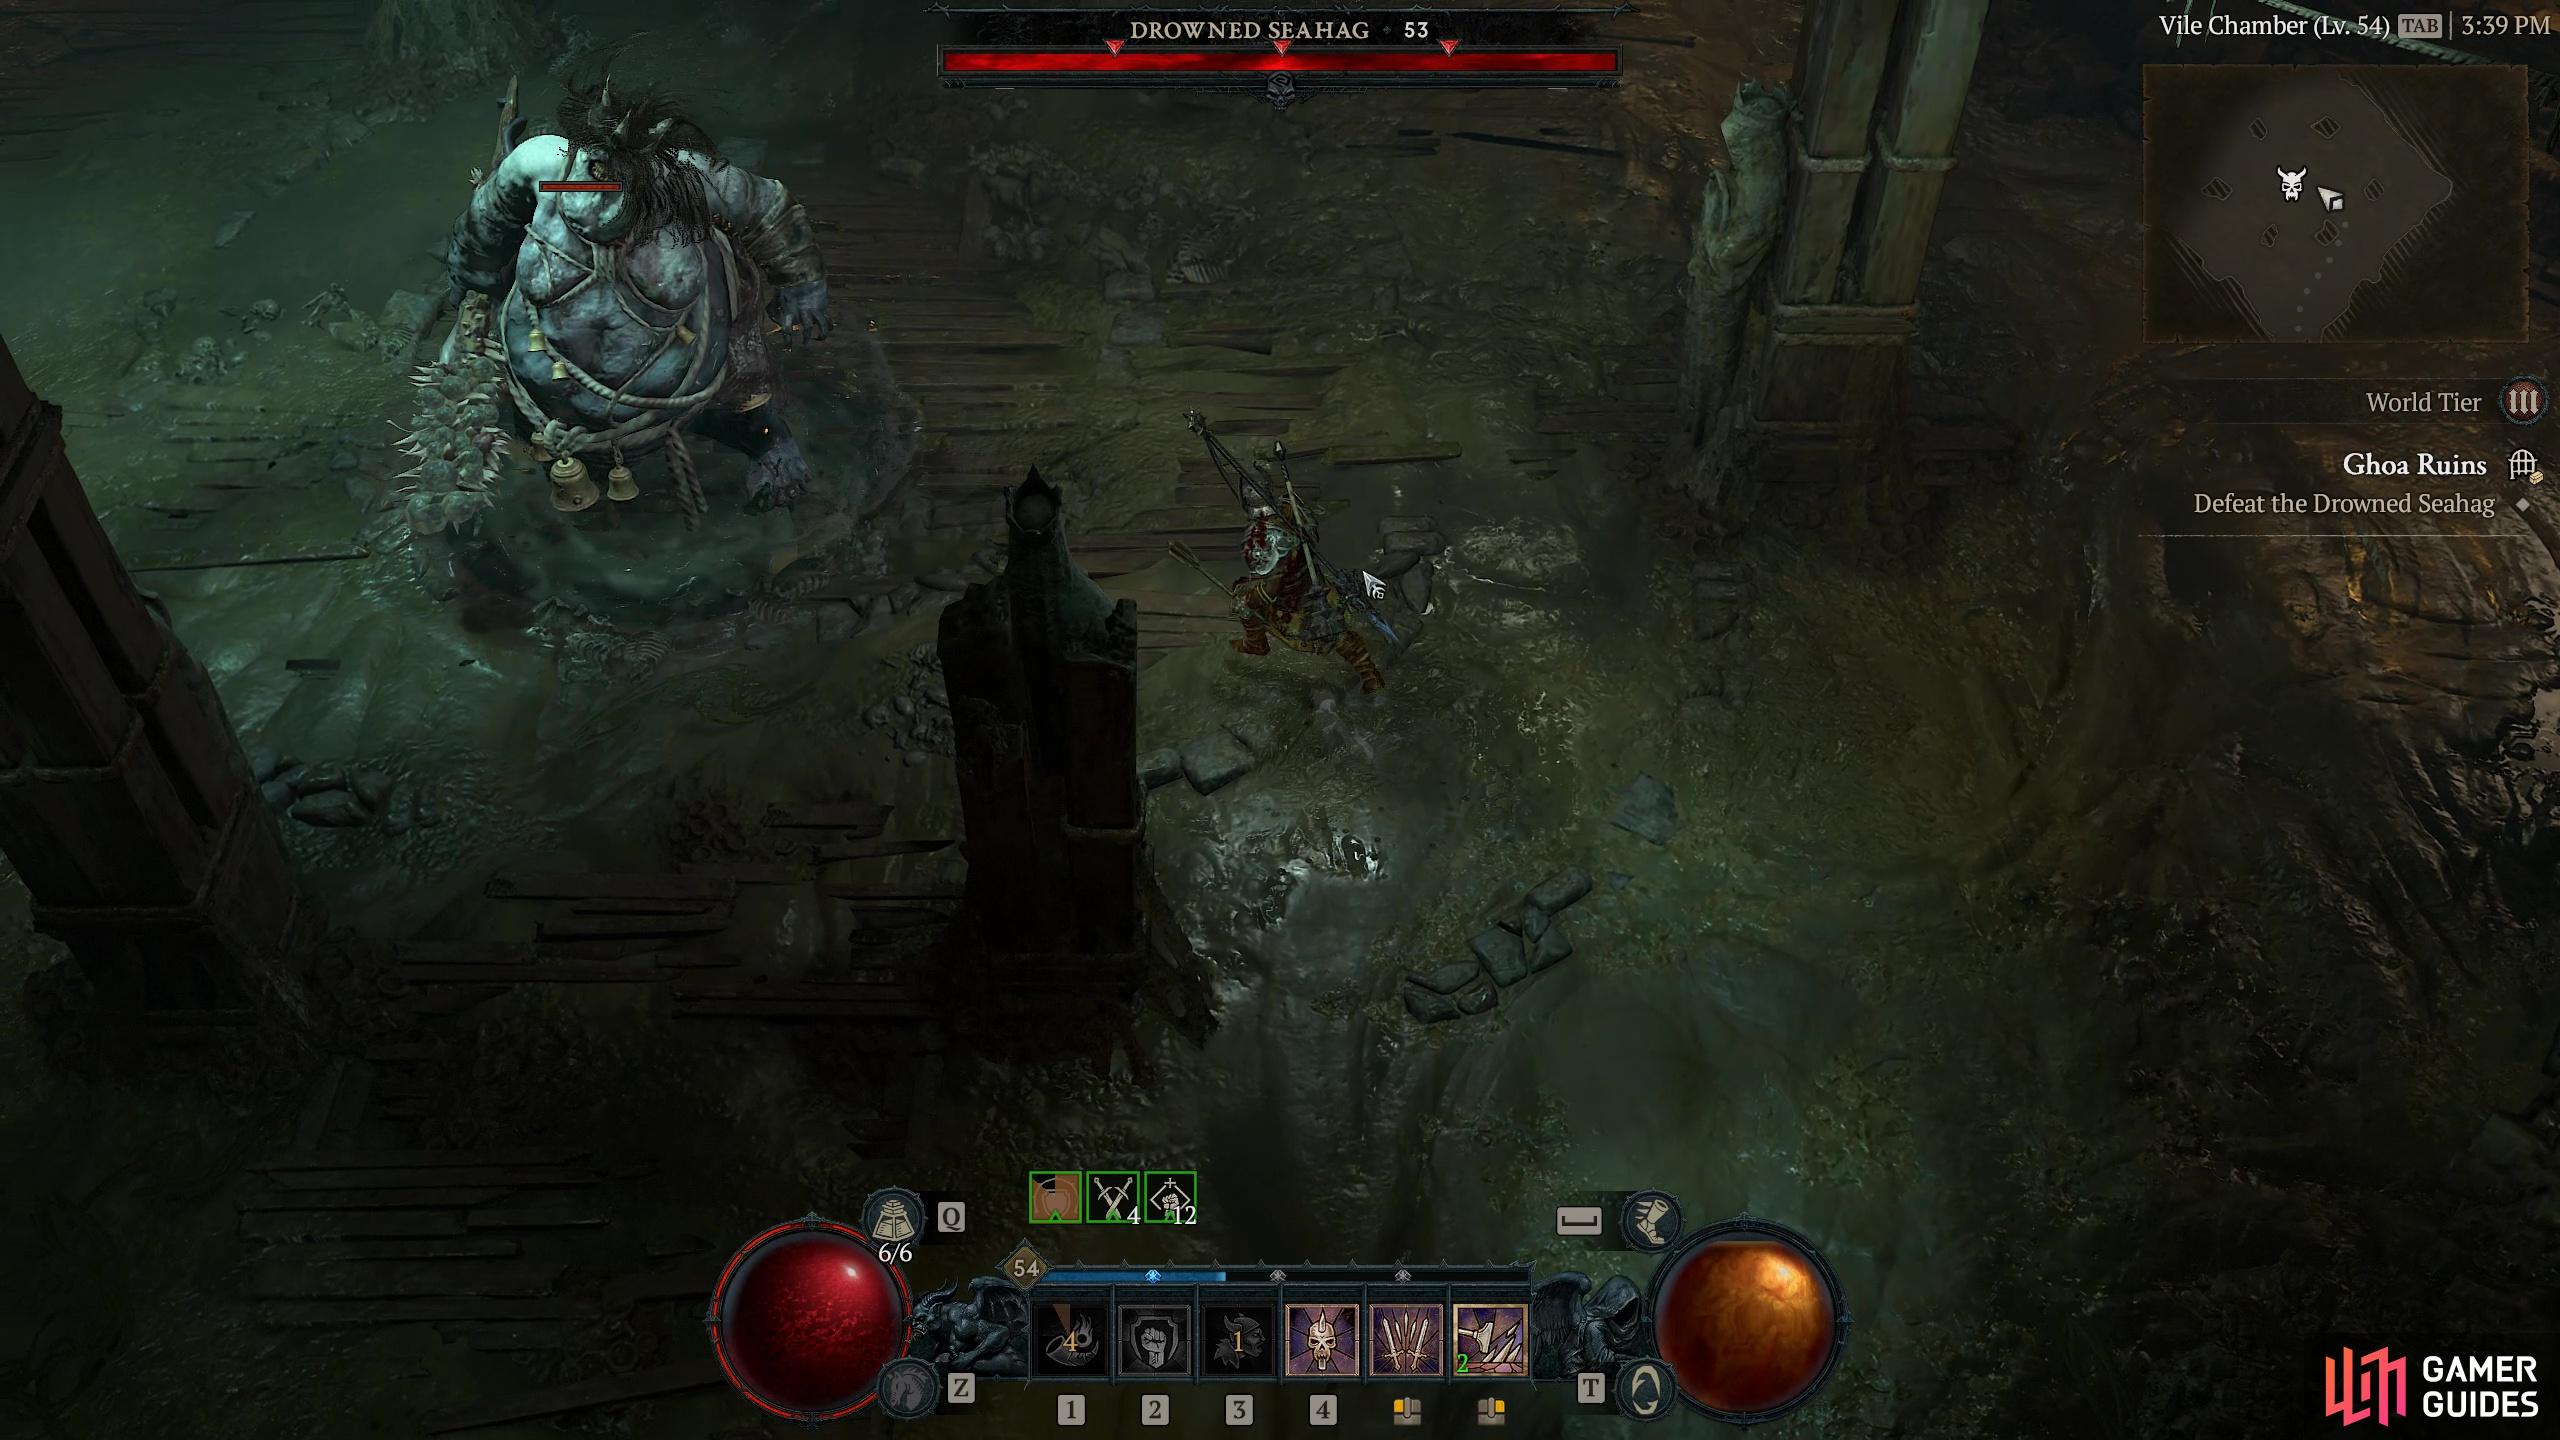
Ghoa Ruins |
Once a keep. The swamp reclaims all that mortal hands build.
Objectives
Description
Ghoa Ruins is another watery dungeon haunt of the Drowned. These are some of our favorite dungeons in Hawezar as they reek of salty atmosphere. Our first objective us to destroy three Seaborn Goddess statues that can be found in the dungeon’s extremities. Each is guarded as you would expect, but as you get close to destroying one, an Elite You should be able to overpower them all easily enough. In fact some of the battle en route to the statues will probably be tougher. With all the Goddess statues in pieces it is time to head to the Vile Chamber to face off and defeat the
Enemies
Raider
Drowned
Skulker
Drowned
Nangari Spitter
Snakes
1× Derwin Frostburn
Bosses
1× Ondroth Doomspawn
Bosses
1× Cleaveant Thunderdancer
Bosses
1×
Region
General Reward
Gold, XP, +30 Hawezar Renown
Item Reward
1×
|
|
|||||||||||||||||||||||||||||||||||||||||||||||||||||||||||||||||||||||||||||||||||||||||||||||

|
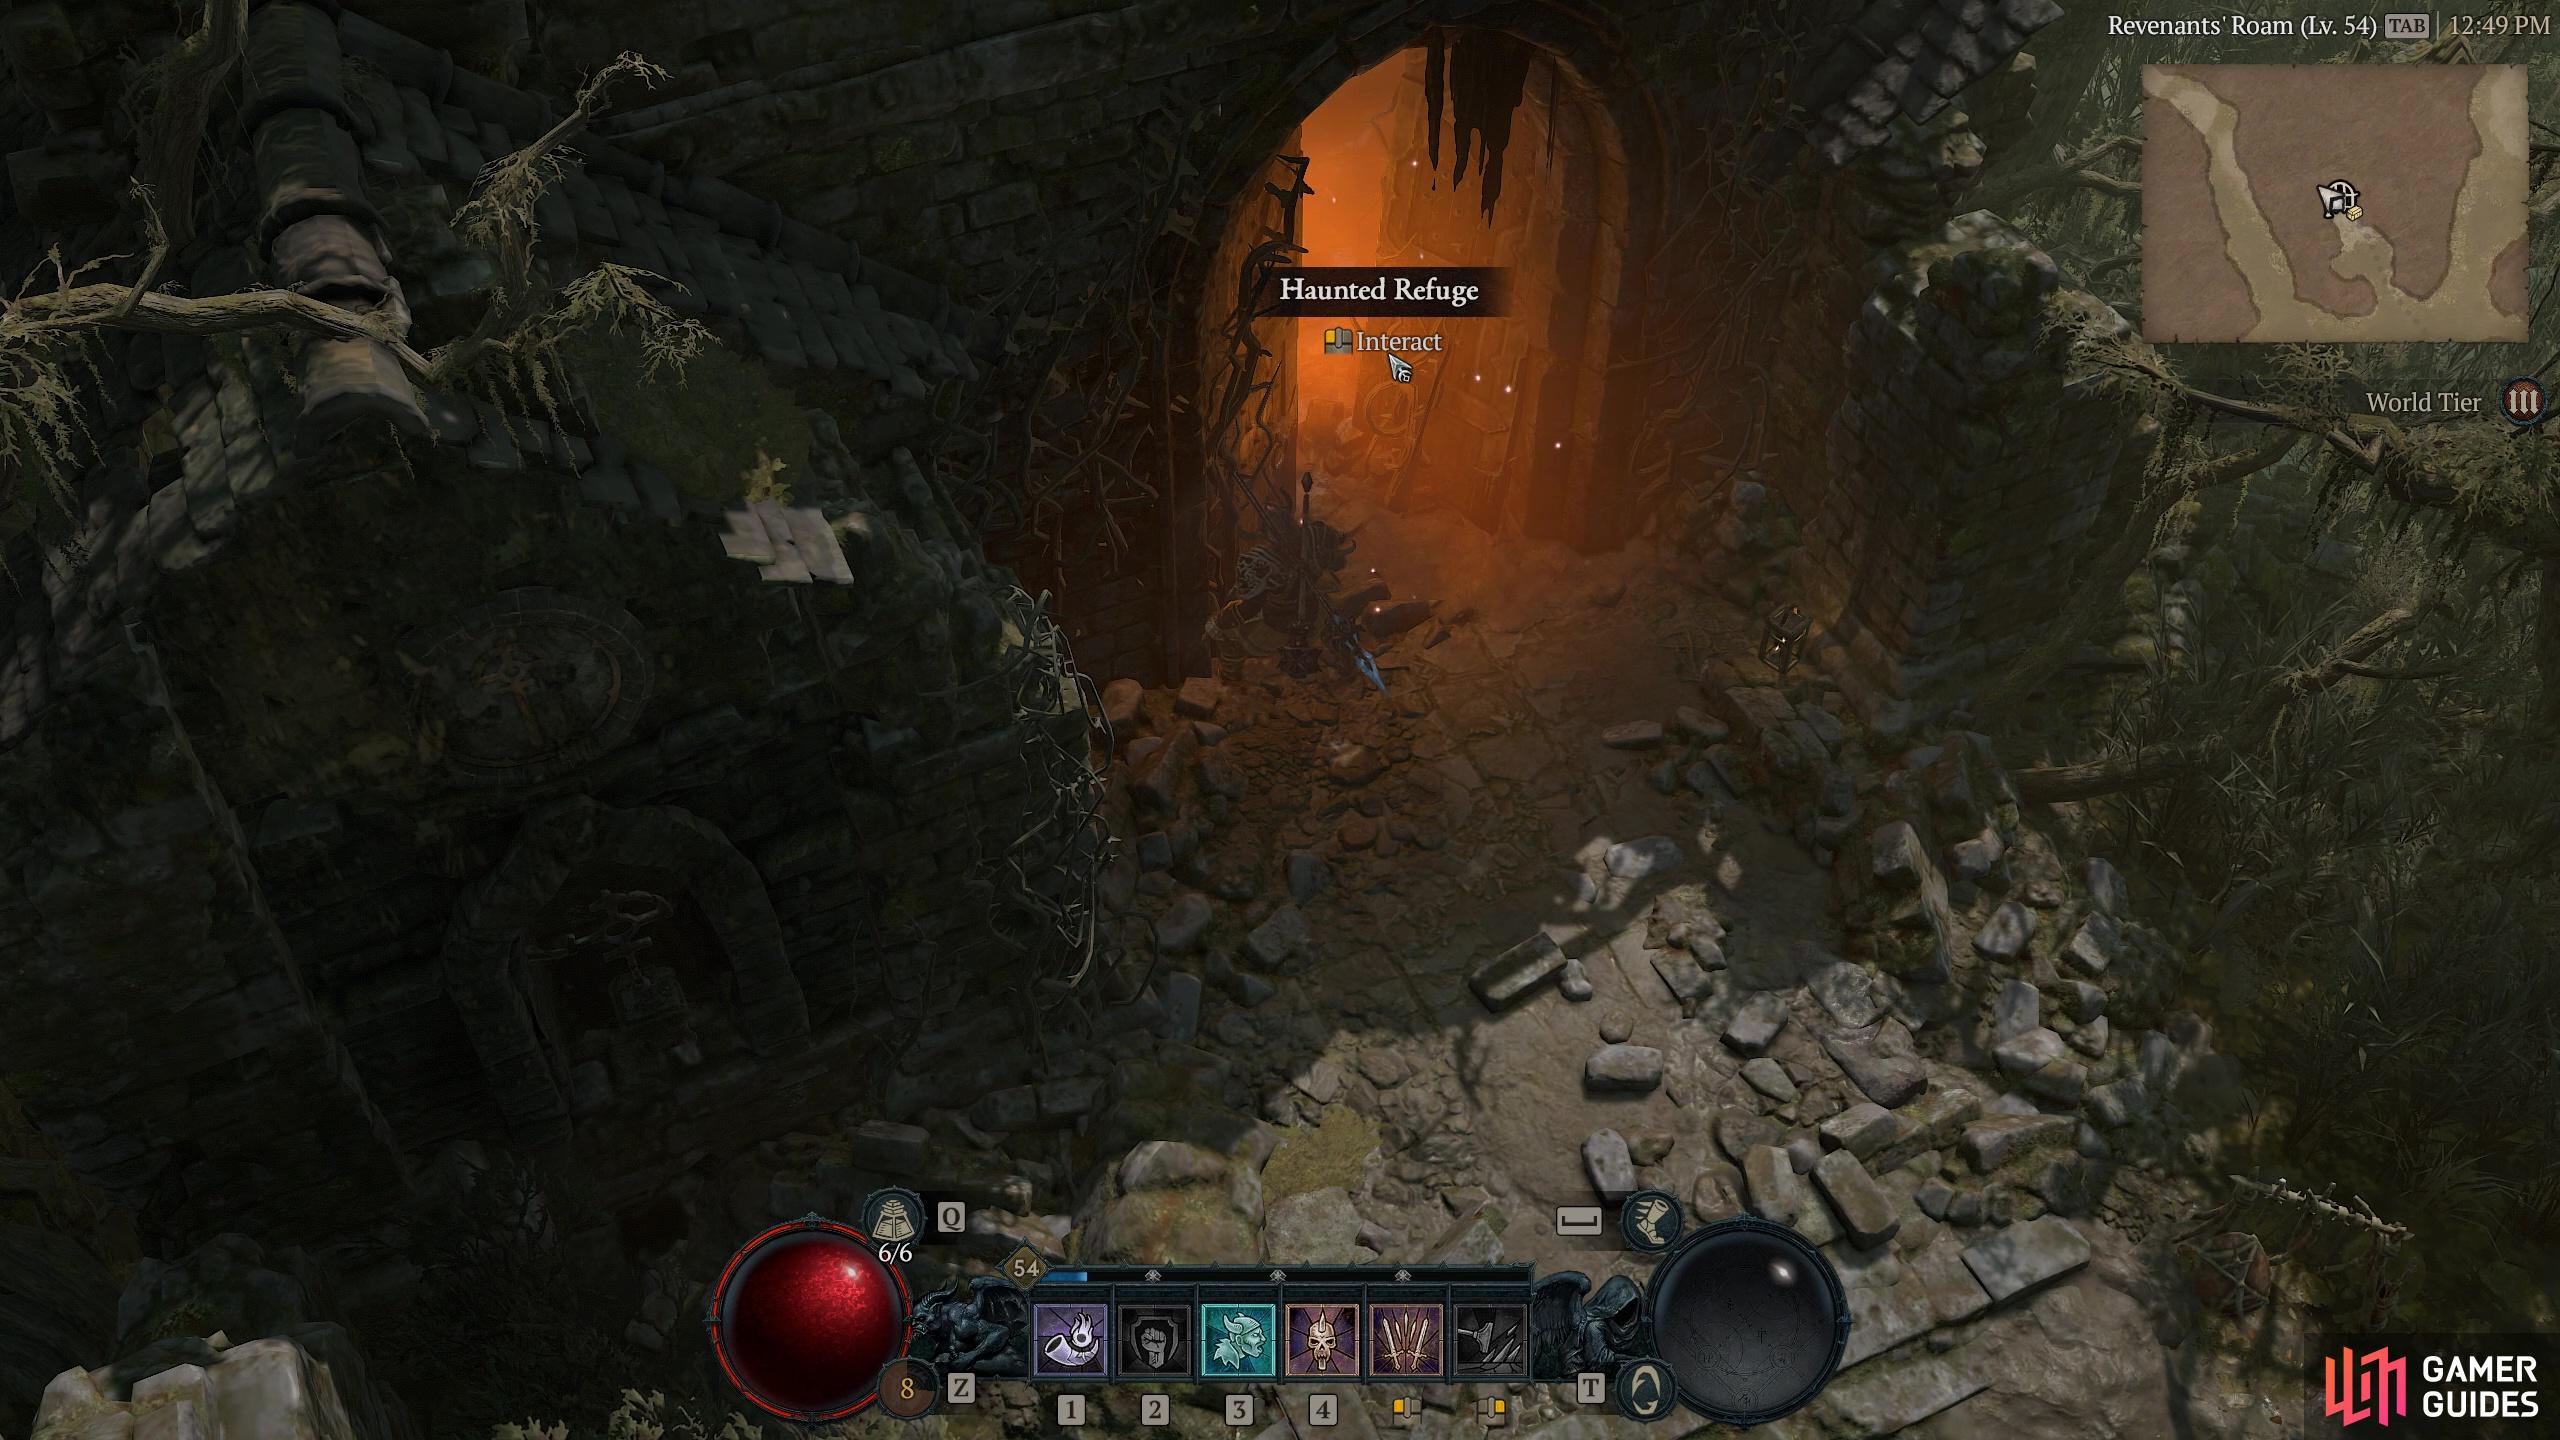
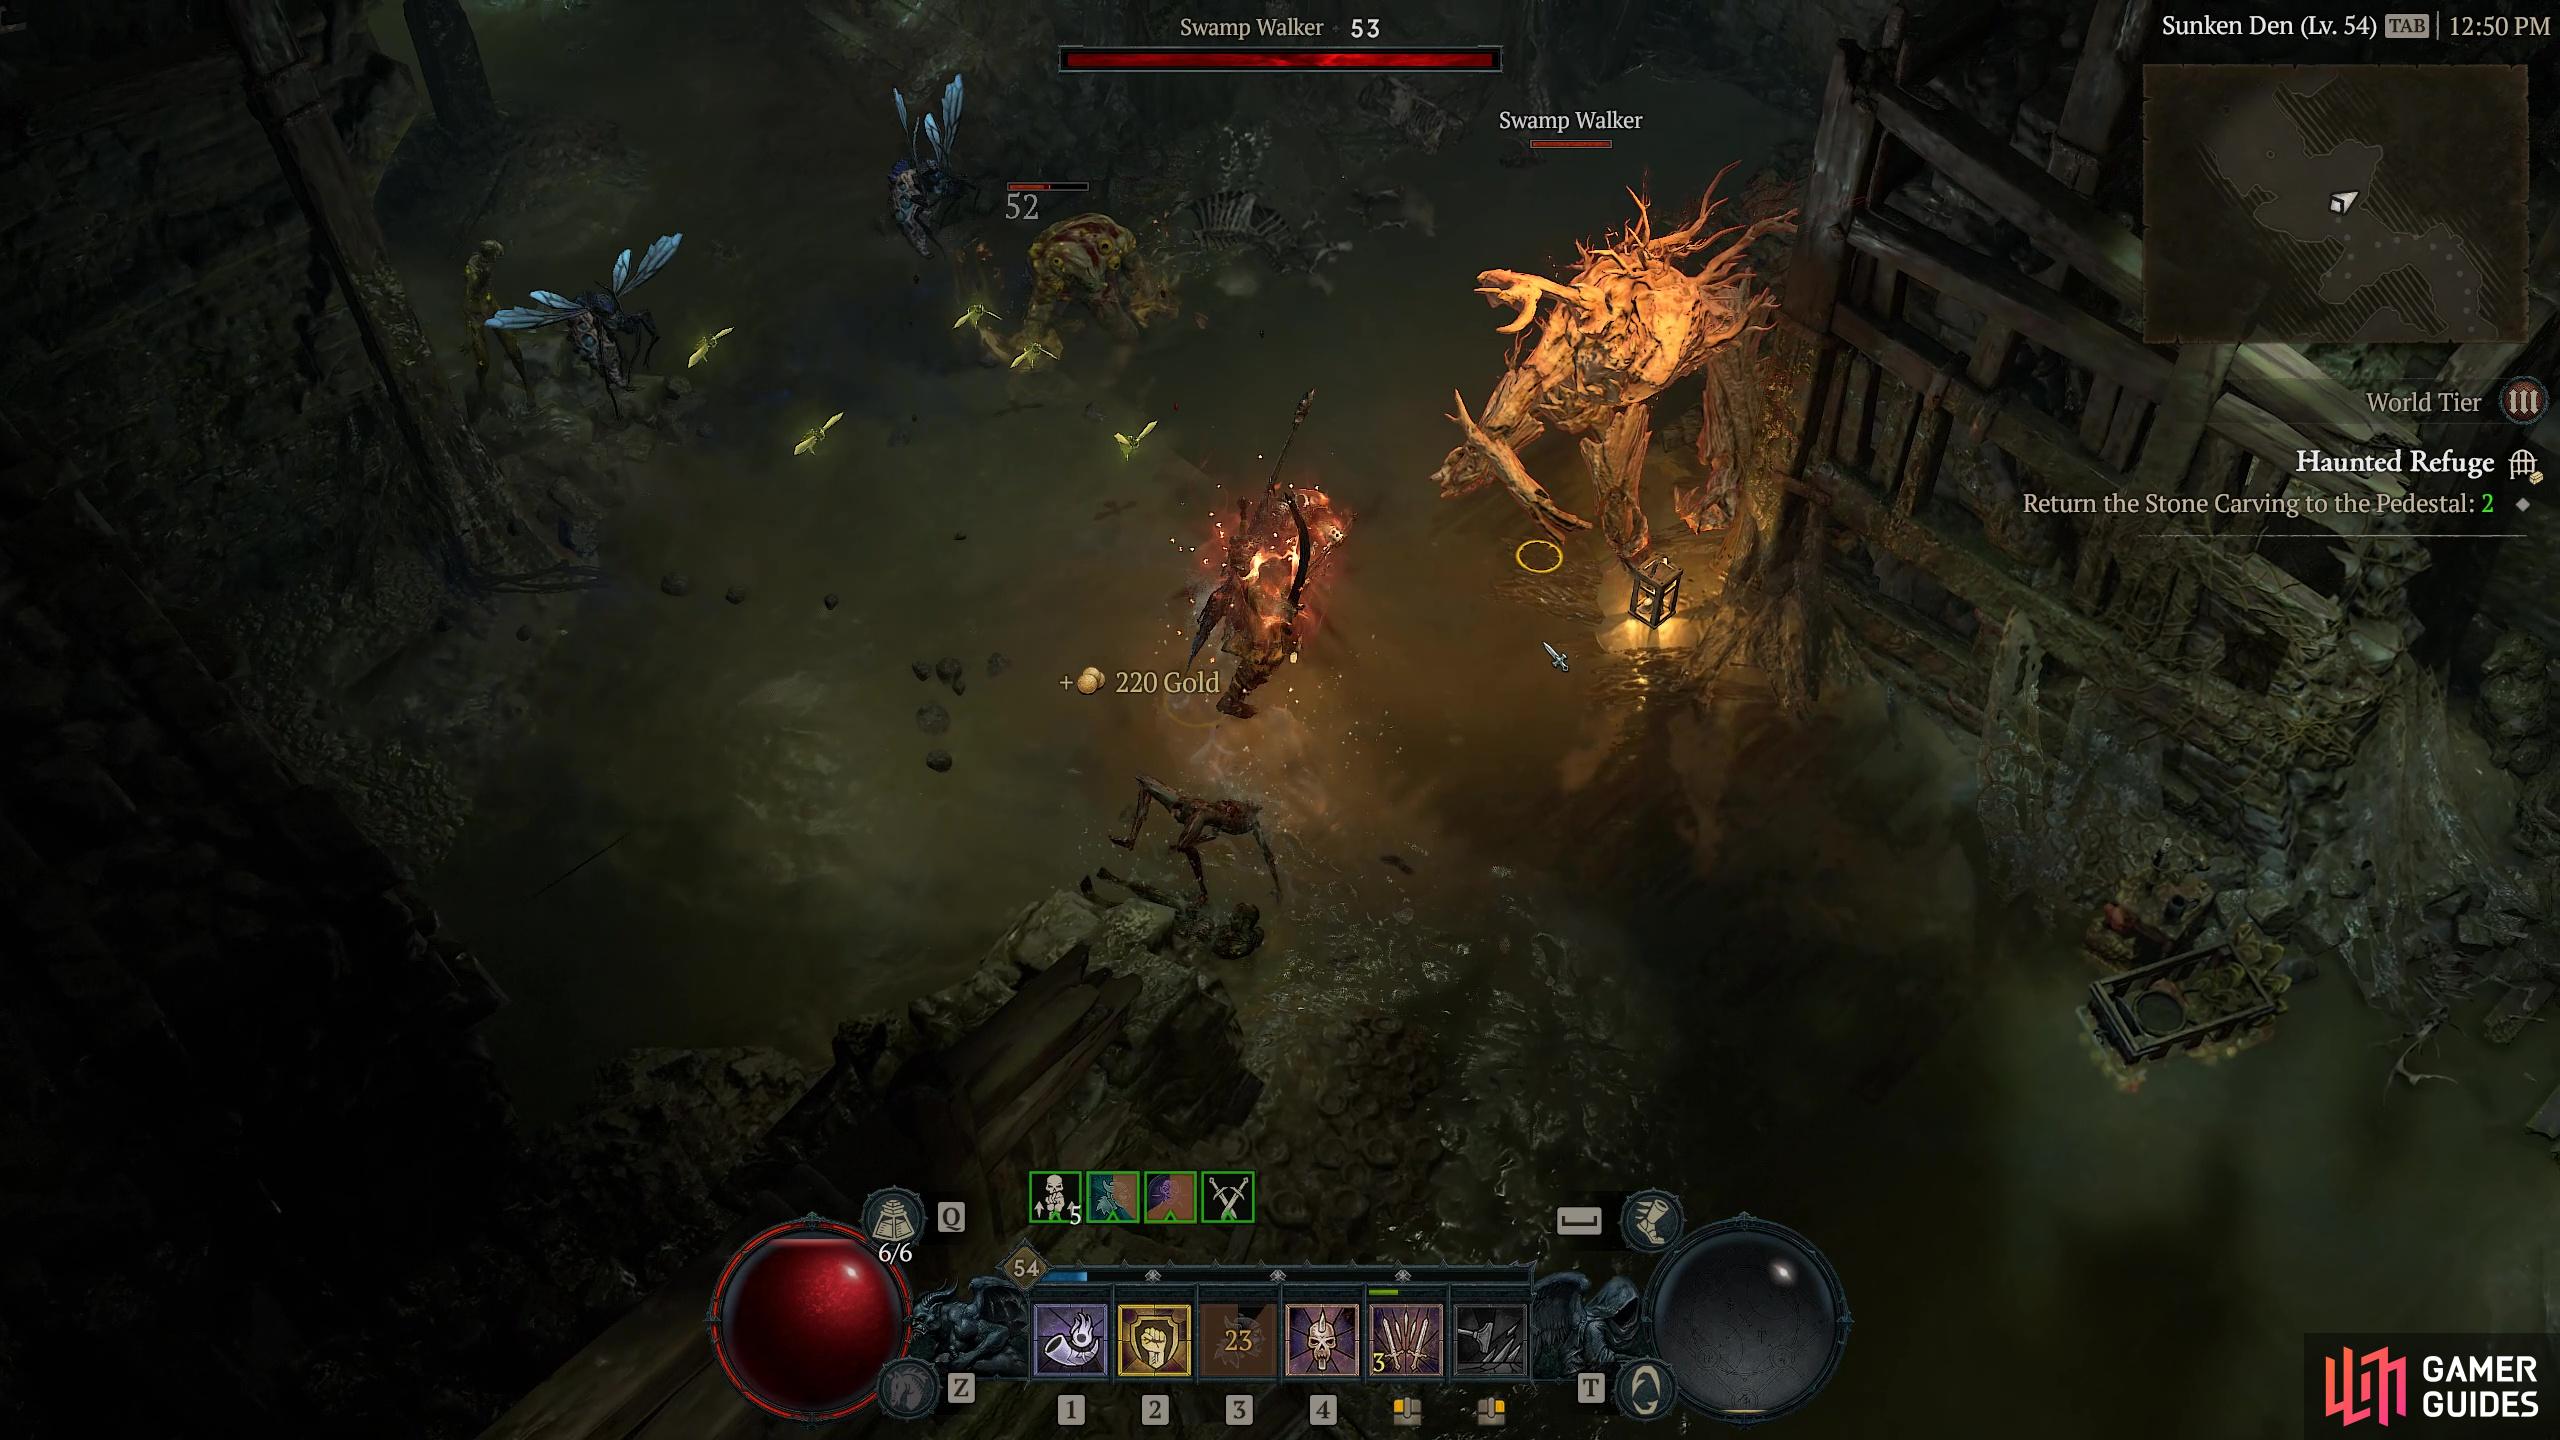
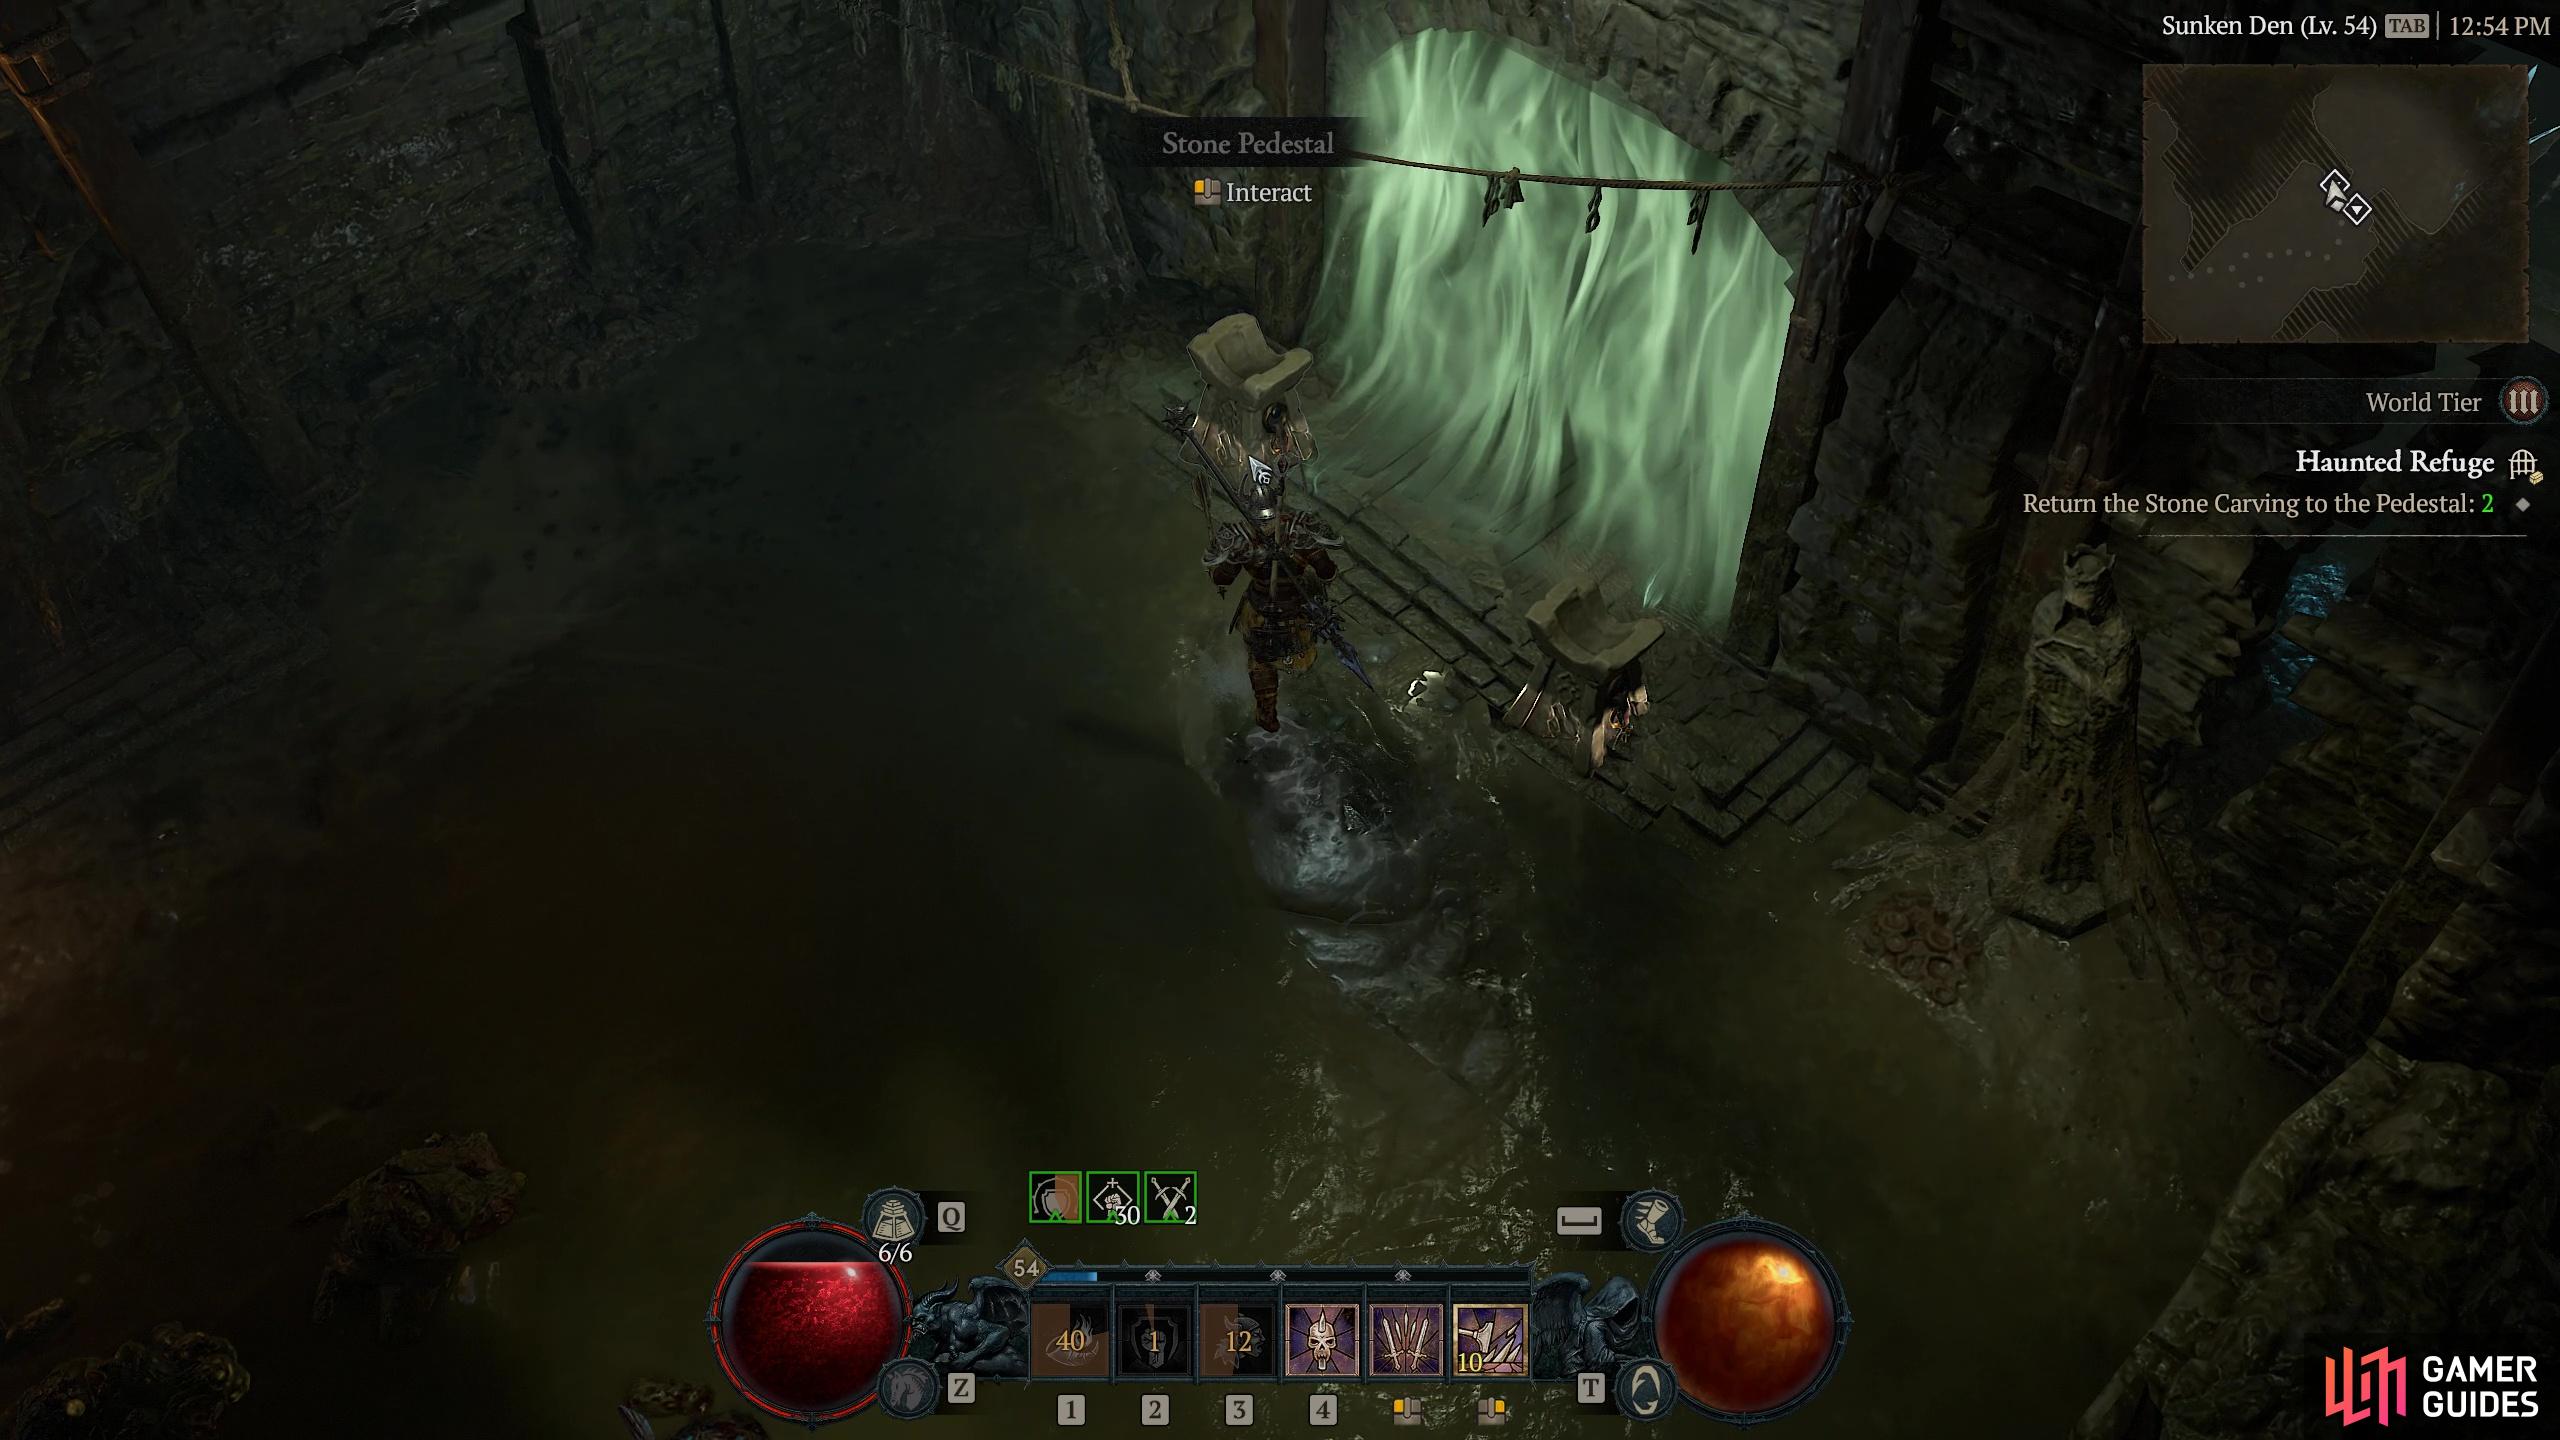
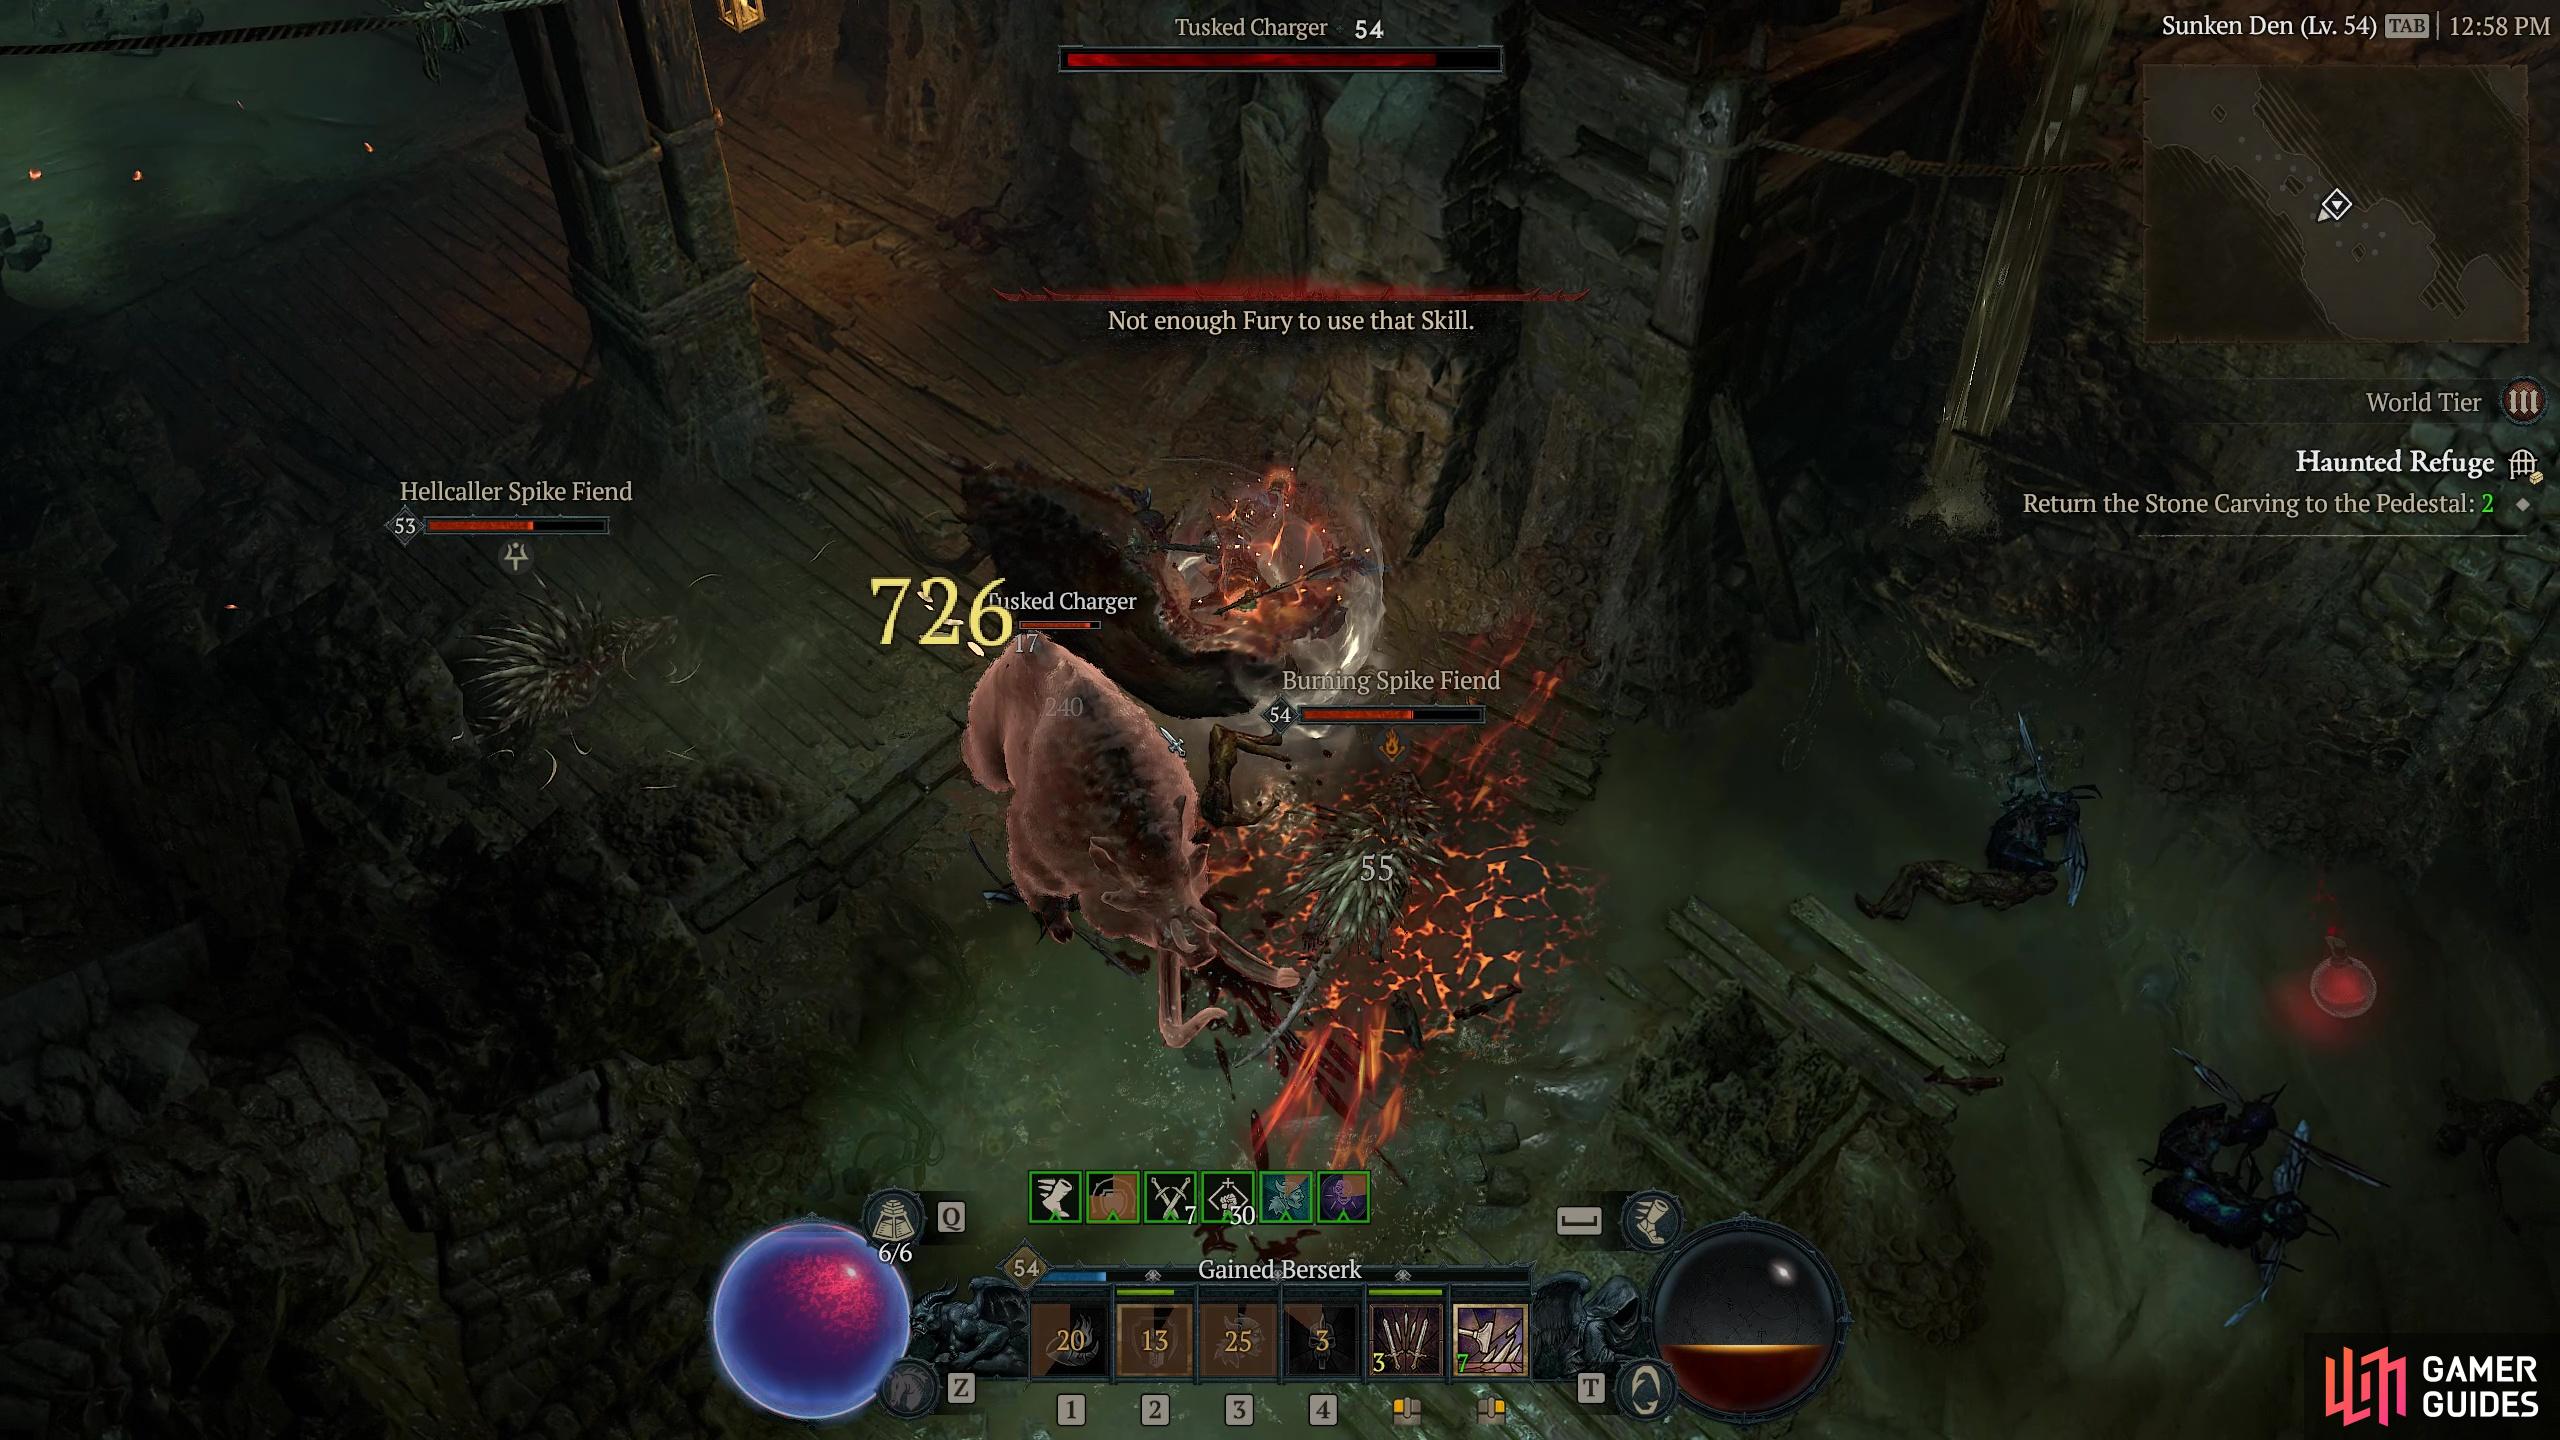
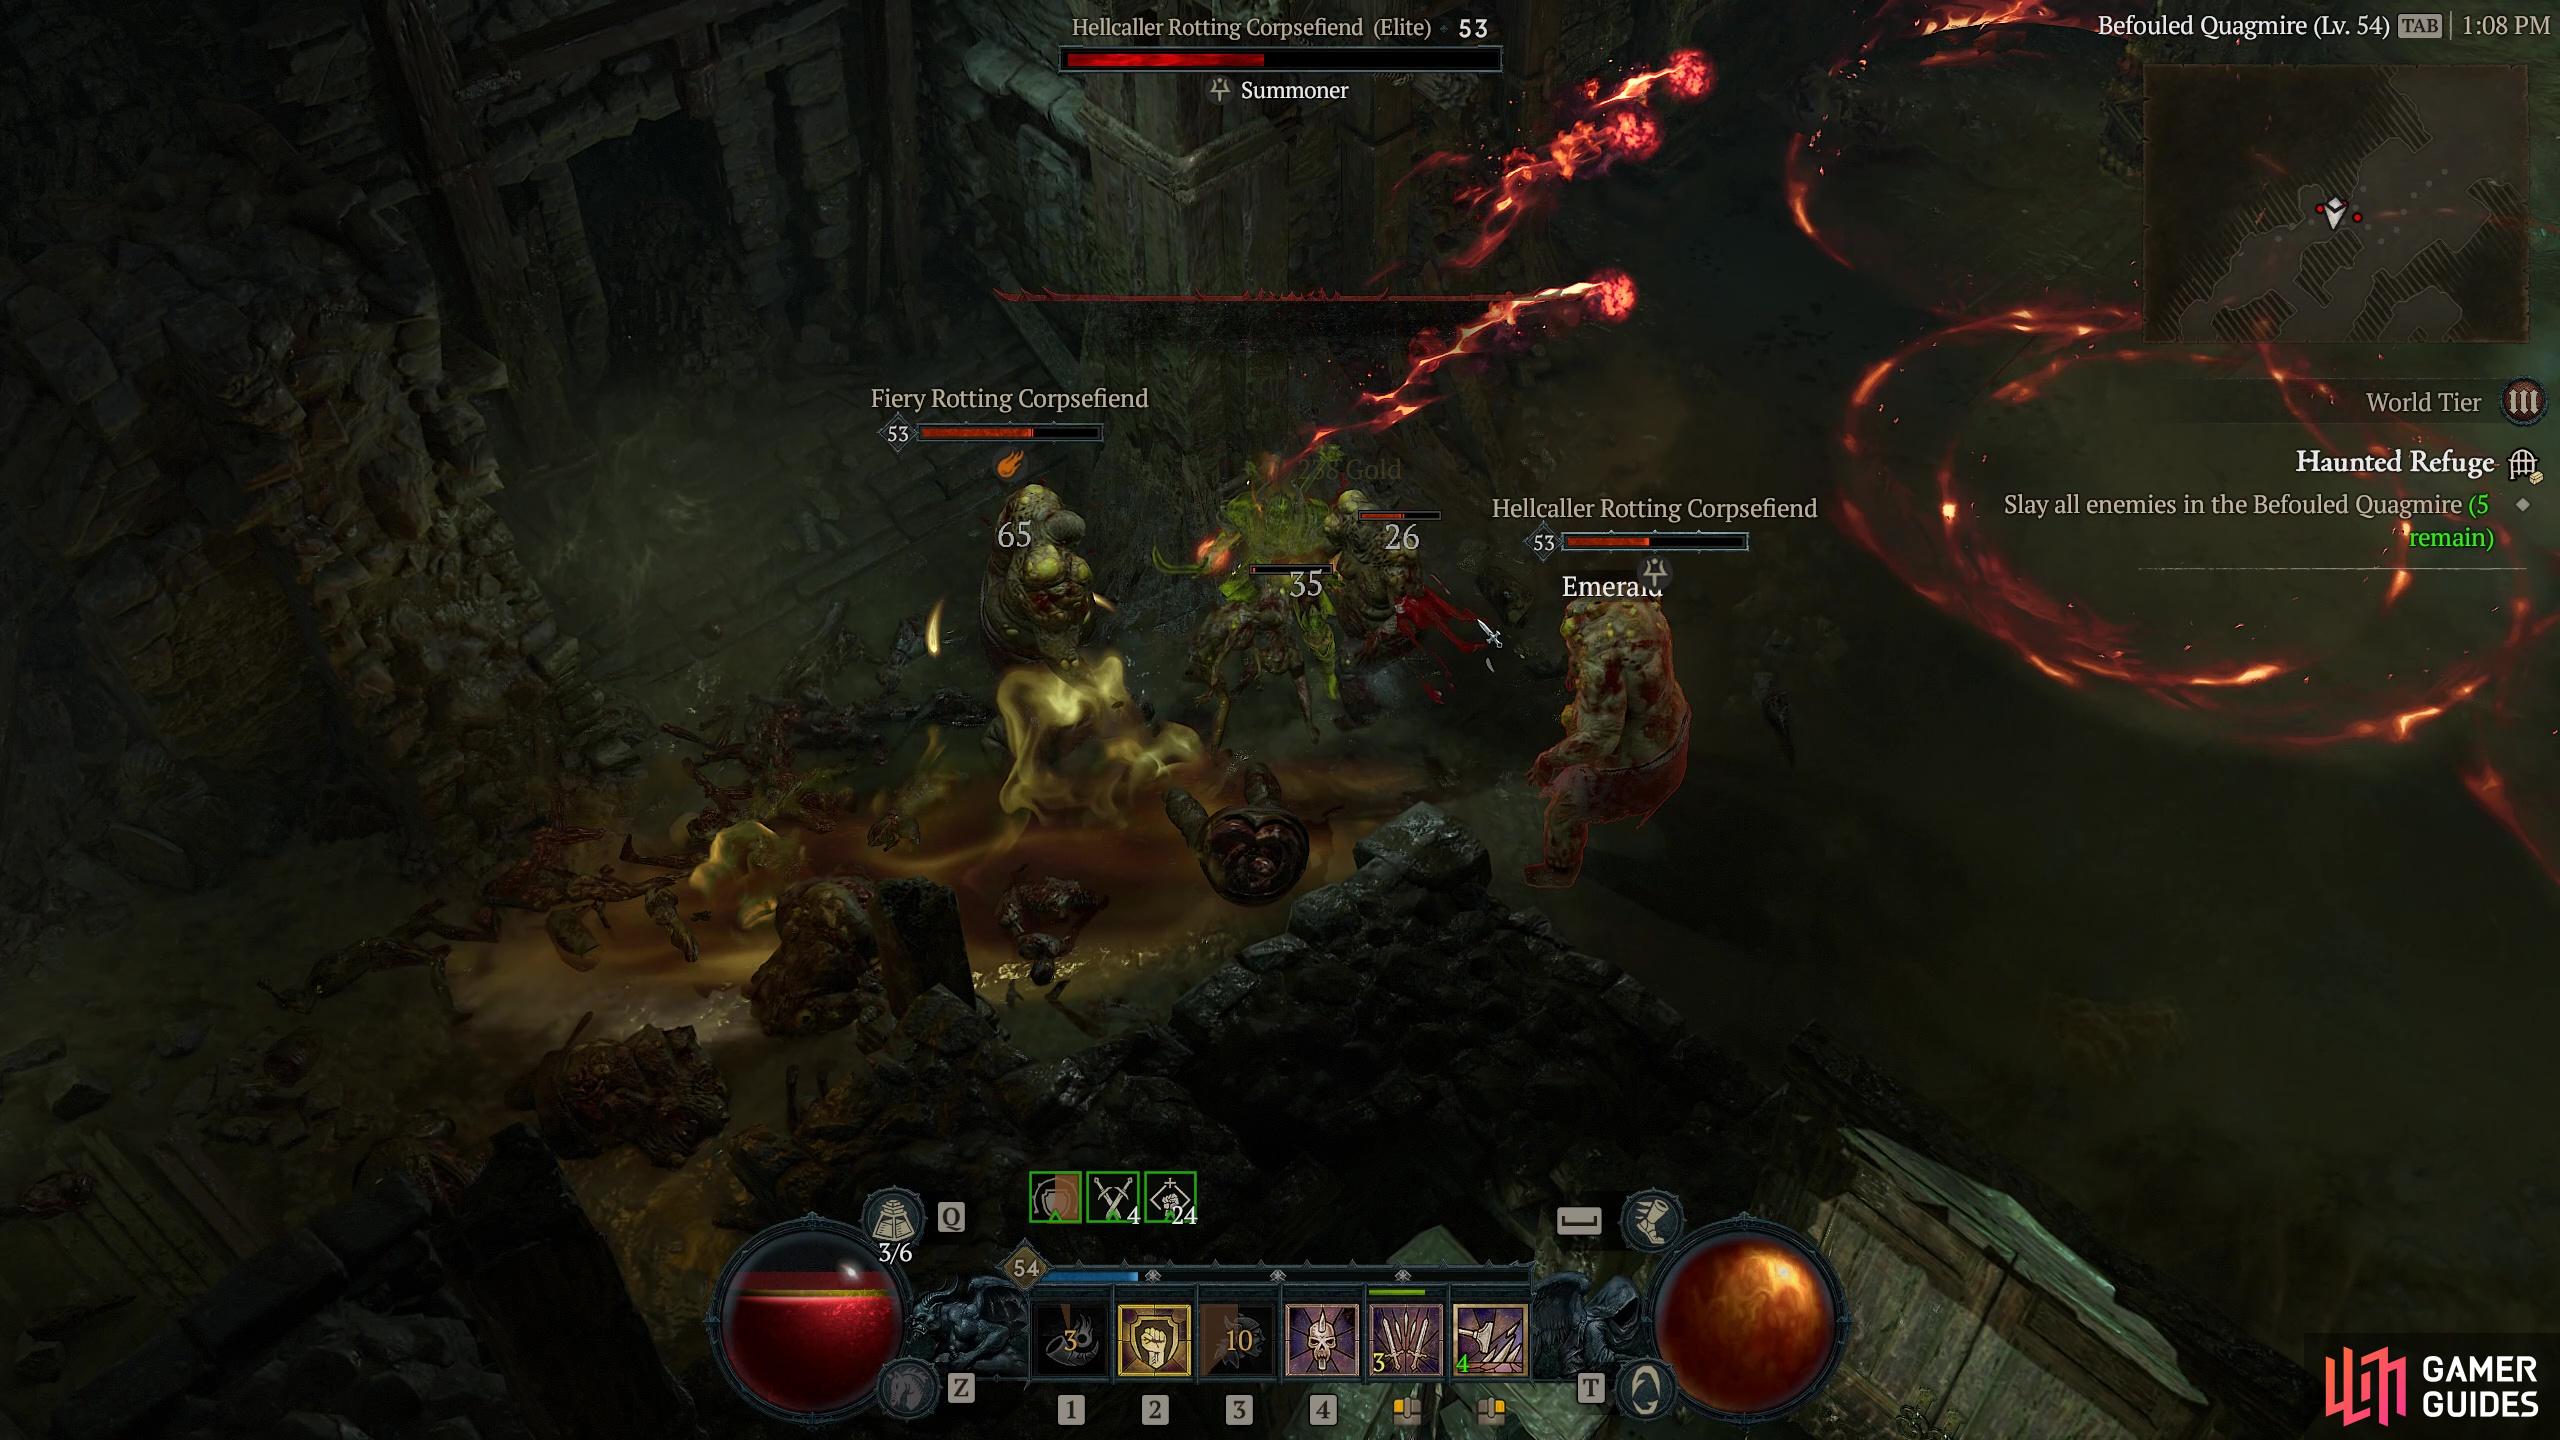
Haunted Refuge |
The old church sinks into the delta, drowning slowly.
Objectives
Description
The Haunted Refuge is a strange dungeon in Hawezar in that there are absolutely no ghosts in there apart from a single room, and it is not as haunted as some in the slightest. In fact it is plagued only by Sanctuary’s most annoying wildlife - To start with we need to return two items to their pedestal to unlock a door - this time it is Stone Carvings. When you find one you will find the second close by, but annoyingly you can’t carry both at the same time, leading to some unnecessary backtracking. Thankfully it only takes a minute or so. There are areas where the enemy density is much higher, but this is not one of the more difficult dungeons in Hawezar buy any means. One complete you can travel on to the Befouled Quagmire where you must clear out the few ghosts that make this place haunted, then pull both levers to open the next section. Here is one of those areas where you need to kill all the enemies, and be warned there are a lot of them. There are also a couple of traps sprung on you where you get down to the last few and then suddenly another 20 spawn. Kill them all though and you will complete the dungeon - there’s nothin g more difficult than that and you can add the
Enemies
Putrid Remains
Zombies
Region
Item Reward
1×
|

|
|||||||||||||||||||||||||||||||||||||||||||||||||||||||||||||||||||||||||||||||||||||||||||||||

|
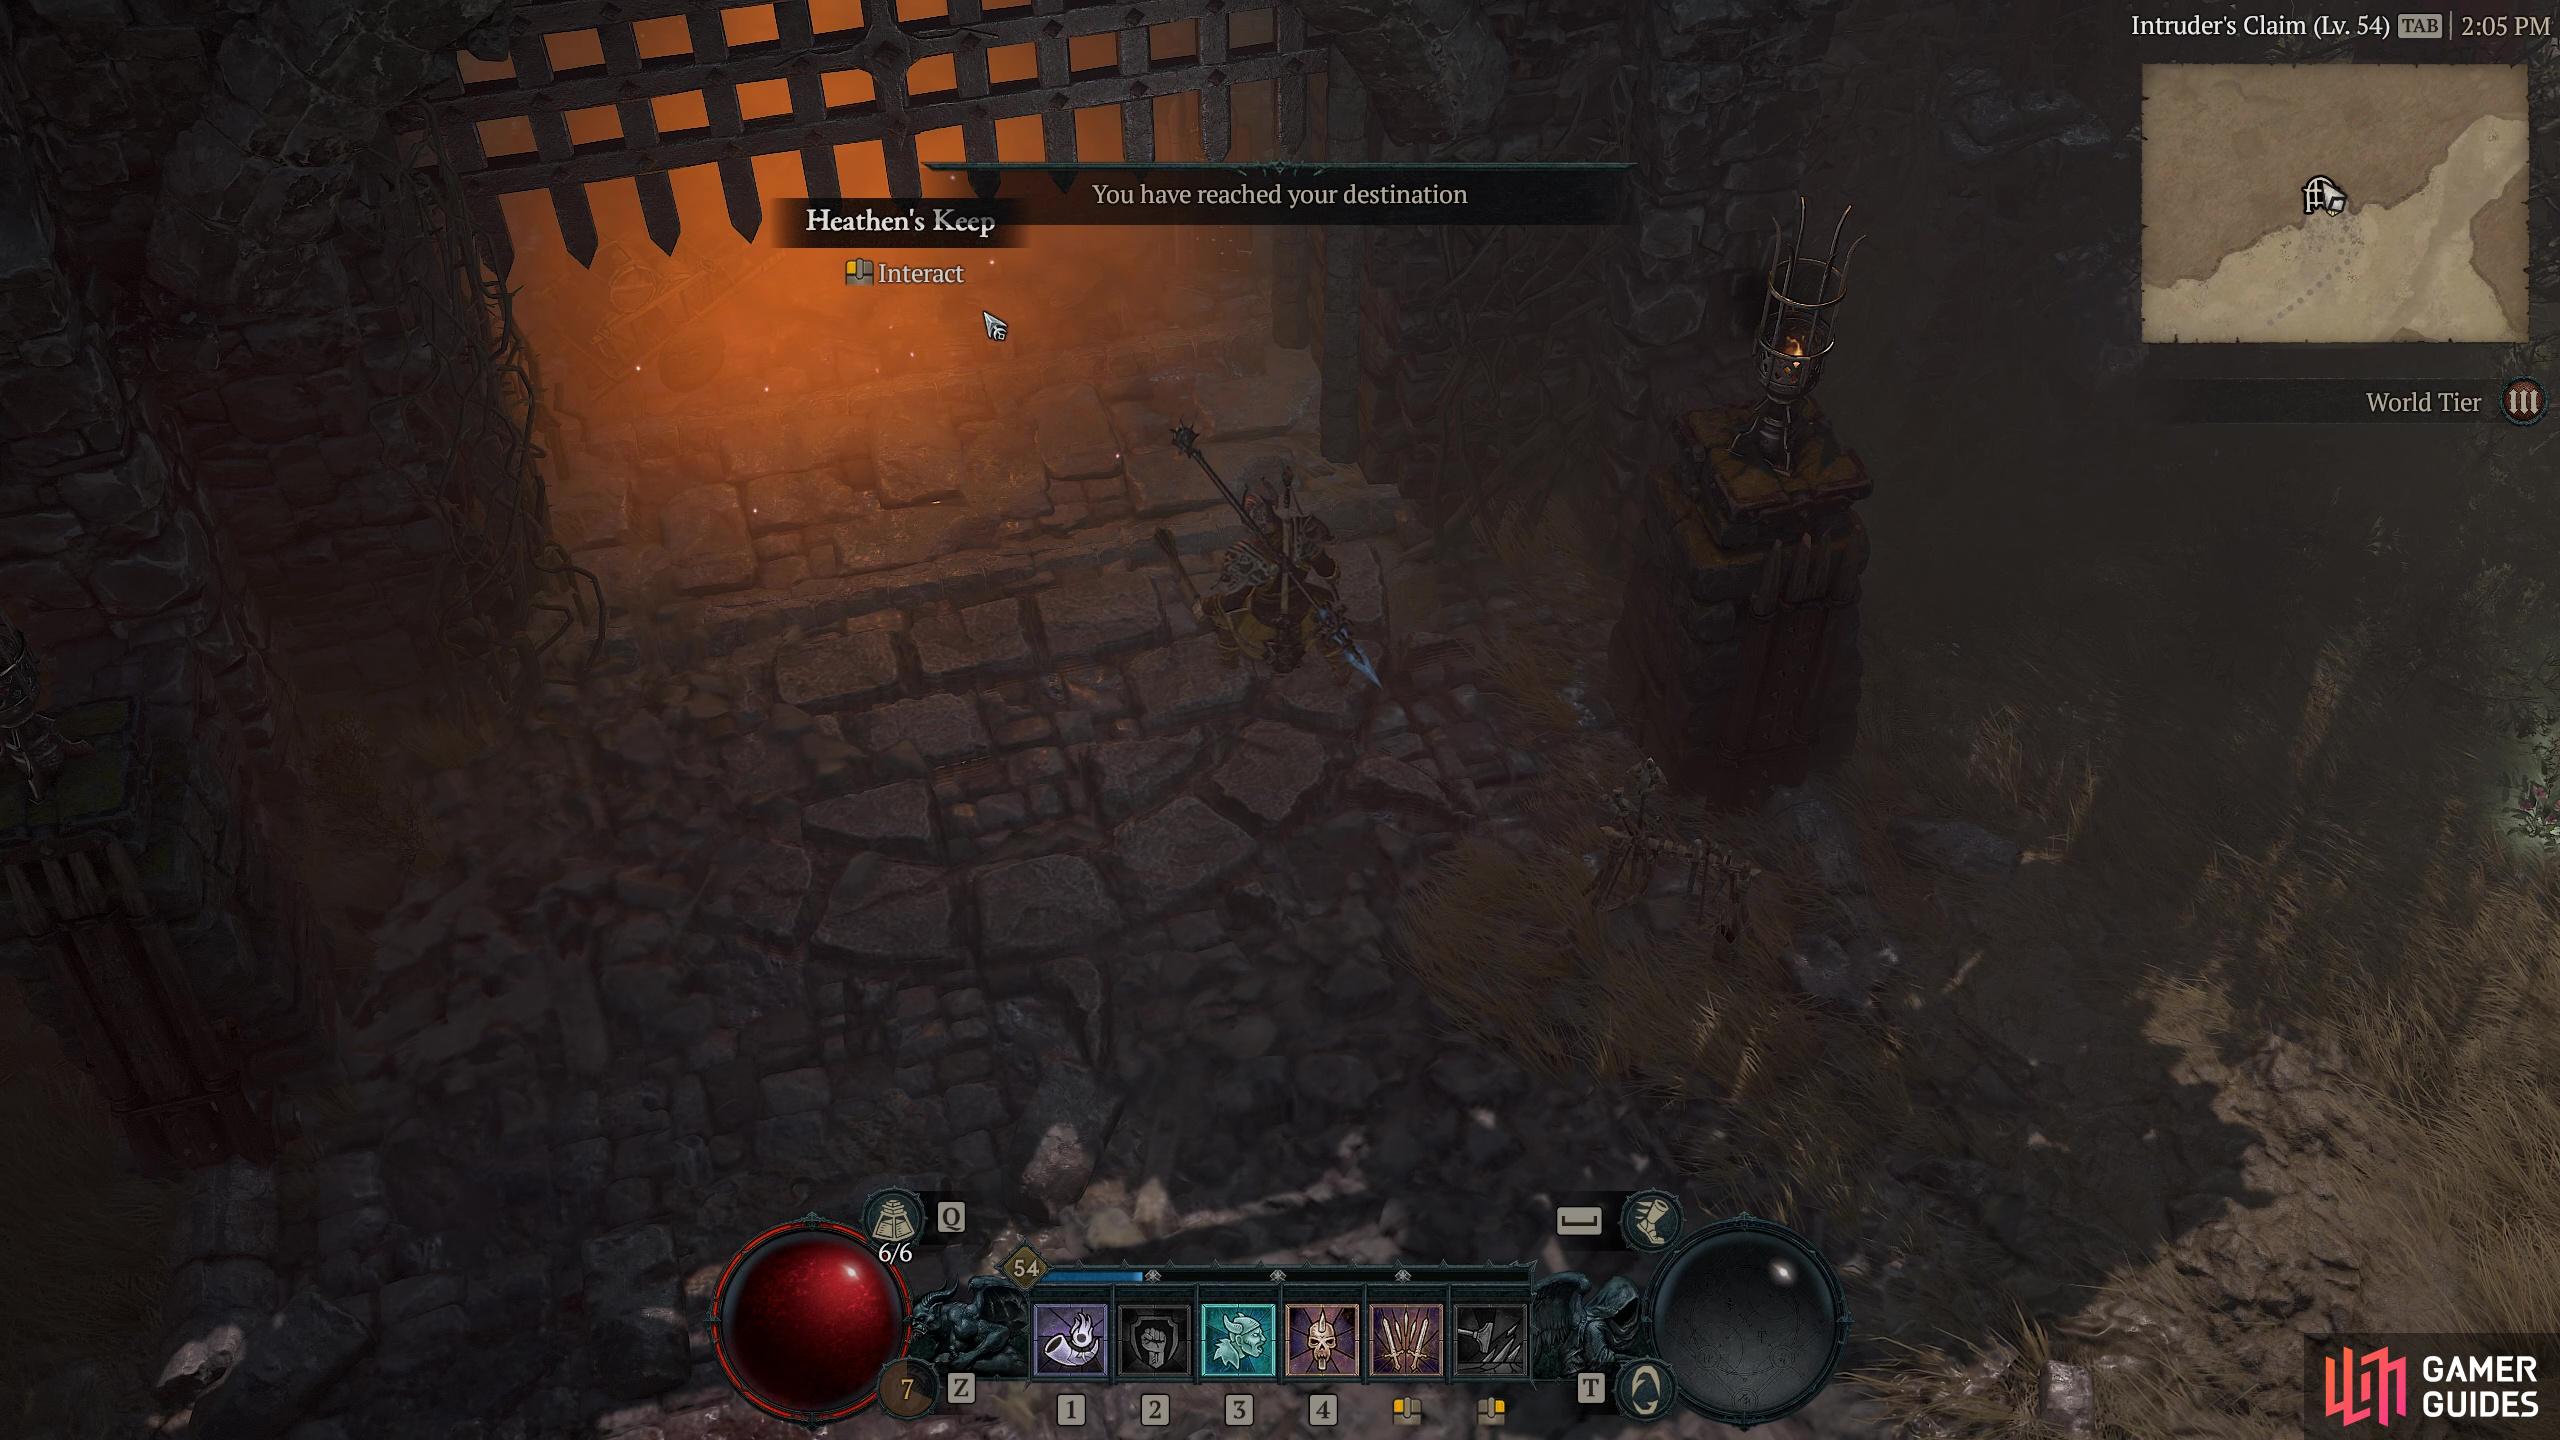
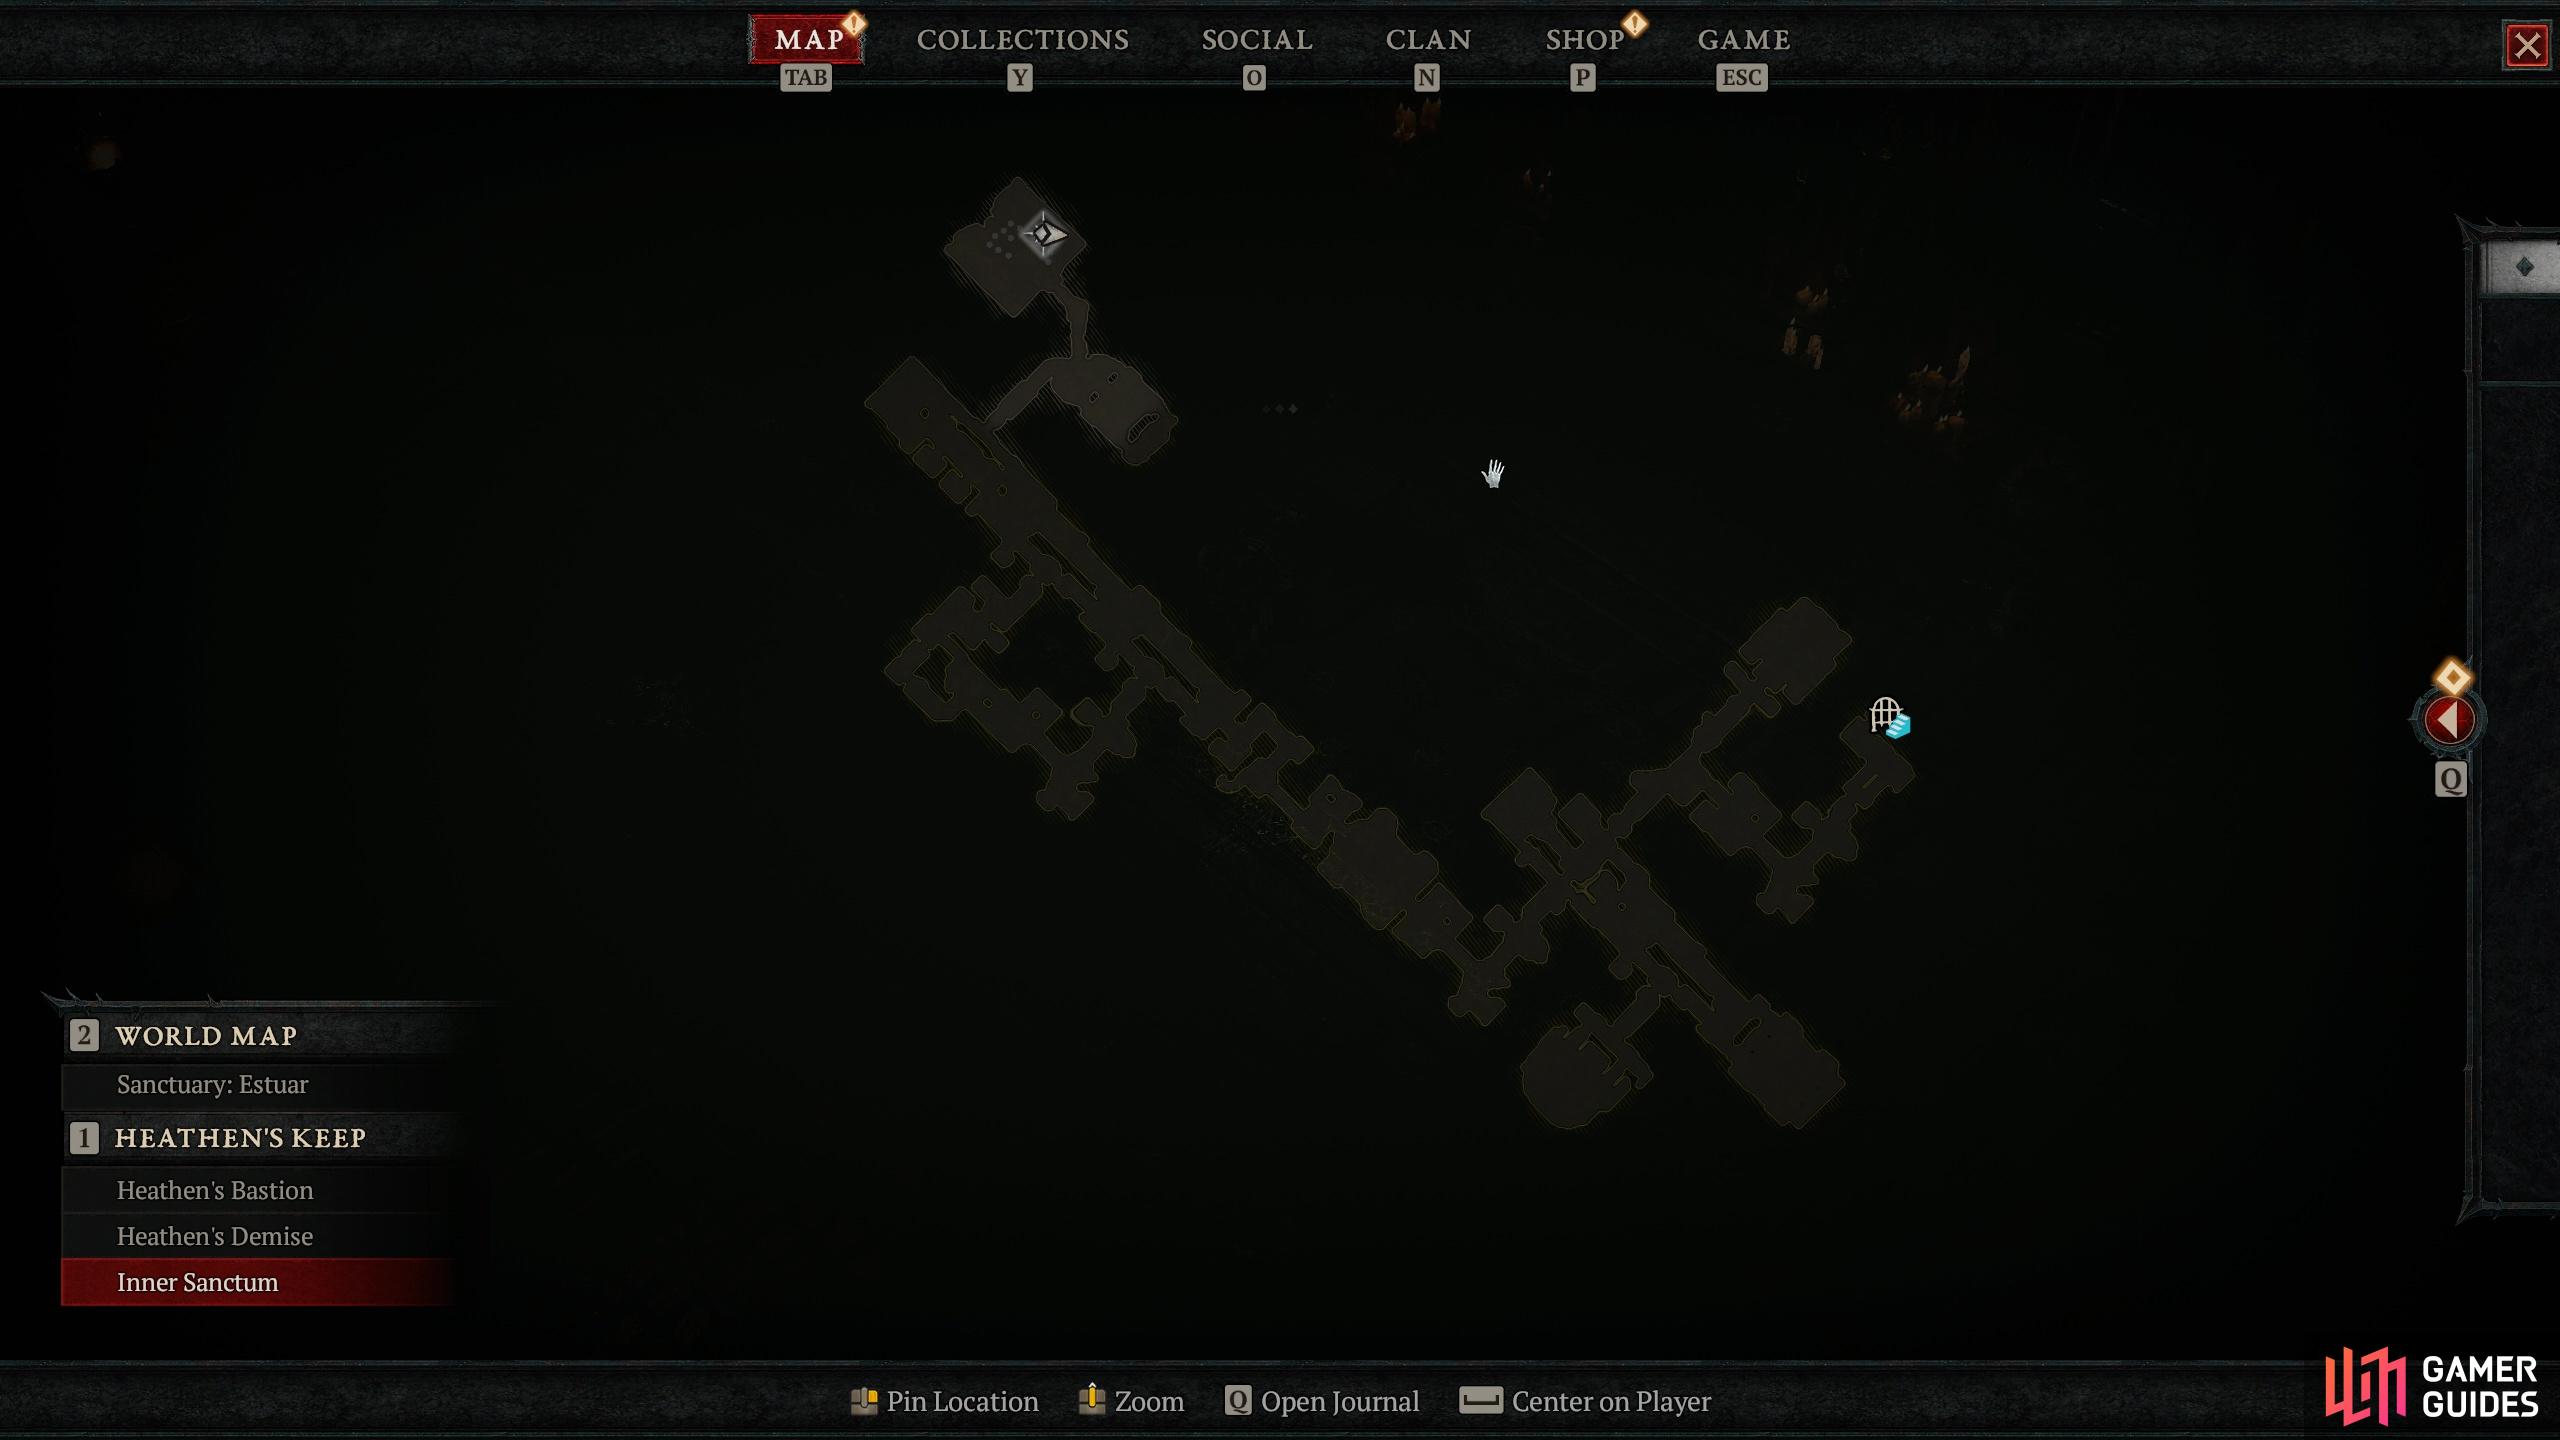
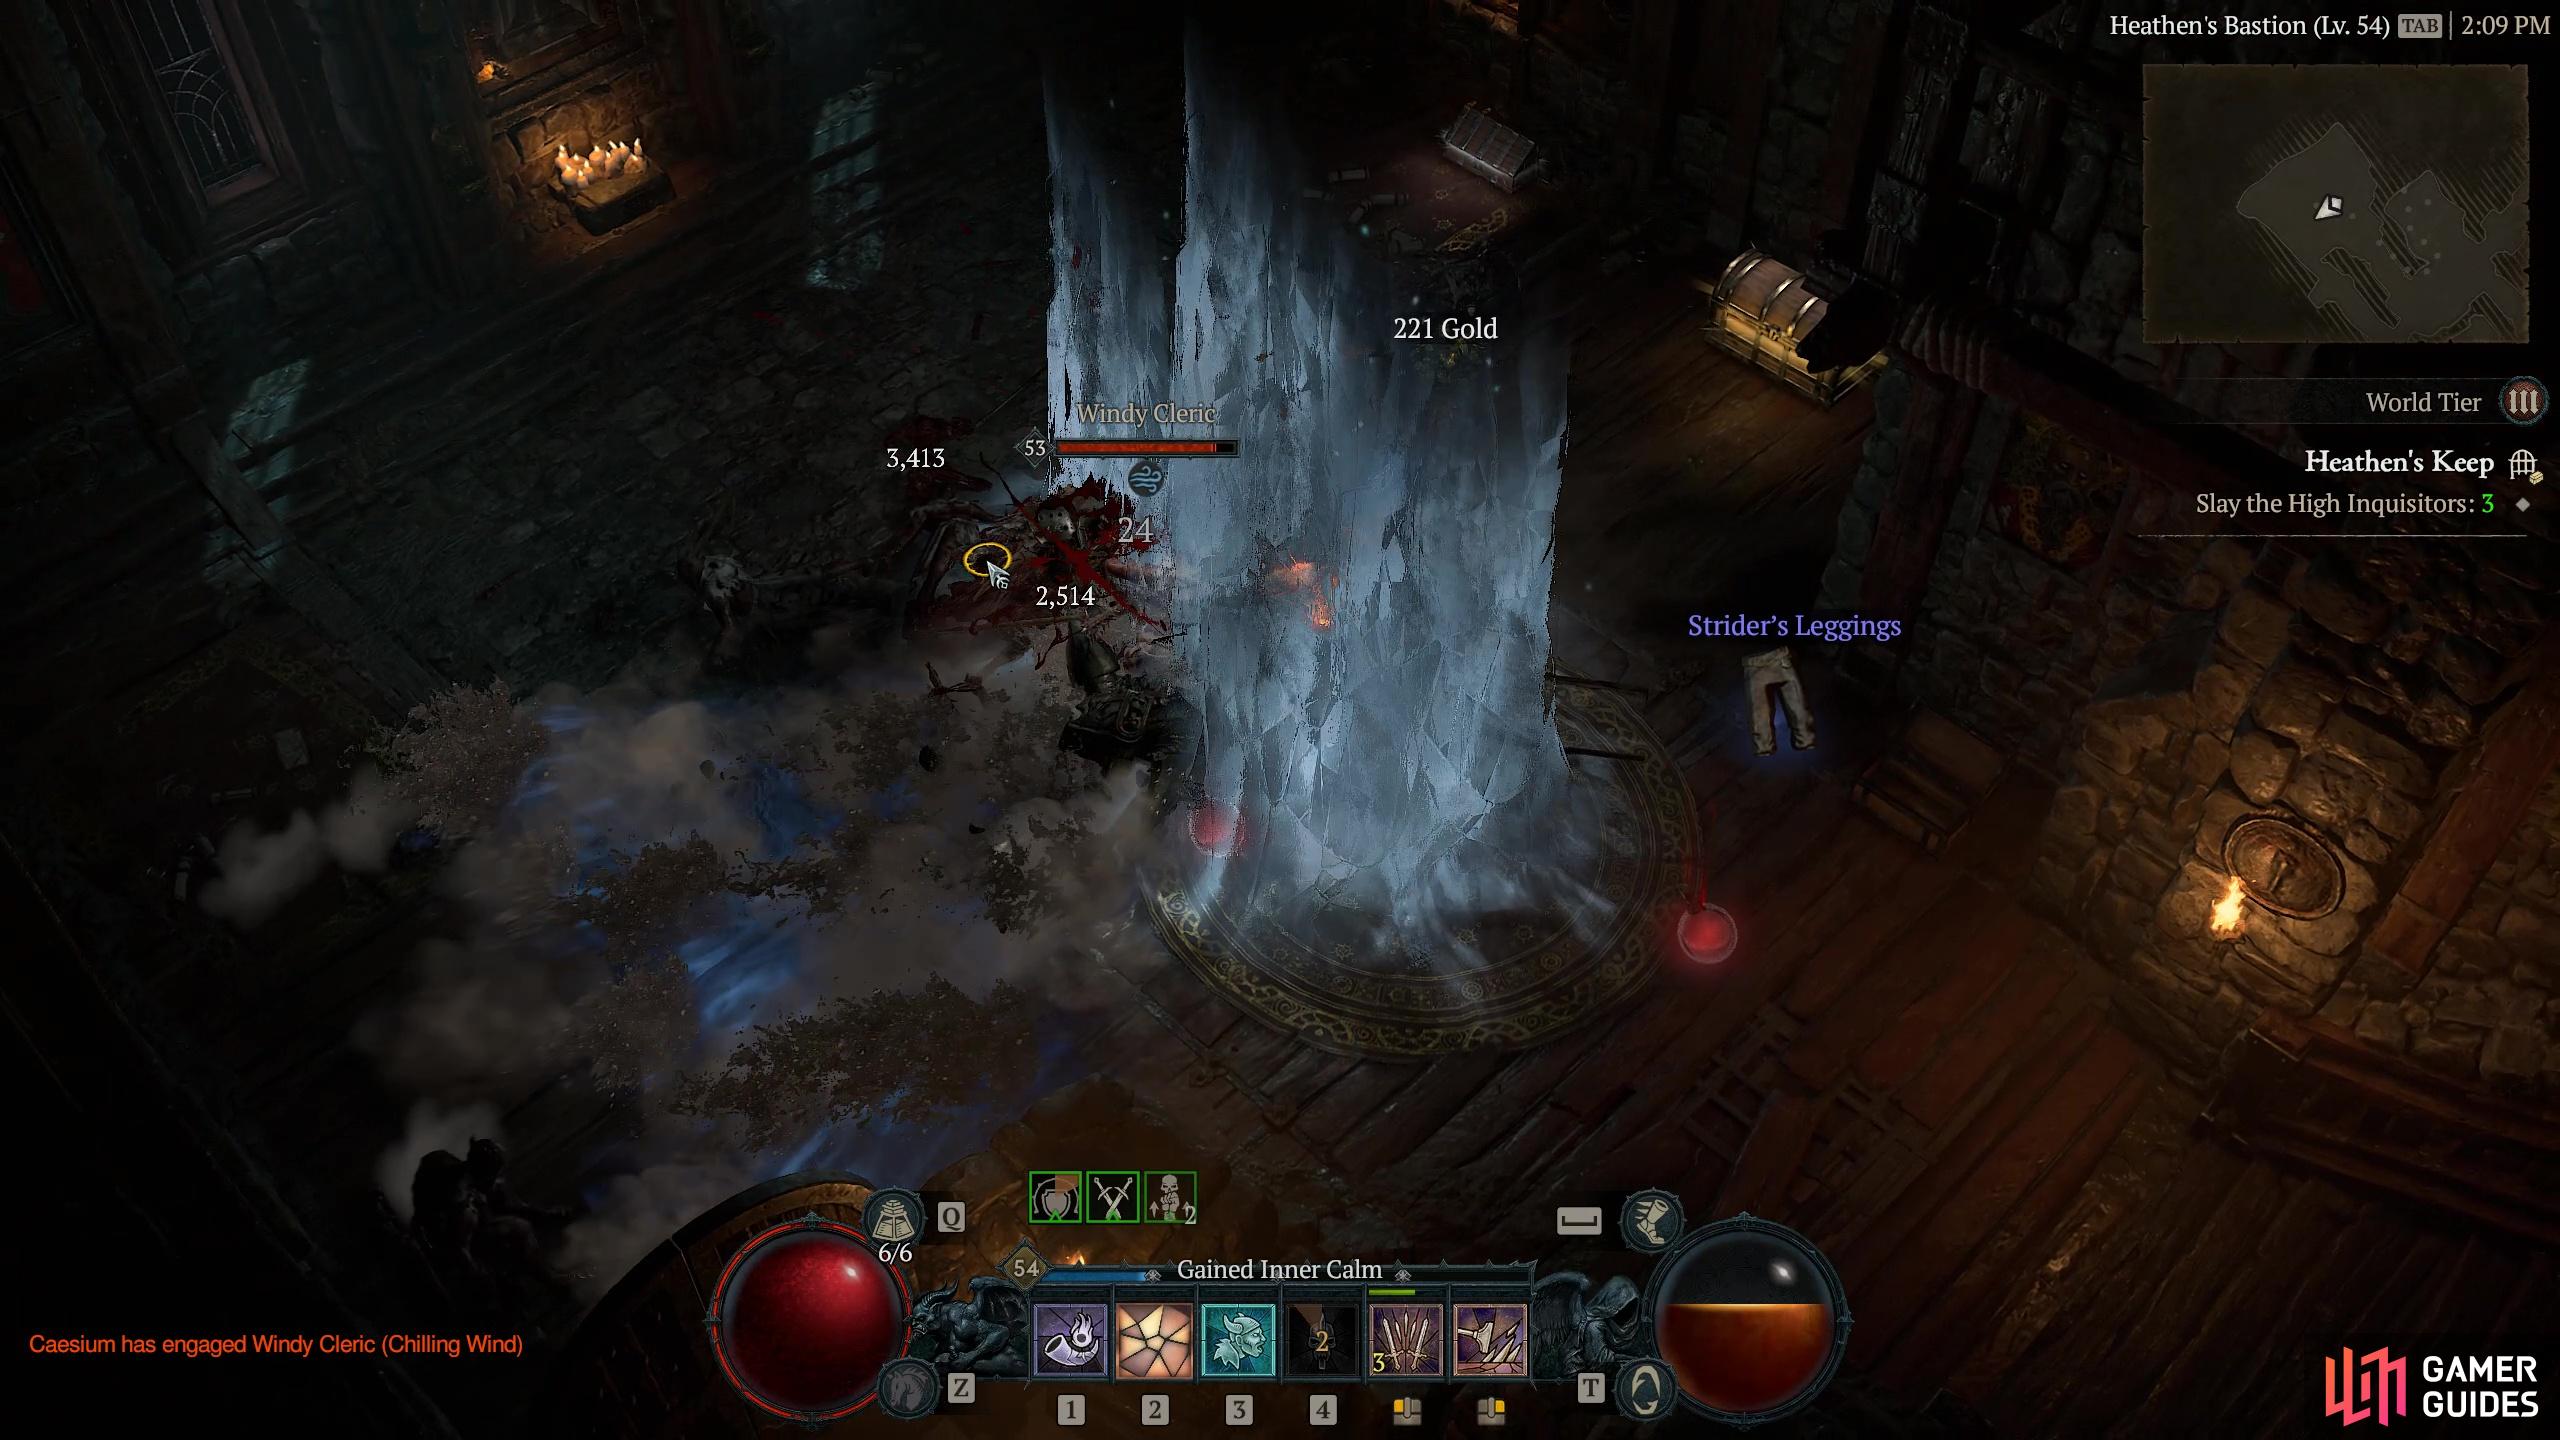
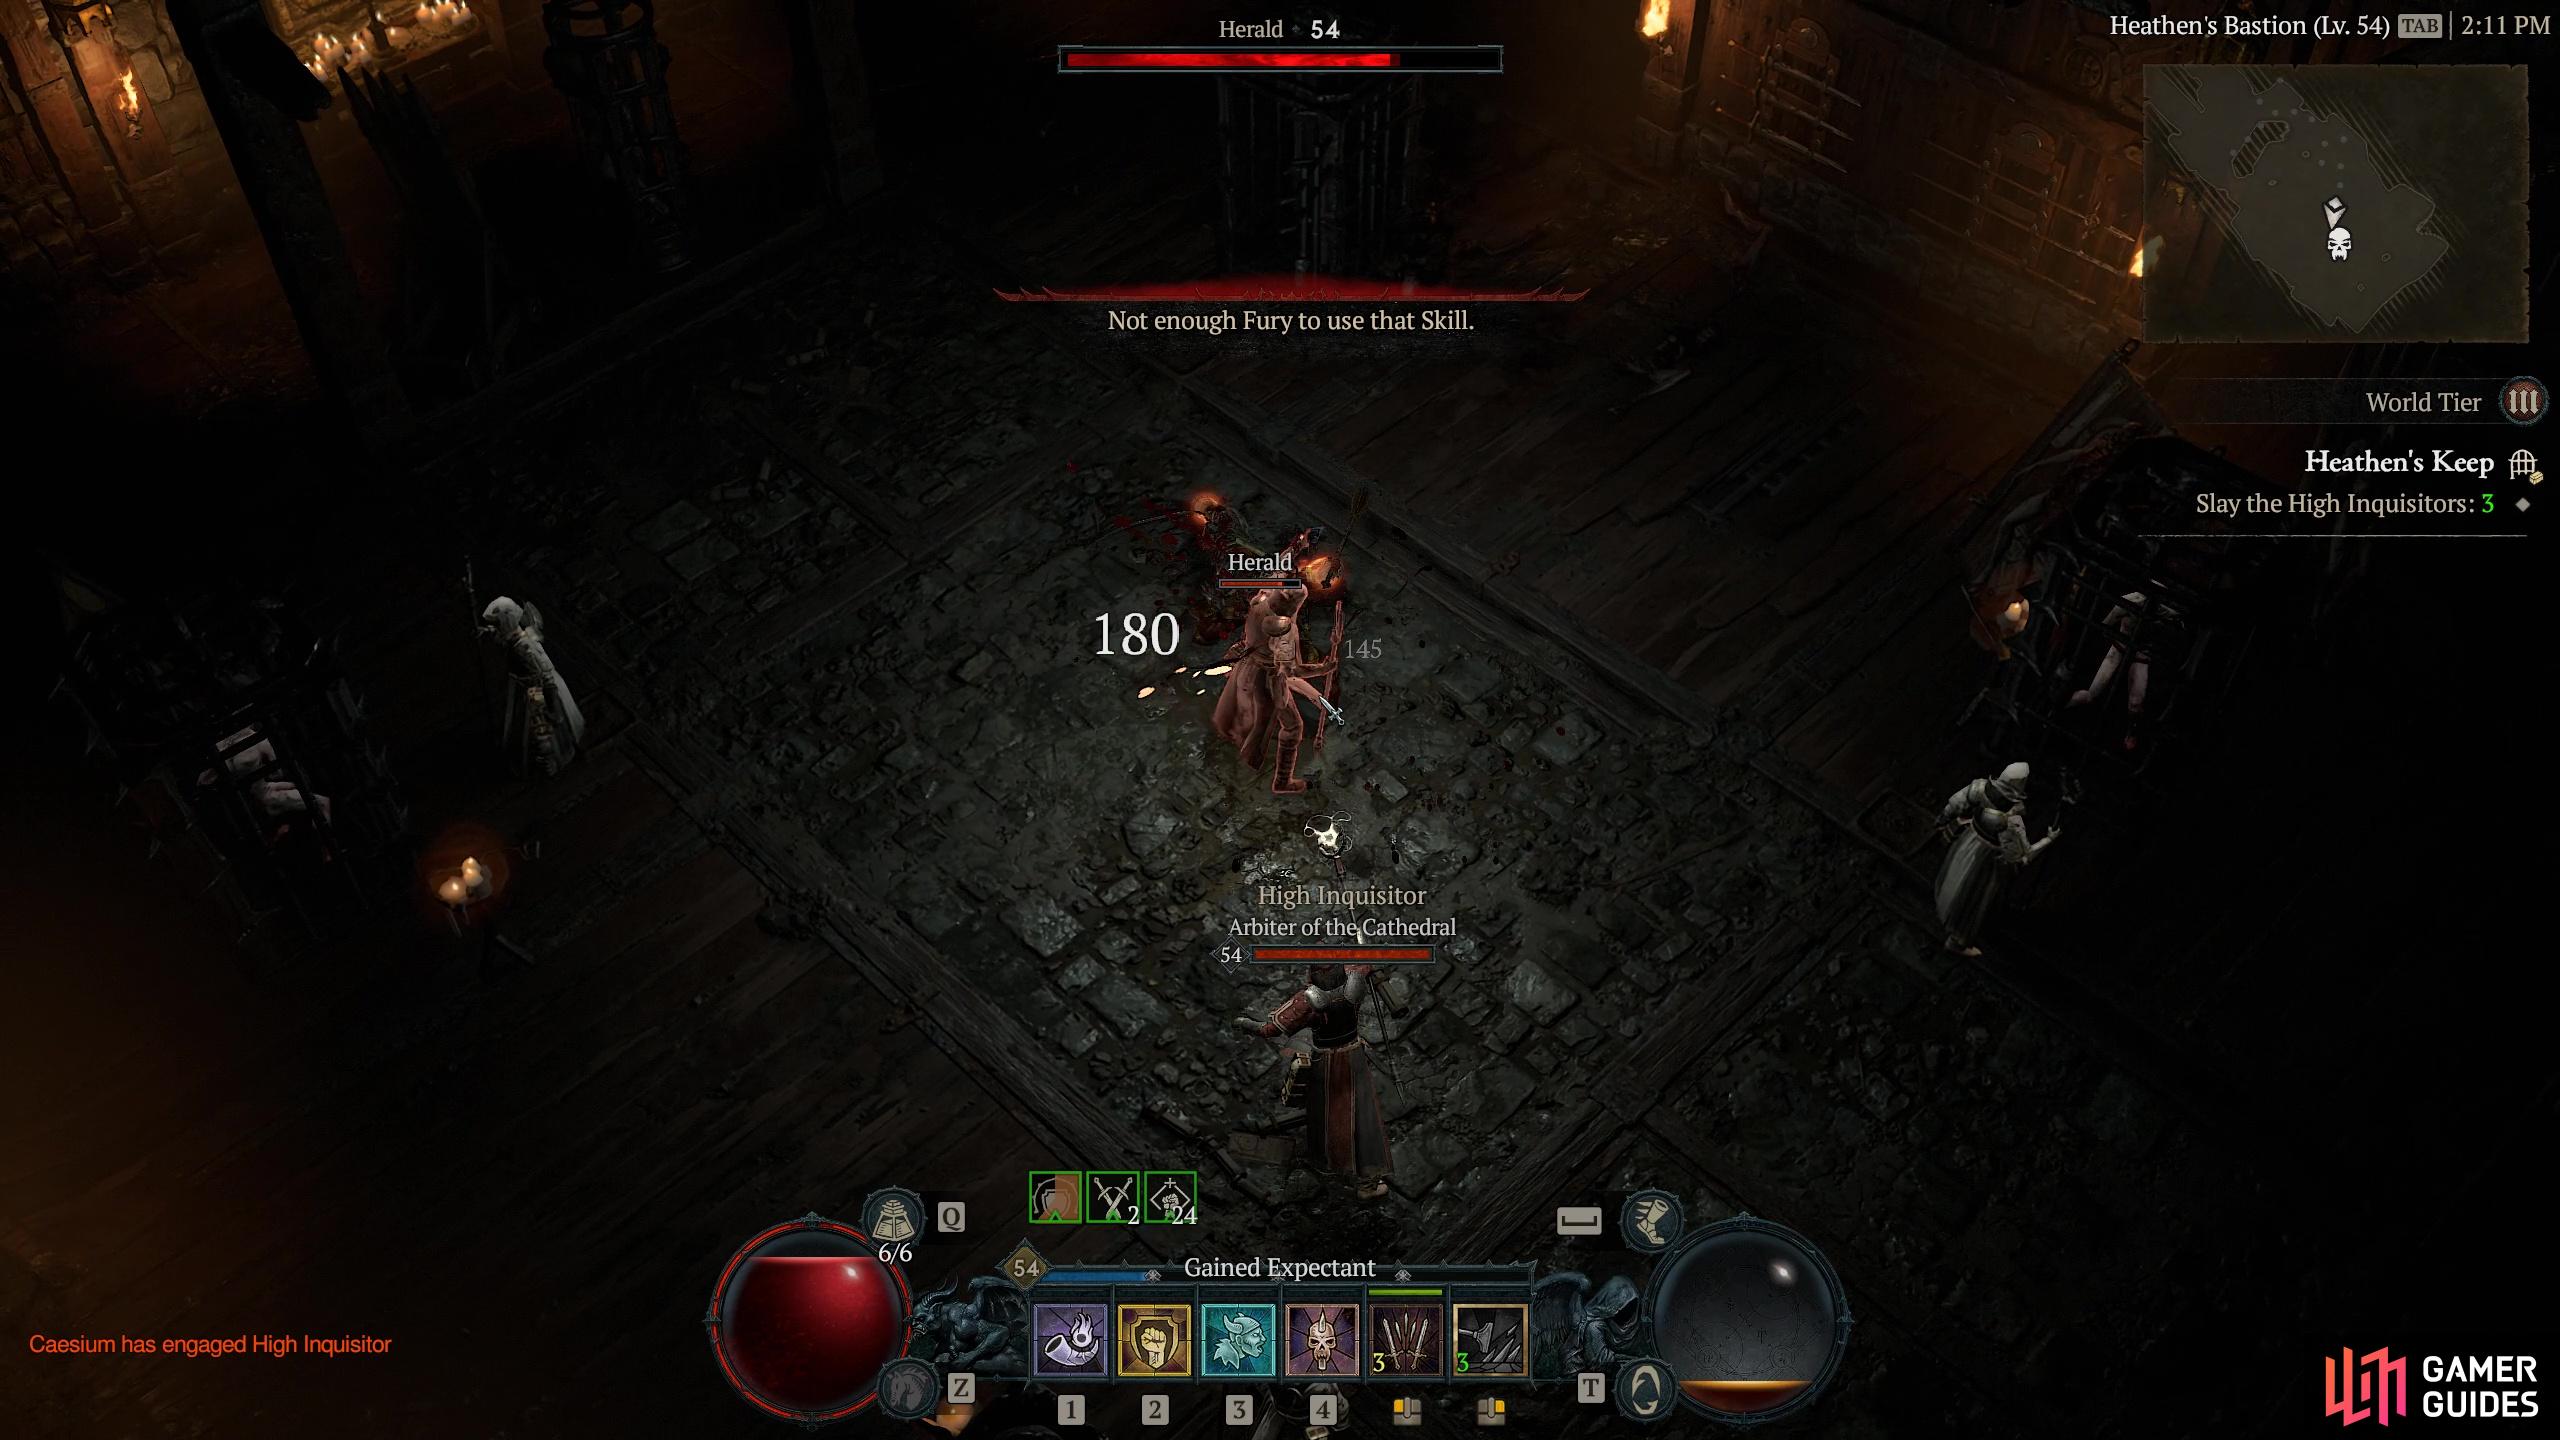
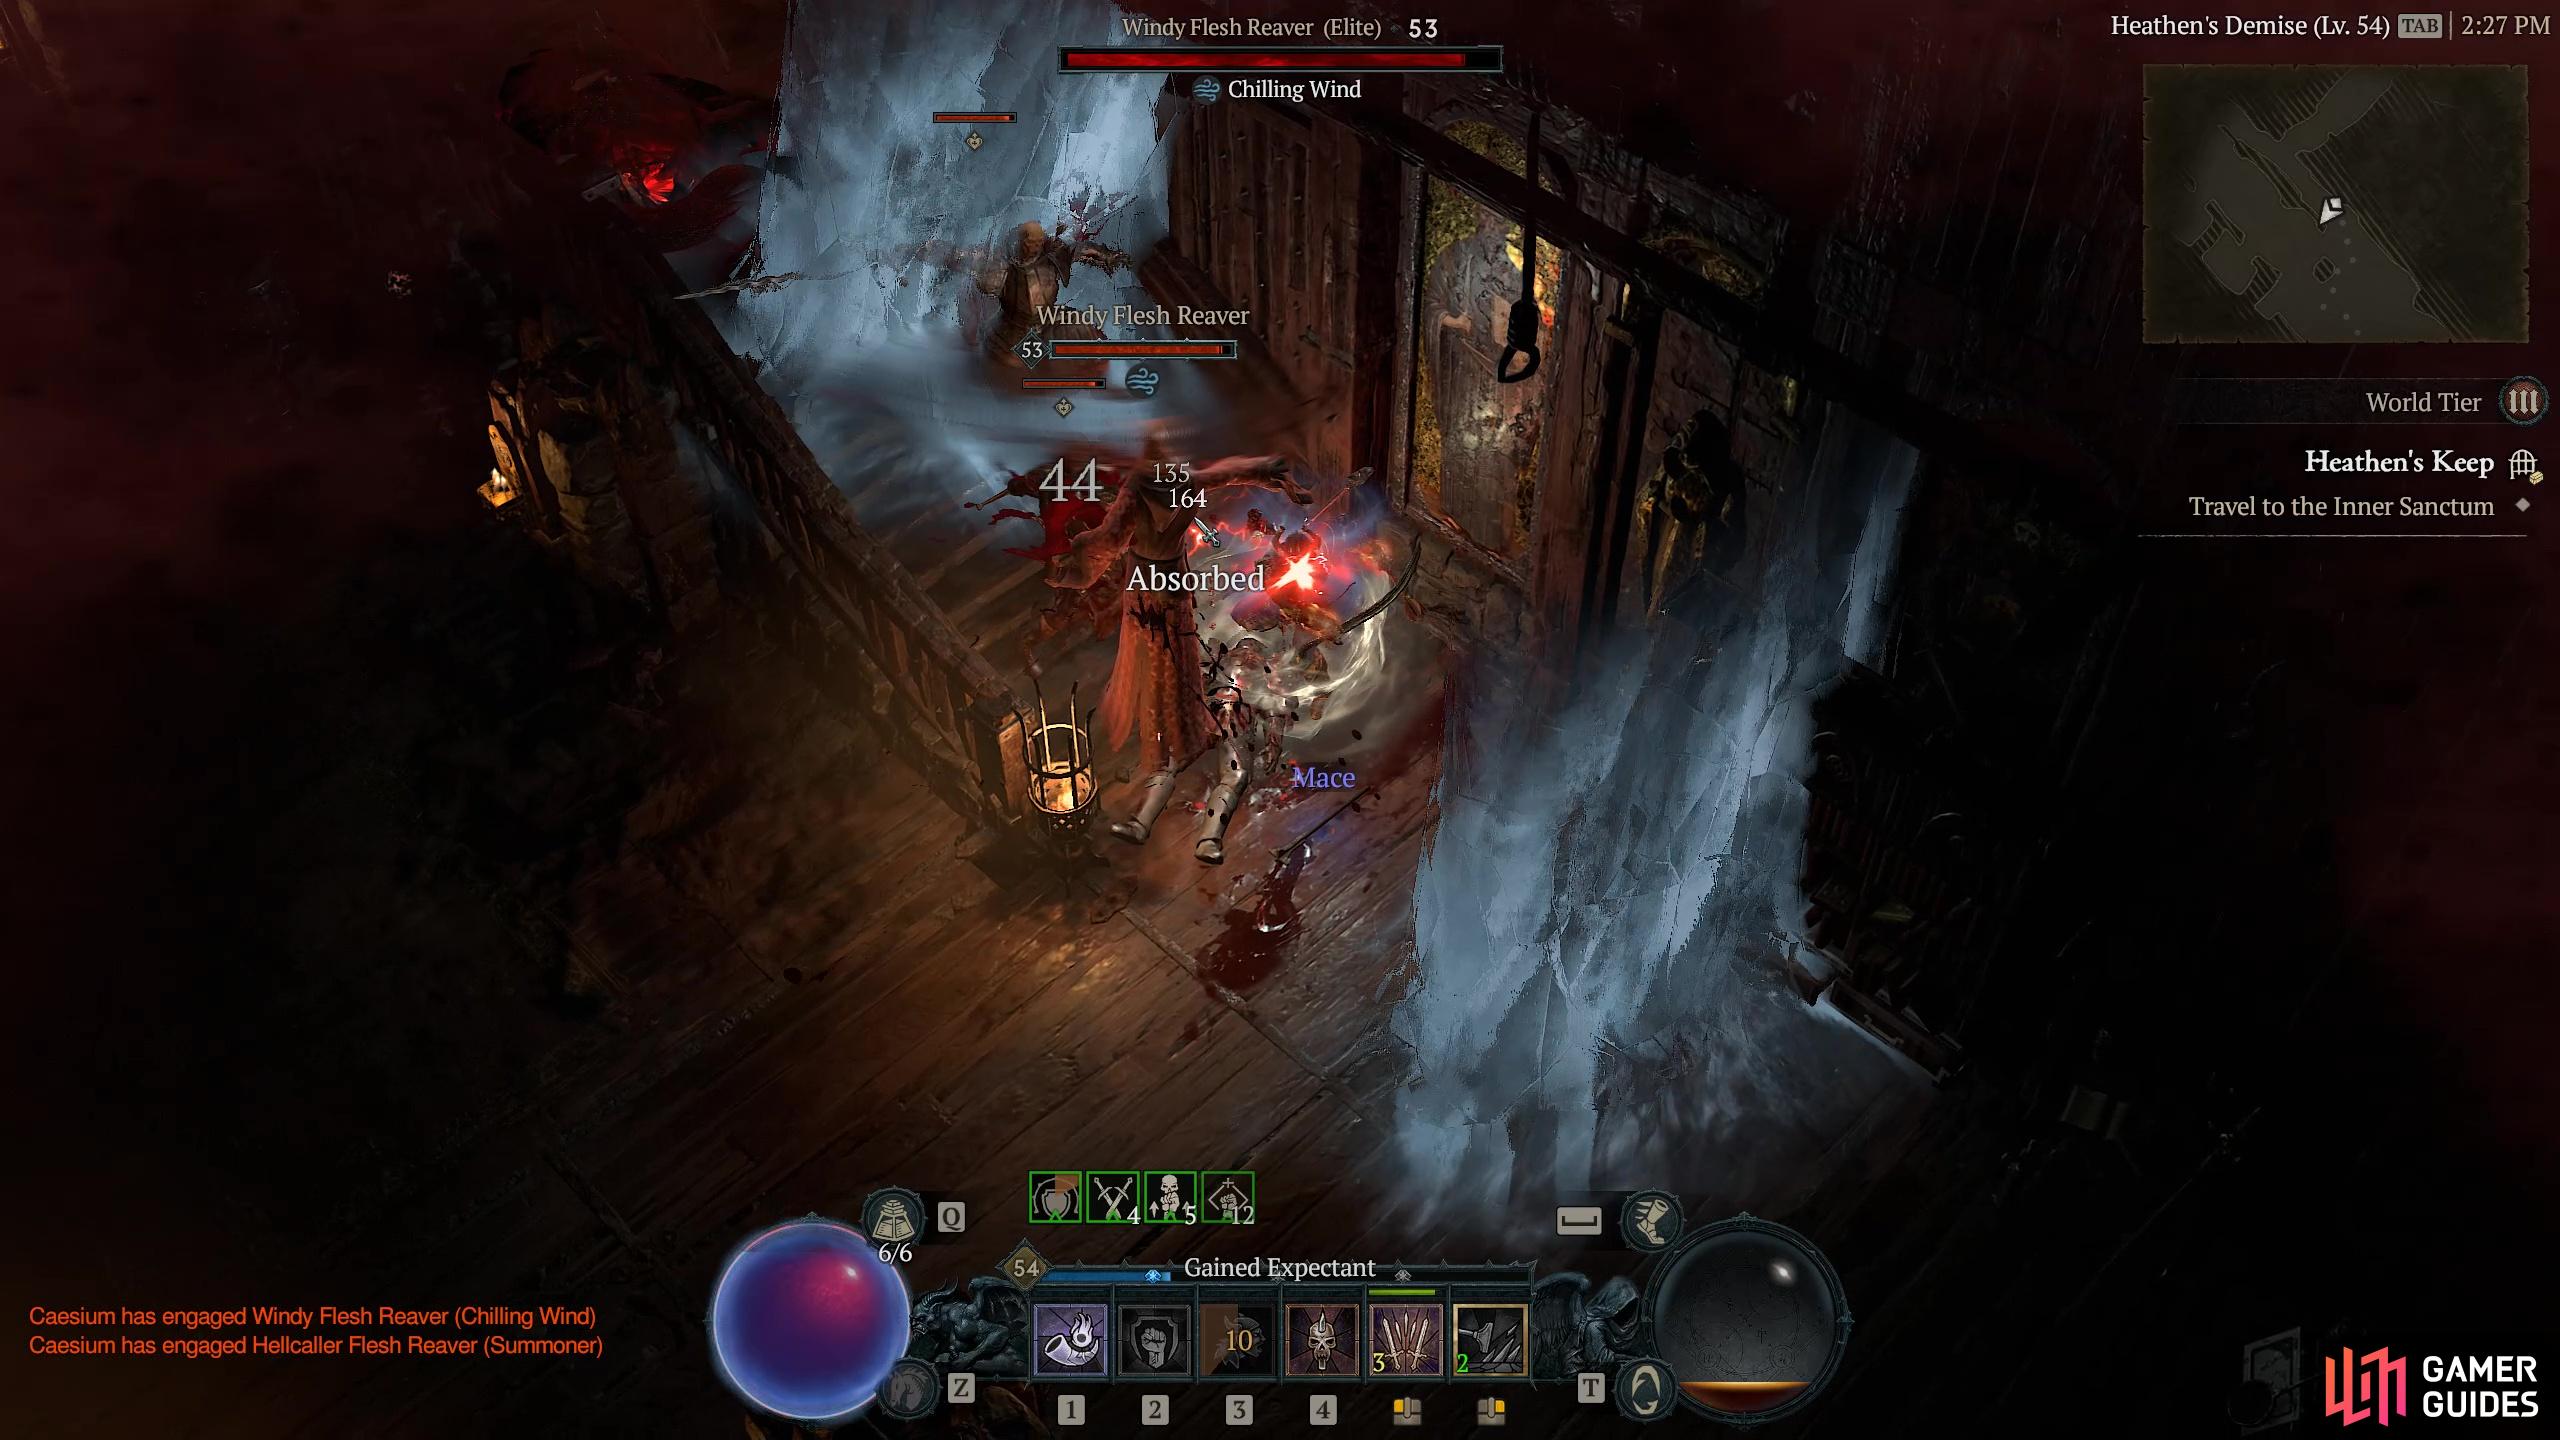
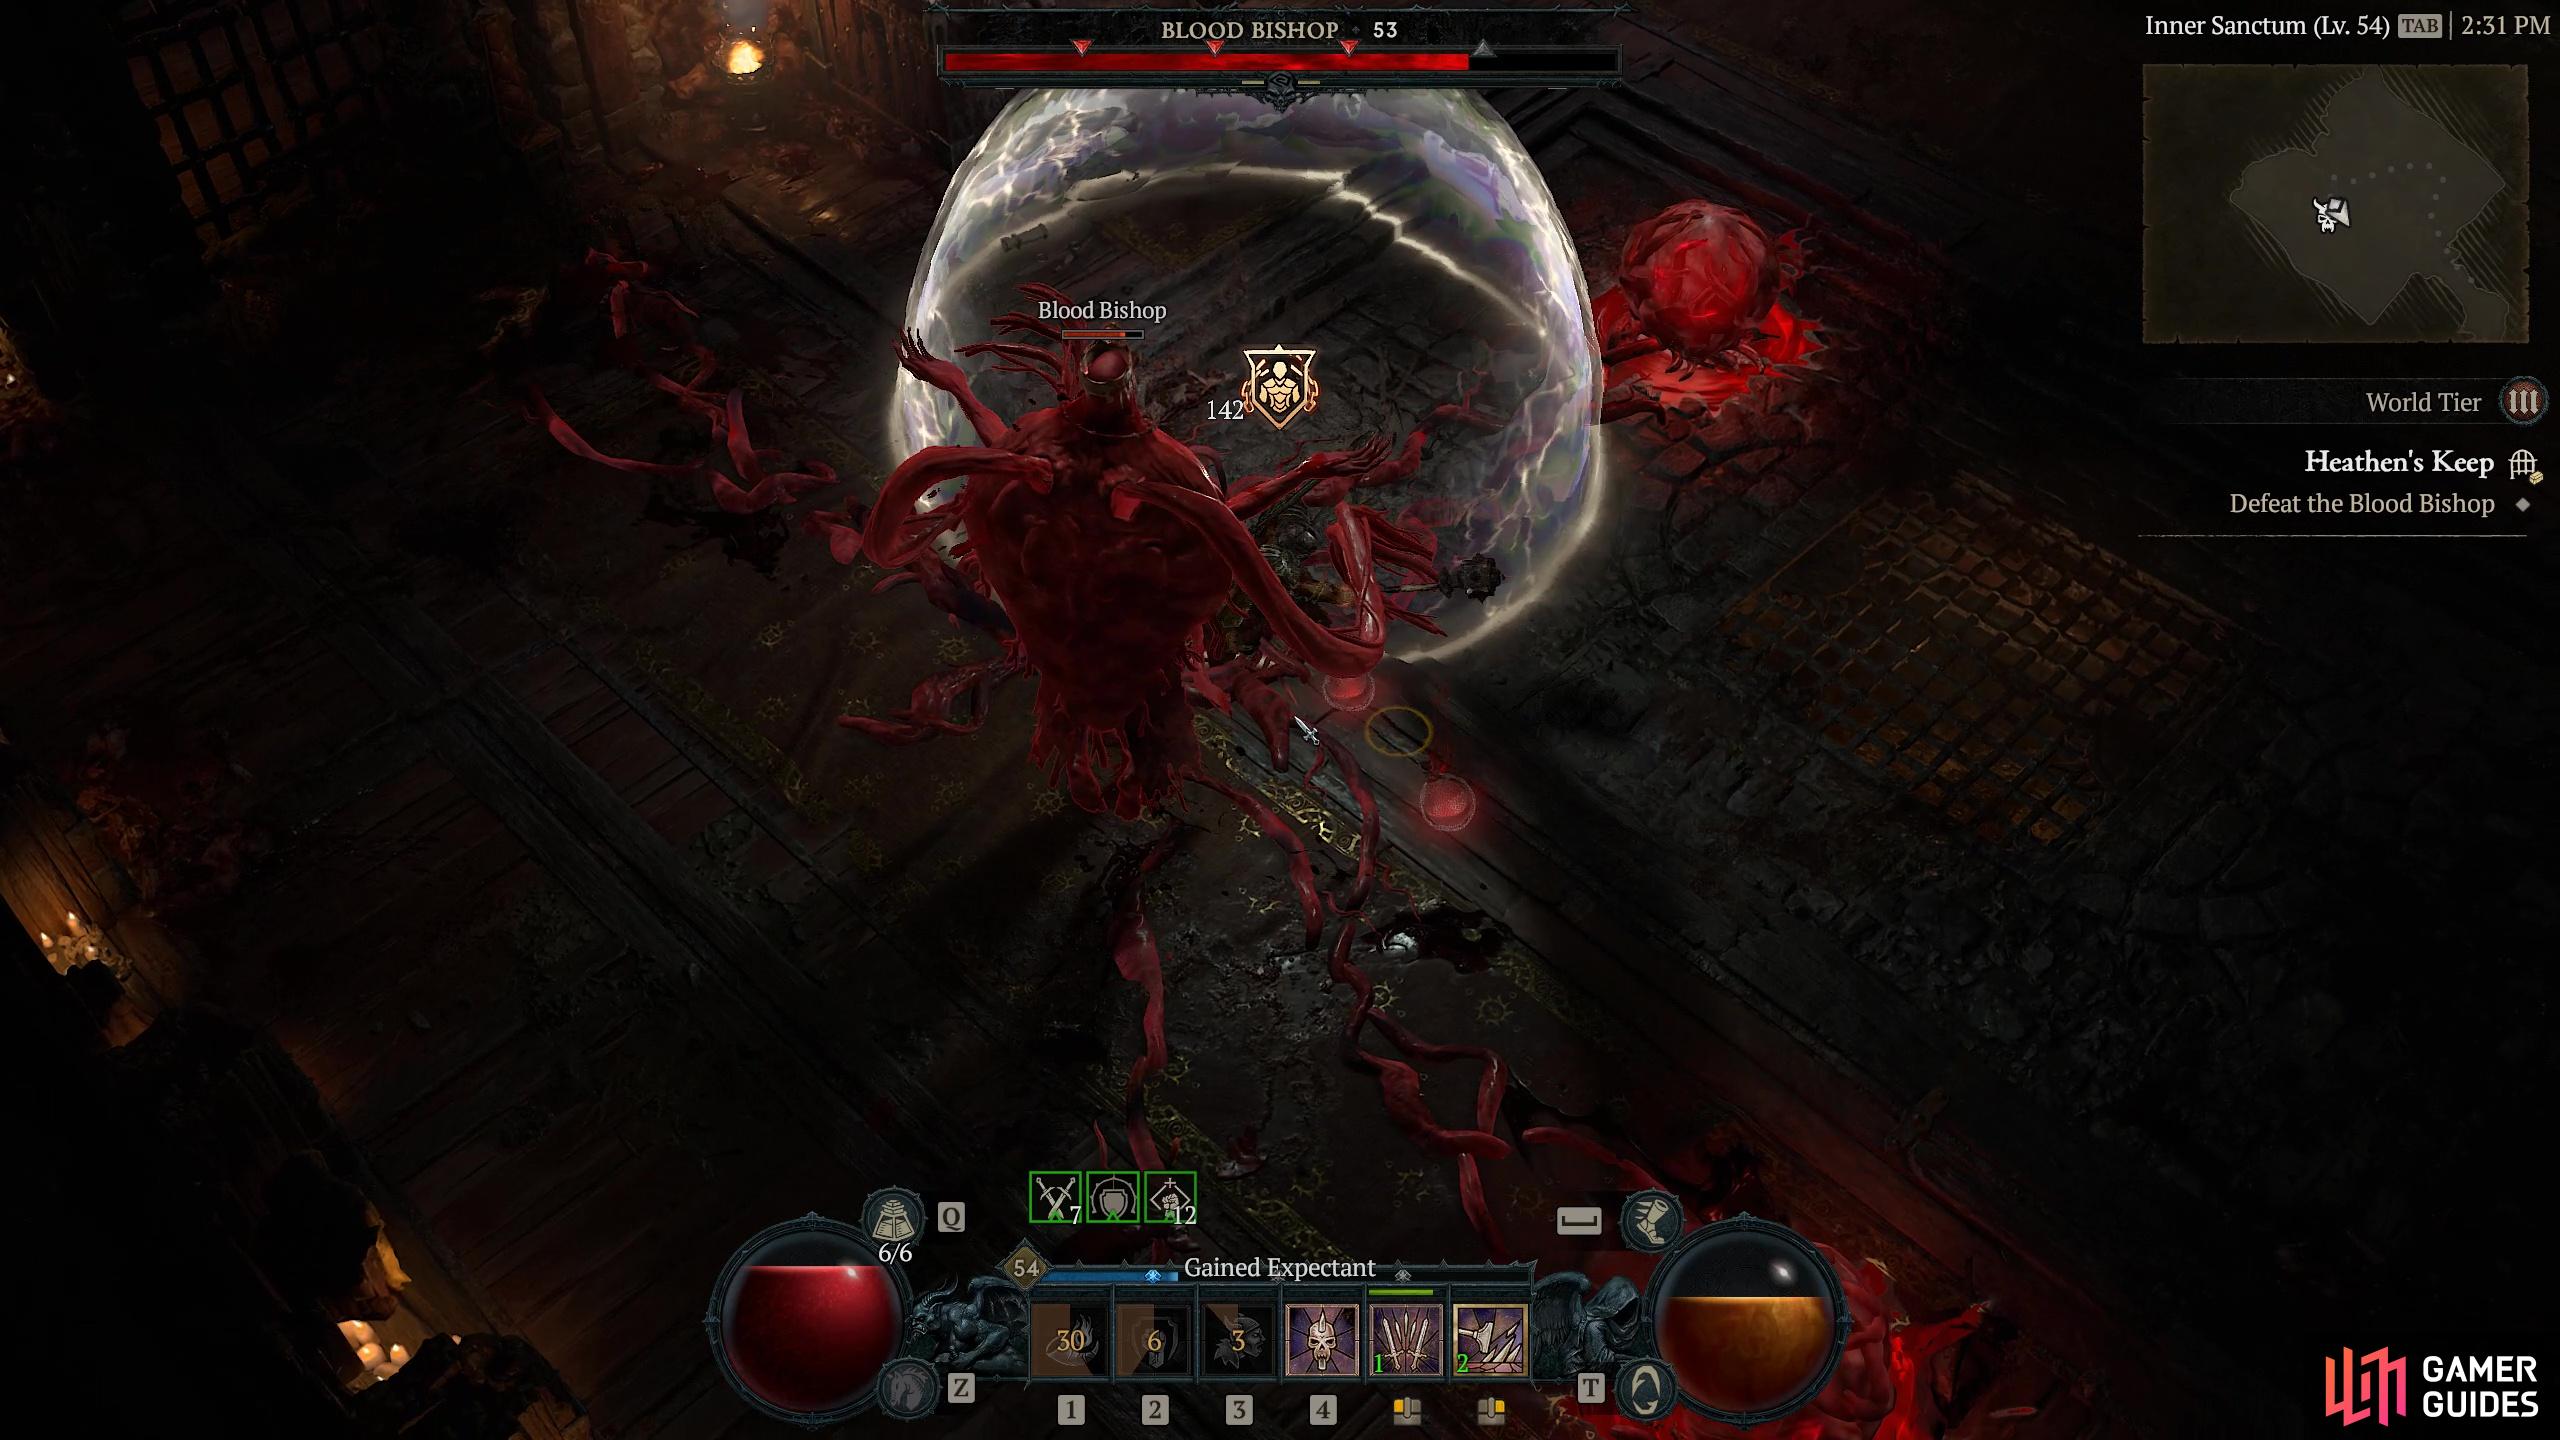
Heathen's Keep |
These Knights have sworn allegiance to a new leader.
Objectives
Description
Heathen’s Keep will see you come up against two main types of enemy in this Hawezar dungeon. The first are knights of all the common denominators - Something else is going on though, the Knights have been torturing vampires and are know addicted to the blood side of things, so the second half of the keep you will find more packed out by bloodsuckers, with the occasion knight thrown in for good measure. First task is to find three High Inquisitors from the Cathedral and send them to their fate. They all appear in similar rooms where Clerics are ‘interrogating’ Revenants in torture cages. Of course, getting rid of the !cleric also means the !revenent gets out and attacks you as well. Even the undead that you save are ungrateful in Diablo. The trick here is to clear the room and then concentrate on the After you have killed all three you need to move on to the Inner Sanctum. You will face several battles en route, including one large one soon after setting off for the Sanctum, so be prepared. After that the mission is pretty straightforward, fight your way to the Inner Sanctum, where you will come up against our old friend, the
Enemies
Knight Errant
Knights
3× High Inquisitor
Bosses
1×
Region
General Reward
+30 Hawezar Renown
Item Reward
1×
|
|
|||||||||||||||||||||||||||||||||||||||||||||||||||||||||||||||||||||||||||||||||||||||||||||||

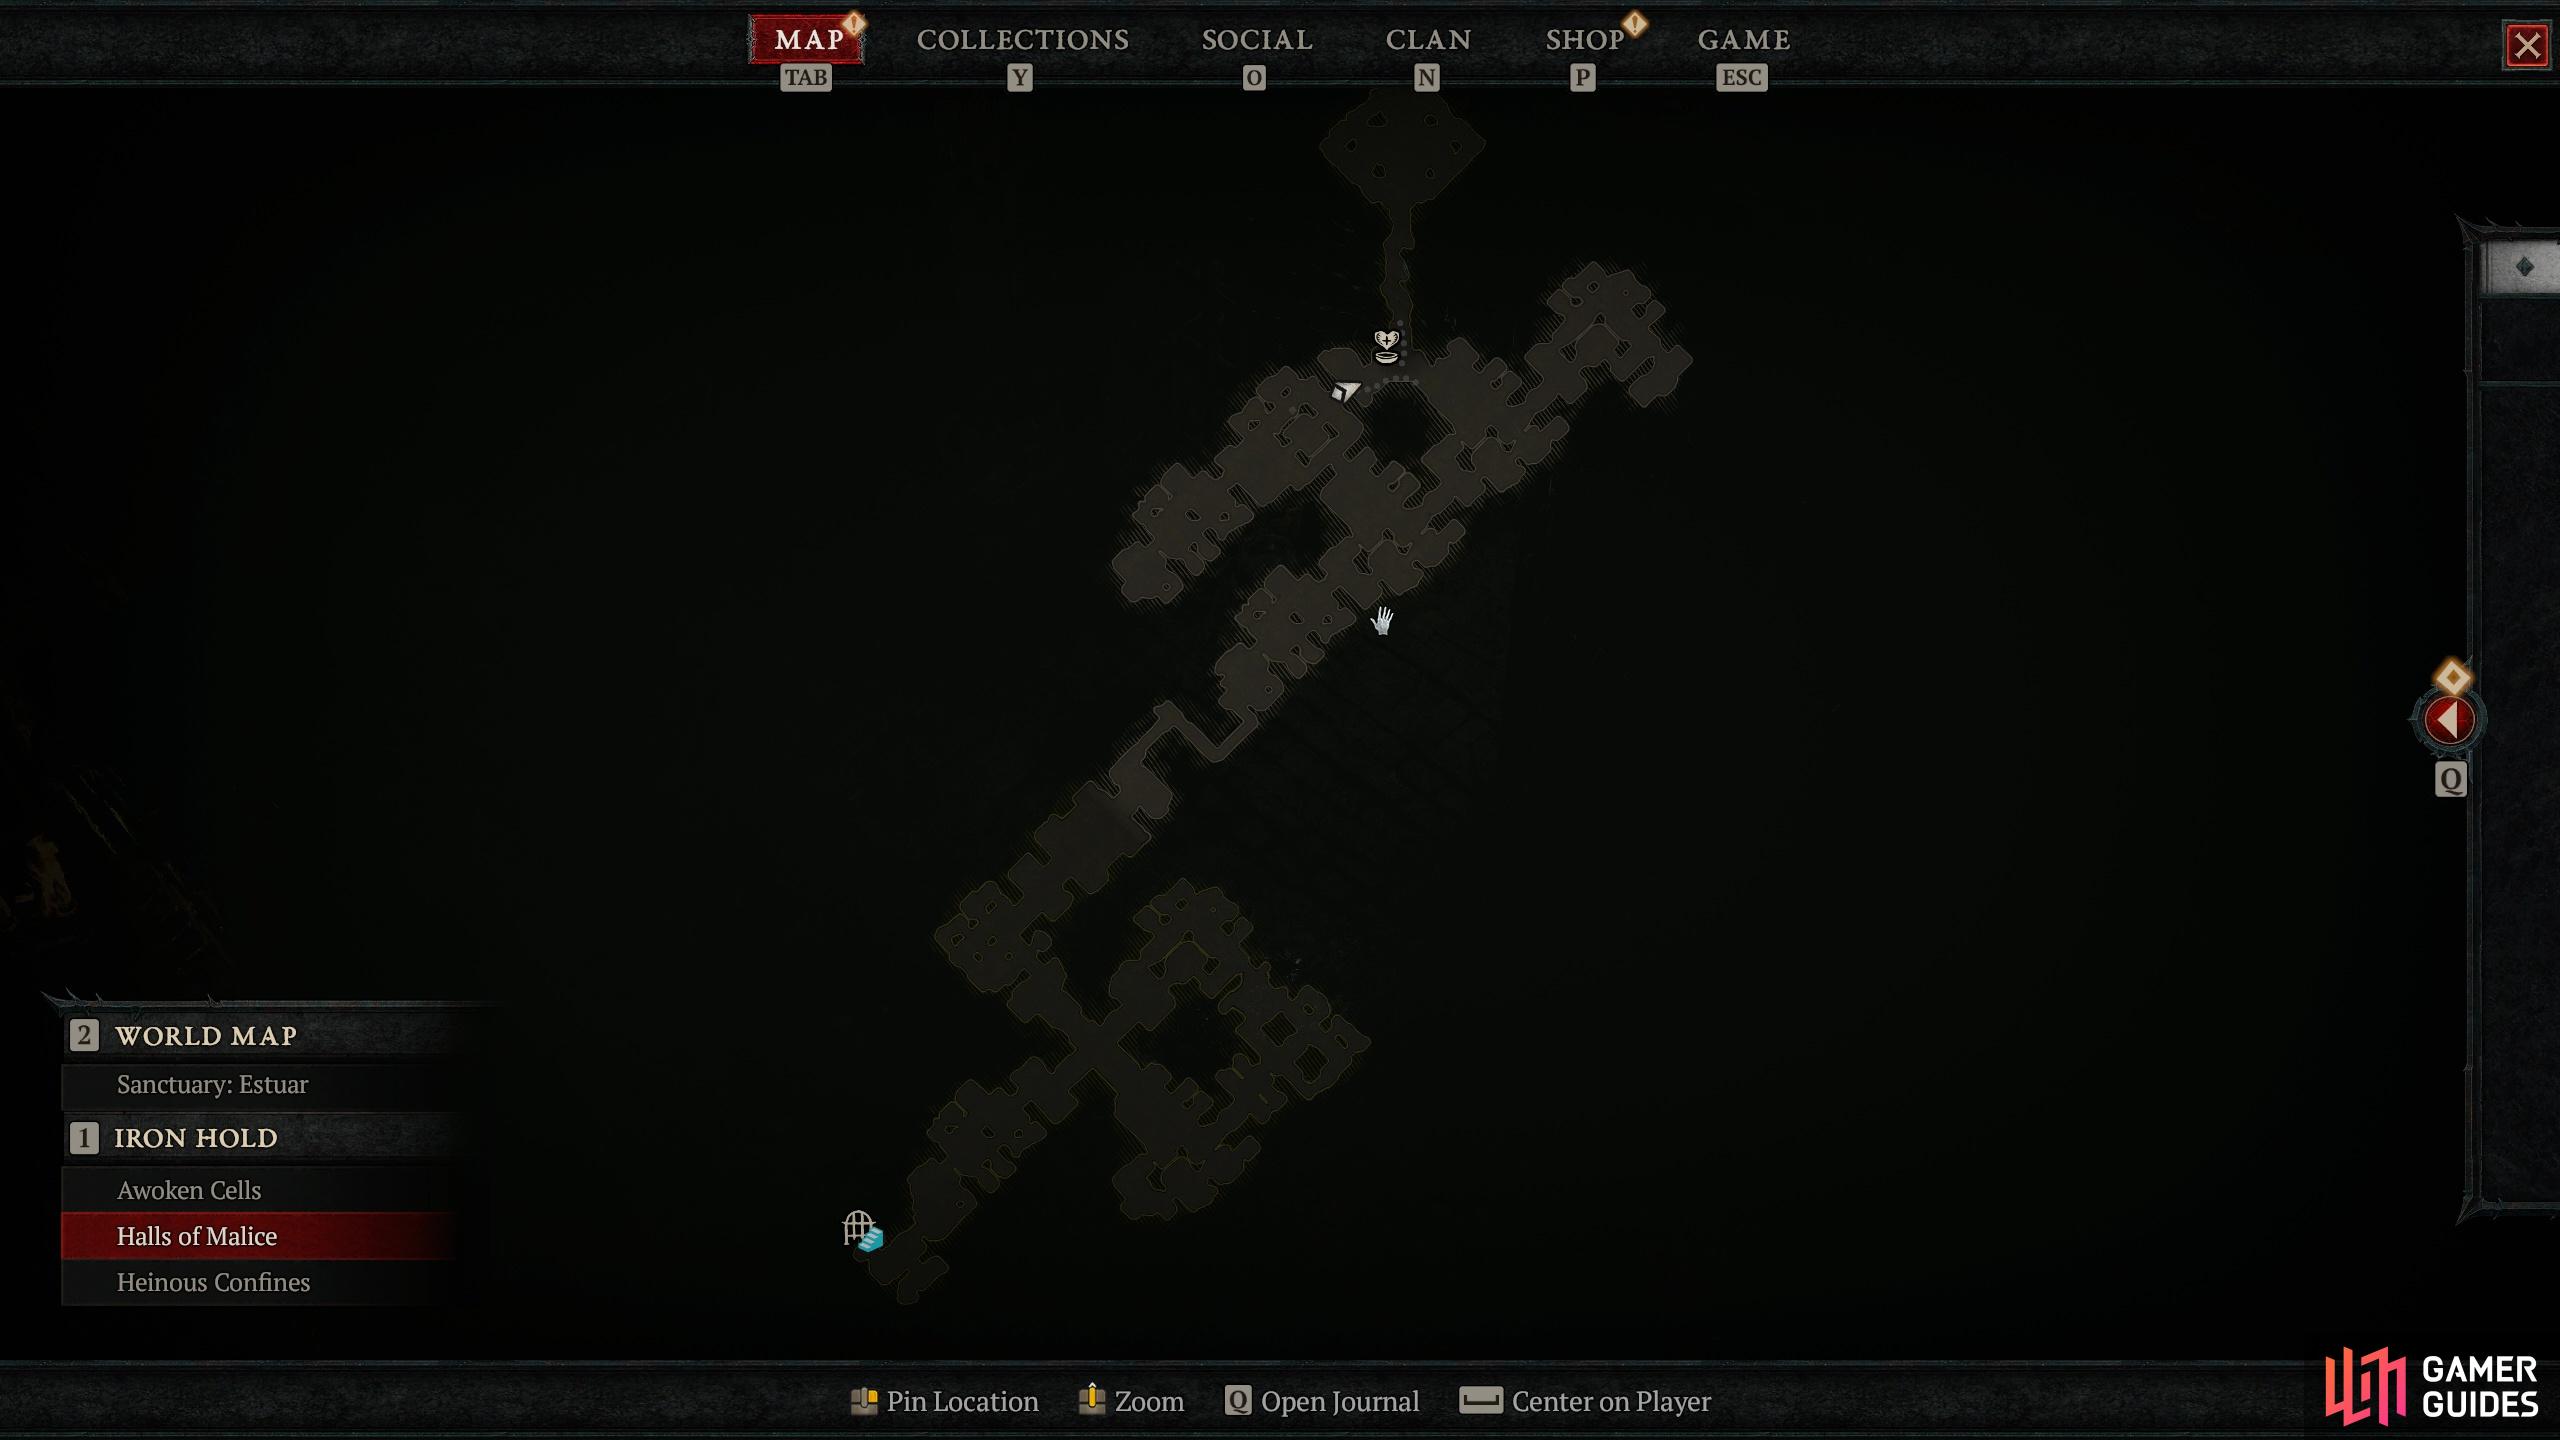
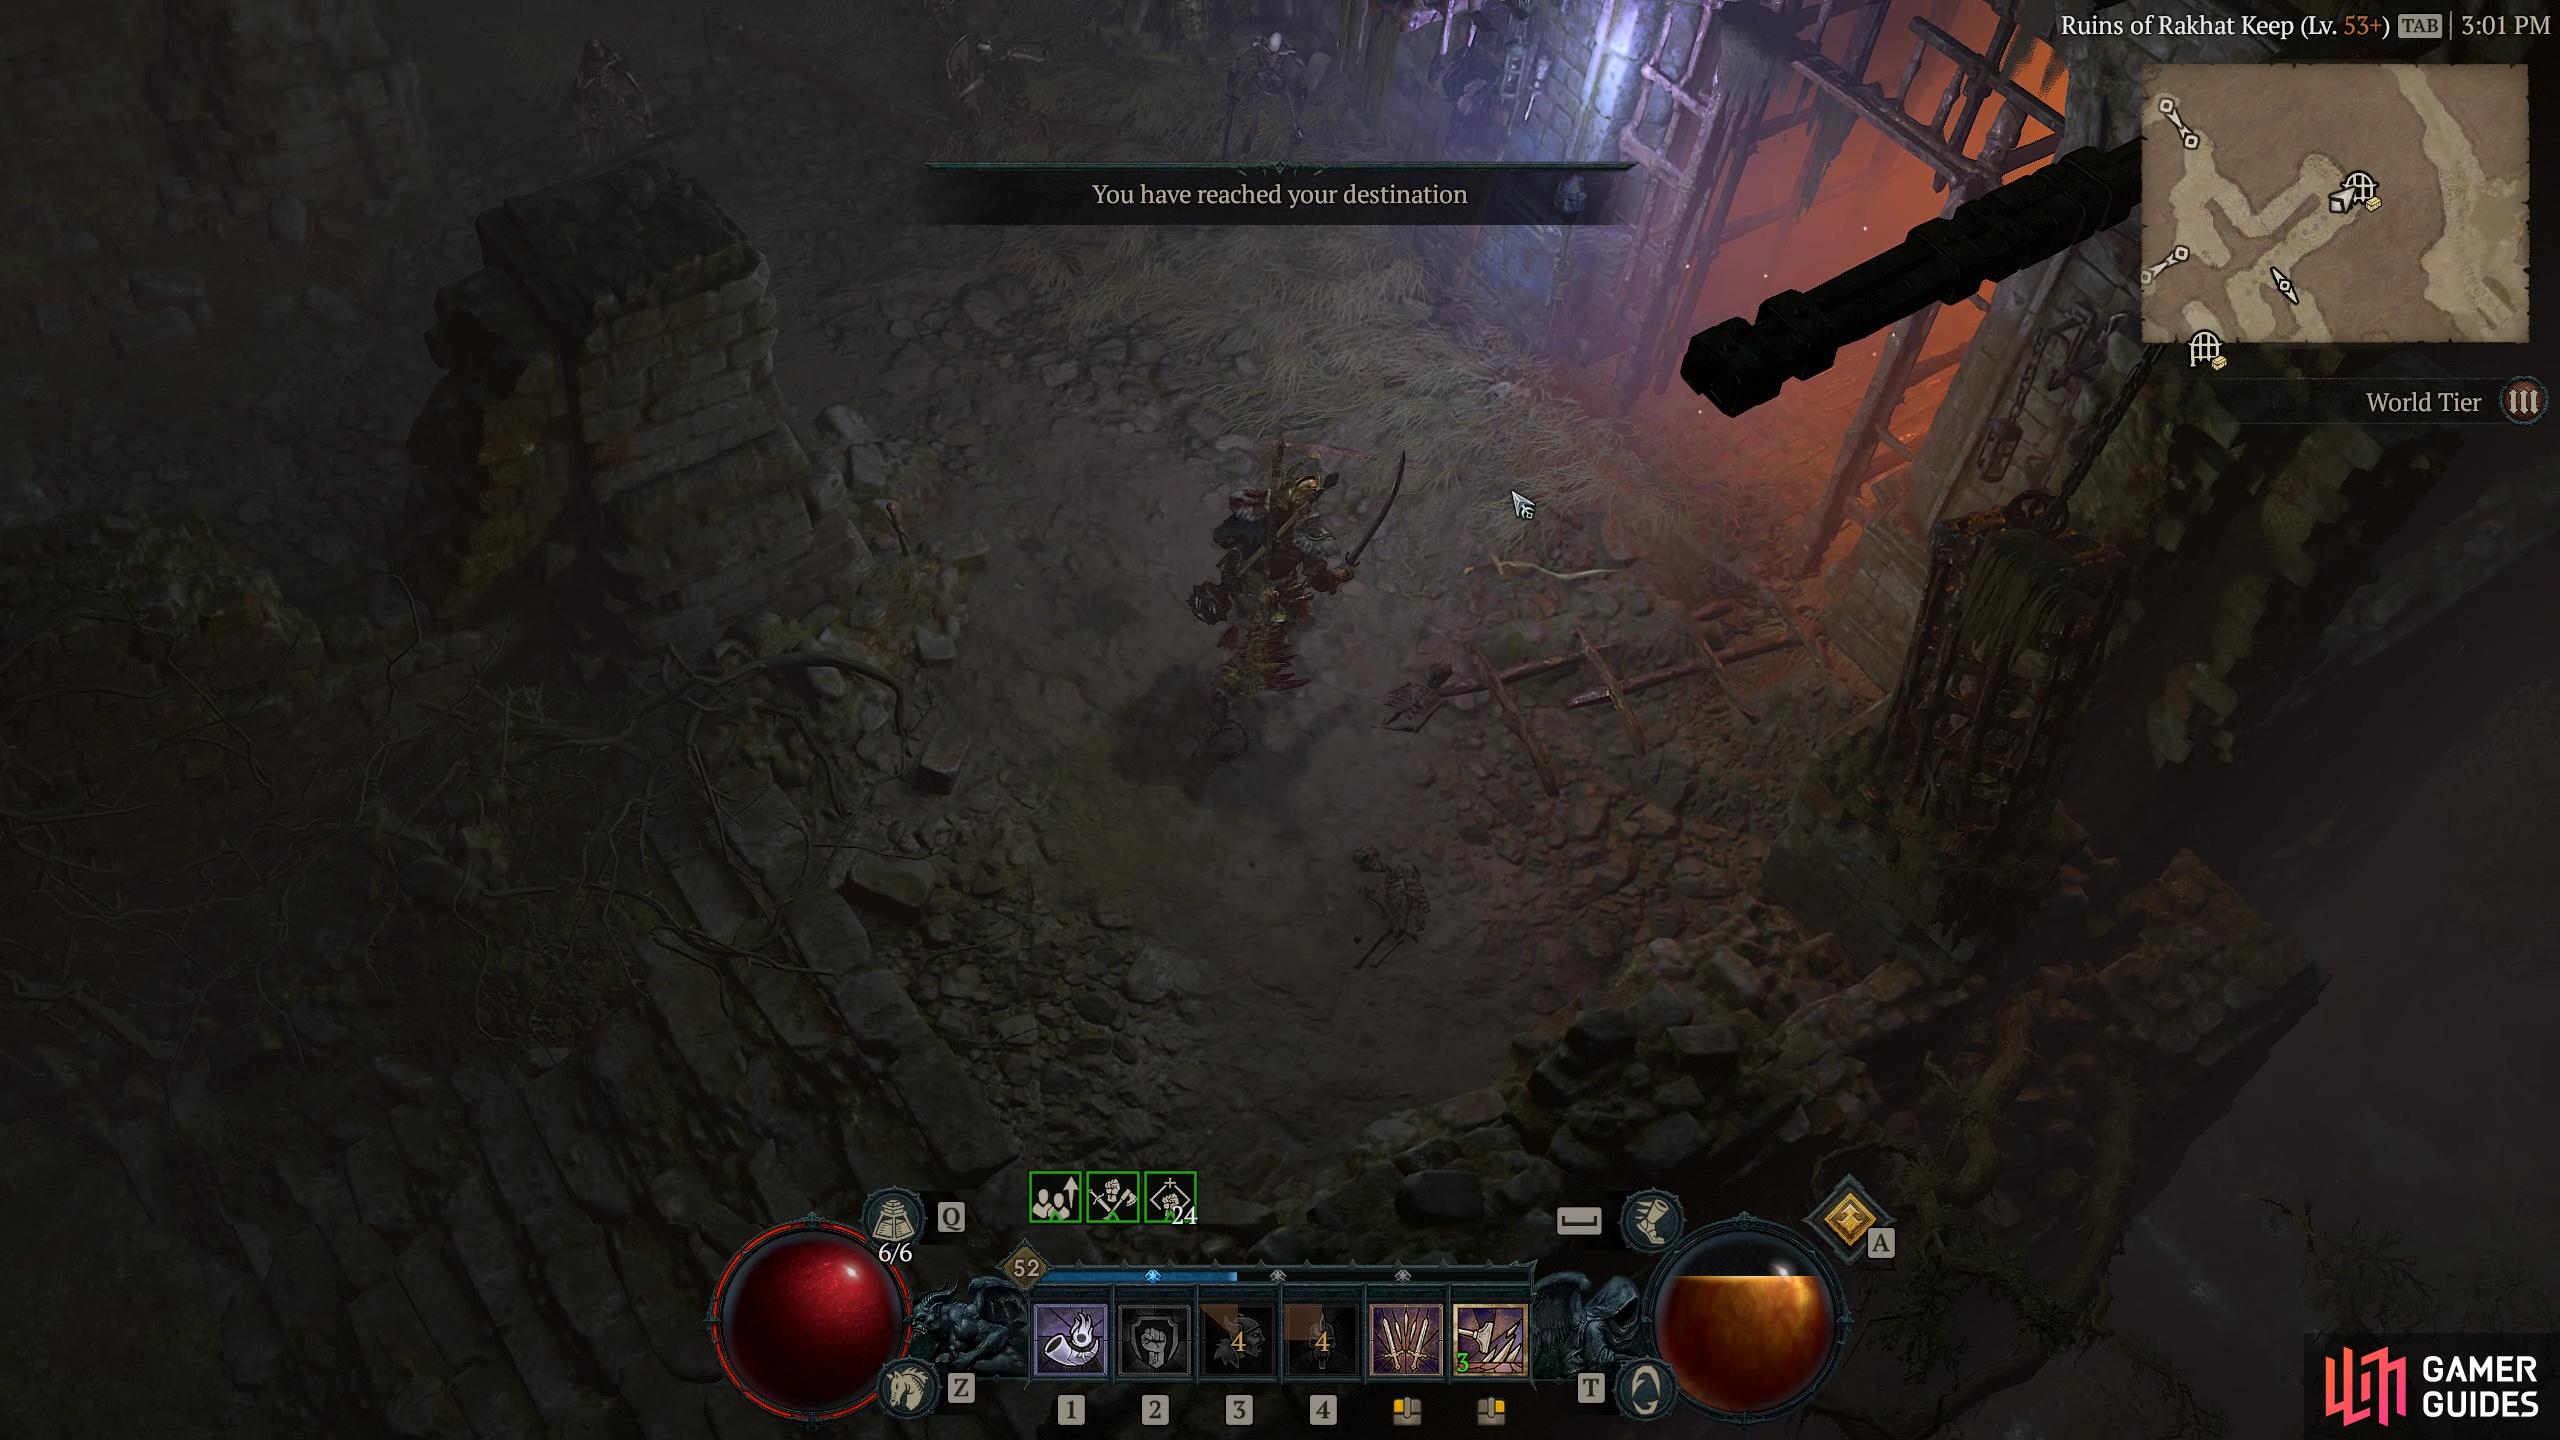
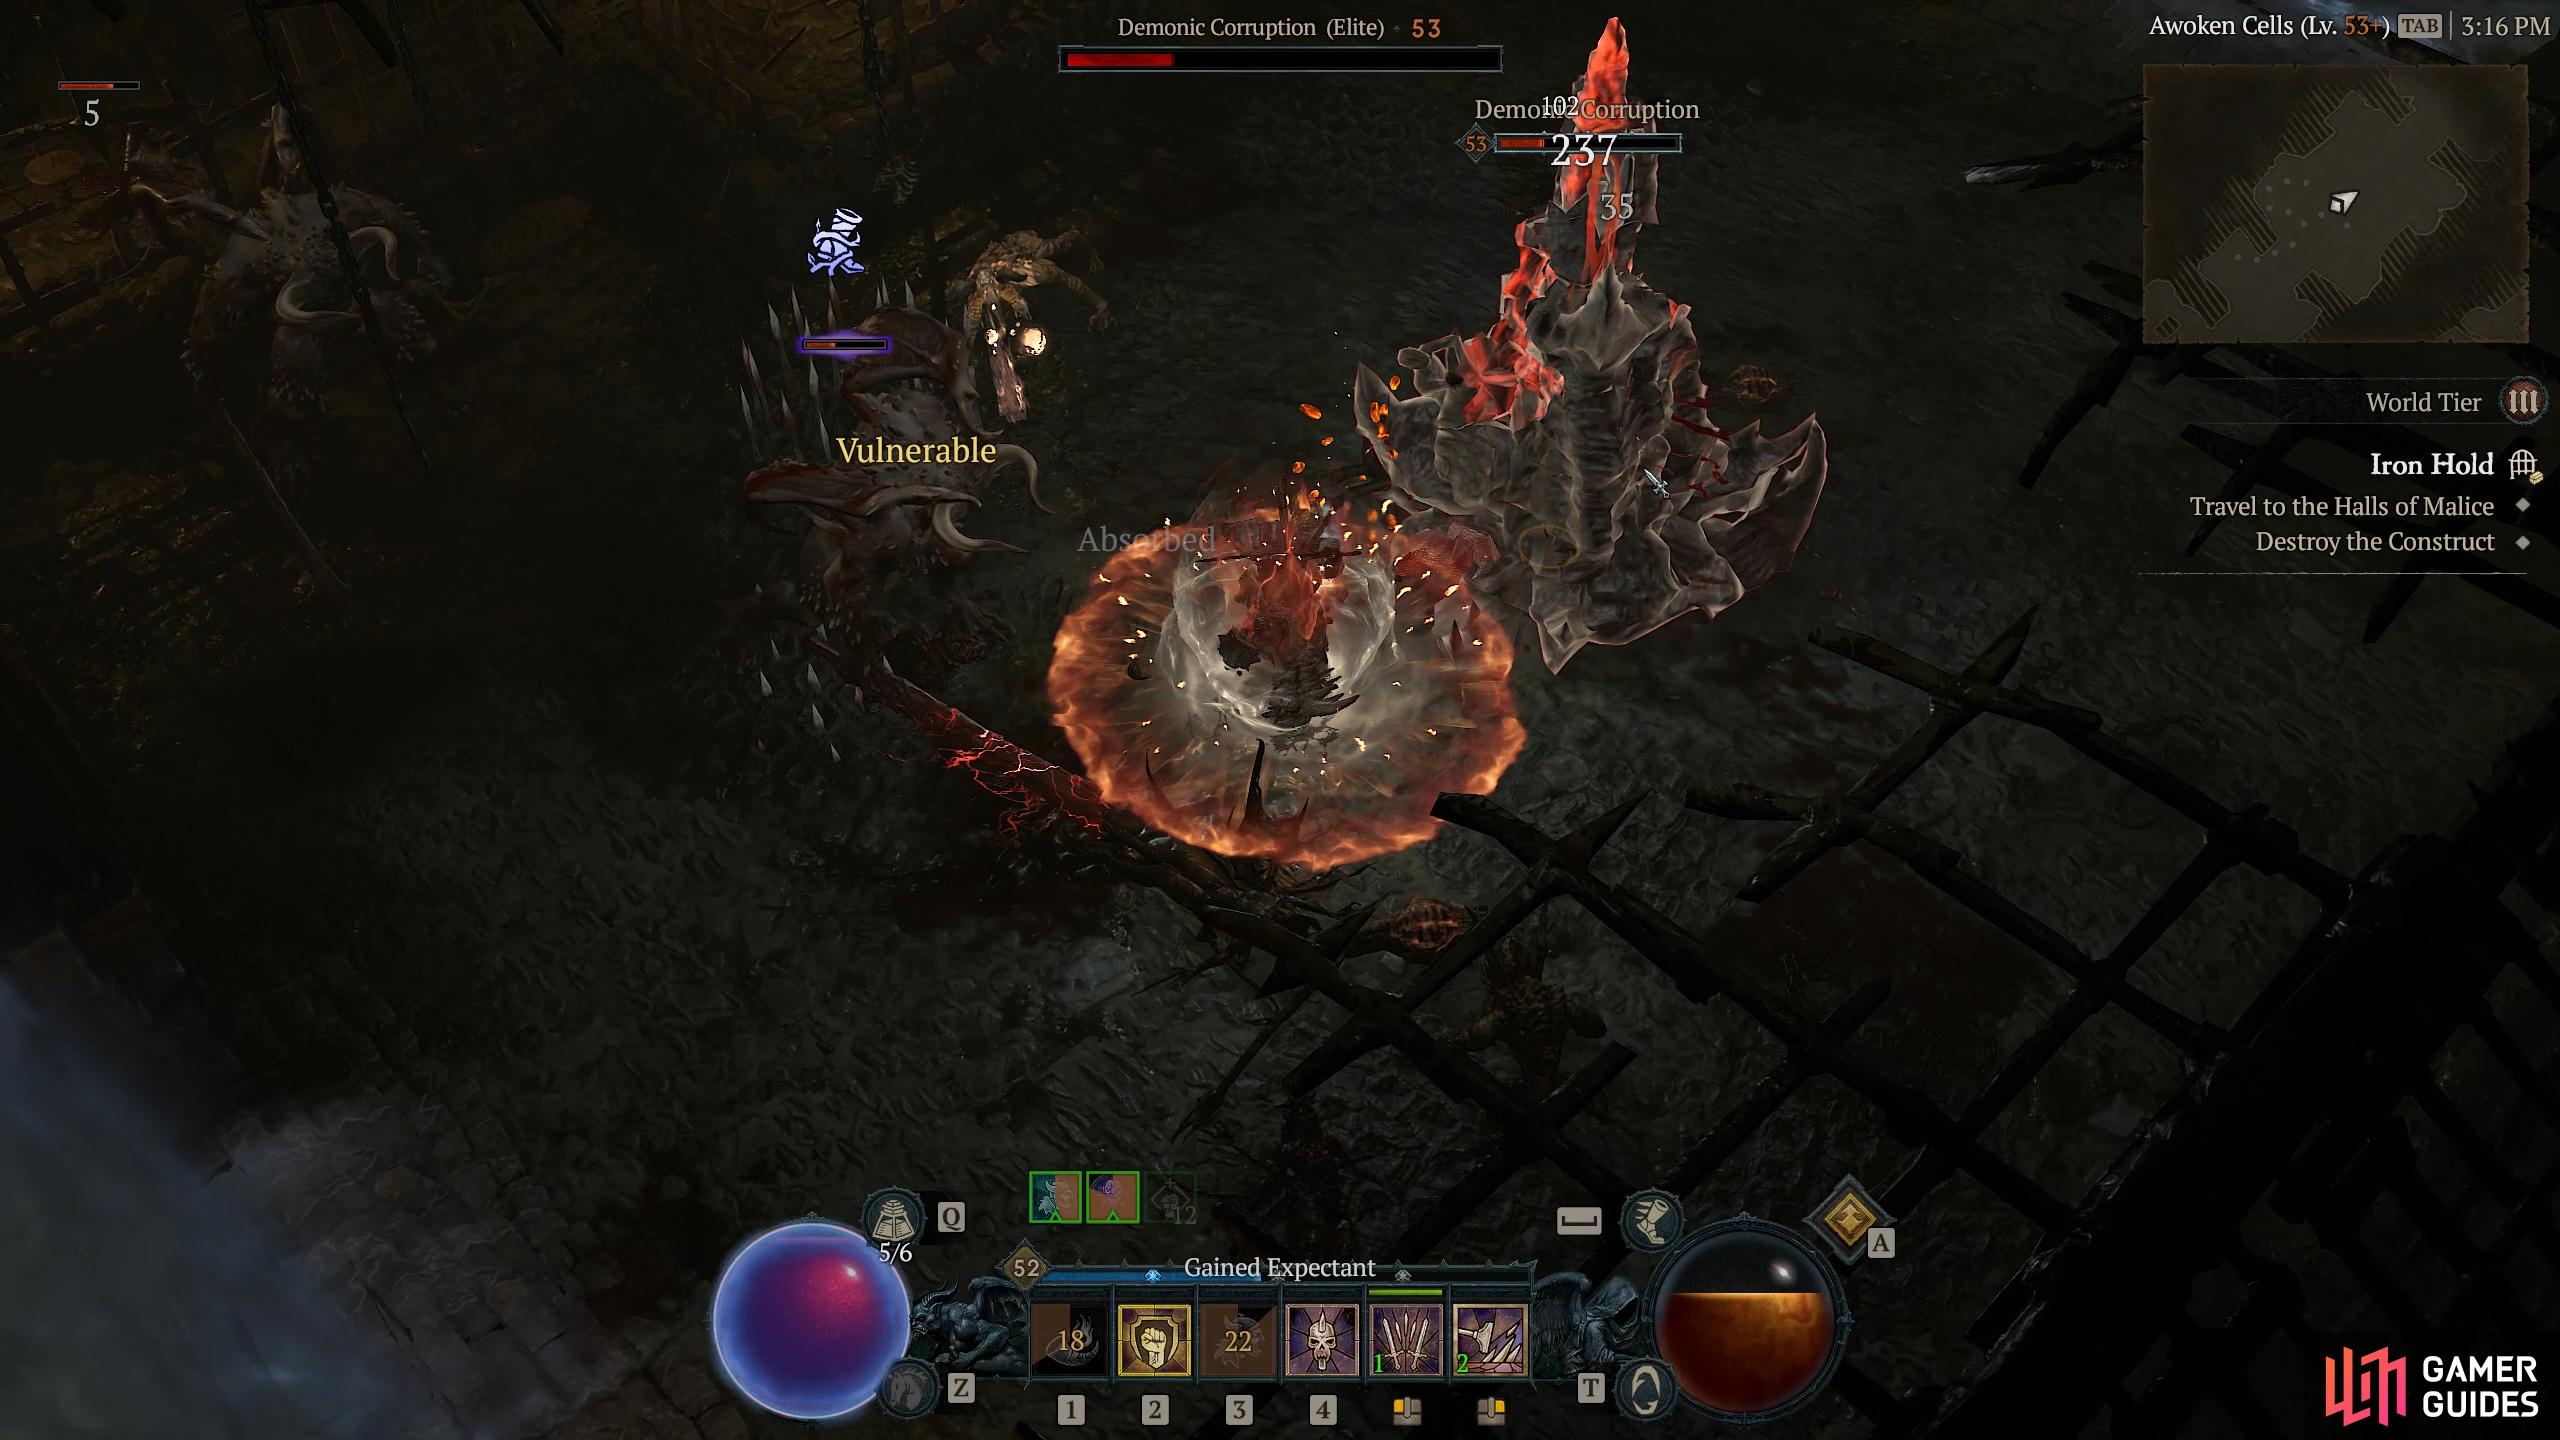
|
Iron Hold |
A scourge stirs within the bowels of a decaying prison.
Objectives
Description
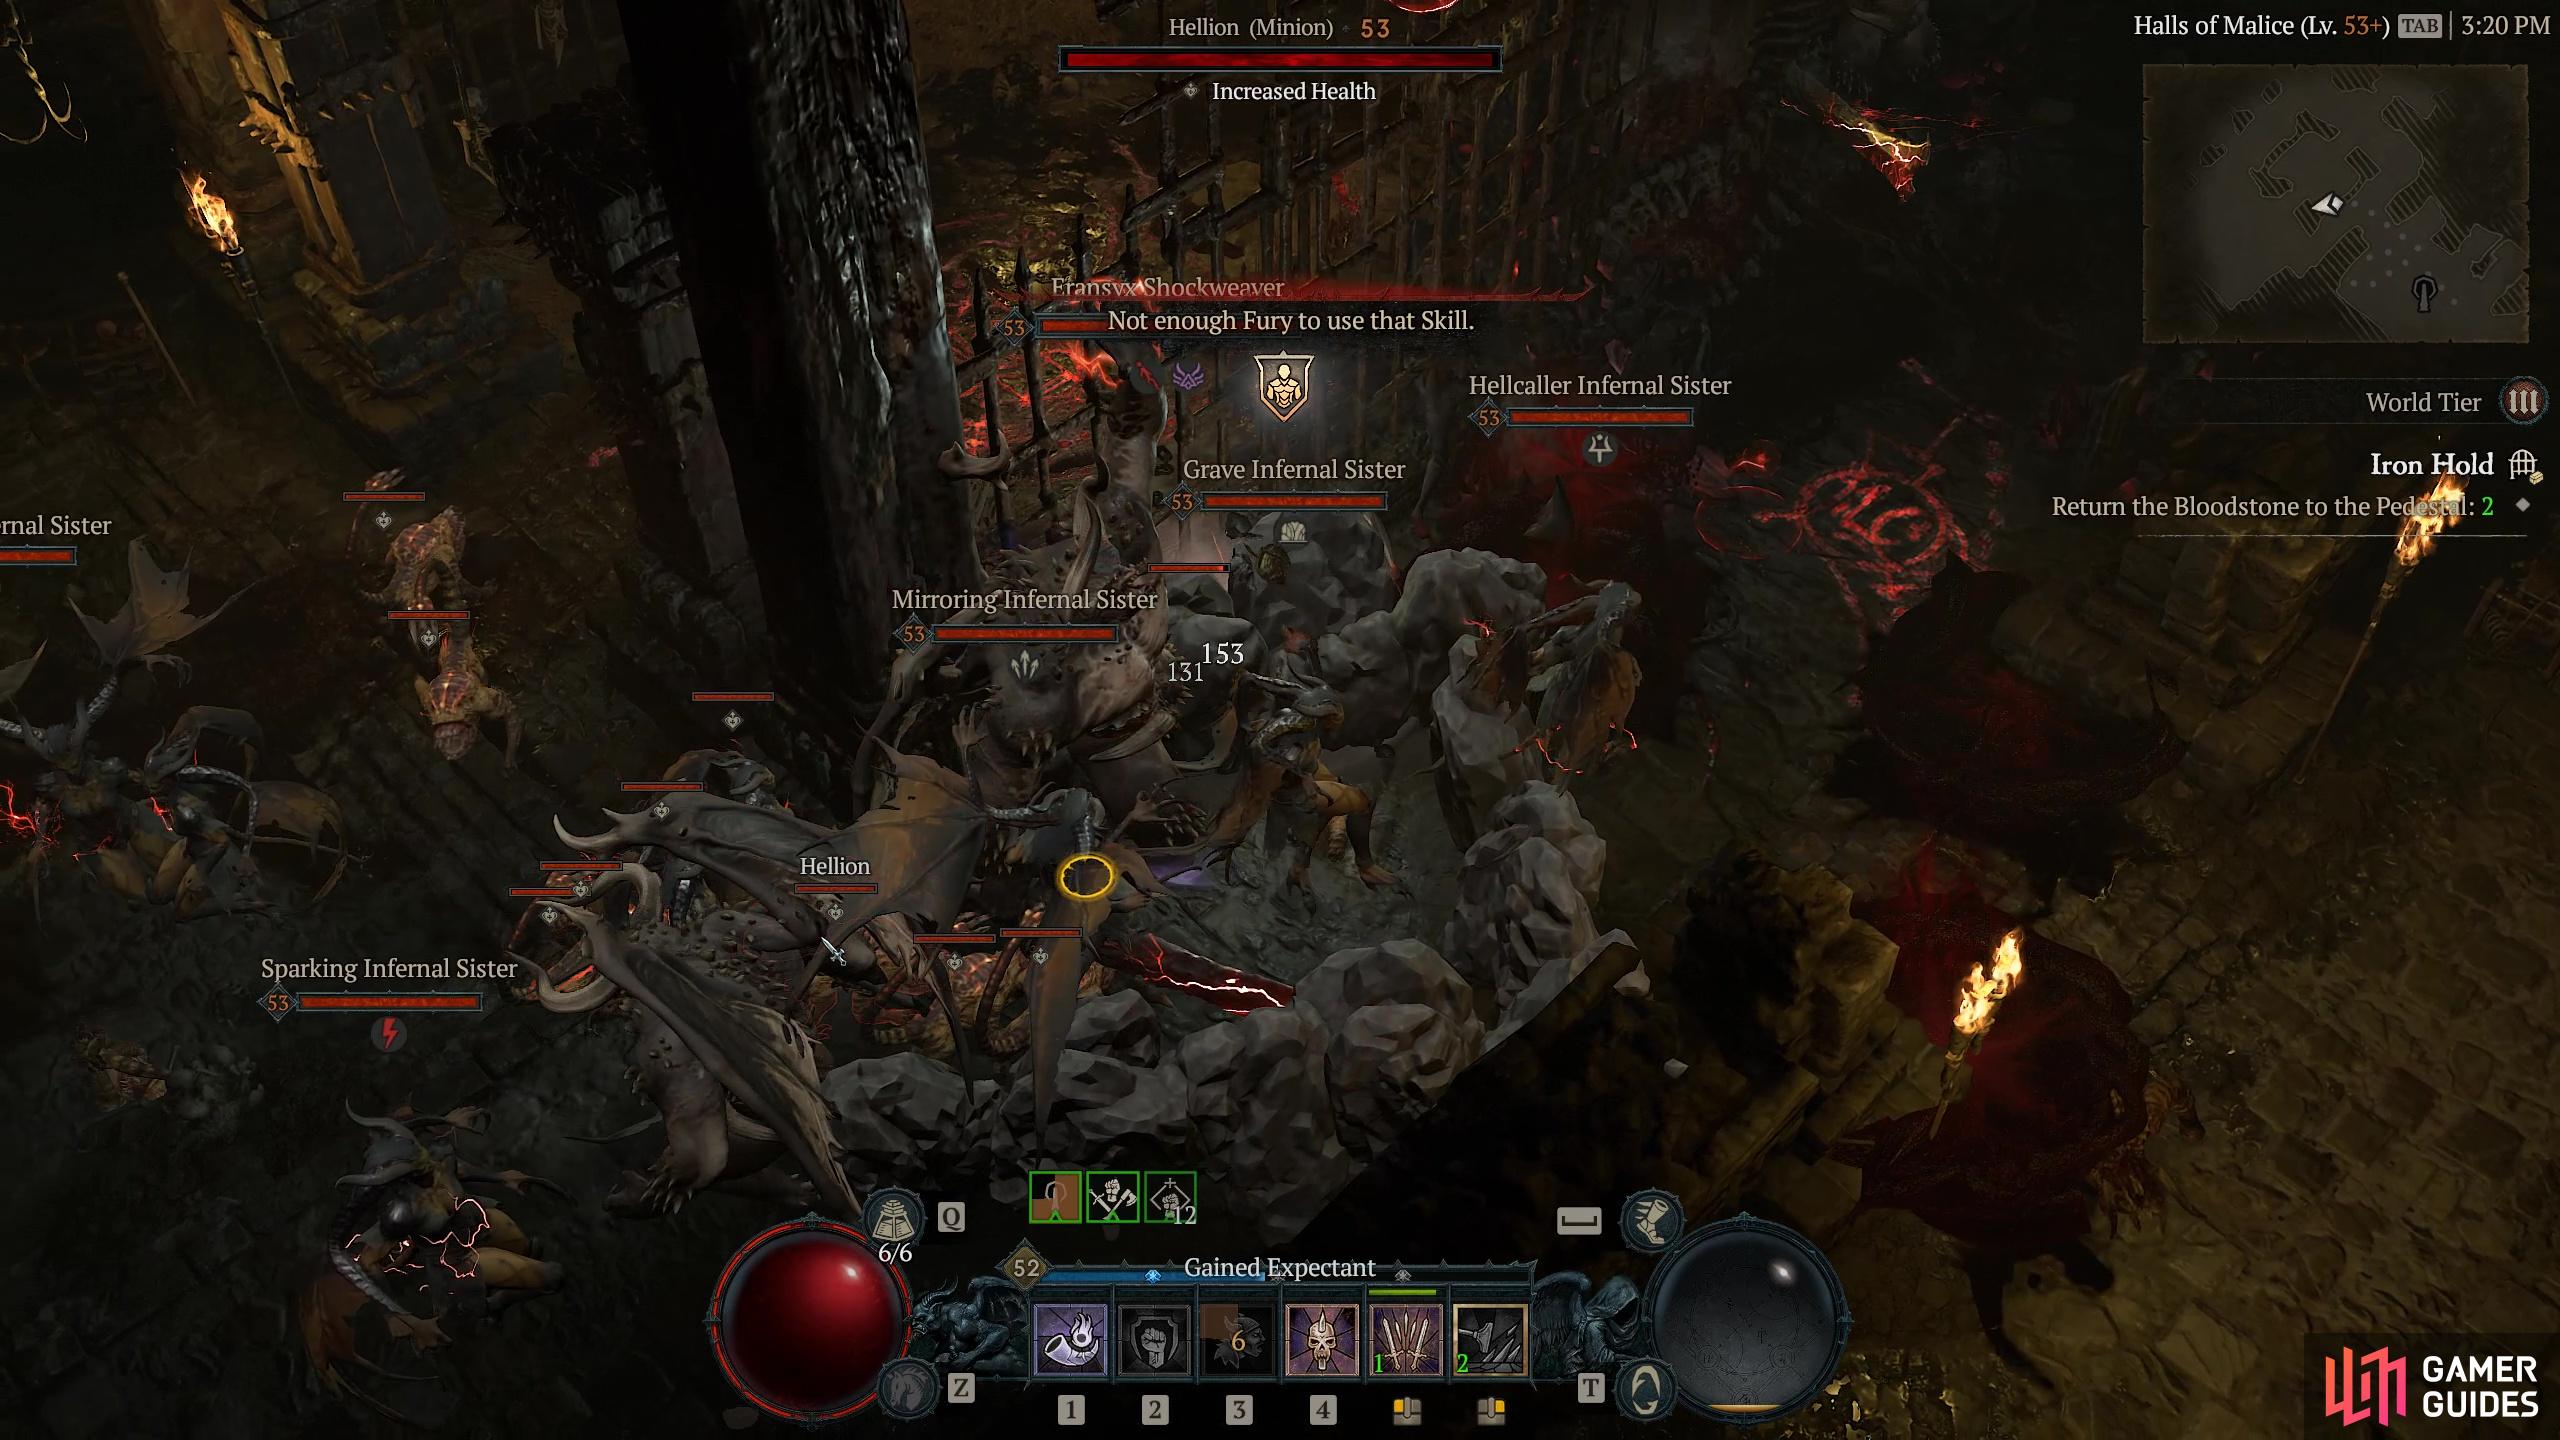
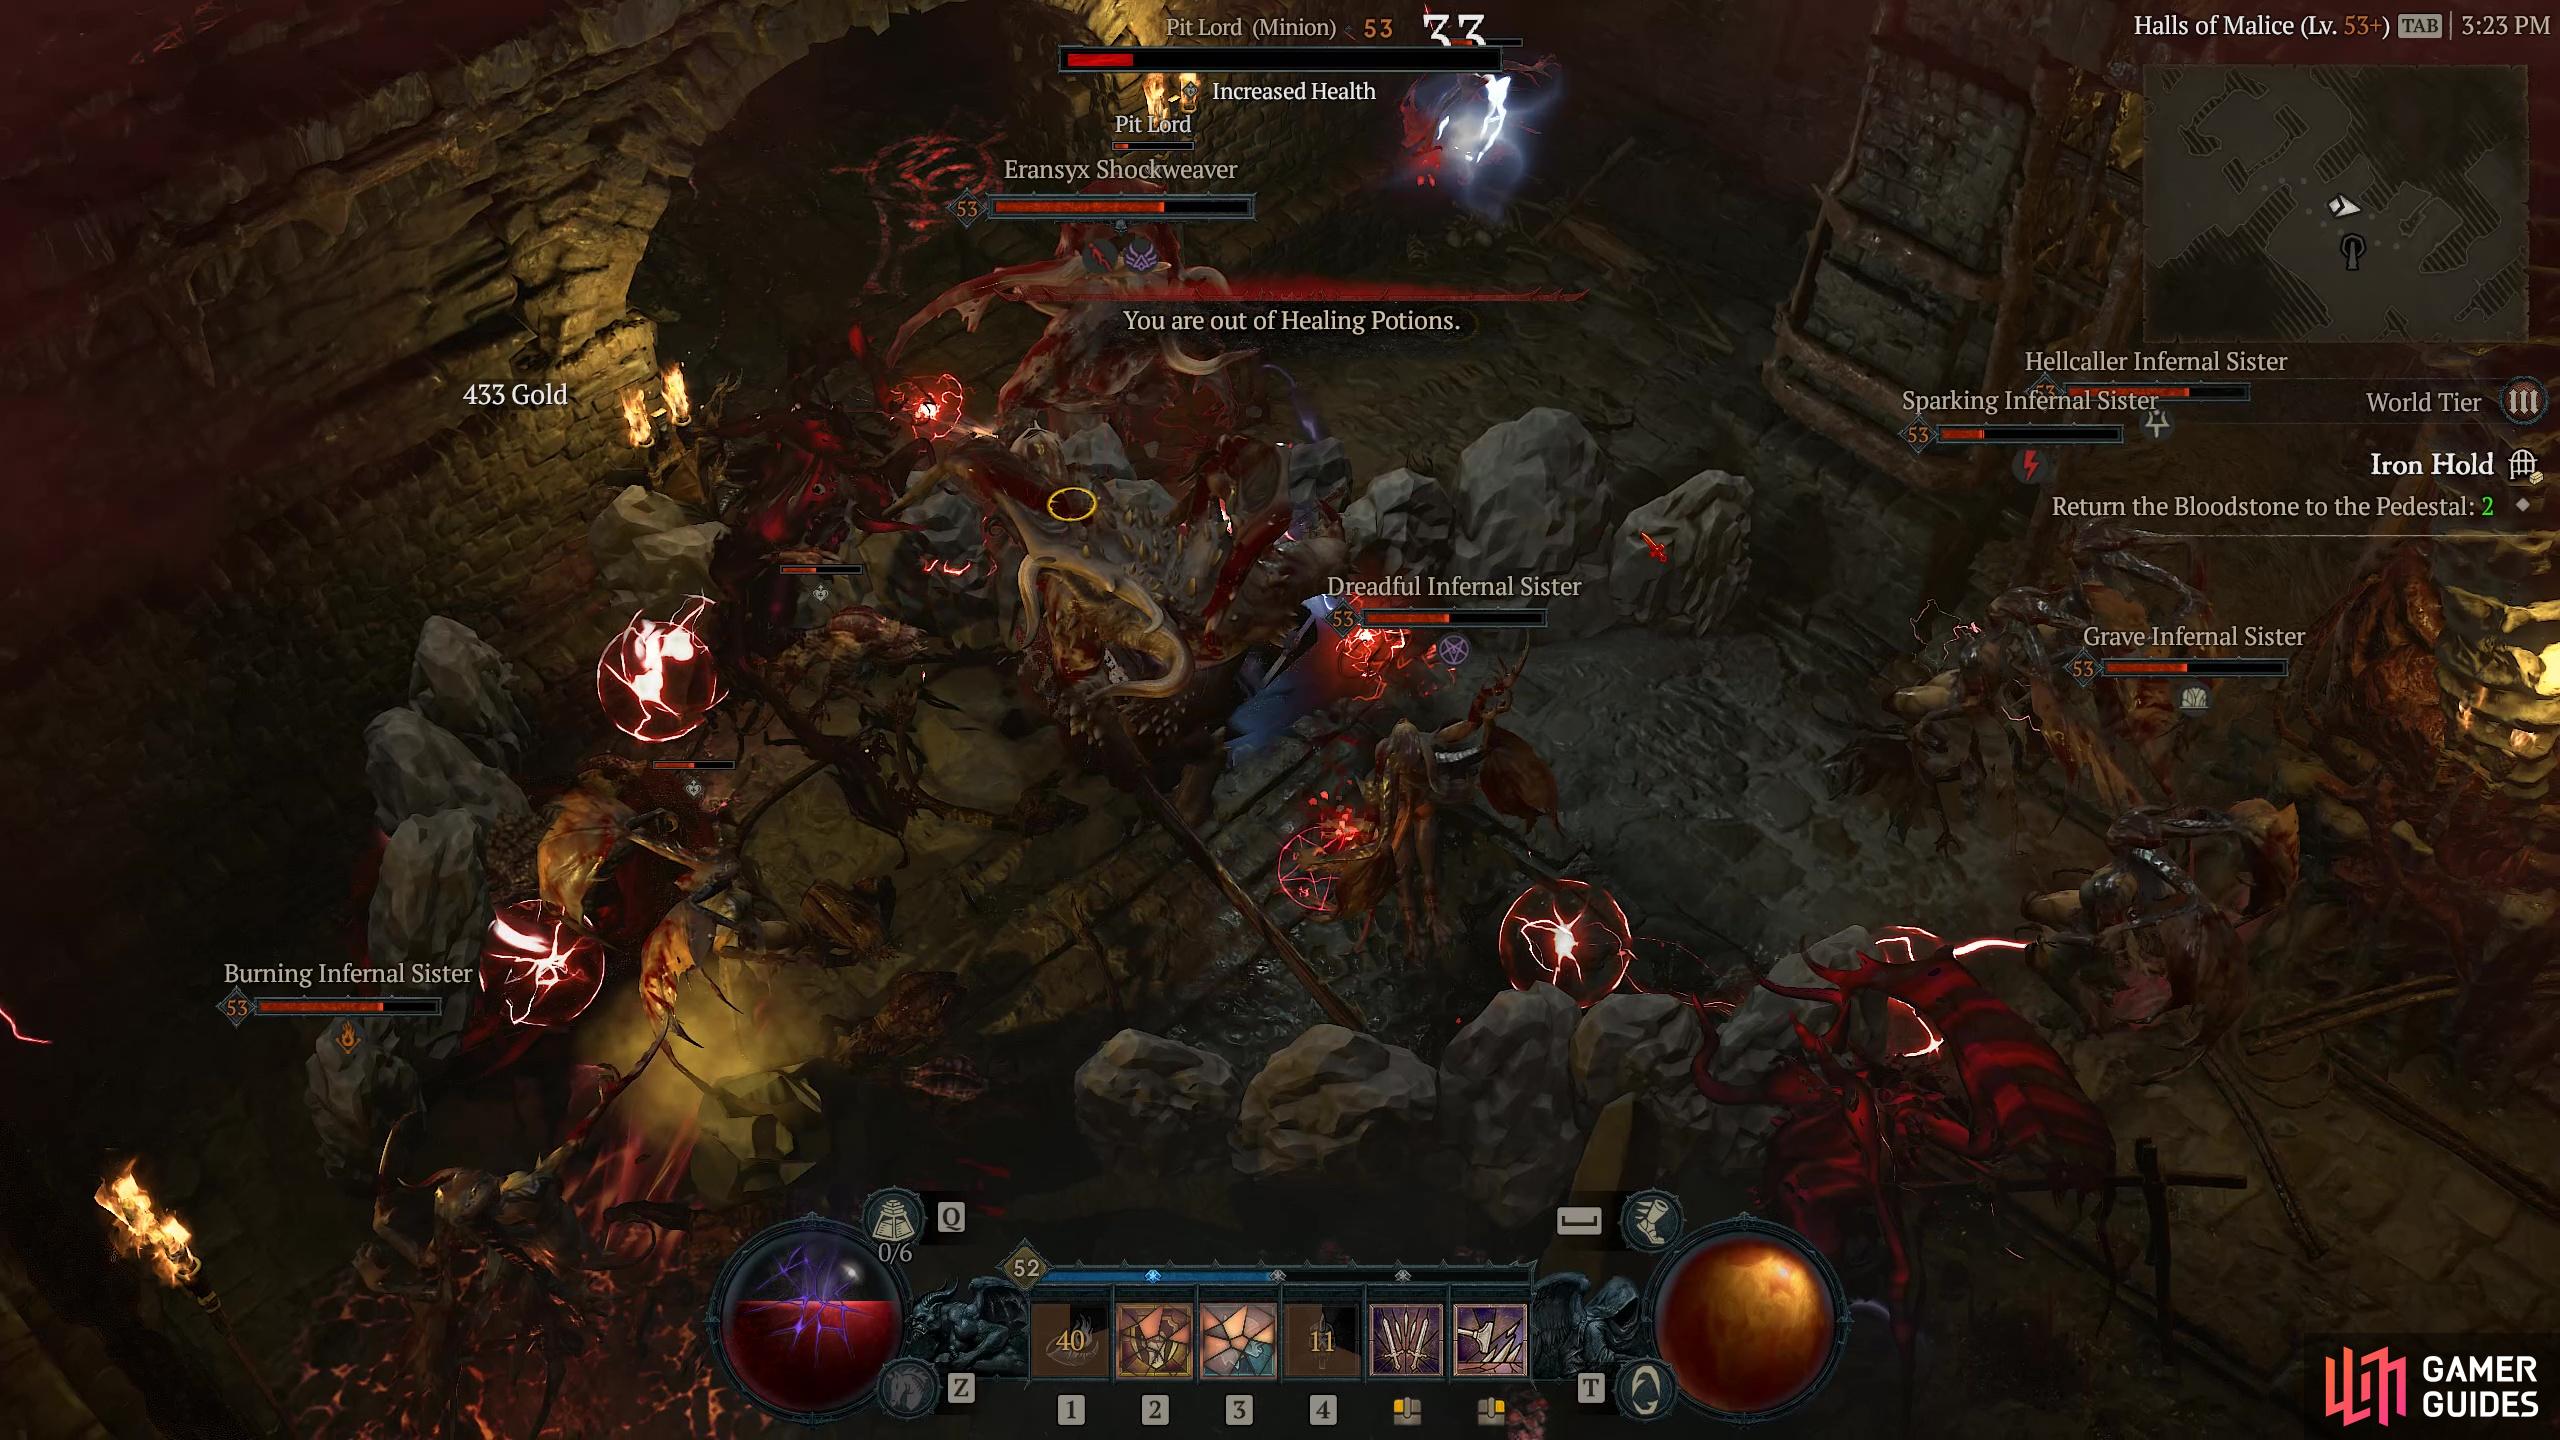
One of three dungeons in close proximity to each other within the Ruins of Rakhat Keep. Iron Hold contains a few nasty surprises that make it a tricky character to beat especially if you are adventuring alone. So equip some ghostbusting elixir and let’s get going. The first objective is simple, located and kill the Malevolent Spector and he will drop the Jailer’s Key allowing you access to deeper into the dungeon. The only enemy types you will encounter up until you locate the malevolent spector are Once you are through the Jailer’s door things ramp up significantly and you will soon be swamped by Once you have placed the two Bloodstones the door will open and you are on to the dungeon boss, ther
Enemies
Xanthus (Malevolent Spector)
Bosses
Infernal Sister
Demons
Eransyx Shockweaver
Bosses
Region
Item Reward
1×
|

|
|||||||||||||||||||||||||||||||||||||||||||||||||||||||||||||||||||||||||||||||||||||||||||||||

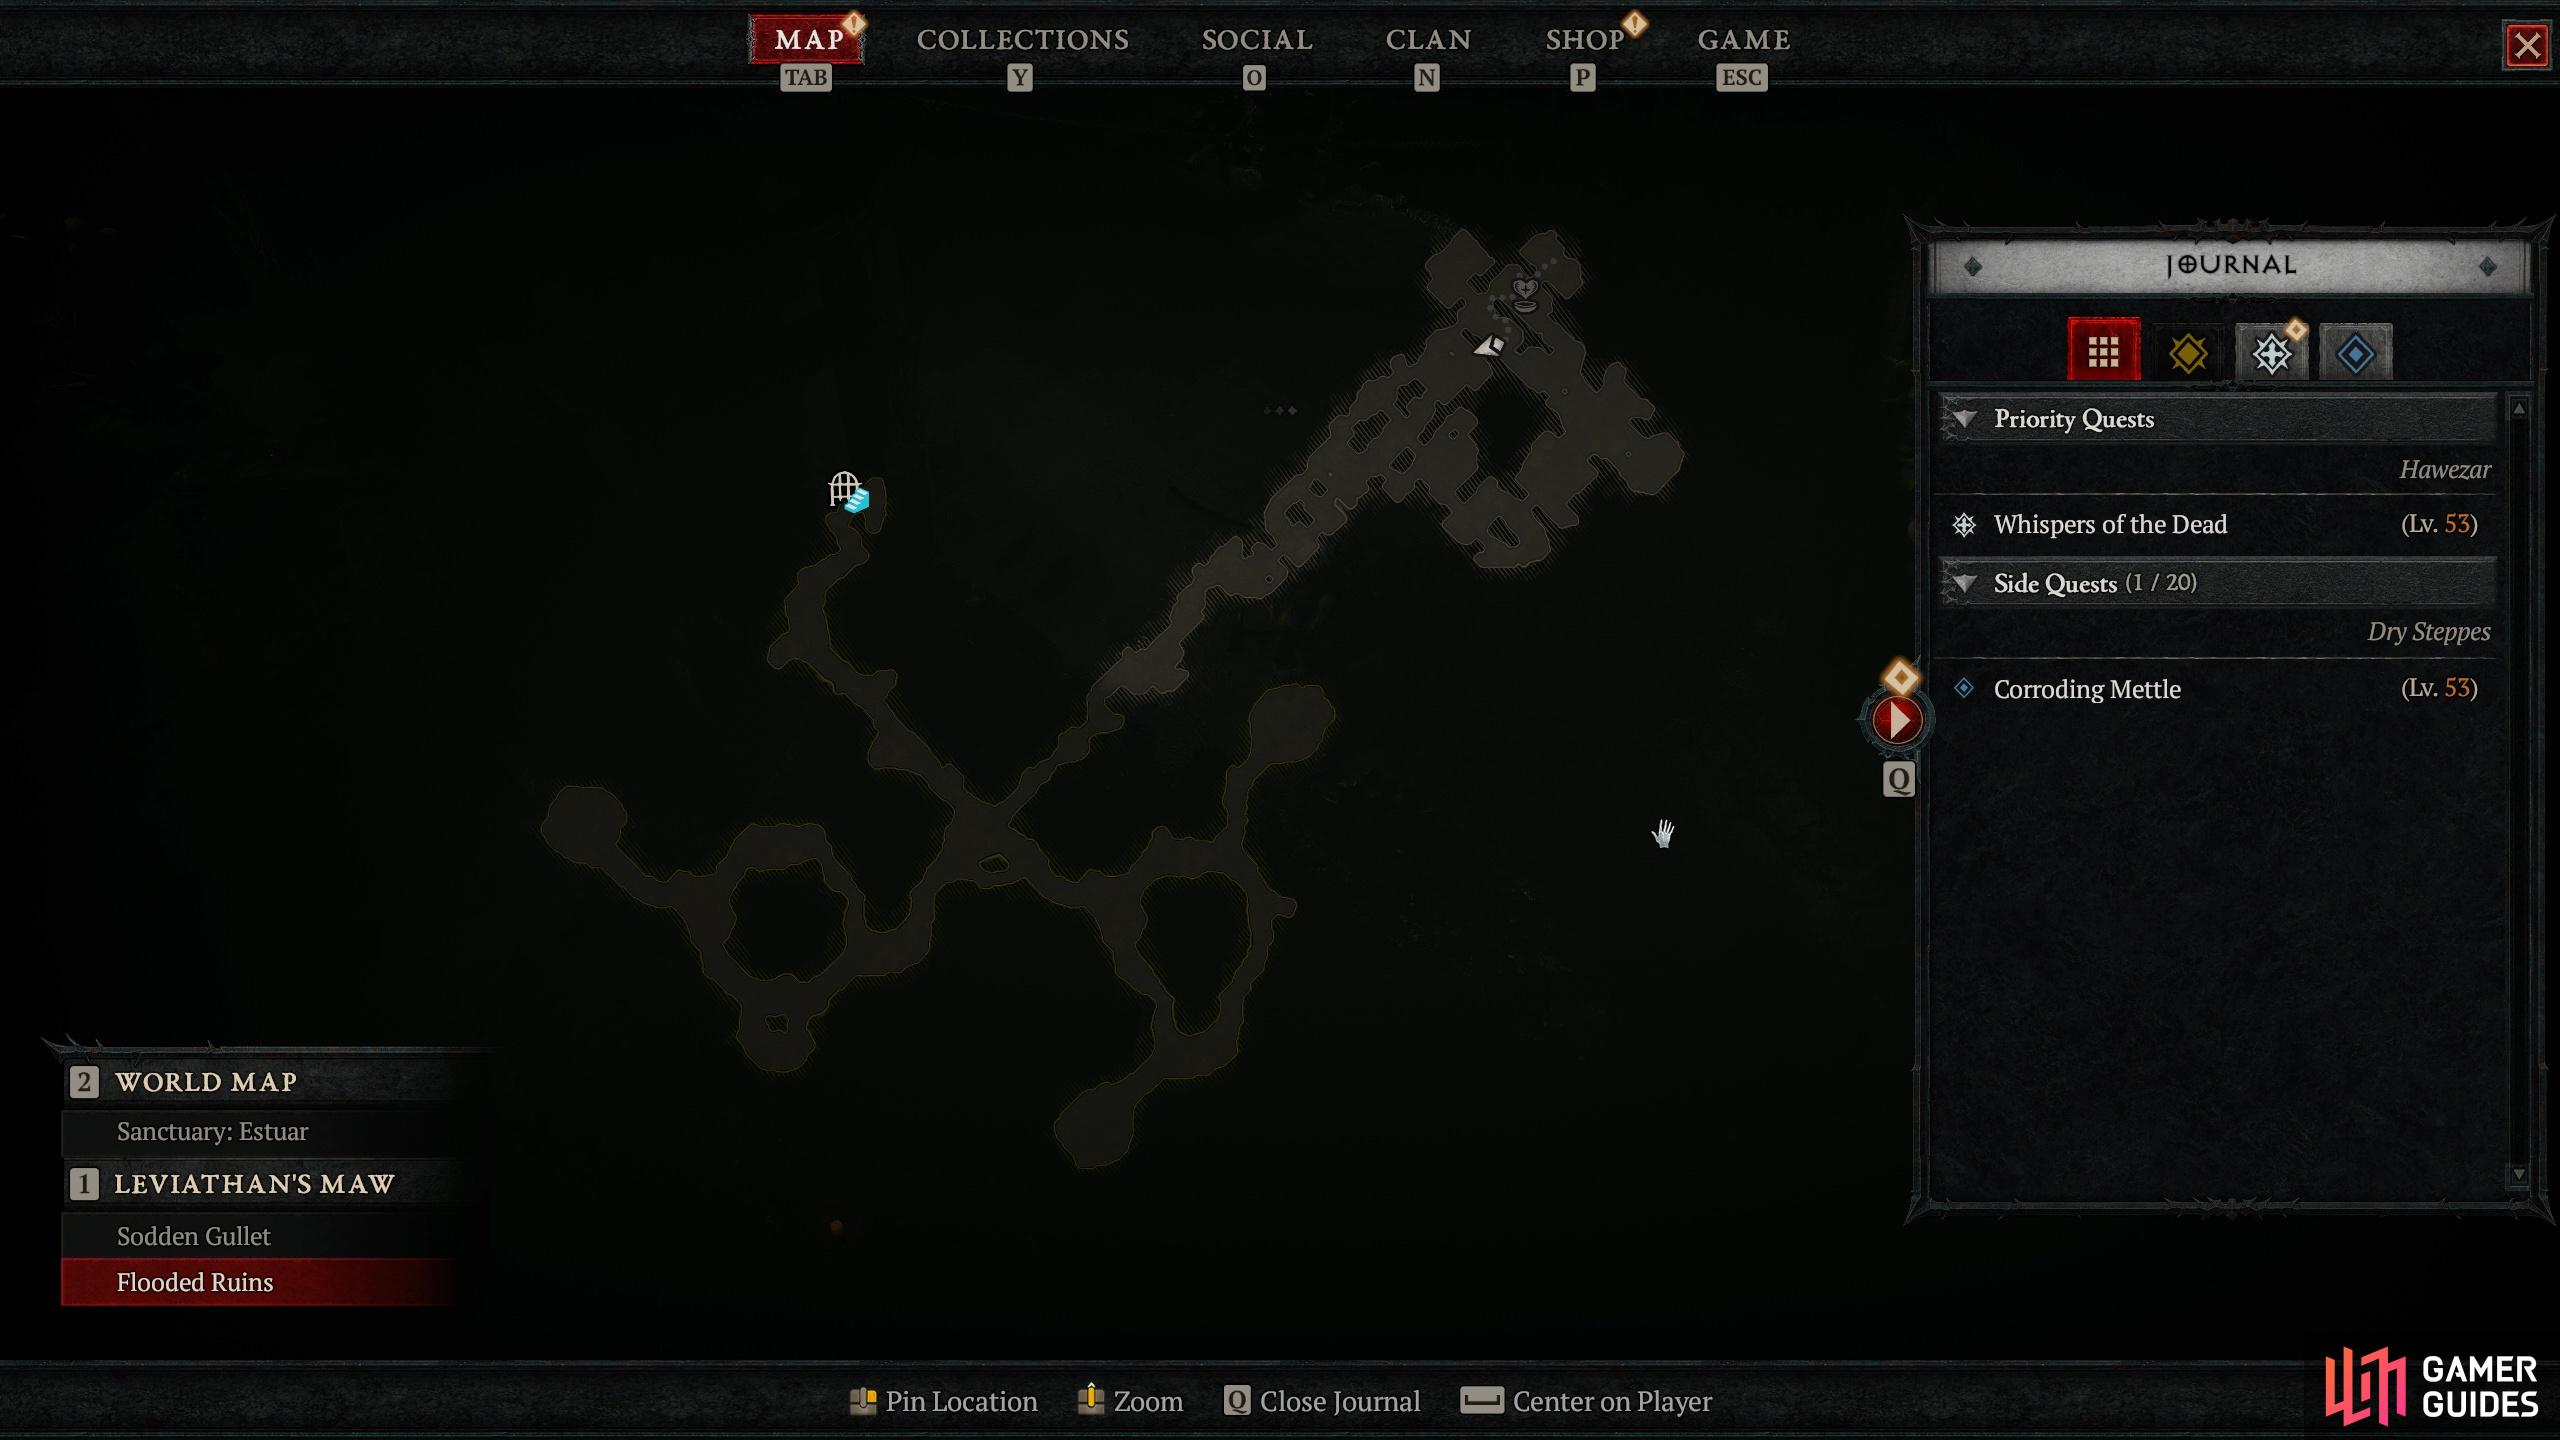
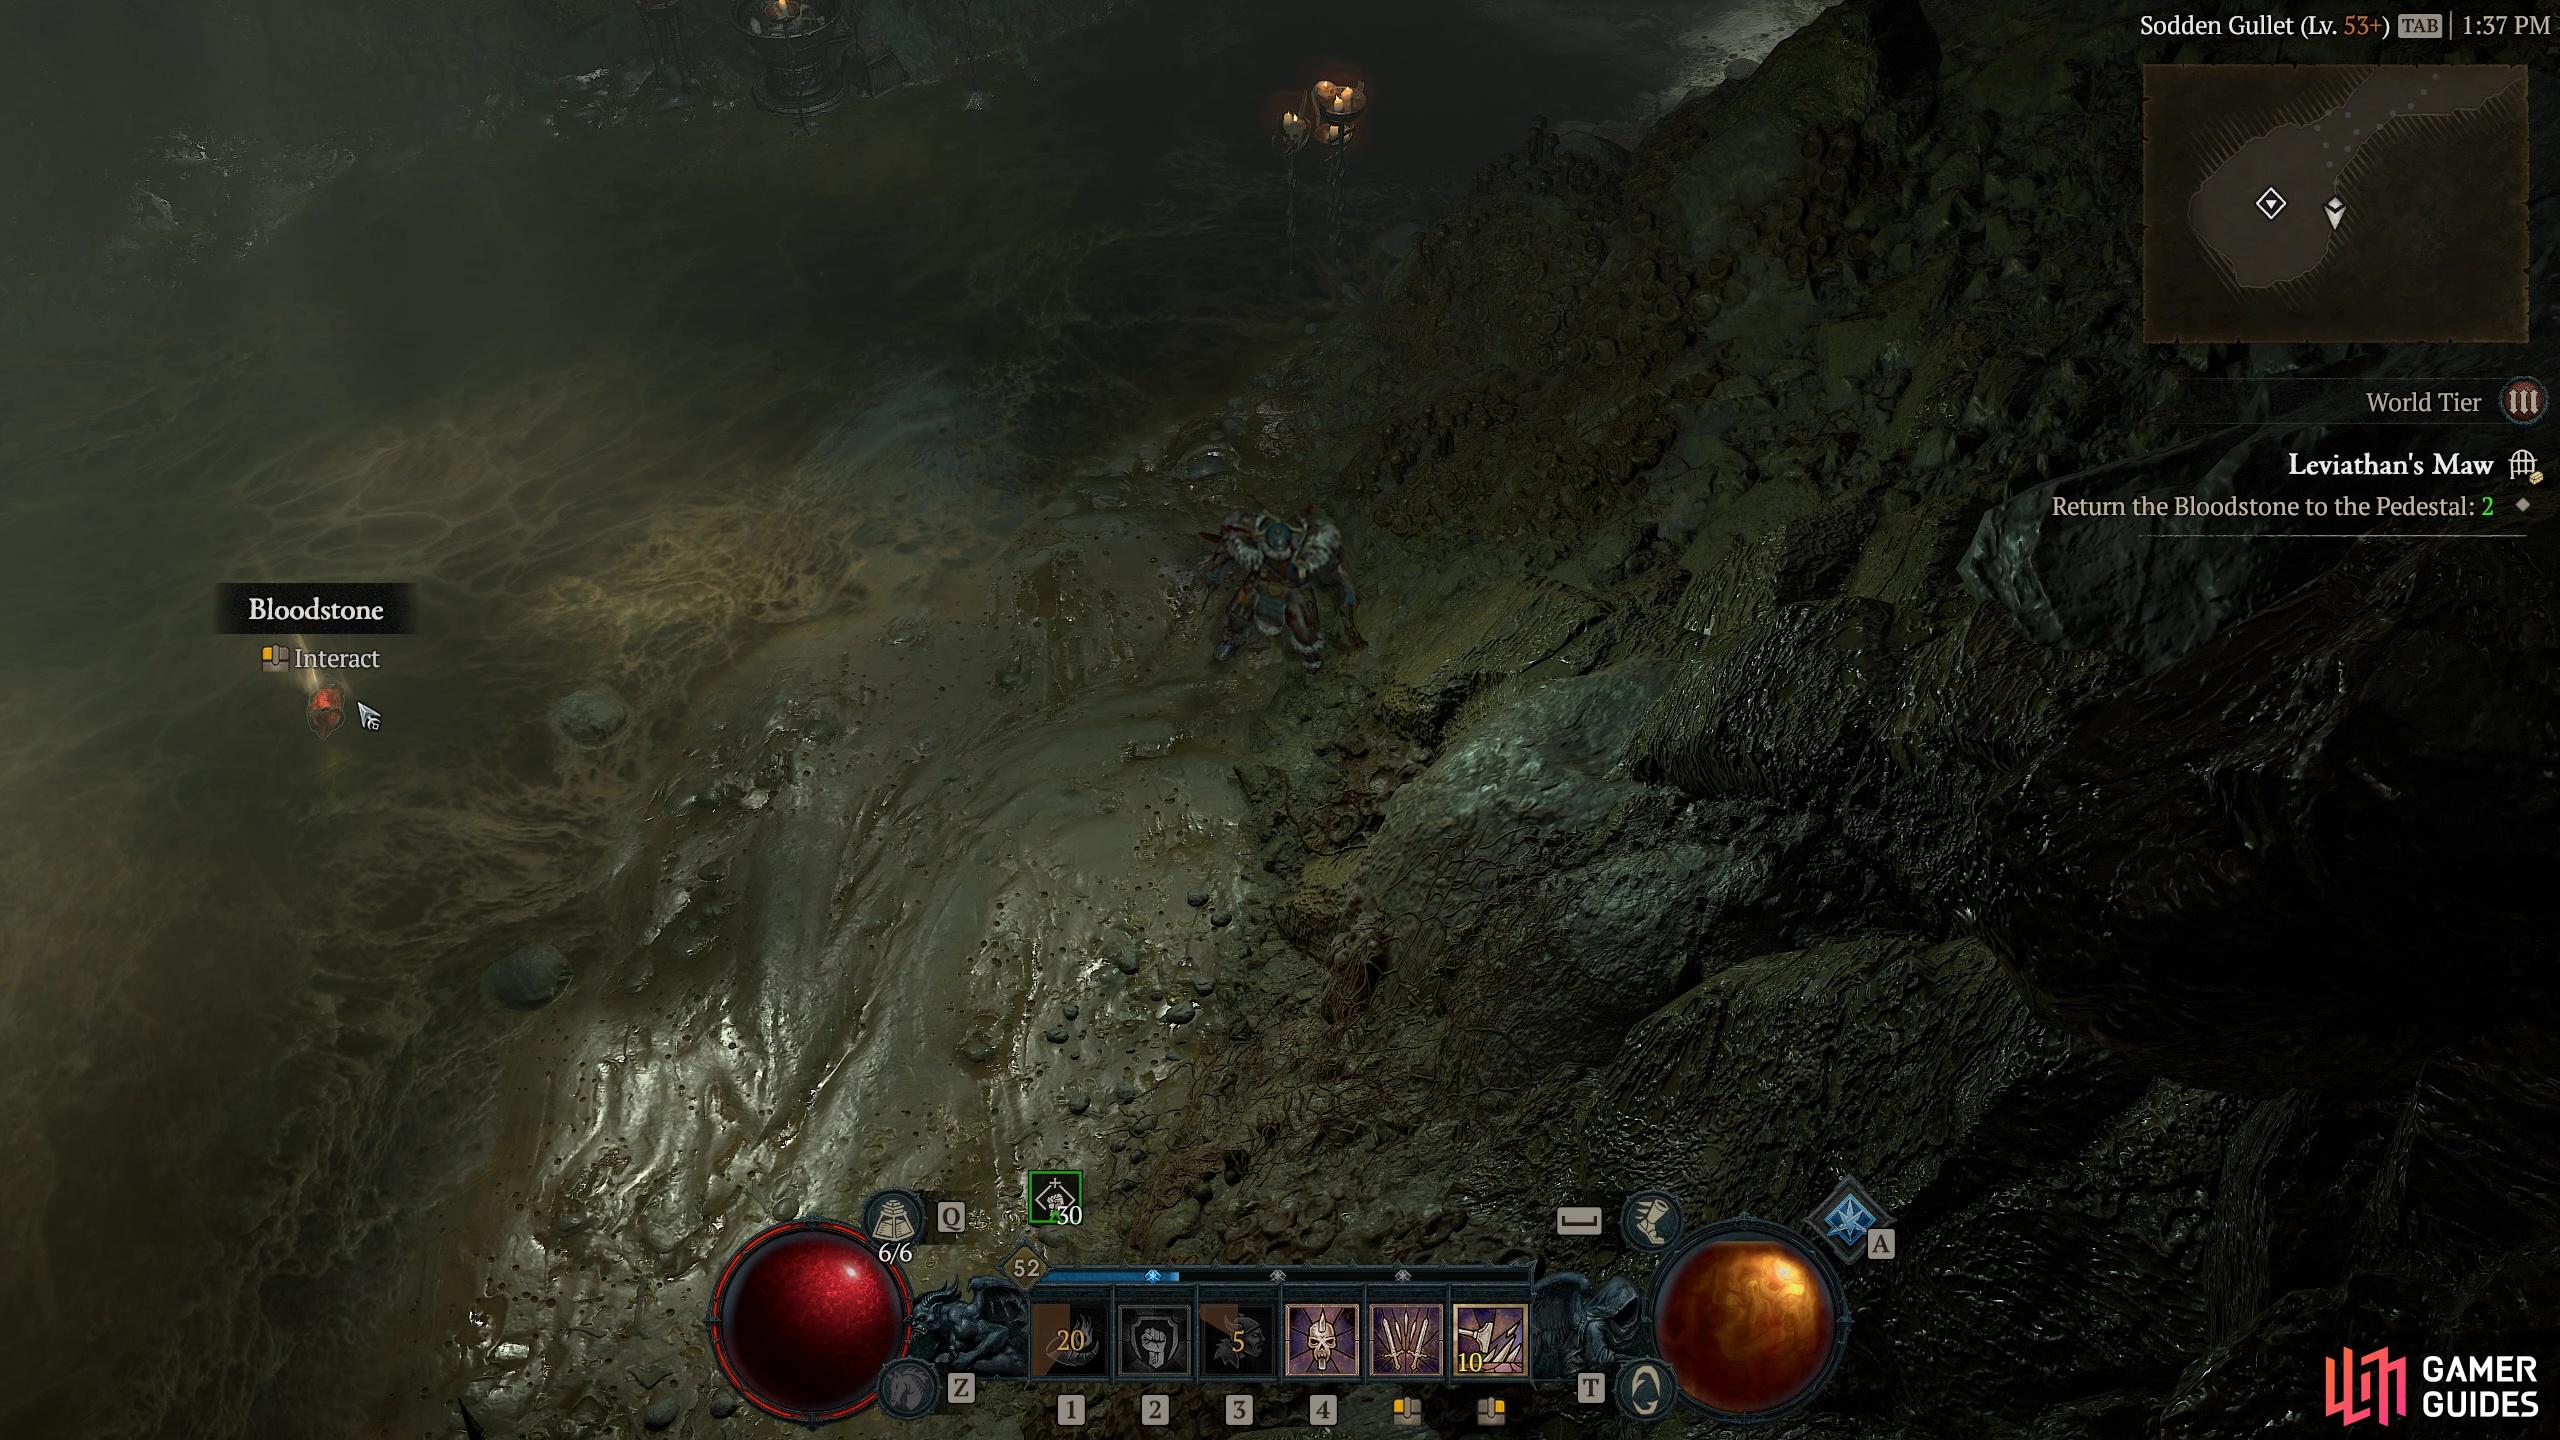
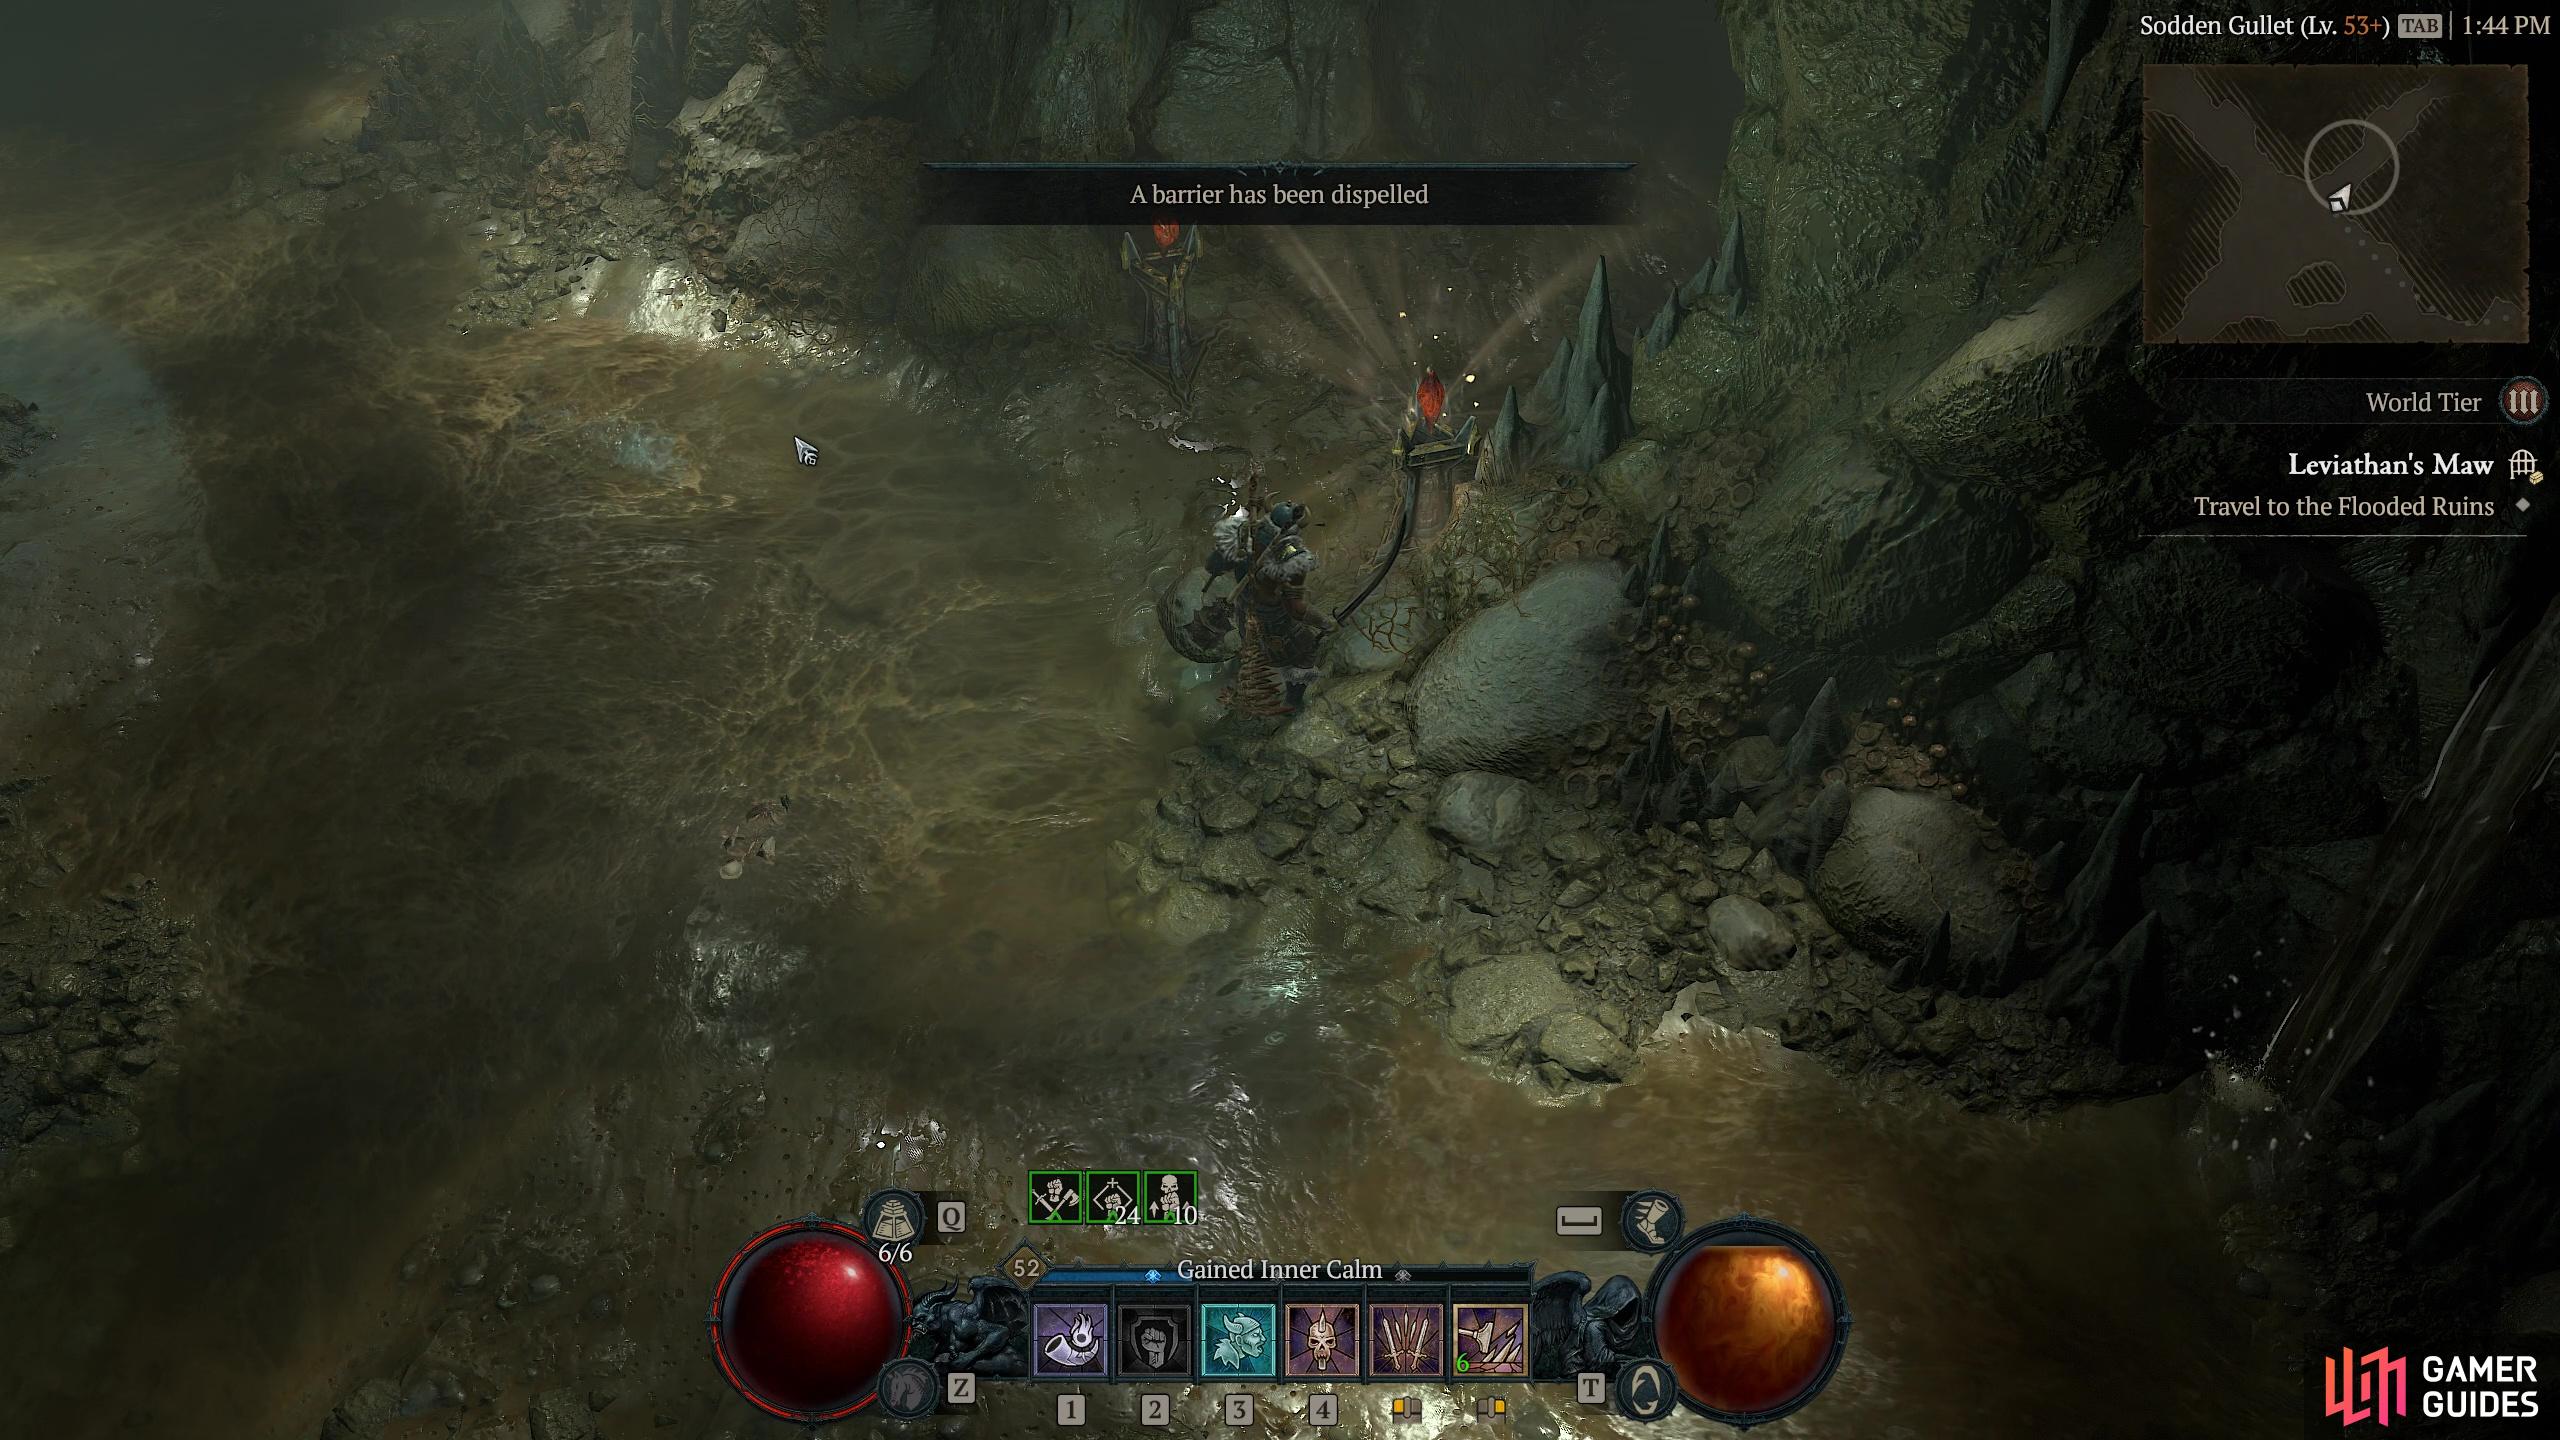
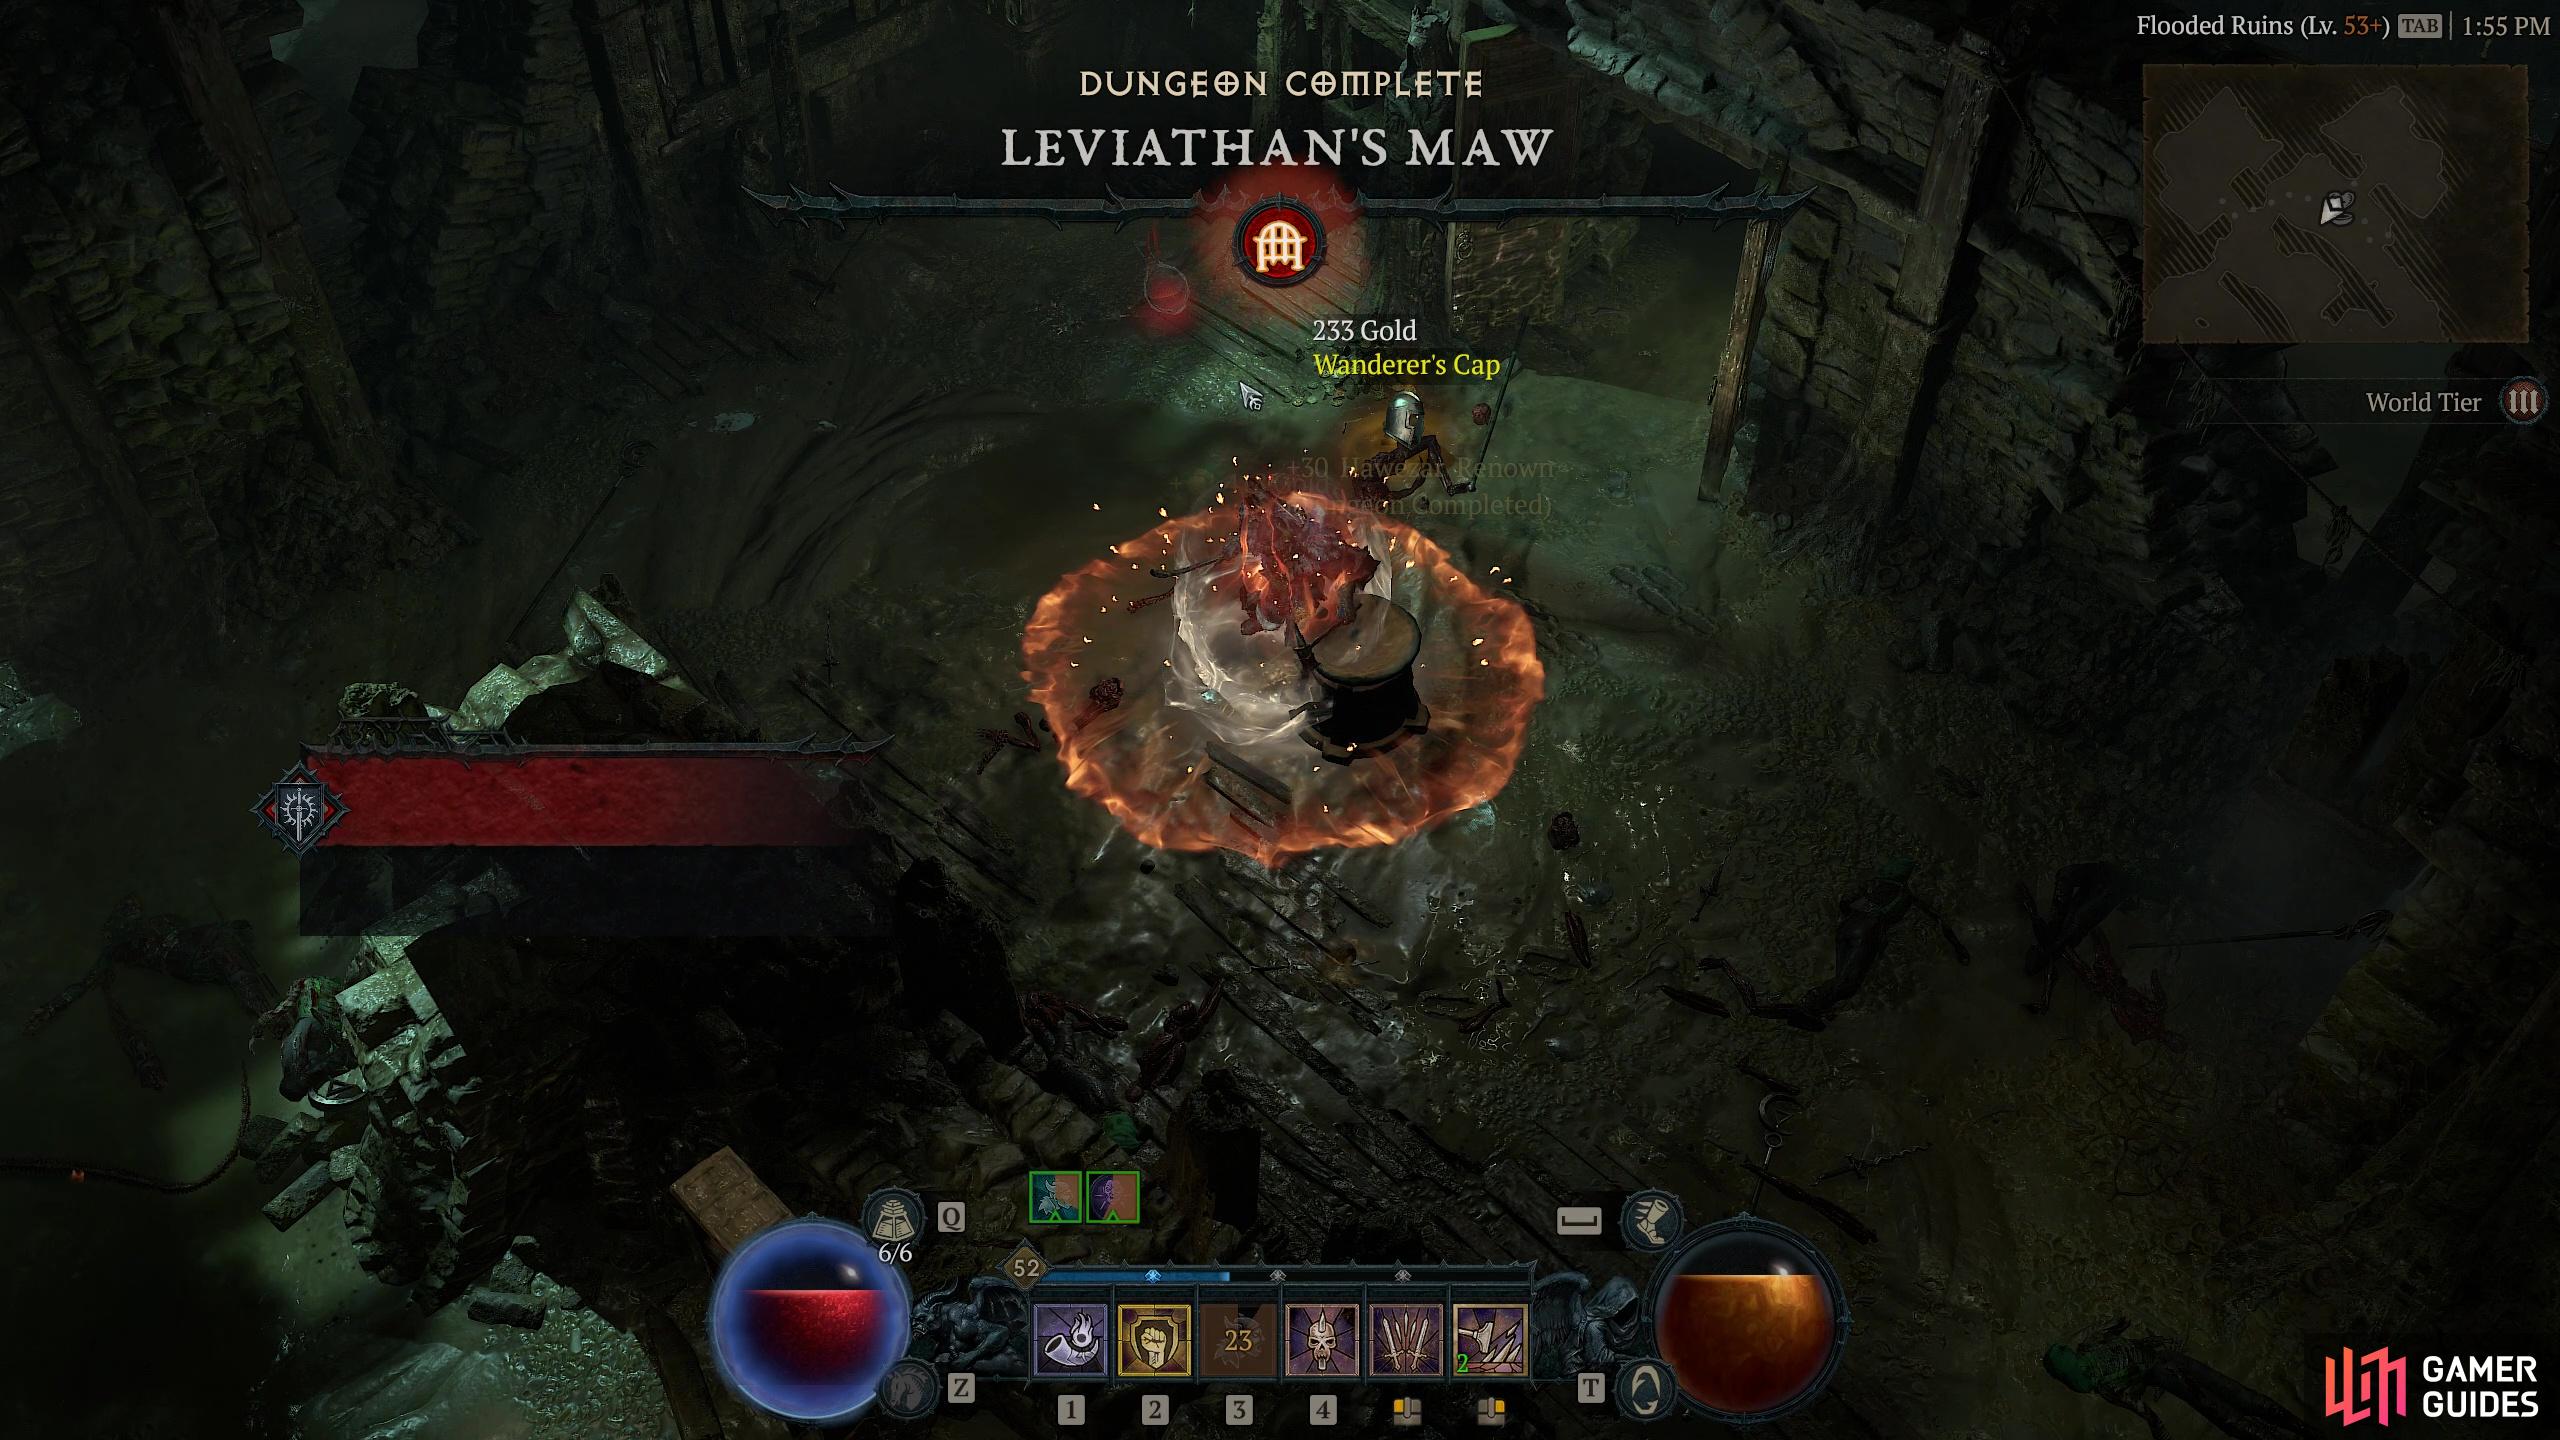
|
Leviathan's Maw |
Cultists lurk in these flooded ruins.
Objectives
Description
The Leviathan’s Maw dungeon has a sense of foreboding before you even enter it, with it’s jagged mouthlike entrance as you can see from the screenshot. Inside you are going to find snakes, cultists and The objective here is to locate two Bloodstones which must then be returned to their pedestals which will then in turn remove the barrier to the final section where you simply need to kill all the remaining enemies in there, but beware there are a lot lurking in the shadows. Be wary that when you collect a Bloodstone it will spawn a gang of enemies which you will need to deal with before moving on. There are also a couple of occasions close to the end of the dungeon where a mob will spawn upon killing a certain Serpent Cult Magus.
Enemies
Serpent Cultist
Cultists
Serpent Cult Magus
Cultists
Nangari Spitter
Snakes
Sephiran Bloodpulse
Bosses
Region
Item Reward
1×
|
|
|||||||||||||||||||||||||||||||||||||||||||||||||||||||||||||||||||||||||||||||||||||||||||||||

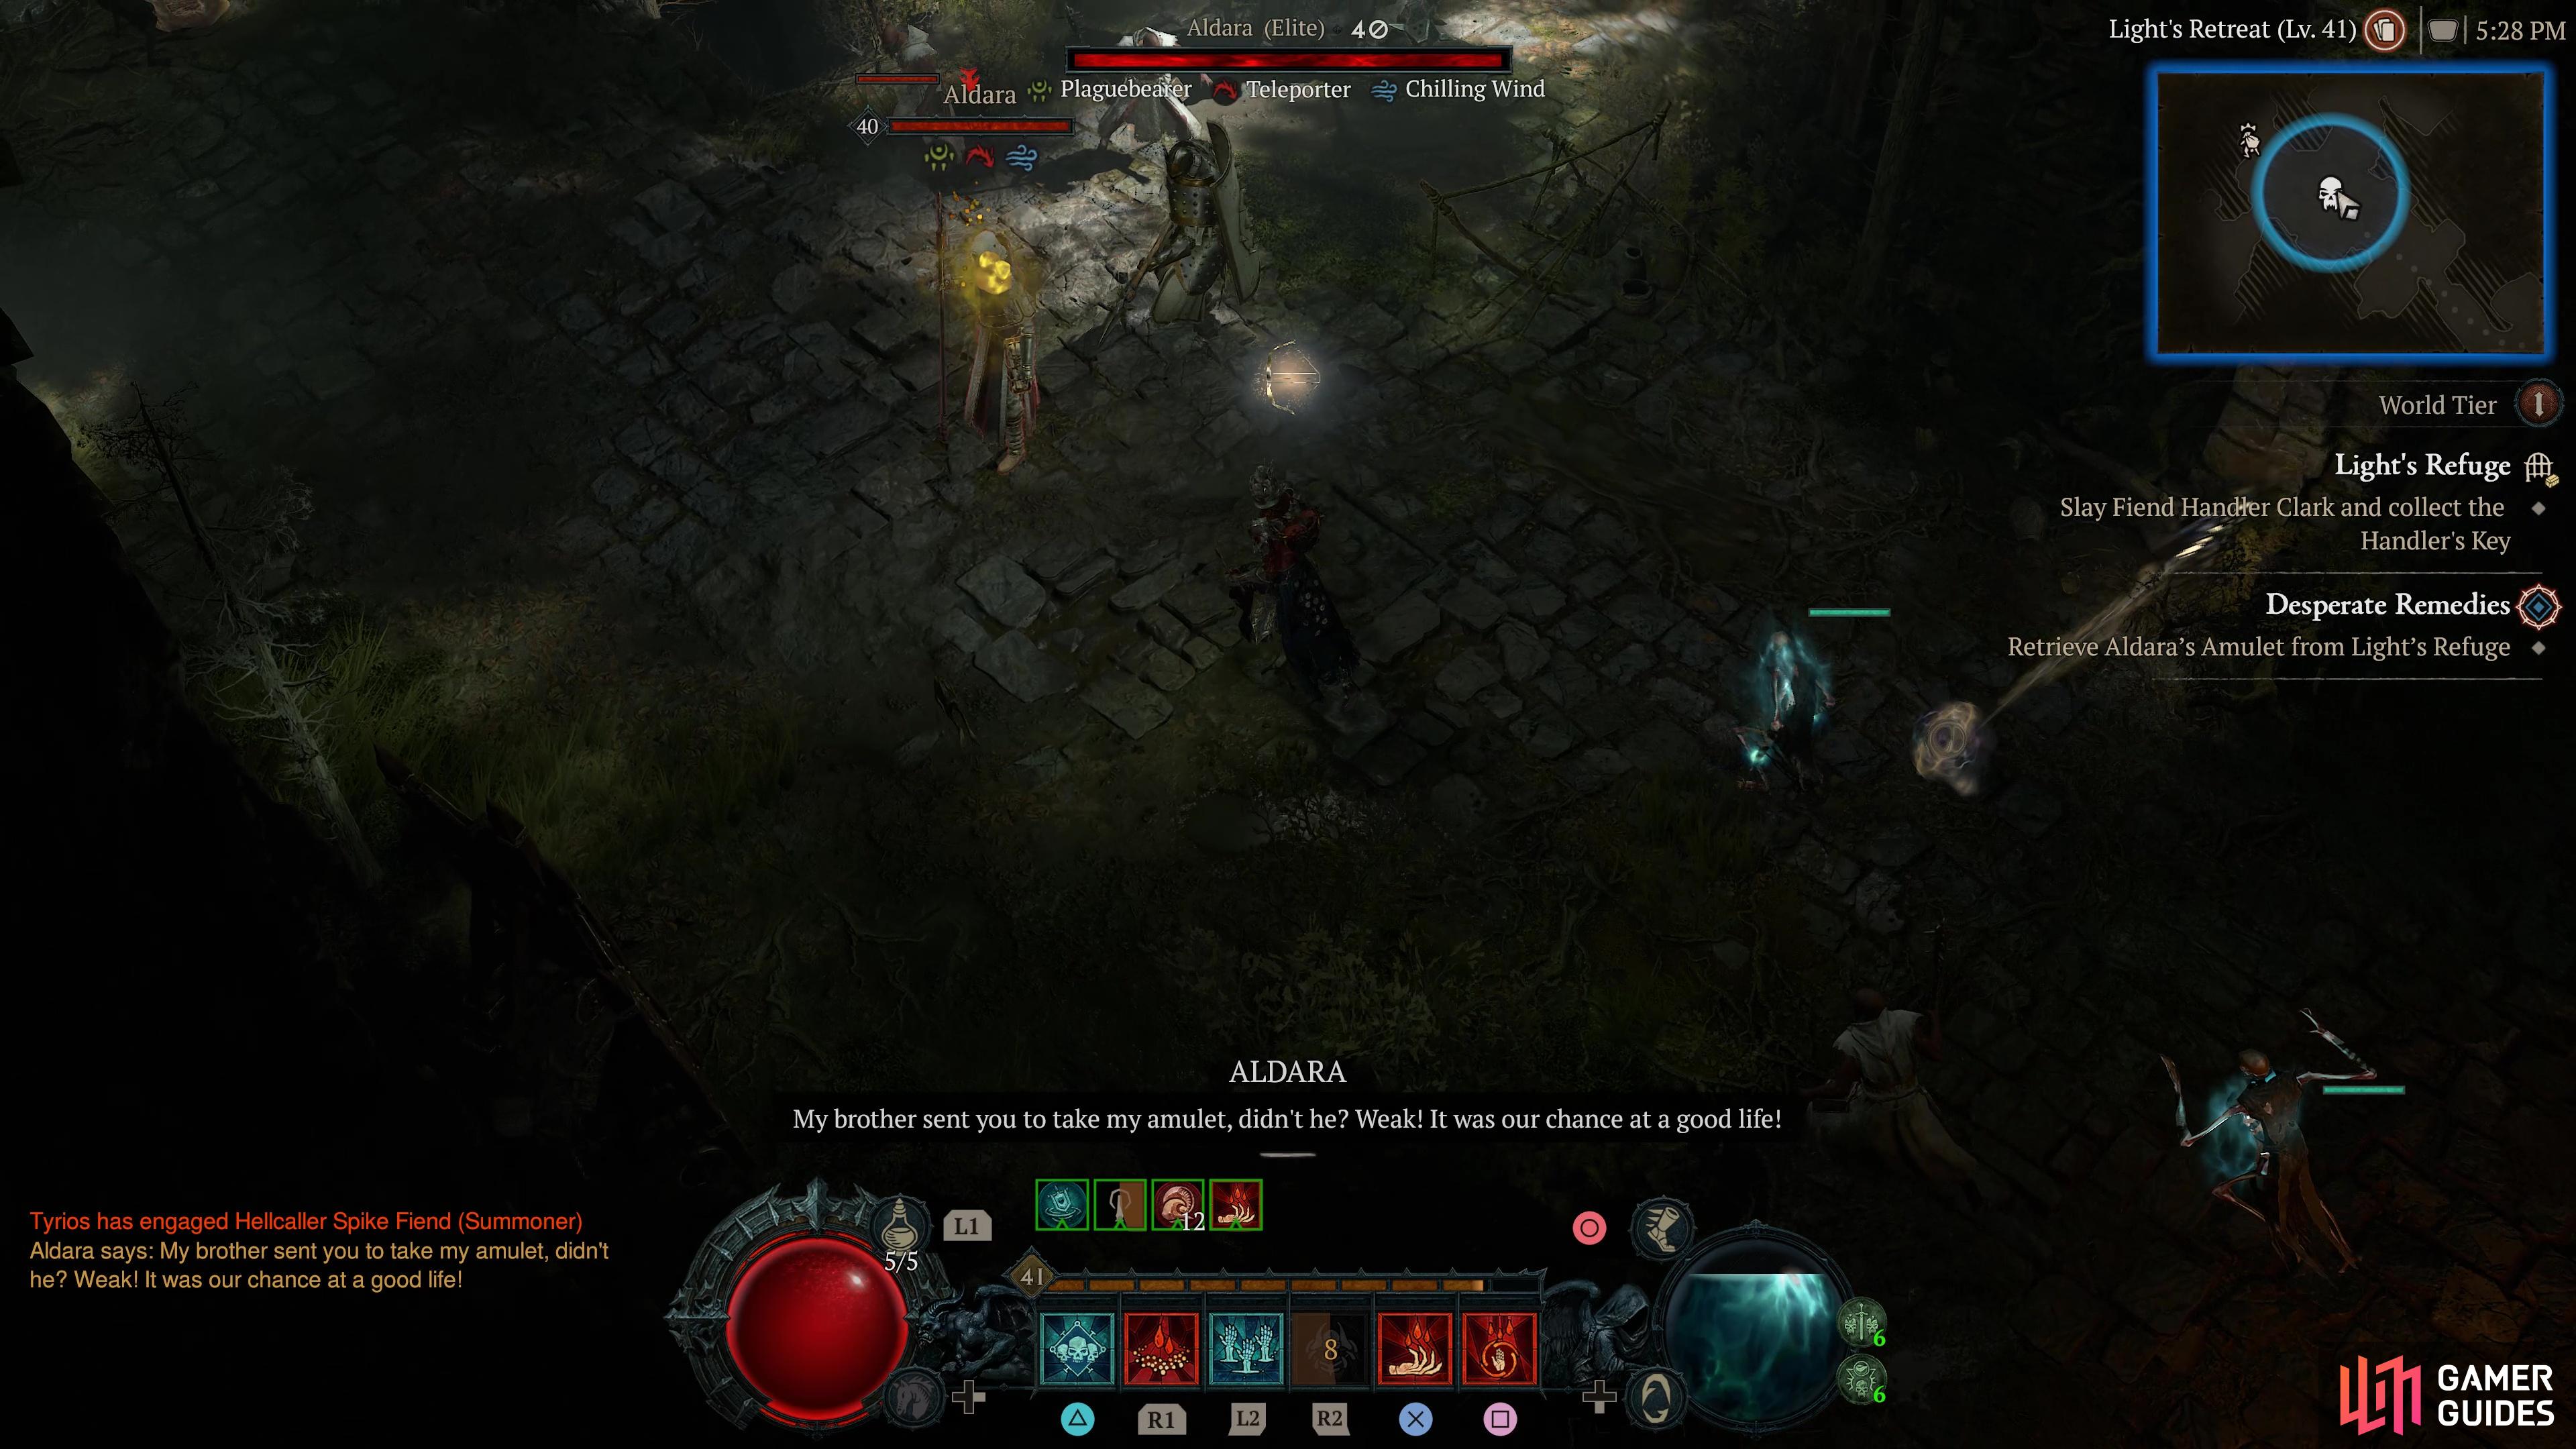
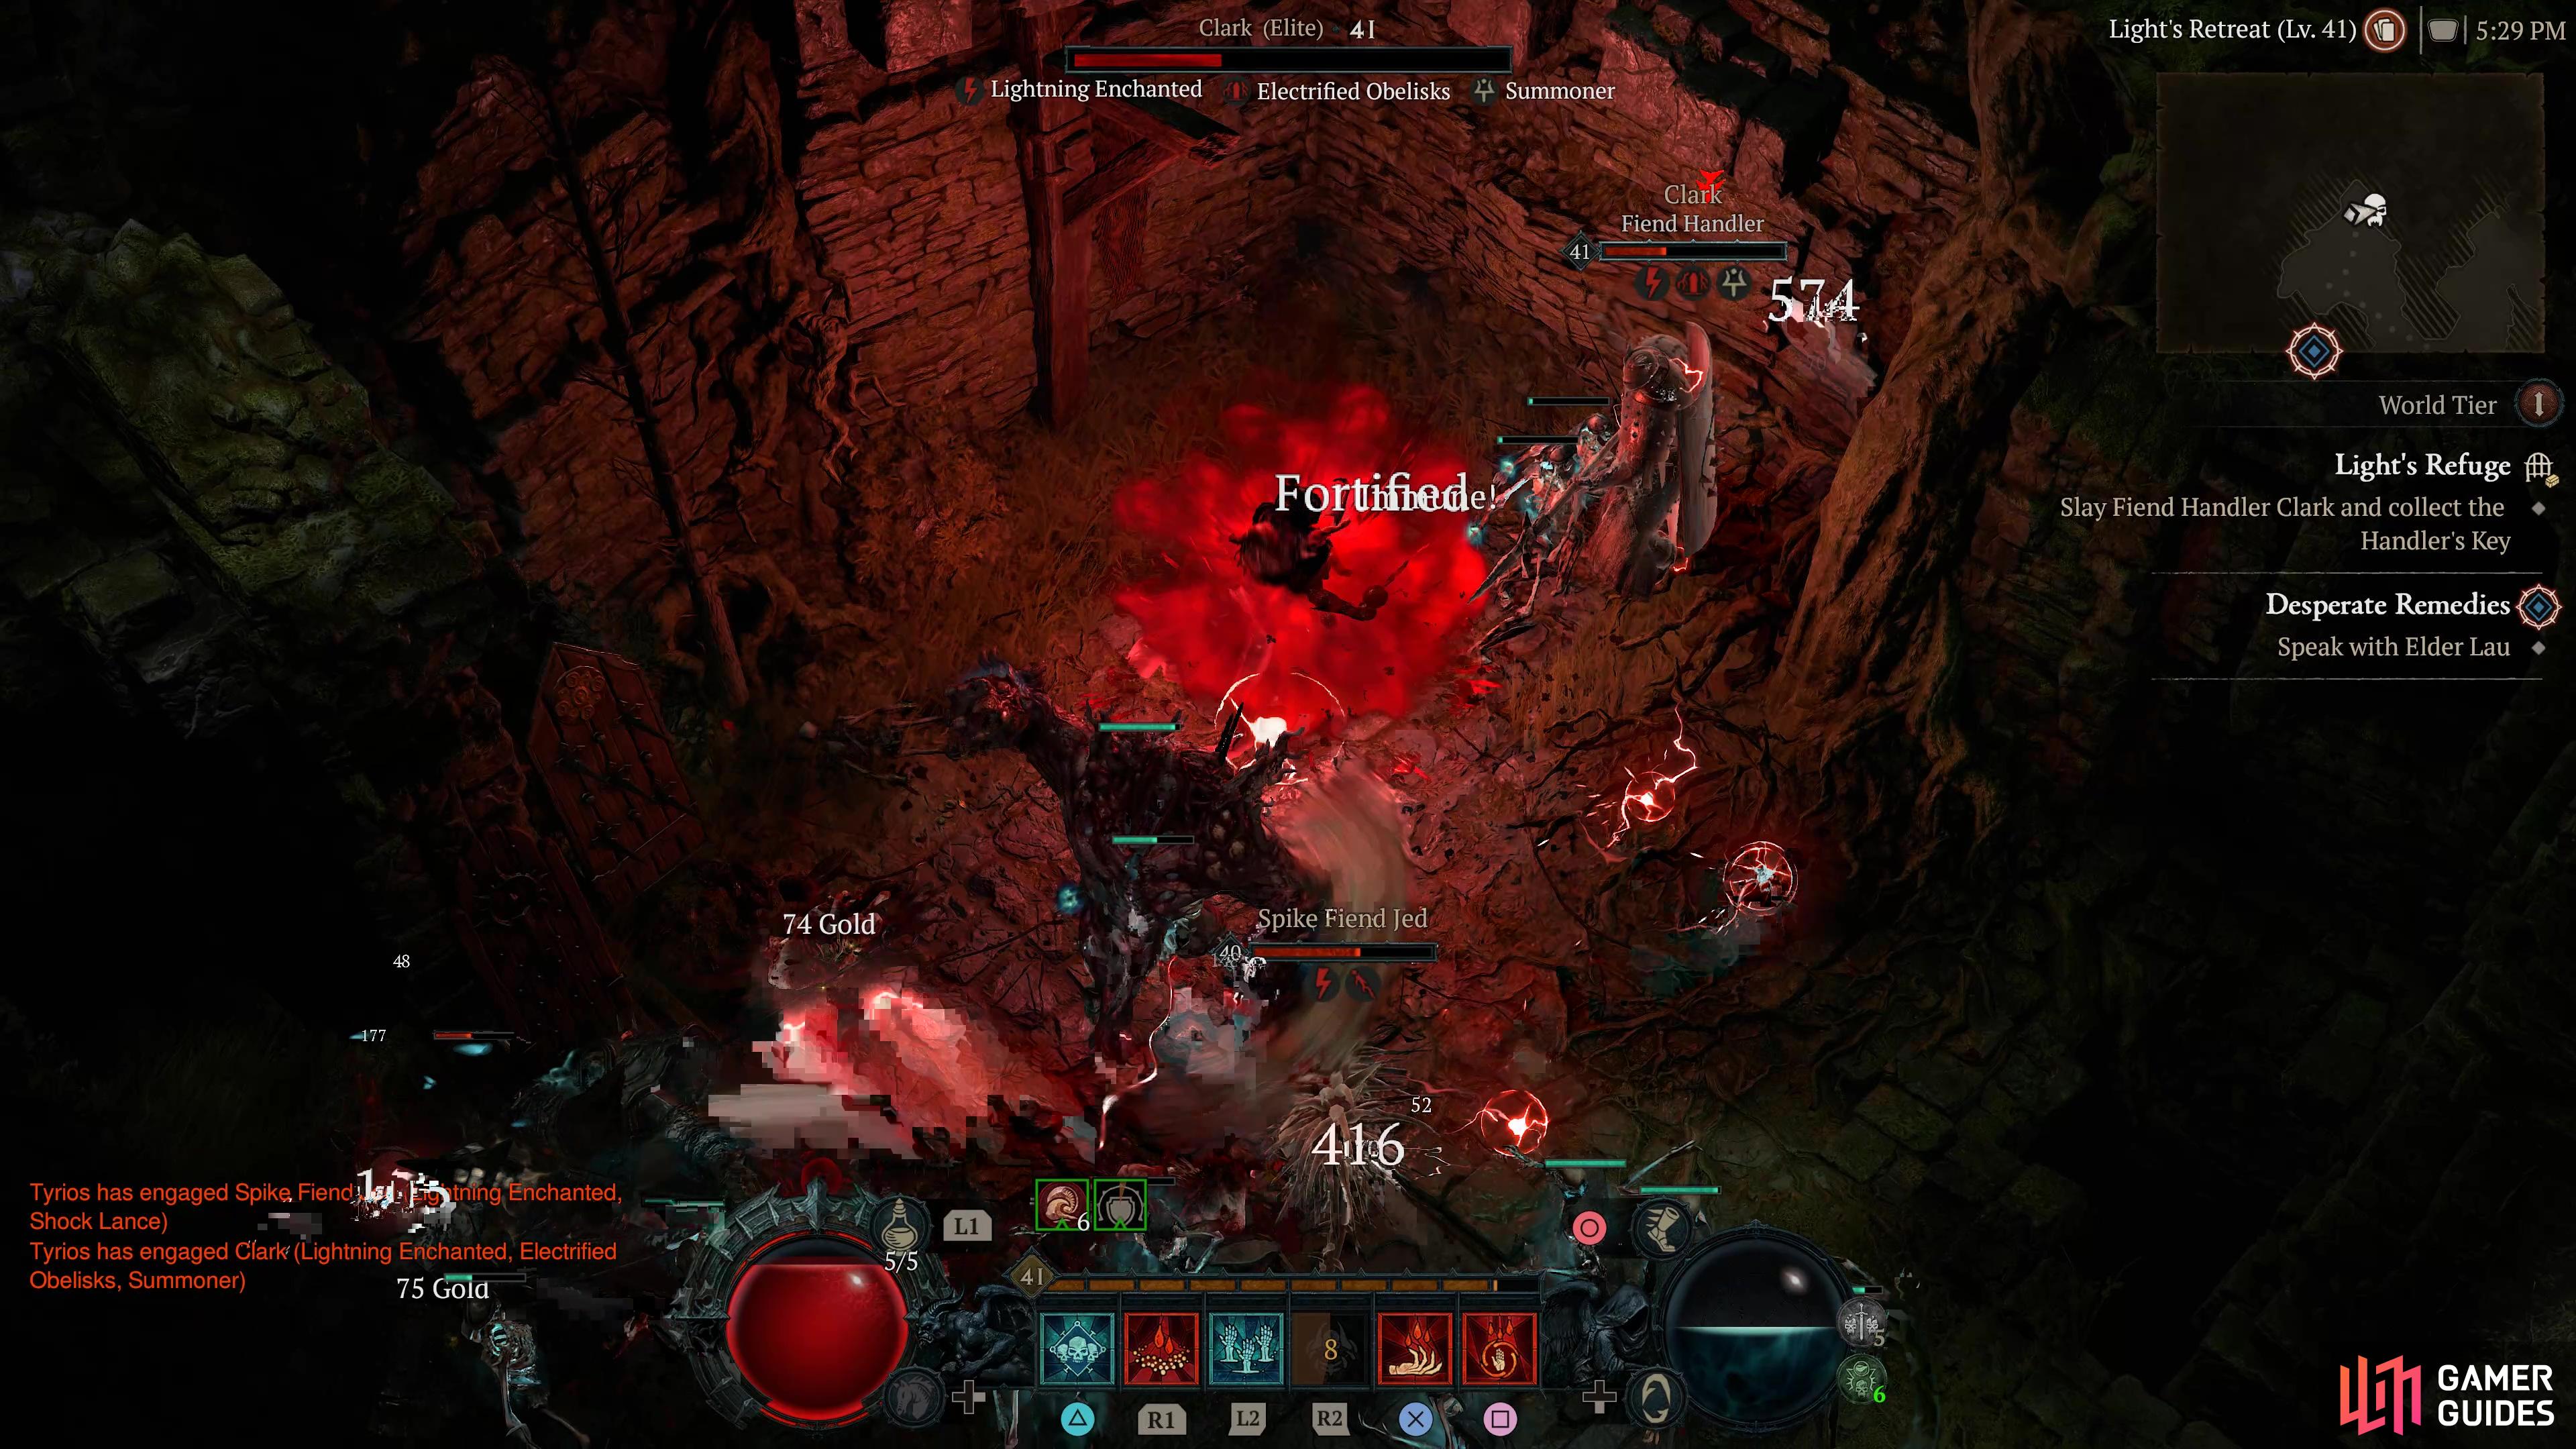
|
Light's Refuge |
In a forgotten home lies a nest made of teeth and armor.
Objectives
Enemies
Knight Errant
Knights
Spike Fiend
Wildlife
1×
1×
1×
Detailed Location
Region
General Reward
XP, Gold, +30 Hawezar Renown
Item Reward
1×
|


|
|||||||||||||||||||||||||||||||||||||||||||||||||||||||||||||||||||||||||||||||||||||||||||||||

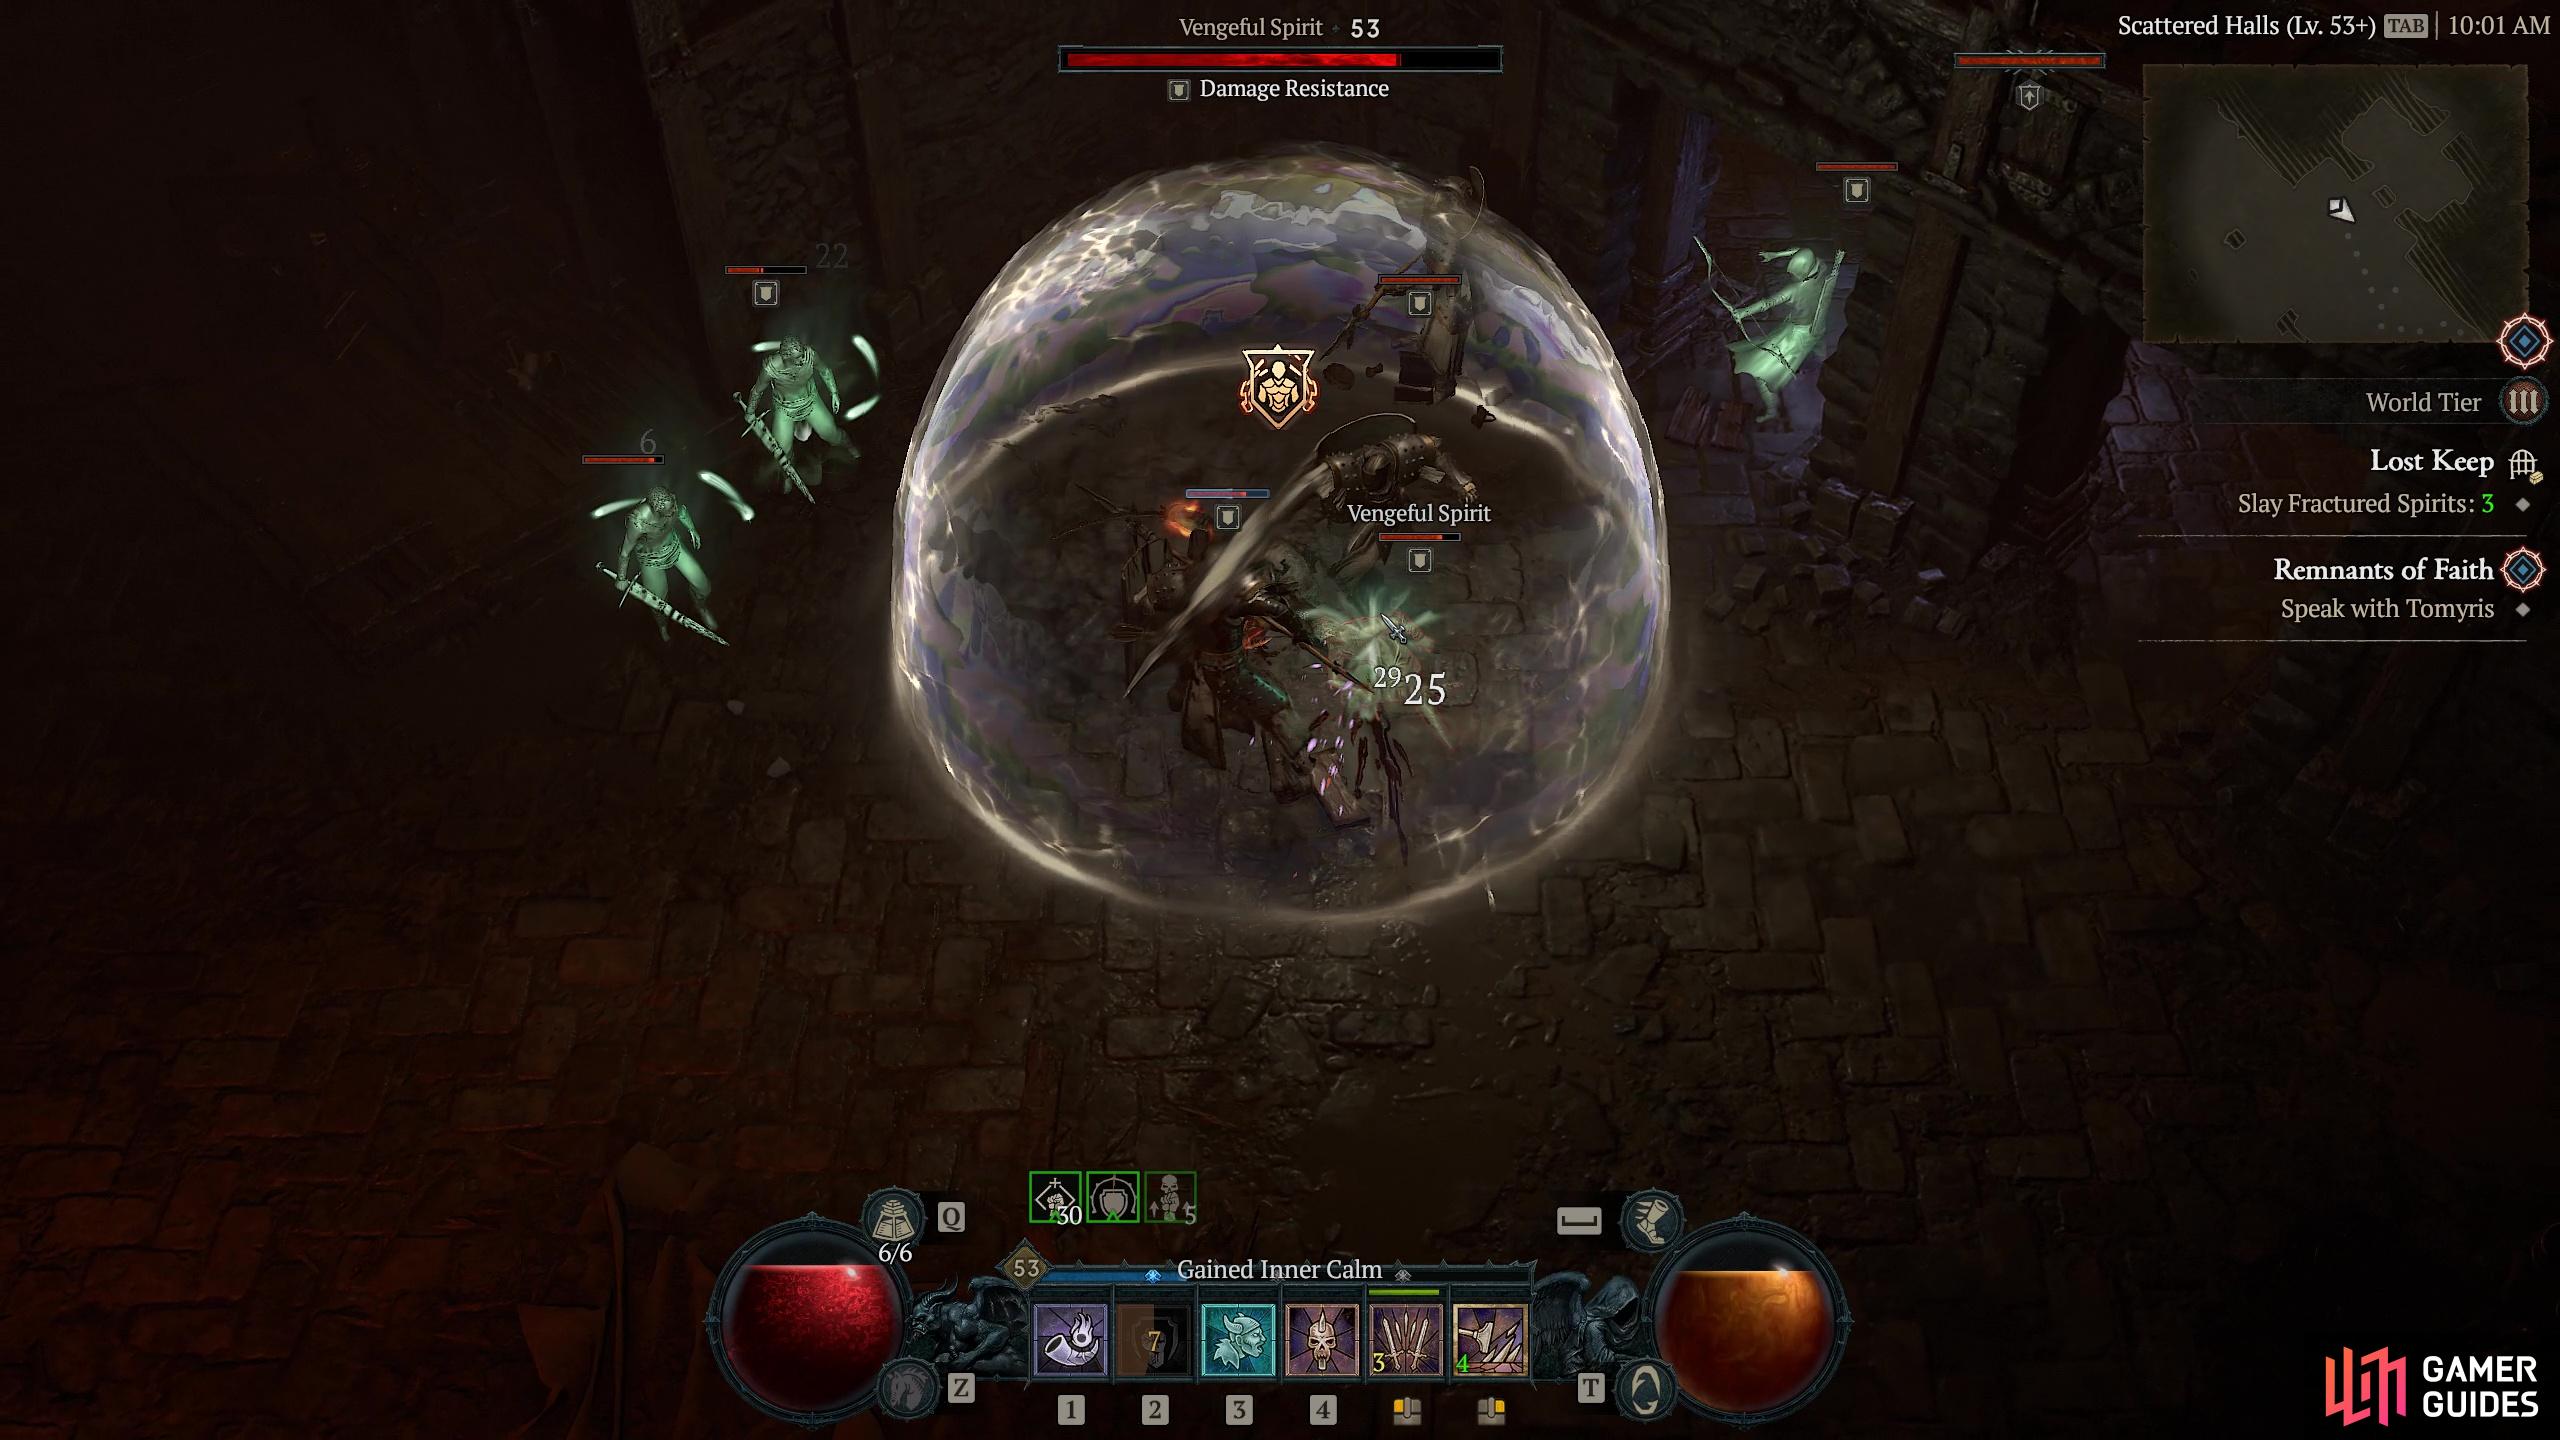
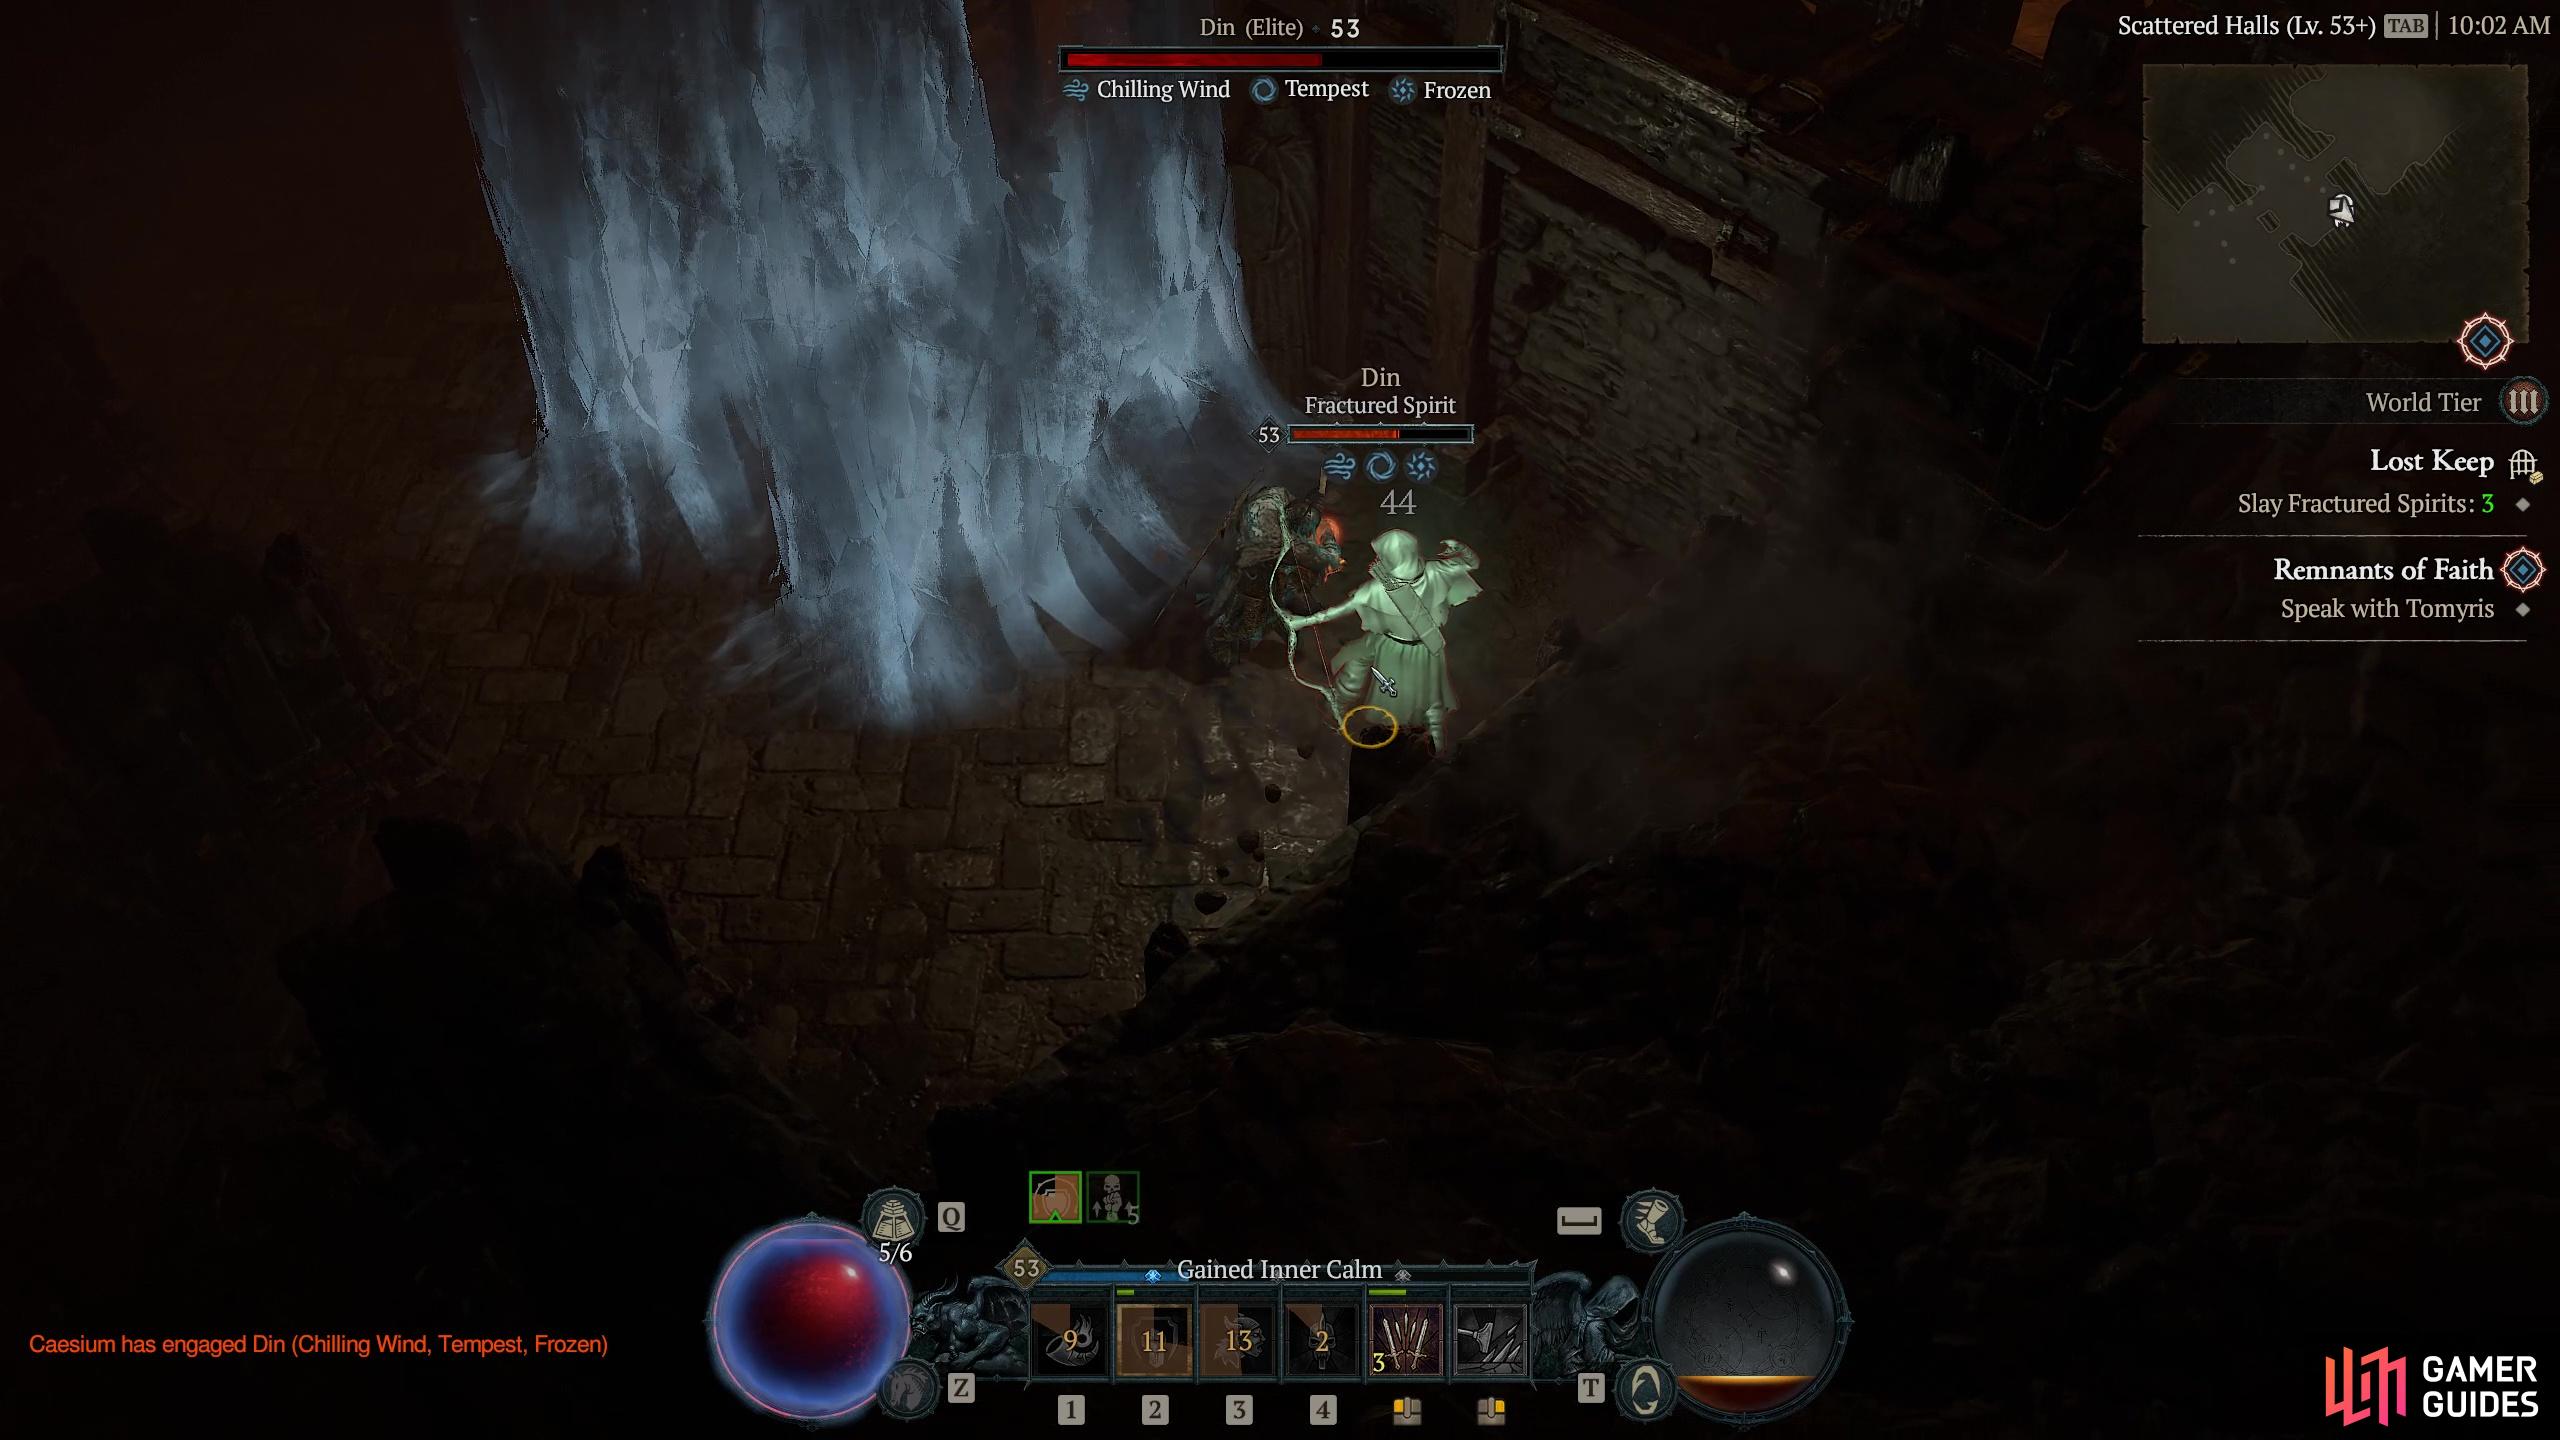
|
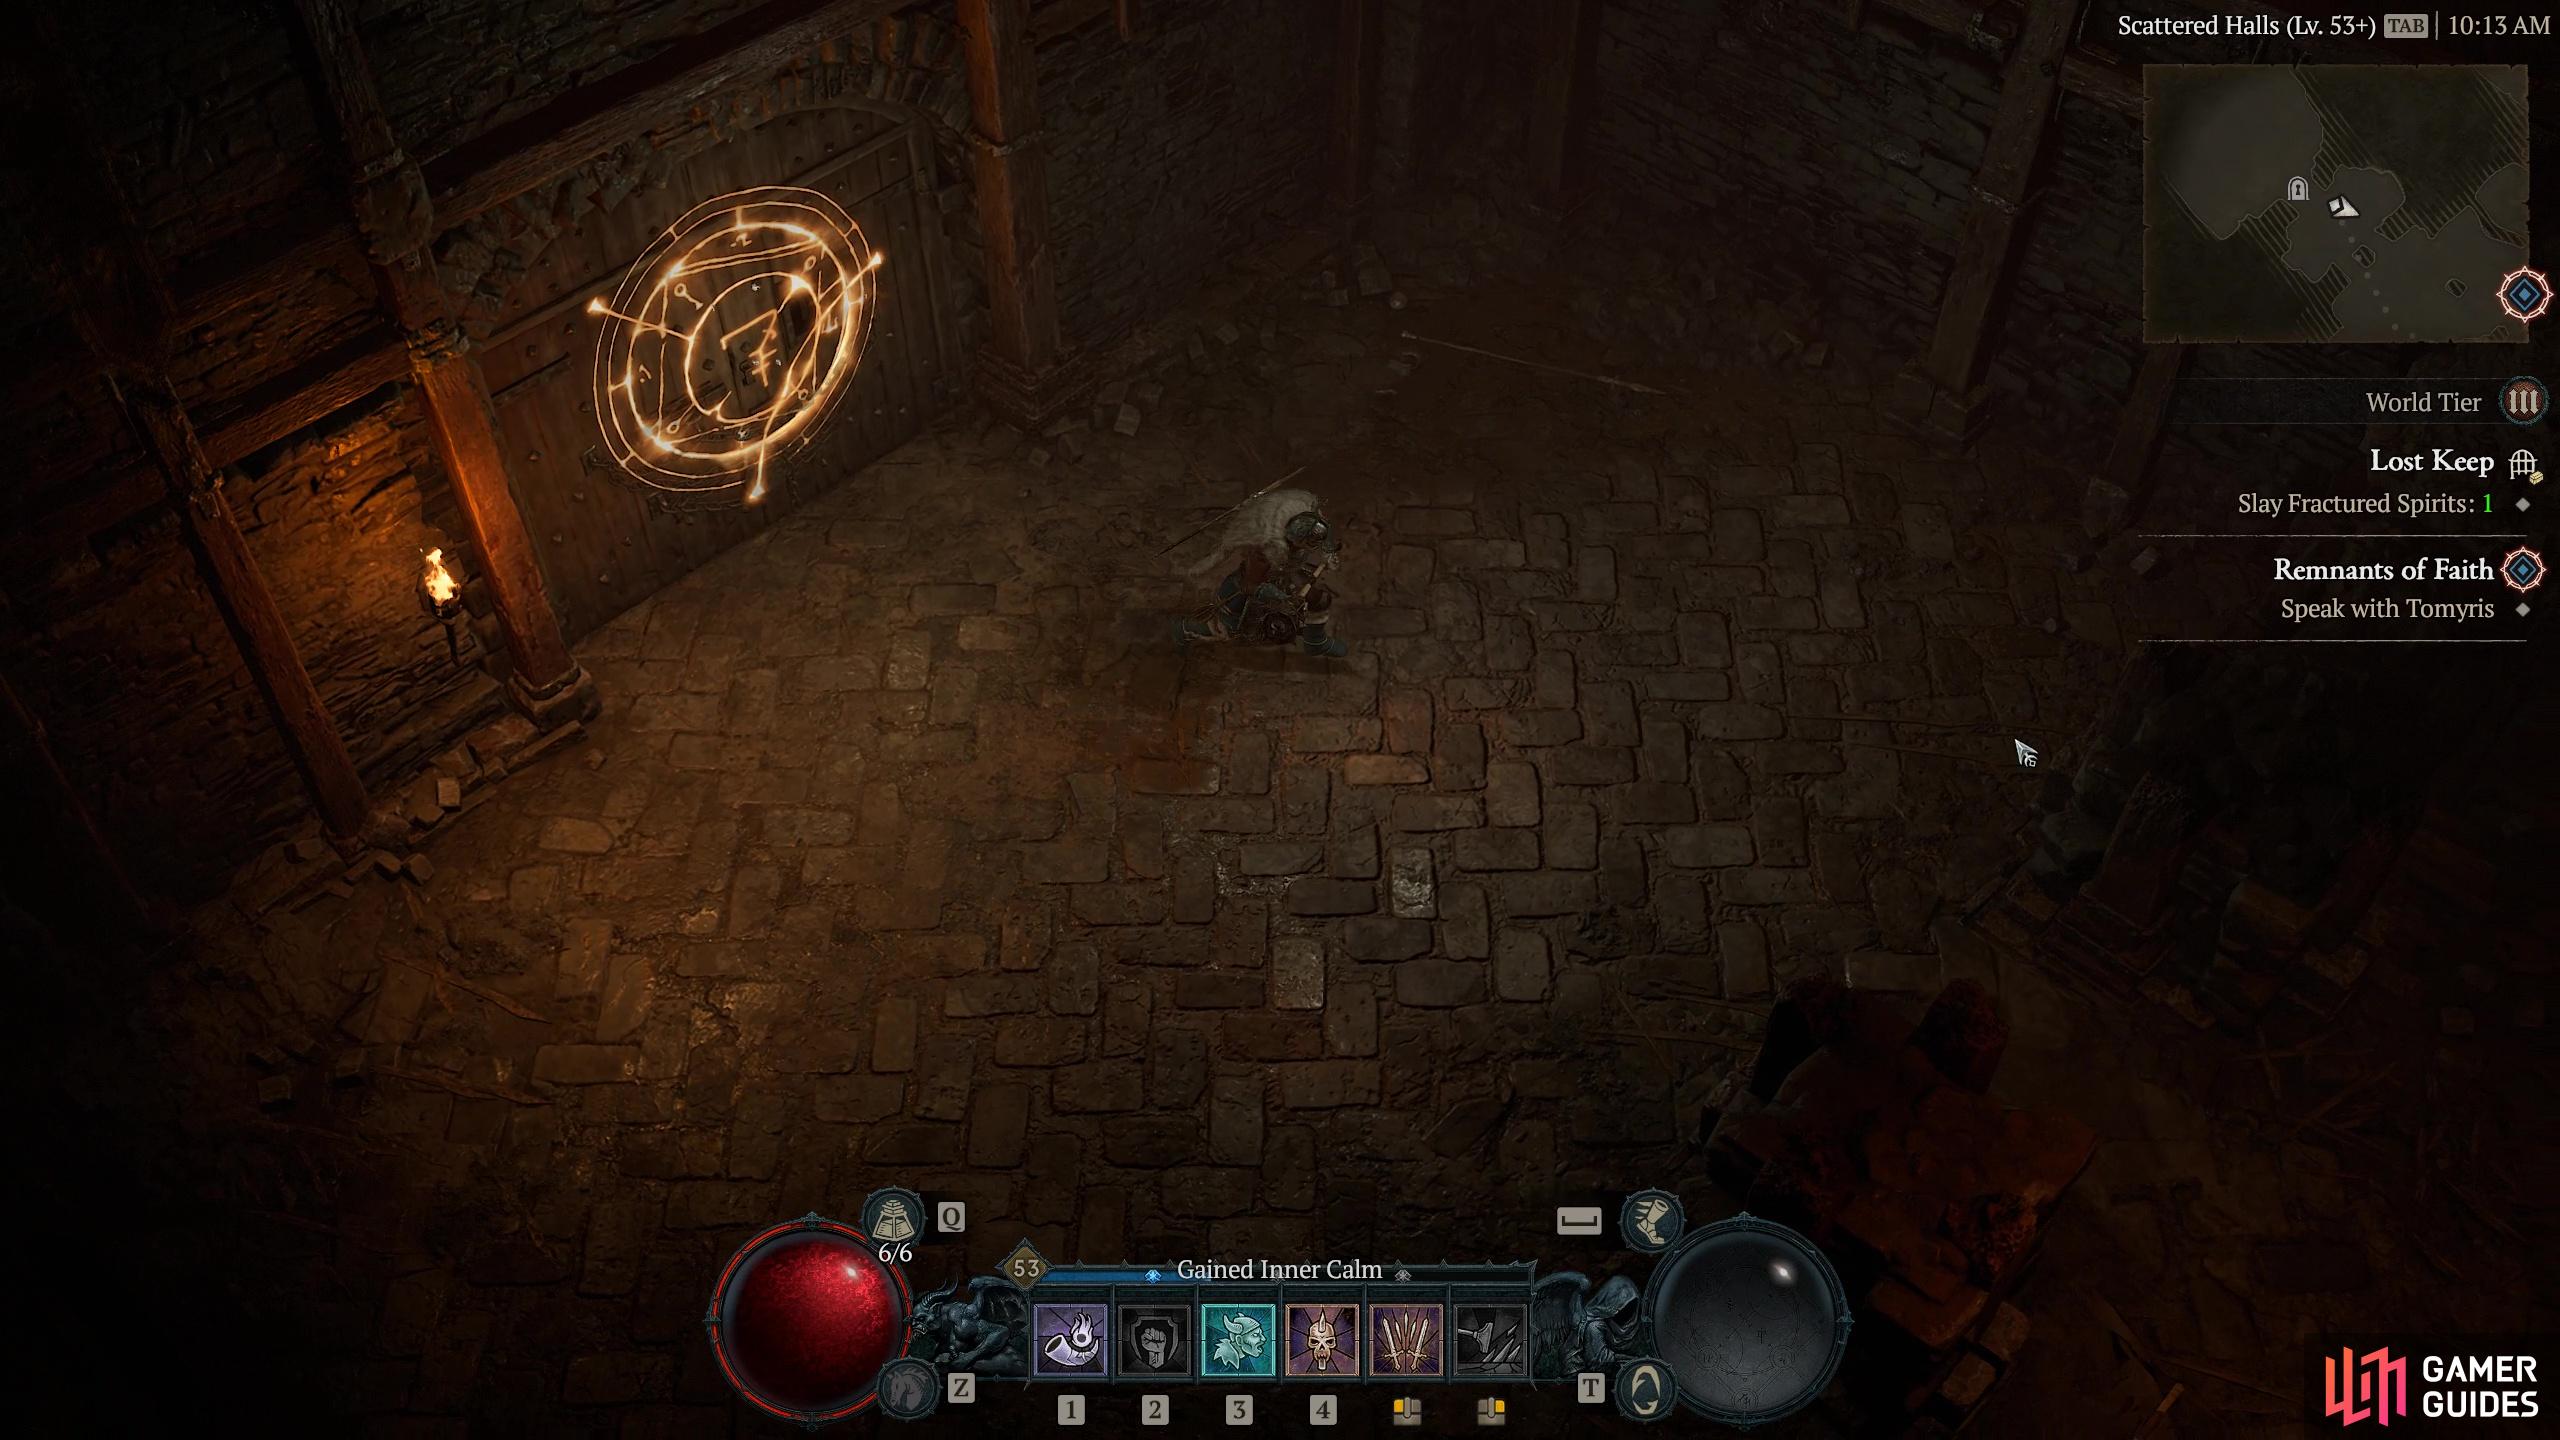
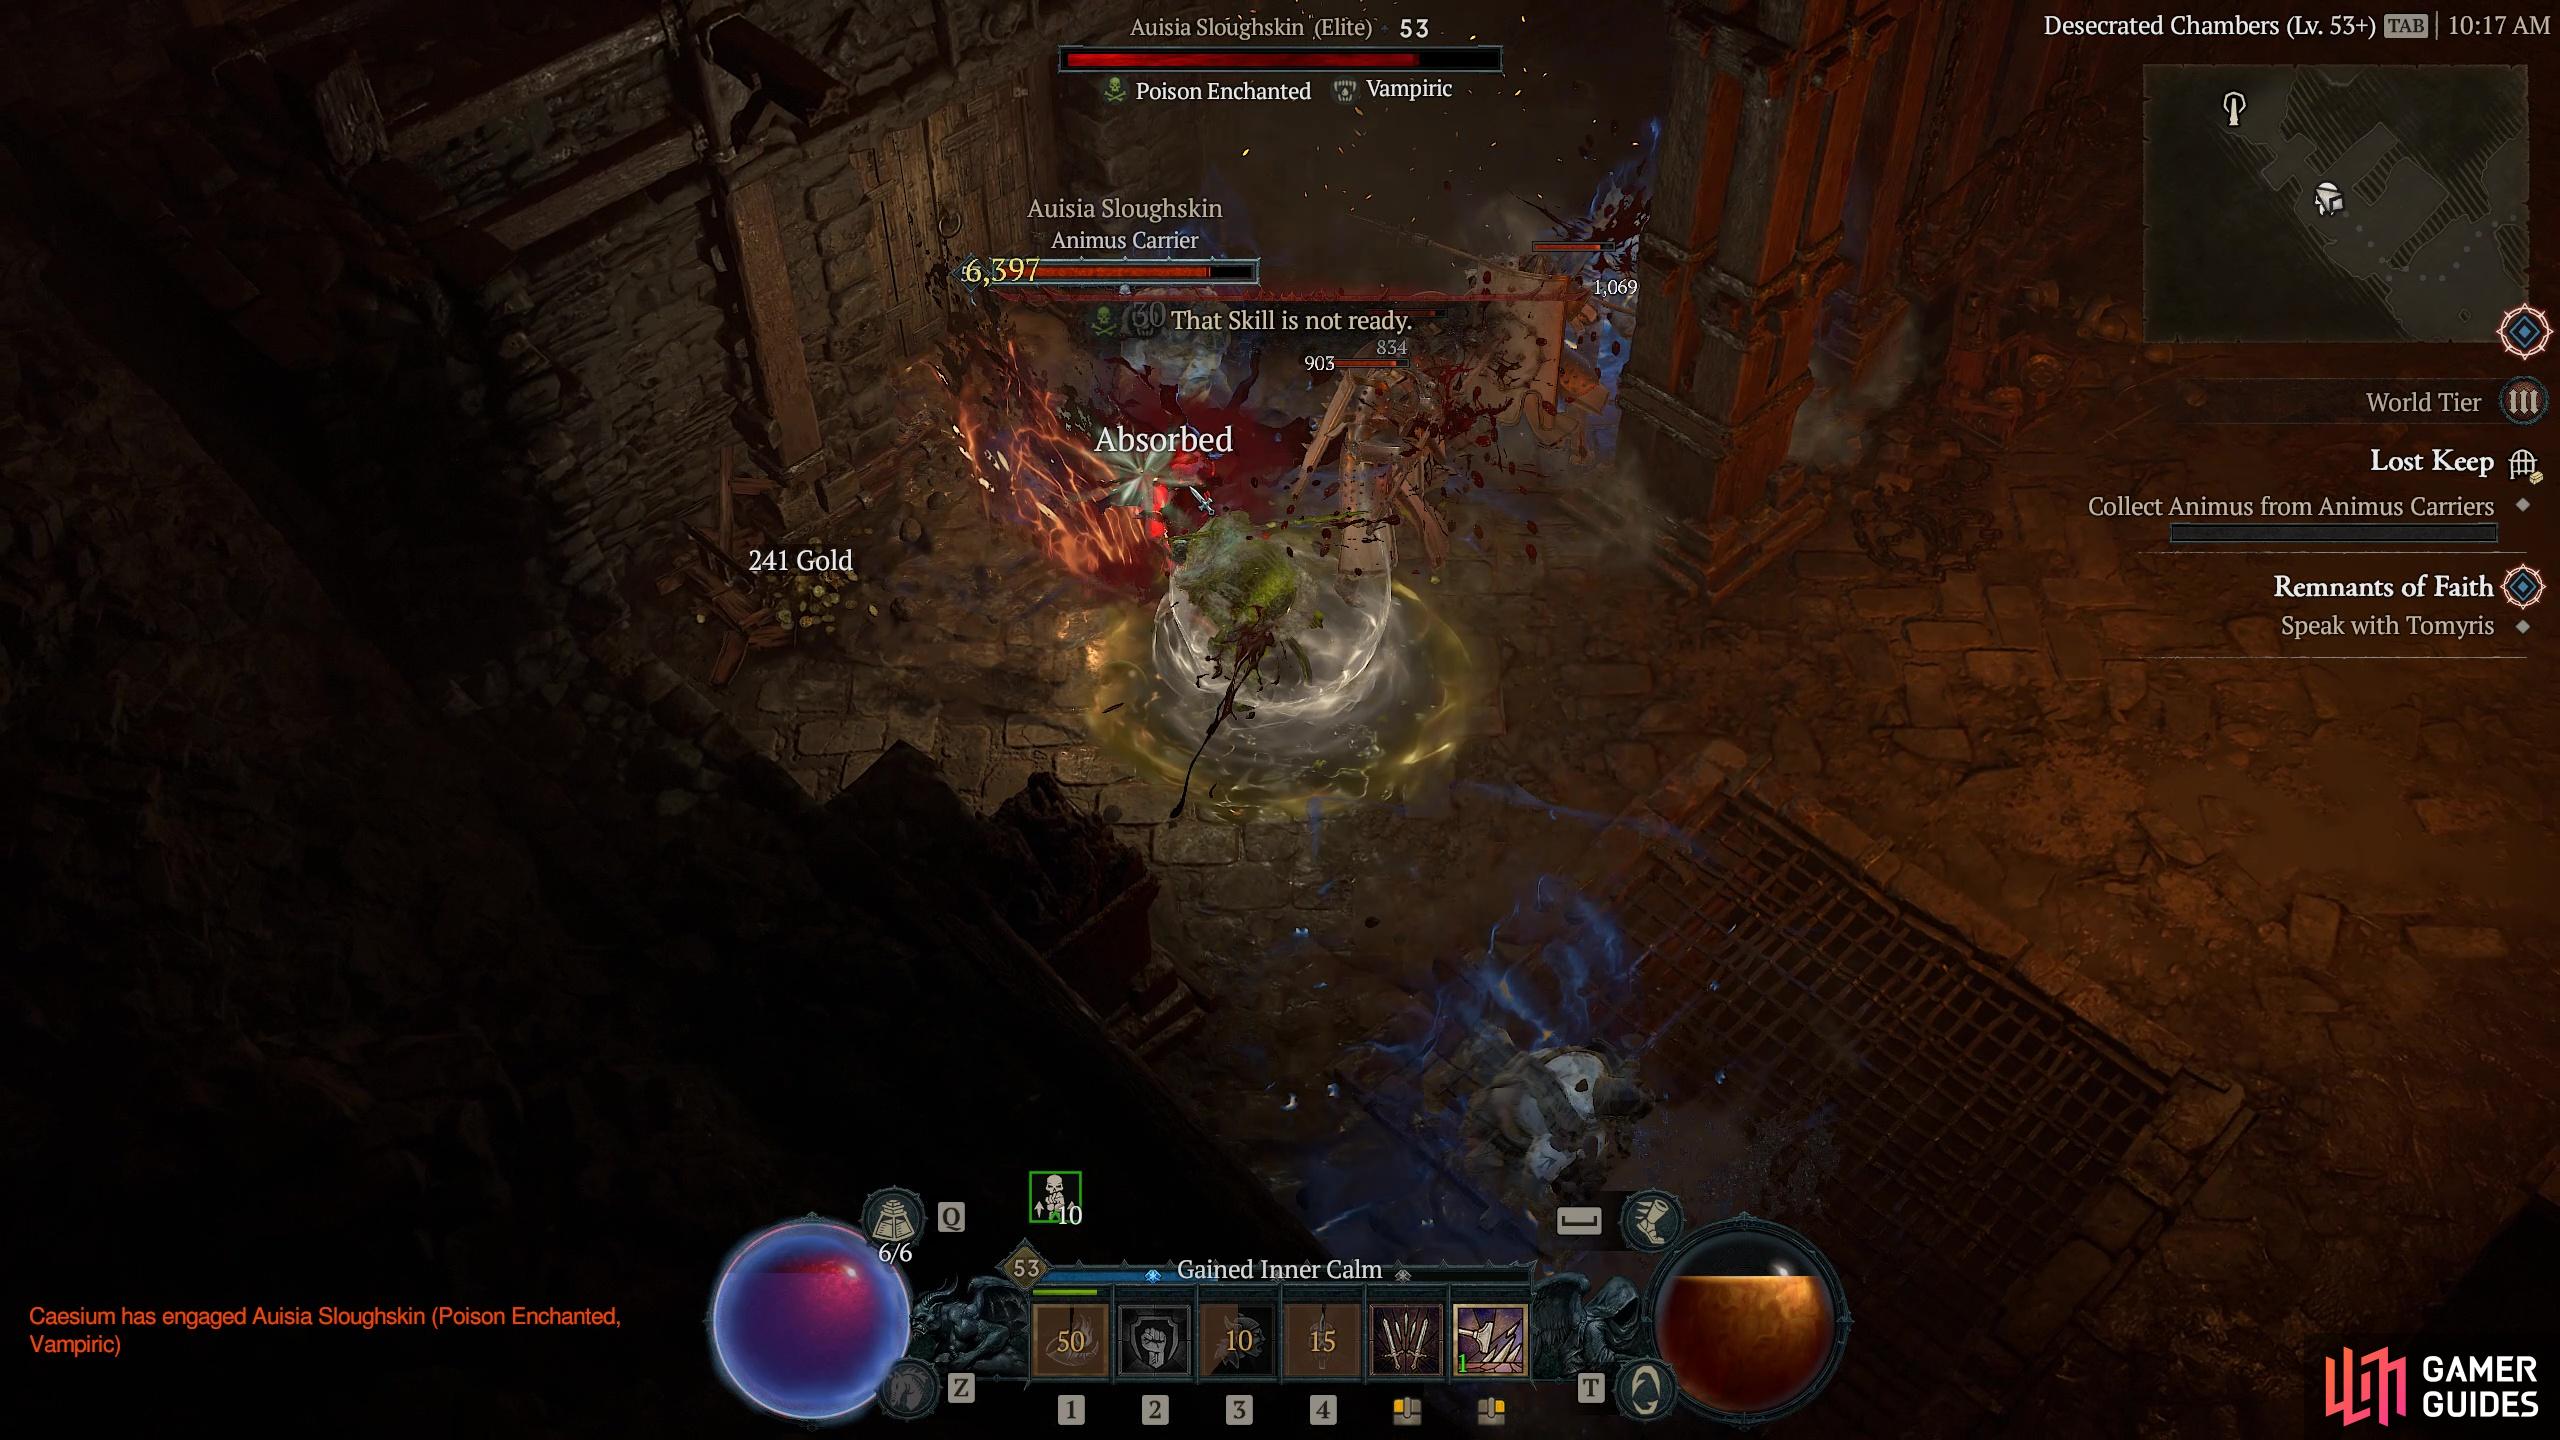
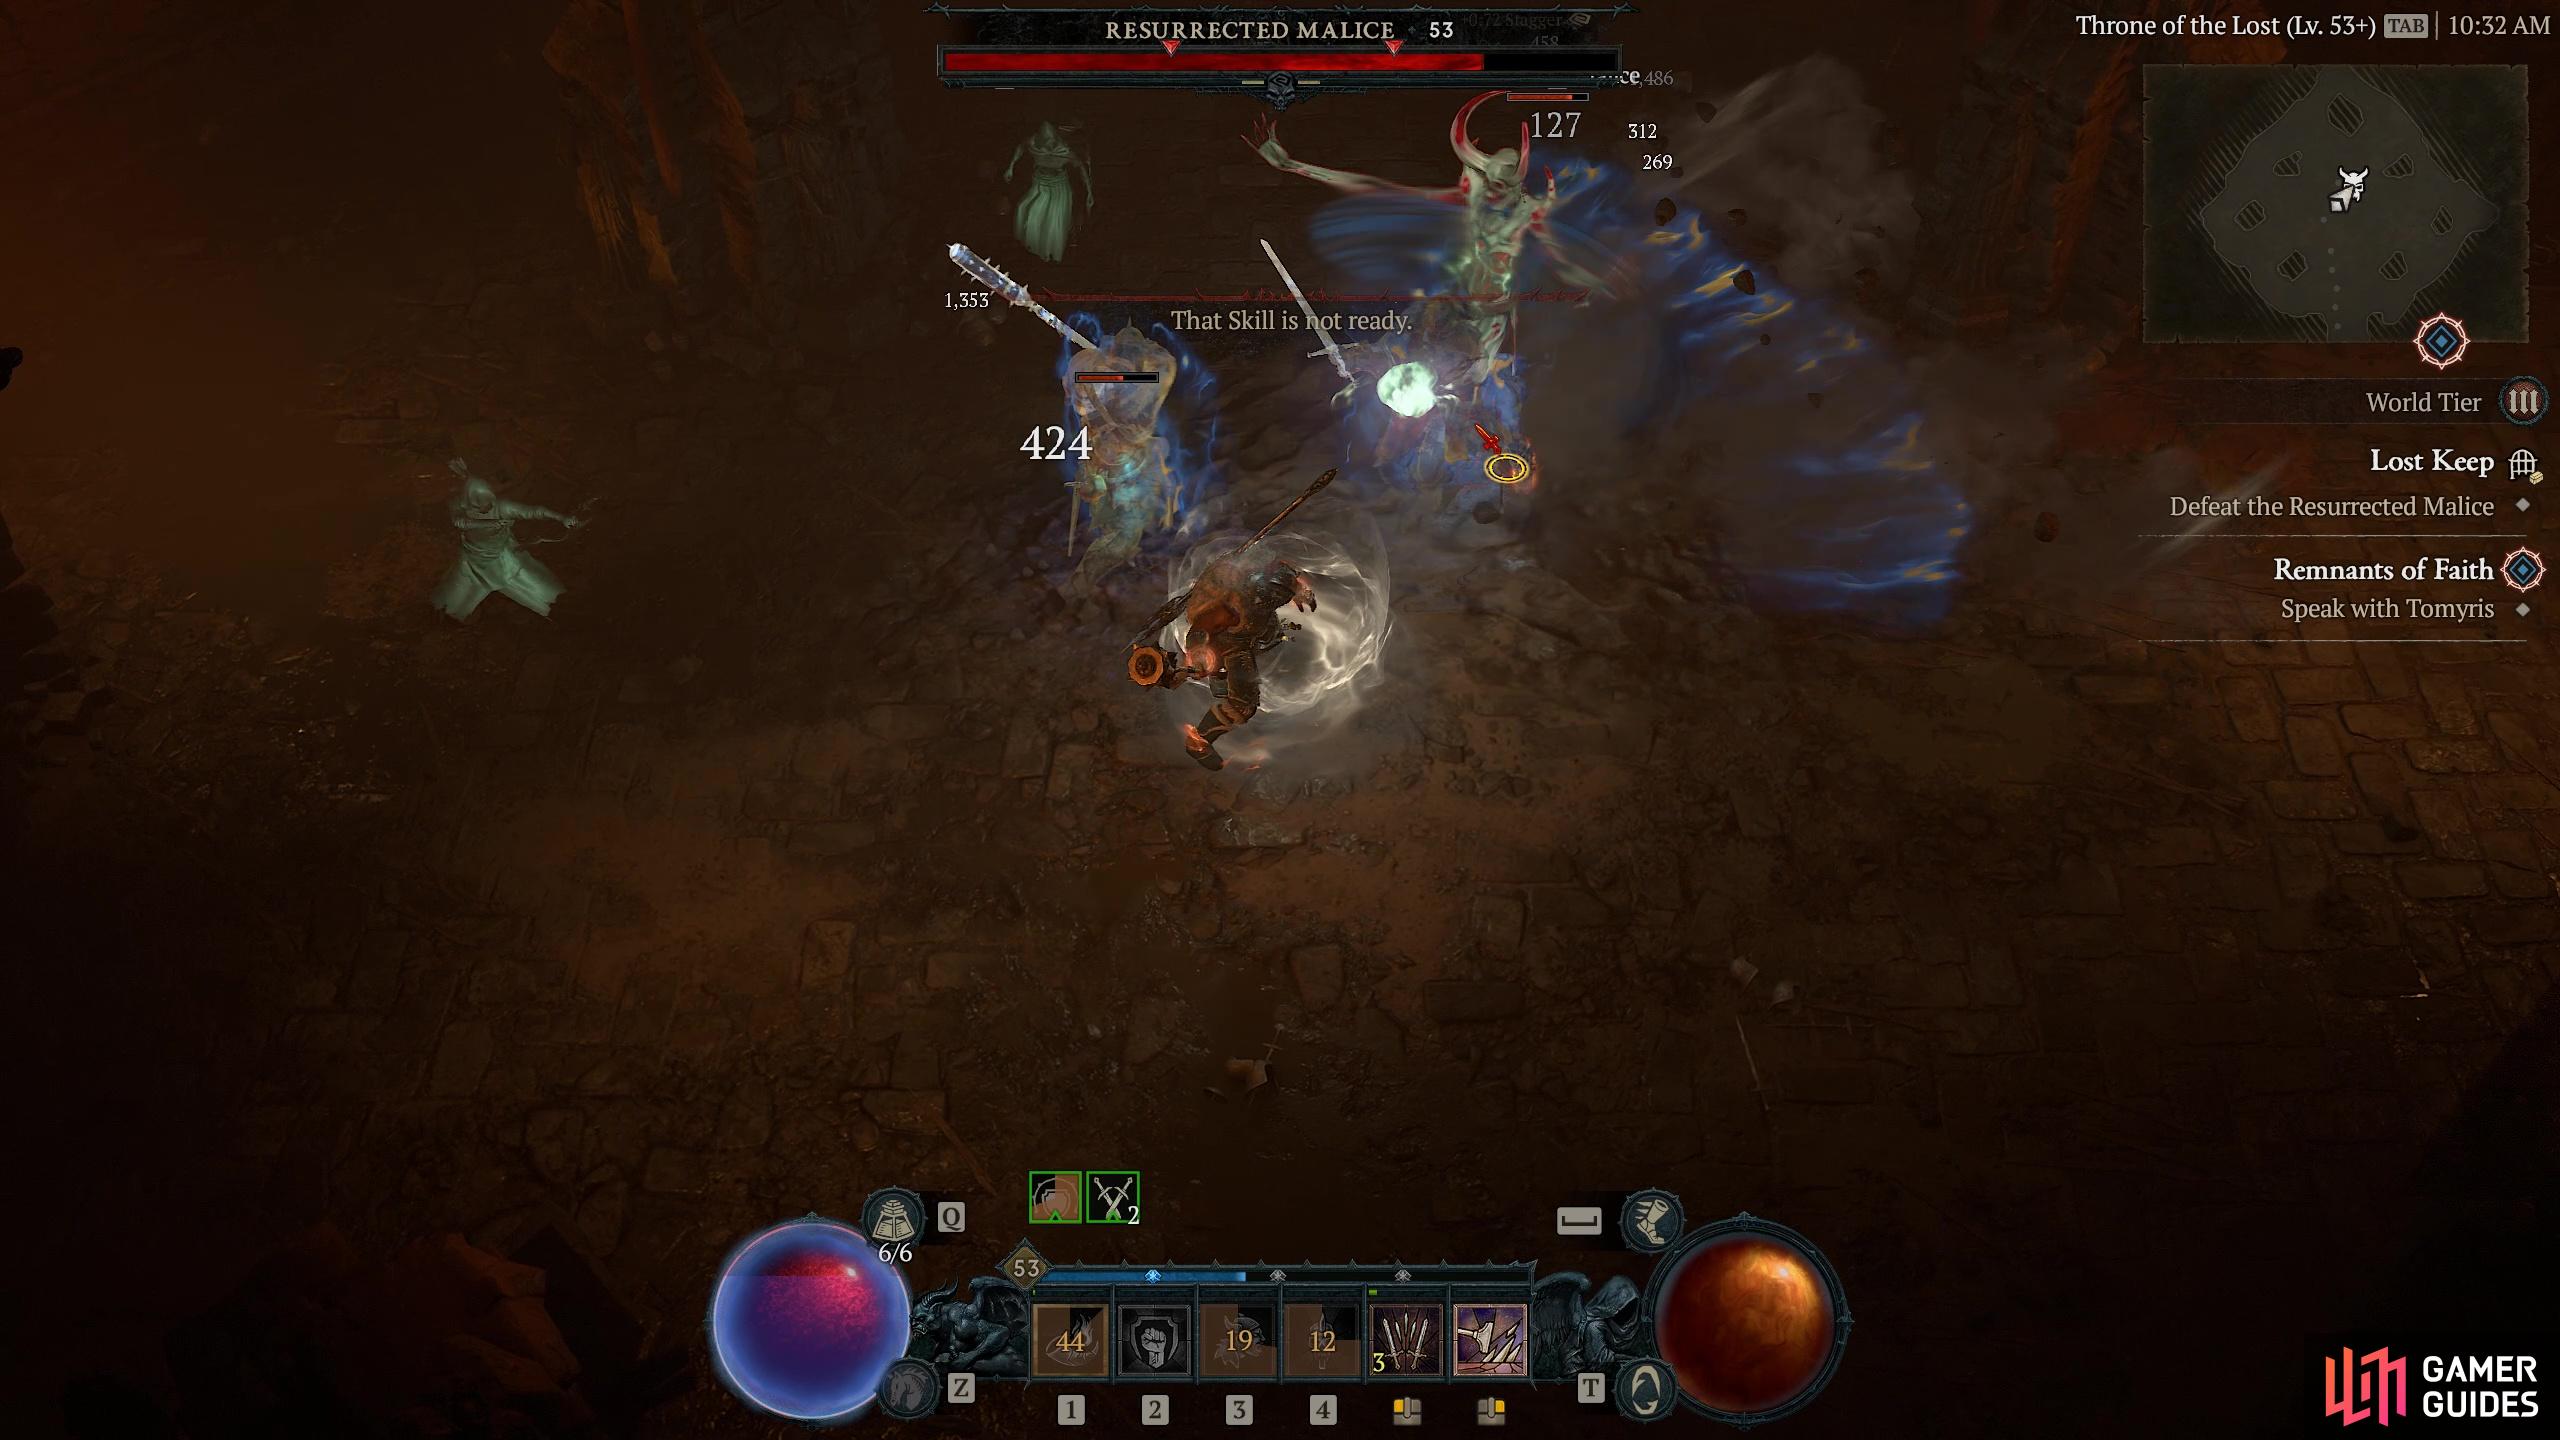
Lost Keep |
Yet another rotting keep abandoned by the Cathedral.
Objectives
Description
This old keep to the north of First objective up is to locate and slay three Fractured Spirits that are floating around the halls. These are basically just Elite Once the Fractured Spirits have been removed from the equation you need to travel to the Desecrated Chambers and collect Animus from the Animus Carriers. On this occasion the Animus is carried by Elite Vengeful Spirits and Banshees, most of which are pretty easy to beat, but there is one of the later ones that is much tougher and well guarded, so be prepared for a fight. Once you have collected all the Animus and deposited it into the Animus Urn it’s off to face the final dungeon Boss, the
Enemies
Knight Errant
Knights
1× Din (Fractured Spirit)
Bosses
1× Wes (Fractured Spirit)
Bosses
1× Tif (Fractured Spirit)
Bosses
1×
Region
Item Reward
1×
|
|
|||||||||||||||||||||||||||||||||||||||||||||||||||||||||||||||||||||||||||||||||||||||||||||||

|
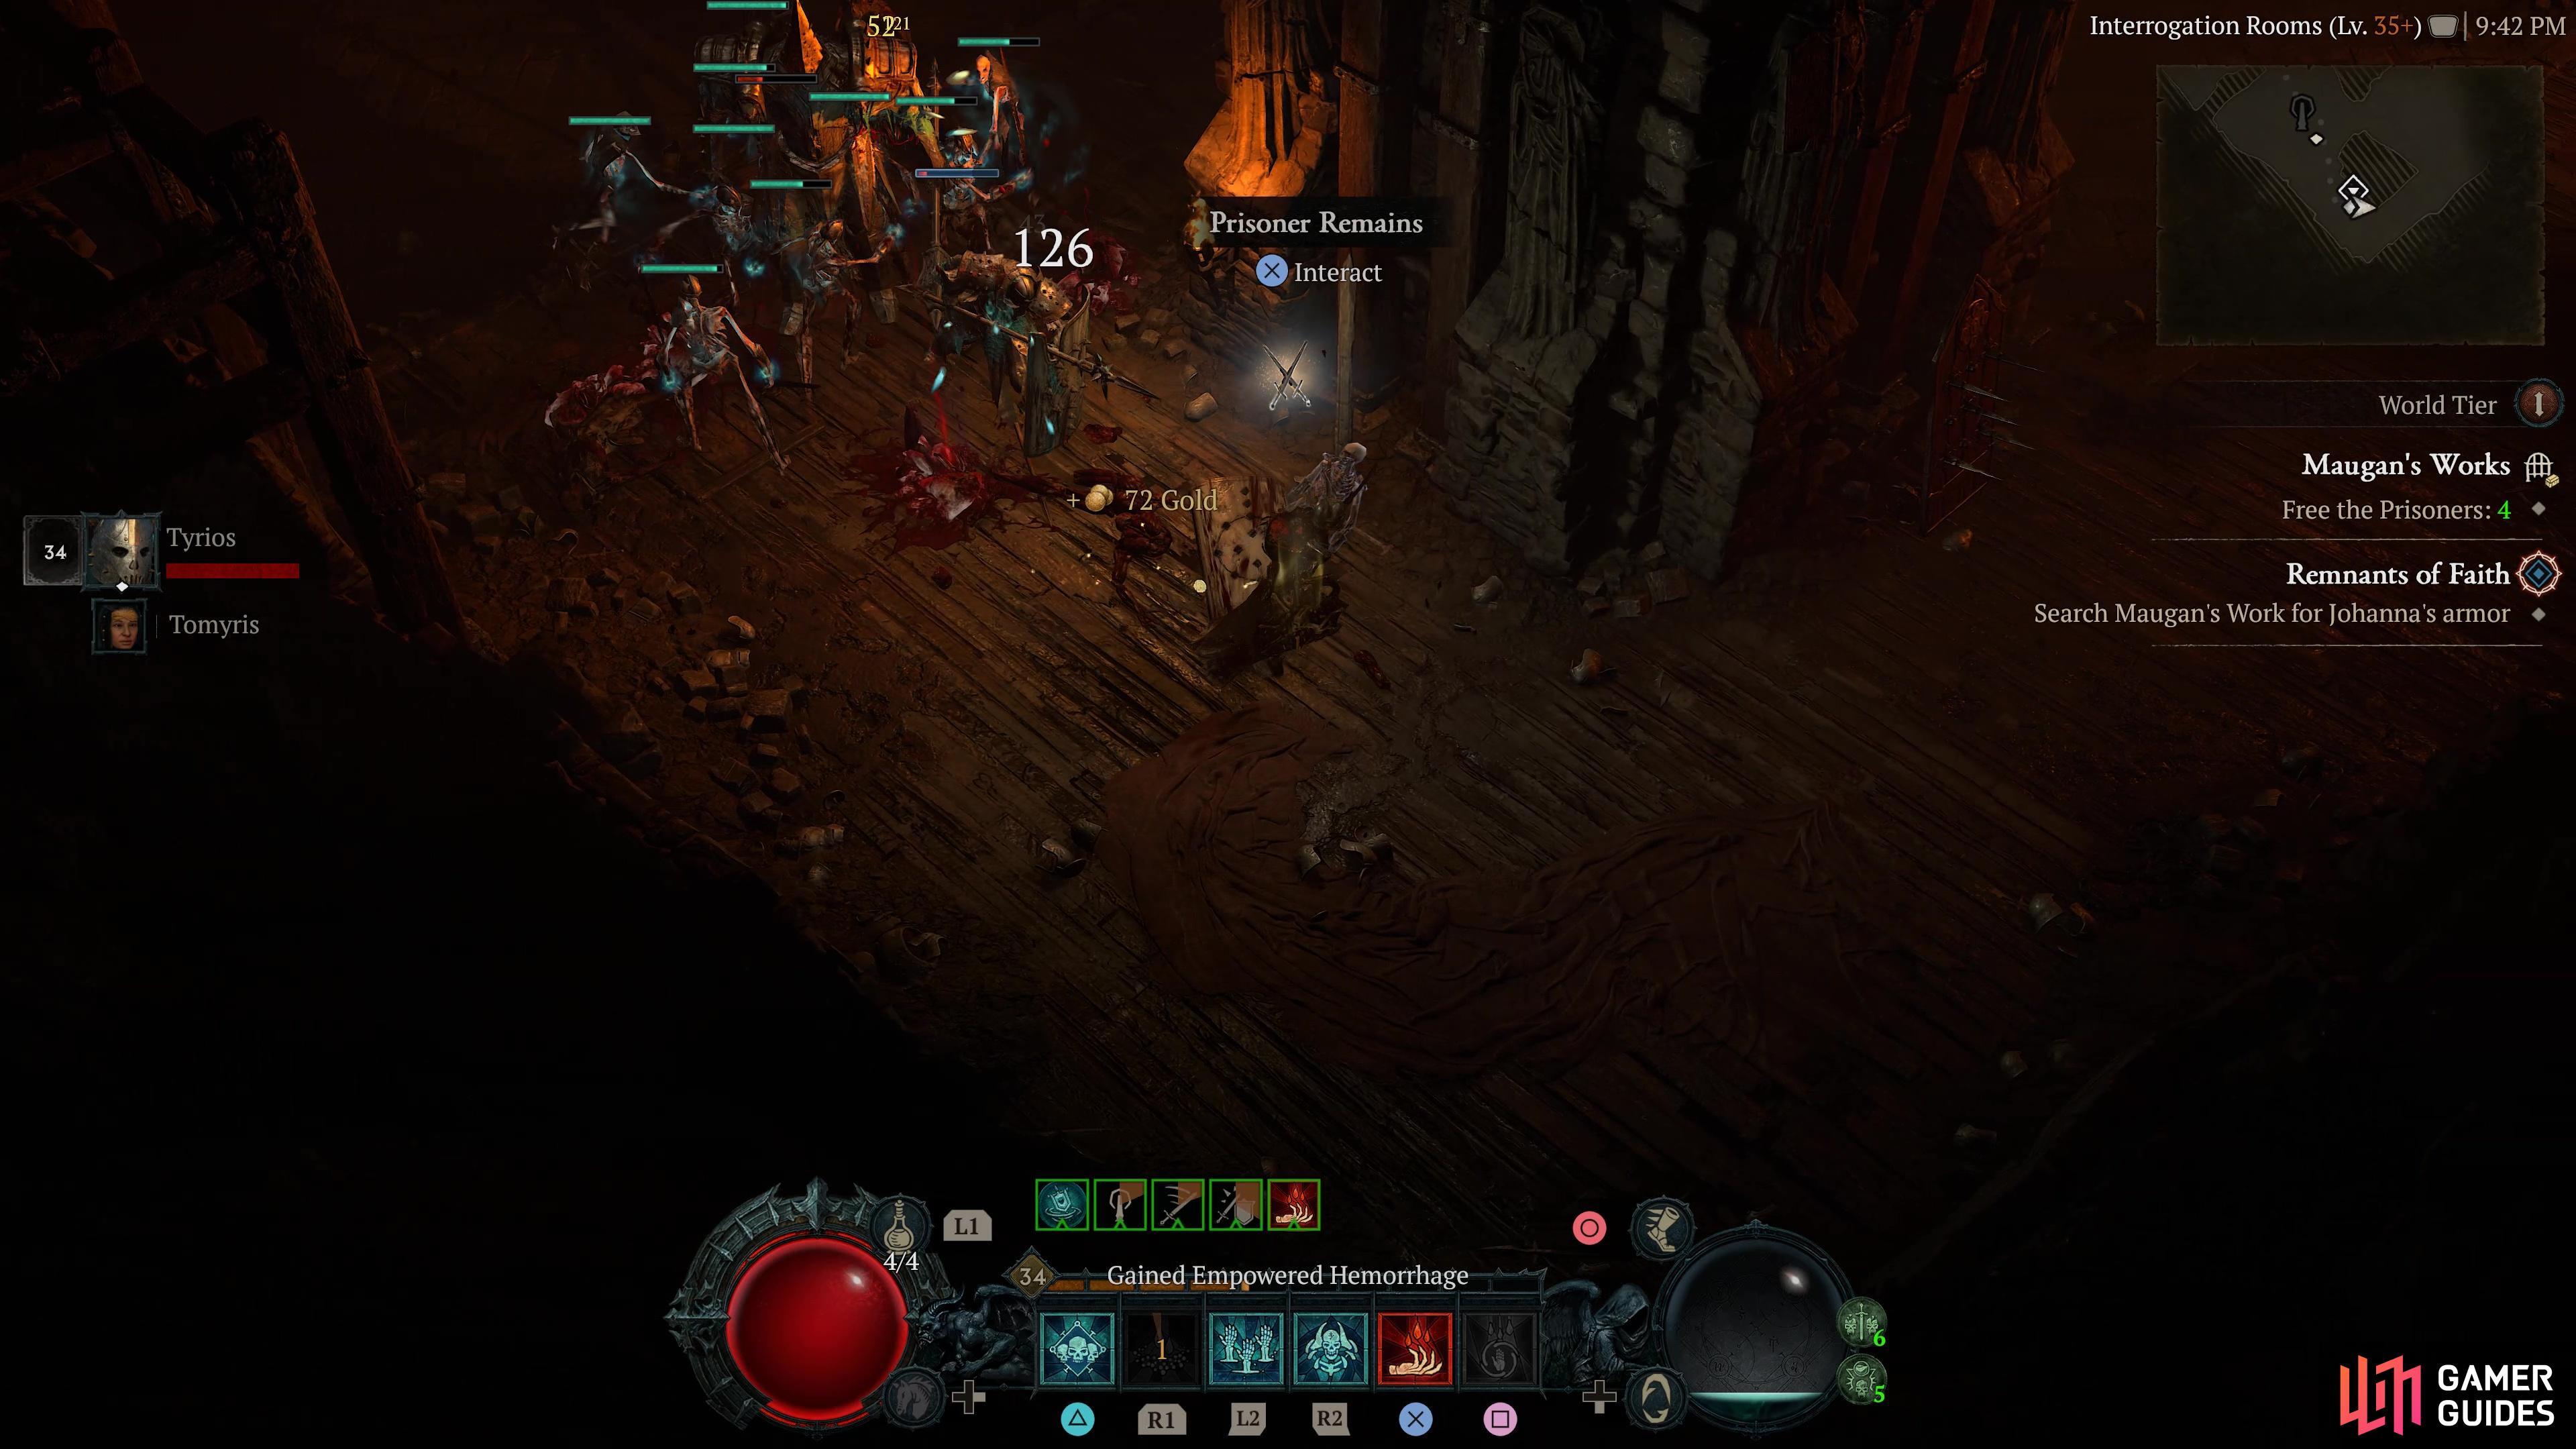
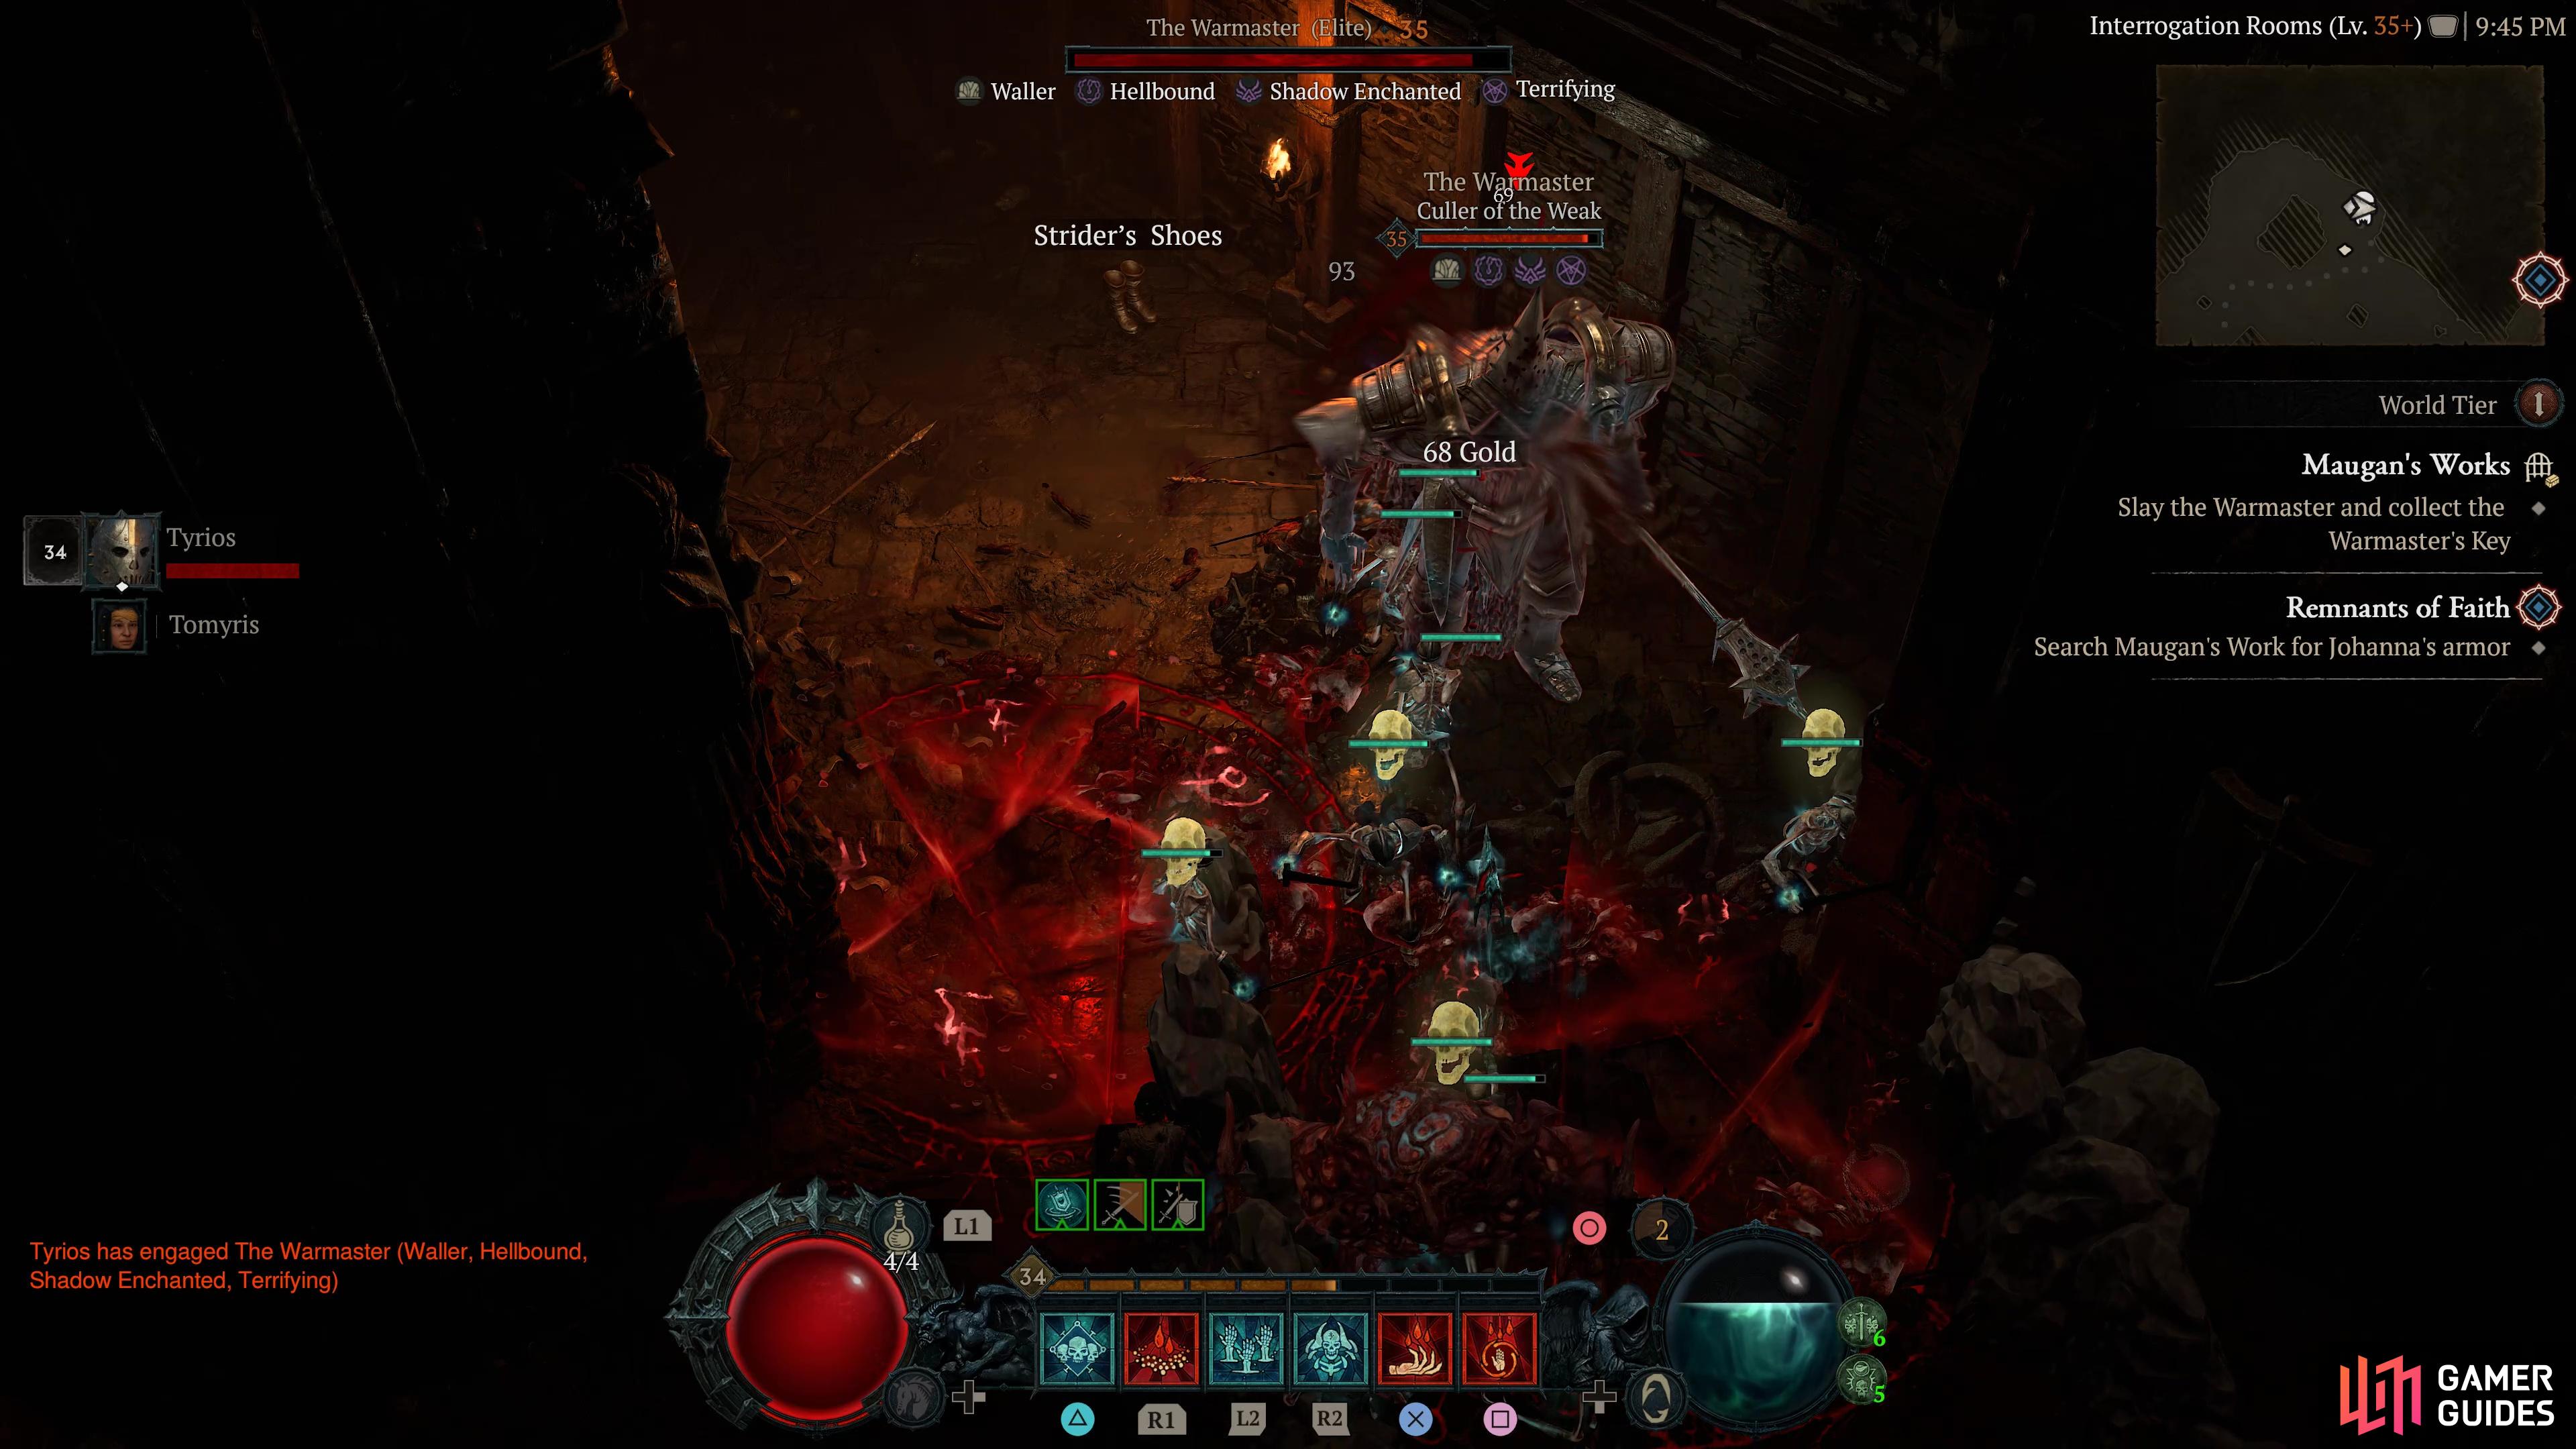
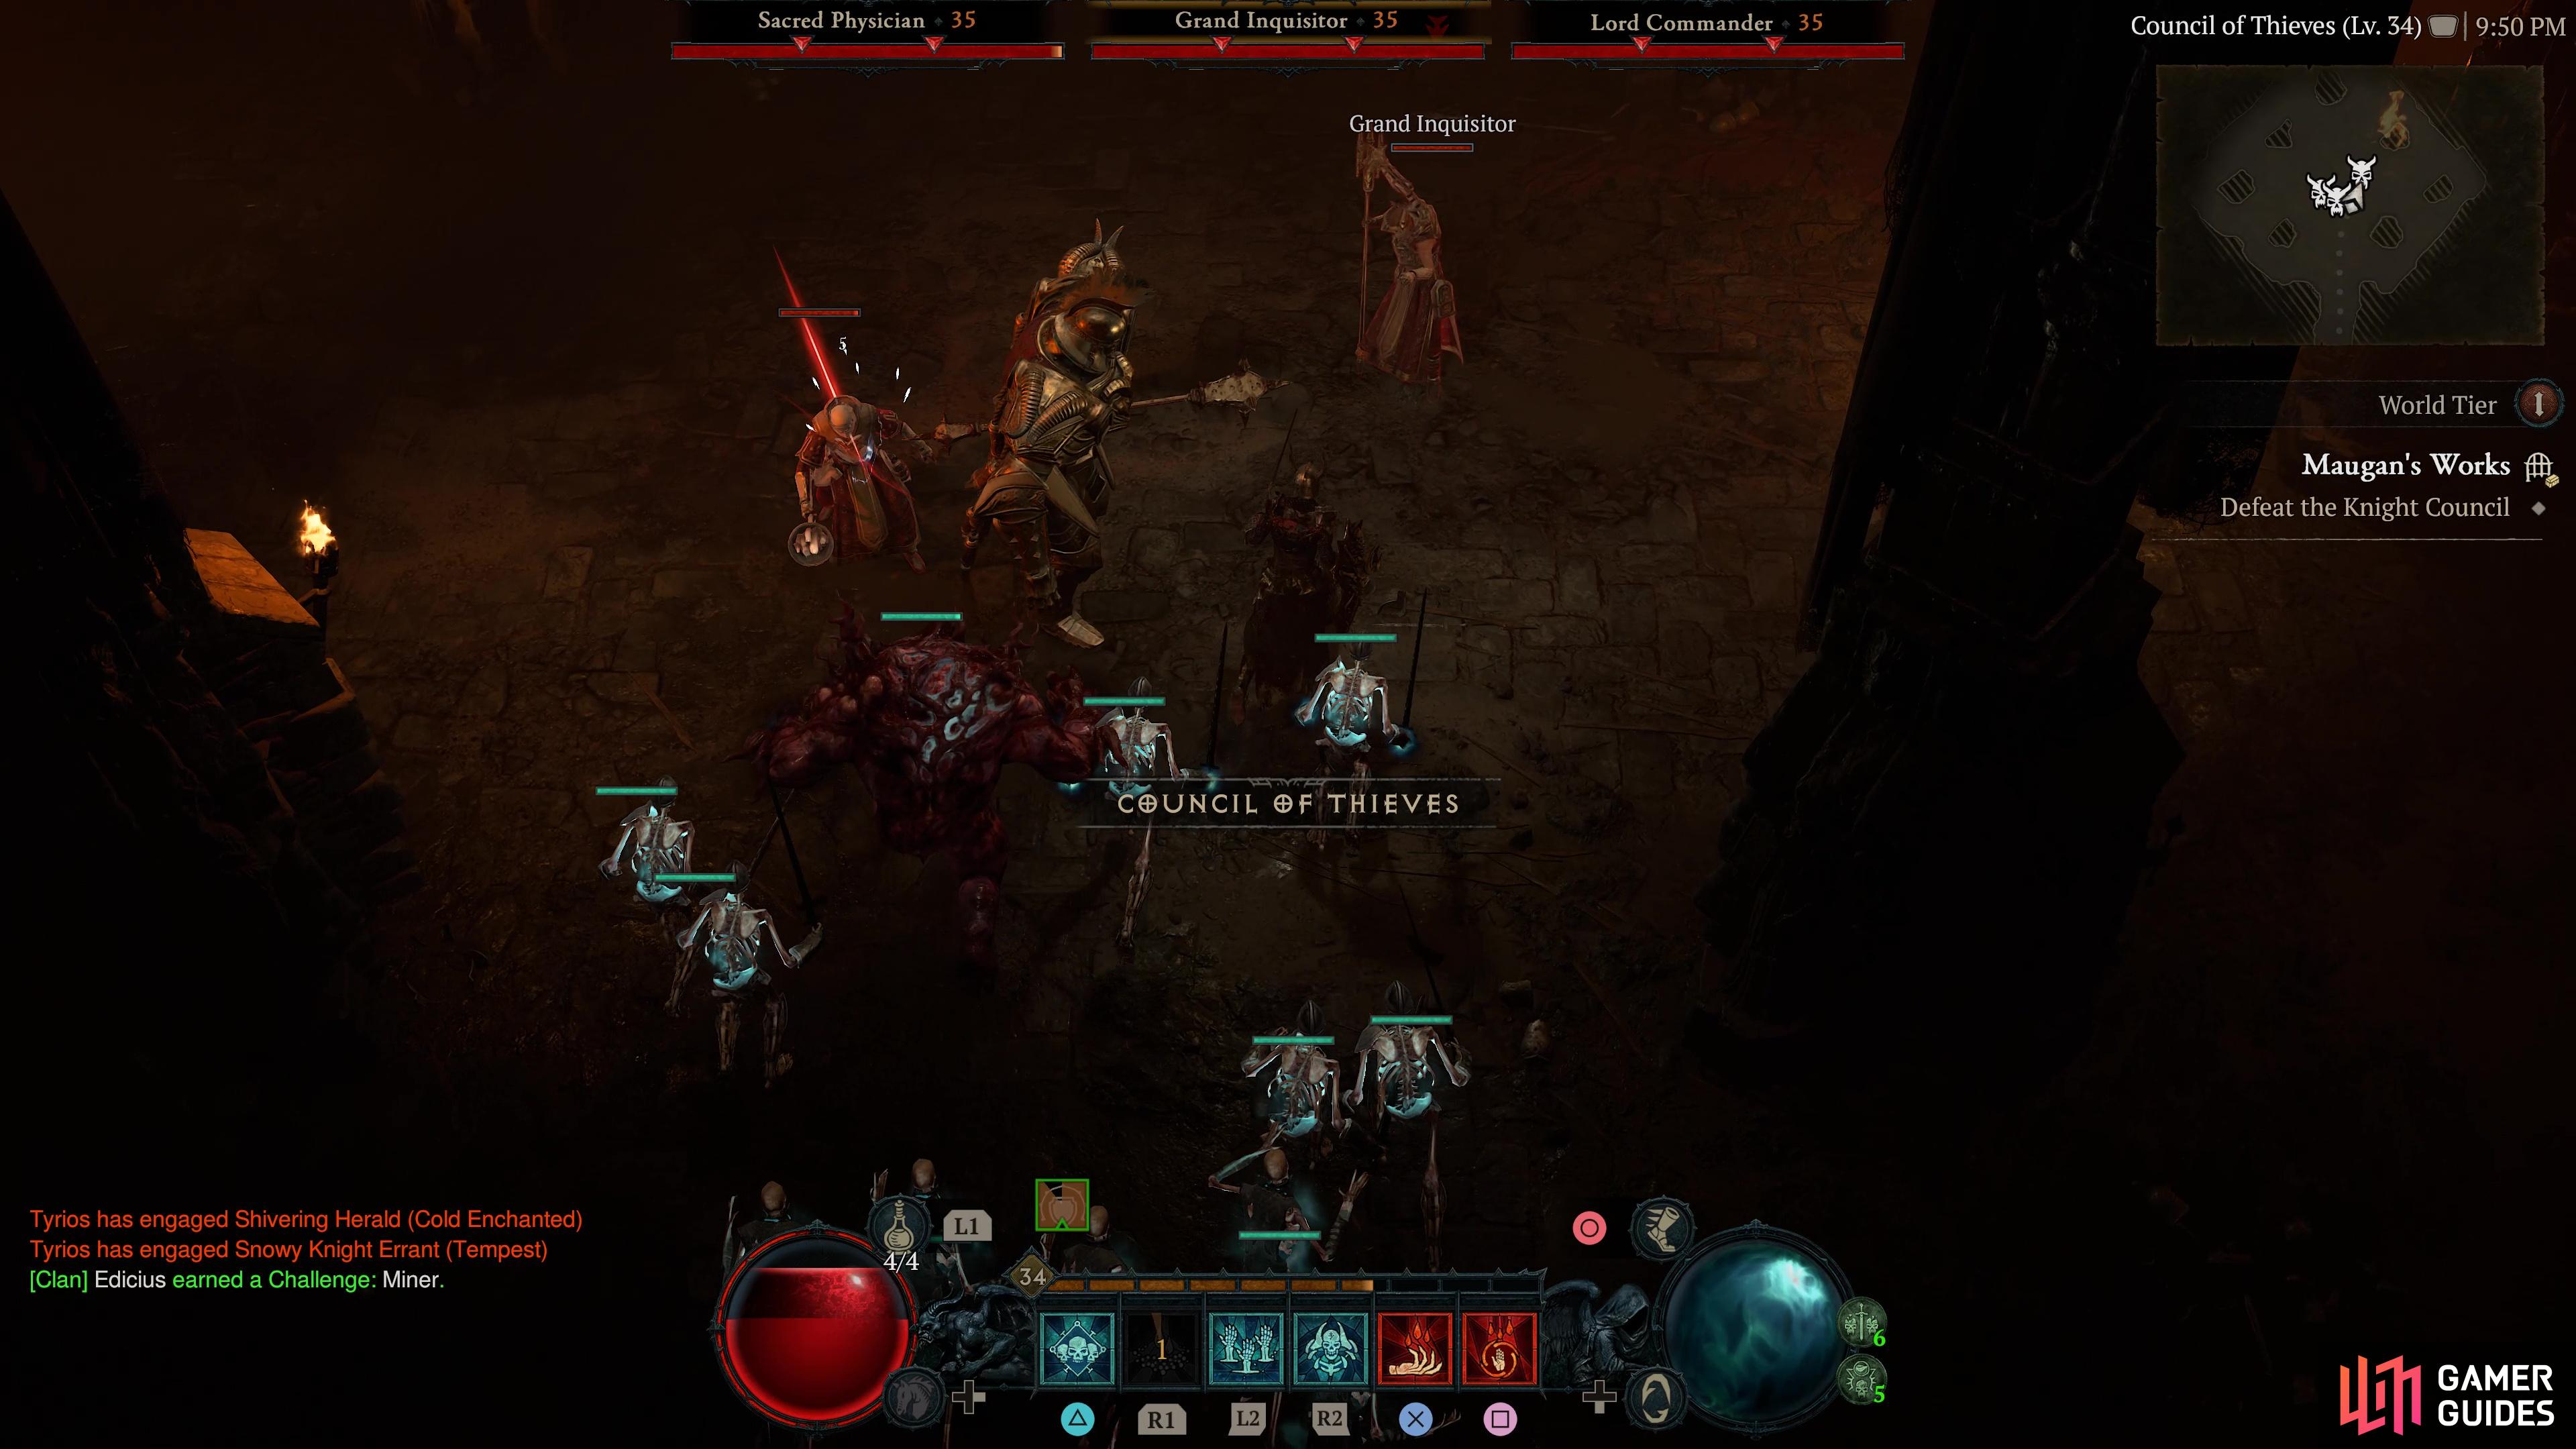
Maugan's Works |
A rotting hall for criminals and deserters.
Objectives
Enemies
1×
1×
1× Knight Errant
Knights
1×
1×
1×
1× Outlaw
Bandits
1×
1×
Related Quests
1×
Region
General Reward
Item Reward
1×
|
|
|||||||||||||||||||||||||||||||||||||||||||||||||||||||||||||||||||||||||||||||||||||||||||||||

|
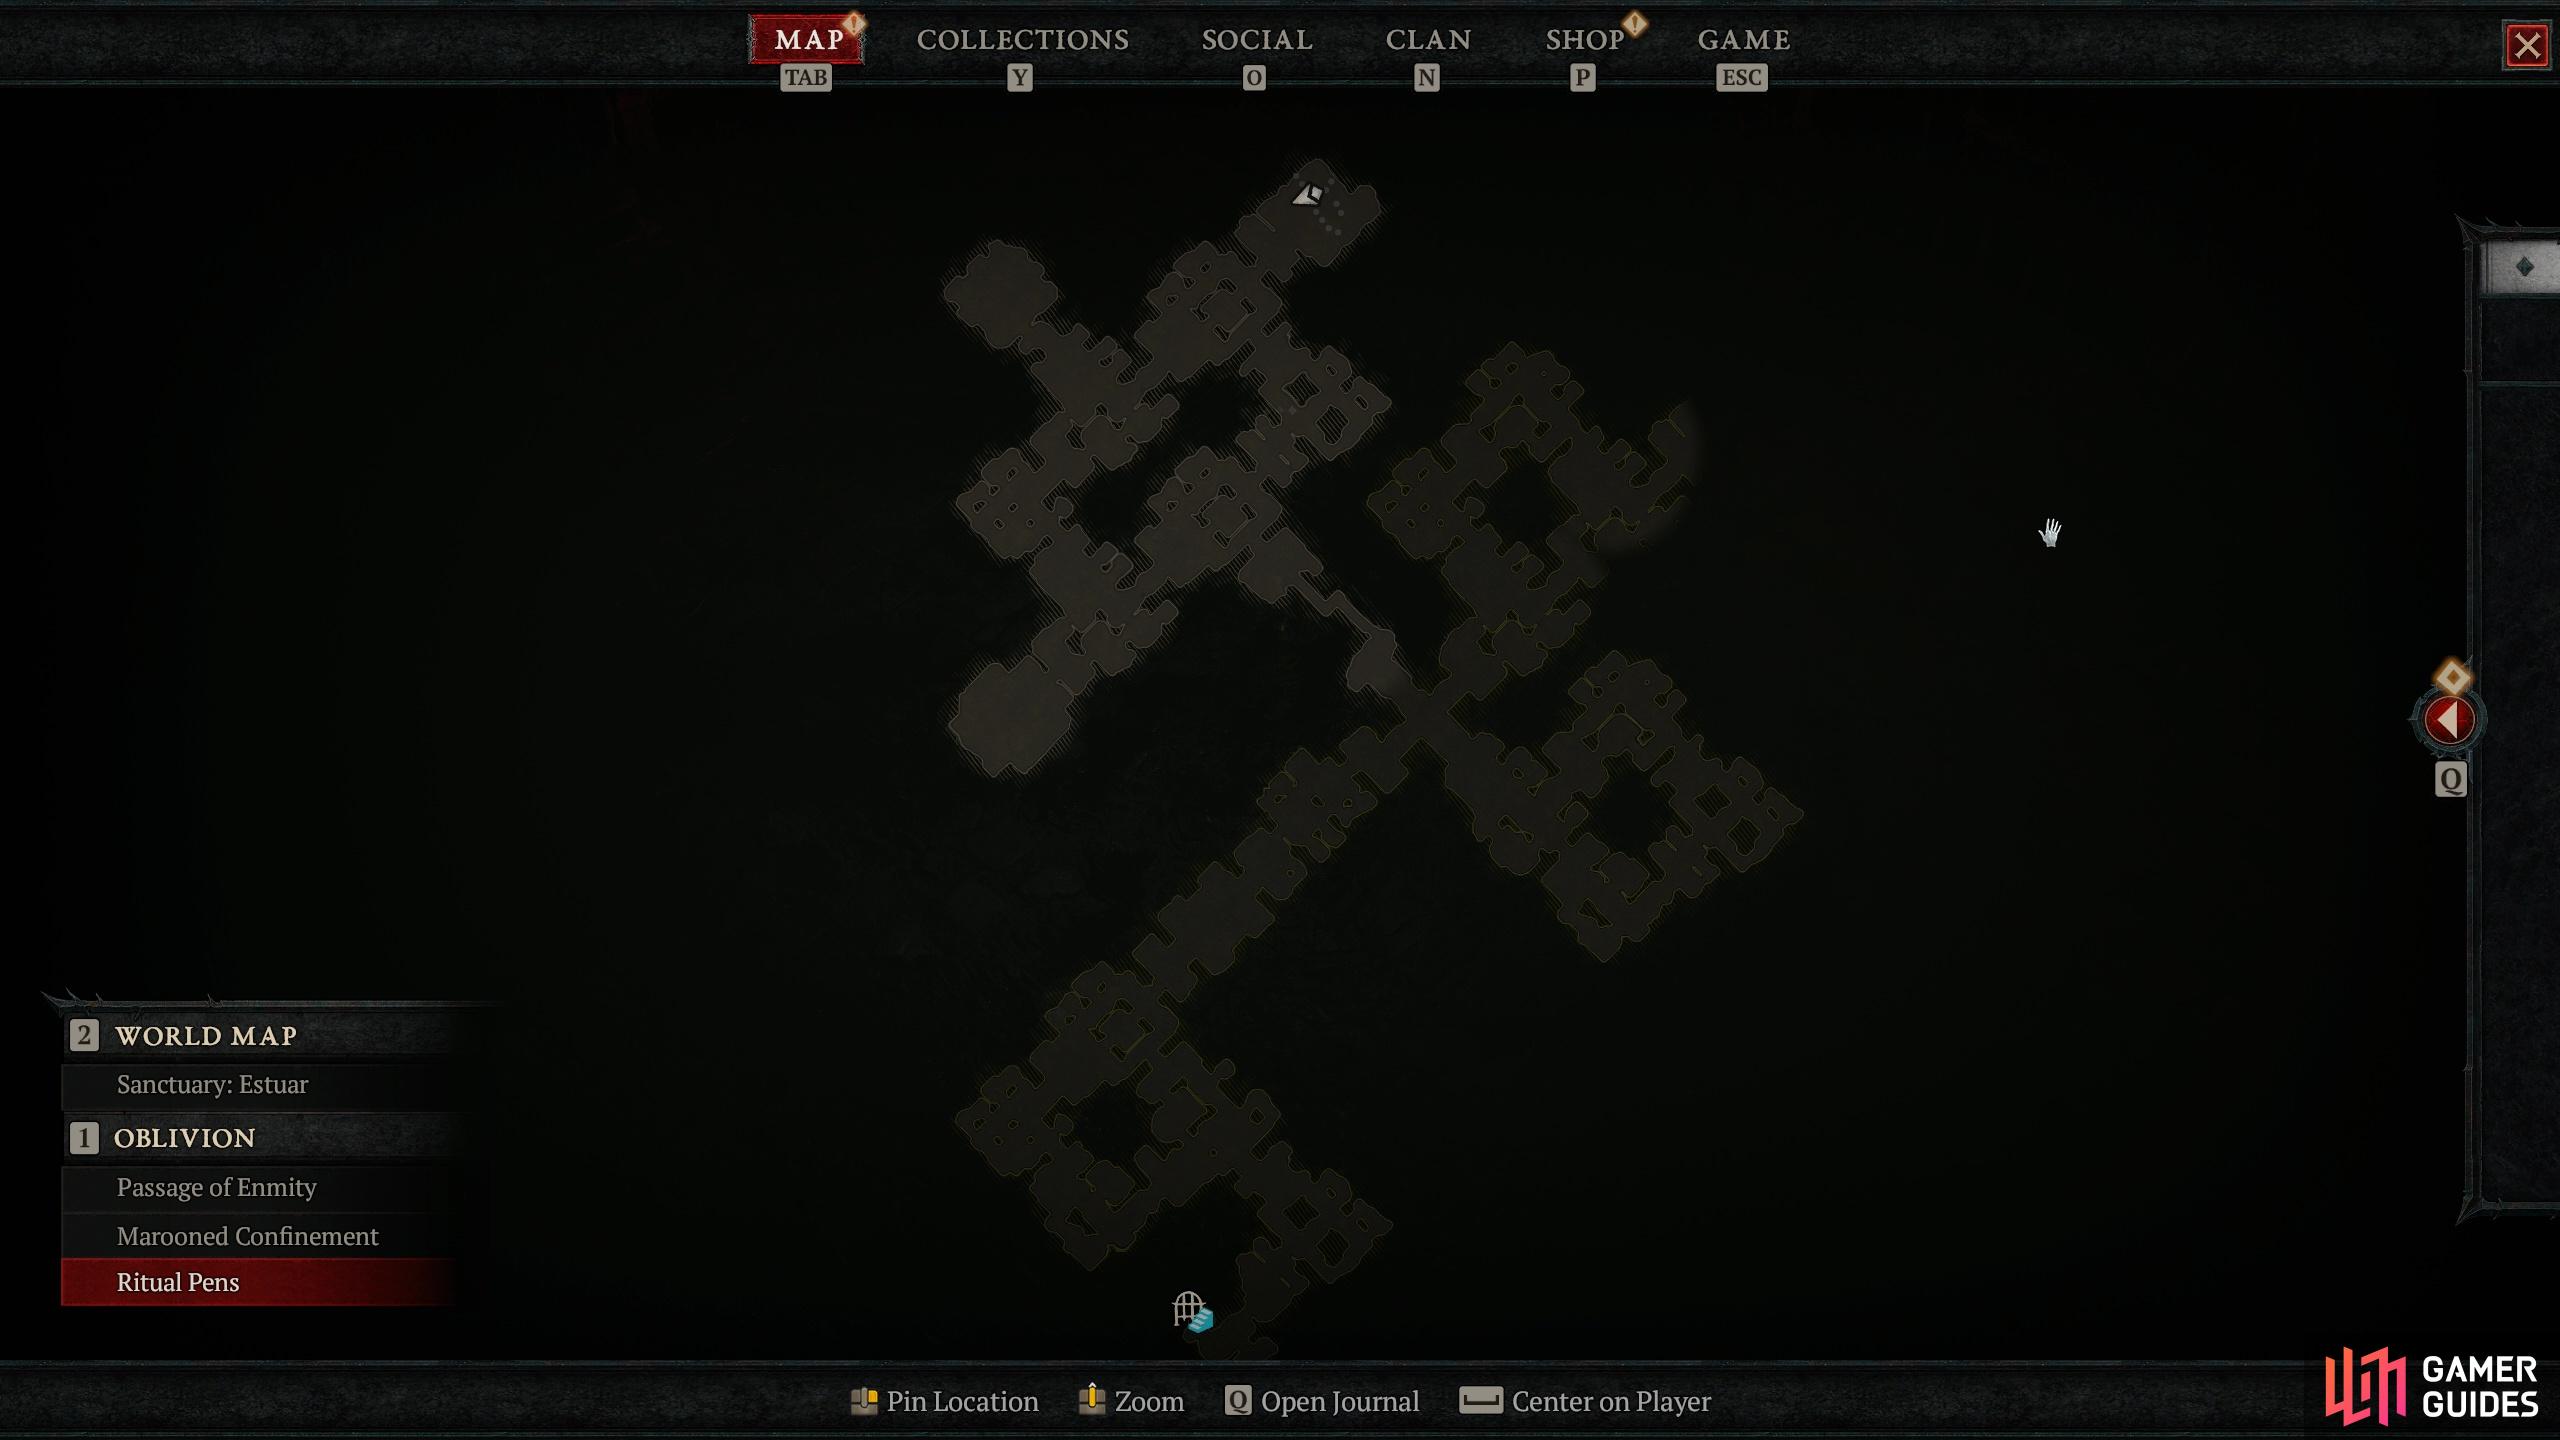
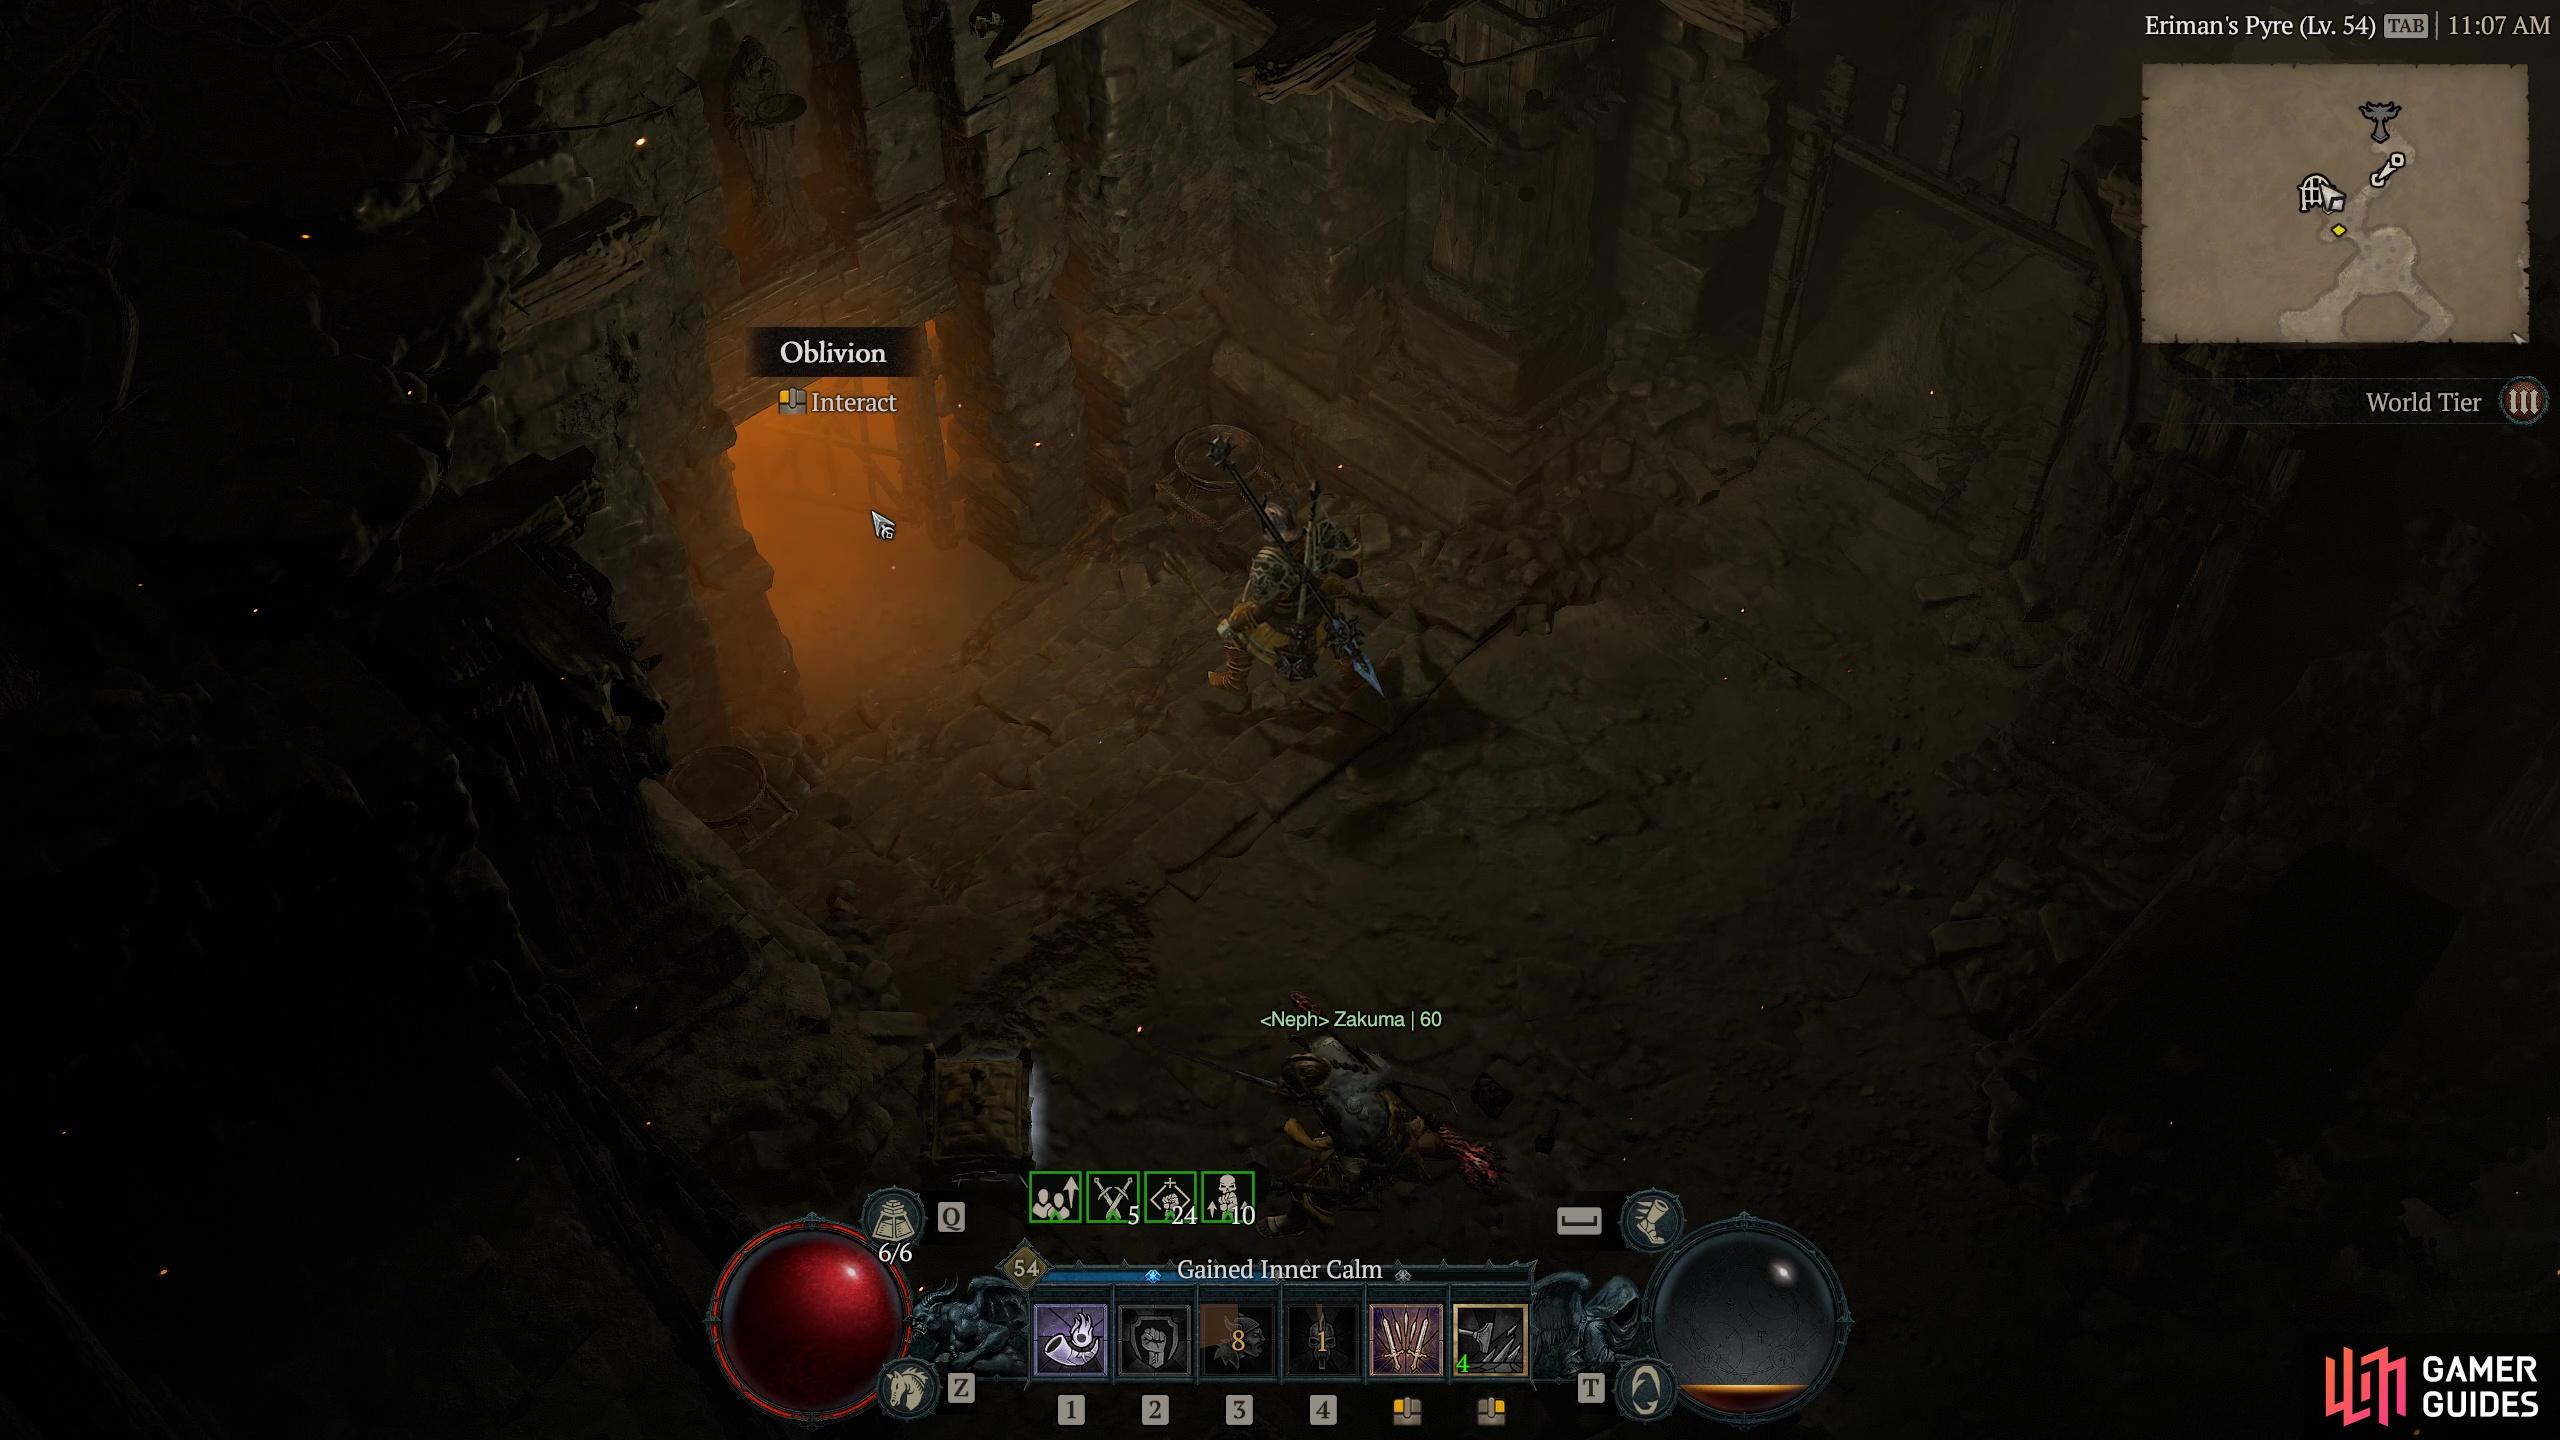
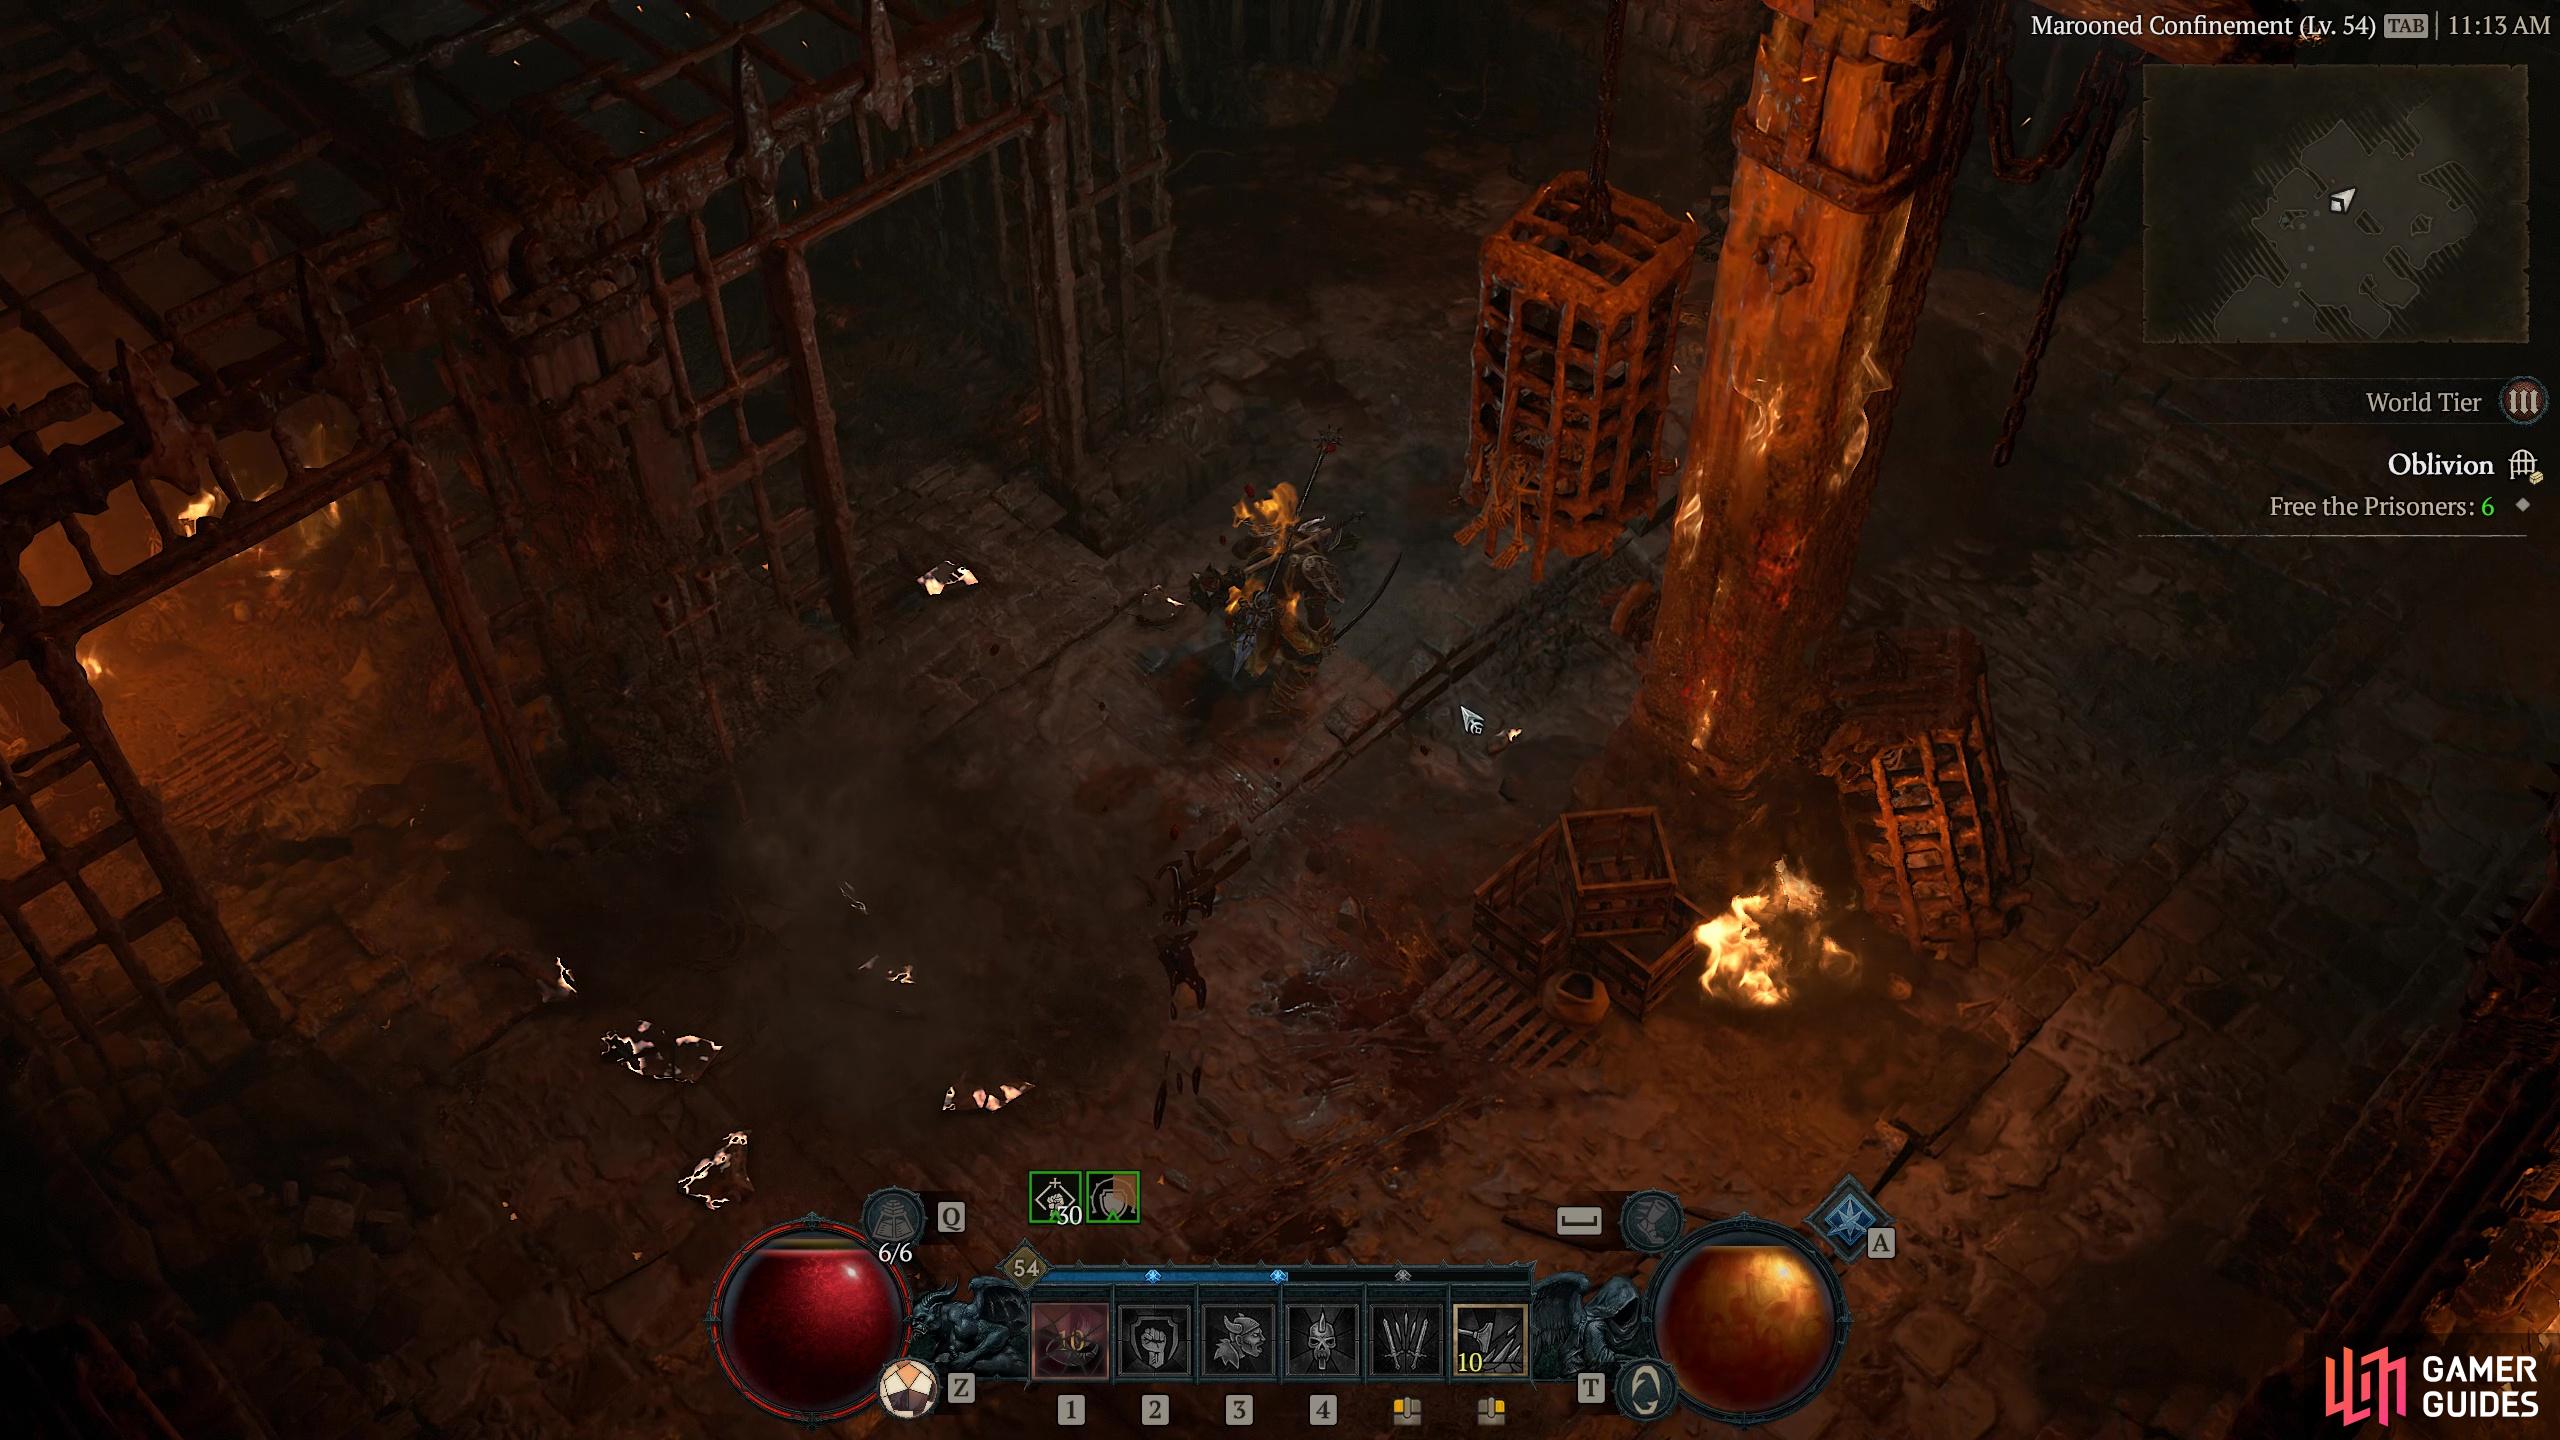
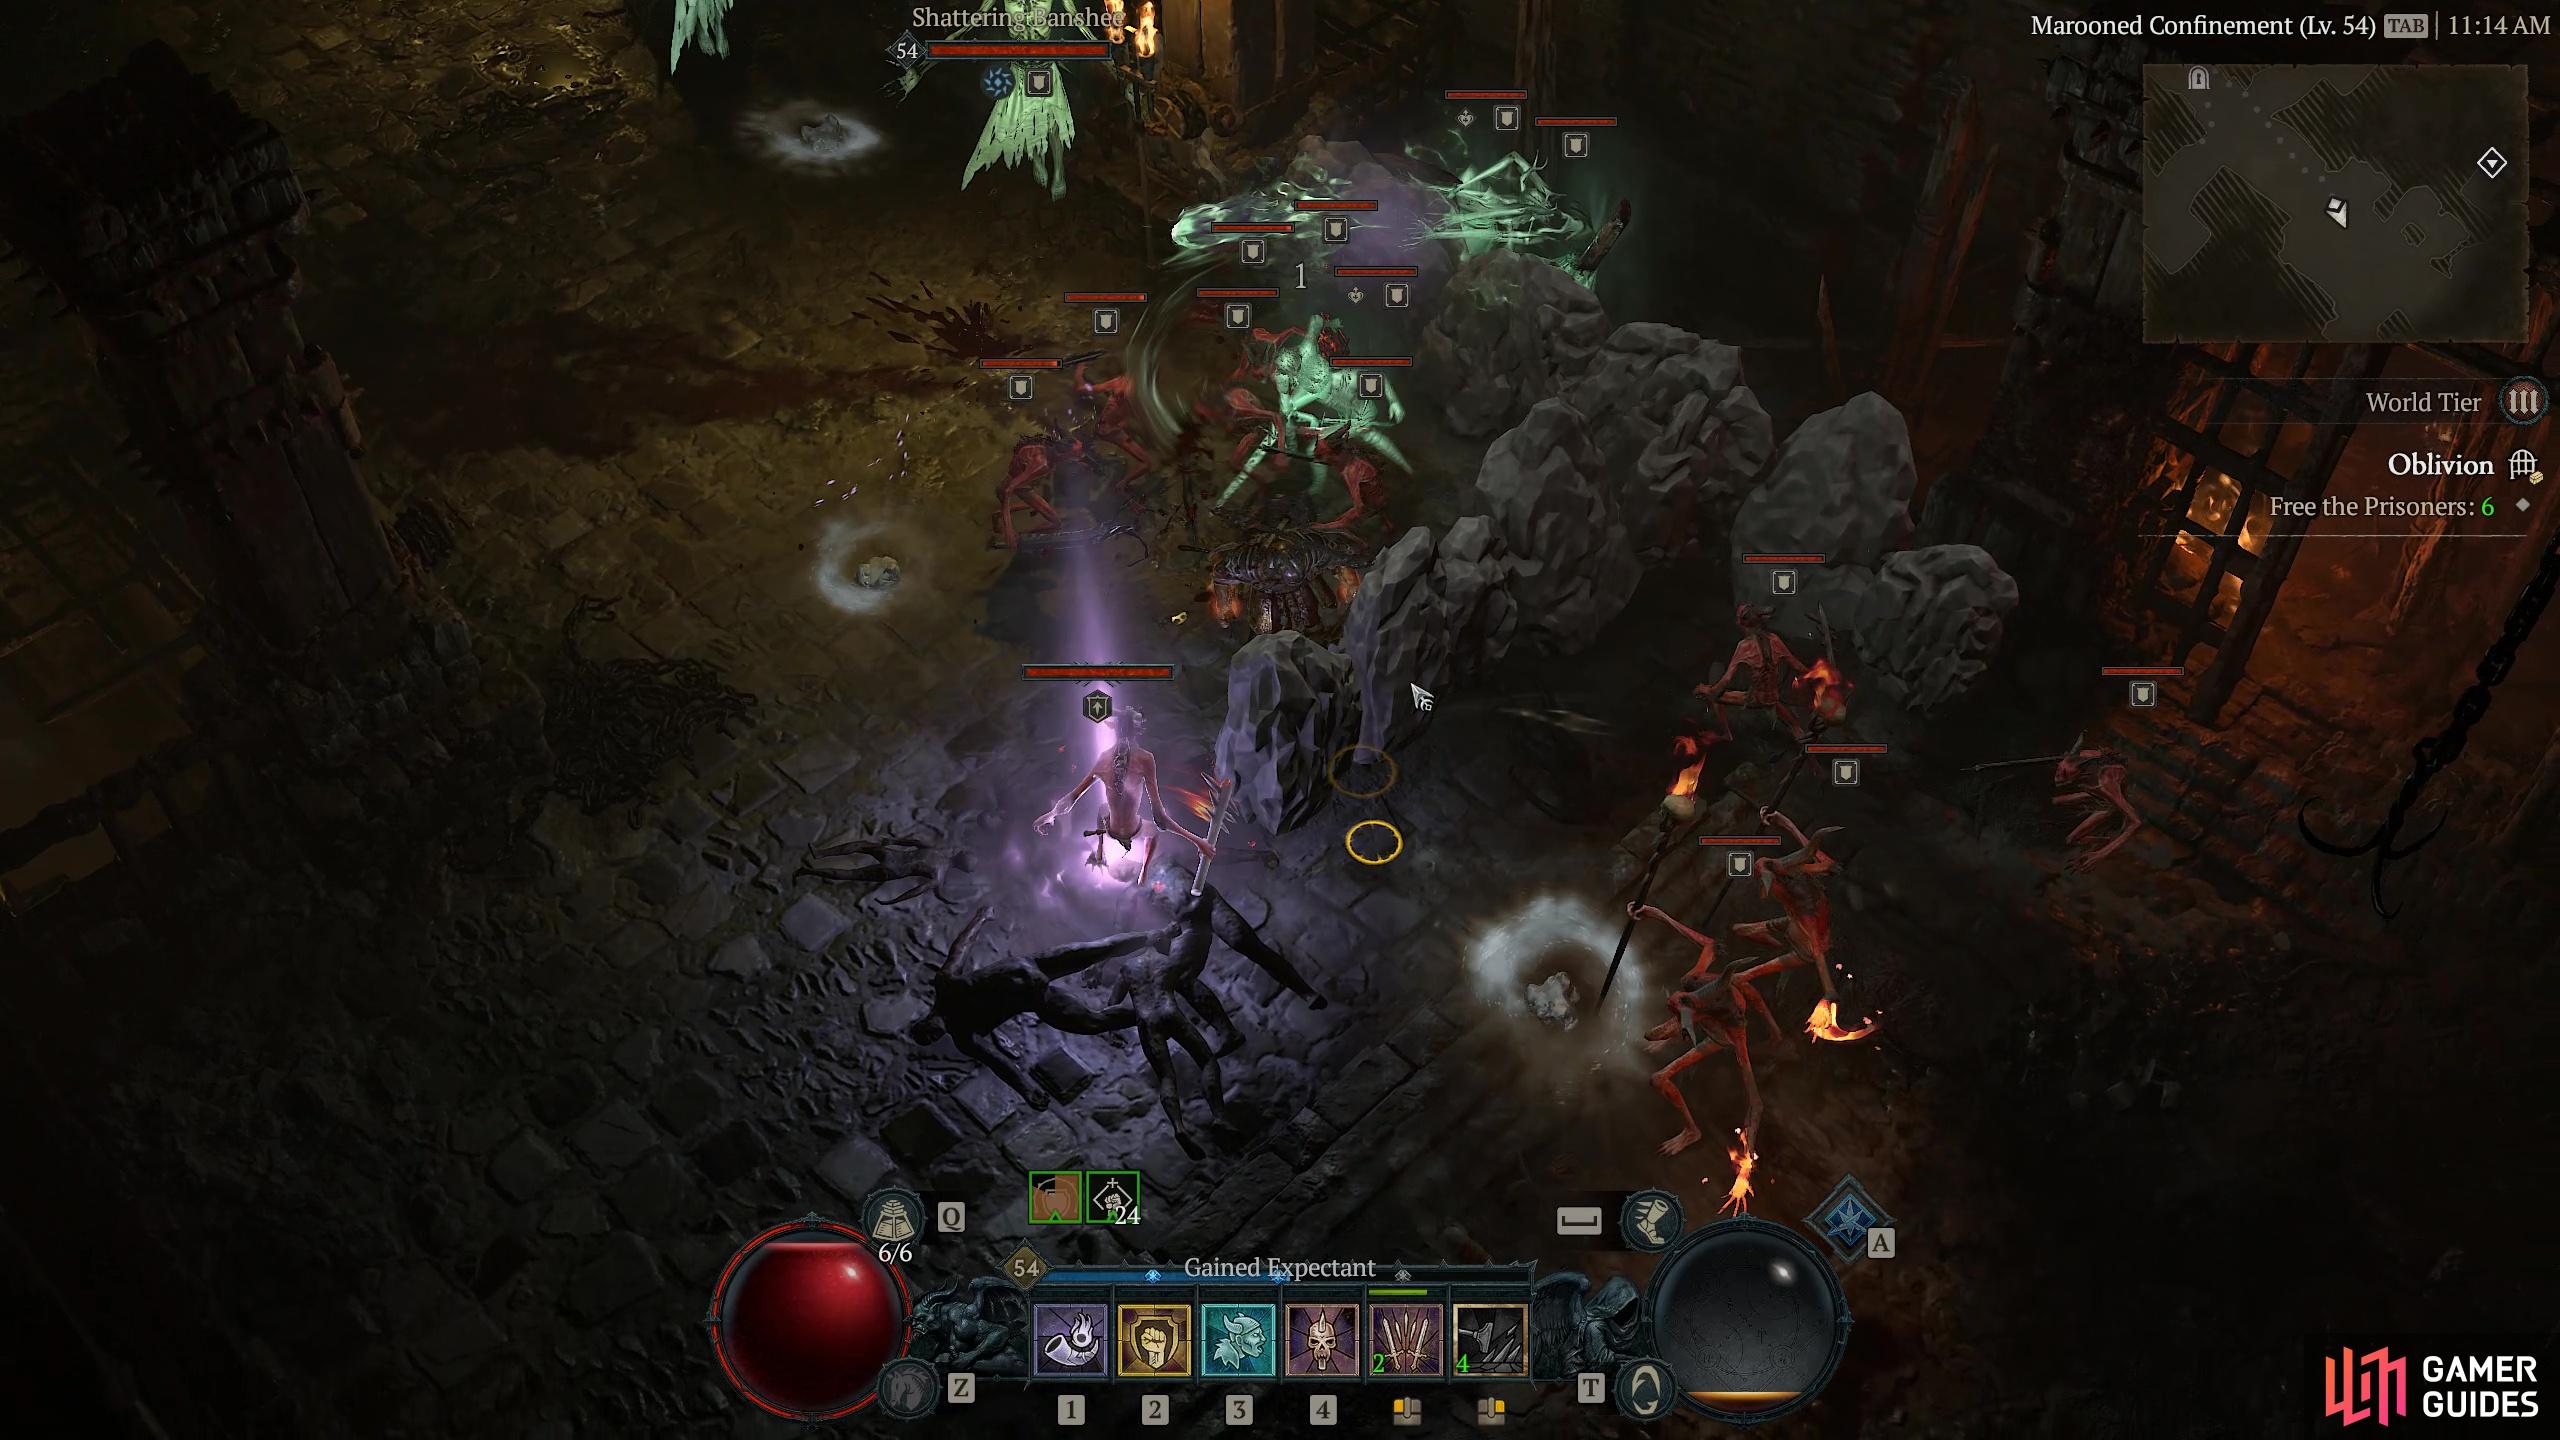
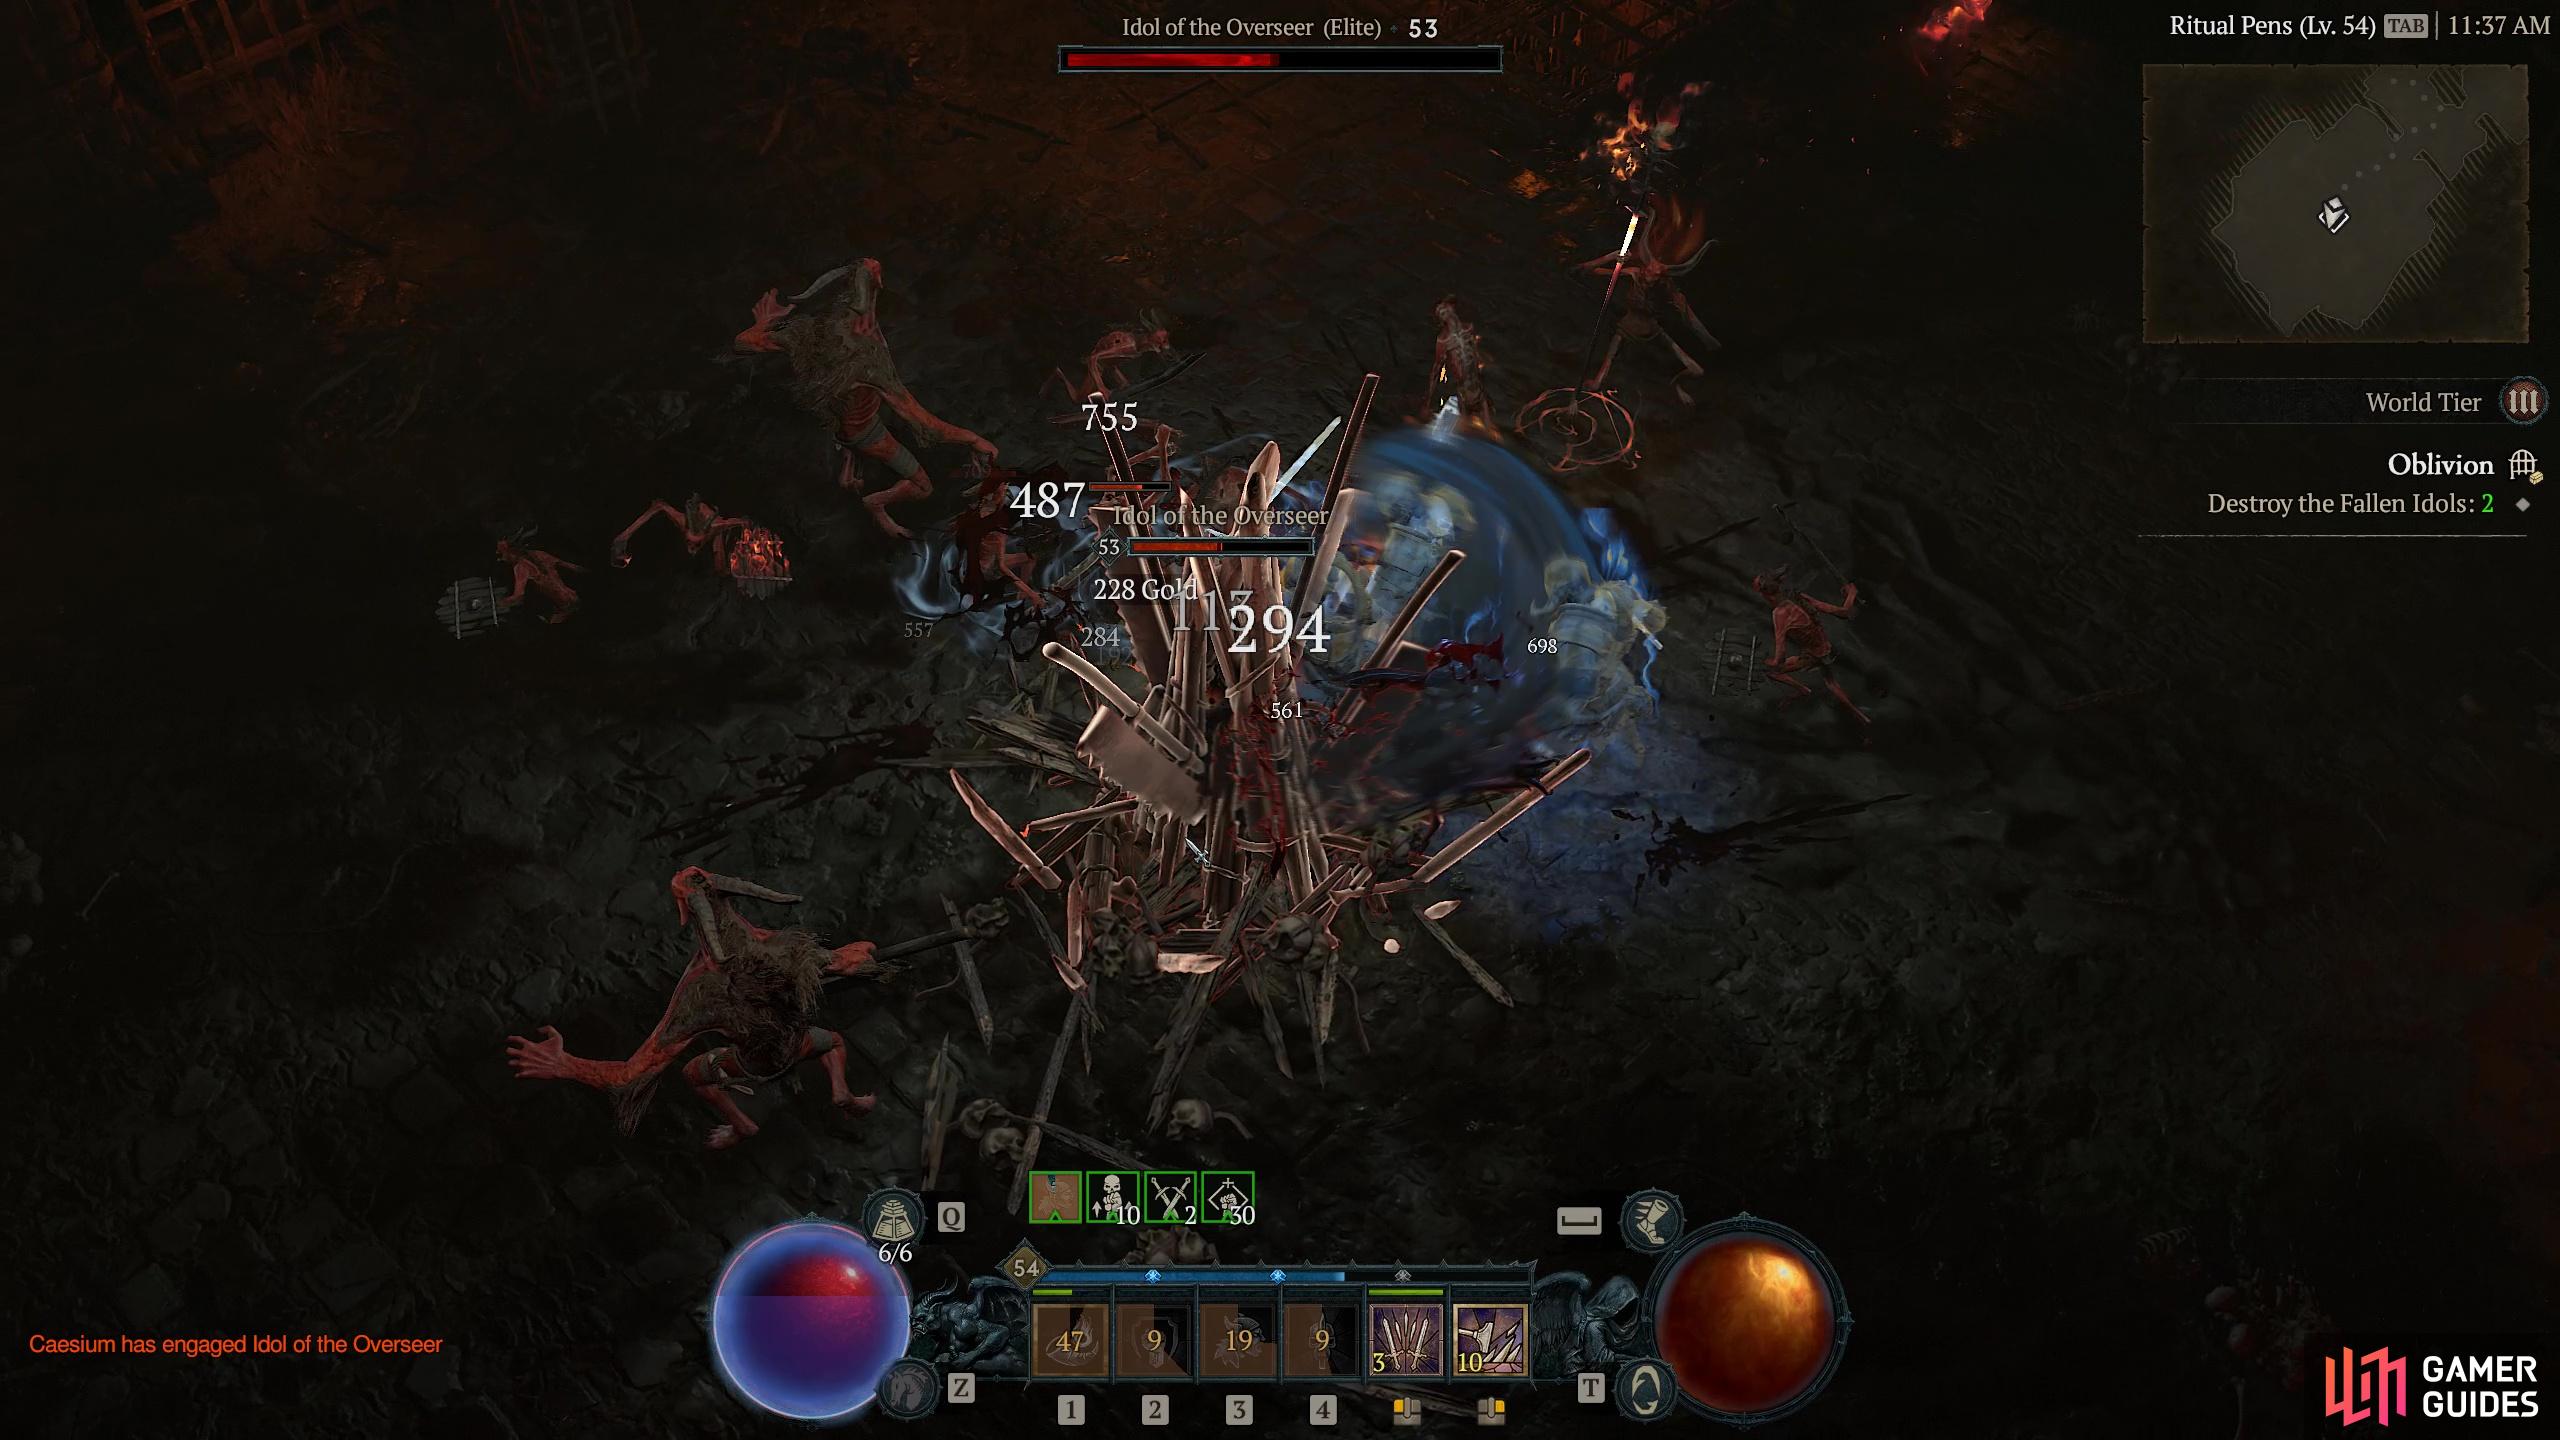
Oblivion |
The demons of
Objectives
Description
Oblivion certainly feels like a Godforsaken place when you enter it. It’s prison walls and burning structures let you know immediately that you are going to be for a demonic ride here, and you couldn’t be more correct. The dungeon starts with the objective of slaying all the enemies in it’s opening location - the Passage of Enmity. Nothing too complex then, just move around looking for the red dots on the map that signify a bad guy. All the enemies in Oblivion are exclusively demons or ghosts with a few Elite buffed versions of each for good measure. Once you are sure they are all dead you can move on to the Marooned Confinement where you must locate and free six prisoners. These are all held in cages and not all of them have survived their ordeal, but at least you can lay their souls to rest as the next best thing. When all the prisoners are free or laid to rest you must find and slay the Warden of Anguish. On defeating him, he will drop a key to the Ritual Pens and you can move on to the final section of this long underground quest. Now there are three Fallen Idols to locate and destroy and each will be heavily guarded by grunts and Elites. The Idols are the Idol of the Imp, the !Idol of the Shaman and the Idol of the Overseer. On destroying the third one - it doesn’t matter in which order you do them - the dungeon will be yours.
Enemies
Detailed Location
The nearest fast travel point is
Location
Region
General Reward
XP, Gold, +30 Hawezar Renown
Item Reward
1×
|

|
|||||||||||||||||||||||||||||||||||||||||||||||||||||||||||||||||||||||||||||||||||||||||||||||

|
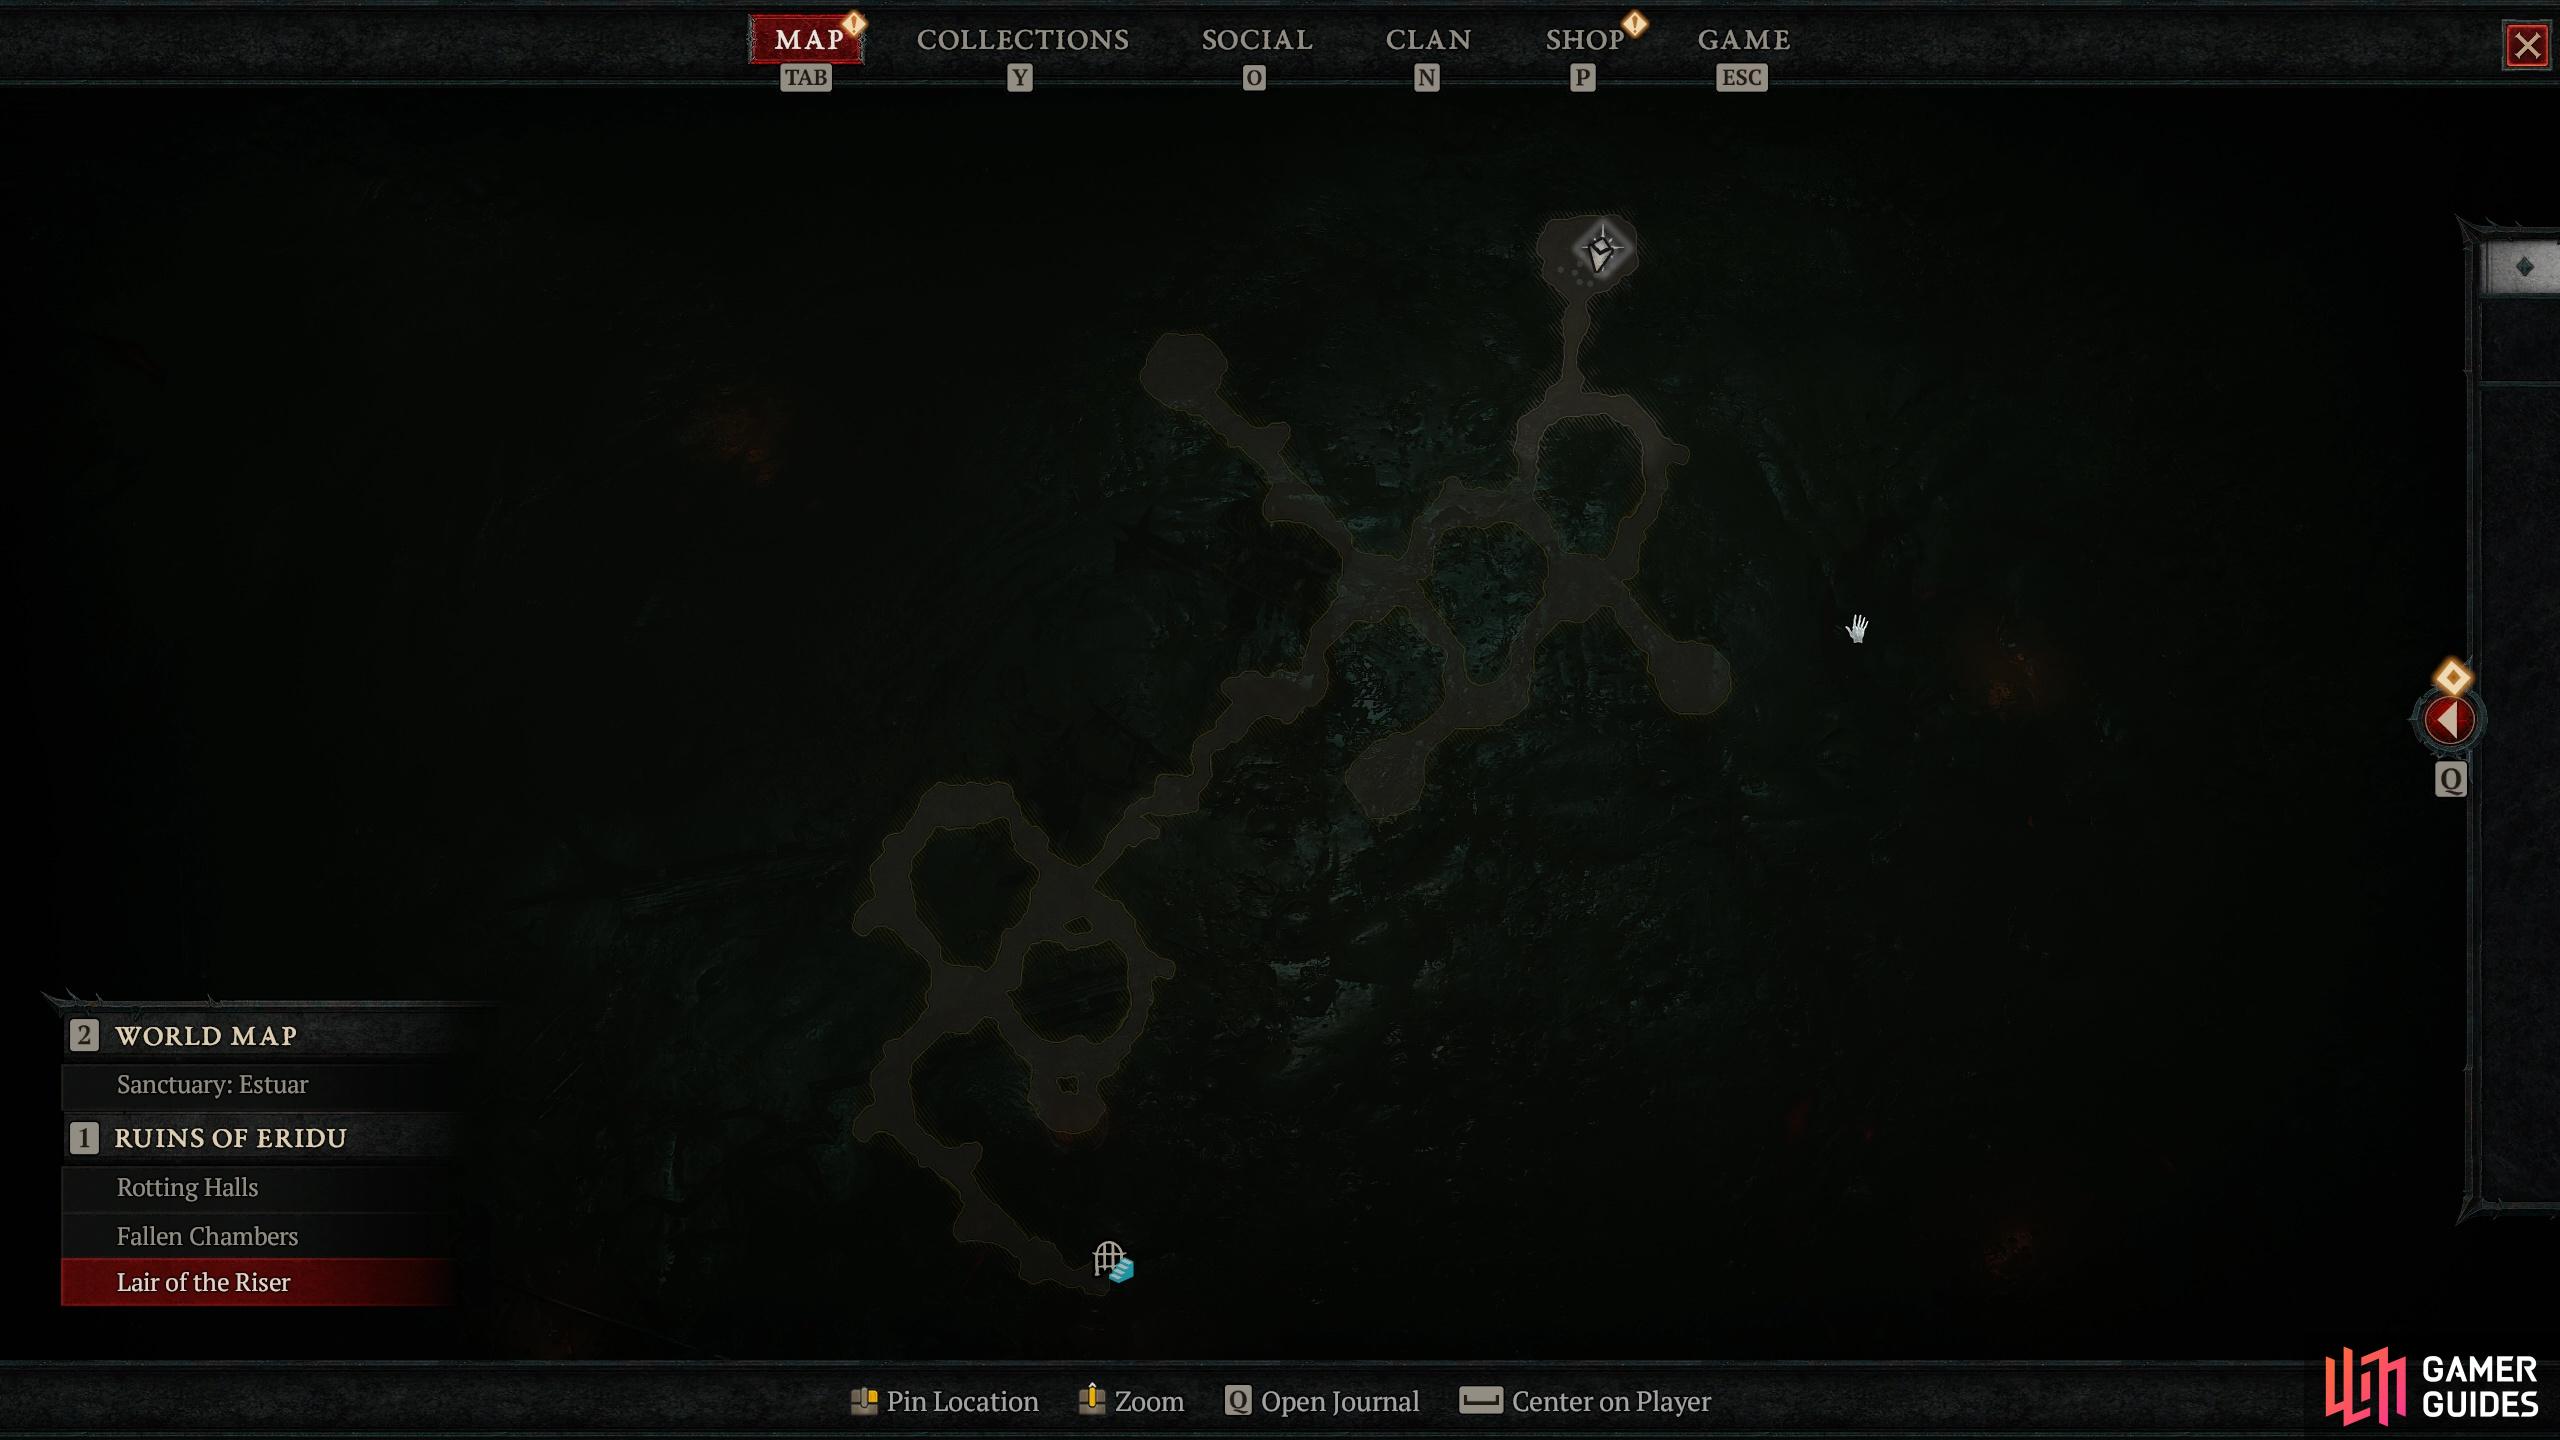
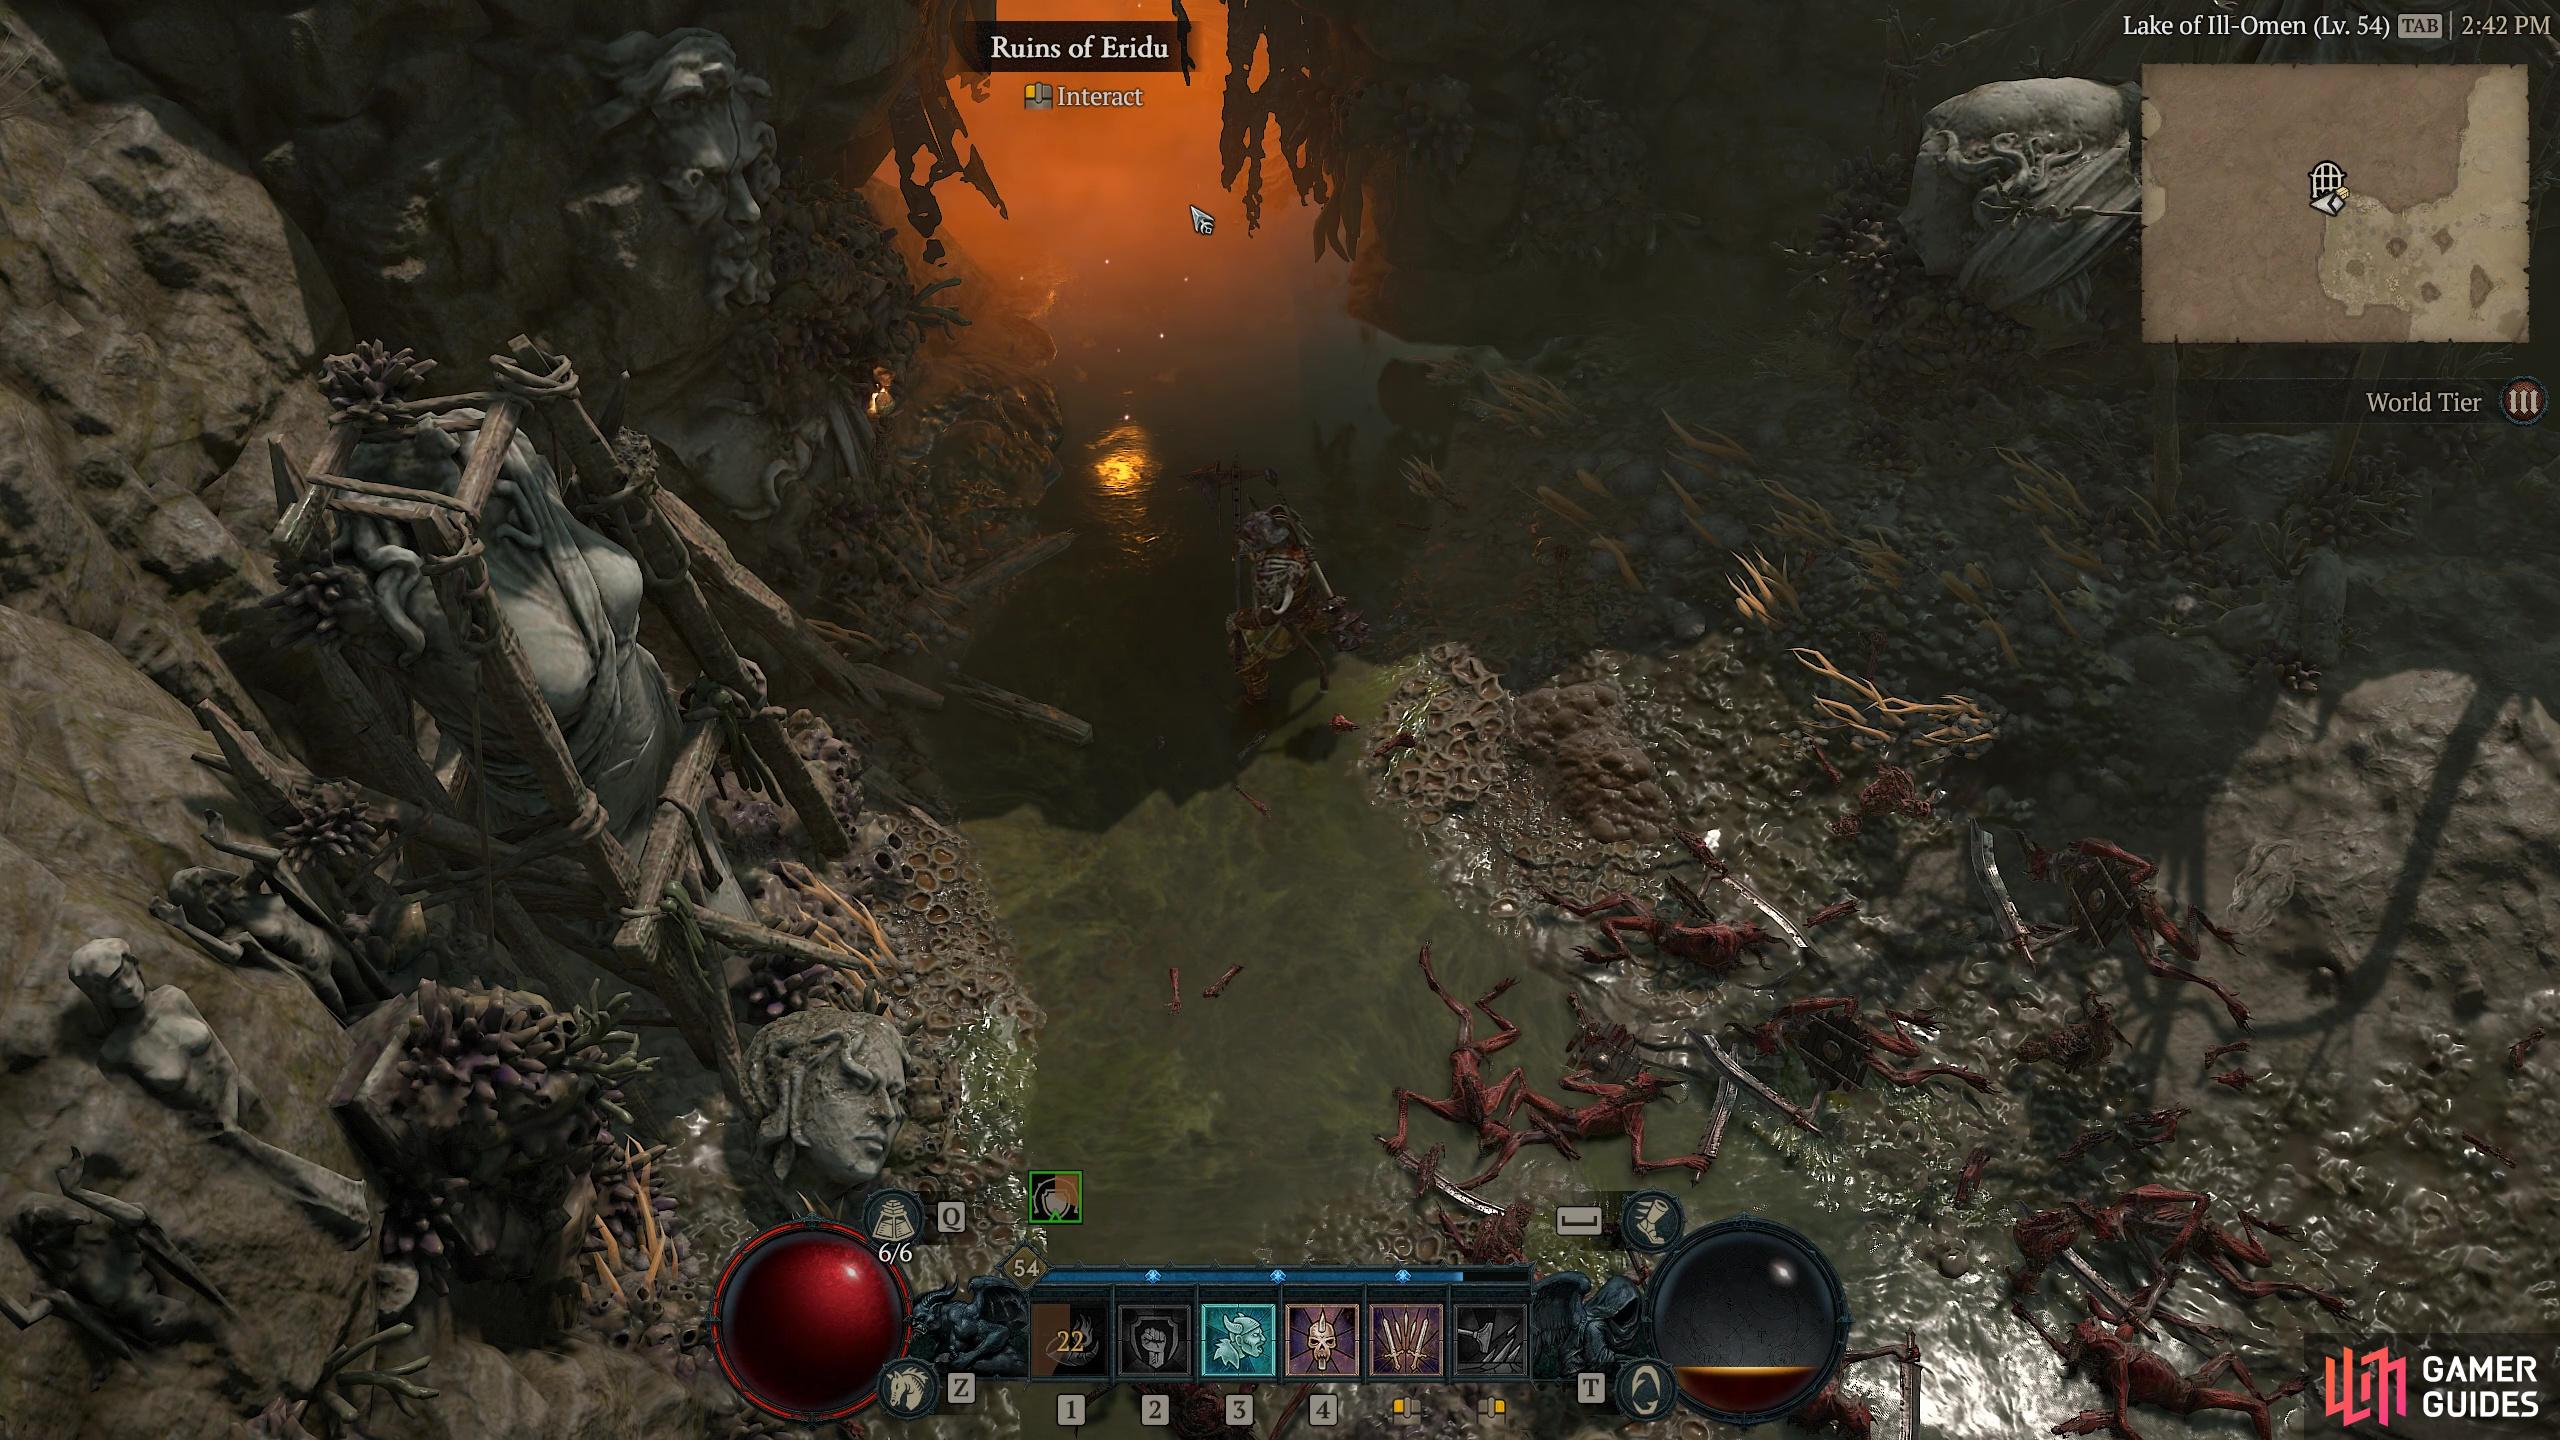
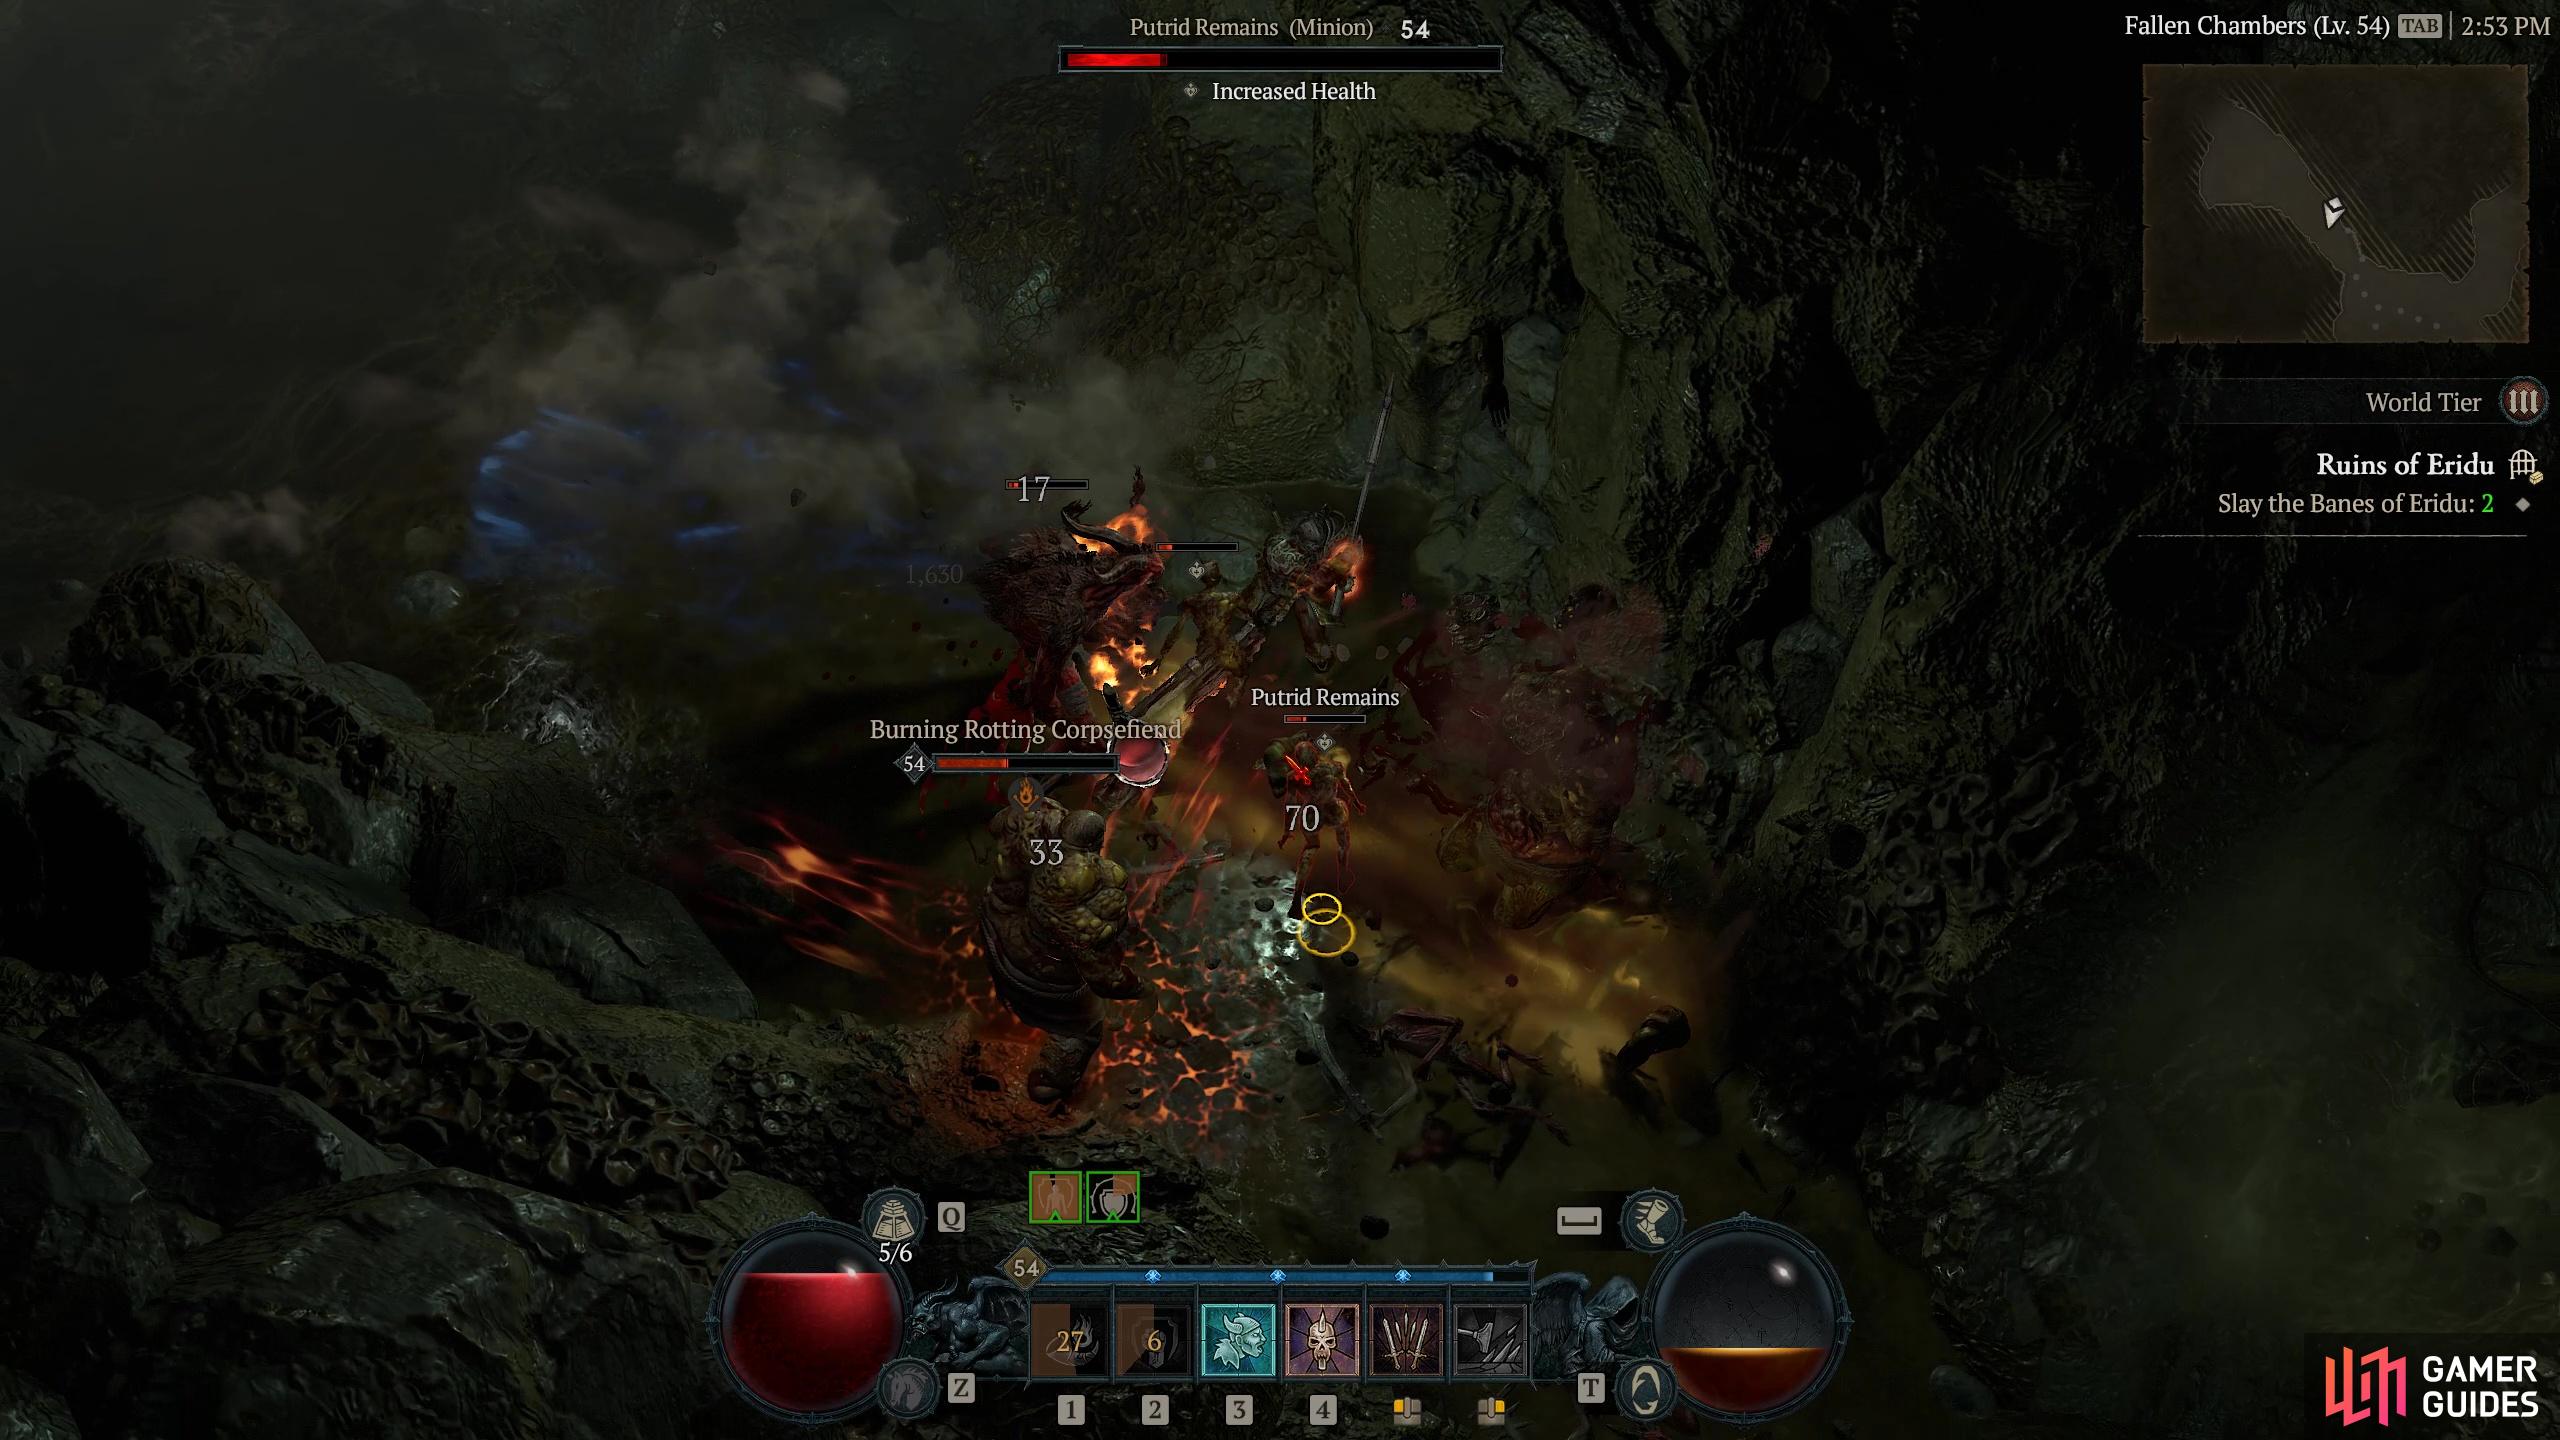
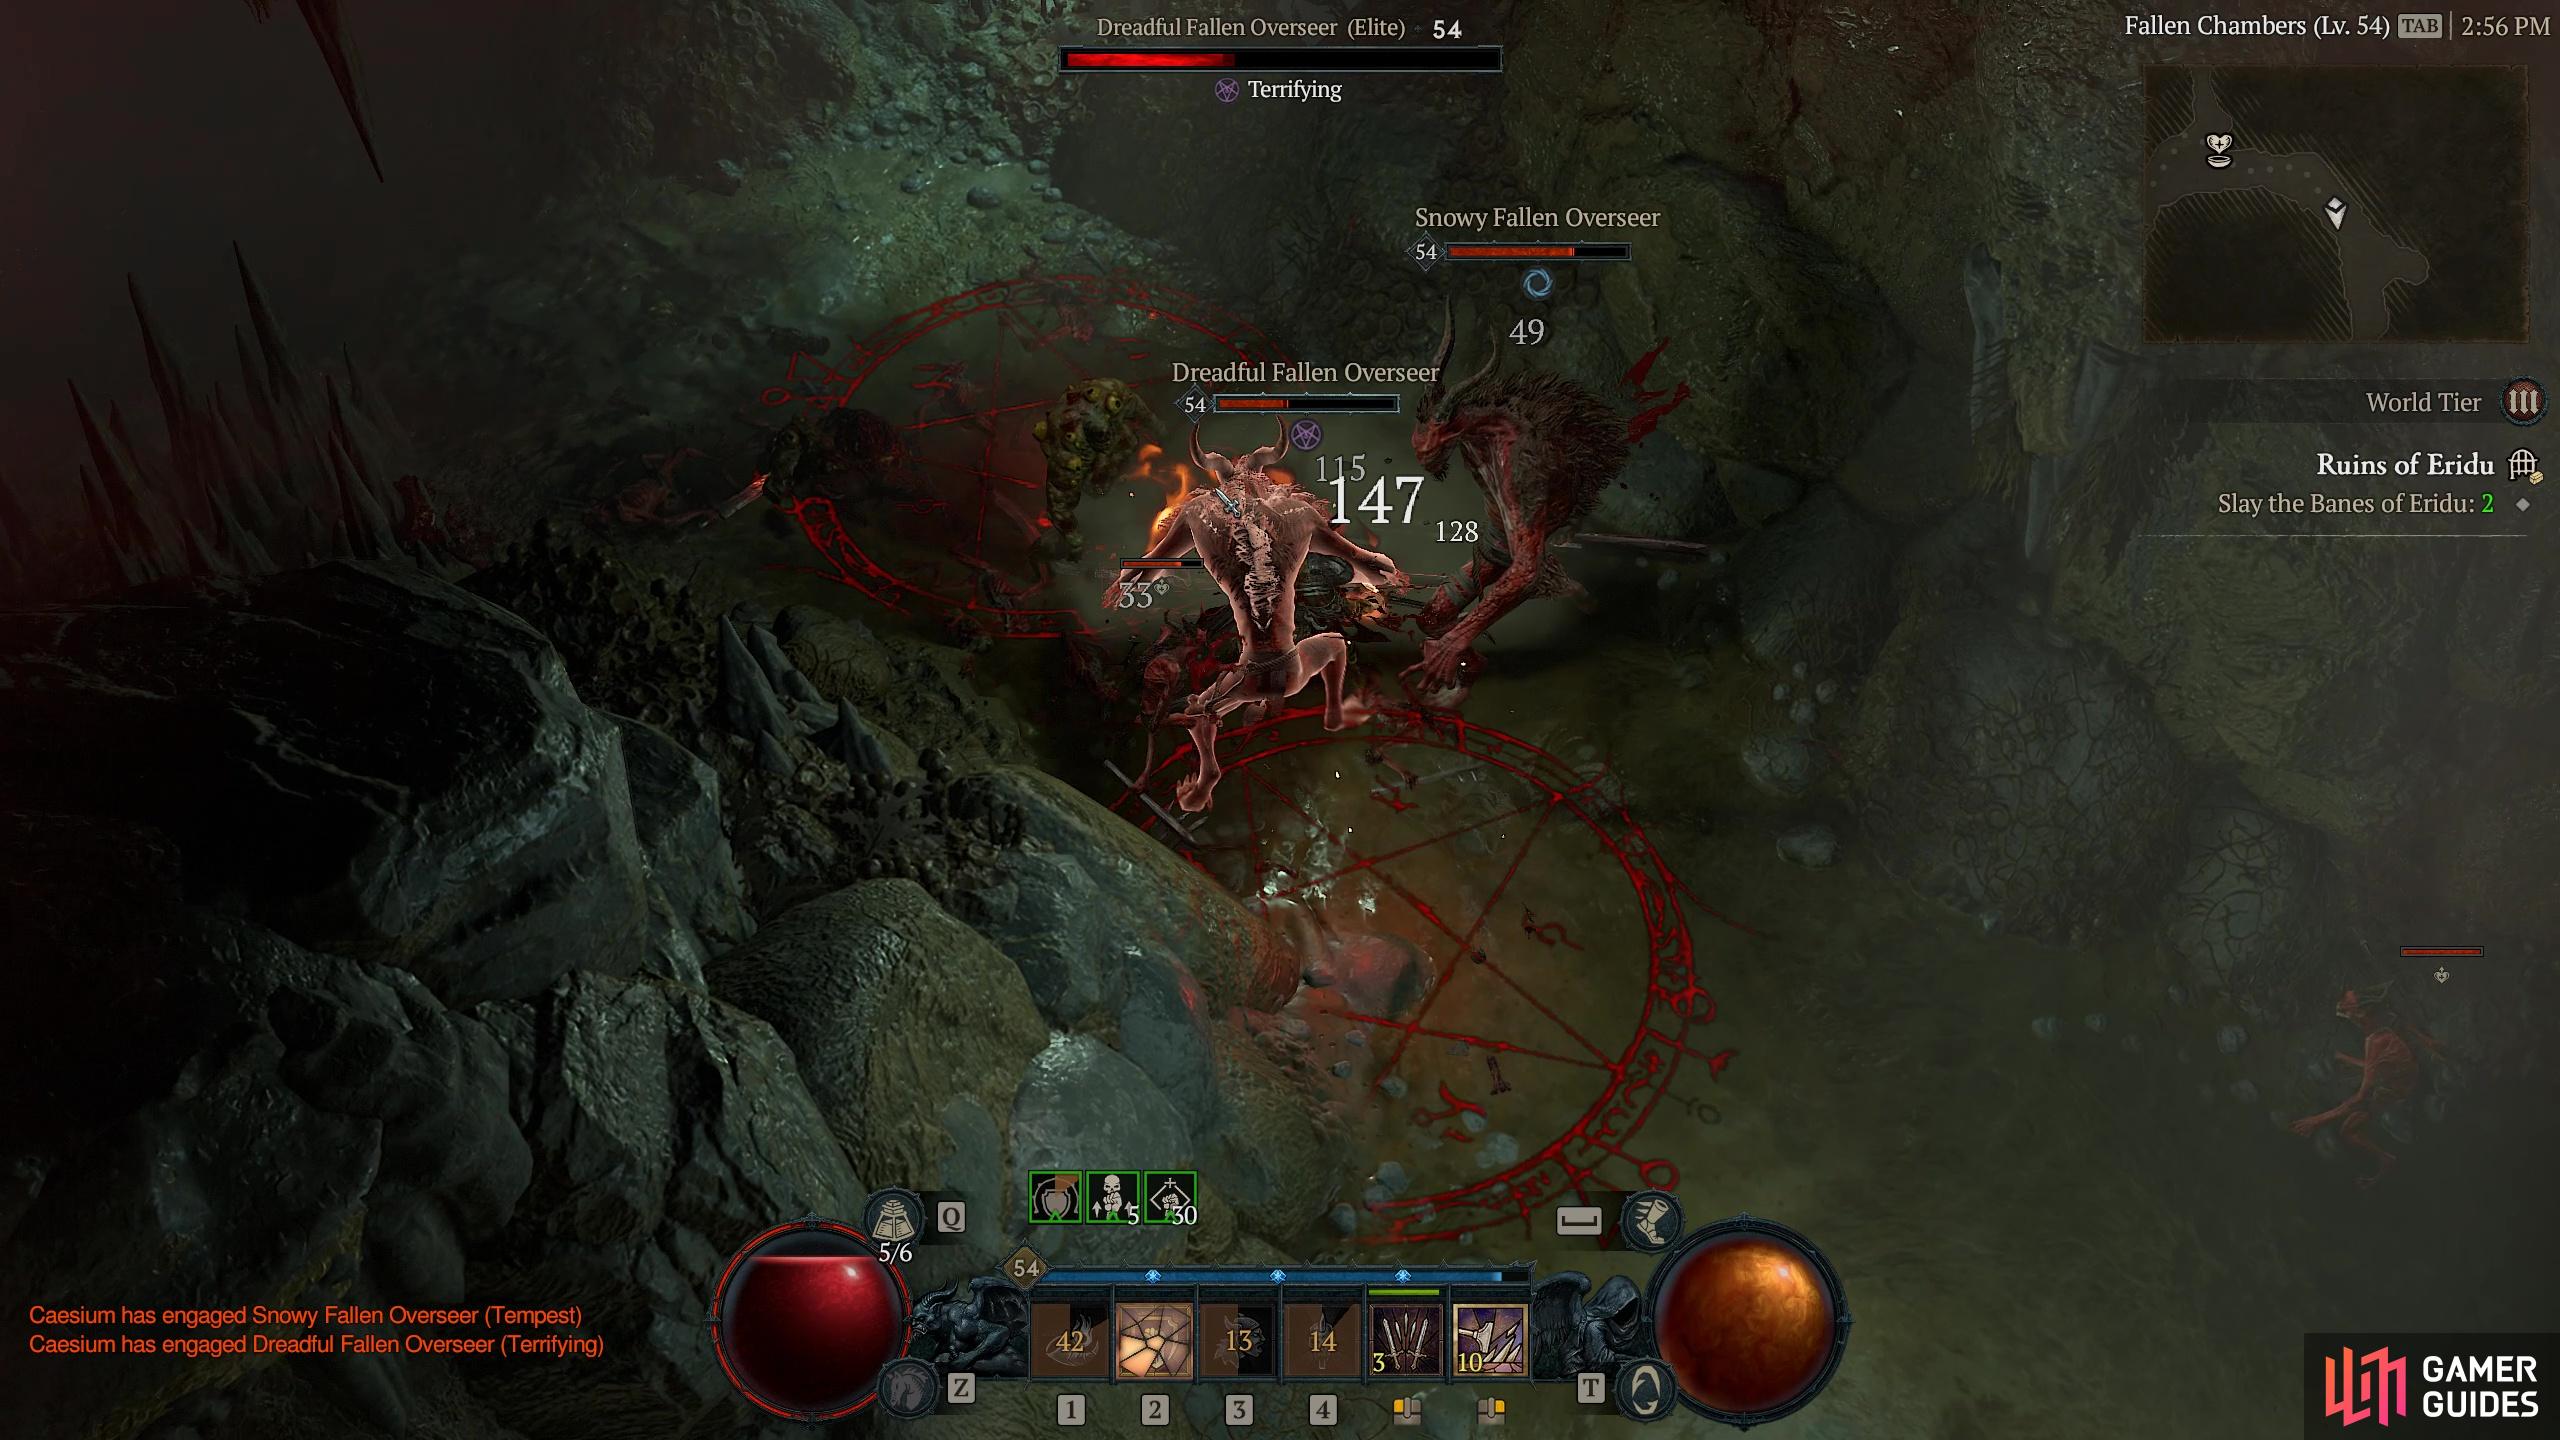
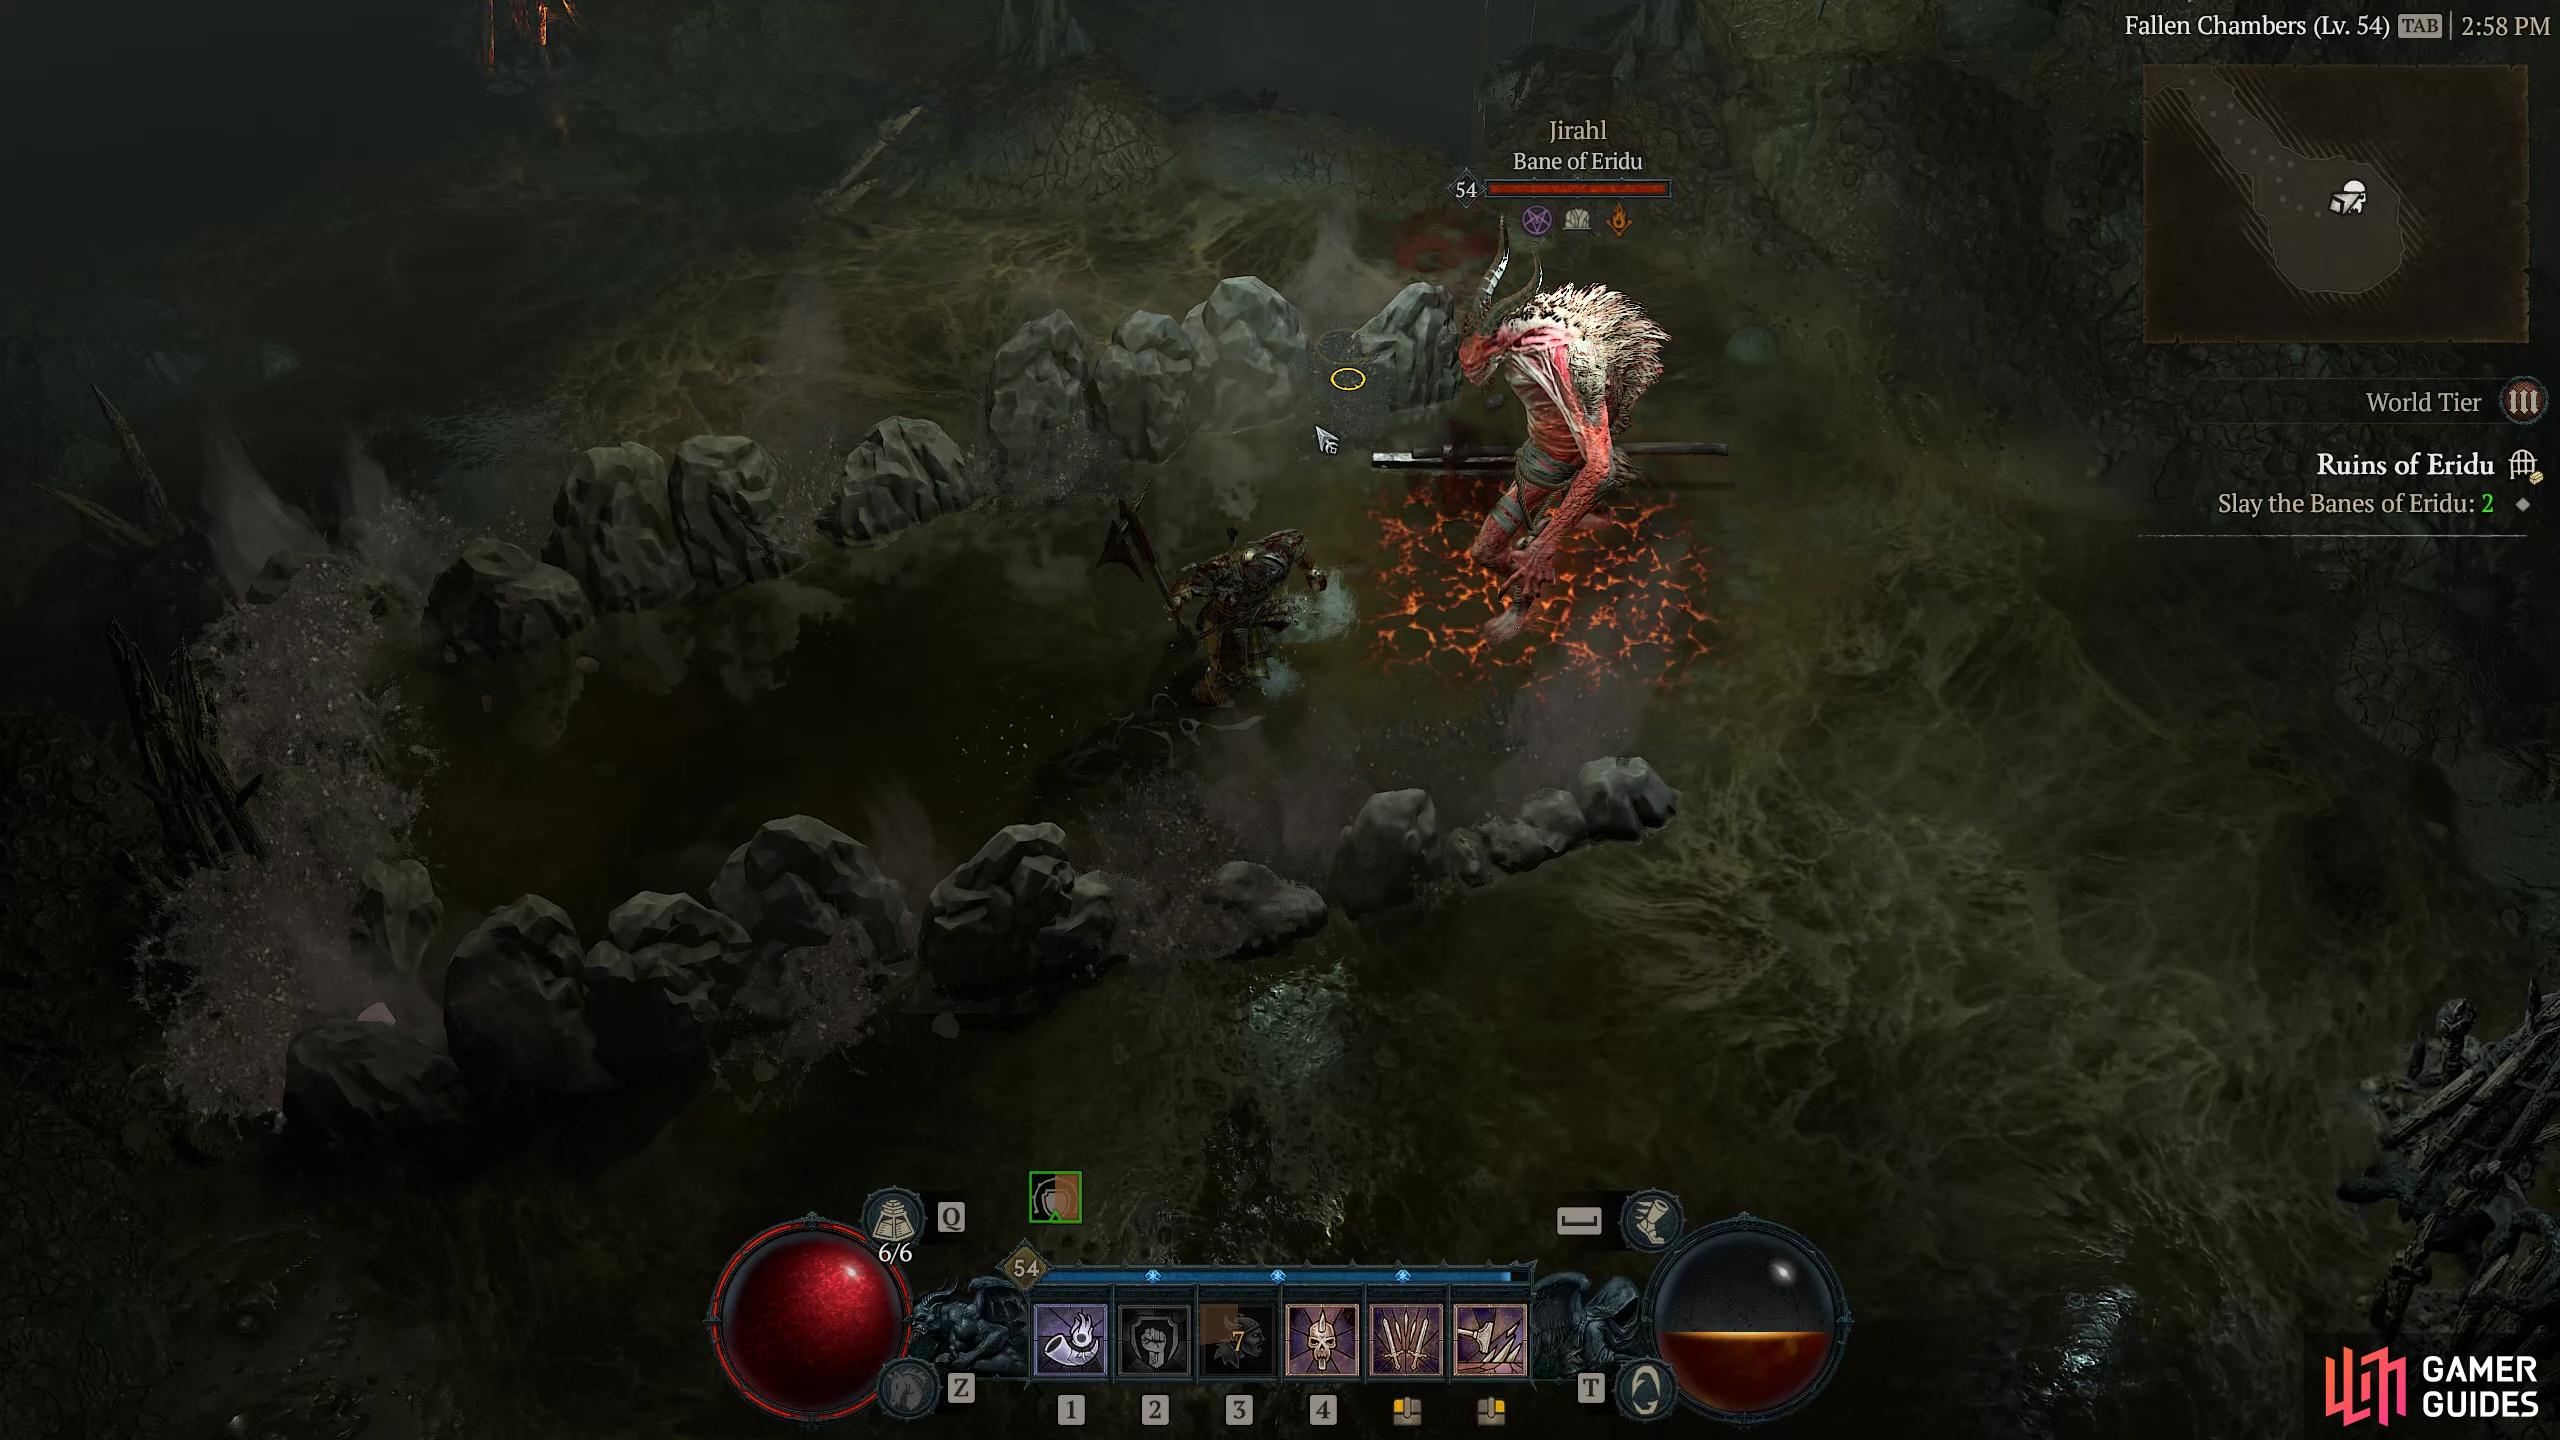
Ruins of Eridu |
A once-mighty fortress consumed by the swamp.
Objectives
Description
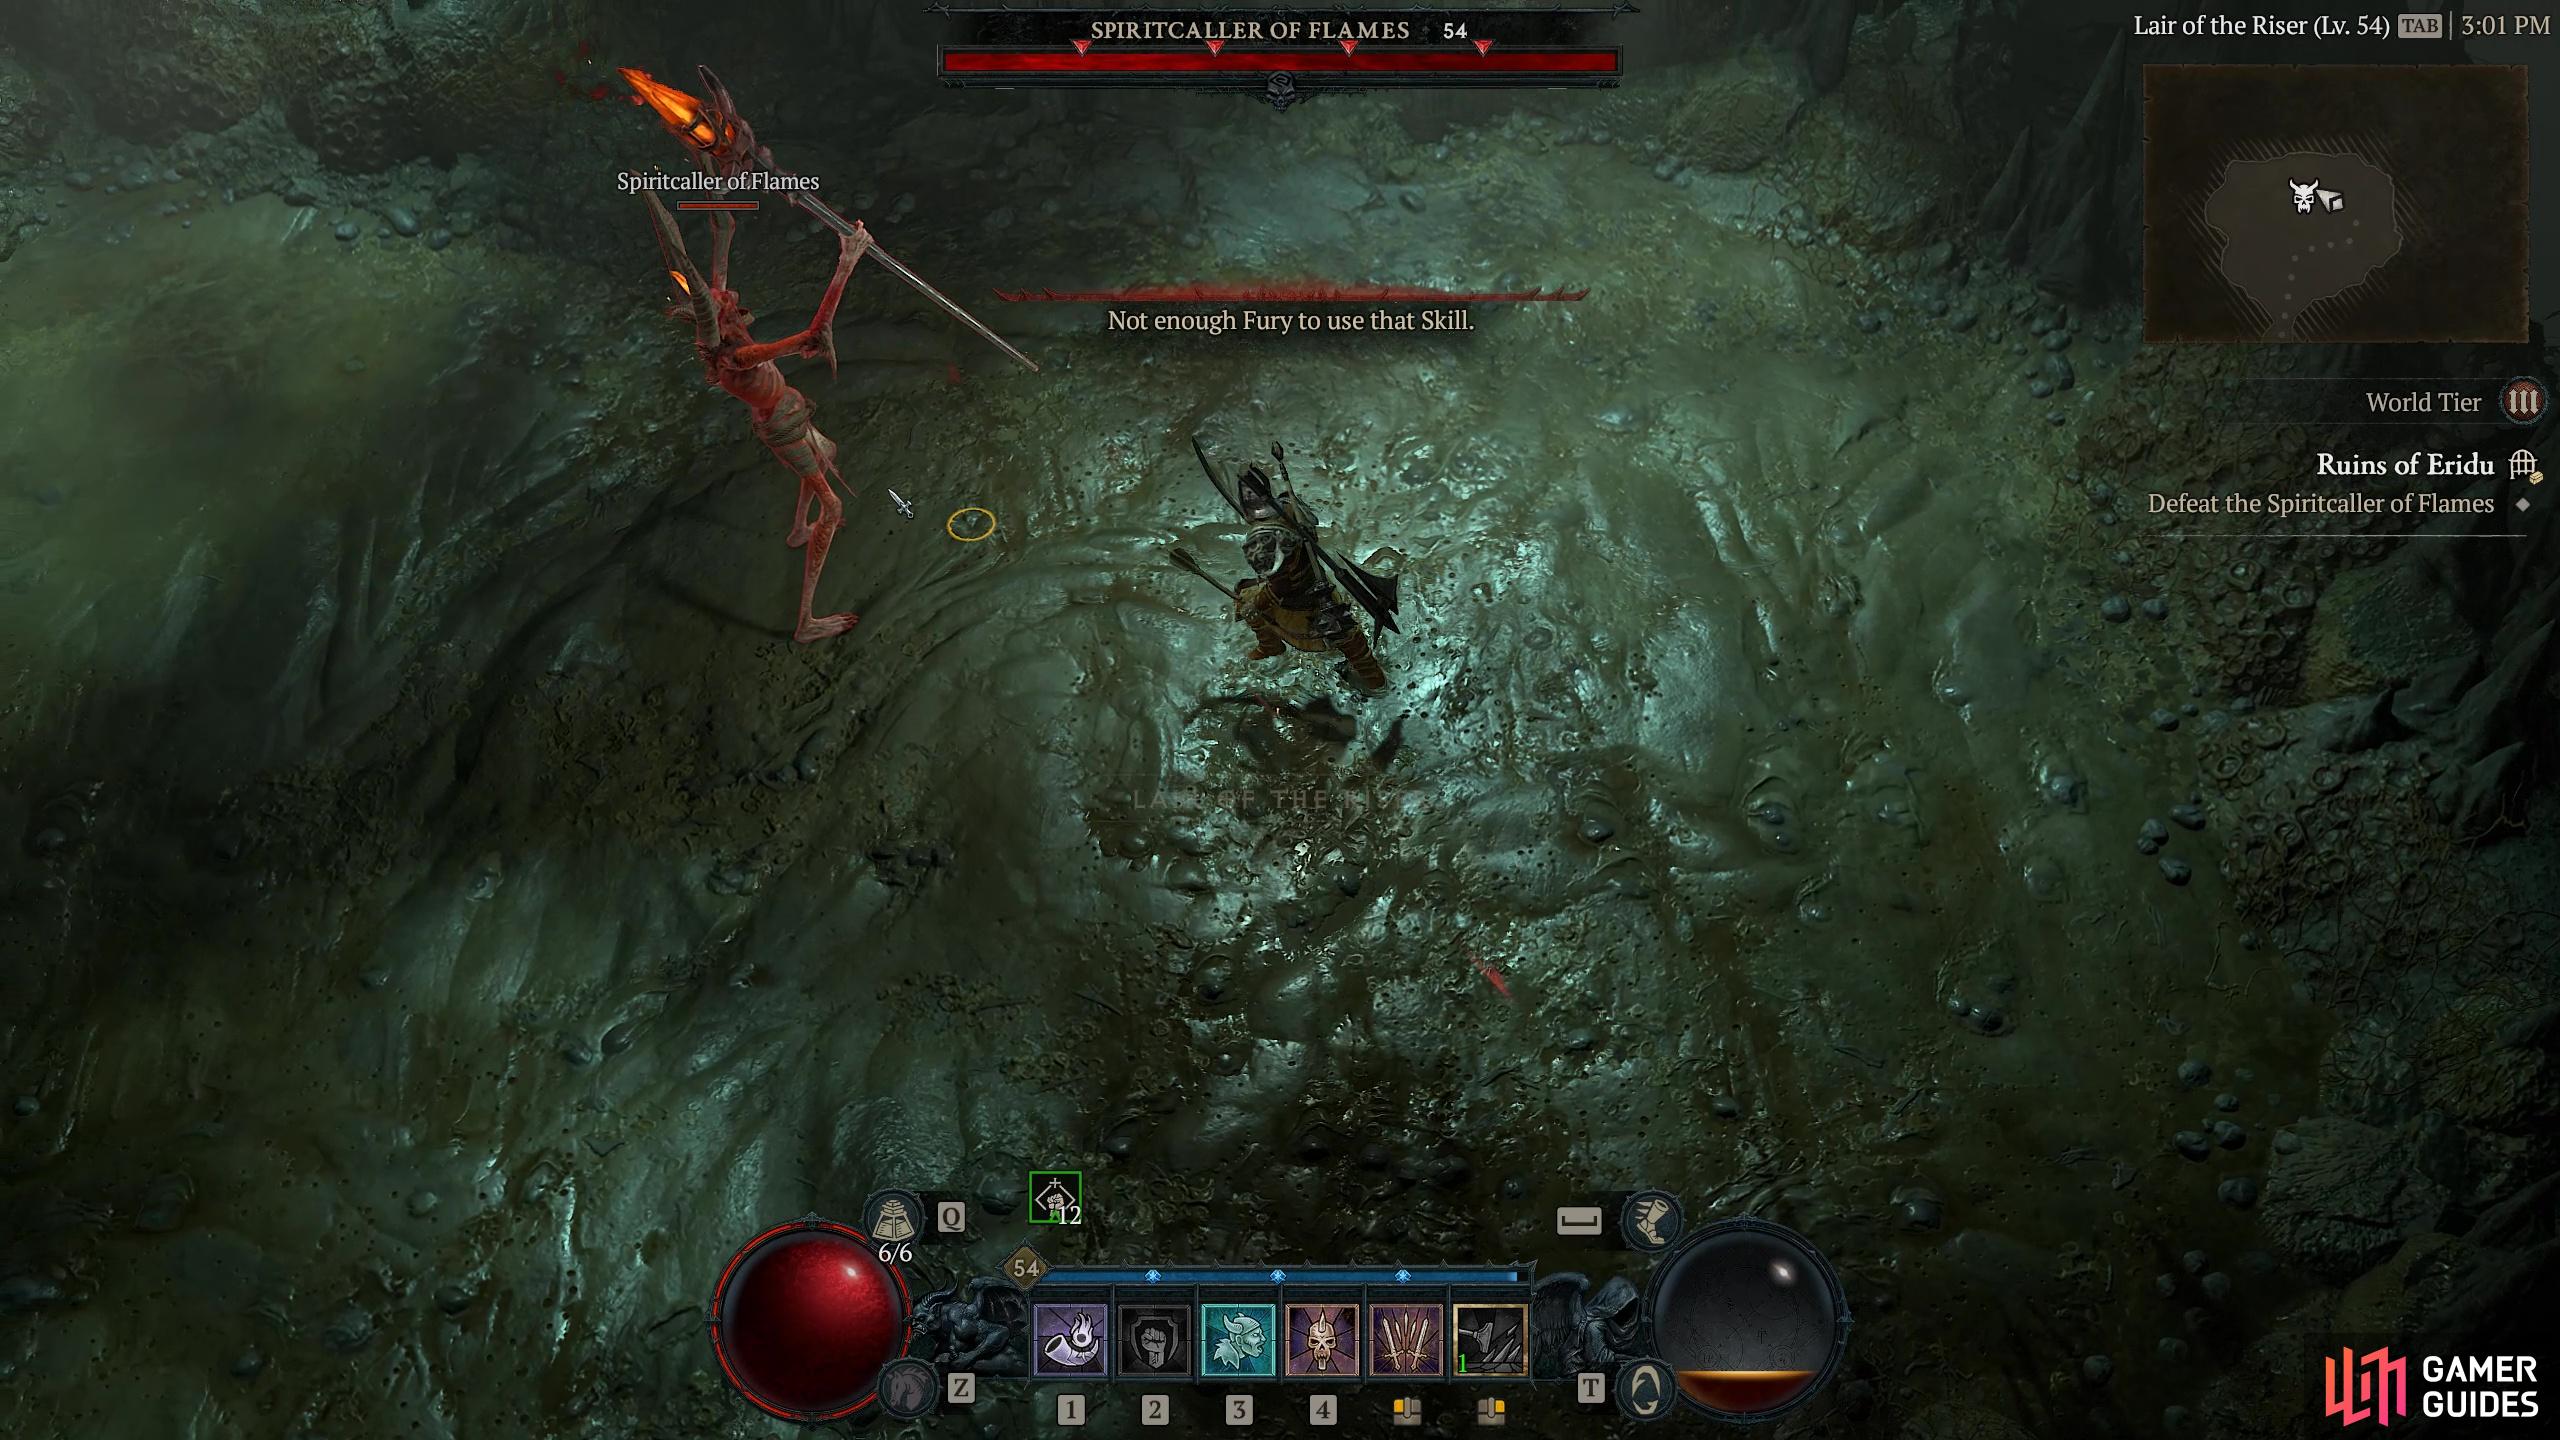
This former fortress now houses a huge number of undead, and the first objective we have to clear up is to slay all of the enemies in the Rotting Halls. While there are a decent number to hack away at, nothing should cause you too many problems, even when adventuring solo. Initially the main enemies you will face are Putrid Remains and Once you have killed everything, you need to carry on to the Fallen Chambers. Once there you are tasked with slaying two Elite monsters known as the Banes of Eridu, Jirahl and Malurop. They are not difficult to defeat. They are not heavily guarded and if you approach them slowly you will be able to lure out the other enemies in the room and kill them off before taking on the Bane himself. Once both are in the bag you can make your way to the Lair of the Riser for the final dungeon boss battle of the Ruins of Eridu. This battle is against the powerful For a full guide on how to beat him properly check out our Spiritcaller of Flames page here. Once you have overcome this final battle the dungeon and
Enemies
Putrid Remains
Zombies
1× Jirahl (Bane of Eridu)
Bosses
1× Malurop (Bane of Eridu)
Bosses
1×
Region
General Reward
Gold, XP, +30 Hawazar Renown
Item Reward
1×
|
|
|||||||||||||||||||||||||||||||||||||||||||||||||||||||||||||||||||||||||||||||||||||||||||||||

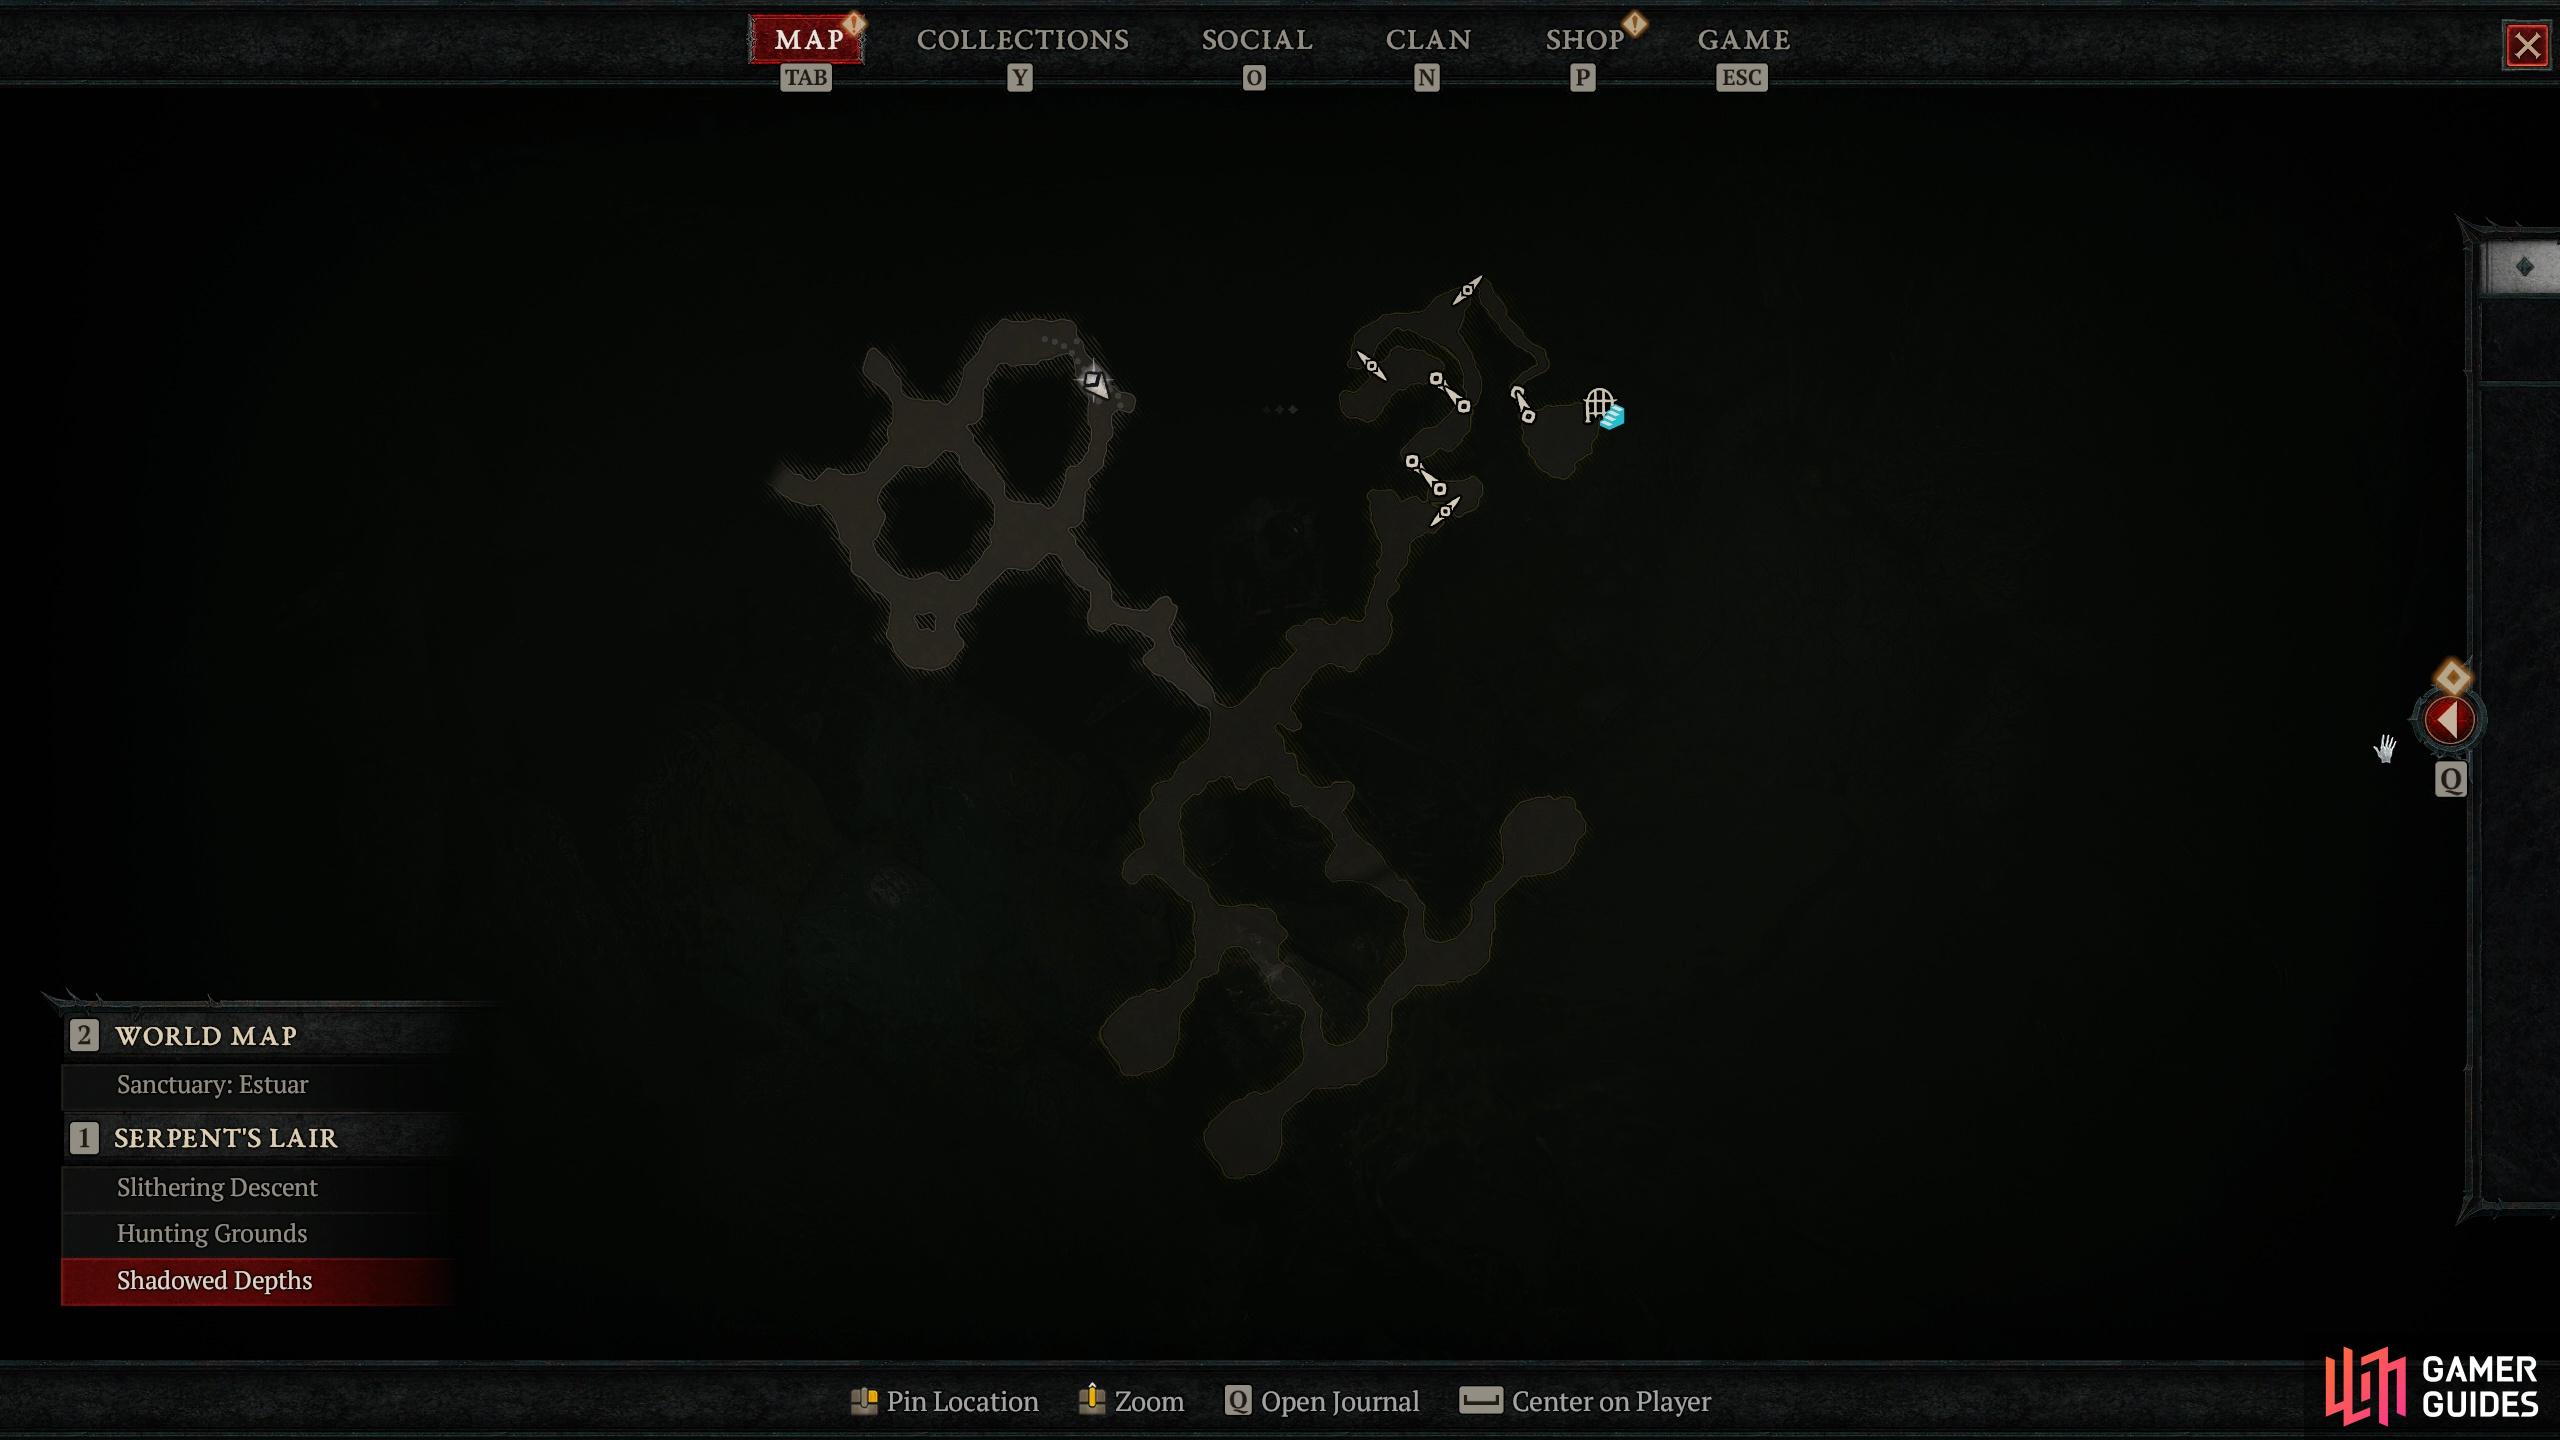
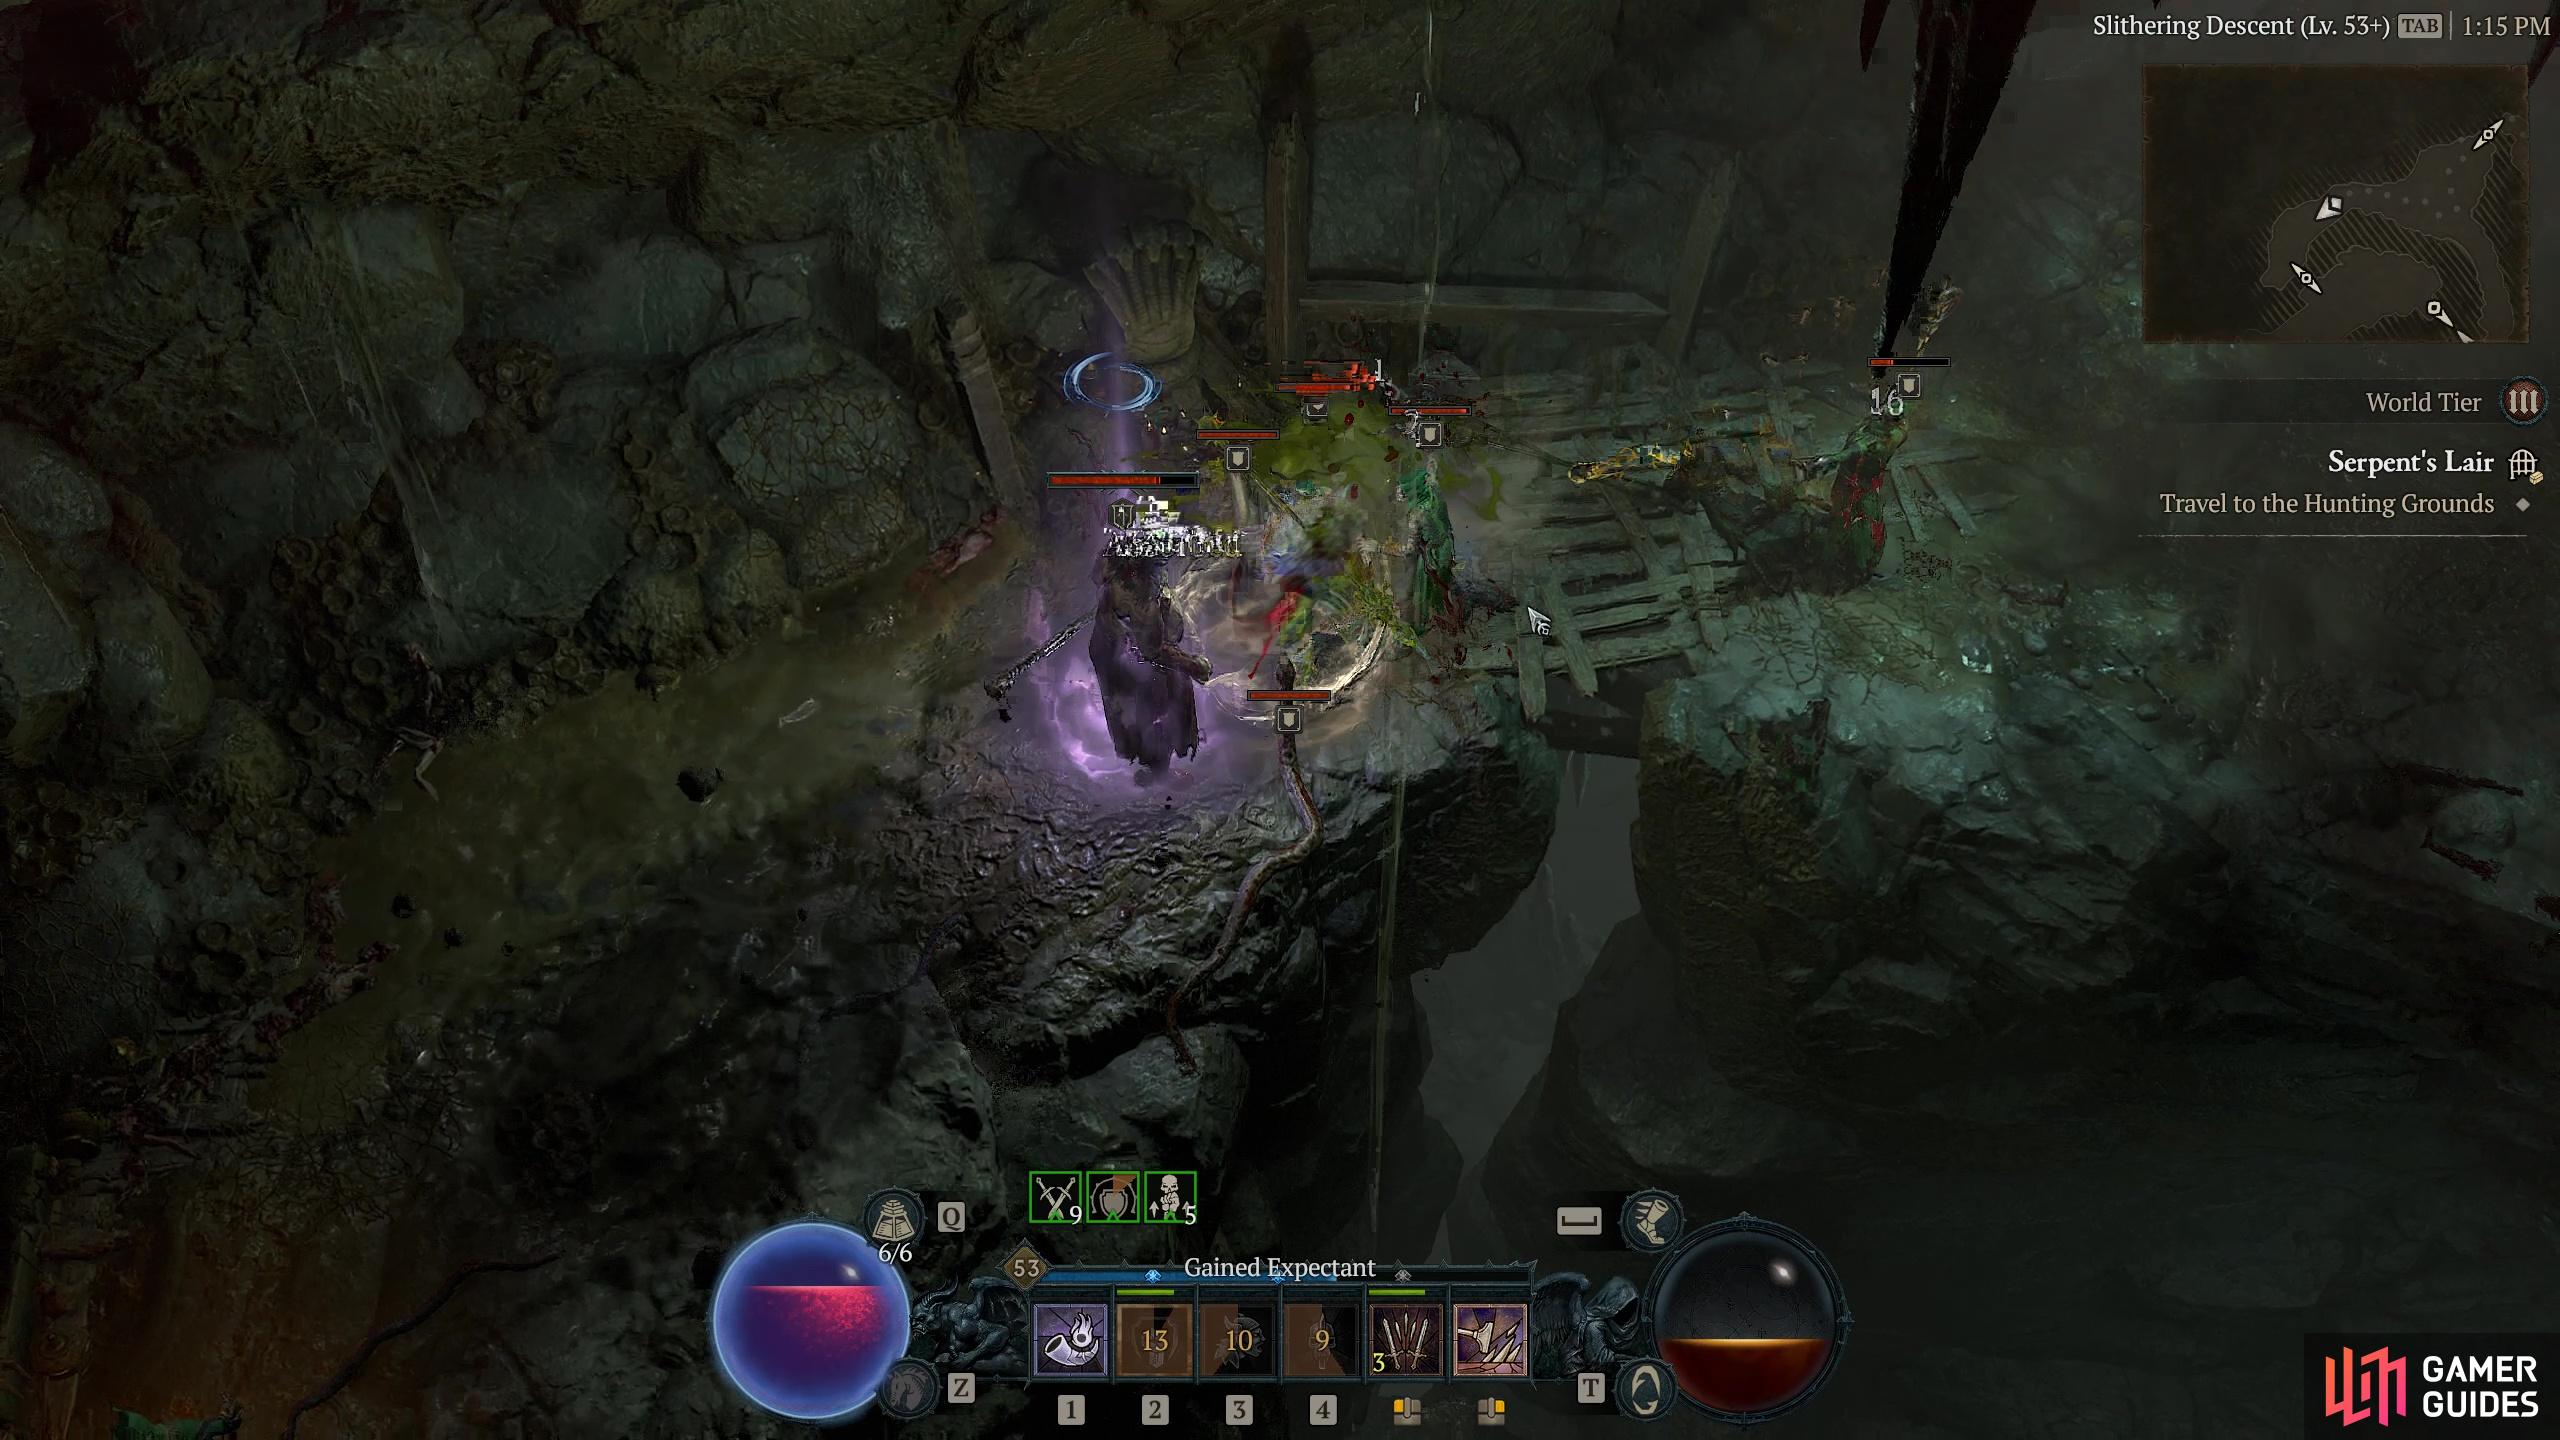
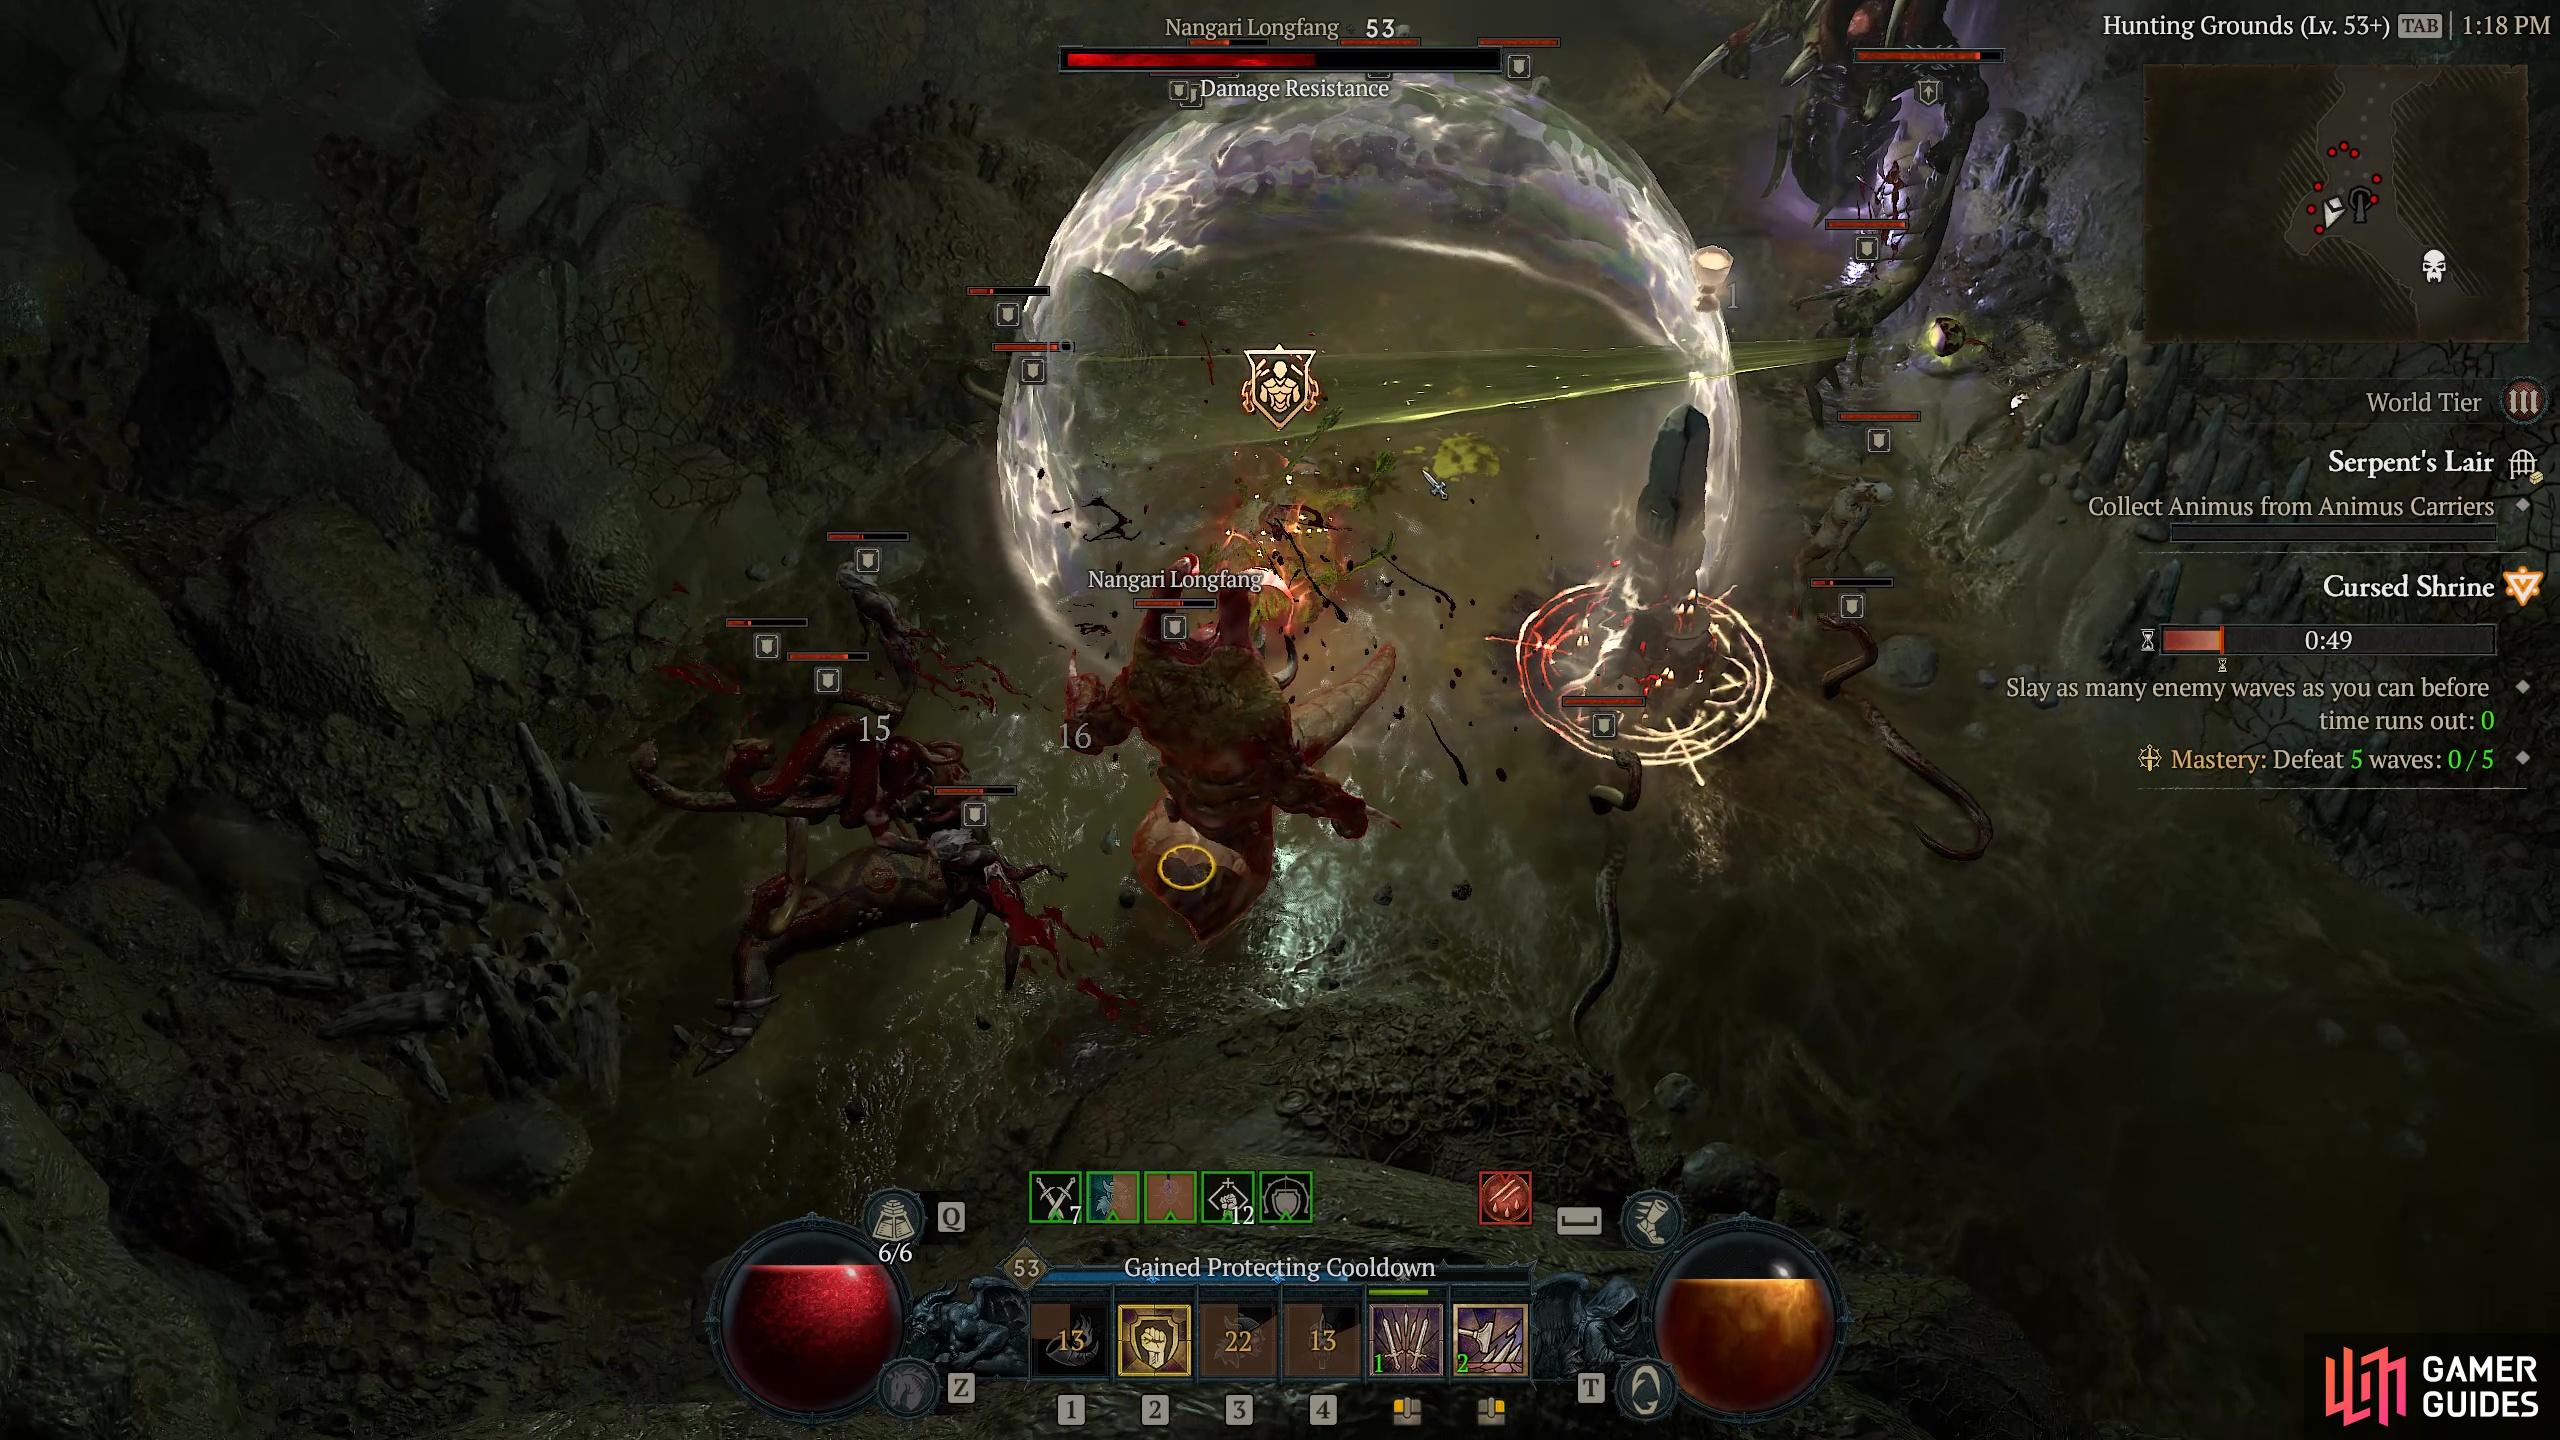
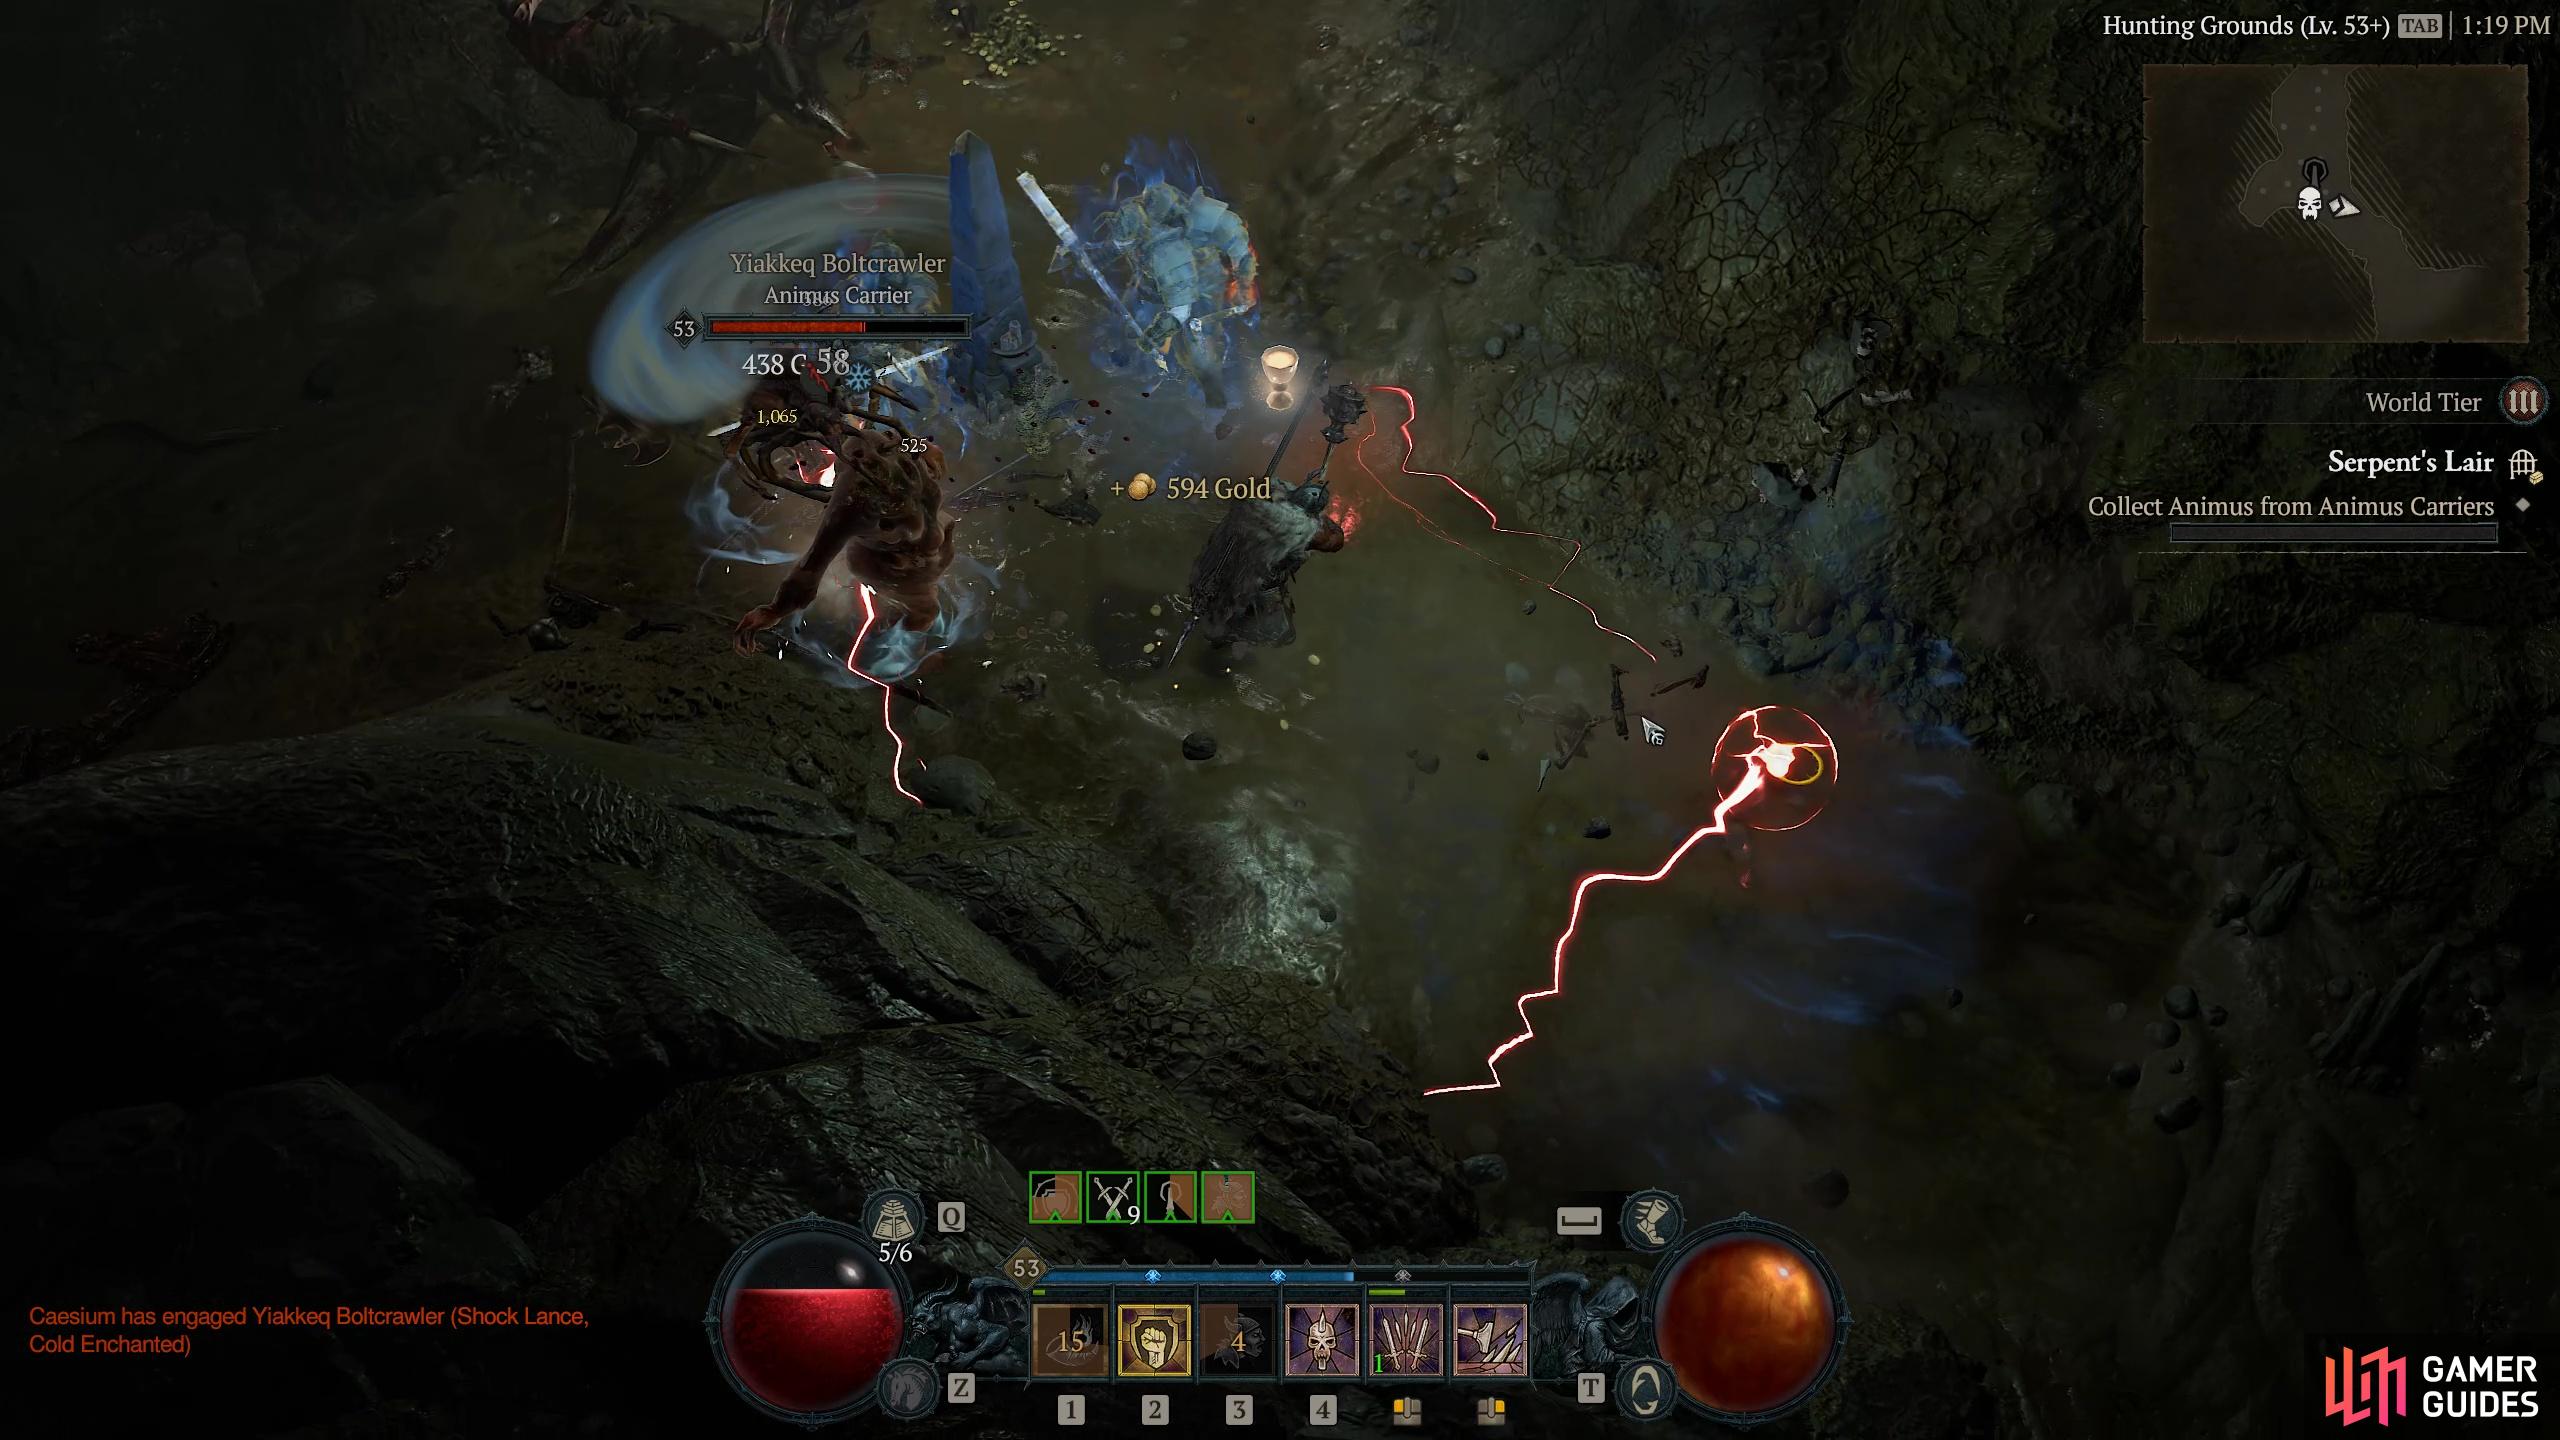
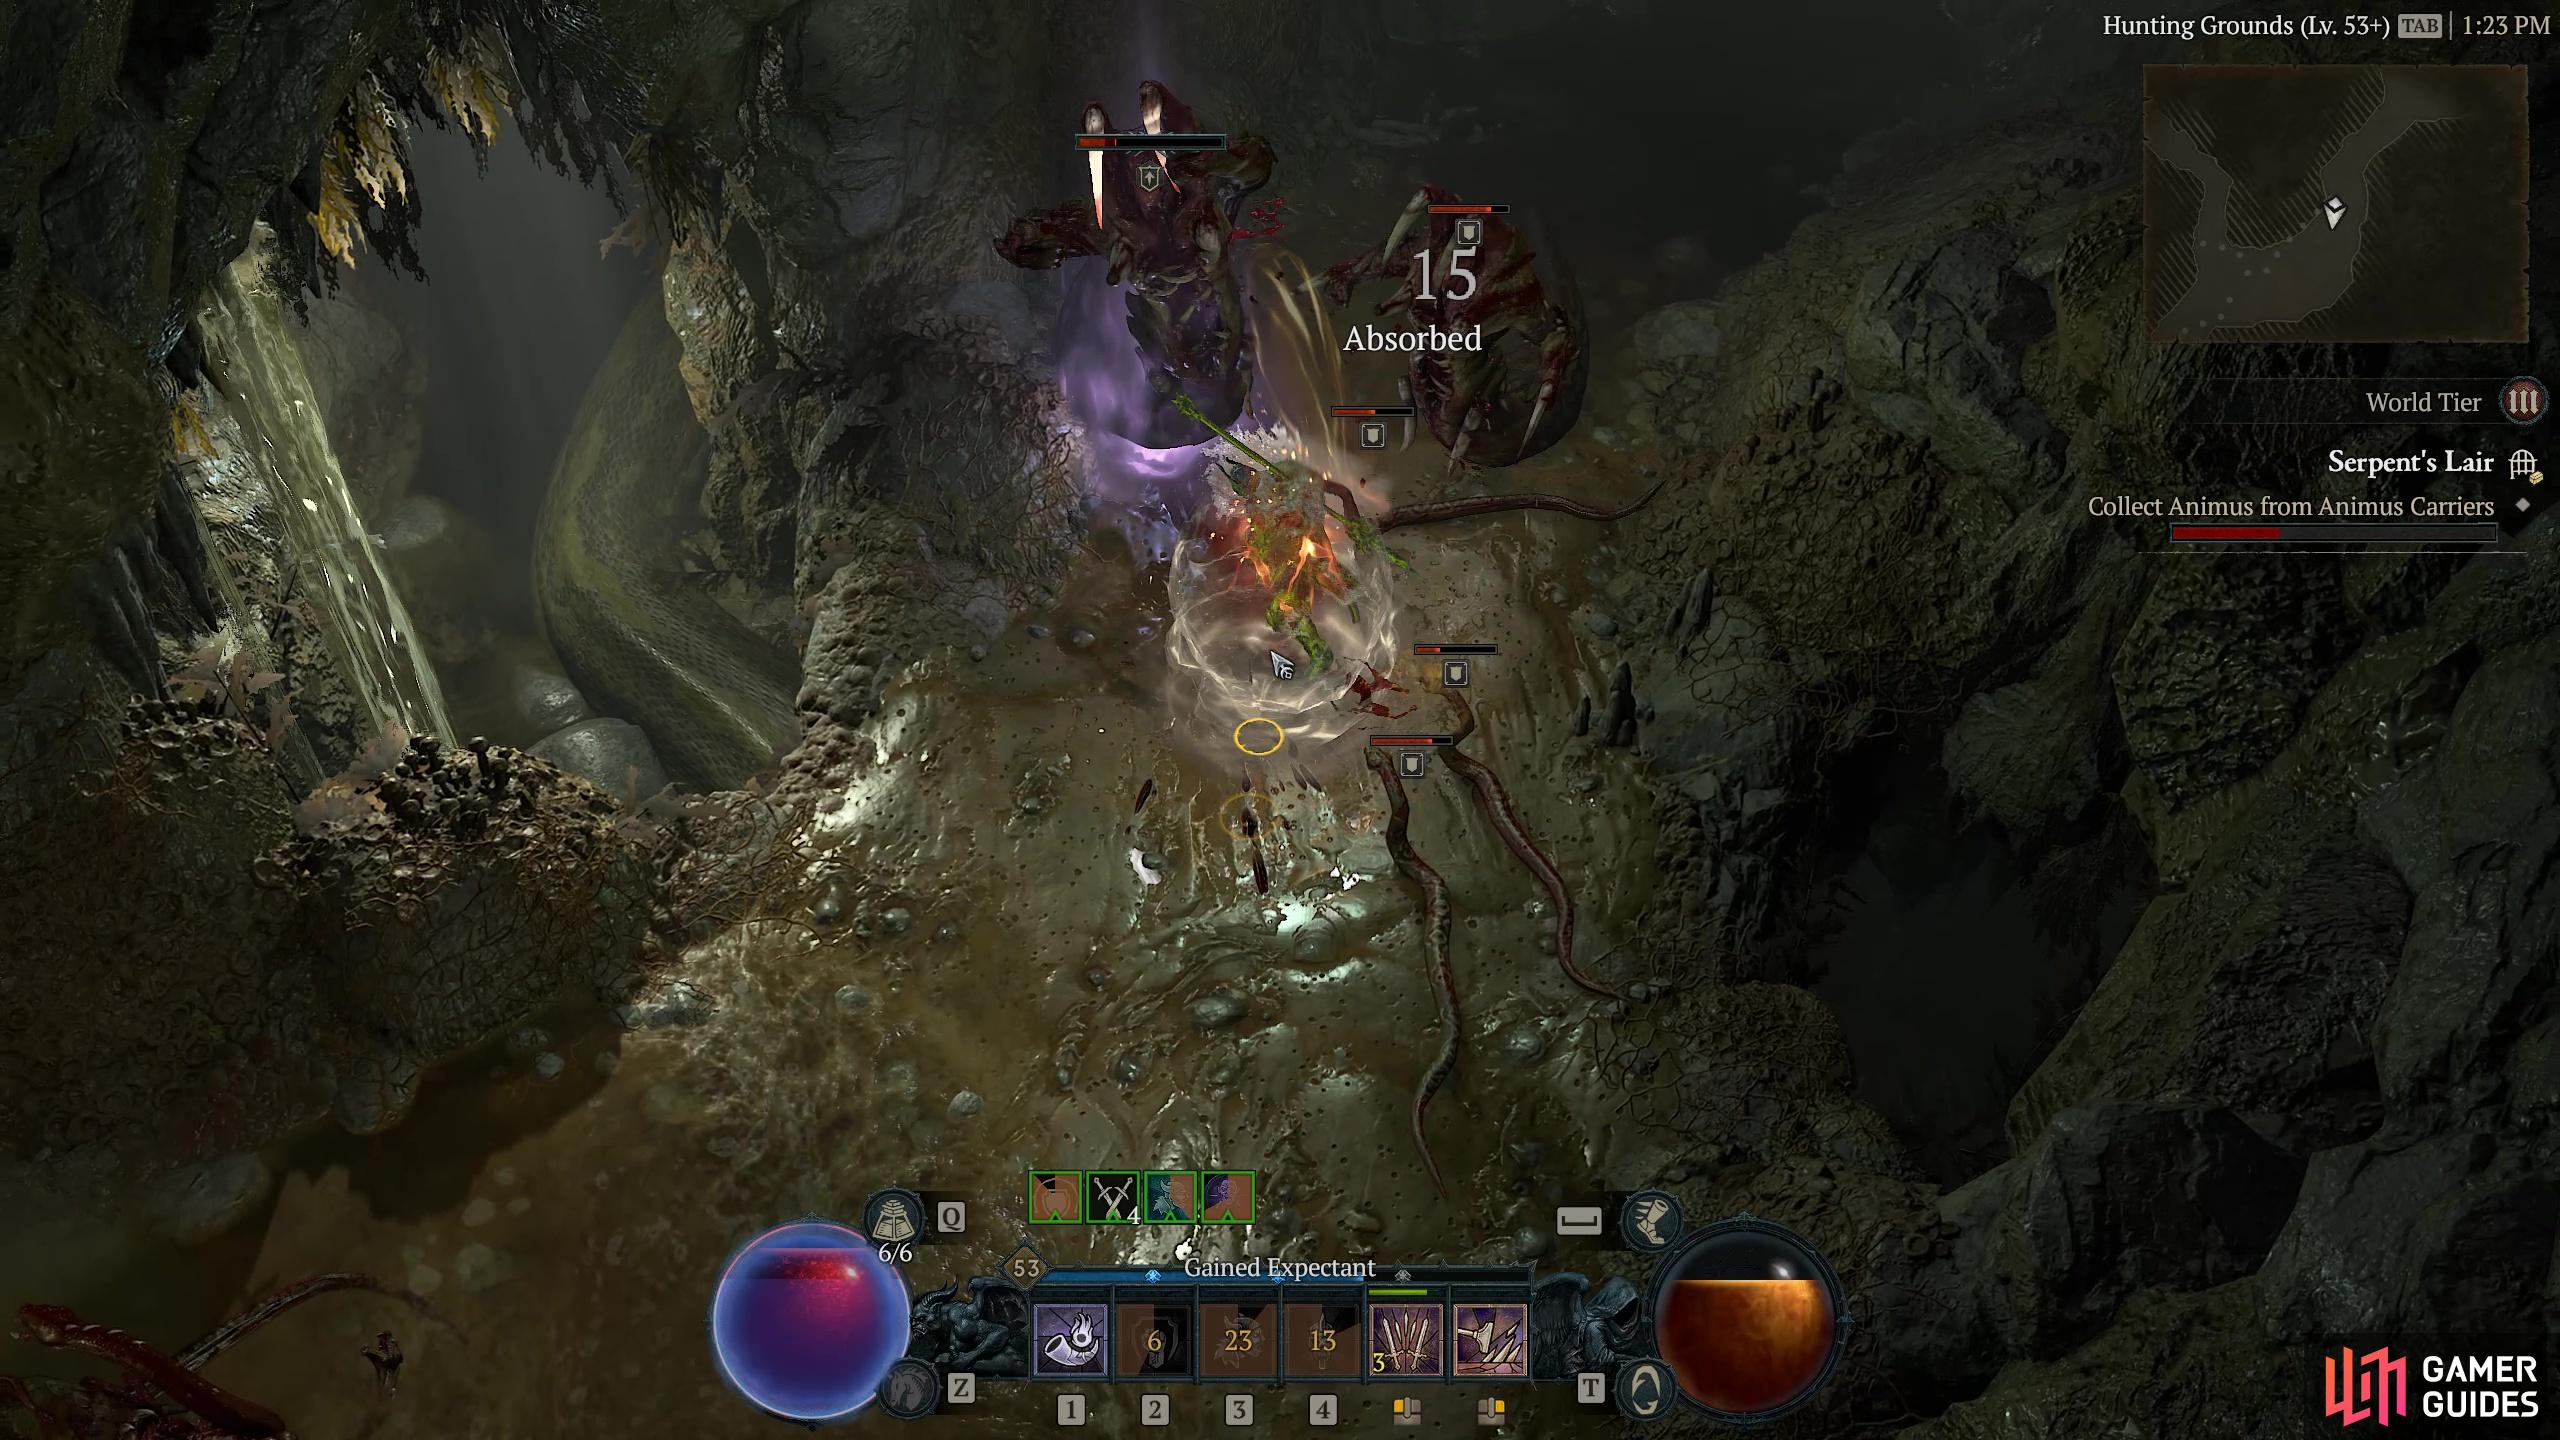
|
Serpent's Lair |
Once the seat of Mohlon’s throne. They want another queen.
Objectives
Description
As you might expect in a dungeon called Serpent’s Lair, there are going to be a lot of snakes. And spiders too. So if you are afraid of this type of wildlife, then this place is not going to be for you! In some ways this dungeon is a bit different from others, it is very straightforward with not as much to-ing and fro-ing as some and the objectives tend to revolve around just having to kill the enemies. To start off with you begin in the Slithering Descent and will have to head deep underground to the Hunting Grounds. Once there it is the usual ‘Collect Animus from the etc’, so you need to travel around finding the carriers until you fill up the bar to max so you can then deposit it in the nearby Animus Urn which will remove a barrier to the next section of the dungeon. Some of these Animus Carriers are tough, simply due to the number of enemies in the vicinity but with care you should be able to get through without dying, even if you are solo. As you move about there are two shrines you will pass, once of which will trigger a Cursed Shrine event. Once you have activated the urn you need to move on to the Shadowed Depths where you must now find and destroy three heavily guarded Ward Eyes. The Eyes themselves are not difficult but, again the huge weight of enemy presence might cause the odd headache. Once you beat the third Eye you have completed the Serpent’s Lair.
Enemies
Serpent Cultist
Cultists
Serpent Cult Magus
Cultists
Nangari Spitter
Snakes
Plagued Creeper
Spiders
Region
Item Reward
1×
|

|
|||||||||||||||||||||||||||||||||||||||||||||||||||||||||||||||||||||||||||||||||||||||||||||||

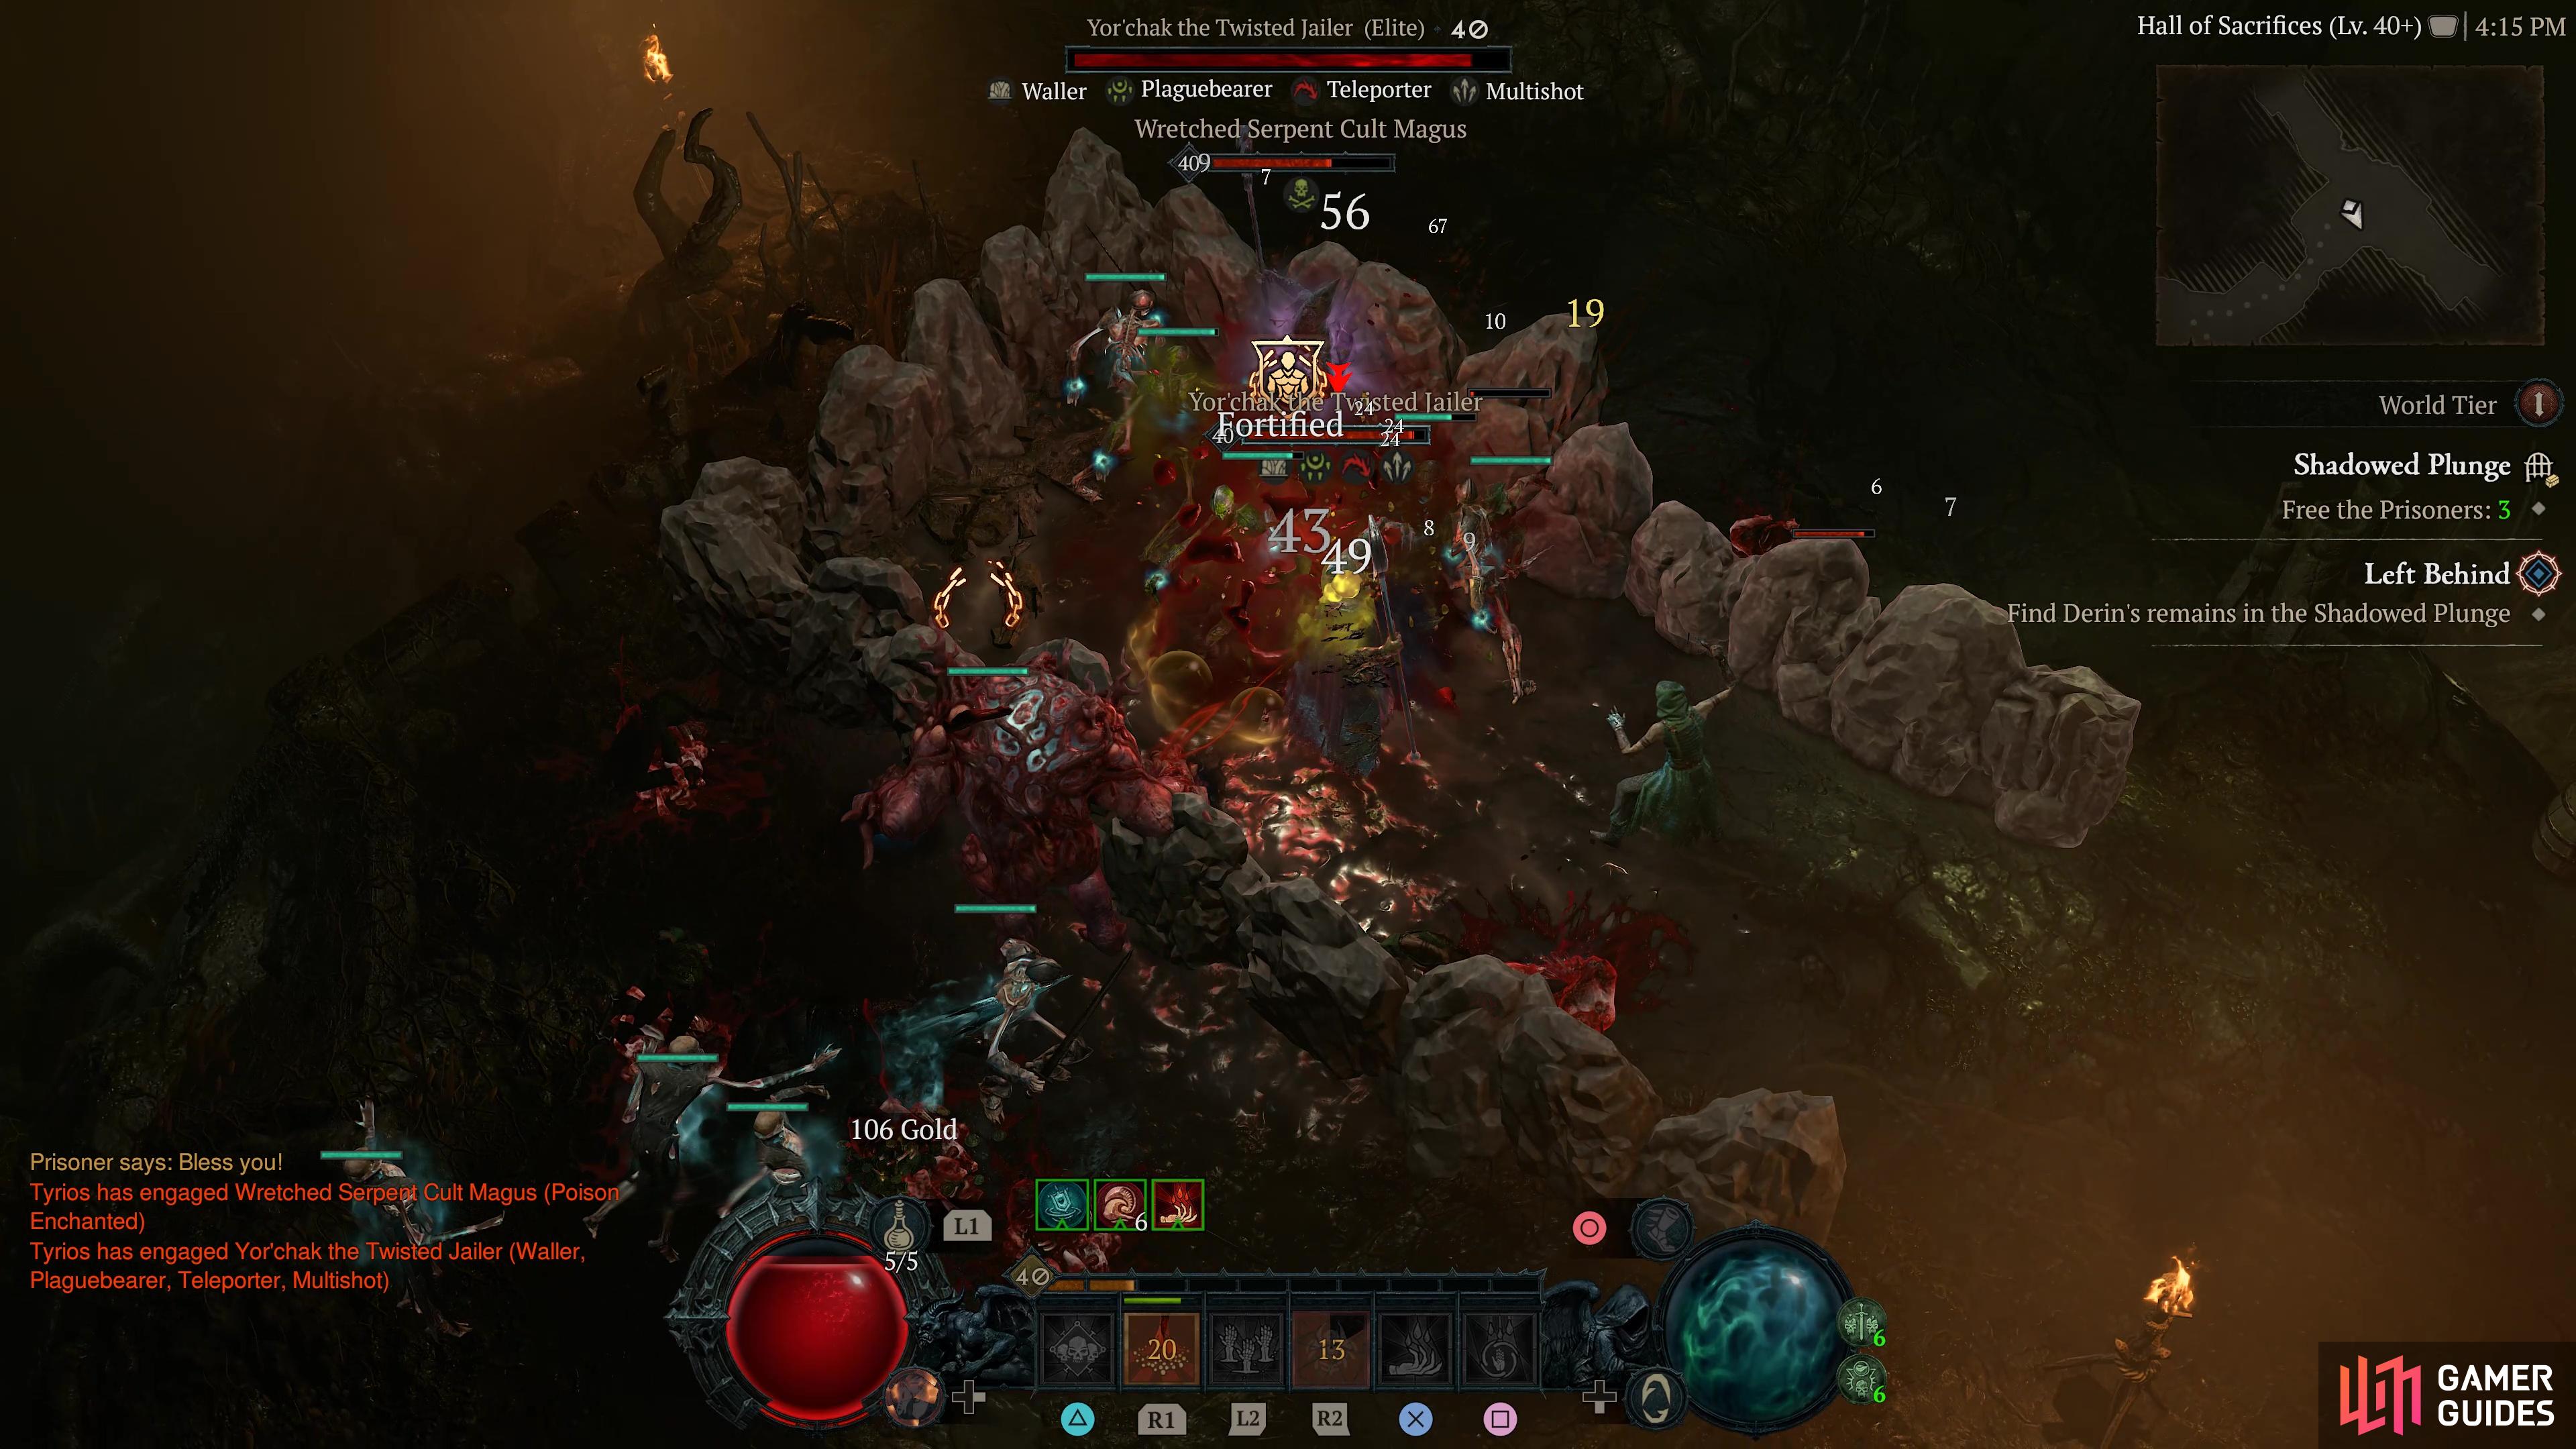
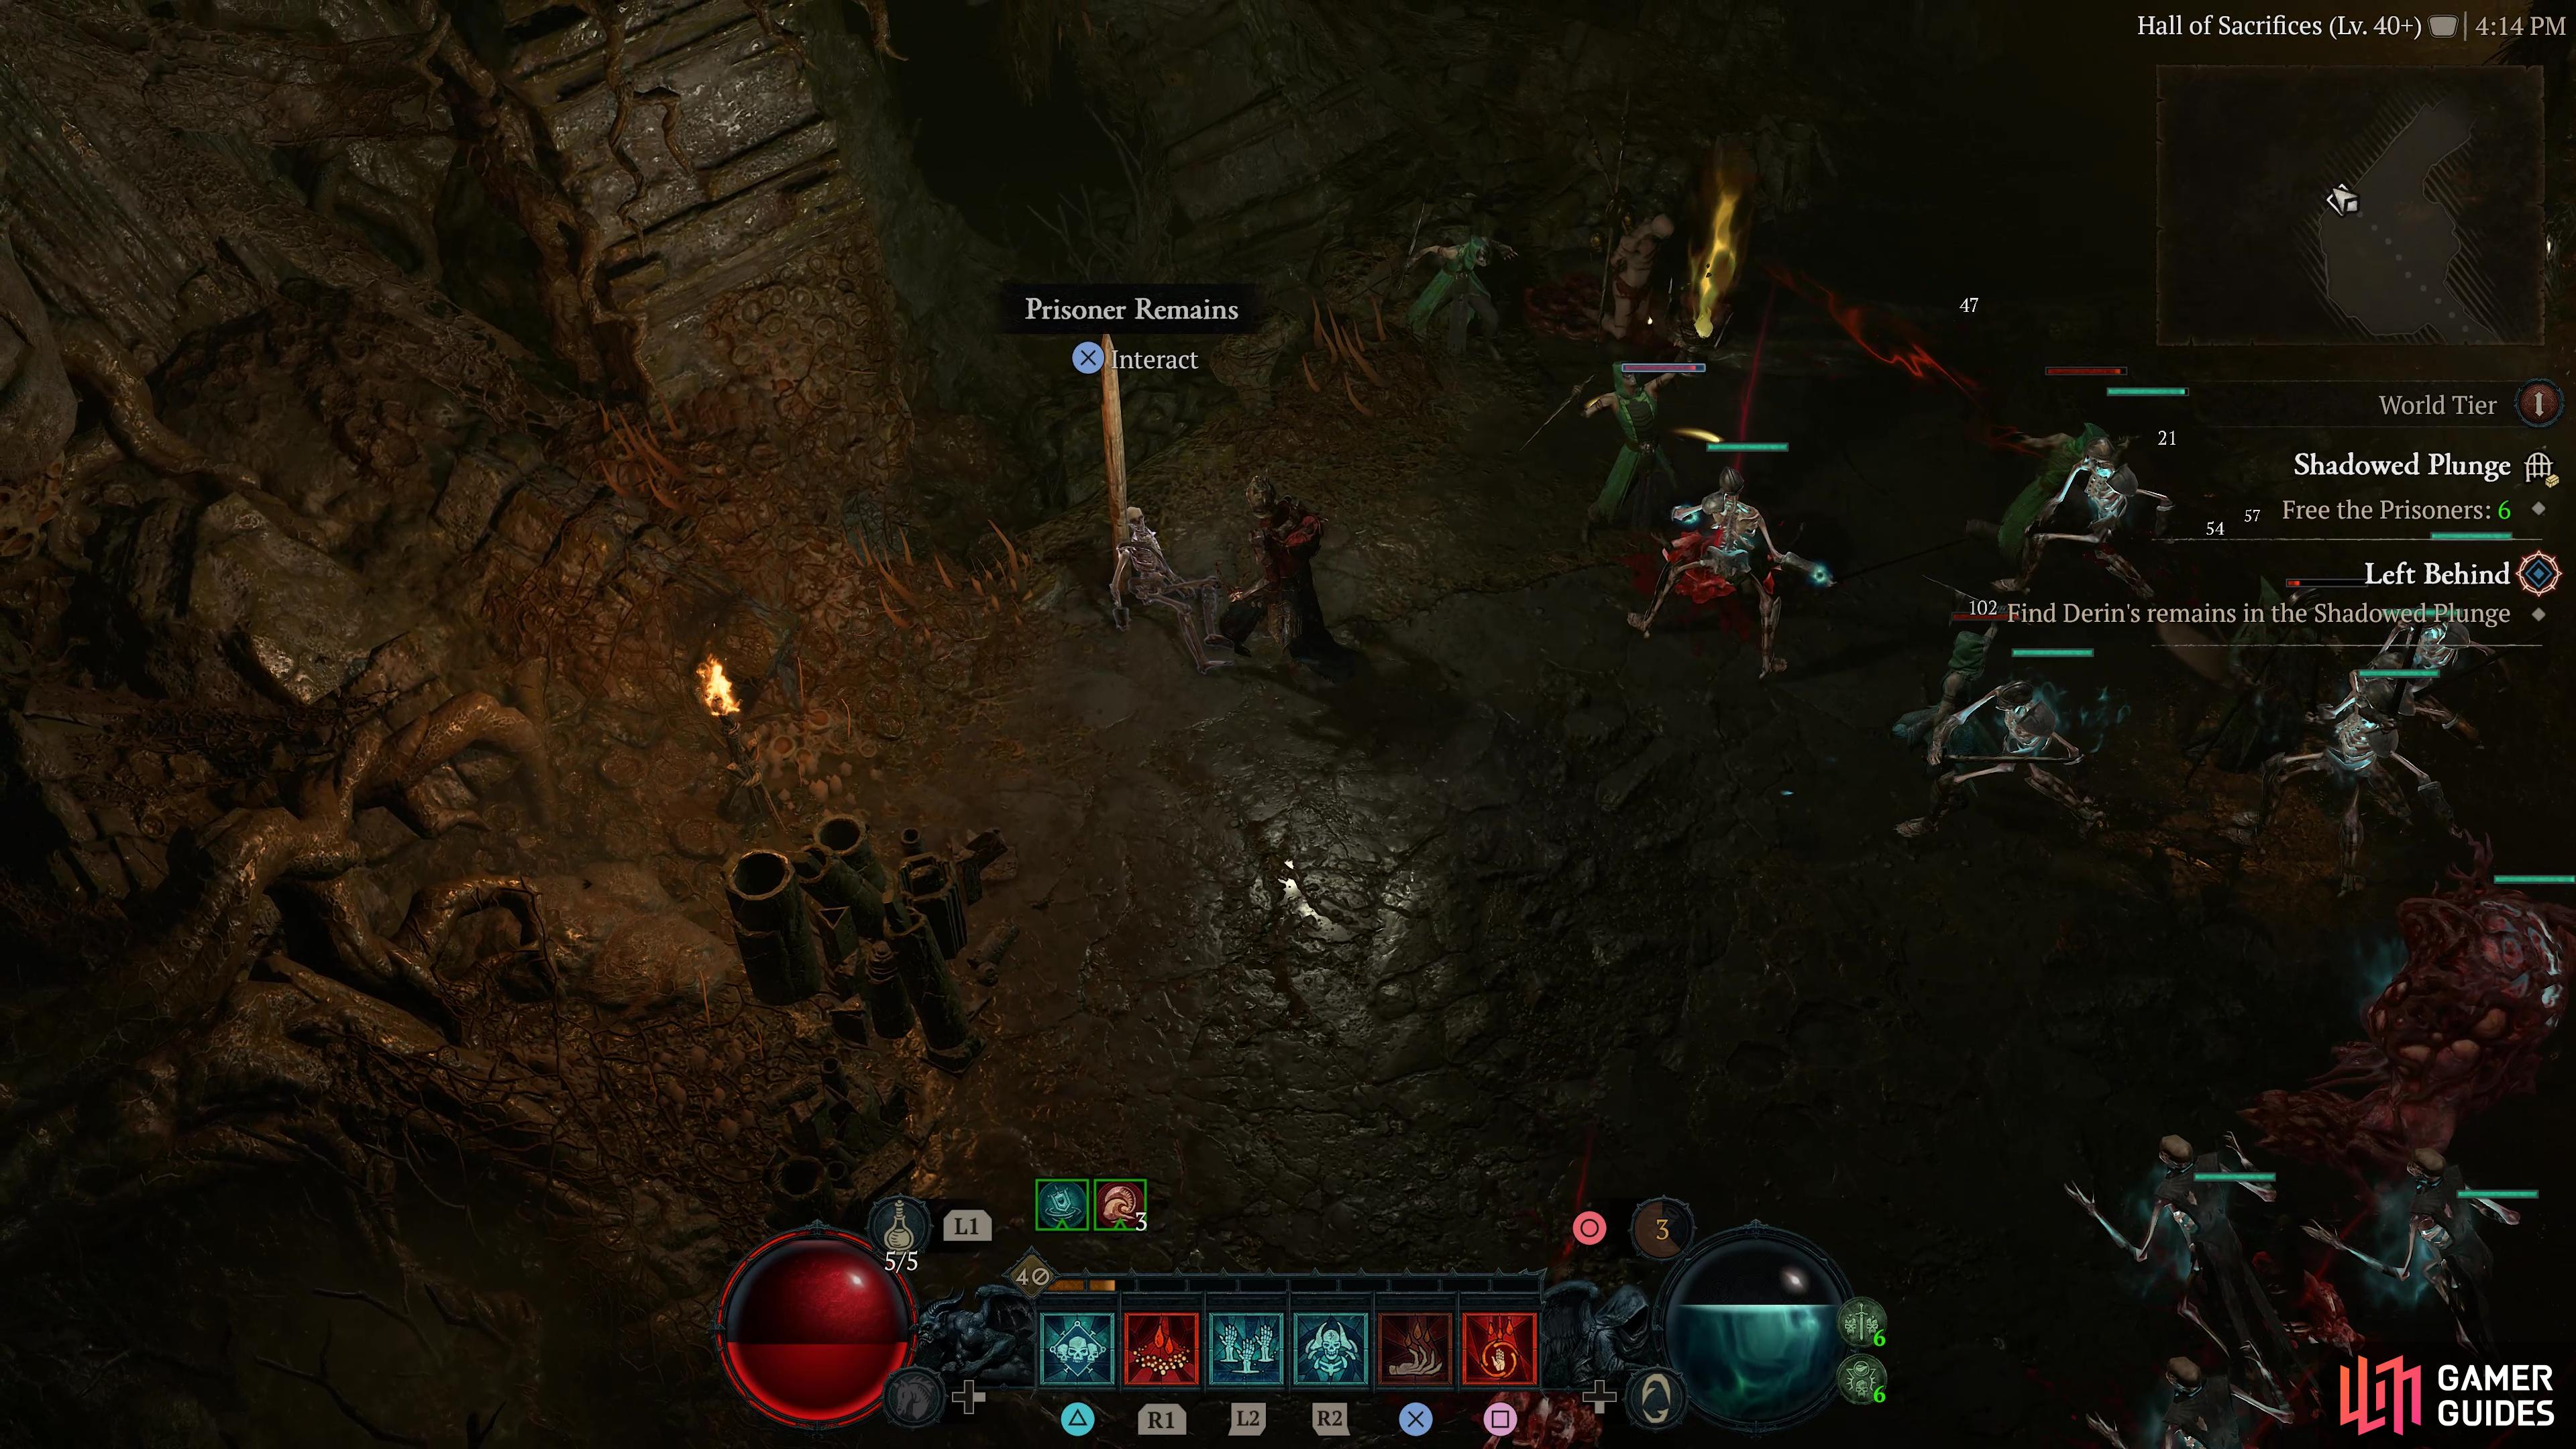
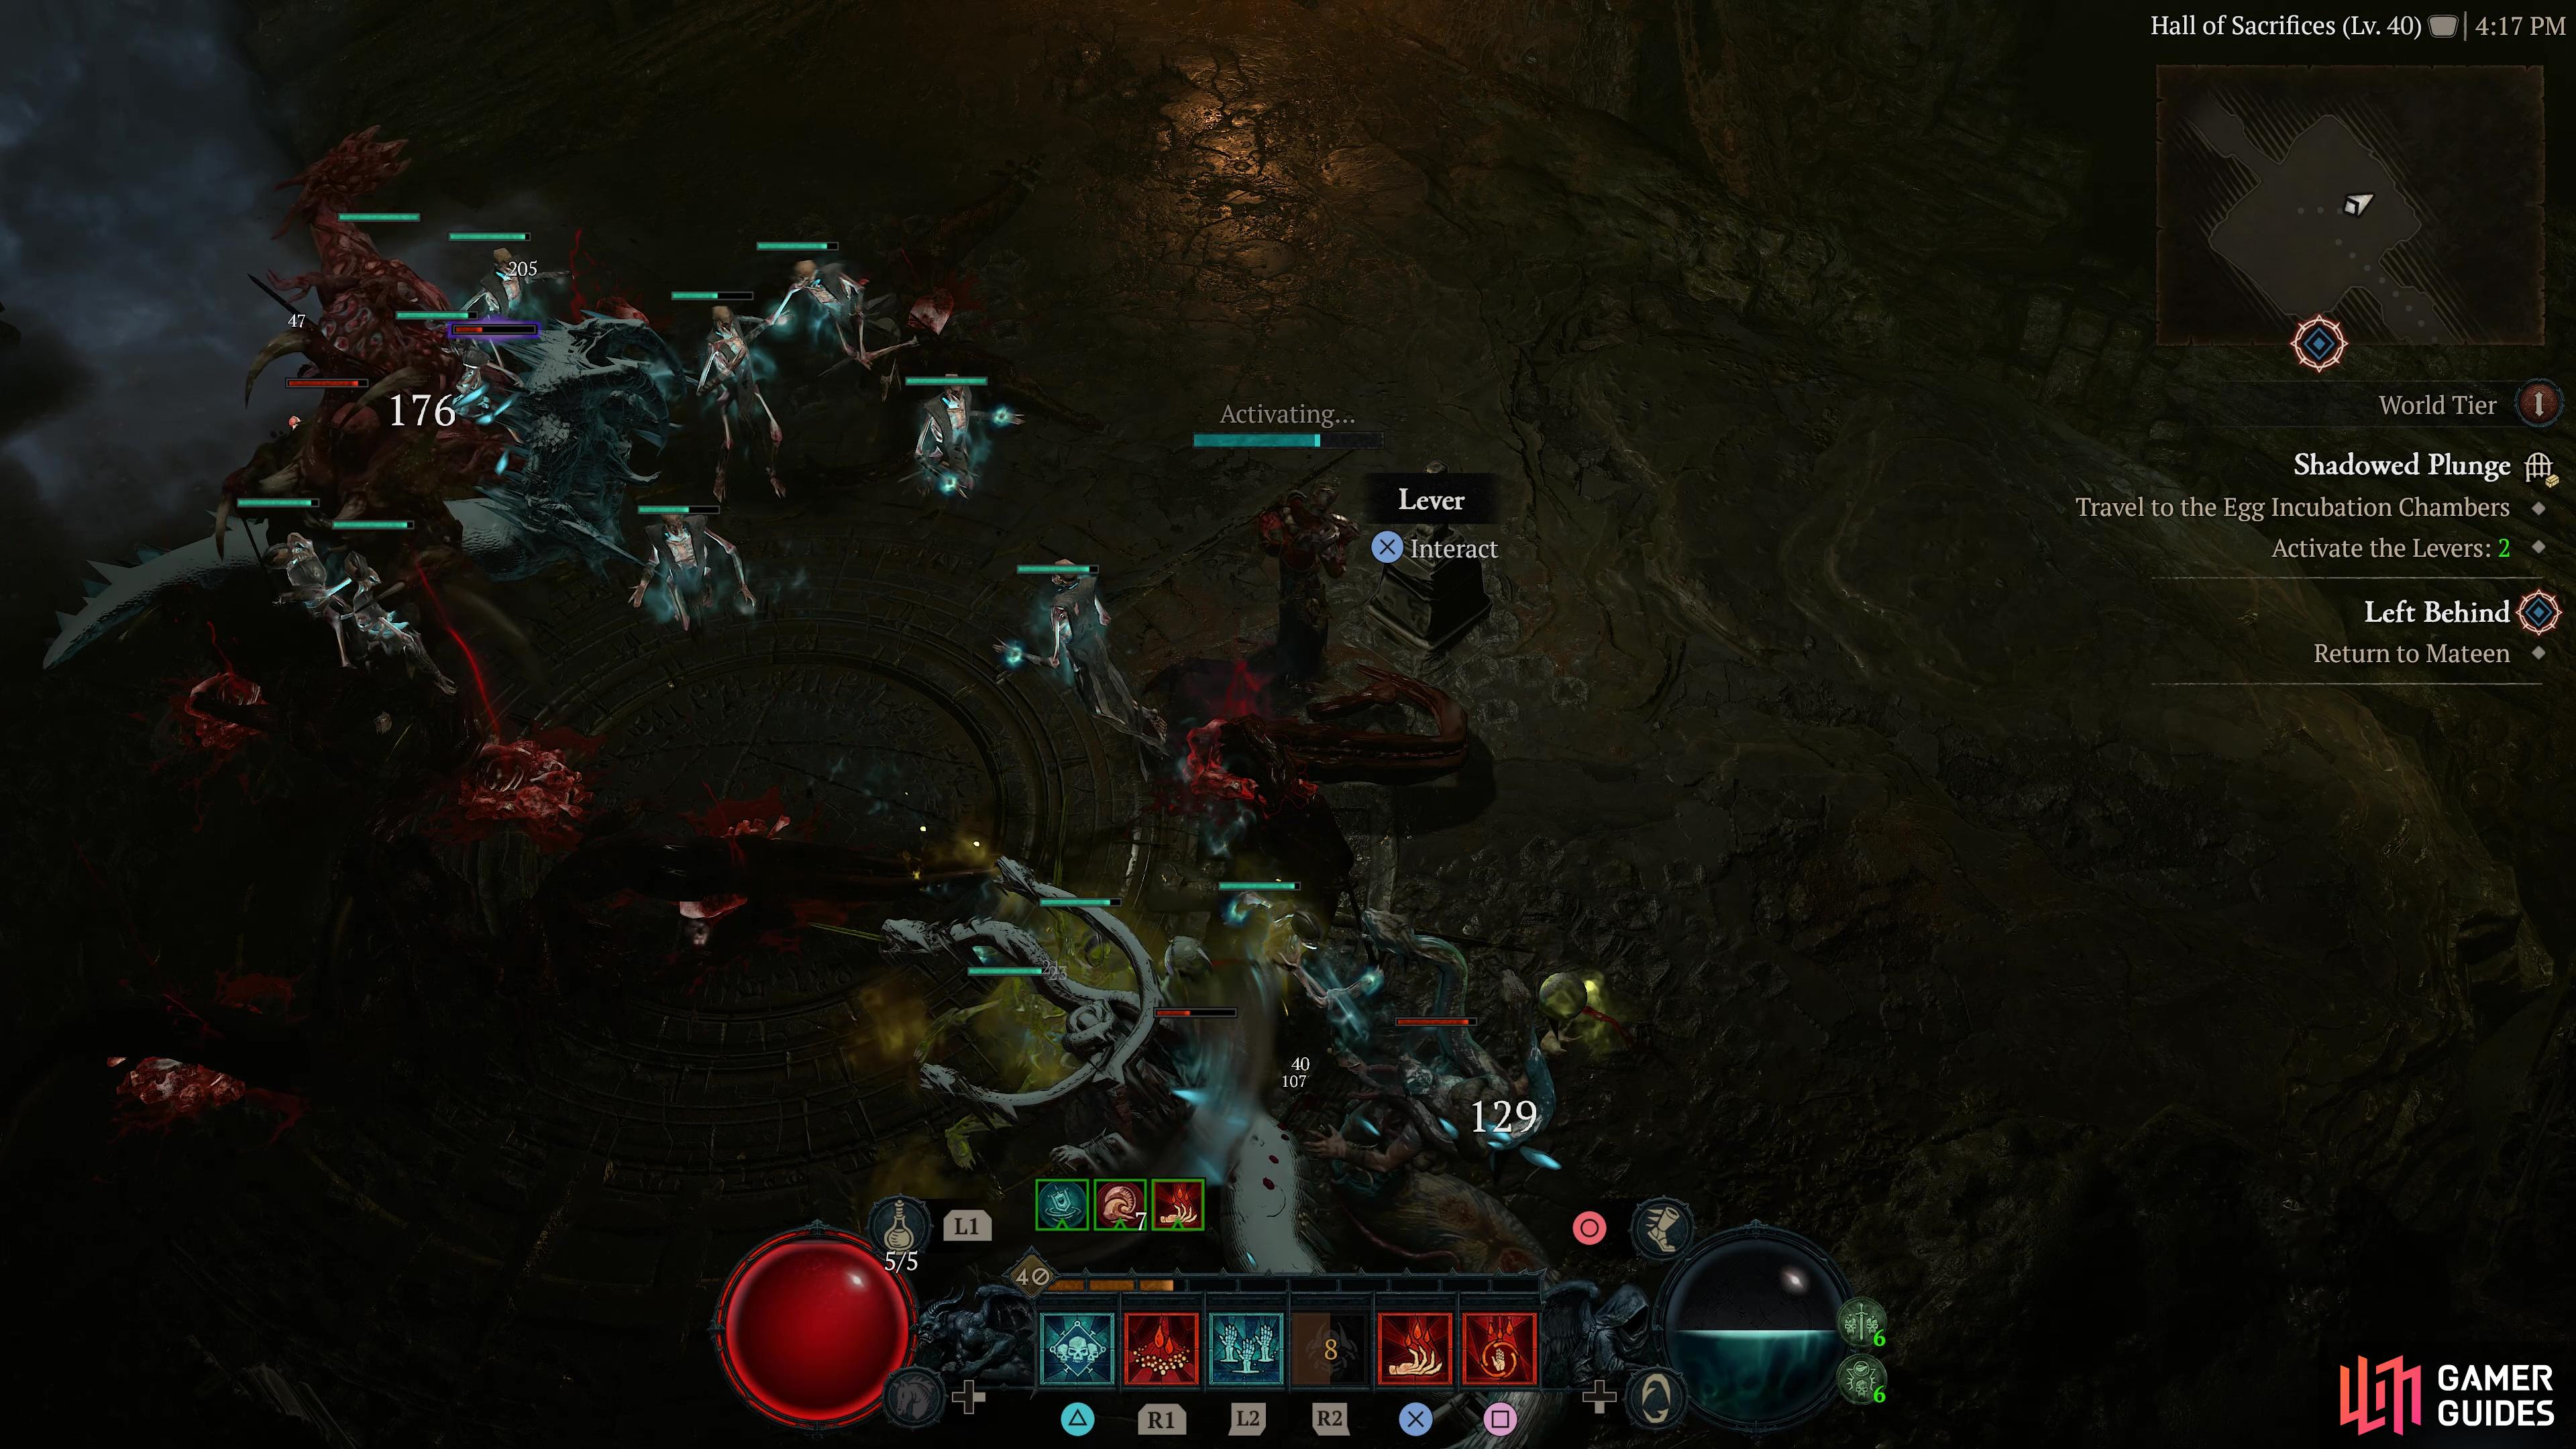
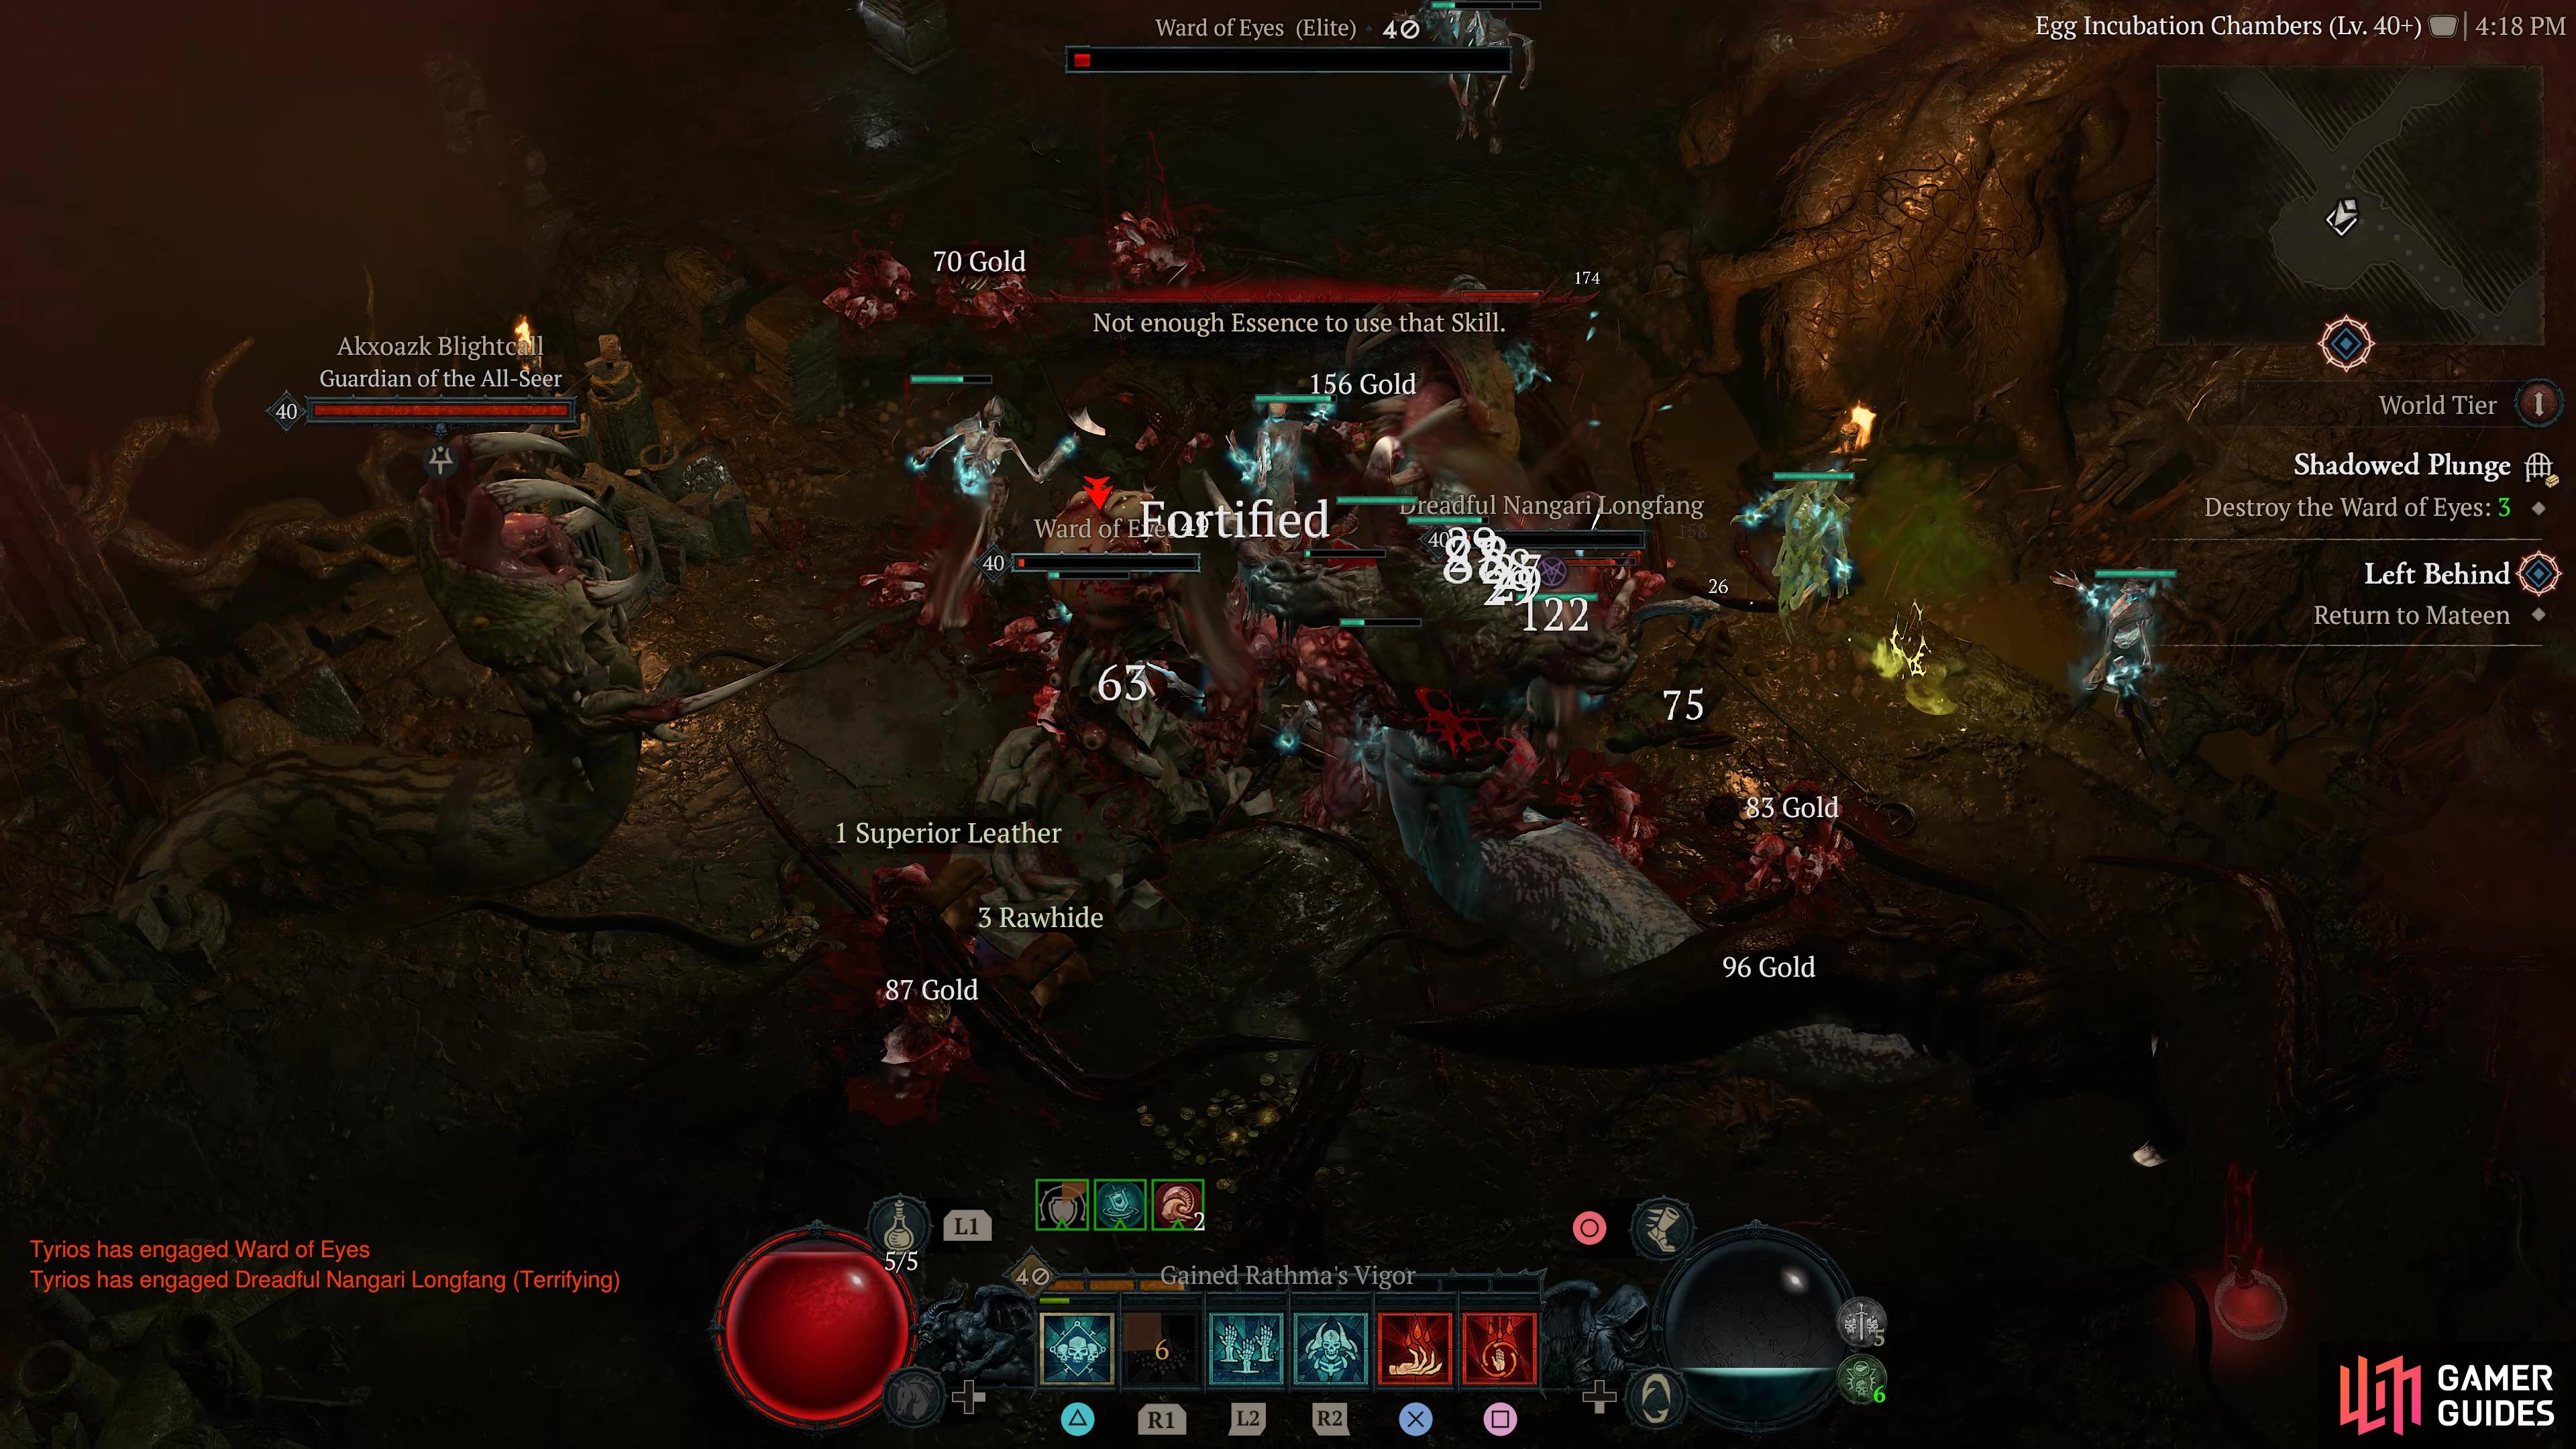
|
Shadowed Plunge |
Snake Cultists sacrifice the innocent.
Objectives
Description
Note: Only becomes available after conquering the
Enemies
1× Serpent Cult Magus
Cultists
1× Serpent Cultist
Cultists
1×
1×
1×
1× Nangari Spitter
Snakes
1×
1×
1×
Detailed Location
Related Quests
1×
Region
General Reward
XP, Gold, +30 Hawezar Renown
Item Reward
1×
|

|
|||||||||||||||||||||||||||||||||||||||||||||||||||||||||||||||||||||||||||||||||||||||||||||||

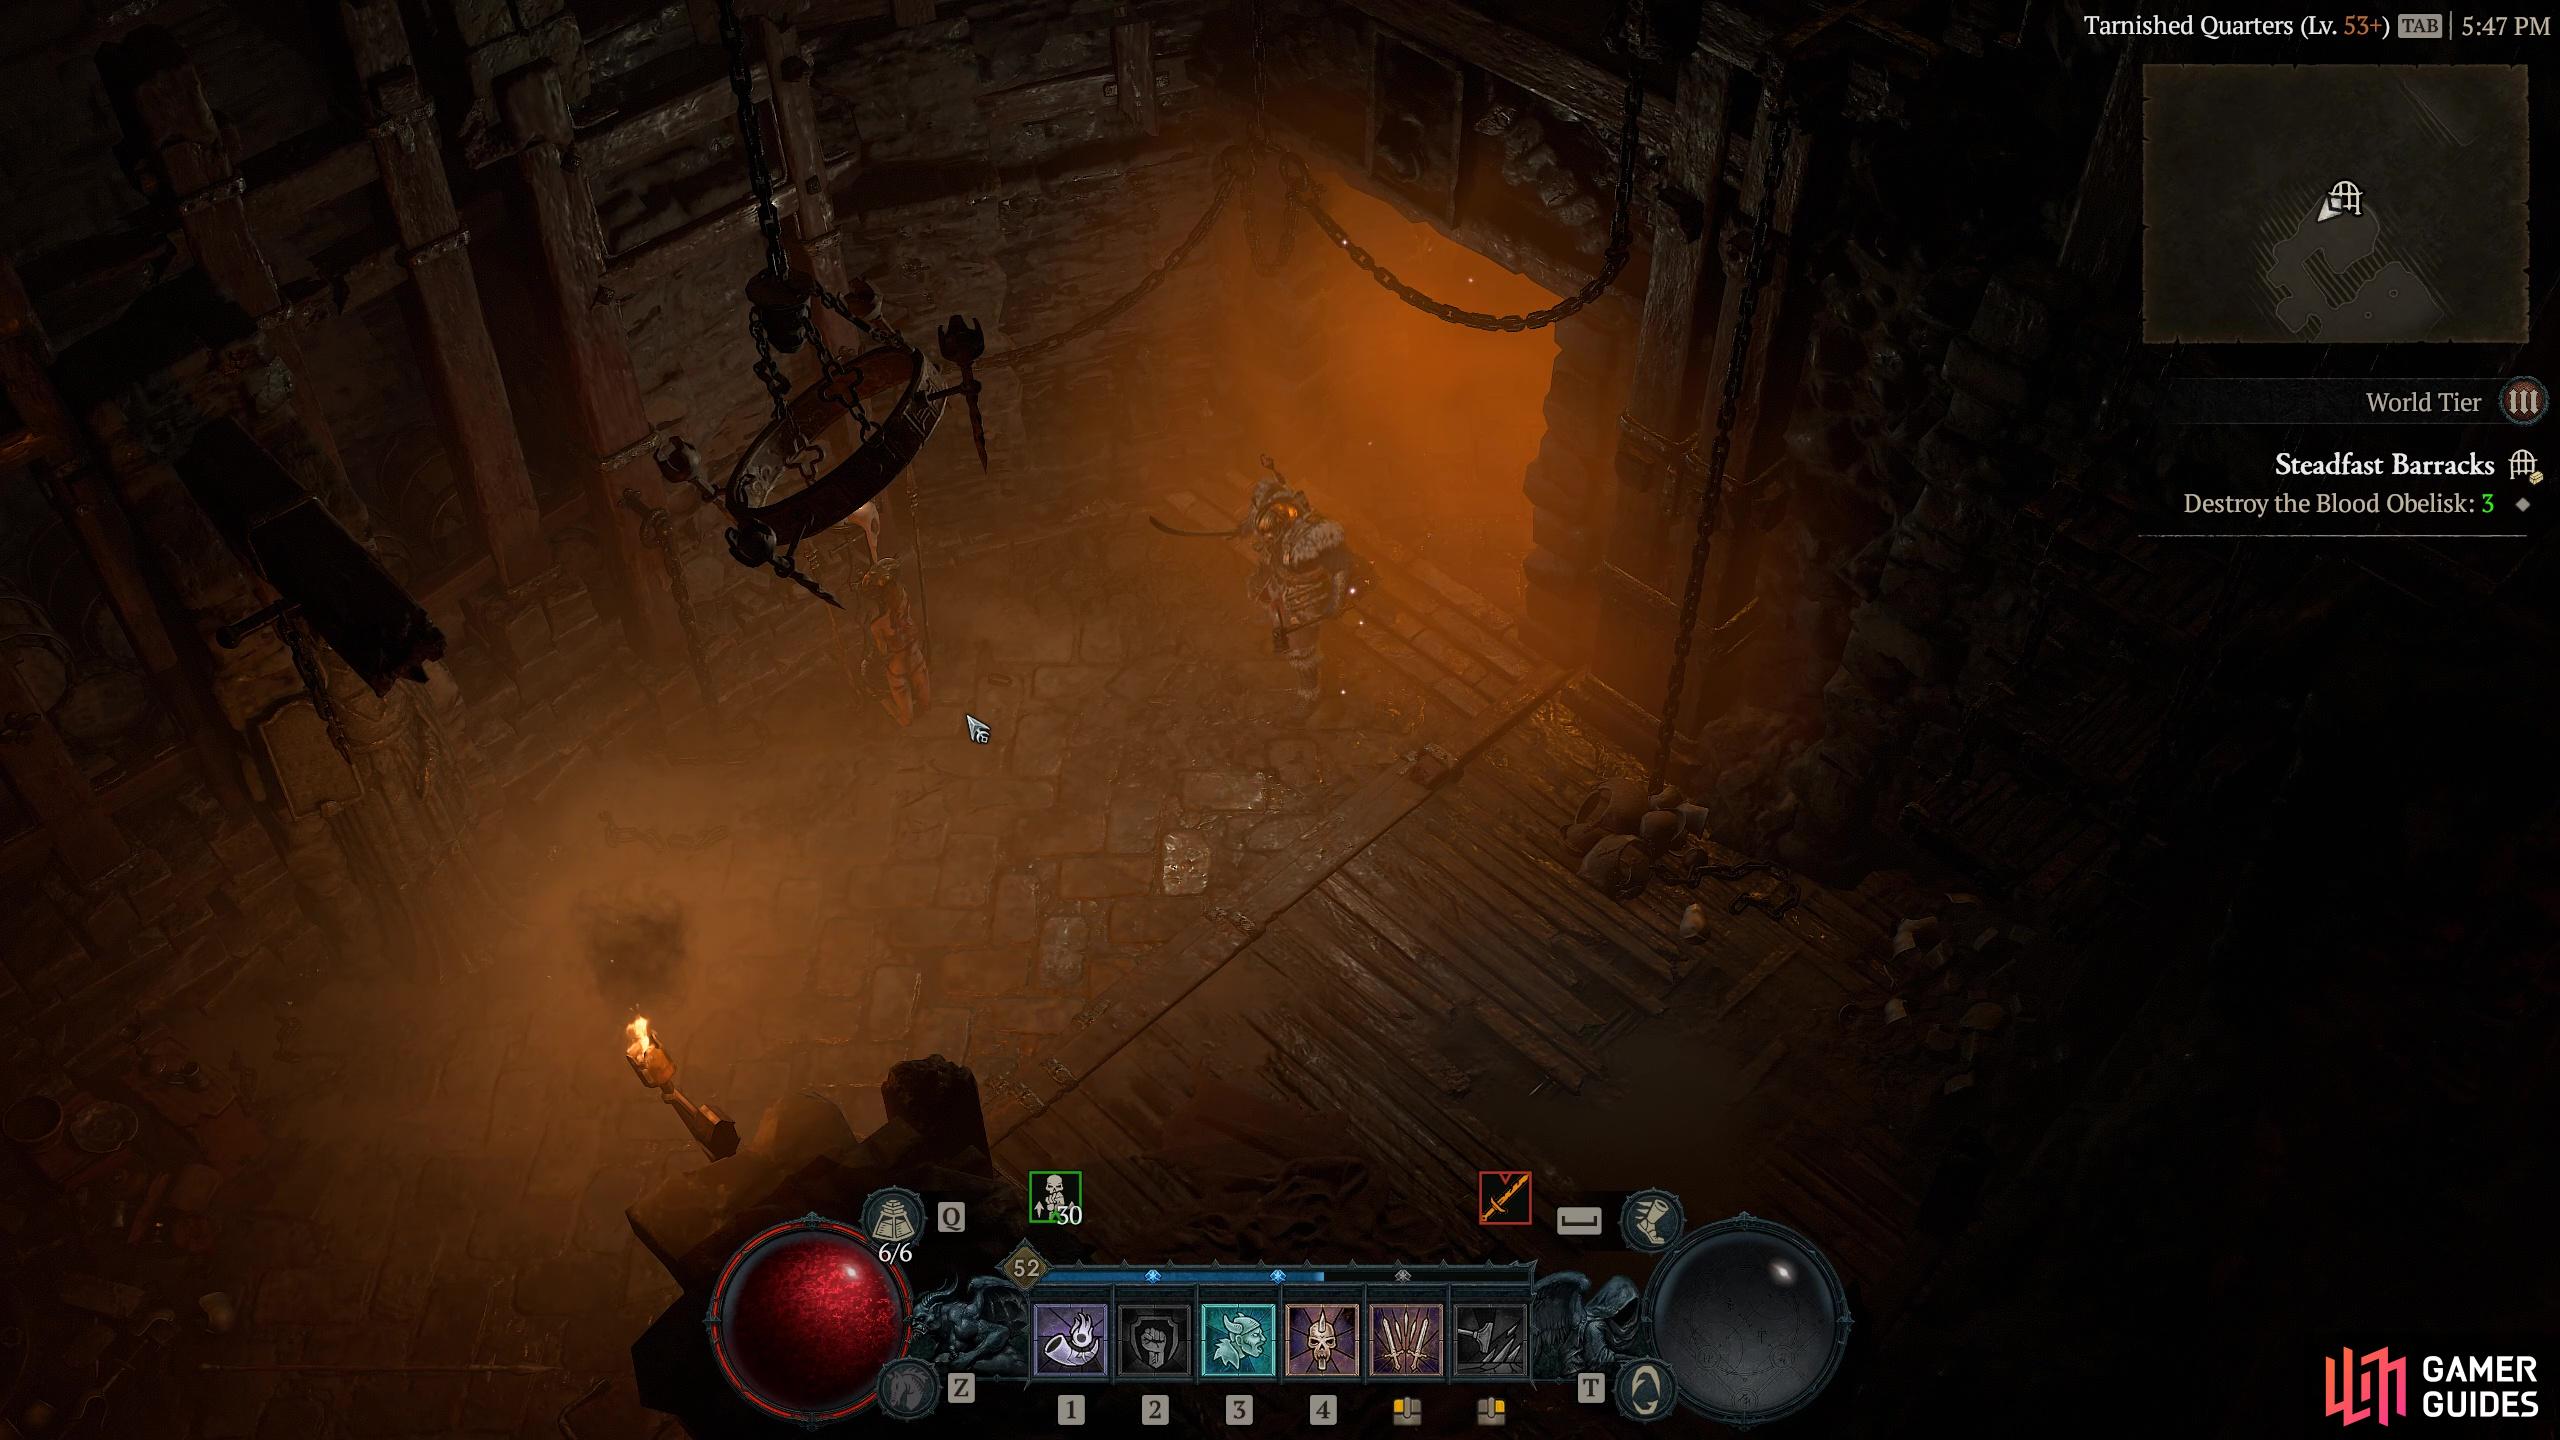
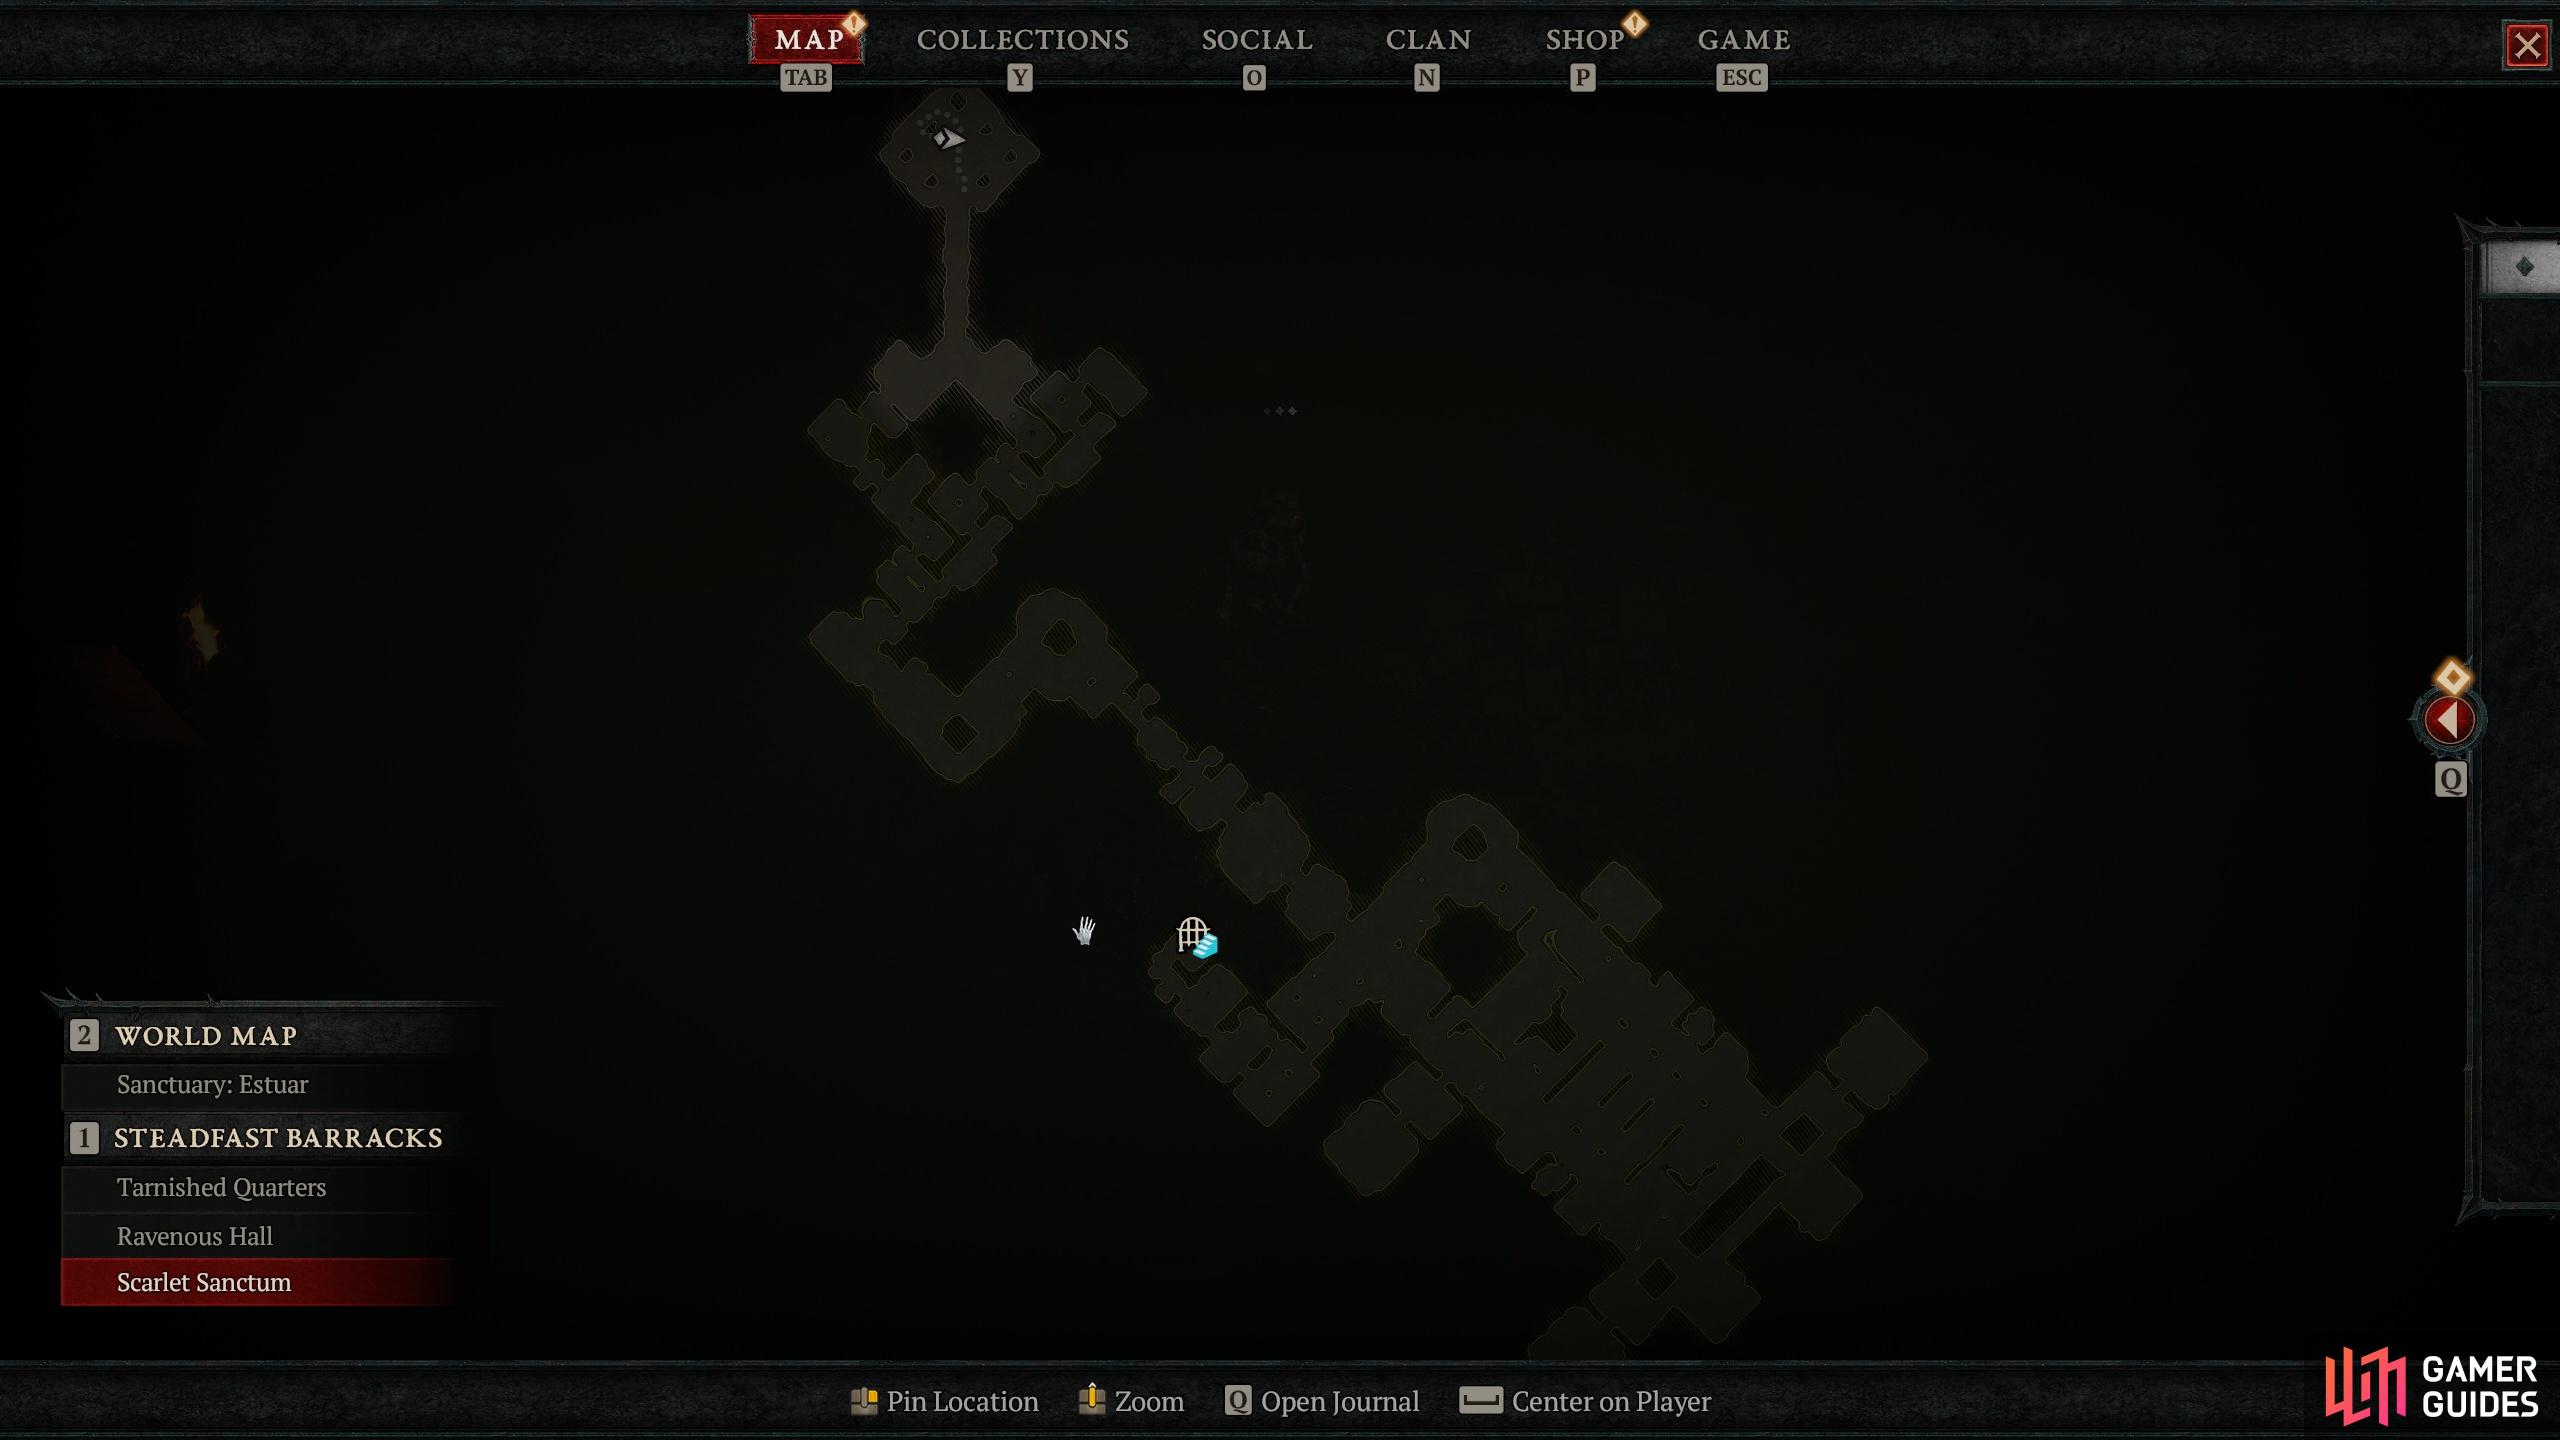
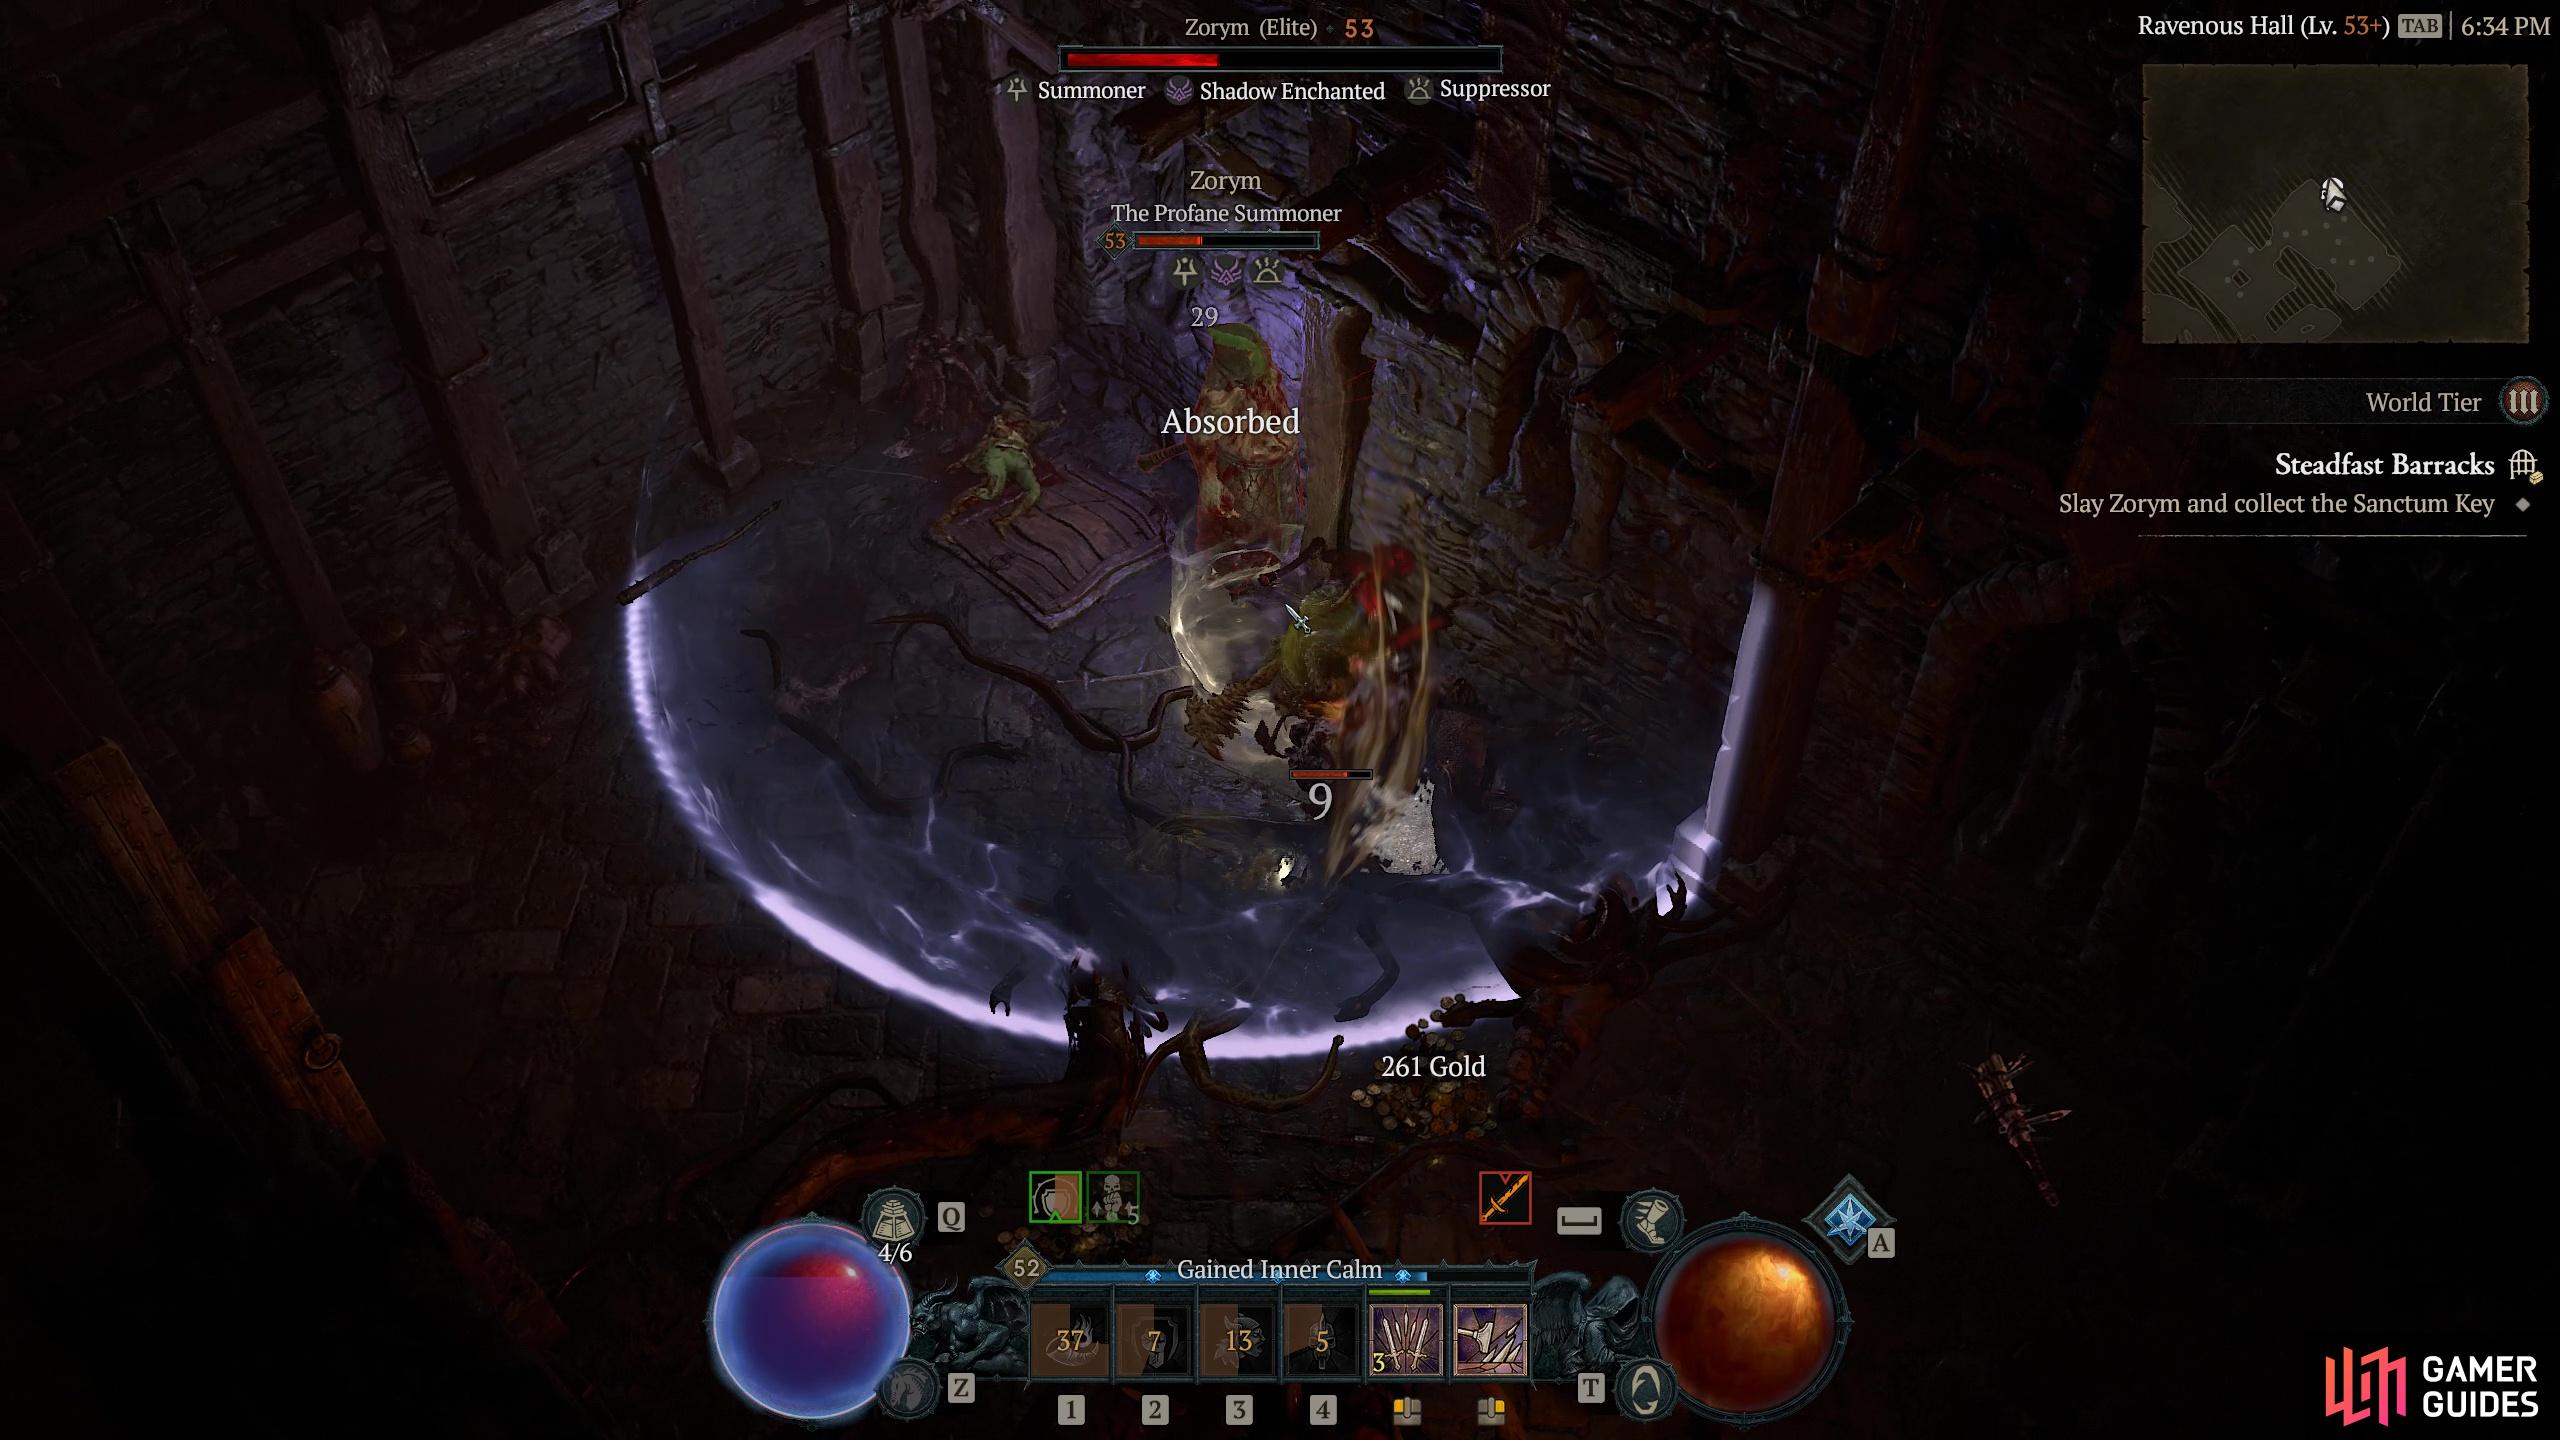
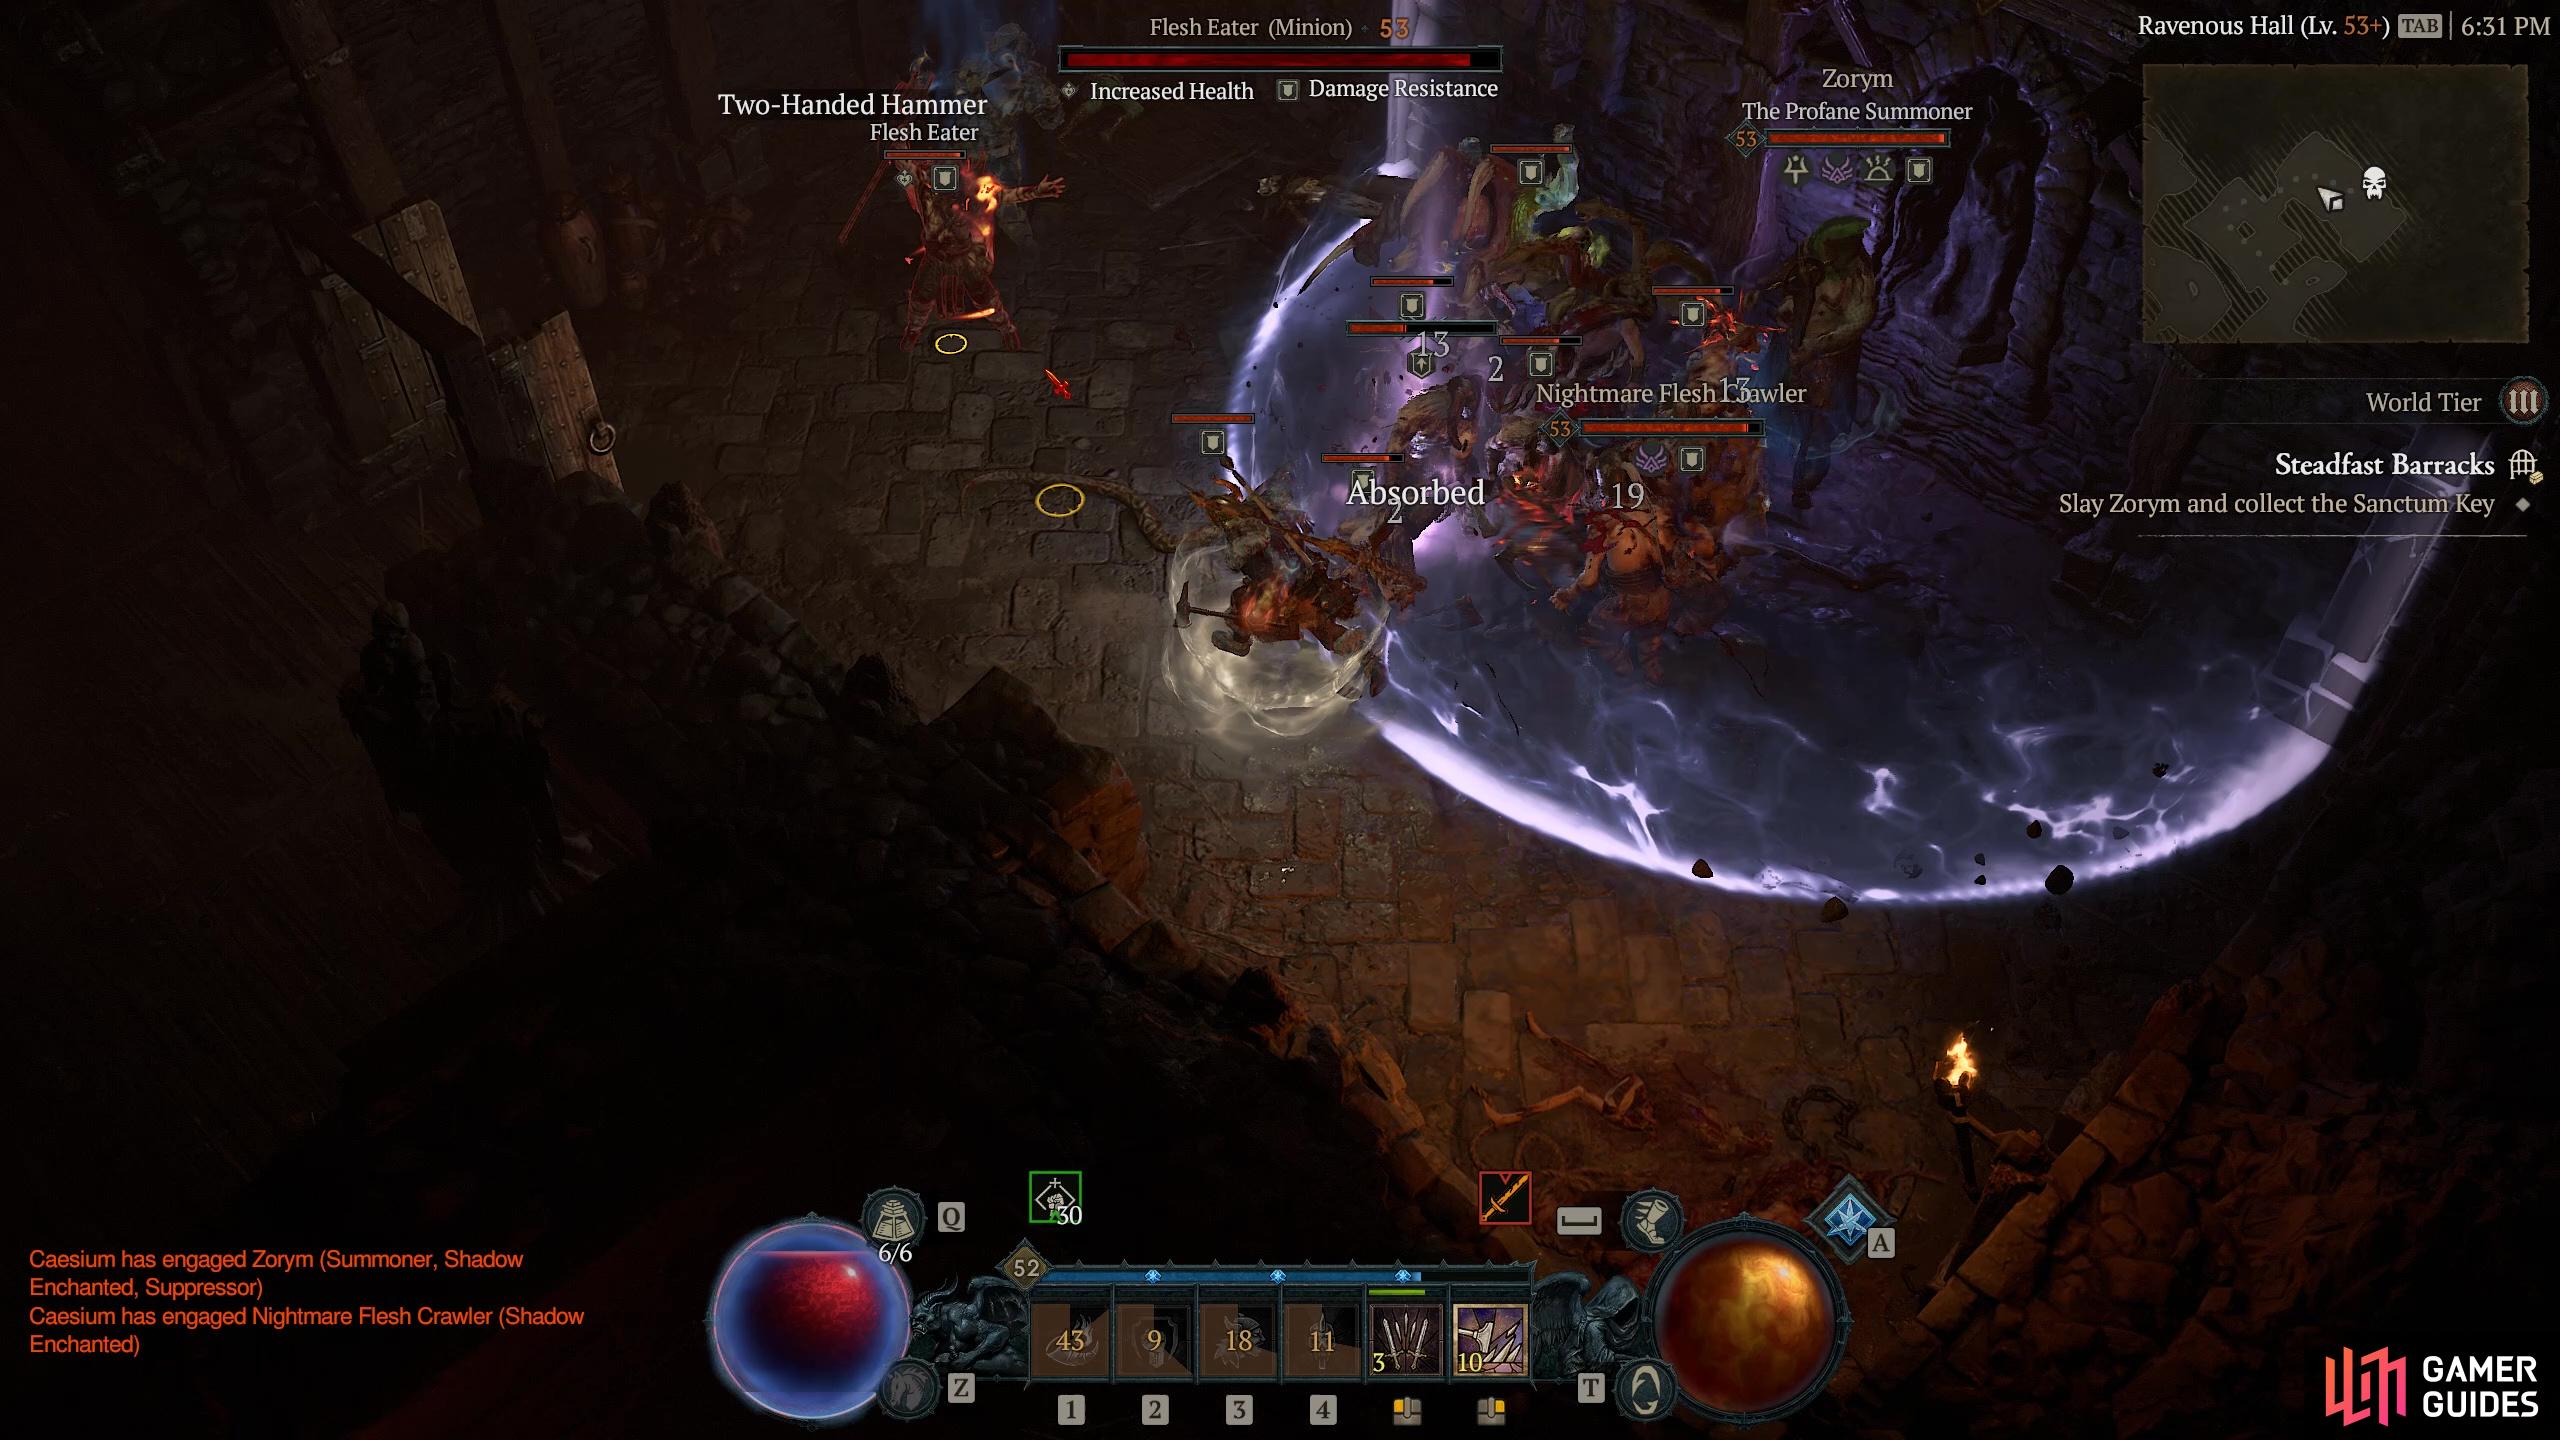
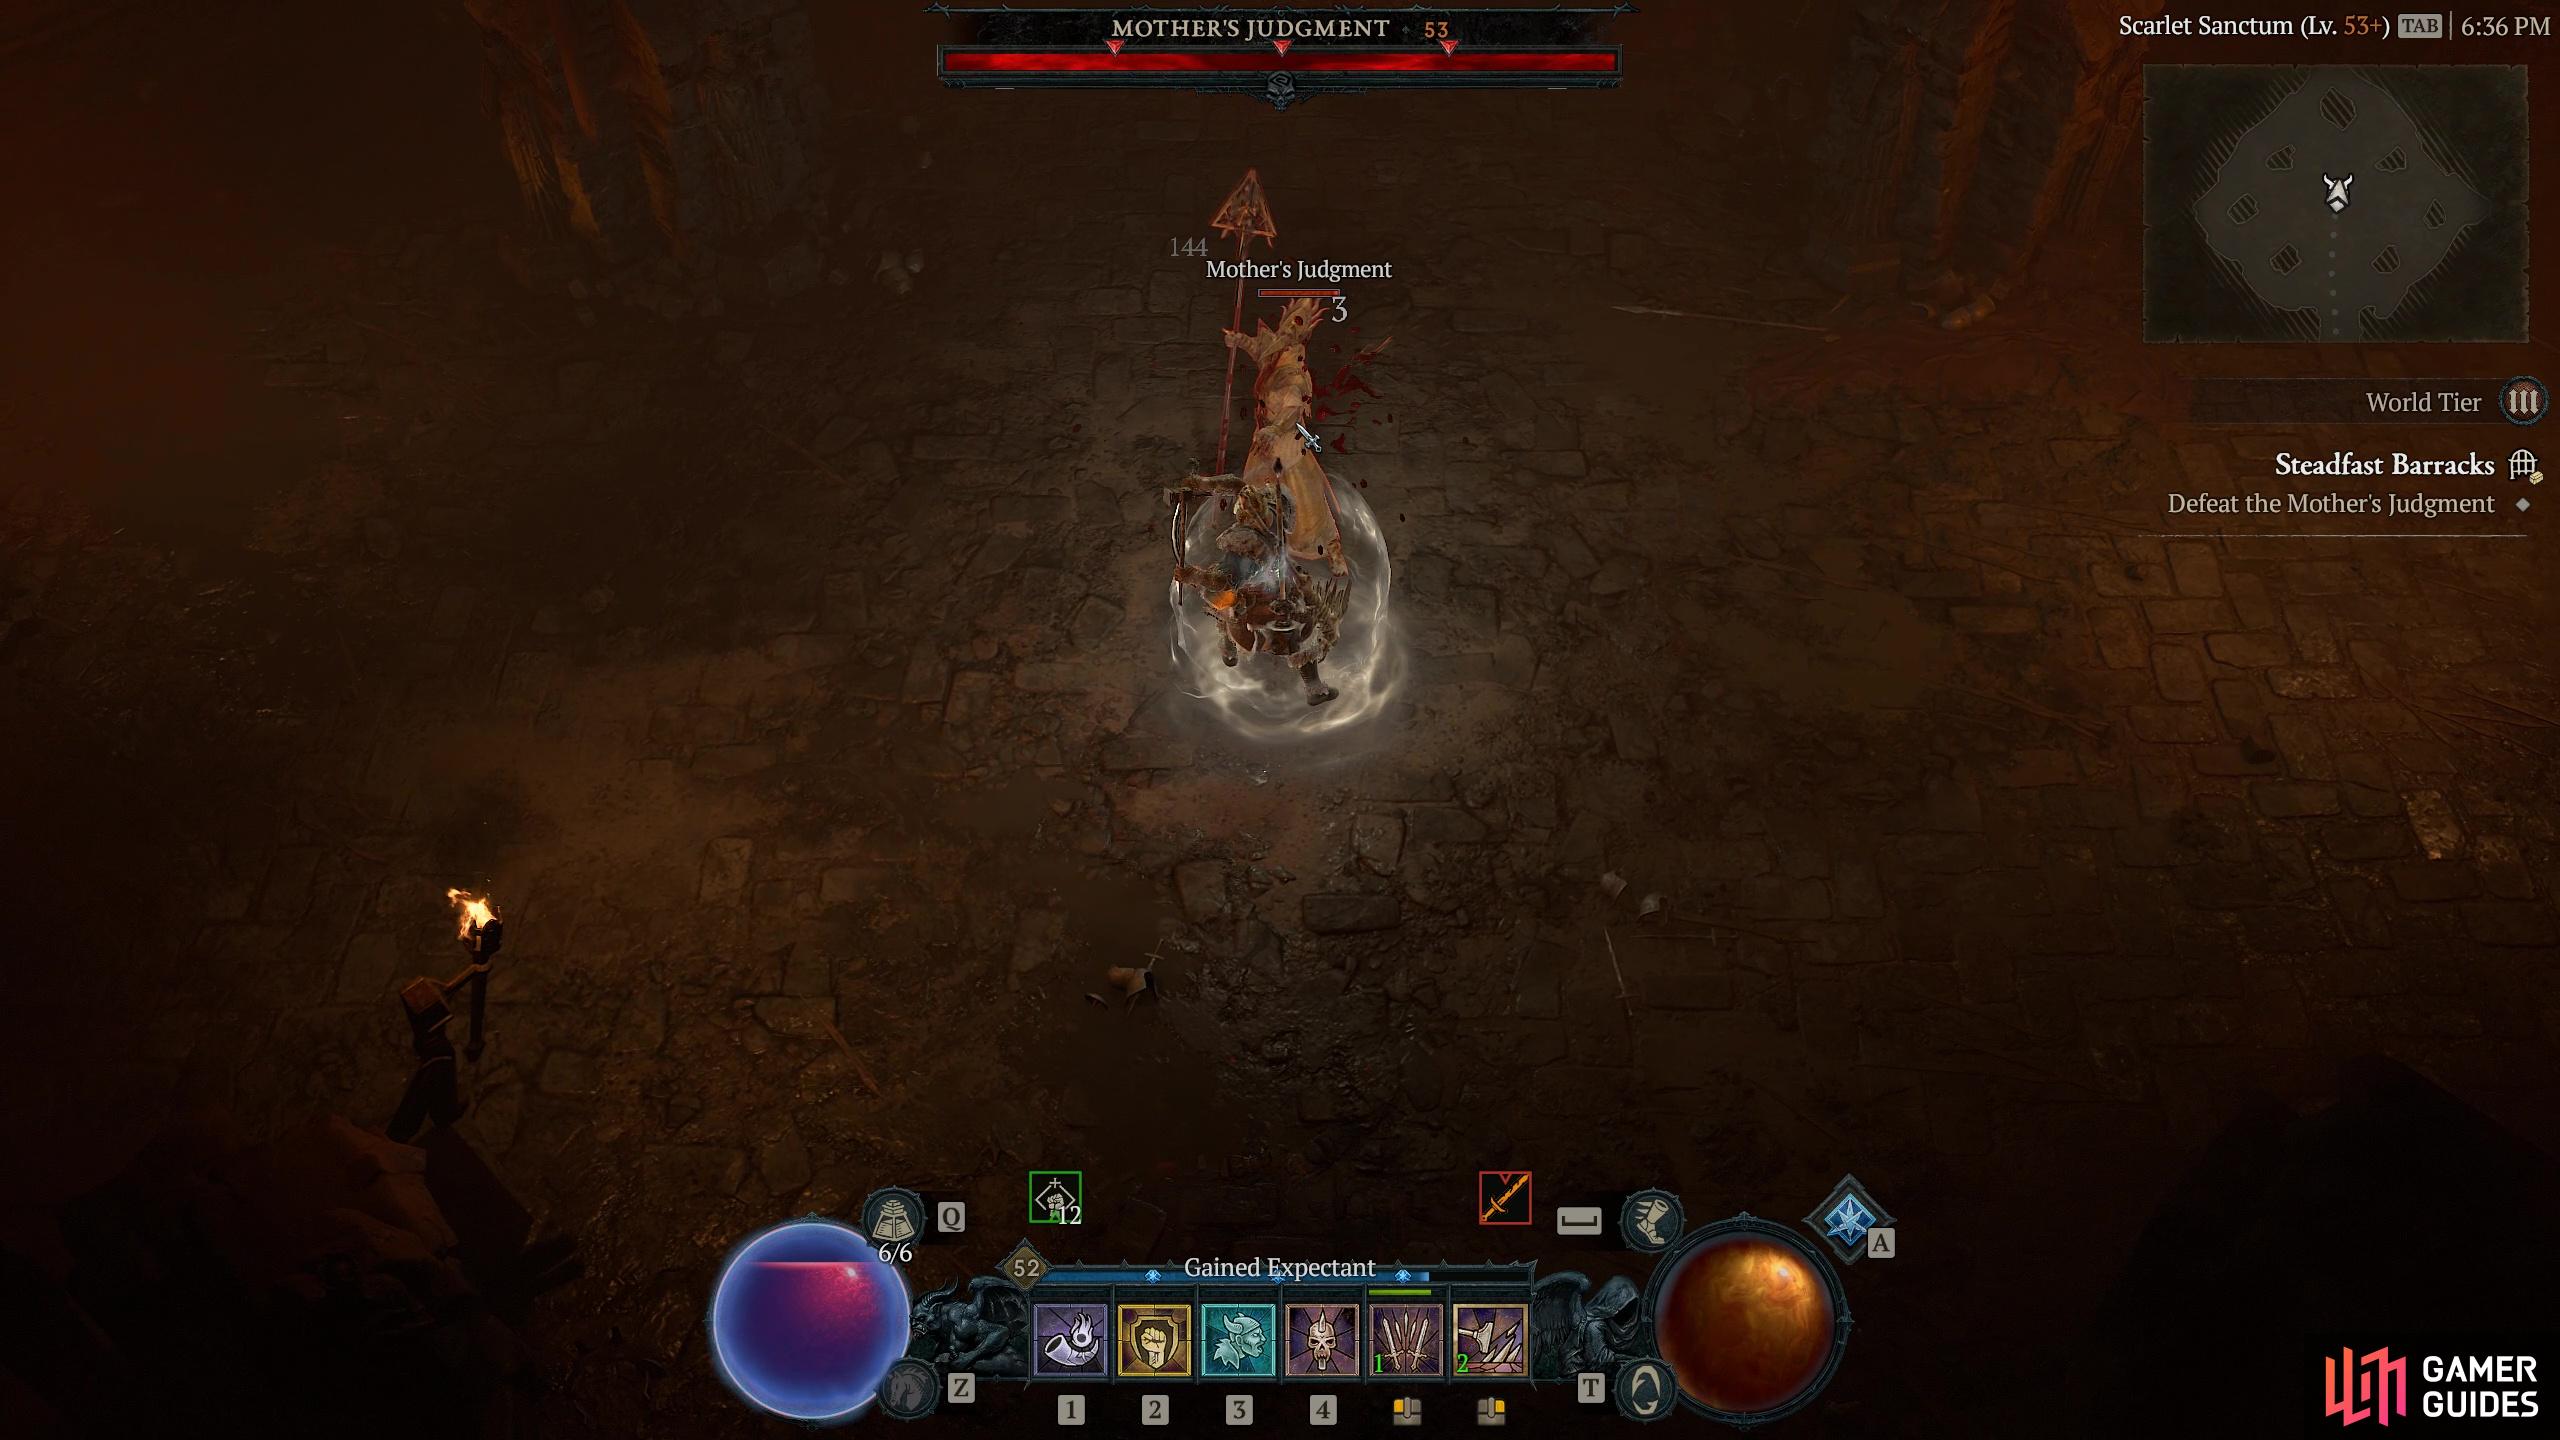
|
Steadfast Barracks |
A nest of savage fanatics, drawn to evil long-buried.
Objectives
Description
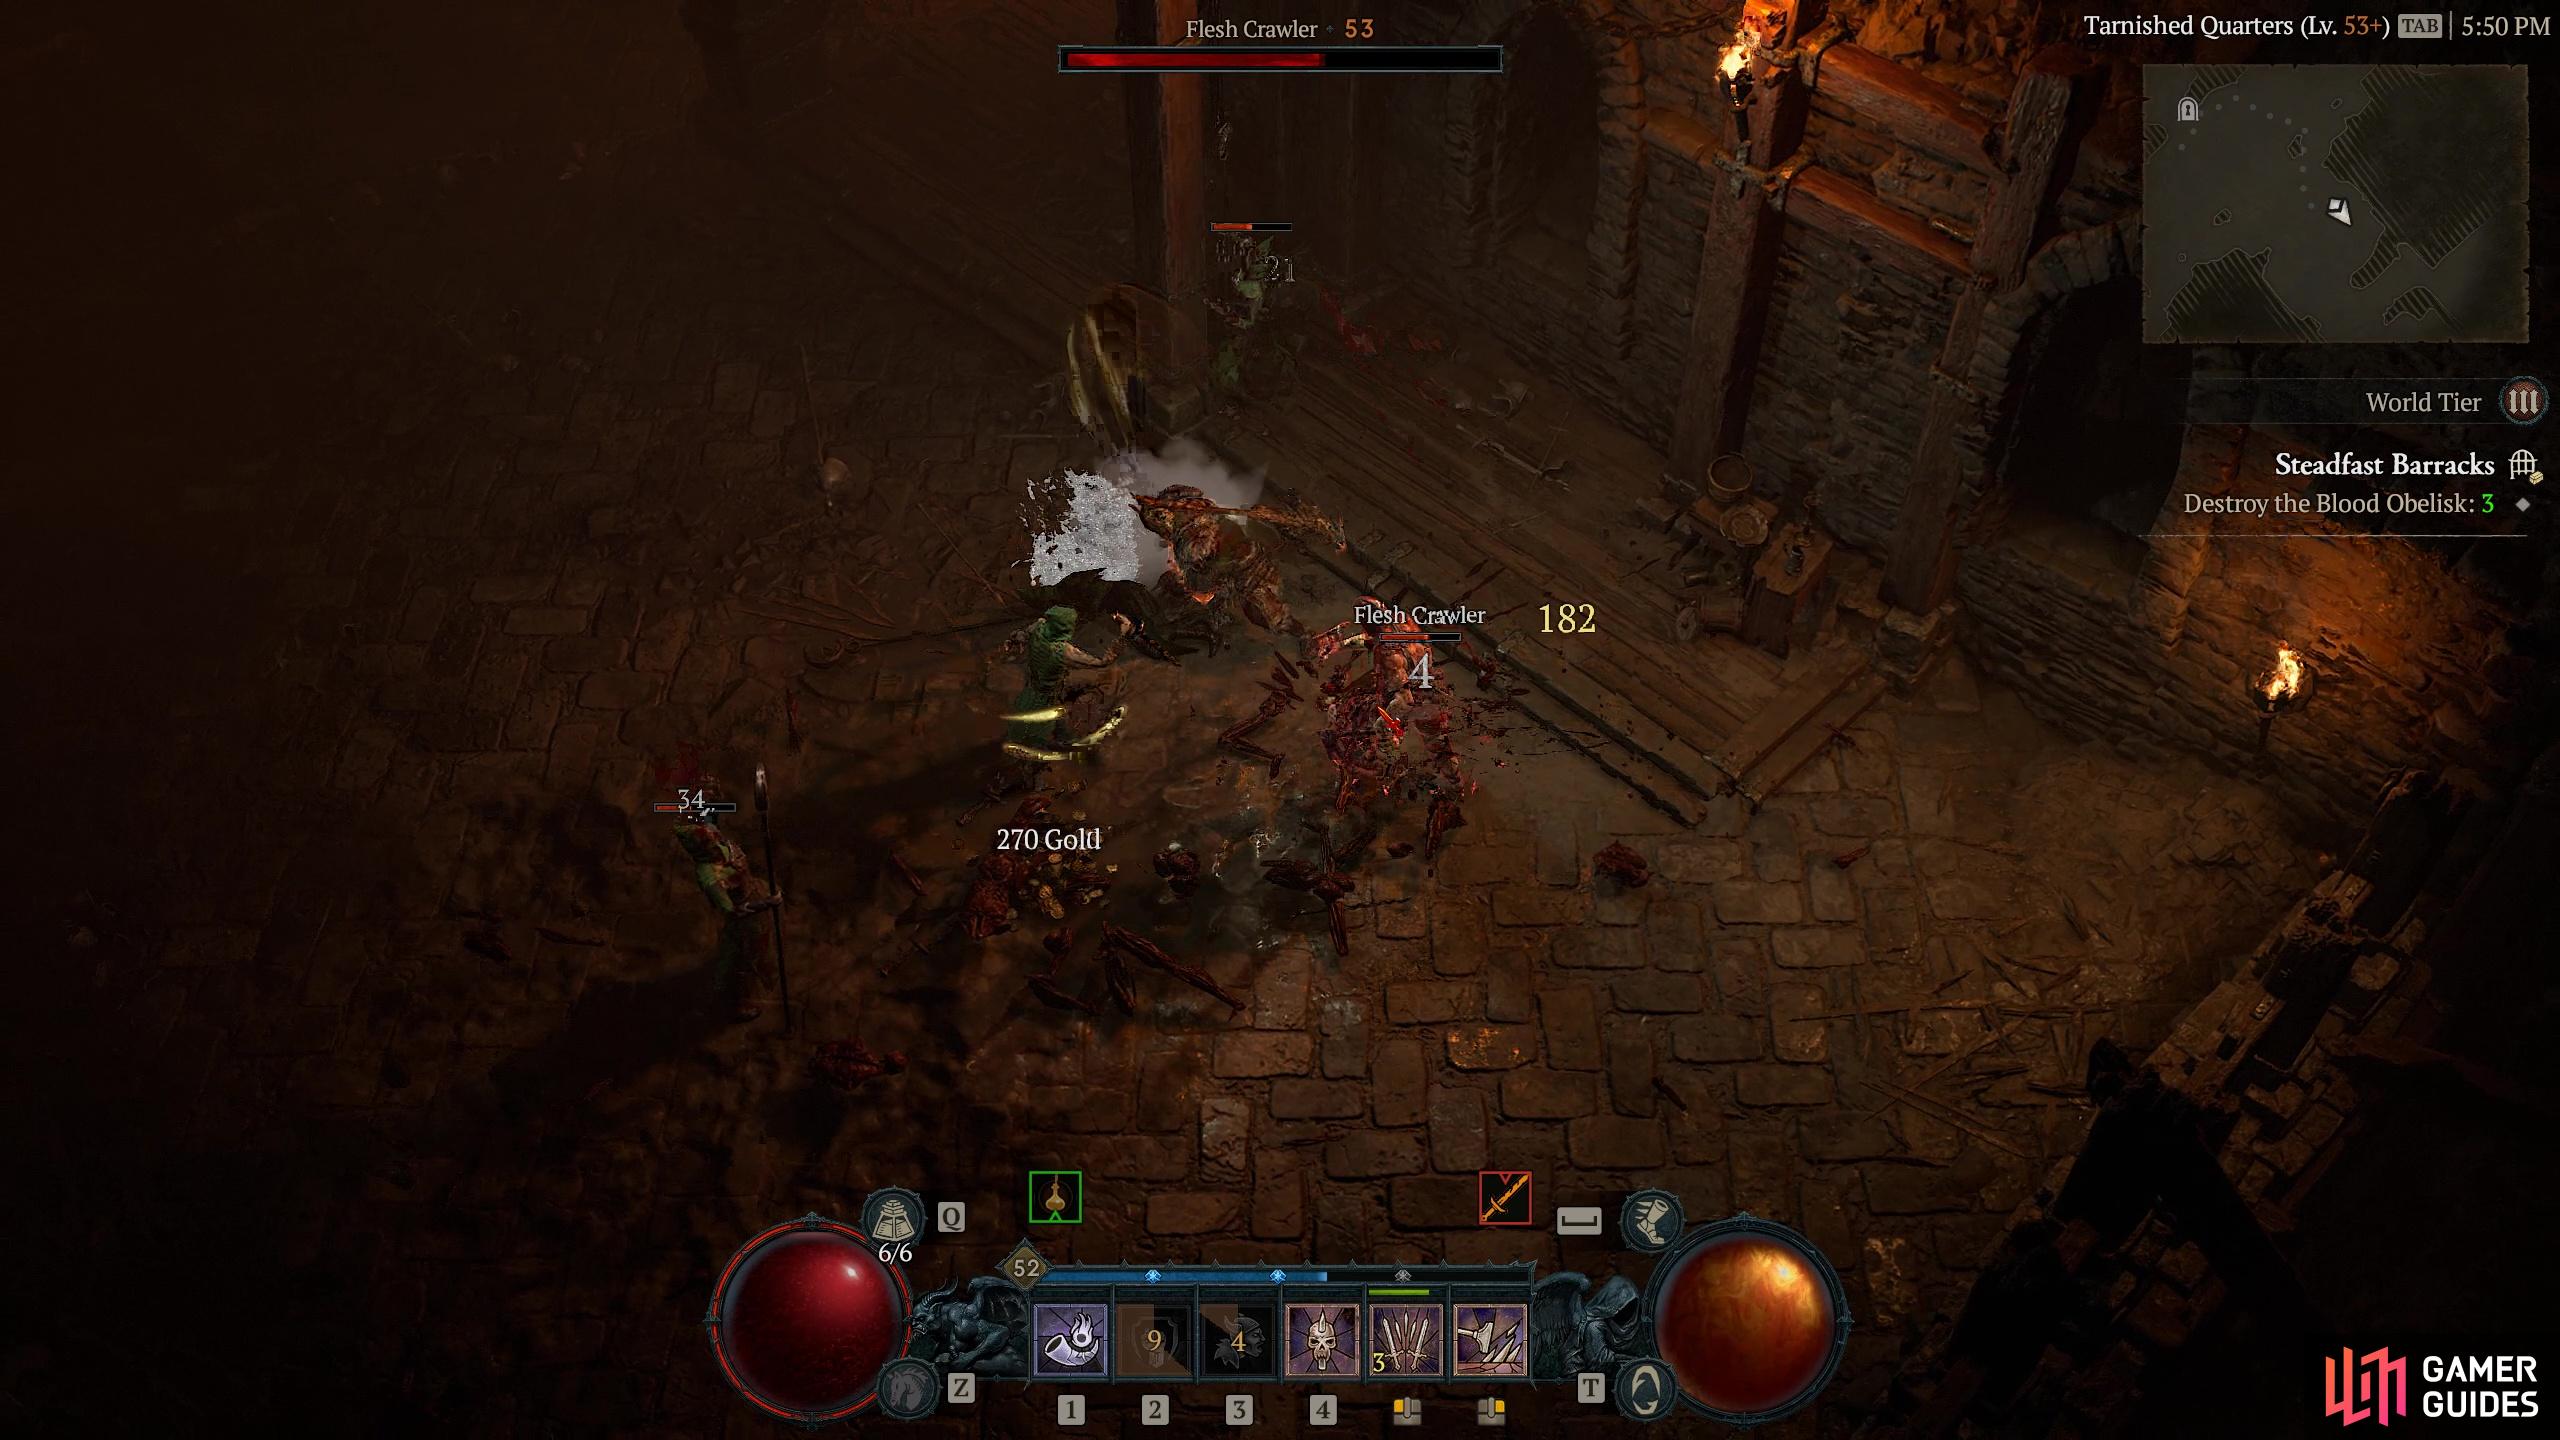
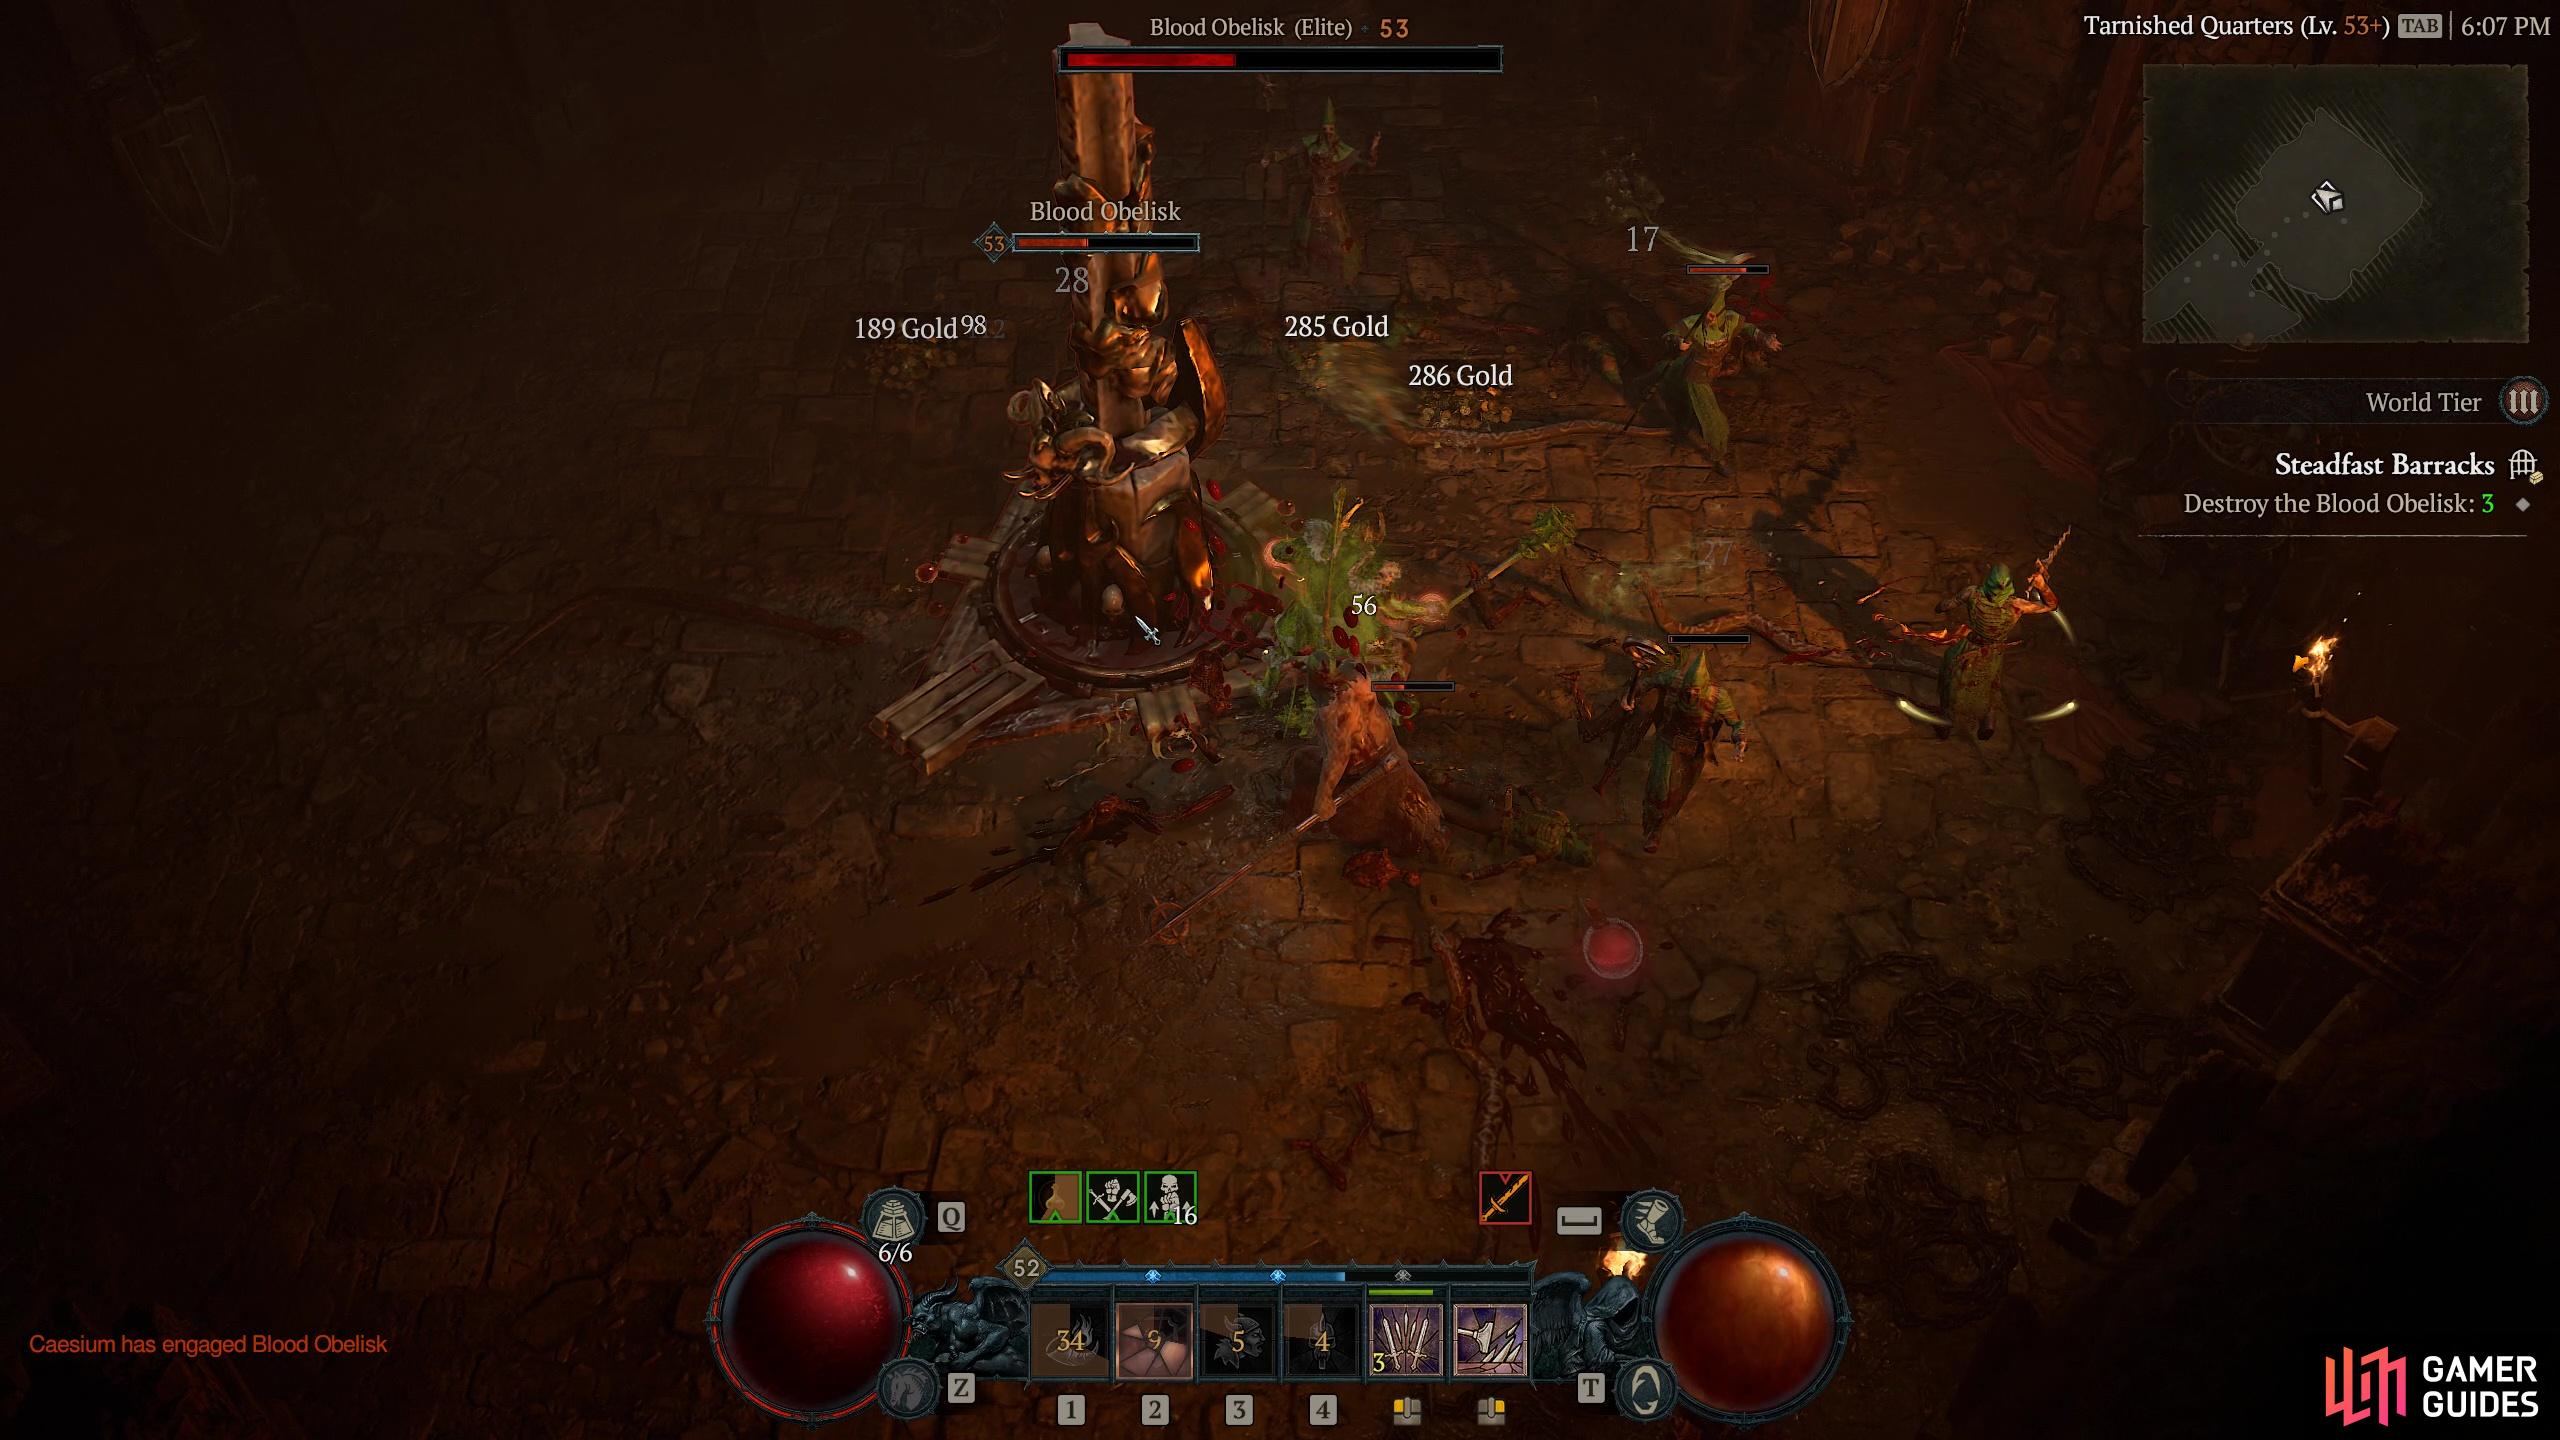
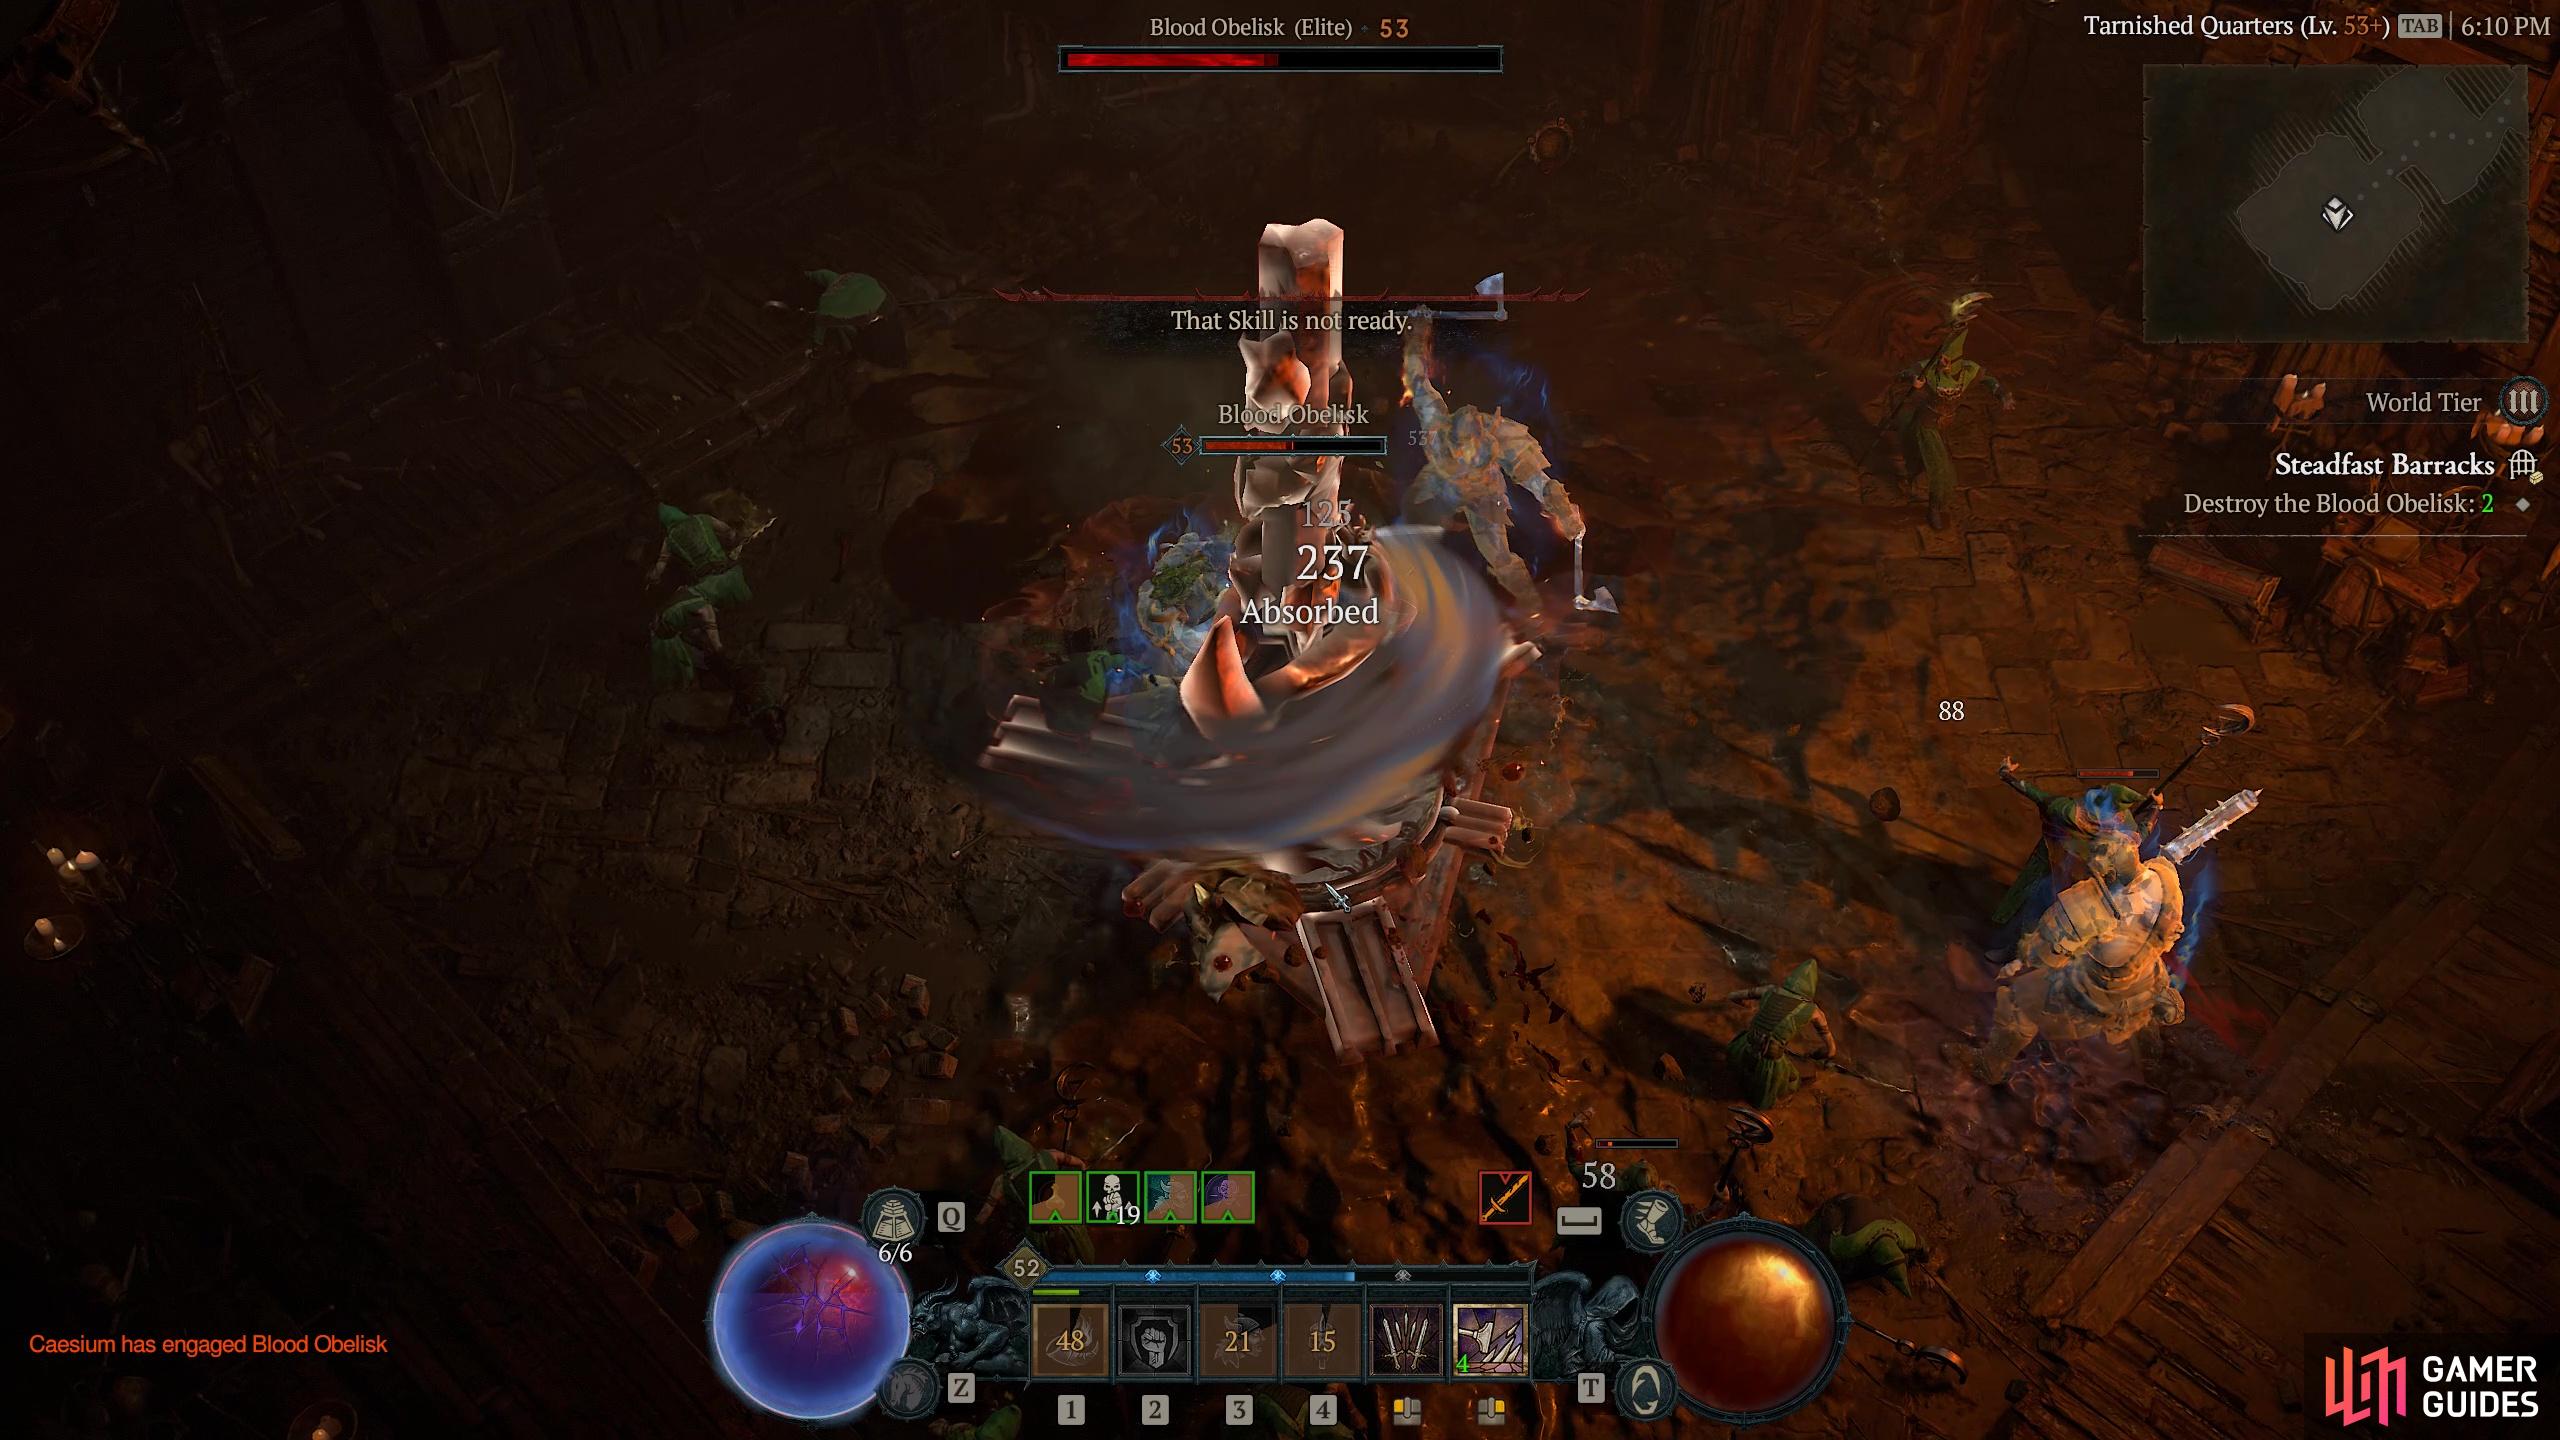
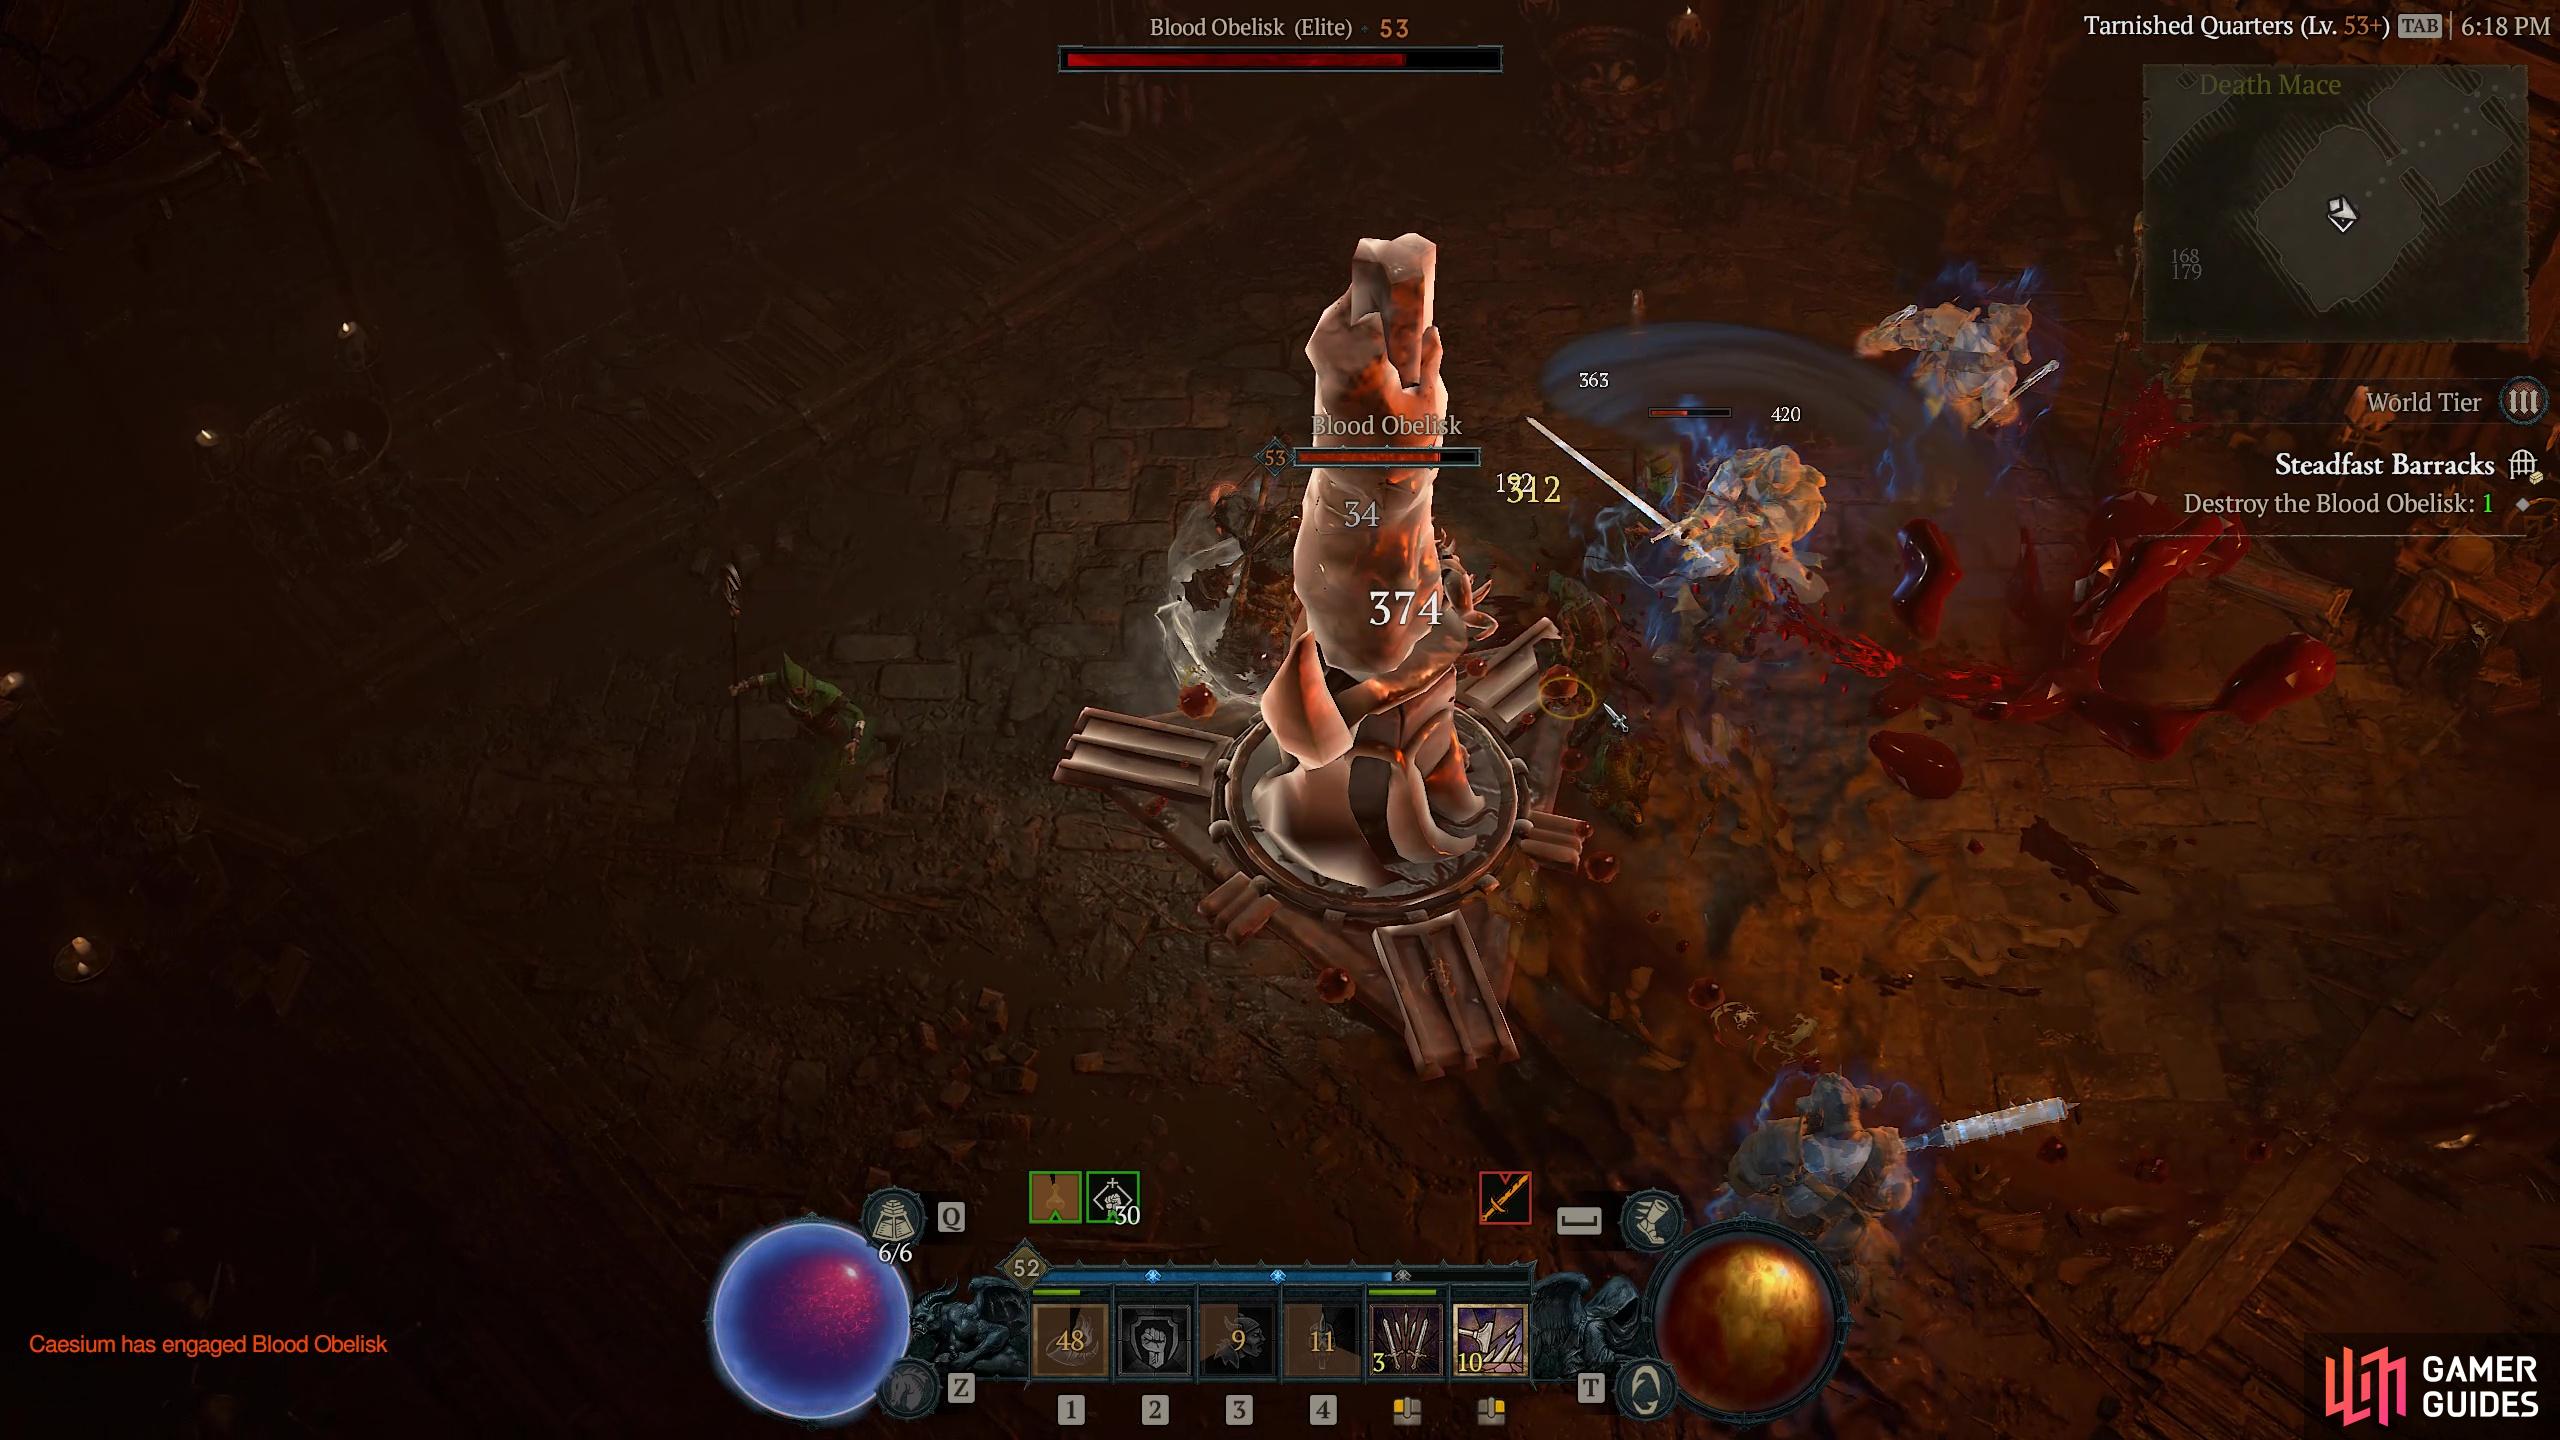
Another of three dungeons adjacent to each other at the Ruins of Rakhat Keep. In this deep former barracks you need to head in and destroy the three Blood Obelisks to complete it. Each is heavily guarded and has its own named Elite guardian. The three Elites you will come up against are:
Each will appear at the point you have damaged a Blood Obelisk to around 80%. You can complete the Oblelisk’s destruction after you have defeated all the enemies if you choose. After you have destroyed all three you will progress down to the Ravenous Hall where you must face, and defeat Zorym, who will then drop the Sanctum Key. Once you have the key, travel on and you will come up against the final Dungeon boss - the Mother’s Judgement
Enemies
Serpent Cultist
Cultists
Serpent Cult Magus
Cultists
Nangari Spitter
Snakes
1× Dommik Taintspawn (Ritual Leader)
Bosses
1× Velda Duplicius (Ritual Leader)
Bosses
1× Kolfinna Razorpulse (Ritual Leader)
Bosses
1× Zorym - The Profane Summoner
Bosses
1×
Region
Item Reward
1×
|
|
|||||||||||||||||||||||||||||||||||||||||||||||||||||||||||||||||||||||||||||||||||||||||||||||

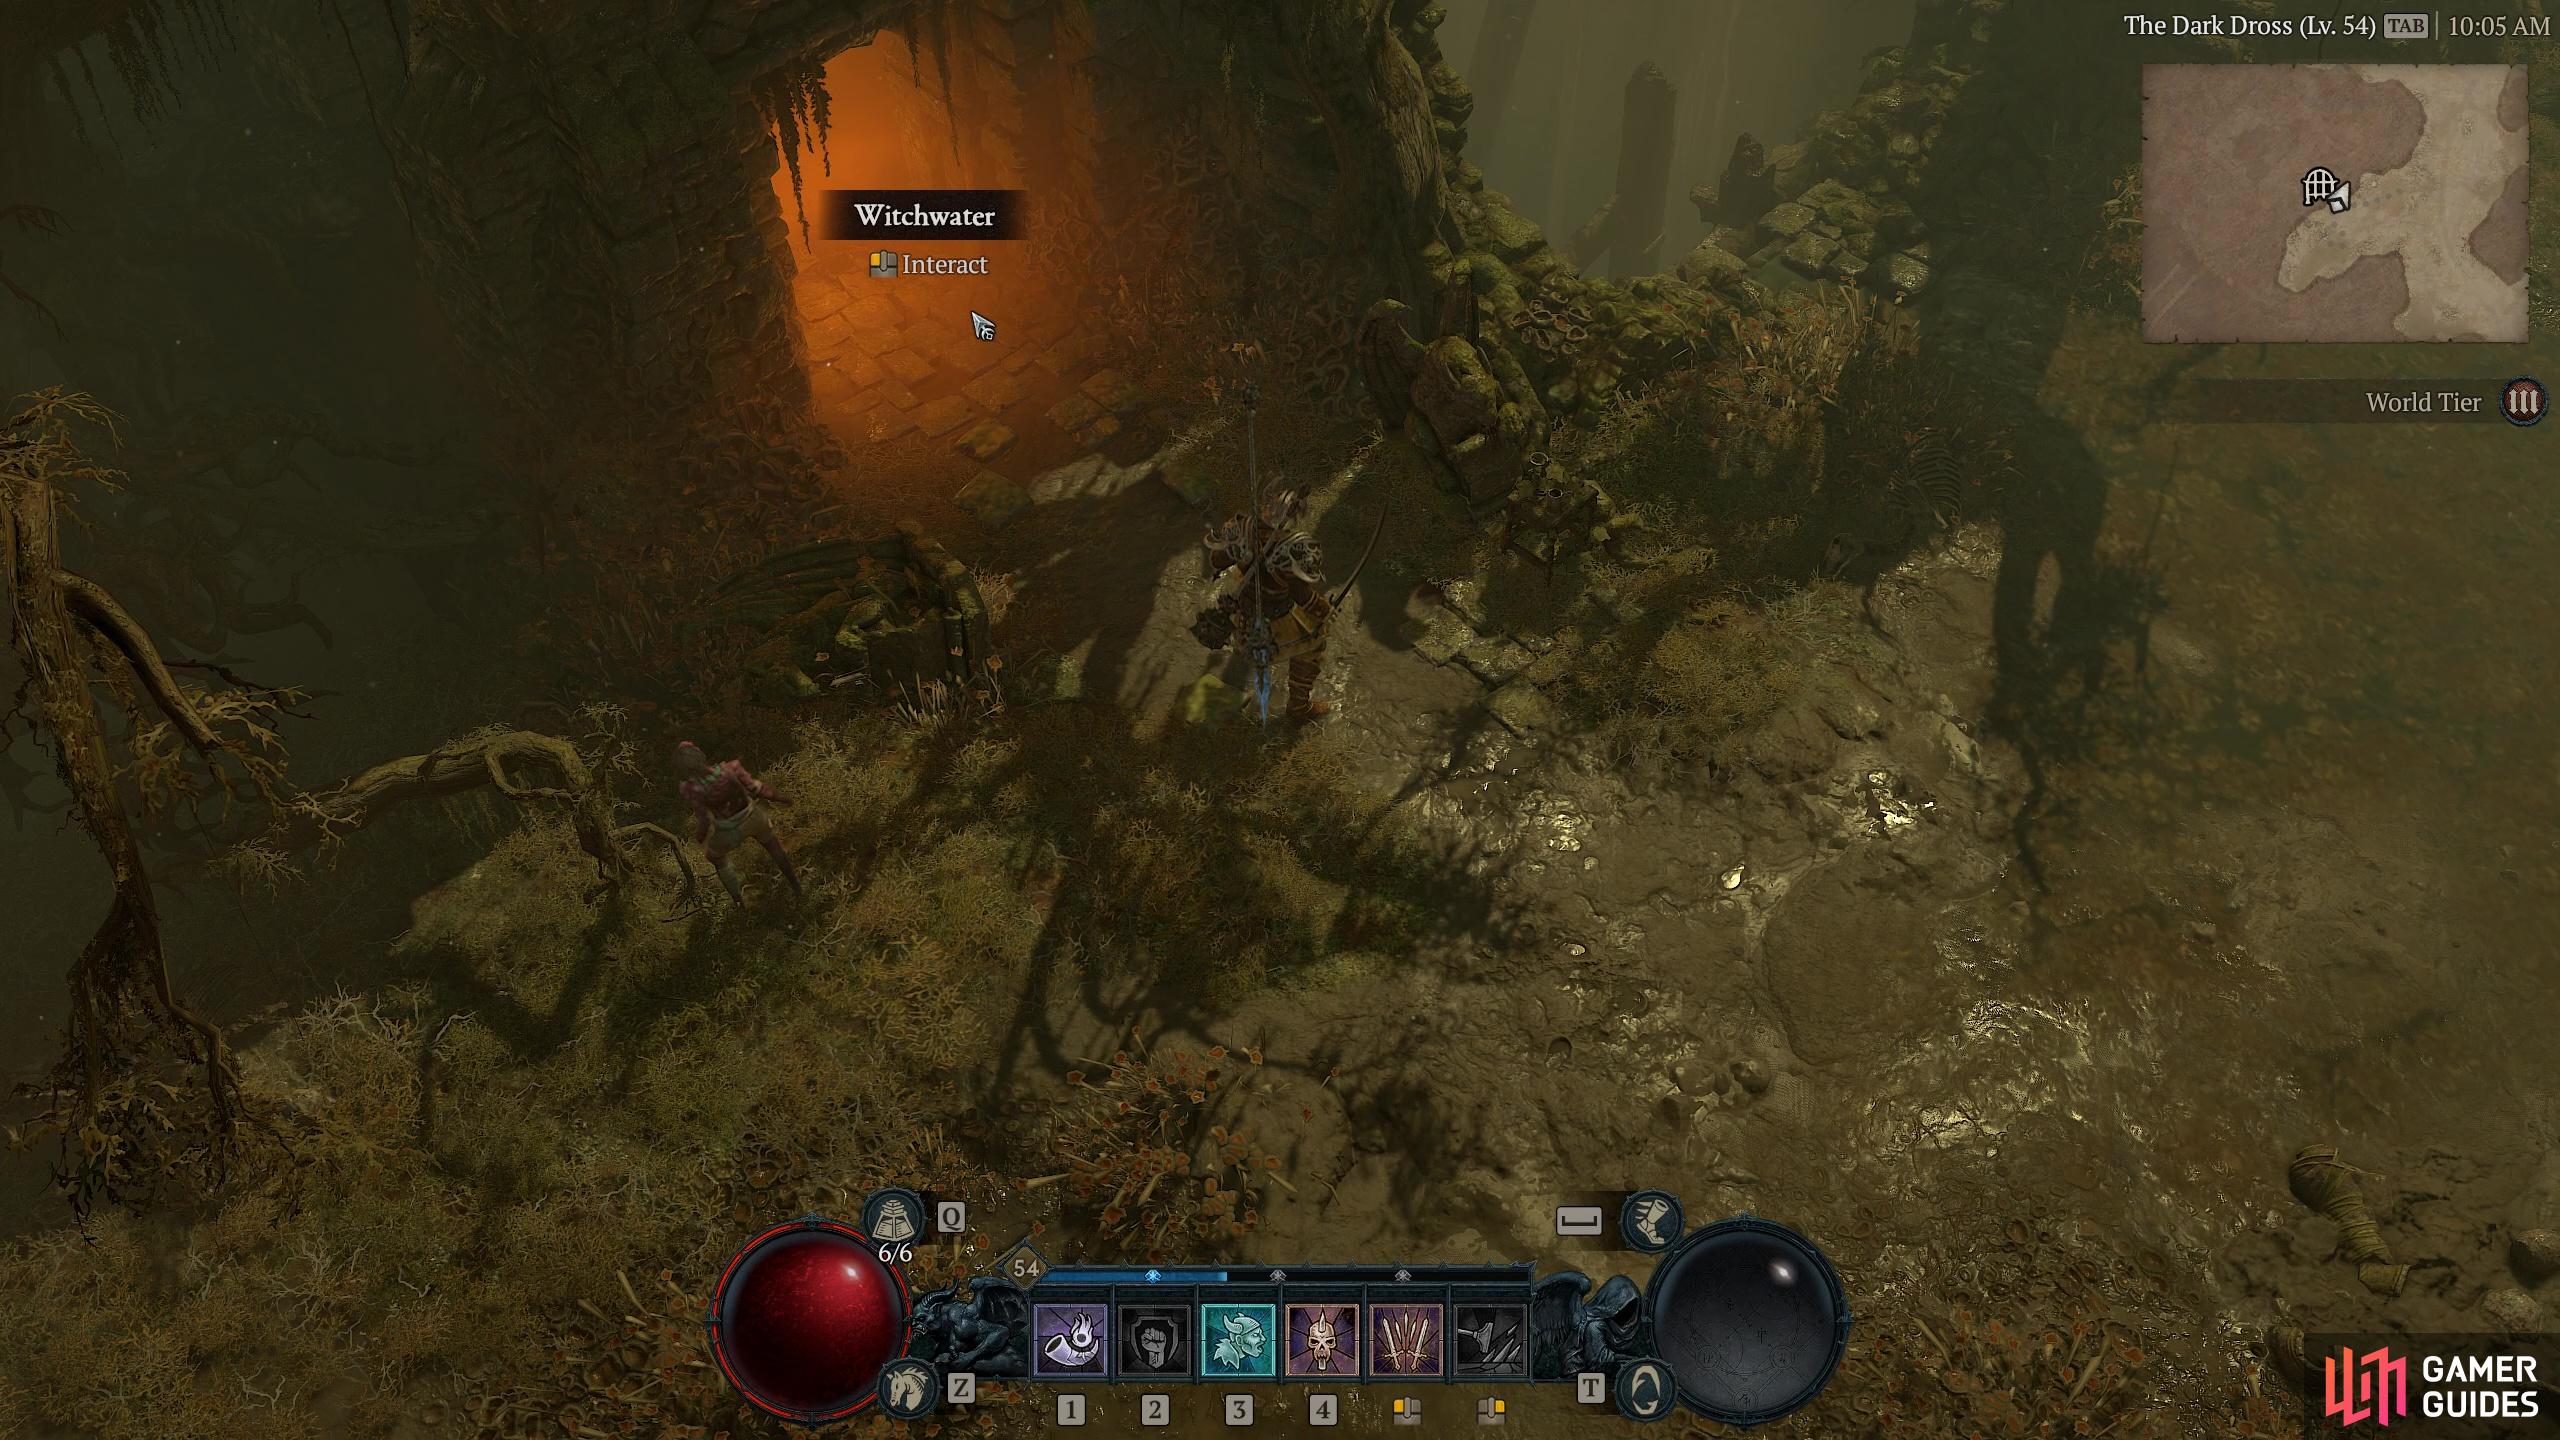
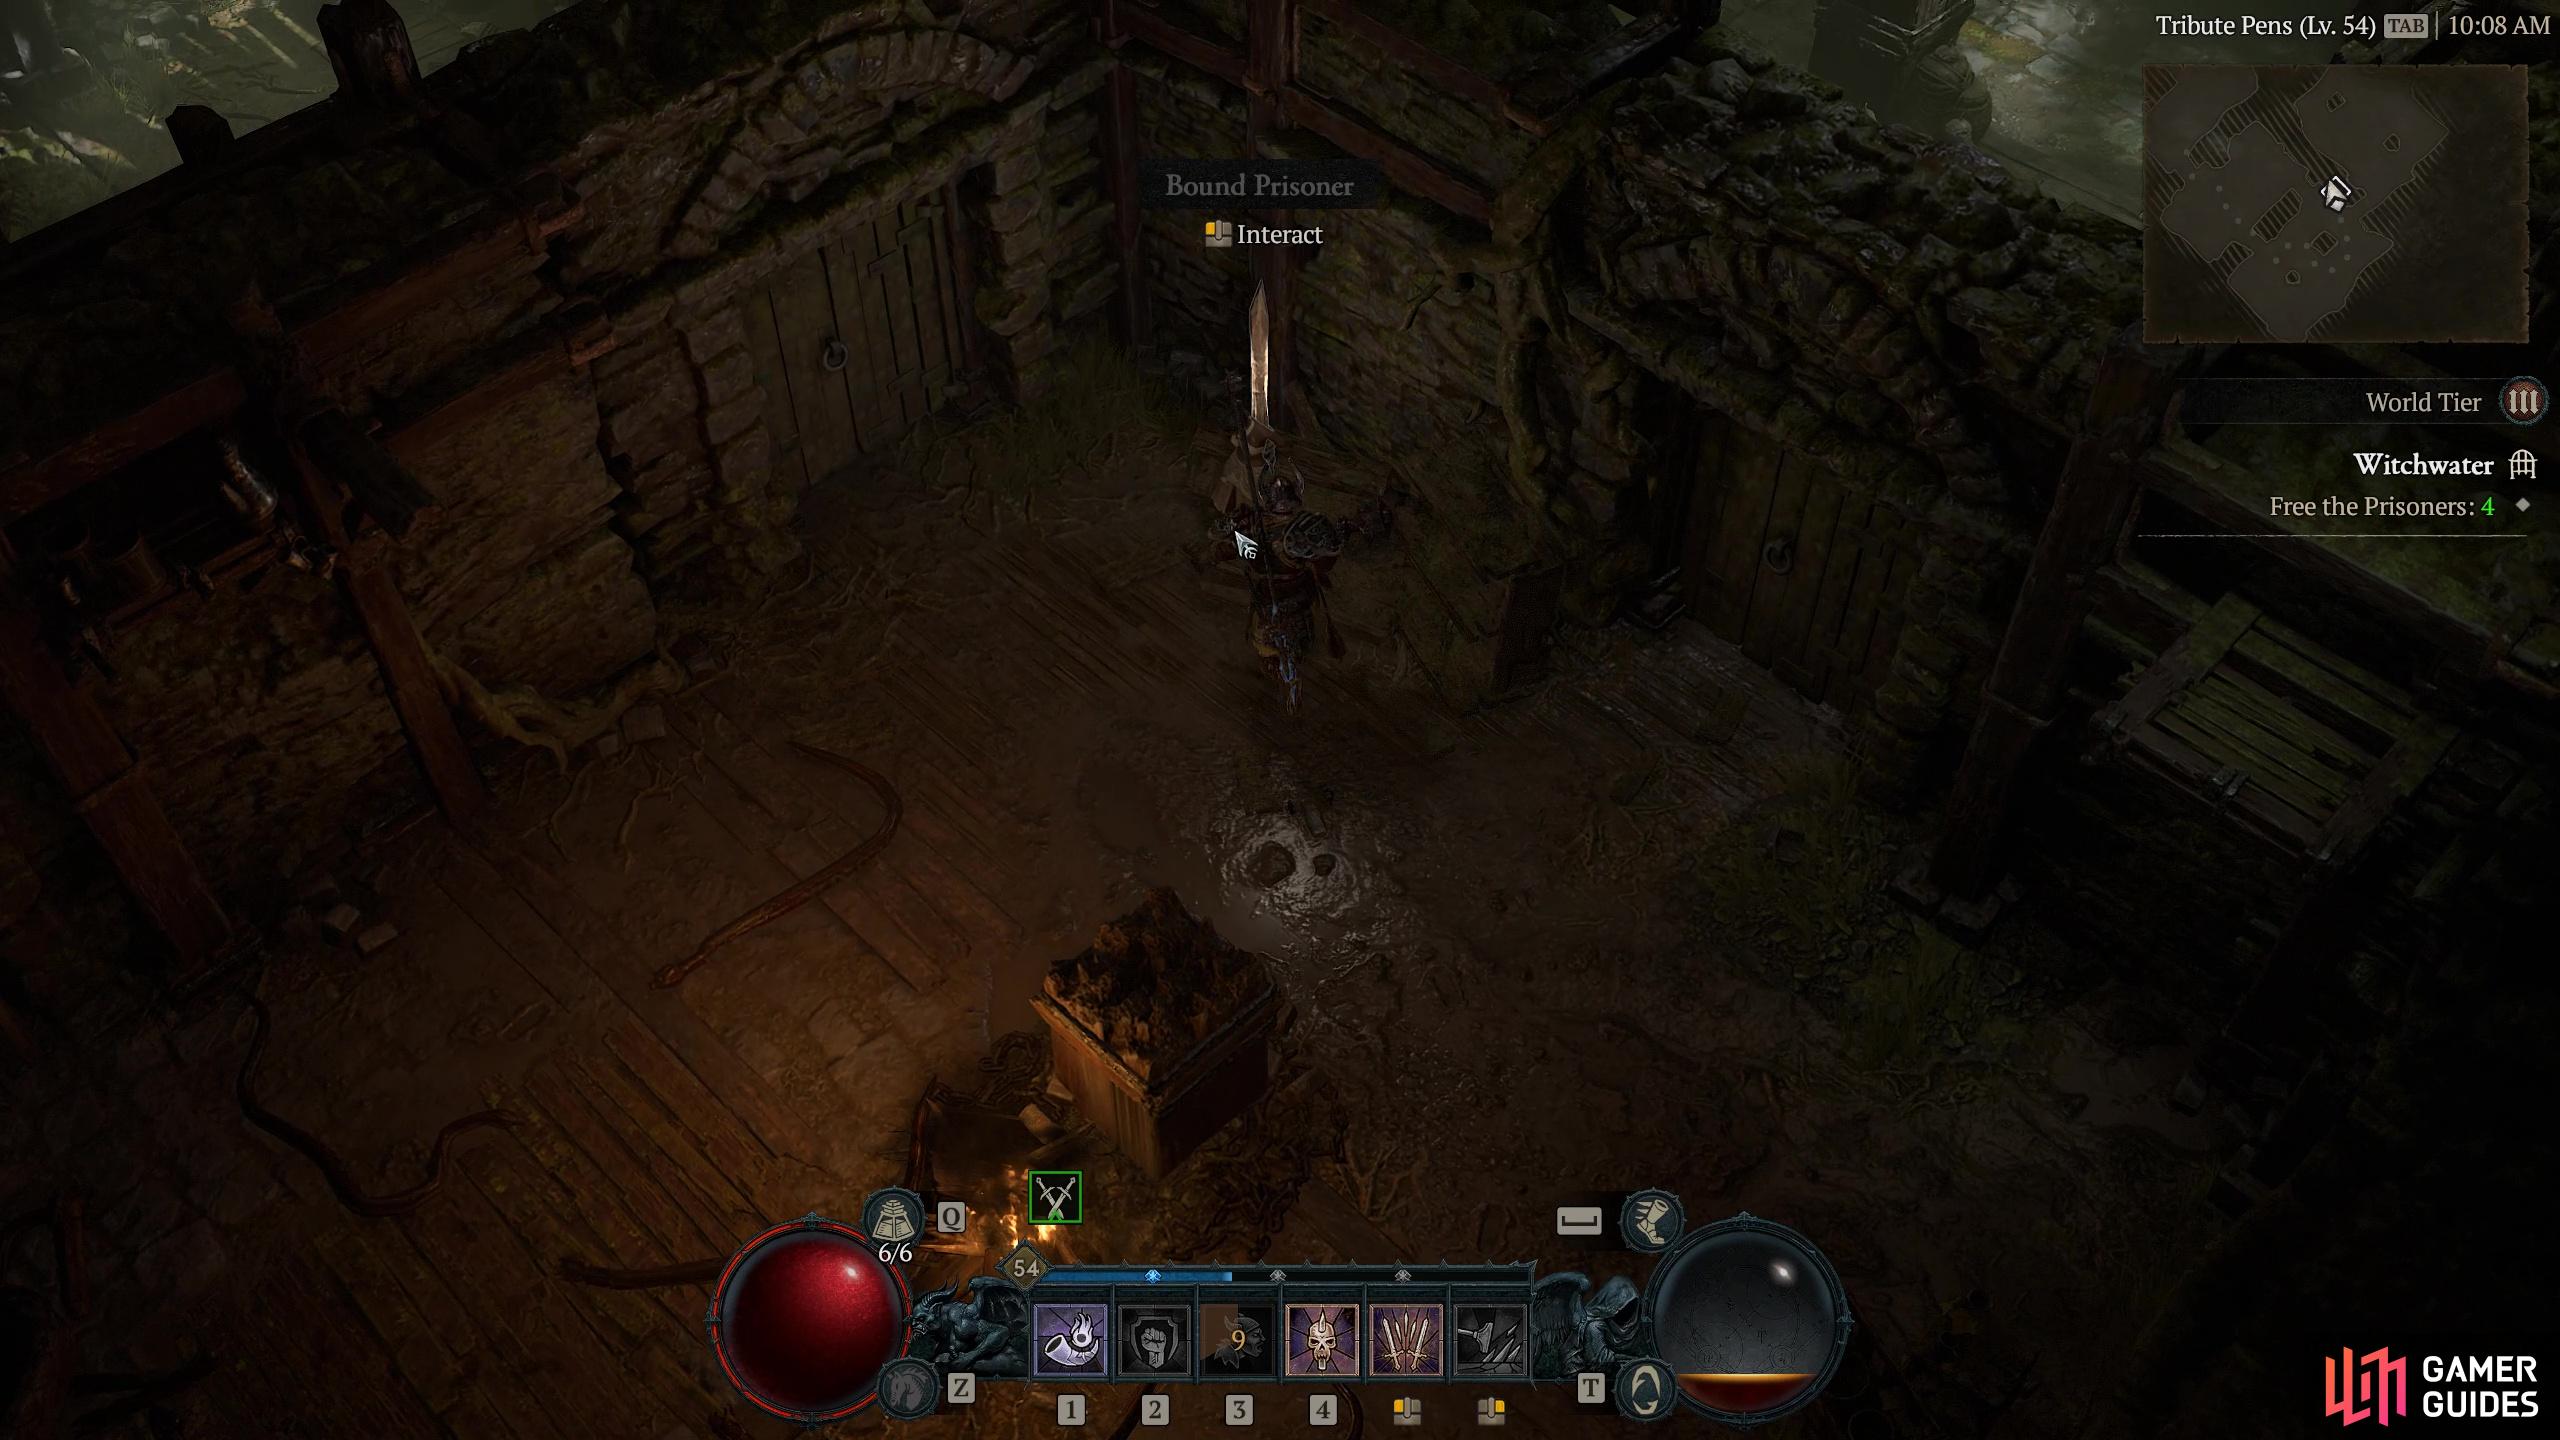
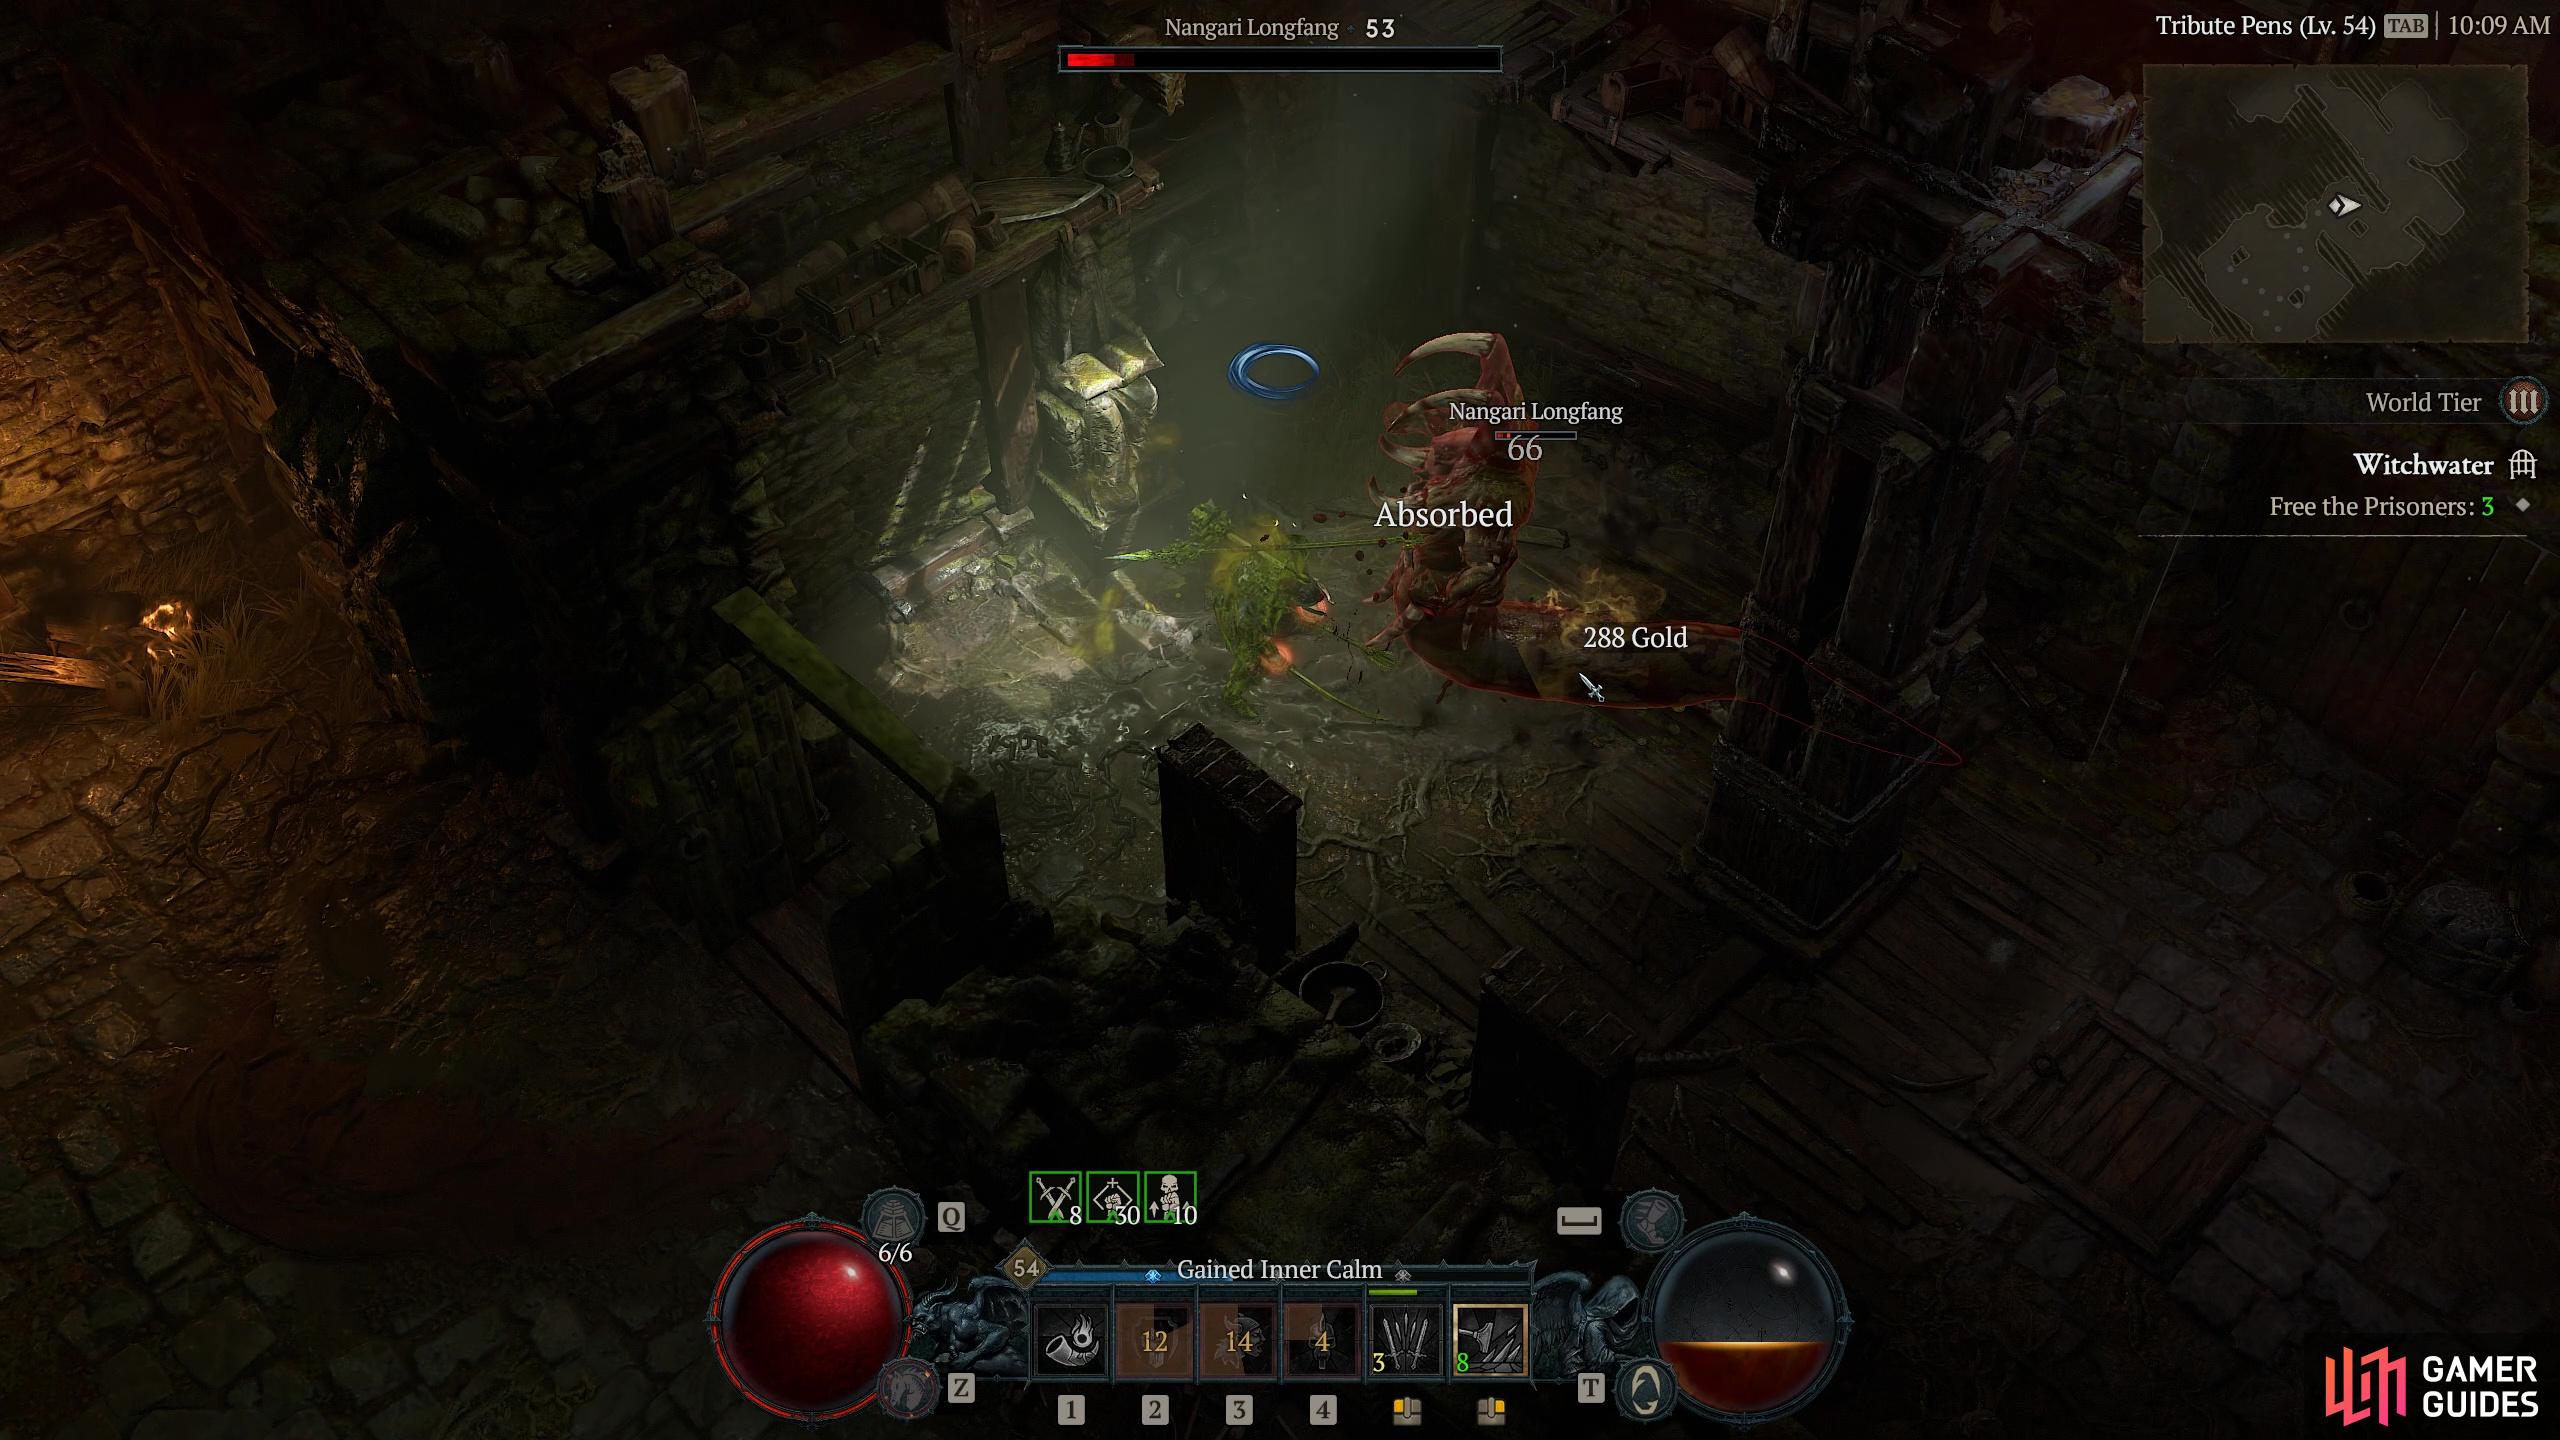
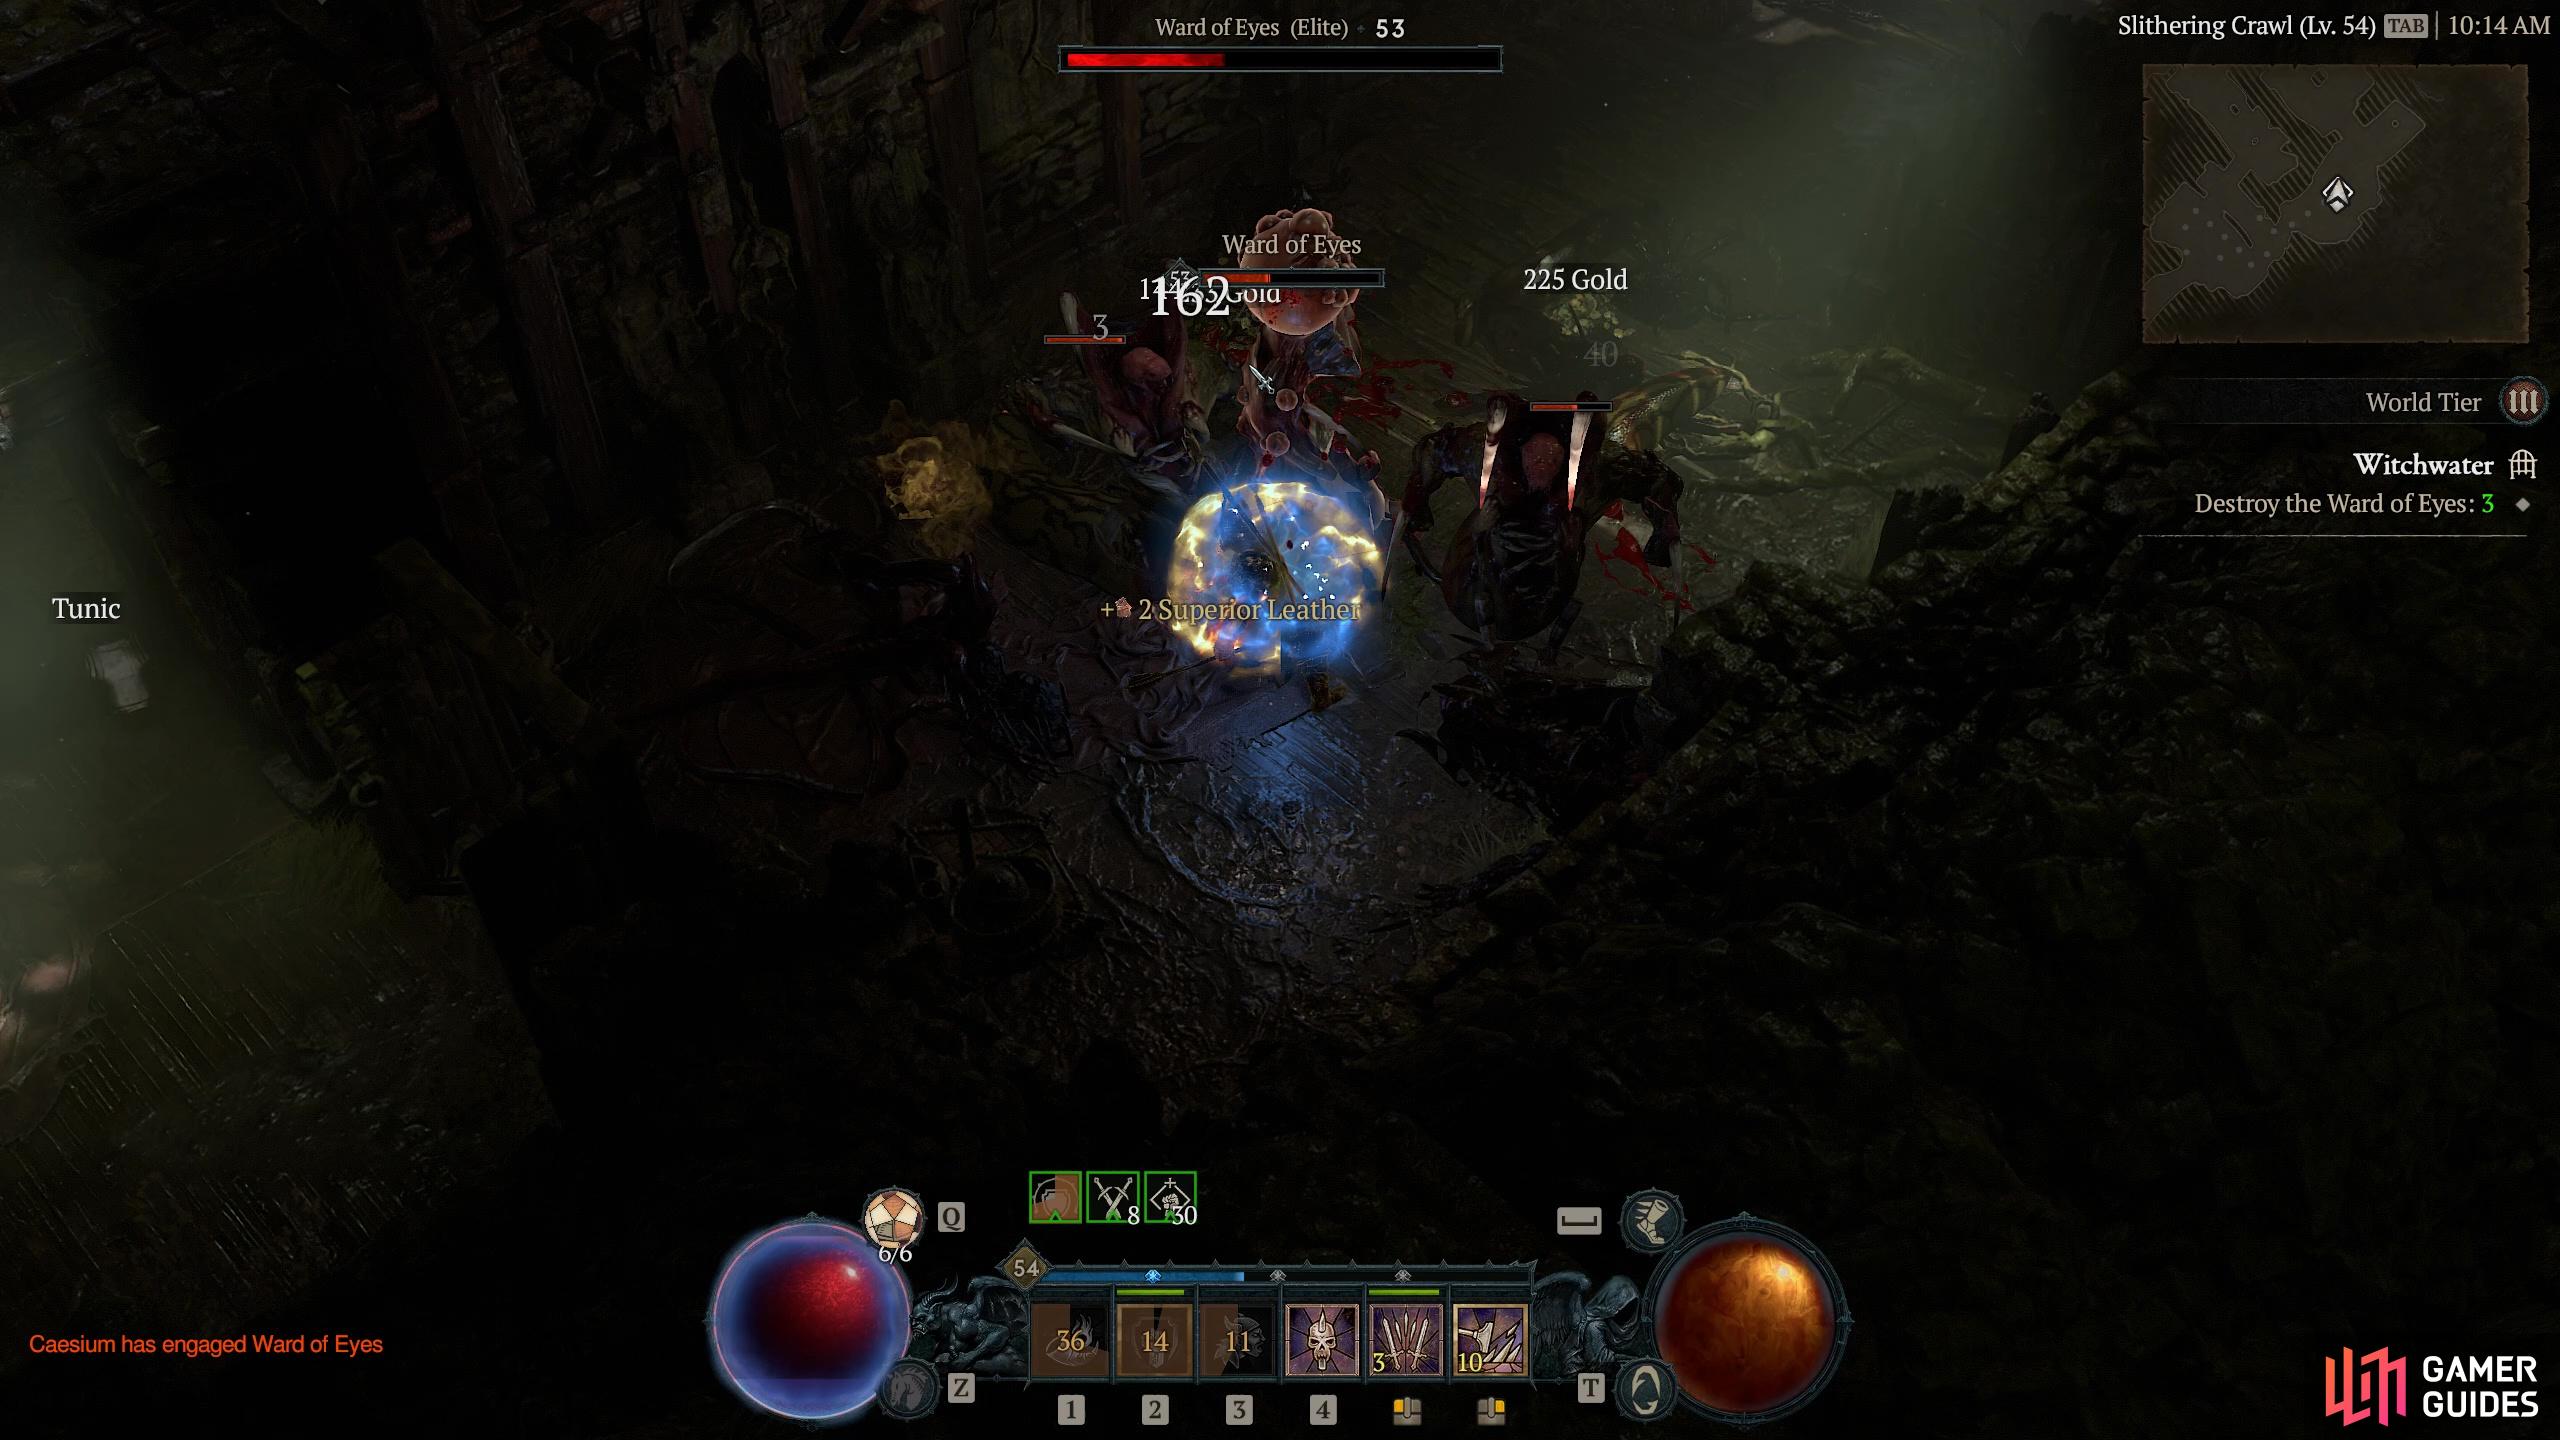
|
Witchwater |
Nangari cultists lure prey here with songs sung in dreams.
Objectives
Description
Witchwater is a key dungeon in post-campaign progression as it is the first dungeon you must complete as a Nightmare Dungeon in order to continue your progress after Level 50. As it stands here we will look at it in it’s normal state, where it remains one of the tougher ones just because of the number of buffed snakes that you will come across. Expect to be attacked by multiple Elite Still, progress should be relatively straightforward, so here is what you can expect to find once you venture inside Witchwater. To start off with we need to locate and free the four prisoners you will find bound to stakes. We won’t go into detail as to how snakes tie people to snakes, suffice to say they are probably magic snakes. The Nangari Spitters are, as ever, the most annoying and there are a lot of them in Witchwater. You will find while you are tied up battling with the Longfangs they are at distance causing long-range damage with their attacks. They don’t cause a huge amount of damage but it can add up in a big battle, so think about taking them out first, or at least reducing their numbers a bit initially. Also, be aware, that when you free a prisoner it tends to spawn another attack so be prepared for that. After you have freed the fourth prisoner, he will drop a key that unlocks the door immediately to your North. Once through, make the short journey to the Slithering Crawl where you must now destroy three Ward Eyes before moving onto the These Ward Eyes are well protected and after taking a certain amount of damage will spawn an Elite Guardian you need to get past. You may, on occasion find you need to funnel the enemies through a door to help take them out as you will be getting attacked from all sides. It is in these later sections you will also come under attack from Clear up the Ward Eyes, travel to the Sacrificial Den and beat the giant snake Slither to complete Witchwater. Now you just need to turn it into a Nightmare Dungeon and do it all again!
Enemies
Nangari Spitter
Snakes
1×
Region
General Reward
XP, Gold, +30 Hawezar Renown
Item Reward
1×
|


|
|||||||||||||||||||||||||||||||||||||||||||||||||||||||||||||||||||||||||||||||||||||||||||||||

|
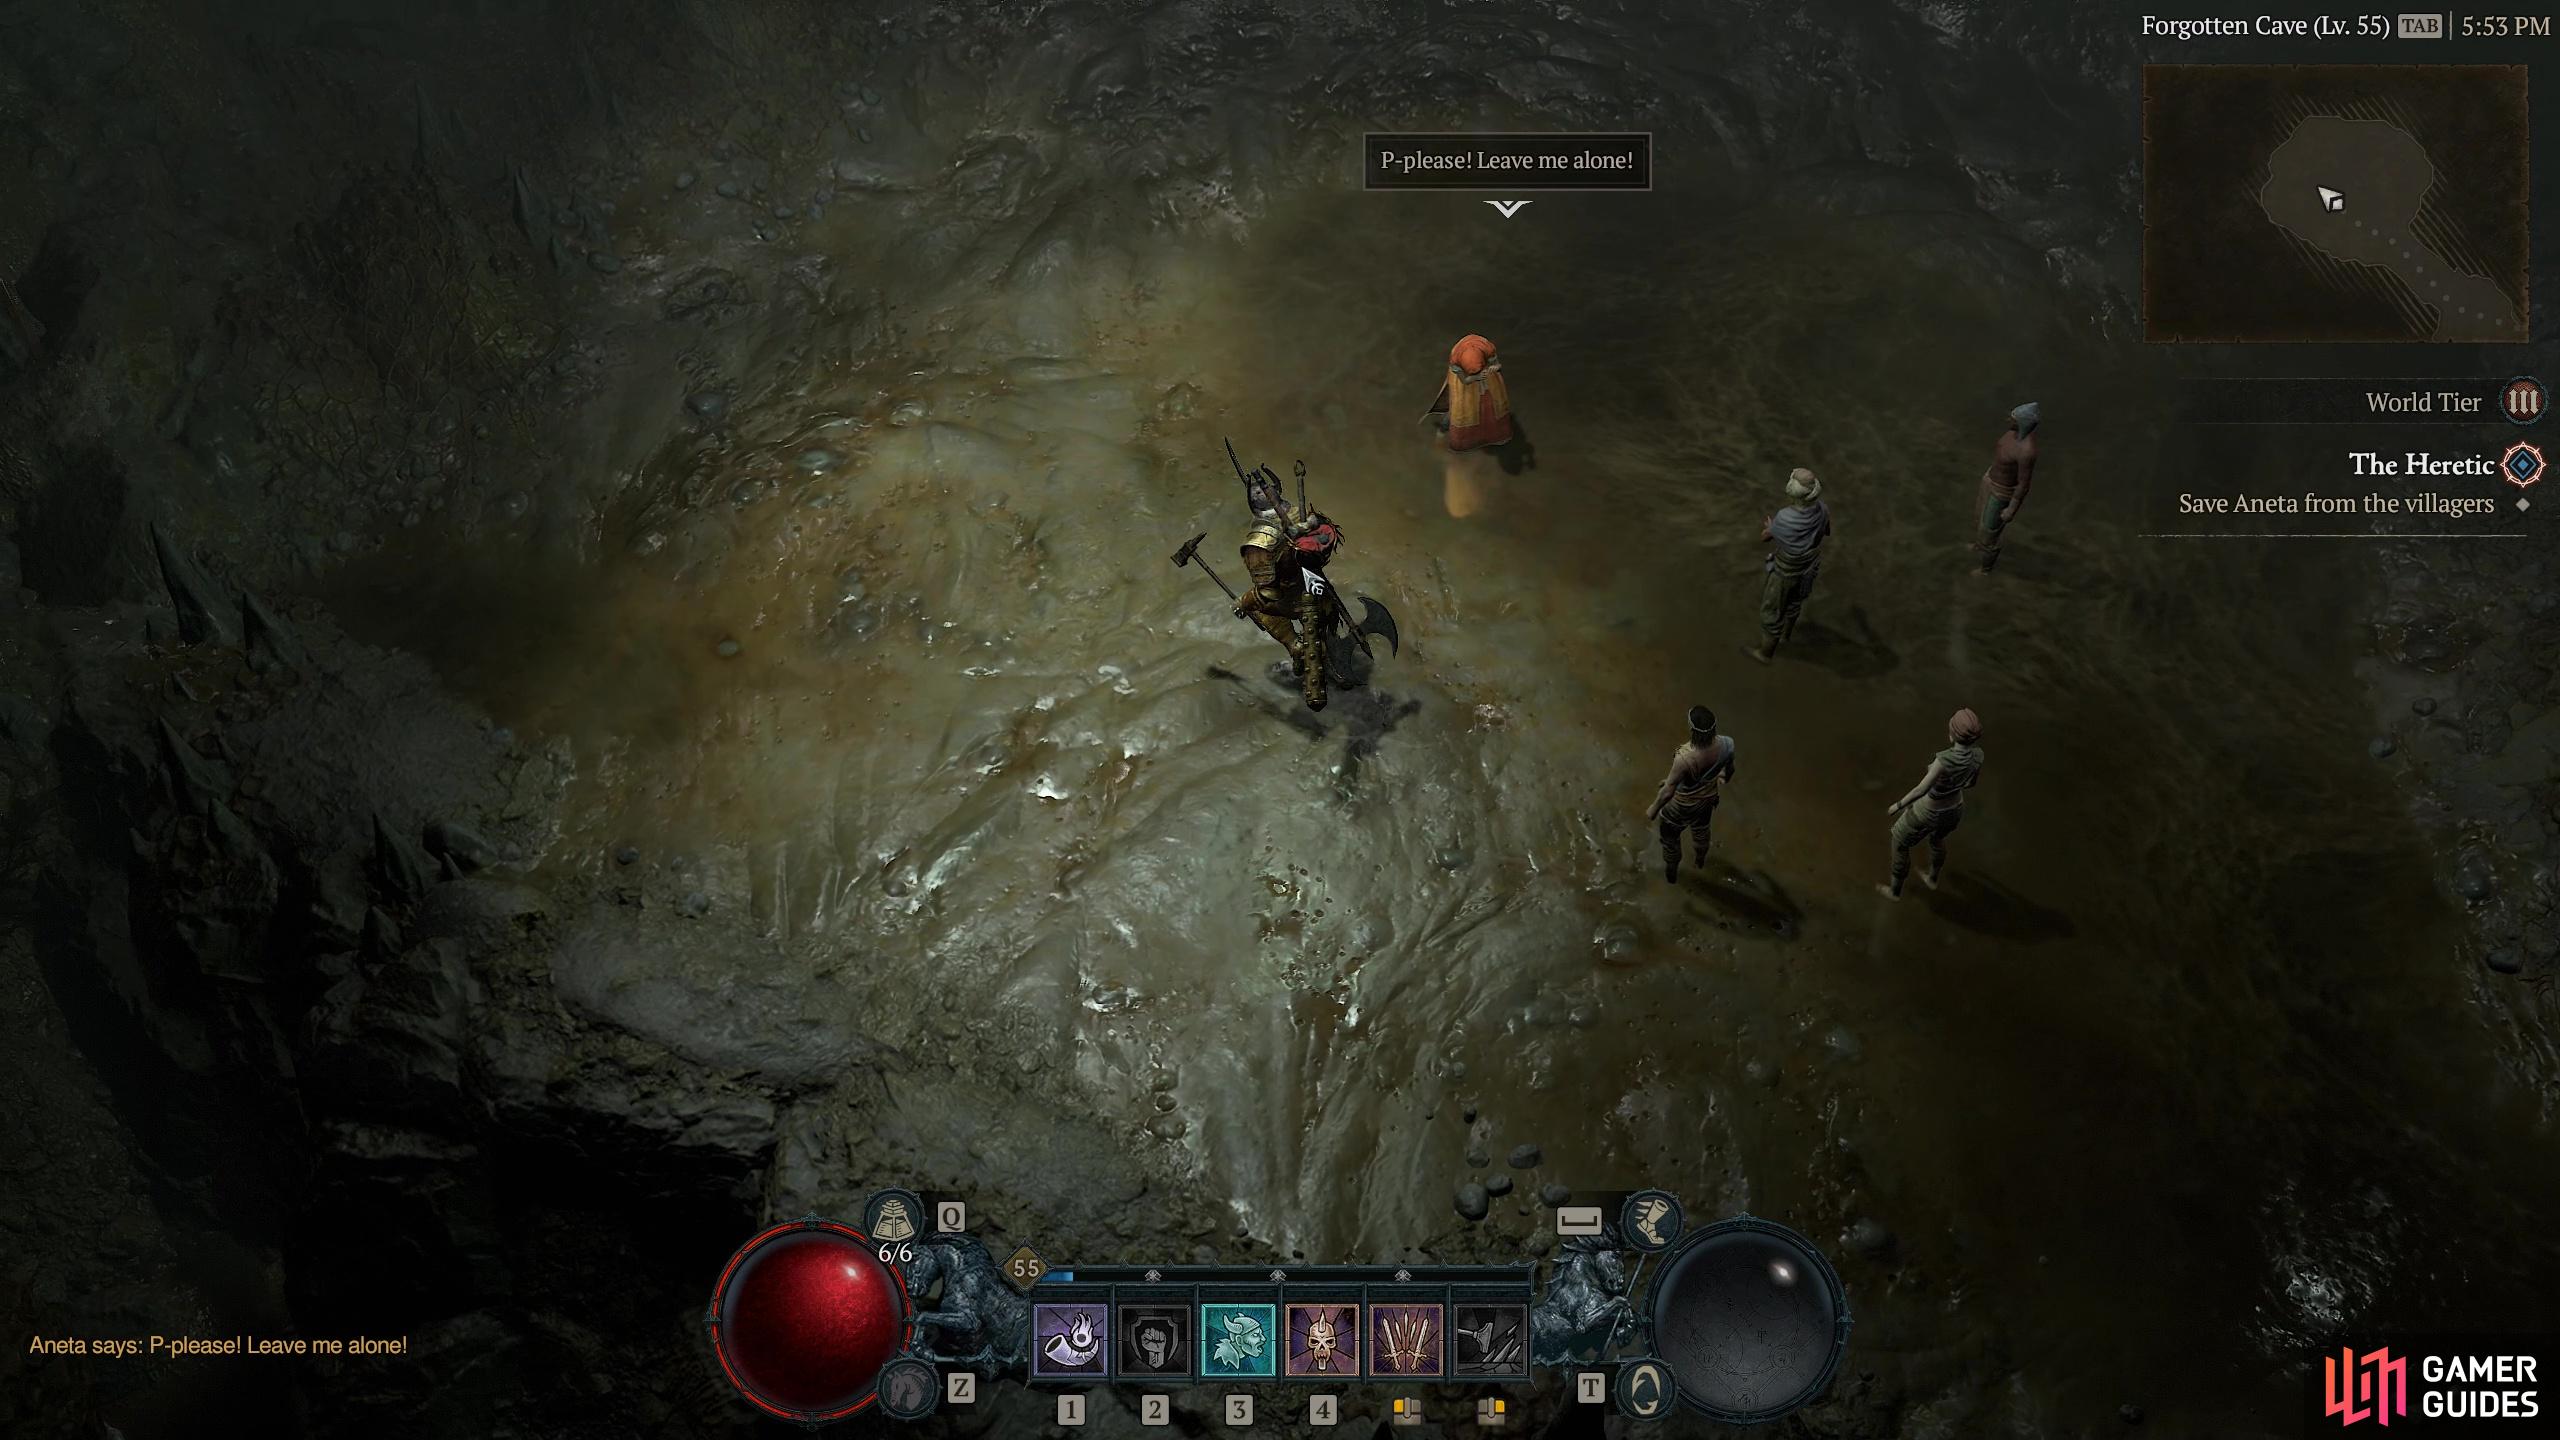
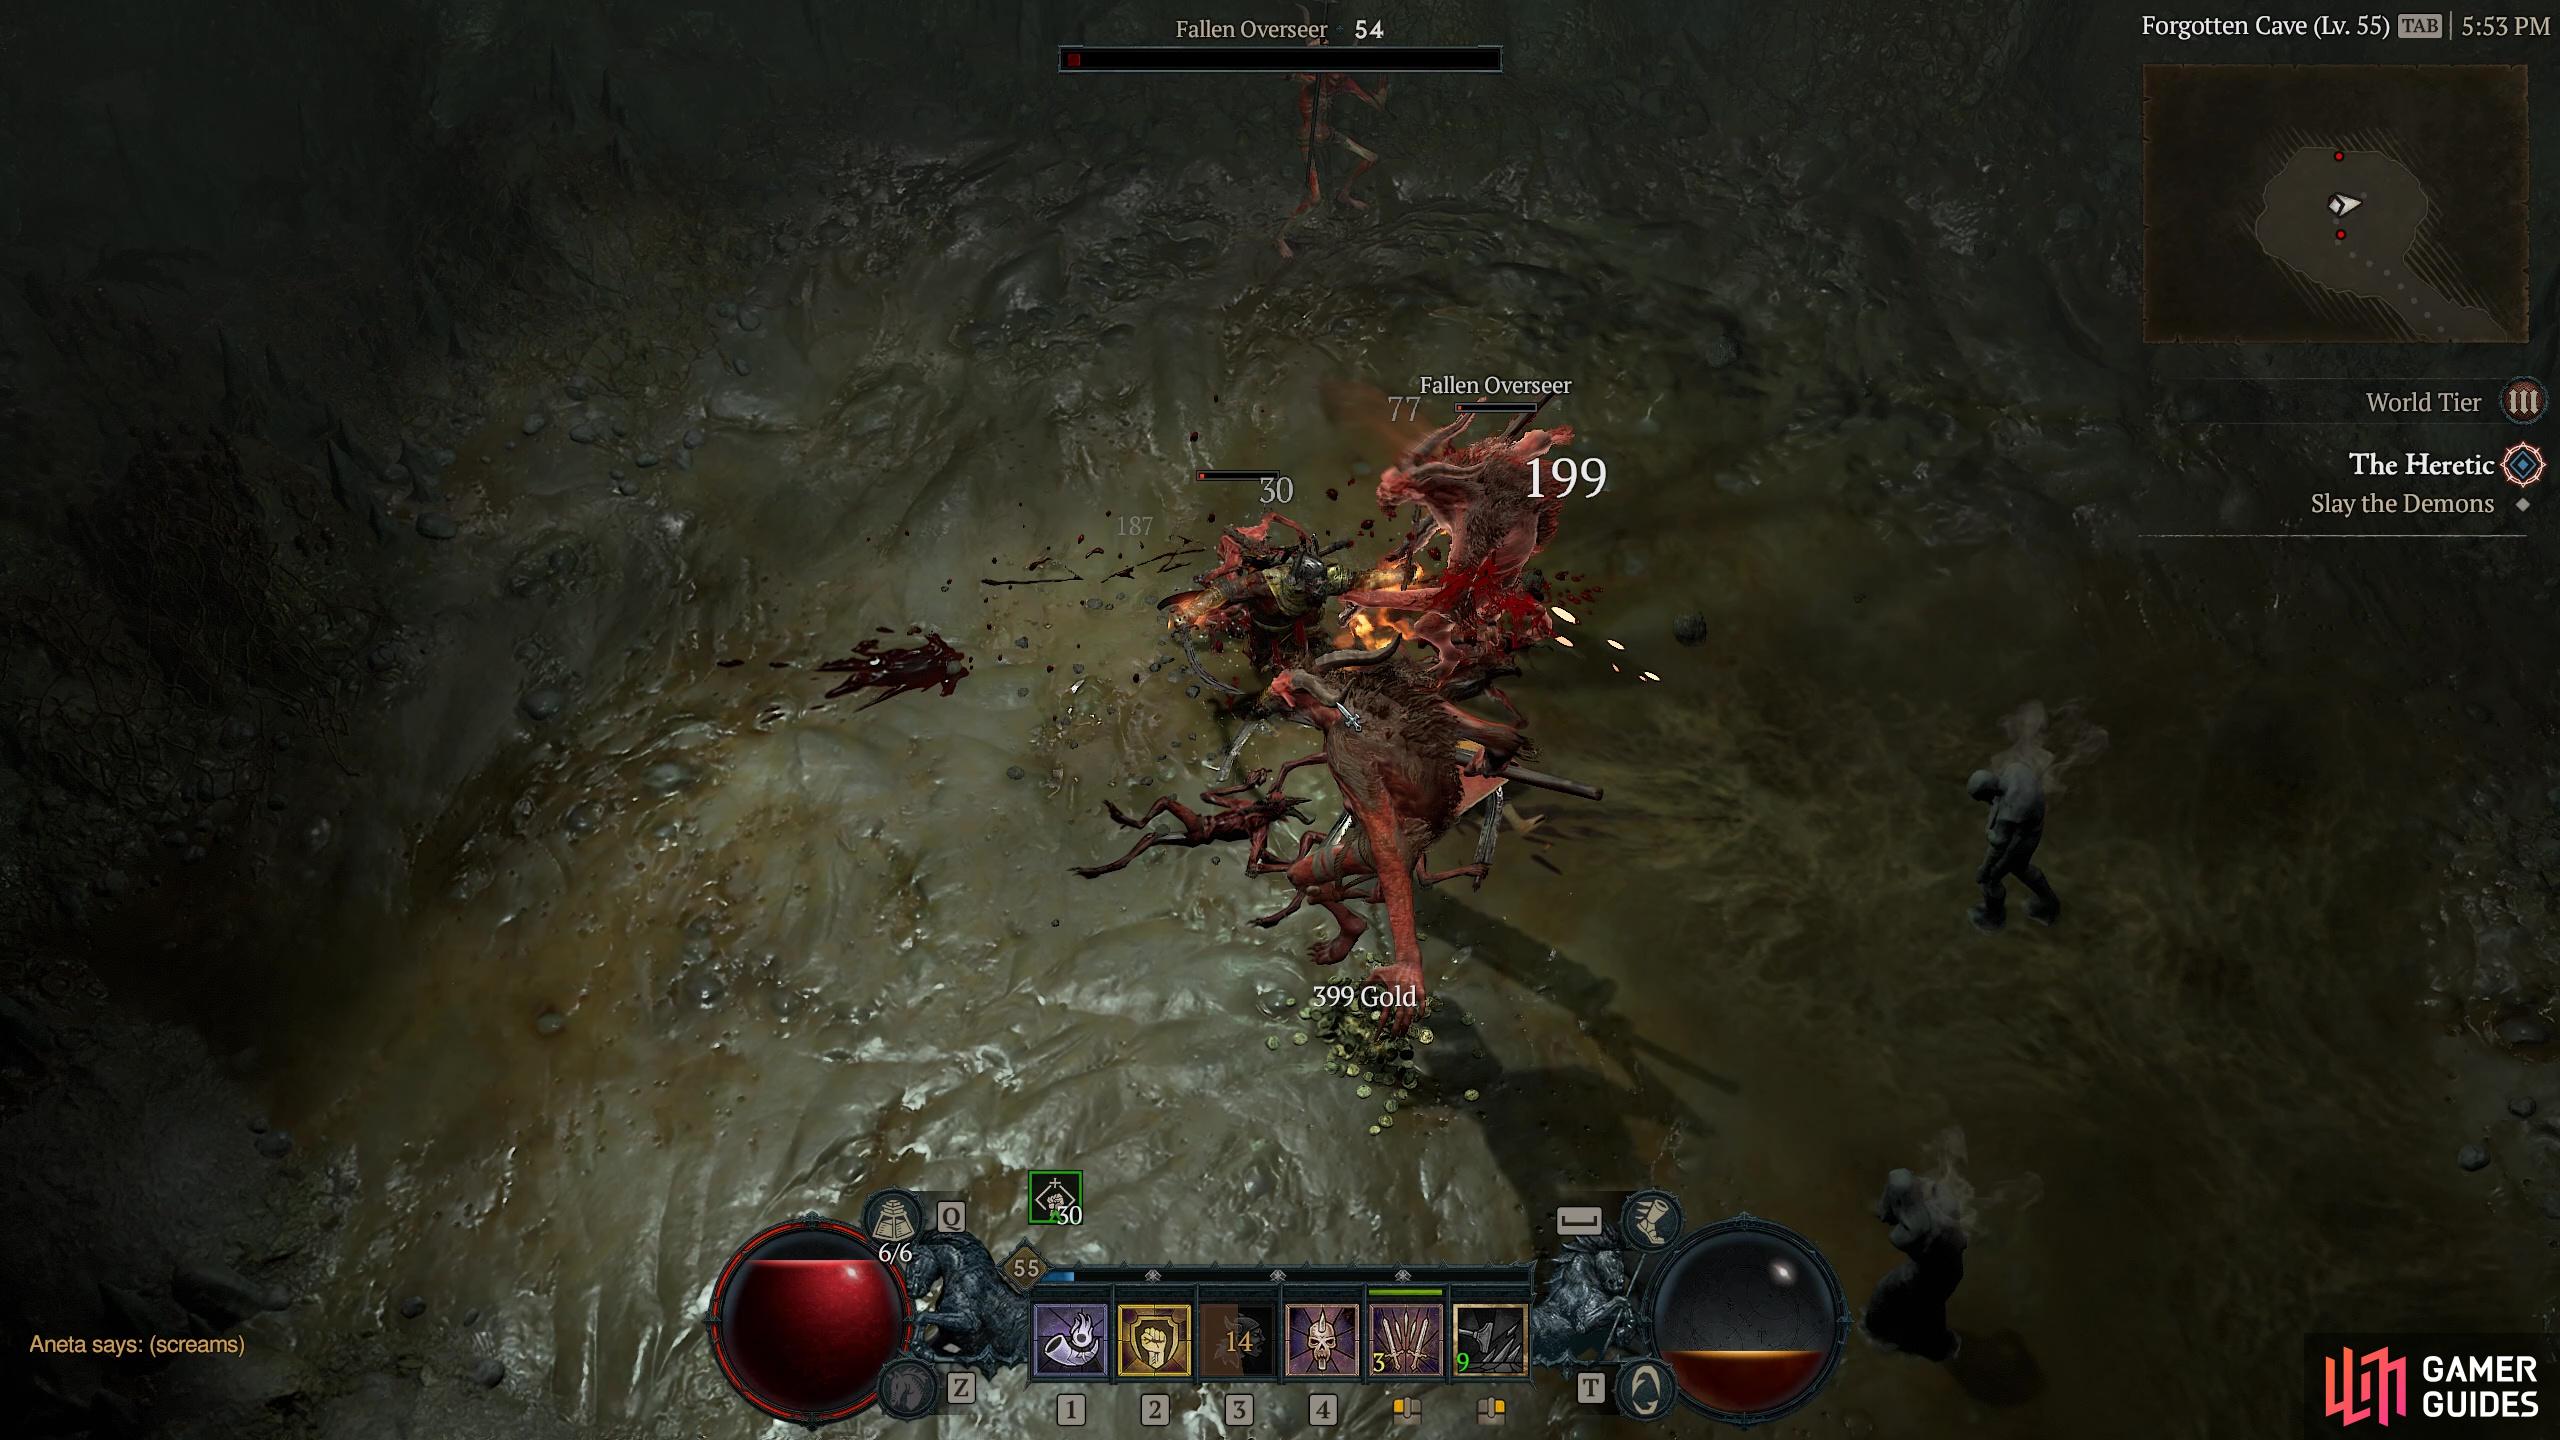
Forgotten Cave |
Description
Part of the side quest You must follow Aneta into the cave where you will witness some villagers harrassing Aneta. They all come to a dusty end and suddenly you find yourself in the cave surrounded by demons you need to kill. Kill them all and then talk once more to Aneta.
Enemies
Detailed Location
Related Quests
1×
Region
General Reward
Gold, XP, Cache |
|
|||||||||||||||||||||||||||||||||||||||||||||||||||||||||||||||||||||||||||||||||||||||||||||||

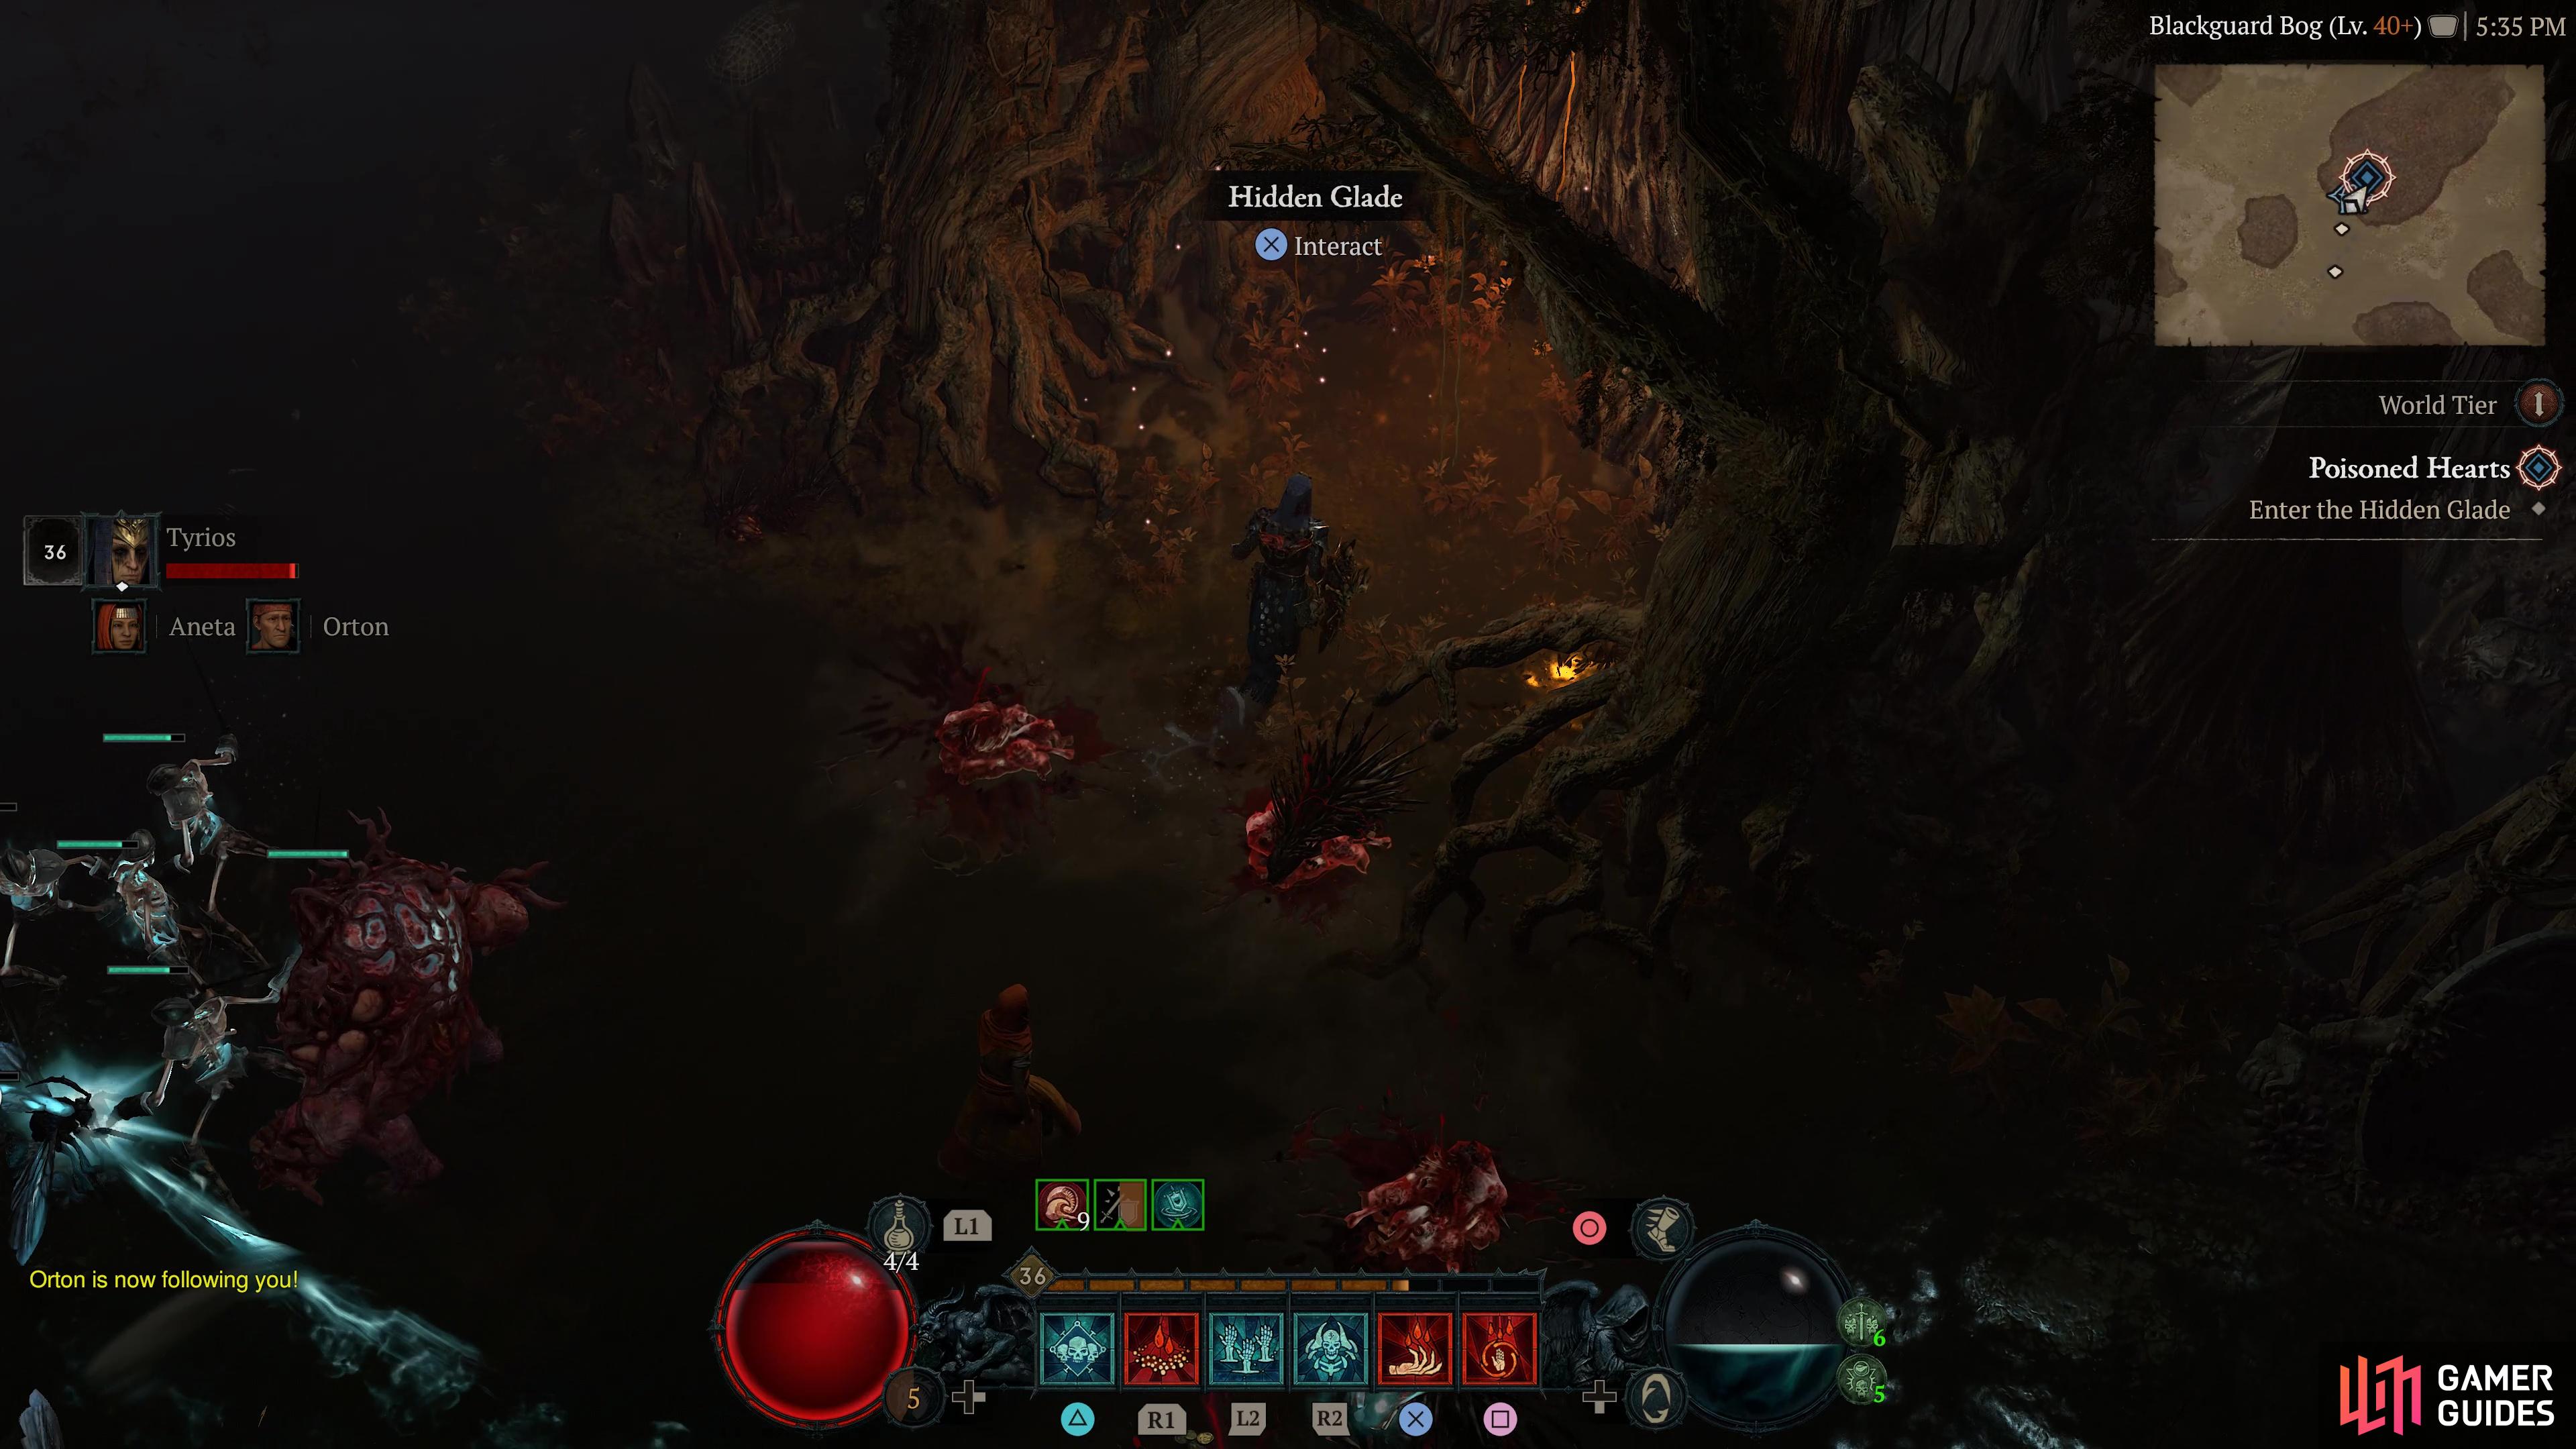
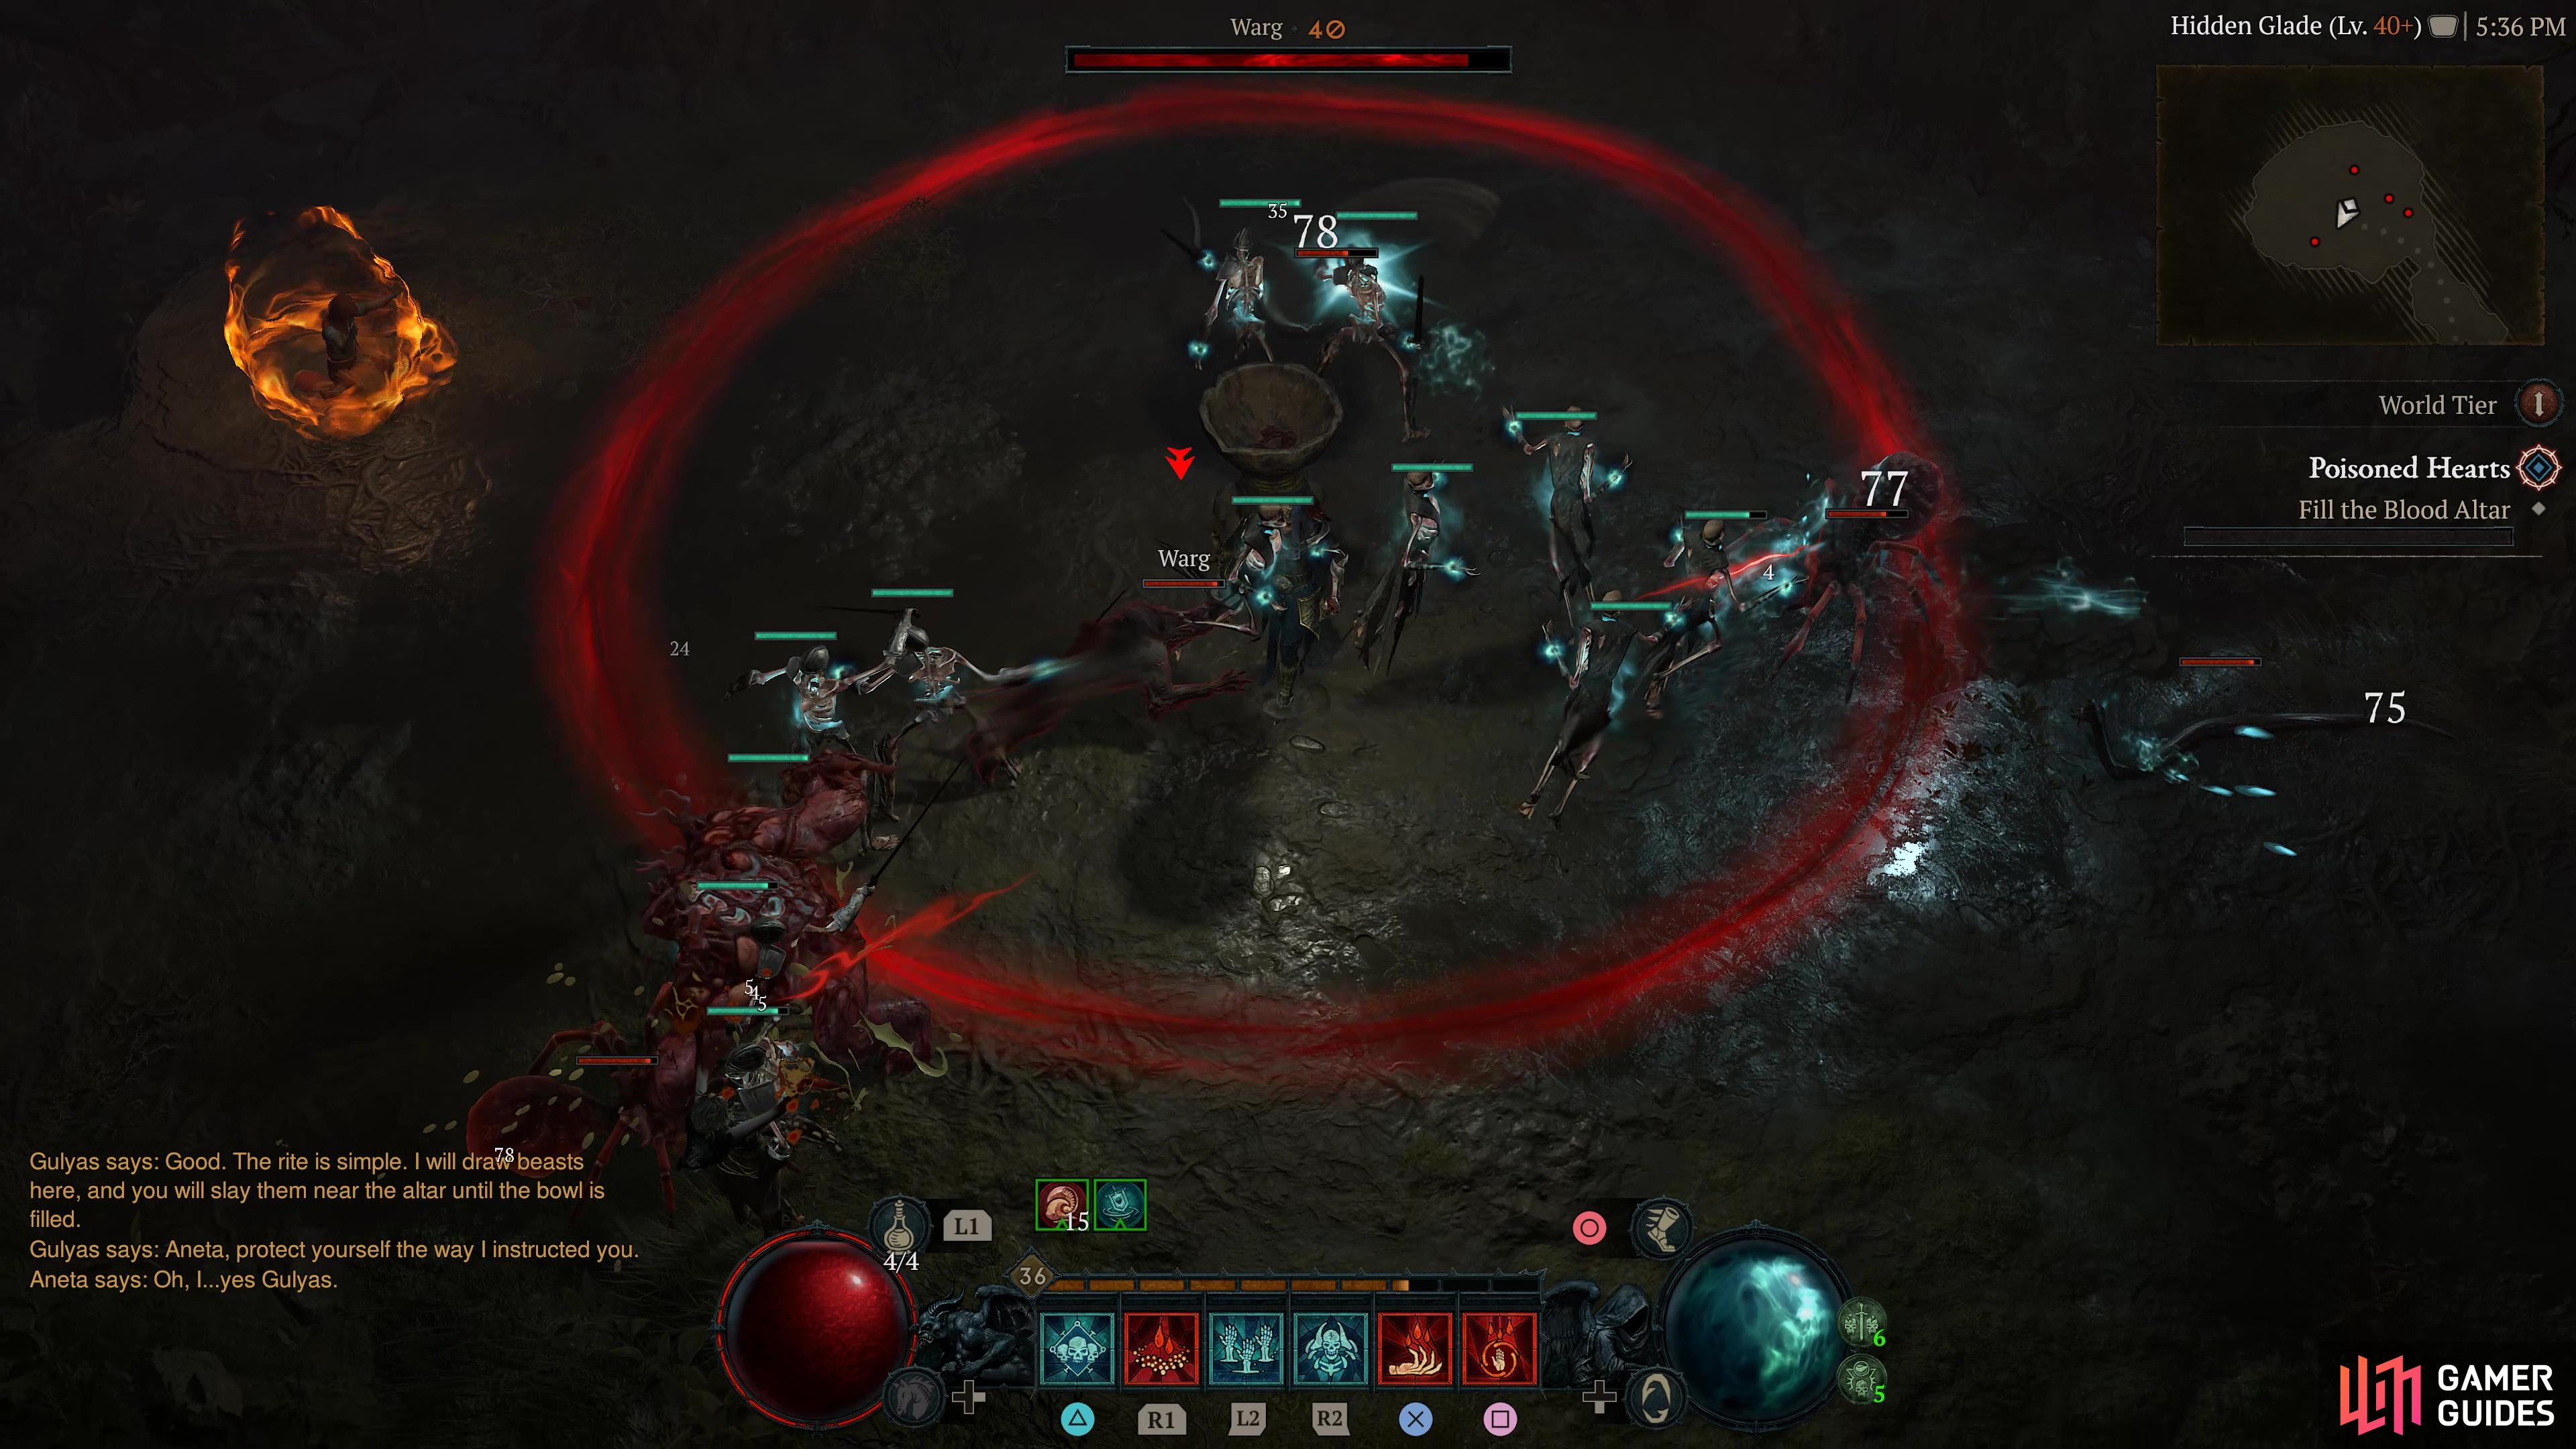
|
Hidden Glade |
Description
A small side dungeon that is part of the Entering the Glade itself does not take you into a dungeon, rather it is a pathway to another outdoor section so do not be confused. There is a Blood Altar in he middle and ones the event starts you will need to slay wildlife in the shape of Complete this and Aneta will be attacked by some villagers who you must also kill to complete this section and move on with the side quest.
Enemies
|

|
|||||||||||||||||||||||||||||||||||||||||||||||||||||||||||||||||||||||||||||||||||||||||||||||

|
Foul Undercrypts |
The Foul Undercrypts is a story dungeon that is part of the
Enemies
Detailed Location
Related Quests
1×
Region
|
||||||||||||||||||||||||||||||||||||||||||||||||||||||||||||||||||||||||||||||||||||||||||||||||

|
Hungering Swamp |
A place of great occult power for the witches of Hawezar.
Objectives
Description
This is a story dungeon that is only active during
Enemies
1×
1×
1×
1× Putrid Remains
Zombies
1×
1×
Detailed Location
Related Quests
1×
Region
|
||||||||||||||||||||||||||||||||||||||||||||||||||||||||||||||||||||||||||||||||||||||||||||||||

|
Slithering Dark |
The Slithering Dark is a dungeon that can only be accessed during the Campaign Quest The dungeon consists mostly of snake types, Serpent Cult and poison and plague enemies.
Enemies
1×
1× Nangari Spitter
Snakes
1×
1× Serpent Cultist
Cultists
1× Plagued Creeper
Spiders
1×
1×
Detailed Location
Related Quests
1×
Region
|
||||||||||||||||||||||||||||||||||||||||||||||||||||||||||||||||||||||||||||||||||||||||||||||||

|
Temple of the Deathspeaker |
Description
This is a story dungeon that can only be accessed during the Campaign Quest
Enemies
1× Putrid Remains
Zombies
1×
1×
1×
1×
1×
Detailed Location
Related Quests
1×
Region
|
|
|||||||||||||||||||||||||||||||||||||||||||||||||||||||||||||||||||||||||||||||||||||||||||||||

|
Secluded Clearing |
Only Lyndon and the Drowned know of this hidden clearing.
Description
This is a side quest dungeon only accessible during the Side Quest
Detailed Location
Related Quests
1×
Region
|
||||||||||||||||||||||||||||||||||||||||||||||||||||||||||||||||||||||||||||||||||||||||||||||||

|
Quiet Clearing |
A hidden clearing Lyndon uses to stash “the good stuff”.
Description
Note: This is a side quest dungeon that is only accessible during the Side Quest
Detailed Location
Related Quests
1×
Region
|
||||||||||||||||||||||||||||||||||||||||||||||||||||||||||||||||||||||||||||||||||||||||||||||||

|
Isolated Shack |
A remote, unassuming shack, perfect for discreet meetings.
Description
Note: This is a side quest dungeon that is only accessible during the Side Quest Bait The Trap.
Related Quests
1×
Region
|
||||||||||||||||||||||||||||||||||||||||||||||||||||||||||||||||||||||||||||||||||||||||||||||||

|
Backwater Storage Cellar |
Note: This is a side dungeon that is only accessible during the Side Quest
Detailed Location
Backwater, Hawezar.
Related Quests
1×
Region
|
||||||||||||||||||||||||||||||||||||||||||||||||||||||||||||||||||||||||||||||||||||||||||||||||

|
Eldritch Conclave |
This is a side dungeon that is only accessible during the Side Quest
Detailed Location
Related Quests
1×
Region
|
||||||||||||||||||||||||||||||||||||||||||||||||||||||||||||||||||||||||||||||||||||||||||||||||

|
Defiled Halls |
The Defiled Halls are a side quest dungeon accessible only during the Side Quest
Detailed Location
Related Quests
1×
Region
|
||||||||||||||||||||||||||||||||||||||||||||||||||||||||||||||||||||||||||||||||||||||||||||||||

|
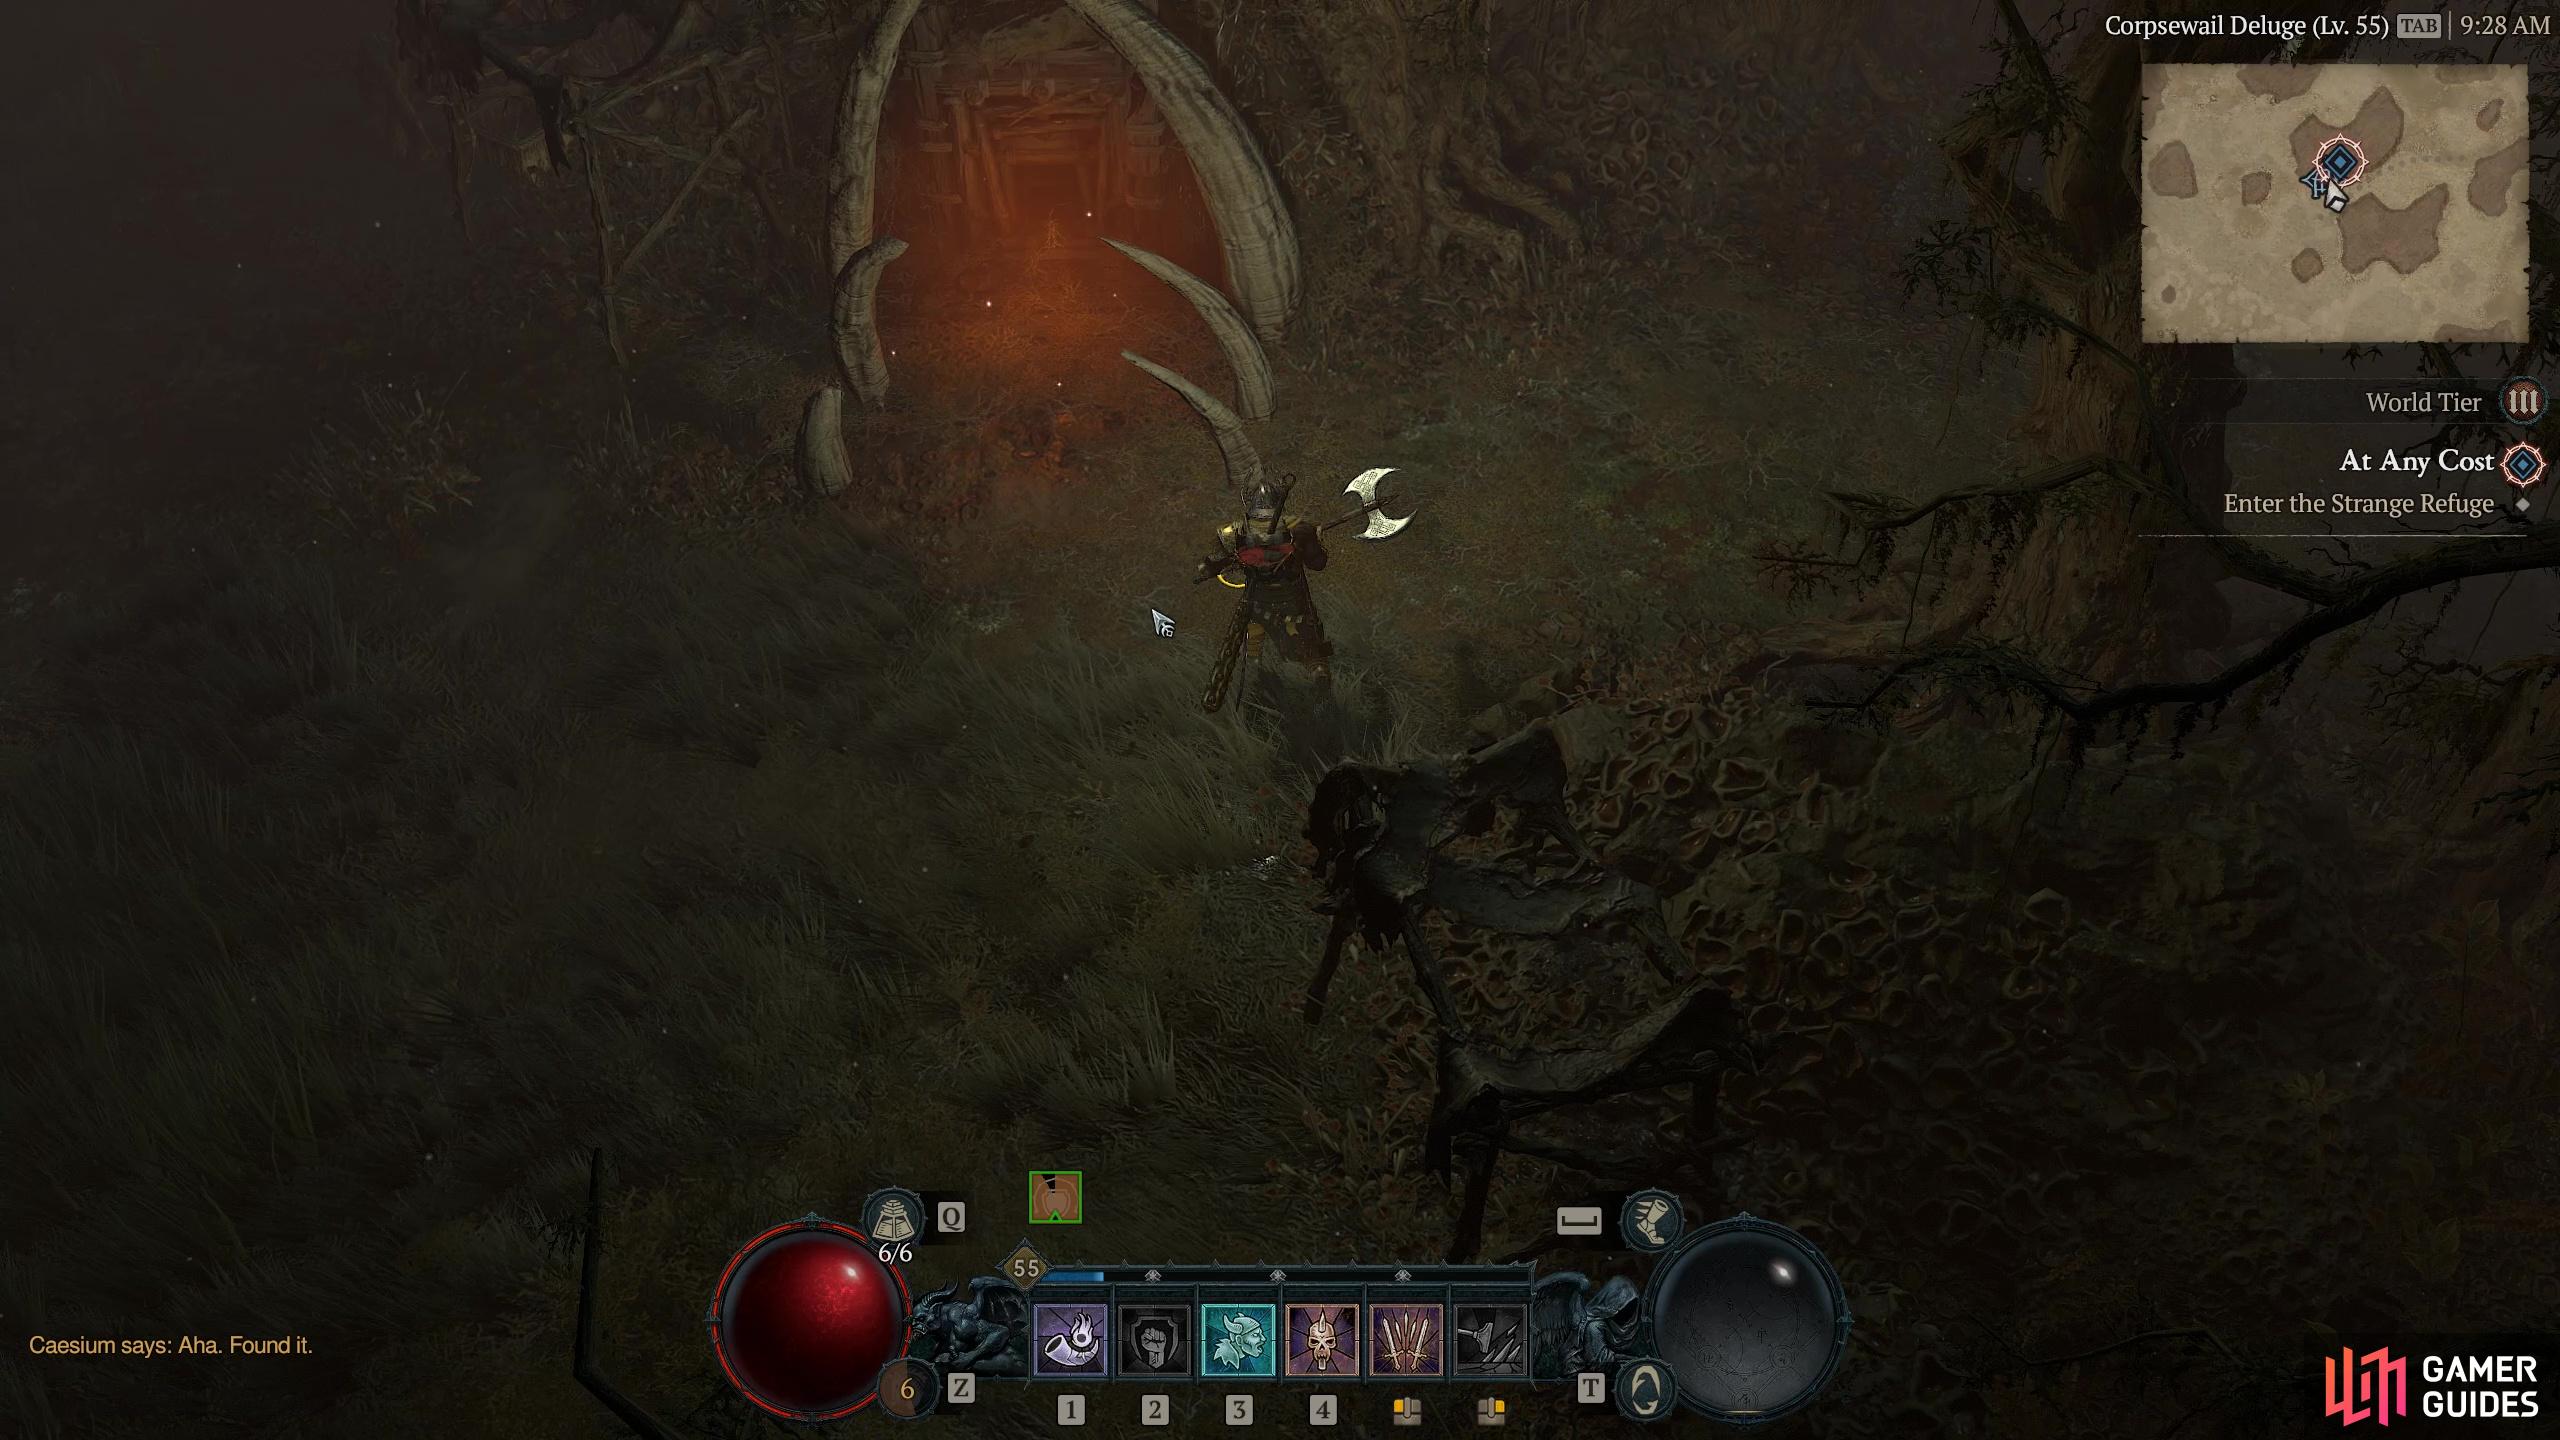
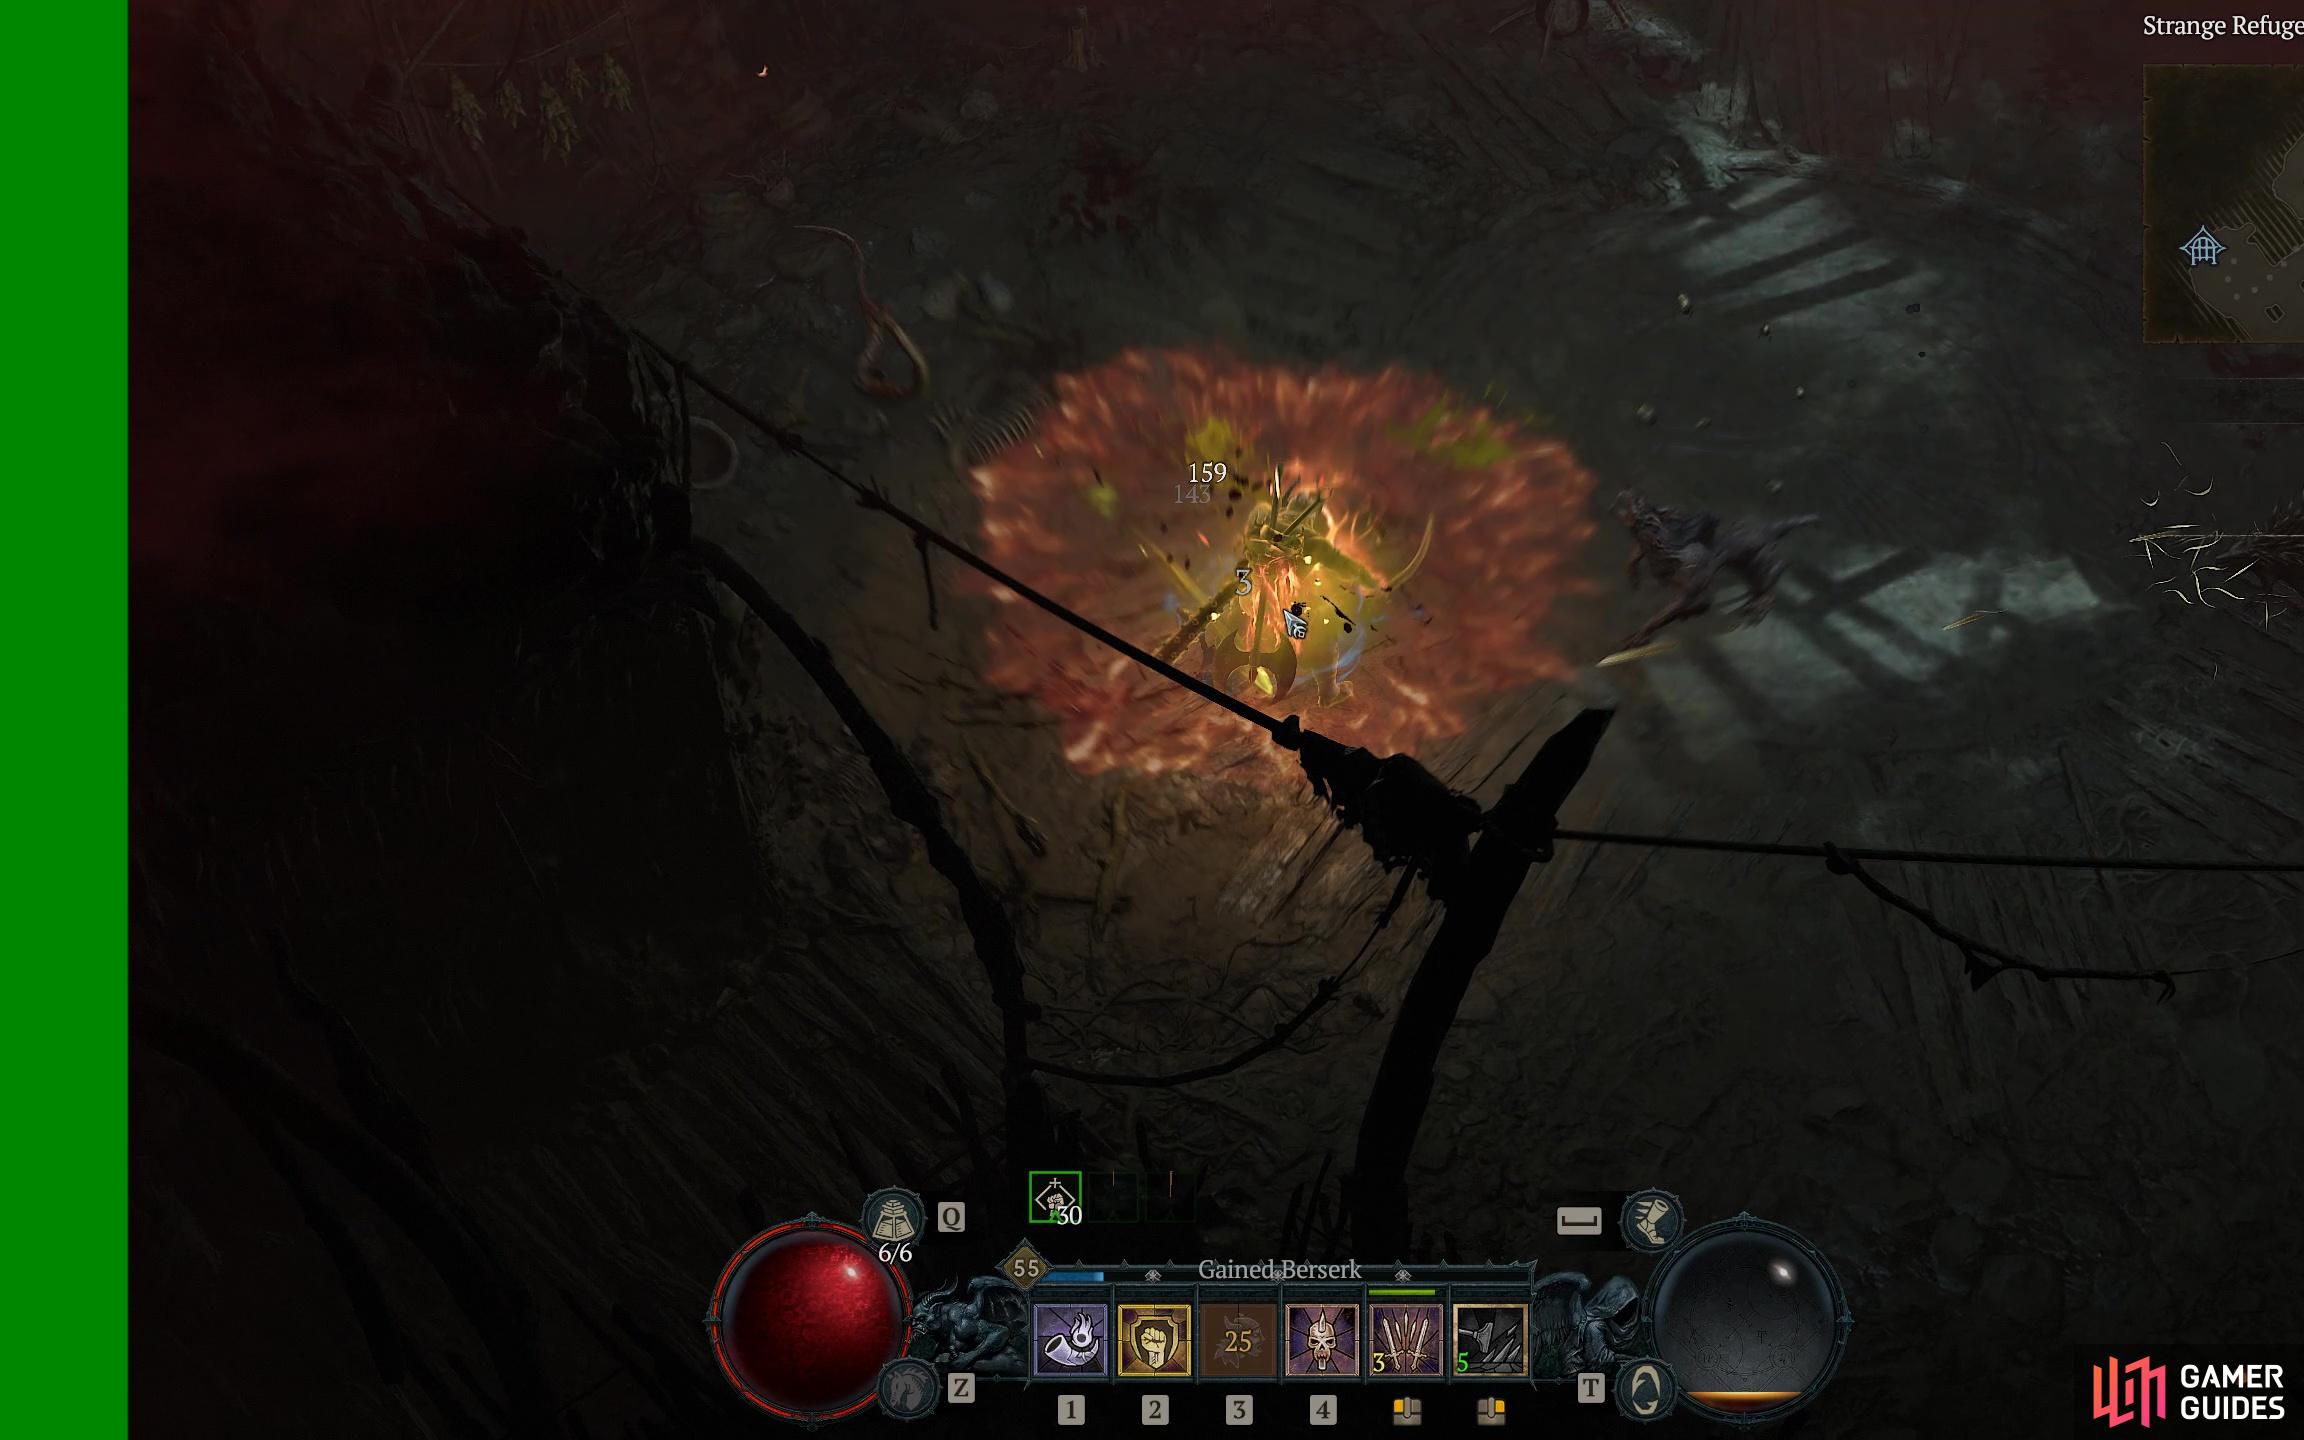
Strange Refuge |
Description
The Strange Refuge is a side quest dungeon that is only accessible during the side quest Once you have unlocked it via the quest head out until you find the dungeon entrance surrounded by large tusks, as you can see in the screenshot below. As this is a quest dungeon it is more of a one-room cellar filled with enemies, but as it unlocks further storylines it is still worth ticking off. The first thing you must do is slay the wildlife you will find in there, including fly swarms, Nangari Spitters, and Once they are all dead you need to investigate the campsite, so examine the beds, campfire and candles. As yuo finish this a corpse will start groaning. Interact with it and it will turn into the Acolyte of Rathma who you need to slay. Now place the three candles where instructed, then the Acolyte’s dismembered head and speak to it to begin the ritual. You will then get a cut-scene that progresses the side-quest and the dungeon is complete.
Enemies
Detailed Location
Related Quests
1×
Region
General Reward
Gold, XP, |
|
|||||||||||||||||||||||||||||||||||||||||||||||||||||||||||||||||||||||||||||||||||||||||||||||

|
Halls of Dark Portent |
The Halls of Dark Portent are a side quest dungeon that can only be accessed during the
Enemies
Detailed Location
Related Quests
1×
Region
|
||||||||||||||||||||||||||||||||||||||||||||||||||||||||||||||||||||||||||||||||||||||||||||||||