
You’ll meet many interesting NPCs in Kyo, and some of them you can even form bonds with, friendships that you can cultivate via various means. As you do things to improve your bond, you may trigger various events pertaining to that character, and if you max out your bond you may earn gifts and virtue. Below you’ll find information about finding and completing all the bonds in the Fushimi region in Like a Dragon: Ishin!.
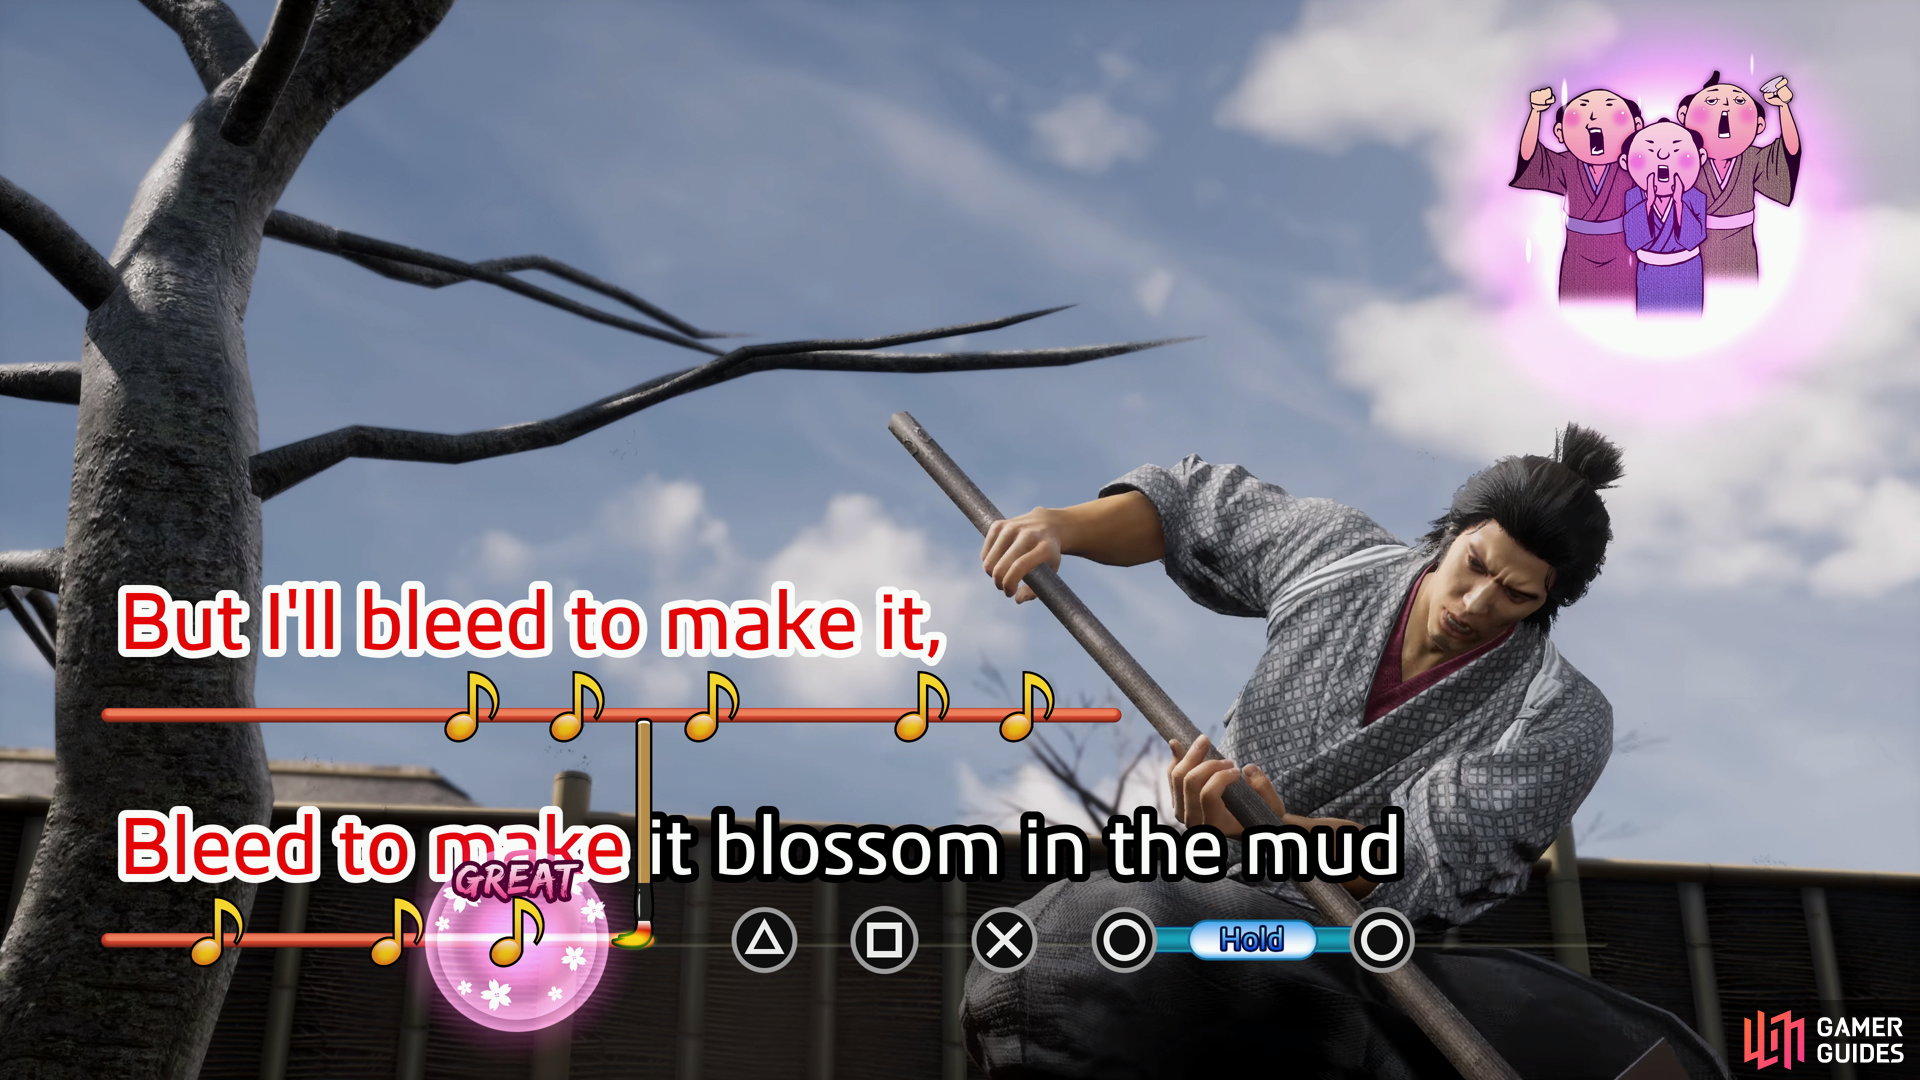
Play the karaoke minigame to boost your bond with the Utamaruya Owner.
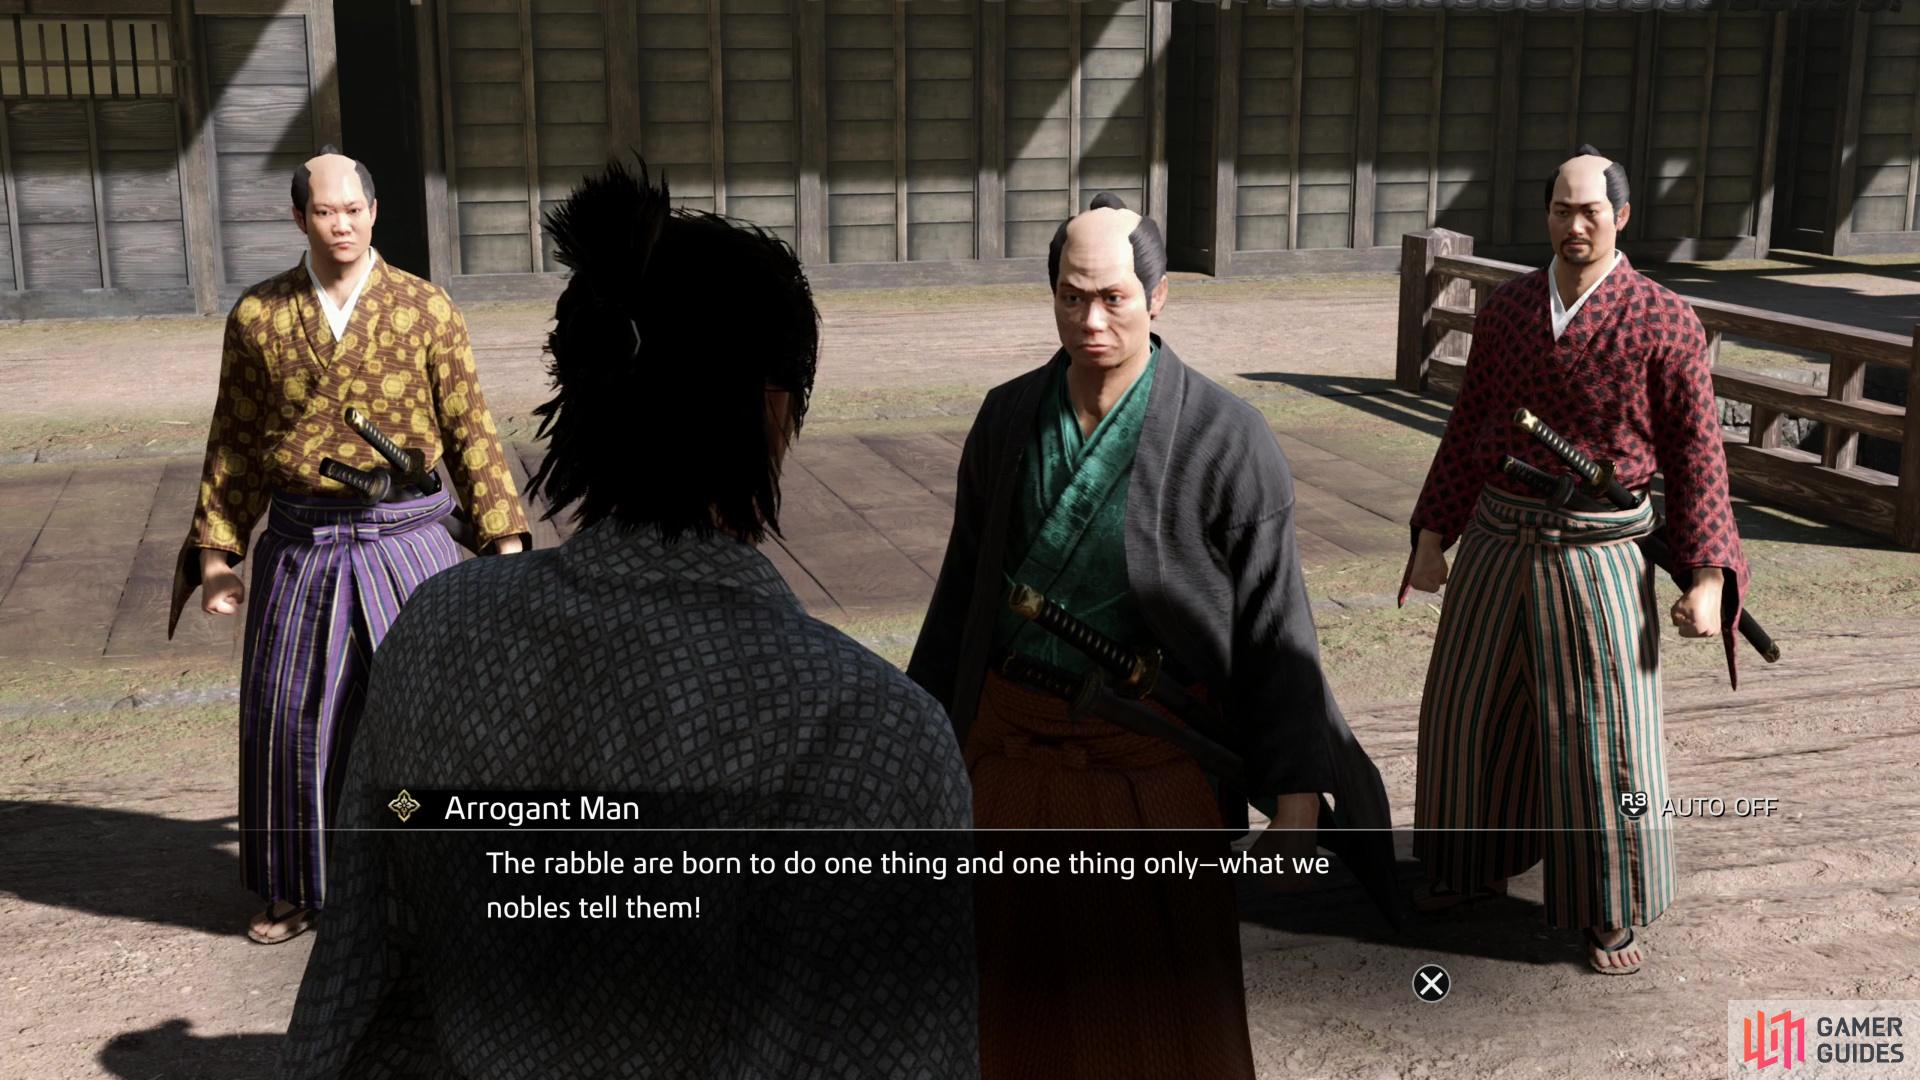
After raising your bond sufficiently, you’ll need to drive off some nobles who disdain the merriment enjoyed by the lower class.
Bond with Utamaruya Owner
The proprietor of the “singing bar” in along the northern edge of Fushimi, you can start a bond with him as early as Chapter 2 just by entering the establishment. If you want to improve your bond, you’ll have to play the karaoke minigame, with each song attempted giving you a small boost to your bond regardless of how you perform, albeit at the expense of 500 mon. It’s worth noting that after each song you’ll get a choice to “Extend Session”, which allows you to sing another song, but if you’re just trying to max out your bond, you do NOT want to do this. Quit after each song, as your bond increases the same amount whether you sing one song, or several. Work your way through each song, quitting between each attempt, and your bond will increase apace.
Get your bond up to around 50% and Utamaruya’s owner will mention some “big shots” who are opposed to peasants engaging in any frivolity. Nothing immediately comes from this, so keep singing until your bond is at 75%, at which point the owner will close up shop. Leave and travel a distance away to get him to reopen - traveling to Teradaya should suffice.
Once you return to Utamaruya you’ll find that the “big shots” the owner mentioned earlier have made an appearance, and are pressuring the owner to shut the store down. The leader of these aristocratic thugs, an “Arrogant Man”, is as absurd as he is direct. Needless to say, a patron of the arts like Ryoma isn’t going to let them bully the owner, and a fight ensues.
The three Ruffians you’ll have to fight are fairly strong - at least as strong as any single enemy you’ll encounter on the streets, early-game. They’ve got loads of health and decent damage output, but otherwise fight like any other sword-wielding generic enemies. You should be able to knock them down with simple combos and punish them when they’re on the ground, just be wary of opportunistic attacks as you thrash your target. It may take a while to chip away their health bars, but it shouldn’t be an overly difficult fight.
Defeat the nobles and strike a blow for the merriment of the lower classes. Back in Utamaruya, the owner will thank you for saving his establishment, giving you a Phoenix Feather. This will also fill out the rest of the bond bar, and you’ll earn 2,250 Virtue for maximizing this bond.
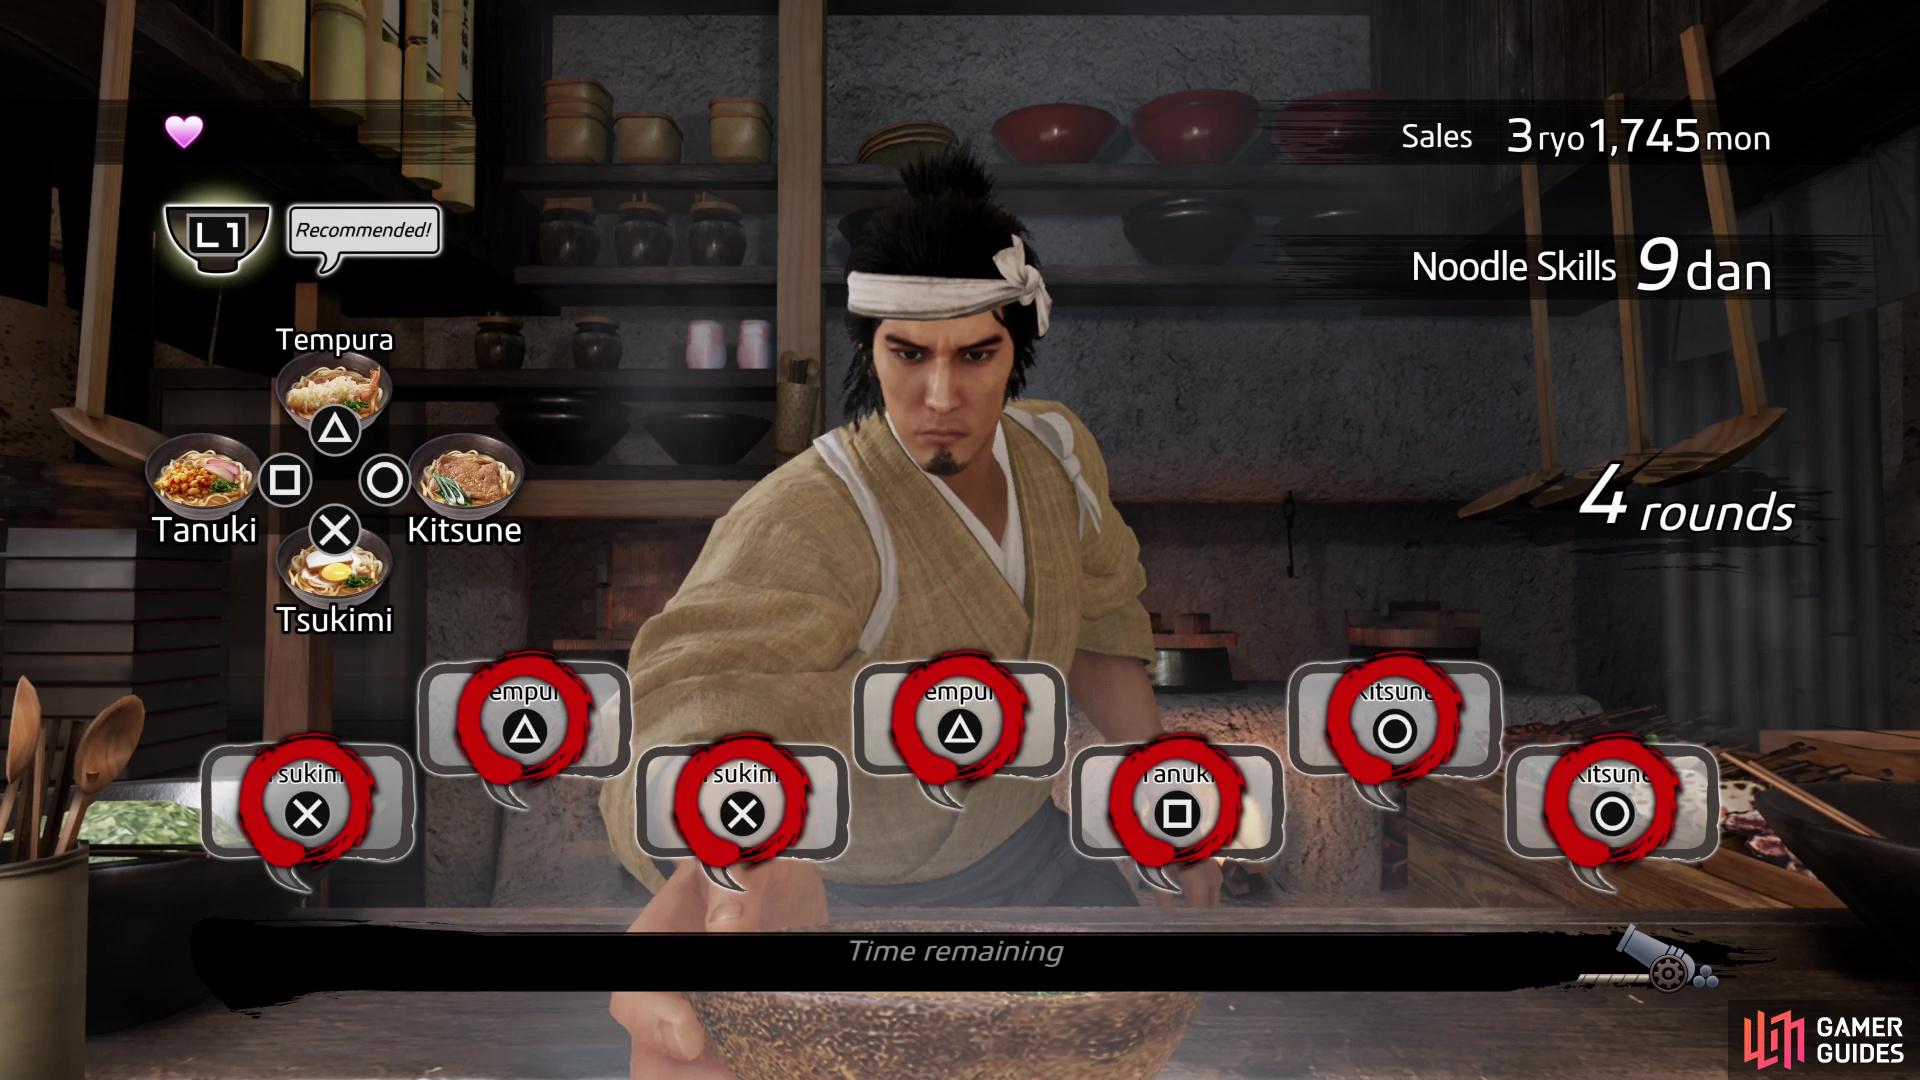
Complete the serving minigame at the Umai Udon shop or buy food to raise your bond,
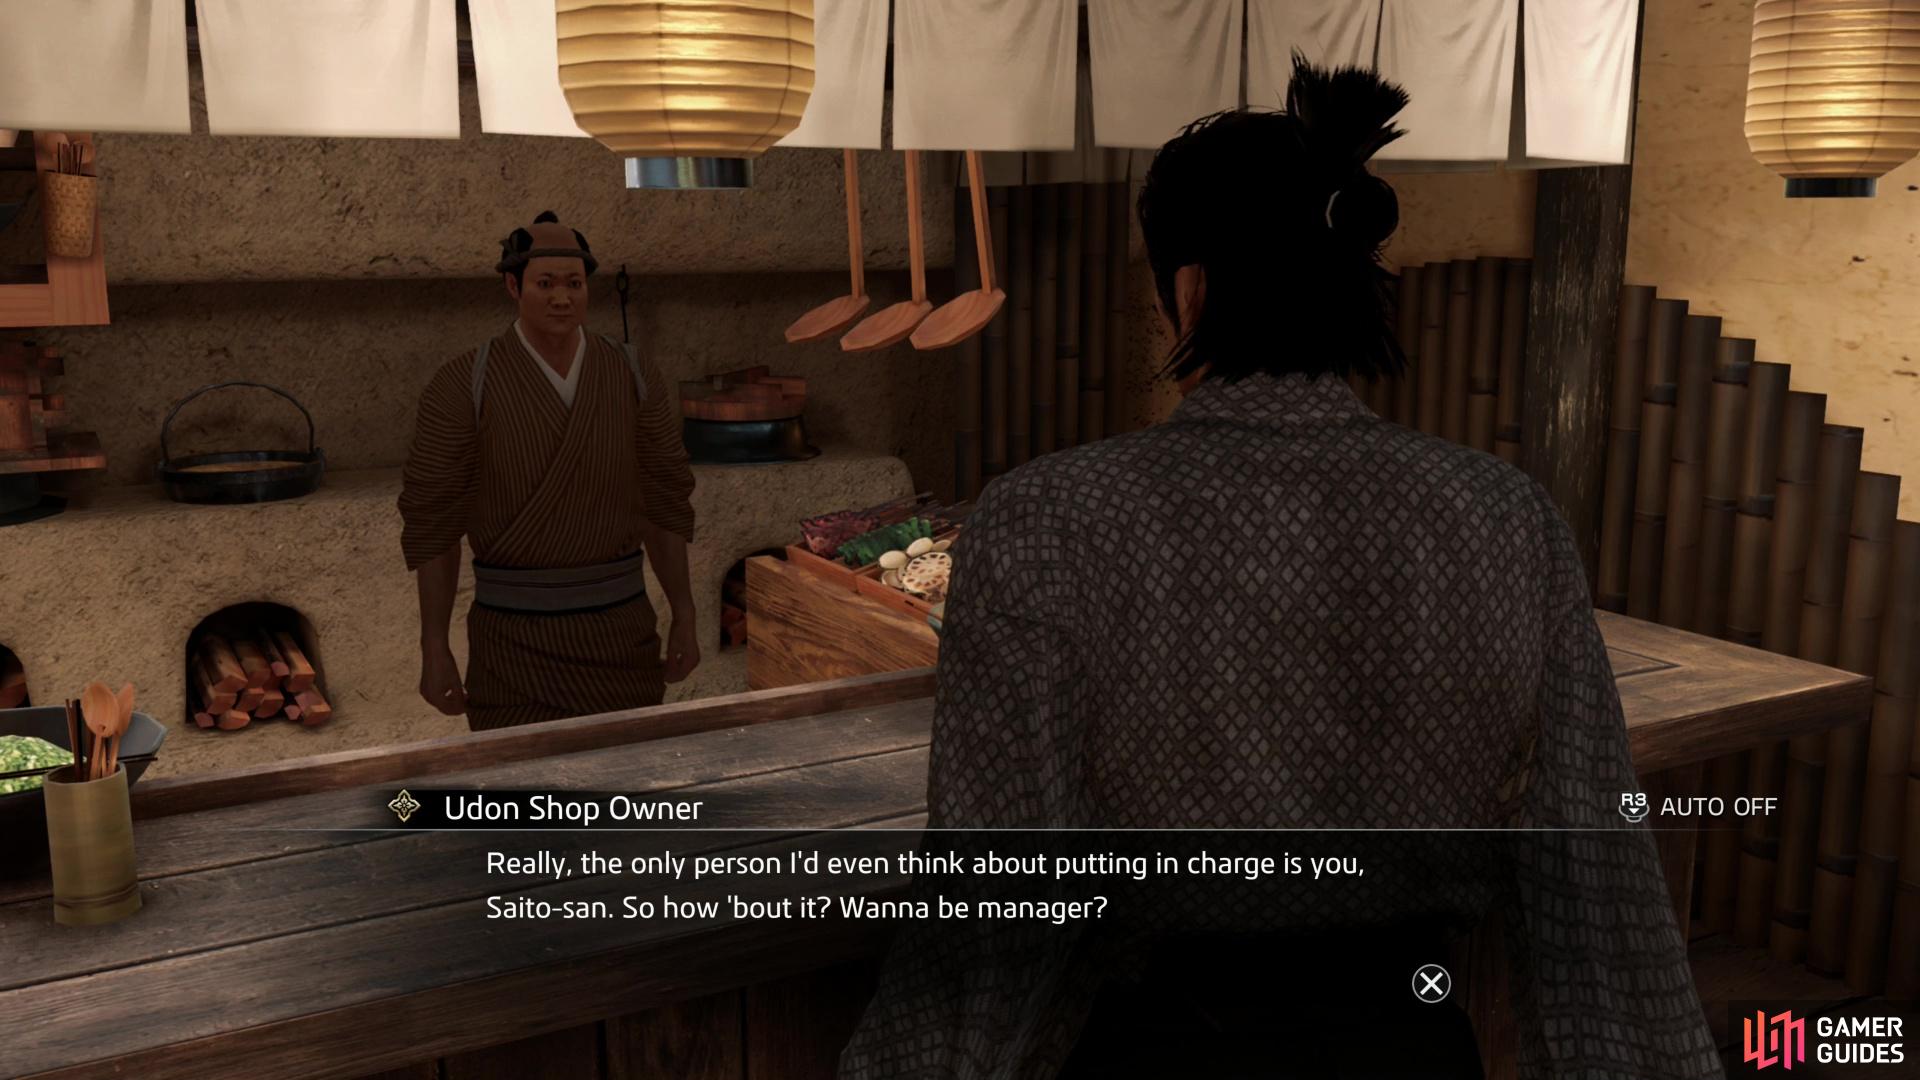
and once sufficiently raised the Umai Udon owner will make a job offer. While this goes nowhere, it does max out your bond.
Bond with Umai Udon Owner
One of the many vendors operating stores along Fushimi Ichibangai, when you first visit the Umai Udon shop, the owner will injure his back and ask you to fill in for him, starting the Udon Shop Minigame. Every time you attempt this minigame you’ll increase your bond with the Umai Udon Owner, regardless of your performance, although since you get 10% of the sales you’ve some incentive to do well. In addition, you can also increase your bond with the shop owner via the usual method of buying meals from them. What you order doesn’t really matter, just as long as you consume SOMETHING, you’ll gain some bond.
Eat and/or serve noodles until your bond is at 50% at which point the next time you talk to the Umai Udon Owner, he’ll mention some secret, but will refuse to elaborate further. Keep boosting your bond until it’s around 90%, at which point the Umai Udon Owner will tell you the secret he was keeping before offering Ryoma a job. Naturally Ryoma turns it down, and afterwards your bond will max out, earning you 2,250 Virtue.
Buy drinks and/or food from the Fukufuku Pub until Ryoma pressures the owner to drink with him - an activity which doesn’t go well.
Increase your bond further and you’ll find the owner in a drunken stupor - pick the correct dialog options to sober him up and max out your bond.
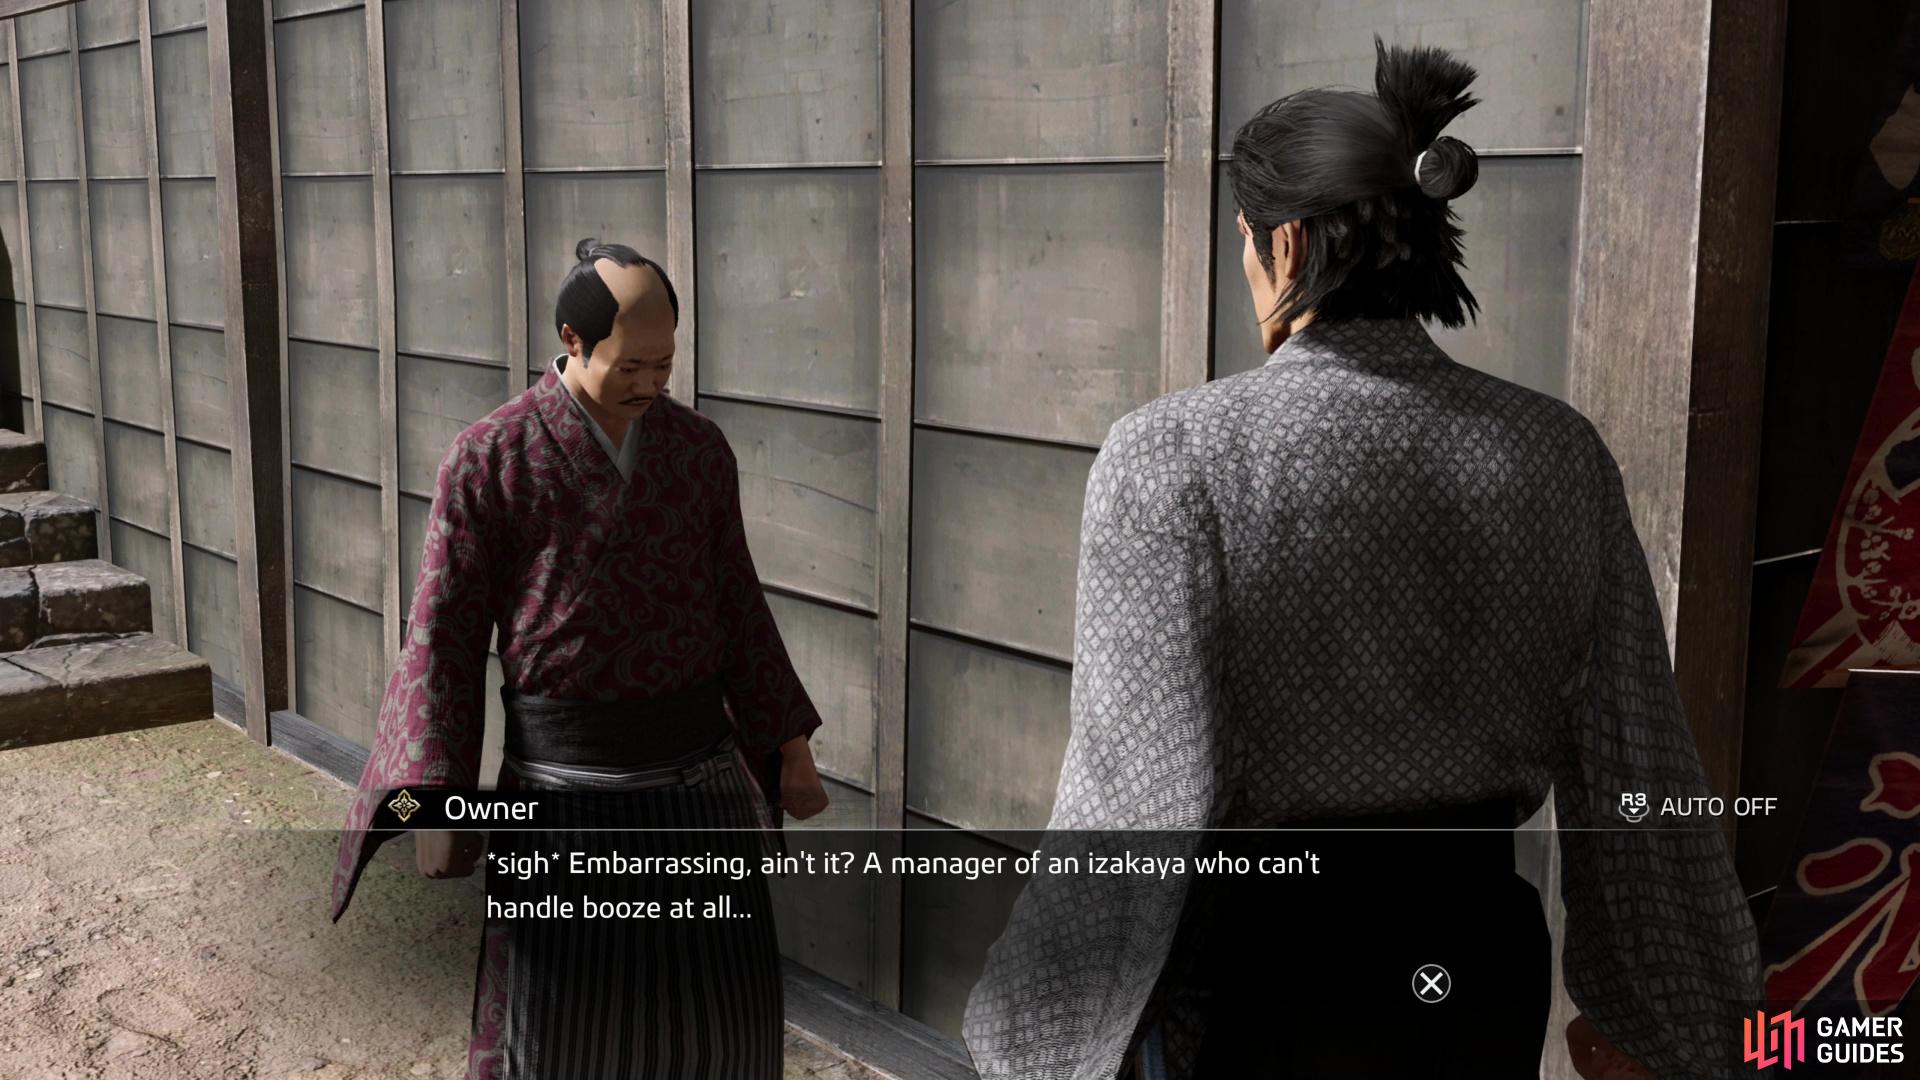
Bond with Fukufuku Pub Owner
Along the southwestern end of Fushimi Ichibangai you’ll find the Fukufuku Pub. Buy food and/or drink there to start a bond with the owner, which you can then continue to build up via repeated visits. You won’t get much bond each order, but keep chipping away at it and eventually you’ll fill the bond bar to around 60%. Once your bond is high enough, after a purchase the owner will talk to Ryoma, who will use the indomitable art of peer pressure to trick the owner into drinking with him. This… is a mistake, as it reveals a terrible secret about the pub owner.
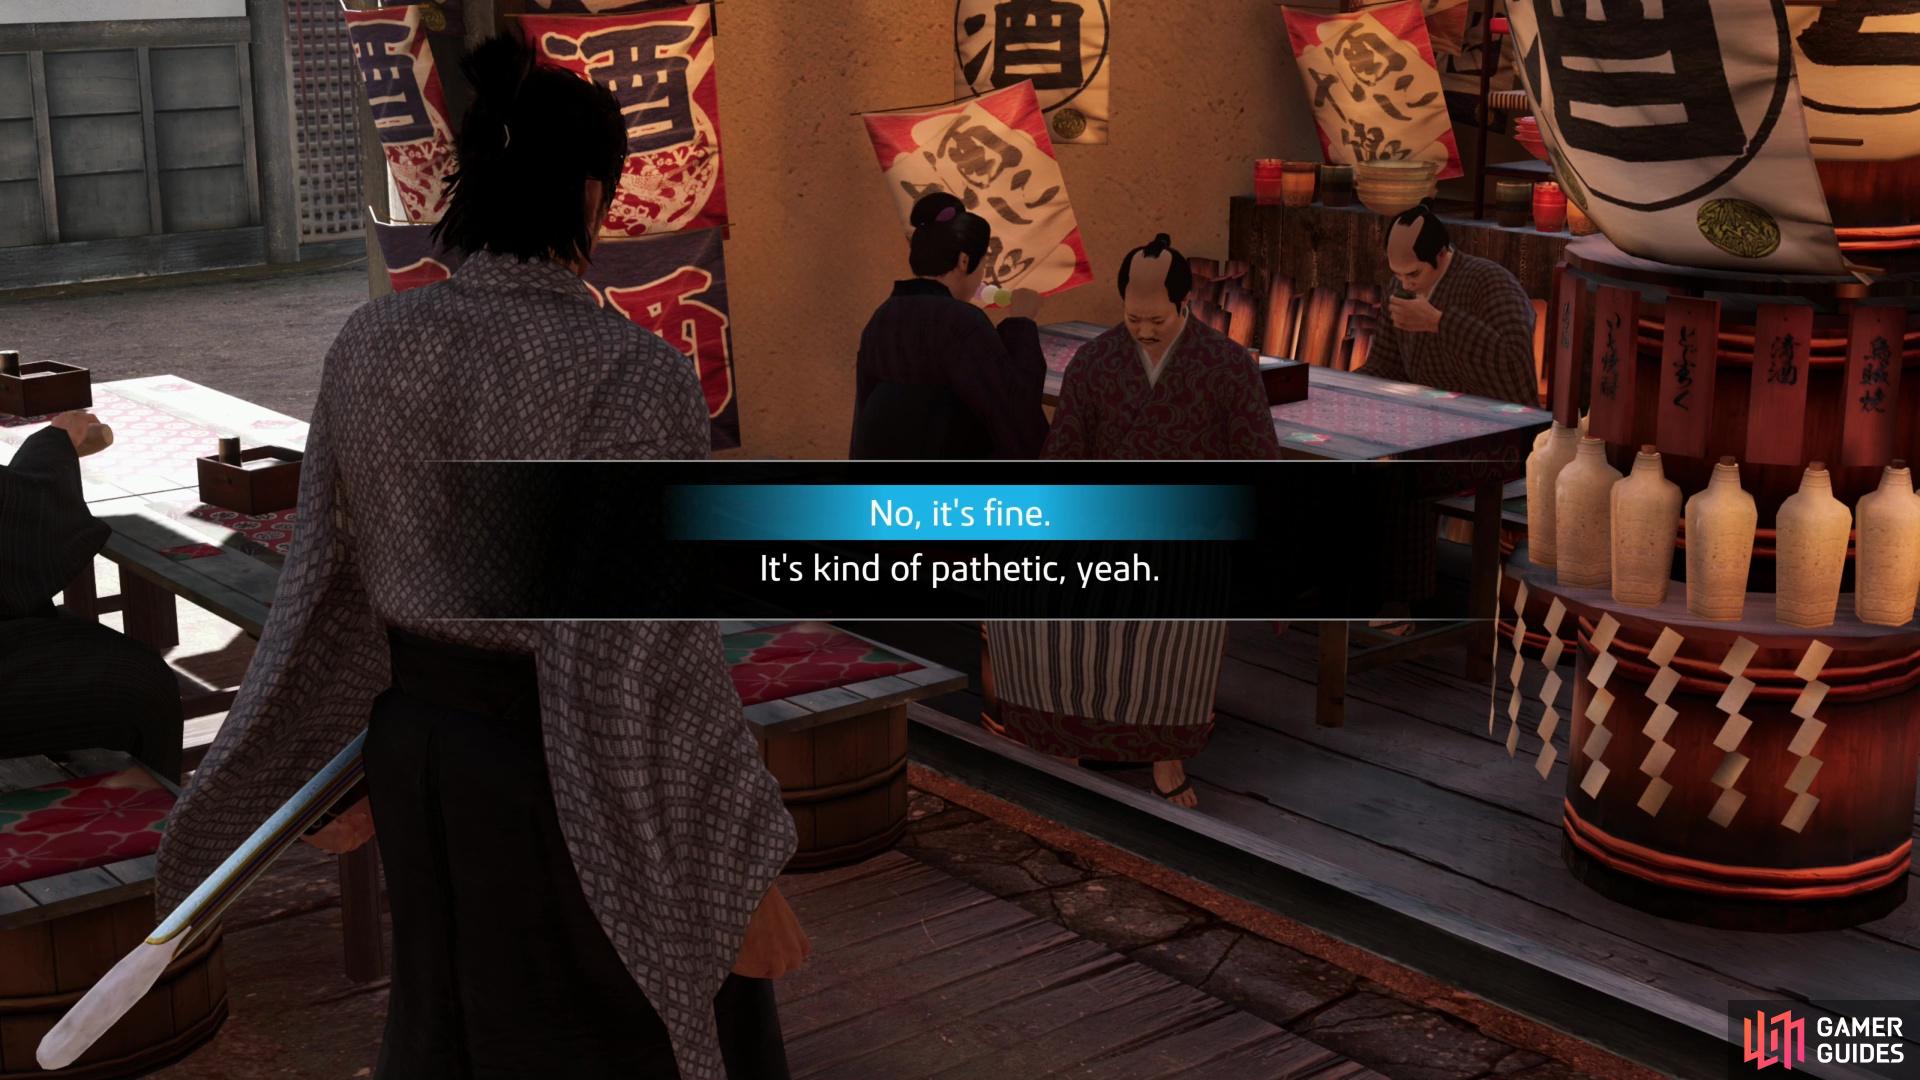
After the ill-fated bout of drinking with the pub owner, you’ll need to leave the area and return to trigger the next phase of this bond. Entering and exiting Teradaya should be sufficient. Once done, return to the Fukufuku Pub and you’ll spot two men talking about the pub owner’s drinking habits, which have convinced them to seek out a different watering hole. When Ryoma is talking to the pub owner afterwards you’ll get some dialog choices. Pick the following:
- ”No, it’s fine.”
- ”Water would taste better.”
Following this, your bond with the Fukufuku Pub Owner will max out, he’ll give you some Nada Refined Sake and you’ll earn 2,250 Virtue.
Bond with Desperate Fisherman
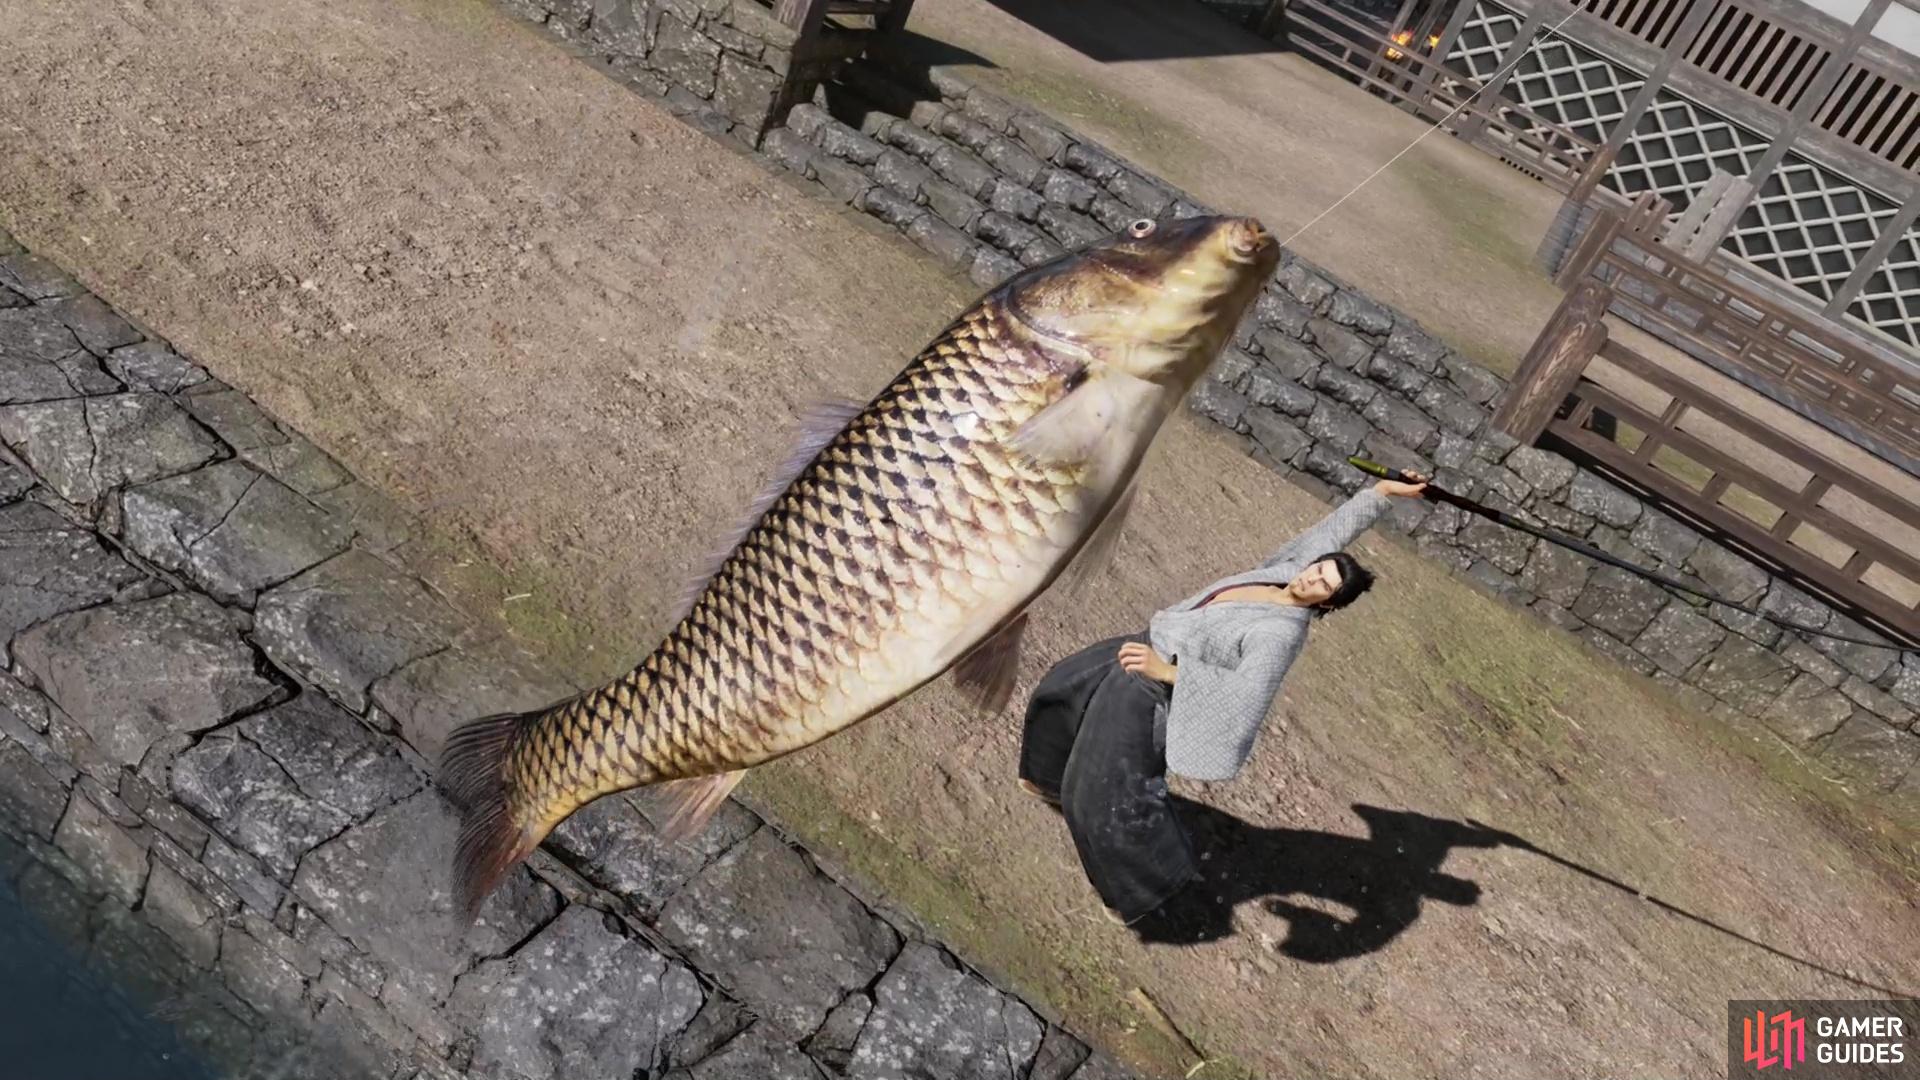
Just south of Teradaya, between the River Fishing Spot and the Sea Fishing Boat on Shinmachi, Fushimi, you’ll find a Desperate Fisherman who just can’t get break. Or a bite. Same thing, in this case. Due to his chronic lack of success as a fisherman, his wife is on his case, rightfully demanding that he do something more productive with his time. Refusing to abandon his passion and support his family, he’ll instead ask you to give him a fish so he can convince his wife to allow him to continue his fruitless endeavor.
That’s the substance of this bond - give him fish (what fish, exactly, doesn’t matter) and you’ll increase your bond with the Desperate Fisherman. You can just keep handing him Carp caught from the nearby River Fishing Spot to max out his bond, if you wish. Talk to the Desperate Fisherman one last time when your bond meter is at around 80% and he’ll reveal that your charity has resulted in his wife capitulating. Success, I guess? This also causes the Desperate Fisherman to reveal his method, or lack thereof, Ryoma will do what he should have done at the outset of this bond - teach a man to fish and all that.
For completing this bond you’ll earn 2,250 Virtue.
Give Junk Boy any trash you have on hand to boost your bond with him.
Eventually he’ll get into a spat with one of his friends, which Ryoma will talk Junk Boy through.
Bond with Junk Boy
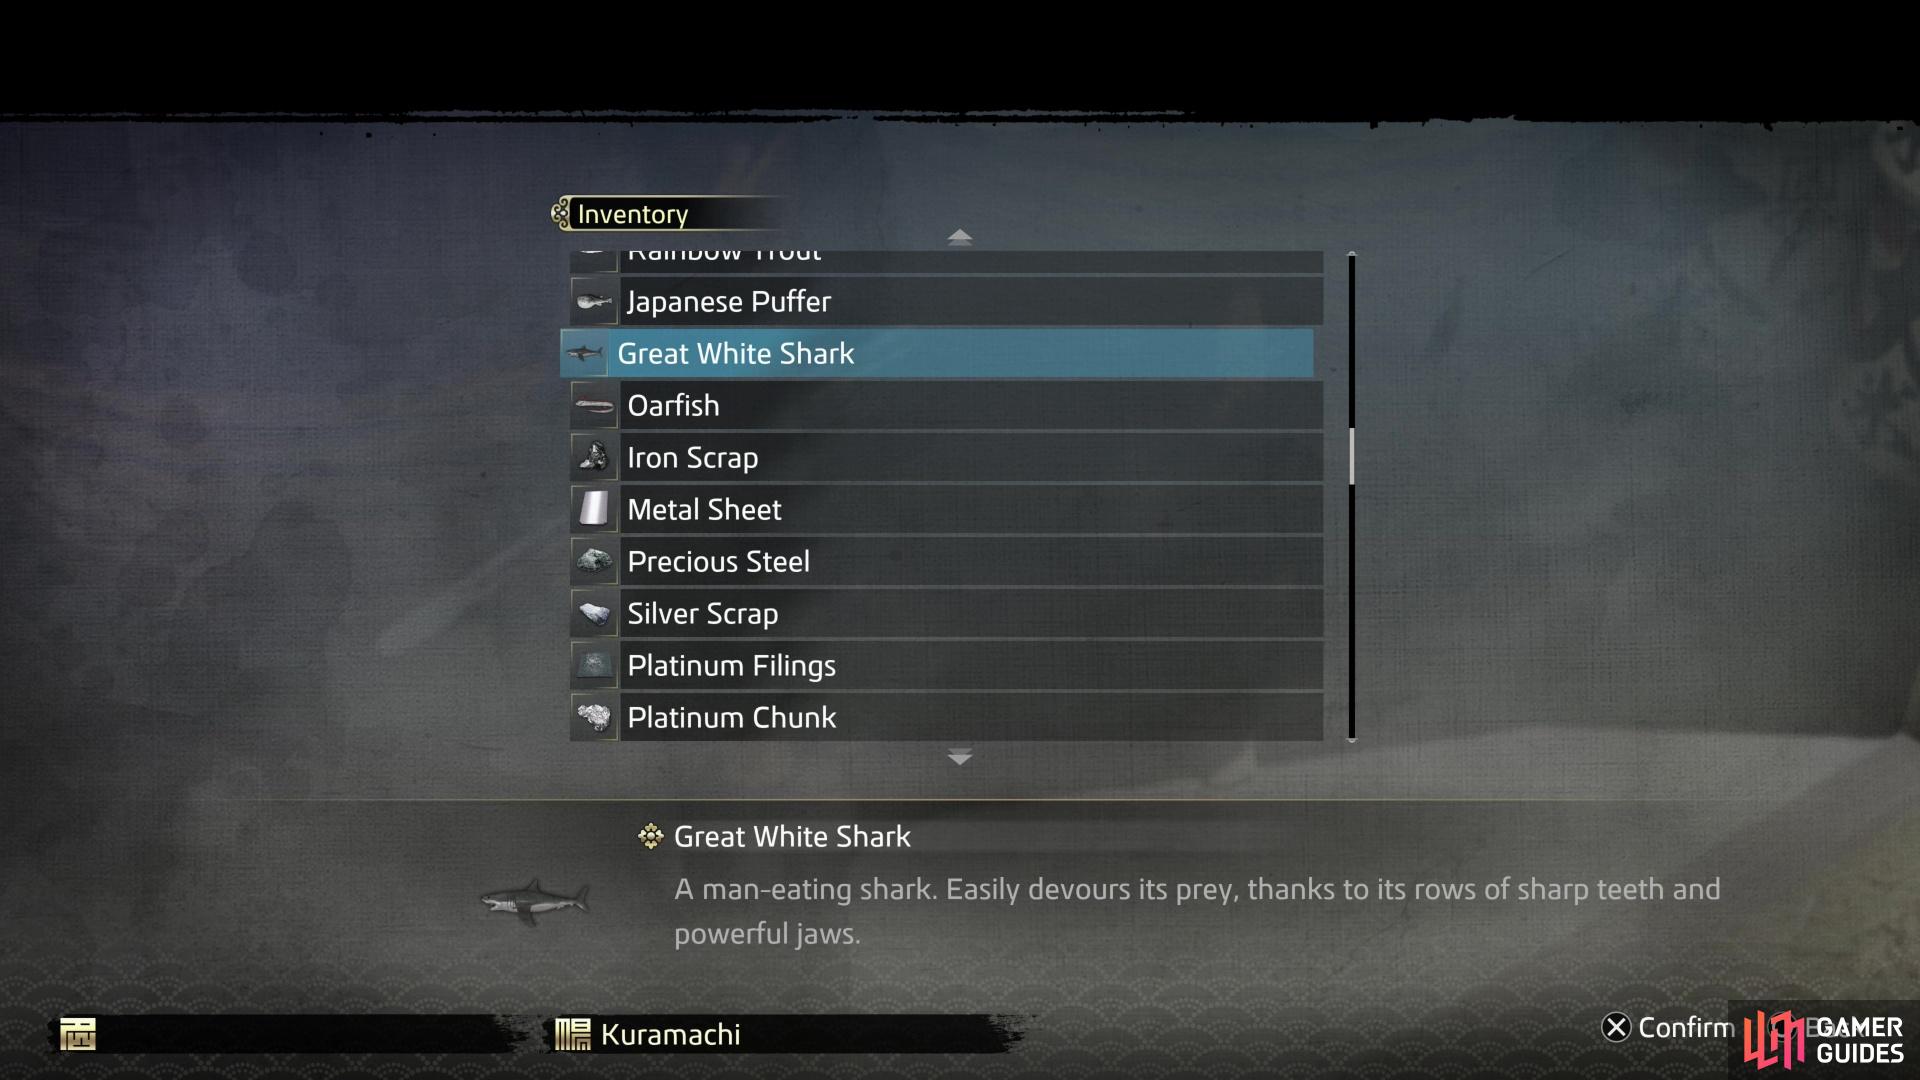
Just north of the Teradaya inn you’ll find the Kuramachi region of Fushimi, with two open warehouses. In the eastern of these two buildings you’ll find a boy - Junk Boy - who is being ostracized by prospective friends due to his lack of cutting-edge toys. Kids are a resourceful lot, however, and he can make a toy out of just about anything, and he’ll ask you for a donation so he can play with local kids. This is covered in Substory 51 - Junk Boy, but the idea is simple enough - it doesn’t matter what you give the kid, even if it’s a Worm, Ointment, Iron Scrap, some fish you caught, or even well water, he’ll be delighted and you’ll complete the Substory and forge a bond with the Junk Boy.
Fashions change fast, kids are destructive, and between these factors, toys are always in demand. Every time you see Junk Boy you can give him some unwanted clutter from your inventory and he’ll be as happy as a clam, increasing your bond. Like with the Substory, it doesn’t really matter what you give him (one time we gave him a Great White Shark we caught, because what kid wouldn’t want THAT as a toy?), each gift will increase your bond. After each gift, zone in and out of Teradaya and Junk Boy will respawn, ready and eager for another gift.
Once his bond meter hits 60%, talk him through a spat with one of his friends (no special action is necessary, but you will have to give him another piece of junk) and he’ll run off. Spawn him again and talk to him to learn the outcome of his attempt at reconciliation, at which point the bond bar will max out and you’ll earn 2,250 Virtue.
Chop wood for the Wood Cutter, hitting goals of 20, 100 and finally 300 pieces of wood cut,
every time you chop wood you’ll increase your bond with the Wood Cutter, until eventually he’s recovered enough to get back to work.
Bond with Wood Cutter
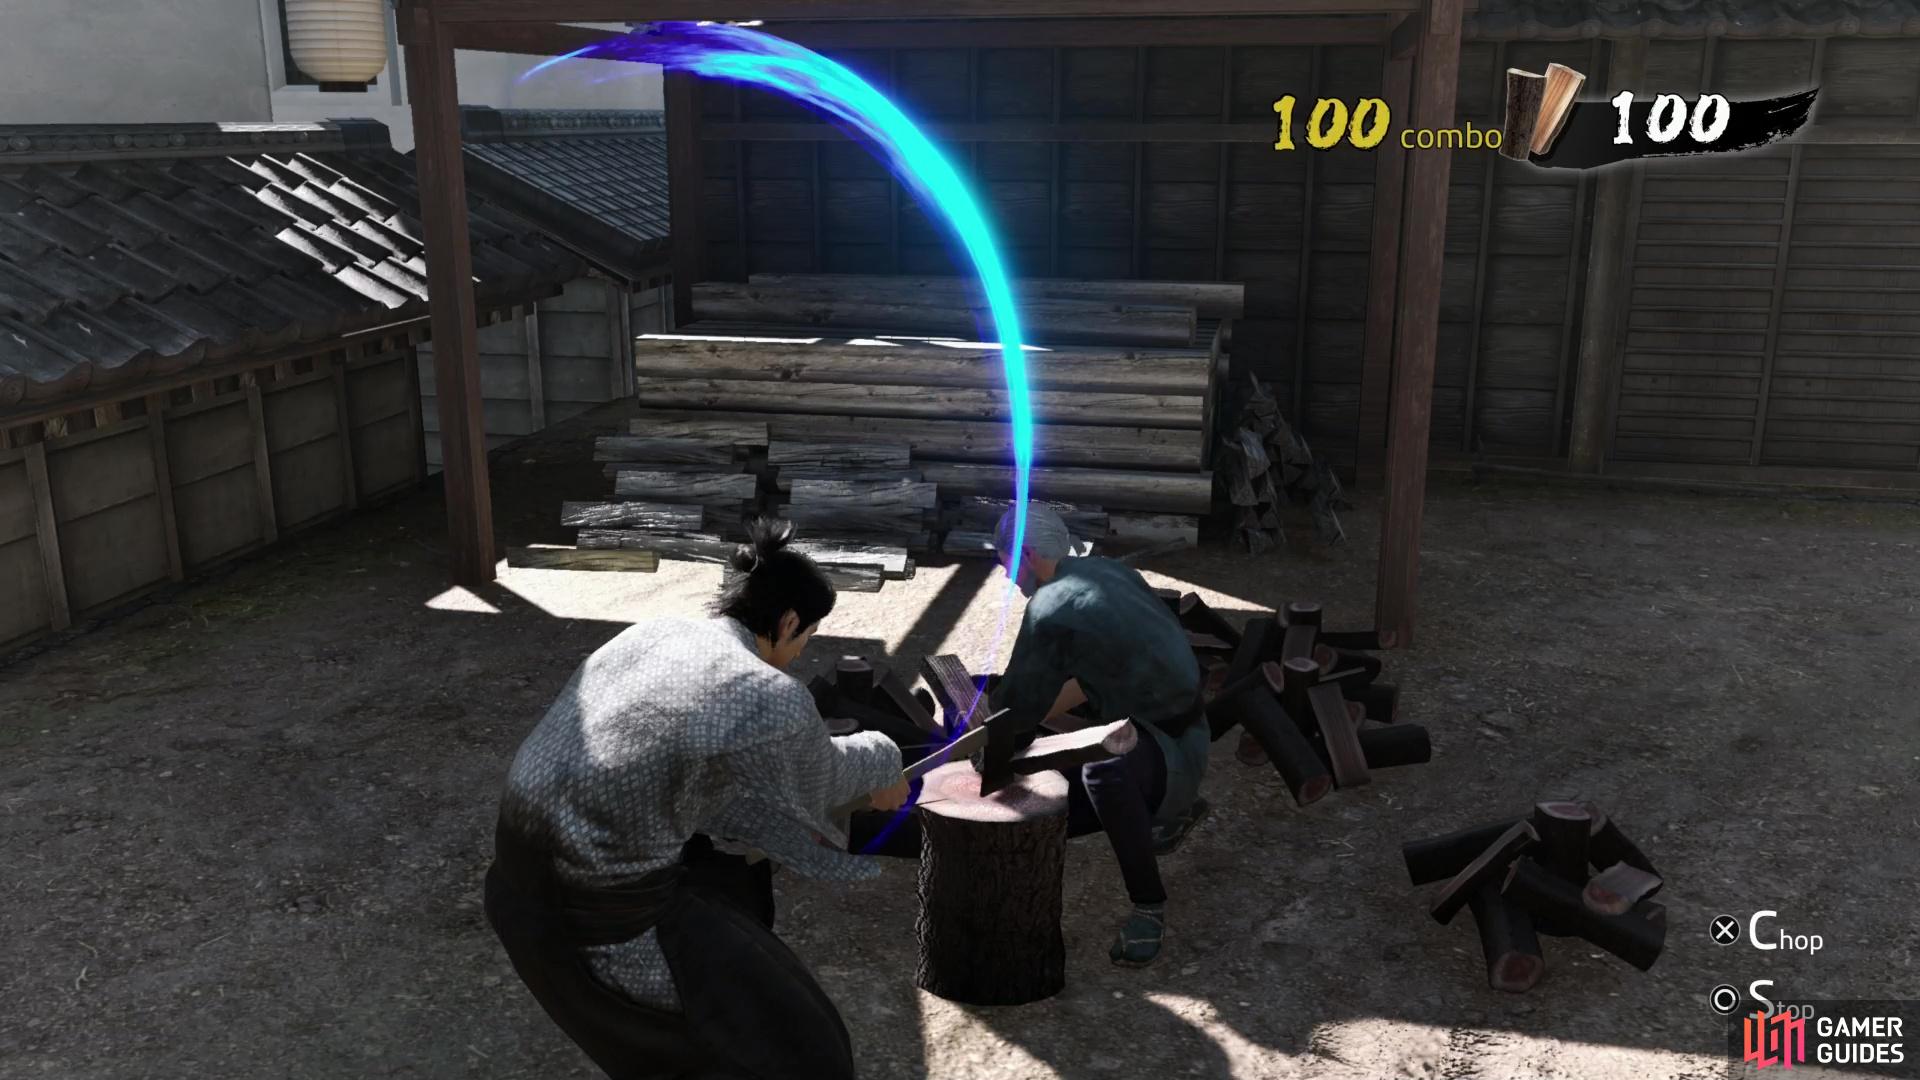
Along the southwestern corner of South Yashikimachi you’ll find a Wood Cutter, who is just as unfit to do his job as the one in Tosa was. Talking to him will start Substory 52 - The Wood Cutter, which will task you with chopping 20 pieces of wood. Just get the timing right and chop with  /
/  when the axe is glowing and you should have no trouble mowing through these, and aside from slowing you down, there’s no penalty for missing, so skill really just makes this go a bit faster. Chop 20 pieces of wood and he’ll pay you 100 mon for each piece of wood you chopped (2,000 mon total) and you’ll form a bond with the Wood Cutter.
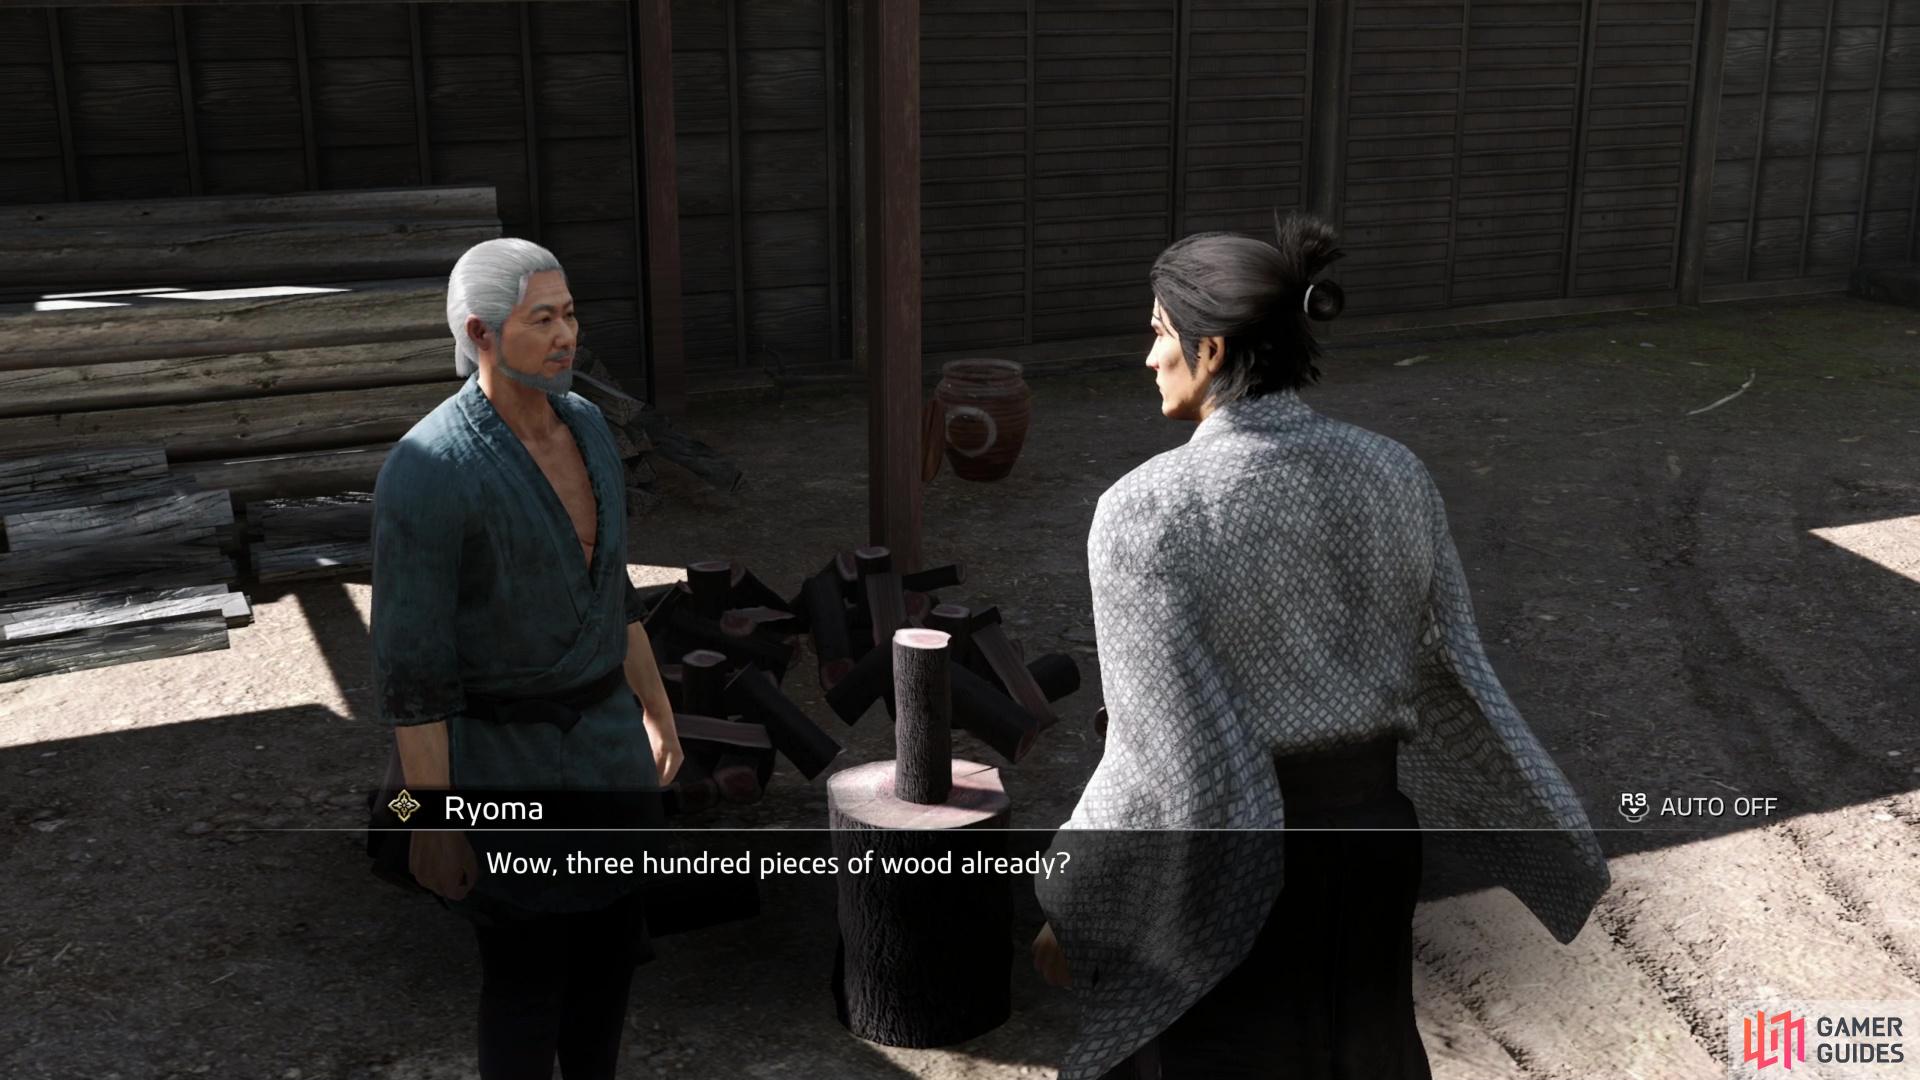
To advance your bond with the Wood Cutter, you just need to keep chopping wood. The Substory is over, but he still needs wood chopped - your second target will be 100 wood chopped, and since this earns you some easy starting cash, it’s not a bad idea even if you don’t really care about raising your bond with this character. After you meet this goal, the Wood Cutter will give you an Ancient Amulet as well as however much mon you’re entitled to (100 wood will get you 1 ryo).
Next up you’ll need to chop 300 wood, and since you can only chop 100 wood at a time, this will take at least three sessions. Persevere to earn 3 ryo and at reaching this last goal the Wood Cutter will give you a Broken Compass. The Wood Cutter will have recovered and will walk off; make your way to Teradaya, enter and exit, then return to the Wood Cutter to max out your bond. You can keep cutting wood, if you wish, and he’ll even bump up your pay to 150 mon per wood chopped! Lucrative profession, it seems, but hell on the back. For maxing out your bond with the Wood Cutter you’ll earn the standard 2,250 Virtue.
Seek out The Frequently Lost Courier east of Teradaya,
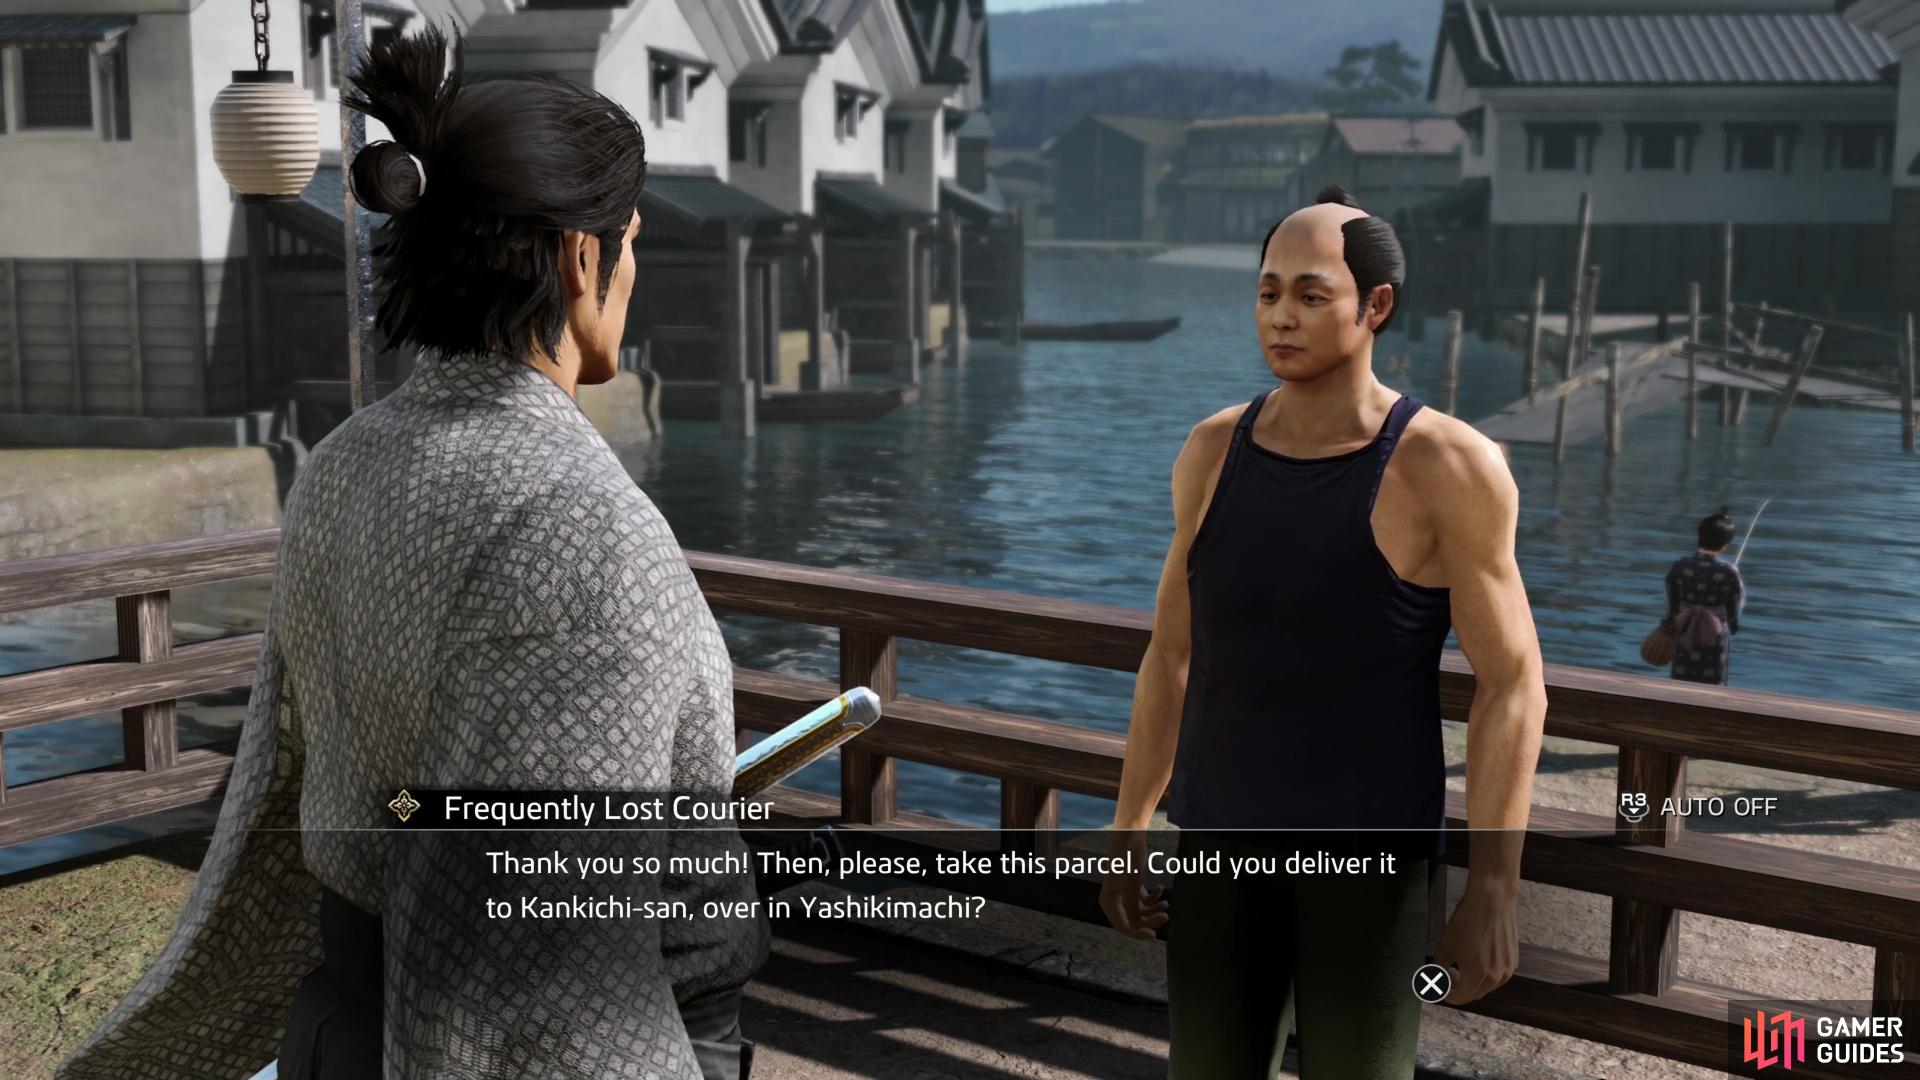
and after some attempts at giving The Frequently Lost Courier directions, Ryoma will offer to help deliver packages himself.
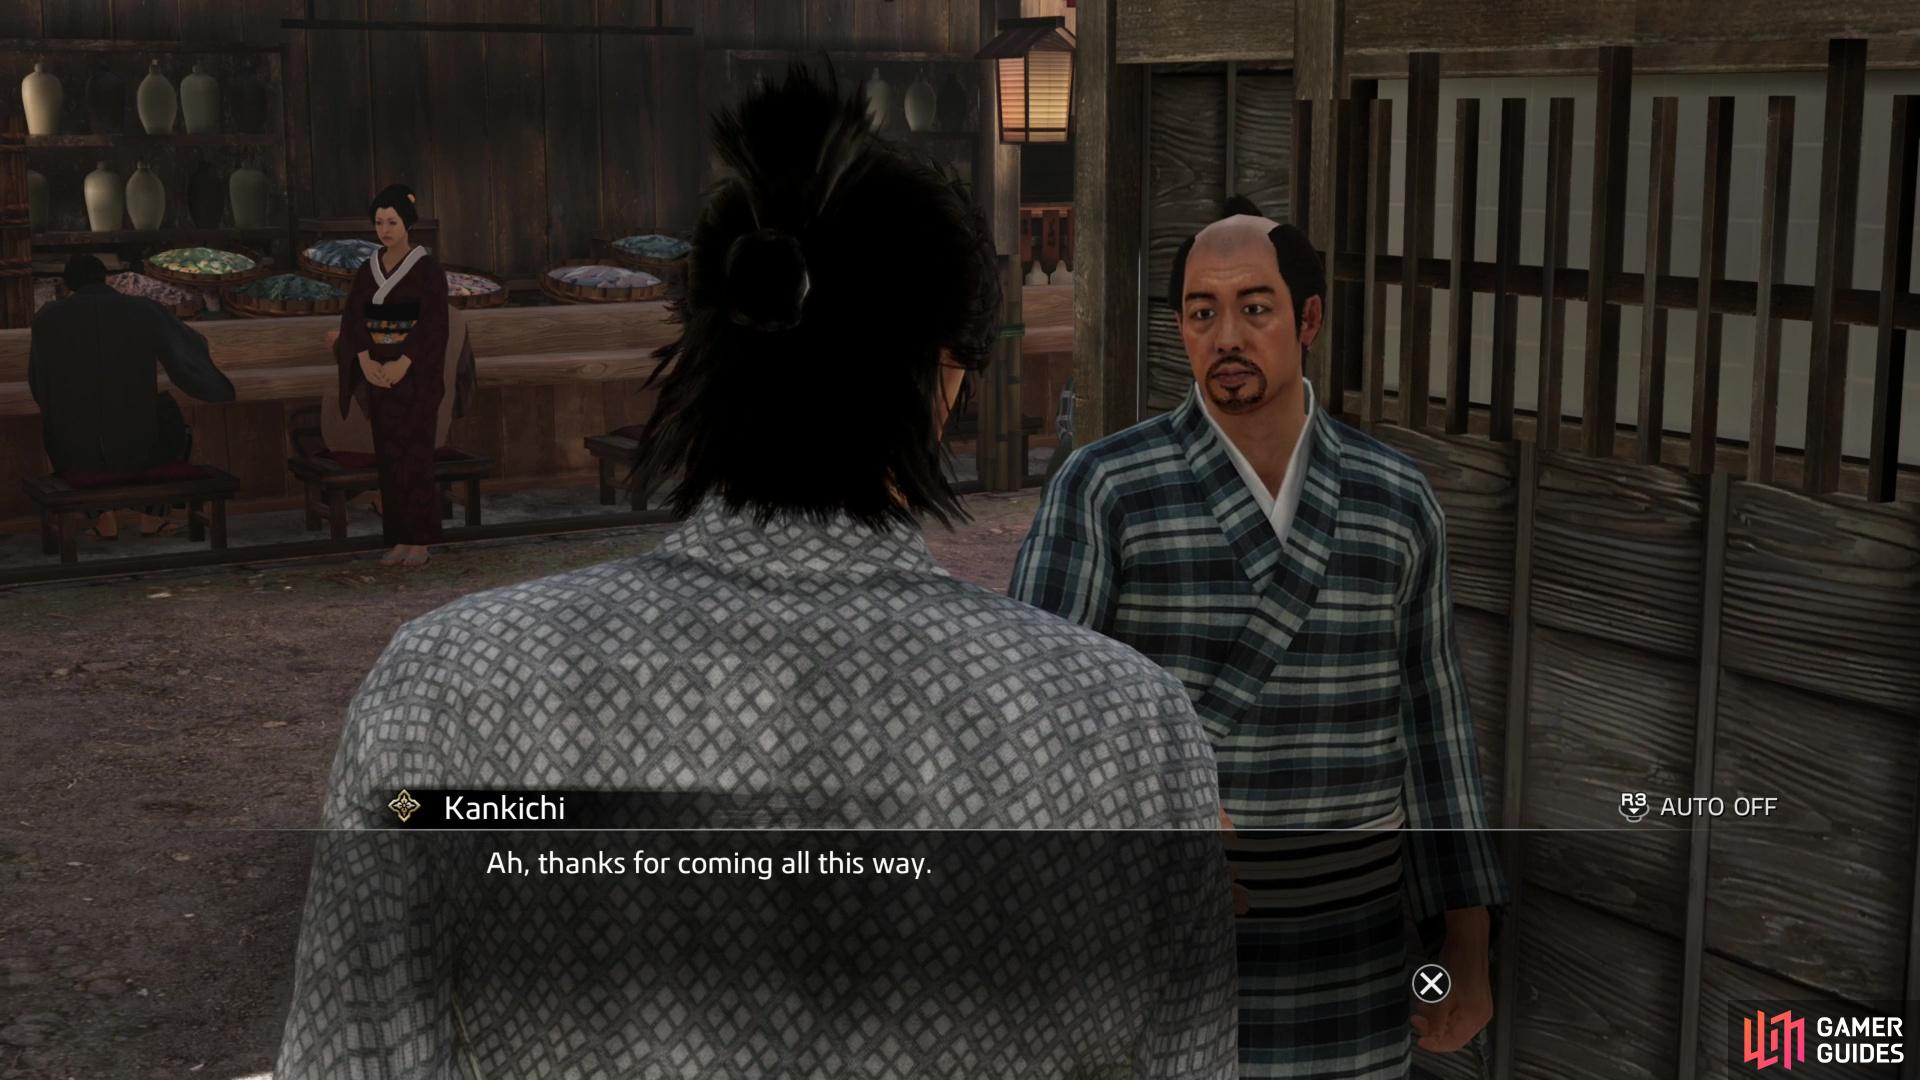
Find the recipient at the designated location to deliver the package, earning several thousand mon in the process.

If you forget the location of the parcel’s recipient, just check your inventory.
Bond with Frequently Lost Courier
In Chapter 3 you can find the eponymous Frequently Lost Courier east of Teradaya in Fushimi. Talk to him several times (visit the large shrine to the north between each chat to get enough distance for him to respawn) to start and complete Substory 53 - The Frequently Lost Courier, at the end of which Ryoma will offer to help deliver packages, forging a bond with The Frequently Lost Courier in the process.
You’ll be given a Courier’s Parcel along with the recipient’s name and location, the former of which is of little use, but the latter of which will narrow down where you have to search considerably. The location given will be a region somewhere in Kyo - the parts that highlight red on the map when you hover over them (Shijo Street, Umekojicho, Fushimi Ichibangai, etc). You’ll know you’re close to the recipient NPC - who will otherwise be standing about, indistinguishable from normal street traffic - when you see a text box mentioning the parcel they’re expecting. Give the target NPC the parcel and you’ll earn 4,000 to 8,000 mon (roughly depending on the distance between The Frequently Lost Courier and the recipient), after which you can report back to The Frequently Lost Courier to increase your bond and acquire another Courier’s Parcel to deliver.
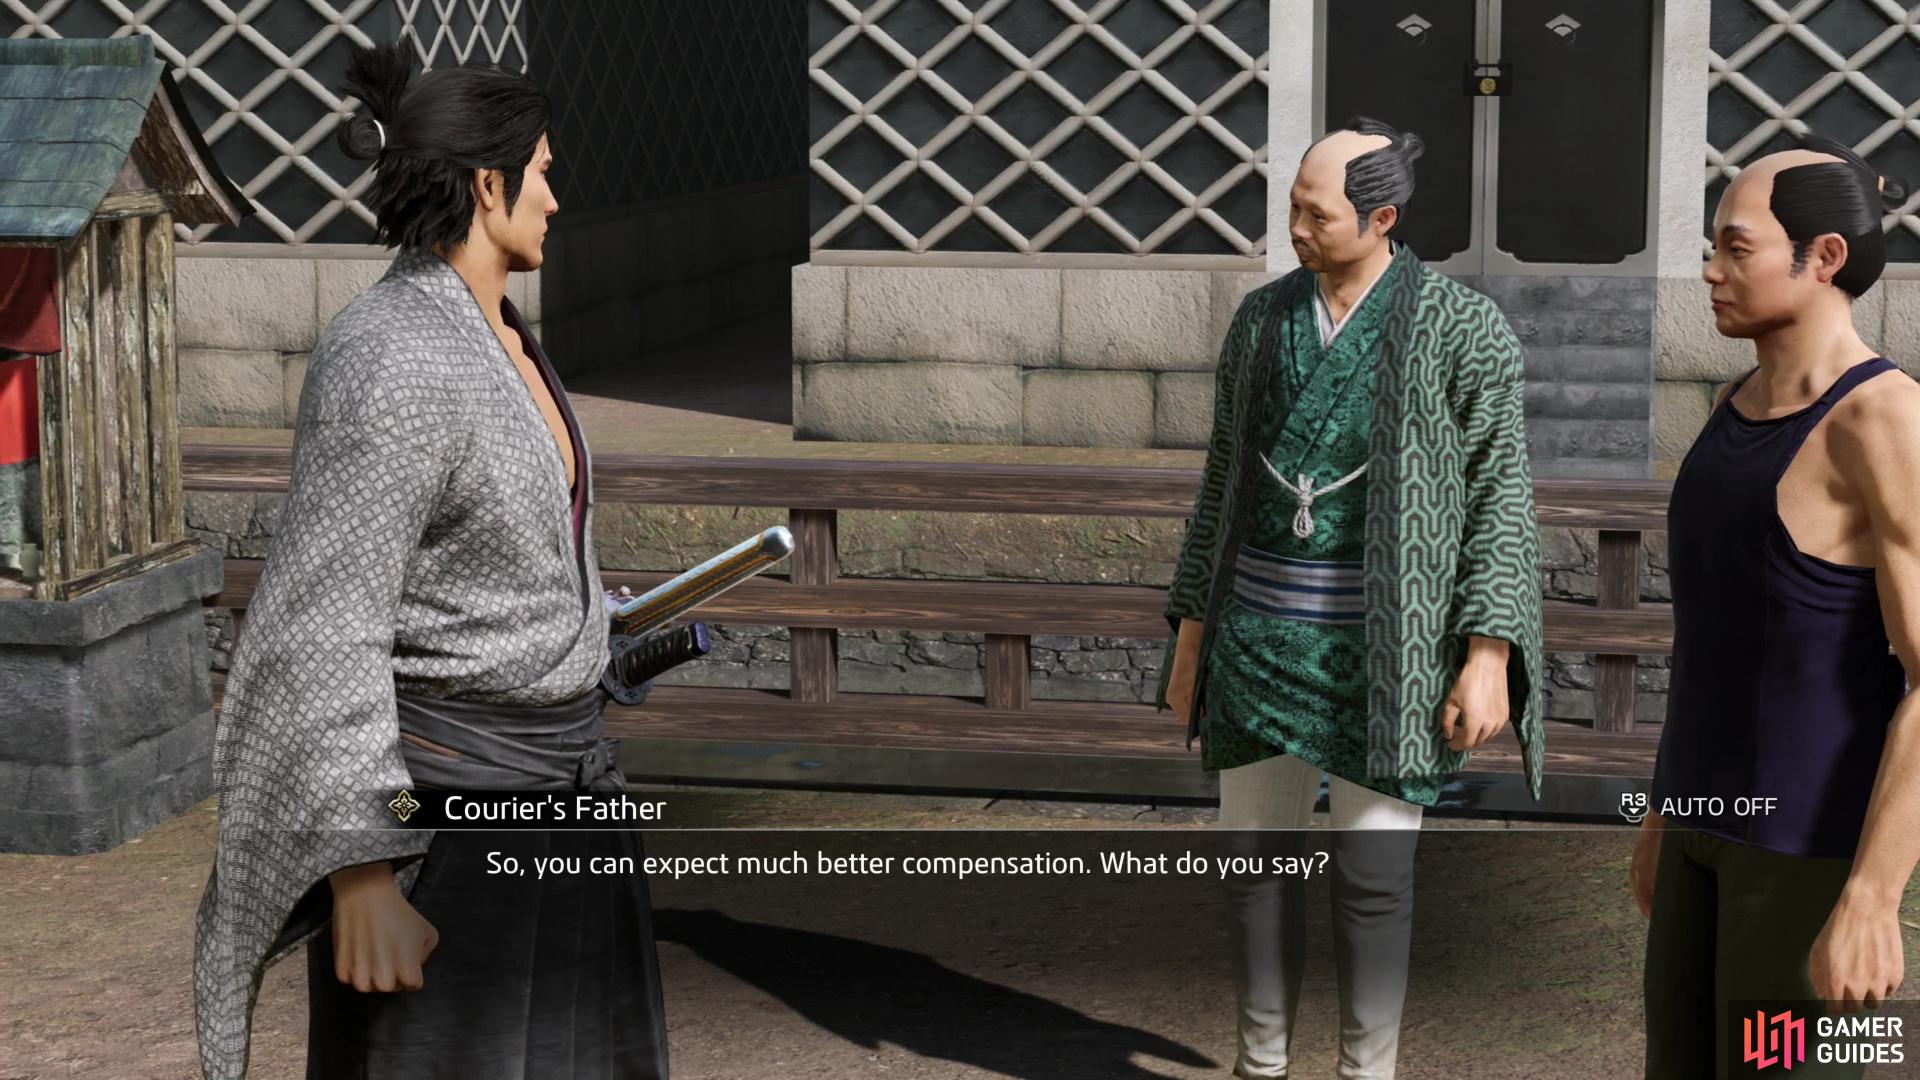
Deliver parcels until your bond with The Frequently Lost Courier is maxed, at which point you’ll get a pay raise.
Keep this up until your bond is at around 60% (this took us around four deliveries) at which point you’ll be told that you’ve completed all deliveries for the day… which just means you have to run to the large shrine to the north, then return to The Frequently Lost Courier to respawn him and start up another parcel delivery. Keep delivering packages until the bar is full, at which point you’ll find the Courier’s Father waiting for you, along with The Frequently Lost Courier. You’ll be able to keep delivering parcels - at a higher rate of pay, at that - but this should also max out your bond with The Frequently Lost Courier, earning 2,250 Virtue.
(1 of 3) Purchase goods from the Ichikura Owner - number of transactions matters, not the amount of mon spent,
Bond with Ichikura Owner
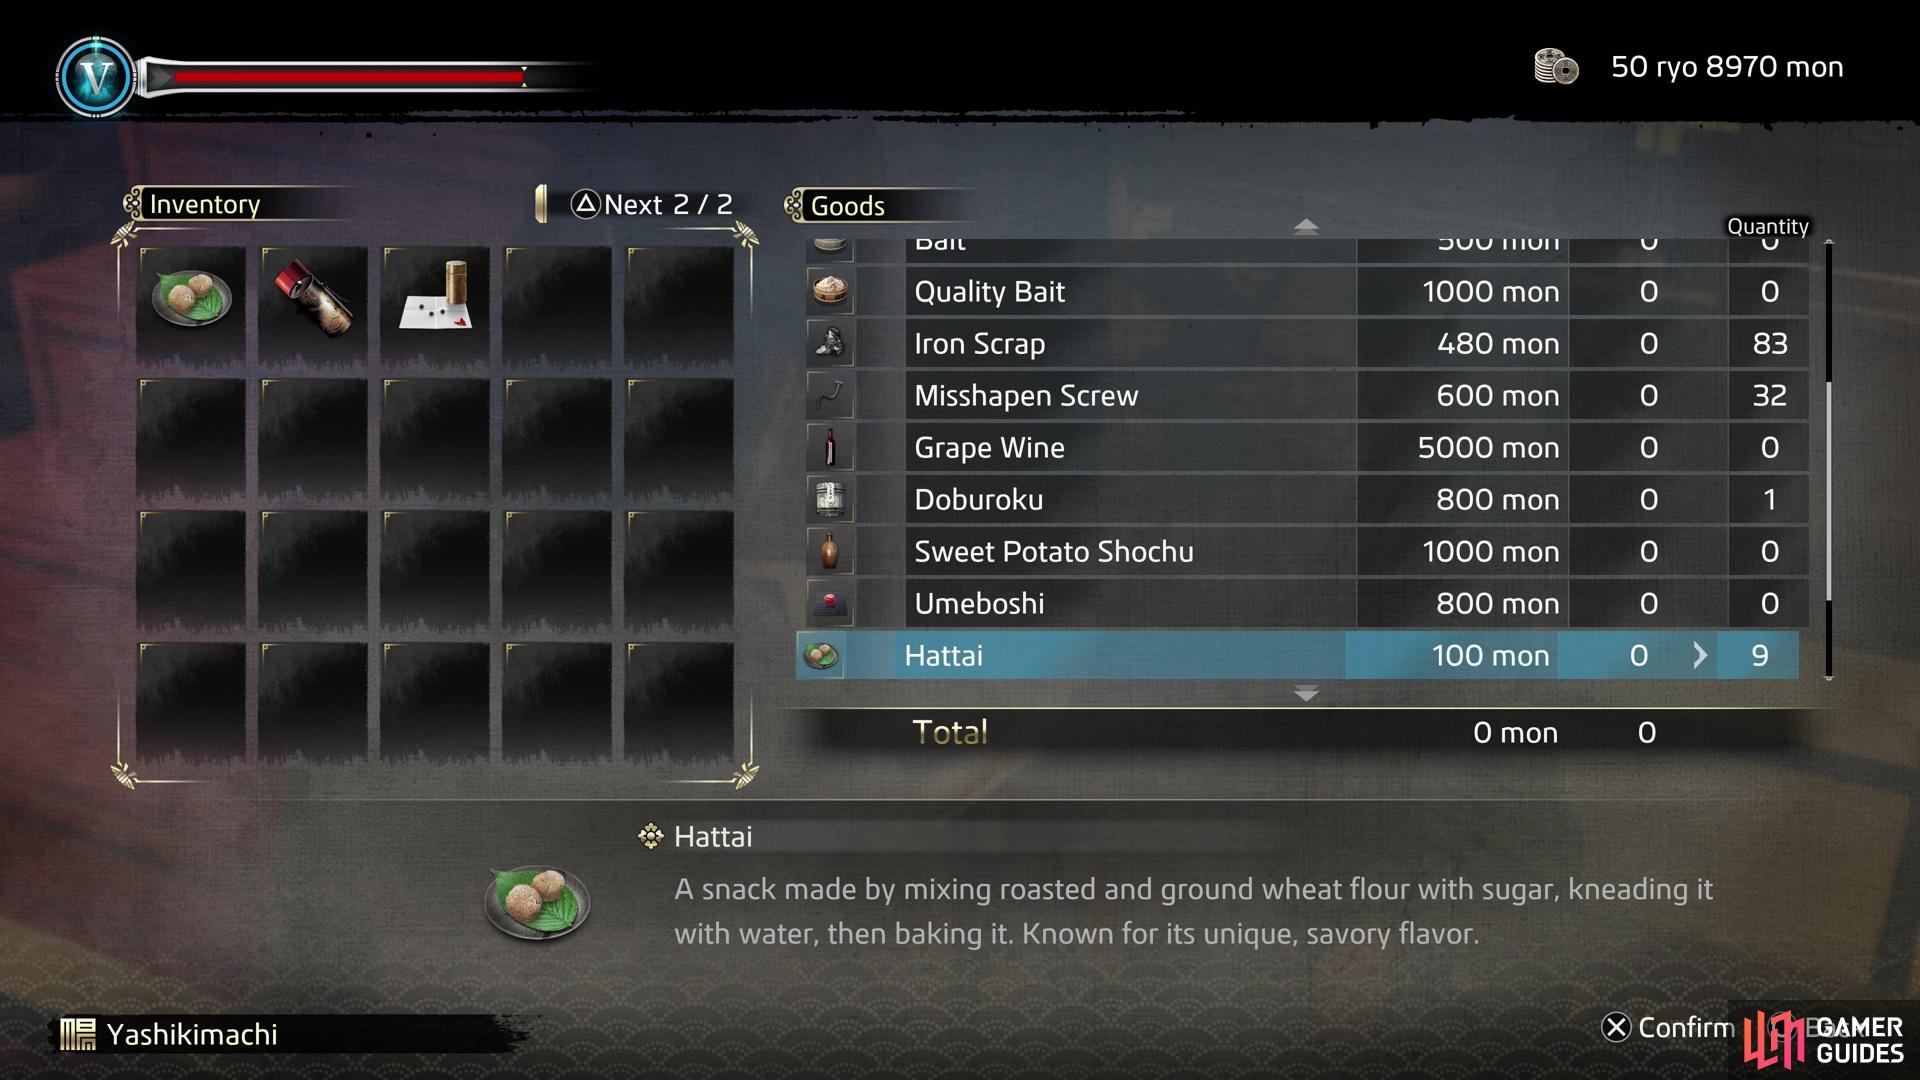
Starting in Chapter 2 you can forge a bond with the Ichikura General Goods vendor, whose shop is along the western side of Fushimi Ichibangai, in Fushimi. Like most shopkeepers, you just need to do business with him to build up his bond - each transaction builds bond, it doesn’t matter how much you buy or spend each visit. That said, some of his wares are pretty expensive, but you can get by just spending 100 mon each visit on some Hattai. If you buy some of the more expensive wares, like the Exquisite Cogwheel or Precious Steel, you’ll be rewarded with Prize Tickets, if you feel the need to stock up on those.
Buy items from the Ichikura Owner until your bond is at 50%, at which point some suspicious browser will catch the attention of the Ichikura Owner. Shop some more until your bond is at 60% and the shady customer will show up again, and this time Ryoma will encourage the usually flawlessly attentive Ichikura Owner to excuse himself to encourage this suspect shopper. Sure enough, as soon as the Ichikura Owner is gone, the other shopper will steal something, resulting in a chase.
This shoplifter isn’t a more gifted sprinter than the other miscreants you’ve had to chase, but he does snake a circuitous route through Yashikimachi and South Yashikimachi. With any luck there won’t be many pedestrians getting in your way, but you’ll have to be ready to turn often, which can make closing the gap difficult. Keep chasing and when you get close press  /
/  to apprehend your target. After catching the thief you’ll max out your bond with the Ichikura Owner, earning 2,250 Virtue in the process, and he’ll reward you with a Crystal.
No Comments