
That was a nice little introduction and the game will truly begin with you taking control of someone named Kanata. As soon as you can move, open the nearby chest for 3 Ethers, then exit the house to meet up with your friend, Lumina. After a short conversation, move south a little bit to have her stop and remind you that pressing the R1 button in the field will initiate party chat, where you will be able to enjoy casual conversation with your party members. It is also very useful if you forgot where to go, as you might receive a hint. Well, you’re reading a walkthrough, so you probably won’t be using that feature too much, eh?
With control again, head west to find a sparkling bit on the well. You will see these a lot throughout your adventure. Walk up to it and collect it to receive a Bear Broccoli, an item that will be useful in creating food dishes. Outside of food items, you will sometimes find other items that you can sell for money. A little bit to the east is the inn and inside, you will find a Wild Peppercorn on the counter on the right side. Exit the inn and continue east to a bridge, where you’ll find a path to the south and another to the north. The southern one leads you out of the town, while the north brings you to another split.
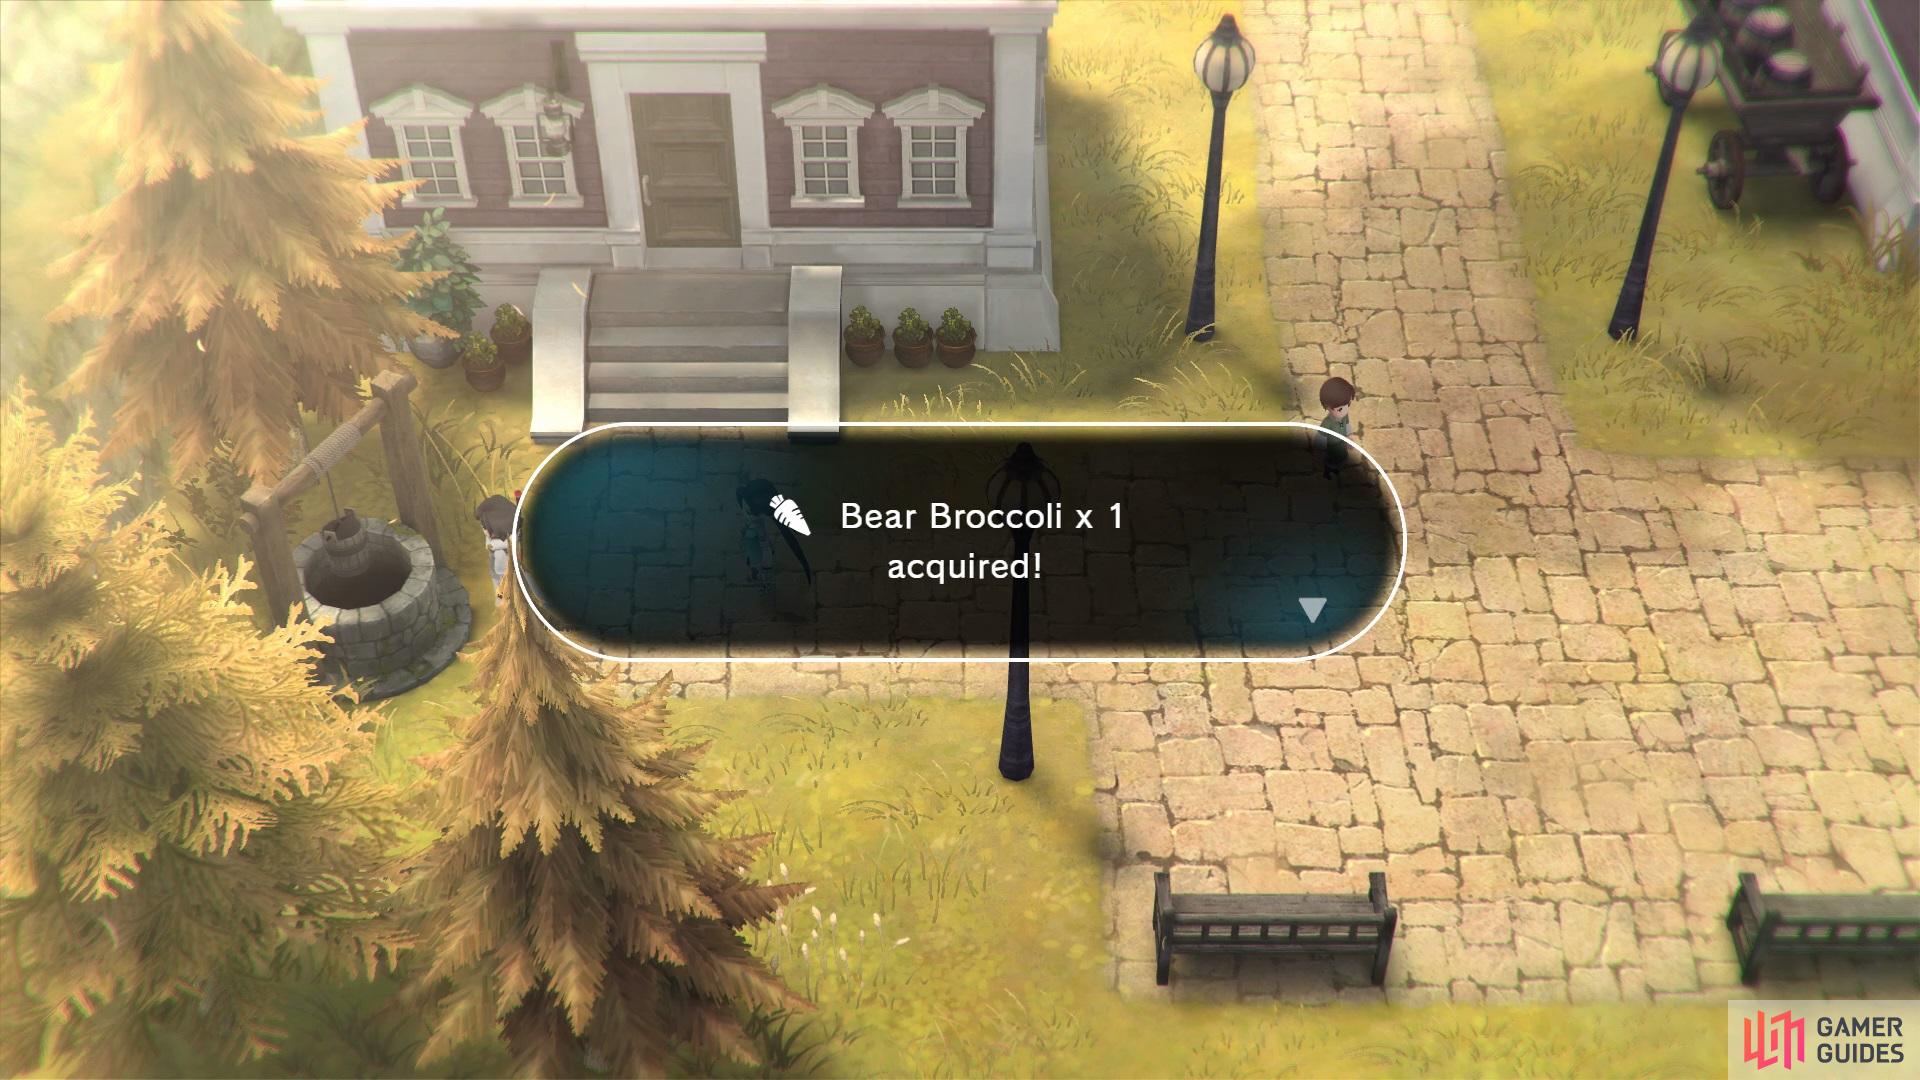
The glittery spots on the ground can yield ingredients for making dishes
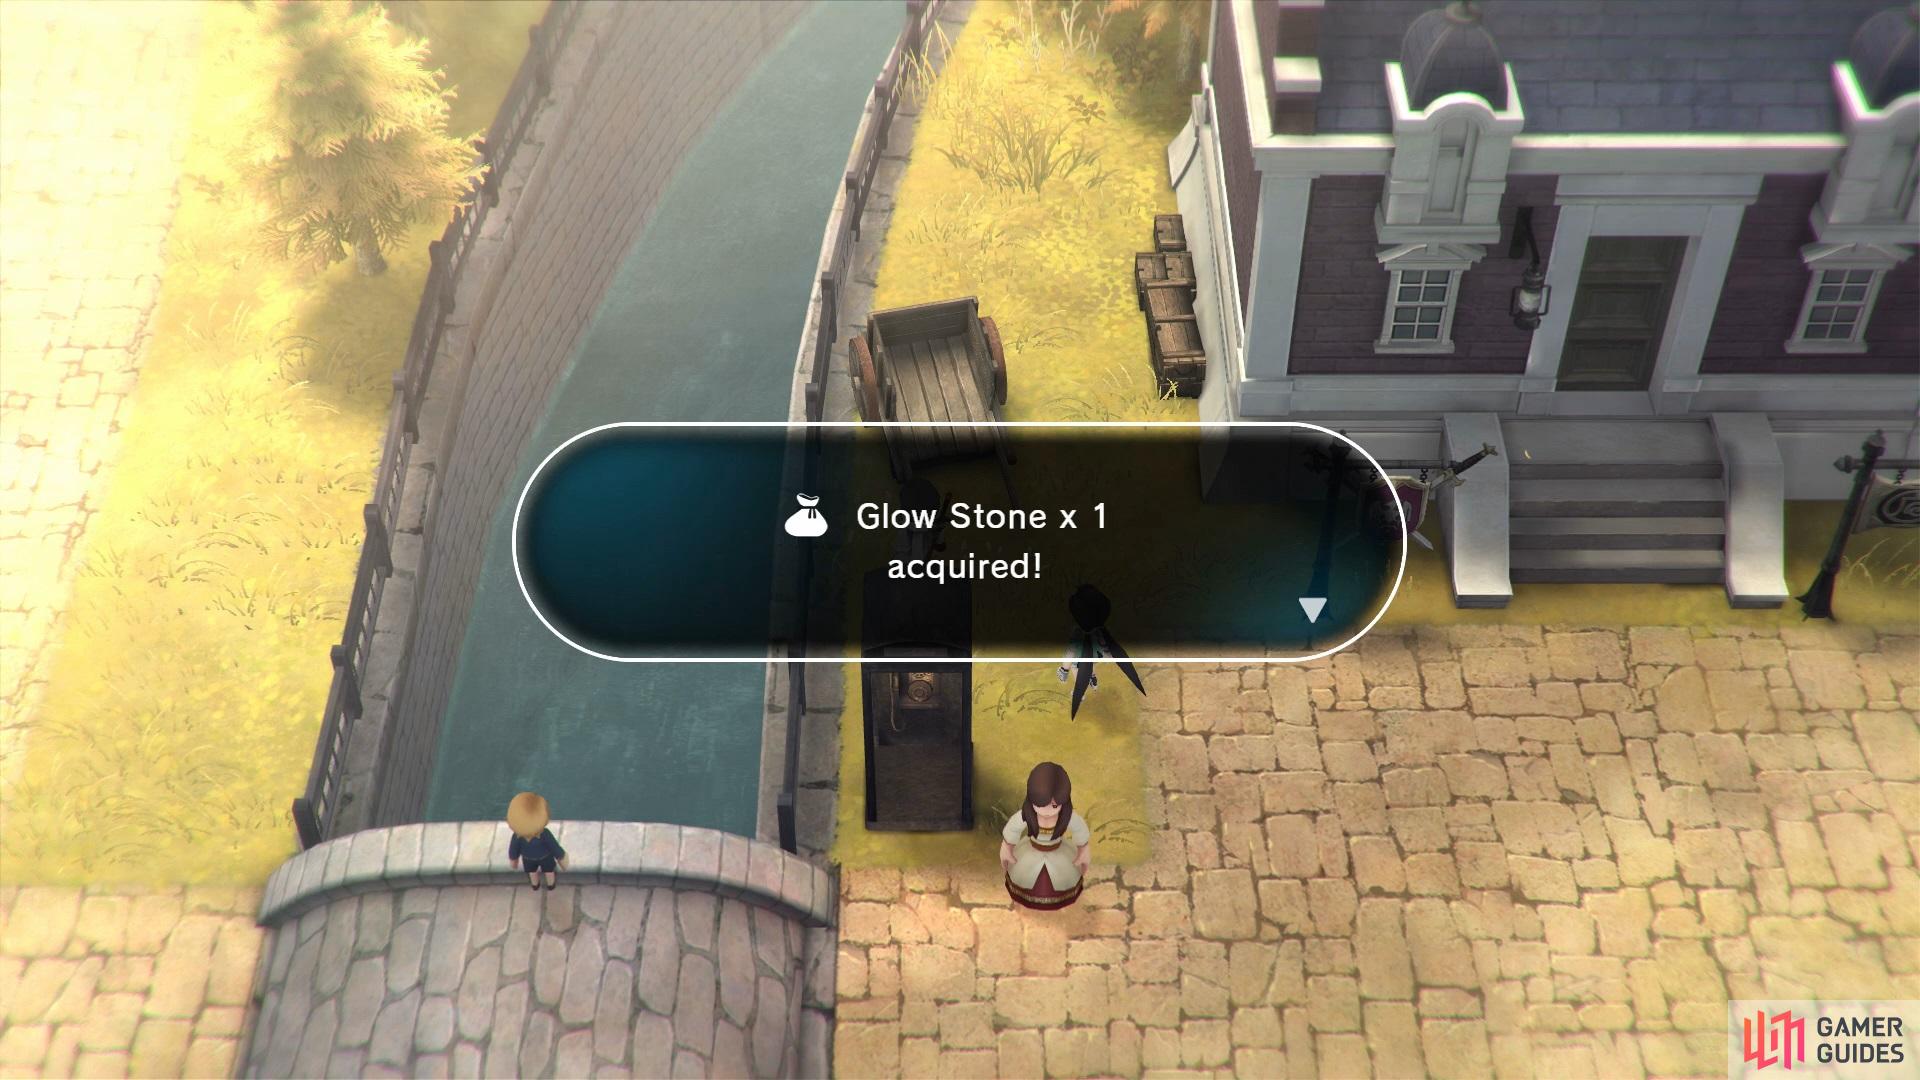
but you can also get items to sell for money
Climb the stairs and hill to a large clearing with a bell in the middle, which will be important in a few moments. On the right side of this area will be another item, a Glow Stone. Looking at its description, you will notice it says it’s “only good for selling,” so do just that when you find a merchant. Return to the previous fork in the road to find a shack at the end to the northeast, which is an actual sauna inside. Grab the Moss Ball, then double back to the bridge from before, crossing it.
You’ll be stopped by someone while crossing it for a brief moment, so go ahead and have a nice chat with Biba, leading to Kanata opening his big mouth about his friend, Lumina. It appears Biba is standing next to a telephone booth, which seems oddly out of place with the setting of the game, but just north of it is another item on the ground, another Glow Stone. The building right there contains two shops, an equipment one and a Magic Consortium. You can’t do anything with the latter, but you can peruse the goods at the former. The weapons you already have equipped, but you can upgrade your armors to the Machina Mails, which offer a few more points of defense, along with some fire resistance. It also won’t hurt to stock up on a few S Potions, since you only start with three.
Head north, between the two buildings, where you’ll spot a chest along the eastern one, which contains 2 S Potions. That’s all for up there, so move south and enter the big building to find more goodies, a chest partially obscured by a plant in the front with 2 Phoenix Tears and a Plump Bird Egg in the corner. Exit and venture to the south, down some stairs to find another item in the southeast corner, a Fairy Olive. You’ve pillaged all of the goodies here, so go to the northeast corner of the town to find the elder’s house. There is an item hidden under a basket or something inside, but it’s just 3G, so you can ignore it. Speak to Elder Pheyla and she will ask you to go and ring the bell, which is located north of the bridge in the center of town.
As you start making your way back to the bell, you should notice that the items on the ground might have respawned. Yep, the items will respawn quite frequently, meaning it’s possible to farm them if you’re passing through an area multiple times in quick succession. As you approach the bell, you will find someone laying on the ground, which just happens to be your friend, Locke. He’ll join your party, so you can finally go ahead and ring the bell, which you can do with a prompt while standing underneath it. Once you’re finished with that, you need to find the monster in the town.
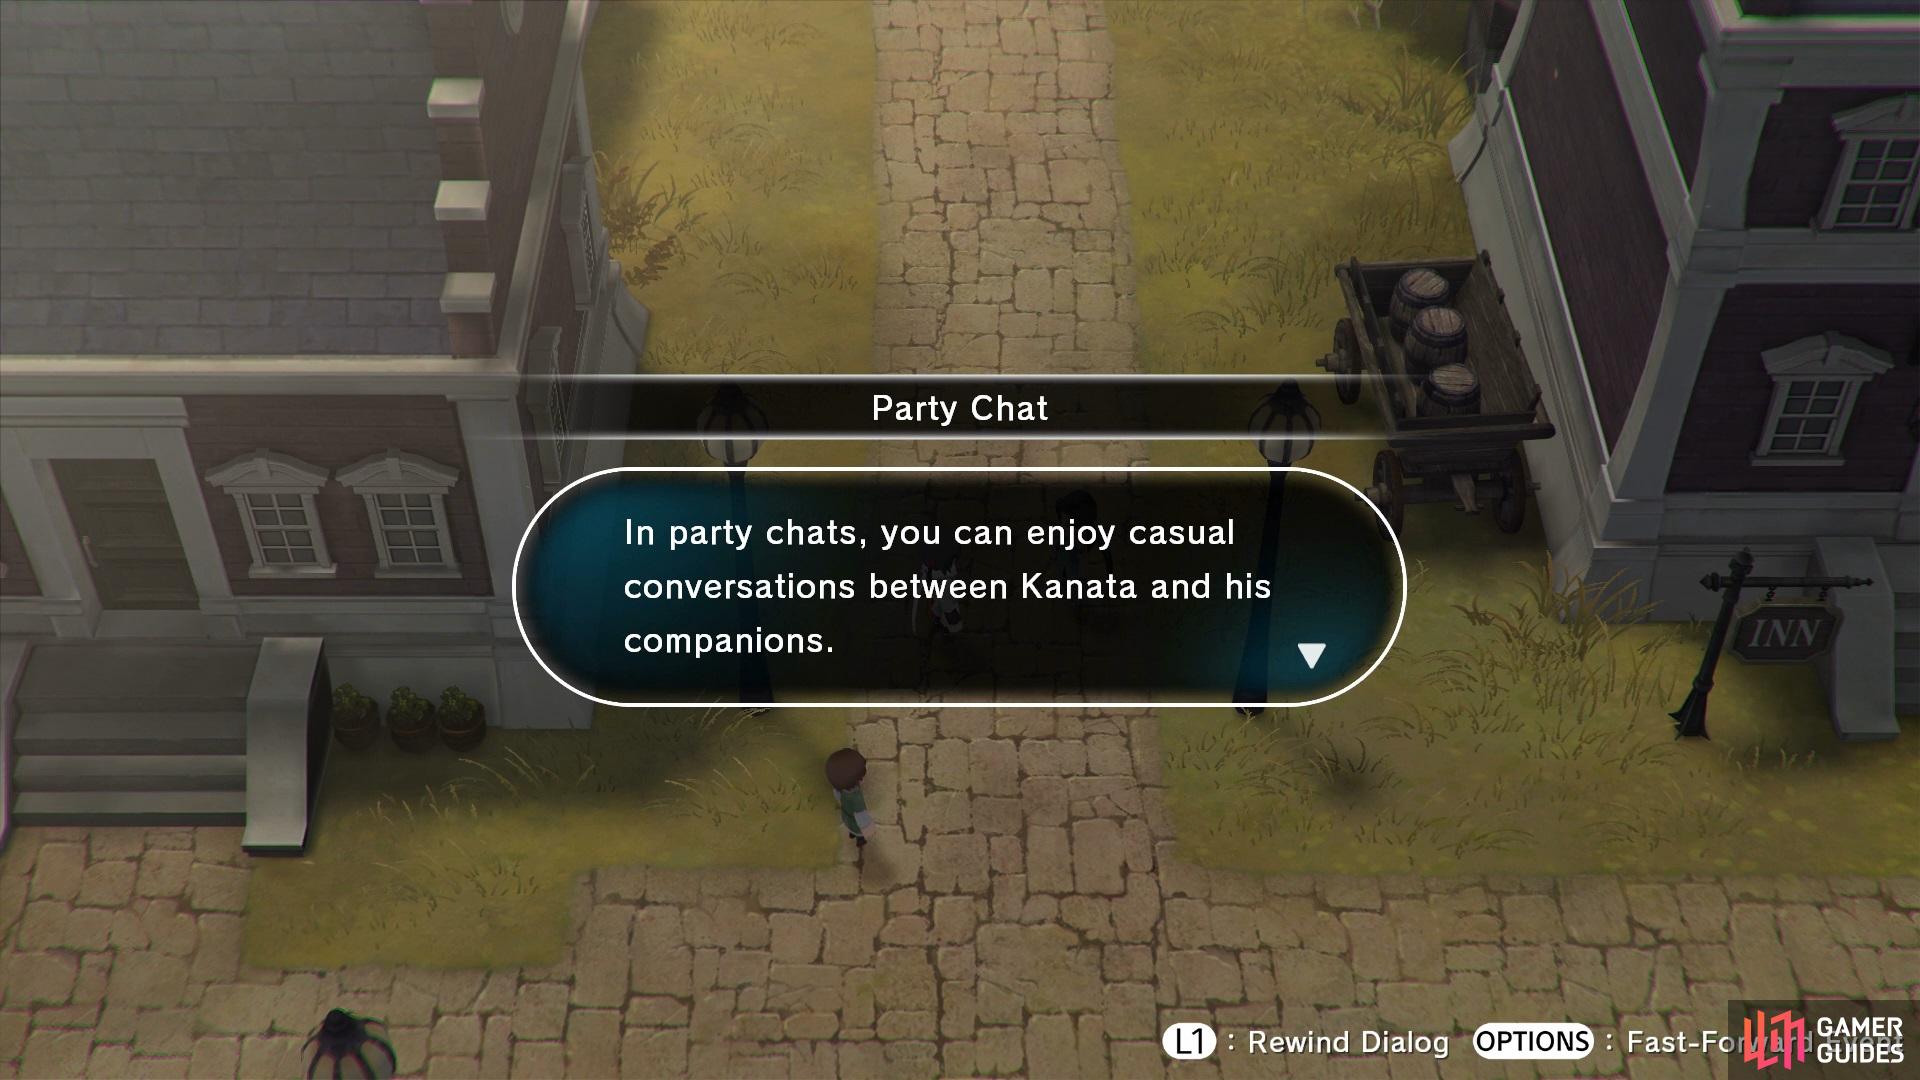
Party Chat not only gives you a chance to see interactions between all characters, but it’s helpful in case you get lost, too.
Luckily, all you have to do is approach the bridge, where your party will automatically find the monster for you. It turns out it’s just a single Mory, a penguin-like creature that is quite frequently found in the Hush Grove. You don’t have to even do anything, as Locke will just shoot it down without any need to get into a battle. Return to the elder to tell her the problem has been solved, prompting Locke to have a one-track mind set on food. Kanata has an idea to go fishing to subdue Locke’s hunger, so it’s off to Hush Grove. The exit to the world map is located just next to the bridge, on the western side. Of course, Locke’s excitement causes him to run off, leaving your party.
No Comments