
Return to Watt
There’s not much you can do with the ship, so make the trek back to the capital city, where Galdra will be waiting in the plaza by the south gate. As a reward for helping out in Maarport, he will give you 3 Red Spritnite and also receive a quick tutorial about fortifying weapons/armor at a blacksmith. You should have six Red Spritnite at the moment, making it so you can fortify six pieces of equipment, since you can only use a material once. There are ten types of material, meaning equipment can be fortified up to ten times. You will also be able to purchase Red Spritnite from the blacksmith, for a steep 1,000G each.
Galdra said to go to the northwest corner of the city to meet up with him again, which is where that one Lost building was located if you thoroughly explored the city on your first visit. Kanata strikes a deal with Galdra, who asks you to restore Plana’s Workshop, but you don’t have any of the required memories. Galdra mentions that Amatsu might have some knowledge about Plana, and he can be found at the Command Base. Enter the base from the world map, where you’ll want to find the separate area in the northeast. After a short little scene, talk to everyone to trigger some memories to memorize, then attempt to exit to have Amatsu tag along.
Return to Plana’s Workshop and use the memories you gathered to restore it to normal. You’ve done your end of the deal with Galdra, but before you leave, go inside the workshop to find some items, notably another artifact knowledge (Spirit Lore) and a chest with Training Gear upstairs. Go back to the Command Base and enter the building at the top. Use the elevator on the right side to get to the wardroom, where Galdra will be waiting with General Tradeus, one of the empire’s two greatest generals. He wants you to go to Ragness to recover some vulcosuits, which he says will help in the fight against the Lost.
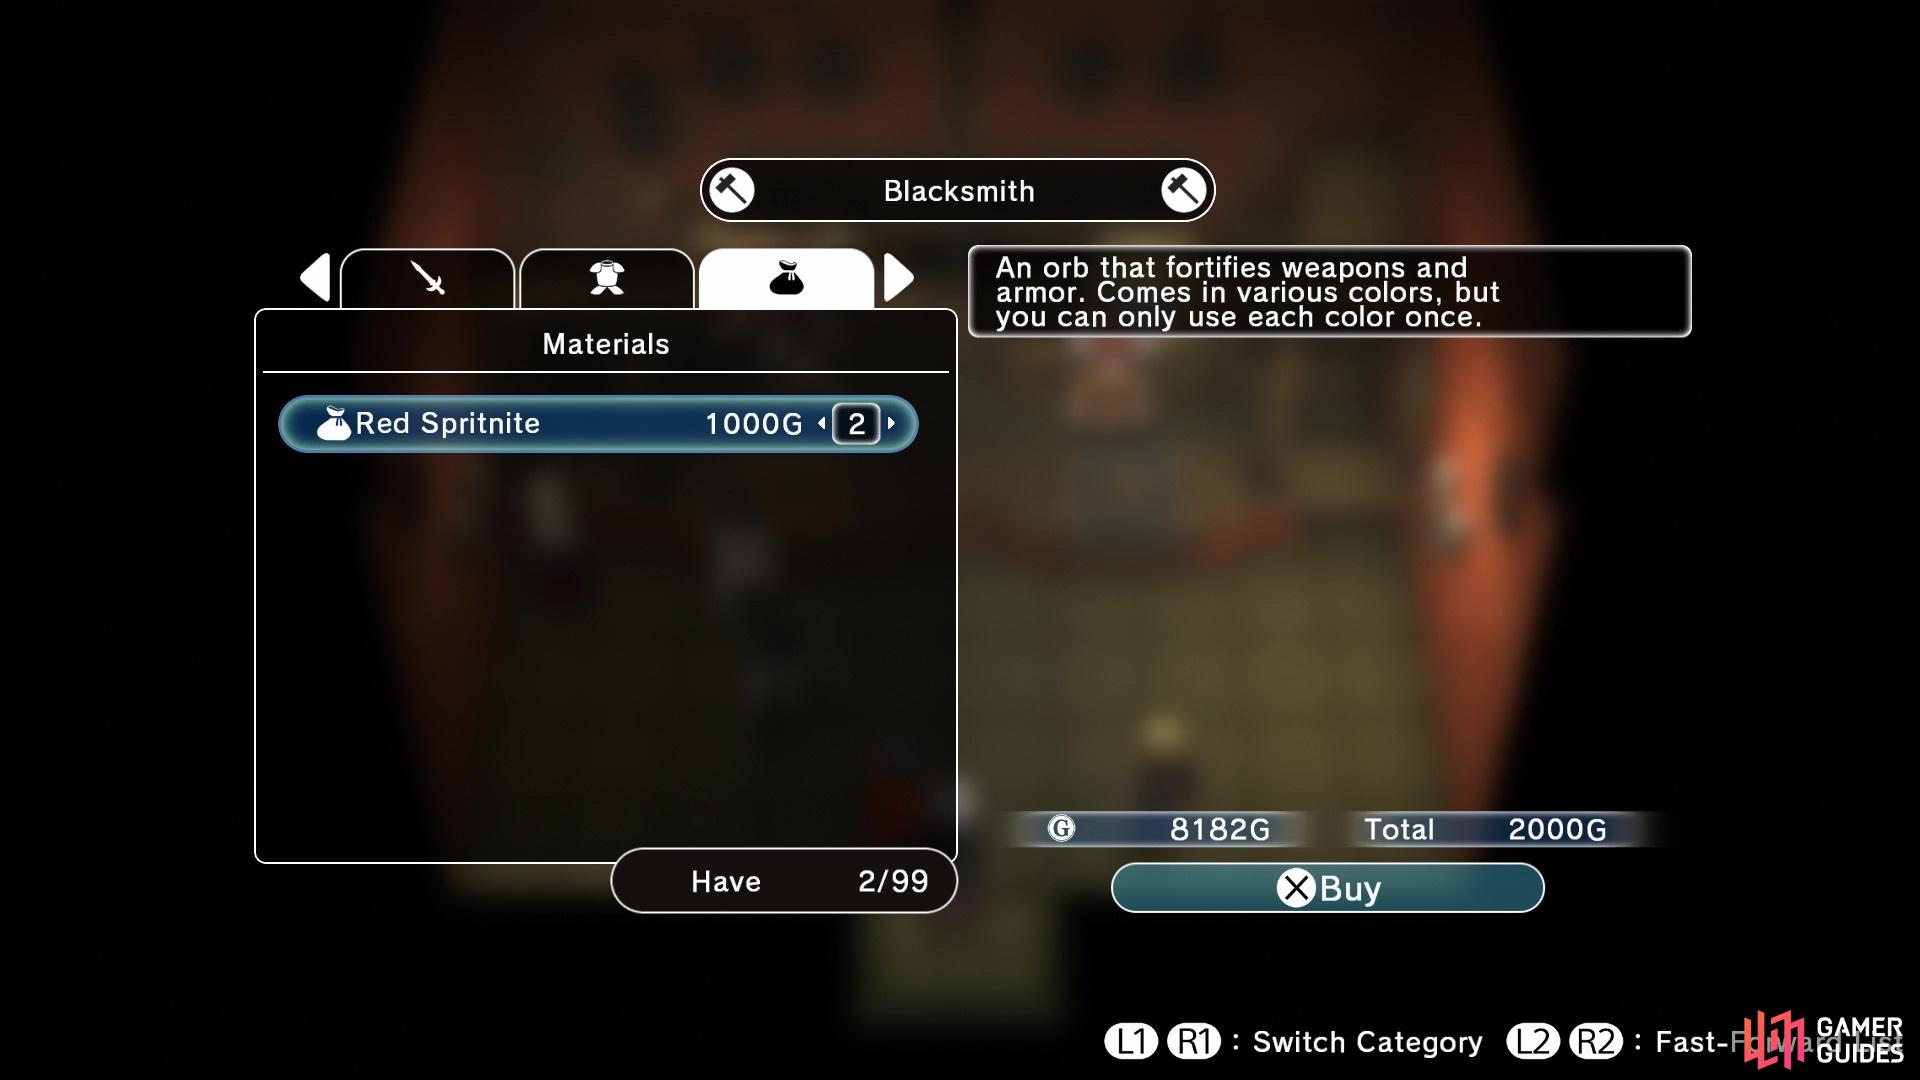
Although a bit expensive, you can purchase Red Spritnite
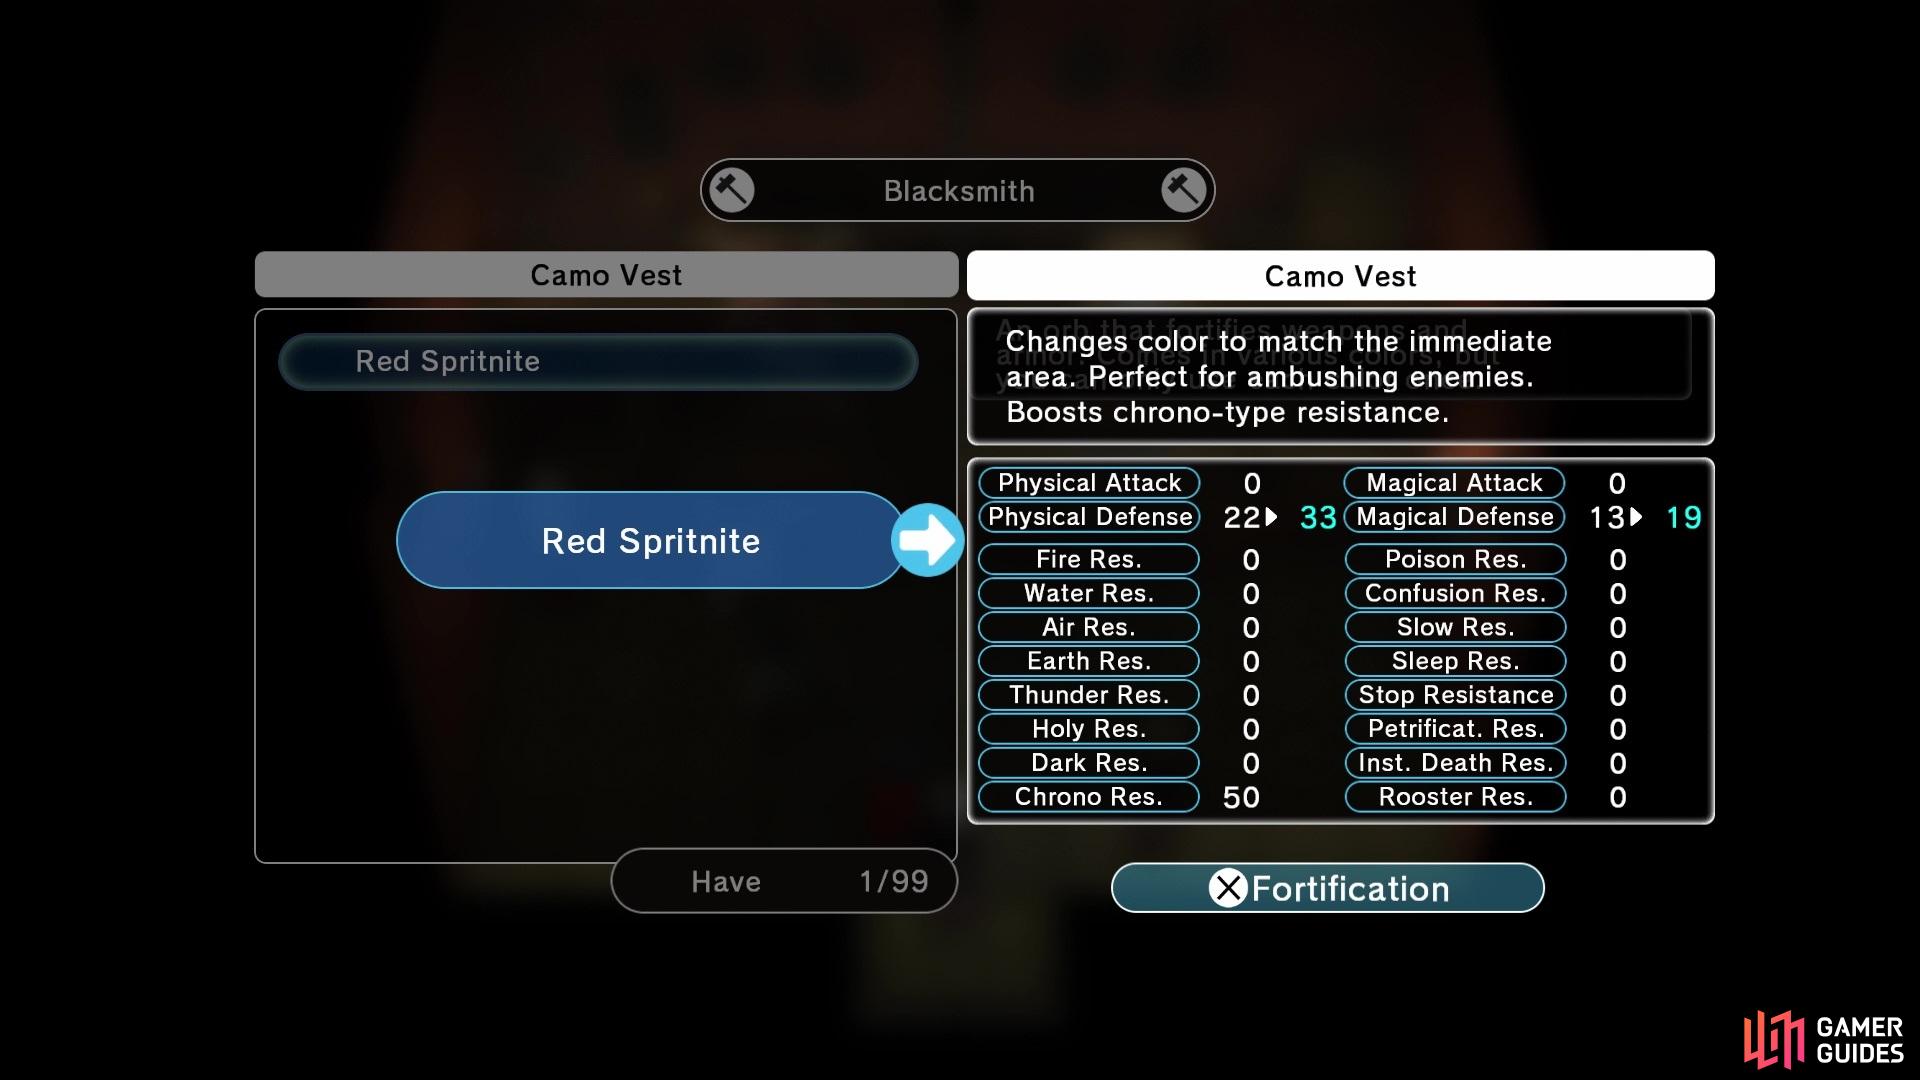
which can be used to upgrade your equipment
Return to the launchpad, which is where you got the memories for Plana’s Workshop earlier. Amatsu will help you get to the Mech Graveyard and before you set off, he hands over a Protect spritnite and two Rations. The former is a Counter Spritnite, which will trigger automatically once the right conditions have been met in battle. As an example, Protect requires you to have two or more Momentum Charges to activate it, which will trigger it when an ally takes physical damage and reduce it by 20%. Protect can only be equipped by Kanata, so make sure you do that before leaving. If you didn’t fortify any equipment, return to Watt and do that now, then approach the winger to set sail.
Ragness Ruins
This place might look a little familiar, but let that out of your mind for now. Exit the ruins by going south, where you’ll be on the world map. There are two sparklies here, as well as another Lost Point to get another artifact. Note that Spirit Lore is local and will only work in this region, should you decide to use it. However, you probably still have others that will work throughout the entire world, so it might be better to get one of those. Once you clear the lost point, you will find a blue sparkle for a memory, as well as one just north of where the lost point was for another piece of artifact knowledge (Paragon).
Head inside and up the stairs, past the soldiers, to the first landing with enemies. Take them out and look for the path going west, where you’ll fight more monsters and find a sparkle item. Return to the landing and on the northern end is a large, red circle. Approaching it will trigger a short scene, then you’ll be able to continue. Continue north to battle more enemies, then on the north end of this area will be what appears to be a bridge, but it has been Lost (and it’s really stairs). The party discusses that defeating monsters will likely drop the memories needed to restore the stairs, so you’ll need to go around and do just that.

Don’t forget to leave Ragness Ruins to scope out overworld area, where you can get some ingredients
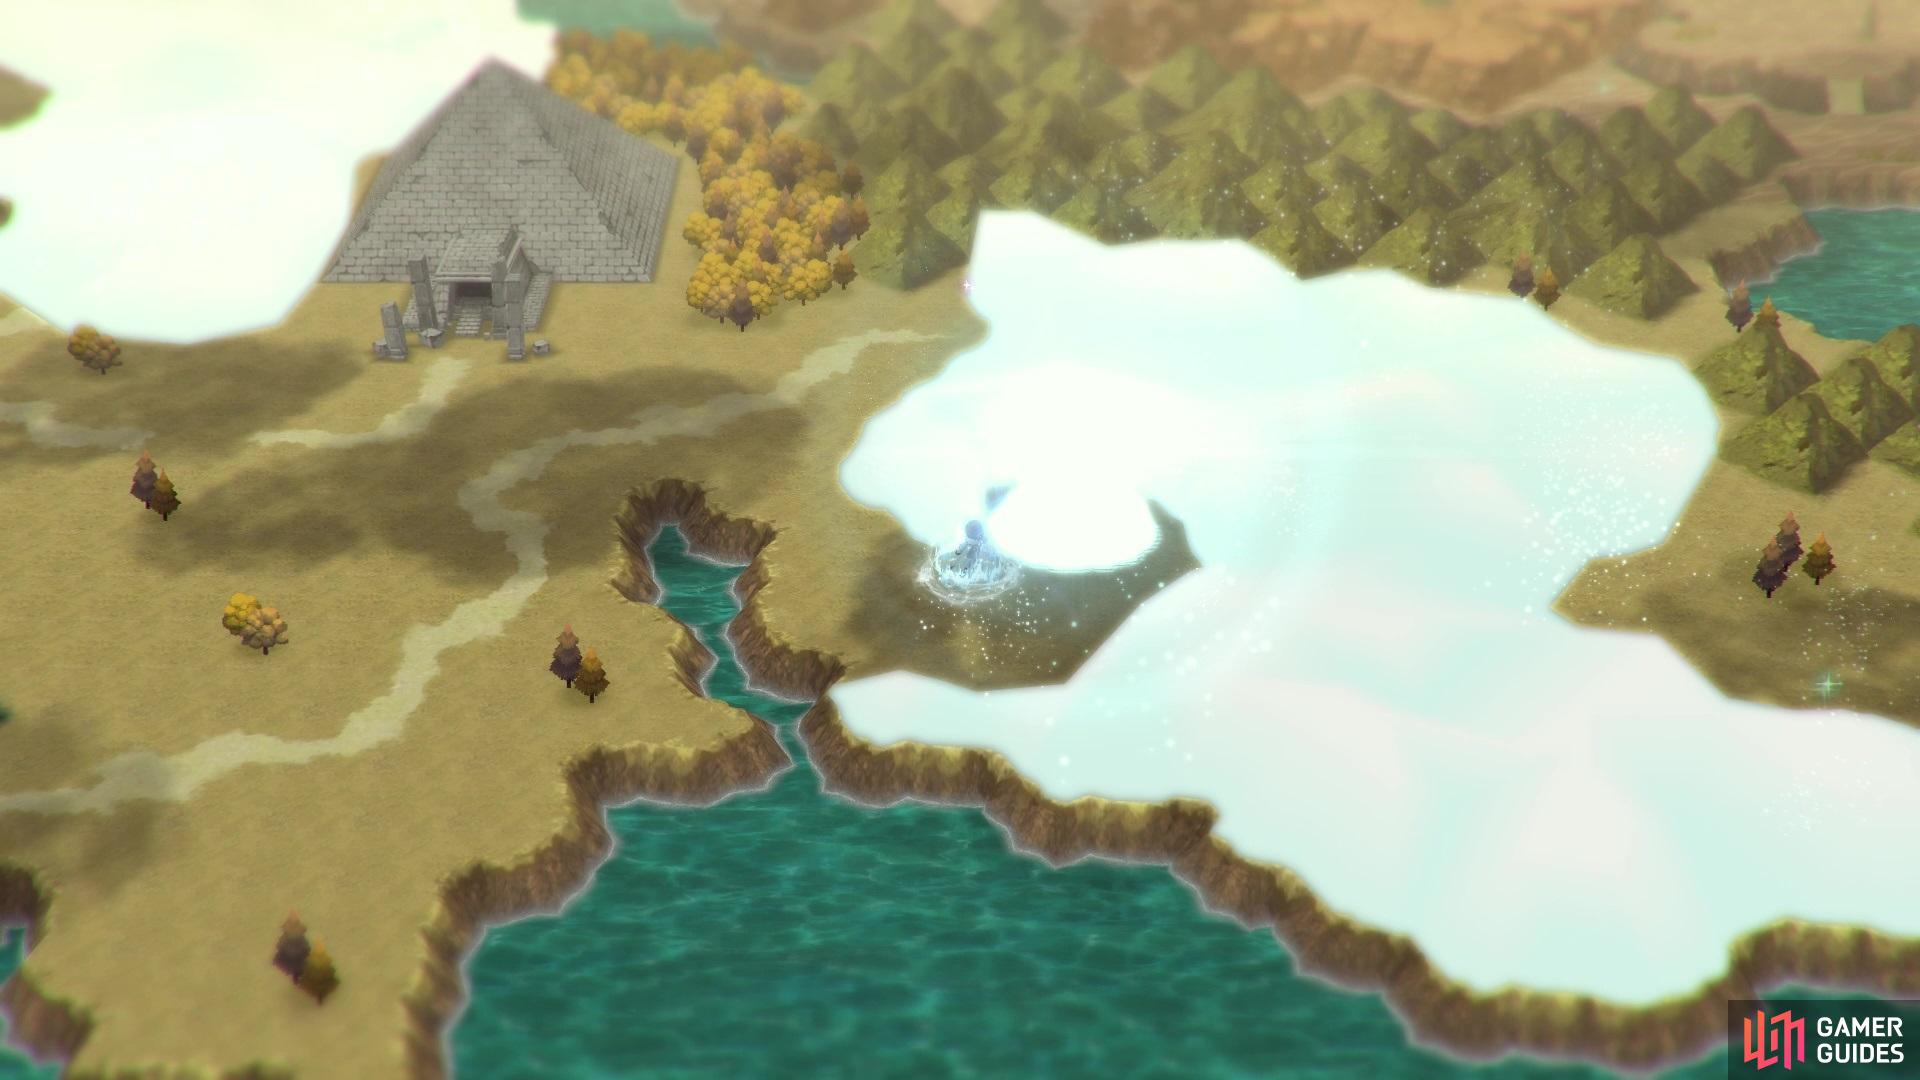
and even find a Lost Point to create an artifact
While inspecting the lost stairs, a monster called Mass-Produced will attack, so defeat it and travel to the east. Once you clear those monsters, you’ll find another Mass-Produced south of that, as well as a chest (Camo Vest). The left path here will have a single enemy, as well as another chest (2 Medical Kits). You can return to the stairs to find you need Path Memory x2 and Stairs Memory x2 to return it to normal. The latter is a drop from the Buplin enemy, and the Path Memories you got from the scripted Mass-Produced fight. Repair the stairs and delve deeper into the ruins, where you’ll find another chest on the ledger overlooking the entrance (3 Ethers).
On the eastern side of this platform is another part of the ruins that has been Lost, but it needs more Path Memories, as well as a single Iron Memory. Ignore that for now and continue north to spot a save point in between the stairs, which means only one thing. Climb the stairs and you’ll view a little scene, then have to restore the door, which you can’t do because you’re missing a memory. So, you’ll need to go around and fight some more enemies to get the missing memory. To the west will be another area with more enemies, but not the ones you need, although you will receive more Path Memories from the Mass-Produced.
There are more enemies to the south, in case you didn’t get enough, then a sparklie at the bottom. You should have enough memories to repair the bridge on the eastern side of the map now, which leads to an area with some new enemies, the White Flapper. They aren’t too hard, but they can heal. Continue south and at the end, there will be a lost chest. Restore it (needs 3 Iron and 3 Control memories) to net yourself a new weapon for Van (Spin Tricks). If you fortified his Ruse Shell earlier, the Spin Tricks might be a bit less powerful, but it is non-elemental. Now, head all the way north and there will be a sparkly bit on the ground. Inspect it to get the chance to create a memory, which will be the Judgment Memory needed for the door. Go ahead and restore it, then get ready for a boss.
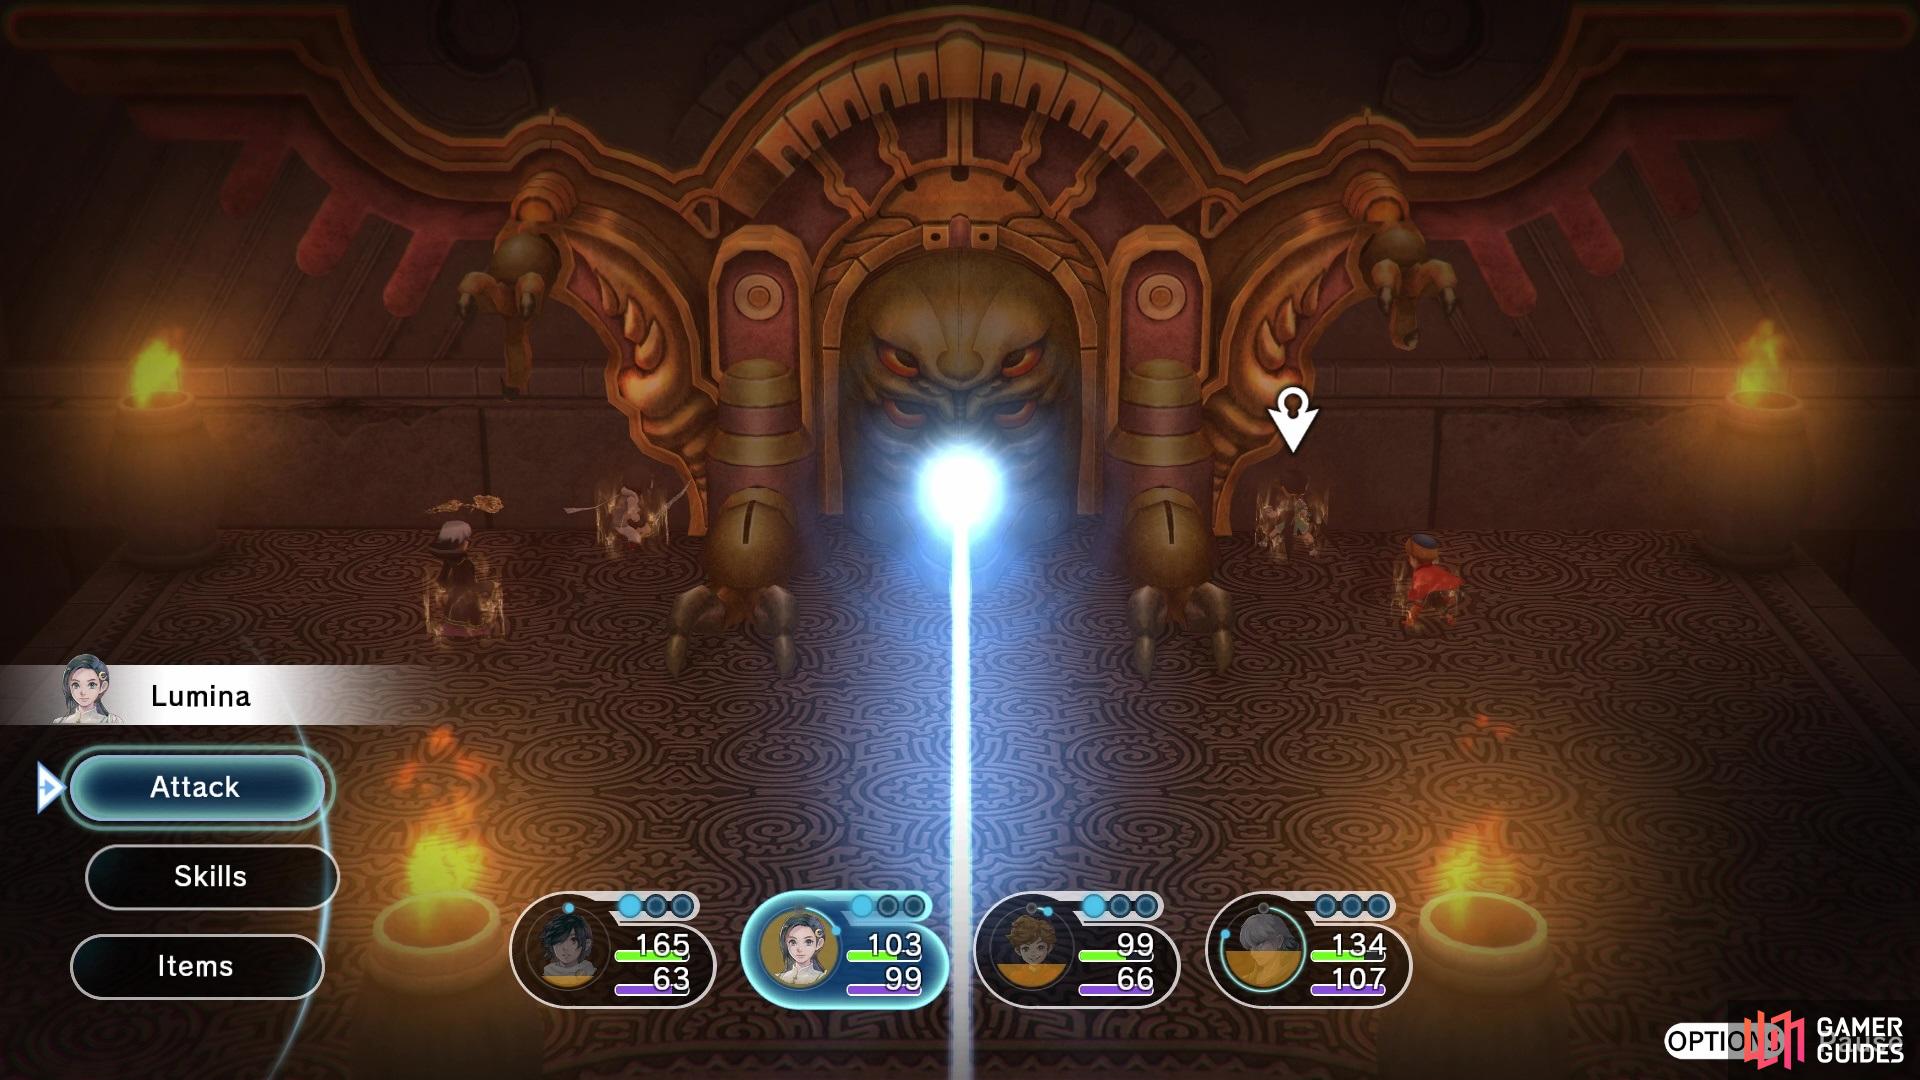
BOSS - Demon Gate
Fans of Final Fantasy might recognize the name, but luckily, this boss will not be moving toward and crushing you. Despite that, it can still output quite a bit of damage, depending on the positioning of your characters. Front Claw involves the Demon Gate smacking the ground, causing an earthquake of sorts to damage the characters near it. Fire Breath is potentially one of the more damaging moves, as the boss will spew fire from one side to the other, possibly striking characters twice with it (and it’s a decent chunk of HP each time). In addition to that, the Demon Gate can summon more enemies onto the field with Demon Door, so make sure you get rid of them before they do anything.
It has one more move, called Side Claw, which will hit the characters in front of it and bring them to the center. It will sometimes follow this up with Laser, dealing major damage to whoever is in the middle, in front of it. As you can see, positioning is very important in this battle, as its two biggest moves would have your characters being in front of the boss. It’s very easy to avoid the Laser attack, but the Fire Breath is a lot harder to avoid. Positioning two characters on either side of the boss would be the most ideal, one ranged and one melee. If the boss summons enemies, then use the ranged characters to take them out. As long as you are far enough back, then the only real attack that can hit you is Front Claw.
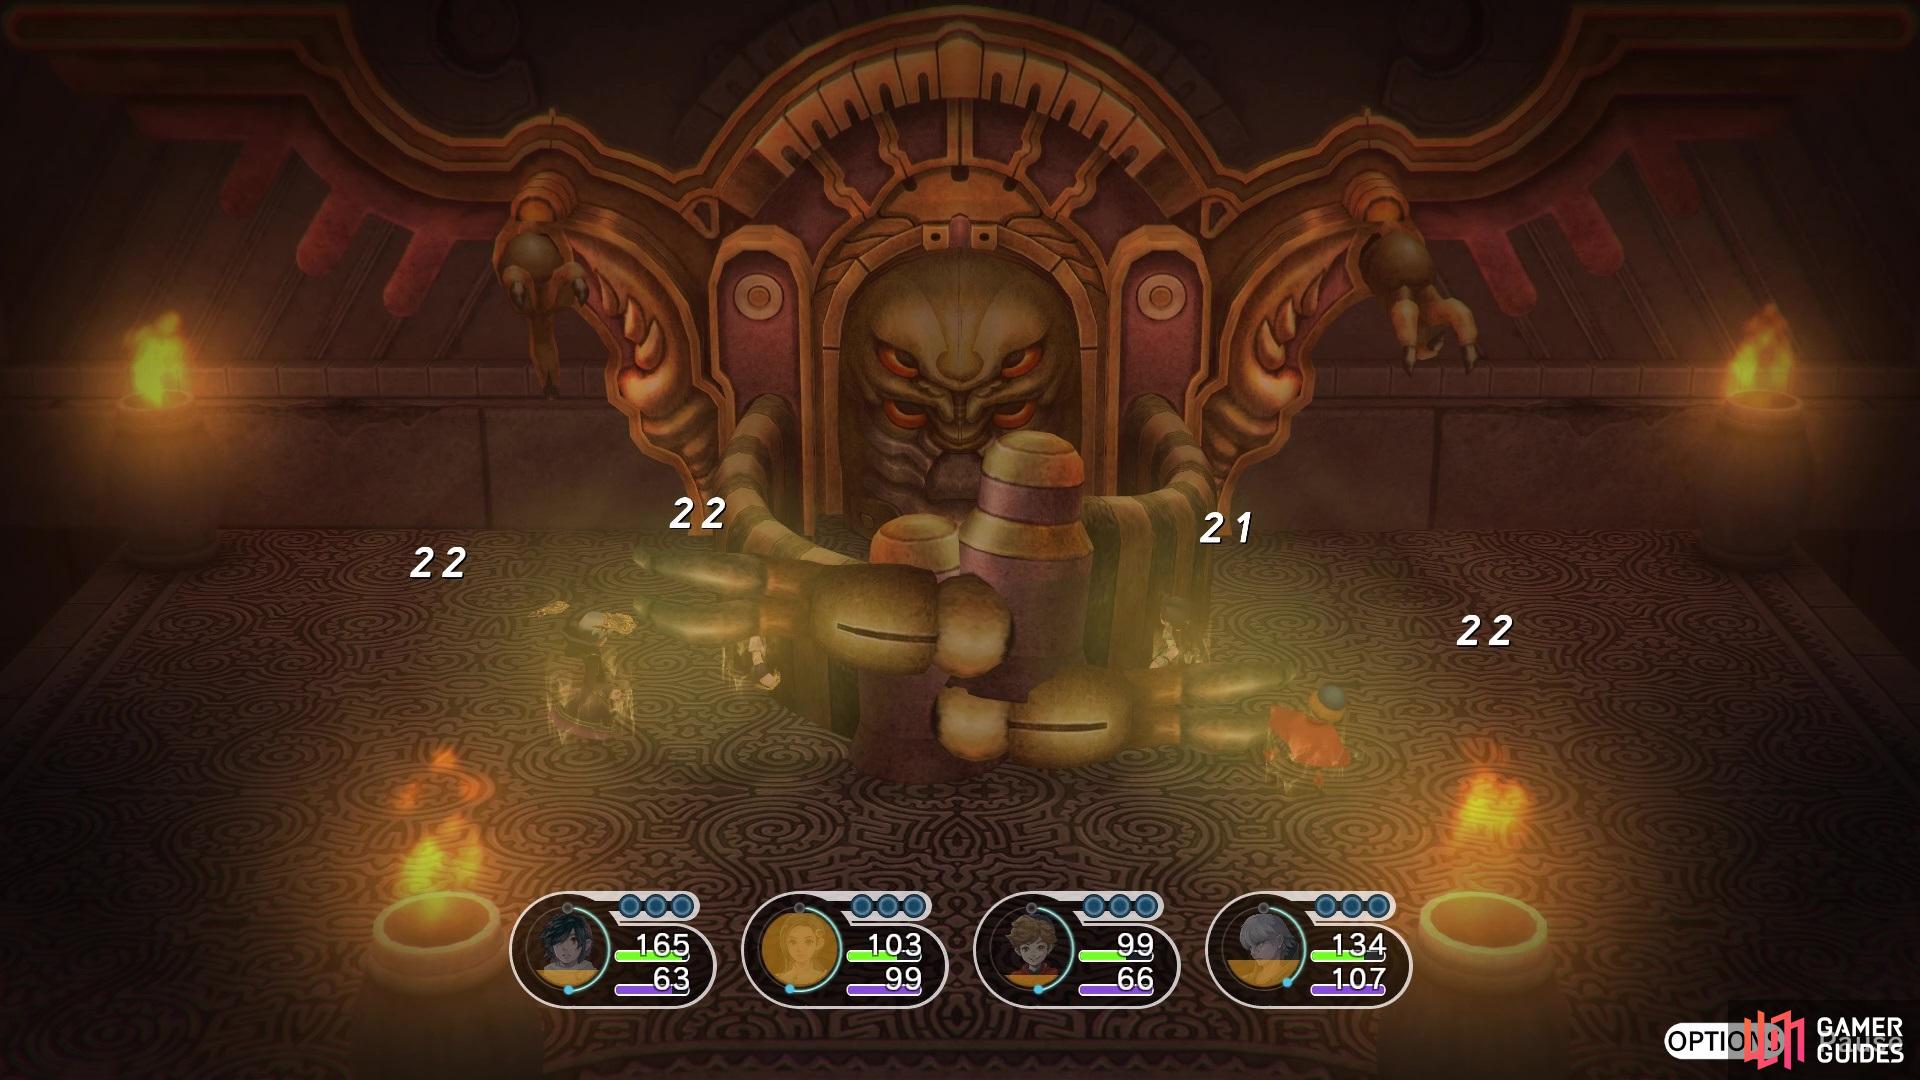
Demon Gate will use Side Claw to set characters for its Laser attack
but you can avoid it easily by sticking to its sides
You will receive some nice experience, as well as three new artifact knowledge, which are Harvest, Lost Arc, and Yggdrasil. Some more scenes will occur after the battle, then your party will enter the inner chamber. Move north, ignoring the big, red circle and at the top, everyone will find the Vulcosuits you came into the ruins for. They are automatically equipped and you’ll receive a brief tutorial on them. Basically, Vulcosuits function both in battle and outside of it.
They are equipped individually inside of battle by using the L1 button, but you need Vulcosuit Points in order to do that (VP, for short). There will be items that allow you recover those later, but if you use all VP, then you can’t use the suits. Outside of battle, you can equip all of them, switch to a custom setup or unequip the suits with the L1 button. You can find the custom settings under Edit Party in the menu. Basically, choose a character and press Triangle to equip/unequip the suit, and that will be your custom setup.
With your shiny new suits, try to exit to the south to find that some imperials are blocking your way. However, stepping onto the red circle turns it green, so while standing on it, press the X button to teleport to the other circle near the entrance of the ruins. Continue to the exit, knowing you will have to fight some monsters on the way. Note that you can’t use normal attacks while in the vulcosuits and can only use skills, but skills cost VP, so be extremely cautious you don’t run out of it before leaving. Once you reach the outside, more cutscenes will show and you’ll automatically return to Command Base.
You’ve done your mission and you’re told that Galdra is in the wardroom, so that’s where you’re heading next. As you approach the wardroom, though, a scene will occur between Galdra and Tradeus, with a little help from your party. Once things have cooled down, Galdra wants you to go to the Imperial Palace, so exit the Command Base and enter the Imperial Palace from the world map. Make sure you save, though, as you will see shortly. There’s nothing to either side, so ignore those and head straight through the giant, ornate door. Inside, check out to the left to find two chests, containing 2 Phoenix Tears and 2 Medical Cases. Keep going deeper into the palace until you come across another save point. At the top of the stairs will be another big door, but head off to the right and south to find another chest (2 M Ethers). Enter the door at the top and prepare for another boss fight!
BOSS - ???
The mysterious stranger is quite a strong boss, considering he is both quick and his spells hit for a good bit. It appears all of the spells are single-target only (or really small area-of-effect), so splitting your party members here so they aren’t right next to each other is ideal. Despite it being magic, the spells can hit critically and depending on the artifacts, that may mean a boost in the boss’ ATB if they do crit. There’s not much else to say, other than keep your health at 100+ at all times, in case the boss gets two turns in a row. Violent Gale is wind, Sticky Clay is earth, Lightning Bolt is thunder, Freezing Block is ice, and Raging Flames is fire.
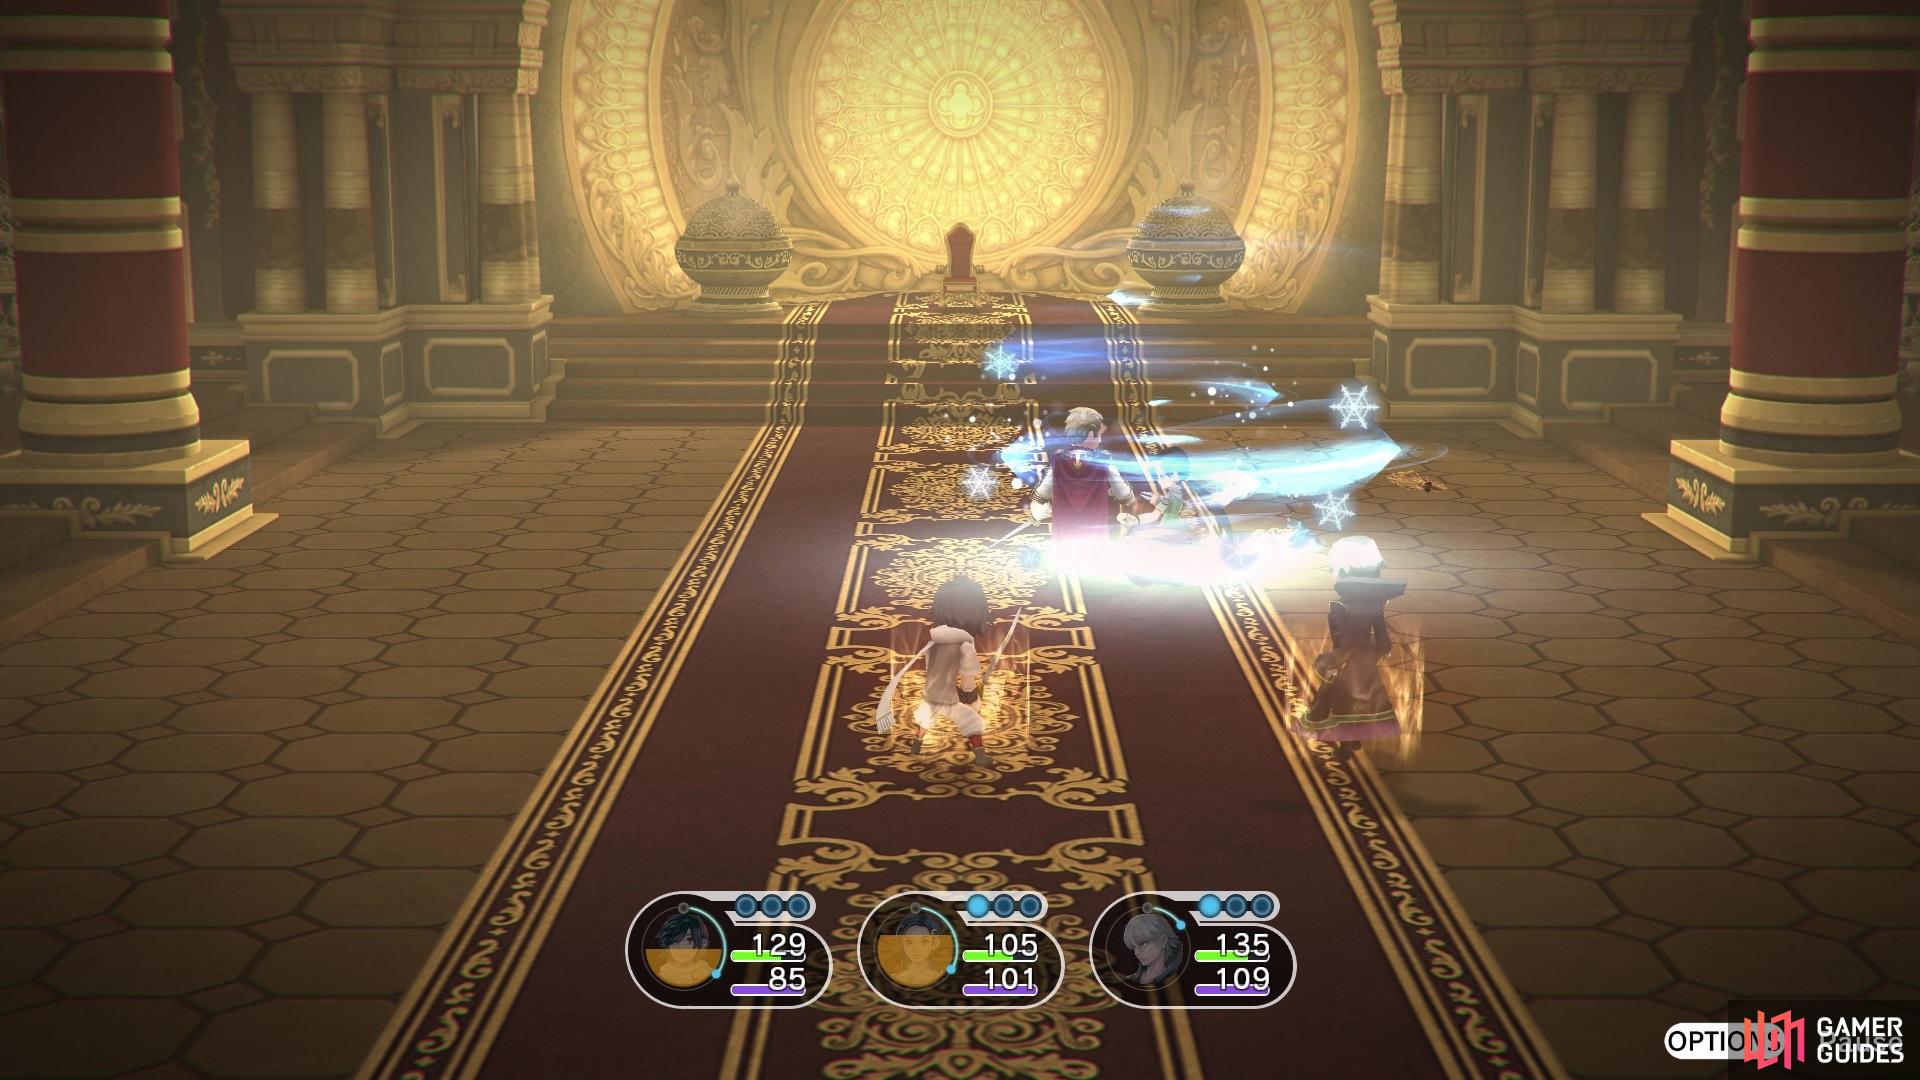
The mysterious man uses elemental attacks
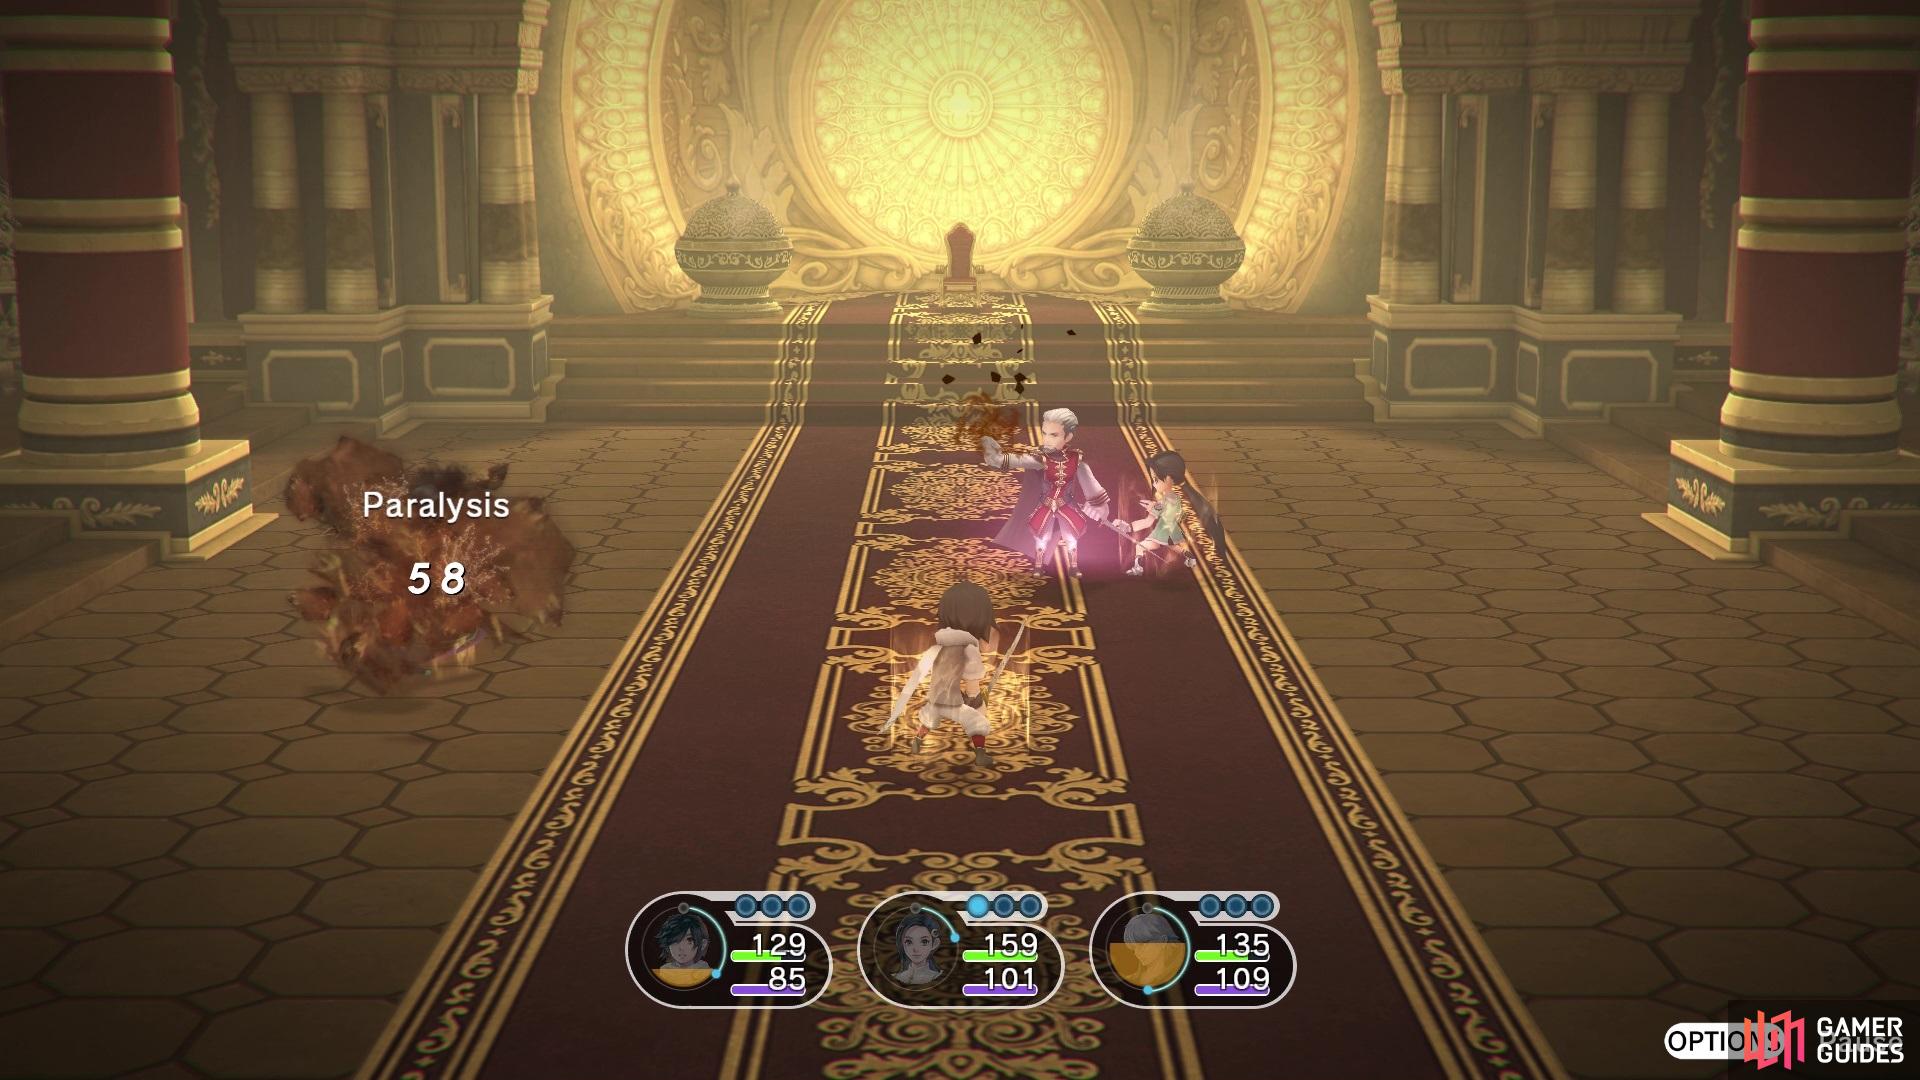
some of which can inflict ailments, too
As it turns out, the mystery man, whose name is Zemrode, was just testing your combat capabilities for a future mission. After some conversation, he asks you to meet him outside and when you do, you find out that the vulcosuits don’t work for anyone else, so they are yours permanently. However, there’s a catch, as he wants you to help his army on Rahet. To get there, you will have to go through Los Labyrinth. Speak with Galdra after Zemrode leaves, then it’s time to set off for the Los Labyrinth. Make sure you rest up at an inn after the previous battle, which also restores VP.
No Comments