
The James Bond theme plays in the background.
To access Team Rocket’s secret base, you must have reached the third floor of Lavender Town’s Pokémon Tower and triggered  Cubone’s kidnapping by Jessie and James. Afterwards, when you visit the Game Corner in Celadon City, you can open the secret entrance by pushing the button behind the poster that a Team Rocket Grunt is guarding.
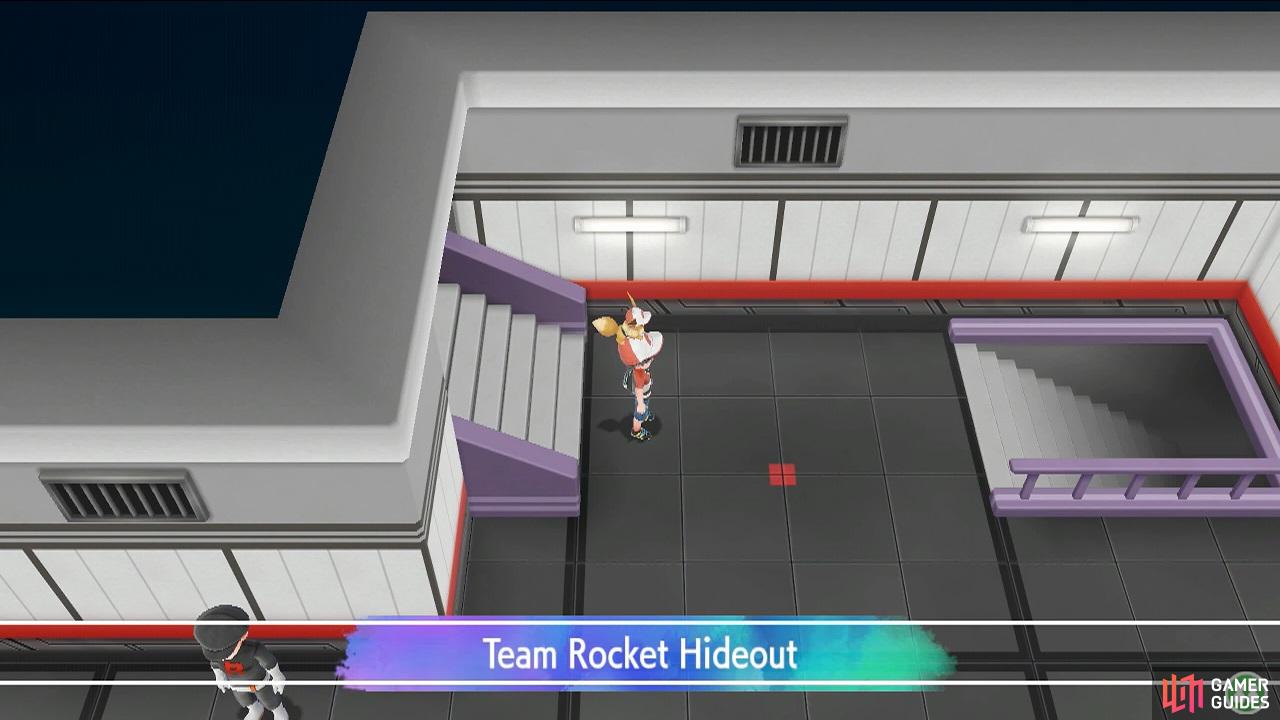
Floor B1F (north)
Downstairs, you’ll arrive on B1F or basement level 1. Immediately to the right are the stairs to B2F. For now, stick to the floor you’re currently on. Begin by heading south a few paces. From here, you can go proceed in three directions: west, south and east. It doesn’t matter which way you go first, but we’ll go east.
Before long, you’ll reach a corner with a Rocket Grunt keeping guard next to a doorway. This Grunt will alternate between looking up and right, so he can be avoided if you so choose.
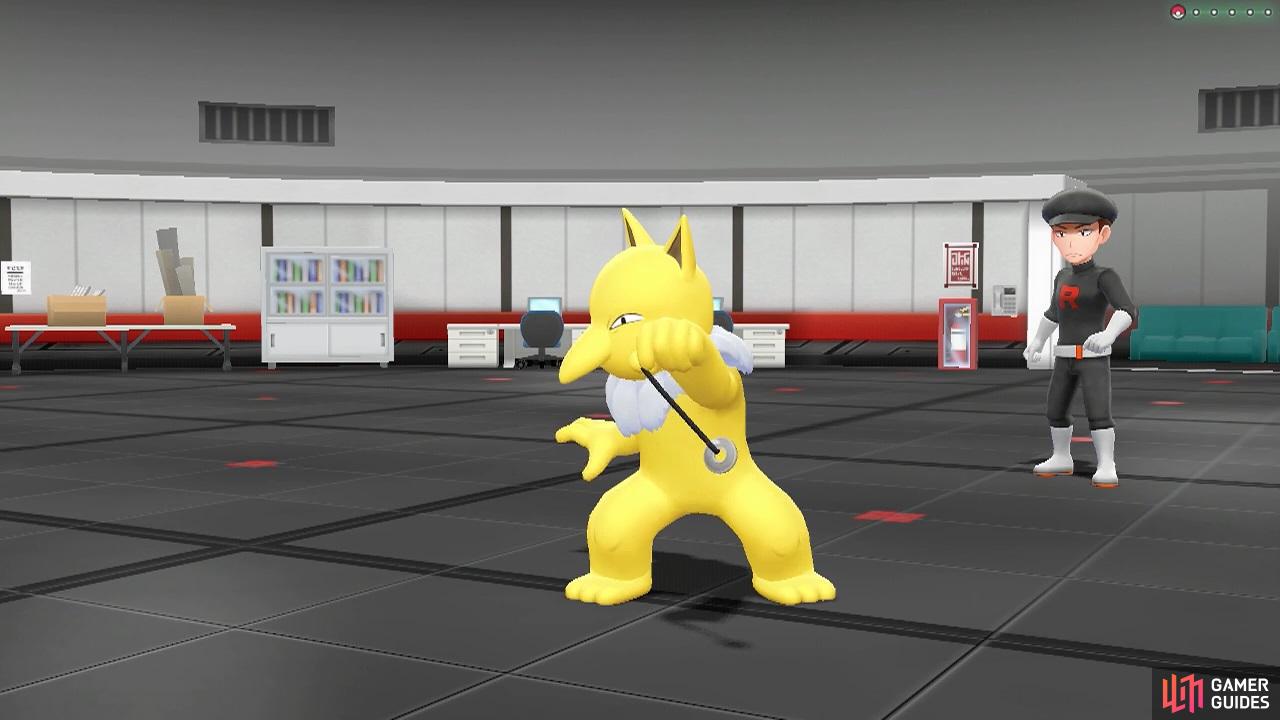
Team Rocket Grunt
 Koffing can use Self-Destruct as a last resort; try to nail it fast with super-effective Ground or Psychic moves.
  Rattata can use Sucker Punch to go first if you choose an attacking move. Fighting-types are king, but it’s a lowly rat so there’s nothing to fear.
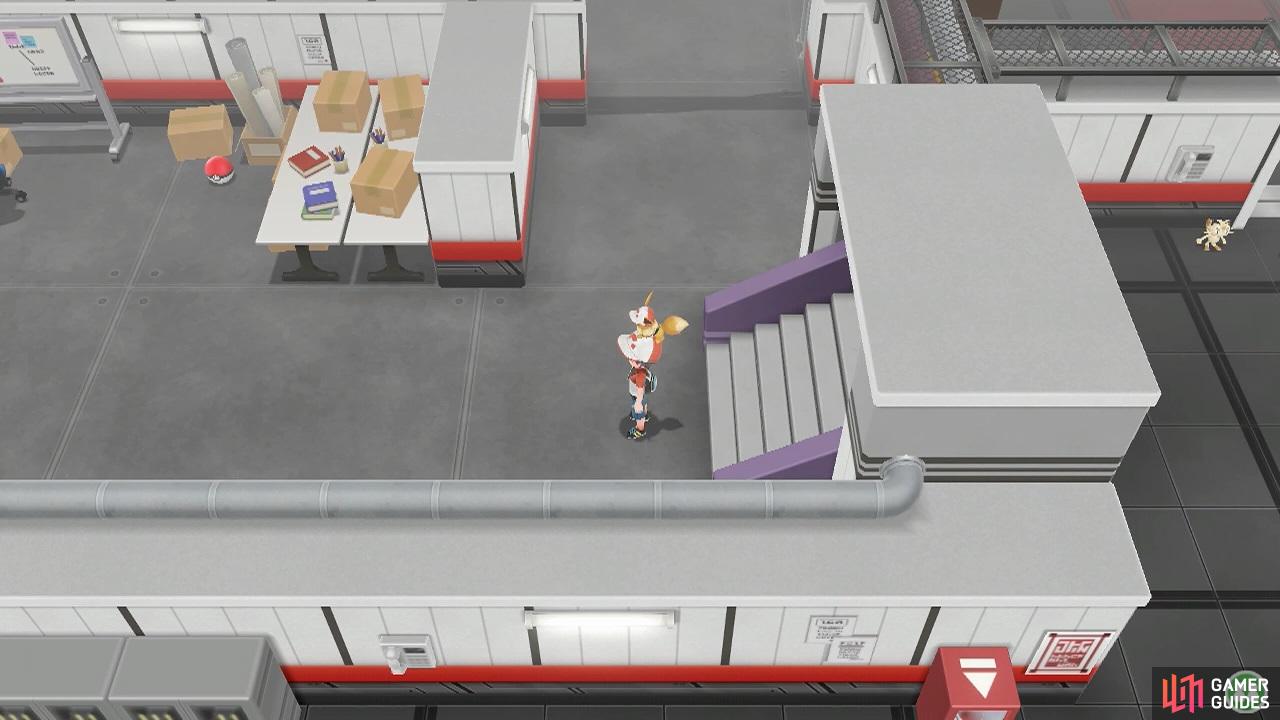
Past the unattentive Grunt, you can pick up 3 Mighty Candies hiding below the table in the middle, towards the left side. Further south is a door that you cannot open. So go back around to where the path branches. Next, head directly south. You’ll discover a fake Team Rocket member who will give you a Team Rocket Set.
As mentioned, this lets you and your partner dress up as Team Rocket, but the Grunts aren’t dumb enough to realize you’re a phony. So sadly you can’t sneak around their hideout with their uniform on. Go back and proceed west. You will have to battle a Grunt. But if that’s too much effort, feel free to turn around.
Team Rocket Grunt
| Pokémon | Level | Type |
|---|---|---|
 Golbat Golbat |
29 | Poison/Flying |
Golbat is an evolved  Zubat. If you’ve been training a Psychic-type, you should be smiling. Electric and Rock-types are also good; Ice-types too if you snagged an Alolan
  Sandshrew or
  Vulpix.
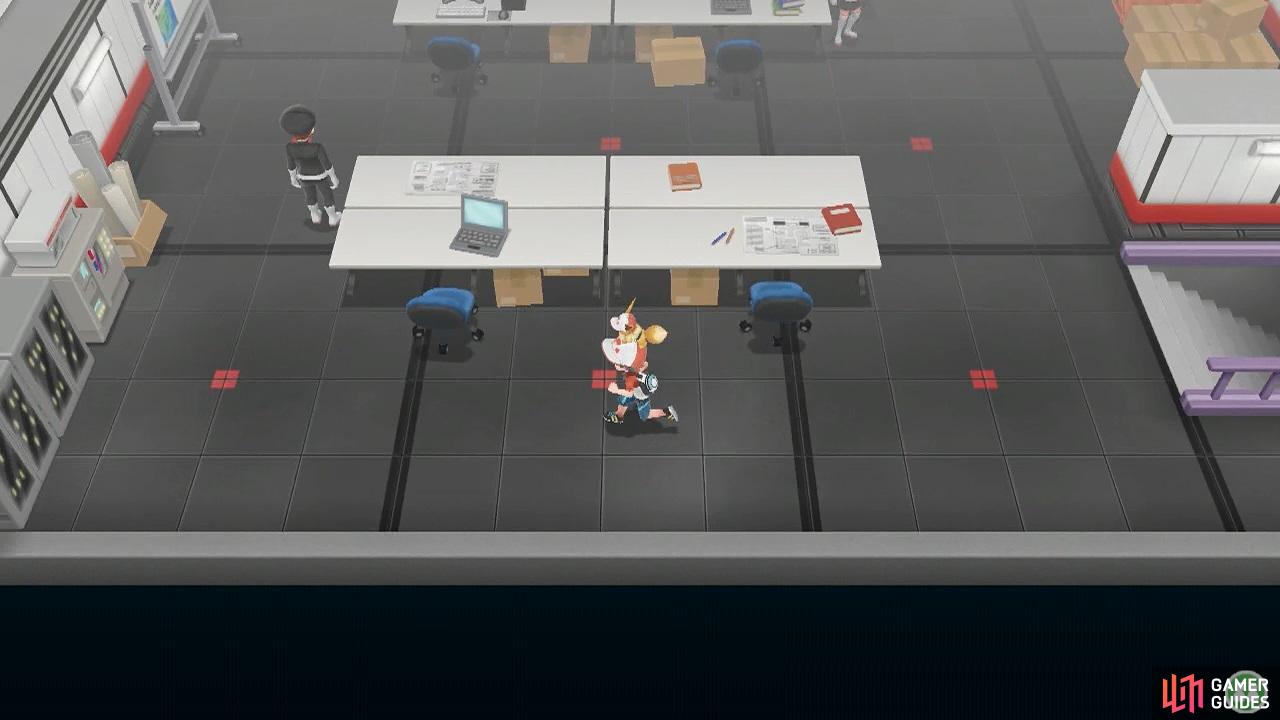
Past the stubborn Grunt, there are 5 Ultra Balls sitting on the floor below the table. That’s all you can do right now. Return to the entrance and go down the staircase to B2F.
Floor B2F
You’ll arrive at the north-east corner of B2F. Immediately to the left, there’s a Rocket Grunt that you’ll need to break through. Here goes nothing!
Team Rocket Grunt
| Pokémon | Level | Type |
|---|---|---|
 Hypno Hypno |
29 | Psychic |
This Grunt has an evolved  Drowzee. If you have any Dark-types (mainly just Alolan Rattata), throw them at Hypno. Bug-types are also effective, but Bug/Poison-types are weak to Hypno’s Psybeam. Also beware of Hypnosis, which can cause Sleep.
Beyond, there’s a maze of spinning arrow tiles. For those of you who have never had the pleasure of stepping on one of these, they make you spin uncontrollably in the direction of the arrow and you won’t stop until you hit a wall or a yellow floor tile. You can attempt the maze now if you want, be we recommend going down the stairs above.
Floor B3F
You’ll emerge at the north-east corner of B3F. Down below, there’s a female Grunt guarding a room. If you’re curious, go over and battle her.
Team Rocket Grunt
| Pokémon | Level | Type |
|---|---|---|
| Golbat |
29 | Poison/Flying |
A very popular choice among Rocket employees. Er, we’re assuming they get paid. As before, Electric, Rock, Ice and Psychic are recommended. Golbat does have Bite, but unless your Psychic is low Level, it shouldn’t take too much damage.
When you’re free to go, continue south and retrieve the TM20 Dark Pulse next to the Poké Ball machine. In any case, head west from the stairs. Halfway along, there’s a doorway leading south. Ignore it and keep going until you reach the far end. Grab the Revive on the floor. Then go back and head south through the previous doorway.
Lo and behold, there’s another arrow tile maze. From the doorway, go directly south, while keeping to the right. Directly to the left, there should be a yellow floor tile and two arrow tiles nearby. Step on the first arrow tile to the left, which should be pointing down. After you stop moving, carefully cross the yellow floor tile to your right.
You should be able to grab the Rare Candy. Go back across the yellow floor tile, then go up and step on the arrow tile that’s pointing upwards. This will take you to the yellow floor tile near where you first started. Now go right and travel anti-clockwise around the blocks obstructing your way. Stop when you reach the gap in the blocks.
Go down and step on the left-facing arrow tile. After you reach the nearby yellow tile, head south to the right-facing arrow tile. When you’ve stopped moving again, go left, then down and left again. Pick up the X Speed from the floor. Now go down, while keeping to the left. From here, step on the top-most arrow tile that’s facing right.
You should reach the exit of the maze. Head south, then follow the corridor in a north-easterly direction. At the first corner, you’ll need to battle a Grunt who’s standing above a red cabinet.
Team Rocket Grunt
After the Golbat and Hypno you had to get through, these unevolved Pokémon should be a piece of cake. Again, Rattata can use Sucker Punch to hit you before you can, but it doesn’t have the durability to last. Meanwhile  Voltorb has only the most basic of moves.
Once you’re through, go down the staircase towards the north-east.
Floor B4F (west)
Down and down we go…
You’ll arrive at B4F, the bottom-most floor. Geez, Team Rocket sure know how to build underground! First things first, head to your left and grab the two items before someone notices. There’s a PP Up near the bottom-left and a Hyper Potion above.
Now proceed north, through the doorway above the entrance. In this room, there’s a Grunt standing in front of an item. Grab him from behind.
Team Rocket Grunt
| Pokémon | Level | Type |
|---|---|---|
 Grimer Grimer |
29 | Poison |
Another Poison-type for your Psychic and Ground-types to sink their teeth into. Whatever you do, try to bury it fast, or it may use Minimize to greatly boost its evasion. It’s not gonna kill you anytime soon, but trying to hit it when it’s tiny can be painful.
In a surprisingly competent move, the Grunt will toss the Lift Key that you need onto an overhead railing. If every villain was half as smart, our heroes would never get their jobs done! But this plan has a fatal flaw. Go up and inspect the air vent near the top-right corner. When prompted, go left and inspect the blue office chair.
Do not try this at home. We repeat, do not try this at home! With the office chair positioned below the air vent, inspect the chair to climb up it. You will now control your partner directly, as they navigate the air vent. Go up to begin with. For kicks, you can head right to listen into a conversation. Otherwise, head left until you reach another air vent.
Inspect the air vent to remove the grating. You’ll automatically be placed on top of the piping. Follow the piping left, then down. This will lead you to the top of an overhead railing. From here, continue to the right. When the railing stops, inspect the narrow pipe to automatically go across it. On the other side, go over and grab the Lift Key!
Finally, go left and jump on your trainer to carry on your adventure as normal. Now that was rather fun, wasn’t it? As a human once more, go up the stairs below, back to B3F. Upstairs, head left and step on the arrow tile that’s pointing up. You’ll be back near where you nabbed the Rare Candy. Exit the maze via the next upward-facing arrow tile.
Return to the staircase in the north-east corner to go back to B2F.
Floor B2F (Again)
Now this is why we recommended that you initially skip the arrow tile maze on B2F. Because you’ll need to go through it now to reach the lift. At the start, there are two left-facing arrow tiles. It doesn’t matter which one you step on, but we’ll go with the bottom one.
Eventually you should end up in the far north-west corner. Go clock-wise around the blocks until you’re to the right of the last arrow tile. Then follow the path along the top, above the string of arrow tiles. Pick up the shiny Nugget from the north-east corner. Return to the north-west corner, then go directly south from the yellow tile.
To the left, there’s an Awakening you can grab. Next, go up a bit and step on the right-facing arrow tile near the previous yellow tile. You’ll be sent to another yellow tile a few squares to the right. Head left and scoop up TM05 Rest from the floor. Now the next part can be a little confusing, especially for first-timers.
After grabbing the TM, go down a few paces, then step on the top-most arrow tile to the left. You’ll be sent right, then downwards. Once you’ve stopped, go right one square and step on the arrow tile below. You’ll be sent right and upwards. Now step on the arrow tile diagonally to the bottom-right. After that, go left 2 squares to the next arrow tile.
You should spin left and downwards. Head right, then downwards. There will be two arrow tiles to the left. If you want to grab the final item, step on the bottom-most arrow tile. Otherwise, to exit the maze, step on the top-most arrow tile. Assuming you’re going for the item, you’ll be sent left, up and left.
From here, head south and around the blocks to receive your final prize: a PP Up. Actually, there’s one more thing! Go right, then up and across the yellow floor tile. In the space between two arrow tiles, search near the top for a hidden X Accuracy. Eh, could be worse. Now to get back, go left onto the arrow tile to land on the nearby yellow tile.
Next, go up and step on the right-facing arrow tile. You’ll be right before you picked up the TM for Rest. From there, you can follow the previous directions to reach the exit. After stepping on the top-most arrow tile, you’ll travel left and downwards. Finally, step on the arrow tile diagonally to the bottom-right to leave.
On the other side, you’ll find a lift with a red door and a set of stairs. If you’re not rushing for time, go up the stairs. You’ll arrive in another part of B1F.
Floor B1F (south-west)
Do the Grunts need to do office work, like writing reports?
Here, there are two tables in the center. Standing to the right of the top table is a female Grunt, while standing to the left of the bottom table is a male Grunt.
Both Grunts will look in two directions, so you can slip past them undetected. We’ll talk about the female Grunt first, then the male one.
Team Rocket Grunt
Cool, this Grunt has the full  Ekans line. Both can use Poison Jab, a strong physical attack, and Glare, which causes Paralysis. If you know your match-ups, Psychic and Ground have the advantage here.
Team Rocket Grunt
| Pokémon | Level | Type |
|---|---|---|
| Voltorb |
29 | Electric |
This Poké Ball mimic can use Self-Destruct, which will deal lots of damage by sacrificing all of its HP. Ground-types are ideal, but you’ll be fine so long as your Pokémon have plenty of HP left.
In any case, in the space towards the right side, there’s 5 Great Balls for grabs. Meanwhile, you can steal a Hyper Potion from the north-west corner. After you’re done, exit back to B2F and use the nearby lift. You’ll have two destinations: B1F and B4F. Likewise, head to B1F if you have time.
Floor B1F (south-east)
There’s a Grunt here you can play with.
Team Rocket Grunt
Two poisonous Pokémon to contend with. Zubat is weak to Electric, Rock, Ice and Psychic. Meanwhile,  Gastly is weak to Ground, Dark and Psychic. Basically, Psychic is the way to go here.
When you think you’ve explored enough of the hideout, head to B4F via the lift.
Floor B4F (east)
This is where things get serious… Downstairs, you’ll start in the south-east corner. Head over to the left and grab the Elixir in the far enough. Afterwards, proceed north, from the left of the lift. It’s time to take on the Team Rocket bigwigs!
Team Rocket Jessie and James
This is another Double Battle, like that time in Mt. Moon. Except Jessie and James have evolved their signature Pokémon. Despite that, Ground and Psychic-types are still recommended. Steel-types too since they’re immune to Poison. Note that  Arbok has Glare, which can Paralyze.
Moving on, step forth into the boss’s room to trigger the next battle.
Team Rocket Admin Archer
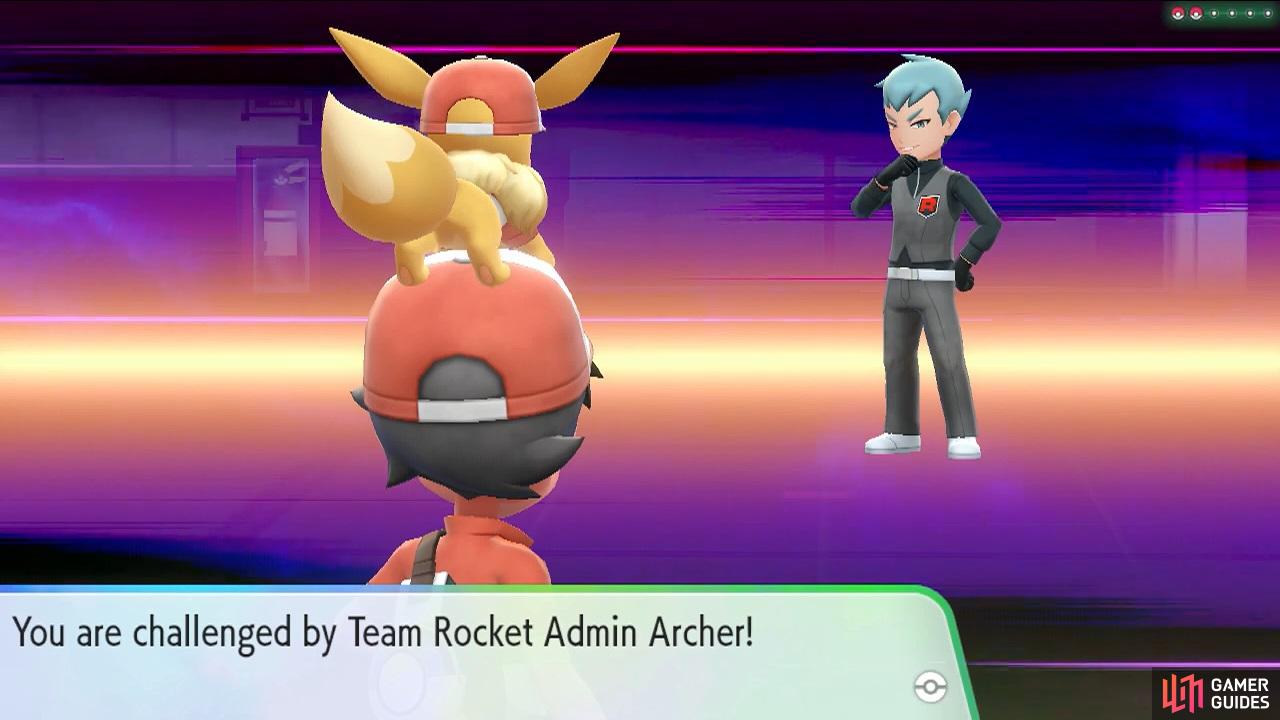
Admin Archer was first established in HeartGold and SoulSilver. Will we see him again in the future? Anyway, both of his Pokémon should be familiar to you. As usual, Psychic-types rule the roost, but you can switch to Electric and Rock-types for Golbat. Steel-types are fine for Golbat, but  Weezing knows Flamethrower.
After showing Archer his place, you’ll have the option to take a break. When ready, speak to the black-suited man to challenge him to a fight.
Team Rocket Boss Giovanni
 Persian is an evolved
  Meowth. This fiendish feline can be tricky as only Fighting-types are effective. It can use Fake Out for a guaranteed flinch on the first turn, Feint to attack first and Slash with a high critical chance. Rock and Steel-types can be useful here.
 Rhyhorn is a bit more straightforward. Like Brock’s Pokémon, this rocky rhino is doubly weak to Water and Grass. So if you’ve got one of those, this will be an easy victory. Ground and Fighting-types are also worth a shot, but they are mostly physical based and Rhyhorn has good physical bulk.
Repel Giovanni and he’ll hand you the Silph Scope. Now you can identify the ghosts in Pokémon Tower and safely reach the top of the tower. Before that though, if you haven’t already done so, it’s a good time to challenge the Celadon City Gym.
No Comments