
You may have seen this cave when you first arrived at Cerulean City.
Wild Pokémon
| Pokémon | Type | Location | Chance (%) |
|---|---|---|---|
 Chansey Chansey |
Normal | Cave | 10 (2F) |
 Psyduck Psyduck |
Water | Cave | 5 (B1F-1F) |
 Rhydon Rhydon |
Ground/Rock | Cave | 5 (B1F-1F), 10 (2F) |
 Rhyhorn Rhyhorn |
Ground/Rock | Cave | 10 |
 Lickitung Lickitung |
Normal | Cave | 10 (B1F-1F), 15 (2F) |
 Ditto Ditto |
Normal | Cave | 5 |
 Golduck Golduck |
Water | Cave | 15 (B1F-1F) |
 Graveler Graveler |
Rock/Ground | Cave | 15 (B1F-1F), 20 (2F) |
 Geodude Geodude |
Rock/Ground | Cave | 10 (B1F-1F), 5 (2F) |
 Golbat Golbat |
Poison/Flying | Cave | 15 (B1F-1F), 20 (2F) |
 Zubat Zubat |
Poison/Flying | Cave | 10 (B1F-1F), 5 (2F) |
 Snorlax Snorlax |
Normal | Cave | Rare spawn |
 Poliwrath Poliwrath |
Water | Water’s surface | 1 |
 Poliwhirl Poliwhirl |
Water | Water’s surface | 9 |
 Poliwag Poliwag |
Water | Water’s surface | 45 |
 Magikarp Magikarp |
Water | Water’s surface | 45 |
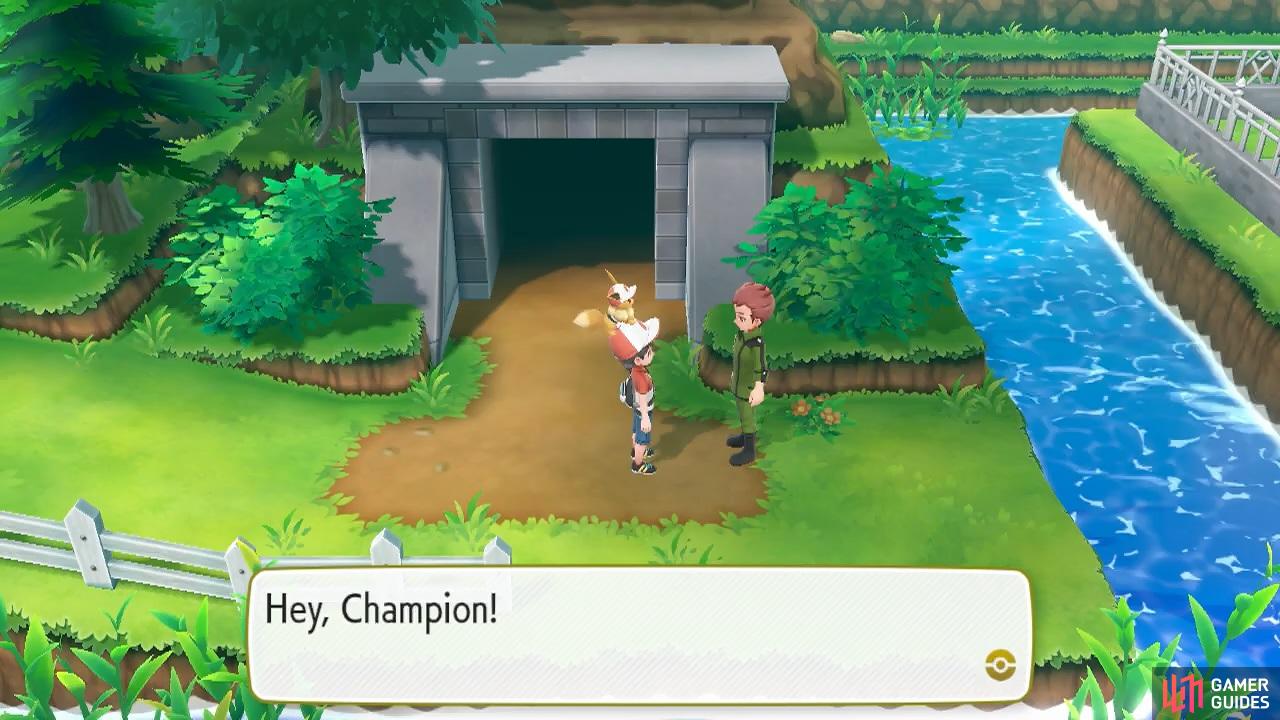
This post-game dungeon is located north-west of Cerulean City. The easiest way to get there is by riding on  Charizard,
  Dragonite or
  Aerodactyl (by taking them out of their Poké Ball) and then flying across the canal. Alternatively, you can head to Route 24 and follow the canal to the left of Nugget Bridge.
Outside the cave entrance, there’s a Coach Trainer who was previously guarding the way in. But now that you’re the Champion, there’s no need to stop you. If you want, you can battle him.
Coach Trainer Harjit
| Pokémon | Level | Type |
|---|---|---|
| Rhydon |
52 | Ground/Rock |
 Rapidash Rapidash |
52 | Fire |
 Nidoking Nidoking |
52 | Poison/Ground |
 Dewgong Dewgong |
52 | Water/Ice |
 Seaking Seaking |
52 | Fire |
Harjit’s Pokémon all know Megahorn, which is a powerful Bug-type physical move. None of this Pokémon are Bug-type, so they won’t gain STAB while using it, but you should still be careful all the same.
First into the fray is Rhydon, an evolved Rhyhorn. It’s weak to Ice, Ground, Fighting and Steel, and doubly weak to Grass and Water. This one can use Rock Slide for STAB, and Superpower to wreck Ice and Steel-types. Water and Grass/Poison-types are ideal.
Rapidash is an evolved  Ponyta, boasting terrific Speed. Harjit’s Rapidash can use Flare Blitz for a powerful STAB-boosted hit that damages itself a little. Rock is the best choice, followed by Water and then Ground.
Nidoking is a fully grown male Nidoran. It’s weak to Water, Ice, Ground and Psychic. This one can use Poison Jab and Earthquake for STAB. Any of the aforementioned Types would be great, but Psychics should be wary if they’ve suffered damage.
Dewgong is evolved from  Seel. It’s weak to Grass, Electric, Rock and Fighting. For attacks, it has Aqua Jet and Ice Shard, which are both priority moves that gain STAB. Electric and Fighting are the safest choices here.
Finally, we’ve got Seaking, an evolved  Goldeen. This pure Water-type can use Waterfall for STAB, in addition to Megahorn. If possible, field a Grass/Poison or Electric-type.
Successfully keep Harjit at bay and he’ll gift you with TM60 Megahorn. After that little warm up, it’s time to head inside the cave!
Floor 1F
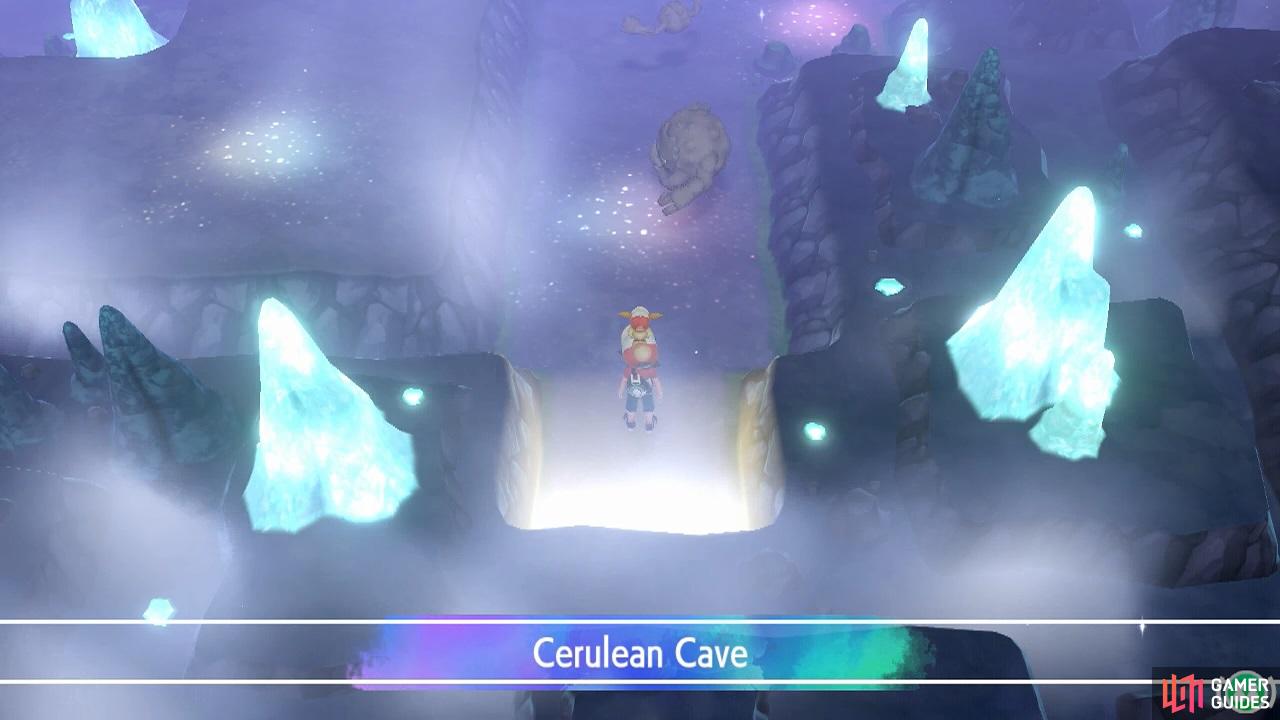
To think so many powerful Pokémon were this close by.
You’ll start near the south-east corner. Head north to begin with, towards a subterranean canal. Use Sea Skim here. Briefly follow the canal towards the north-east corner. Next to the ladder, pick up the PP Max. If you want, you can climb the ladder to the second floor. But actually, there are more ladders on this floor and all but one of them go to the same place.
Return to the canal and follow it west. Eventually, you should reach the north-west corner. Land to the north and go up the slope to higher ground. Nearby, there’s another ladder. Ignore it and grab the Max Repel to its left. Next, head south while on this area of higher ground. To the left is an isolated section with two ladders.
Search below the isolated section to find a hidden Rare Candy. Further south, there’s another ladder. Ignore this one as well and go down the slope below it. Head east. Make sure to retrieve the Full Heal next to the water, which you may have seen earlier. Then climb up the slope on the right, back to higher ground.
Now follow this area of higher ground in an anti-clockwise direction. When you reach the bottom-right corner, to the left of the entrance, search around here for a hidden Full Restore. To the north is another ladder. Go north-west and grab the Max Revive on the floor. If you want, keep going around to the final ladder in the center.
Either way, climb up any of the five ladders on this floor.
Floor 2F
No matter which ladder you go up, you’ll arrive in the same gigantic area. However, there are six ladders here and only five downstairs. If you’re smart, you should realize that the sixth ladder is the one you need to go down to proceed. For your information, it’s the one in the far north-west corner. The rest simply take you back to where you’ve been before.
Anyway, there are a lot of items on this floor.
To keep things simple, we’ll go through this floor somewhat methodically. We suggest starting at the north-west corner, where the ladder that leads to the next area is. Head east, along the northern wall. Grab any hidden items along the way. Halfway across, there’s a Max Lure for grabs. If this floor was a clock, you want to be at 12 o’clock.
Keep going until you reach the north-east corner. That’s where the ladder that takes you nearest to the entrance is. Now head south while keeping near the eastern wall. Halfway down, at around 3 o’clock, pick up the Full Restore. Then, head a short distance south-west from here. Grab the Max Revive near the raised ground.
From here, travel west from the south-east corner. Around halfway across, there’s 5 Ultra Balls above some stones. This should be near the 6 o’clock mark. Keep going west. A short distance away, you can find a Rare Candy below some more raised ground. It should be near 7 o’clock. From here, you can spiral in towards the center.
Once you’re done, go down the ladder in the north-west corner. You’ll reach the isolated area that you should have seen earlier. Here, go down the nearby ladder.
Floor B1F
You’ll arrive in the basement of Cerulean Cave. Go right and descend the nearby slope. Below, there’s a small body of water. Search the space towards the left, above the big glowing rock, to find a hidden Max Revive. Then continue east along the narrow path. Soon, you’ll reach the north-east corner. Go around and pick up the Escape Rope.
After that, travel south. When you reach the south-east corner, go up the nearby slope to get to higher ground. Head north for a bit. In the next corner, there’s a Full Restore on the floor. Now go left and descend the slope. From here, follow the path clock-wise. Near the bottom, grab the Max Elixir near the next slope. Then climb the slope.
Anyway, go down the slope on the left. From here, you’ll have to use Sea Skim to continue. Travel west across the water. Close by, there’s an area you can land on. Ignore it for now and carry on to the end. When you reach the bottom-left corner, head north. Search the dead end for a hidden PP Max. Now you can land on the right.
Up ahead is the final Pokémon in the game:  Mewtwo.
Legendary Pokémon: Mewtwo

| Pokémon | Level | Type |
|---|---|---|
| Mewtwo |
70 | Psychic |
Even compared to the Legendary Birds, Mewtwo is in a league of its own. Officially, Mewtwo is a “restricted” Legendary, which is one so powerful they’re usually banned from most official tournaments. Most games have one or two. In any case, you should definitely catch Mewtwo, whether it’s to complete your Pokédex or boost your power levels.
Mewtwo boasts blisteringly high Special Attack and Speed. As the battle begins, it will gain a boost to all stats. If you’re not careful, it can easily outpower your team. For attacks, it has Psychic as its main one, plus Swift to hit resistant Types. It can also use Recover to restore HP, and Amnesia to boost its Special Defense.
Unlike previous wild Pokémon you’ve battled, Mewtwo excels in both offense and longevity, thanks to it being fairly bulky and having the means to restore HP. However, it’s not an impossible foe to defeat by any means. Firstly, a Dark-type is extremely recommended. That way, you can avoid its strongest move. That solves the offense problem.
But then we come to Mewtwo’s durability. It can use Recover up to 20 times and with its stats, even a Dark-type probably can’t one-shot it. You can keep hitting and hitting it, but that 5 minute timer can run out sooner than you think. Therefore, if possible, we suggest crippling Mewtwo with Thunder Wave etc. That way, there’s a chance it’ll fail to use Recover.
Or if you’re feeling really sneaky, you can apply Toxic. But try to have a non-Poison Pokémon use it, for obvious reasons. Alolan  Muk is fine though, since it’s Dark. That solves the durability issue. However, if in doubt, you can do this battle in co-op mode (controlling both players if you have to) and you’re more or less guaranteed to win.
After Mewtwo falls, it’s time to catch it! Thankfully, Mewtwo doesn’t fly around like the Legendary Birds, but it will slowly shuffle left and right as time goes by. If you have any Golden Razz Berries, use them now! You could also consider using the Master Ball, unless you’re saving it for a Shiny Pokémon or something.
Once you’ve caught Mewtwo or otherwise, use an Escape Rope to exit the dungeon. Or walk all the way back out if you’d prefer. Outside, your rival will join you again. He’ll mention something about a mysterious female Pokémon trainer in the cave. Hmm, do you want to go back through the Cerulean Cave, right after you just left?
No Comments