
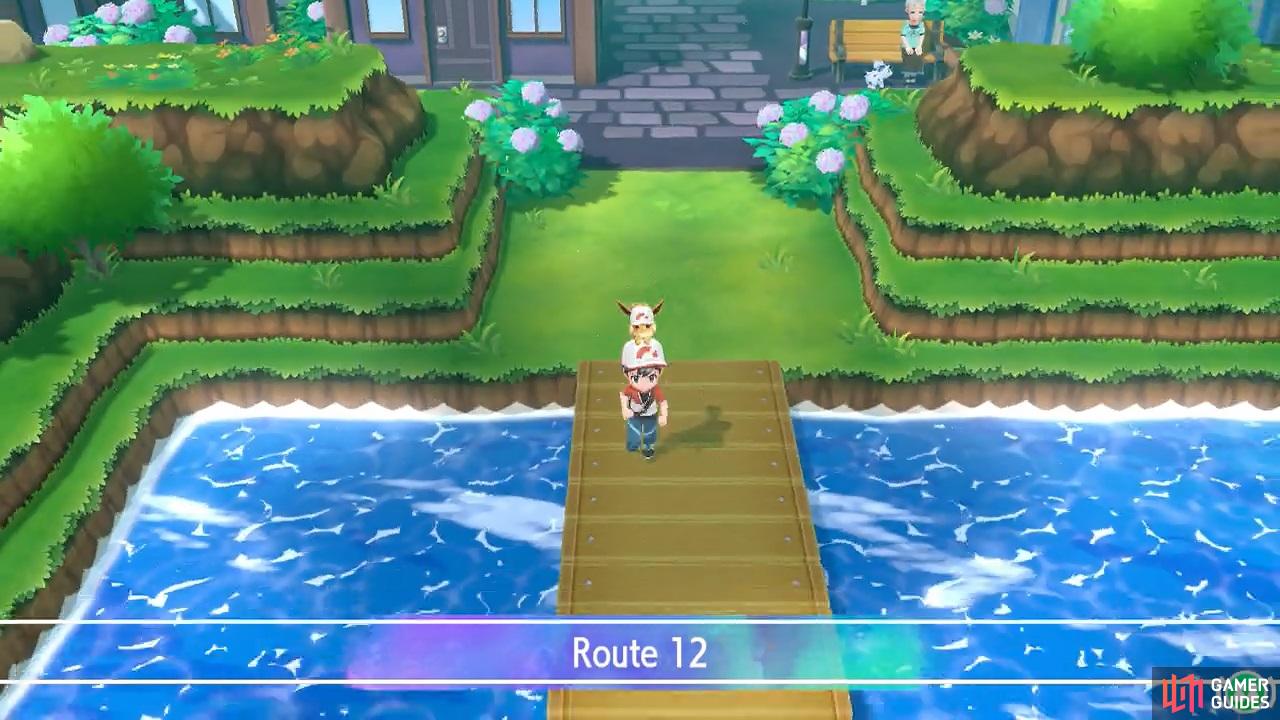
This route goes along the coast of the Kanto region.
This waterside route can be reached by traveling south from Lavender Town. Until you get the Poké Flute, you won’t be able to reach the end, but you can still explore a good half of the area. As you arrive, the wooden pier will branch in two directions. For now, there’s nothing to the left, so follow the pier on the right.
Soon, you’ll come to a gatehouse; step inside. Go over to the south-east corner and climb up the stairs. Upstairs, speak to the young girl in the north-west corner. She’ll hand you TM50 Roost. This Flying-type move restores the user’s HP and, for one turn, removes their Flying typing. That means they can heal without taking super-effective damage from Electric etc.
Exit the gatehouse via the south. Outside, continue following the wooden pier along the right side. Along the way, there’s a Fisherman looking left. Feel free to interrupt his fishing for a spot of Pokémon battling.
Fisherman Ned
| Pokémon | Level | Type |
|---|---|---|
 Staryu Staryu |
27 | Water |
This starfish Pokémon can use Minimize to boost its evasion by 2 stages, and Confuse Ray to make your Pokémon dizzy. Don’t give it a chance by slamming it with super-effective Grass or Electric moves.
Past Ned, the pier will zig-zag towards the left. As you reach the left side, be cautious of a Fisherman who alternates between looking left and down. To his north-west is a Lure that you can pick up. Did he drop it by accident?
Fisherman Chip
| Pokémon | Level | Type |
|---|---|---|
 Poliwhirl Poliwhirl |
27 | Water |
This evolved  Poliwag can use Hypnosis to send your Pokémon to sleep. Like Staryu, you want to avoid this by focusing your super-effective moves on it.
Continue south from Chip. You might notice a small island towards the right, where an item is sitting. Make a mental note to come back later. Next, the wooden pier will zig-zag to the right. Halfway along this section, there’s a Fisherman who’s job is to look up and right.
Fisherman Hank

You’d have a harder time trying to lose to  Magikarp than winning. Poliwag has Low Kick, but it’s unlikely to change things. Finally,
  Seaking is an evolved
  Goldeen. This one has a fairly strong Waterfall, so you’ll want to combat it with super-effective types.
Grab the Repel past Hank, on the right. Further south, you’ll reach a grassy island with a signpost. From there, follow the pier on the left. Towards the north-west corner, there’s another Fisherman–this one will look up and left, perhaps for the remainder of his life.
Fisherman Elliot
The ferocious  Gyarados is an evolved Magikarp. It’s gained the Flying-type, so it’s weak to Rock and doubly weak to Electric. Don’t actually use Rock-types though, since they’re weak to Water, duh. On closer inspection, this Gyarados hasn’t learned any Water-type moves, so you’re good to go!
Then we have the wimpy Magikarp for some reason. Maybe Elliot forgot to feed it and it hasn’t evolved yet? Feel free to use it as a punching bag–you pretty much deserve it after taking down a beast like Gyarados.
Carry on south, then east when you reach the corner. Over on the right, there’s an Ace Trainer guarding an item. With his life.
Ace Trainer Zach
After all the Water-types, it’s refreshing to fight something else. Zach’s  Tangela is a rare pure Grass-type. So you can finally bring out those Bug and Poison-types! It knows Sleep Powder, so a swift victory is recommended.
 Onix, as you may recall, takes massive damage from Grass and Water, plus the usual super-effective damage from Ground, Fighting and Steel. Zach’s Onix has Earthquake though so Steel-types should be benched.
Past Zach, pick up the item to discover it’s 3 Ultra Balls. Perhaps not the most exciting find, but maybe it’ll help when catching a rare Pokémon. Speaking of, south from here is a rare  Snorlax. Unfortunately, you can’t make it move without first obtaining the Poké Flute. Let’s come back here later then.
No Comments