
Team Rocket has invaded the entire building.
Silph Co. is the centerpiece of Saffron City–a sprawling eleven storey building that’s home to the Kanto region’s largest technological enterprise. However its fame caught the attention of Team Rocket, who have taken over their entire headquarters.
| Floor | Notes |
|---|---|
| Floor 1 | - |
| Floor 2 | - |
| Floor 3 | Teleporter to the endpoint. |
| Floor 4 | - |
| Floor 5 (Part 1) | Card Key (high priority). |
| Floor 5 (Part 2) | - |
| Floor 6 | - |
| Floor 7 | - |
| Floor 8 | - |
| Floor 9 | Heal your Pokémon. |
| Floor 10 | - |
| Floor 11 | Endpoint (accessible via 3F). |
Floor 1F
As you enter, a fearful receptionist will call you over. Then your rival will follow, along with another familiar face. In order to test your resolve, you’ll have to prove your skills to the previous Kanto region Champion.
Pokémon Trainer Blue
Blue is a massive step up from most trainers you’ve fought so far. Fortunately he only brought two Pokémon this time.
His first,  Exeggutor, is an evolved
  Exeggcute. It’s weak to Fire, Flying, Ice, Poison, Ghost and Dark, and takes quadruple damage from Bug. For attacks, it can use STAB-boosted Power Whip and Psychic, plus Light Screen to temporarily halve special damage.
 Charizard is a fully evolved
  Charmander that has gained the Flying-type. It’s now weak to Water and Electric, and is doubly weak to Rock. It can attack with STAB-boosted Heat Wave and Air Slash, plus Slash as a last resort. Rock-types clearly have the upper hand here.
Having proved your worth, you’re free to begin your rescue operation. First, go towards the southern side of the central fountain. There, you can pick up an X Sp. Atk off the floor. Then head towards the north-east corner. To the right, there are stairs upstairs, while to the left is a lift. Ride the lift to 5F.
Floor 5F
When you emerge, there’s a Juggler to your right. Ignore him for now. Instead, go left and past the teleporter pad on the floor. You should bump into Archer and a Rocket Grunt. Before they gang up on you, your rival will come in to lend a hand.
Team Rocket Archer and Team Rocket Grunt
| Pokémon | Level | Type |
|---|---|---|
 Electrode Electrode |
37 | Electric |
 Weezing Weezing |
37 | Poison |
 Golbat Golbat |
37 | Poison/Flying |
 Muk Muk |
34 | Poison |
 Raticate Raticate |
34 | Normal |
This is a rare Multi Battle, which is a 2 vs 2 battle. Accompanying you is your rival, who uses his  Cubone,
  Pidgeot,
  Gloom and partner.
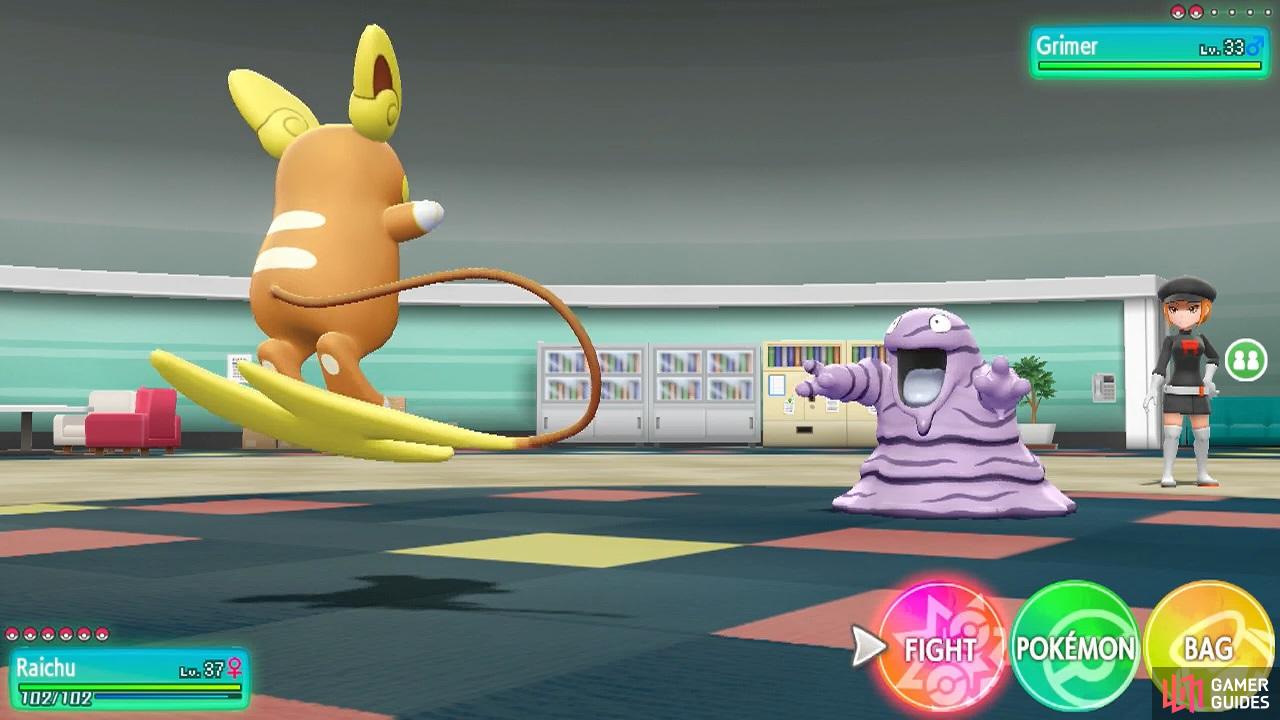
Archer leads with an Electrode that can attack with a fairly strong Thunderbolt. It may also use Self-Destruct to blow itself up and damage both your and your rival’s Pokémon. When it does this, the Rocket Grunt’s Weezing may use Protect. Try to focus on Electrode first.
Next up, Archer has his Weezing from earlier. In addition to Sludge Bomb, it can use Flamethrower to hurt Steel-types and Dark Pulse to punish Psychic-types. As such, Ground-types are recommended, but Psychic-types should be OK if they have high health.
Finally, Archer’s Golbat has Air Slash for STAB-boosted damage and to potentially cause flinch. Plus Crunch to hurt Psychic-types. This time, Electric, Ice and Rock-types are the way to go. If your Psychic-type hasn’t taken serious damage, it can probably continue the good fight.
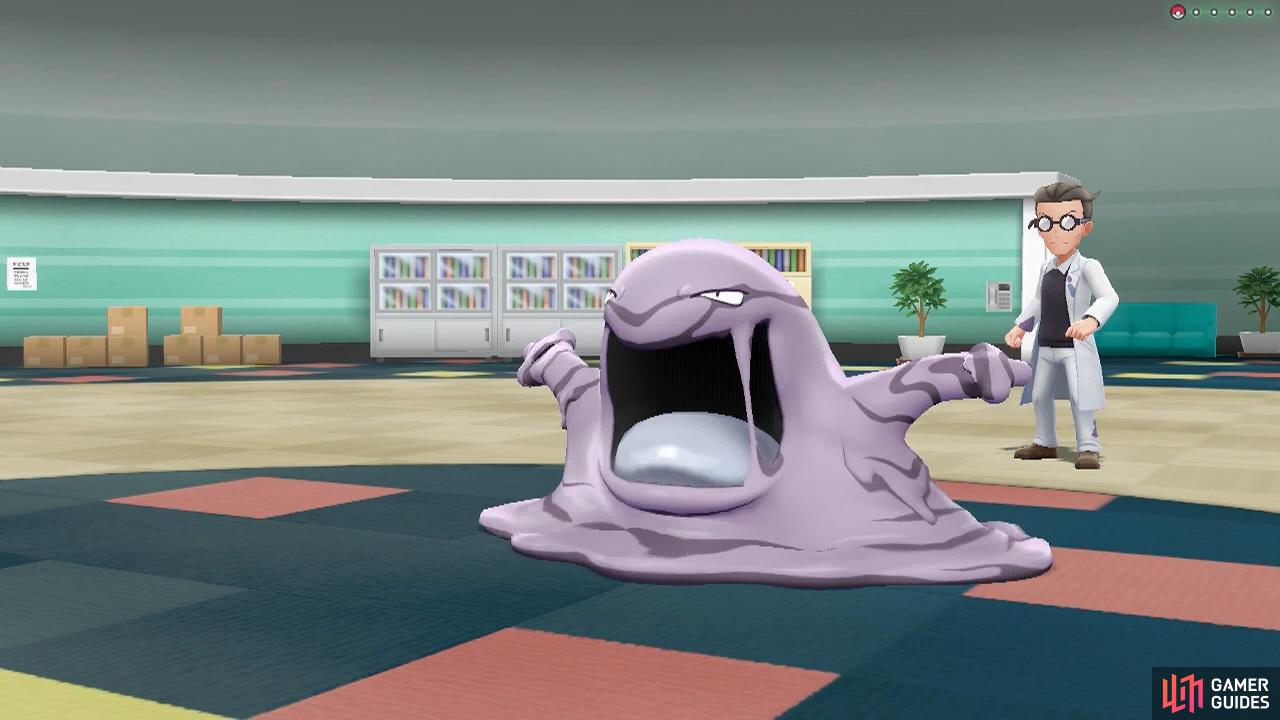
Meanwhile the Rocket Grunt assisting Archer has a Muk to start with. This evolved  Grimer plays a pure support role, using Toxic to inflict severe poison and Screech to greatly lower Defense. It can use Minimize to greatly raise evade and Protect to stall. If you have it, Body Slam counters Minimize.
Afterwards, the Rock Grunt will send out Raticate. This one focuses on priority moves to outspeed your Pokémon. Of note, be wary of Sucker Punch as that can cause decent damage to Psychic-types.
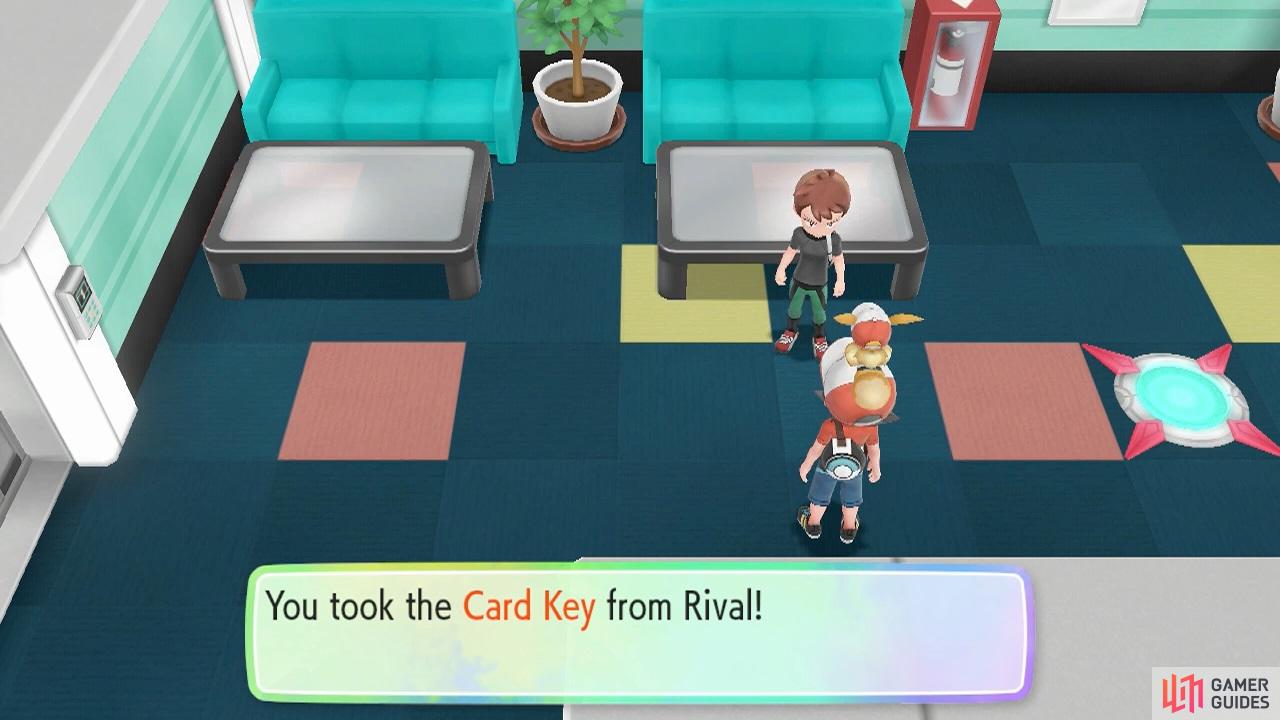
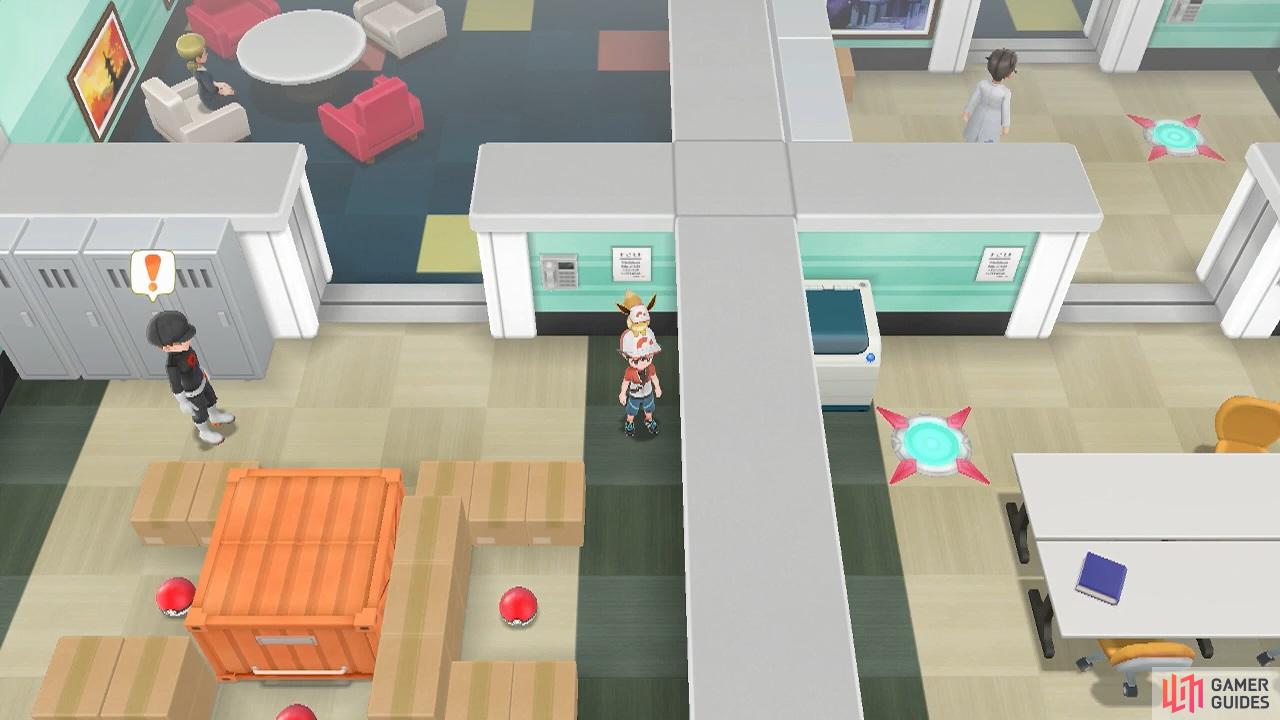
The Card Key will be extremely useful for exploring the building.
From here, you have two options available to you. You can either proceed straight to the chairman’s room to oust the leader of Team Rocket. Or you can take your time to explore Silph Co., obtaining useful items and earning valuable experience from the Rocket thugs all over the place. If you want to skip ahead, keep scrolling until you reach the end of 3F.
Otherwise, we’ll be exloring every nook and cranny of Silph Co.! By the way, you may notice there are lots of teleporter pads in the building. These will transport you to a specific teleporter pad located elsewhere. However, except for one or two exceptions, there is no need to use them. In fact, we will avoid them altogether, unless necessary.
That said, we will tell you where each teleporter pad leads, in case you’re curious or want to use them as shortcuts. To start with, we highly recommend returning to the lift and riding it to 2F. Then you can proceed to navigate the building one floor at a time, thus greatly reducing the amount of potential confusion.
Floor 2F
Starting from the lift entrance on 2F, to the left, there’s a teleporter that leads to the south-west corner of 8F. For now, ignore it and head right from the lift. Below, there’s a doorway leading to a lounge of sorts. But blocking the way is a Team Rocket Grunt who won’t budge without a fight.
Team Rocket Grunt
| Pokémon | Level | Type |
|---|---|---|
| Raticate |
33 | Normal |
After battling Blue and Archer, this Grunt should be a walk in the park. Still, be wary of Super Fang, which halves your current HP, and Sucker Punch, which goes first if you’re attacking.
If you wish to avoid all unnecessary battles, you’ll have to leave this floor for now. Otherwise, after beating the Grunt, proceed into the lounge. Along the top, there’s a Grunt watching TV, but he will battle you if you get in his way.
Team Rocket Grunt
Not very creative, this Grunt. All of his  Koffing pack Self-Destruct as a last resort and Toxic to inflict deadly poison. If you use super-effective Ground or Psychic moves, you should be fine. Alternatively, Steel-types will take no damage from its Poison-type moves and can easily survive a Self-Destruct.
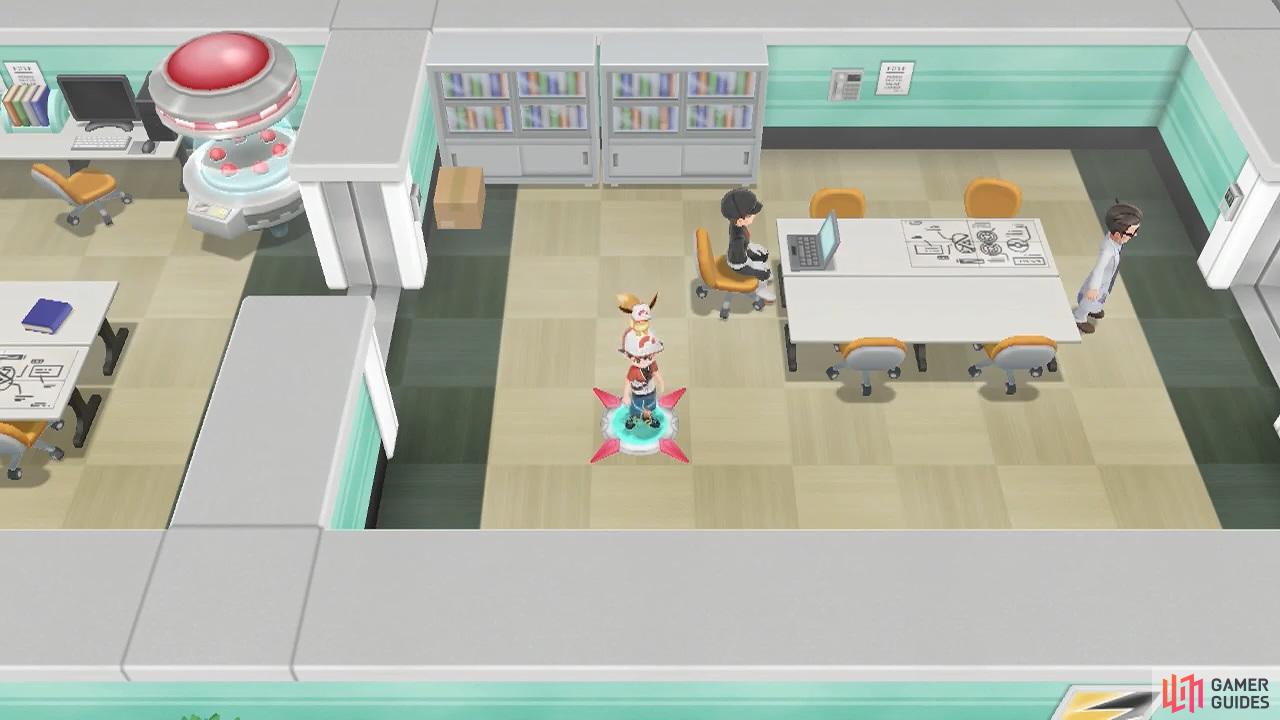
Near the bottom-left corner of the lounge, there’s a drinking fountain that you can search for a hidden Fresh Water. Towards the bottom-right is an office room. Standing below a printer is a rogue Scientist. You can either fight him or turn back for now.
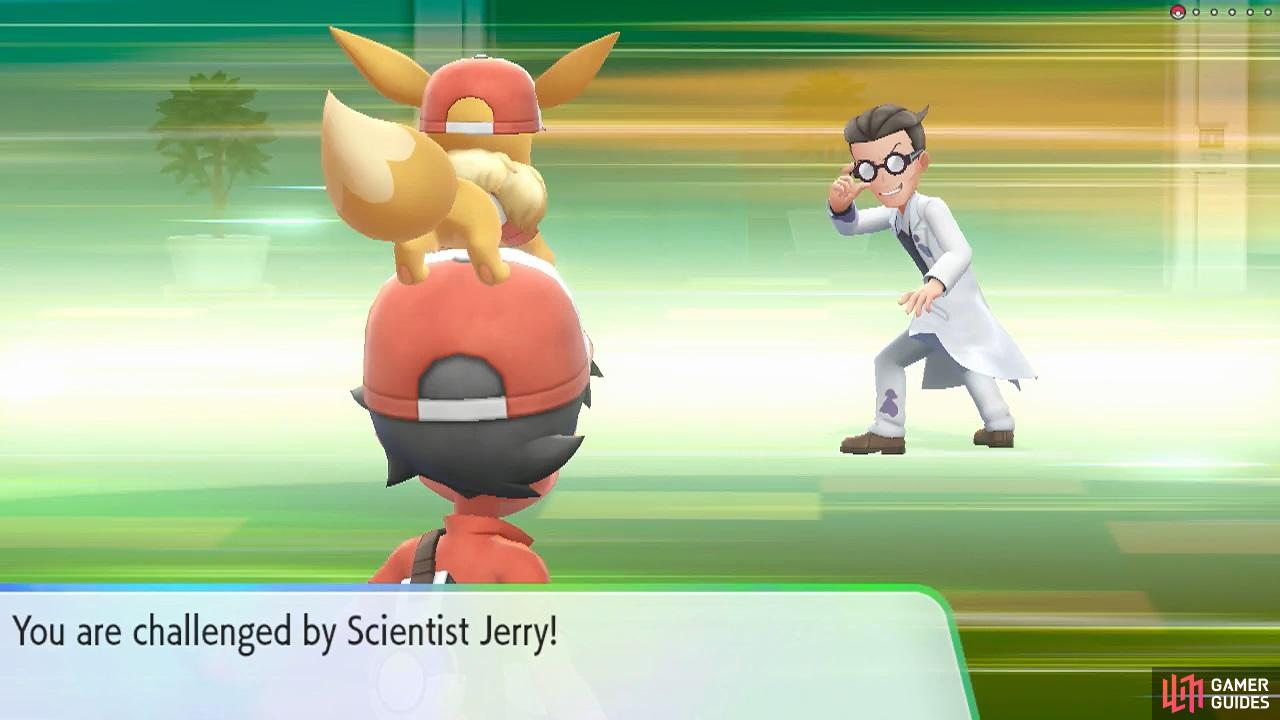
Scientist Jerry
| Pokémon | Level | Type |
|---|---|---|
 Electabuzz Electabuzz |
35 | Electric |
A fairly rare Pokémon found in the Power Plant. Because it’s pure Electric, Ground-types are recommended. You don’t have to be a Scientist to figure that out!
Past the Scientist, there’s an X Attack below one of the computer desks. Also in this room, there’s a teleporter that will take you towards the north side of 8F. Head back into the lounge and proceed left, while keeping near the top. At the end is a Super Potion on the floor and two shutter doors–one above and one below.
Use the Card Key to open the top door first. Speak to the lady in the corner to receive TM42 Self-Destruct. It should be pretty obvious what this does. We don’t recommend using it unless you’re going to lose your Pokémon no matter what you do. In the same room, there’s a teleporter to the north-east corner of 3F. You can actually use this once you’ve finished here.
Before leaving this floor though, open the bottom shutter door. Here, there’s a Scientist looking around agitatedly. Next to him is a teleporter to the north-east corner of 6F.
Scientist Connor
| Pokémon | Level | Type |
|---|---|---|
| Weezing |
35 | Poison |
This evolved Koffing can use Sludge Bomb for STAB-boosted damage and Shadow Ball to hurt Psychic-types. Ground-types are ideal, while Psychic-types can handle a Shadow Ball or two at full health.
Afterwards, head to 3F via the staircase, lift or the transporter in the north-west room.
Floor 3F
Regardless of where you came from, you’ll start near the north-east corner. As a reminder, the transporter to the right will take you back to 2F. If you wanted to avoid all battles, you can use this now to reach the main part of 2F without any fights.
Meanwhile, to the far left is a transporter that leads to the 5F, near the lift. In fact, it’s the one near where you battled Archer. To proceed, head down the corridor in-between the lift and staircase. To the left is a shutter door, while to the right is an open doorway. Go right. In this room, there’s an X Sp. Def in the bottom-right corner.
Also, there’s a teleporter that will transport you to the south-east corner of this room. You can use it avoid a Grunt who’s standing below the two central doorways. Otherwise, go down and fight him.
Team Rocket Grunt
| Pokémon | Level | Type |
|---|---|---|
 Haunter Haunter |
33 | Ghost/Poison |
You must have battled a bunch of these while climbing the Pokémon Tower. As usual, it’s weak to Ground, Psychic, Ghost and Dark. Try to priortize Ground and Dark-types.
Along the bottom-most corridor, if you keep going to the south-west corner, there’s a teleporter here as well. This one will zap you to the south-west corner of 5F. If you want, you can use it now to quickly access a storage room with some handy items, but we’ll officially head there later. Return to the central corridor and open the shutter door on the left.
Inside, there’s a Scientist near the right and a Grunt who’s busy near the left. To the north-east of the Scientist is a Max Lure.
Scientist Jose
Jose’s Grimer only has Poison-type moves, so you can wall it with Steel-types, or stick to your advantageous Ground or Psychic-types.  Magmar is a rare Pokémon found in Cinnabar Island. Because it’s a pure Fire-type, its weaknesses are easy to suss out.
This teleporter leads to the boss’s room.
Assuming you still want to explore, head over to 4F via the stairs or the lift.
Floor 4F
Go right and enter the large office room below. Halfway down, there’s a Grunt scouting for intruders. That means you.
Team Rocket Grunt
Ground-types are the way to go here. If you want to be cautious, Ghost-types are worth a shot since both of his Pokémon have Self-Destruct. Plus neither have moves that threaten Ghost/Poison-types.
Towards the far bottom-right corner, you can find a Dire Hit below a computer desk. Afterwards, exit the office room and follow the corridor that goes down the center of this floor. Upon turning the corner, watch out for a Grunt standing in the middle of the hallway. He’ll swap between looking left, right and down (in any order).
Team Rocket Grunt
A pair of pitiful unevolved Pokémon. Even worse, the  Rattata only uses Quick Attack, while the Grimer is a bit better equipped, with Sludge Bomb and Toxic.
To the right of the Grunt, there’s an open doorway. Go there first. Nearby, there’s a teleporter to a room towards the east of 10F. Also, there’s a drinking fountain that you can search for more Fresh Water. Always remember to keep hydrated, especially when in the middle of a mission!
Continue up and unlock the shutter door that’s ahead. In this next room, there’s a Scientist and two teleporters. The bottom-left one also goes to the south-east corner of 10F. Meanwhile the top-right teleporter goes to the north-west corner of 6F. Both are kind of useless.
Scientist Rodney
What a load of balls. The first  Voltorb can use Light Screen, while halves special damage, if it gets a chance to survive that is. Otherwise all three Pokémon pack Thunderbolt. If there was any doubt, this is the perfect job for a Ground-type.
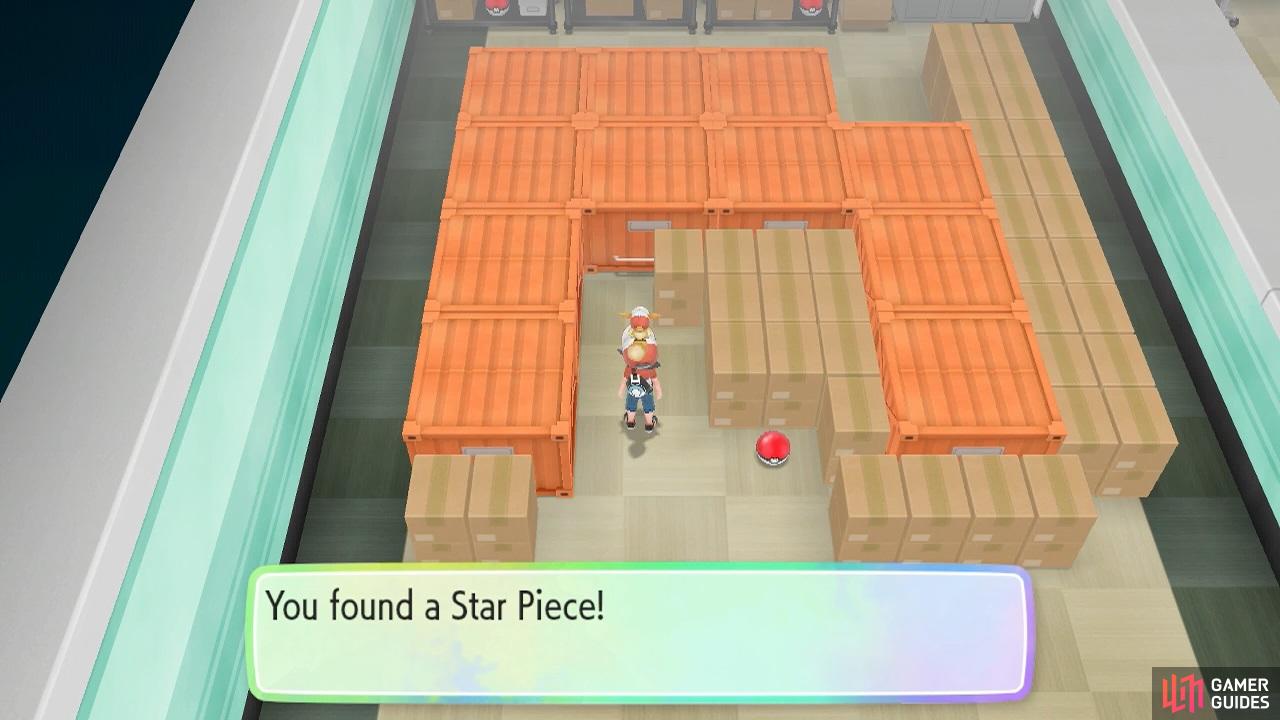
Does their insurance policy cover things going missing during a takeover?
Past the Grunt in the hallway, there’s a teleporter at the far end that goes to a room in the south-east corner of 10F. Still on the same floor, open the shutter door directly above. Through here is a storage room with a plethora of items, free for the taking: a Full Heal, Star Piece and Escape Rope near the south, and 5 Great Balls and a Revive up north.
Moving on, head to 5F using any routes that you’re familiar with. We humbly recommend the stairs or the lift. Just note that there’s a Juggler standing in-between the lift on the left and the stairs on the right. So if your mission is to avoid all battles, you’ll need to take both the stairs and the lift to safely explore the whole floor.
Floor 5F (again)
Anyway, we’ll go right from the stairs to start with. Near the north-east corner, there’s a teleporter to the south-east corner of 7F. You can go there to quickly grab an item or two, but we’ll head there later anyway. Also, there’s a Grunt to the south-east of the teleporter. Feel free to say “hello”.
Team Rocket Grunt
An easy Pokémon followed by a slightly harder one.  Zubat has Toxic, so you’ll want to finish it fast or wall it with Steel-types. Meanwile
  Arbok has Glare to cause Paralyze and Bite to chip away at Psychic-types.
Next, go through the nearby doorway to reach a large conference room. Here, head over to the west to locate a shutter door. There’s also a Rocket Grunt in the corner, but they’re too embarrassed to battle. Past the shutter door, you can claim a Guard Spec. Exit the conference room and turn left. You can battle the Juggler or you can go downstairs and ride the lift back up.
Juggler Dalton
This Juggler seems to like his supernatural Pokémon.  Hypno, perhaps unsurprisingly, has Hypnosis to try and cause Sleep. Bug and Dark-types are recommended; otherwise, hit it hard with neutral physical attackers.
Next up can be Haunter. This naughty ghost can use Sucker Punch to go first if you’re using an attack move. It also has Dream Eater to steal HP from sleeping Pokémon. Avoid using Rest and you shouldn’t have nightmares.
Finally,  Kadabra has Reflect to halve physical damage and Night Shade to get around Dark-types. As with Hypno, Bug and Dark-types are the best choices. But it’s not particularly durable, even with Reflect up.
To the left of the Juggler is the place where you should have battled Archer. Otherwise, you’ll have to battle him now. If that’s the case, refer to the beginning of this section. Here, there’s a teleporter in the middle of nowhere that leads to the north-west corner of 3F. Continue past it. Nearby, open the shutter door on the left.
Inside the north-west room, there’s a Scientist standing in the middle of two tables. He’ll be looking around for suspicious people, but you can easily avoid his gaze. Be sure to retrieve the Max Ether below the left table.
Scientist Beau
| Pokémon | Level | Type |
|---|---|---|
| Muk |
35 | Poison |
This Muk is quite interesting. It has Minimize to boost its evasion and Ice, Thunder and Fire Punch to target common weaknesses. Ground-types will need to be somewhat cautious of Ice Punch and Steel-types can take damage from Fire Punch. Most Psychic-types won’t need to worry at all.
Leave the room and proceed south. Soon, there will be a Grunt standing guard. If you wish to avoid him, return to 3F and use the teleporter in the south-west corner. You’ll emerge in the room to his south-west. Otherwise, fight your way through.
Team Rocket Grunt
Quickly dispose of the  Ekans with super-effective Ground or Psychic-types or it make use Glare. Once again, Hypno is ideally tackled with Dark-types or Bug-types that aren’t also Poison. But you can brute force it with strong physical attackers.
Past the Grunt, use the Card Key to unlock the shutter door to the left. Inside, there’s a storage room with 5 Poké Balls and TM54: Flash Cannon. Or if you came from 3F, grab the items and open the shutter door from inside to get back to the main hallway. In any case, proceed east along the southern-most part of this floor.
For reference, the teleporter below the Grunt leads to a room near the south side of 9F. You can skip ahead and grab some items, but as usual, we’ll be going there the normal way. At the next corner, follow the narrow path north. Grab the Nugget and then leave this floor towards 6F. Preferably via the stairs or lift, but it’s up to you.
Floor 6F
As you arrive at 6F, head through the doorway directly below the left staircase. You’ll step foot in another conference room. Check the top-left corner for an X Sp. Atk. Exit the conference room via the north doorway. Then head right towards the north-east corner. Here, there’s a teleporter that goes to the south-west corner of 2F.
Continue south from this teleporter to find a PP Up lying on the floor. If you keep following the hallway clock-wise, you’ll have to fight a Grunt outside a doorway. To avoid him, simply go back around to the north side of this floor and then head south-west through the conference room, towards the south doorway.
Team Rocket Grunt
It’s the usual suspects. Raticate primarily uses Quick Attack for a surprise attack or Crunch to hurt Ghosts. Similarly, Golbat also has Crunch to hurt Psychic-types. Besides that, there’s nothing substantial about these creatures.
Moving on, continue west from the Grunt below the doorway. Over here, open the shutter door on the left so you can enter the storage room with a Hyper Potion and Max Repel. Exit the storage room and head north. Before you reach the Scientist, there’s a Super Potion hiding above a potted plant on the right.
Scientist Taylor
A Magmar sandwiched by two  Magnemite. The Magnemite are fairly straightforward, preferring to stick to STAB-boosted attacks. Hit them with Ground-types for a blindingly fast win, or Fire or Fighting for an almost-as-fast win. Magmar has a pretty strong Flamethrower, but that’s about it.
Past the Scientist, go over to the room in the north-west corner. Here, there’s a teleporter to a room near the north side of 4F. There’s little reason to go there though. Before leaving this room, search the drinking fountain for a free Fresh Water. Ah, that’s the stuff!
To the right is another Grunt you have to battle. Or you can opt to go back through the conference room.
Team Rocket Grunt
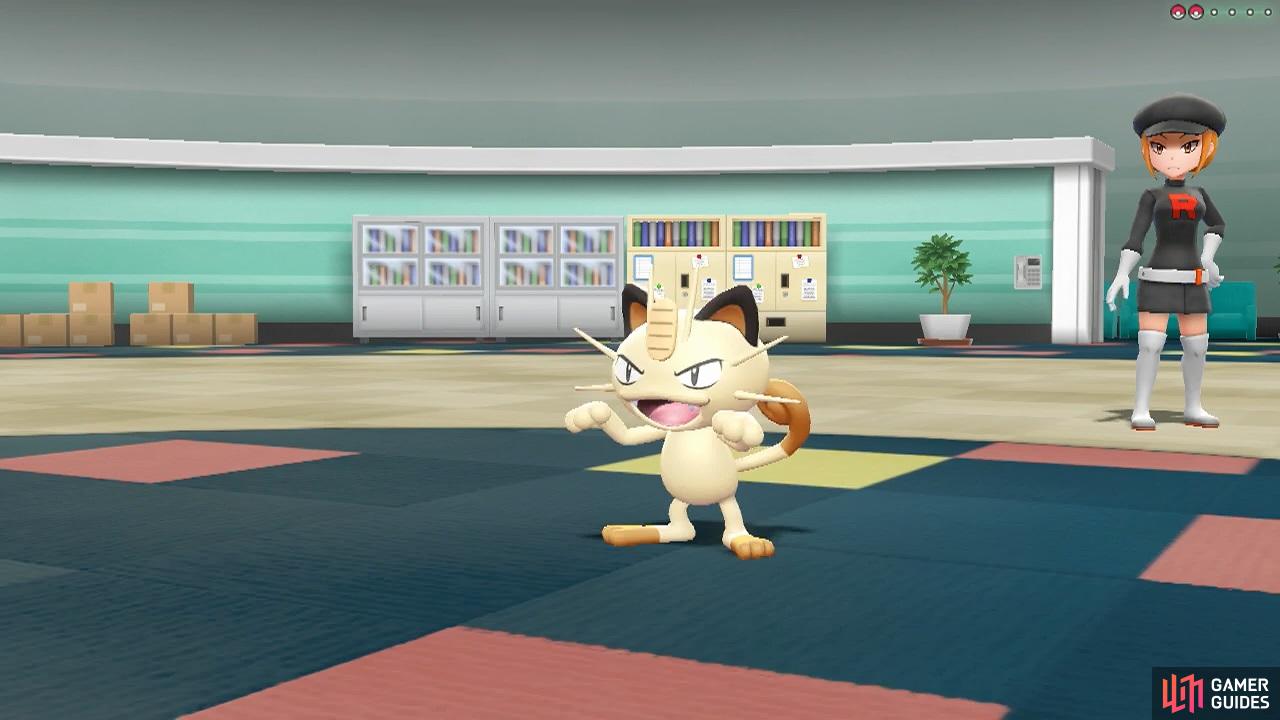
Two Normal-types, so a good time to bring out any Fighting-types.  Meowth has Fake Out, which causes a flinch on the first turn. Plus it has Feint, which has increased priority. You can avoid both with Ghost-types. Raticate has Super Fang to halve HP and Sucker Punch to surprise attackers.
You should be done with 6F by now. Go up the stairs to 7F, unless you have a better way of getting there, of course.
Floor 7F
Towards the north-east corner, open the shutter door below. You’ll come to a small lounge where a Grunt appears to be interrogating a Silph Co. employee. You can avoid her by using the north-eastern teleporter on 5F and going north.
Team Rocket Grunt
Another trainer with terrible imagination when it comes to team building. Still, try not to be careless as the first two Voltorb have Self-Destruct and only Self-Destruct. As such, you can lead with a Ghost-type. Meanwhile the final Voltorb actually has moves that won’t kill it.
Past the Grunt, pick up the TM34 Dragon Pulse below the table. Nearby, there’s another shutter door to unlock. In the next room, grab the 3 Smart Candies below the coffee table. There’s also a teleporter to the north-east corner of 5F. Or maybe you came via this transporter to sneak past the Grunt.
Go back towards the stairs along the top and head left this time. Opposite the lift, there’s a hallway going down. Follow it to the south-west corner. Here, there’s a Scientist watching over a PP Up below a painting at the far end. Wait, is that a painting of a pagoda from the Johto region?
Scientist Joshua
Koffing has Dark Pulse to annoy Psychic-types, but a strong Psychic-type can probably one-shot it.  Magneton is an evolved Magnemite with the same weaknesses: Ground, Fire and Fighting. This one doesn’t have Electric-type moves, but can use Tri Attack to potentially inflict a status condition.
From here, return to the lift. If you don’t want to battle anyone, leave for the next floor. Otherwise, head left and battle the Grunt standing near the reception counter.
Team Rocket Grunt
This Grunt has the full Zubat line, at least until a new discovery is made in the Johto region. His Zubat has Toxic, so beware of that. Meanwhile his Golbat has Confuse Ray, which is less scary, but potentially more annoying. Hit ’em with Electric, Ice, Rock or Psychic-types as usual.
Once the Grunt’s been dealt with, open the shutter door towards the left. Through here is another small lounge.
Next, grab the Rare Candy near the bottom-left corner. That’s everything you can do here. For reference, the room in the far north-west corner is only accessible via the teleporter near the middle of 3F. For now, go upstairs to 8F.
Floor 8F
This time, we recommend the lift, as it’ll take you past a Grunt. Or you can battle your way past her.
Team Rocket Grunt
Let your Ground or Psychic-types wreak havoc here. Her Grimer knows Minimize, which can be a nuisance since it makes your attacks liable to miss. But 100% accuracy moves like Swift can bypass it–and, funnily enough, Body Slam too. Meanwhile, Koffing has Toxic and Self-Destruct to be mindful of.
Head south from the Grunt’s left (our perspective). At the end of the corridor, you can go left or right. If you head right, there’s a lounge area. Here, check out the top-right corner to find an X Attack above a potted plant. Next, go left along the bottom-most hallway. Head up through the first doorway above.
However, just past the doorway, there’s a Grunt in the bottom-right corner who will try to ambush you. Unfortunately, there’s no way to enter this area without fighting at least one trainer. You can skip this Grunt by using the south-east teleporter on 2F, but that requires fighting a Scientist. Basically, pick your poison. Or we suppose you could just leave for now.
Team Rocket Grunt
A devious  Gastly to content with first. This one can use Will-O-Wisp and Toxic to inflict an annoying status condition. So try and get rid of it ASAP.
  Persian is an evolved Meowth, but this one isn’t anything special. It does have Feint, which has boosted priority.
Above the Grunt is a teleporter that leads to the room on the left, which can be accessed by opening the nearby shutter door. This does allow you to enter the room without the Card Key, but why’d you want to do that? Further north is a teleporter to the south-east corner of 2F. Which isn’t terribly exciting.
Head to the room on the left, via the shutter door or the nearby teleporter. Inside, there’s a Scientist guarding a Revive in the far corner.
Scientist Parker
Parker’s Electrode can use Reflect to weaken physical attacks. Besides that, it has Sonic Boom as its only move, which deals 20 damage at a pop.  Porygon can only use Hyper Beam. This is a pretty powerful move, but the user will need to recharge on the next turn. A Ghost-type can laugh in its polygonal face.
Your next destination should be 9F. Perhaps you’ve already visited a part of it earlier.
Floor 9F
Anyway, from the stairs, if you need to rest your Pokémon quickly, go along the central hallway towards the left. You will need to fight a Grunt along the way. If you’re shy, you can instead go to 3F and use the teleporter in the middle row towards the west.
Team Rocket Grunt
| Pokémon | Level | Type |
|---|---|---|
| Persian |
33 | Normal |
This Persian has Fake Out to cause a flinch on turn 1. It also has Feint, which has increased priority, and Hypnosis to try and cause Sleep. Not only that but it has Play Rough to hurt Fighting-types. Still, it’s only one Pokémon, so you ought to be able to work around it.

Go see the nurse if your Pokémon need healing.
Use the Card Key to open the shutter door below. You’ll arrive at the infirmary, where a Pokémon Center nurse will heal your Pokémon. Earlier, we did point out that you can come here early if your Pokémon need healing. Also, check the bottom-left corner for a handy Revive and search between the top-right beds for a hidden Elixir.
To the left of the nurse is another shutter door. Past here, there’s a Grunt guarding the north-west corner. You can sneak past him when he’s turning the other way. To his right is a teleporter to 3F, near the west side. As a reminder, that’ll also lead you near the teleporter that goes to the chairman’s office.
Team Rocket Grunt
Bring out your Ground-types if you have any! This Koffing is fairly predictable, but it does have Toxic and Self-Destruct. Next up, Haunter can use Will-O-Wisp and also has Toxic. Plus it can use Sucker Punch to try and get an attack in before you can.
Go back towards the stairs and go down, then unlock the nearby shutter door. Strangely, there’s nothing in this room, so continue south and open the next shutter door. Here, you can retrieve 3 Poké Balls and 3 Great Balls towards the left side. There’s also a teleporter to 5F, near the south-west. Plus a dodgy-looking Scientist.
Scientist Ed
| Pokémon | Level | Type |
|---|---|---|
| Weezing |
35 | Poison |
| Electrode |
35 | Electric |
| Electabuzz |
35 | Electric |
Ed actually has a somewhat competent team, except all of his Pokémon are weak to Ground-types. His Weezing has Toxic and can use Psybeam to try and hurt other Poison-types. Meanwhile, his Electric-types are pretty standard stuff.
Past Ed, grab the 3 Ultra Balls to the right. Or if you prefer, you can go back up and then head down the eastern-most hallway to go around Ed. Whichever way works. Once you’re all done here, proceed to 10F via the stairs or lift. Alright, we’re finally getting to the double digit floors!
Floor 10F
10F is small compared to the rest of the floors here. If you came from the stairs, there’s a doorway just below. Inside the room, battle or sneak past the Scientist.
Scientist Travis
Travis must be proud of having the full Grimer line. What if we told him about the Alolan forms, huh? Anyway, his Grimer has Fire Punch to hurt Steel-types, while his Muk has Ice Punch to hurt Ground-types. But honestly, if your Pokémon are healthy, they should outlast these slimes.
To Travis’s right is a teleporter that goes to a room near the middle of 4F. Below is a shutter door, which you may want to unlock. In the next room, there are two teleporters. The one towards the top-left also leads to 4F, but nearer the north. Meanwhile the one near towards the bottom-right leads to the south-west corner of 4F.
Drat, we’ve been spotted!
Go back towards the stairs and turn left towards the lift. Nearby, pick up the Full Heal above the table and comfy chairs. Mmm, it’d be nice to just lie back on them… but we’ve got a building to save! Go south through the next doorway. Over here is the final storage room and it’s being protected by a stubborn guard.
Team Rocket Grunt
This Grunt’s Voltorb only knows Self-Destruct. You can either send out a Ghost-type or one that resists Normal-type moves. Or use Protect. Or just finish it quick with a strong Ground-type. Raticate has Crunch to hit Ghosts and Sucker Punch to attack early.
After defeating the Grunt, go and grab the items in the storage room. You can look forward to a Max Revive, Rare Candy and TM37 Flamethrower. Don’t worry about being reprimanded; nobody else is going to use these items–and if you can save Silph Co. using them, you’ll be forgiven.
Finally, go up to 11F via the stairs or lift.
Floor 11F
To the right is the final Rocket Grunt in this building. You’ll need to beat him to get past, probably.
Team Rocket Grunt
This  Drowzee can use Meditate to boost its Attack and Headbutt to take advantage of the Attack boost. Even then, it’s still a weakling. So put it out of its misery with a good Bug, Psychic or Ghost-type or anything well-trained that’s neutral.
Meanwhile, his Zubat has Toxic to inflict some serious Poison and his Golbat has Confuse Ray to try and make your Pokémon injure themselves. Focus on using super-effective Electric, Rock, Ice or Psychic-types and you’ll easily come on top.
Past the Grunt, keep going south to find a Max Elixir waiting at the far end. You’ve explored pretty much all of Silph Co. now. To proceed, go back to 3F and use the teleporter near the middle, in the room where the Rocket Grunt and Scientist are. If you want, you can also return to 9F to visit the infirmary and heal your Pokémon.
After stepping through the middle teleporter on 3F, go down and step on the next one. This will take you to the north-west corner of 11F. Make sure your are fully prepared. As you go halfway down the corridor, the last line of defense will arrive to try and halt you. “Try” being the keyword here.
Team Rocket Jessie and James
This makes battle number 4 with the Team Rocket clowns. Sadly, they didn’t bring along any new Pokémon, so it’s just the usual Poison-type pair. Jessie’s Arbok now has Rock Slide to damage Ice, Bug and Flying-types. But you’d have little reason to use those.
Arbok still has Glare, making it the biggest nuisance. So try to defeat it first, ideally with your Ground or Psychic-types. Meanwhile, James’s Weezing has learned Thunderbolt and Flamethrower–the latter can potentially annoy Steel-types.
Once Team Rocket has blasted off, for perhaps the last time, you can enter the chairman’s office via the shutter door. Remember to heal your Pokémon if you need to. As soon as you enter, you’ll come face to face with Giovanni once again.
Team Rocket Boss Giovanni

Giovanni is basically on par with a Gym Leader, so keep your guard up at all times.
His Persian can use Fake Out for a guaranteed flinch on Turn 1. You can avoid it with Protect or by leading with a Ghost-type. It can also use Feint, which has increased priority, Slash to try and score a critical hit, and Play Rough to hurt Fighting-types. Use Fighting-types if you’re confident; otherwise go with Ghost, Rock or Steel.
Next up is  Rhyhorn, which is a lot easier, but should not be underestimated still. In addition to a pair of STAB-boosted moves, it can use Megahorn to hurt Grass-types. But if they’re also Poison-type like most are, it’ll simply do neutral damage. Grass and Water-types are ideal, as their moves do four times damage. Ground and Fighting are also worth a shot.
Finally, Giovanni’s crown jewel is his  Nidoqueen, a fully evolved female Nidoran. In this form, it has gained the Ground-type, making it weak to Water, Ice, Ground and Psychic. Strangely, it can only use Body Slam and Crunch–the latter to punish Psychics. But if your Psychic-type still has high health, it can probably stand its ground.
Defeat Giovanni and he’ll abandon his invasion plan. As thanks, the Silph Co. chairman will give you a one-of-a-kind Master Ball. We say “one-of-a-kind”, but it’s actually possible to get more. Afterwards, Team Rocket will leave Saffron City, so you can challenge the Gym. You can also freely explore Silph Co., which is great if you want to pick up items in peace.
Also, chat to the policewoman to the north-east, near the Gym. She’ll lend you her Police Set so you can play dress up.
No Comments