You need to start from the north side of Route 10.
Wild Pokémon
| Pokémon | Type | Location | Chance (%) |
|---|---|---|---|
 Electabuzz Electabuzz |
Electric | Interior | 14 |
 Muk Muk |
Poison | Interior | 5 (Let’s Go  Pikachu) Pikachu) |
 Weezing Weezing |
Poison | Interior | 5 (Let’s Go  Eevee) Eevee) |
 Grimer Grimer |
Poison | Interior | 25 (Let’s Go  Pikachu) Pikachu) |
 Koffing Koffing |
Poison | Interior | 25 (Let’s Go  Eevee) Eevee) |
 Electrode Electrode |
Electric | Interior | 5 |
 Voltorb Voltorb |
Electric | Interior | 23 |
 Magneton Magneton |
Electric/Steel | Interior | 5 |
 Magnemite Magnemite |
Electric/Steel | Interior | 23 |
 Chansey Chansey |
Normal | Interior | Rare spawn |
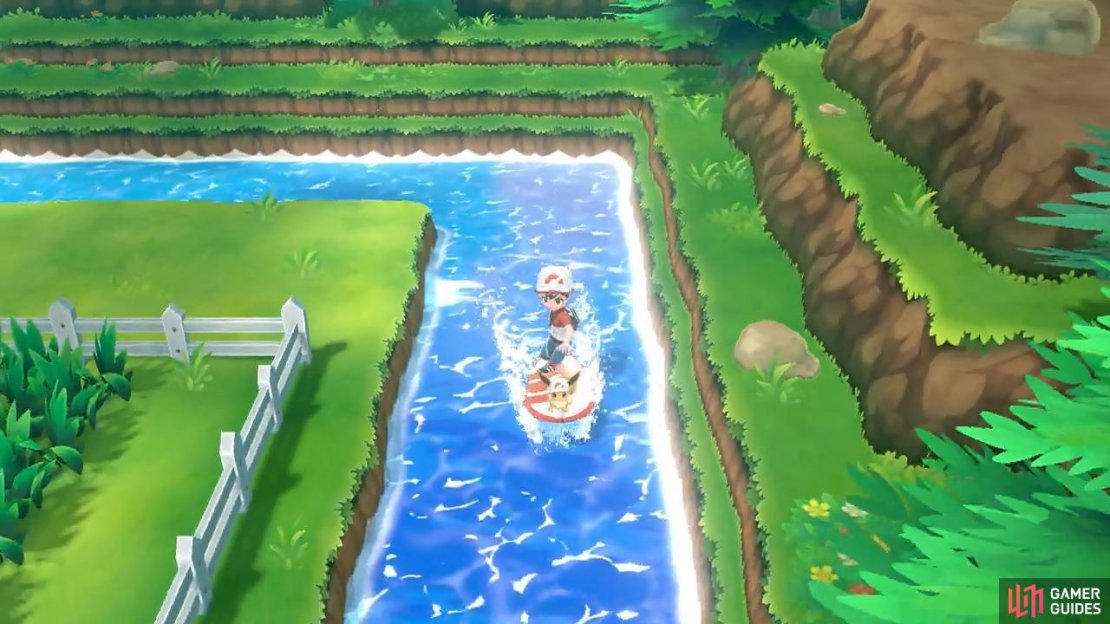
The Power Plant is an optional dungeon that you can access by swimming across the east side of Route 10, before entering the Rock Tunnel. First, you’ll need the Sea Skim Secret Technique obtained from Fuchsia City. Once you’ve got that, you can head to the Power Plant at any time.
Route 10
We recommend Celadon City as the starting point. Go through Route 9 normally, then as you arrive on Route 10, head north through the gap in the fence. Over here, there’s a canal that runs east and then south. Follow it until you’re past the fence on the left side. At this point, you can land on the left. Further south, there’s a trainer in the way.
If you’re not keen on fighting, you can stay in the canal and keep going until you’ve gone past the south-east corner. Then jump back on land once you’ve gone past the trainer’s line of sight.
Poké Maniac Mark
 Rhyhorn is weak to Ground, Ice, Steel and Fighting, and exceptionally weak to Grass and Water. This one can use Drill Run for Ground-type STAB, and Megahorn to wound Psychic and Dark-types. Meanwhile, Mark’s
  Lickitung can use Screech to lower Defense, and Thrash to deal heavy damage.
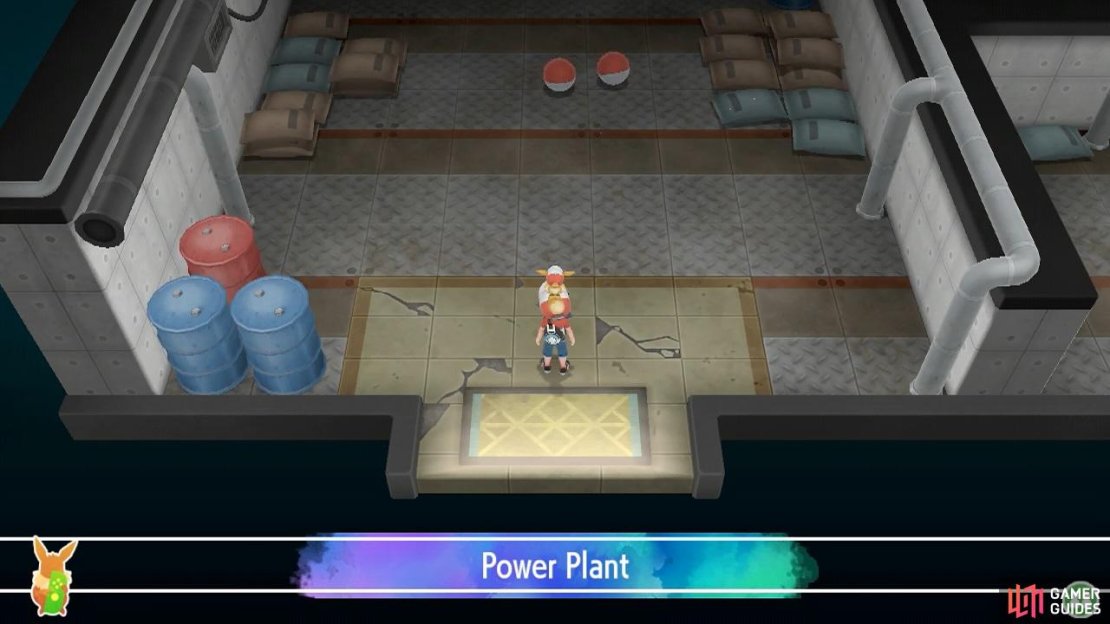
Towards the left, past Mark, is the Power Plant building itself. Before stepping inside, go to the right of the building to find a Thunder Stone. Now enter.
Power Plant
The Power Plant has attracted a lot of Electric-types.
The layout of the Power Plant is pretty simple compared to recent dungeons. Of note, it only has a single floor, so you’re unlikely to get lost. From the entrance, head north. When you pass through the first doorway, there’s a Max Revive nearby on the right. Follow the hallway as it twists along. Soon, you’ll reach a Coach Trainer.
Coach Trainer Mable
| Pokémon | Level | Type |
|---|---|---|
 Omastar Omastar |
44 | Rock/Water |
 Aerodactyl Aerodactyl |
45 | Rock/Flying |
 Kabutops Kabutops |
44 | Rock/Water |
Mable’s Pokémon are all Rock-type fossils. First up is  Omastar, an evolved
  Omanyte. This ancient Pokémon is weak to Electric, Ground and Fighting, and incredibly weak to Grass. It can use Hydro Pump for a powerful STAB blow, and Ice Beam to target Grass and Ice-types.
Next can be  Aerodactyl. This primeval bird is weak to Electric, Rock, Ice and Steel. For attacks, it has STAB Rock Slide, plus Crunch to bite Psychics and Ghosts. Of the fossils, it’s probably the most dangerous, because it’s fast and hits pretty hard.
Finally,  Kabutops is an evolved
  Kabuto. It’s Rock/Water like Omastar, so shares the same weaknesses. This one can use Rock Slide for STAB, Aqua Jet to try and go first, and Leech Life to steal life from Psychic and Dark-types. Use a Grass/Poison-type if possible.
After Mable’s history lesson, you’ll earn 5 Rare Candies. In any case, continue east. You’ll reach an area with sandbags in the top-right and bottom-left corners, with exits to the right and bottom-left. First, head through the exit on the right. You’ll come to a long corridor with two rows of oil drums in the middle.
Head east, in-between the two runs, towards the top-right corner. Right before you leave the oil drums, search the oil drums above you, to the left of the two sand bags, for some hidden  Voltorb Candy. Then grab the Max Potion lying on the floor near the corner. Afterwards, head west above the top-most row of oil drums.
When you’re halfway across, you can search the oil drums below to find a hidden Voltorb Candy. At the dead end, there’s a fake item ball. You can tell because it’s upside down. If you’re curious, you can poke it to battle a wild  Electrode. Also, you can search the nearby corner for more hidden Voltorb Candy.
Wild Pokémon: Electrode
| Pokémon | Level | Type |
|---|---|---|
 Electrode Electrode |
42 | Electric |
This is an evolved Voltorb that boasts exceptional Speed. It can attack using STAB Thunderbolt, or Swift, which never misses. As a last resort, it can use Self-Destruct to KO itself, but deal massive damage in the process. This ain’t a  Snorlax or Legendary, so fainting it should be easy.
Once the Electrode has lost all health, you can capture it. Despite having the potential to roll around, these Electrode seem fairly passive, preferring to stay in one position. Although they do sometimes jump. By the way, you can find more Electrode easily, so don’t stress about it.
Either way, go back around and head for the bottom-right corner. From here, travel west below the bottom-most row of sand bags and oil drums. After passing the sand bags, search the bottom of the oil drums near here for a fourth hidden Voltorb Candy. Then leave this corridor behind. In the previous room, exit via the bottom-left corner.
Grab the nearby X Sp. Def that’s next to an old glass cabinet. Then carry on south to reach a long corridor. Here, go through the doorway towards the south-west. You’ll reach a long room to the right of the entrance. Head over to the right and pick up the Rare Candy next to the machine–maybe a power generator?
Return to the previous corridor and follow it east. After a while, there will be a doorway below, just past a bunch of sand bags jutting out. Go that way first. Retrieve TM38 Thunder below the sand bags by the doorway. Also, there’s another fake item–a wild Electrode–in the bottom-right corner. Once you’re done, go back to the corridor.
Now follow the corridor as it bends to the north. After the next corner, there’s a doorway along the top. Go through and have a look. Near the top-left corner, there’s another Thunder Stone. Don’t show this to your partner Pokémon! Meanwhile, near the top-right corner is a Max Potion. Exit the room and follow the corridor north-west.
Near the top, there’s another wild Electrode posing as an item towards the top-left corner. Past it, go through the doorway to reach what seems to be the main control room. Towards the right, there’s a terminal of some sort. Search around the middle of the two office chairs for a hidden Pretty Wing. Then, head south into a small room.
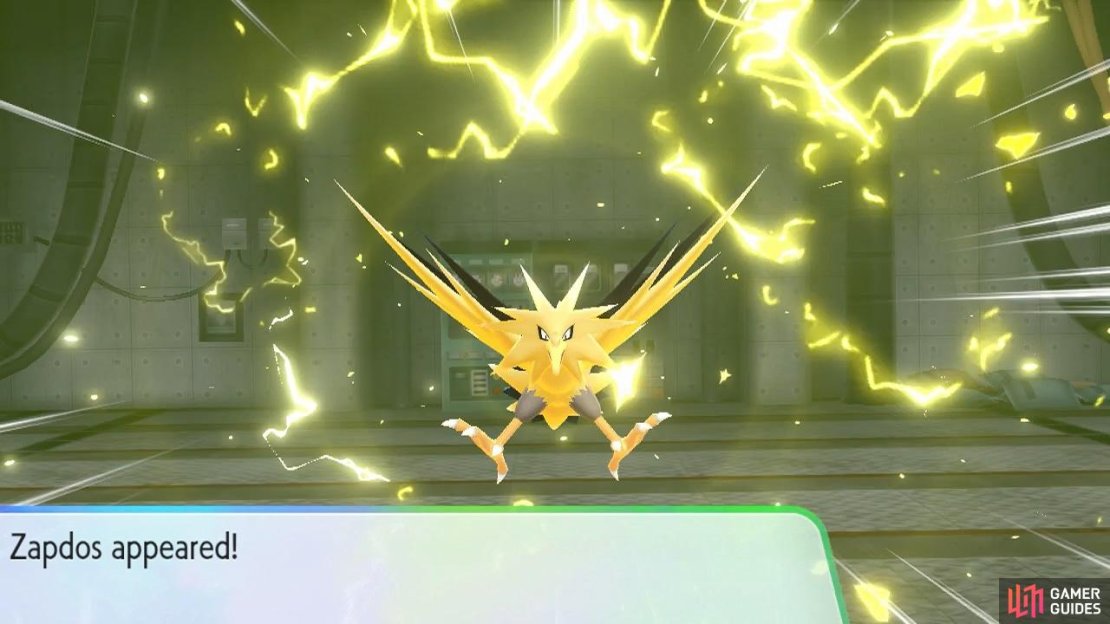
Towards the right, there’s a real item–a Paralyze Heal. Plus a fake one that’s a wild Electrode in disguise. Head back into the control room and continue west. This is where all the main power generators seem to be. At the top is your goal: the Legendary Bird,  Zapdos. Meanwhile, in the bottom-left corner is a teleporter pad that acts as the exit.
Legendary Pokémon: Zapdos
| Pokémon | Level | Type |
|---|---|---|
 Zapdos Zapdos |
50 | Electric/Flying |
Zapdos is the second of the Legendary Bird Pokémon, which also includes  Articuno and
  Moltres–and is quite possibly the best of the lot. Normally, Electric-types are only weak to Ground, but since it’s Flying as well, that’s not a problem anymore. In fact, its only weaknesses are Rock and Ice.
At the very start, all of Zapdos’s stats will rise. Zapdos has naturally high Special Attack and decent Speed, so the stat boost will make it a tough foe to fight. It can attack using a powerful STAB Thunderbolt, and Drill Peck. It can also use Agility to boost Speed, and Light Screen to weaken your special attacks.
Without the means to restore HP, defeating Zapdos shouldn’t be too tricky, since it has average bulk even with its stat boost. That said, since it may use Light Screen, physical attackers should be prioritized. Surviving Zapdos might be harder, so Pokémon that can resist it are recommended. A Pokémon that’s Rock and Ground-type can handle it no problem.
Once you’ve downed Zapdos, it’s time to try and catch it. If you’ve already encountered Articuno and/or Moltres, you’re looking at basically the same procedure. Unless you’re confident, only throw Poké Balls when Zapdos is near the center. Otherwise, patiently wait for it to fly back to the center. Definitely use Ultra Balls, and feel free to feed it berries.


No Comments