
Walkthrough for the Main Quest Blood Run in The Witcher 3 Blood and Wine, including details about how to fend off the Beast.
| Suggested Level |
|---|
| 36 |
Blood Run is an odd “blink and you’ll miss it” quest in the Witcher 3, especially compared to the quest that precedes it, The Beast of Toussaint. After you find the Golden Fish and the Unicorn Horn in the aforementioned Main Quest and surmise the identity of the fourth victim you’ll be treated to some scenes. During these scenes The Beast of Toussaint will end and Blood Run will seamlessly begin. For practical purposes, however, this quest begins when you regain control in a warehouse, confronting the Beast himself.
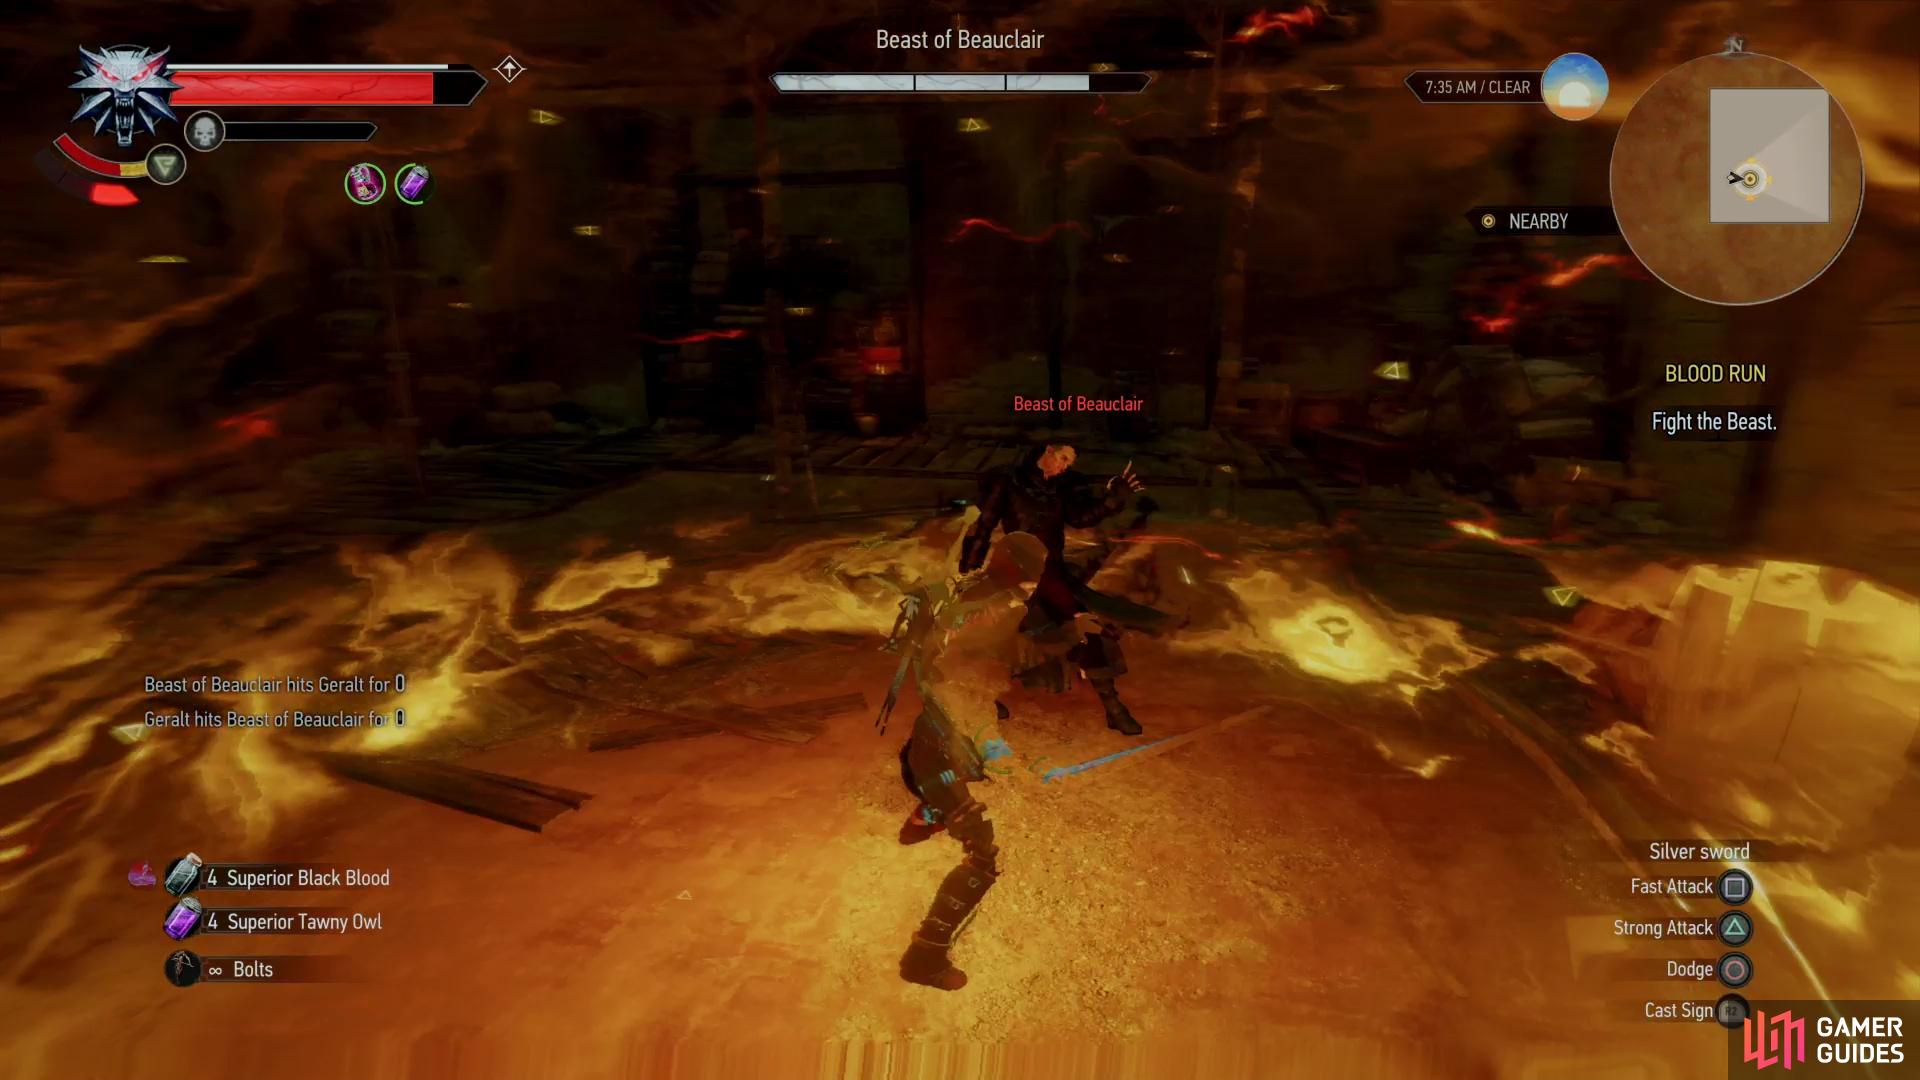
You can use “Active Shield” to knock the Beast off balance,
which will give you time to counterattack.
How to Defeat the Beast
It doesn’t matter what you say during your pre-fight banter, it quickly becomes apparent that you’re not going to come to some peaceful understanding. A battle with a higher vampire isn’t something to take lightly, but this bout is rather simple; you are not required to win this fight, if your health is depleted, the quest will end and the story will continue on as normal. If you win, however, you’ll gain a significant amount of experience… plus, it’s a point of pride to defeat optional bosses, isn’t it?
Like with the Bruxa, you can expect the Beast to dart about, attacking furiously with his claws. On Death March difficulty these will deal grievous damage, especially his charge attack, which can nearly one-shot a high-level Geralt who has the best gear from the main game. Unlike the Bruxa, neither Yrden or Black Blood are all that useful, but fortunately some tried-and-true strategies make a return to prominence here.
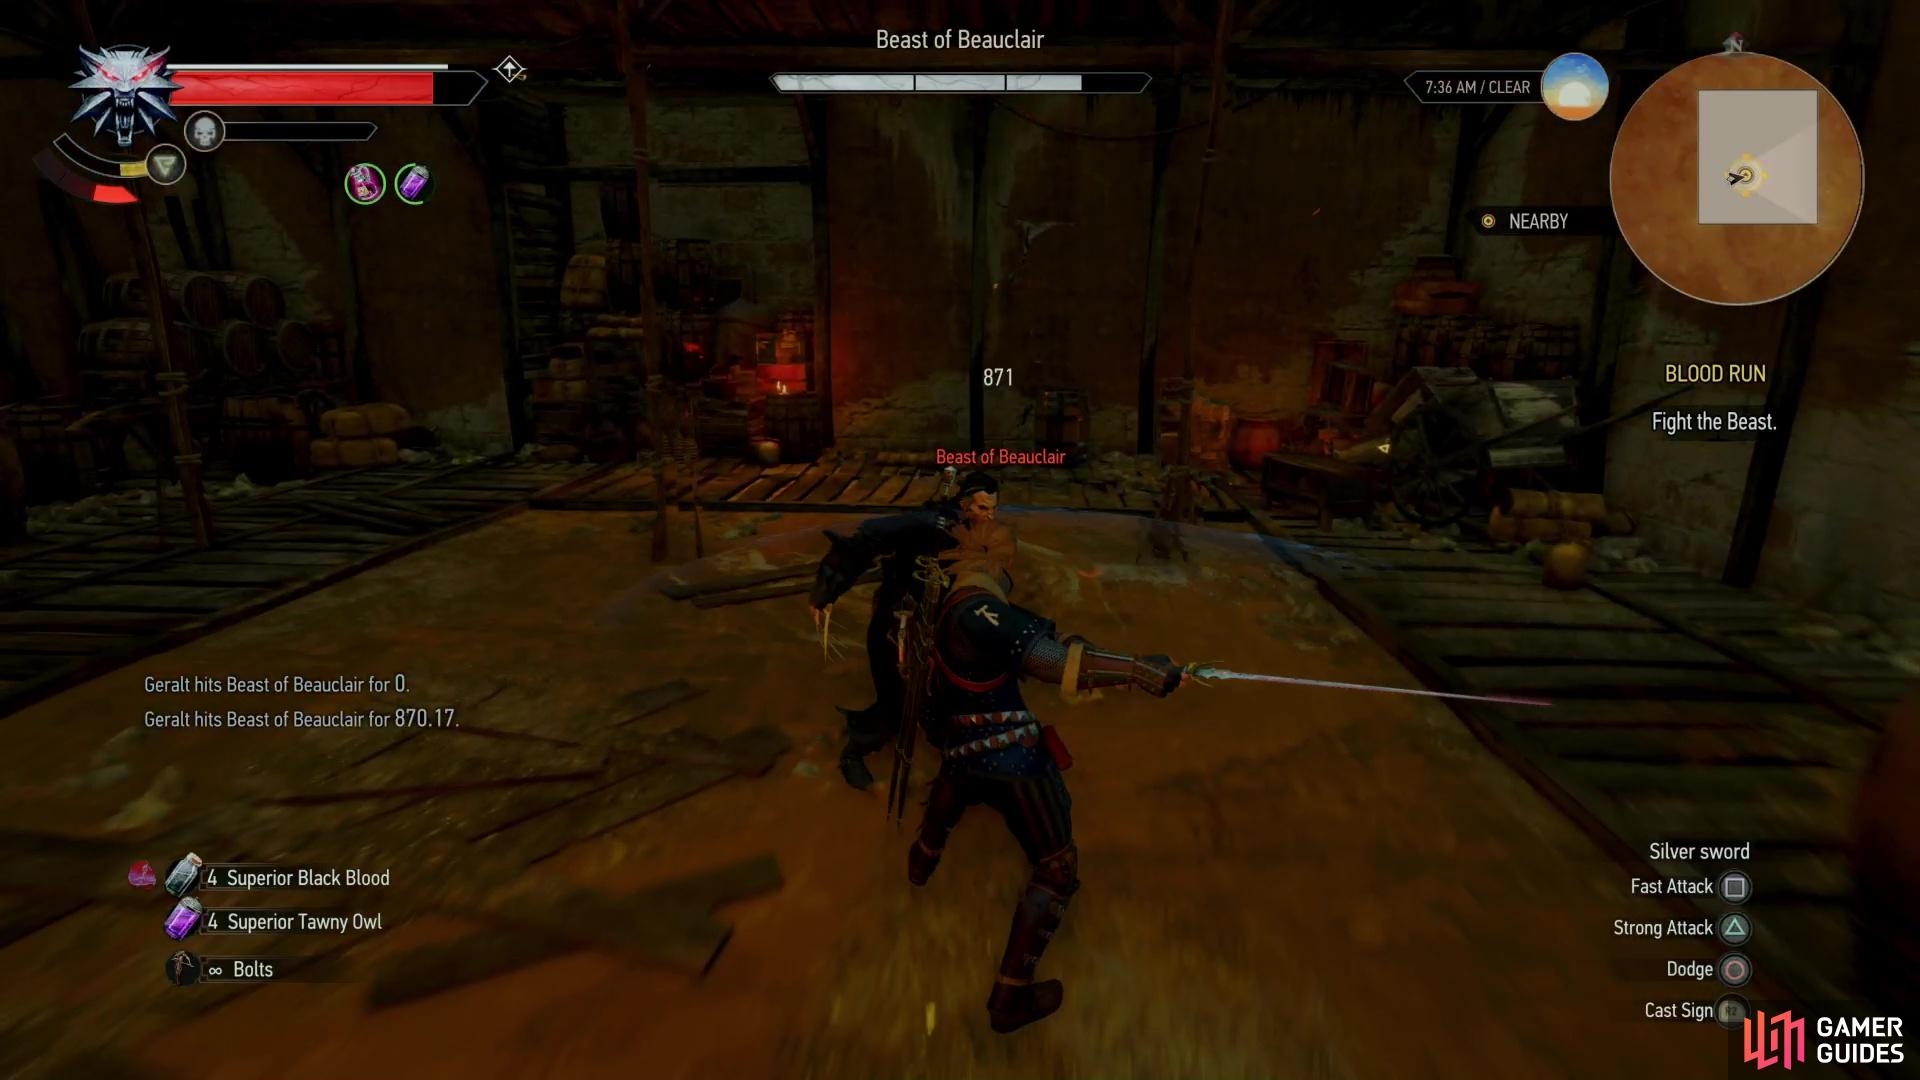
Quen’s “Active Shield” is, as usual, incredibly useful, although the Beast’s aforementioned charge attack will knock you down, drain all your stamina, and won’t leave you much better off in terms of health, so you should save it for the Beast’s normal claw attacks. Speaking of which, in close combat the Beast will perform various claw attacks, and while you can parry most of his attacks, he can also parry yours. If he blocks two of your attacks in a row, he’ll teleport behind you and counterattack, so the old “rule of three” doesn’t apply here. If you attack him, limit it to one fast attack, or, if you knock him back with Quen’s “Active Shield”, you can score two hits, just make sure he’s not blocking.
The Beast is also vulnerable to Vampire Oil, and you can treat this fight like a duel, using Quen to heal and knock your foe off balance, dodging and blocking as necessary, striking when the opportunity arises. Don’t feel bad about healing, either, as the Beast will do it, too, although the amount he heals at a time isn’t terribly impressive, nor will he do it often. He’s also vulnerable to attack when he’s healing.
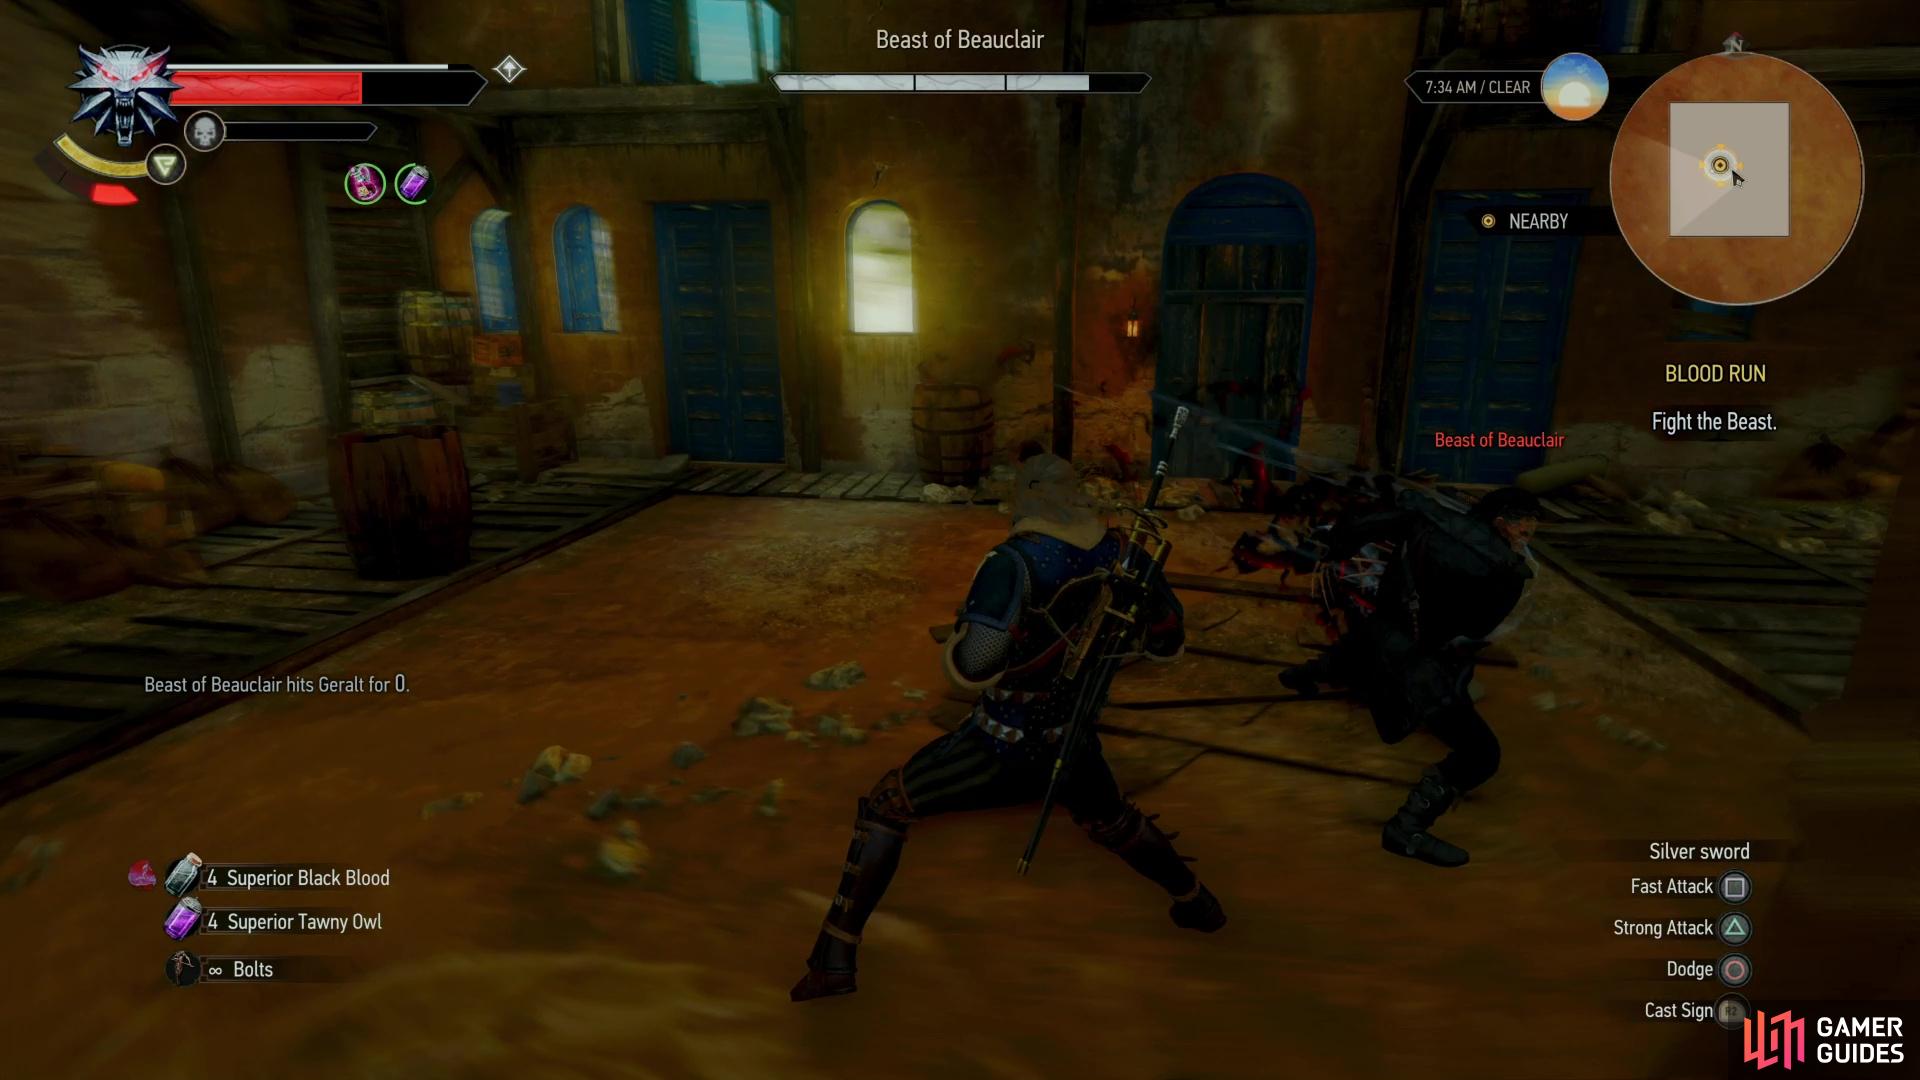
If you spam dodge there’s not much the Beast can do to harm you,
allowing you to dance around and abuse Igni to safely whittle down the Beast.
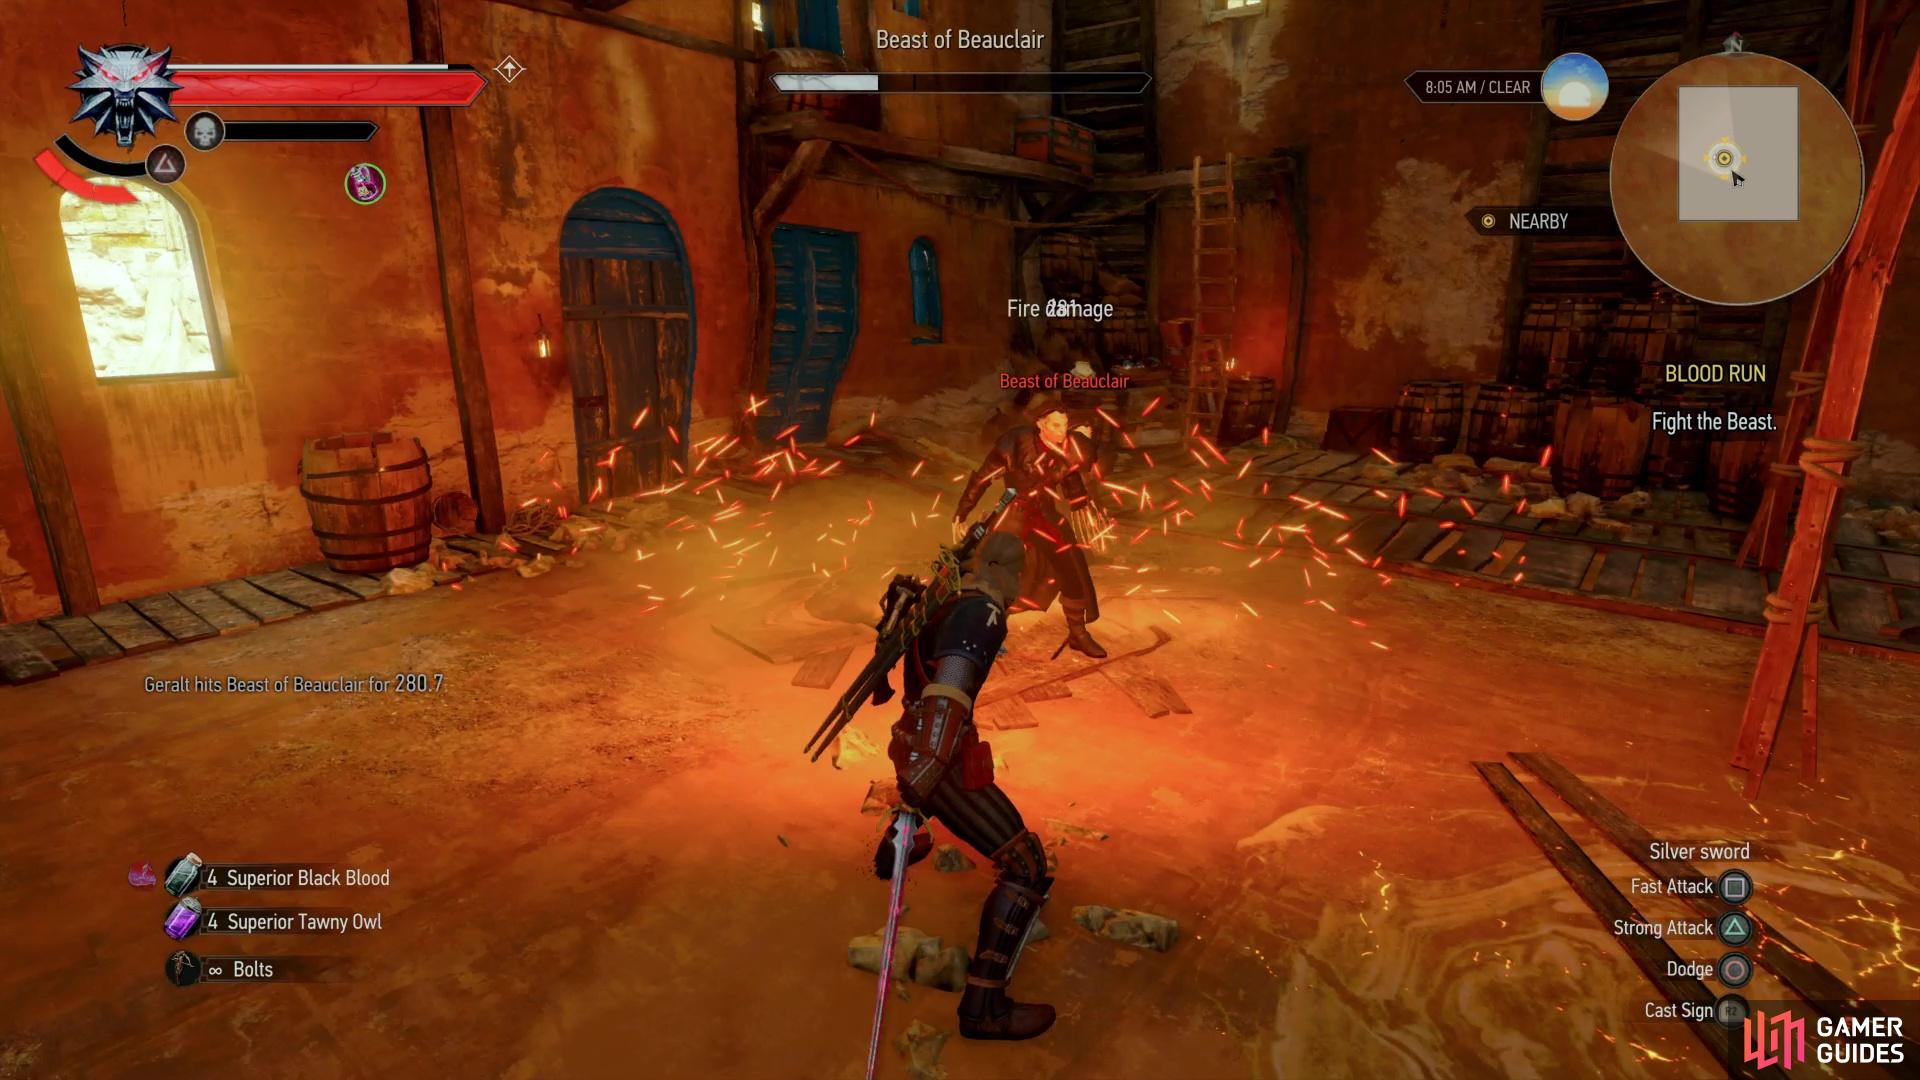
If you don’t particularly care to go sword-to-claw with the Beast, there’s another strategy you can employ. The Beast is weak to Igni, and while the duration of burning effects you inflict won’t last long, they’ll deal significant damage nonetheless. The Beast also has a very difficult time hitting you if you spam dodge, due to the glorious, glorious iframes you get from the maneuver. It’s a bit mindless and silly, but if you’re willing to dance for the Beast, you can just spam dodge and hit him with Igni every time your stamina is full.
Whatever strategy you employ, don’t forget that Tawny Owl potions will significantly increase your stamina regeneration, which will help you spam Quen or Igni, as needed.
Deplete the Beast of Beauclair’s health bar (or lose the fight, perish the thought) and the scrap will be stopped by an old friend - and apparently a mutual acquaintance. After the Beast of Beauclair runs off the old friends will reunite and you can ask about how Regis regenerated, and more importantly, about the Beast - Dettlaf - and his motivations. Respond as you will, and Regis will make a case for Dettlaf inasmuch as this case will probably require a bit more nuance than the usual monster hunt. At least, if motivations inform morality, and Geralt cares about such philosophical niceties. Your reunion will be broken up when some guards arrive, and Regis will mention a rendezvous spot, starting the quest [La Cage au Fou] .
What Quests to Do After Blood Run
While you can continue with the Main Quest [La Cage au Fou] at this point, following Blood Run Toussaint really opens up. You’ll now be free to explore the duchy quite extensively, including the capital city, Beauclair, which you’re currently in the outskirts of. There are numerous new Side Quests you can tackle, many of which have a lower suggested level than [La Cage au Fou] and yield useful rewards, like a potent new weapon and an entire new upgrade tree. Some of the more interesting quests you should consider doing now include:
- No Place Like Home
- Turn and Face the Strange
- There Can Be Only One
- The Warble of a Smitten Knight
- Till Death Do You Part
- Goodness, Gracious, Great Balls of Granite!
- Paperchase
- Fists of Fury: Toussaint and its follow up, Raging Wolf
- [Father Knows Worst]
- [Knight for Hire]
- Wine Wars: Belgaard (as well as the related quests Wine Wars: Coronata, Wine Wars: Vermentino and Wine Wars: The Deus in the Machina)
- [Gwent: To Everything - Turn, Turn Tournament!] (as well as the related quest [Gwent: Never Fear, Skellige’s Here])
- [Master Master Master Master!] (as well as the related quests [Scavenger Hunt: Grandmaster Feline Gear] , [Scavenger Hunt: Grandmaster Griffin Gear] , [Scavenger Hunt: Grandmaster Manticore Gear] , [Scavenger Hunt: Grandmaster Ursine Gear] , [Scavenger Hunt: Grandmaster Wolven Gear])
We strongly suggest starting There Can Be Only One and completing Turn and Face the Strange, as both quest are quite lucrative and in the case of There Can Be Only One, the earlier you start it, the easier it’ll be to complete.
No Comments