
Walkthrough for the quest Turn and Face the Strange in The Witcher 3 Blood and Wine. How to find Professor Moreau’s laboratory, solve the Panel Puzzle and the Portal Puzzle and unlock the Mutations upgrade tree.
| Suggested Level |
|---|
| 35 |
| Important Items in this Area |
|---|
| Letter from Triss/Yennefer |
| Old Map of Toussaint |
| Professor Moreau’s Diary |
| Megascope Crystal x2 |
| Mutated Giant Centipede Albumen |
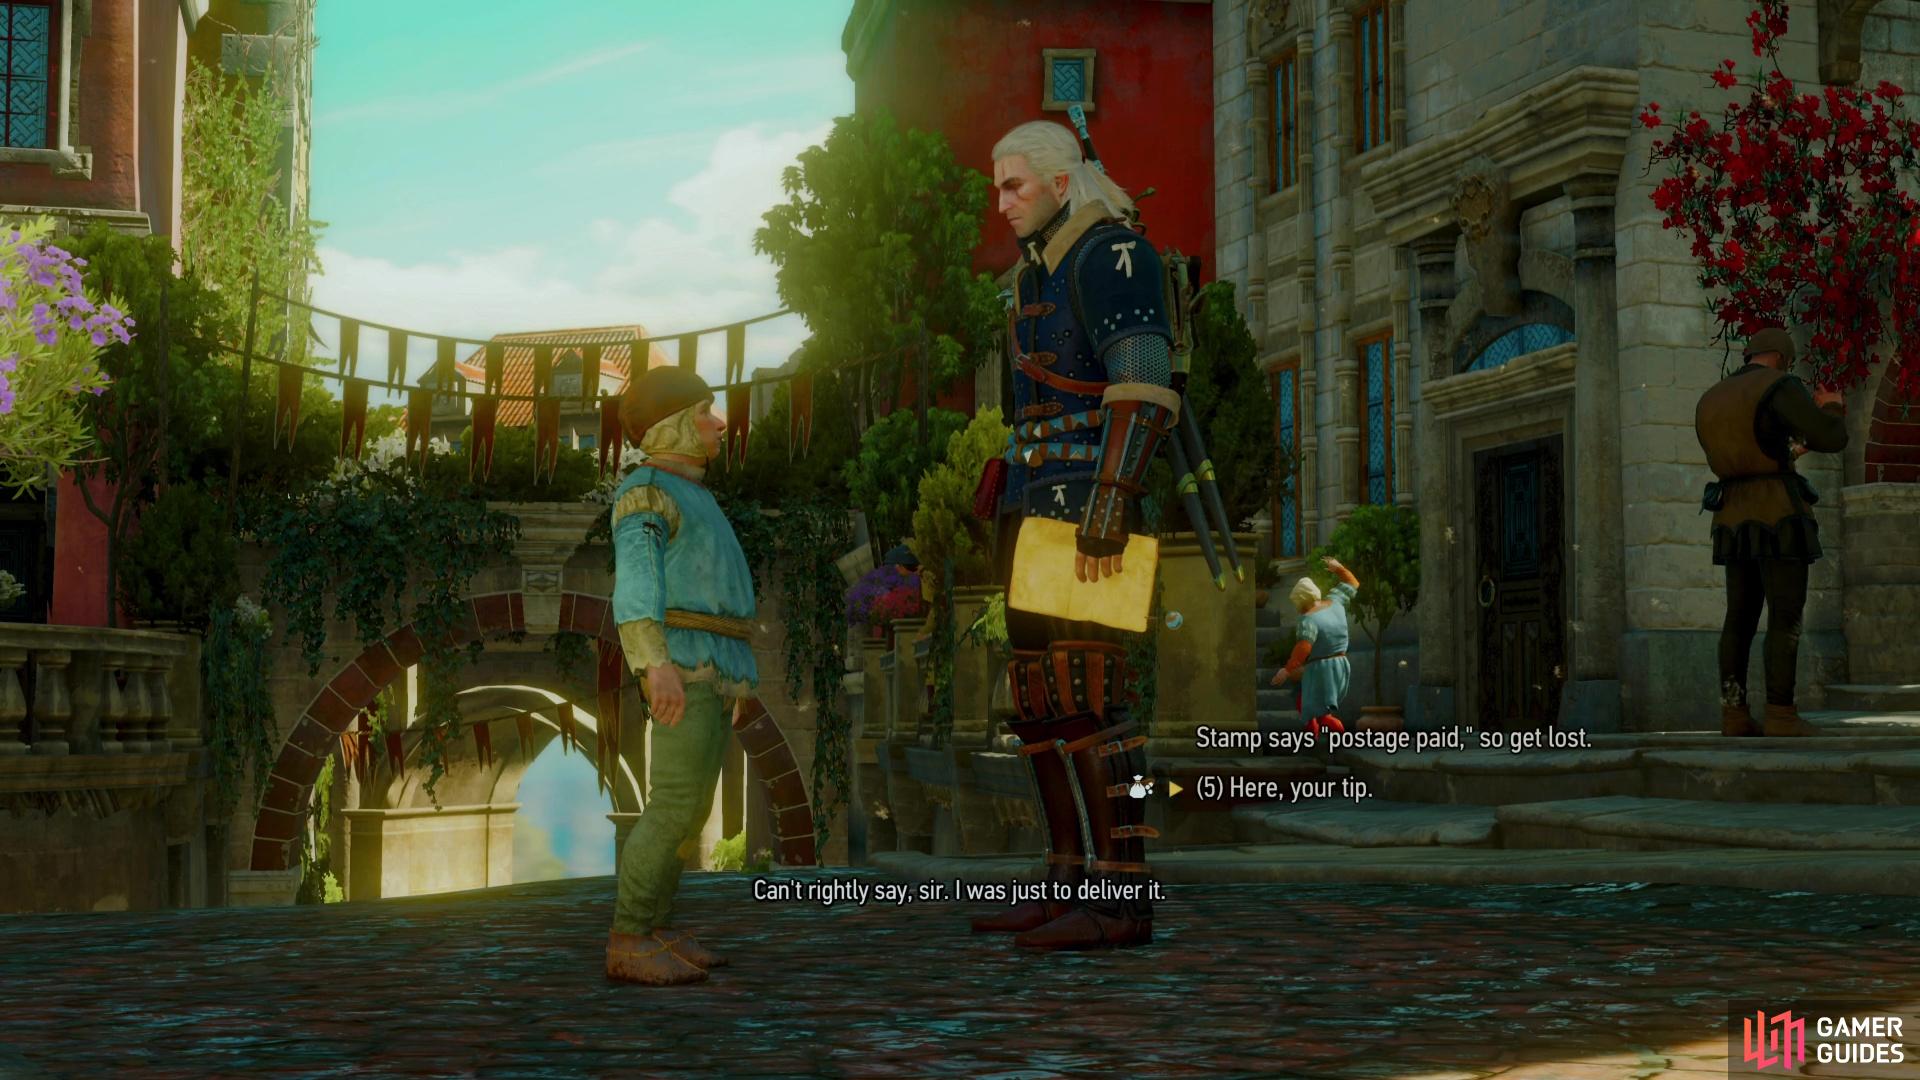
Give the messenger boy some coins to prove you possess the virtue of Generosity.

Your love interest (or the sorceress who hates you least, as the case may be) will send you a letter telling you about a lost laboratory.
To start this quest, just make your way to The Gran Palace signpost in the center of Beauclair and upon entering the plaza in which the signpost is located a messenger boy will deliver a letter from your romantic partner from the main game - either Triss or Yennefer. While it has no bearing on this quest, be sure to pick the dialog option (5) “Here, your tip.” to give the boy 5 Crowns, proving you possess the knightly virtue of Generosity.
Once the little scamp has run off, Geralt will read the letter, which mentions one Professor Moreau, who researched Witcher mutations. Why your lover wants you to be more of an inhuman mutant freak than you already are is open to question, but the benefits could be worth the risk. After all, mutations are what make Geralt faster, stronger, immune to disease and able to see in the dark. Enhancing his mutations could make him… a super Witcher!
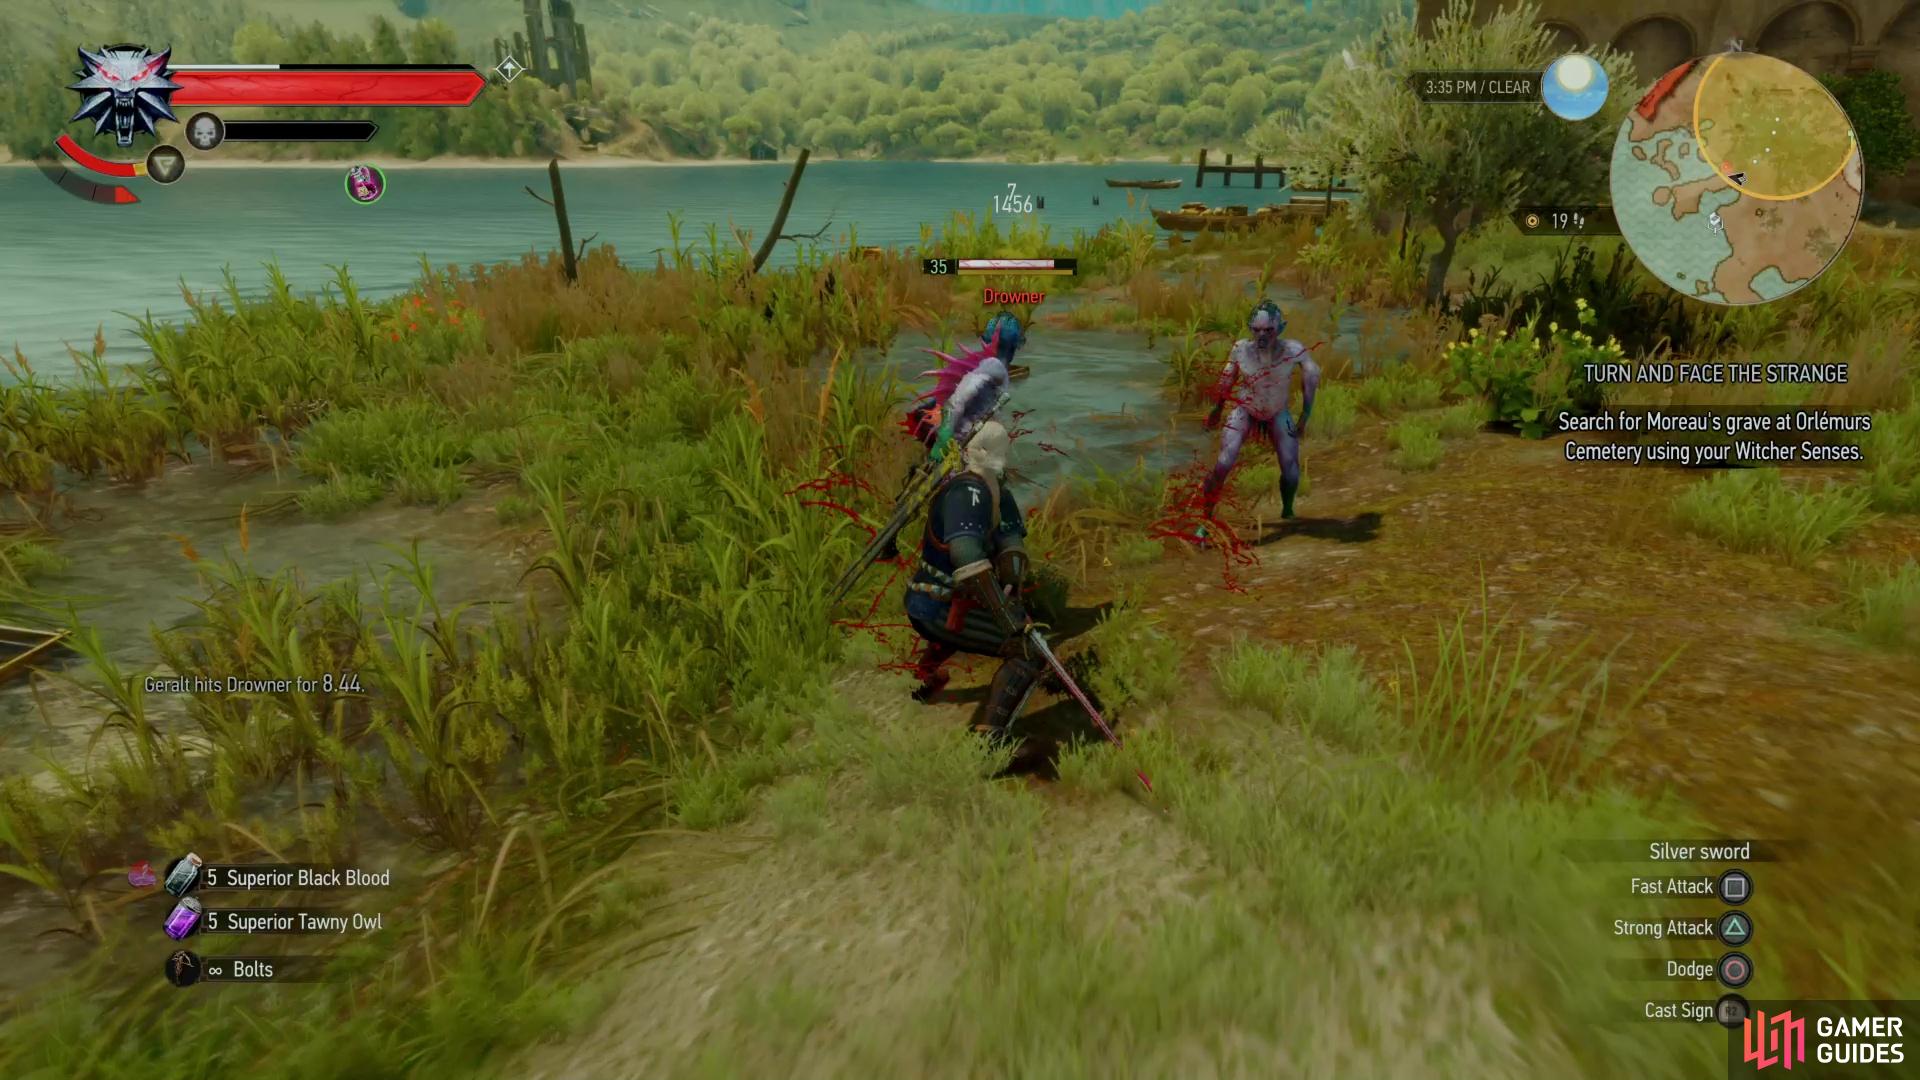
You may have to kill off a group of Drowners, who are uncomfortably close to Professor Moreau’s grave.
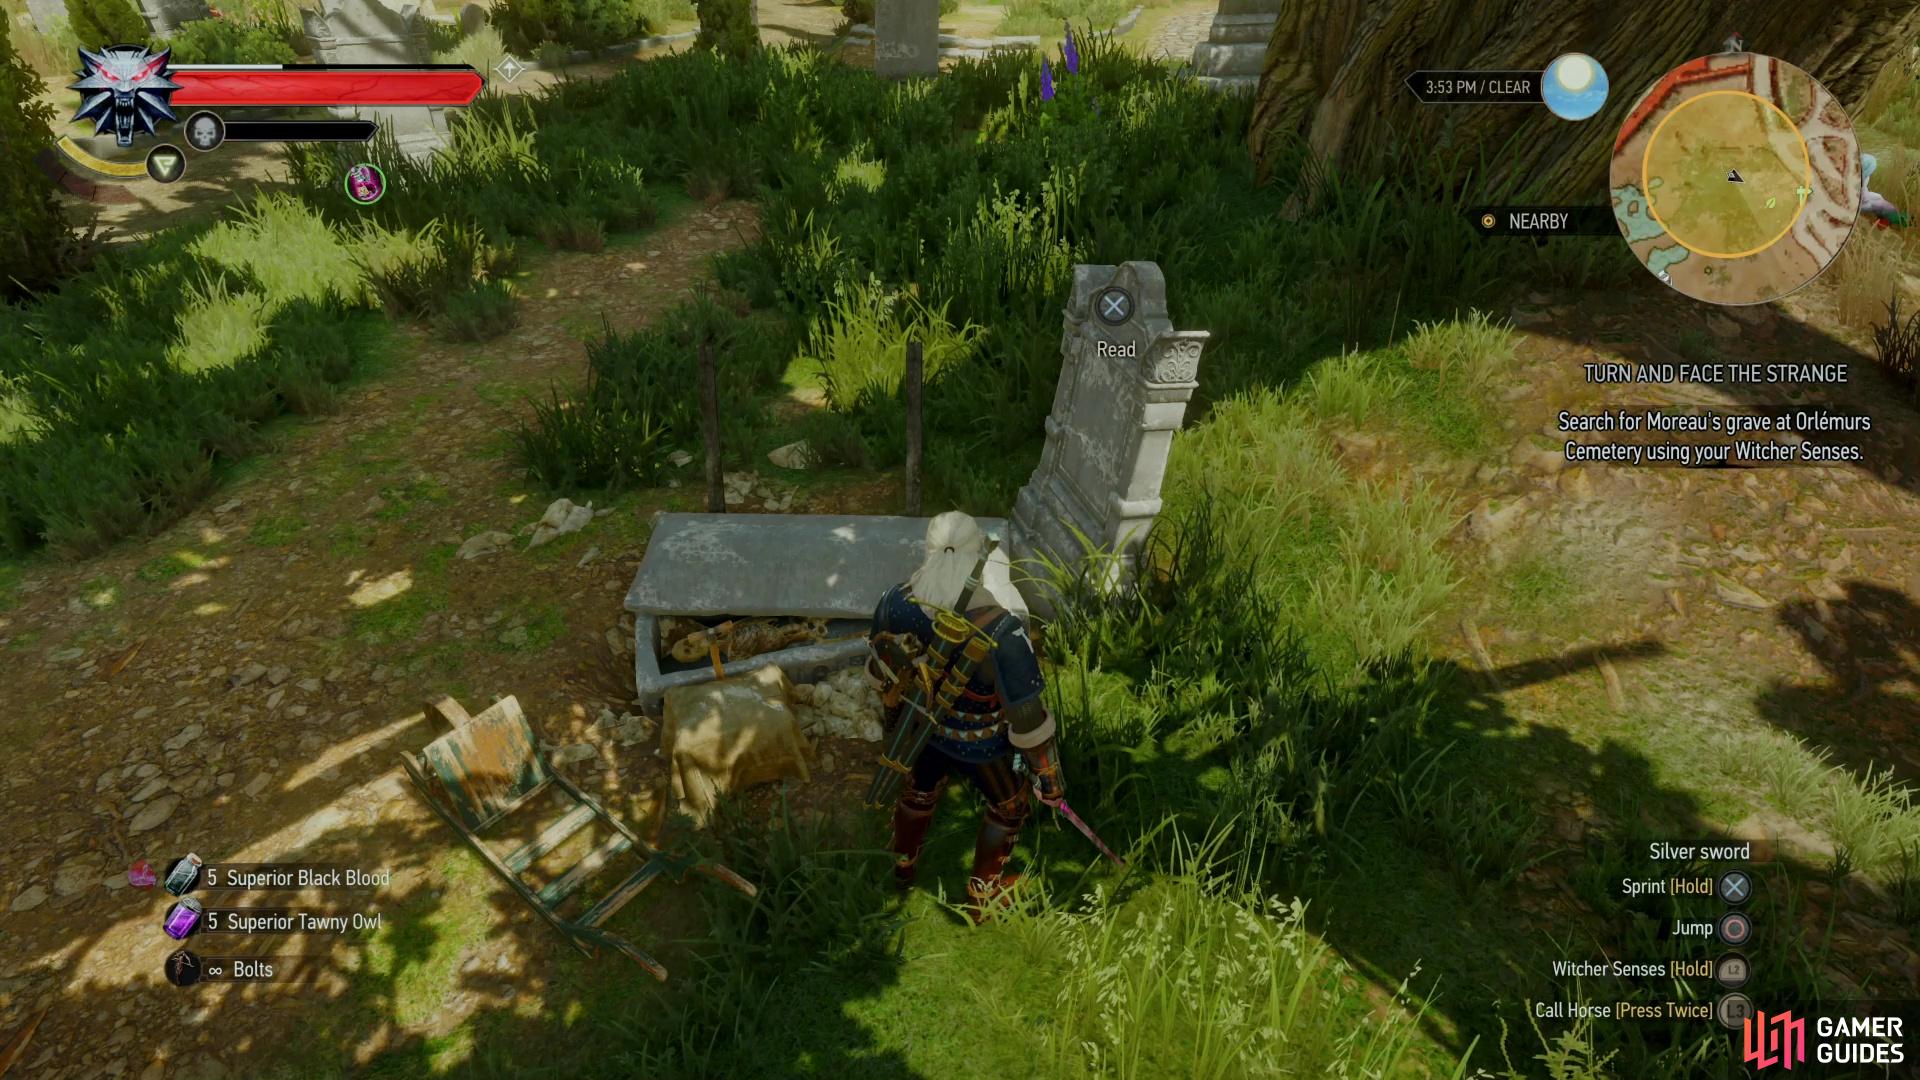
Dead with the necrophages, then search the grave only to find out you’re not the only one seeking this laboratory.
How to Find Professor Moreau’s Grave
Outlandish expectation aside, your quest begins in Orlemurs Cemetery, along the southern edge of Beauclair. Head to where the quest points you and you should discover the Lebioda’s Gate signpost along the eastern edge of the search area. From the aforementioned signpost turn west to spot a tree. Next to (north of) this tree you’ll find the grave of Professor Moreau, which you can confirm by reading the tombstone. Unfortunately, you’re not the first one here, which will become apparent when you examine the exhumed grave.
Activate your Witcher Senses and search the skeleton of Professor Moreau, then examine the nearby footprints. Follow them north and east to the road and examine them again to confirm you’ve lost the trail, after which Geralt will decide to consult the map your lover sent you. Enter your inventory and go to the “Quest Items” tab and study the Old Map of Toussaint, after which Geralt will comment on another complication. Joy.
Kill some Drowners in the search area,
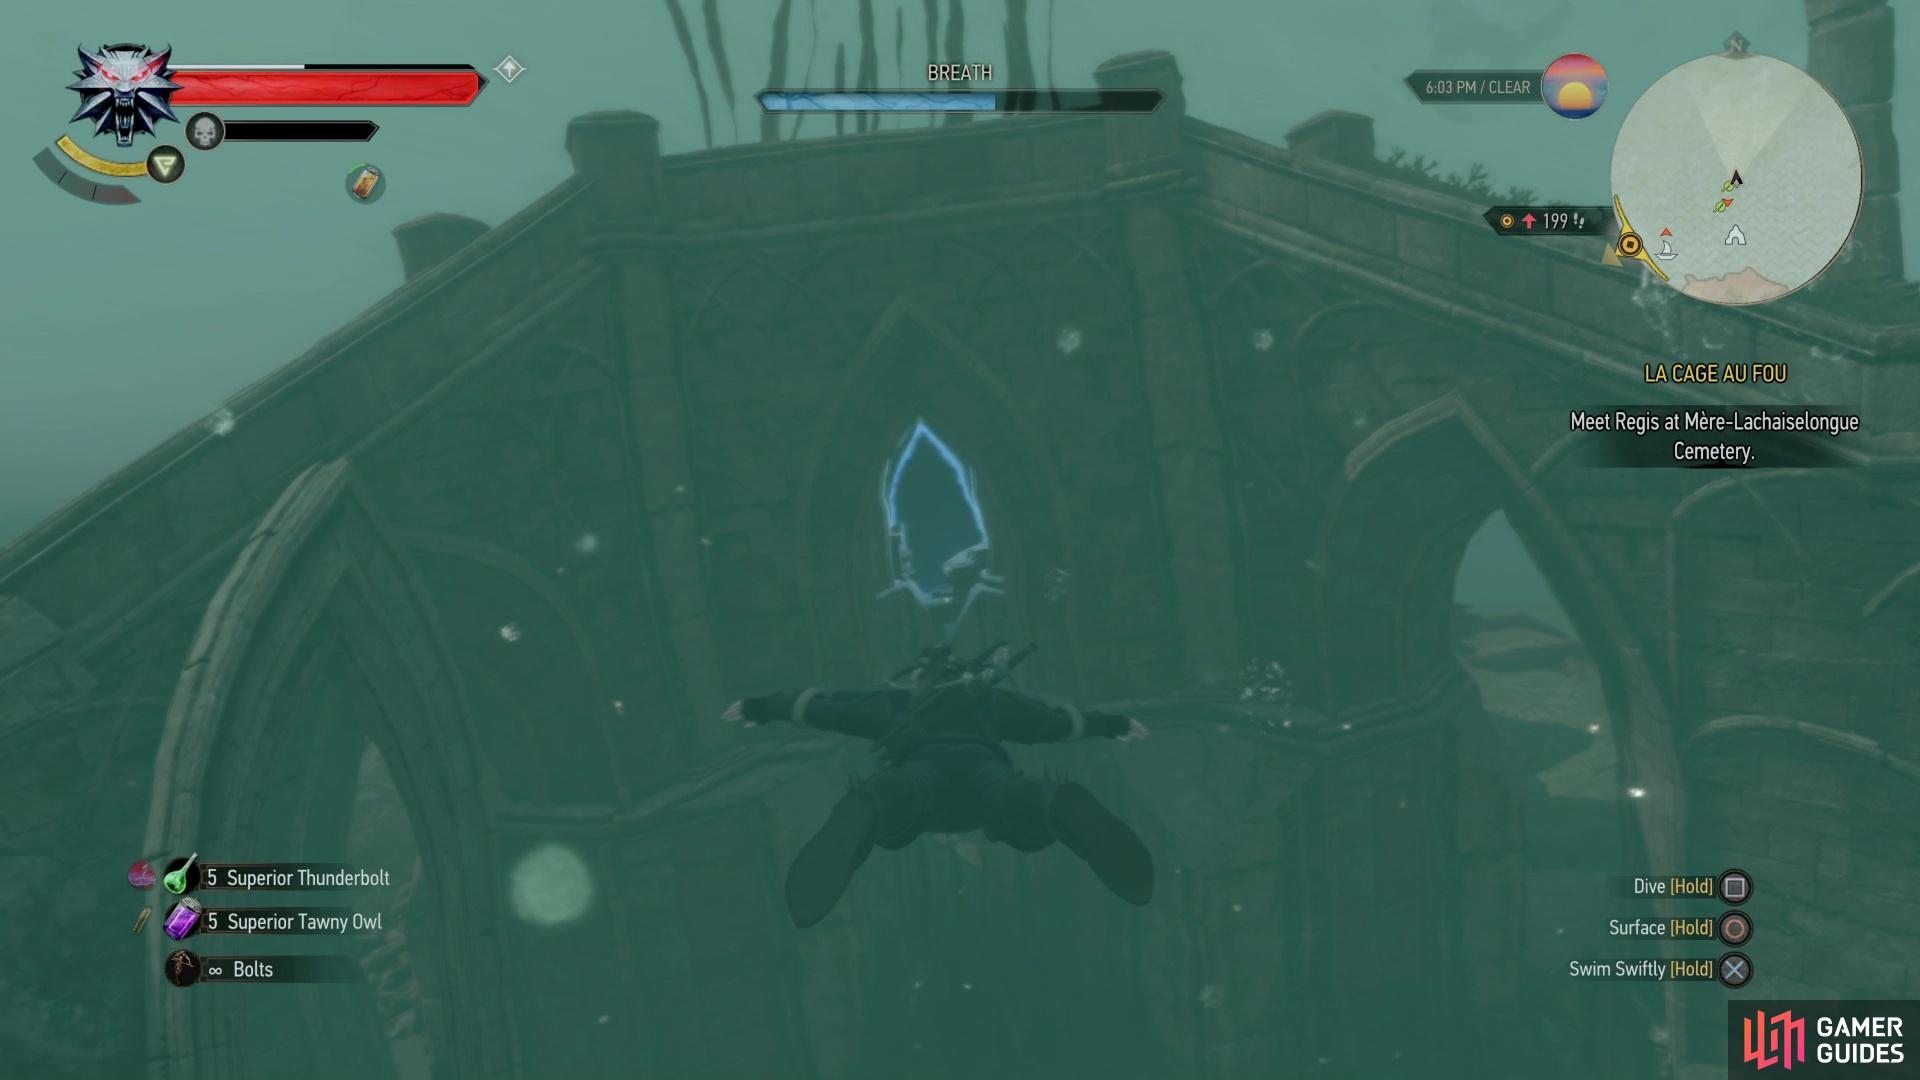
then swim north to find a portal in some submerged elven ruins.
How to Find Professor Moreau’s Laboratory
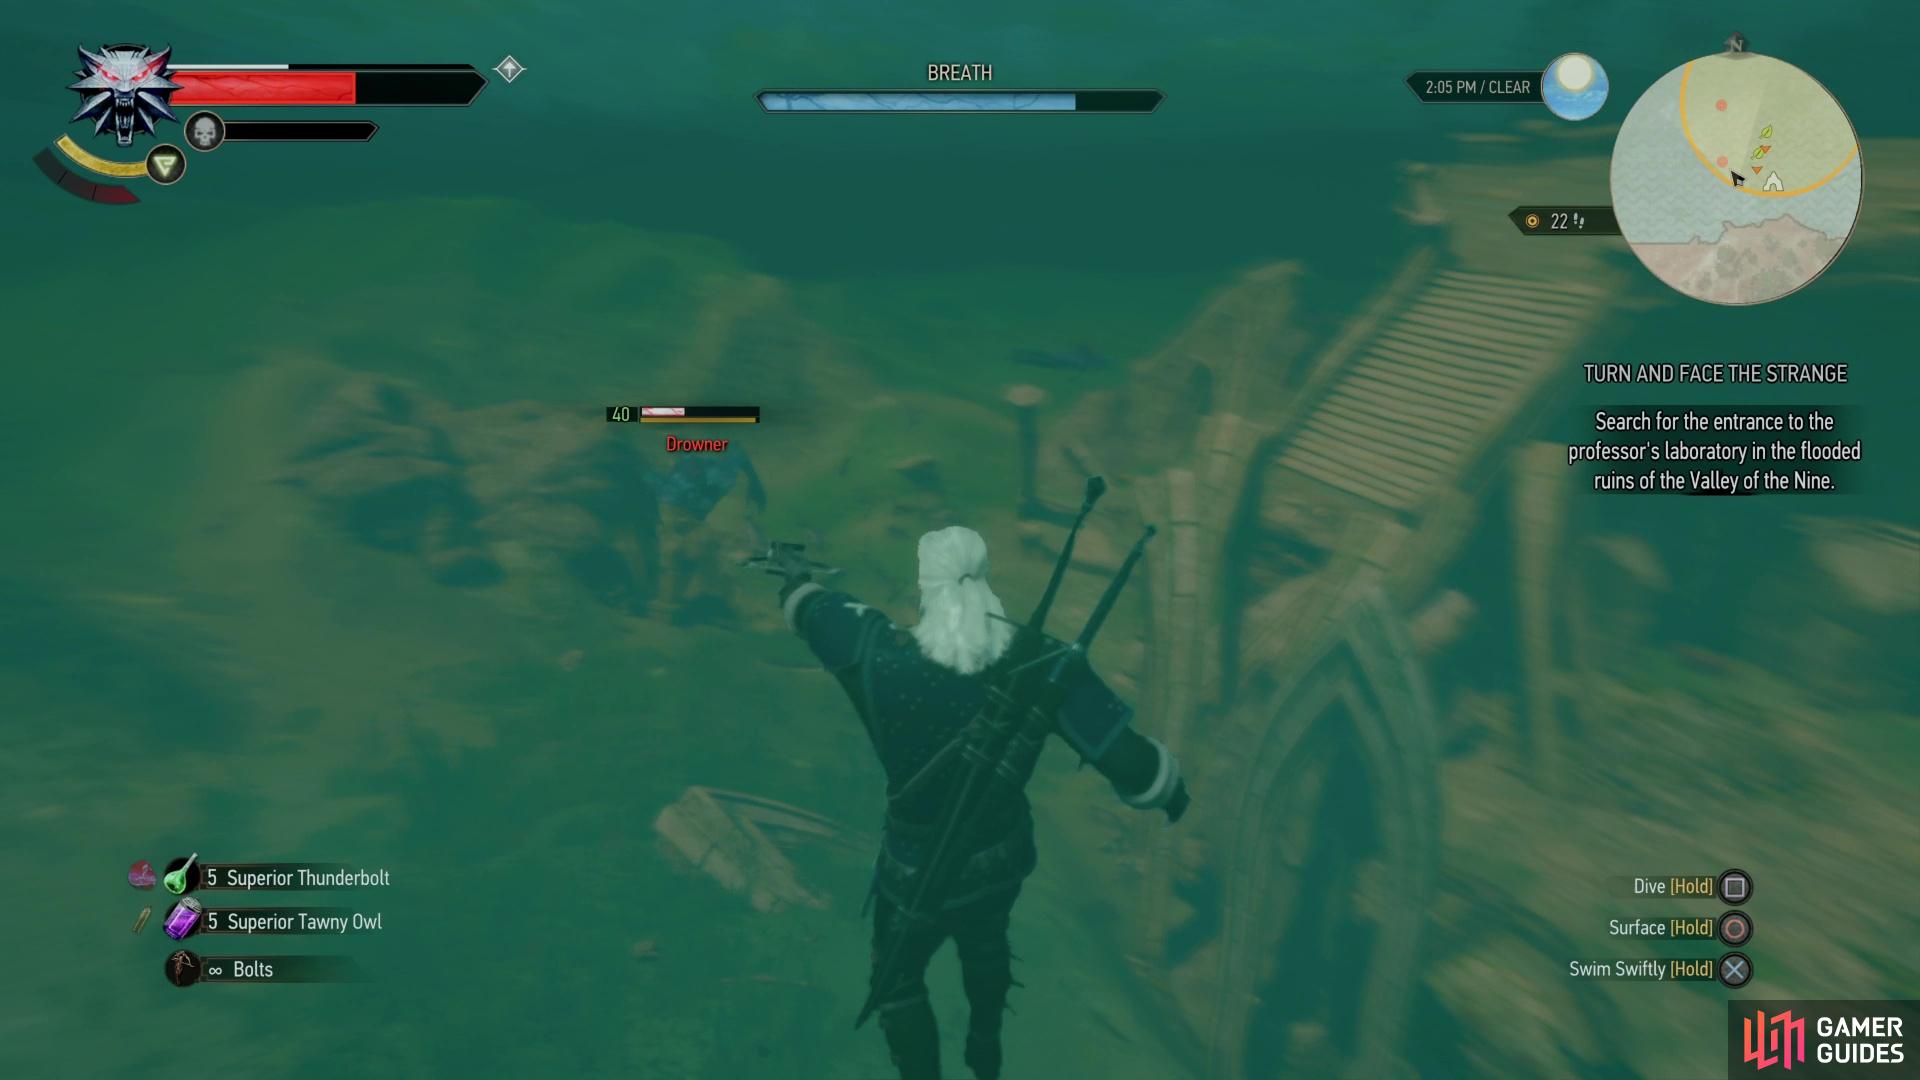
After consulting the Old Map of Toussaint you’ll have a lead. Unfortunately, time makes fools of us all, and the location marked - the Valley of the Nine - is now underwater. Nothing a little swimming can’t fix, however.
East of Beauclair you’ll find a river, and you goal should be to follow the coast east, although if you want to take a more scenic journey by exploring the countryside southeast of Beauclair, you can discover the Belgaard Vineyard signpost (southeast of the Lebodia’s Gate signpost), the Francollarts signpost and the Mere-Lachaiselongue Cemetery signpost which will be useful for future quests. The search area is just north of a Monster Nest which is infested with Archespores (level thirty-seven).
Swim over to the search area and keep an eye toward the shore to the south to spot the entrance to some ruins. Down there you’ll find the ultimate objective to the [Treasure Hunt: Advanced Escapology], which you can easily go out of your way to claim if you have the gumption (follow the link for details). Whether you can to take this diversion or not, you’ll likely need to dispatch several Drowned Dead (level forty) swimming around in the water near.
Once the Drowners are dead, swim north to find some more ruins just below the surface of the water. When you reach the northern end of these ruins, dive and the search area should narrow quite a bit - the portal leading into Moreau’s laboratory is along the northern edge of these submerged ruins. Before you swim into the portal, though, consider searching the sea floor near these ruins, as there’s more loot to be found here, housed within urns, chests and on skeletons. When you’re ready, swim through the portal, but be careful - getting inside these ruins is easier than getting back out will be.
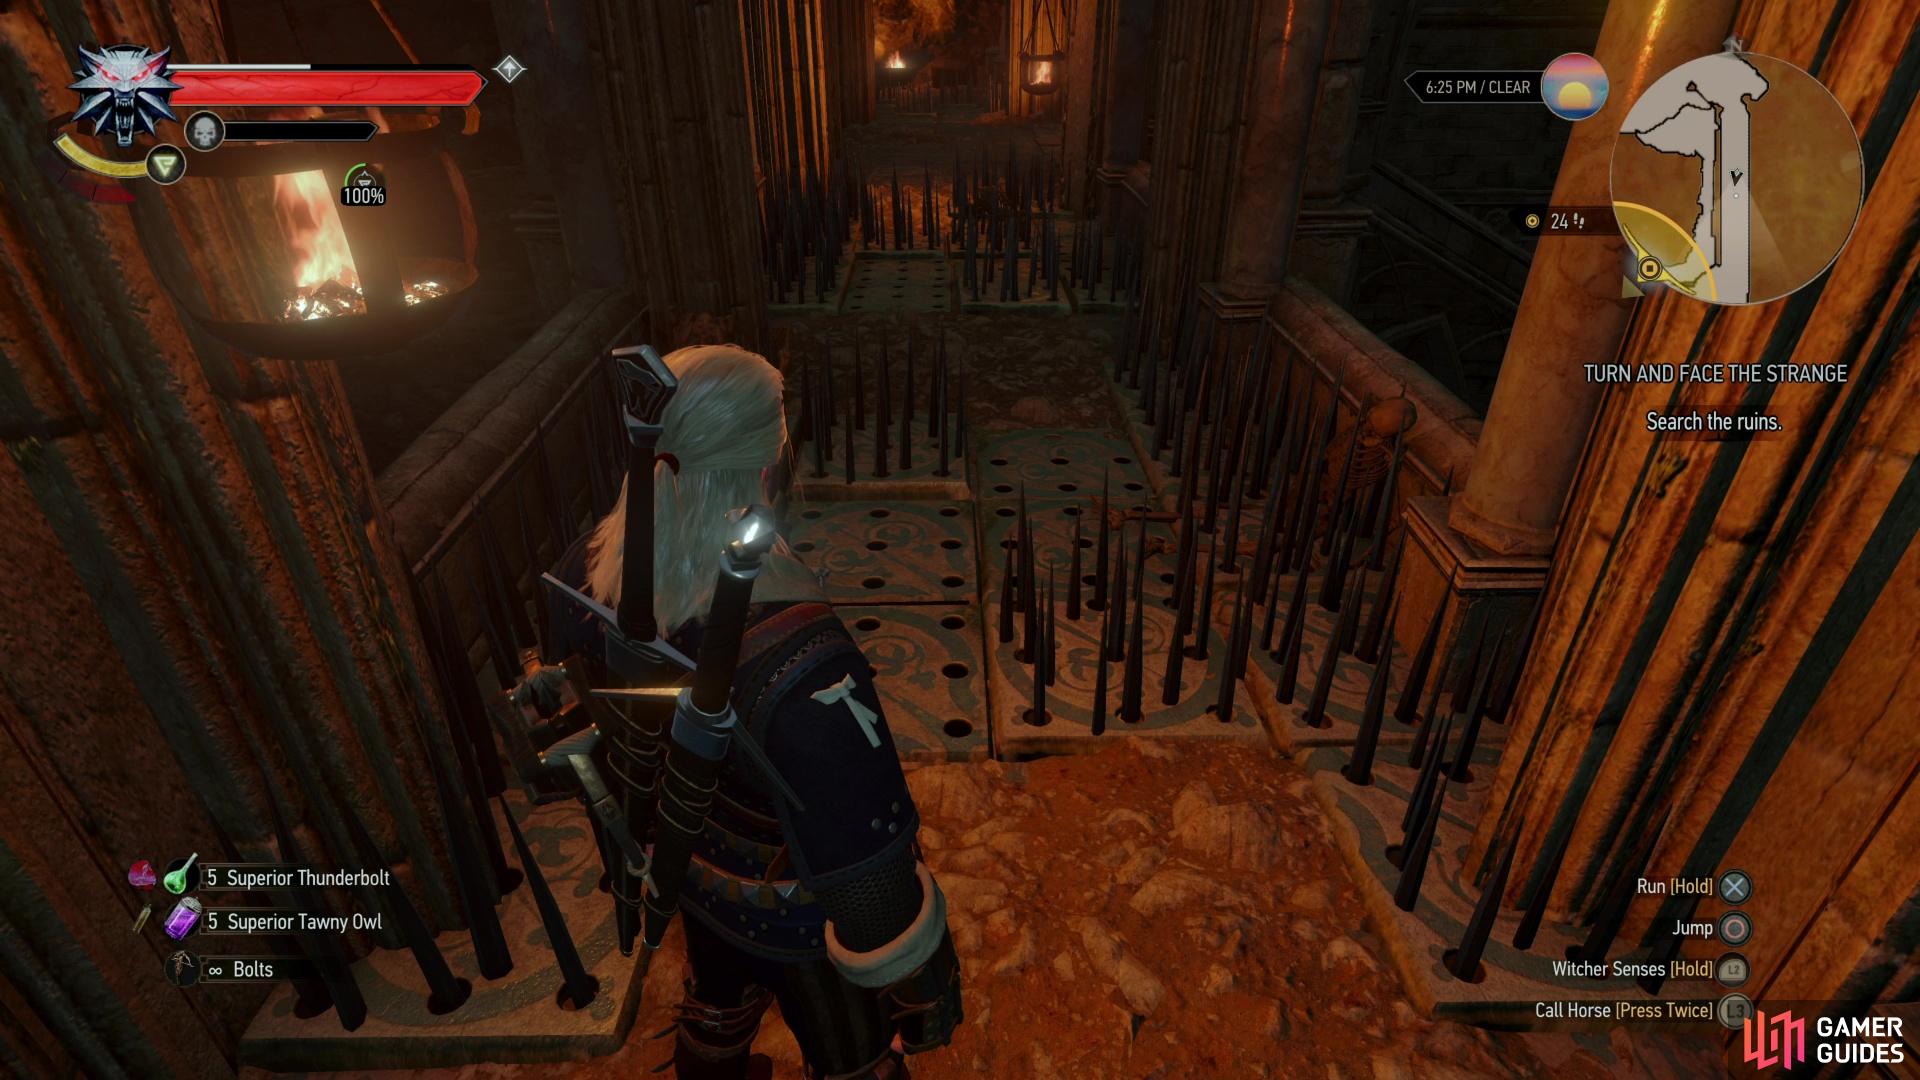
Traverse the spike traps,
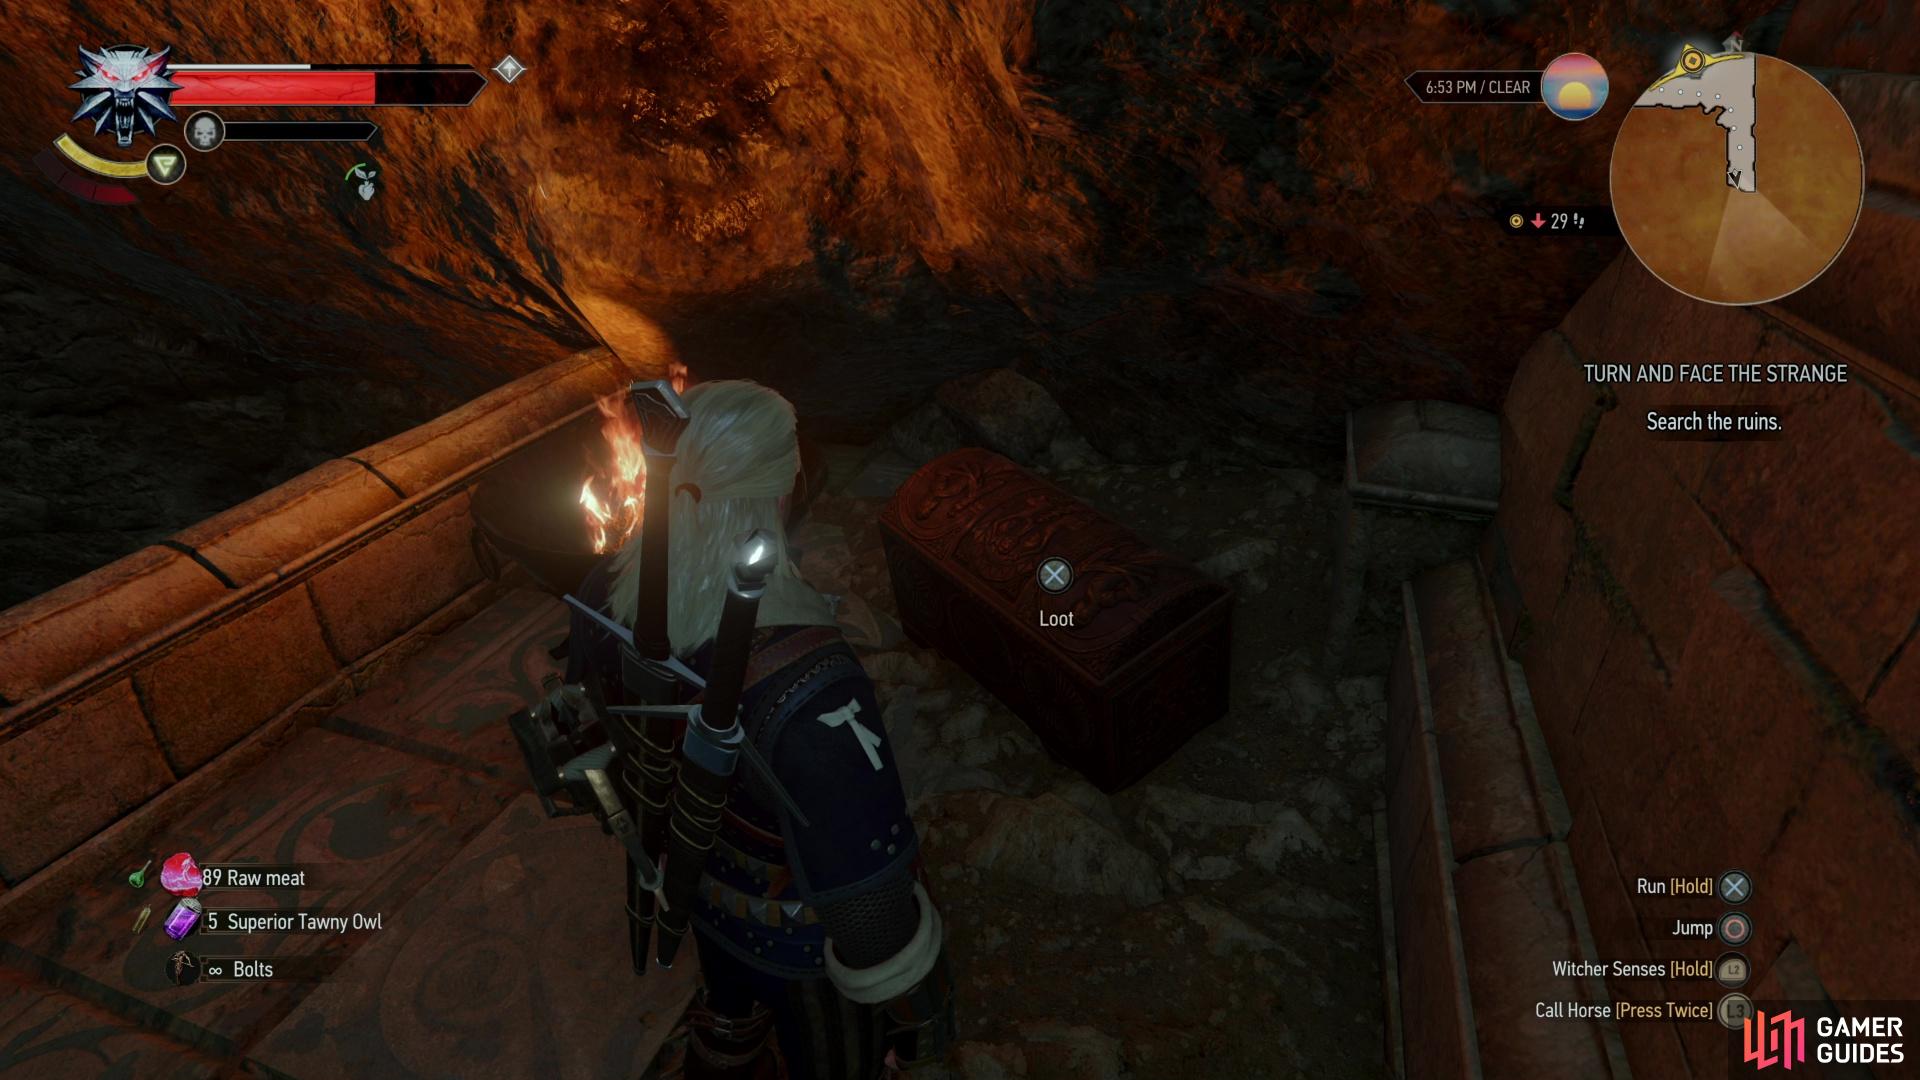
and you’ll score a chest.
How to Get Past the Spike Traps in Professor Moreau’s Laboratory
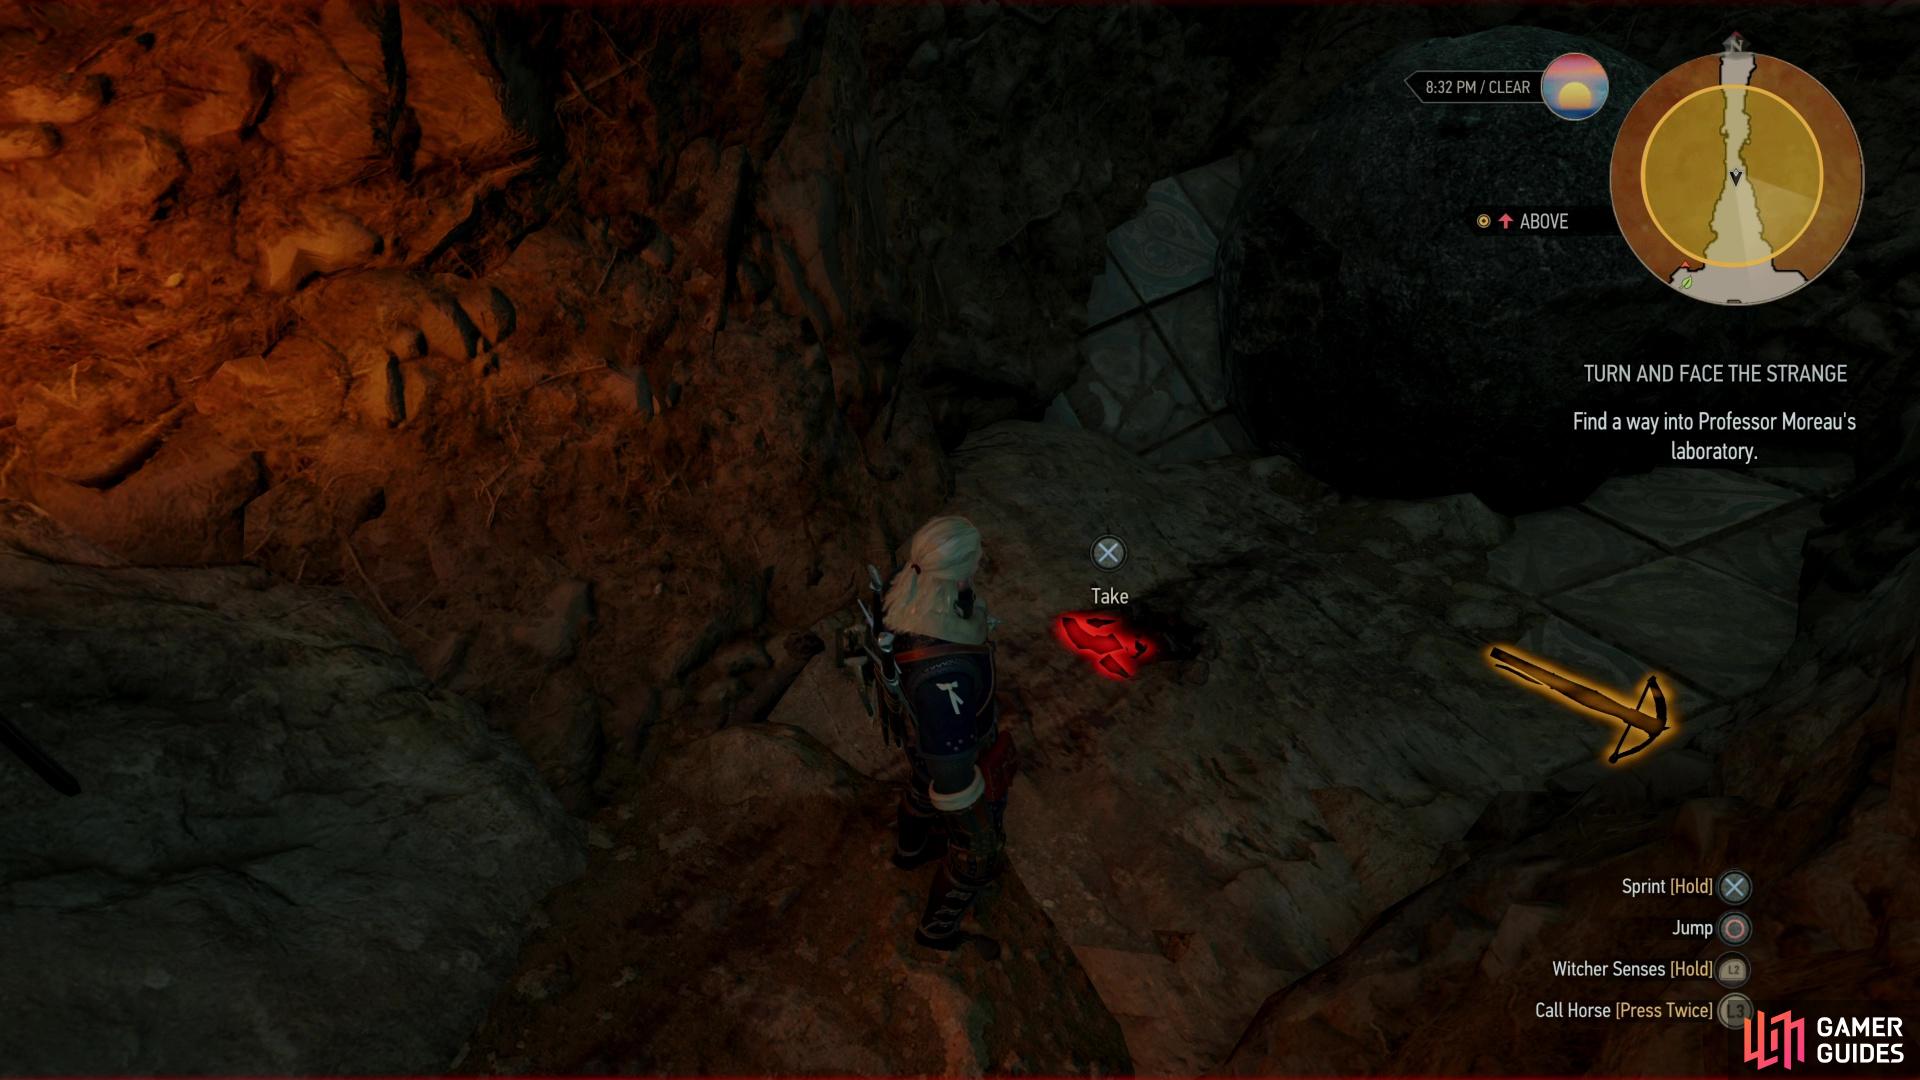
Swim into the portal and you’ll find yourself in the ruins. After Geralt recovers from his portal-induced fatigue, loot a skeleton, turn west, go through a doorway and down some stairs. Turn south and you’ll find yourself in a large open chamber notable for the large pit encircled by stairs. There are two ways down, but first, loot around the area to find some lucrative sacks full of goodies, a copper ore vein, and other points of interest.
When you’re ready to move on, note a gap in the railing around the edge of the pit to the south. You can drop down onto a ledge below you and work your way clockwise along the ledge (stopping, perhaps, to examine a sack near a torch), which runs along the stairs and eventually leads to a landing. Alternatively you can turn east to find a spiked walkway running south. Not only are there plenty of stationary spikes, there are spike-ejecting floor traps interspersed between them. These things are quite painful, and can kill in a single hit… sometimes. When they feel like it. Other times they’re just extremely damaging, perhaps just enough to knock out your Quen without doing any more damage. It’s fairly random, but you should consider deploying Quen as a precaution, just in case. Wait for the spikes to retract and run through the maze to the next safe spot, repeating until you come to a section of the spike walkway that forces you to turn 270 degrees (the spike trap tiles are arranged in the shape of a question mark). Here you might wish to just run to the first turn and, instead of following the path further, simply leap over the stationary spikes to the south. From here you can head down stairs to the west to reach the aforementioned landing the lower ledge route leads to, or, if you want some extra treasure, continue through one more section of spikes to the south to find a chest.
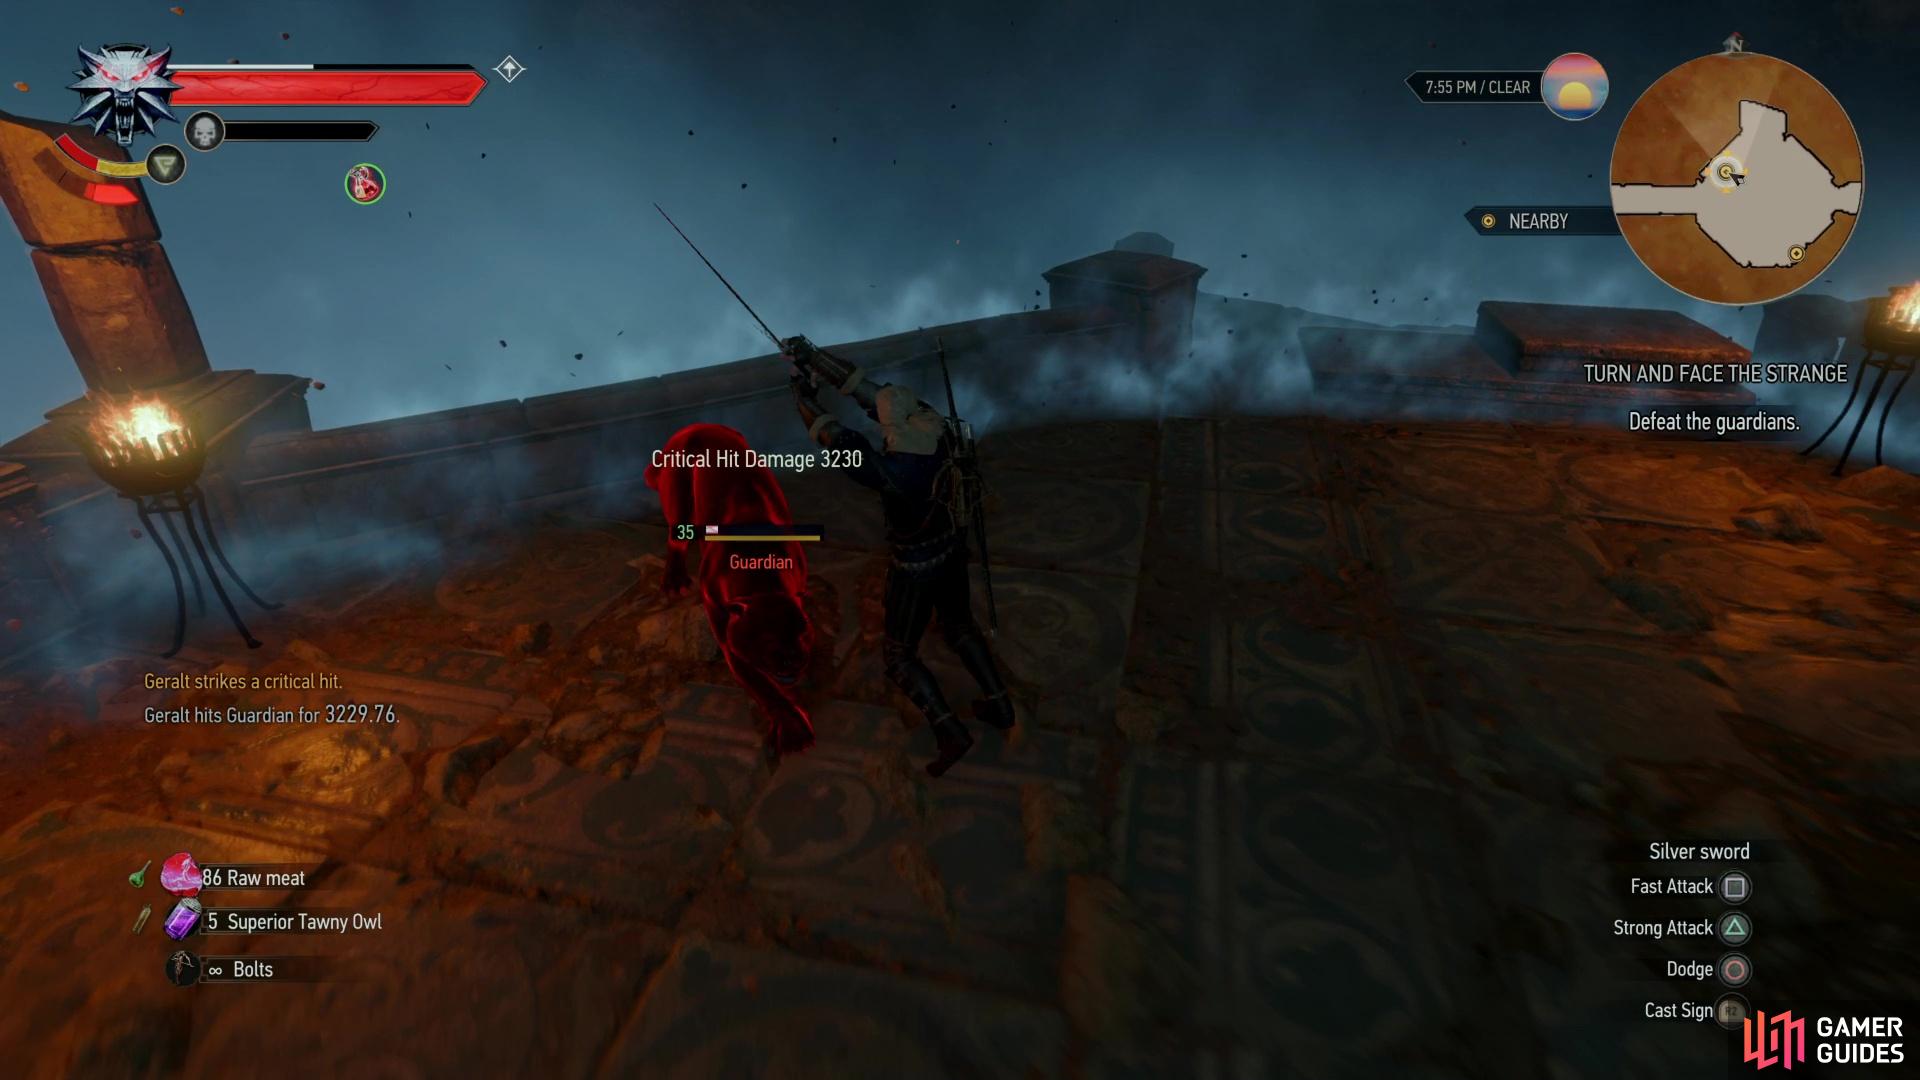
Defeat some guardian panther statues,
then search some warrens to find Professor Moreau’s Diary.
However you reach the landing, head down some stairs to the east to reach an octagonal platform. When you walk on the platform two cat statues - catues? - will animate and you’ll be attacked by two Guardians, which fight just like Panthers. Unfortunately common foes in the wilderness of Toussaint, these critters move around a lot, and fast, occasionally stopping to swipe at you with their claws. Put them down, loot them, then loot some sacks and a skeleton before continuing up some stairs to the east.
When you reach a small chamber to the east your path will split again. Fun! If you turn south you’ll find a hole in the floor near a candle-laden shrine, or you can simply continue east. There’s no way to do this without backtracking, so head south and drop down the hole near the shrine. When you land, loot a chest and continue south, then turn west to find some blood-soaked rags and a silver vein. Turn east and squeeze through a cleft, climb up a ledge, and when you reach a fork turn north until you find two ledges - one to the east and one to the west. Leap up onto the eastern edge and continue through a doorway, loot a copper ore vein in the corner, then turn south and head down some stairs to find a chest.
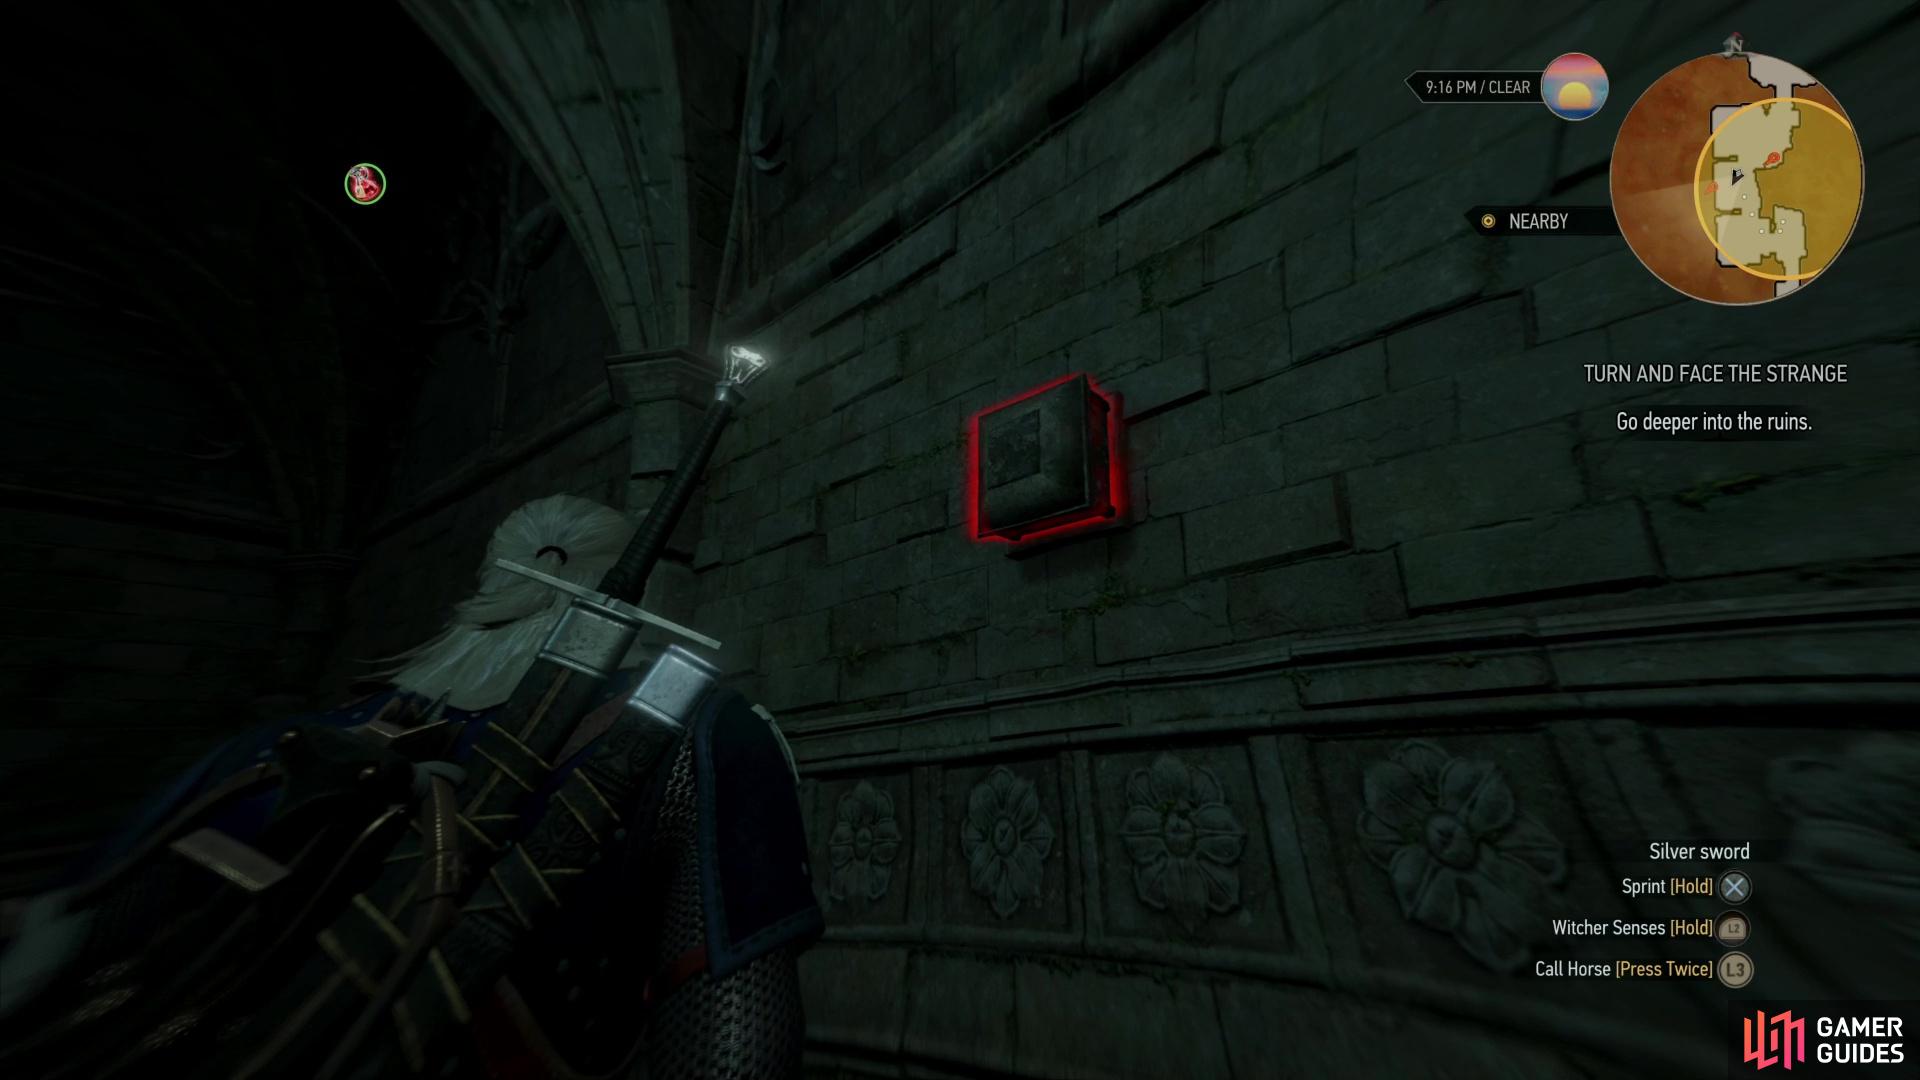
You’ll need to shoot four wall panels,
to open some stone locks blocking the way forward.
How to Solve the Panel Puzzle in Professor Moreau’s Laboratory
Backtrack west, drop down the ledge, then turn south and return to the fork, at which continue south down some stairs. Loot a skeleton as you go and pop on your Witcher Senses at the end of the passage to find Professor Moreau’s Diary . Take it and read it to find out about an upcoming puzzle you’ll have to solve, then pick a Crossbow up off the floor. Big hint-hint right there.
Climb up the spherical boulder - the remains of some long-since triggered trap? - and into another chamber, where you’ll have to battle another Guardian panther. Put the pussy down, then search the room to find a lucrative… uh… container near the southern door. If you want a bit more detail, search some hand-holds along the northeastern wall (near a statue) to find out how your predecessor evaded this encounter.
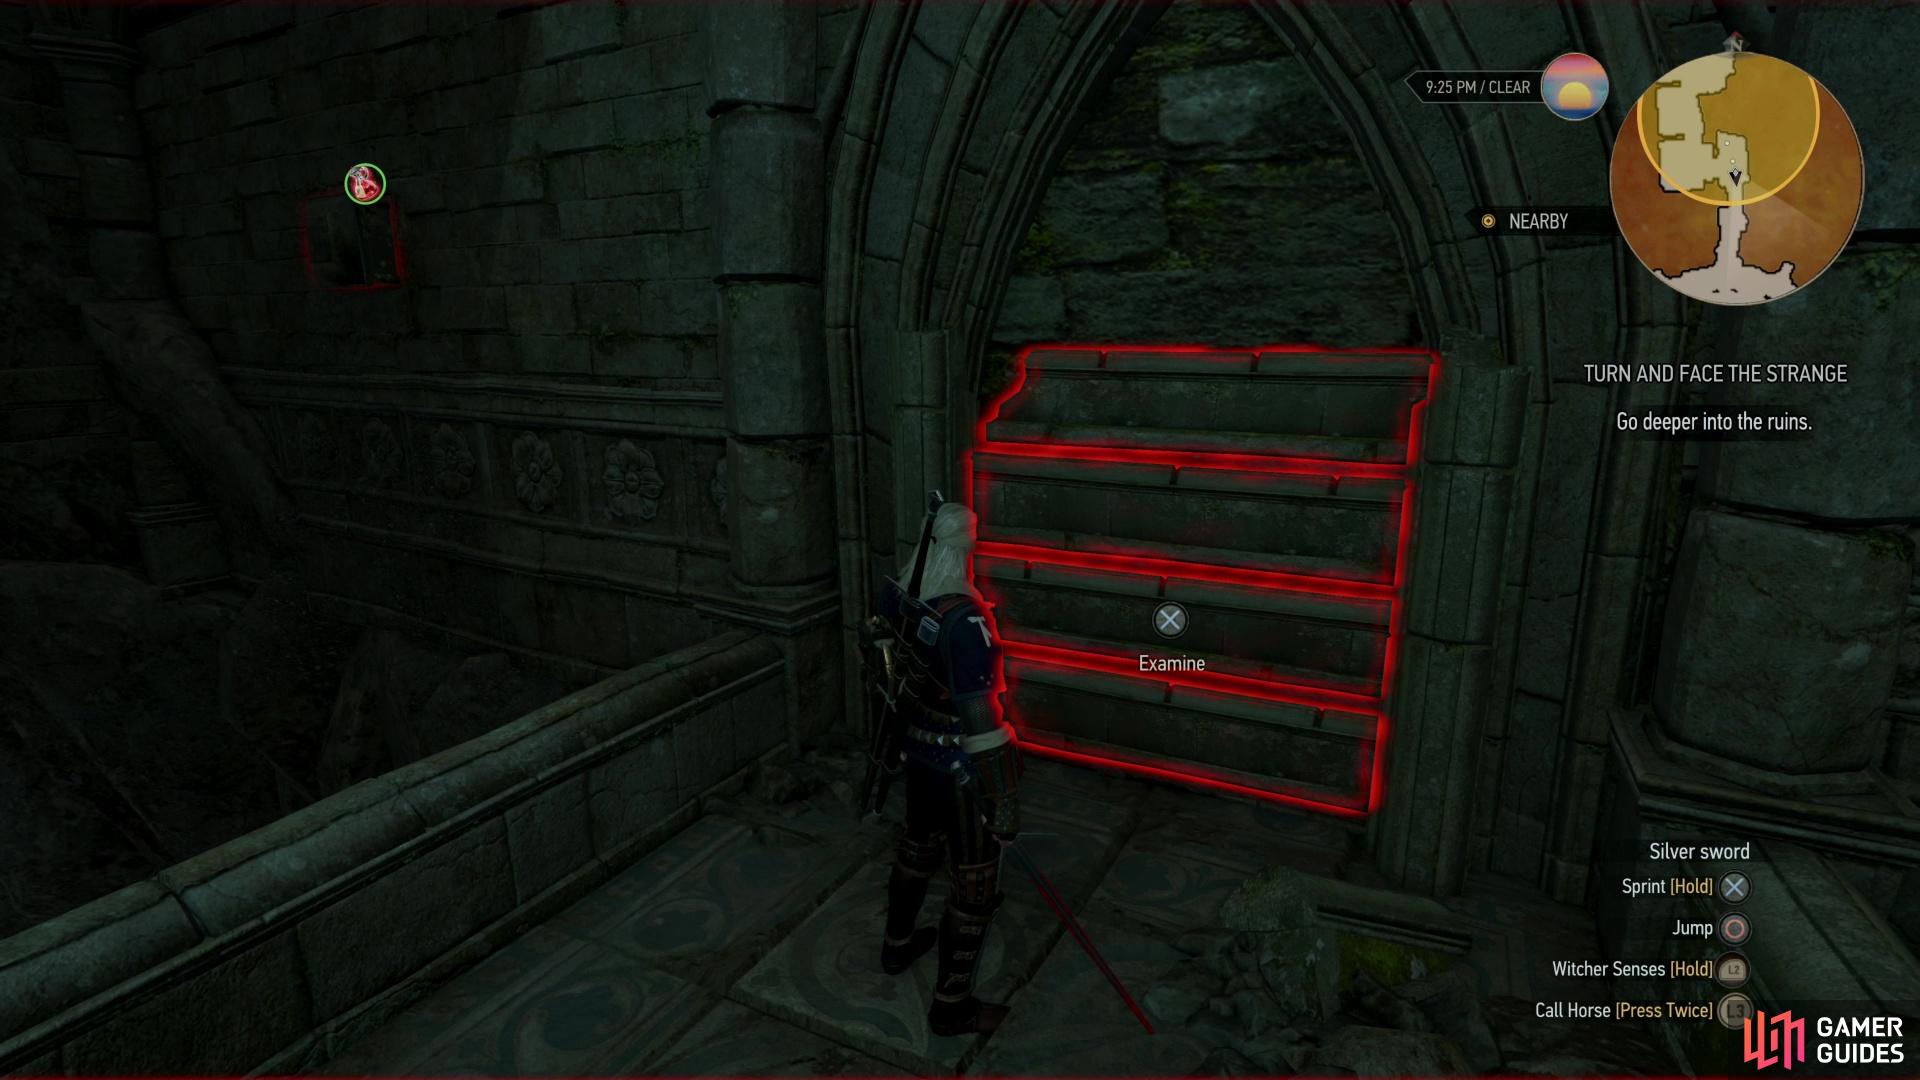
Make your way south into another chamber, past a pit, and to the southern end of the room where you’ll find a sealed door. Along the way search a corpse and a crate, then activate your Witcher Sense and survey the door to get Geralt to spell out exactly what you need to do. There are four panels on the walls of this room, and you need to find them all and shoot them with your crossbow. Their locations are as follows:
-
From the locked door along the southern end of the room turn east to find a panel along the southern wall, over the large pit occupying the eastern edge of the chamber.
-
From the locked door along the southern end of the room turn west to find a panel along the southern wall, adjacent to the locked door.
-
From the locked door along the southern end of the room turn north to find a rope attached to a pillar. If you investigate this rope you’ll find out how your predecessor bypassed this puzzle. More importantly, turn west from this rope to find the third panel.
-
Turn east from the third panel and look out over the pit traversed by the rope. The fourth panel is on a section of crumbling wall dangling from the ceiling.
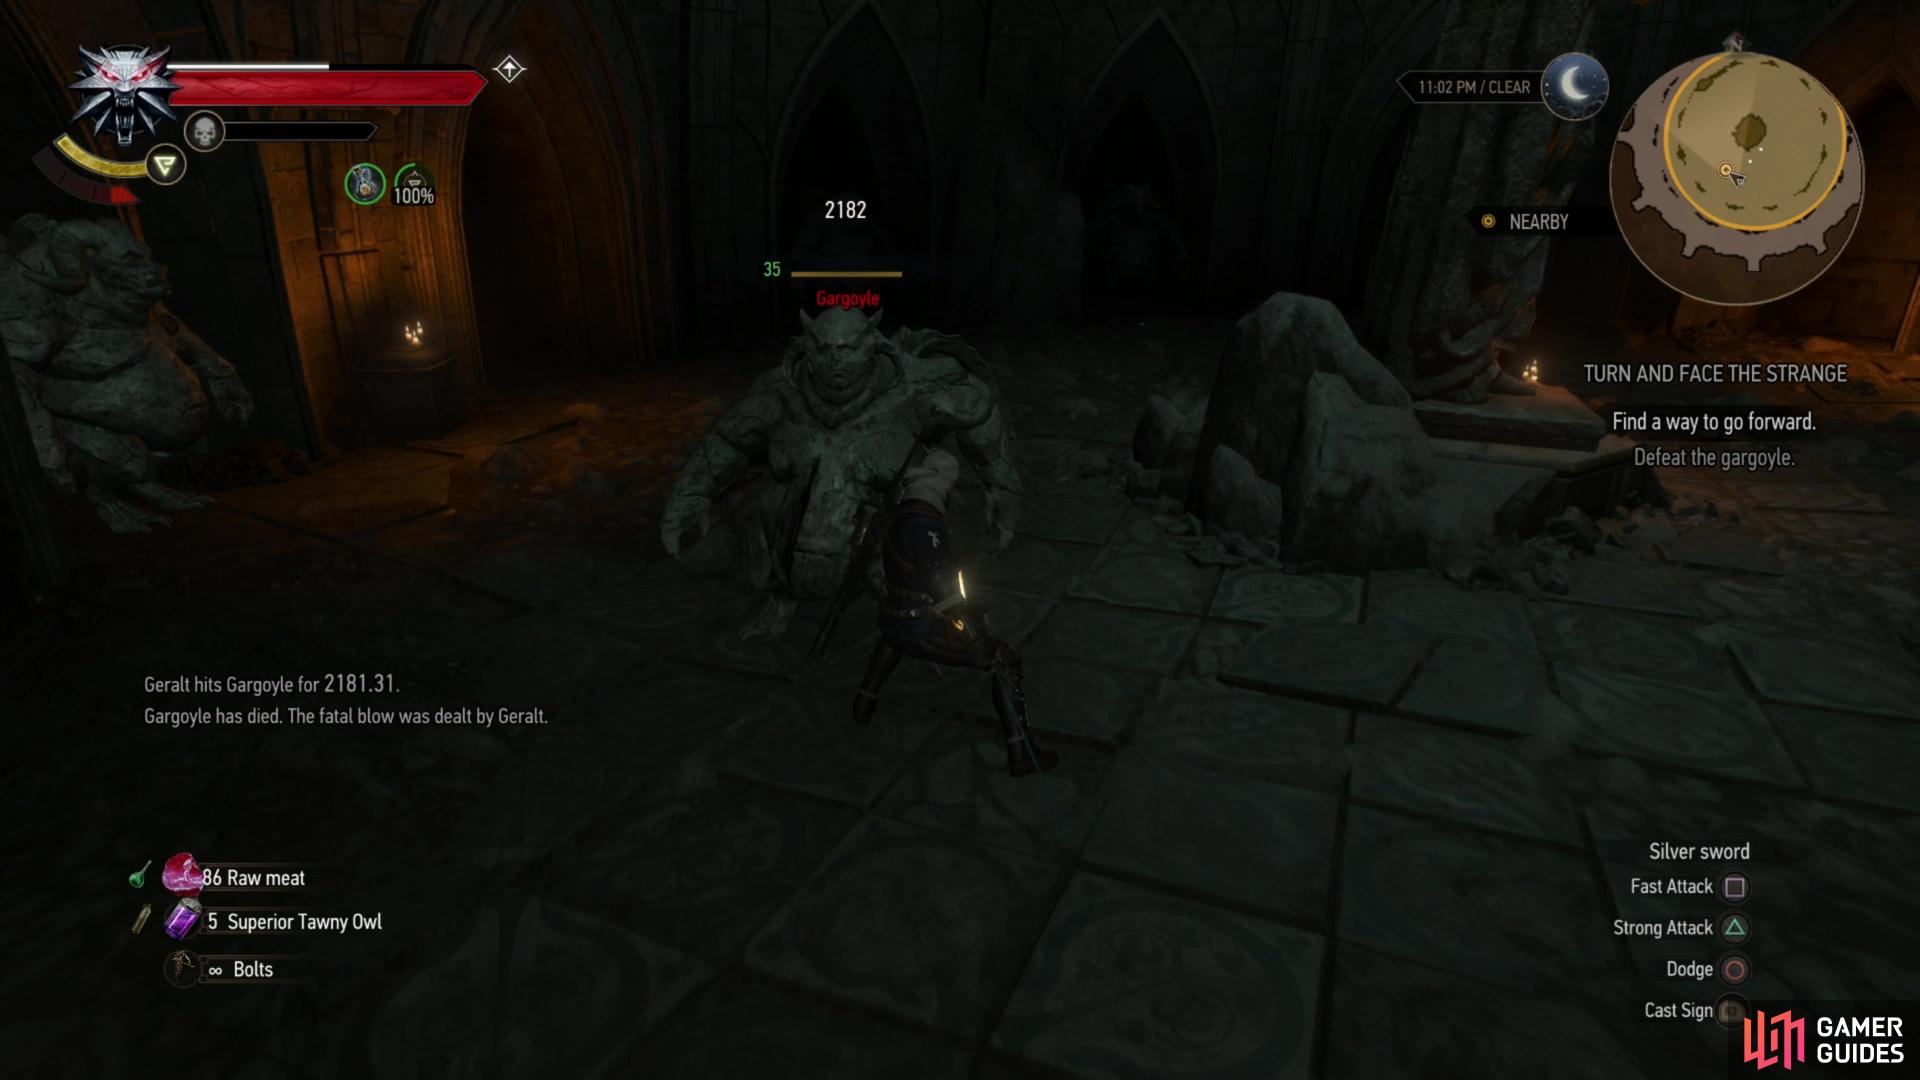
Defeat a Gargoyle to obtain its Gargoyle Paw,
then use a statue to guide you through some portals.
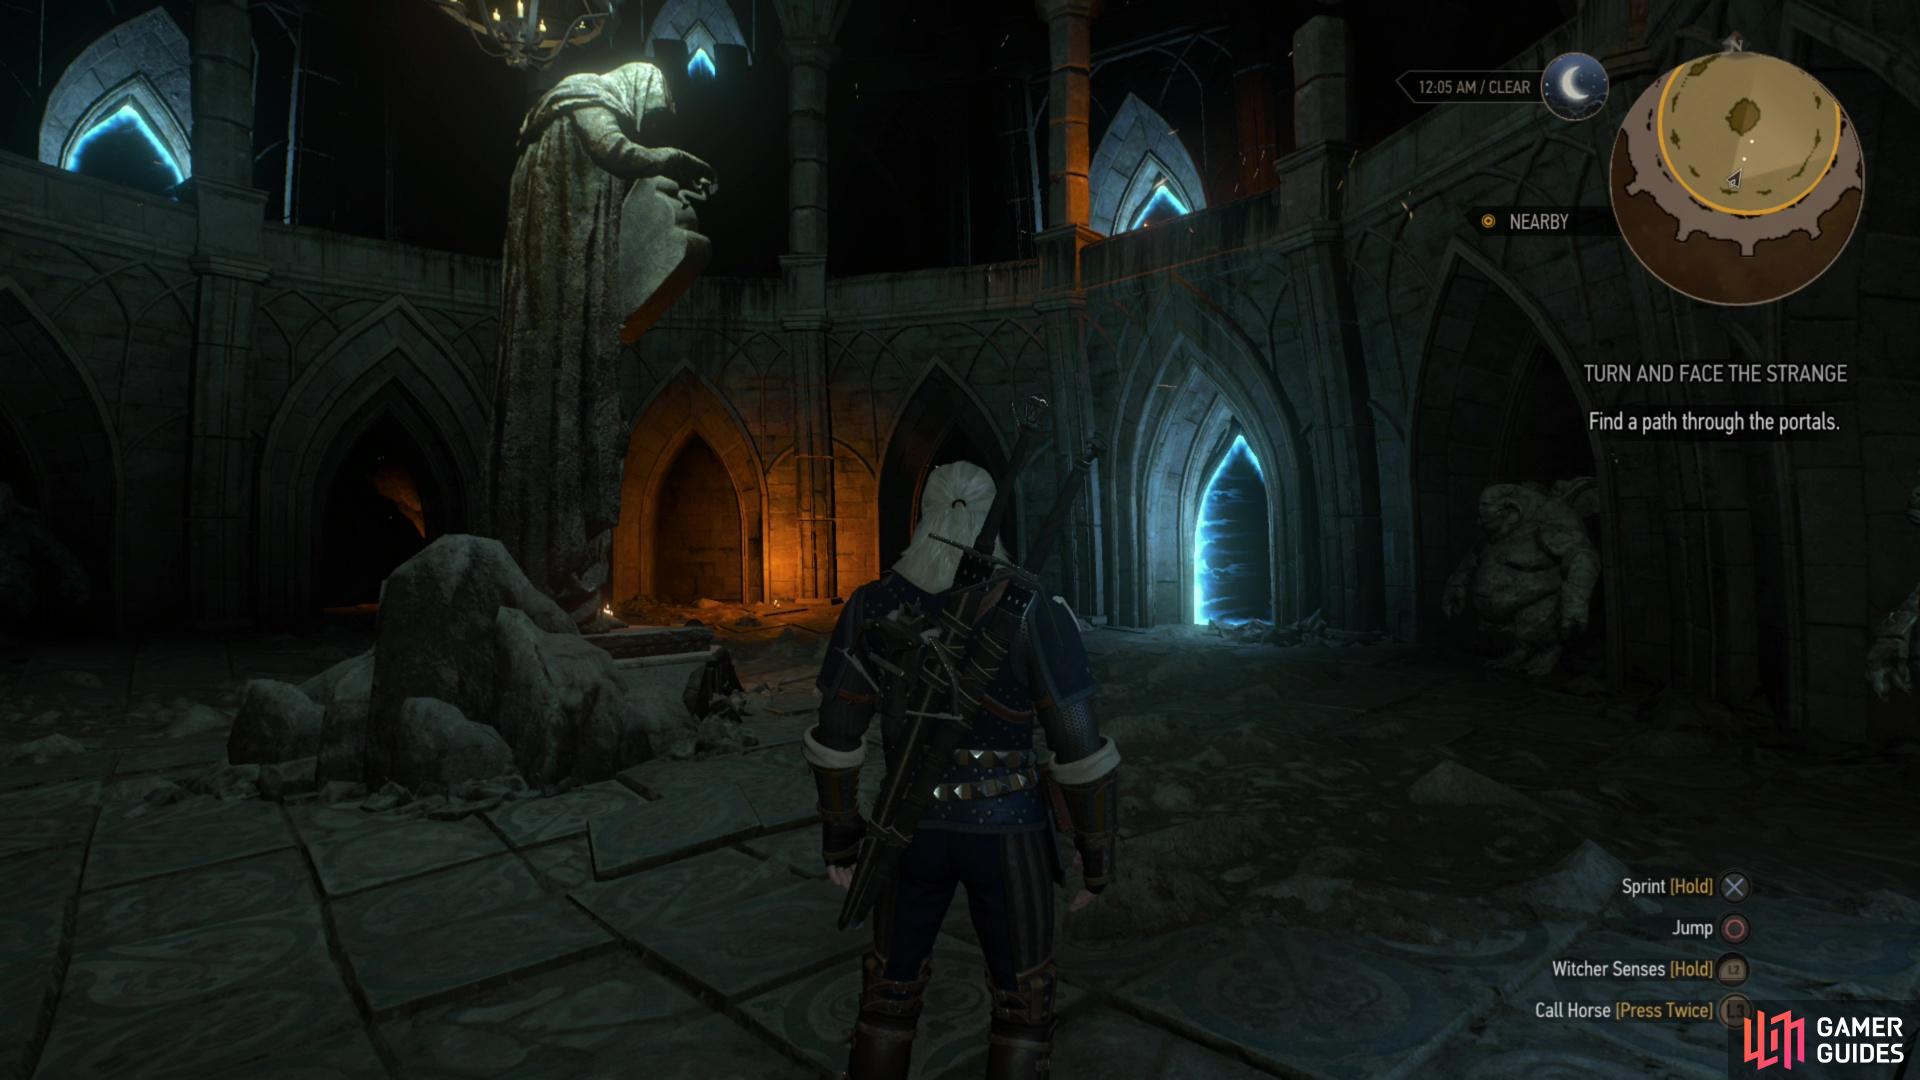
How to Solve the Portal Puzzle in Professor Moreau’s Laboratory
After shooting all four panels head through the door to the south and up the stairs beyond. Loot a gold vein, climb a ledge and pass through another doorway to reach a large chamber occupied by a large statue, portals and Gargoyles - Geralt’s favorite! Fortunately only one of the Gargoyles will animate; put the construct down, loot it for a “Gargoyle Paw”, then place it on a pedestal along the northern edge of the large statue in the center of the chamber. By offering up this hunk of Gargoyle you’ll power up several portals on the ground floor. Naturally you’ll have to make your way through this portals, but first plunder a small chest on the eastern base of that statue.
Now that there are portals on the ground floor, which one should you go in first? Well, the game isn’t as obvious with the answer this time around, but the statue in the center of the chamber is the key; the portals the statue faces are the ones that will take you to upper levels, giving you access to a new circle of portals. So naturally that means you should go through the eastern portal on the ground floor first, right?
Yep. Do so and you’ll appear in a new chamber that appears much the same as the previous one - it’s circular, the bottom floor is dominated by a massive statue, and its ringed by portals on multiple levels. From where you appear in this chamber, turn north and drop down some ledges to reach the ground floor of this second chamber and make your way to the statue. The portal this statue is now facing is to the north, but don’t go through it. Instead look northwest to find some rocks you can scale, which puts the second circle of this chamber in reach. Climb up to this second, elevated circular balcony and enter the portal to the north (near where you climb up), which also happens to be where this statue is looking.
You’ll now appear in a third chamber, which once again is set up much like the previous two chambers. Concentric rings of portal-laden walkways of multiple, staggered elevations, the bottom floor is dominated by a large statue whose gaze marks the correct portal. You know how this works. From where you appear, make your way clockwise until you find - and leap - a gap and work your way to the northwestern end of the chamber, where a portal basks in the gaze of the chamber’s central statue.
How to Find the Megascope Crystals in Professor Moreau’s Laboratory
After going through the portal in the third chamber you’ll finally find yourself in Moreau’s laboratory. Huzzah! Make your way northwest from where you start and turn southwest and northeast to find some stairs, both sets of which lead to heap of lootable parcels, barrels, etc. After you’re done plundering, return downstairs and continue northwest down another flight of stairs, after which immediately turn southwest to find a megascope and three crystals, each of which contains a recording you can view. As of now only three of the crystals (no even numbers, oddly enough - pun intended) are present, but they paint a clear enough picture of what Moreau was doing down here, and how his failure might just be profitable to Geralt.
Watching these recordings will update the quest and give you new objectives; obviously you’ll want to hunt down the remaining two crystals and, of course, find some of these mutated giant centipede eggs. Sadly, in the latter case time has complicated matters, as they terrarium they were stored in has long since broken, and you’d be wise to bet that whatever hatched from those eggs won’t volunteer replacements easily.
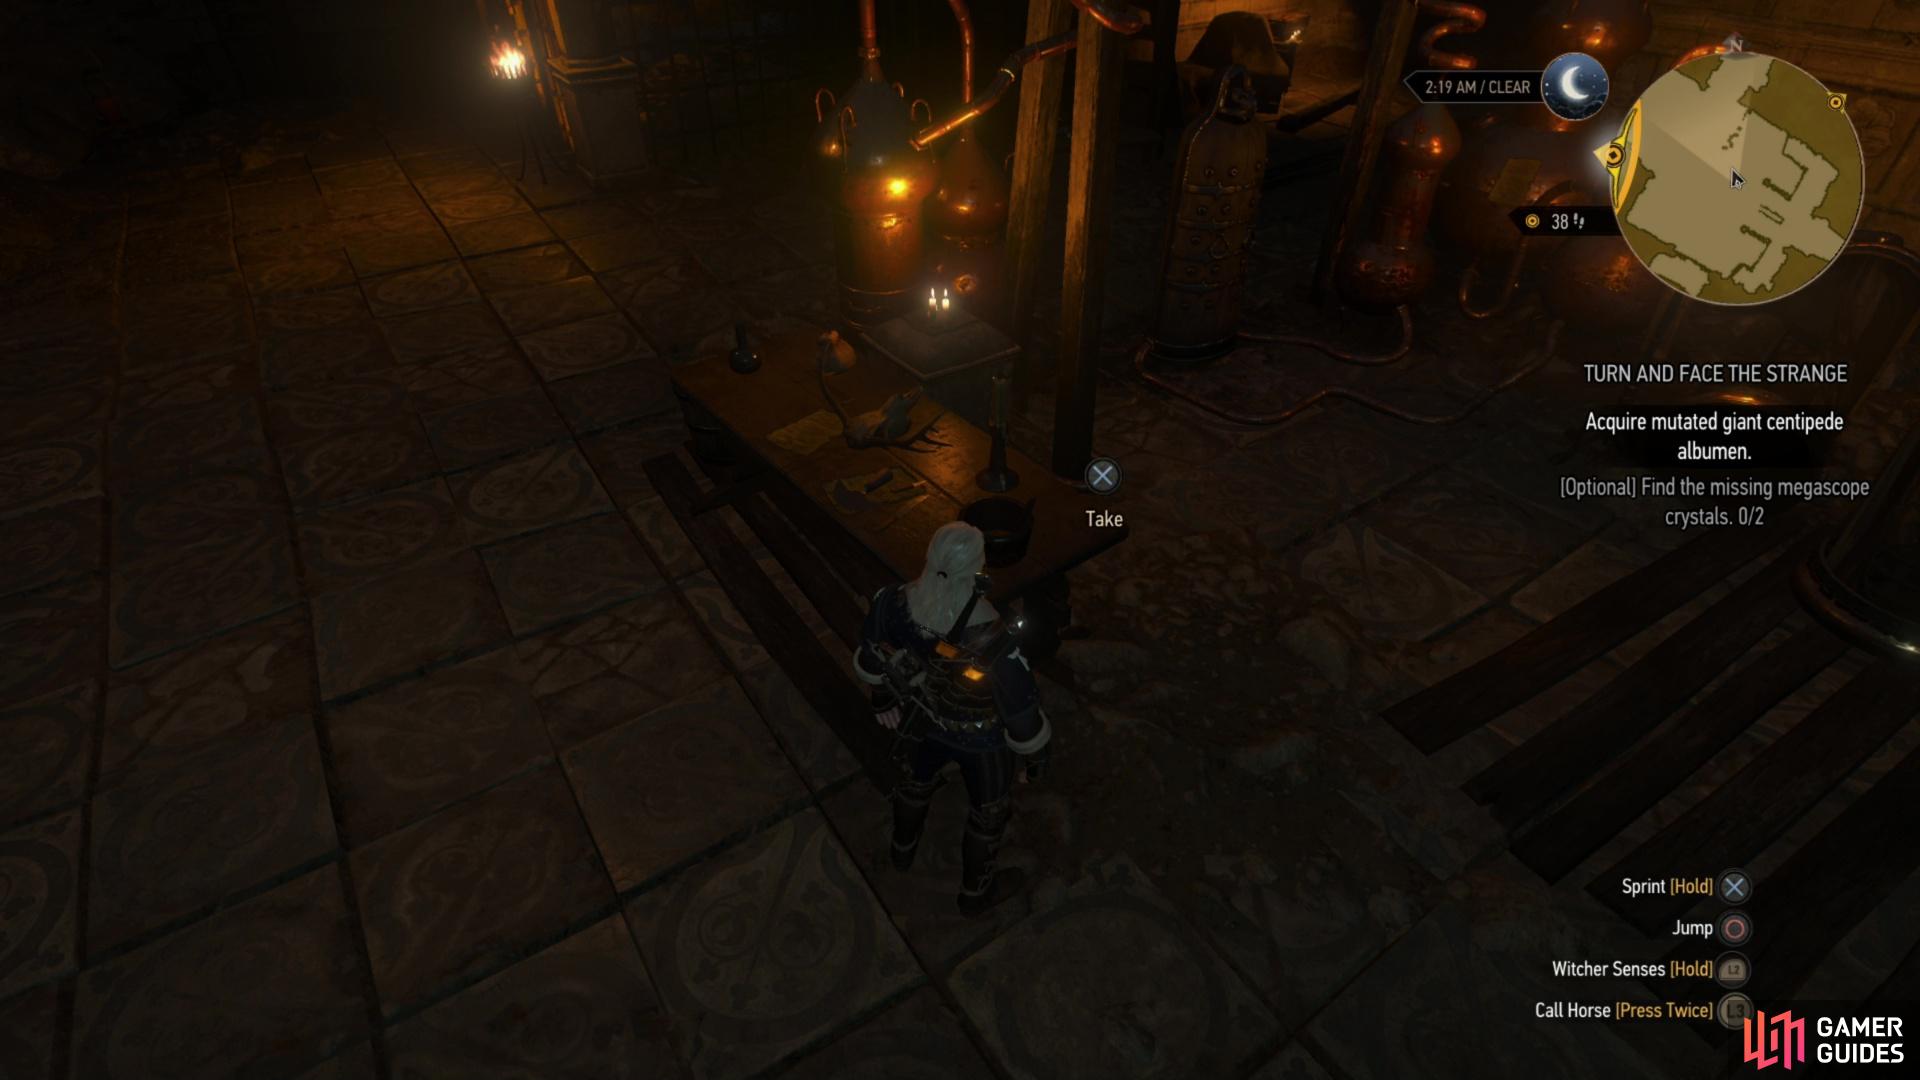
Turn northeast to find where Moreau set up most of his equipment, including a specimen tube whose contents casts a grim light on this morality. Search a table to find the book “The So-Called Giant Centipedes, or My Only Comfort in Exile”, a bottle containing a Greater Green Mutagen, and a Megascope Crystal - more specifically, the missing second entry. From this table continue northwest past some cages to find a bookshelf against the wall, in which you’ll find the book “Witcher Mutations: An Introduction to Research”. Make your way northeast along the southwestern edge of the nearby cage and search the ground near some alchemical equipment to find the fourth Megascope Crystal , then turn southeast to find a Greater Blue Mutagen along a shelf with some jars containing… “donated” organs. Return to the megascope and watch the final two megascope recordings to get all the information you can from this source.
The lab has been scoured for information, and while a normal, sane person would look at the dubious research Moreau has cobbled together and go “nope!”, Geralt is undeterred. Before you can inject yourself with mystery mutagens, however, you’ll have to scrape together some mutated giant centipede eggs for their juicy, juicy albumen. Make your way to the northwestern edge of the lab and enter the cage there, then seek out a hole in the wall to the northwest.
The Yrden Sign will trap Giant Centipedes, allowing you ample time to hack away at their vulnerable underbellies.
Once the aggressive adults have been slain, loot their eggs for the albumen you need.
How to Obtain Mutated Giant Centipede Albumen
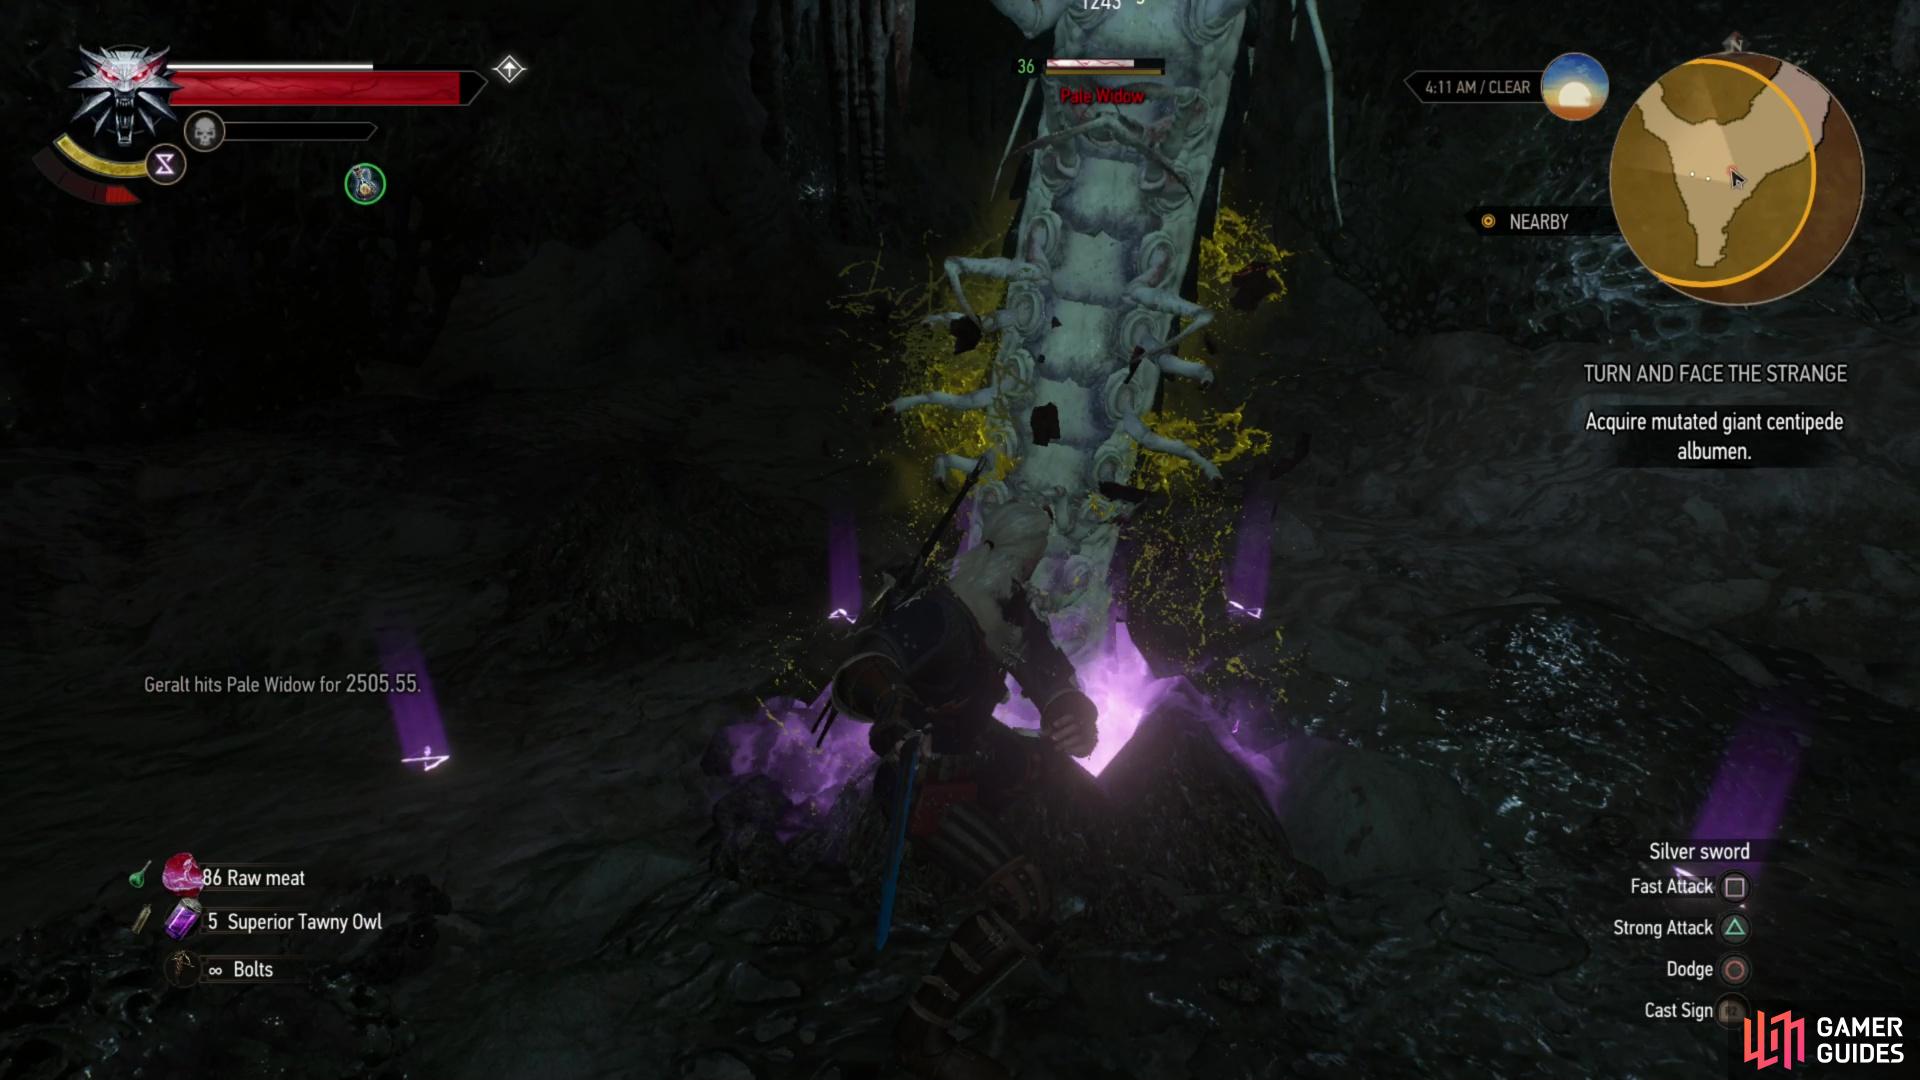
Make your way west through a tunnel to reach a natural stone chamber, which is infested with a pair of Pale Widow centipedes. These critters can be annoying due to their penchant for burrowing, and their attacks are varied enough to be worth mentioning. First and foremost, the act of burrowing itself can be an attack - as you can imagine being caught under the bulk of a massive armored insect can’t possibly be good for one’s health. Sometimes they’ll only surface long enough to leap across the chamber at you and burrow again, other times they’ll try to burrow towards you, only to explosively surface under your feet. These bugs will often do this in succession - just keep dodging and avoid the disturbance on the ground. When they deign to expose themselves for any length of time to attack, they’ll either lunge or slam themselves down at short range (which can knock you down and give them a chance to burrow again) or they’ll spit globs of poison at you. Three spits and they’ll burrow again, and of course this attack can be neutralized entirely with Golden Oriole.
It’s during this poison-spitting routine that they’re most vulnerable to attack, but be wary, as they’ll coil up after being struck three times. While coiled they’re invulnerable, but worse they’ll perform a swinging counter-attack after a bit of time, so don’t get greedy, just roll away from them when they’re coiled up. Using Quen to protect yourself from damage and Insectoid Oil to deal greater damage are both good ideas, but the most effective tool you can employ is Yrden. Simply cast the spell, wait in its confines and dodge attacks until the bug is foolish enough to move inside its bounds (usually during its burrow-and-pop-up attack). Once it surfaces it’ll be immobilized by Yrden, leaving it vulnerable for a great deal of punishment - usually enough to kill any one such beastie outright.
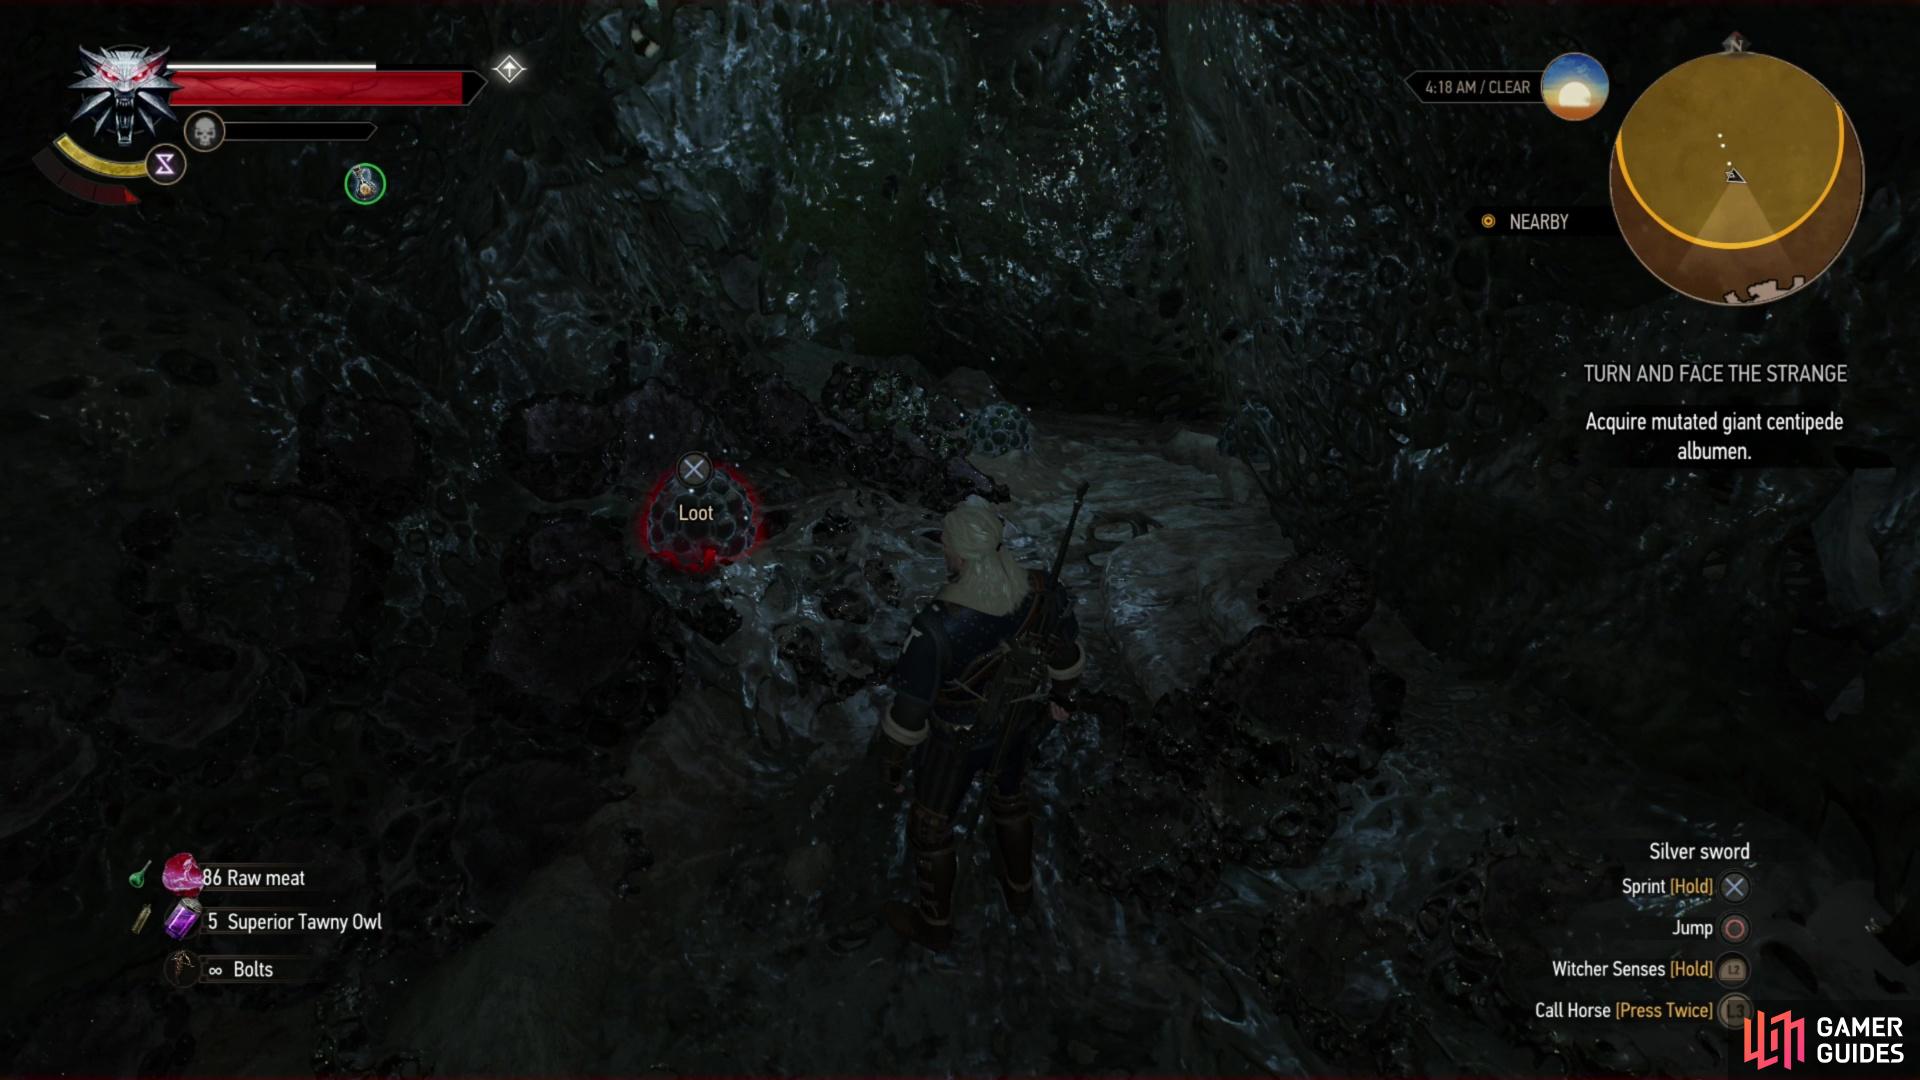
However you manage it, once they’re slain, loot their bodies and make your way to the southern end of the room, where you’ll find a ledge you can scale. Continue southeast down a tunnel into another chamber, where a lone Pale Widow awaits. Kill it and search an alcove to the south to find three egg sacs, which contain Mutated Giant Centipede Albumen . Just what the mad scientist ordered!
How to Unlock the Mutations Tree
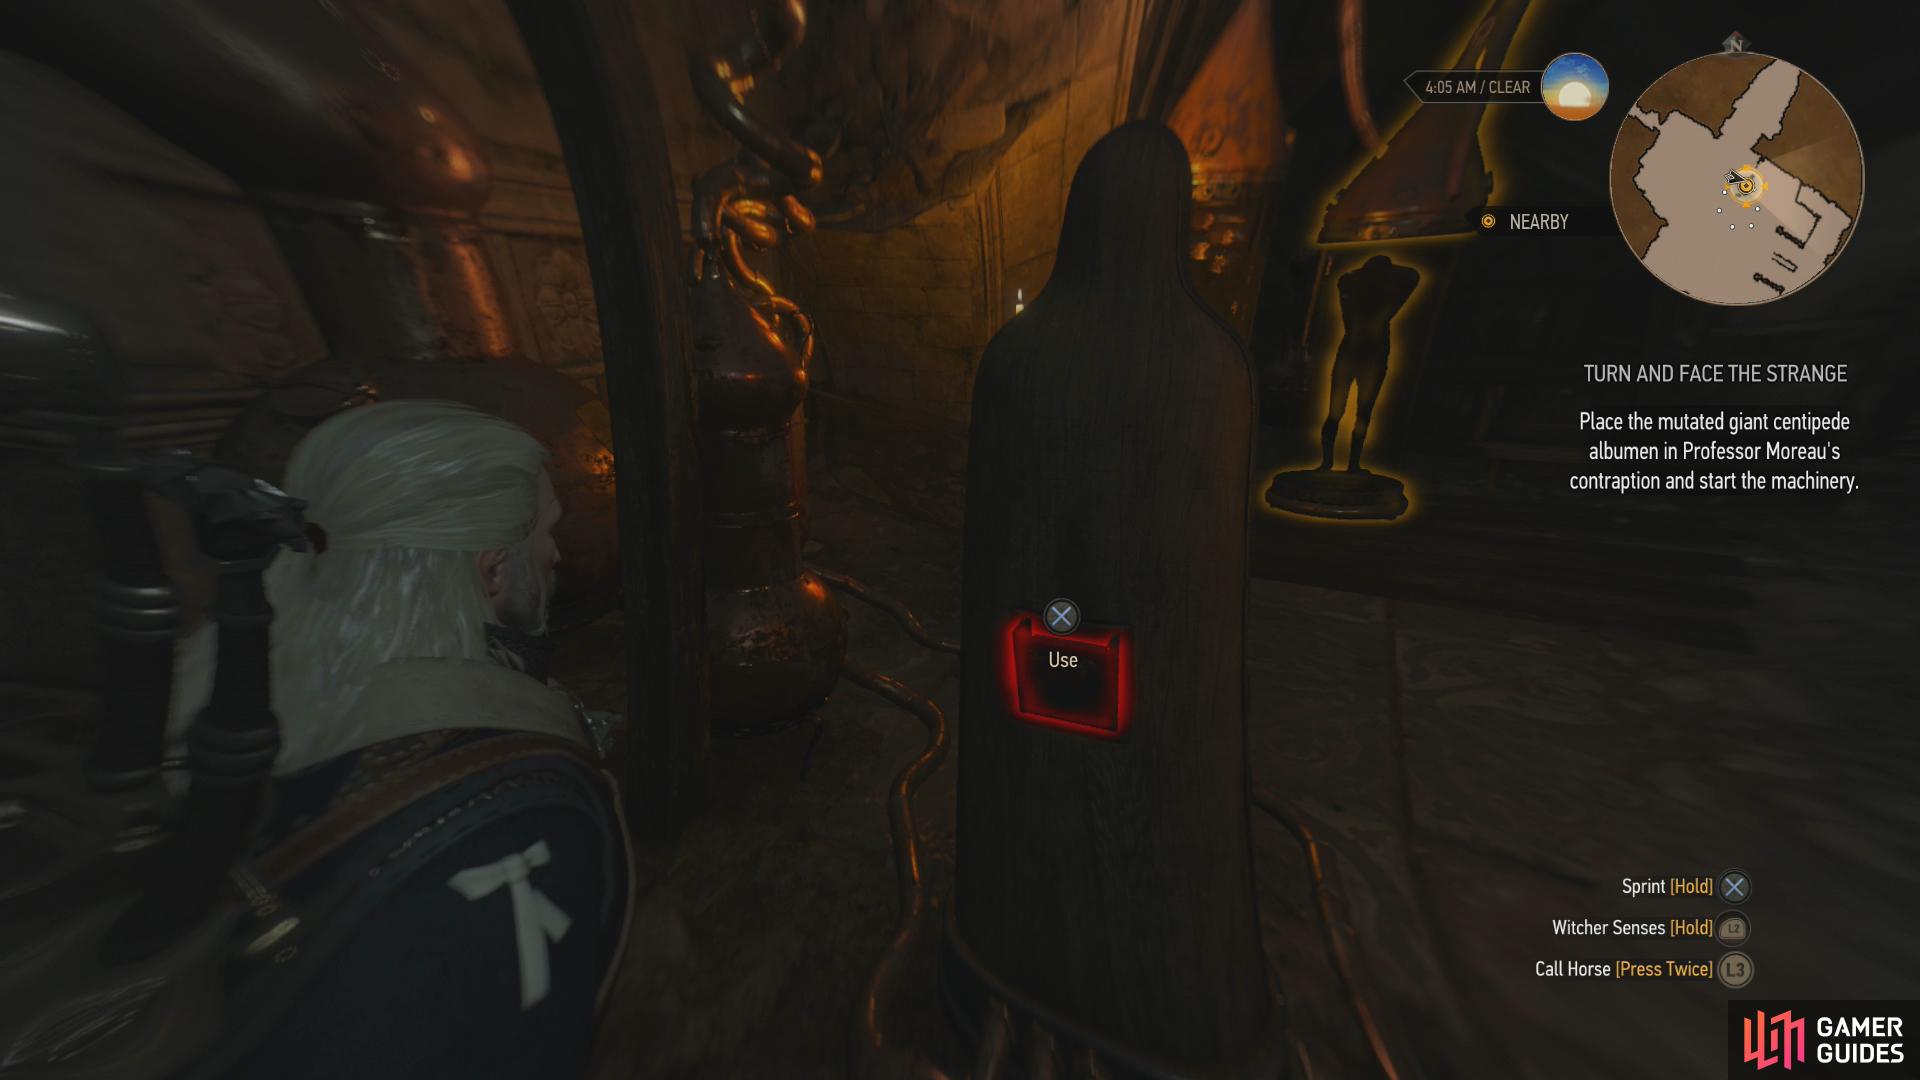
Now that you have the albumen, it’s time for some ill-advised experiments. Make your way northeast and scale several ledges to reach a wall with a crack in it. Give it the ol’ Aard treatment, then drop down into the lab below. Gotta love shortcuts. Make your way to the business-end of the lab (the area with an abundance of alchemical devices, northeast of the megascope) and search behind a device that looks suspiciously like an iron maiden. Deposit your ill-gotten Mutated Giant Centipede Albumen into a compartment on the back, then take off all your clothes, armor, weapons… everything save Roach’s items, your consumables, bombs and pocket items. It’s be a shame if this crazy experiment messed up your threads, after all. Once done, head inside, after which Geralt will emerge… slightly less human than when he went in.
Congrats, you’ve now unlocked the Mutations system, which breathes new life into character advancement - and provides you a means by which you can keep investing ability points. After all, the base game really only supported twelve equipped skills, and most builds were done well before level thirty. Head into your Character menu and press [Triangle]/[Y] to open the Mutations Panel, where you’ll get a [tutorial of how Mutations work].
However you decide to advance Geralt going forward, unlocking the Mutations is an important early-game objective in Blood and Wine, as it’ll allow you to continue to accumulate strength as you level up. The monsters in Toussaint aren’t getting any weaker from this point forward, so the earlier you complete this quest and expand your upgrade options, the better prepared you’ll be to handle the myriad threats that await you going forward.
No Comments