
Walkthrough for the quest Wine Wars: Belgaard in The Witcher 3 Blood and Wine, including information about how this quest relates to the other Wine Wars quests, and how to unlock the achievement/trophy The Grapes of Wrath Stomped.
Start this quest is a simple matter, you merely have to read the notice Announcement from the Office of Internal Revenue of the Duchy of Toussaint from the Notice Board in Beauclair, after which you’ll be directed northeast towards the Plegmund’s Bridge area. You can also find this notice on other notice boards throughout Toussaint, pretty much all of them, in fact. If that’s not enough for you, you can also head to the Plegmund’s Bridge signpost which can be found a fair distance up river from The Cockatrice Inn, northeast of the Castel Ravello Vineyard. At the eastern end of this bridge you’ll find a building, near which you’ll find two vineyard owners arguing. Merely approaching them will start this quest, as well.
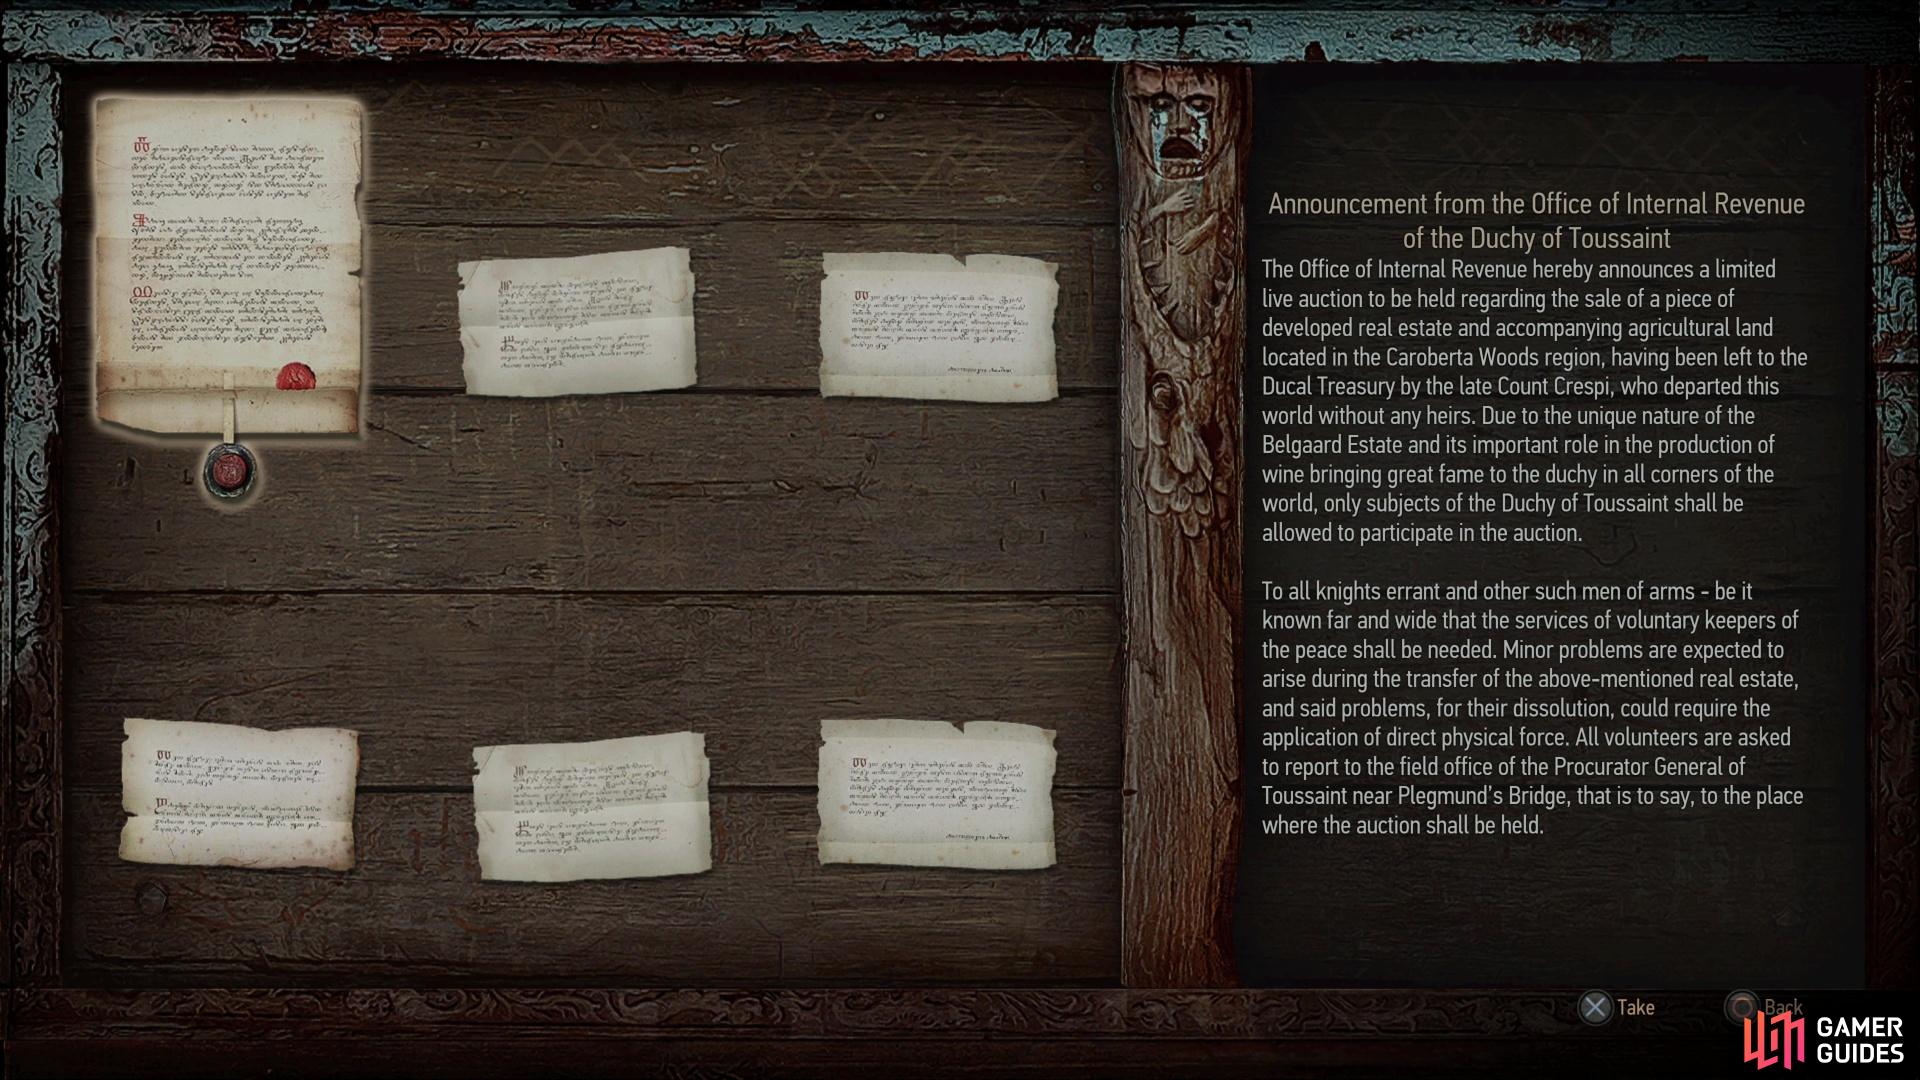
(1 of 3) You can start this quest by grabbing the notice from almost any notice board in Toussaint.
How to Start Wine Wars Coronata and Vermentino
Approach the two feuding vineyard owners and you’ll discover they’re arguing over which of the two should possess the Belgaard vineyard, which is currently in the hands of the duchy in lieu of a fitting steward. Unfortunately for the two, neither are currently qualified due to the troubles that have beset their own vineyards. Both desperately want this rich, new estate… if only some fixer were to show up capable of resolving their problems.
Geralt’s swords distinguish him as a man of action, and when the vineyard owner - Liam de Coronata - learns of your profession, he can’t offer you a job quick enough. Turns out that between missing employees and monsters cropping up, he’s got plenty of need for a Witcher. After agreeing to a deal, the other vineyard owner - Matilda de Vermentino - will approach you and relate a similar story. A little too coincidental that such things would be happening at both vineyards, unless by some ironic fluke they both ended up trying to sabotage each other… but whatever the case may be, she’s willing to pay you to resolve her issues, too.
The quest Wine Wars: Belgaard will temporarily go dormant (it’ll act as though it’s complete, but it will be restarted) and Wine Wars: Coronata and Wine Wars: Vermentino will begin, assuming you agreed to help both Liam and Matilda, respectively. You only need to finish one of these two quests to endow your preferred vintner with the right to purchase Belgaard, but aside from sheer laziness, there’s no good reason to favor one party over another, especially when both are willing to reward you for your work, and the fact that and extra quest, Wine Wars: The Deus in the Machina will begin if you resolve both Wine Wars: Coronata and Wine Wars: Vermentino without turning either of them in.
Both quests involve completing five tasks - clearing five map markers - of various types. Anything from Monster Nests, Guarded Treasure, Persons in Distress, Abandoned Sites, etc.

Resolve problems at both the Coronata vineyard,
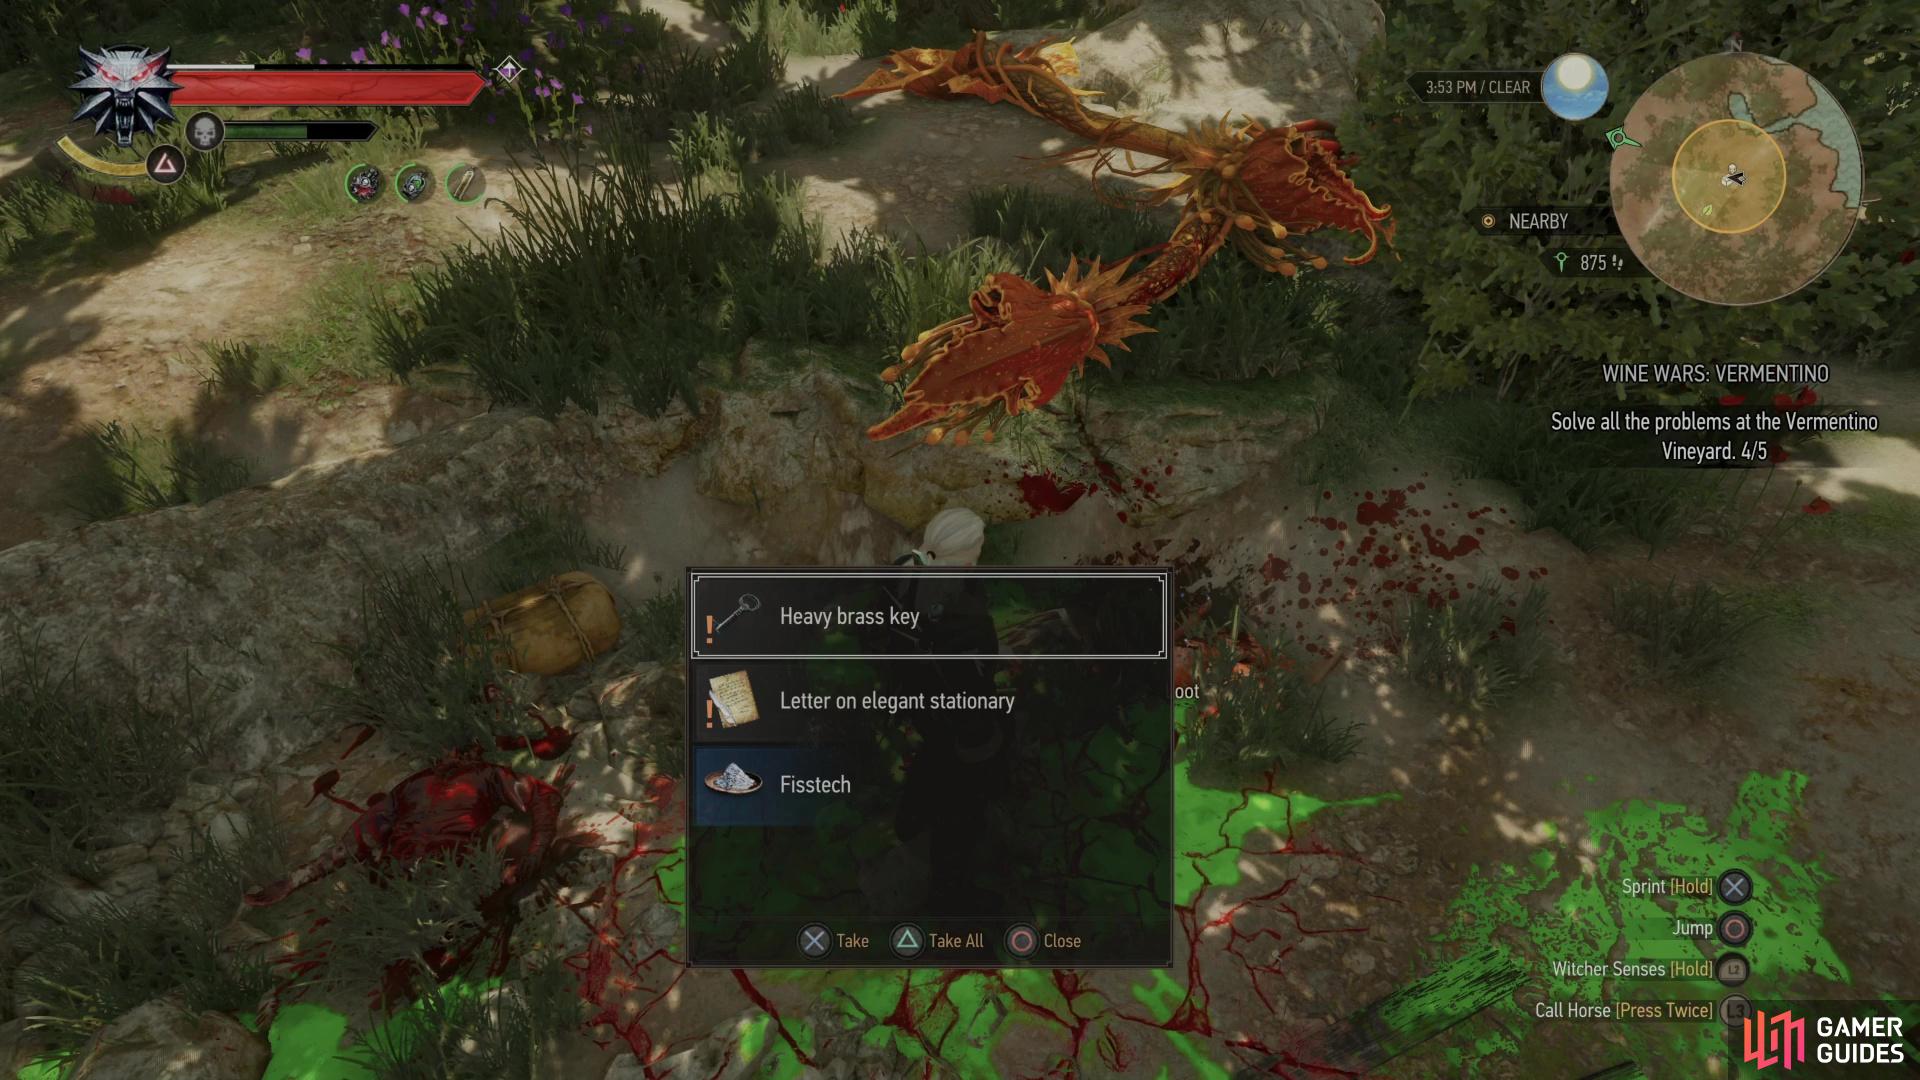
and the Vermentino vineyard to find evidence falsely implicating both vineyards.
With all the problems at Coronata and Vermentino resolved, seek out the source of the vineyard sabotage efforts and you’ll find the evidence you seek.
How to Start Wine Wars The Deus in the Machina
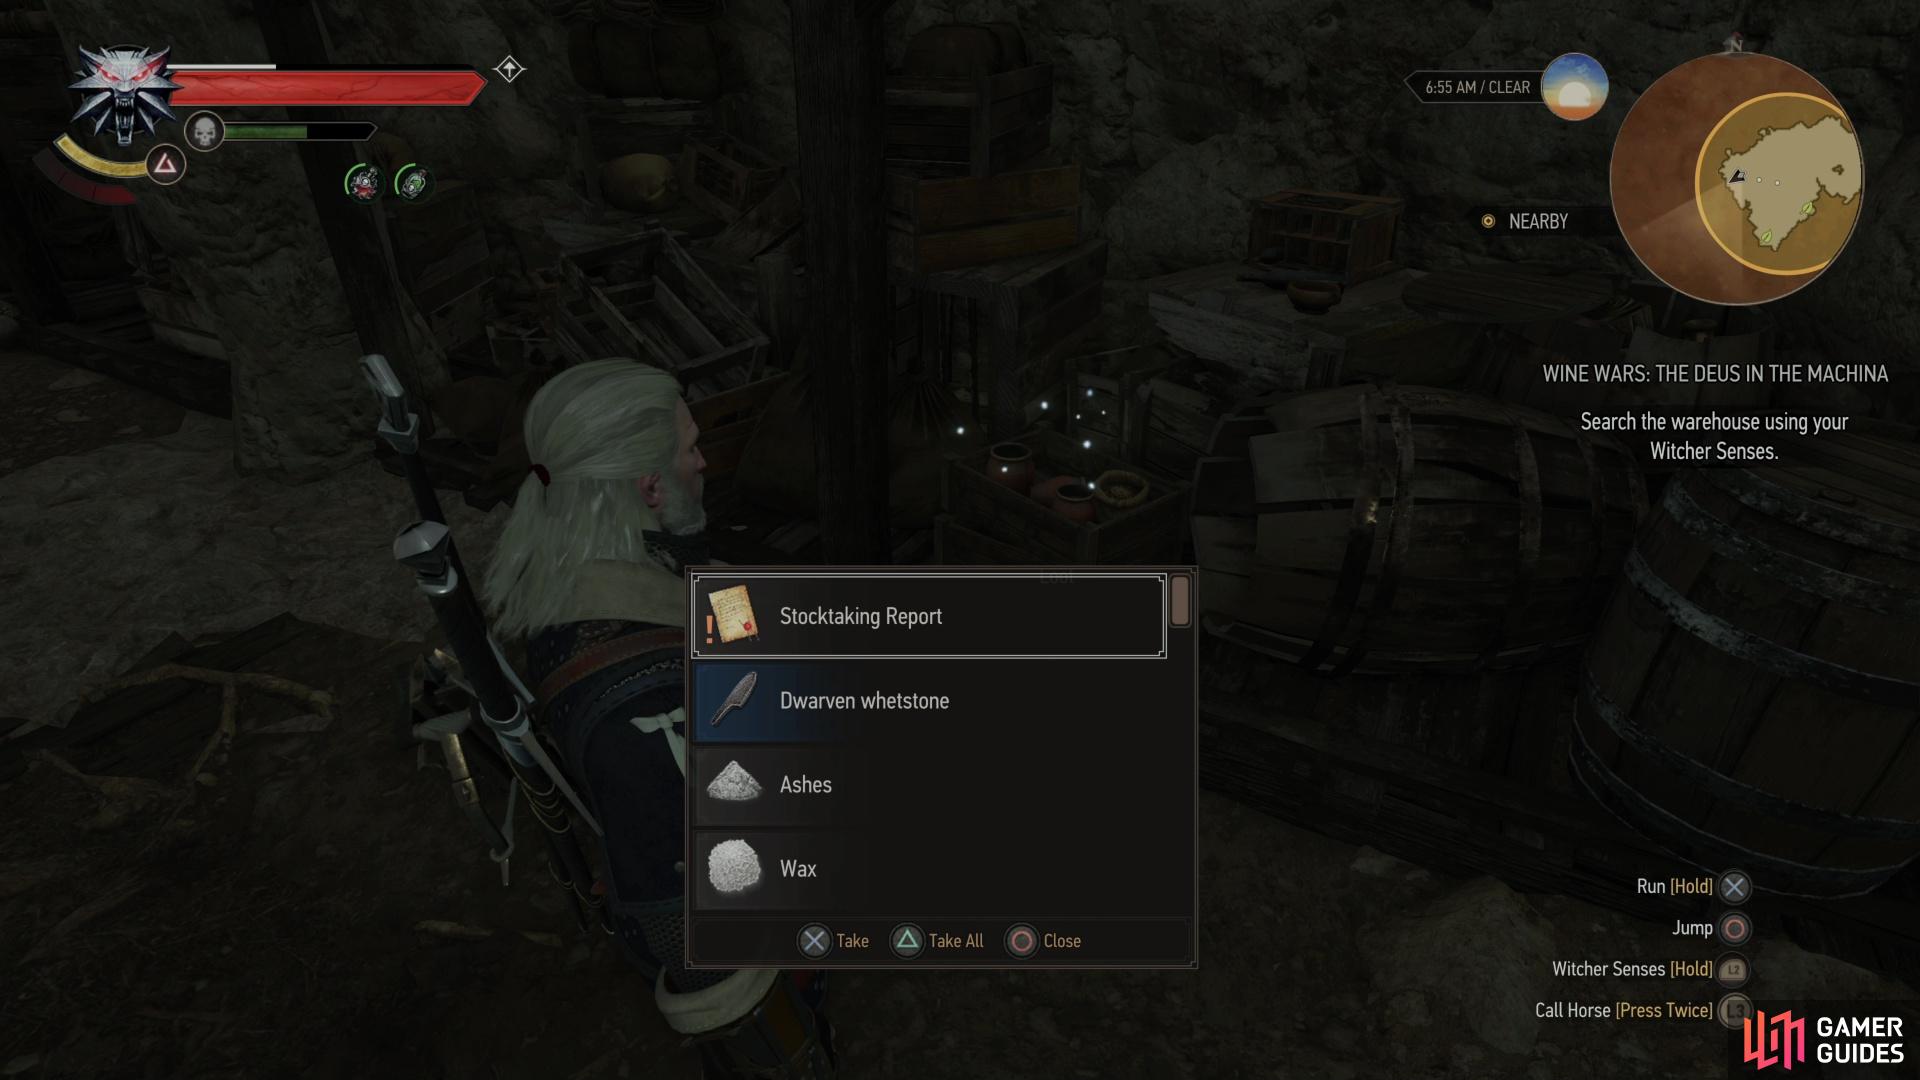
Should you resolve the five problems plaguing each vineyard without turning them in, upon the completion of the tenth such problem you’ll automatically start up the quest Wine Wars: The Deux in the Machina. If this quest pops up you should be well on your way to earning the achievement/trophy The Grapes of Wrath Stomped.
To complete Wine Wars: The Deus in the Machina you’ll need to head far to the southeast (southeast of Francallarts, which itself is southeast of Beauclair) and clear out a cellar full of Archespores. Well… one Archespore that’s capable of defending itself, and numerous bulbs, which must be incinerated with Igni.
After purging the plants and searching the area you’ll need to return to the building near the Plegmund’s Bridge signpost, where Liam and Matilda are still wrangling with the tax man over Belgaard ownership. Hearing that you’ve resolved the issues at both vineyards, the official will put the stewardship of Belgaard under both Liam and Matilda.
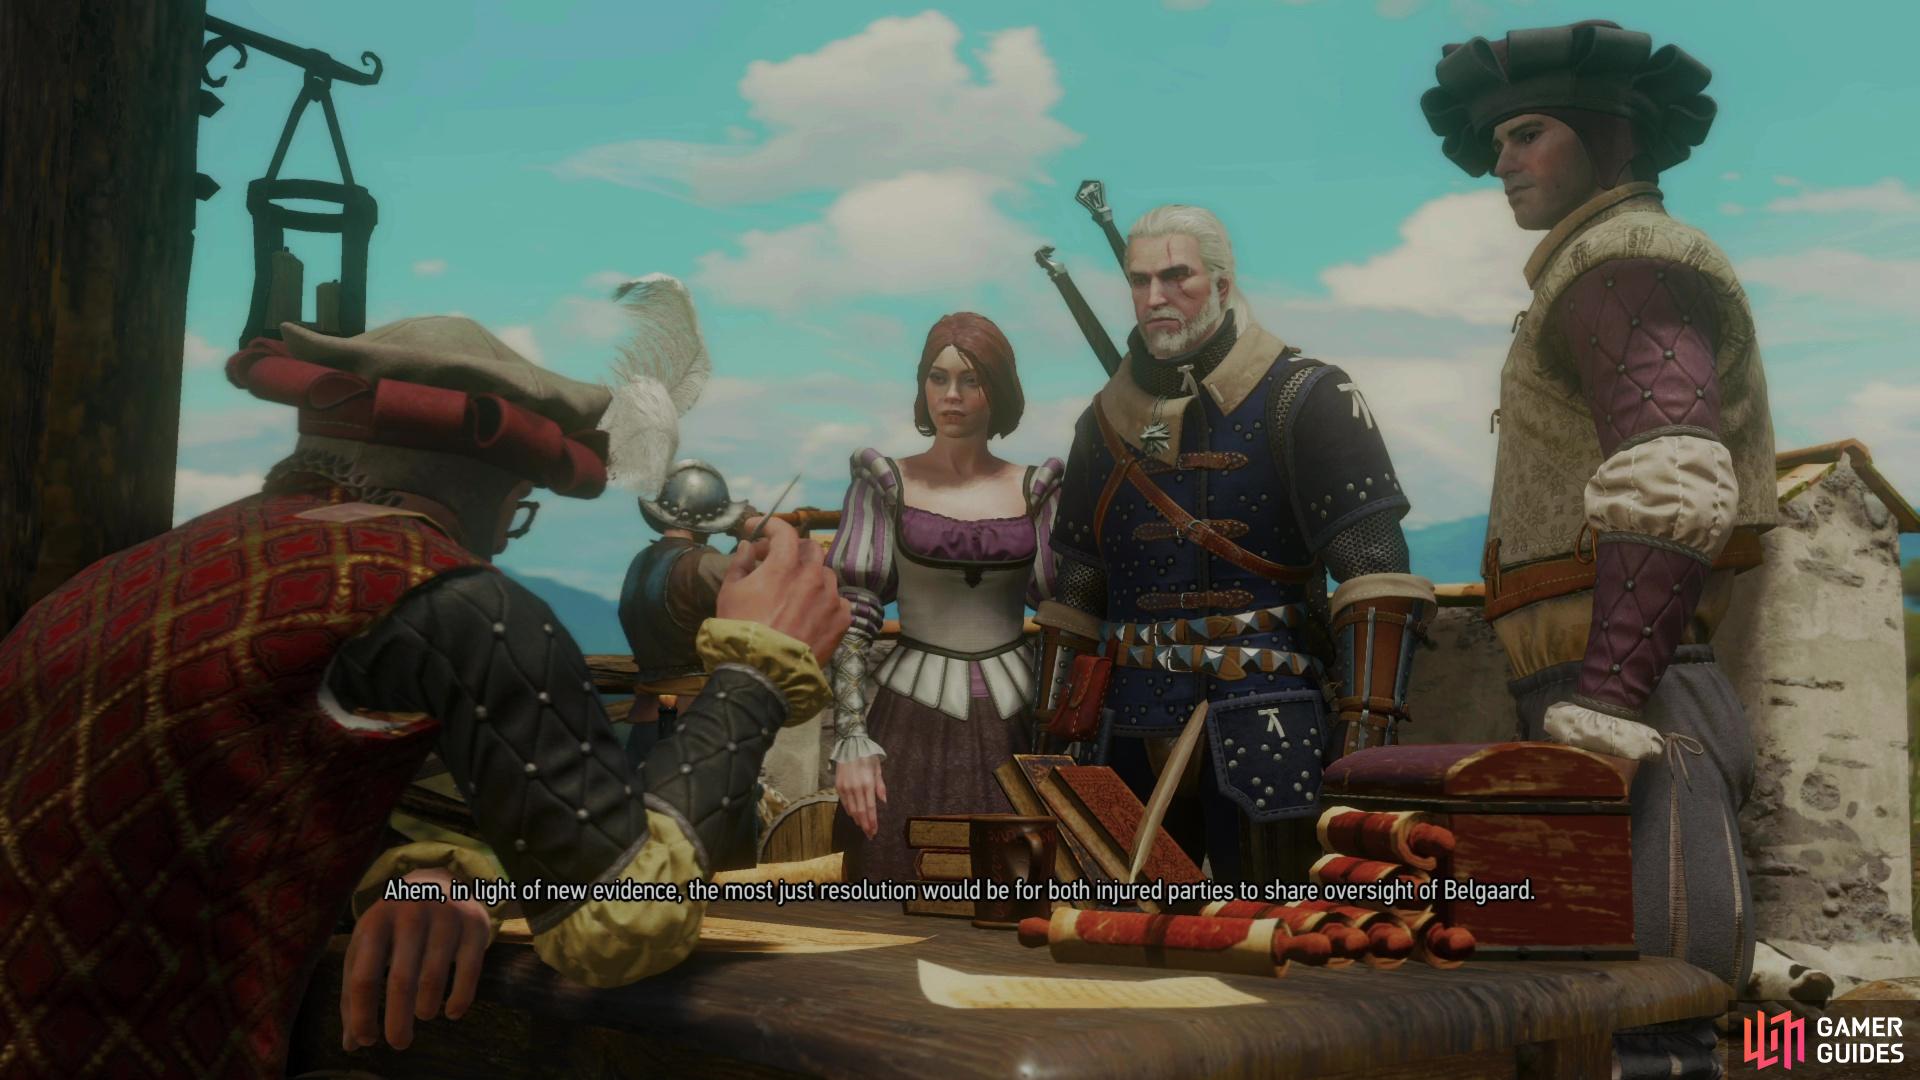
Resolve the problems at both Coronata and Vermentino and the Belgaard estate will be split.

Belgaard vineyard, however, has its own set of problems that need to be resolved.
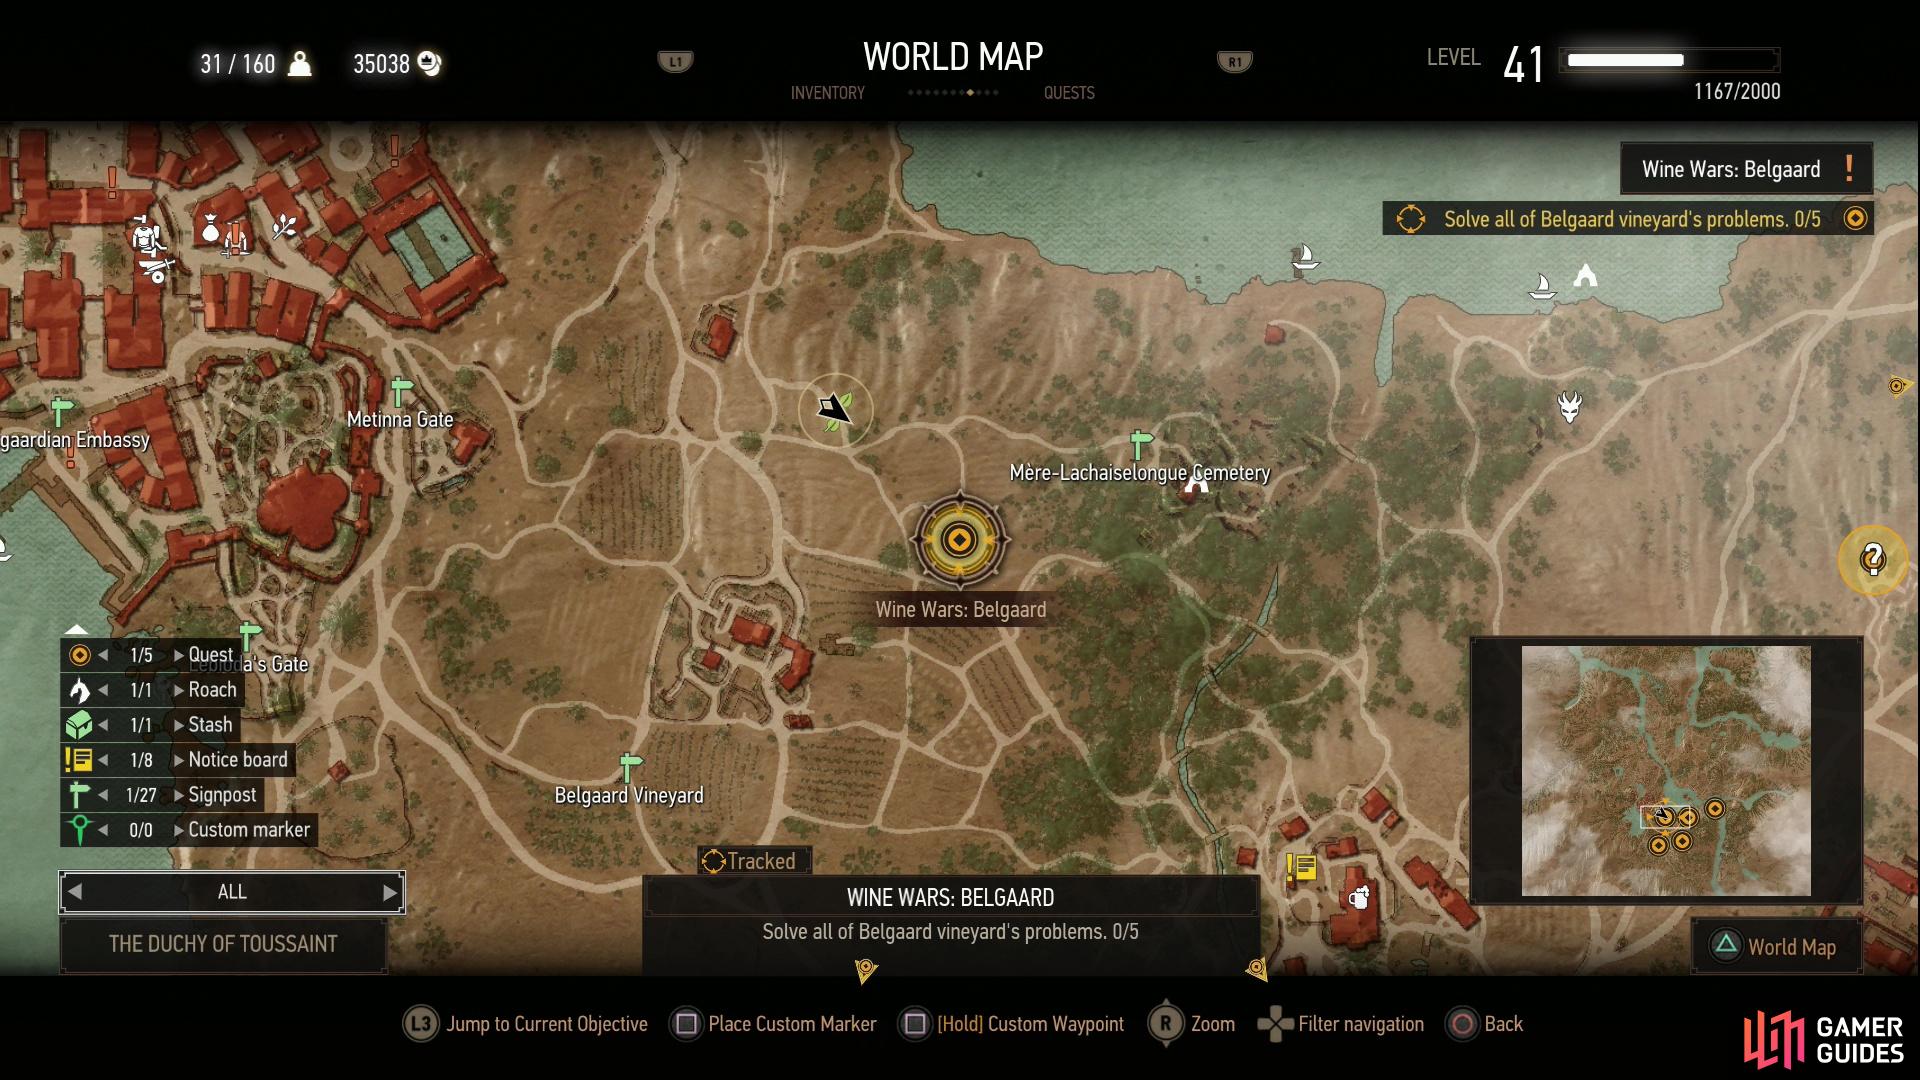
How to Solve All Belgaard Vineyard’s Problems
| Suggested Level |
|---|
| 39 |
| Important Items in this Area |
|---|
| Thierry Pires’ Journal |
| Letter Bearing Castel Ravello’s Seal |
| List Bearing Belgaard’s Seal |
| Letter to Gregory Pyxide |
Whether you allowed Liam or Matilda to purchase Belgaard by resolving the problems at their own vineyards (completing the quests Wine Wars: Coronata and Wine Wars: Vermentino, respectively) and turning one quest in, or you resolved the problems of both vineyards then completed Wine Wars: The Deus in the Machina and ended up giving the two feuding vineyard owners joint ownership of Belgaard, another complication will arise once Belgaard has a new owner (or owners). The Belgaard vineyard has problems of its own that need to be resolved, and like the other two Wine Wars quests, you’ll need to tramp about the southern end of Toussaint clearing five map markers to set things back in order.
Agree to help Belgaard’s new owner(s) and the quest Wine Wars: Belgaard will start back up. You’ll even get to haggle again for another reward, and if you completed both Wine Wars: Coronata and Wine Wars: Vermentino, you stand to make quite a good bit of coin between these three vineyards.
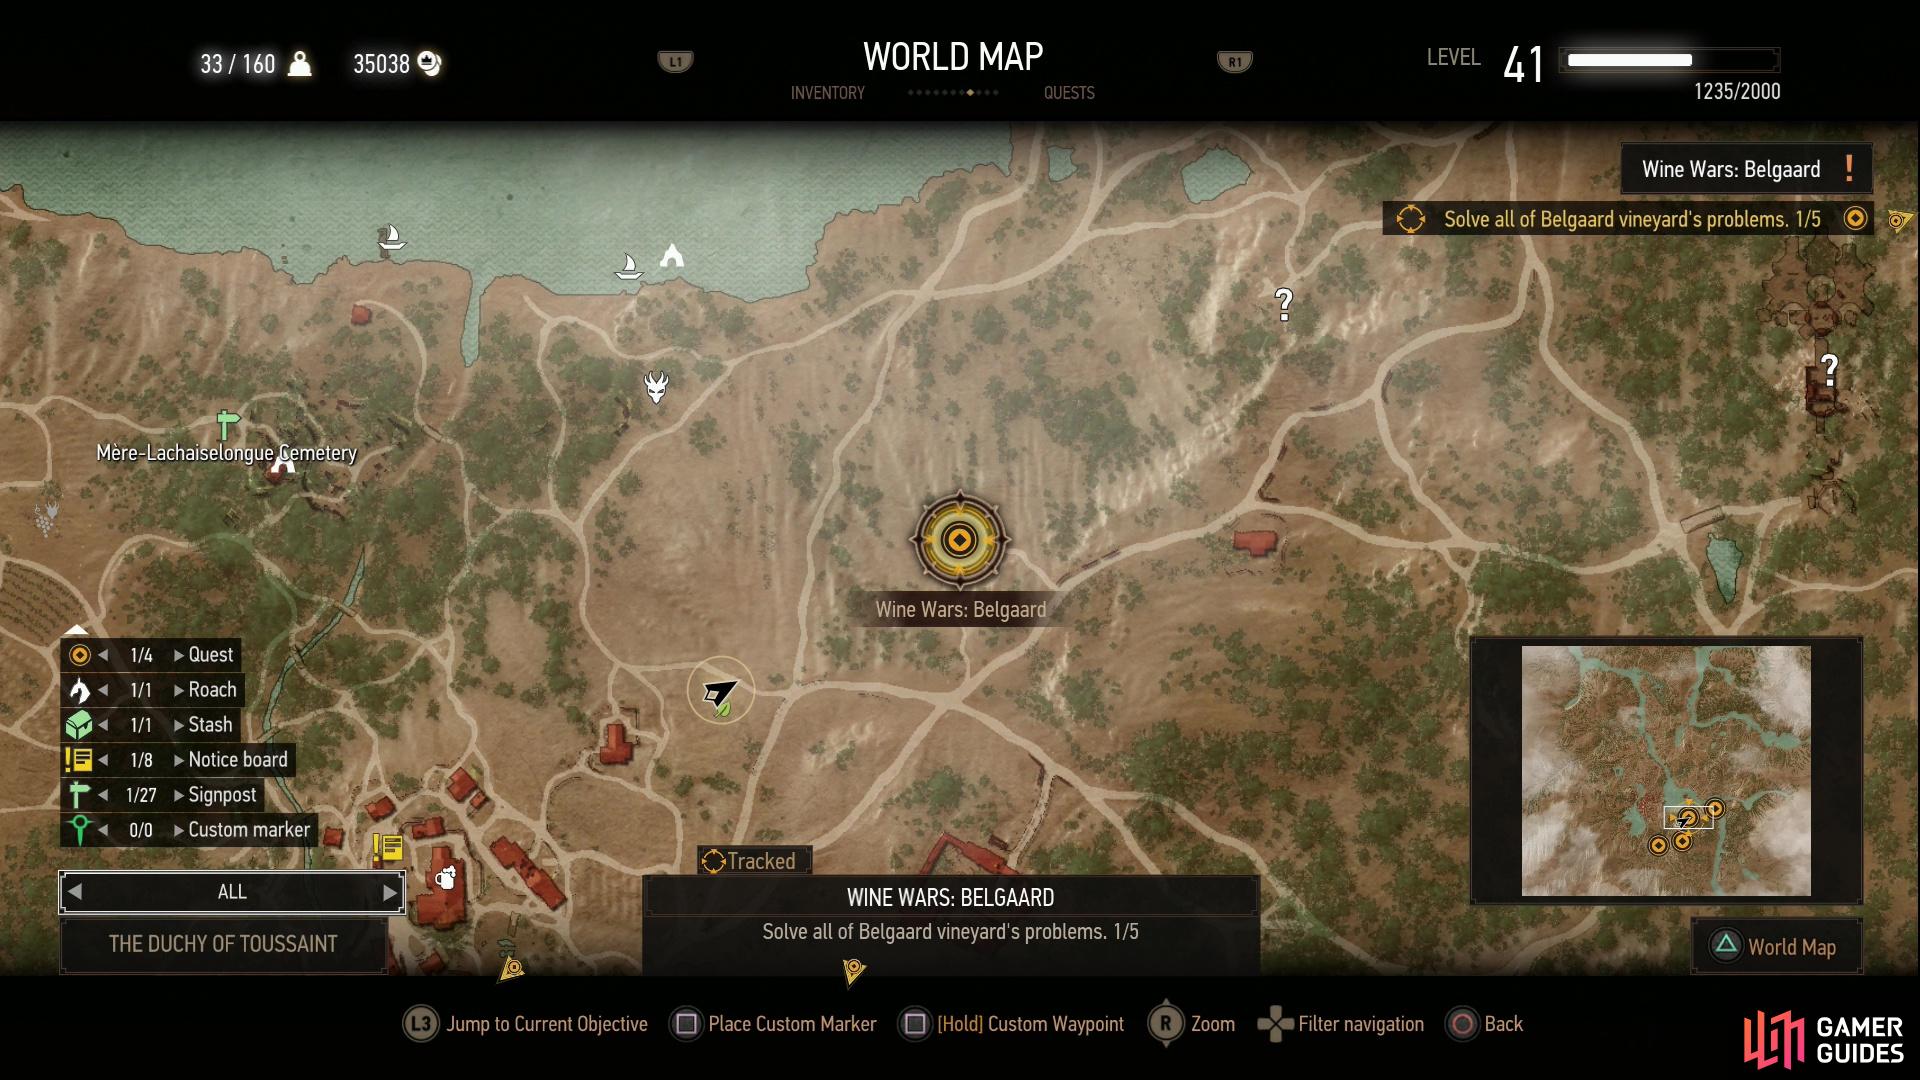
(1 of 4) Just northeast of the Belgaard Vineyard you’ll find a Vineyard Infestation event,
Belgaard Site - Vineyard Infestation
Located a short distance northeast of the Belgaard Vineyard is this Vineyard Infestation event. Unlike your standard infestations, this one doesn’t feature Archespores, but rather Endrega, including an Endrega Warrior, Endrega Drone, and Endrega Workers (level thirty-seven). Apply Insectoid Oil to your silver sword and supplement any cutting and stabbing you do with plenty of Igni. Superior Golden Oriole is still effective against these foes, but not quite as effective as it was against Archespores, as Archespores simply use poison more regularly than these Endrega do… but they still use some. However you go about it, kill the bugs, blow up their nest, and loot a nearby body to find Thierry Pires’ Journal, for what that’s worth.
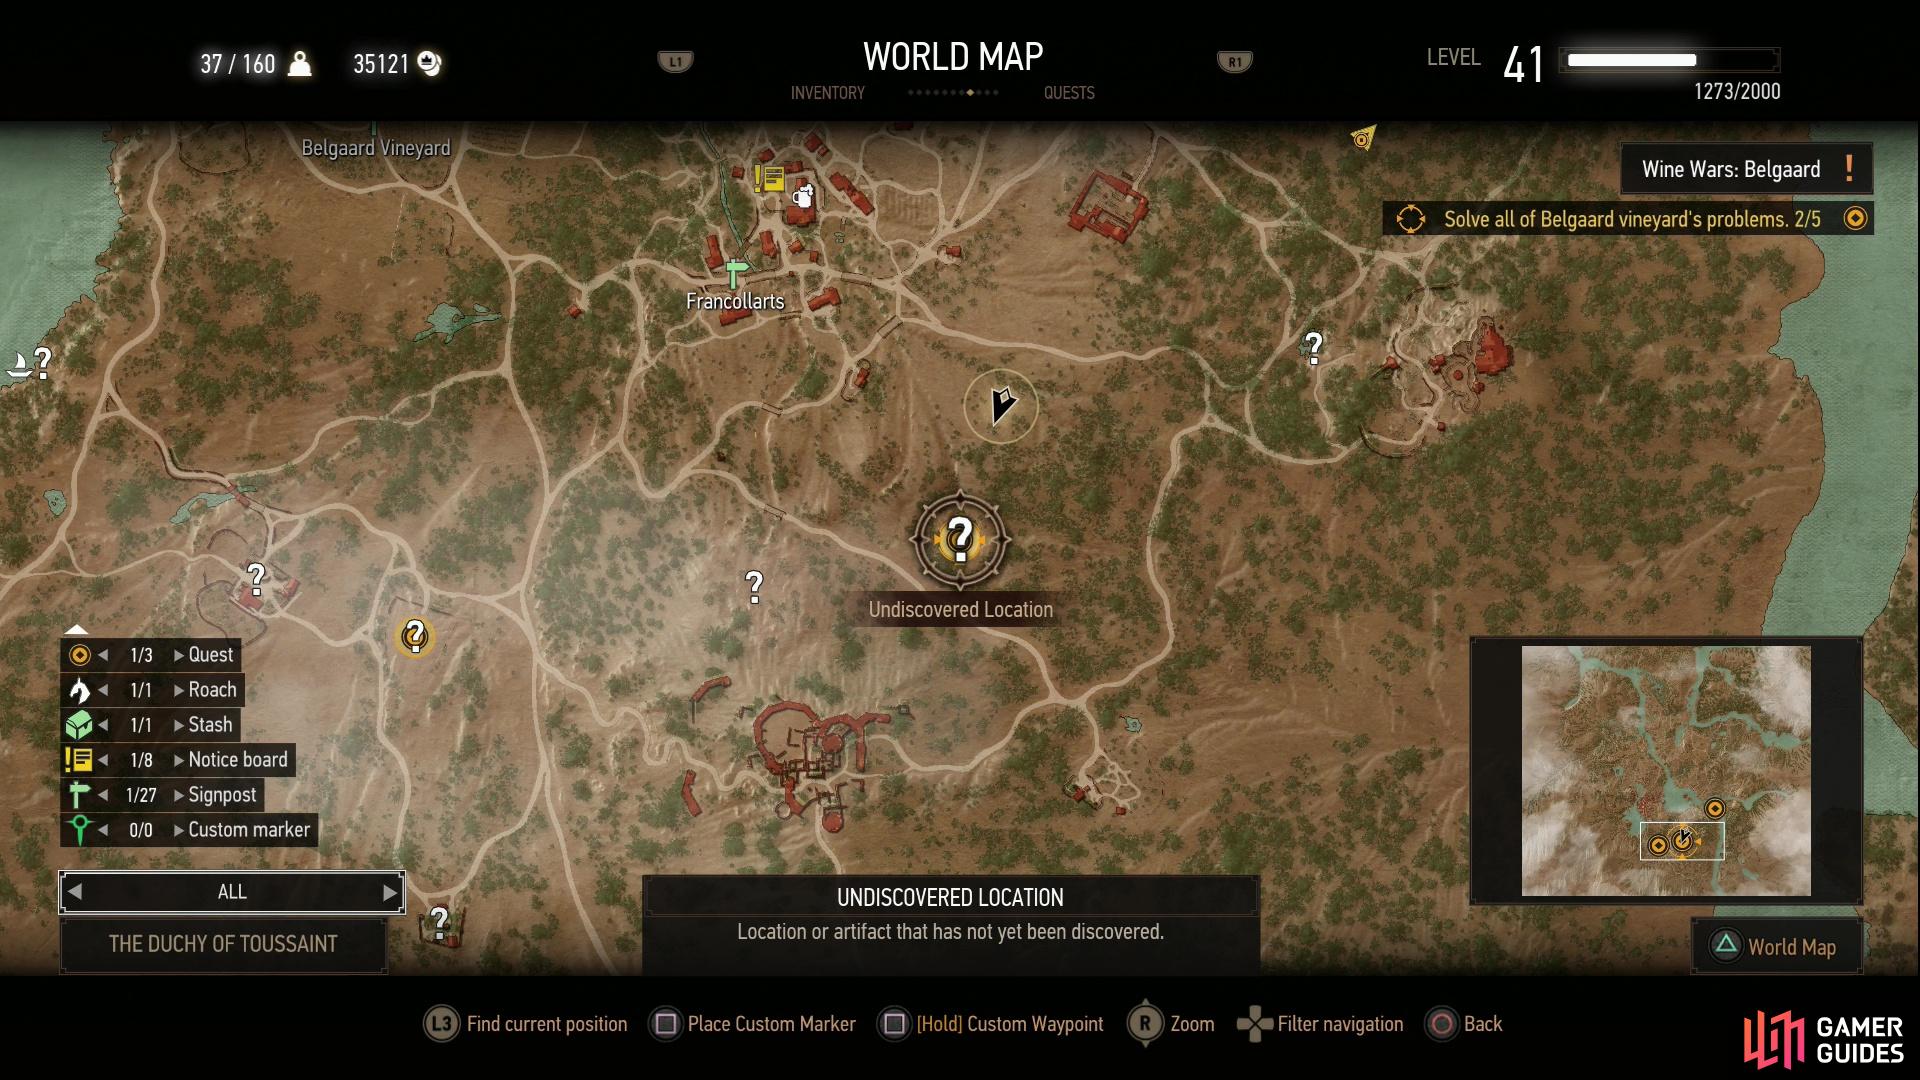
Belgaard Site - Abandoned Site
A good distance to the south (and somewhat west) of Belgaard Vineyard you can find an Abandoned Site, although it’s arguably easier to discover the Francollarts signpost (southeast of the Belgaard Vineyard signpost) and find the Abandoned Site by heading southwest from Francollarts. In fact, Francollarts is a better hub for arguably all of the Belgaard sites than the Belgaard Vineyard itself!
When you arrive you’ll find that this area constitutes another change of pace, as this site isn’t guarded by any weeds, but rather by a Slyzard. While these overgrown lizards possess neither the size or intelligence of a proper dragon, their reptilian appearance (albeit, somewhat abberative), wings and fiery breath may confuse the untrained. Sharing a body similar to that of a Wyvern or Forktail, you can expect some of the same attacks, including a dive, a leaping claw attack, and a lunging bite. In addition, however, Slyzards can breathe fire, both as a gout of flame (while on the ground) or as a fiery blast (while flying). If you see fire in its mouth, assume it intends to breathe fire, and if it’s flying… well, it’s probably up to some mischief involving fire there, too. They can also emit a sonic blast which will stun unprotected opponents, which they like to take advantage of with a tail sweep. Use the Quen sign to protect yourself, as well as Draconid Oil to increase your damage, and when they’re flying about, try to shoot them down with your crossbow before they can hit you with their breath weapon.
Once the Slyzard is dead, Geralt will take his mandatory post-fight nap so that the Abandoned Site can become… somewhat less abandoned. When the peasants return, loot the containers about the field, then search a body in a wagon along the northern end of the field, upon which you’ll find a Letter Bearing Castel Ravello’s Seal.
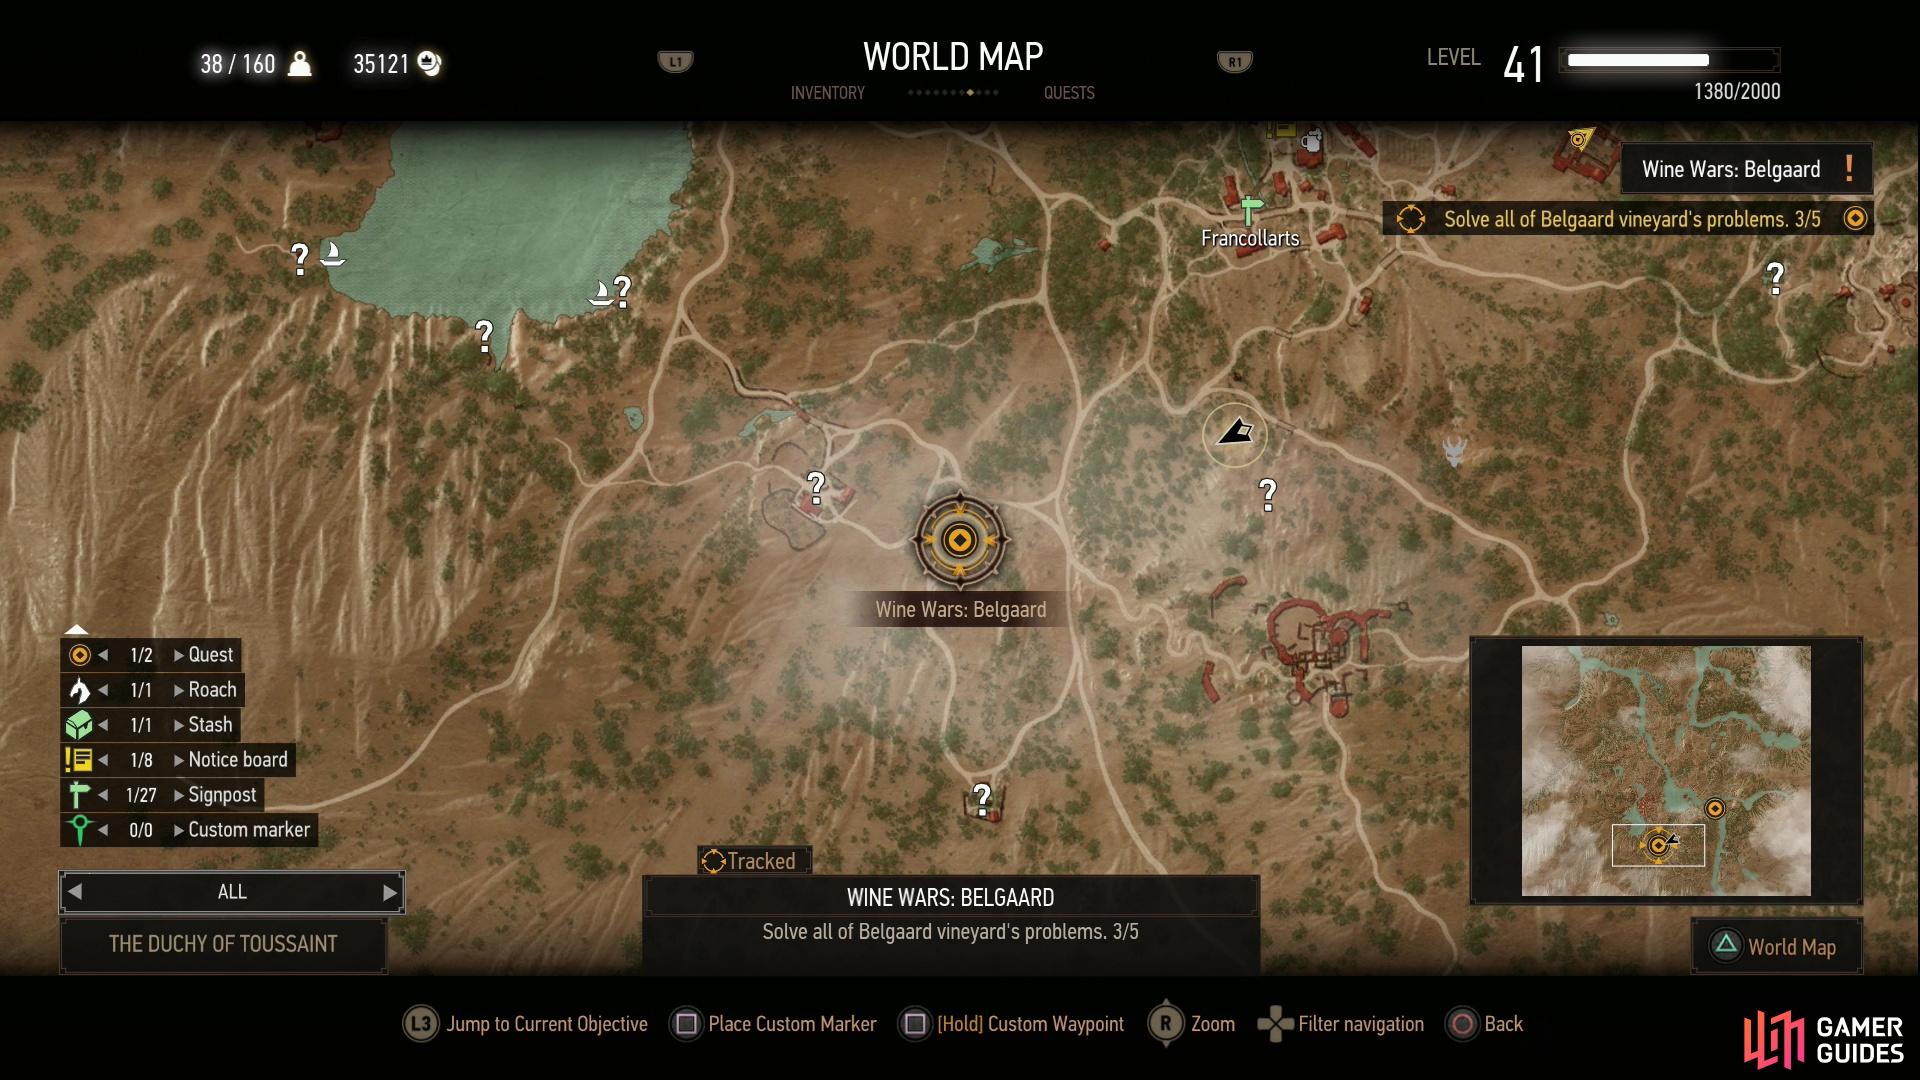
Belgaard Site - Monster Nest
Southeast of the Francollarts signpost you’ll find a Monster Nest, near which prowl two Giant Centipedes (level forty-three). Insectoid Oil will increase your damage output, Superior Golden Oriole will cause their poison spittle to heal you, and Yrden will trap them and allow you to cut them down with relative ease. However you go about it, smite the insects, blow up their nest, then loot a corpse to find - among other trivial treasures - a List Bearing Belgaard’s Seal. Guy should have left hunting monsters to professionals.
Belgaard Site: Guarded Treasure
You can find a Guarded Treasure site northeast of Fracollarts, and if you’re sick of Giant Centipedes, you’re not going to get any relief here. Instead, kill the two bugs (level thirty-eight) you find chittering about here (Insectoid Oil and Yrden should suffice, quaff Superior Golden Oriole if you need to negate their ranged attacks) then loot the containers lying about before grabbing the Letter to Gregory Pyxide off a terribly mangled corpse. How mangled? The lootable part includes one and a half legs. Ouch. Looks like the handiwork of Count Crespi again. Indirectly of course.

(1 of 3) You can find a Person(s) in Distress site along the river, quite far afield of the Belgaard Vineyard.
Belgaard Site: Person(s) in Distress
The final Belgaard site, a Person(s) in Distress, is quite far afield, lying along the river quite a ways to the northeast of Francollarts. You can head directly there and perhaps grab the Gelenser Farm signpost and the Termes Palace Ruins signpost, near which you can find a [Place of Power]. Check the link if you don’t mind a bit of a diversion. Despite the potentially lucrative diversion, it may be easier to just follow the coast east and south from the bridge leading to Toussaint Prison, which are the two bridge-connected islands east of Beauclair.
However you manage it, find the Person(s) in Distress site northeast of the Termes Palace Ruins. This time you’ll need to dispose of around a half dozen Bandits (level forty), after which you’ll free their captive, a Blacksmith who will return to the Belgaard Vineyard in your company, or alone if you dismiss him. Choose the latter to loot the campsite and the victims of your latest murder… err… justice spree.
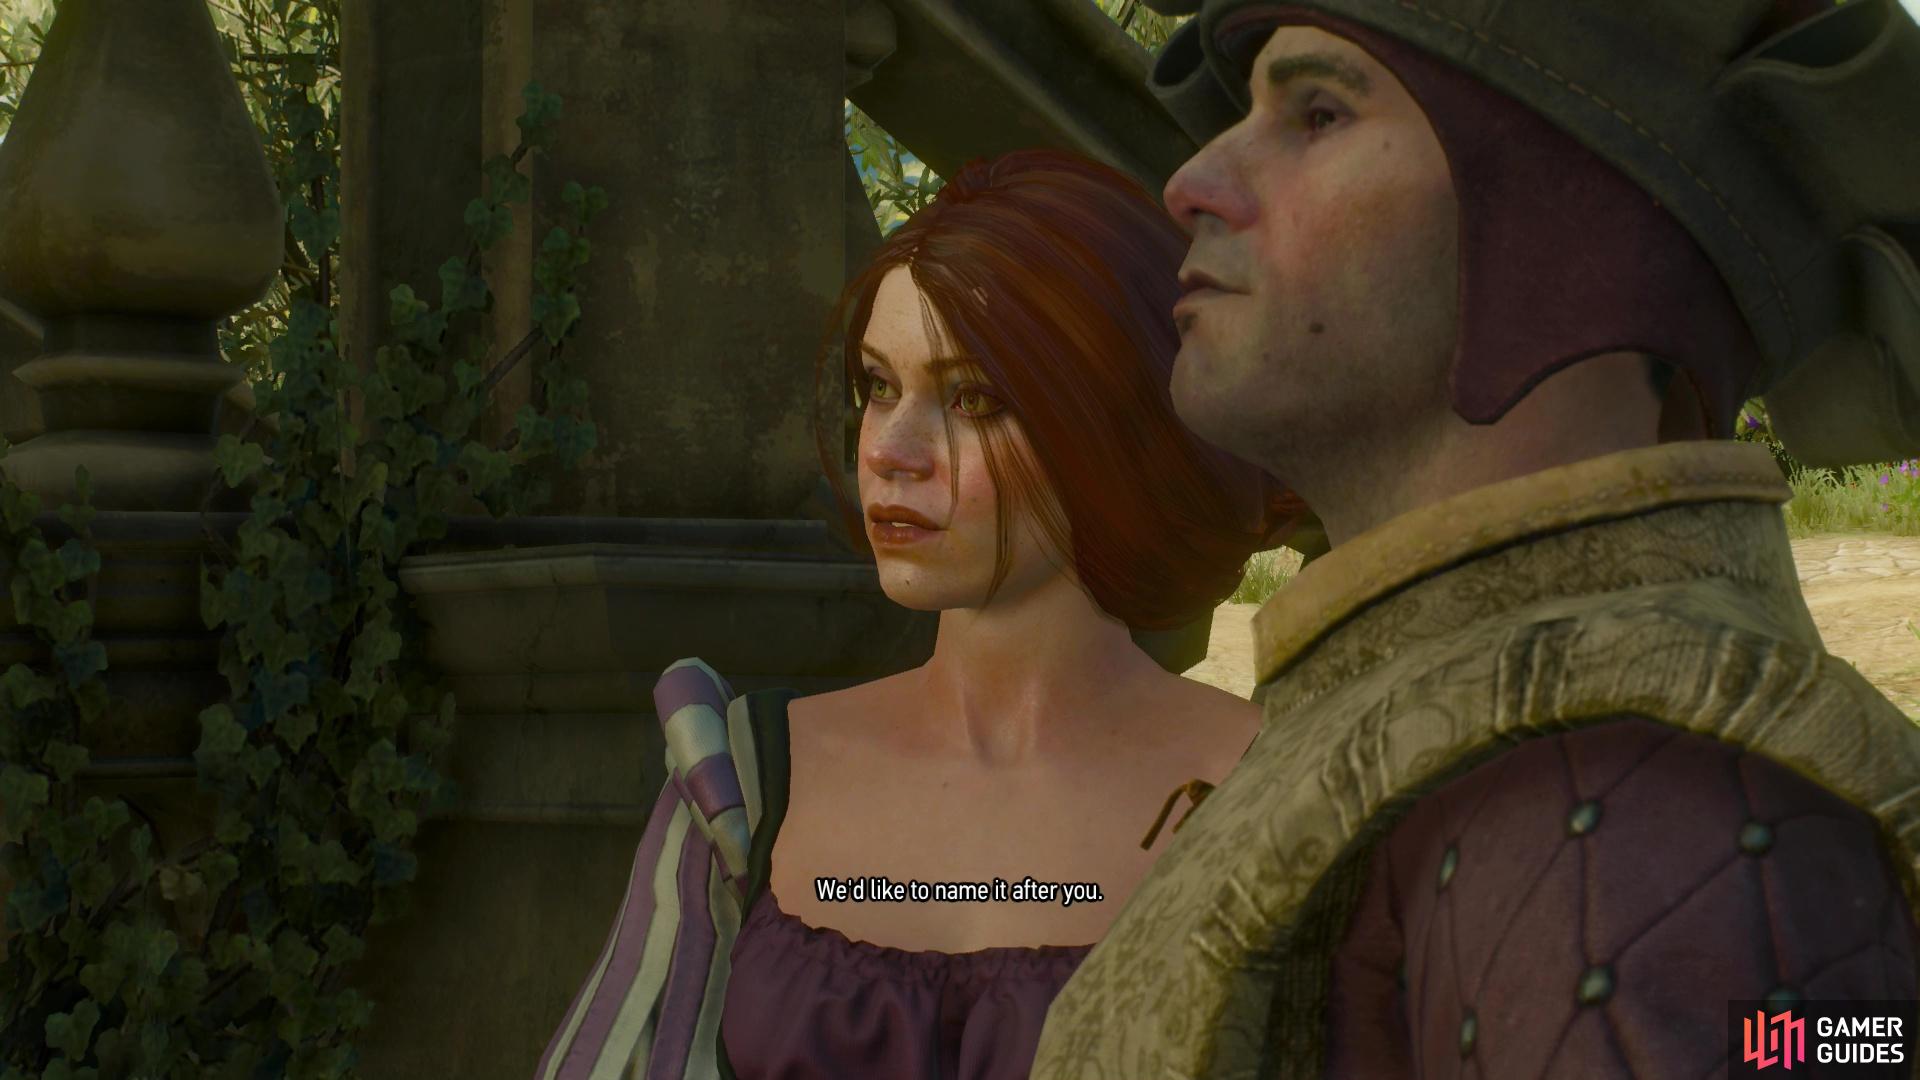
Resolving the problems at both the Coronata and Vermentino vineyards and bringing Liam and Matilda together will result in the creation of a custom wine you can name.
The End of the Wine Wars
When you’re done looting, return to the Belgaard Vineyard and talk to Liam and/or Matilda again. After the Ducal Clerk officially grants ownership to whichever party (or parties) you helped during the earlier Wine Wars quests. Not only will you be thanked for your work, but you’ll be handsomely rewarded, as well. If you completed both Wine Wars: Coronata and Wine Wars: Vermentino, the two will invite you back in three days, as they have a special reward brewing for you.
Meditate for three days, or otherwise busy yourself, after which you’ll return to find that the benevolent vintners have created a wine in your honor. An odd reward, generally speaking, but in context of the work you’ve done to restore the vineyards and unite the two, it’s rather fitting. You’ll get a choice of three names for this beverage: Geralt of Rivia, Butcher of Blaviken and White Wolf. Make whatever choice you will, it’s mostly just flavor-text, anyways, although the Butcher of Blaviken brew does have twice the duration as the other two, if that matters to you. It’s largely irrelevant, however, as it’s doubtful anybody is chugging wine to heal at this stage in the game.

The Grapes of Wrath Stomped
Help unite the warring vineyards and have a wine named in your honor.

35
No Comments