
| Important Items in this Area |
|---|
| Torn Piece of Paper |
| Bloed Aedd |
| Hornwall Horn |
Undvik is due south of Spikerogg, or south-west from the island upon which you found the Diagram: Enhanced Ursine Trousers. If you didn’t bother with any of the exploration… well, unlike what the Skelligers in Kaer Trolde’s tavern told you, it’s not so treacherous of a journey; there are some Sirines (level thirteen) you’ll have to deal with along the way, but otherwise, it’s a simple enough sail. If you did the previous exploration you’ve already done most of the sailing and monster-killing already.
| Objective | Reward |
|---|---|
| For reaching Undvik | 100 XP |
Make your way to the north-eastern corner of Undvik, navigating around smaller islands and dispatching any pesky creatures that dare impede your progress. More specifically, land on the southern shore of a bay on the north-eastern end of the island loot some houses (especially a boathouse where you can find a chest in the water), then follow the road north-west. Stop at the first stream that bisects the road, which you should follow south-west and into a cave, then through the cave to find a series of ledges you can scale. Climb the three ledges, continue south-west, then south over some rocky ground to reach a ravine running east and west.
At the moment, the eastern path is more interesting, so head downhill into the water and keep your Witcher Senses on to spot a chest and a corpse in the water, both of which should be looted. Continue east to reach a small pond, wherein you’ll find another corpse to loot, then peer up to the south-east. You can climb the ledge in that direction to take a massive shortcut towards the quest objective, but you’d be bypassing a lot of good stuff along the way, so it’s not advised. Anywho, turn north and follow a stream through the ravine, looting another corpse and another chest, at which point the path end.
Backtrack through the ravine back west until you get to the point where the path split. If you continue west you’ll find a ledge you can climb, which will lead to a road, in effect making this another shortcut, albeit nowhere near as impressive as the one you could find to the east. For the sake of proper quest progression, though, return back through the cave, then backtrack up the stream until you find the road you abandoned earlier.
Follow the road along coast to the north-west and kill some Ekhidna (level nineteen) along the way and eventually you’ll find a wrecked longship across the road. If you search near it, you can find a discarded shield belonging to Crach’s clan. Well, at least you know Hjalmar made it here. Now, south from Hjalmar’s ship you’ll find a triangular fork, and to continue following Hjalmar’s trail you’ll need to take the western road from the fork, which soon turns south and leads up into the mountains. First, however, there’s some more treasure to find…
The Lord of Unvik Walkthrough
Return to Hjalmar’s ship and head up the western road at the triangular fork, following it as it turns south and leads up into the mountains. Shortly on you’ll find a rock slide, where it appears a good part of Hjalmar’s crew met their ends. Investigate it to get a rather tepid response from Geralt, then continue following the road until it forks. The north-eastern road will just take you back to the “Marlin Coast” signpost, while continuing south leads to a broken bridge.
Process of elimination, then, dictates that you head north-west. Cross a rickety bridge, loot some roadside supplies and identify the corpse of another Clan an Craite explorer. Keep your Witcher Senses on to spot the signs of a litter being dragged, then follow the road as it veers north, where you’ll eventually witness a symbiotic relationship between monsters.
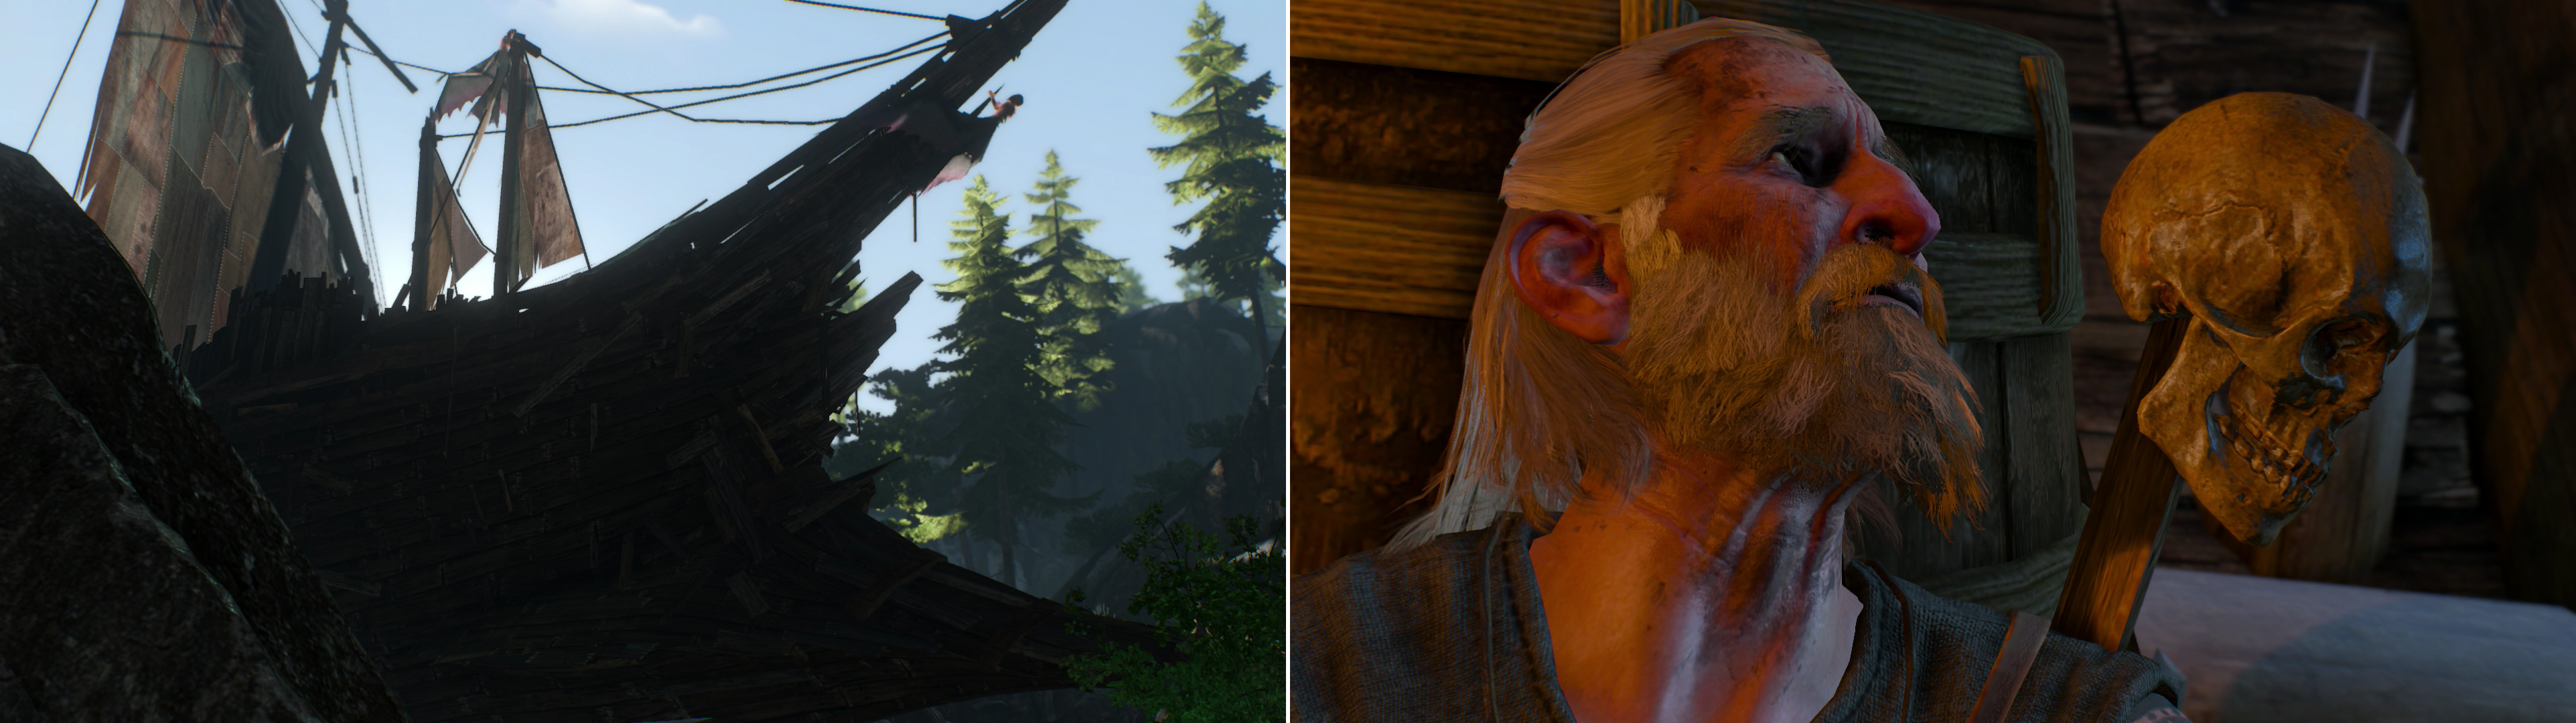
You’ll first encounter the Lord of Undvik near an ominous, inland ship (left). Inside the ship is Octo, who is quite barmy after all he’s been through (right).
After the giant leaves, head south and kill some Sirines (level fifteen), then loot some barrels and crates to the east of the ship, all the while enduring some singing. Once you’re done looting turn west and use a hull breach to climb into the ship, where you’ll find a man named Octo. Talk to him to learn that… well, he’s not quite right in the head, but given what he’s been through, that’s not surprising. He’ll talk about the giant and also tell you that he saw Hjalmar and his crew, although he can’t give any specifics beyond that. As you go to leave, he’ll made an odd request for some mundane objects - Twine and Nails.
Leave the ship and head north-east under the vessel, then follow some wooden frames to the north-east. While you go, keep your eyes to the north-west to find some planks on a rocky ledge, which you can loot to obtain some Nails. You have the Nails you need now, but the Twine, you’ll have to provide on your own. Fortunately, it’s a common enough item you’ll get from dismantling all sorts of armor. If you’ve got the materials, return to Octo and hand them over for a surprisingly large experience reward.
| Objective | Reward |
|---|---|
| For bringing Octo some Nails and Twine | 200 XP |
Leave the ship again and this time head south-west to find a road, which you should follow south-west, then west. Follow it until you find a fork, at which point turn north-west to find Hjalmar’s camp. At the camp Geralt will state the obvious, after which activate your Witcher Senses and investigate the bodies to surmise that it was probably the Sirines that killed the warriors - not the giant. You’ll also find tracks leading along one road to the north-west, while a trail left by a boat being dragged leads to - then along -another road to the south-west.
Head south-west, then south, following the trail until you reach the northern shore of a large lake. Search a body near the shore west of the dock and investigate a boat nearby to gather a bit of information, then continue south-west across a rocky pathway alongside a waterfall to find the “Urskar” signpost. Ignore the carnage lying around, as you merely came here for the signpost, which will make the necessary backtracking quicker and easier.
Tracking the Runaways
Backtrack north to the shore, return west through the cave, then make your way north all the way back to Hjalmar’s abandoned campsite. The path through Urskar will get you to your destination, but first, there were some more tracks worth investigating. Turn on your Witcher Senses and investigate the foot-prints near the camp to find more of the trail, which you should then follow along the road to the north-west.
The tracks - and the road they are on - will spin to the south shortly before parting ways, as the tracks veer off the road and to the south-west and over a ledge. Drop down the ledge and search the dead Nekker nearby to discover that the object of your search isn’t incapable of defending itself, then continue following the tracks west to a nearby stream.
Examine the tracks again around the stream, then follow the tracks west until you find another sign of their prowess. Poor Nekkers. Backtrack east a bit, then reacquire the trail and shadow the tracks to the north-west, re-examining them one more time when they vanish near a large rock. Hound them west and north-west to find the “Abandoned Village” signpost, then examine an arrow-riddle log the tracks lead to.
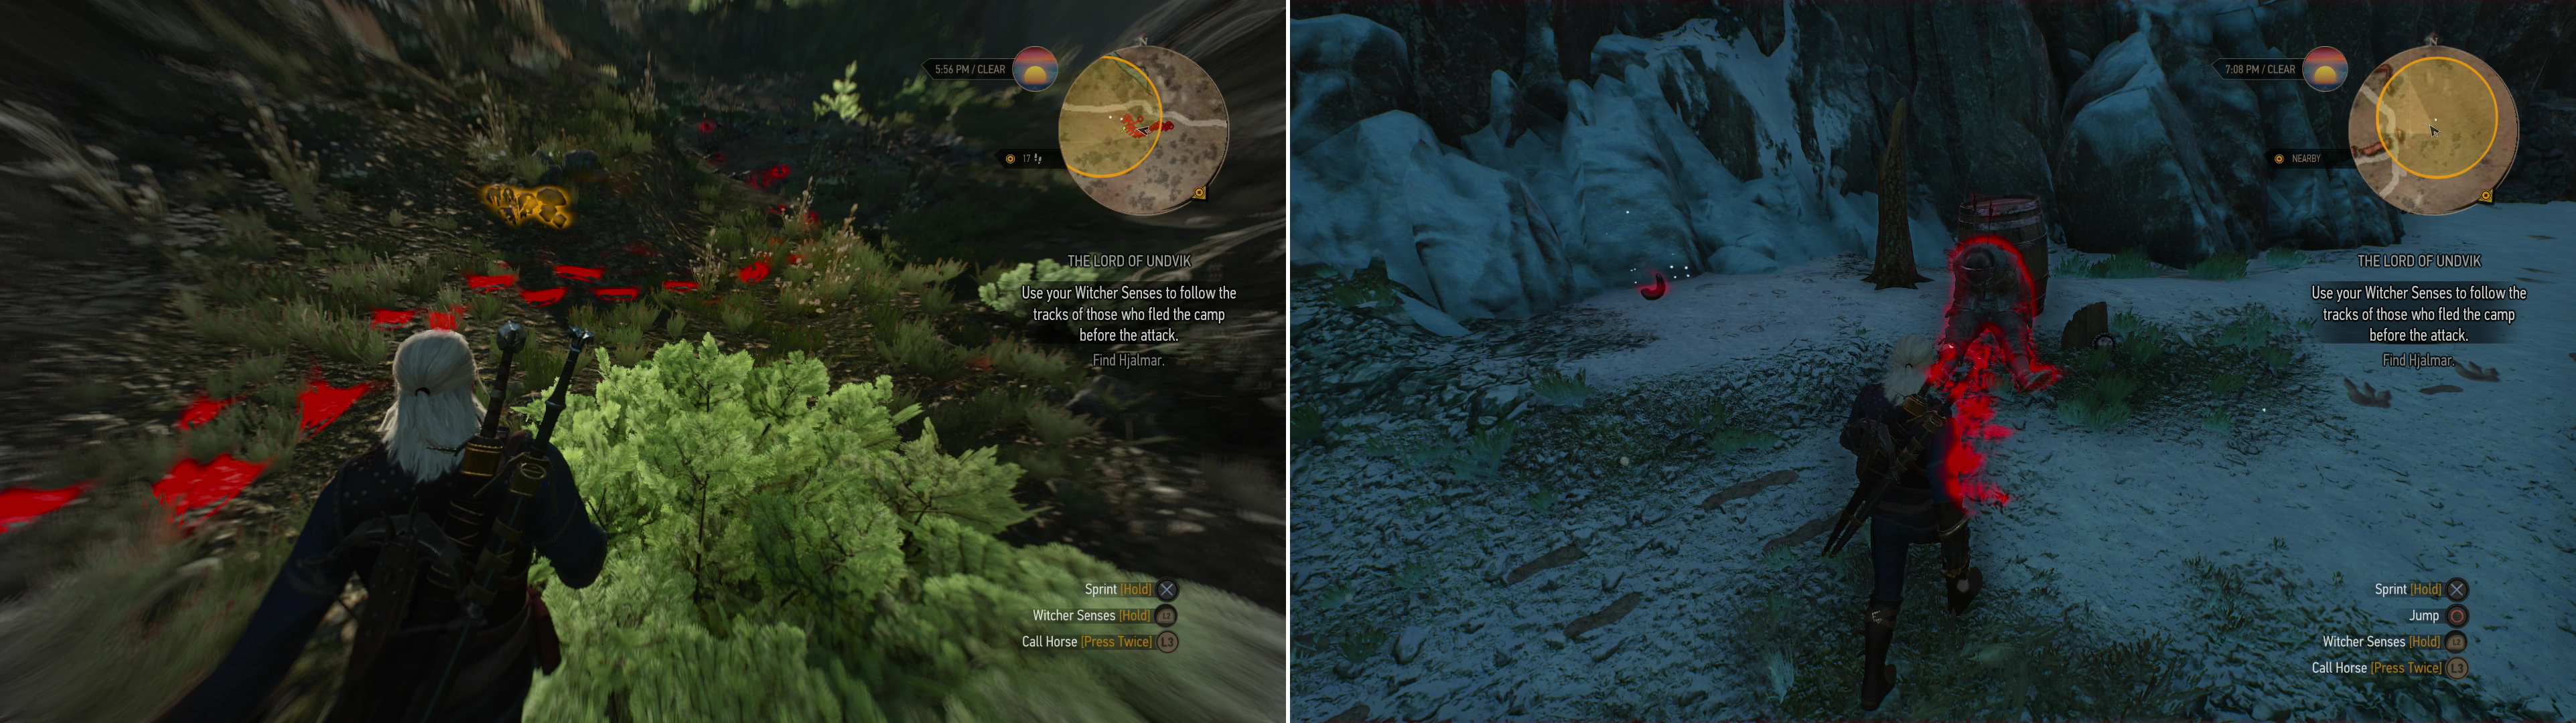
Follow the trail leading away from the camp (left) until you find one of Hjalmar’s crew - the victim of an archer (right).
Investigate the tracks (yet again!) near the log to uncover more tracks, which you should follow north, examining some blood on and near a rock as you go. After you investigate the bloody hand prints on the rock, follow the tracks up a road a bit before you’re forced to examine the tracks again to coax the trail to continue. Do so, then follow the tracks north along the road until they veer off to the north-east and lead to a cave. Outside of the cave you’ll find the corpse of one of the Skelligers you were hunting for. Shame. Examine the corpse leaning against a barrel, then pick up the “Hornwall Horn” nearby. Maybe the other Skelliger fared better? Investigate some mixed footprints to the north to surmise that the archer was taken into the nearby cave.
Ice Trolls Cave
Head north to find a cave “Entrance”. Climb a ledge and go inside, following a new trail - a trail of blood - to the north, then to the north-west when the path splits. Slay an Ice Troll (level nineteen) in the cavern beyond, then continue west to find another Ice Troll for your killing pleasure. Backtrack east to where you fought the first troll, then continue north.
When you reach a fork you can head north-east to fight a third Ice Troll (level nineteen) on some icy ledges outside the cave. If you do, backtrack to the fork afterwards, then continue north-west, following the blood trail. When this path lead back outside, turn north-west instead and climb a ledge. Follow the elevated passage beyond to the west, then turn north when you must to reach the Troll’s main chamber.
Geralt, as it happens, interrupted them in the middle of cooking a meal. Their dinner betrays them by shouting out, leaving you with the option of challenging the Trolls to a game for their meal, or just fighting them. In the first case, answer their first question with “A Troll”, after which Geralt asks his own riddle, which the daft Trolls fail to guess. If you win their game, the Trolls live up to their end of the bargain. If you pick a fight, kill the three Ice Trolls (level eighteen) and head up to their cauldron to free their meal.
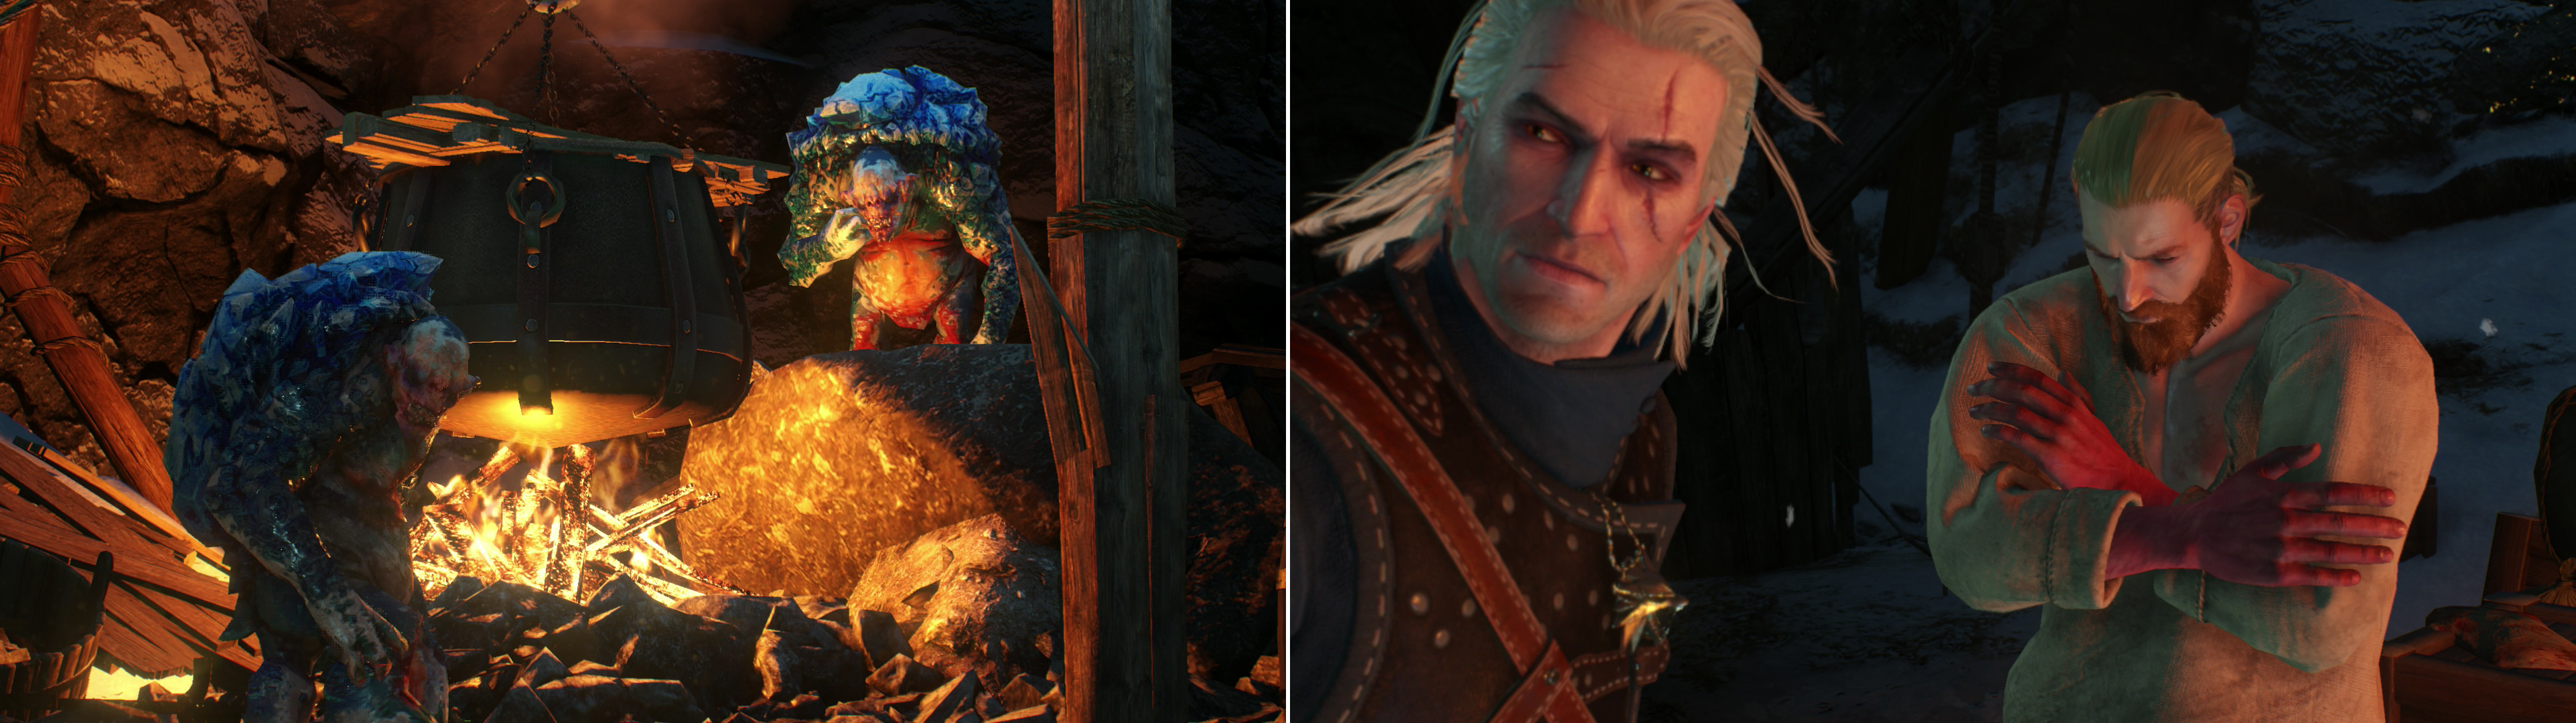
Inside the caves you’ll find some Trolls preparing some stew (left). Either challenge them to a game of riddles or fight them to free their dinner-one of Hjalmar’s crew members (right).
Either way, you and the Skelliger will leave the cave. You can tell him about Cerys, and he will in turn tell you about their ill-fated adventure to Undvik, how the ship got wrecked, what caused the avalanche, how he ended up in a Troll’s stew pot, and where he thinks Hjalmar is. After you’re done talking, Folan will decide to follow you around as you search for Hjalmar. Return south to the “Abandoned Village” signpost and fast-travel to the “Urskar” signpost. See? All that earlier exploration had a purpose! In exchange for some earlier back-tracking to Hjalmar’s camp, you now don’t have to… backtrack all the way to Hjalmar’s camp. Huh. Oh well.
| Objective | Reward |
|---|---|
| For rescuing Folan | 200 XP |
Searching for Hjalmars Crew
Search south of the signpost to discover more bodies, then examine a trail a bit further south to deduce where Hjalmar’s quickly dwindling crew ran. Search a house to the east to find various sacks and parcels full of goodies, then loot a house to the west to find more treasure, including a chest.
Once you’re done looting follow the trail up the road to the south, stopping to examine a disturbance in the road before continuing uphill to the south-east. The trail will eventually lead you to a cave, which you should enter and follow the passage beyond to the south-west until you reach a ledge, off which you’ll need to perform a leap of faith. Do so, then swim south-west to reach dry land and slay two pesky Erynias (level thirteen). Pop a Cat Potion before you continue to explore, as it’s awfully dark down here, and you’ll be in these caves a bit.
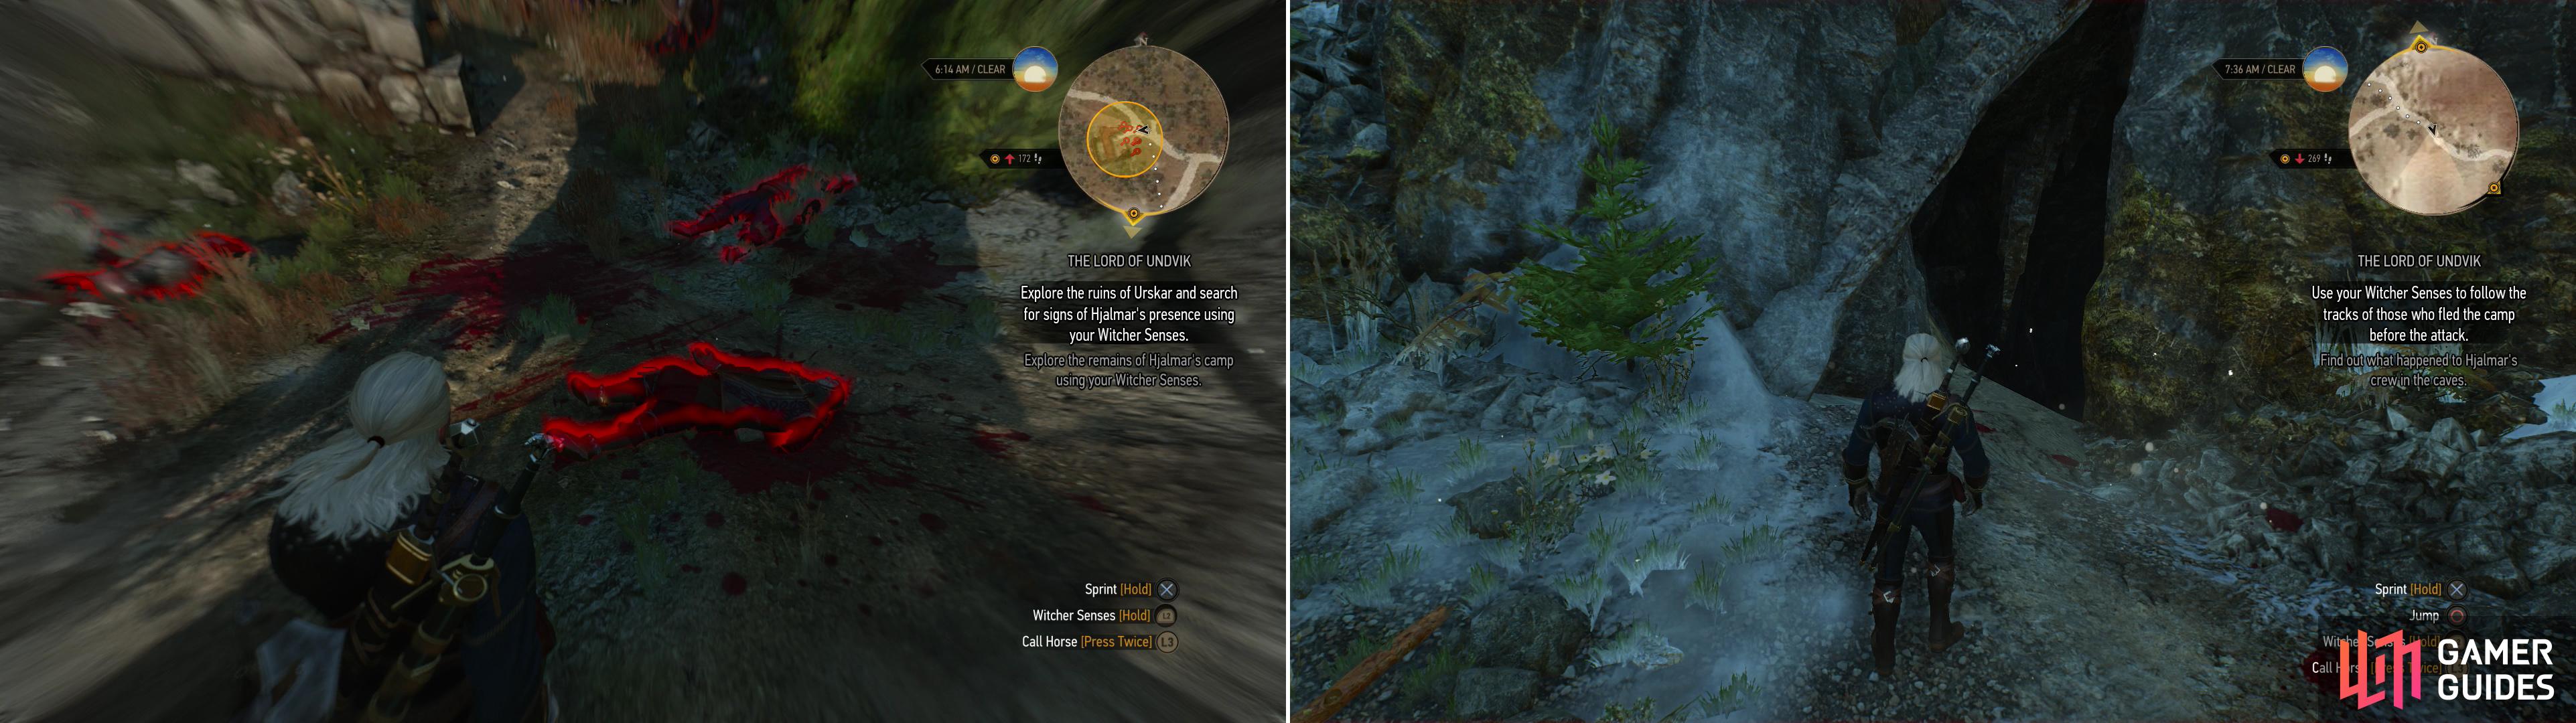
Your first encounter with Hjalmar’s expedition does not inspire much hope (left). Follow the signs of battle into a nearby cave (right).
From the rocky - but dry - ground south-west of the pool you dove into continue west along the northern wall of the cavern to find a variety of containers to loot. Plunder them, then swim west into the water to find a corpse, then a chest a good bit further west. Otherwise, however, this pool is ultimately a dead-end. Swim back east and make your way to the north-eastern end of the chamber (north of the pool you dove into) where you’ll find some land on which rests the bodies of a warrior and a Sirine. Scale two ledges to the north-east and follow a narrow walkway to the south, cross a bridge as the path turns south-east.
Search the body of another Sirine and a dead Skelliger along the way, then search a variety of containers along the way. When the path ends, scale three ledges, then continue across a bridge to the south to reach a stone walkway which runs to the south-west. Follow the walkway south-west until you find a passage to the south. This is the way to go to stay on Hjalmar’s trail, but first, there’s some loot to get!
From the passage to the south turn to the north to find some ledges you can drop down to reach a lower corridor running north-east/south-west. Head north-east, first, and pick your way over some fallen support beams to find… a barrel. Well, maybe the south-western path will prove more lucrative? Make your way south-west, looting two pairs of two sacks as you go until you reach daylight. Drop down a ledge to find a chest just waiting for a Witcher to loot it. Indulge the poor chest, then backtrack to the north-east and climb back up the ledges.
Make your way south through the passage you ignored earlier in search of loot to find a subterranean tree around which Harpies (level thirteen) swarm. Kill the flying nuisances and loot some sacks near the tree before combing the area for more containers to plunder. When you’re done searching, return north to the passage you used to enter this chamber and turn south-west to find some scaffolding leading down into the watery depths of the cavern. Reach the stalagmite-riddled water (most of which is just deep enough to swim through) and immediately turn north to find a chest in the water behind the scaffolding you climbed down, then swim to the south-eastern end of the chamber, where - behind a large stalagmite - you’ll find another chest.
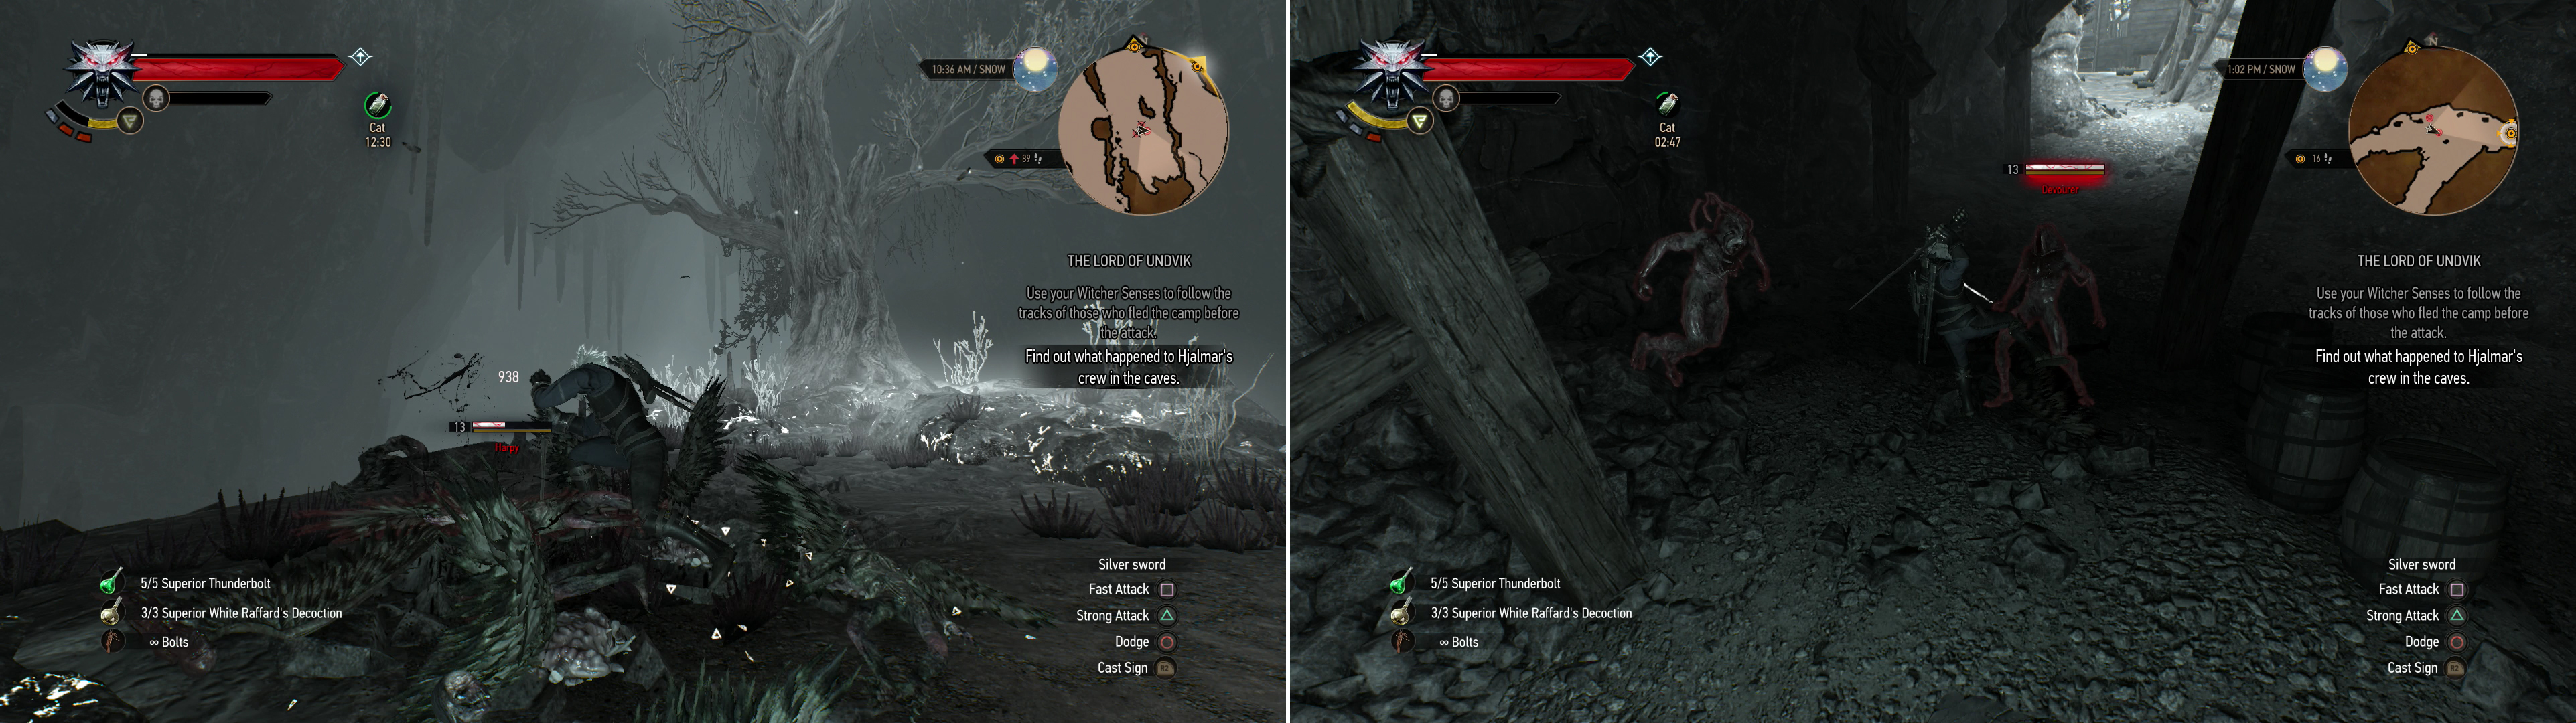
Defeat the Harpies near the subterranean tree (left) then ascend into the mines, where you’ll encounter Devourers (right).
Swim back to the north-west and climb the scaffolding to return to the elevated ground upon which you fought the Harpies near the subterranean tree, then continue north-east to find more scaffolding you’ll have to climb. First, however, loot another chest under the scaffolding, then climb a ladder and turn east to find some scaffolding you’ll have to scale, sans ladder. On this second elevated bit of scaffolding investigate another very dead Harpy, then climb a ladder to reach more caves. Yay…
Turn south-east and score a chest, then head up to the north-east to find two Devourers (level thirteen), which are somewhat more powerful Rotfiends - foes you may remember from the mines on Hindarsfjall. Kill them and continue north-east to reach a fork, where you should first head north-west to find a chest, sack, and barrel to loot, then backtrack and take the north-eastern fork. Kill another pair of Devourers (level thirteen) the search the corpse of another Harpy. At another fork, head south-west to loot another chest and two more barrels, then backtrack to the fork and head north-east, to reach daylight.
The Giant and Vigi the Loon: Best Choice
While getting closer to the the lair, you will eventually find a local resident inside cage. If you free the man inside, Vigi the Loon, he will come to your aid and kill the beast inside the cave with you. Moreso, you can get a new recruit for the main questline later in teh story, when recruiting friends around Skellige.
However, if you choose not to save Vigi the Loon, then the giant will slam his footdown into Vigi and kill him outright. It means you will go it alone fighting the creature. Once the battle has come to an end, then you will complete the quest.
If you#re having trouble fighting the creature, then use Quenn to absorb much damage as possible. Don’t forget to use Thunderbolt for more damage, and even use Yrden for more potential back stab critting if you can. Swallow is also a decent shout for restoring any Hp, as is eating food or other consumable health regen to keep your health bat ricking while you avoid damage with Quenn.
"The Giant and Vigi the Loon: Best Choice"
It seems like missing part when you reach Drove, find Hjalmar, find the skeleton with the note immediately to the left after entering the Drove, loot the village and so on..
"then swim to the south-eastern end of the chamber, where - behind a large stalagmite - you’ll find another chest."
And another one in the most north-eastern corner, behind group of aardable-stalagmite.