
Swords, signs and alchemy are the three major tools of a Witcher, and while it may be fine to experiment in lower difficulties, in Death March difficulty you’ll want to trim the fat and invest your ability points more wisely. That being the case, we’ll discuss the five signs available to you and explain which ones we feel are the best signs to use in Death March difficulty and also which upgrades to take.
A well-placed Aard can send enemies flying off ledges,
but it’s more common to knock enemies prone, leaving them vulnerable to a coup’de’grace.
Aard - Don’t Waste Your Points
A telekinetic blast that is useful for clearing rubble, blasting doors, knocking enemies to the ground. Sounds great, in theory, there’s just one problem - the potency of this cantrip which, in some scenarios, can obliterate boulders, has surprisingly little effect on many enemies in combat. Aard is incredibly sensitive to Sign Intensity; if your Sign Intensity is high, Aard may knock foes down or send shielded enemies stumbling, and with the “Shock Wave” upgrade it can also deal a bit of damage. Unfortunately Quen’s Exploding Shield/Active Shield combo does a fine job of keeping foes off balance, and Igni’s a better direct damage-dealer.
“Aard Sweep” is decent enough, if somewhat fickle in combat, and once three ranks are purchased you won’t suffer any sacrifice in potency in exchange for an AoE blast. “Far-Reaching Aard” will also increase Aard’s range, making it more reliable in combat. That said, merely increase your overall Sign Intensity will do more to empower Aard than expending ability points will.
You can safely ignore Aard.
| Suggested Abilities | Ability Points |
|---|---|
| None | – |
While the Igni sign doesn’t deal great damage on its own, the damage over time inflicted by it can deal grievous damage to some enemies.
Igni - No Points Needed but Good for DoT Use
Igni’s unleashes a blast of fire at enemies, but your most common usage will probably be unintentional. Geralt just loves igniting and snuffing random fires lying about.
Anywho, Igni is in the same boat as Aard - it’s a useful spell whose effectiveness is heavily dependent on Sign Intensity, little of which you’ll gain by investing ability points into its various abilities. “Melt Armor” might seem like a useful debuff to add to Igni, but it’s a beginner’s trap, as most enemies don’t have much armor worth mentioning. You also probably won’t regularly want to commit to the “Firestream” update, as using this alternate sign mode is just begging to take hits, which you can ill afford in Death March difficulty. “Igni Intensity” and “Pyromaniac” are both decent enough, but spending an ability point to get +10% Sign Intensity isn’t a great deal and given the overall lack of noteworthy abilities in the Signs tree, burning enough ability points to unlock “Pyromaniac” is a big ask.
All in all, it’s not really worth investing anything into Igni. That’s not to say Igni’s not worth using; while its direct damage on cast is fairly minor, its ability to inflict the Burning status can inflict significant damage. As a damage-over-time effect, enemies that have a lot of health (bears, cyclopes, etc) will take significantly more damage per tick than less durable foes. Engaging in active combat can be risky against these foes, and it’s often easier to just hit them with Igni, let them burn (attacking will dispel the Burning effect), then repeat when your Stamina is filled. It’s cheap, but effective… you just don’t need to invest any ability points into Igni to use it effectively, as long as your Sign Intensity is high enough.
| Suggested Abilities | Ability Points |
|---|---|
| None | – |
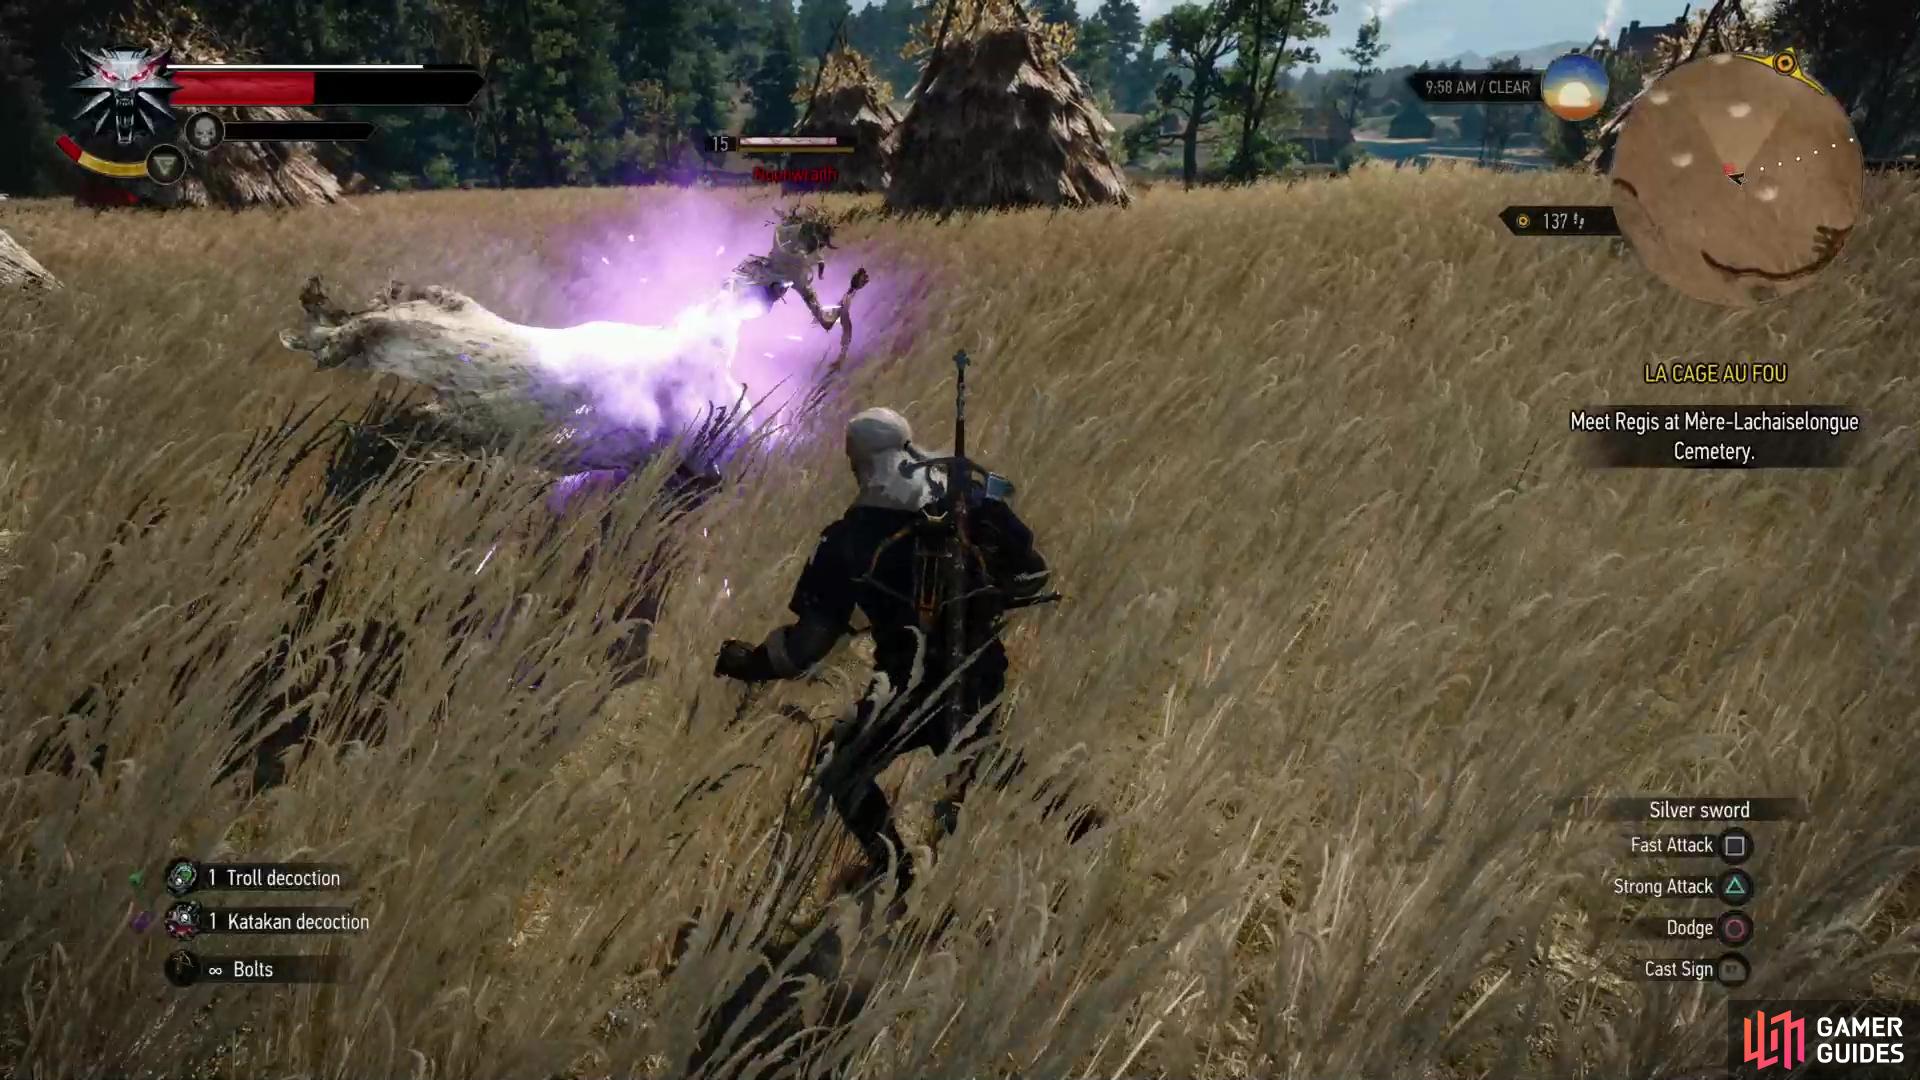
Drop a Yrden glyph and incorporeal foes - like Wraiths - will be forced to adopt a material form.
While under the effects of Yrden, wraiths will take significantly more damage from your swords.
Yrden - Use Base Sign Only for Wraith Types
Yrden creates magical traps, which come in two forms - the base form creates a ring of glyphs on the ground which slows enemies and the alternate mode (unlocked via the “Magic Trap” ability”) destroys projectiles and shoots bolts of lightning at nearby enemies. The base form is necessary in some encounters, as it forces incorporeal beings (all forms of wraiths) to adopt a material form, which is much more receptive to damage from swords. The only problem? You don’t really need to invest any ability points into this tree to make use of its primary function… it’s not even a sign that’s all that dependent on Sign Intensity.
Purchasing “Sustained Glyphs” will increase the duration of the primary sign mode (and increase the shots of the secondary sign mode), which is convenient, but hardly necessary. The alternate sign mode - unlocked by purchasing “Magic Trap” - deals trivial damage and inscribing the sign takes quite a long time for a combat scenario. Finally, “Supercharged Glyphs” causes Yrden (both forms) to drain a negligible amount of health from enemies.
Drop Yrden glyphs when you’re fighting incorporeal beings, but otherwise, you can safely ignore this sign.
| Suggested Abilities | Ability Points |
|---|---|
| None | – |
Exploding Shield can be used to knock enemies back, or even down!
Active Shield will cause incoming enemy attacks to heal you.
Quen - The Most Powerful Sign
Which magical cantrips will help you out the most in Death March difficulty?
In one word: Quen.
Base Quen is useful for shrugging off the odd hit, and depending on your skill level it may suffice. If you’re not a gaming guru, however, you may find that constantly expending your Stamina bar to tank hits isn’t the most efficient strategy.
Enter “Exploding Shield” and “Active Shield”, the first two perks for Quen. The former will cause your Quen shield to explode when damaged, and while they may not seem like much, the stagger gives you time to counterattack, can knock enemies down (and leave them vulnerable to coup’de’graces) or send them crashing to the ground if they’re flying.
Active Shield is somehow even better, as it will cause incoming damage to heal you - heal you significantly, at that. Once you can heal via Quen, your old Vitality worries are over (although you can still gnaw on raw meat, if you’ve acquired a taste for it, we won’t judge). Just keep in mind, it’s not perfect; some powerful attacks will knock you out of your Quen stance and either damage you very lightly, or only heal you a tiny amount. A few exceptionally strong foes like Ice Elementals (and many foes with skulls) can hit hard enough to one-shot you through Quen. Still, it’s a smart play in most combat scenarios.
Quen is, then, the most powerful sign in the game and absolutely essential for Death March difficulty… and even then, you really only need to max out Exploding Shield and Active Shield, which will set you back a mere six ability points.
| Suggested Abilities | Ability Points |
|---|---|
| Exploding Shield | 3 |
| Active Shield | 3 |
Axii - Delusion Only
Axii is an interesting sign with noteworthy uses both in and out of combat.
In combat, using Axii will daze or sedate enemies or, in the case of Alghouls, it’ll cause them to retract their spines, making it less painful to engage them in melee. Against most enemies, Axii is marginally useful, at best, but to enemies who are vulnerable to it, Axii can be a decent cast. The downside is that Sign Intensity mostly just affects duration, which isn’t a huge concern in most cases. Aside from deterring Alghouls, the next best regular use for Axii is sending human foes into a stupor, which will remove them from the fight temporarily, or, if you’re lucky, allow you to score free hits (perhaps even a coup’de’grace!). It’s kind of a RNGy edge-case, however.
If you purchase the “Puppet” upgrade, enemies will have a chance to become charmed when hit with Axii, randomly attacking their own allies while under Axii’s effect. Personally, we’re not keen to rely on the AI to attack the right thing, and it takes a moment to cast this alternate version of Axii, but when it works it can cause significant chaos among your enemies. “Domination” will charm two enemies at once, albeit at a penalty to their stats (the more you invest, the lower this penalty).
Axii is useful enough in combat, but is heavily dependent on RNG and the foe you’re fighting, and there’s not a great number of enemies who are particularly vulnerable to Axii. Also, like most signs, the core efficacy isn’t greatly enhanced by spending ability points on it, and in this case, even Sign Intensity isn’t all that important. If you want to calm an Alghoul or try to get a cheap shot on a shielded enemy, base Axii will work fine.
That said, you need to invest five ability points into the Signs tree to gain access to the almighty “Active Shield” for Quen, and “Exploding Shield” will only get you three points, and we mentioned that Axii had noncombat functions. The first Axii ability, “Delusion”, will give you access to more dialogue options involving Axii, which, while uncommon, are welcome ways to deal with certain encounters (and gain some bonus XP in the process!). It also adds a variety of nice - but not essential - boons to Axii, and this all makes it worth investing in.
| Suggested Abilities | Ability Points |
|---|---|
| Delusion | 3 |
No Comments