
The most difficult part of The Witcher 3 is near the beginning of the game, especially on Death March! difficulty. This is mostly due to a lack of quality weapons in the early-game, a problem which most notoriously persists from level two (when you get the Viper swords until you hit level eleven, at which point you can equip the ![]() Griffin set swords. This page will provide a walkthrough for the quest
Griffin set swords. This page will provide a walkthrough for the quest ![]() Scavenger Hunt: Griffin School Gear, including how to find the Griffin Steel Sword, the Griffin
Scavenger Hunt: Griffin School Gear, including how to find the Griffin Steel Sword, the Griffin ![]() Silver Sword and the
Silver Sword and the ![]() Griffin armor set.
Griffin armor set.
Quest Objectives
Starting Scavenger Hunt: Griffin School Gear
If you craft the Viper Swords in White Orchard, you should be feeling pretty powerful, for a while. As you continue to explore Velen and level up, however, those Viper swords will start showing their age, and you’ll again find yourself in need of an upgrade. If you have “Thousand ![]() Flowers” DLC installed you’ll get your hands on some Lv7 weapons that will help tide you over, while the “Nine-Tailed” set might mitigate the need for an upgrade entirely. That said, the Griffin swords are not only an excellent upgrade once you hit Lv11, creating the base version of these sets is a necessary stepping stone for the upgraded variants. As you find yourself approaching Lv11, you might want to think about dropping whatever quests you’re pursuing and see about securing an upgrade, and at this point in the game you likely won’t find anything better than the Griffin set.
Flowers” DLC installed you’ll get your hands on some Lv7 weapons that will help tide you over, while the “Nine-Tailed” set might mitigate the need for an upgrade entirely. That said, the Griffin swords are not only an excellent upgrade once you hit Lv11, creating the base version of these sets is a necessary stepping stone for the upgraded variants. As you find yourself approaching Lv11, you might want to think about dropping whatever quests you’re pursuing and see about securing an upgrade, and at this point in the game you likely won’t find anything better than the Griffin set.
To start this “Scavenger Hunt” quest, you can buy two maps from the Armorer at Midcopse: Edwin Greloff’s First Map and Edwin Greloff’s Second Map. The first map will, when read, start the quest Scavenger Hunt: Griffin School Gear along with the followup Scavenger Hunt: Griffin School Gear Upgrade Diagrams - Part 1 while the second will begin an even later quest, Scavenger Hunt: Griffin School Gear Upgrade Diagrams - Part 2. You can safely ignore both the upgrade quests, as you can only create the upgraded versions of Witcher set gear after you’ve completed the earlier ones, and there’s no point in going out of your way to fight strong enemies to pull diagrams to make gear you can’t use yet. It’s also worth noting that you don’t actually have to buy the maps to find the diagrams - if you know where they are, you can go find them blind. Still, 18 ![]() Crowns and 37 Crowns, respectively, are small prices to pay for quest markers.
Crowns and 37 Crowns, respectively, are small prices to pay for quest markers.
Search Witcher George’s Grave - Dragonslayer’s Grotto Walkthrough
Once started your first two objectives should be to Find all the diagrams to the Griffin School witcher gear. and Search the witcher George’s grave.”. The first can be safely ignored, as it just tracks how many of the set pieces you’ve collected, which leaves the grave of witcher George as your only real lead to start this quest out. Your quest objective will point you to the woods far southeast of Lindenvale, south of Lurtch, northwest of Downwarren or southwest of Reardon Manor, as you prefer.
Plunder the Southern Rooms
Your objective is the Dragonslayer’s Grotto dungeon, which comes complete with a signpost and everything. Depending on the route you take you may encounter Looters, ![]() Nekkers and/or
Nekkers and/or ![]() Wolves on your trek to this destination. When you make it to the signpost, drop down into a pit to the southeast and enter the ruins, where you’ll quickly find yourself accosted by
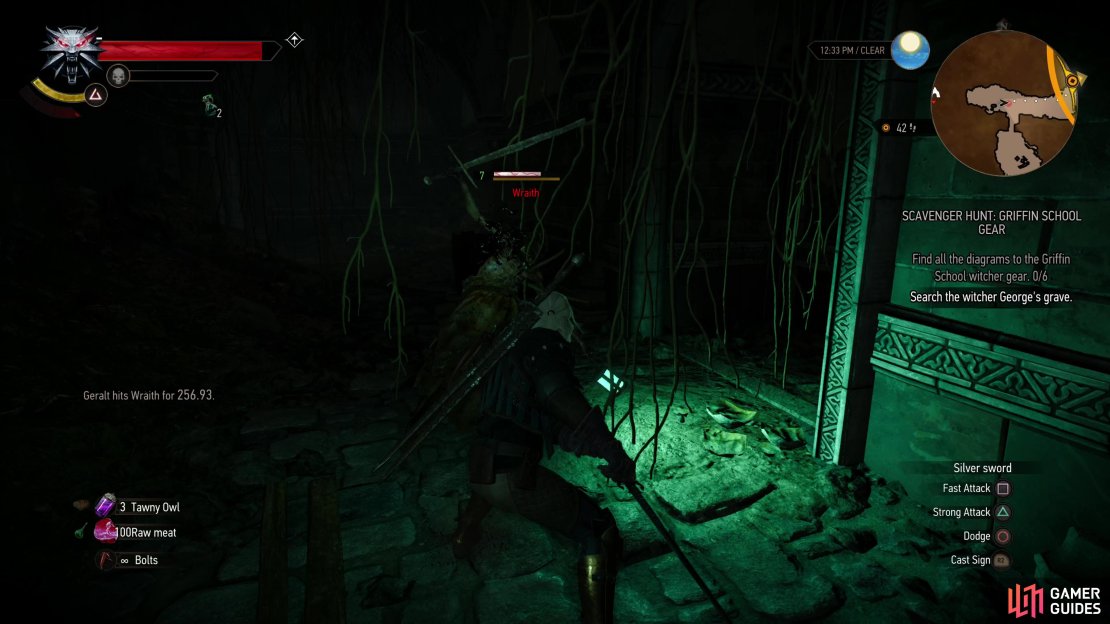
Wolves on your trek to this destination. When you make it to the signpost, drop down into a pit to the southeast and enter the ruins, where you’ll quickly find yourself accosted by ![]() Wraiths (Lv7). You’ll encounter several Wraiths in the corridor you entered into, as well as more in some rooms to the south. Exorcise them and loot the aforementioned rooms, as there are plenty of chests and containers worth plundering within.
Wraiths (Lv7). You’ll encounter several Wraiths in the corridor you entered into, as well as more in some rooms to the south. Exorcise them and loot the aforementioned rooms, as there are plenty of chests and containers worth plundering within.
Clear the Toxic Gas Passage
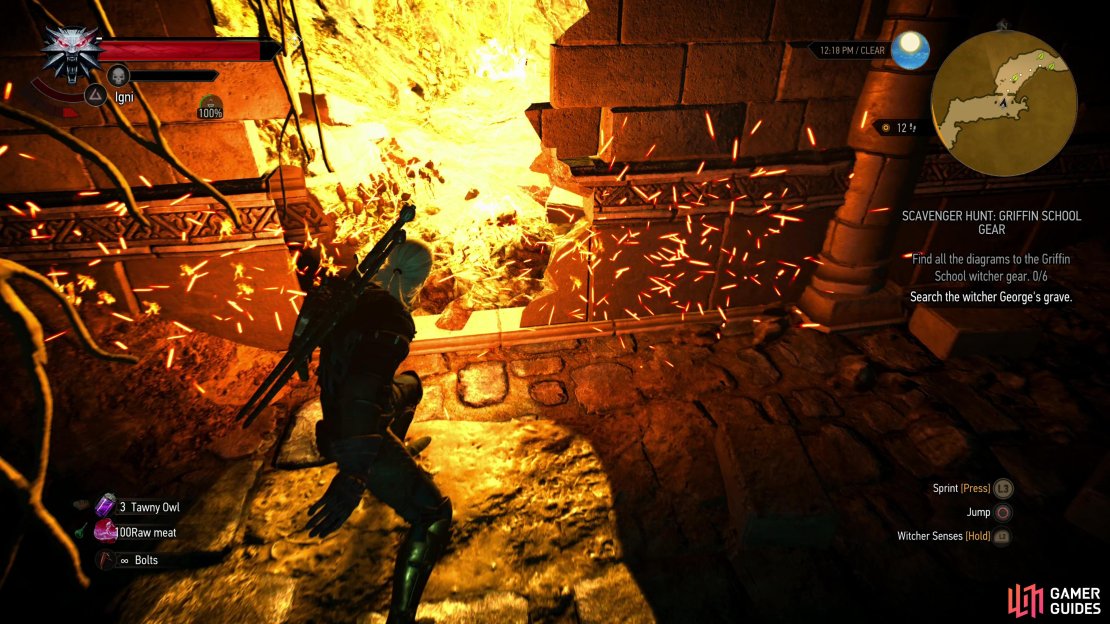
Once the Wraiths have been defeated, return to the corridor and continue east, north, then east again until you find a weak section of wall to the north. Blast it and you’ll reveal a tunnel willed with toxic gas. You should know how this works by now - blast the gas with ![]() Igni to ignite it, which will temporarily clear it and let you pass. This passage has a rub, however, as there are more Wraiths lurking within, Wraiths which won’t appear until you start making your way through the toxin. This forces you to be a bit tricky - blast the gas with Igni and advance enough to provoke a Wraith, then retreat into the clear hallway to the south where you can safely dispatch the Wraith(s) without worrying about the toxic gas respawning. Repeat as necessary until the entire length of the toxic gas filled passage is cleared. Failing that, if you’re well-provisioned you can quaff a
Igni to ignite it, which will temporarily clear it and let you pass. This passage has a rub, however, as there are more Wraiths lurking within, Wraiths which won’t appear until you start making your way through the toxin. This forces you to be a bit tricky - blast the gas with Igni and advance enough to provoke a Wraith, then retreat into the clear hallway to the south where you can safely dispatch the Wraith(s) without worrying about the toxic gas respawning. Repeat as necessary until the entire length of the toxic gas filled passage is cleared. Failing that, if you’re well-provisioned you can quaff a ![]() Golden Oriole potion, which will make you immune to the effects of the toxic gas for 60 seconds (per dose). Using Golden Oriole to invalidate poison will become an increasingly useful strategy, but it’s not required just yet.
Golden Oriole potion, which will make you immune to the effects of the toxic gas for 60 seconds (per dose). Using Golden Oriole to invalidate poison will become an increasingly useful strategy, but it’s not required just yet.

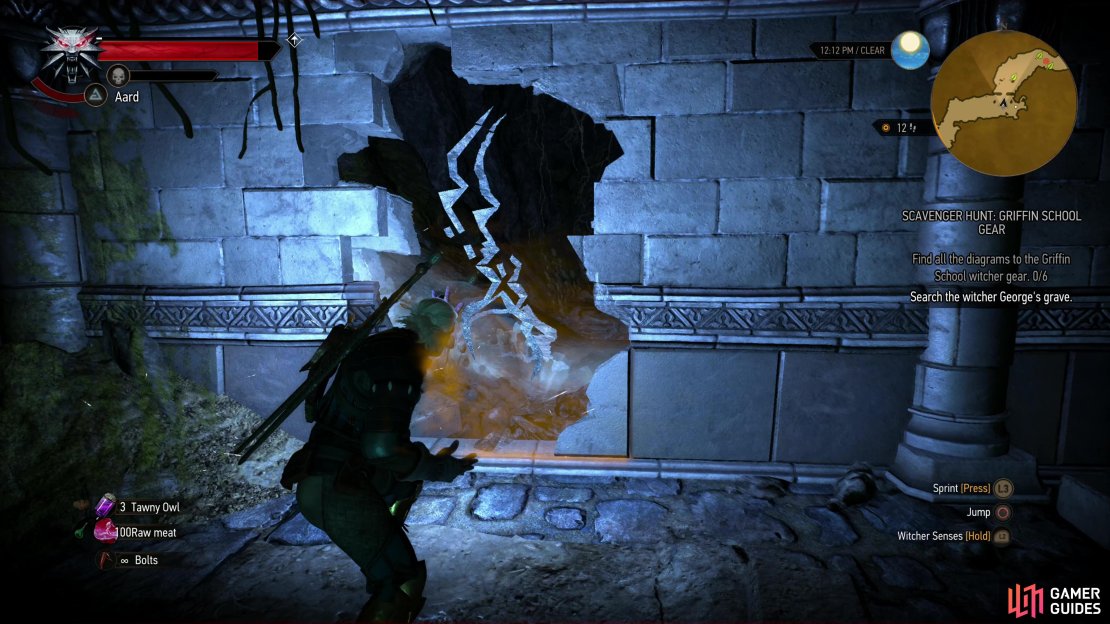
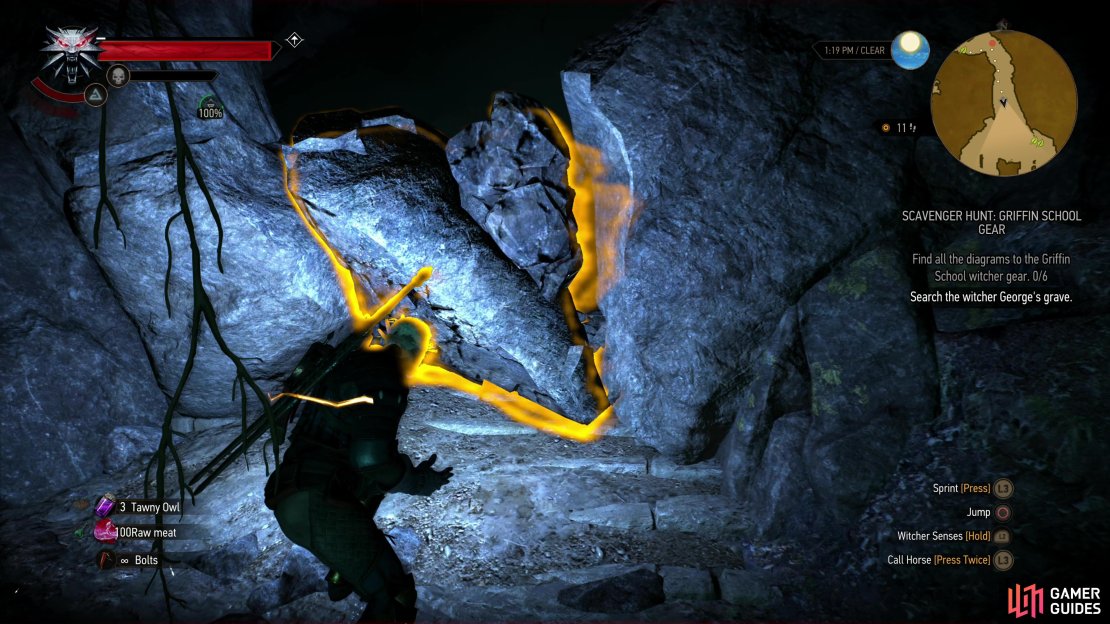
(1 of 4) Use Aard to knock down a wall,
Defeat the Ekimmara
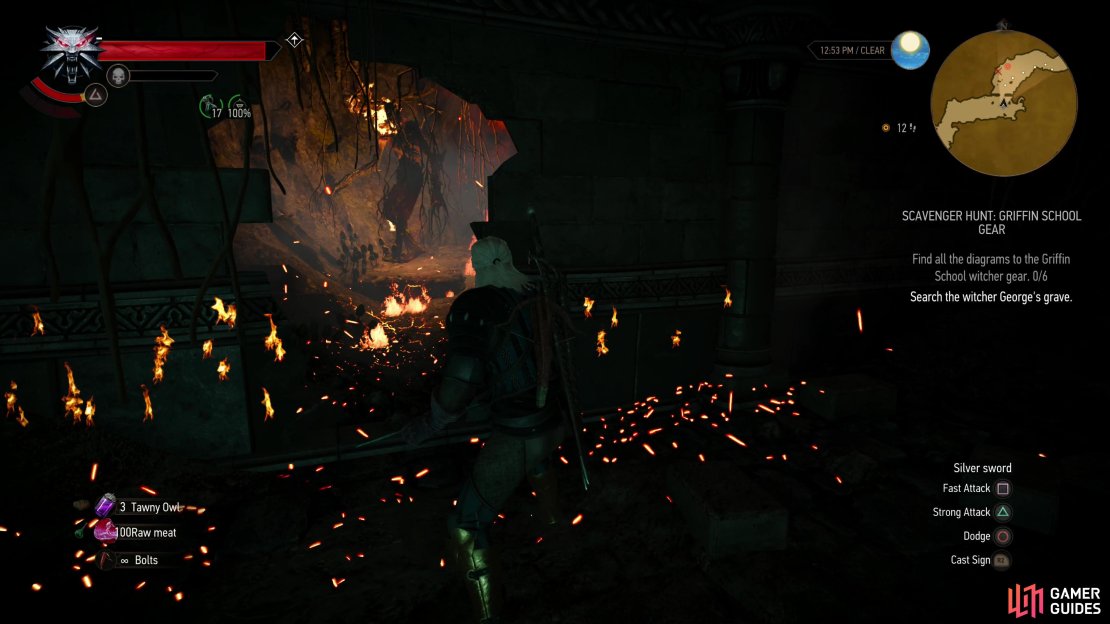
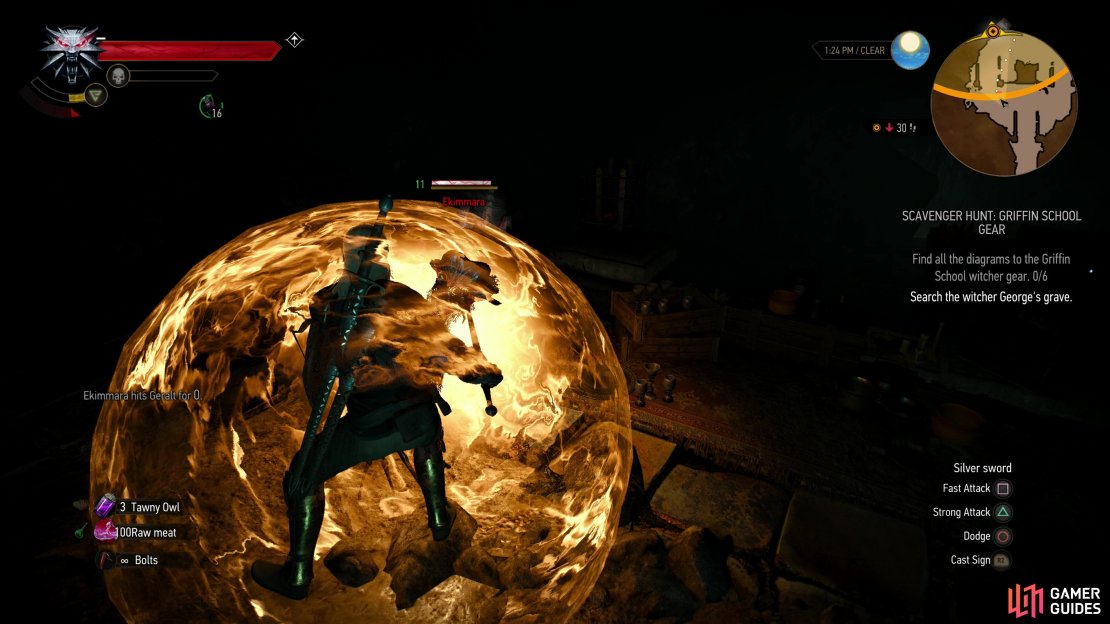
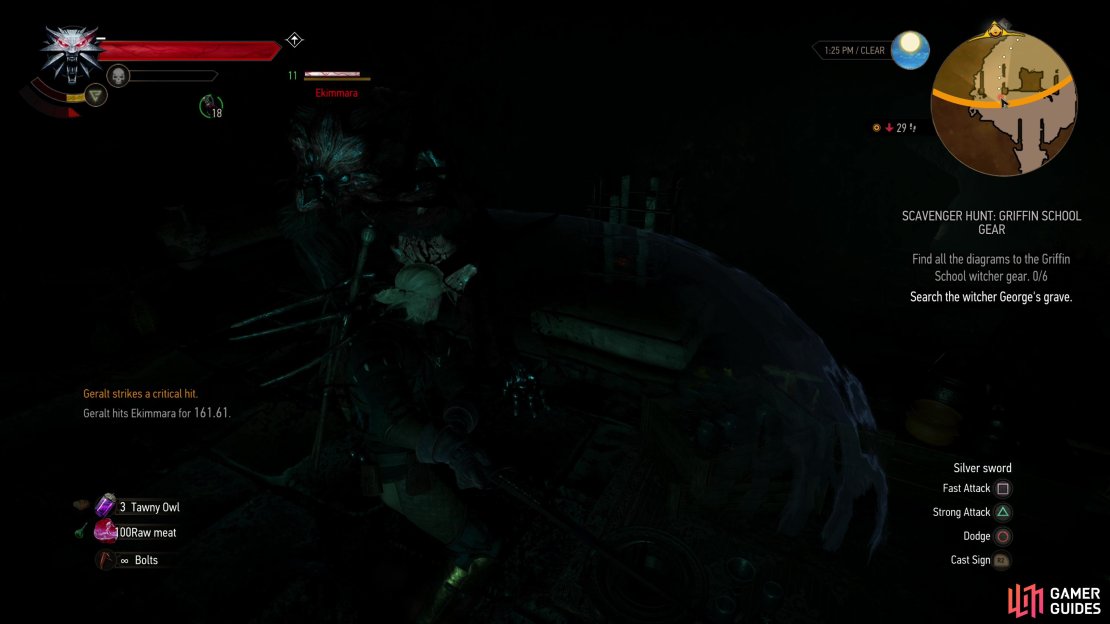
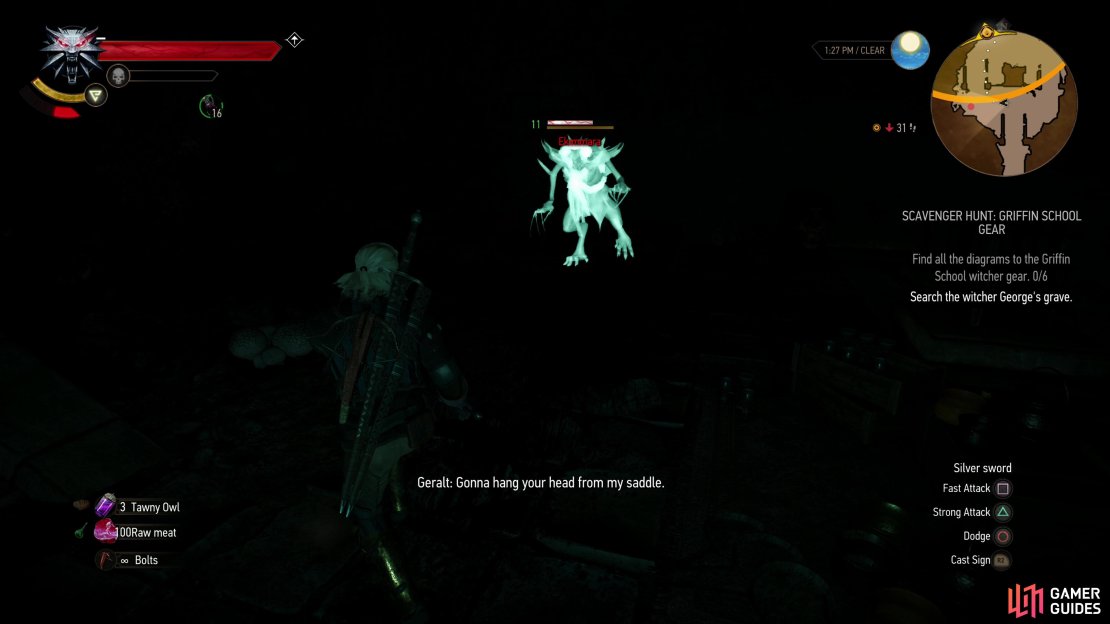
Blast your way through the gas-filled chamber and you’ll find another obstruction in your path - some rocks blocking the way. Gently coax them aside with ![]() Aard, then enter a large chamber to the south. In here you’ll encounter a Ekimmara (Lv11), a lesser vampire. Focus more on the “vampire” bit, not the “lesser”, as this monster is strong and agile, attacking with swipes from its long claws and capable of both skittering away quickly and performing leaping attacks. Rather simple-minded creatures, their only real trick is their ability to adopt a spectral form temporarily, using this to move about quickly (even moving through Geralt!) to attack from unexpected angles. While weak to Igni, you can also use active
Aard, then enter a large chamber to the south. In here you’ll encounter a Ekimmara (Lv11), a lesser vampire. Focus more on the “vampire” bit, not the “lesser”, as this monster is strong and agile, attacking with swipes from its long claws and capable of both skittering away quickly and performing leaping attacks. Rather simple-minded creatures, their only real trick is their ability to adopt a spectral form temporarily, using this to move about quickly (even moving through Geralt!) to attack from unexpected angles. While weak to Igni, you can also use active ![]() Quen to make this fight easy, just bring up your bubble barrier, wait for the Ekimmara to strike, then retaliate. The “rule-of-three” works well here, and while tedious due to the Ekimarra’s deep health pool, this is a safe, reliable means of taking this giant bat down.
Quen to make this fight easy, just bring up your bubble barrier, wait for the Ekimmara to strike, then retaliate. The “rule-of-three” works well here, and while tedious due to the Ekimarra’s deep health pool, this is a safe, reliable means of taking this giant bat down.

Find the Diagrams for the Griffin Armor
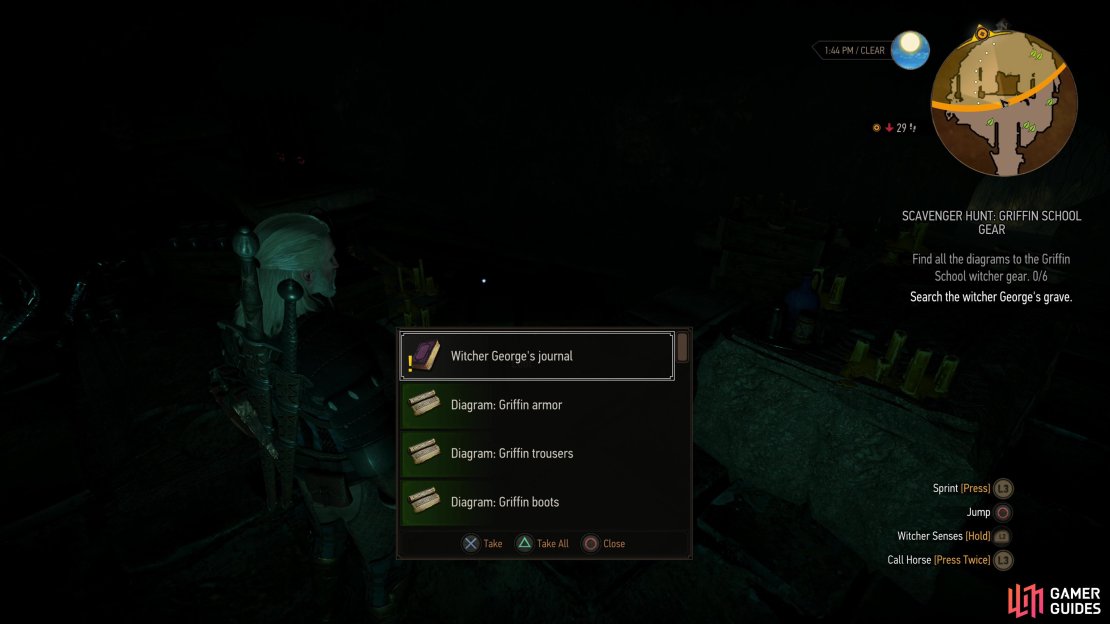
Defeat the Ekimmara and loot a chest in the center of the room, near a sarcophagus up some stairs. This chest contains Witcher George’s ![]() Journal, and the
Journal, and the ![]() Diagram: Griffin Armor, Diagram: Griffin Trousers, Diagram: Griffin Boots and the Diagram: Griffin Gauntlets. Getting an entire set of Witcher armor in one go isn’t a bad deal, but the real prizes are the swords. Read Witcher George’s Journal and you’ll get two new objectives: Search the ruins of the fortress by the lighthouse. and Search the lord’s castle..
Diagram: Griffin Armor, Diagram: Griffin Trousers, Diagram: Griffin Boots and the Diagram: Griffin Gauntlets. Getting an entire set of Witcher armor in one go isn’t a bad deal, but the real prizes are the swords. Read Witcher George’s Journal and you’ll get two new objectives: Search the ruins of the fortress by the lighthouse. and Search the lord’s castle..
While you’re free to go back the way you came, there’s another way out of this dungeon. First, loot the crypt to find more chests and containers (and plenty of mushrooms, for what that’s worth!), then head to the southern end of the room to find an illusory rock wall blocking your path. Use the ![]() Eye of Nehaleni to dispel the illusion and daylight will immediately greet you.. Unless it’s night, but you know. Continue south to exit out of the dungeon and find yourself on what we’ll generously call a mountain southeast of where you entered Dragonslayer’s Grotto, not terribly far from the village of
Eye of Nehaleni to dispel the illusion and daylight will immediately greet you.. Unless it’s night, but you know. Continue south to exit out of the dungeon and find yourself on what we’ll generously call a mountain southeast of where you entered Dragonslayer’s Grotto, not terribly far from the village of ![]() Downwarren (to the east). If you look up to the northeast from where you exited the dungeon you might just spy a [Place of Power] on the top of the mountain above you. Do what you will with that information, but to complete your Griffin set you’ll need to travel north.
Downwarren (to the east). If you look up to the northeast from where you exited the dungeon you might just spy a [Place of Power] on the top of the mountain above you. Do what you will with that information, but to complete your Griffin set you’ll need to travel north.

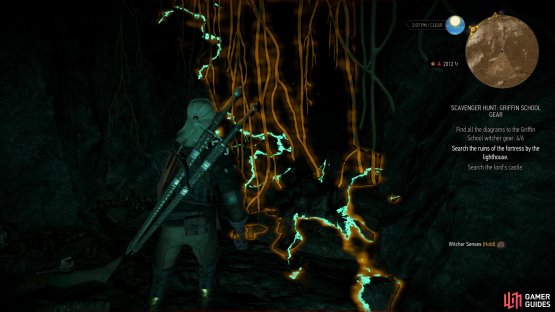

(1 of 2) Use the Eye of Nehaleni to dispel an illusion, opening a new way out of the crypt.
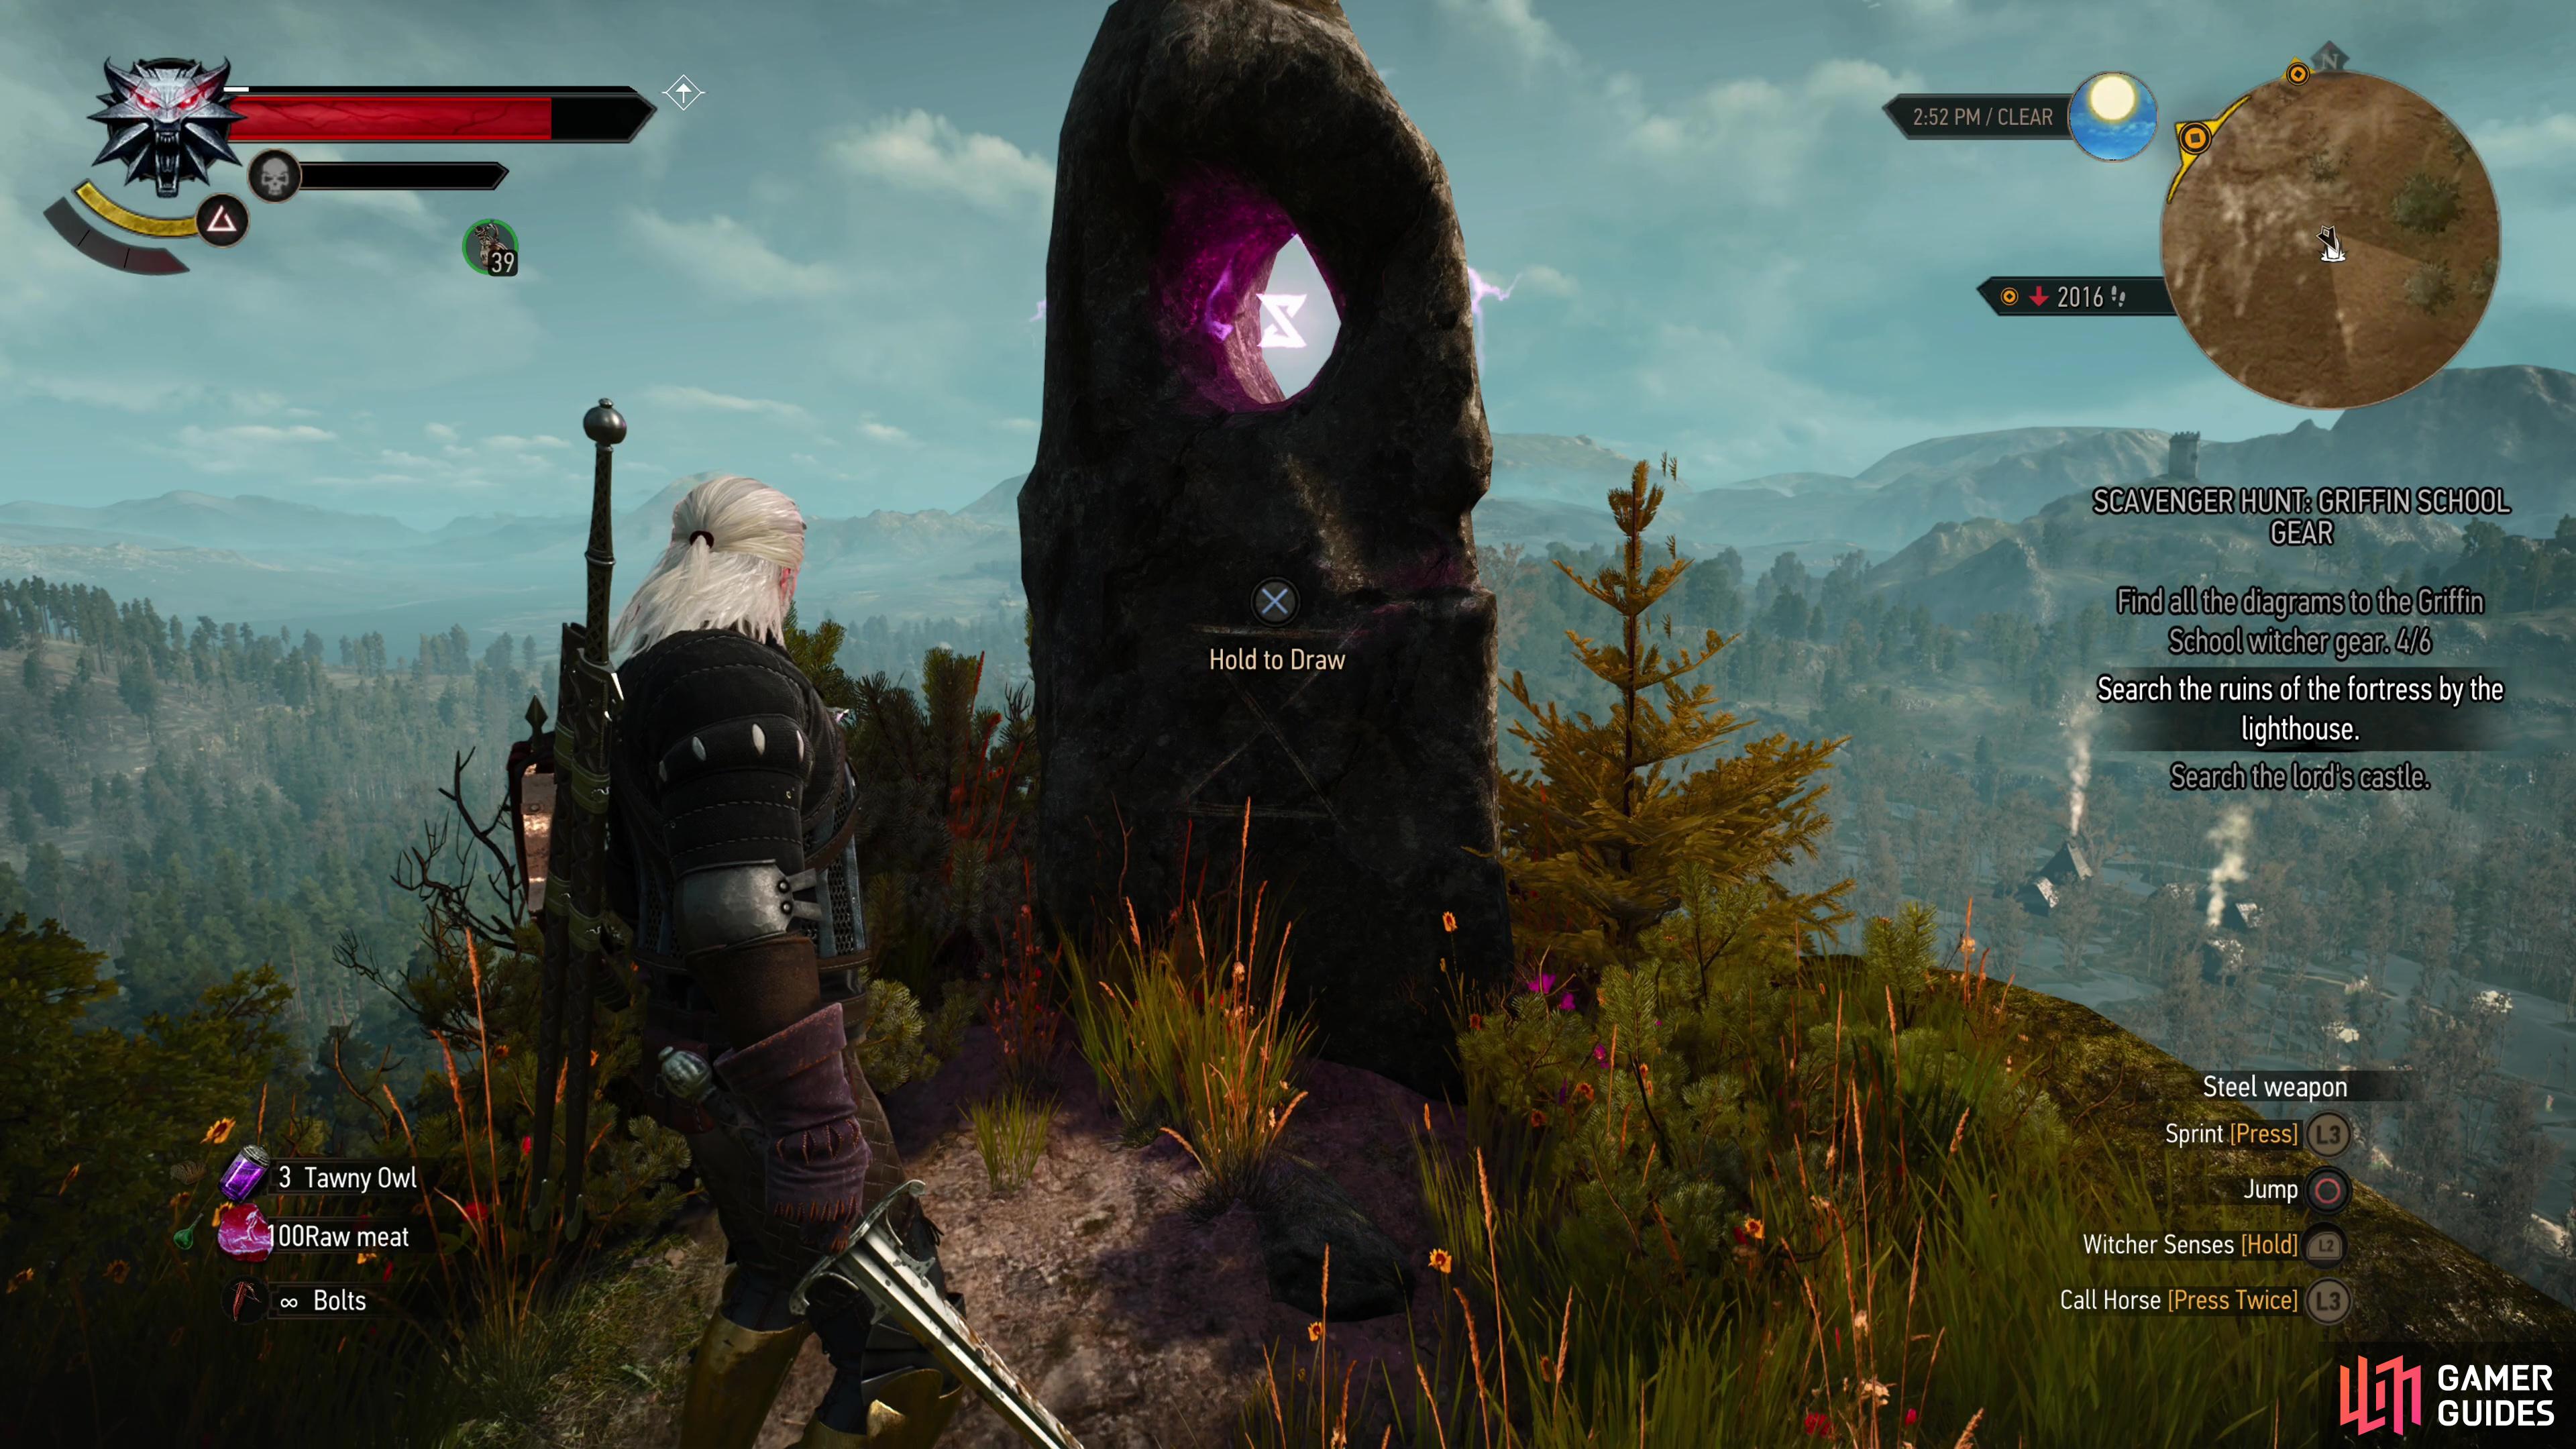
Use the Eye of Nehaleni to dispel an illusion, opening a new way out of the crypt. (left), Exit the ruins and consider heading to the top of the mountain to find a Place of Power. (right)
Search the Lord’s Castle - Hindhold Walkthrough
The “lord’s castle” you’re looking for is Hindhold, located on an island east of the Border Post and north, northeast of the Hanged Man’s Tree. Just follow the southeast and east from the ![]() Border Post and when you reach a fork north of Codger’s Quarry, turn north then jump over a broken bridge to the west, near which is a Monster Nest. Avoid or kill the
Border Post and when you reach a fork north of Codger’s Quarry, turn north then jump over a broken bridge to the west, near which is a Monster Nest. Avoid or kill the ![]() Nekkers at the
Nekkers at the ![]() Monster Nest, as you wish, and follow the road northwest into the swamps, where some
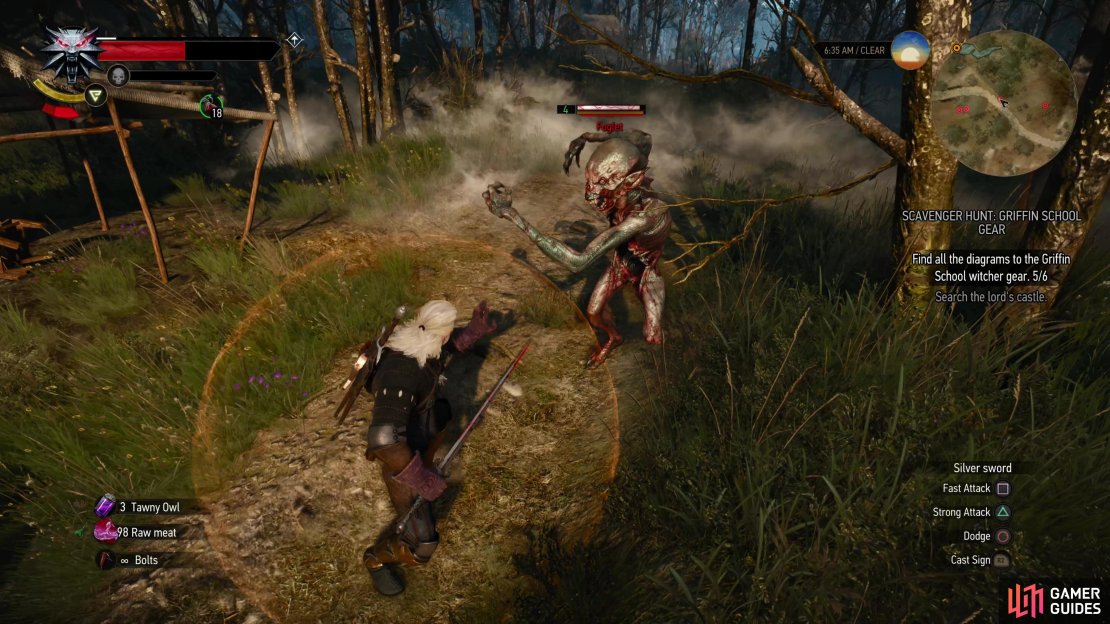
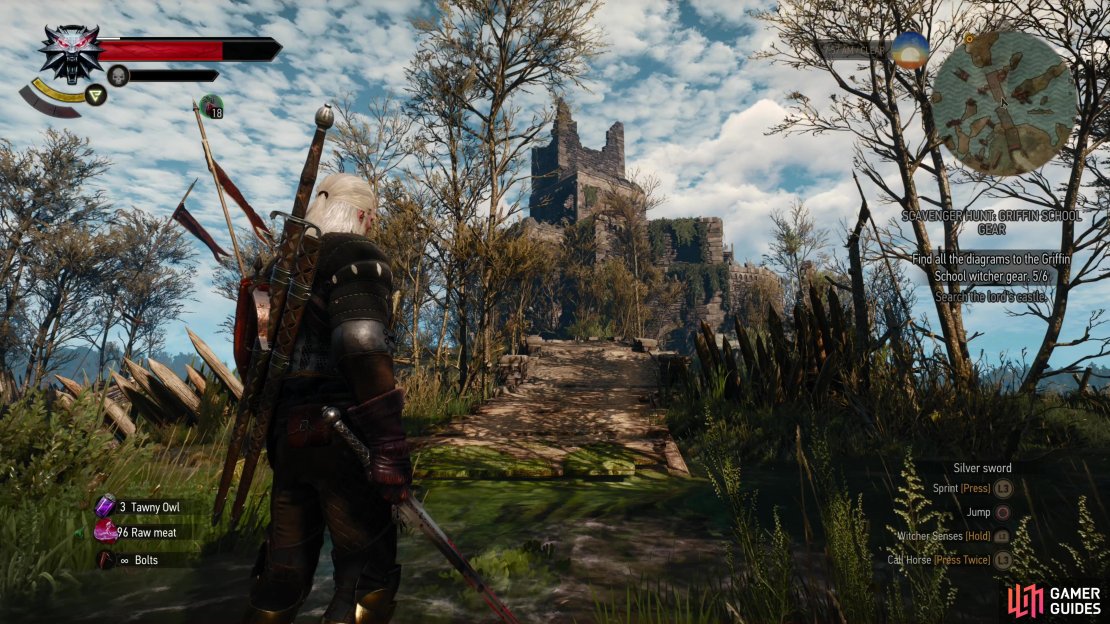
Monster Nest, as you wish, and follow the road northwest into the swamps, where some ![]() Foglets (Lv4) lurk. These are collectively the most obnoxious foes you’ll have to get past if you want the diagram for a new sword, but persevere and ascend a road rising out of the swamp to reach some ruins. Approach the front gate and you’ll discover the
Foglets (Lv4) lurk. These are collectively the most obnoxious foes you’ll have to get past if you want the diagram for a new sword, but persevere and ascend a road rising out of the swamp to reach some ruins. Approach the front gate and you’ll discover the ![]() Hindhold signpost.
Hindhold signpost.
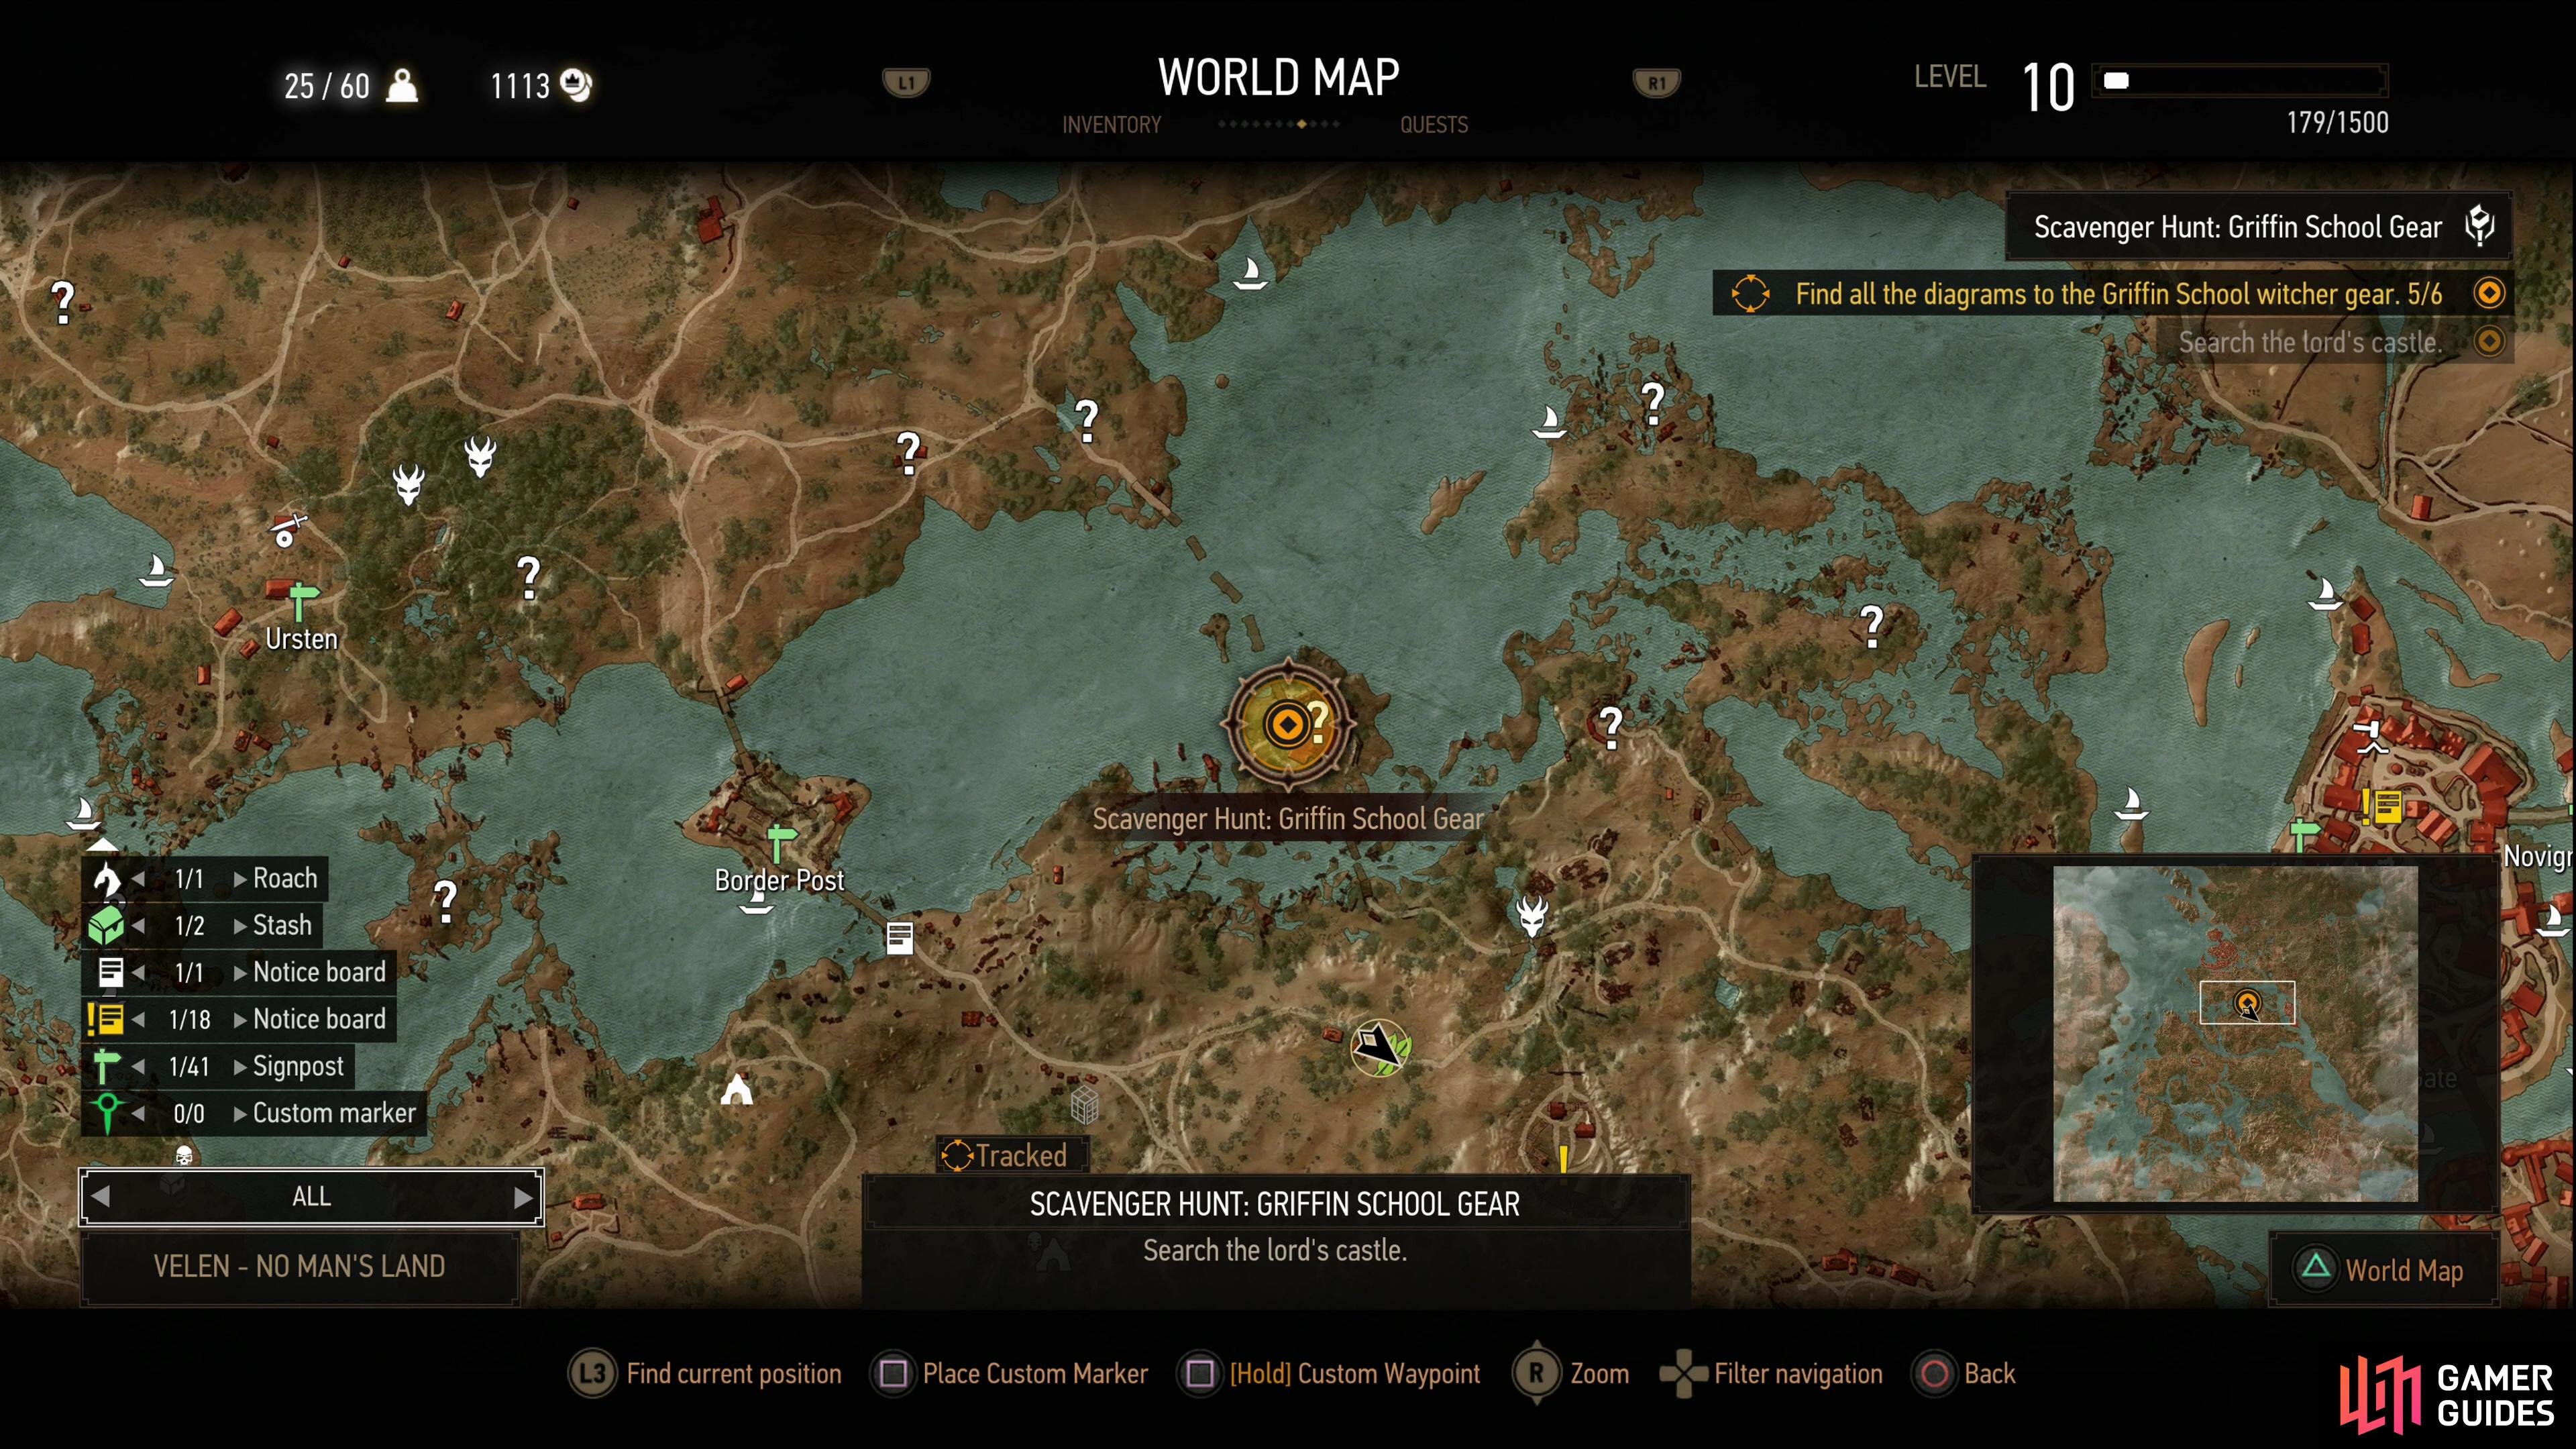

(1 of 3) You’ll find Hindhold off the coast of the landmass south of Novigrad, west of Oxenfurt.
Find the Diagram for the Griffin Steel Sword
If you work your way around the ruins to the north you’ll encounter some ![]() Endrega Workers (Lv9) and Endrega Warriors (Lv11), but there’s no real need to fight these enemies - one has to assume they’re here to provide a challenge if you approach from the north instead of the south. Go through the gate near the signpost and enter the ruins and work your way northeast then up some cobweb-covered stairs to the north to reach the roof. As you pass through the ruins, keep on the lookout for treasure, as there are quite a few chests scattered about, including on some scaffolding you can climb. You can even find the letter
Endrega Workers (Lv9) and Endrega Warriors (Lv11), but there’s no real need to fight these enemies - one has to assume they’re here to provide a challenge if you approach from the north instead of the south. Go through the gate near the signpost and enter the ruins and work your way northeast then up some cobweb-covered stairs to the north to reach the roof. As you pass through the ruins, keep on the lookout for treasure, as there are quite a few chests scattered about, including on some scaffolding you can climb. You can even find the letter ![]() Aen N’og Mab Taedh’morc on the ground near a caged skeleton, forever interred near a closed gate.
Aen N’og Mab Taedh’morc on the ground near a caged skeleton, forever interred near a closed gate.

(1 of 2) Search the interior of Hindhold, including some scaffolding, to find a variety of chests,
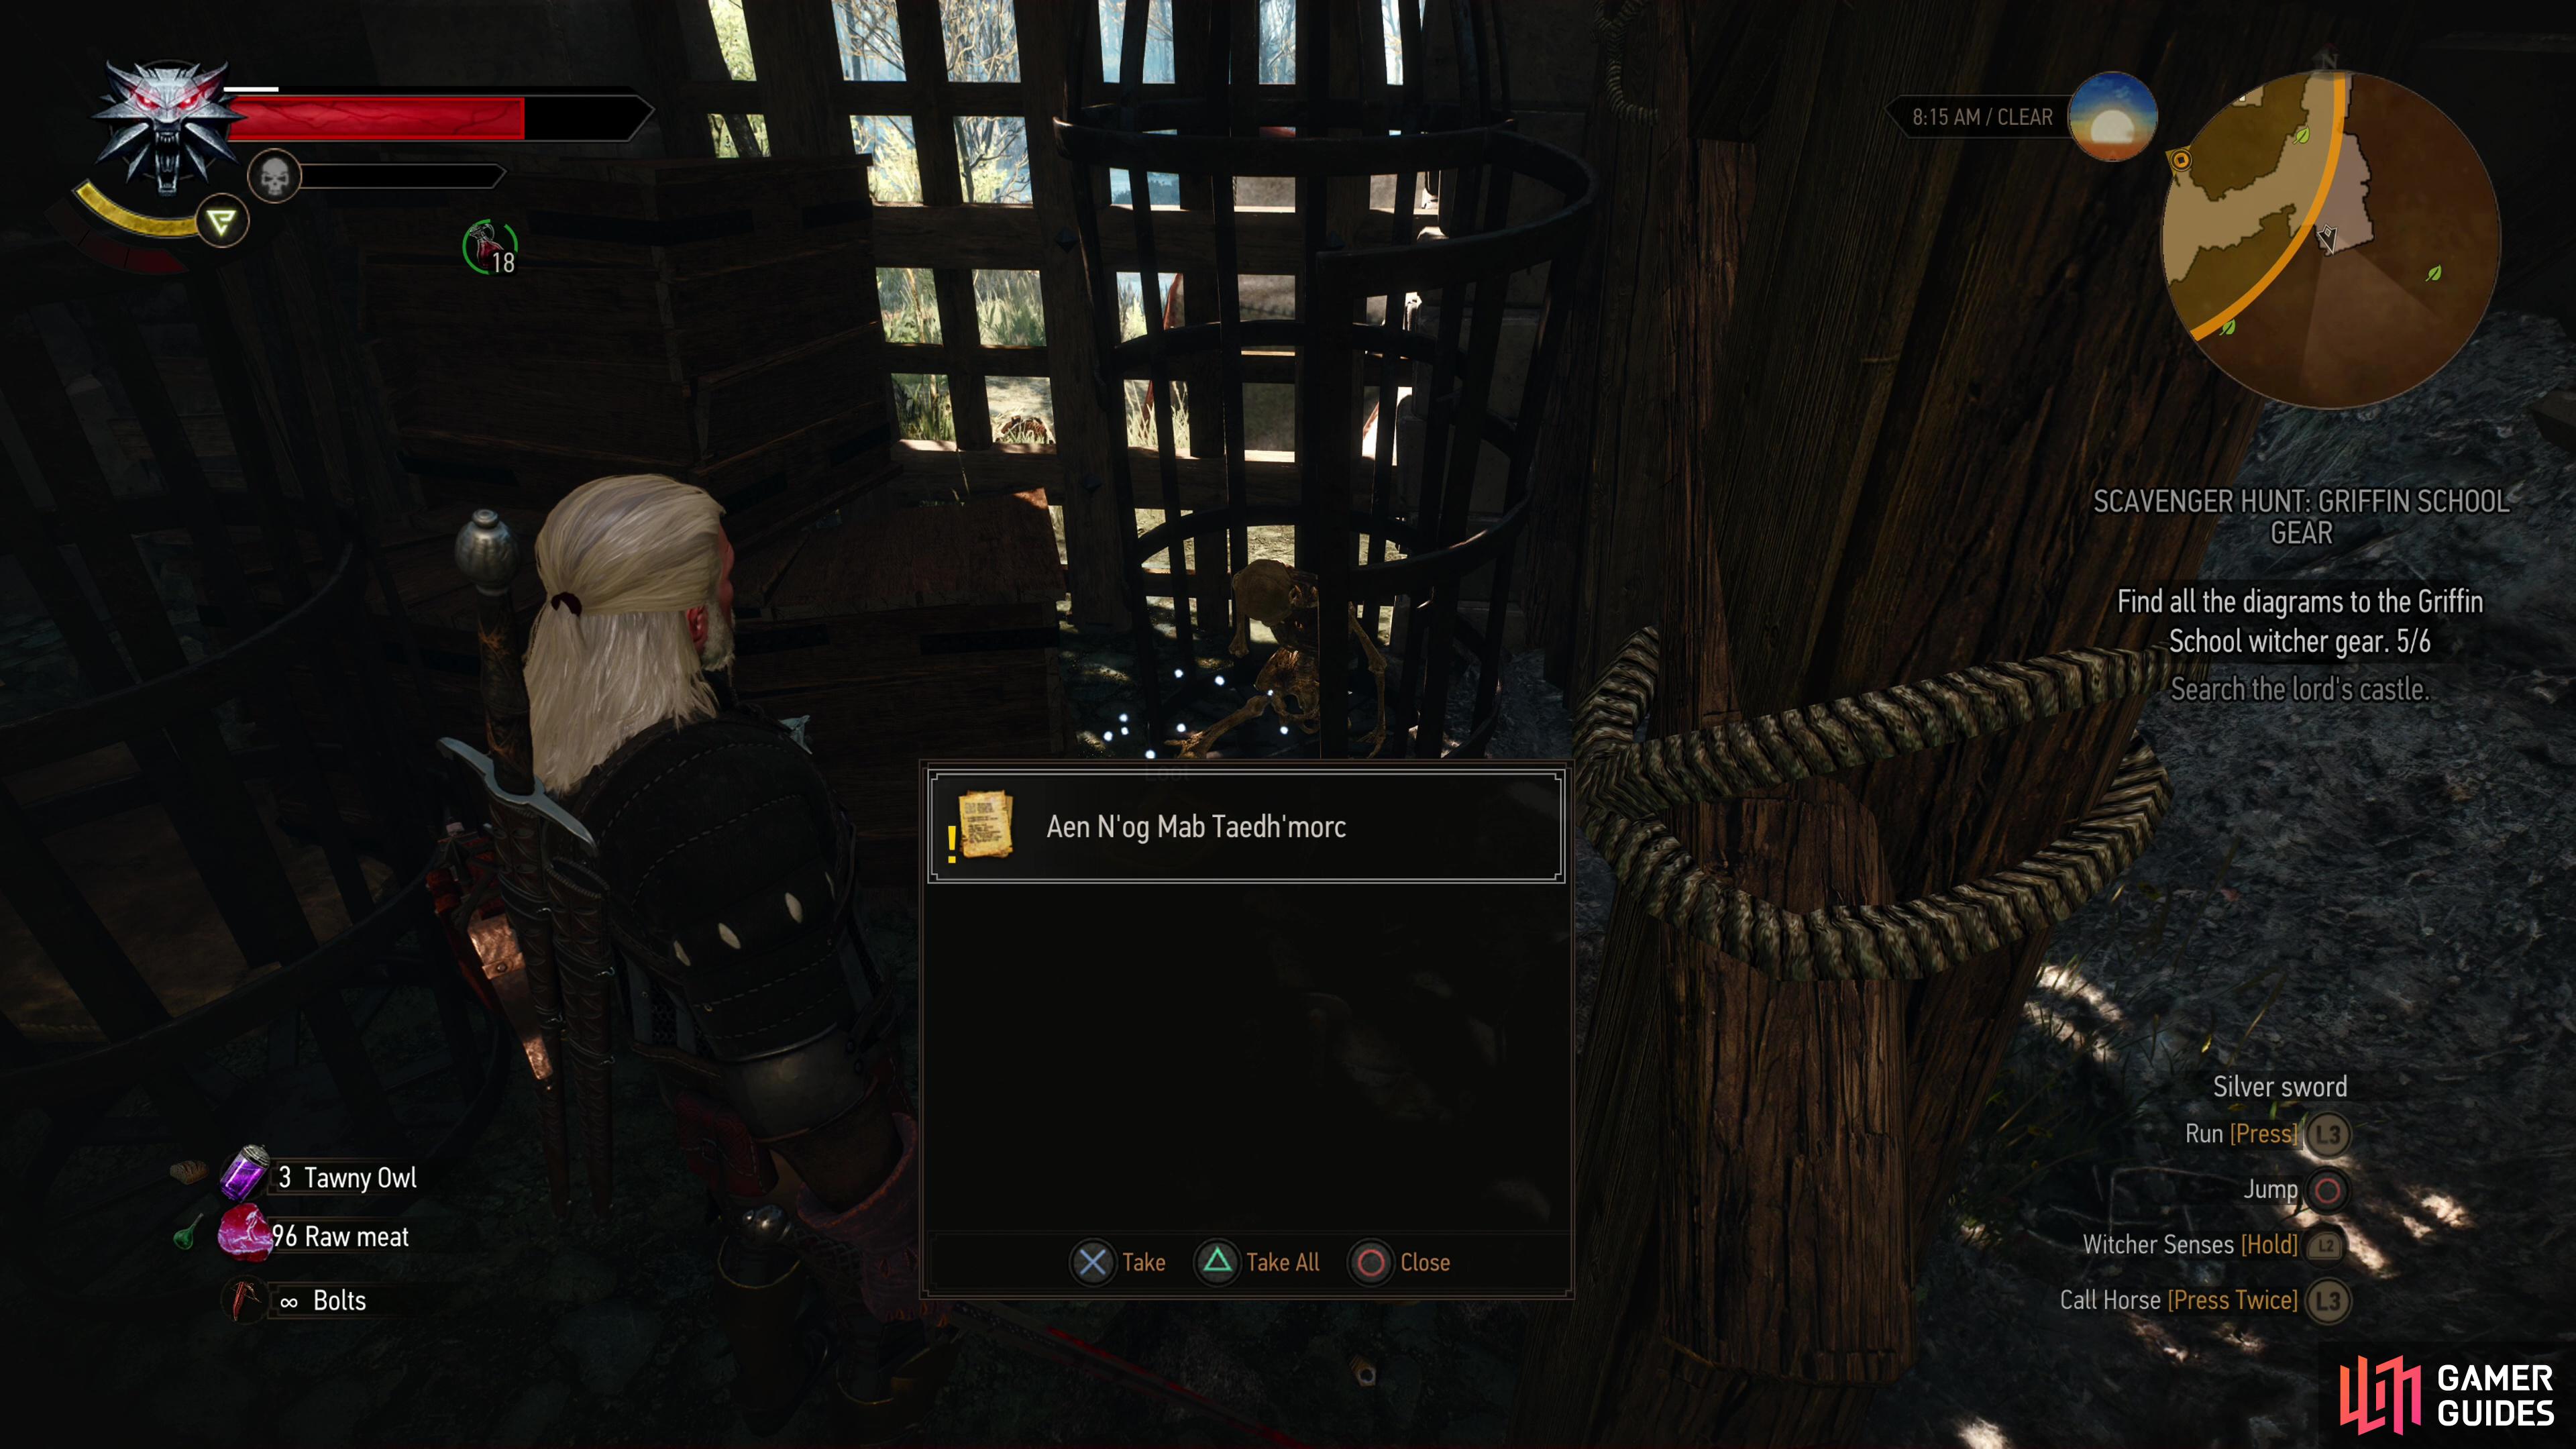
Search the interior of Hindhold, including some scaffolding, to find a variety of chests, (left), as well as a letter near a corpse that’s marked as something important… even though it’s not. (right)
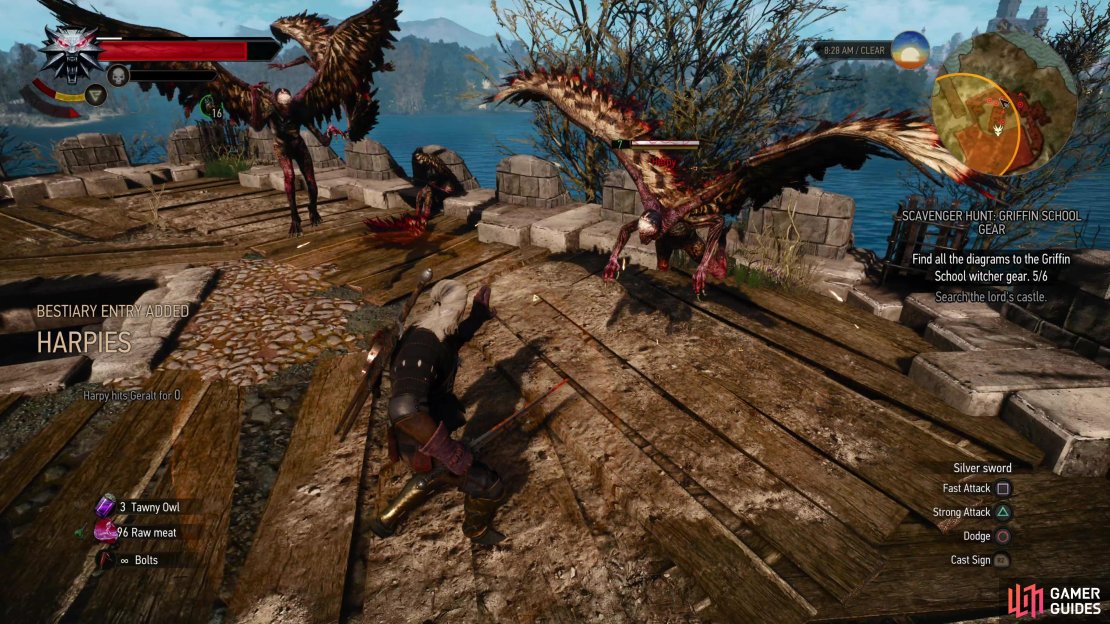
When you reach the roof you’ll find that ![]() Harpies (Lv7) have made a nest up here. Harpies are flying nuisance enemies, individually triflingly weak, but they tend to attack in groups, as the ones here demonstrate. There are around half a dozen of the beasts here, and once again active Quen is your best defensive tool… but also your best offensive one, as well. Keep active Quen up and when you’re attacked, release it and the explosion should knock nearby Harpies out of the sky. Once they’re on the ground, start fast attacking and try to pick one off before it can take flight again - no rule of three this time, they’re incompetent combatants when forced out of the air. Repeat this process until they’re all slain.
Harpies (Lv7) have made a nest up here. Harpies are flying nuisance enemies, individually triflingly weak, but they tend to attack in groups, as the ones here demonstrate. There are around half a dozen of the beasts here, and once again active Quen is your best defensive tool… but also your best offensive one, as well. Keep active Quen up and when you’re attacked, release it and the explosion should knock nearby Harpies out of the sky. Once they’re on the ground, start fast attacking and try to pick one off before it can take flight again - no rule of three this time, they’re incompetent combatants when forced out of the air. Repeat this process until they’re all slain.
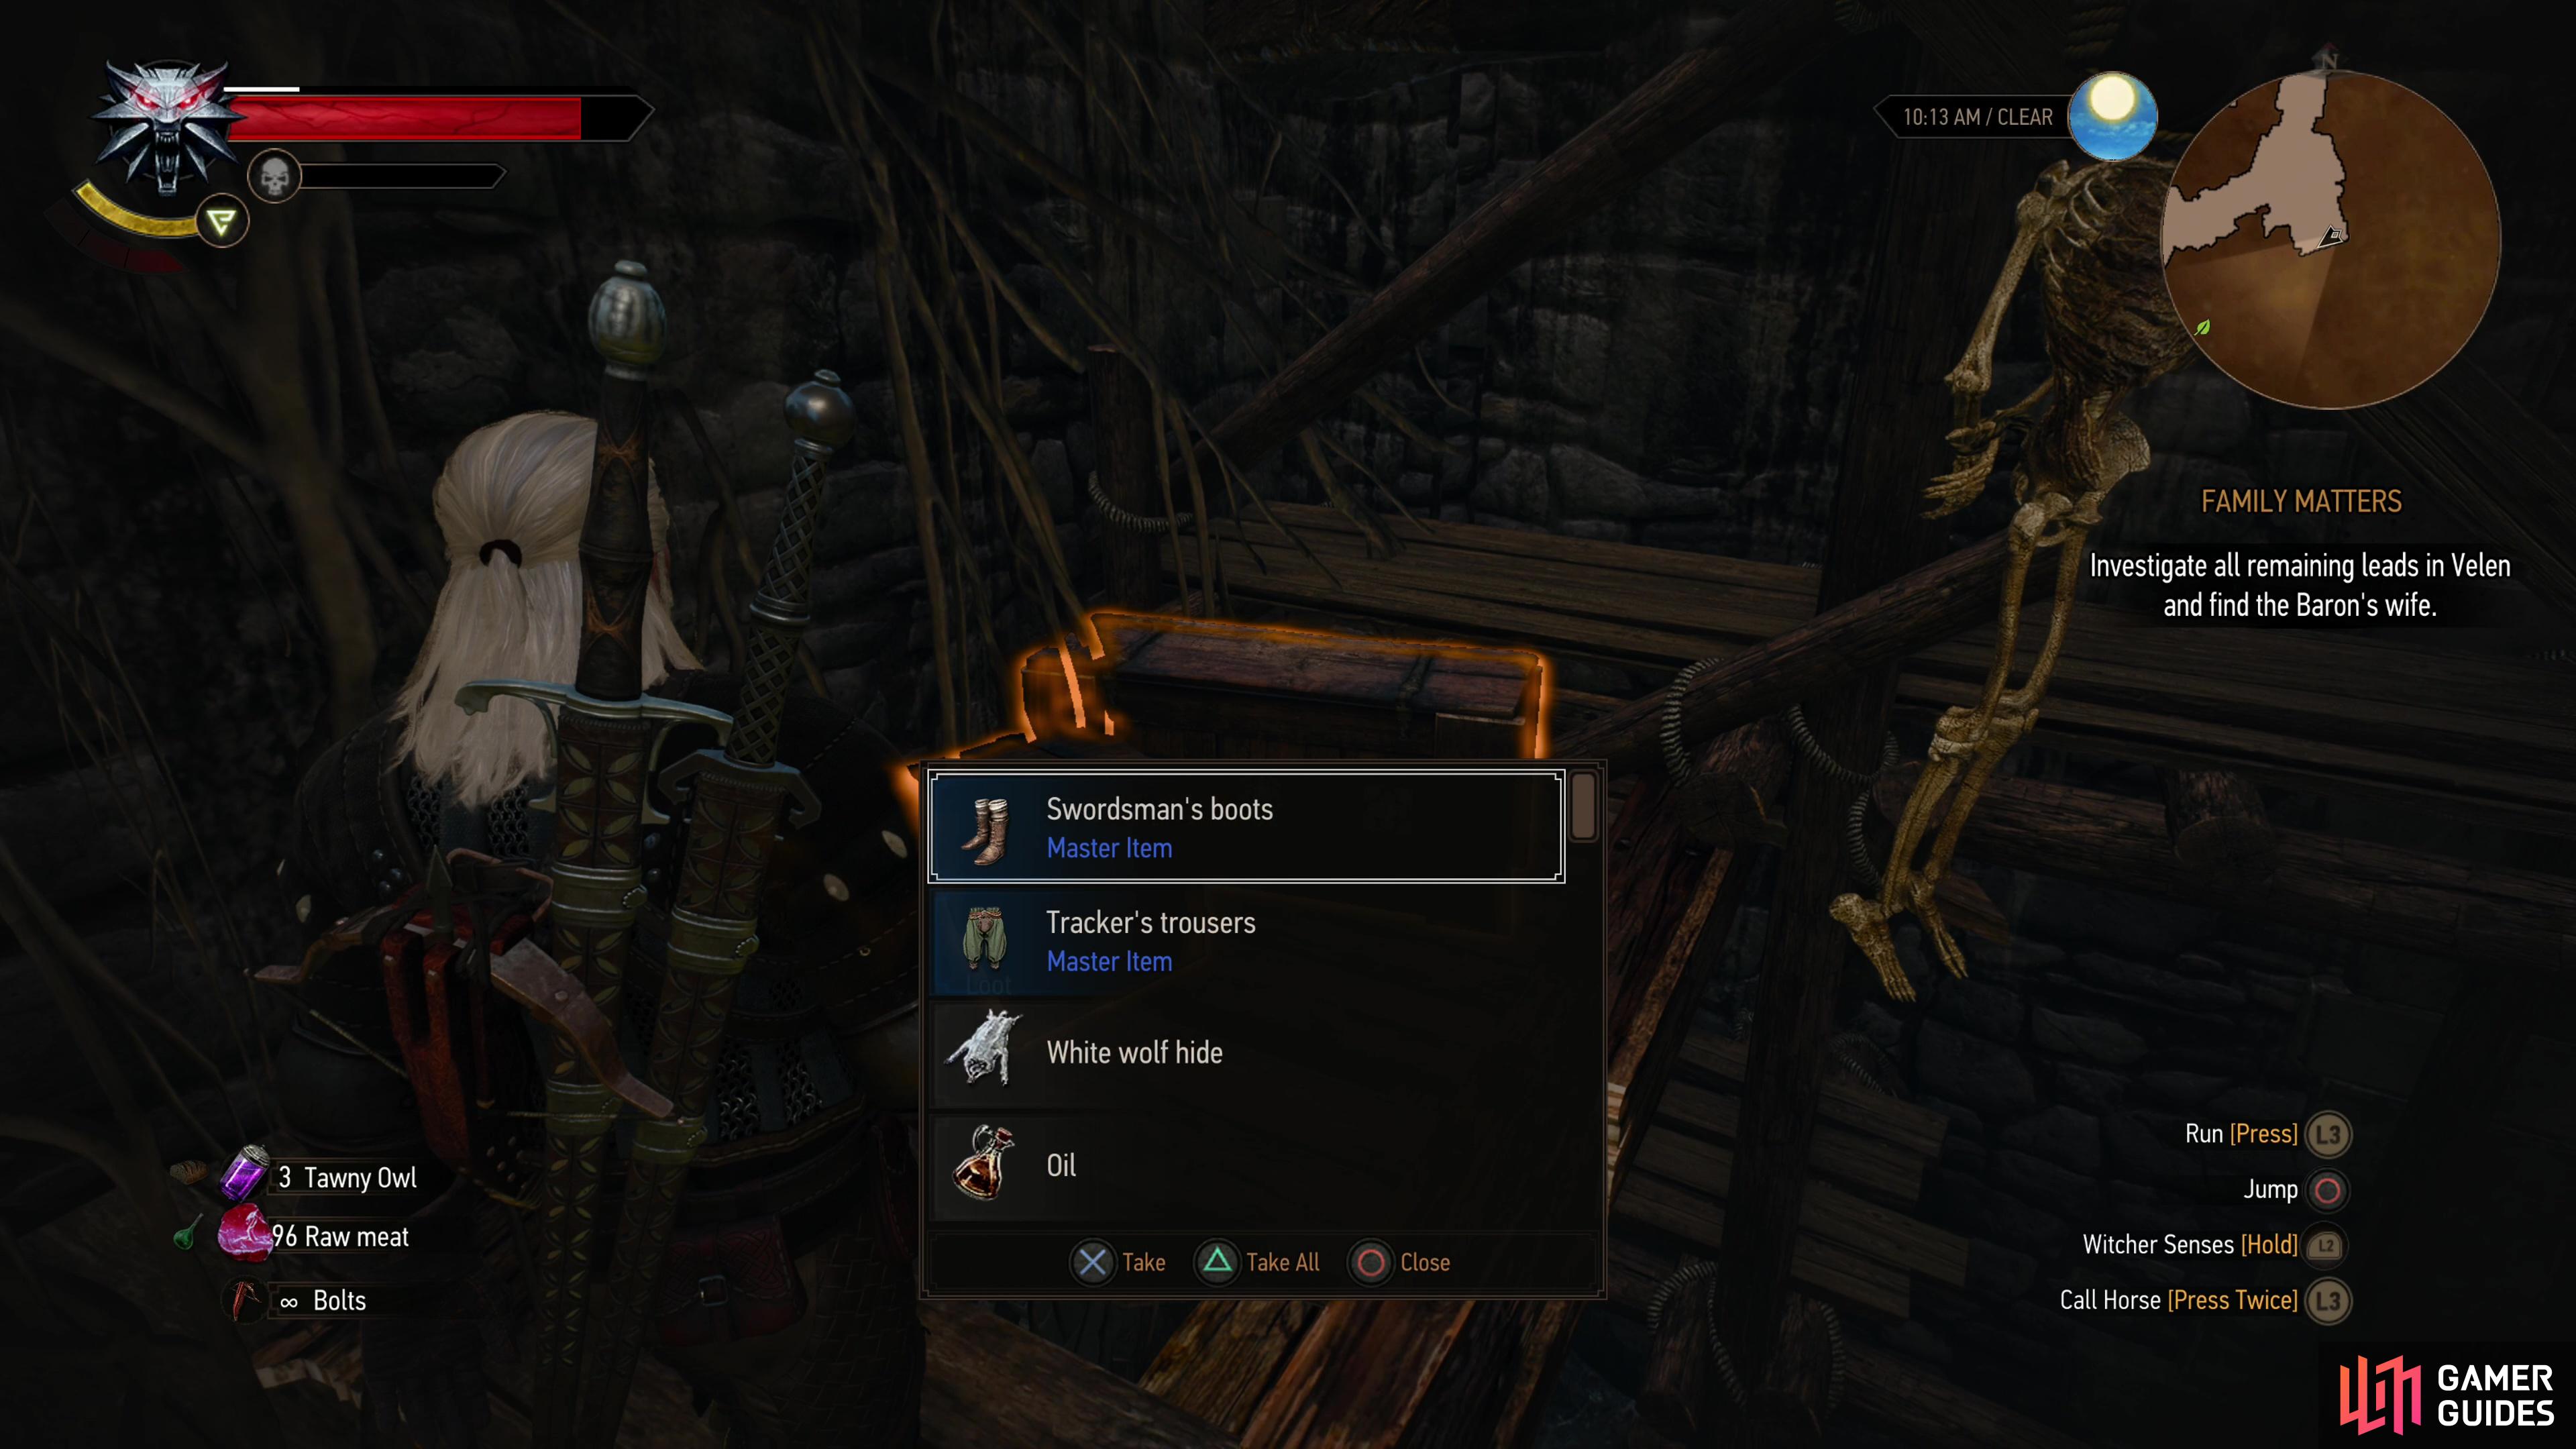
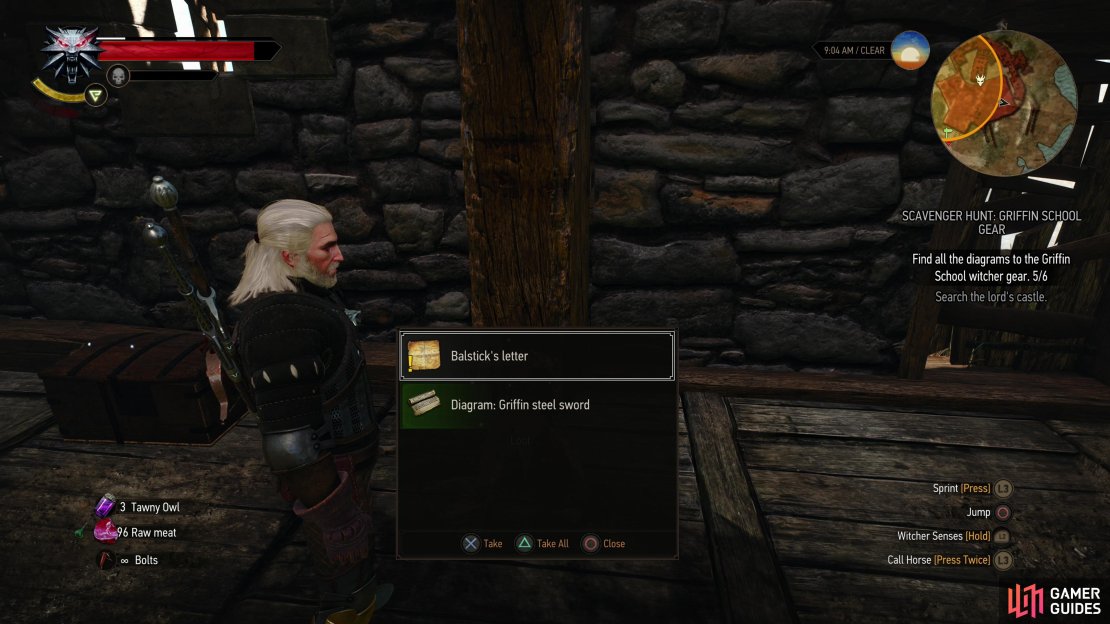
Once the Harpies are all slain, feel free to bomb their nest, if you wish, then go through a rickety door to the south, where you’ll find a chest and a skeleton. In the chest you’ll find various treasures as well as the note ![]() Witcher George’s confession while the skeleton yields
Witcher George’s confession while the skeleton yields ![]() Balstick’s letter and the Diagram: Griffin Steel Sword. Claim this treasure, then search the rest of the ruins as you wish. Five Griffin set items are yours, only one more to go.
Balstick’s letter and the Diagram: Griffin Steel Sword. Claim this treasure, then search the rest of the ruins as you wish. Five Griffin set items are yours, only one more to go.

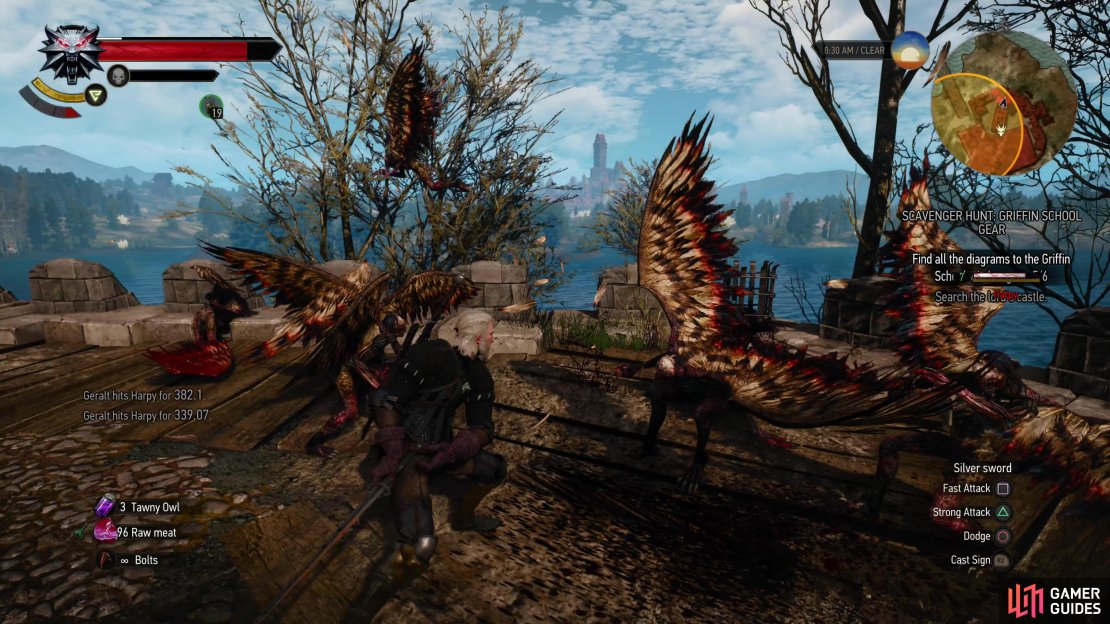
(1 of 3) Use Quen to protect yourself from Harpy attacks, and to knock them out of the sky,
Search the Ruins of the Fortress by the Lighthouse - Lornruk Walkthrough
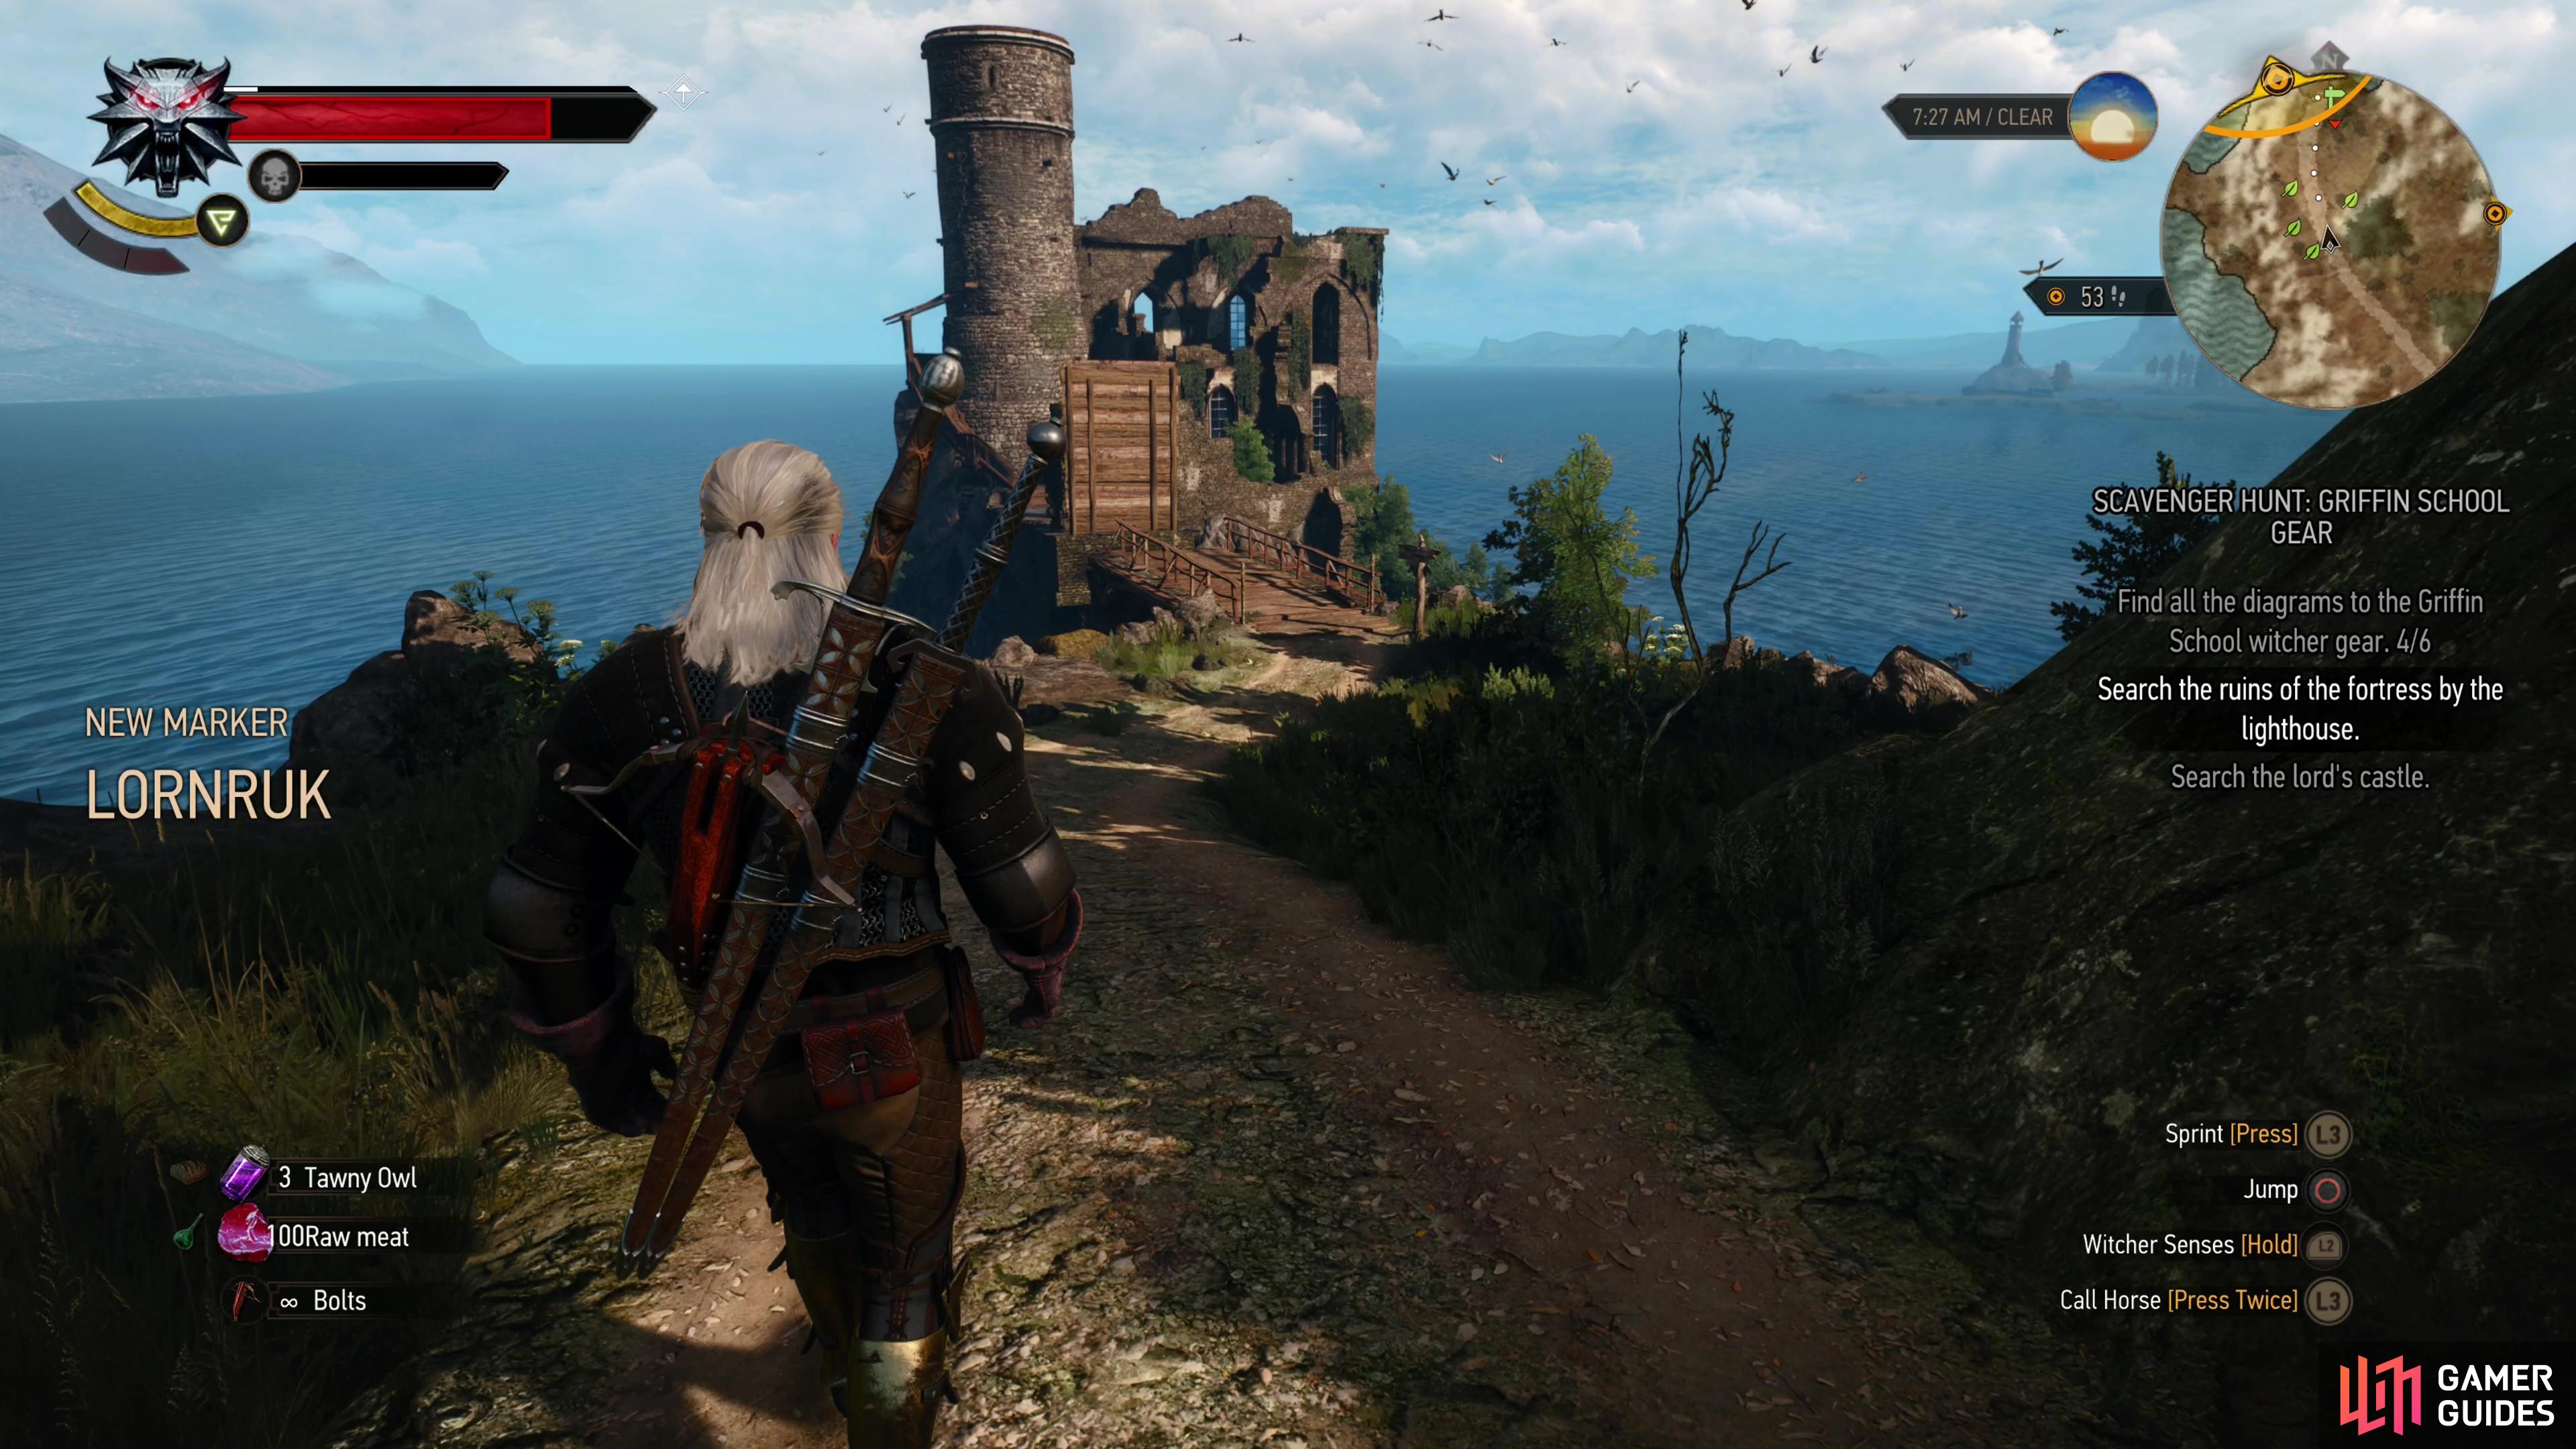
To find ![]() Lornruk, fast travel back to Heatherton and from there follow the roads northwest, then north. You may stumble past the Abandoned Tower signpost on the way, and will almost certainly have to fend off some Wolves, but otherwise it should be a fairly uneventful trip. Once you arrive you’ll find the Lornruk signpost, and north of this, the ruins you seek. The only problem? The drawbridge is raised and you don’t have wings - but the
Lornruk, fast travel back to Heatherton and from there follow the roads northwest, then north. You may stumble past the Abandoned Tower signpost on the way, and will almost certainly have to fend off some Wolves, but otherwise it should be a fairly uneventful trip. Once you arrive you’ll find the Lornruk signpost, and north of this, the ruins you seek. The only problem? The drawbridge is raised and you don’t have wings - but the ![]() Wyvern (Lv14) nesting in the ruins does!
Wyvern (Lv14) nesting in the ruins does!


(1 of 2) Follow the road northwest and north from Heatherton to find Lornruk,
Follow the road northwest and north from Heatherton to find Lornruk, (left), where a Wyvern roosts - lure the beast to the road and kill it. (right)
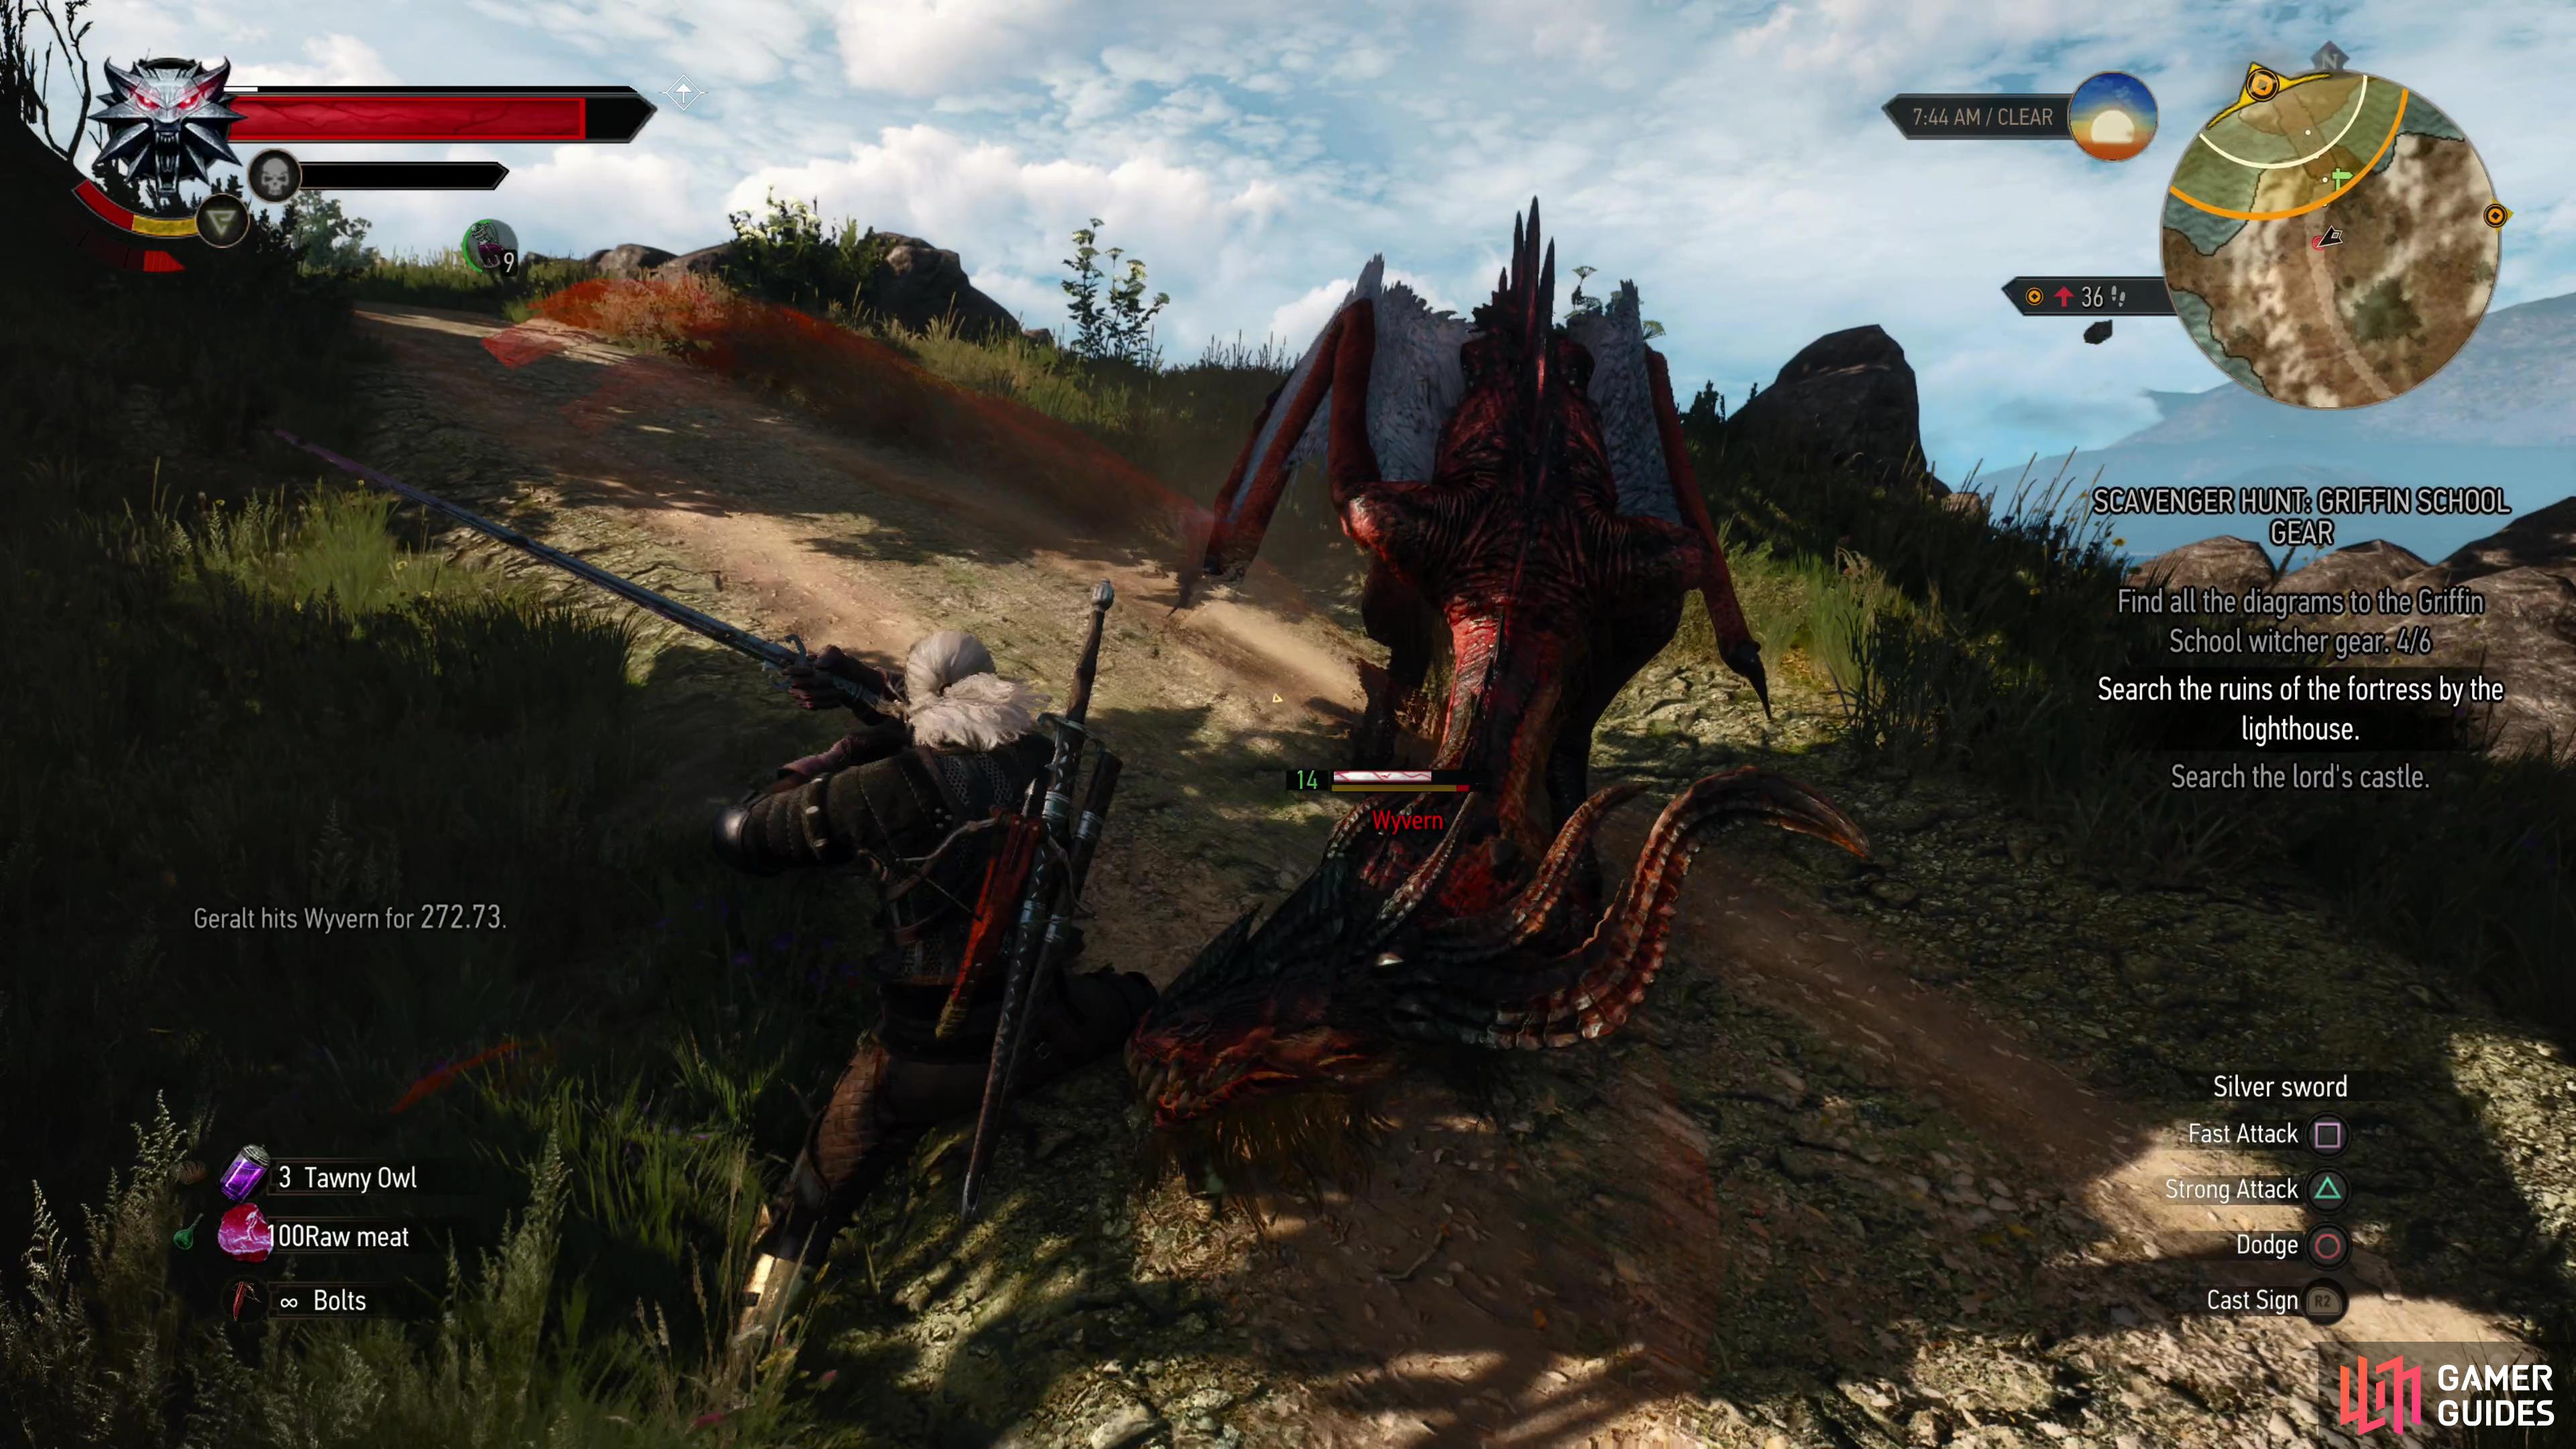
Defeat the Wyvern
We’re not going to get into the ruins from the road, that much is clear, but it’s easier to fight the Wyvern out in the open, rather than within the confines of the ruins itself, so approach the raised drawbridge and hopefully the monster will be provoked into attacking. Despite its level, the Wyvern shouldn’t be an insurmountable threat if your own level is also in the double digits. The Wyvern favors bites and leaping claw attacks, and it can also do a flying dive attack (shoot it out of the air with a crossbow, if you can!), but Quen is proof against all of these. While protected with Quen, pelt the beast with a strong attack and immediately dodge afterwards - Quen should keep you safe from the odd hit, and if you find yourself with a surplus of stamina, use Igni and hopefully let some burn damage take down its health. Defeat the Wyvern, loot it, then turn your attention into how you’re going to get into these ruins.
Go Through the Cave to Reach the Ruins
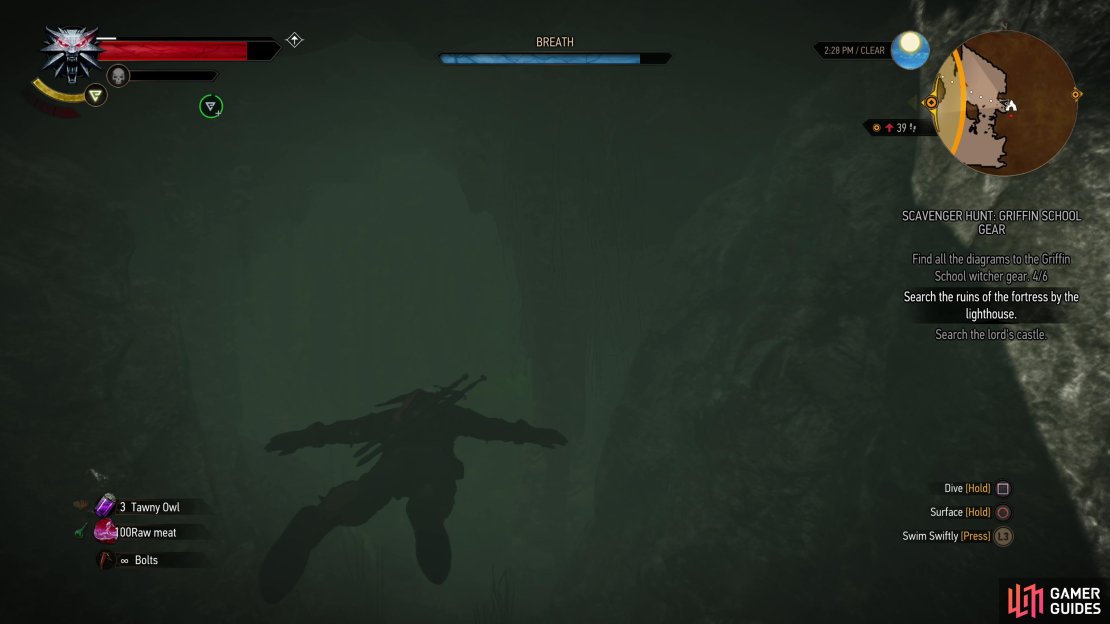
To get across to the ruins, you’ll first need to head down to the coast. There are many ways to do this (including just swimming from somewhere further east), but one route you can take is to head back down the road to the south until you spot a trail running uphill to the northeast. This doesn’t take you very far, but if you keep heading northeast from where the trail ends you’ll find a valley you can descend down into, and once you’re in the valley turn north to find a passage that leads out to the sea. Slide down some rocks to the north to get in the water, then swim west, but stay wary - ![]() Drowners (Lv10) infest these waters. There are about half a dozen of them, and you’ll want to dive a fair distance away then pick them off with your crossbow, which for some reason is stupendously powerful underwater.
Drowners (Lv10) infest these waters. There are about half a dozen of them, and you’ll want to dive a fair distance away then pick them off with your crossbow, which for some reason is stupendously powerful underwater.
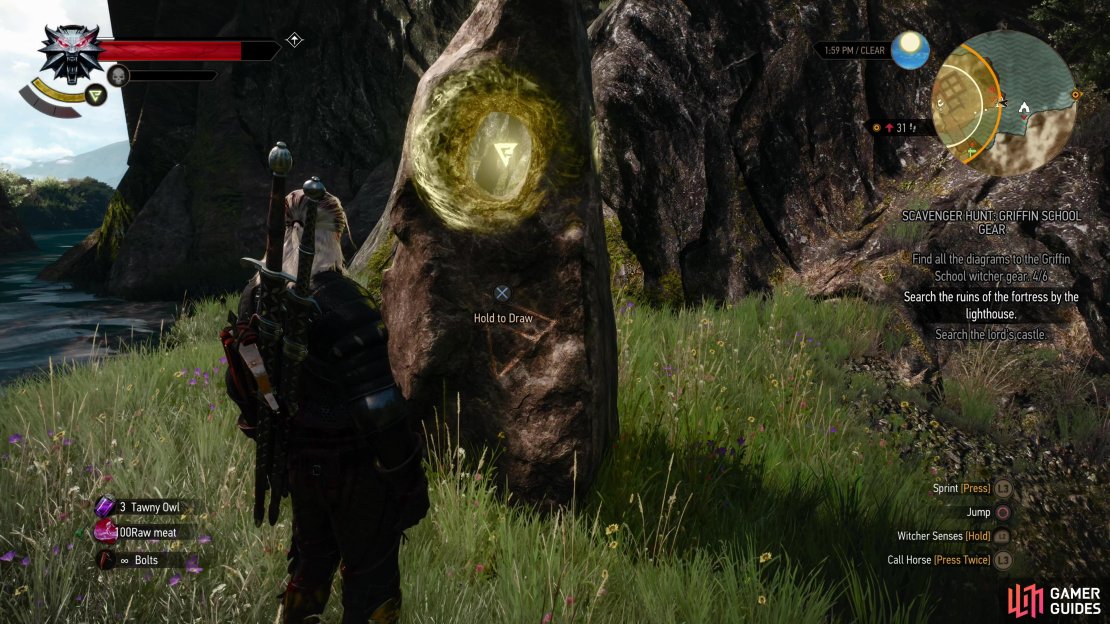
Kill the Drowners and advance and you’ll find a [Place of Power] on the shore of the island that houses the ruins you seek to reach. Draw from it, then dive off the southeastern end of the island to find a cave leading under where the Place of Power stands. Kill any Drowners you missed earlier (some may end up on the shore near the Place of Power, others in the submerged cave, and others still may have been swimming out at sea) then swim northwest down the submerged cave to reach a cavern. Loot a chest to the east, climb up some ledges, then climb a ladder to reach the interior of the ruins.
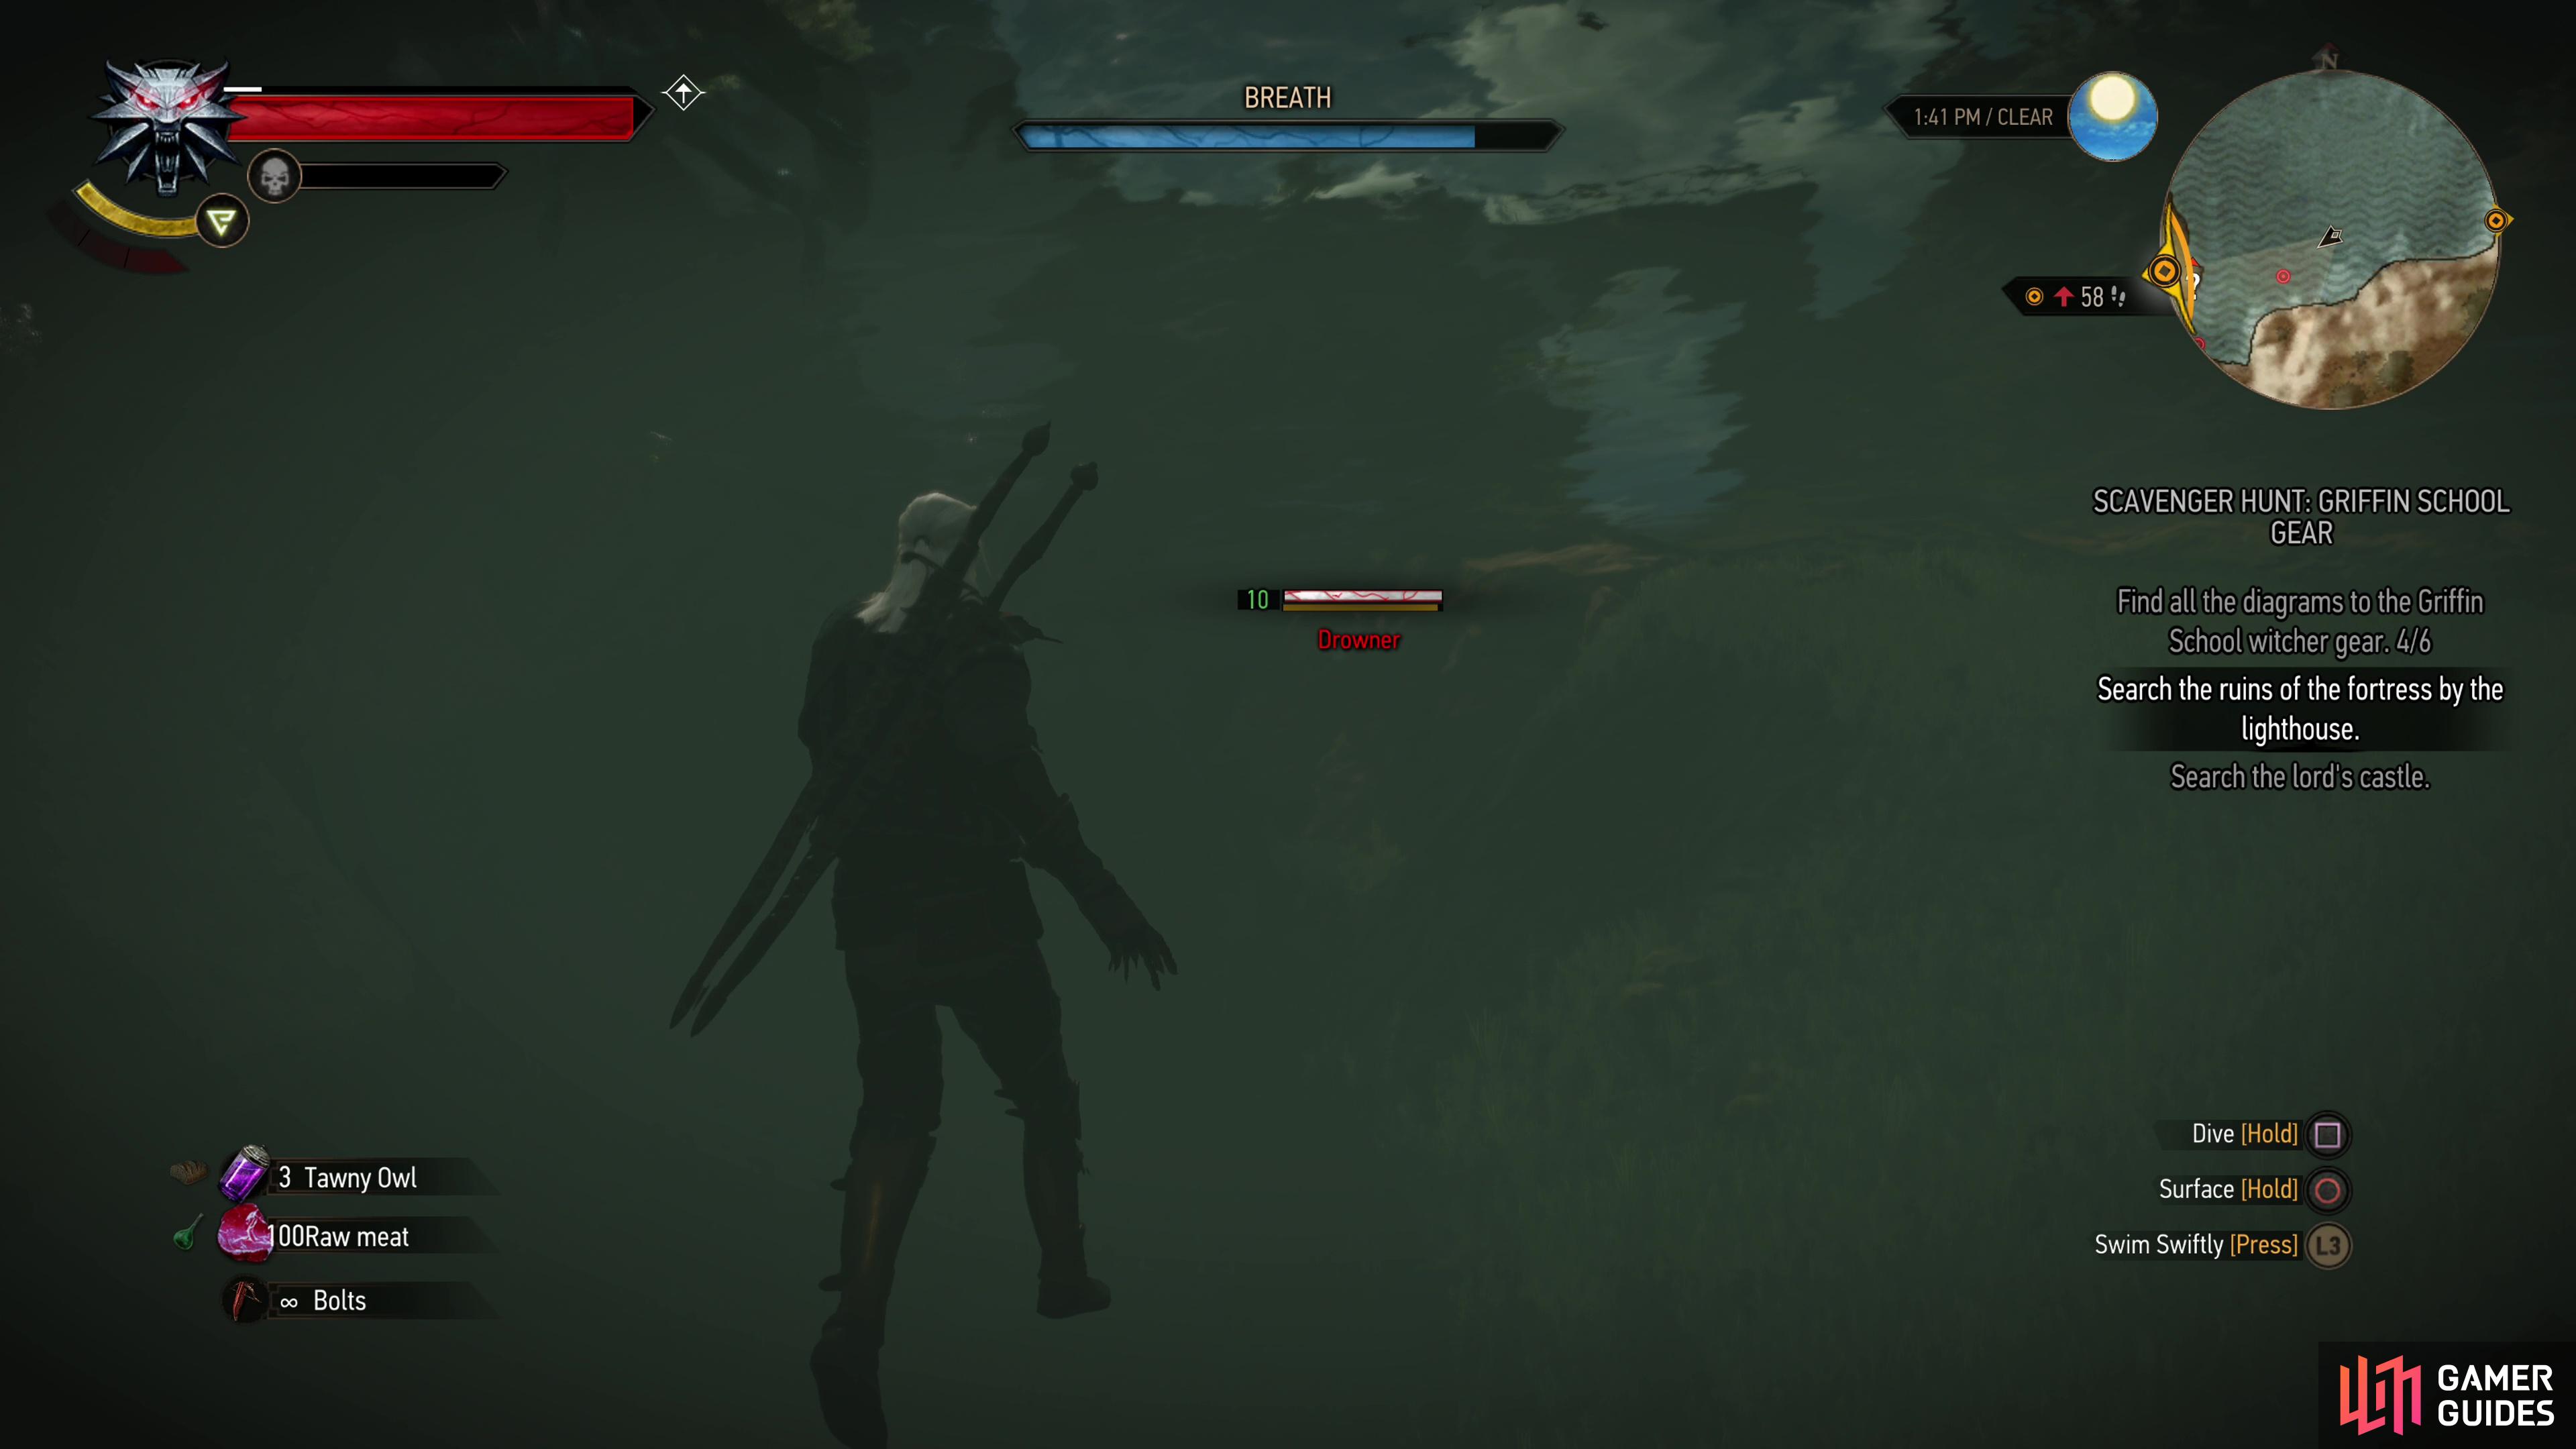

(1 of 3) Snipe some Drowners with your crossbow,
Find the Diagram for the Griffin Silver Sword
Activate your Witcher senses and loot everything that glows as you make your way up two flights of stairs before ultimately exiting back outside. From here turn southeast to find a wheel you can turn to lower the drawbridge, assuring you never have to take the long, wet route to return to these ruins. Backtrack to the door you just came out of and notice a ladder on the wall near said door - climb it to reach an upper floor, now exposed to the elements. In a chest along the southeastern wall, near a grindstone, you’ll find the book Crafting ![]() Notes and the Diagram: Griffin Silver Sword.
Notes and the Diagram: Griffin Silver Sword.

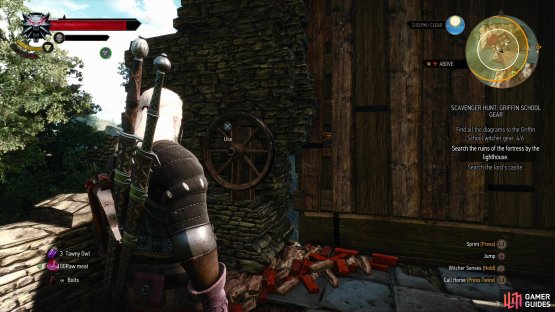

(1 of 2) Turn a wheel to lower the drawbridge,

Turn a wheel to lower the drawbridge, (left), then climb a ladder to find a chest containing the Diagram: Griffin Silver Sword. (right)
While you now possess the prize you came here for, be sure to loot the rest of the ruins, including the lighthouse - there’s still plenty more to plunder around.
The guide doesnt say it, the best place to get the Griffin swords/armor made (assuming you havent yet made it to Novigrad) is the blacksmith/armorer in Oxenfurt.
"From here if you follow the road south-east, the south until it bisects a road running north-east you’ll find the “Harpy Feeding Ground” signpost"
And if you follow it to the northeast you will find a sign for "Harpy Feeding Place
"Head along a road south-west from the camp until you reach a four-way split in the path."
In my version (next-gen update) there is no road leading southwest. But on the map on the site the road is presented.