
After you’re done choosing your game settings you’ll be treated to a cinematic before the game properly starts in a possibly familiar tower in Kaer Morhen - home of the School of the Wolf. Geralt’s cozy bath will be interrupted by some magical crustacean mischief on the part of his lover, Yennefer, and after being reprimanded Geralt will be tasked with fulfilling his promise to Ciri. Use the quick jump table below to go straight to the parts you need or keep reading for a complete walkthrough.
Objectives
| Objectives |
|---|
| Find the Key and Talk to Ciri |
| Running the Walls - Movement Tutorial |
| Combat Tutorial |
| Attacking, Dodging, Rolling and Parrying |
| Signs Tutorial |
| Bombs Tutorial |
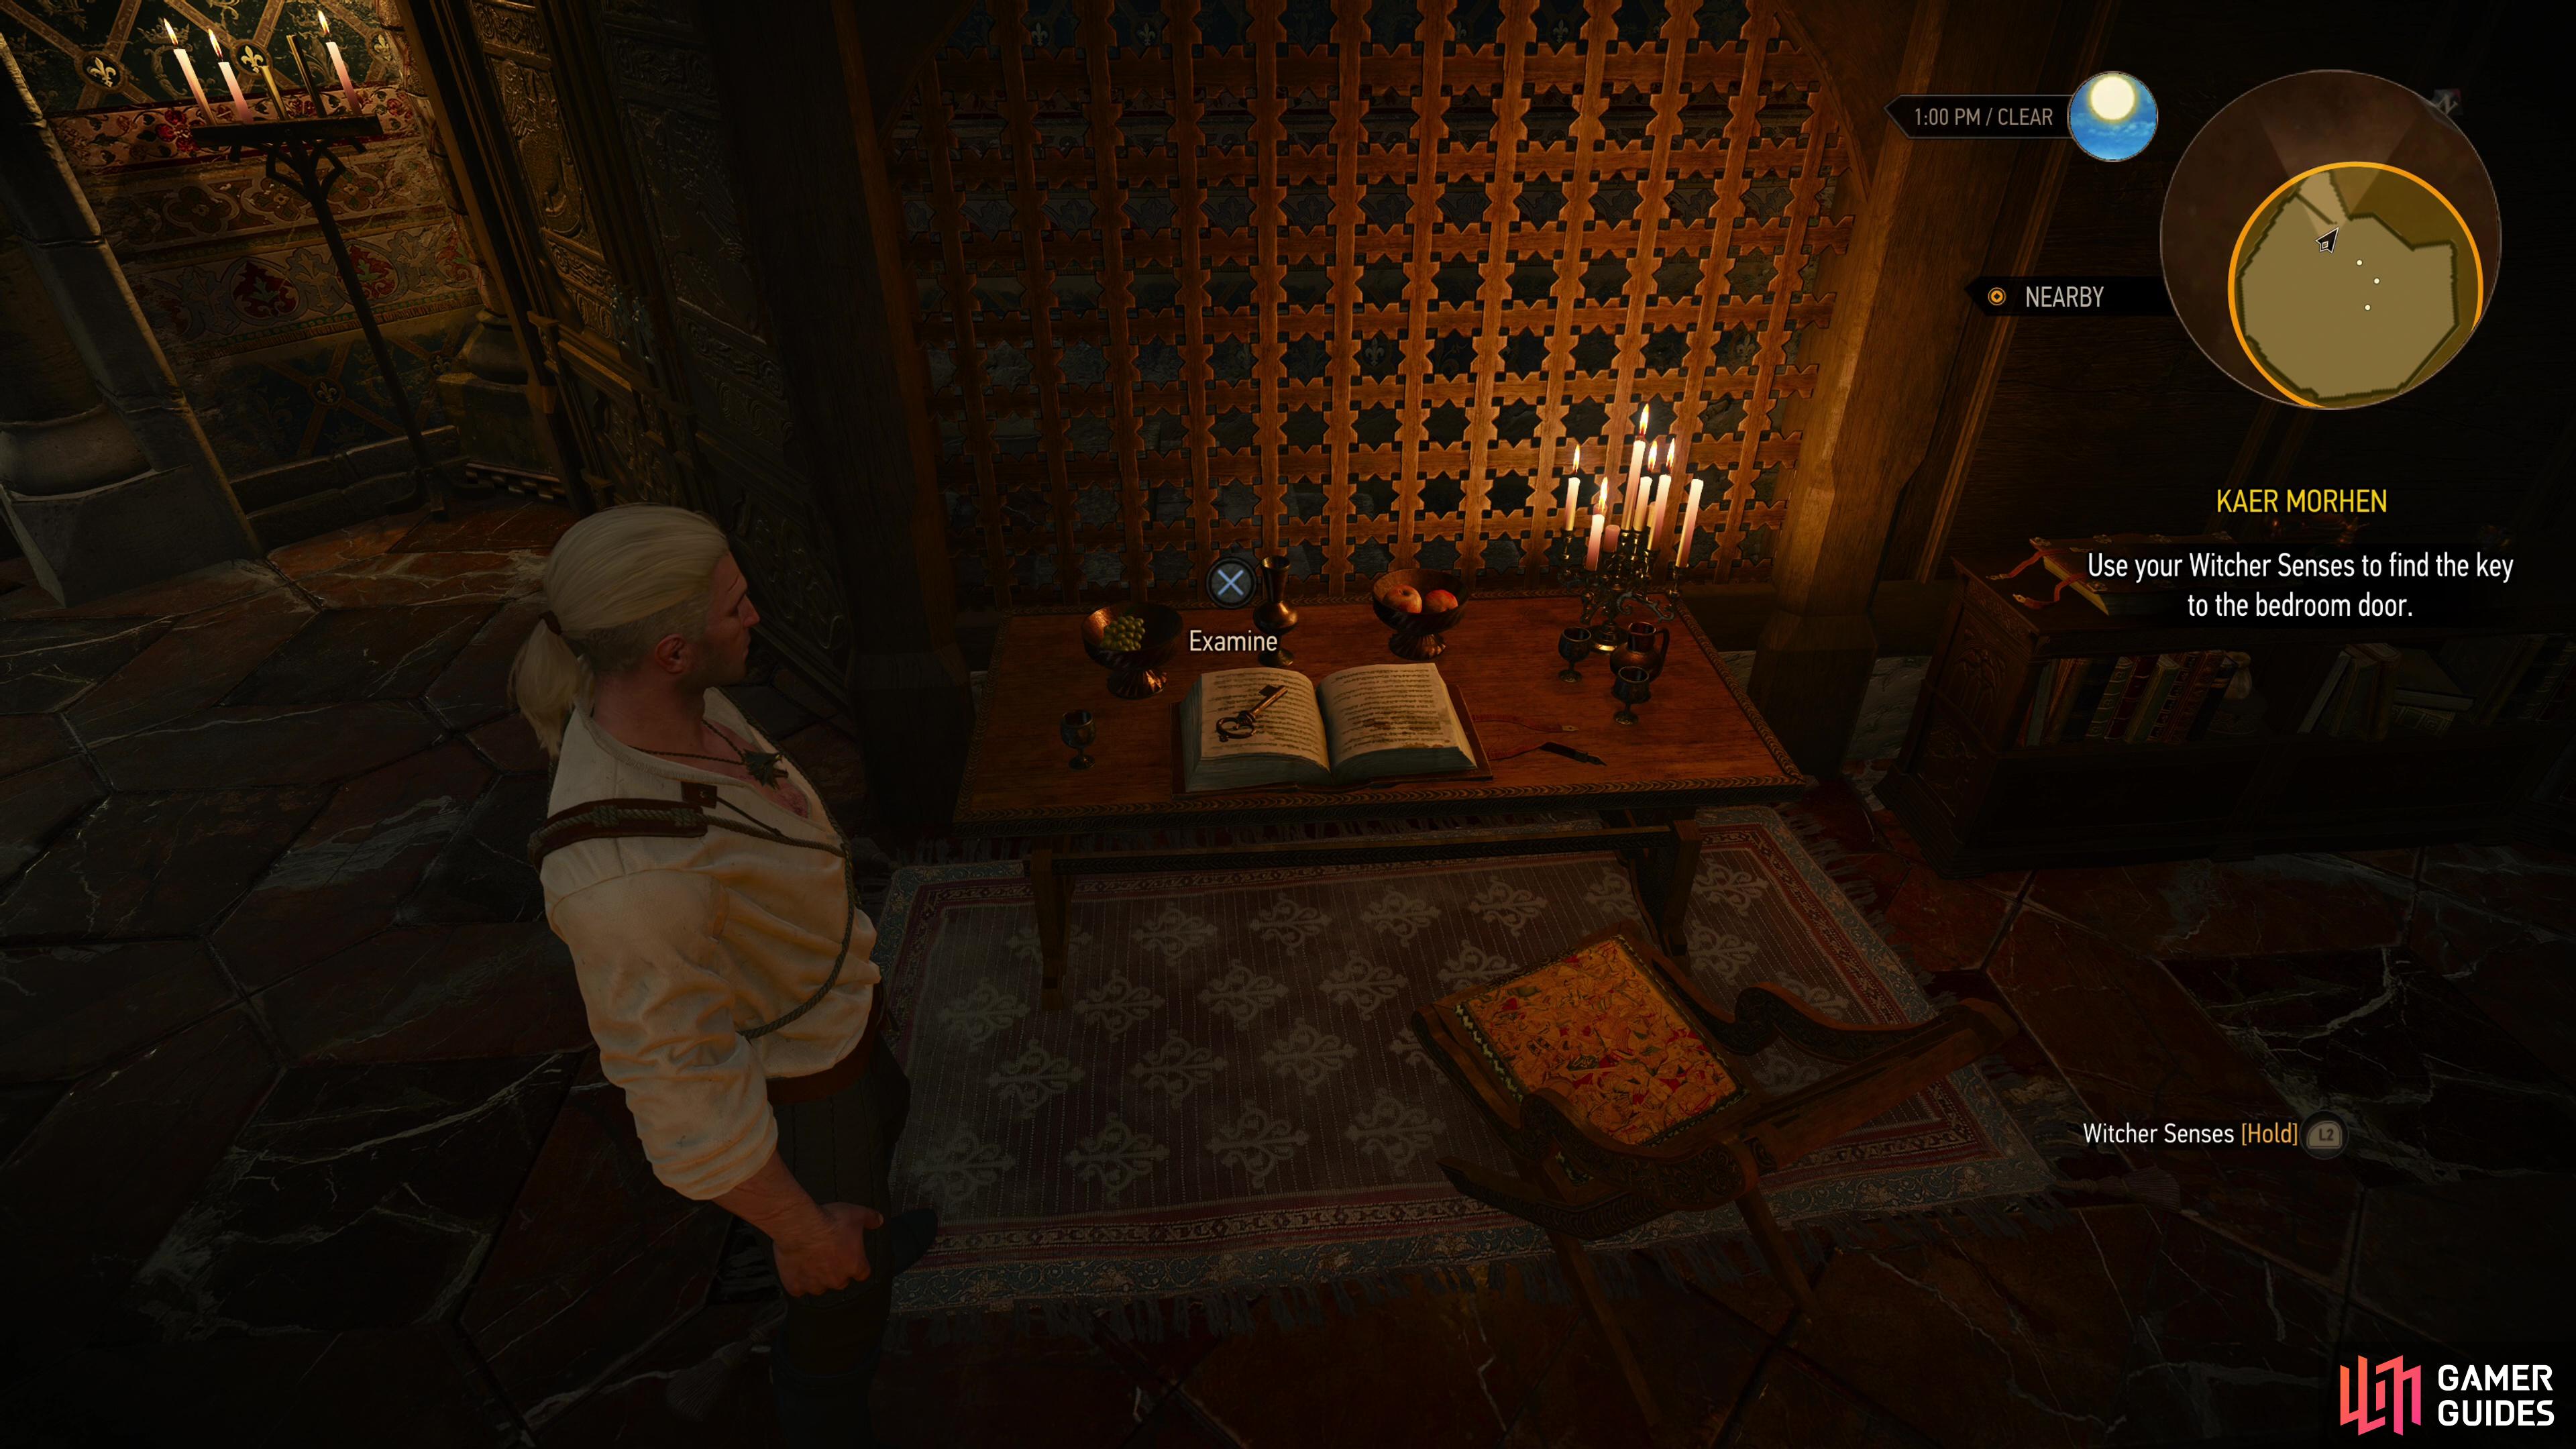
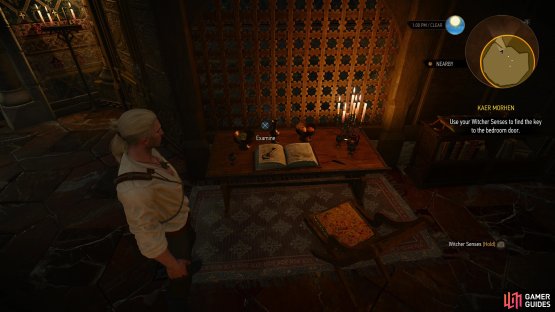

(1 of 2) You can find the key you need on a book along the northern end of the room.
You can find the key you need on a book along the northern end of the room. (left), Use your witcher senses to highlight interactable objects red and yellow. (right)
Find the Key and Talk to Ciri
Your first task is to procure a key for the door, which has been wisely locked to keep prying eyes out. Aside from pointlessly extinguishing candles, examining various objects and getting some commentary from Geralt and Yennefer, there’s not much else to do here. You’ll find this key along the northern end of the room, on a book on a table near the door. This is an opportunity to try out your Witcher senses, which you can activate by holding 
 . Objects of interest will glow yellow or red, enemies will be marked by a series of radiating white circles, and especially important items may also be marked by glowing motes of white light. You’ll be using this a lot to follow trails, track scents, find secrets and the like. Grab the key and open the door…. and yes, the game even gives you a tutorial for opening doors. Turns out you have to face them and press. Who knew?
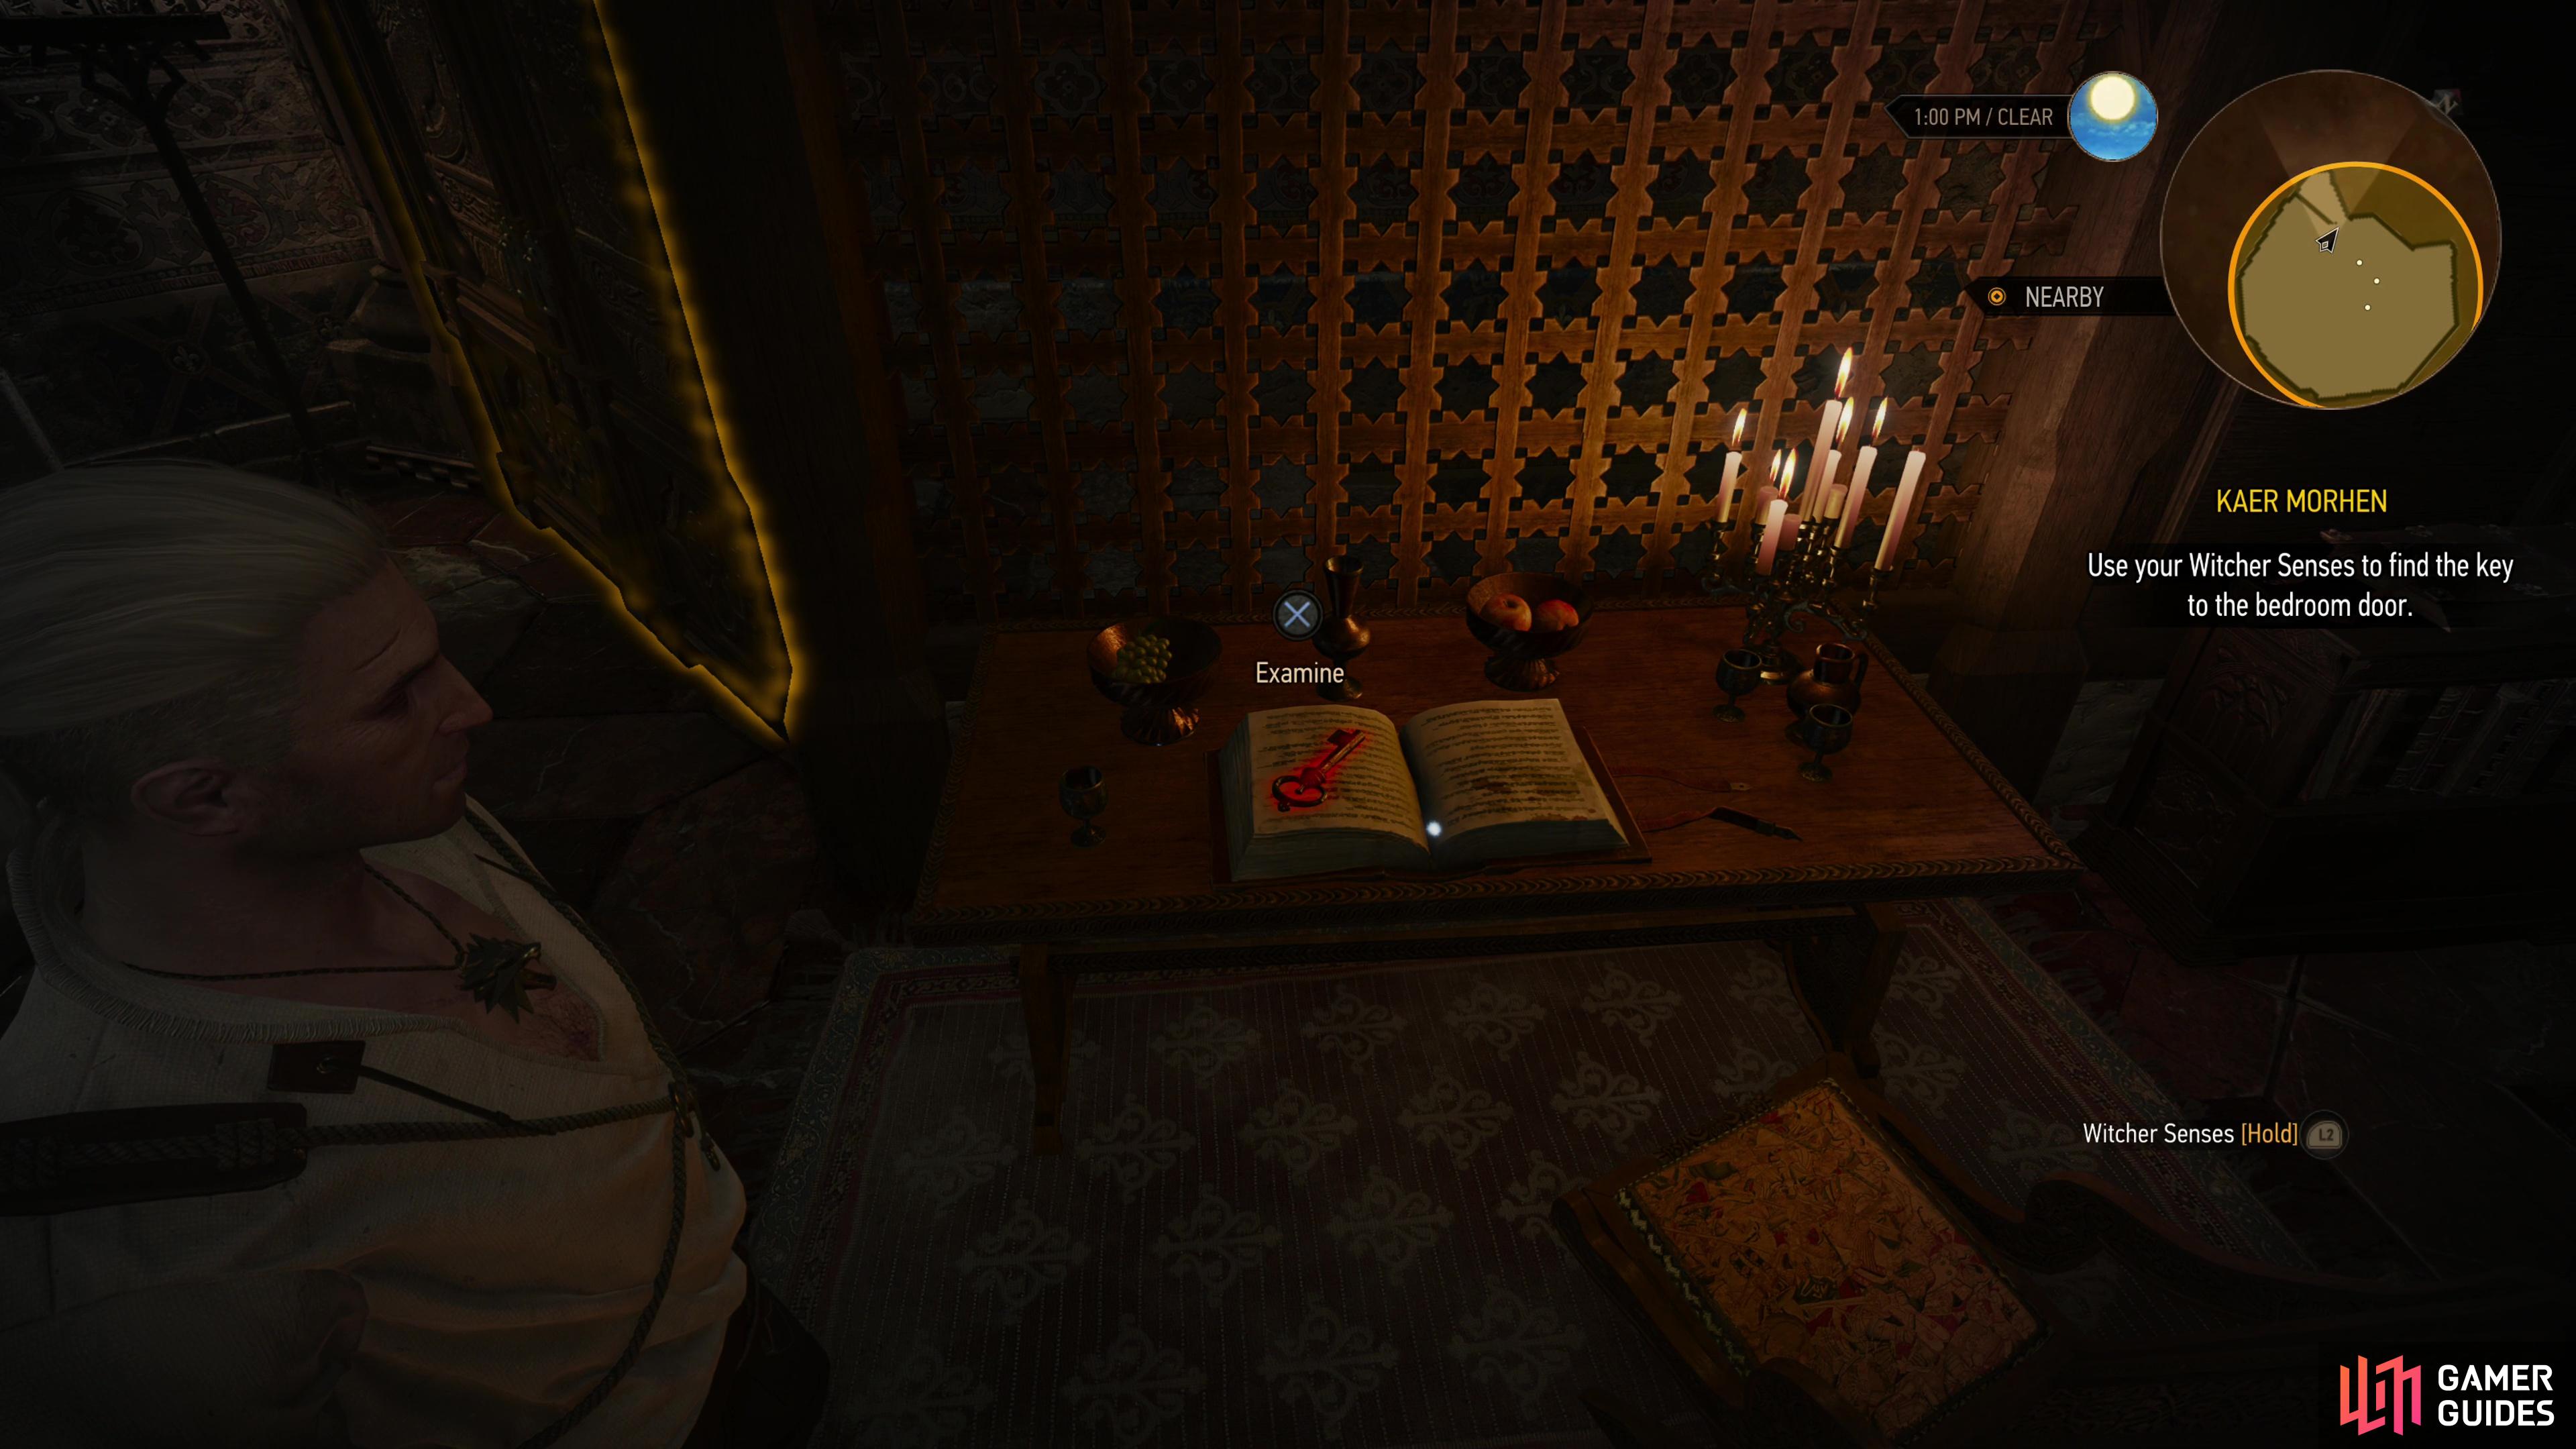
Unlock the door and strut downstairs, Geralt-style. Once on the ground floor Geralt will note that the elder Witcher of the Kaer Morhen school, Vesemir, has failed at keeping an eye on Ciri. Instead of some dull book-work, Ciri decided to terrorize some training dummies while Vesemir caught forty winks. After some chatter with Vesemir (your dialogue responses largely don’t matter here, save for skipping some tutorials), Geralt heads down to chastise the young aspiring Witcher. After chatting with Ciri for a bit, she’ll ask if you want to “run the walls”, which is a handy, more in-depth tutorial covering basic mobility - climbing, running, etc.

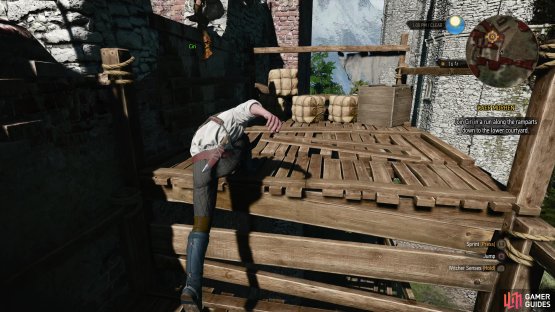
(1 of 2) Meet up with Ciri and you’ll be prompted to “run the walls”,
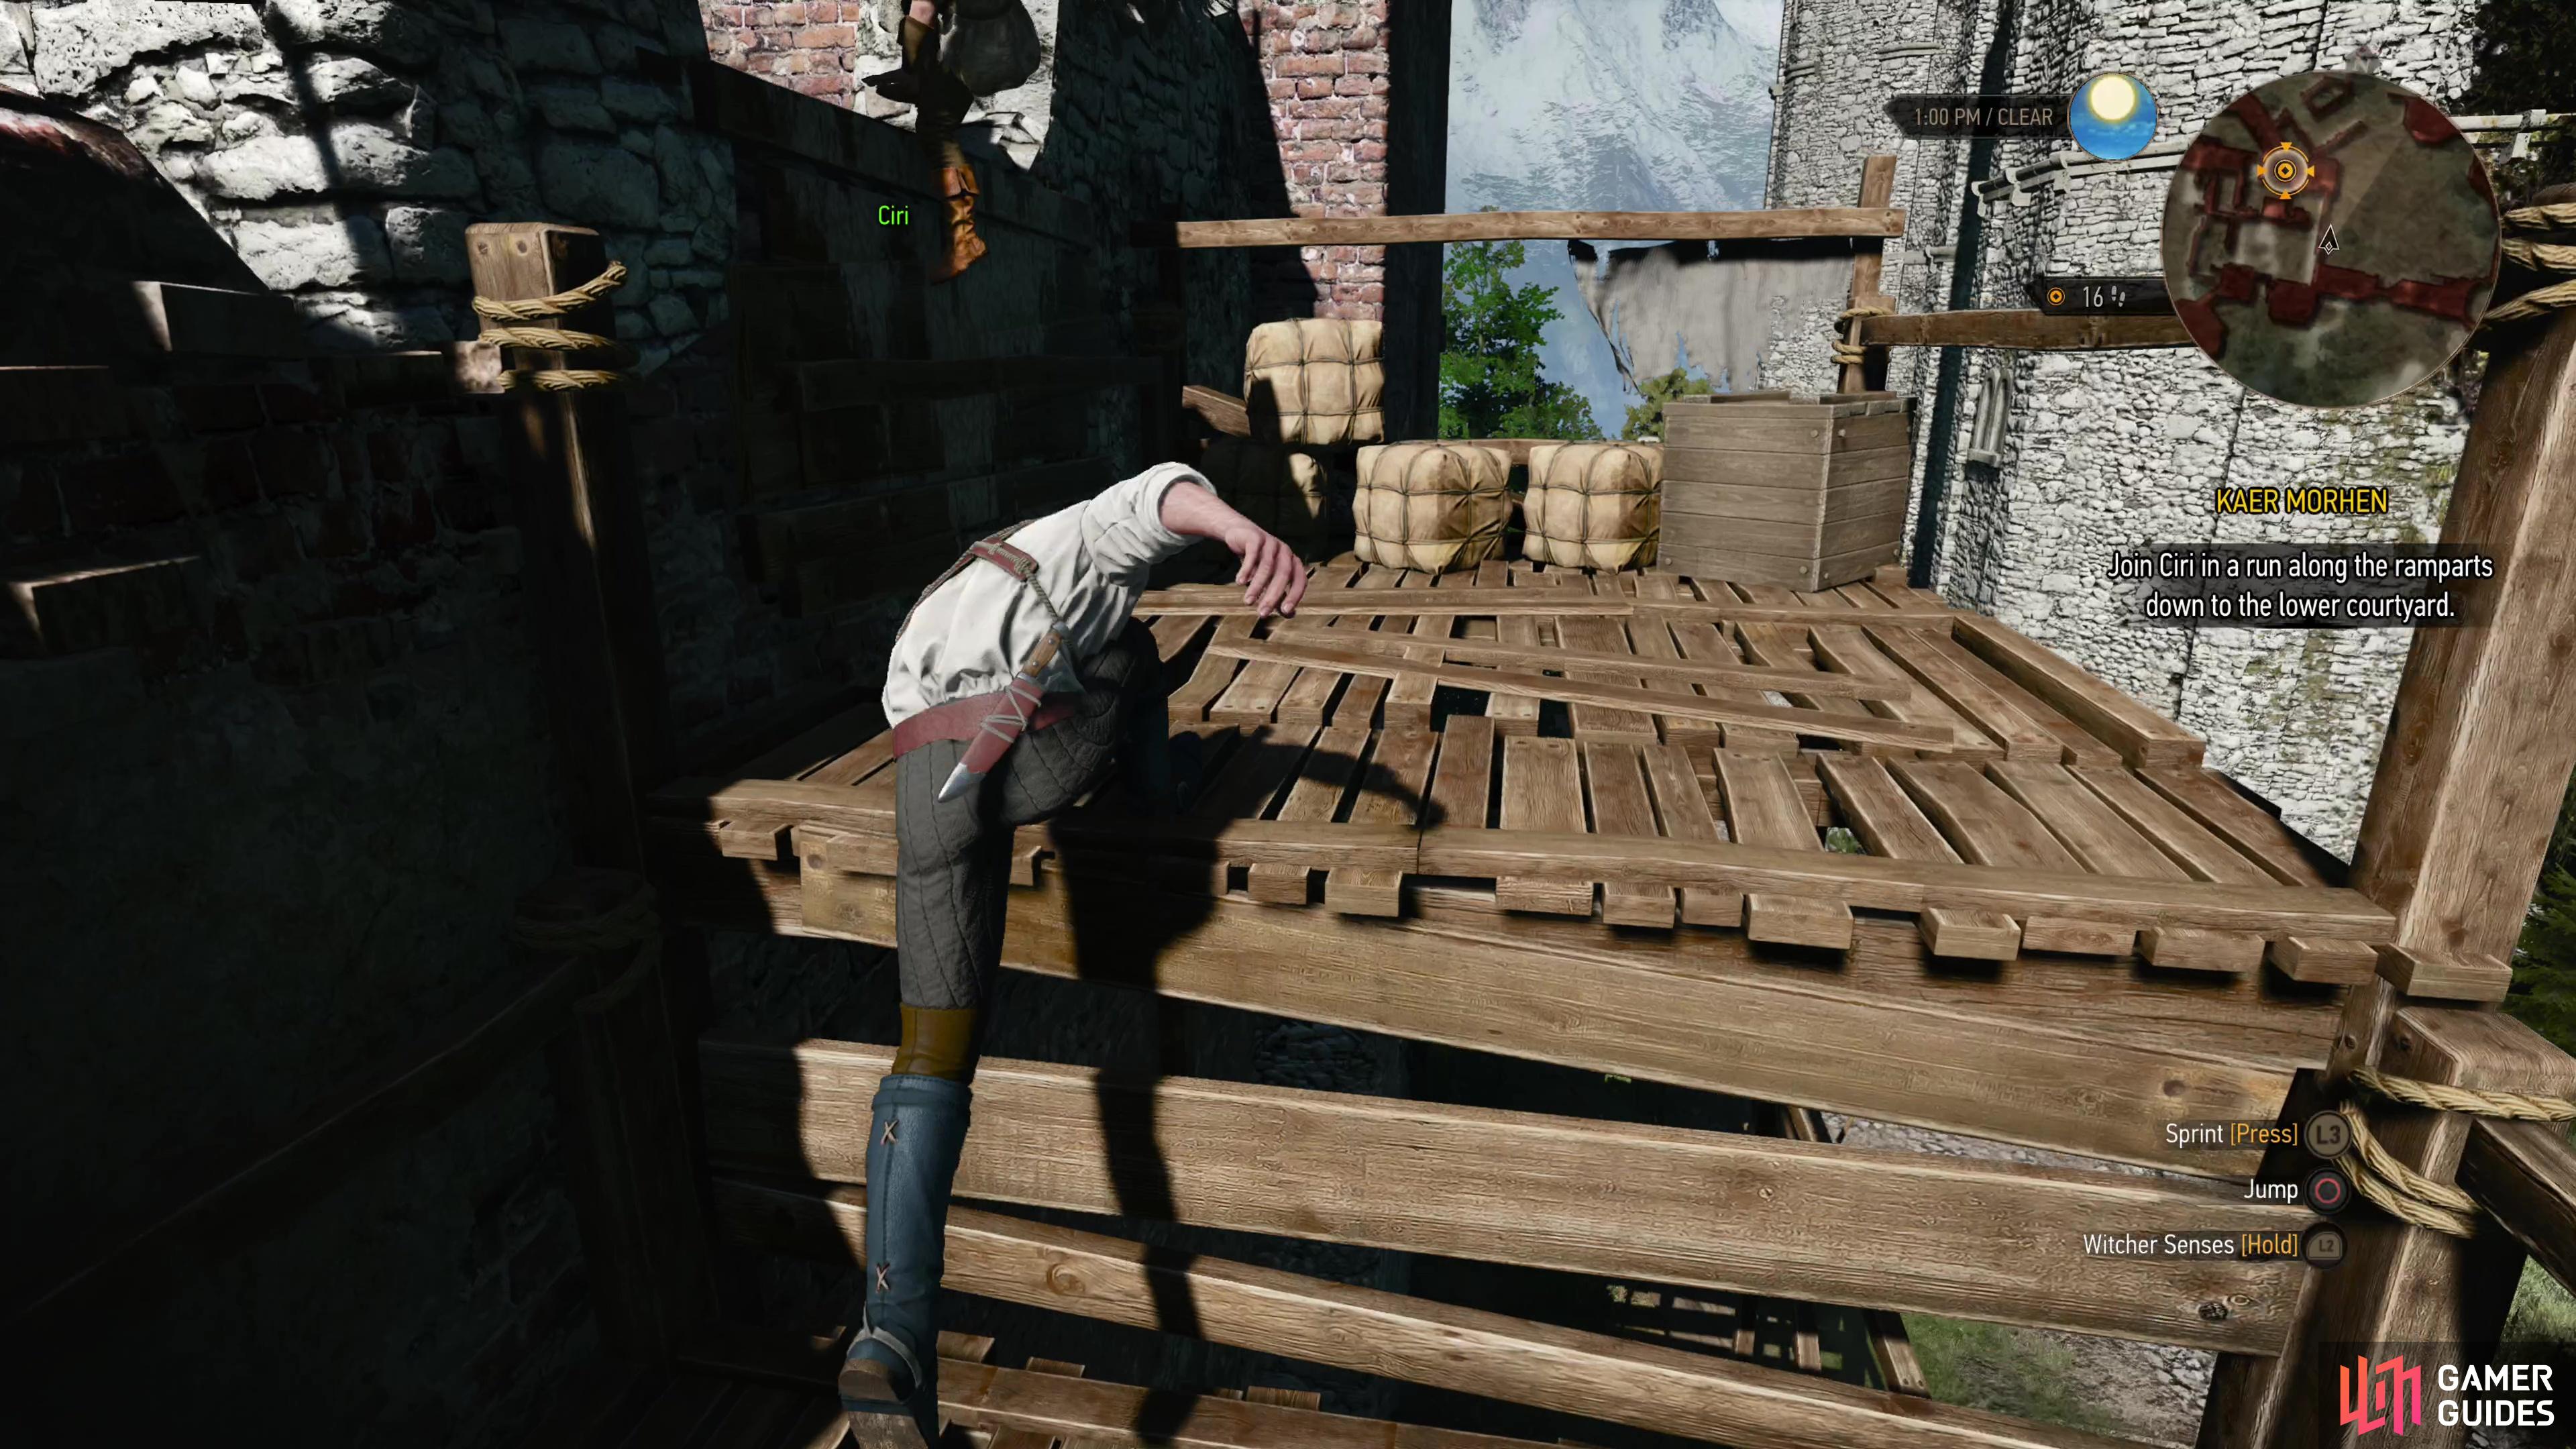
Meet up with Ciri and you’ll be prompted to “run the walls”, (left), starting a race where you’ll learn how to run, climb, vault and generally move around as Geralt. (right)
Running the Walls - Movement Tutorial
If you choose to “run the walls”, start out by heading west and climbing a ladder, then scale two platforms to the north 
 and climb onto a wall to the west. Drop off a ledge to the north, then another to the south before climbing down a ladder to the east. Head down some stairs to the south and climb down another ladder, then navigate some wooden walkways to the west, going down two more flights of stairs and another ladder. Once all this is done, your goal is to head east into a sunken courtyard to find Vesemir, who is waiting with Lambert and Eskel, two other resident Witchers. Vesemir will give Ciri the angry old man treatment before finally moving on to combat training. Accept the tutorial if you wish to learn more about combat (why wouldn’t you?) or pass.
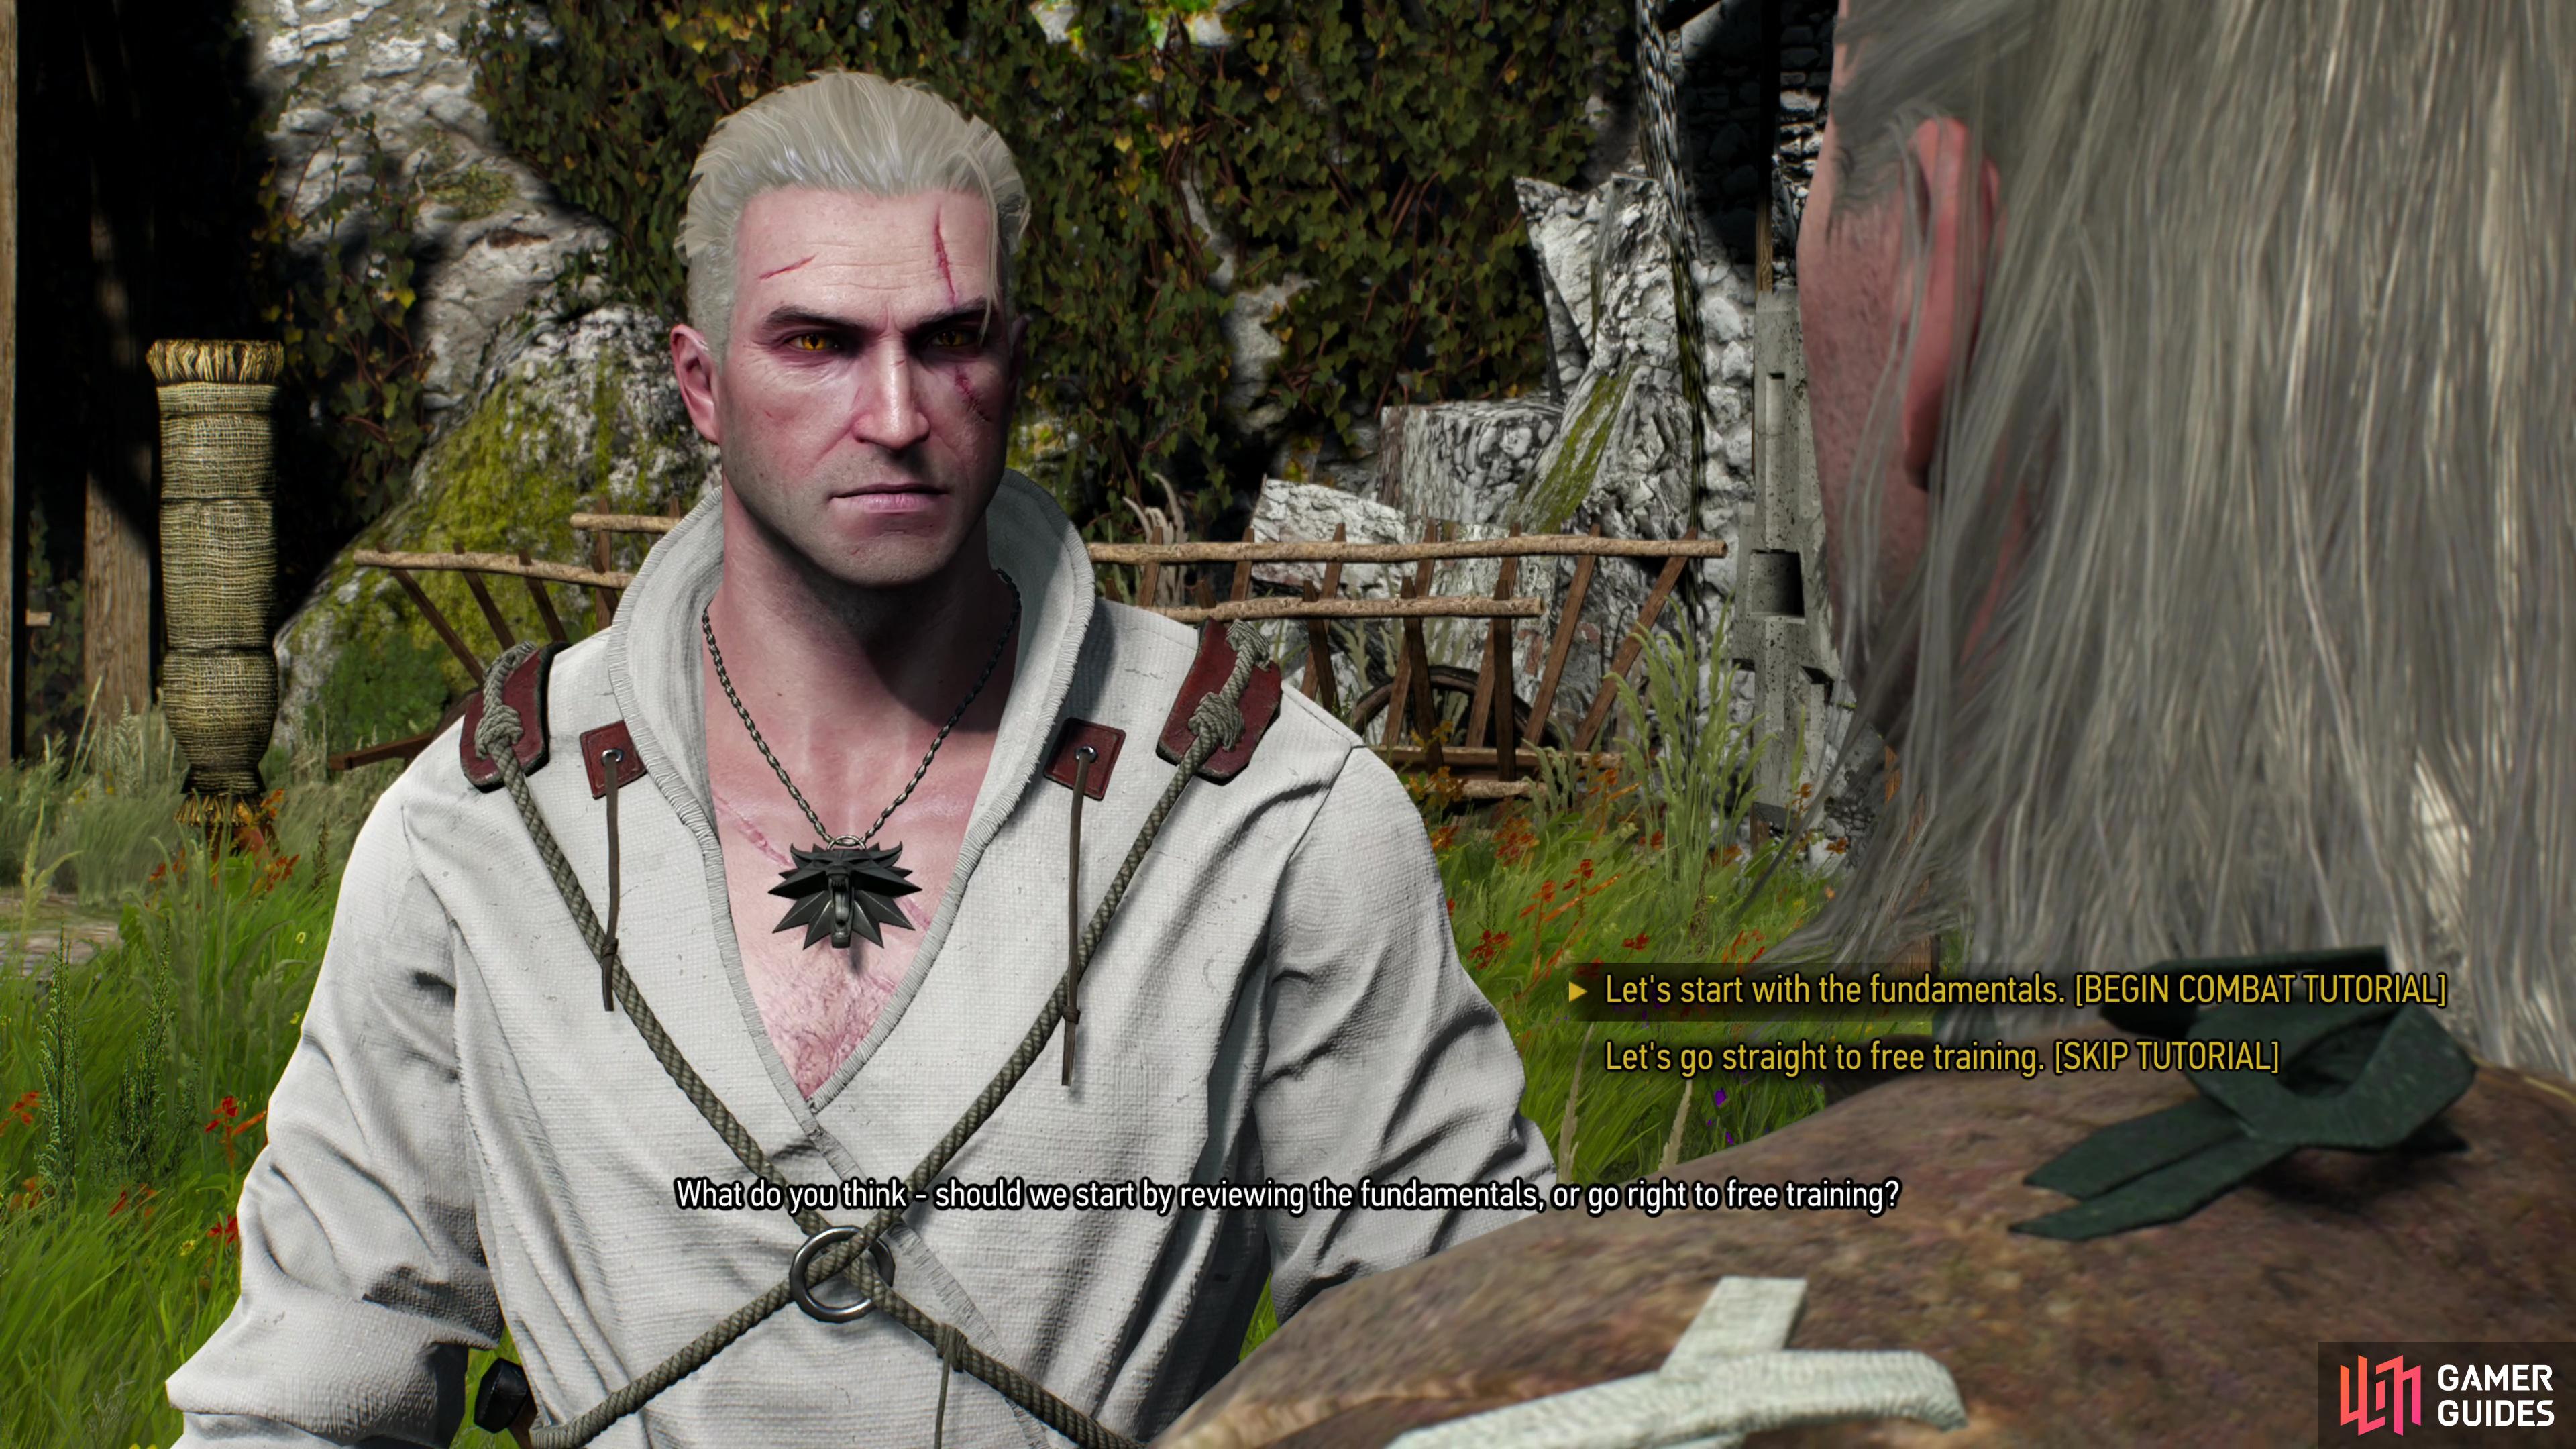

(1 of 3) After running the walls you’ll be offered a combat tutorial, courtesy of Vesemir.
Combat Tutorial
Choose to “start with the fundamentals” and Geralt will claim a sword for him to use. The game will briefly introduce you to the three basic tools of a Witcher-swords, signs, and alchemy. For now, we’re focusing on swords. Press 
 on the D-pad to quick-draw your steel sword (useful for fighting humans, who tend to be clad in pesky armor). Silver swords
 will come into play later when we’re hunting monsters, who are vulnerable to silver-plated weaponry.
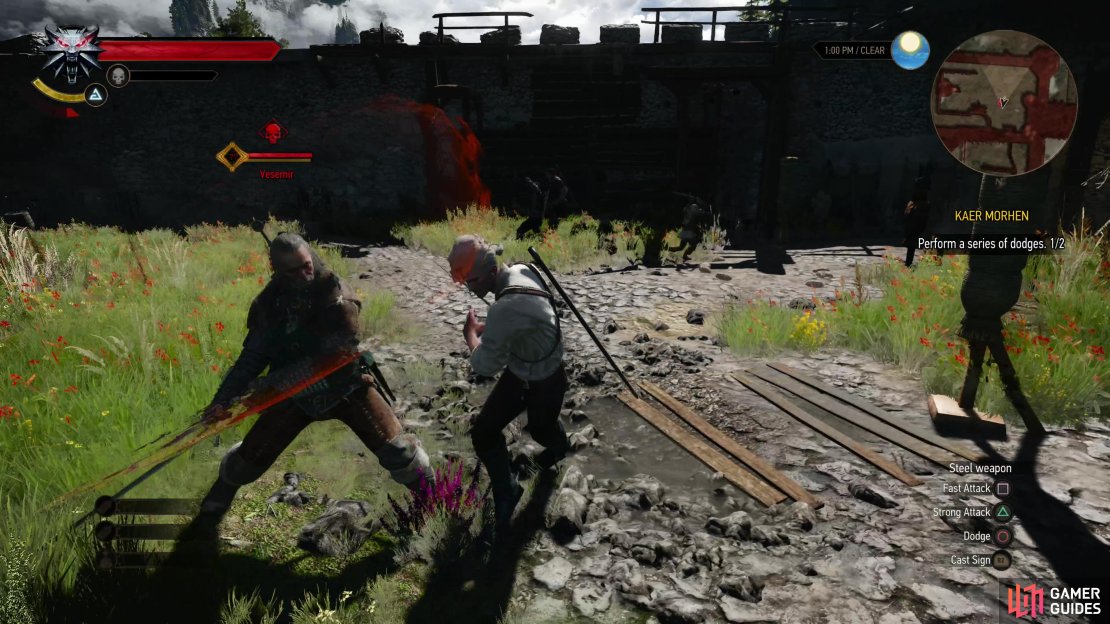
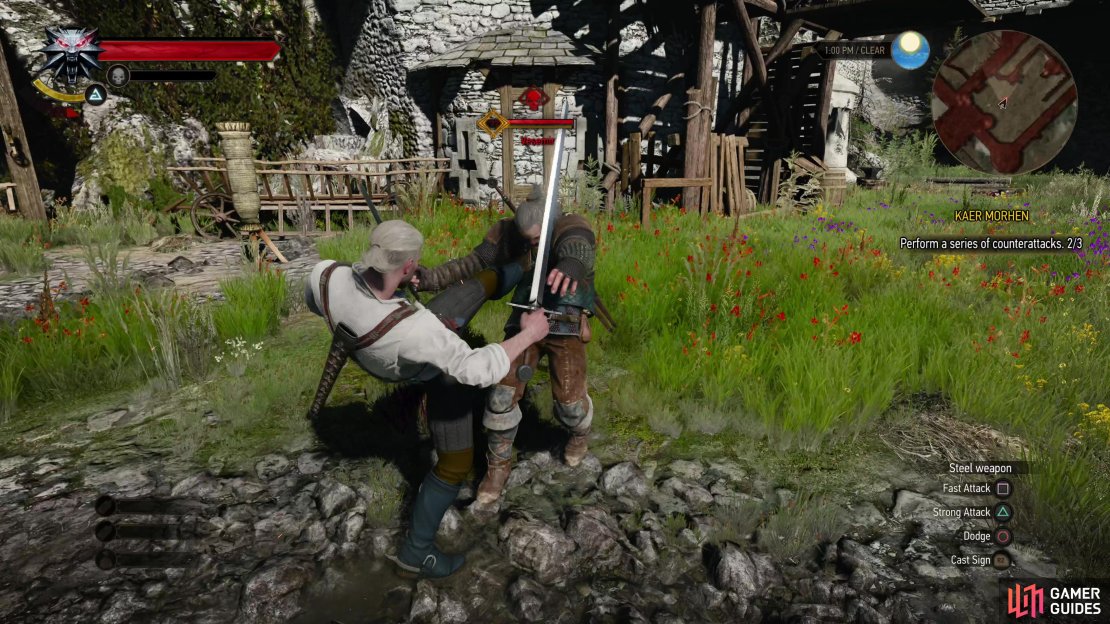
Attacking, Dodging, Rolling and Parrying
Once your sword is out, lock onto Vesemir by pressing down on the 
 button, then perform a series of Fast Attacks
 as instructed, followed by Strong Attacks
 . Next up, dodging . Vesemir gives ample warning before he attacks, so you should have no trouble scoring two dodges that this task requires. Next you’ll need to roll
 out of the way twice, which is more of the same, except Vesemir’s attacks are even more obvious. What’s the difference? Dodges are shorter, faster and come with plenty of iframes, making you functionally invulnerable during them, while rolls travel further and have a longer recovery time. Except for the odd AoE (Area of Effect) that requires you to roll out of the way, you should be dodging most of the time. Parrying is the next order of business; simply hold down to parry all of Vesemir’s attacks. Finally, it’s time to practice ripostes. Hit as Vesemir attacks to block-and-counter him. You may want to practice this, as parrying is essential for defeating enemies armed with one-handed melee weapons. Fortunately the counterattack window is fairly generous - no fighting game timing here.


(1 of 3) Vesemir will also kindly walk you through the various signs you have at your disposal,
Signs Tutorial
Now it’s time to move onto Signs. Hold 
 to open the quick menu, from which you can select your signs. The first up is the Quen Sign. Select it, then cast it by pressing
 . Quen blocks damage, and is eminently useful for mitigating damage. Cast it and let Vesemir hit you… to no effect. Then switch to the Igni sign, which projects a cone of fire at your foe, which is handy for harming or dispatching a group of weaker foes, or perhaps setting a stronger critter on fire. Next up is the Axii Sign, which Geralt can use to disorient foes. It’s also handy for gaining the upper hand in diplomacy. Last up is Yrden, which places a magical trap on the ground that slows enemies who enter. It’s a lot to take in, but here’s a rundown:
-
Quen: Creates a defensive barrier on Geralt. Lasts until hit or until the duration expires. Should nullify most attacks entirely, but some heavy attacks are strong enough to damage Geralt through the shield and possibly knock him prone. With the “Active Shield” upgrade you can hold
to absorb attacks - this will drain your stamina proportionally to the damage absorbed, but with upgrades can also restore your Vitality! -
Igni: Shoots a cone of flame at enemies, dealing damage and possibly setting them on fire for damage-over-time. Best purely offensive spell Geralt has, although it’s very weak until you boost sign intensity. Later in the game it’s great against high HP enemies like Bears and Cyclops because the spell’s DoT (Damage over Time) is proportional to the target’s HP.
-
Aard: Projects a wave of force at enemies, potentially staggering them, knocking them prone, or even sending them flying off ledges! Effects vary depending on sign intensity, the enemy’s mass and the terrain. In theory staggering evasive enemies or knocking foes off cliffs sounds great, in reality, you’re often better off using other signs.
-
Axii: Attempts to beguile a foe, causing it to lower its guard or even charming it into fighting on your behalf! Can be useful during dialogue, in combat it’s also very situational - must-have versus Alghouls, but otherwise of limited utility.
-
Yrden: Create a ring of magical runes that debuff enemies who enter, usually by slowing them. If you unlock the sign’s alternative sign mode “Magic Trap” it’ll create… a magic trap that damages enemies and destroys projectiles passing through the area. It’s most useful against incorporeal enemies like wraiths, as it forces them to become corporeal and hence much more receptive to sword damage.
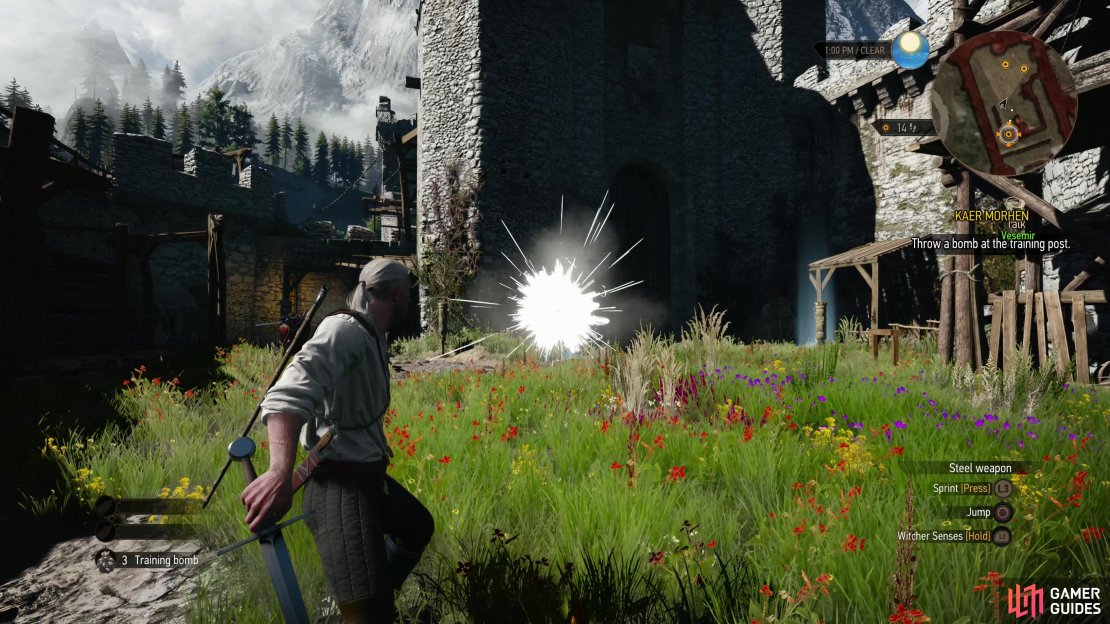
Bombs Tutorial
Swords and signs are done, which leaves only alchemy, which in this case means bombs. Press again and access the lower half of your radial, which contains equipped alchemical items (potions, bombs and oils). Once selected, chuck a bomb at Vesemir by pressing 
 , then head to the indicated spot when instructed and hold to free-aim at one of the target dummies (it doesn’t matter which). Let go of when your aim is true and you’ll throw the bomb.
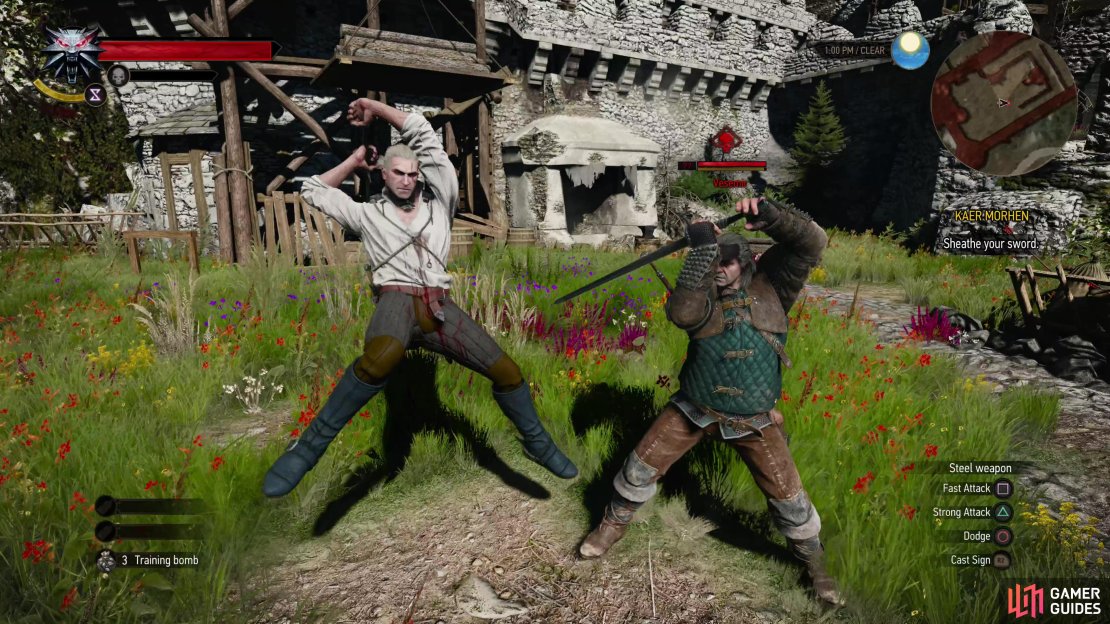
You can now freely train with Vesemir, and it’s nice to have the gloves off. Practice dodging, countering, attacking… all that good stuff… but especially dodging, countering and keeping Quen up. Those skills will come in very handy, especially on Death March! difficulty. The training ends when you sheath your sword and following an unsettling intrusion the dream will end, and the first full quest of the game, Lilac and Gooseberries will begin.
No Comments