
Velen is a dangerous place. Even without monsters or war, there’s plenty of pestilence and wildlife to threaten any man. When a local man goes missing while checking his snares, his fiance turns to anybody willing to help - including an armed Witcher who just so happens to be questioning a crying woman why she grieves. This page will provide a walkthrough for the secondary quest ![]() Love’s Cruel Snares in The Witcher 3.
Love’s Cruel Snares in The Witcher 3.
Quest Objectives
| Quick Search |
|---|
| Starting Love’s Cruel Snares |
| Find the Peasant’s Fiance |
| Love’s Cruel Snares: Accept the Reward or Refuse |
Starting Love’s Cruel Snares
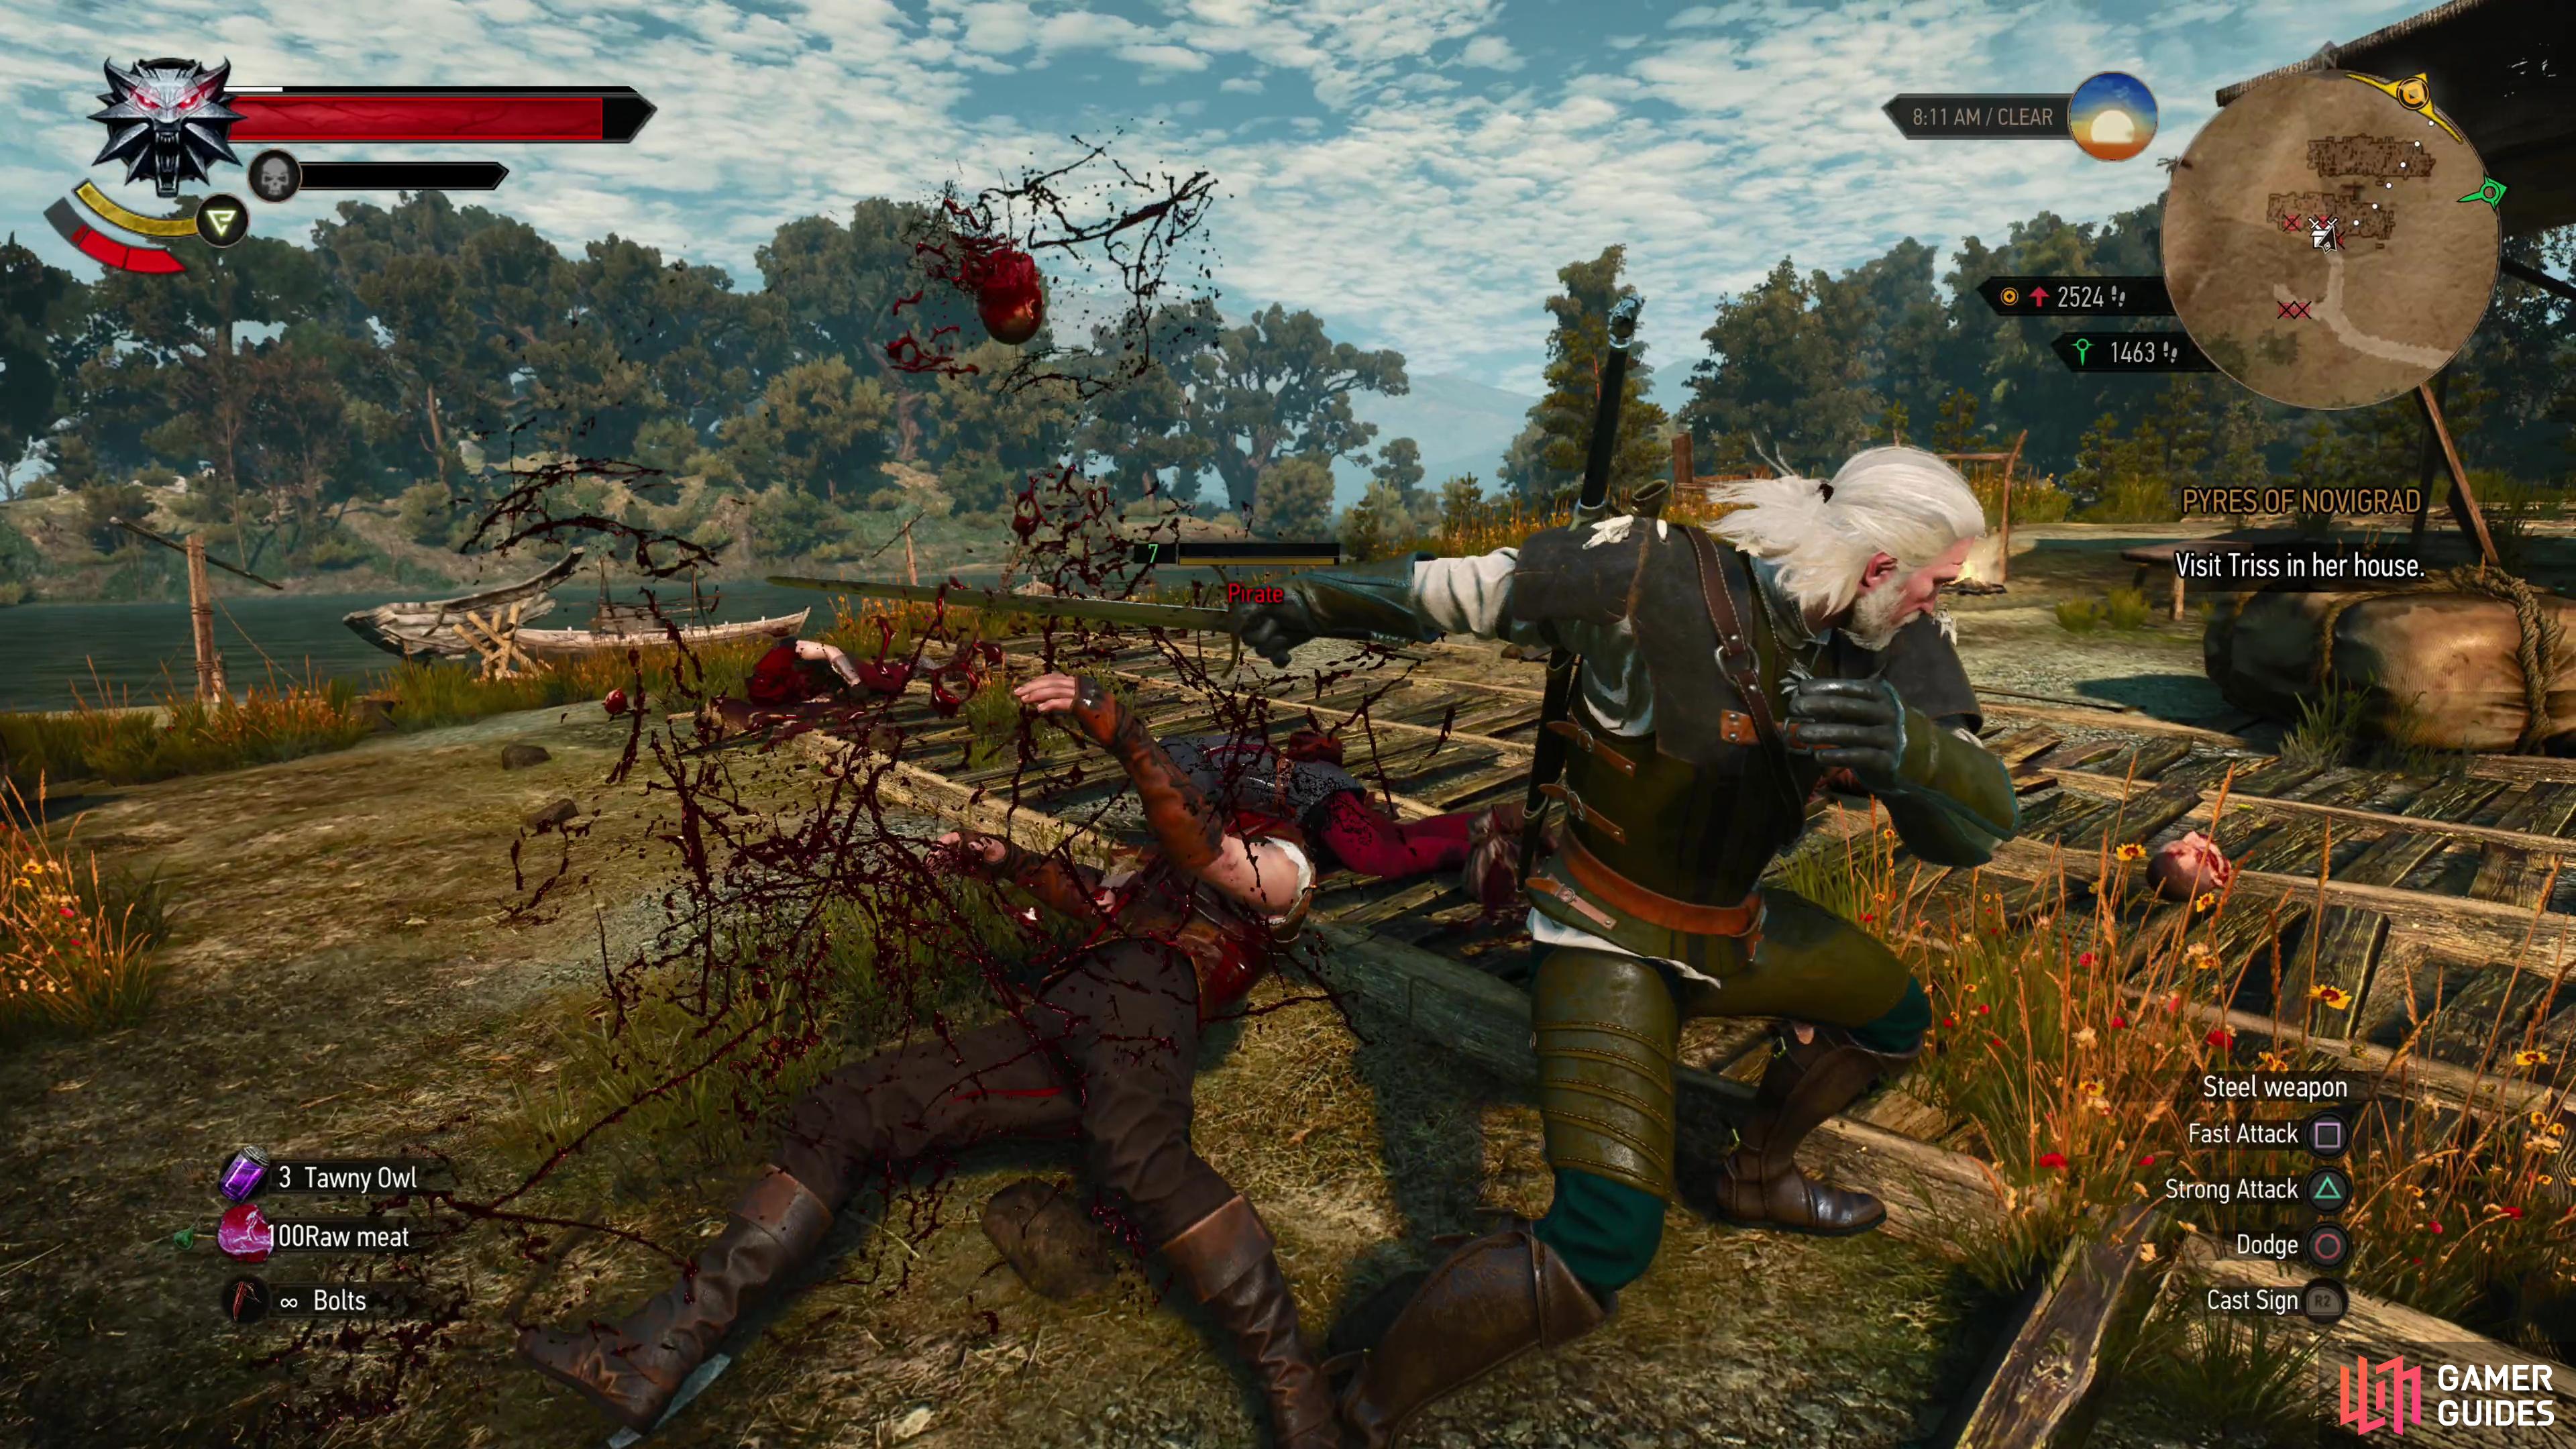
A fairly obscure quest in as much as it has some specific and unstated conditions to unlock. First, you must clear out an Abandoned Site southwest of Midscopse - just follow the road and you should find it. Kill the Pirates (Lv7) occupying the area, then when the civilians return note a peninsula to the west, where another event can be found. Head over there to find some ruins, which now serves as the site of a Bandit Camp event. Kill all the Pirates (Lv7) here and loot the small chest in a dug up grave to complete the event, then return east to the now-liberated ![]() Abandoned Site. Provided the Abandoned Site and
Abandoned Site. Provided the Abandoned Site and ![]() Bandit Camp mentioned here have been cleared, you should find a crying peasant woman east of the merchant. Talking to her will start this quest.
Bandit Camp mentioned here have been cleared, you should find a crying peasant woman east of the merchant. Talking to her will start this quest.
Find the Peasant’s Fiance
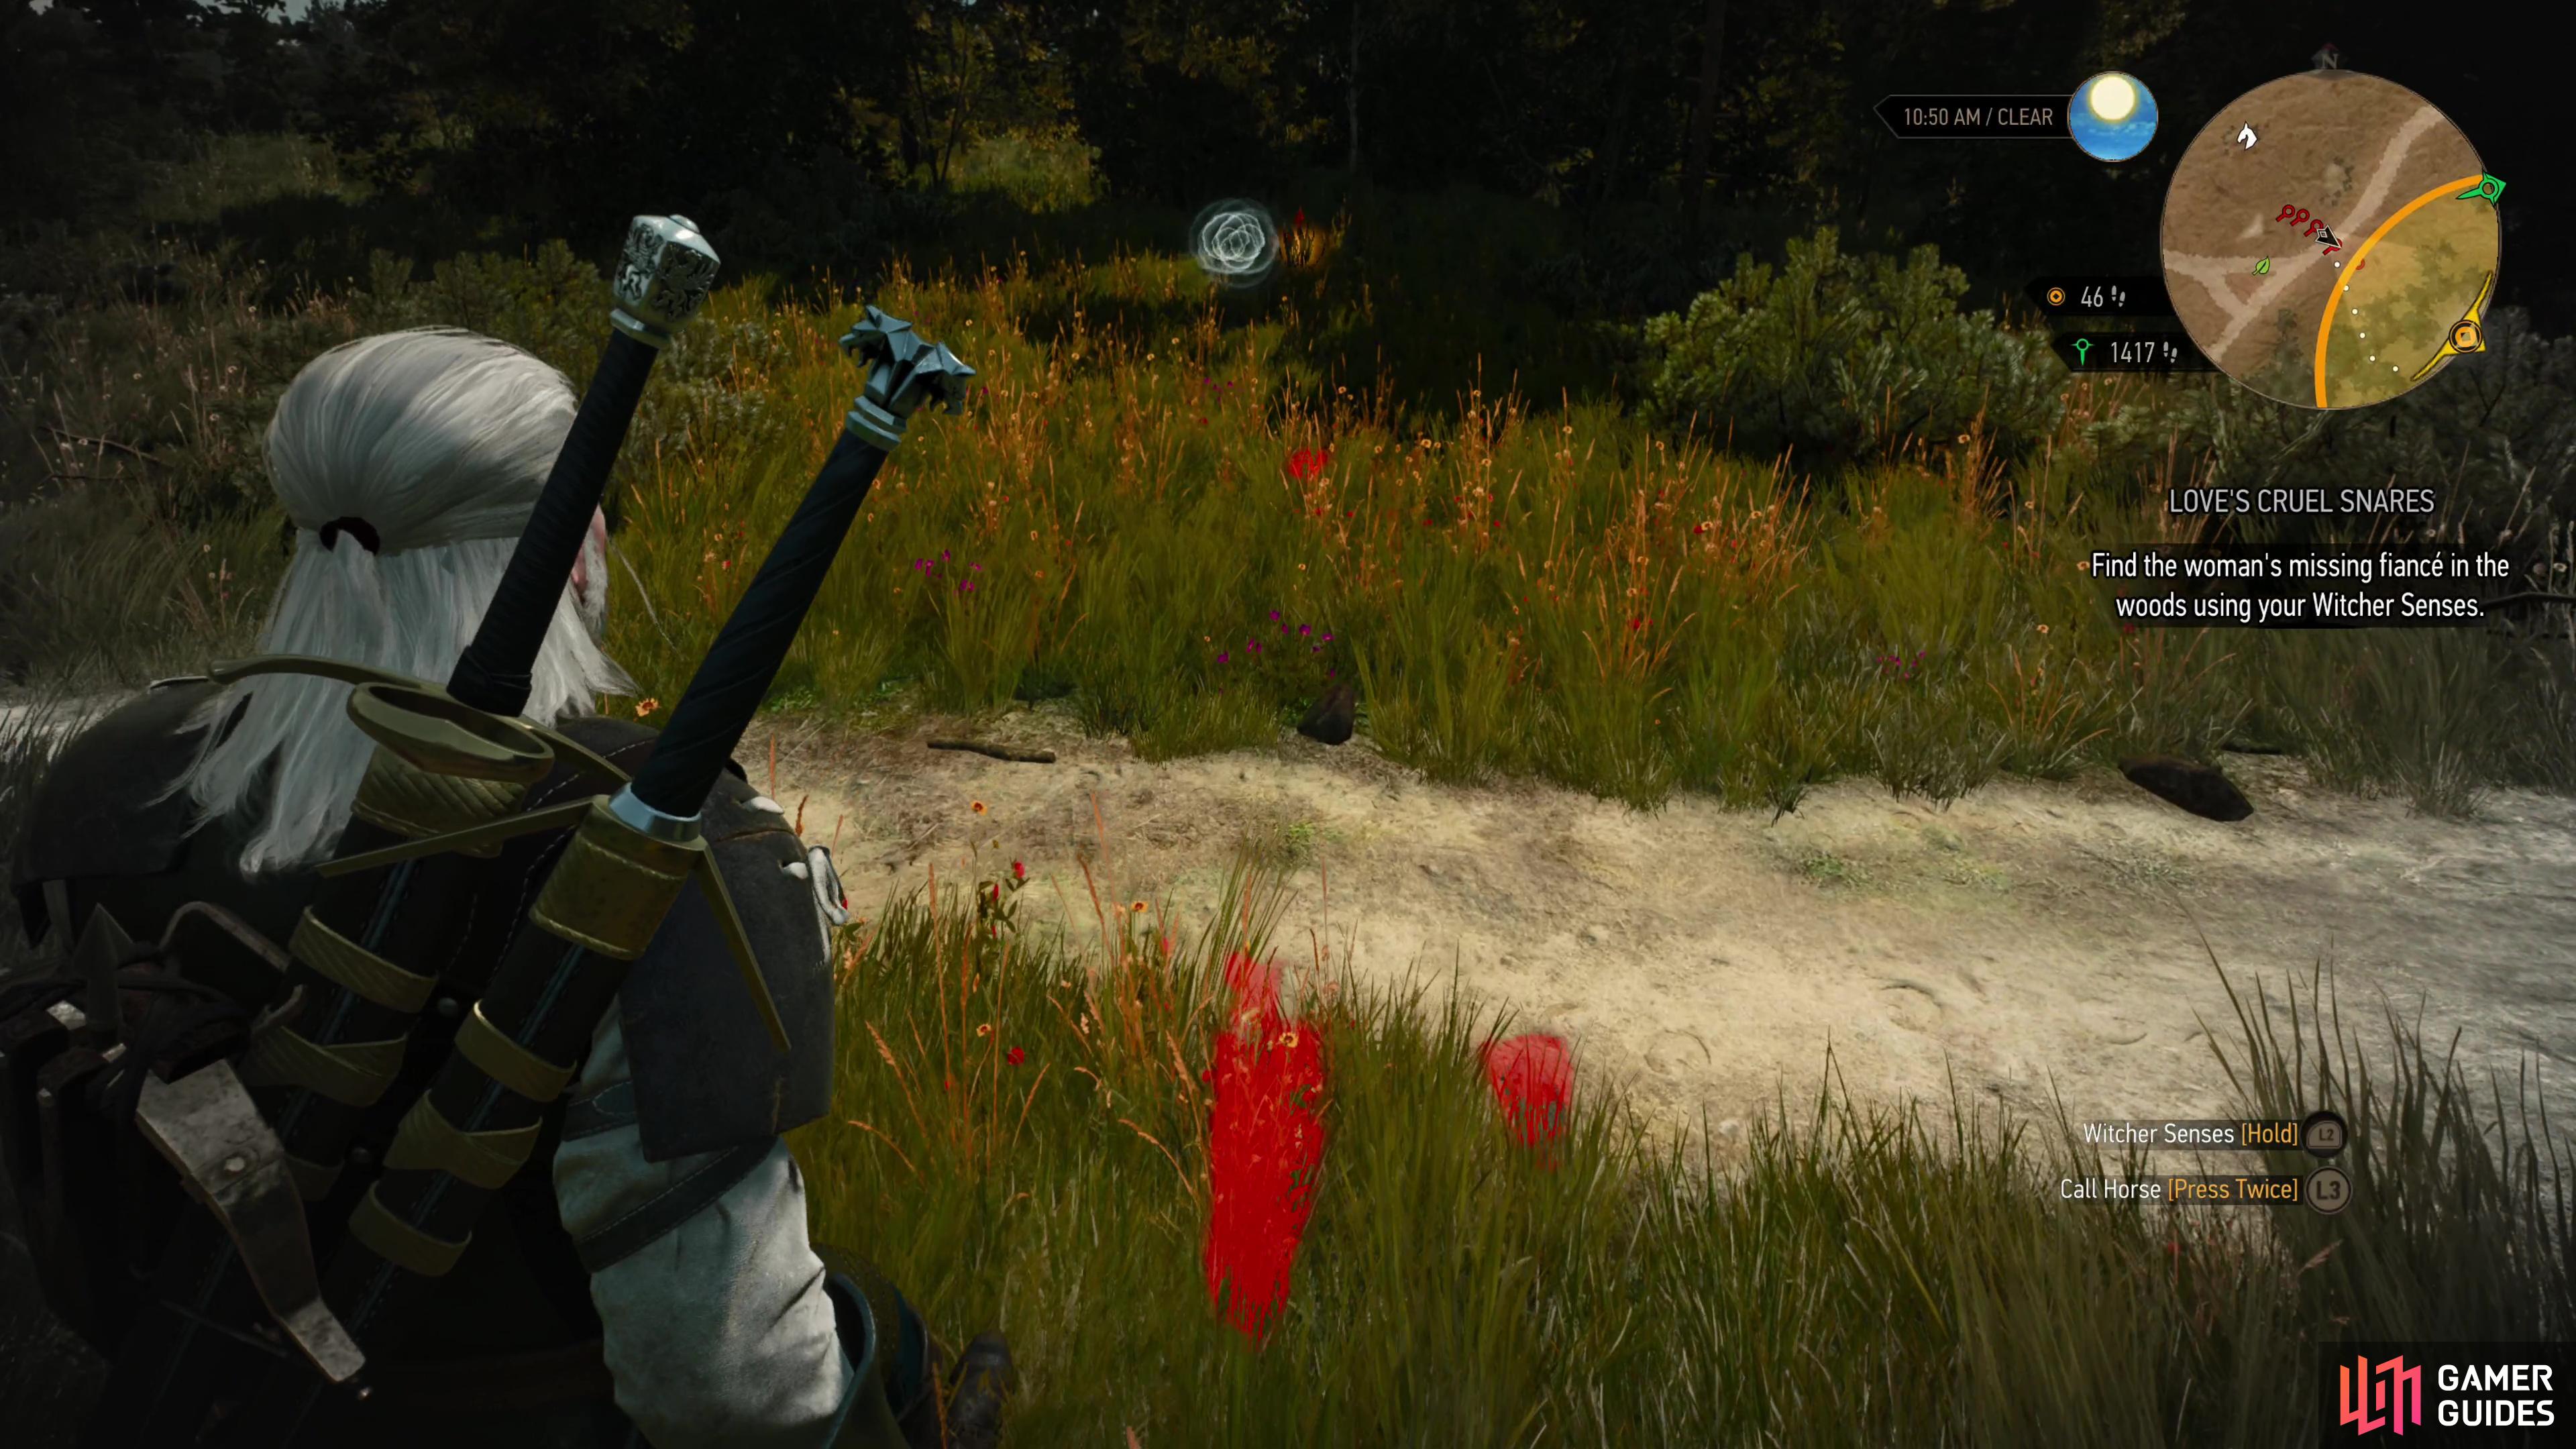
When you talk to her, the Peasant woman will tell you that her betrothed went to check his traps in the nearby woods and hasn’t returned. She’s not just speculating, either - she heard him scream, and hence she has good reason to suspect something befell him. Agree to help her out, then use your Witcher senses to find some tracks nearby, just to the east of the woman. Follow them southeast into the nearby woods and you should spot some white circles indicating some creatures. What they are remains to be seen, but the tracks lead right to them. Not a good sign.
Get closer and you’ll find the man - and pack of Wild ![]() Dogs (Lv10) that killed him. Cull the man-eating hounds by whatever means you find expedient - if they bunch up,
Dogs (Lv10) that killed him. Cull the man-eating hounds by whatever means you find expedient - if they bunch up, ![]() Igni can work wonders. Just don’t underestimate them because they’re Wild Dogs, as their level might make them more dangerous than you’d otherwise expect. Examine the body once the Wild Dogs are dead, then return to the Peasant and give her the bad news.
Igni can work wonders. Just don’t underestimate them because they’re Wild Dogs, as their level might make them more dangerous than you’d otherwise expect. Examine the body once the Wild Dogs are dead, then return to the Peasant and give her the bad news.
Love’s Cruel Snares: Accept the Reward or Refuse
She’ll respond to the bad news with surprising restraint and offer to pay you for your work. Say ”Thank you.” and you’ll take the pay, earning only 20 EXP in exchange for 40 ![]() Crowns. On the other hand if you respond with ”Can’t accept this.” you’ll turn down the pay, earning 60 EXP but no money. Honestly this is a judgment call - both EXP and money are nice, the faster you hit level eleven, the sooner you’ll be able to use the Griffin Set, which will make your life easier. You’ll also need money to craft this gear, however. On one hand there are tons of ways to earn EXP and the odds are you’ll over-level if you try to do everything, but on the other hand you can just pick flowers to earn Crowns. Suffice to say, this choice doesn’t matter much, so do as you will.
Crowns. On the other hand if you respond with ”Can’t accept this.” you’ll turn down the pay, earning 60 EXP but no money. Honestly this is a judgment call - both EXP and money are nice, the faster you hit level eleven, the sooner you’ll be able to use the Griffin Set, which will make your life easier. You’ll also need money to craft this gear, however. On one hand there are tons of ways to earn EXP and the odds are you’ll over-level if you try to do everything, but on the other hand you can just pick flowers to earn Crowns. Suffice to say, this choice doesn’t matter much, so do as you will.
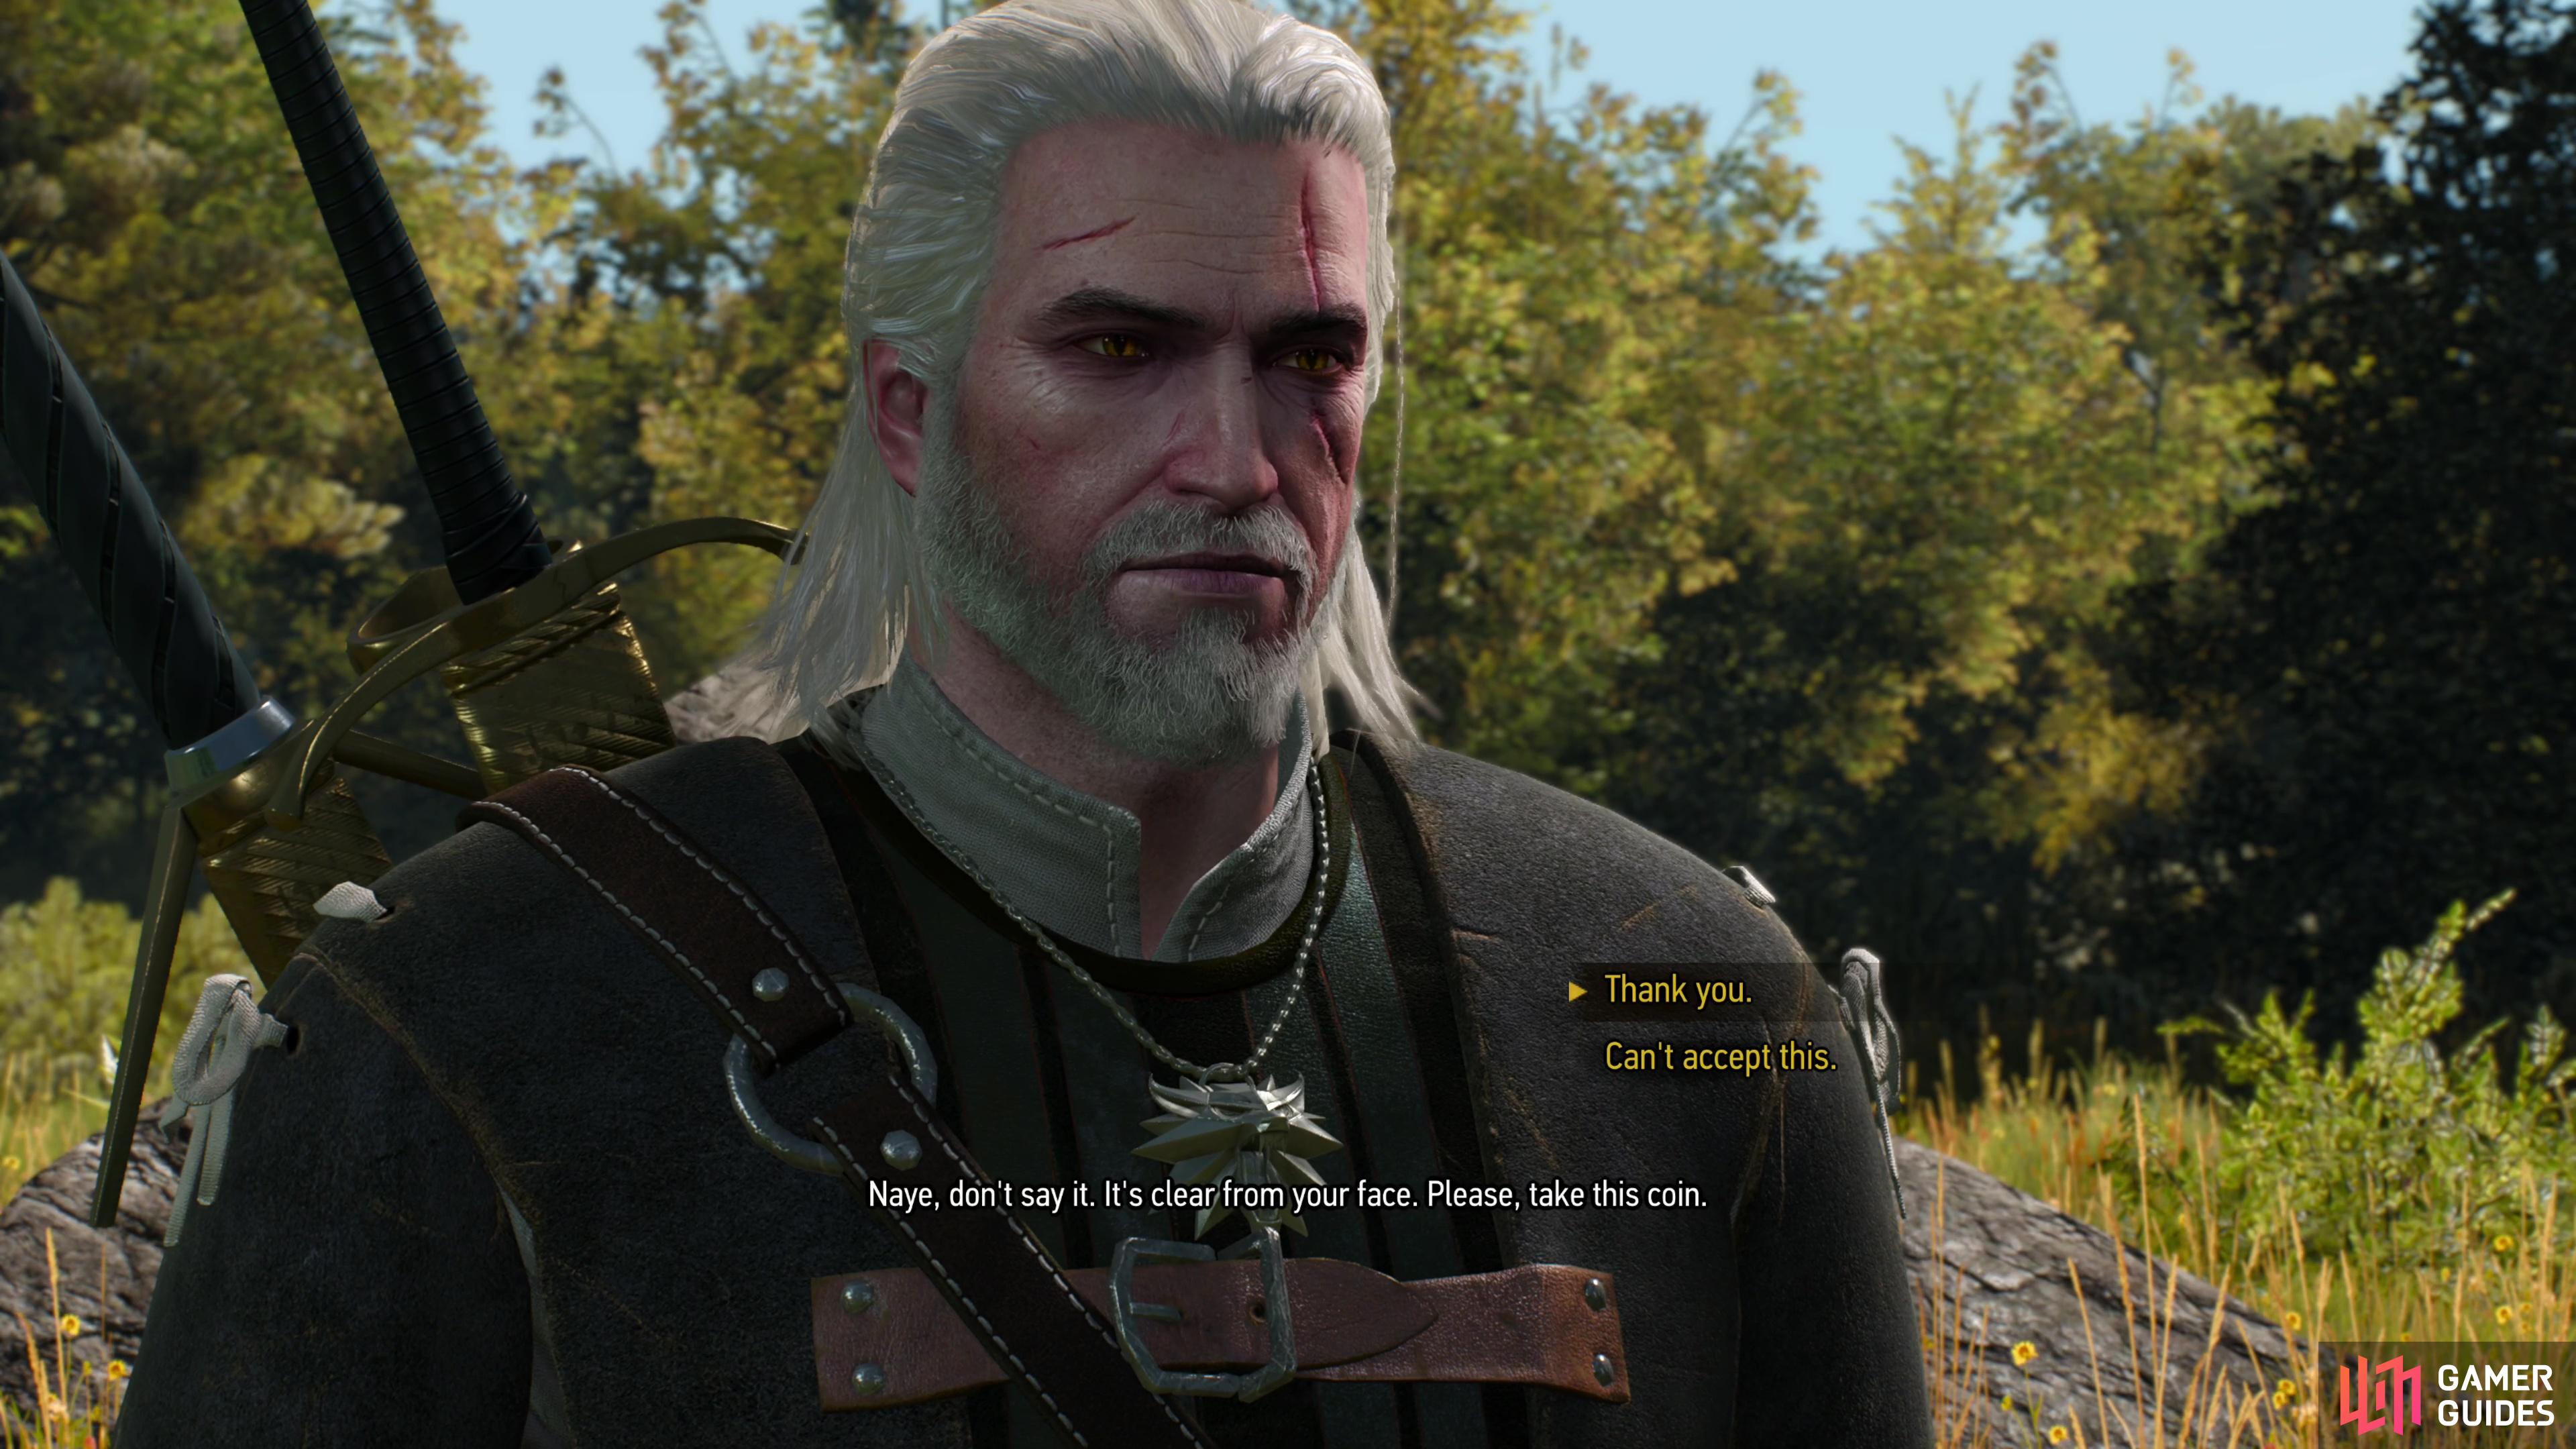
Return to the woman and she’ll offer a reward - turn down the crowns and you’ll get more EXP.
"This will go nicely alongside your Griffin Steel Sword - Enhanced"
Silver Sword I guess?
"This will go nicely alongside your Griffin Steel Sword - Enhanced"
Silver Sword I guess?