
This page details everything you need to know about how to defeat Clayface in the boss fight during the 1.3 - Rumble at the Reservoir villain case. We’ll cover all the tactics you can use to defeat Clayface in both of the main phases of the fight, recommended level and gear. We’ll also cover how to avoid some of his most damaging attacks.
Clayface, 1.3 - Rumble at the Reservoir, Gotham Knights.
Boss Fight: How to Defeat Clayface
The final boss fight with Clayface for the villain case associated with him takes place during the 1.3 - Rumble at the Reservoir case. This part of the case consists almost entirely of a long boss fight with him, but first you’ll need to open your Case Files menu to select the appropriate case. A cutscene will then begin starting in The Belfry, where the clay sample that you collected from 5 Clay Mimics begins to move, and eventually escapes down a drain. It turns out that Clayface is gathering all the bits of clay in Gotham City to him for an as yet unknown purpose…
Speak with Detective Montoya
The cutscene will soon transition and you’ll find yourself outside a building with Detective Montoya waiting for you. Speak with her to begin another cutscene, then make your way through the nearby door into the sewers. You’ll only need to walk a short way before you encounter Clayface and the fight begins.
Second Clayface Fight: Phase 1
The first part of the fight with Clayface will see you contending with four main attack moves that Clayface will constantly use throughout this phase. These are described below, but you’ll also see them in action in our embedded short video below.
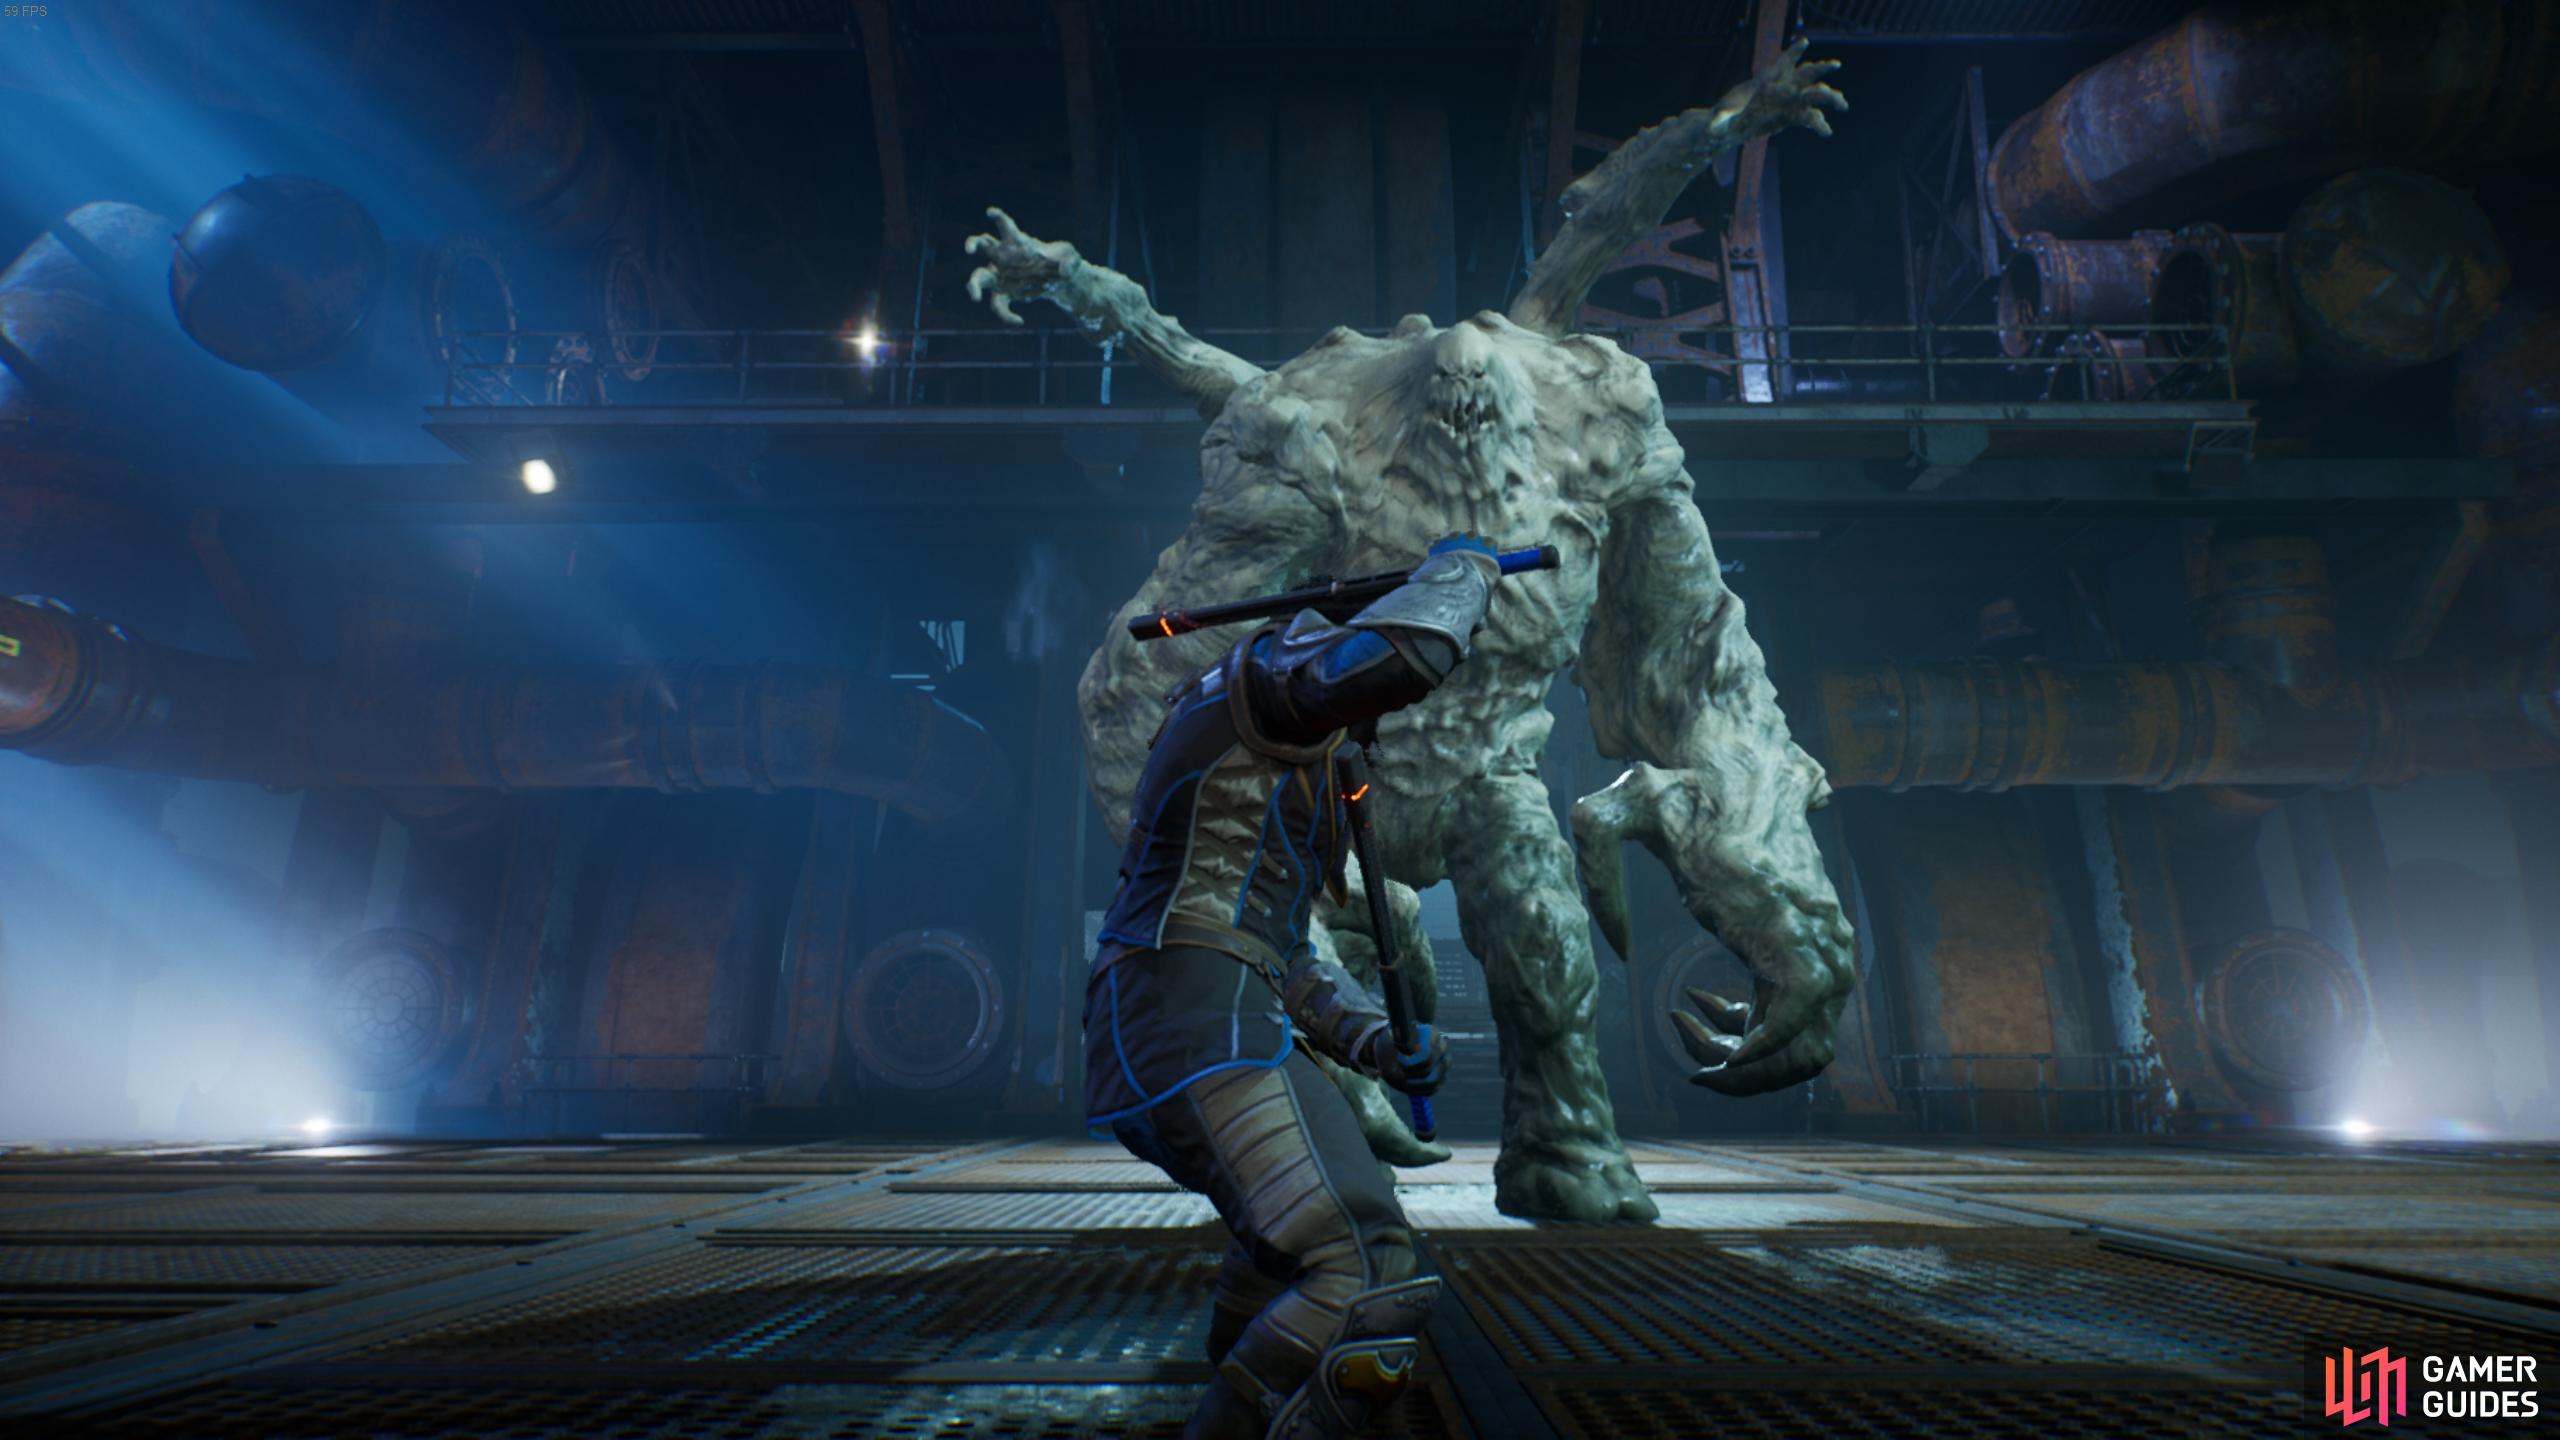
Clayface Boss Fight, Phase 1.
Main Attack 1: Extended Arm Slam
This attack consists of Clayface bringing both of his main arms up into the air above his head, then slamming them down as one in front of him. The position that his arm slam lands will continue to be adjusted until the very last moment before he slams it down, which means that you’ll need to move at the last minute to avoid an attack, and not immediately as he raises his arms. If you get hit by this attack it will knock you down and leave you vulnerable to further attacks, so you’ll need to move quickly and be ready to sprint or dodge out of the way as soon as possible if you are hit.
Main Attack 2: Extended Arm Swipe
This attack is somewhat similar to the first, in that Clayface will extend his arm (this time only one), but rather than slam it on the ground he will turn it into a claw and swipe in a large arch in front and around him. The best way to avoid this attack is by running as far away from Clayface as possible, to the other side of the room. However, if you’re stuck in a corner you can keep running to the right of Clayface to avoid the swipe, and if it looks like you don’t have enough time to do this, the last resort is to dodge just before the arm hits you. This should result in you jumping over the arm so that it doesn’t make contact.
Main Attack 3: Grab and Smash
This attack will usually occur if you get too close to Clayface, especially if you’re standing in front of him. It consists of Clayface grabbing you with one hand, then smashing you against the ground a few times before throwing you away, with each move inflicting damage. This is the most damaging single attack that Clayface can use at this stage, so it’s extremely important that you avoid it. If you’re struggling, see our shorts video for a demonstration of what to look out for. You will be most vulnerable to this attack when you’re already knocked down, since you won’t be able to move, so if you do get knocked down you should immediately sprint or dodge out of the way as soon as possible.
Main Attack 4: Ground Spikes
This is another main attack which will occur if you get too close to Clayface. It consists of a puddle-like area of clay bubbling around his feet, which will only erupt when you’re within melee range. You’ll need to keep a close eye on the puddle as it begins to bubble, since it will only be a few brief moments before clay spikes erupt from it. These spikes will damage you for a small amount, but the main problem they pose is that they’ll knock you down, leaving you vulnerable to additional special attacks such as the highly damaging Grab and Smash. One of the best ways to avoid being knocked down by the spikes is to only go in melee range for hits one at a time. You can do this as a heavy attack to inflict more damage, then quickly run away or around Clayface while the spikes do their work.
So long as you’re aware of these four main attacks from Clayface, and you keep moving to avoid being caught by them, this phase of the fight should remain fairly simple. It may take you a few attempts to become sufficiently familiar with the attack patterns before you can consistently avoid them, so don’t worry if you don’t get it the first time. This will be a long battle, especially if you’re at a lower level than the recommended 23 - 26, but it’s simple enough once you’ve got the attacks down. You’ll need to bring Clayface down to around 75% of his health, at which point a cutscene begins and leads into a chase through the sewers, during which you’ll need to use the Batcycle to flee from Clayface as he chases and tries to trap you in various forms.
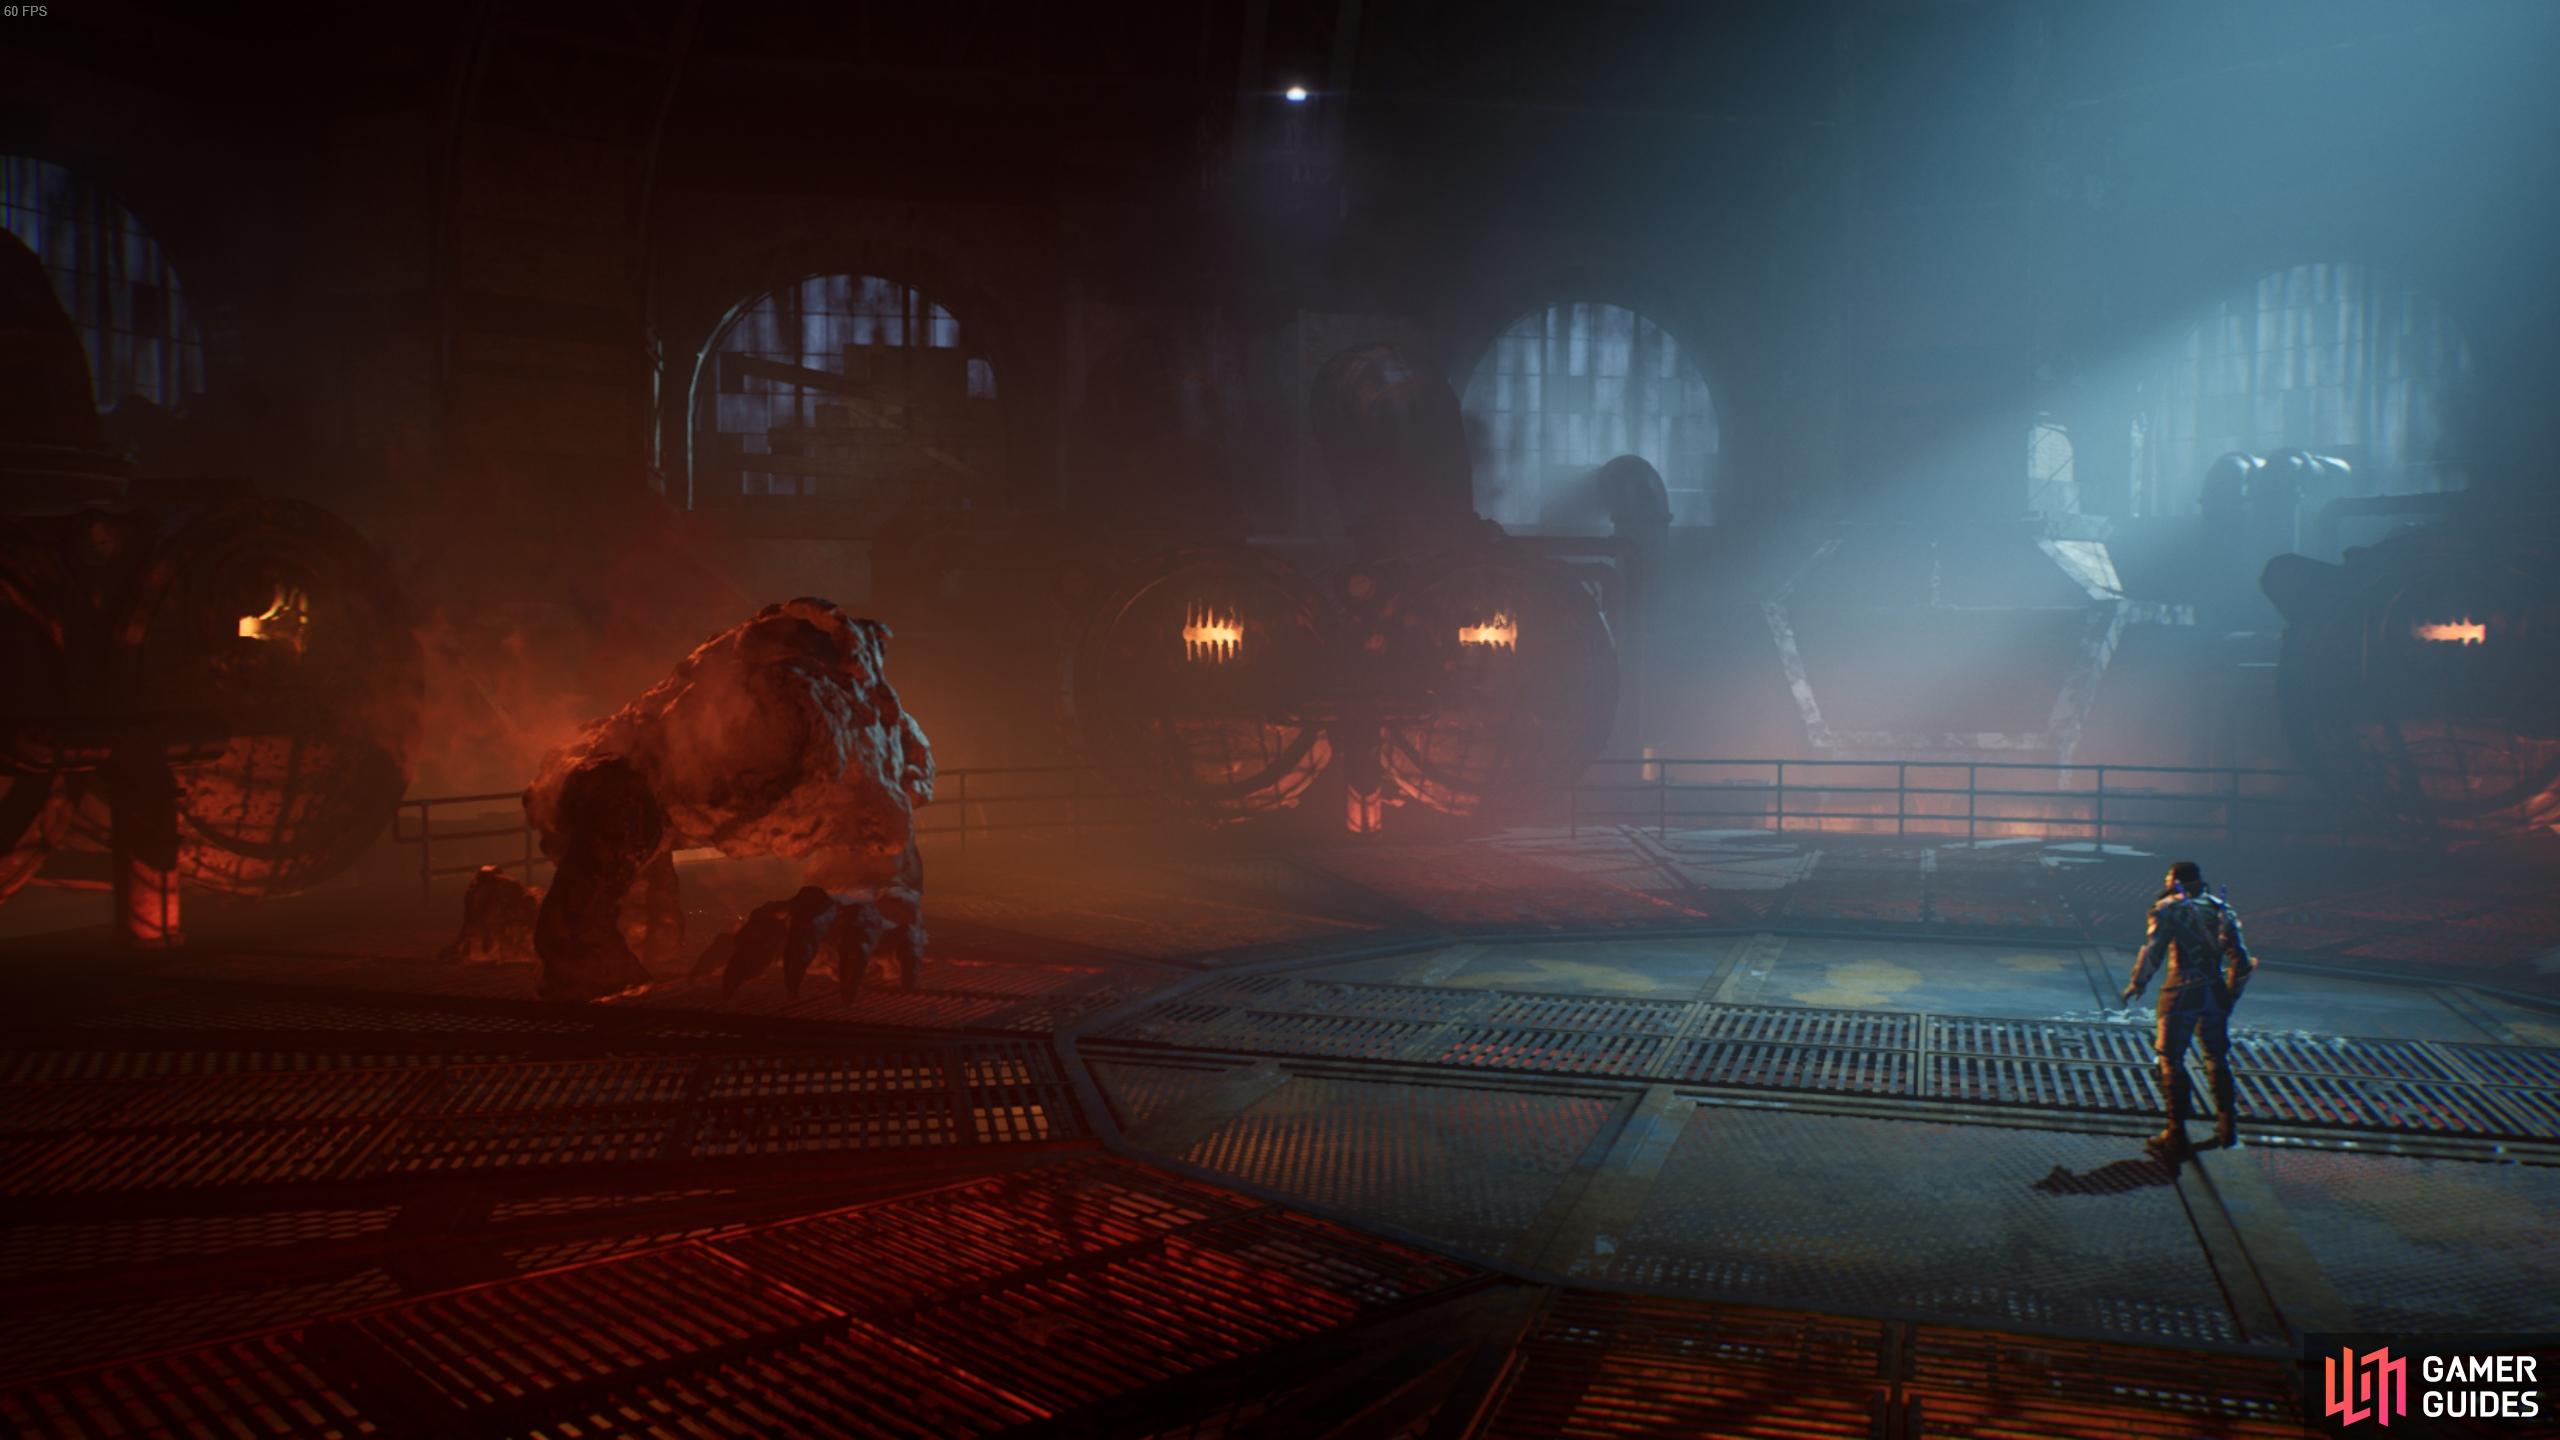
Second Clayface Fight: Phase 2
At the end of the chase you’ll find yourself in a kind of forge room, where Clayface will manifest in a similar shape to what he was previously, but this time he will have four large arms.
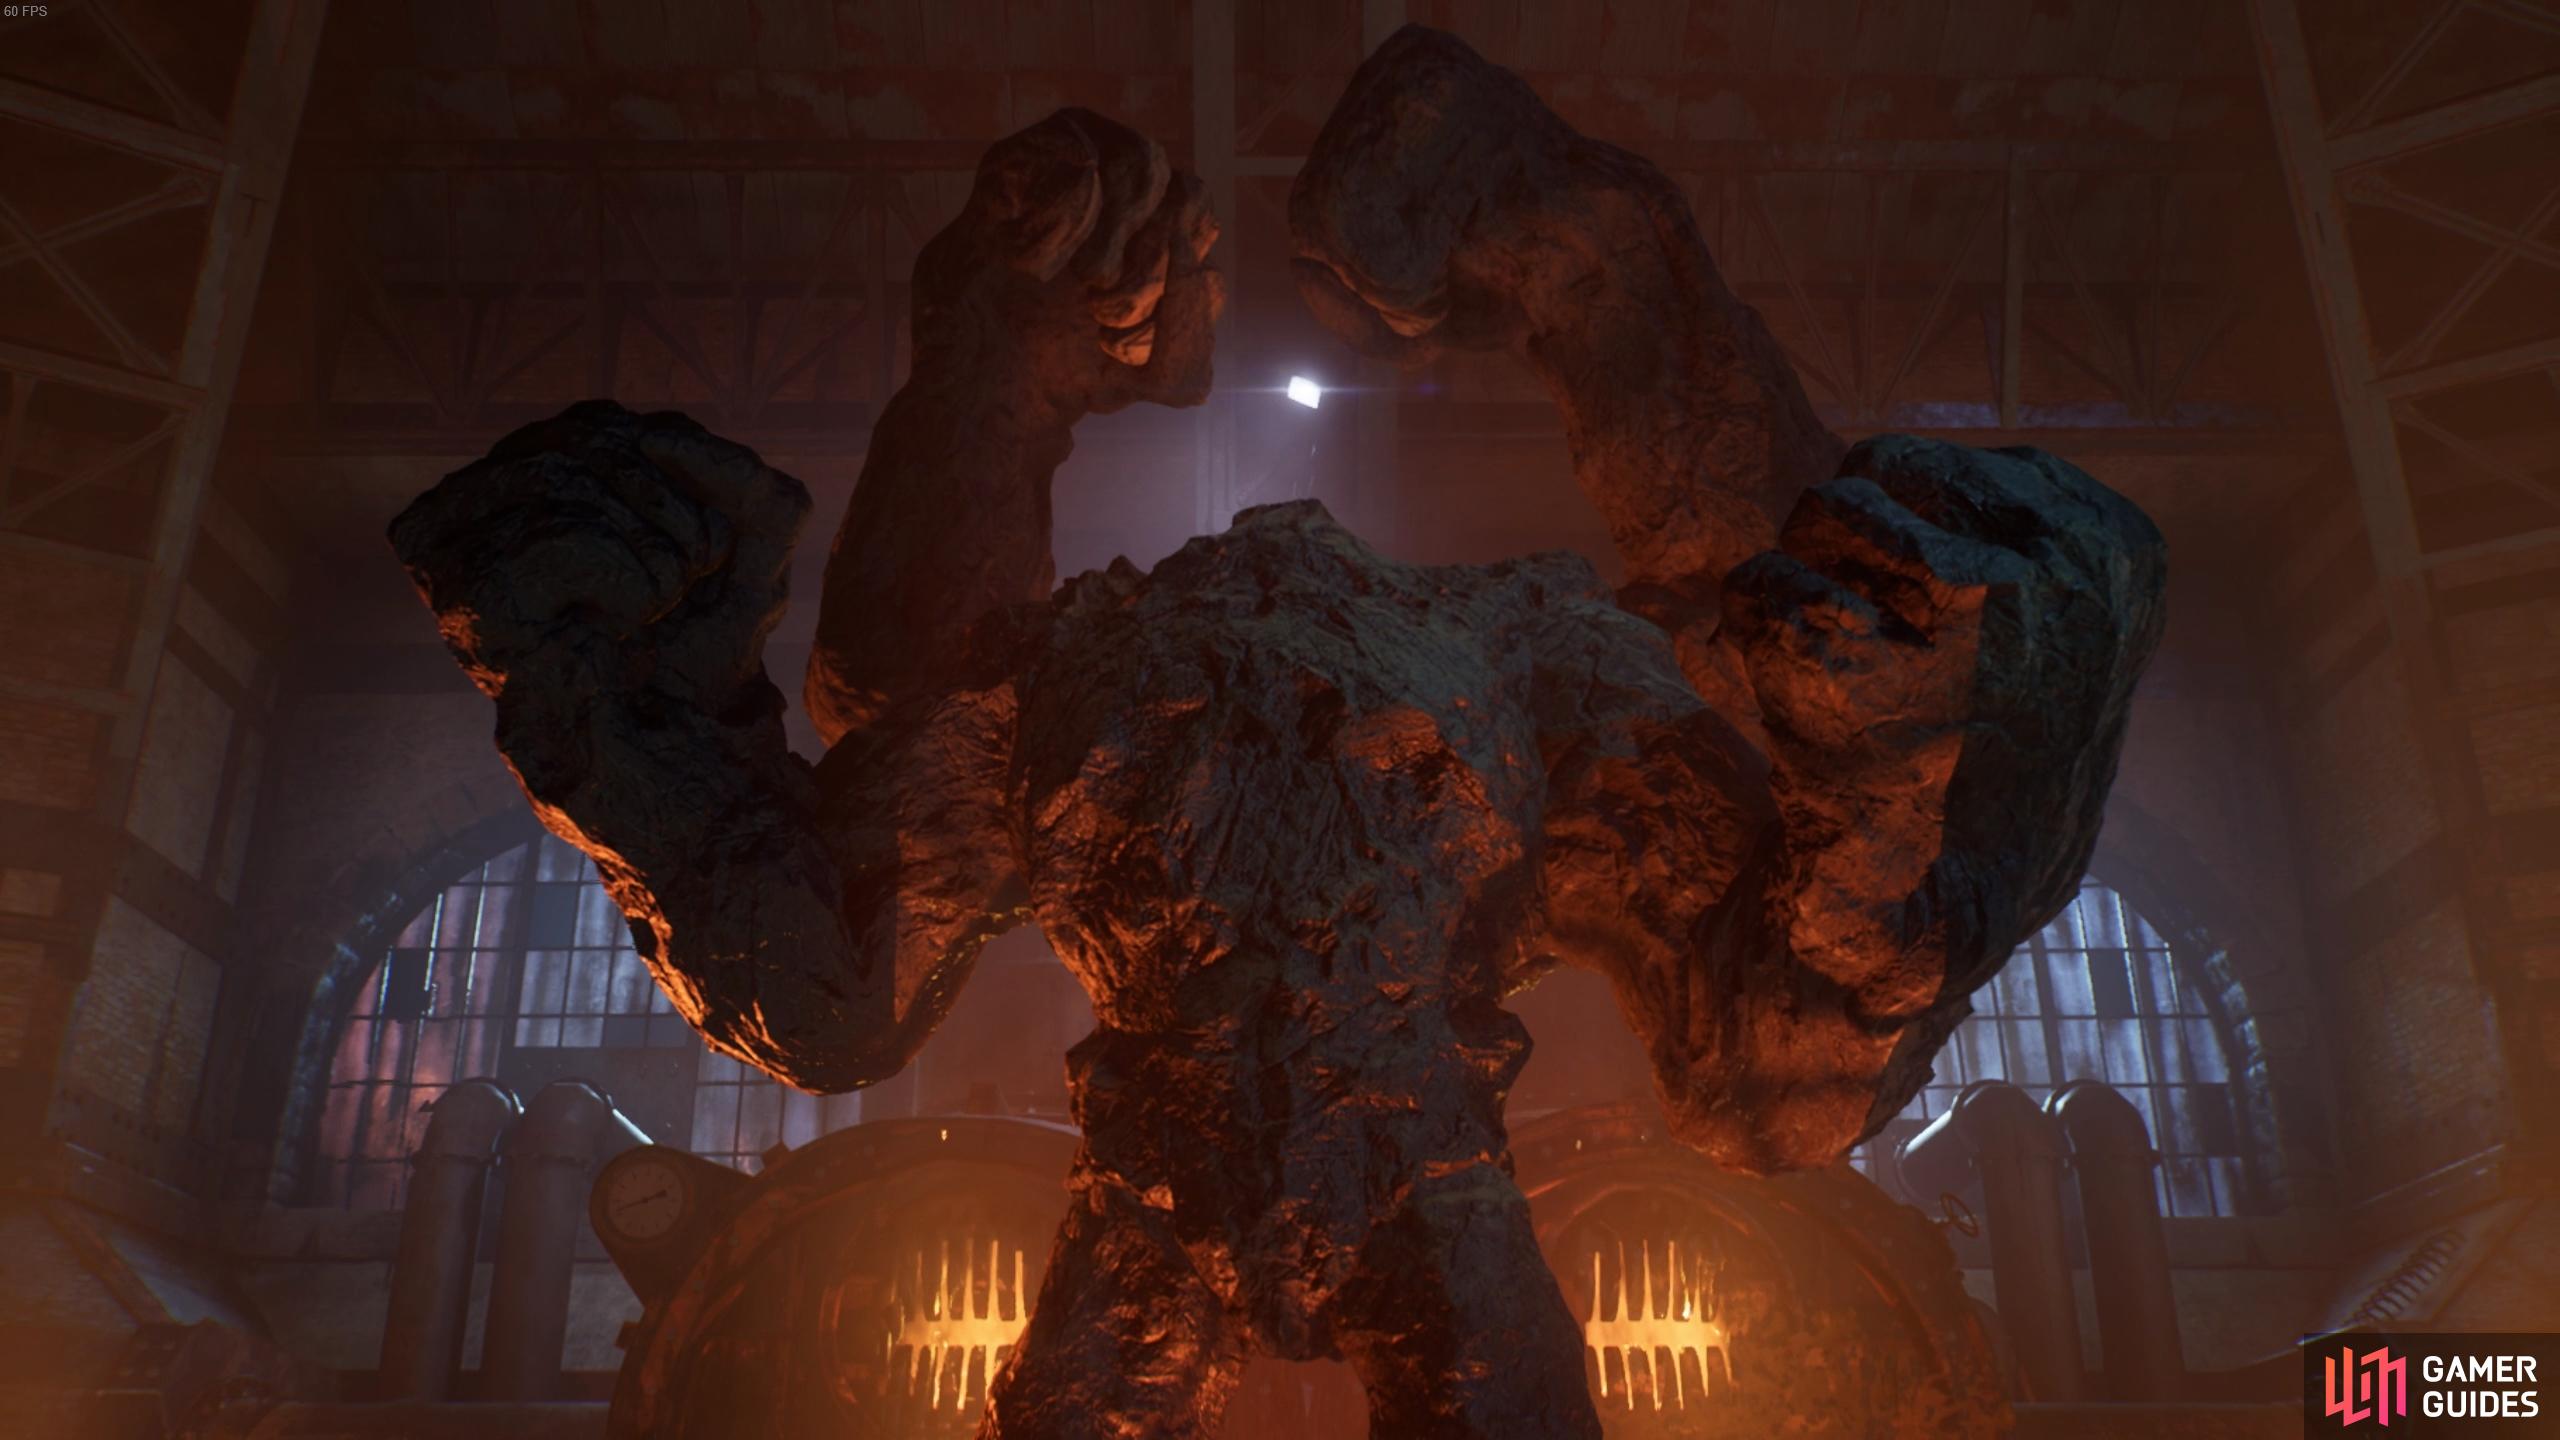
Clayface Boss Fight, Phase 2.
The main attacks that Clayface uses during this phase of the fight will change, now consisting of a new set of four main attacks, described below. Keep in mind that Clayface will sometimes switch up his attack combos, going back to using the original four main attacks from the first phase of the fight for a short period, so you’ll need to keep on your toes and look out for the clay bubbling beneath his feet in particular, to avoid being knocked down.
Main Attack 1: Four Arm Slam
This is a fairly simple attack which consists of Clayface jumping to your current position and slamming all four of his arms down on the ground. This can inflict massive damage if you’re caught in it, and it will also knock you down. The good news is that it’s easy to avoid once you know what to look out for: Clayface will outstretch both of his lower arms to his side, often while saying something like “You annoying bug!” (but not always). The easiest indicator to spot for this attack is the outstretched arms, as Clayface lowers his body slightly in preparation for the jump. You can dodge out of the way just before he lands to avoid being hit.
You will notice that Clayface remains stuck in the landing position for a few moments, giving you some time to land a few strikes of your own. Be sure to take full advantage of this!
Main Attack 2: Smash Combo
This attack consists of Clayface smashing both of his lower arms on the ground in front of him. It’s a simple attack and one of the easiest to avoid, since all you have to do is run away or dodge twice in a row. However, if you’re caught in it, you will take significant damage and be knocked down, so don’t underestimate it. If you’re far enough away from him, Clayface will often follow up this attack by launching a clay projectile at you, which is another of his main attacks described below.
Note that Clayface will sometimes perform a variant of this attack during which he leaps towards you for each smash, so you’ll need to be ready to dodge twice in quick succession.
Main Attack 3: Clay Projectile
This attack will almost always be used a few times if you’re on the other side of the boss room from Clayface. It is his only ranged attack and it’s easy to see when he’s about to use it, since both of his arms will be drawn inward towards his chest, before he flings them out again with the clay projectile spinning towards you. The best way to avoid this attack is just by running away from it, either left or right. It has a low velocity so you should have enough time to outrun this one every time.
Main Attack 4: Spike Eruption
This attack occurs when Clayface slams his lower arms into the ground, causing clay spikes to erupt at your position. These spikes will follow you and can erupt three times in one position, so it’s important that you keep moving when this attack begins. You should be able to easily outrun the eruption of the spikes if you keep running to one side of Clayface. It’s important that you do this as if you’re caught in them, you could be knocked down, leaving you trapped in place as you’re hit by the next set of spikes.
Second Clayface Fight: Phase 3
This is the third and final phase of the fight. It occurs when you bring Clayface down to around 25 - 30% of his health. The main difference here is that Clayface transforms his left arm into a large spiked mace, which can also be quickly transformed into a hammer, while his right hand can become a dagger-like blade. This introduces yet another set of attacks that you’ll need to become familiar with.
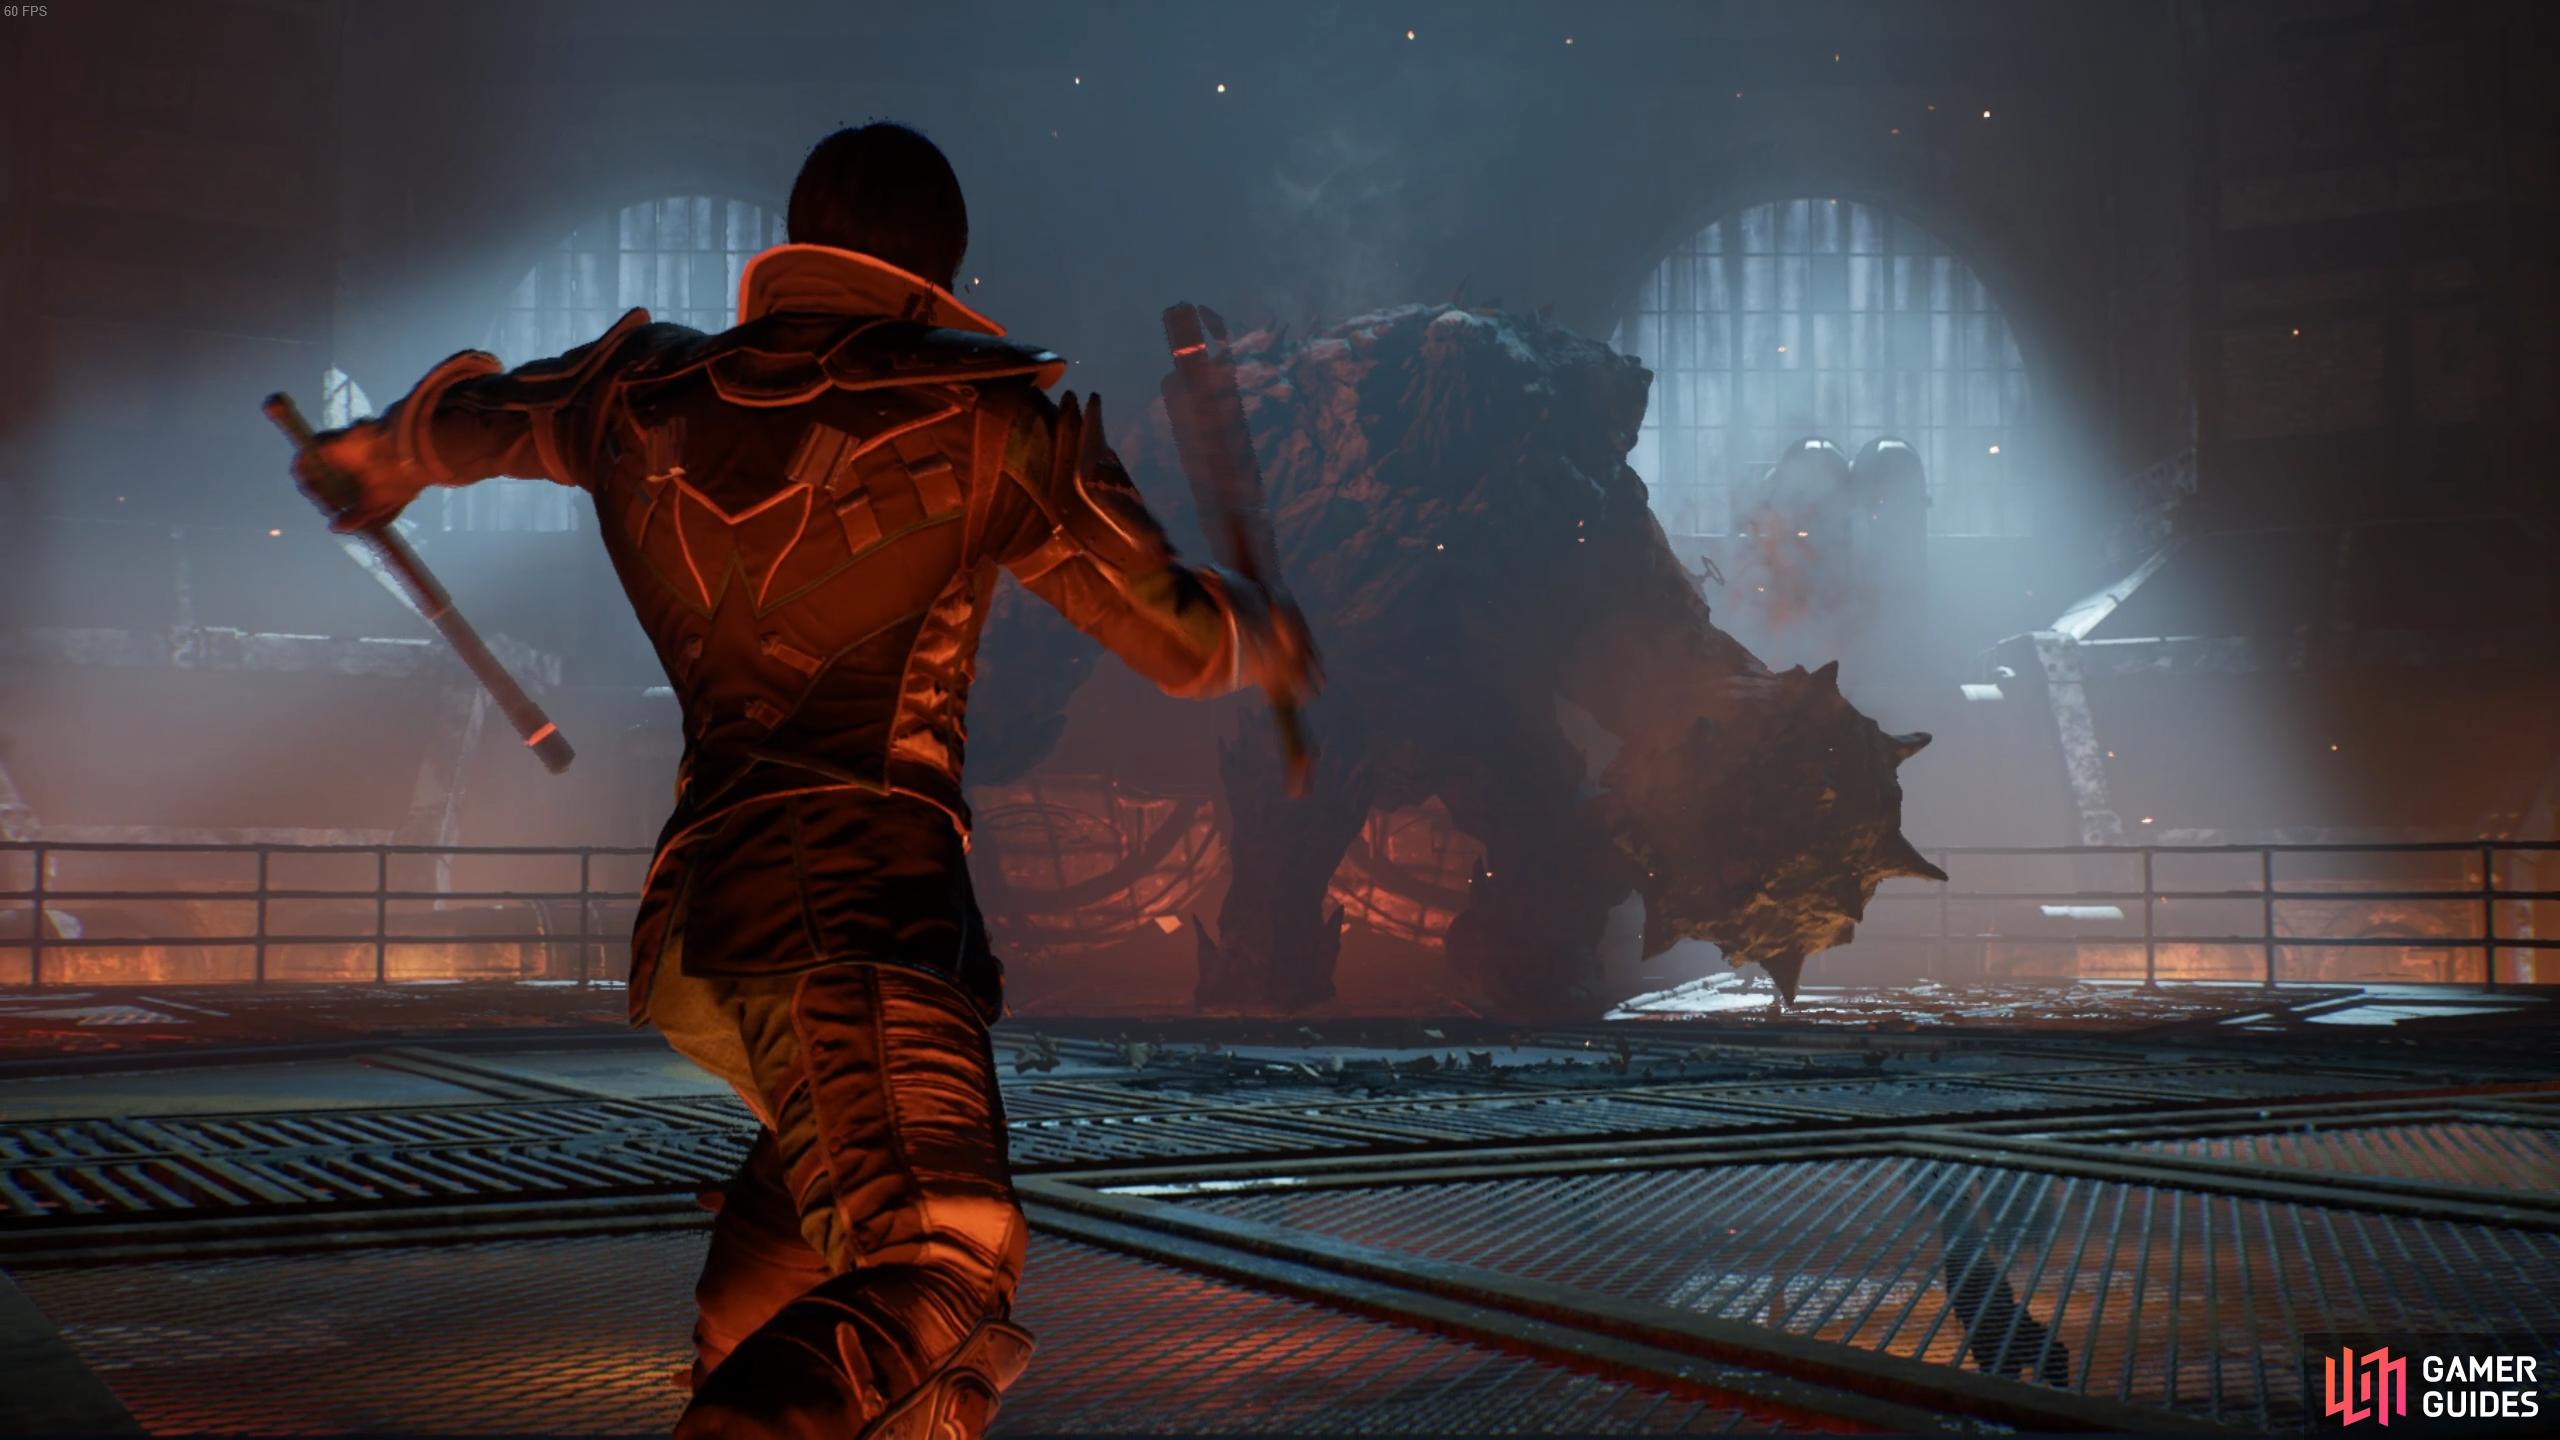
Clayface Boss Fight, Phase 3.
Main Attack 1: Leap Smash
This attack is similar to the Four Arm Slam attack from the previous phase of the fight, only this time Clayface will leap towards you and smash two arms into the ground, then do the same immediately after. This means that you’ll need to dodge twice in a row to avoid being hit, which can knock you down and inflict significant damage. You’ll notice when this attack is imminent as Clayface places both of his fists on the ground while crouching down slightly, indicating that he’s preparing to jump. Try not to dodge too early as this can result in him change course just before he leaps, and hitting you anyway.
Main Attack 2: Double Swipe
This attack occurs when Clayface performs a swipe attack, one left and one right, with both arms. He will often have his hands in the shape of a hammer or dagger when he does this, and both attacks will send you flying and knock you down. This is fairly easy to avoid if you keep running away and to the right of Clayface, but you can also just dodge both attacks if you’re already too close.
Main Attack 3: Projectile Throw
This attack consists of Clayface throwing two projectiles at you, one from each hand. These projectiles can be in the shape of his hammer, dagger, mace, or just a large boulder of clay. He will use this most often when you’re far enough away from him on the other side of the boss room. As with his other projectiles, these attacks don’t have much velocity so you can easily avoid them just by sprinting in one direction as he throws them at you. You’ll see Clayface move one of his arms behind him just before he launches it forward, thereby initiating the attack, so look out for this and start running as soon as you see the animation.
Main Attack 4: Triple Smash
This attack is similar to Clayface’s other smash attacks, in that he’ll slam his hands into the ground. However, this time he will do it three times in a row, slightly adjusting to your new position each time. You’ll need to dodge three times to avoid it, or just run away (or around) Clayface. You’ll see this one coming as Clayface raises one of his arms above his head, ready to smash down into the ground, so look out for this and don’t hang around after the first attack.
No Comments