
This page details everything you need to know about how to complete the Clayface case 1.2 - Disturbance at Dixon Docks. We’ll cover where to find the clues in the warehouse, chasing Clayface through Gotham, defeating the Clay Mimics, and how to defeat Clayface and his clay homunculi.
Clayface Case 1.2 - Disturbance at the Dixon Docks, Gotham Knights.
1.2 - Disturbance at Dixon Docks
Where to Scan the Warehouse for Clues
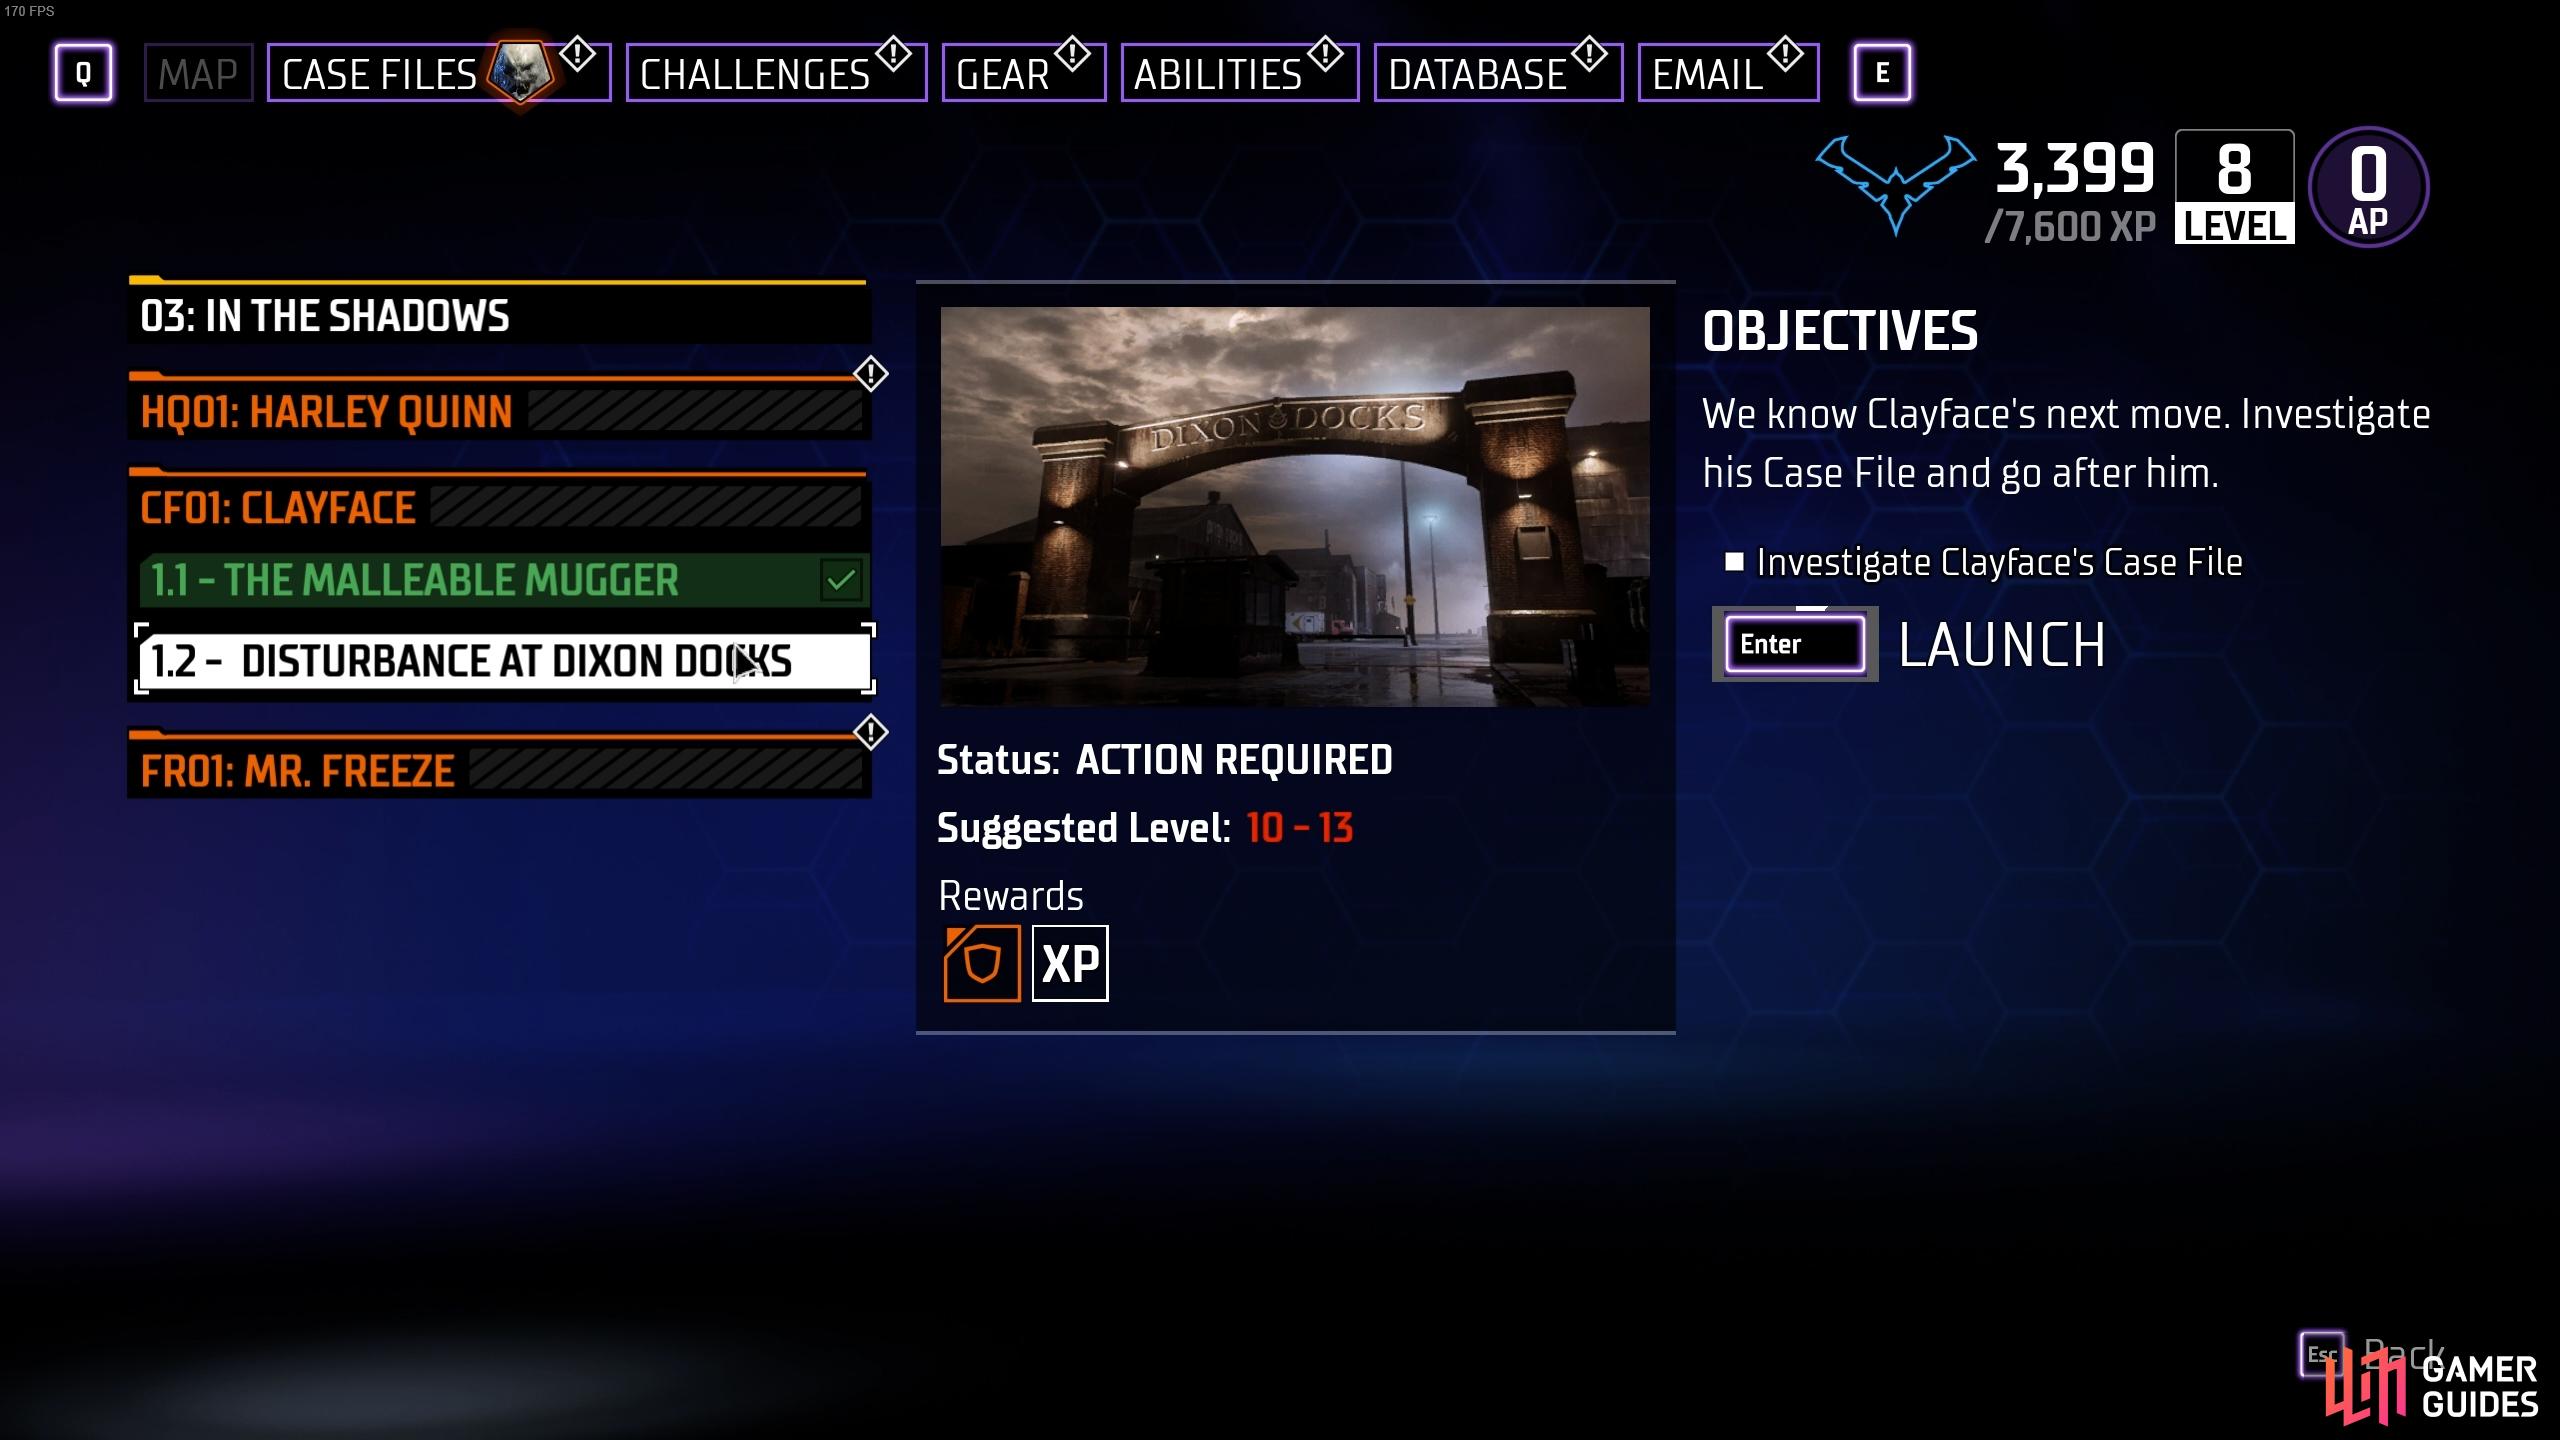
To begin this part of the Clayface case, you’ll need to open your Case Files menu from The Belfry. You can do this standing where, or use the computer. You can then select the 1.2 - Disturbance at Dixon Docks case, and launch it from this menu. This will teleport you just outside a warehouse in Gotham City, which you’ll need to enter and search for clues about Clayface’s whereabouts using the AR scanner.
Once you’re inside the warehouse you can begin using the AR scanner to highlight nearby objects of interest. You’ll find that a number of storage boxes are highlighted in purple, but these aren’t what you need to progress the case. Instead, look just beneath one of the storage boxes on the left side of the vehicle inside the warehouse. Scan here and you’ll find some footprints, which you’ll then need to follow to reach Clayface.
Along the way as you follow the footprints you’ll soon reach the interior of another warehouse, which is guarded by a number of Clay Mimics. You’ll need to defeat all of these until a cutscene begins, during which Clayface reveals himself as he escapes down a grid and then emerges as an octopus-like mass of clay. At this point a chase begins through Gotham.
Chase Clayface to the Sewers
The chase through Gotham City doesn’t last long, but you’ll need to follow the broken road if you’re not sure where Clayface has gone. If you’re not quick enough you’ll fail this part of the mission and you’ll need to start again. Clayface is heading for a sewers entrance not too far away, so just keep up with him and look for the upturned vehicles if you lose track!
Defeat Clayface and His Clay Homunculi
First Clayface Fight: Phase 1
Once you’re in the sewers you’ll need to follow the trail to find Clayface. This is a fairly linear path so you shouldn’t have any trouble, but you will meet some groups of Clay Mimics along the way. Defeat these as you go and keep following the white markers, which guide you through the correct path if you’re unsure.
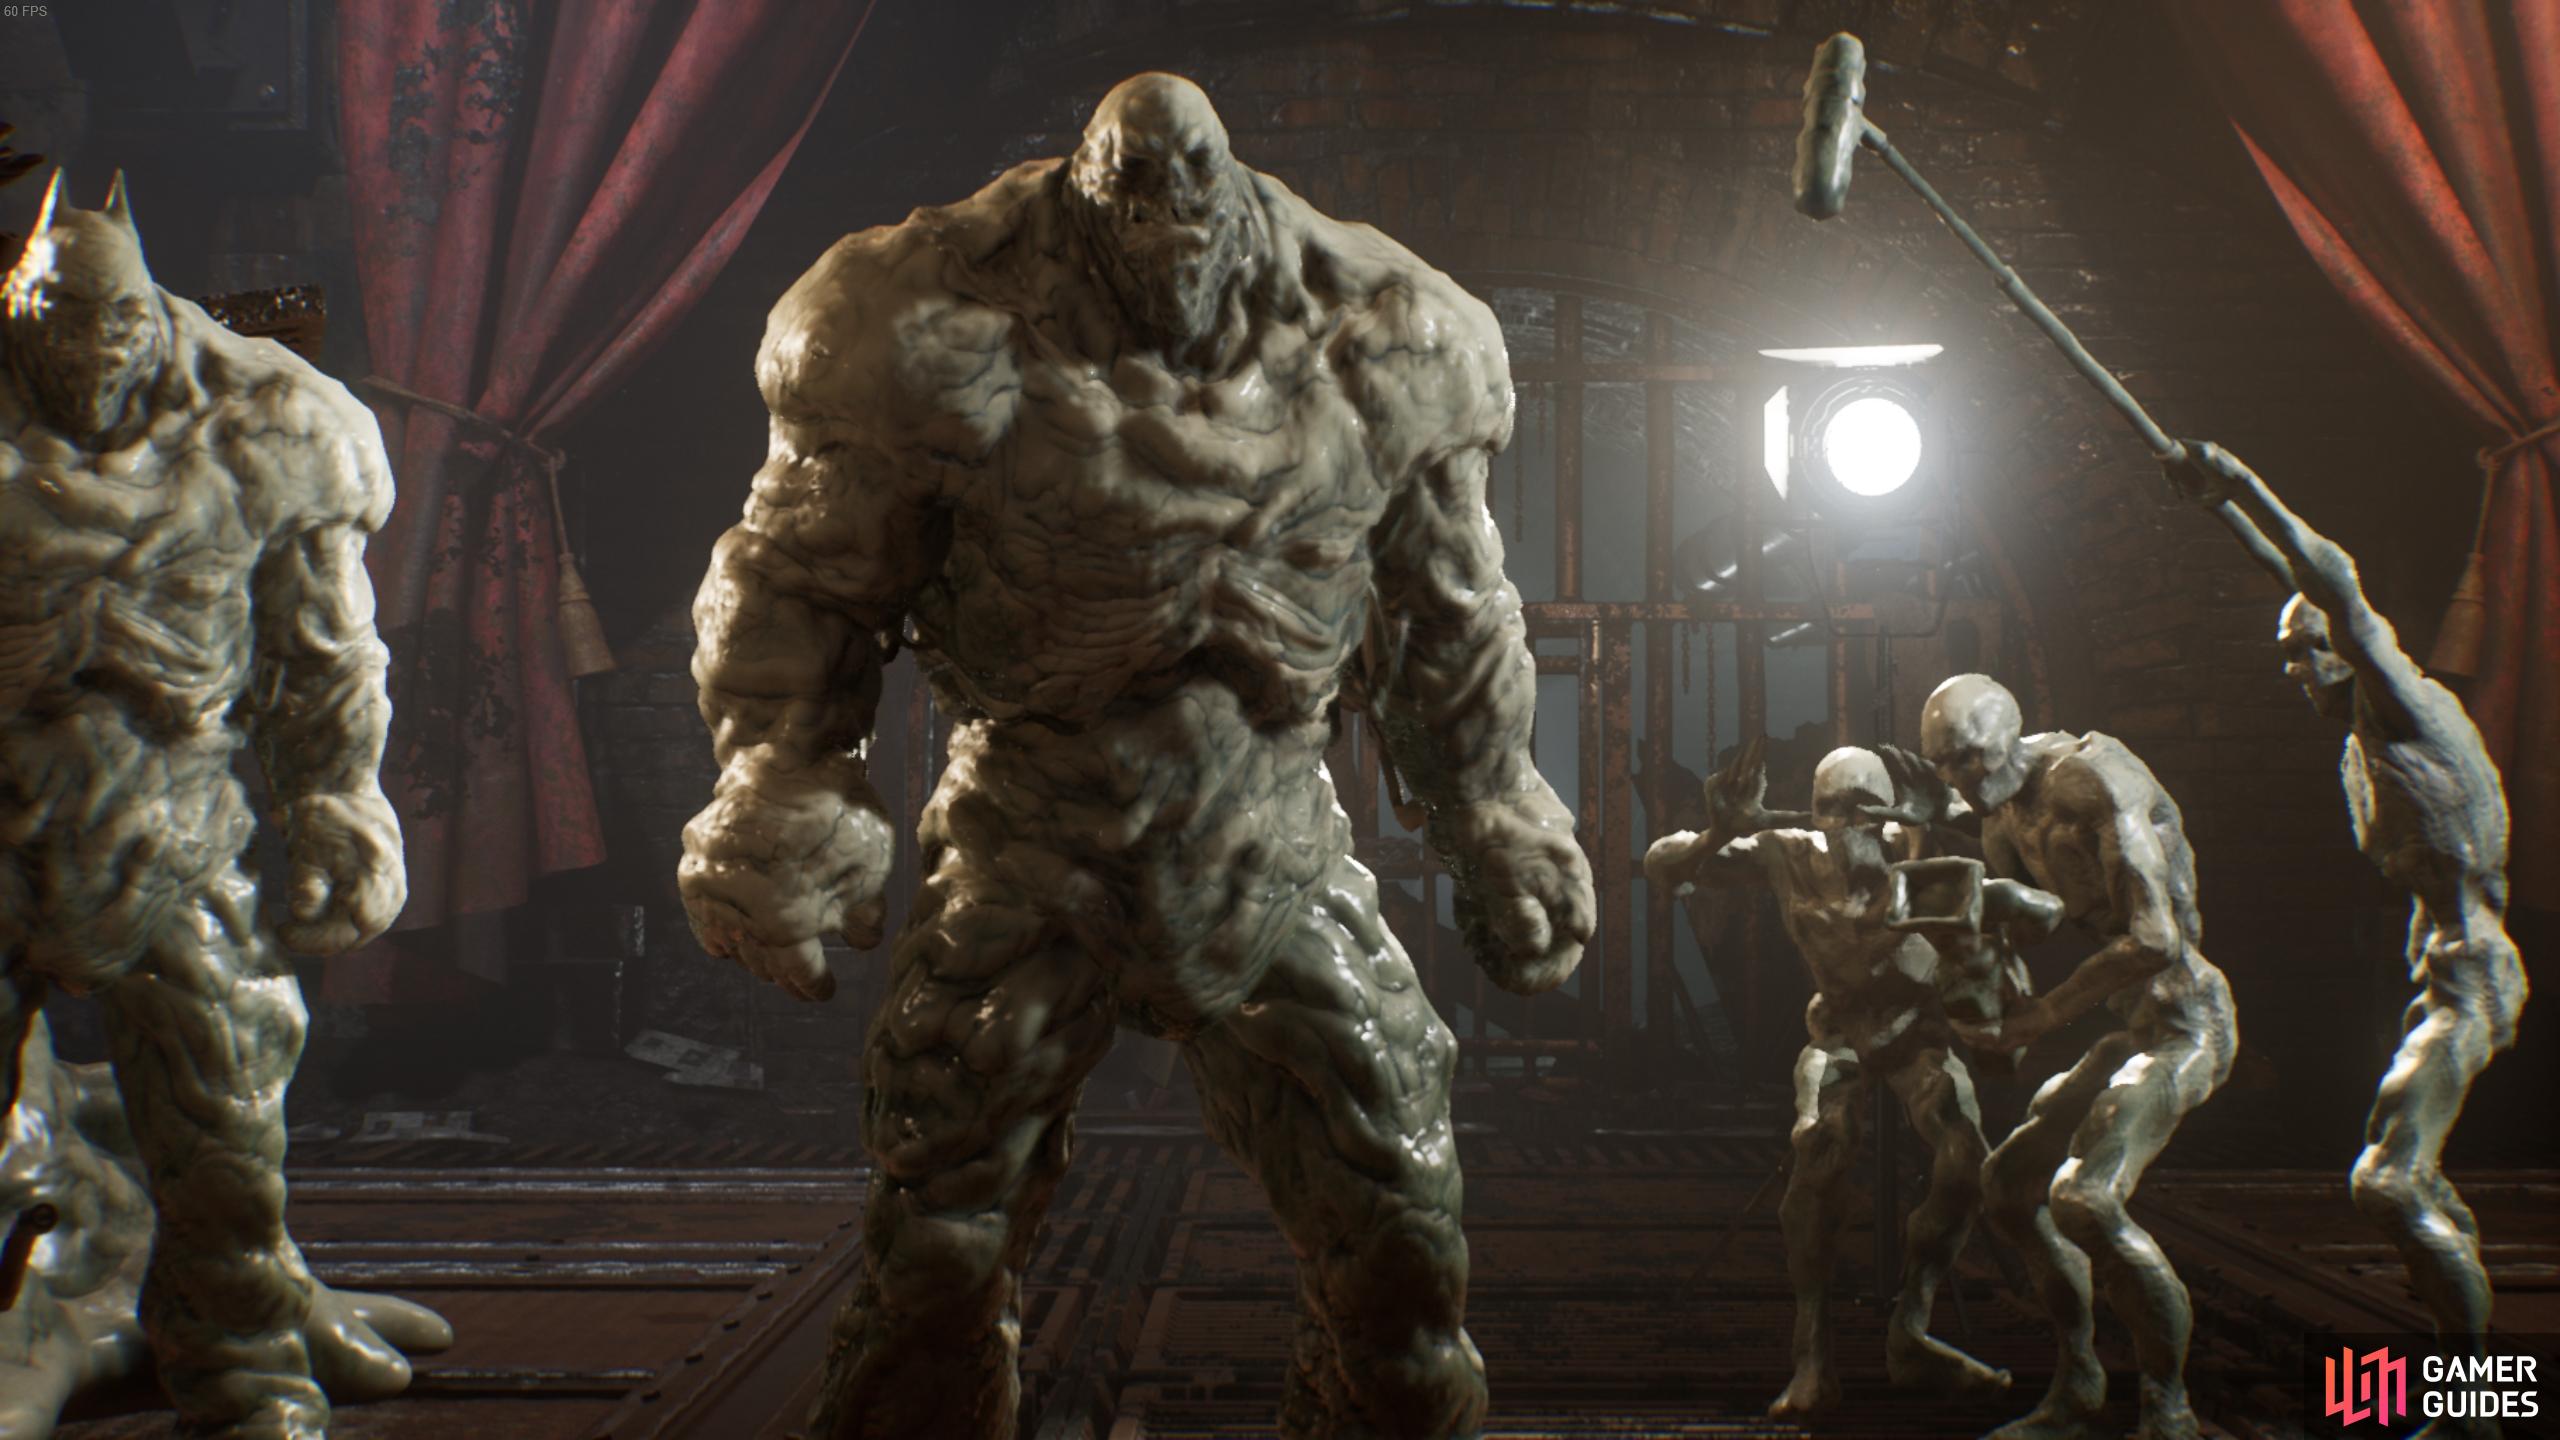
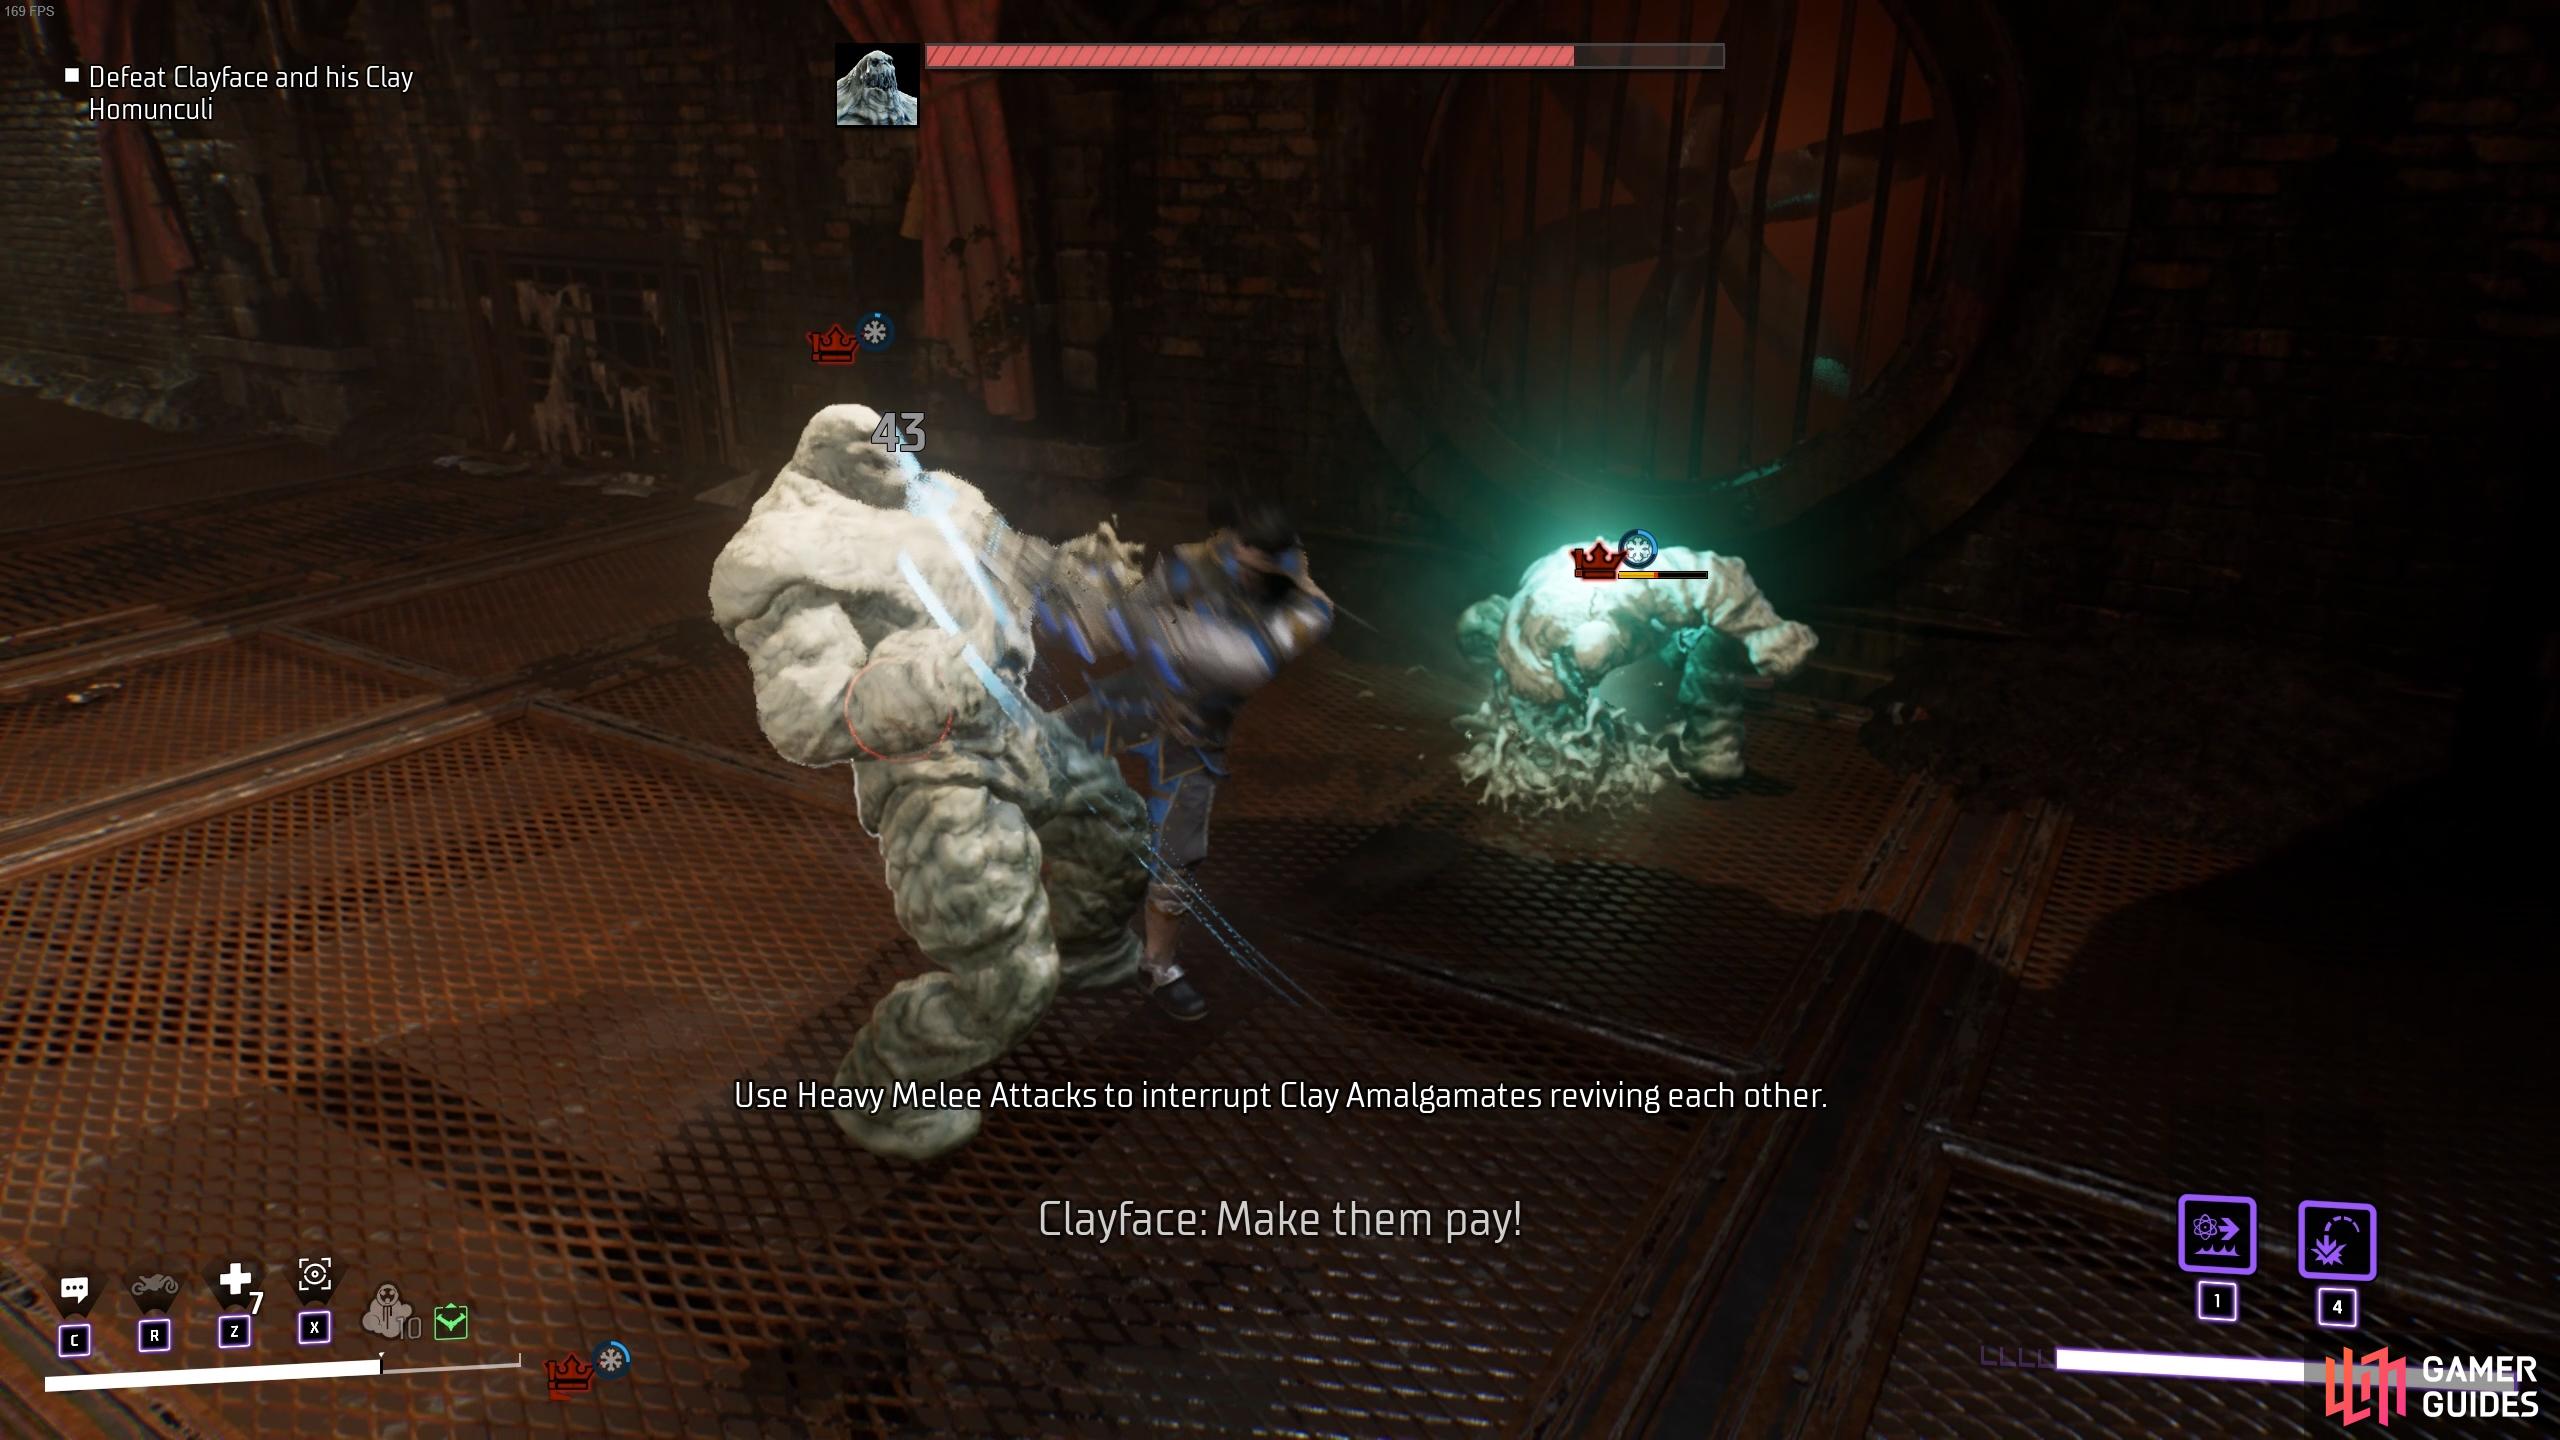
You’ll eventually reach a room where you meet a form of Clayface as he’s filming himself… with himself, by himself… it gets a bit complicated when you can simultaneously manifest different versions of your own form and substance. Anyway, this is essentially a boss room, and the boss fight consists of you fighting three brute-like versions of Clayface initially. Each of these have a decent amount of health, and they like to heal when they’re down, so you’ll need to become familiar with their attack patterns if you want to defeat them comfortably.
One of the first attacks that you’re likely to encounter from Clayface in this form involves him diving into the ground and then tunneling towards you. You’ll need to be ready to dodge or run out of the way as he gets closer, before he erupts from the ground to thump you with his big clay fist. Another attack that he will frequently use is a strike with his arm, which he can stretch from quite a distance to hit you from range. He will often do this three times in a row unless you’re able to interrupt him with one of your own special attacks, so be ready to dodge three times or run far enough away so that the arm doesn’t reach you.
As you begin to knock the brutish versions of Clayface down by depleting their health, look out for when a green hue surrounds their body as they plant their fist into the ground. This indicates that they’re in the process of healing, and you’ll need to interrupt them with an attack to stop the animation before the heal completes. This won’t just heal the health bar of one brute, but it will also replenish the main health bar for the boss as a whole, so it’s important that you interrupt the animation to avoid prolonging the fight.
First Clayface Fight: Phase 2
Once you’ve brought the main health bar of Clayface down to around 75%, a cutscene will initiate to mark the beginning of the second phase. During this phase you’ll still need to fight the 3 brutish versions of Clayface, but you’ll also need to contend with a number of smaller humanoid mimics. These are much weaker than the brutes and they can be taken down fairly quickly, so we’d recommend focusing on them first.
At this stage in the fight you’ll also begin to notice that the brutes use a ranged attack, which consists of them launching a lump of clay at you. You’ll have plenty of warning to avoid this since you’ll see a red marker on the edge of your screen, indicating that the ranged attack is incoming. Be ready to dodge this at the last second to avoid it.
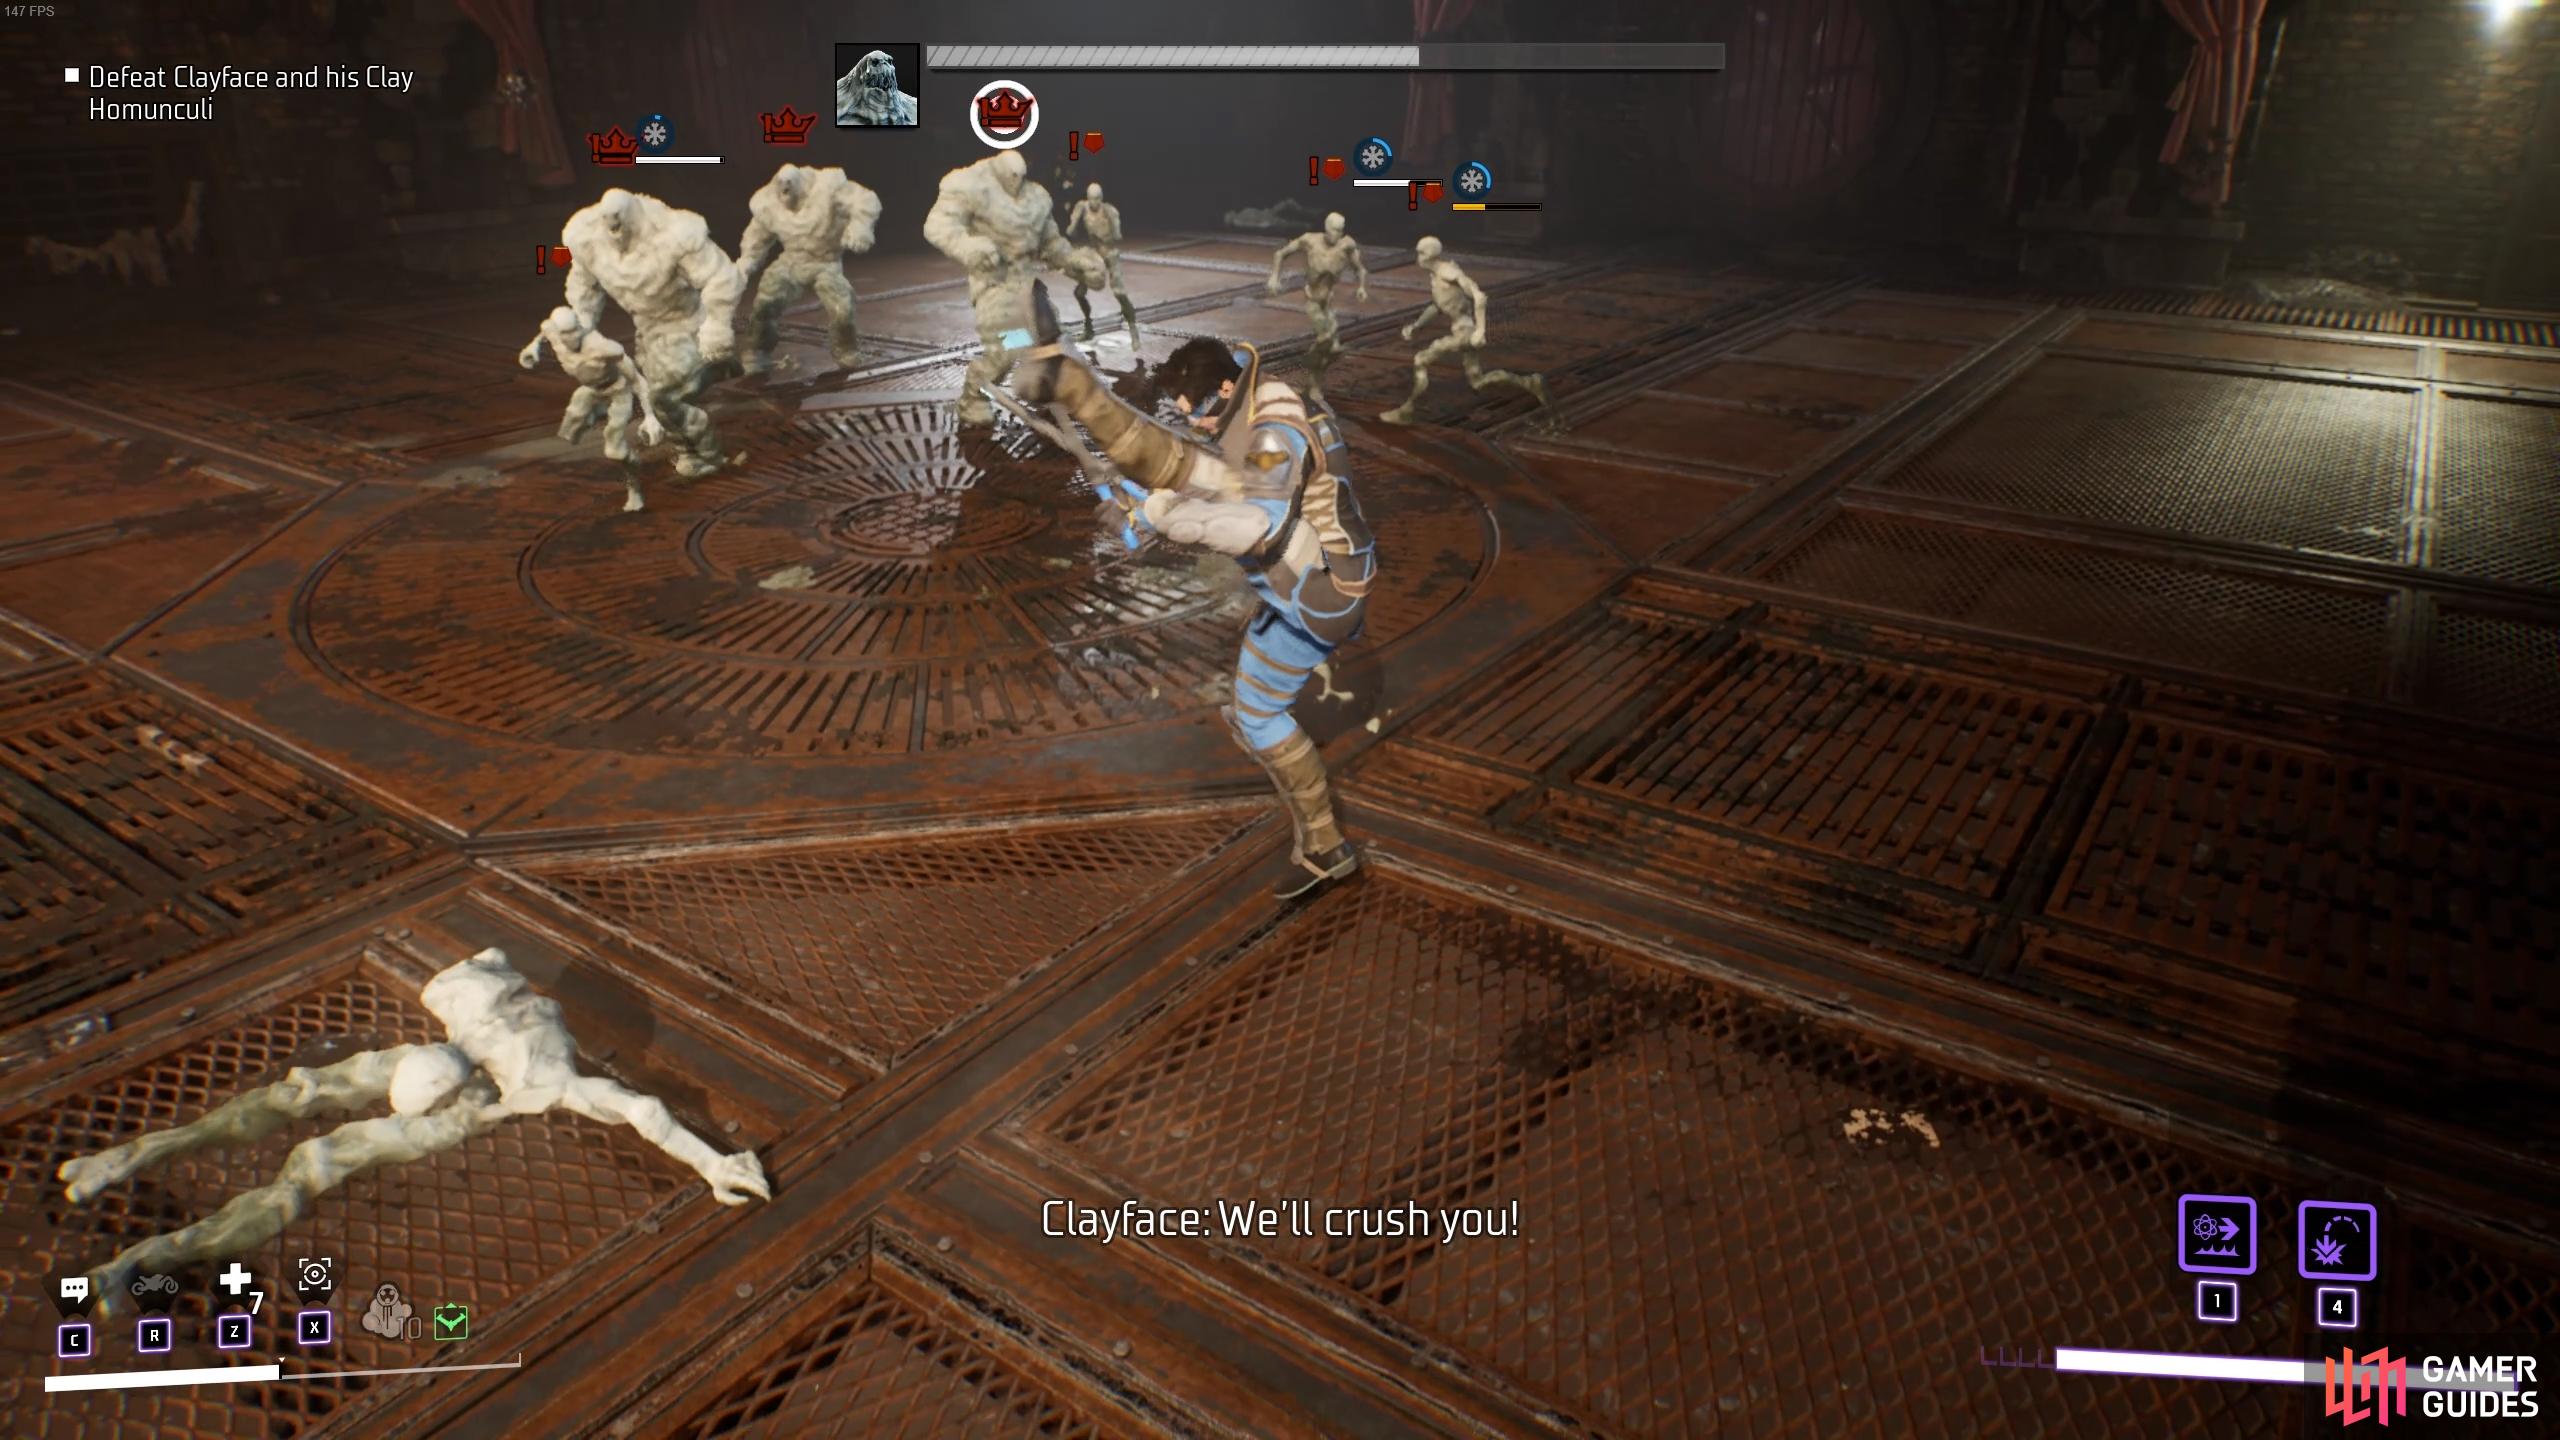
You’ll need to defeat a number of humanoid clay mimics during the second phase of the fight.
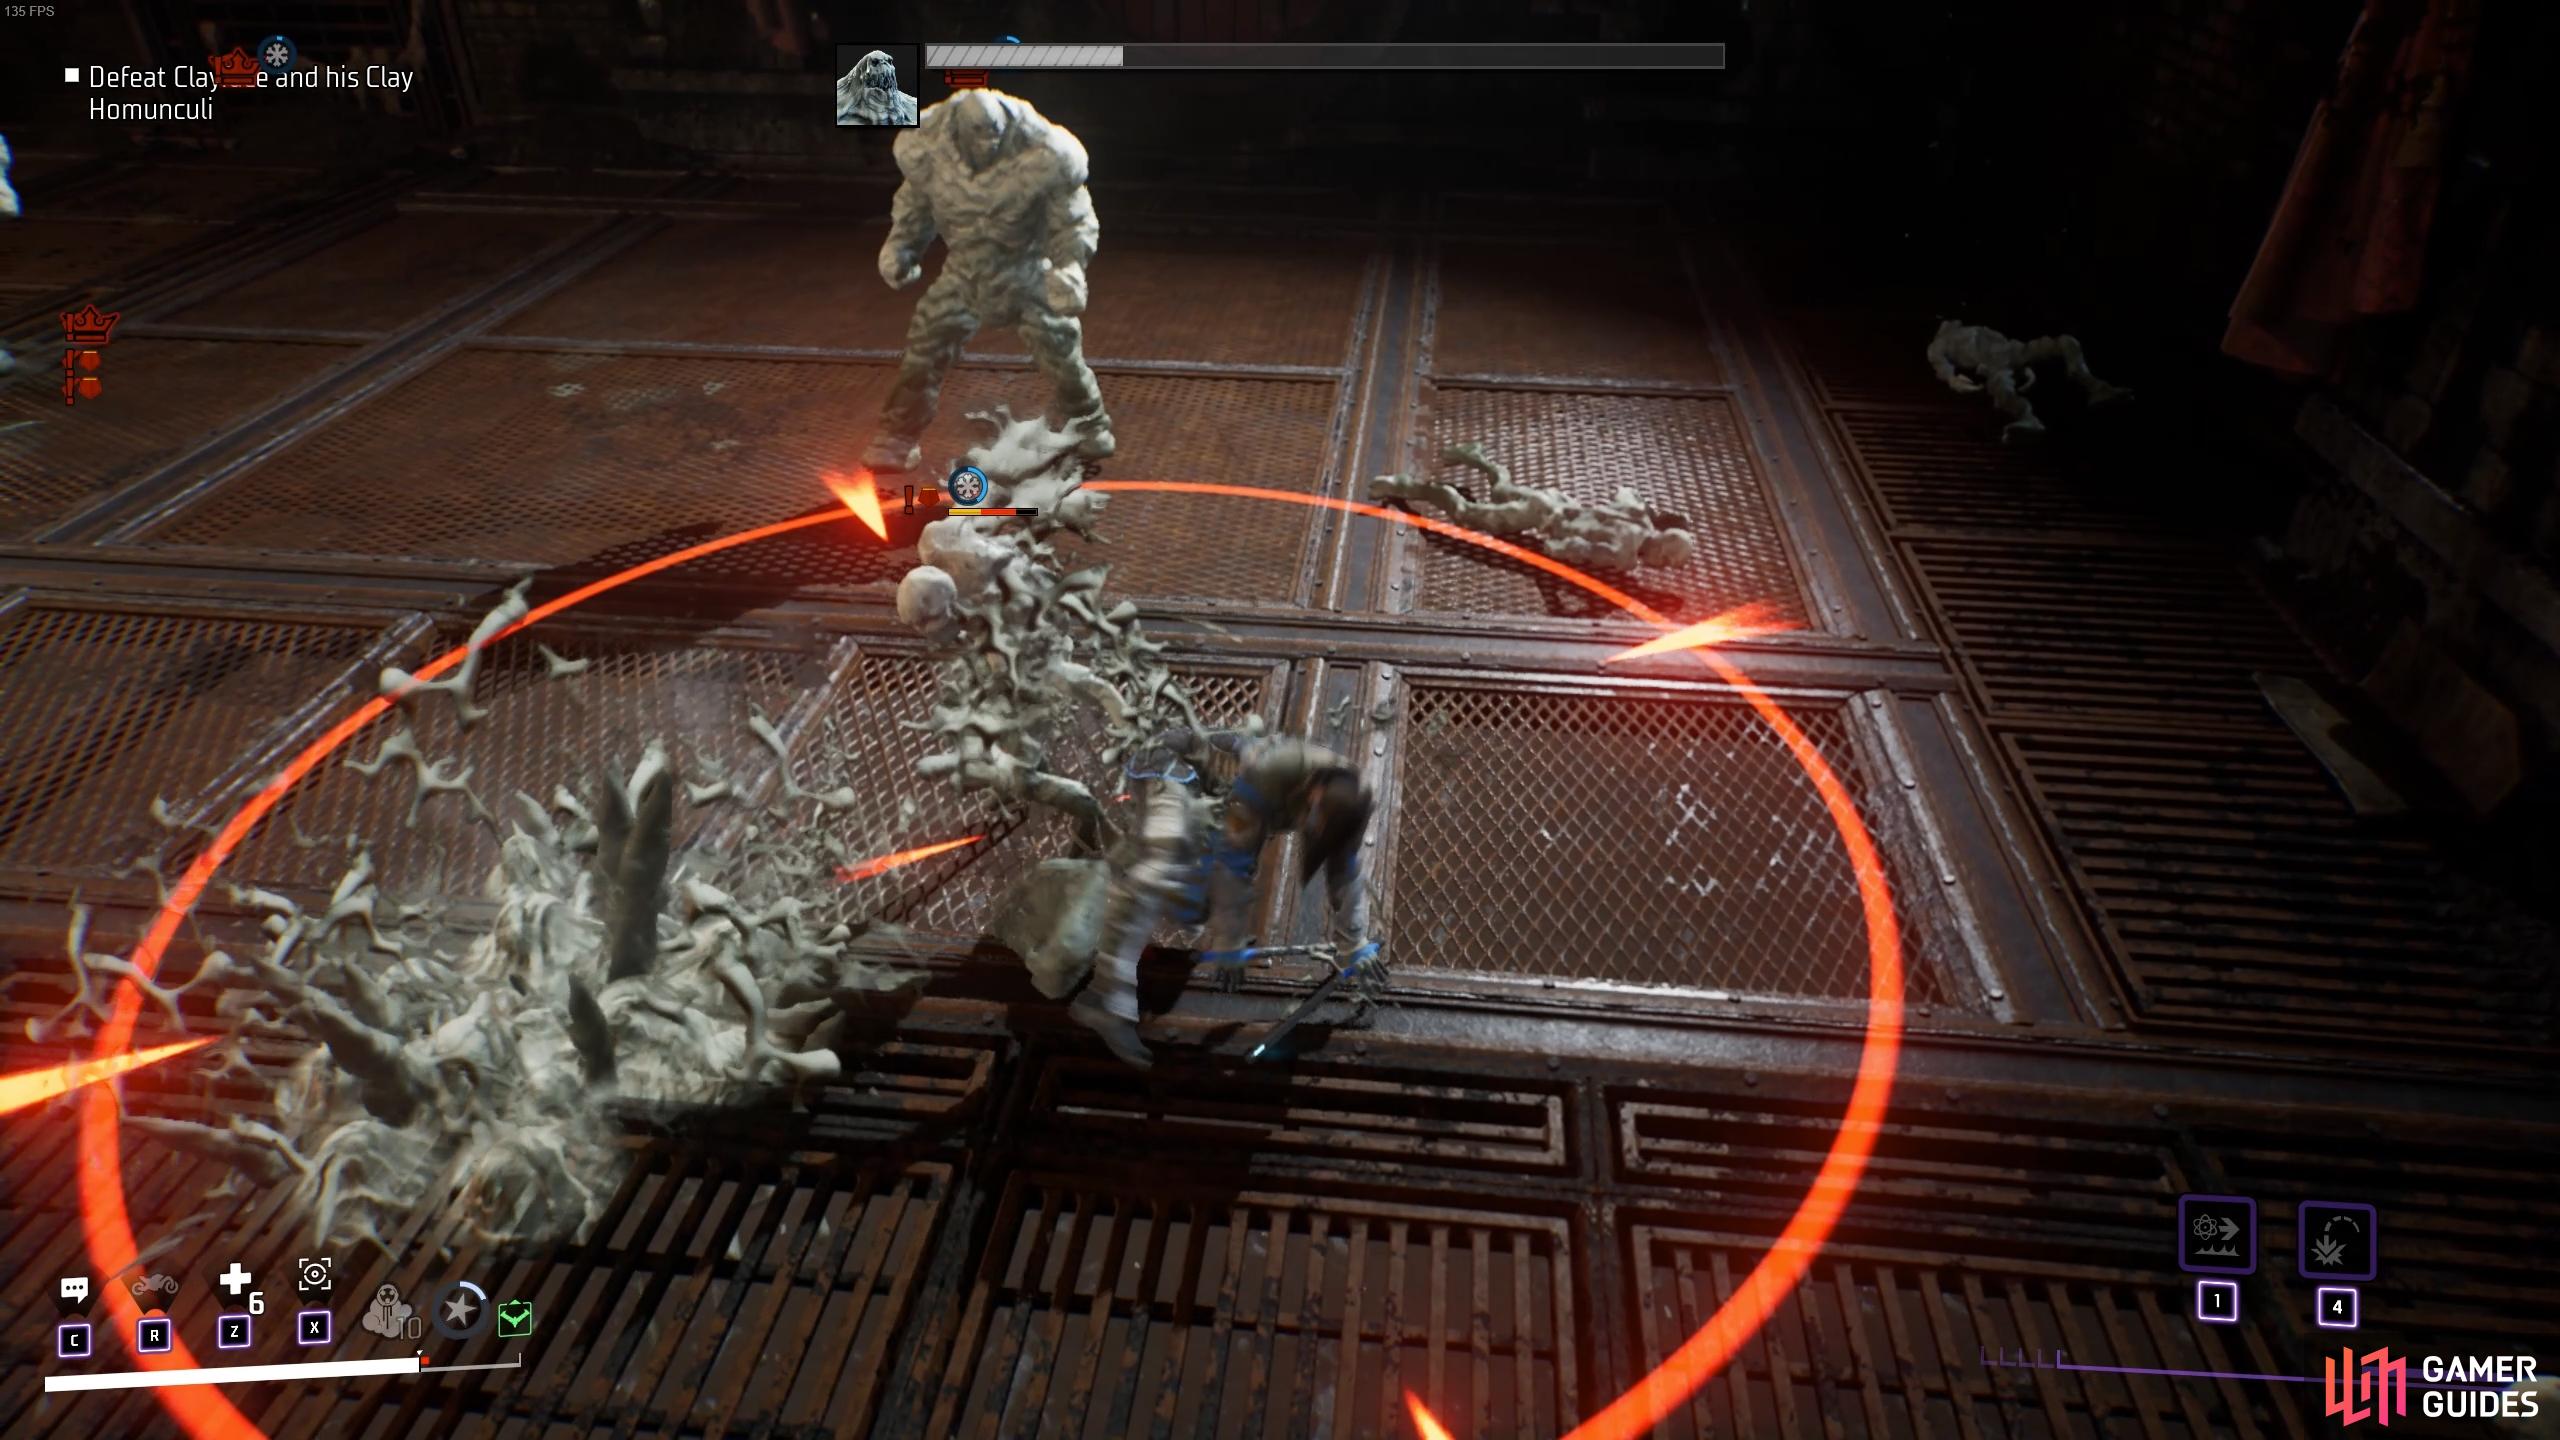
The humanoids will explode in a circular radius when you defeat them during the third phase of the fight.
Aside from the new enemies and this new ranged attack, the second phase of the fight will play out in a similar way to the first.
First Clayface Fight: Phase 3
When you bring Clayface down to around 25% health, you will be able to defeat each brute completely for a brief period. This won’t last long however, since after a few seconds all three brutes will reemerge alongside the smaller humanoid clay mimics. Once again, this phase of the fight will be similar to the other two, but the main difference here is that whenever you defeat one of the smaller humanoid clay mimics, they will explode in a marked radius around them after a brief period. You’ll see a red circle indicating the damage area, so you’ll need to run or dodge out of this as quickly as possible to avoid taking damage.
Aside from this new addition to the fight, the rest of it will remain the same, so it’s just more bashing away at the various versions of Clayface to eat away at his health bar until it’s entirely depleted. A cutscene will play at this point, during which the battle ends and Clayface escapes… but this isn’t the last you’ve seen of him!
(1 of 3) Look out for when one of the brutes glows in a green hue, and be quick to interrupt them before they heal.
No Comments