
This mission is one of the three new recruitment dossiers you’ll acquire after completing the mission on Horizon. To start it, you’ll need to land on Illium and talk to Liara, who will tell you about Thane and Samara. The former is your focus at the moment. After talking to Liara, head to the Shipping and Cargo area on Illium and talk to an asari named Seryna, who will kindly take you to the mission area.
You’ll be facing mechs and Eclipse mercenaries during this mission, so you’ll need… well, a bit of everything honestly. The ability to take down barriers is probably more important than shields this time around, and while much of the fighting will be midrange combat inside a building, there are also quite a few segments where a sniper rifle will come in handy. Miranda, as usual, is a solid choice for her abilities, while Garrus and Grunt are good secondary choices for their ammo powers and weapon loadouts (ensure Garrus/Grunt have the Mattock assault rifle or the Geth Plasma Shotgun equipped, if possible).
| Notable Items in This Area |
|---|
| Weapon: M-97 Viper Sniper Rifle |
| Upgrade - Research Project: SMG Damage |

Talk to Seryna on Illium to start this mission,
but be wary, as you’ll immediately be attacked by mechs.
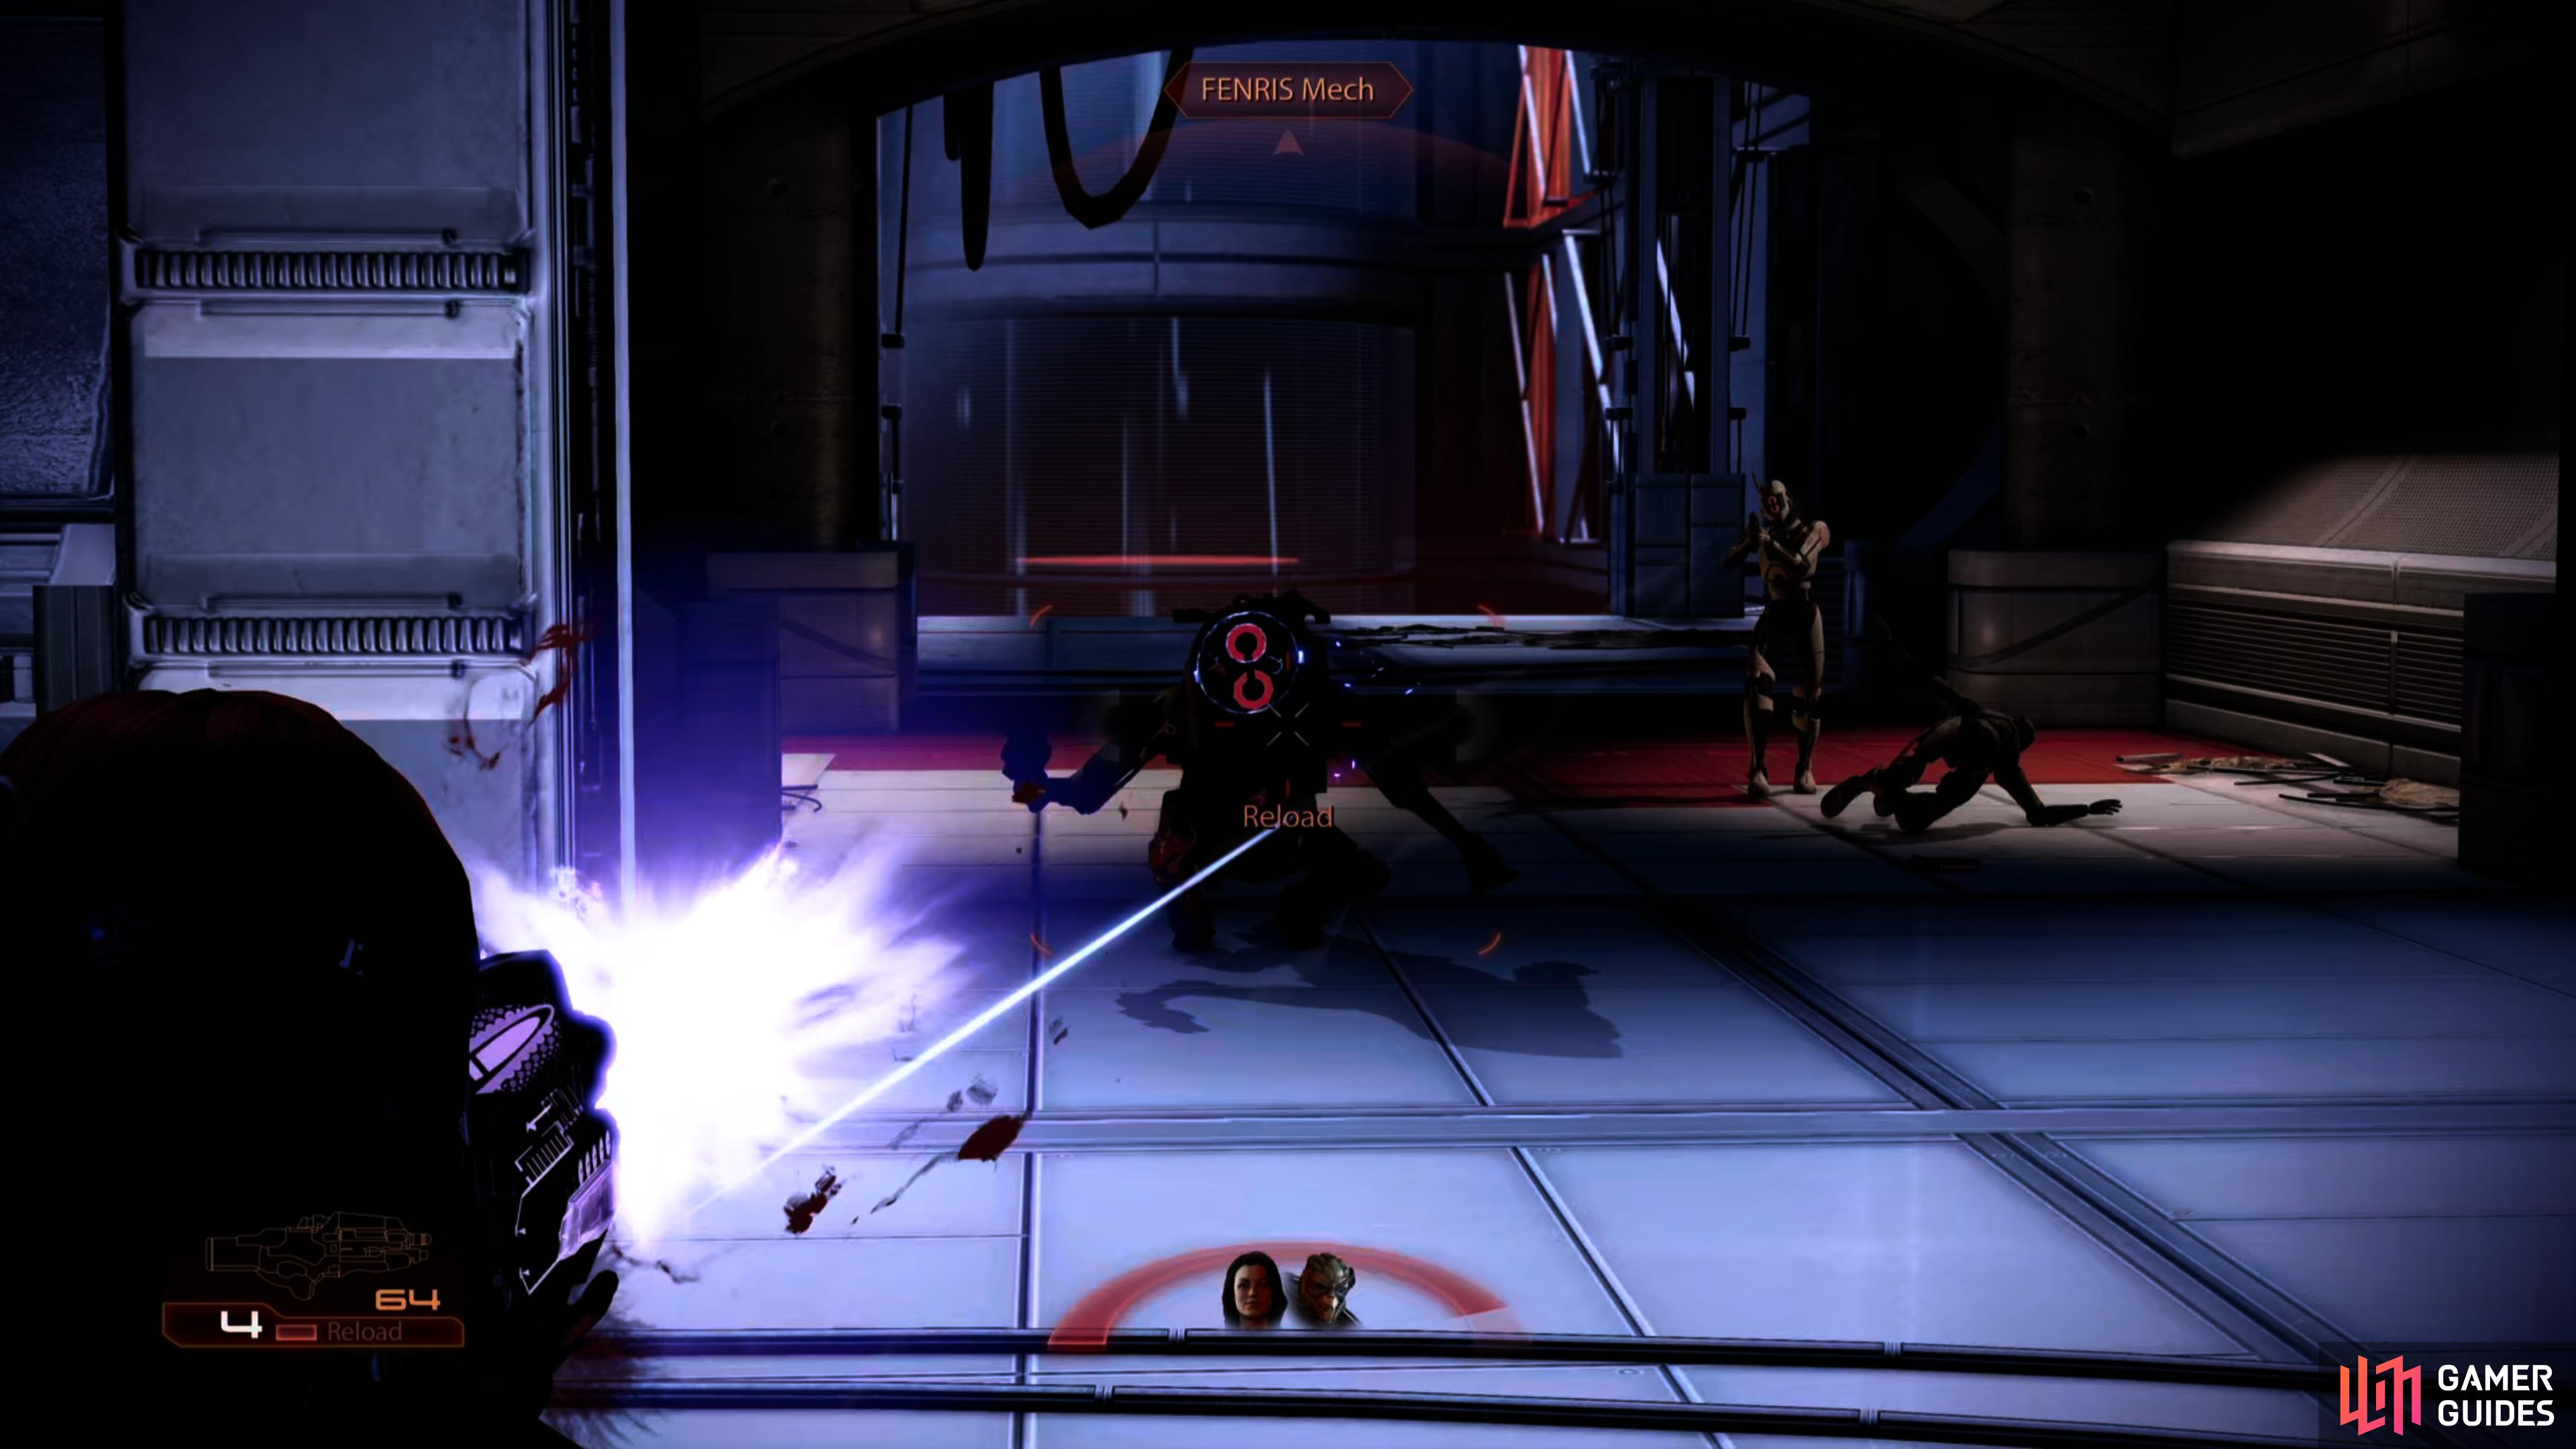
As soon as the introduction sequence ends, take cover behind the door frames in front of you and kill the pair of FENRIS Mechs and their LOKI Mech pals. Inside, look in the room to the left for a Med Kit and a hackable Terminal . Exit back to the previous room and enter the right-hand area. You will find an injured salarian worker (talk with him for a Renegade/Paragon option). After the conversation, enter the newly opened door and cruise along the long hallway to the left.
Upon entering the next room you will come across a group of 5-6 mercenaries, a few LOKI Mechs and a FENRIS Mech or two. Clear the area from cover and use your sniper rifle to hit another group of mechs that are visible through the left-hand exit at the back of the room. Kill them as they enter before taking their position in the next room. When you reach the area they were standing, turn to the left and you will see a good number of LOKI Mechs, Eclipse Troopers and a few Vanguards (barrier troopers) around. Once again, watch out for the occasional FENRIS Mech. As you clear the immediate area reinforcements will appear to take their place.

Perform a Paragon interrupt to help an injured salarian.
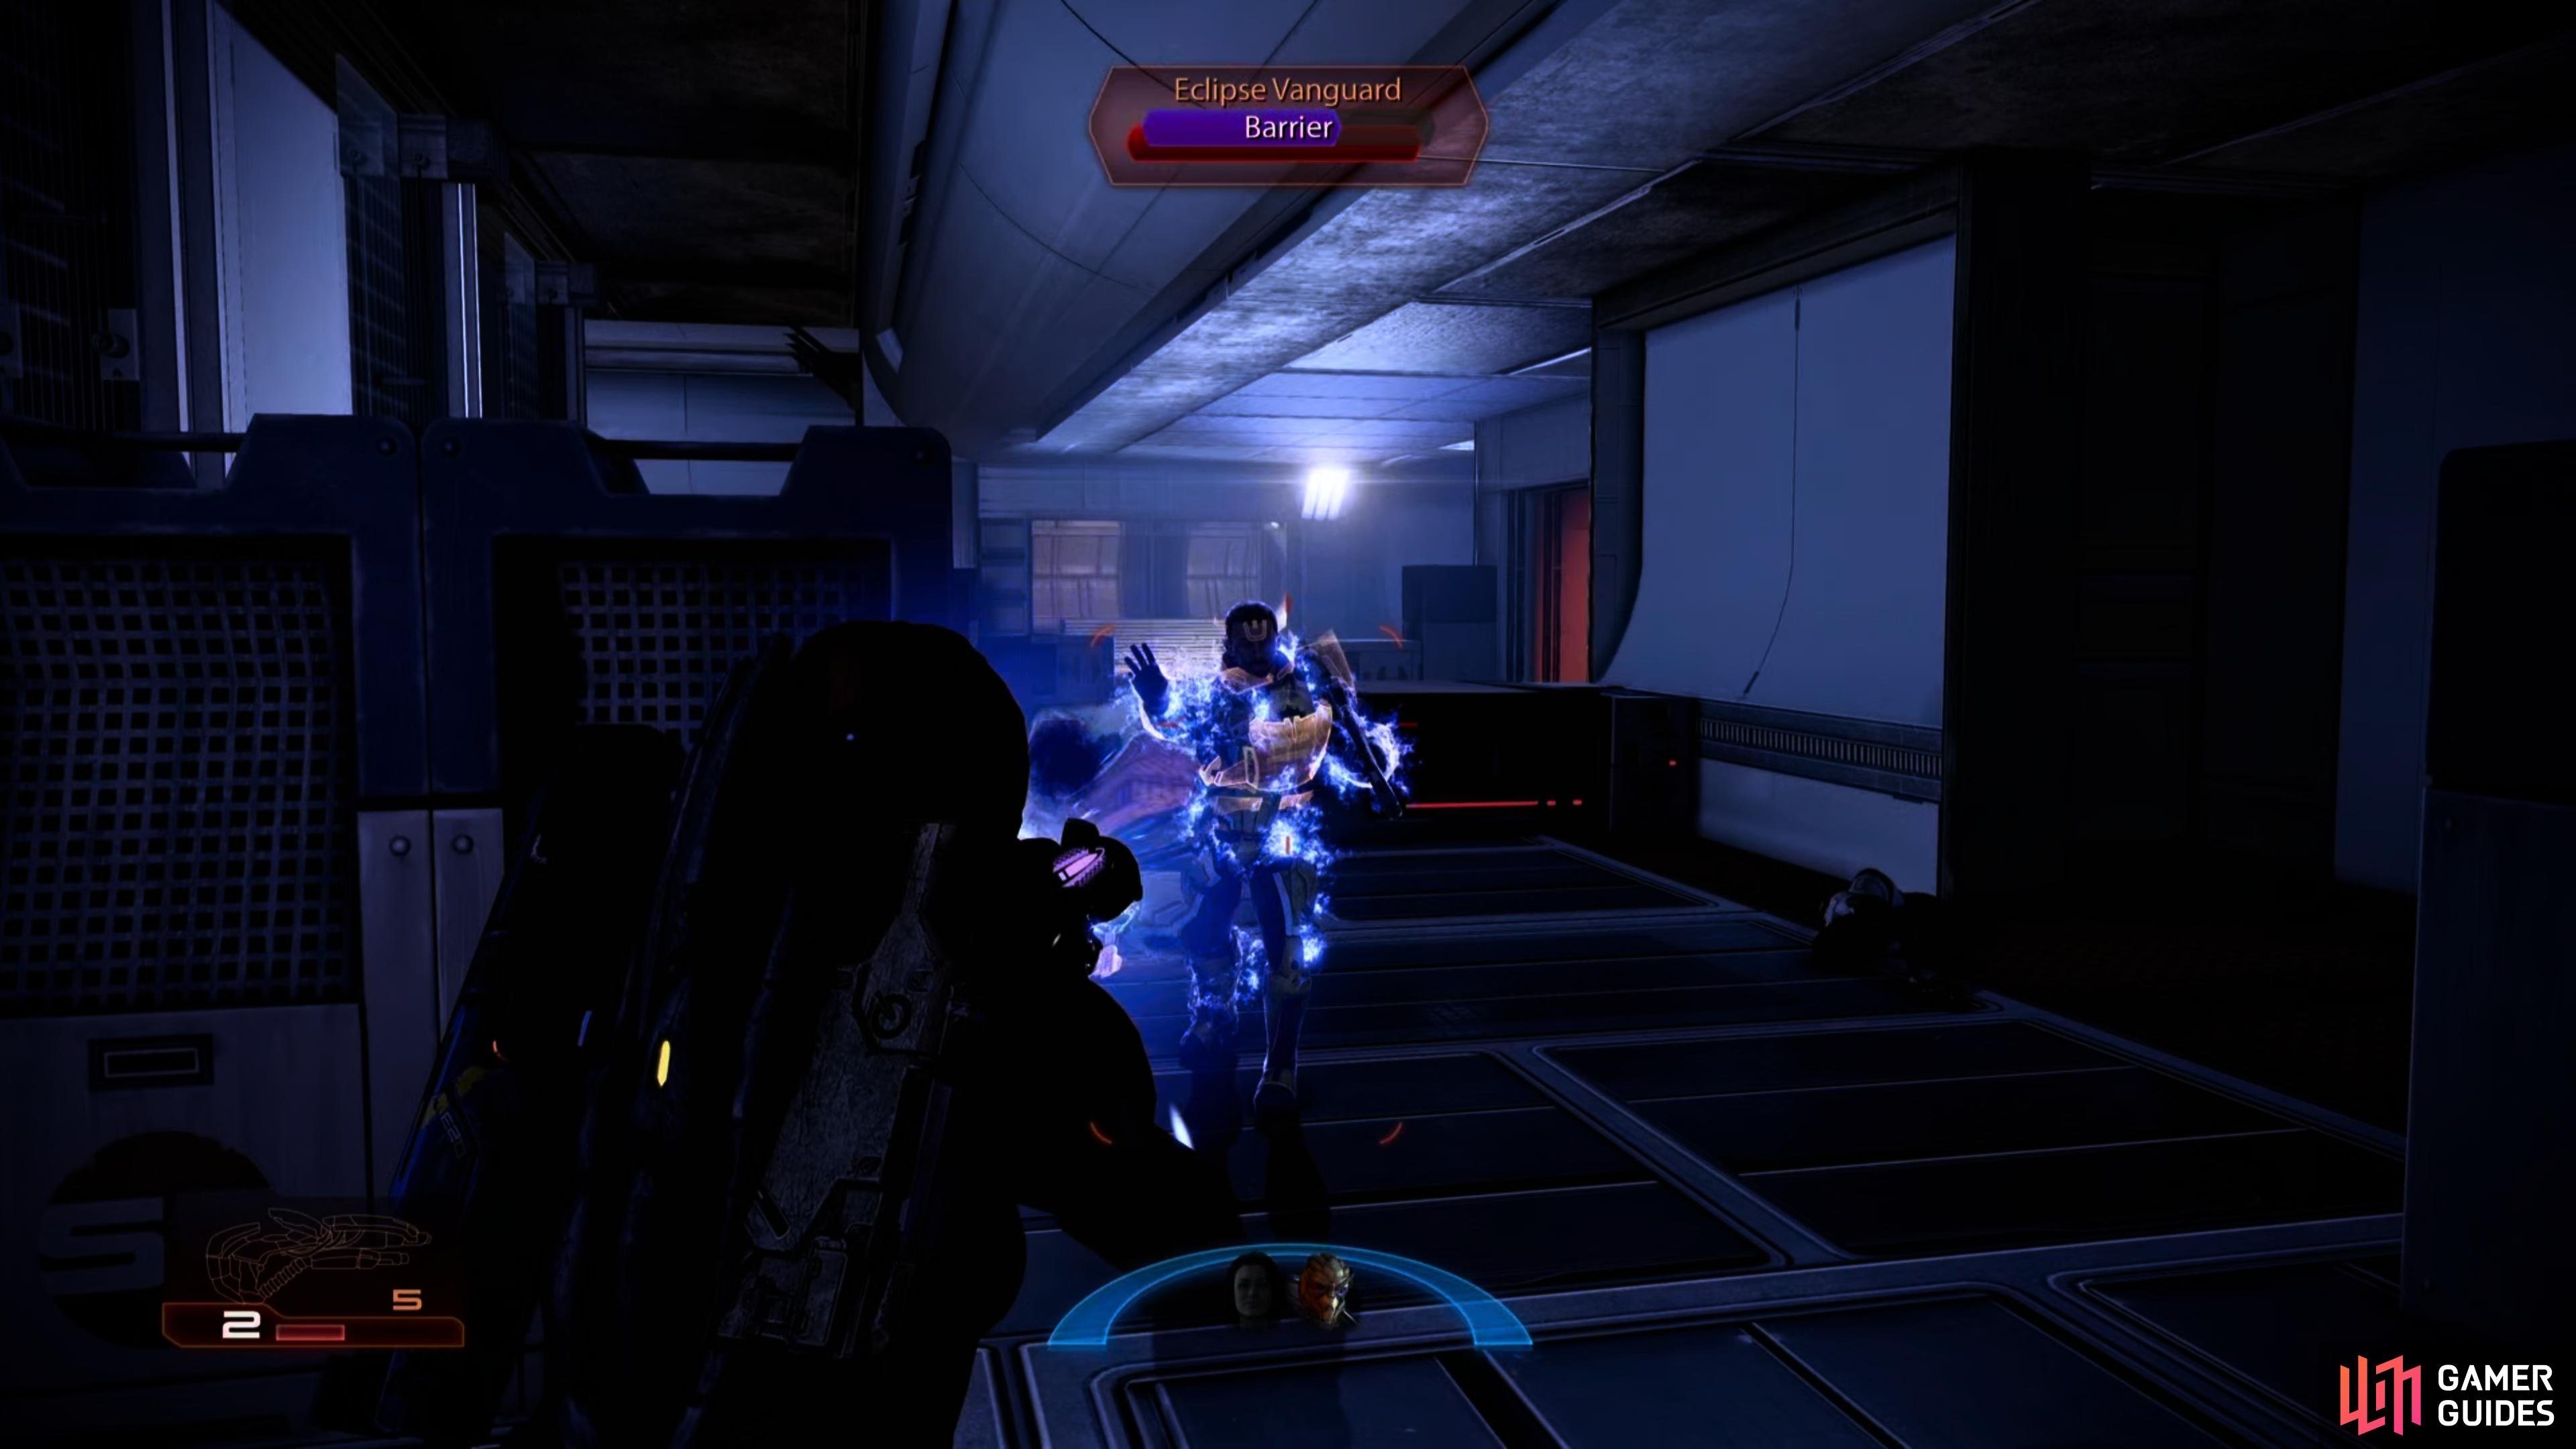
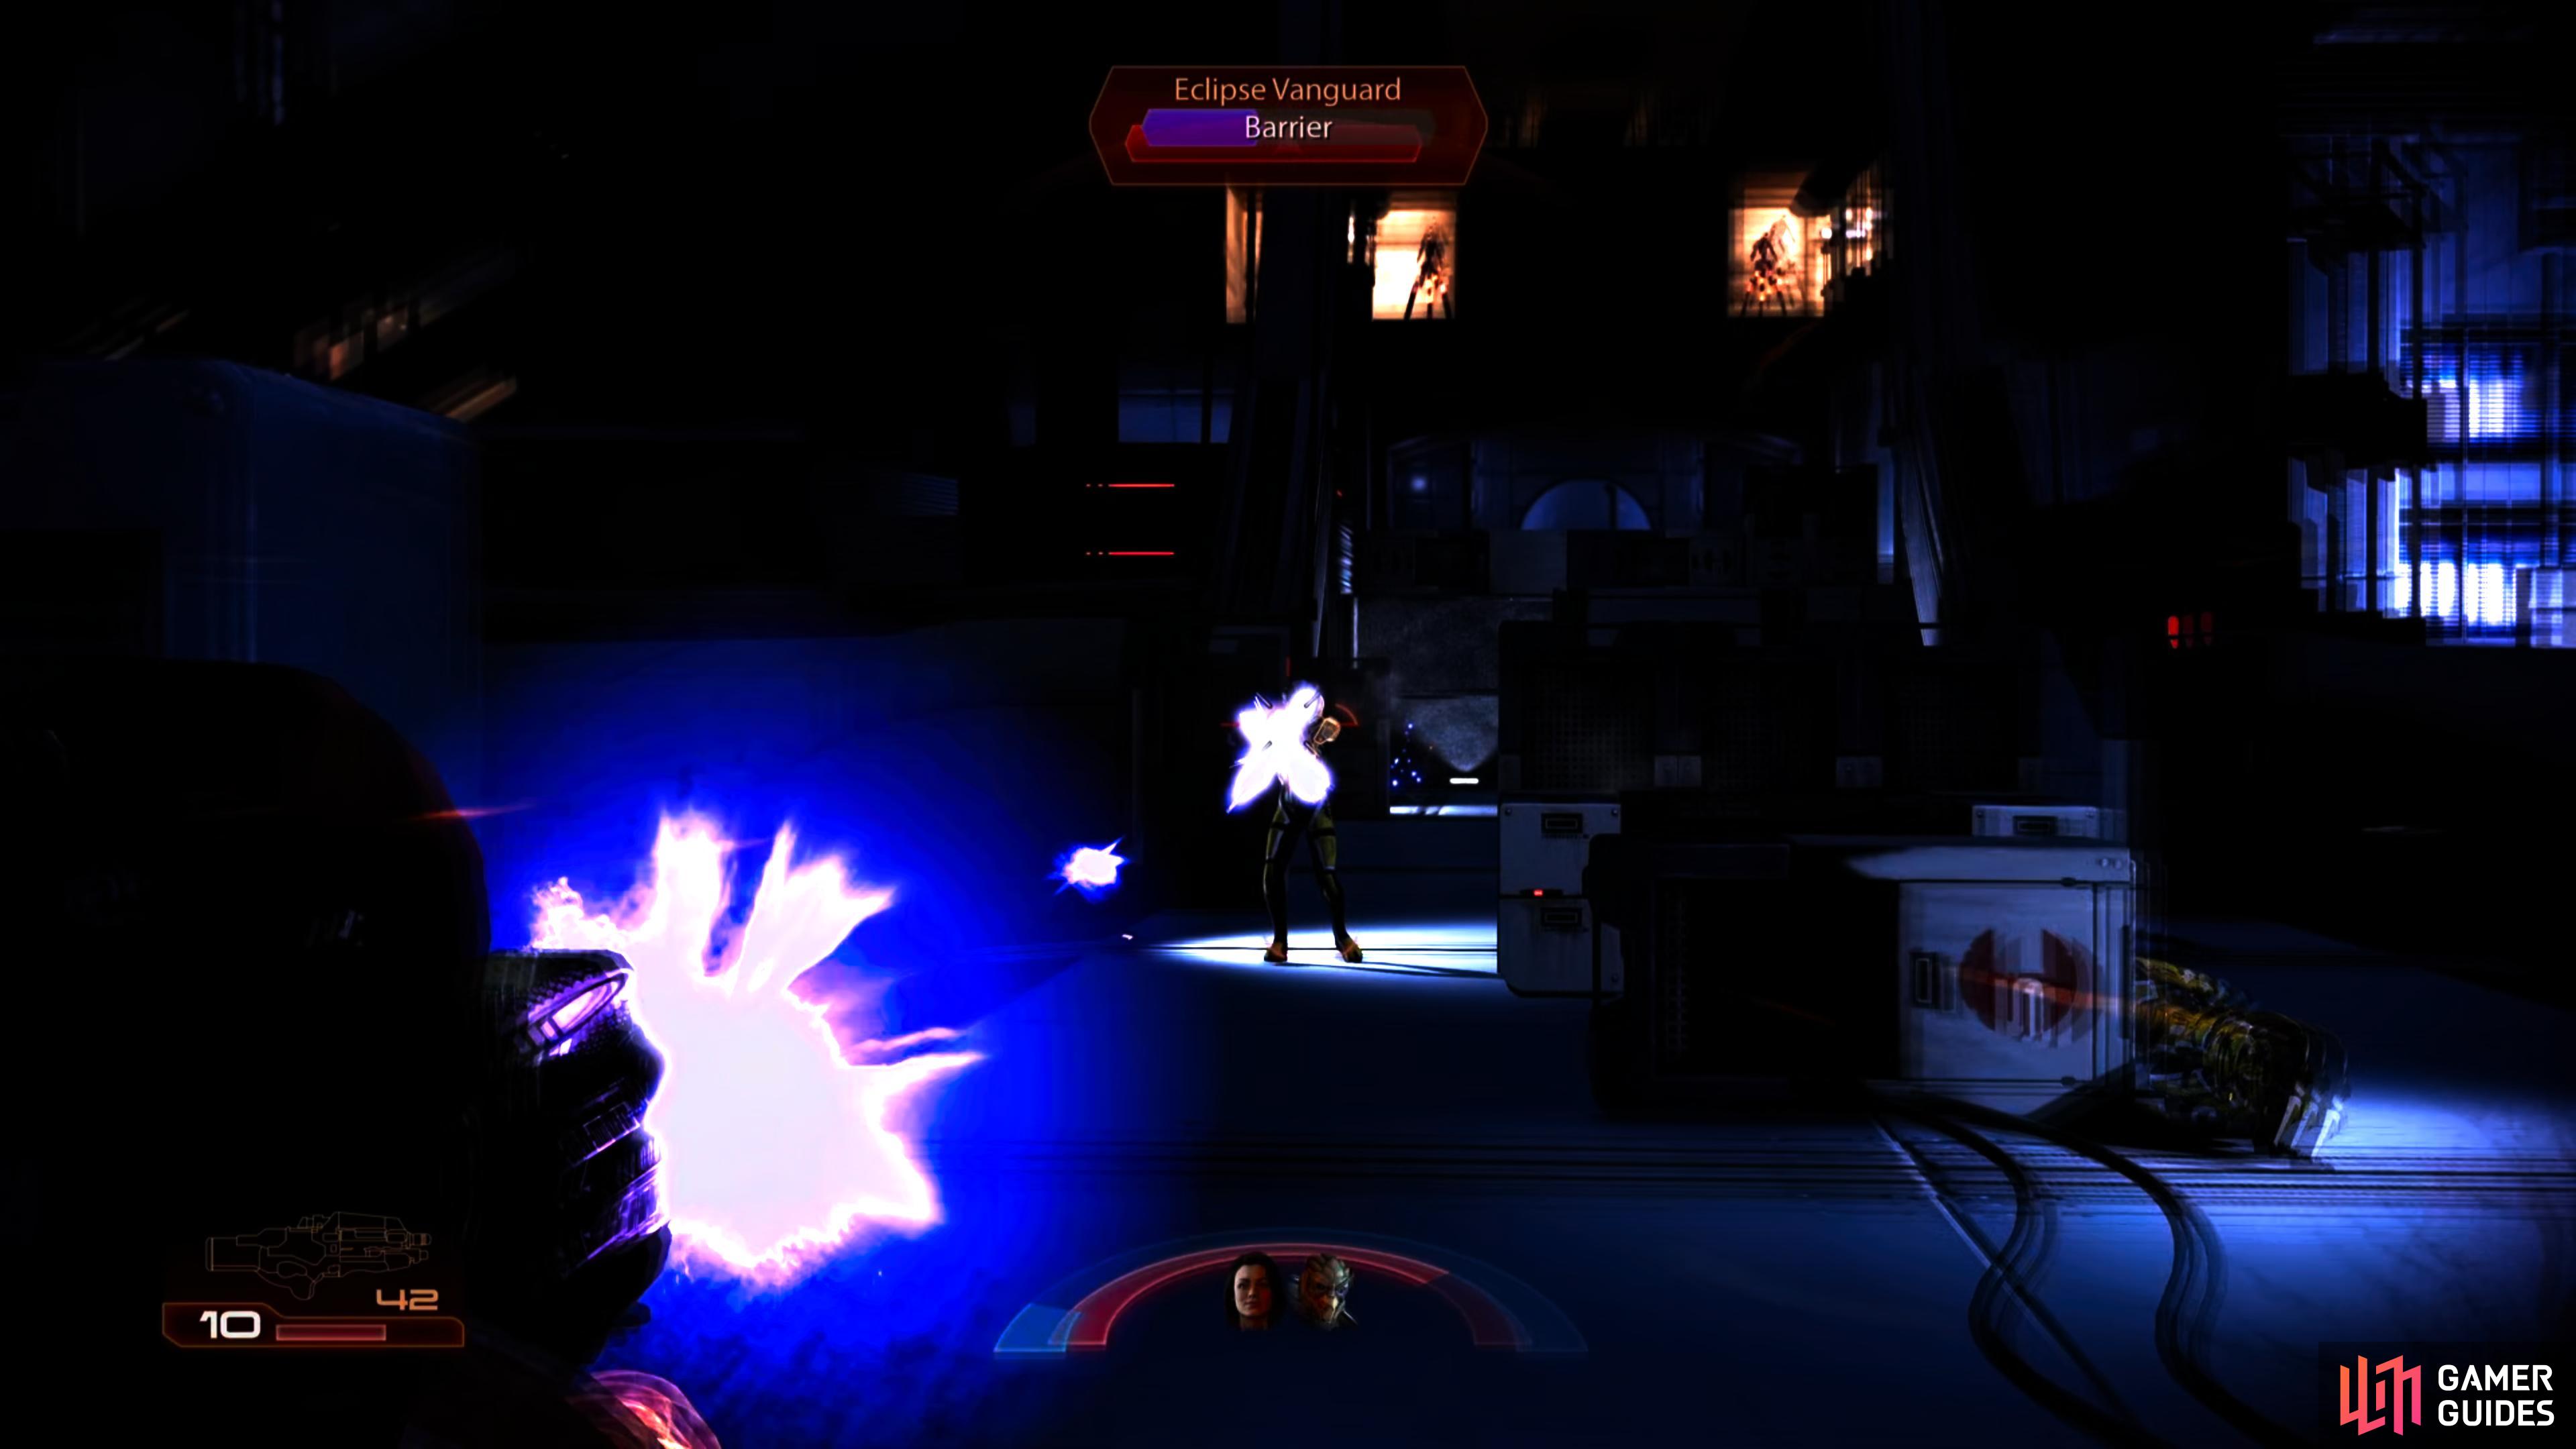
The tower is crawling with Eclipse mercs, the most dangerous of which are Vanguards, who use biotics and come defended by barriers.
After clearing the room, make your way around the pit in the center and into the hallway at the far end. This will trigger another group of Eclipse mercenaries and mechs to attack. Fight your way through these enemies and into the door at the end of the corridor. Climb the ramp and exit onto the next floor.
Pick up the Med Kits to the right if you require them before heading out the door on the left. Take cover here and wait a few moments for a group of Eclipse Troopers and mechs to enter from the opposite side of the area. Kill them all and wait a little bit longer for a few more reinforcements. When the shooting stops, it will now be safe to mosey forward and through the door. Move to the other exit from this room and use it to peek out into the hallway. This area is a nice bottle neck where enemies will pretty much have to run at you one at a time with limited cover. You should eliminate 5 - 6 Eclipse Troopers, several mechs and an Eclipse Vanguard before you consider moving on.
When no more enemies are forthcoming, run down the short hallway until it opens into a slightly larger room. Use the cover directly in front of you to clear the remaining hostiles from the area. Move up to the next piece of cover and repeat the process with the group of reinforcements that enter from the back left side of the area. Before reaching the open doorway at the end, look in an alcove to the right to find a Med Kit. Head inside the next open room and use the doorframe to the left as cover from which to attack the enemies in the room beyond.
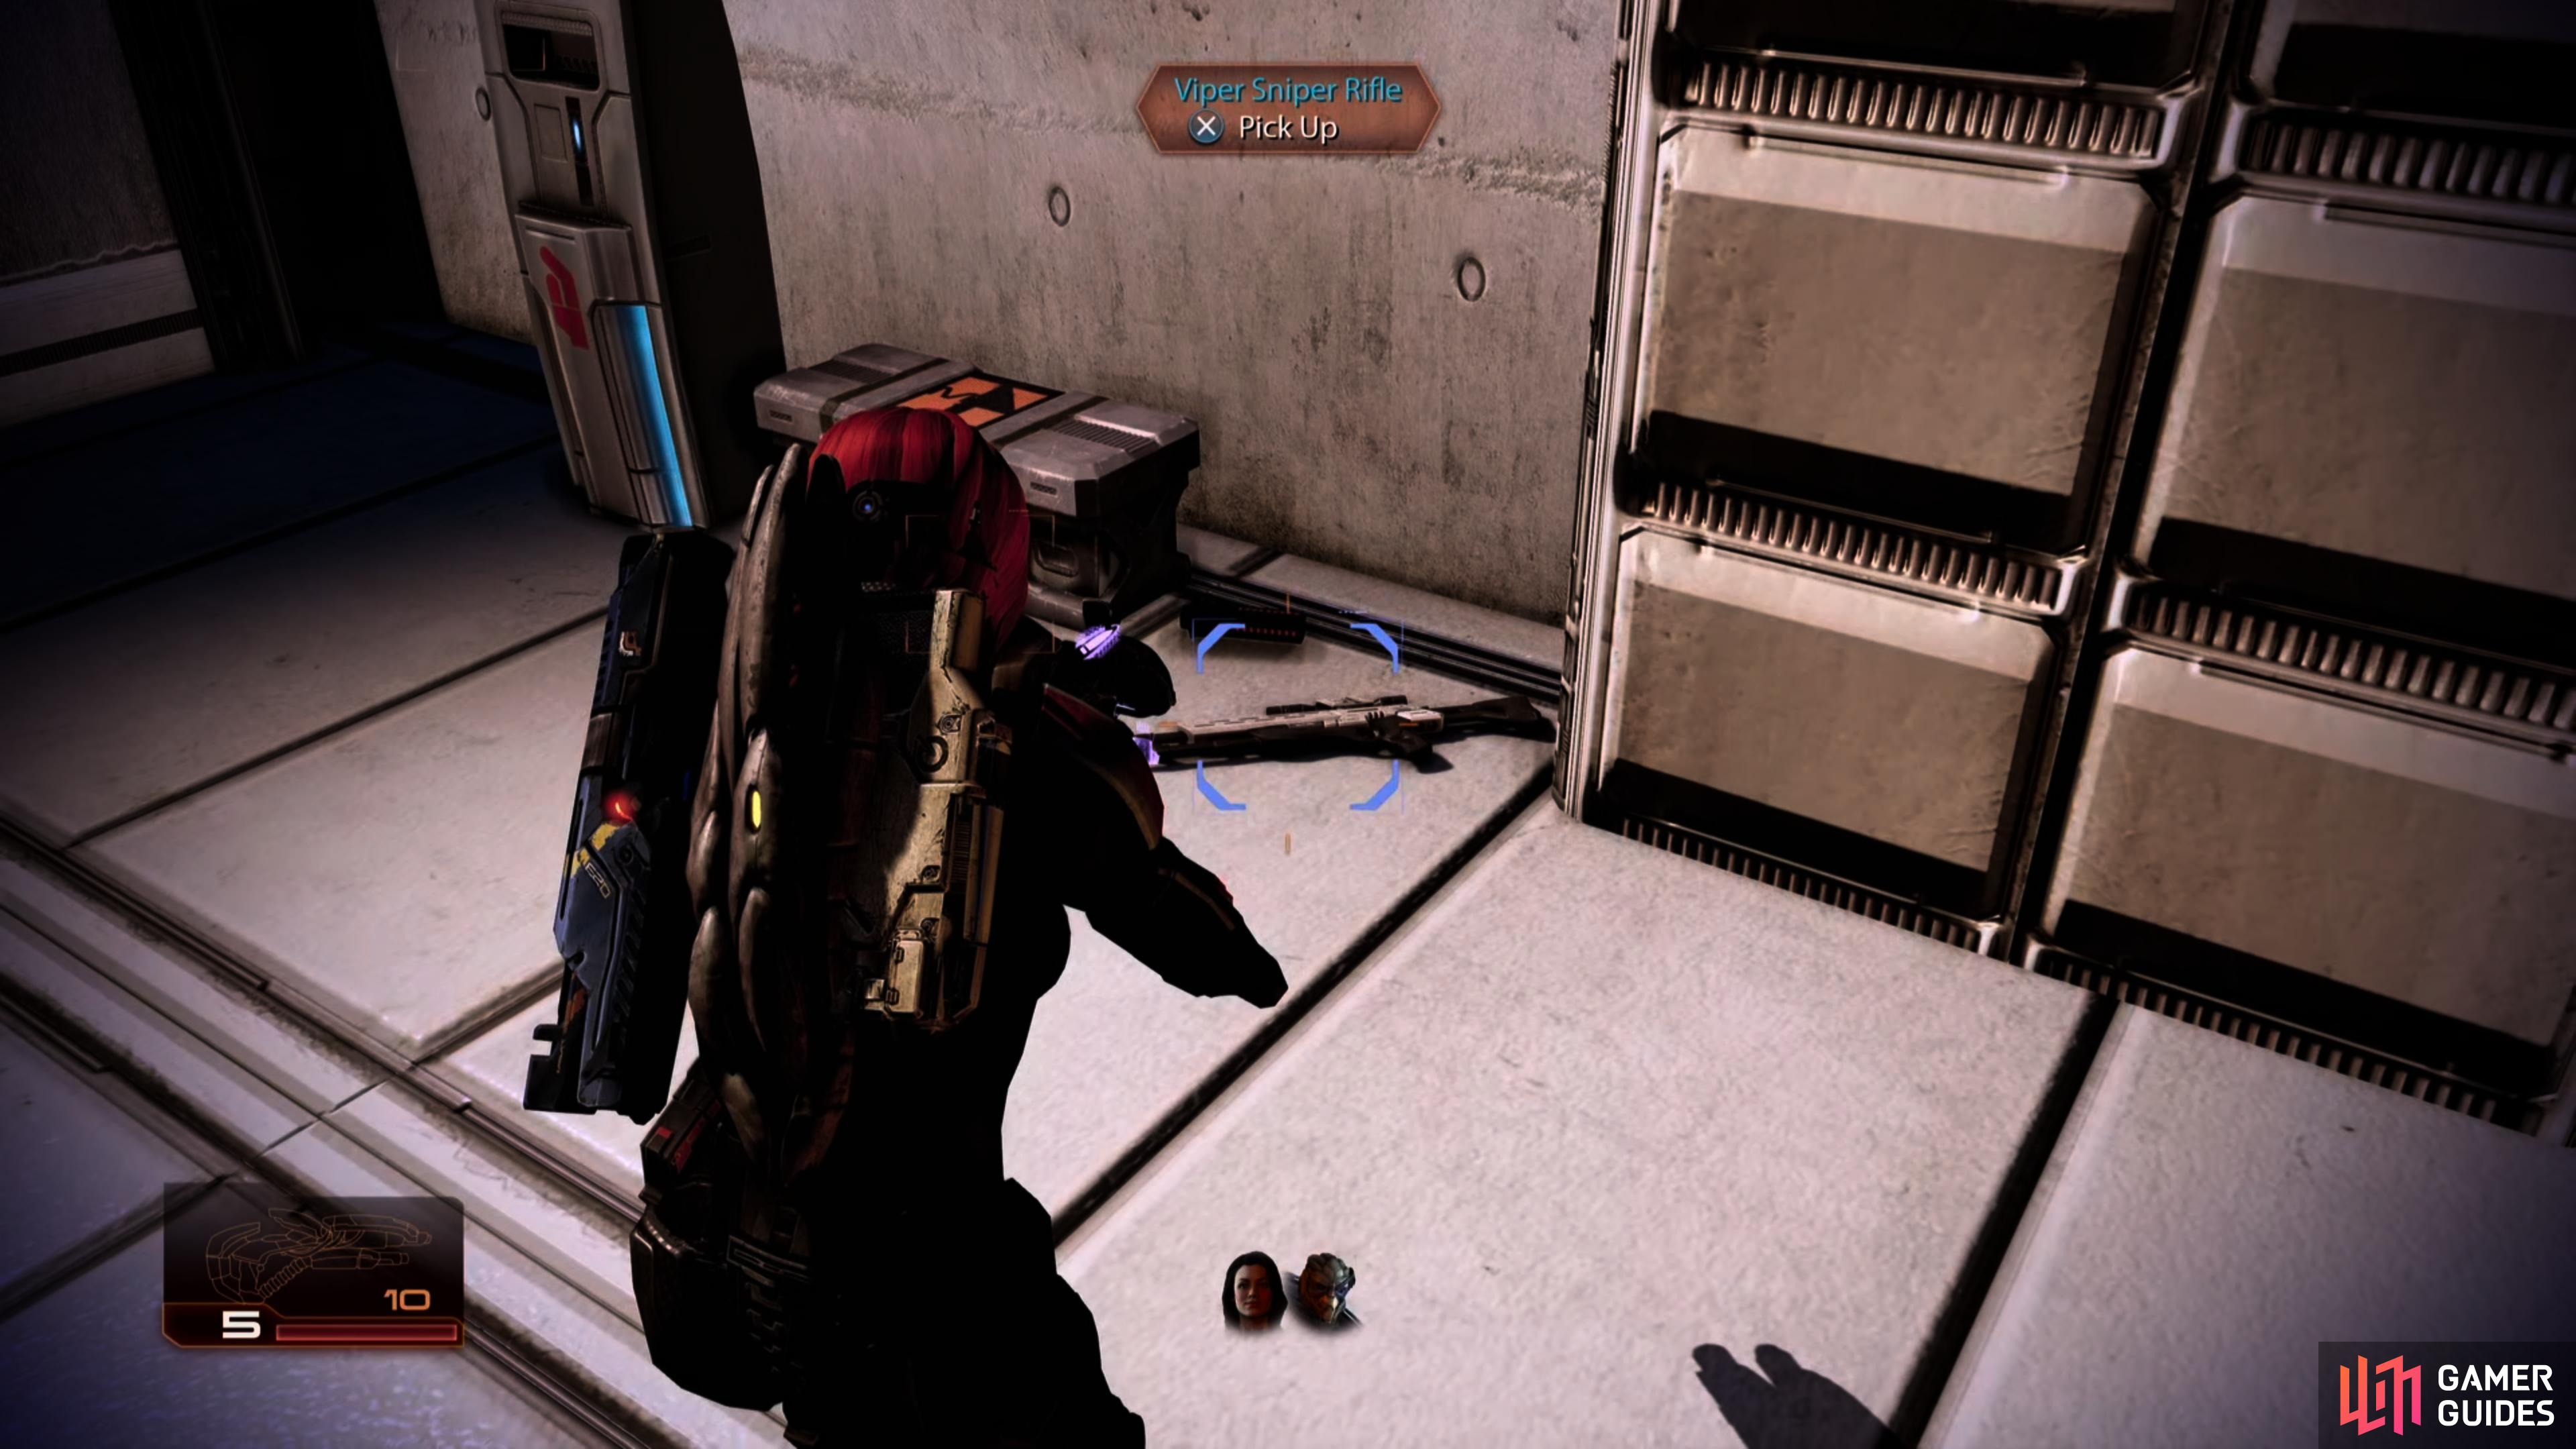
Snag the Viper Sniper Rifle,
and be prepared for some heavy hitters when you hail an elevator.
After this area is clear, work your way around the pit to the left to the opposite side of the area. Cruise down the hallway until you reach the dead end to find a new weapon, the M-97 Viper Sniper Rifle , a hackable terminal and a box of power cells. Return down the hallway and at the end, look to the left for a locked door. Bypass the security on the door here for a conversation with another group of Salarian workers (talk with them for Renegade/Paragon options). After they have departed, grab the Med Kit and check out the secure Terminal for some credits. Exit and find the unlocked door opposite the pit in the main area.
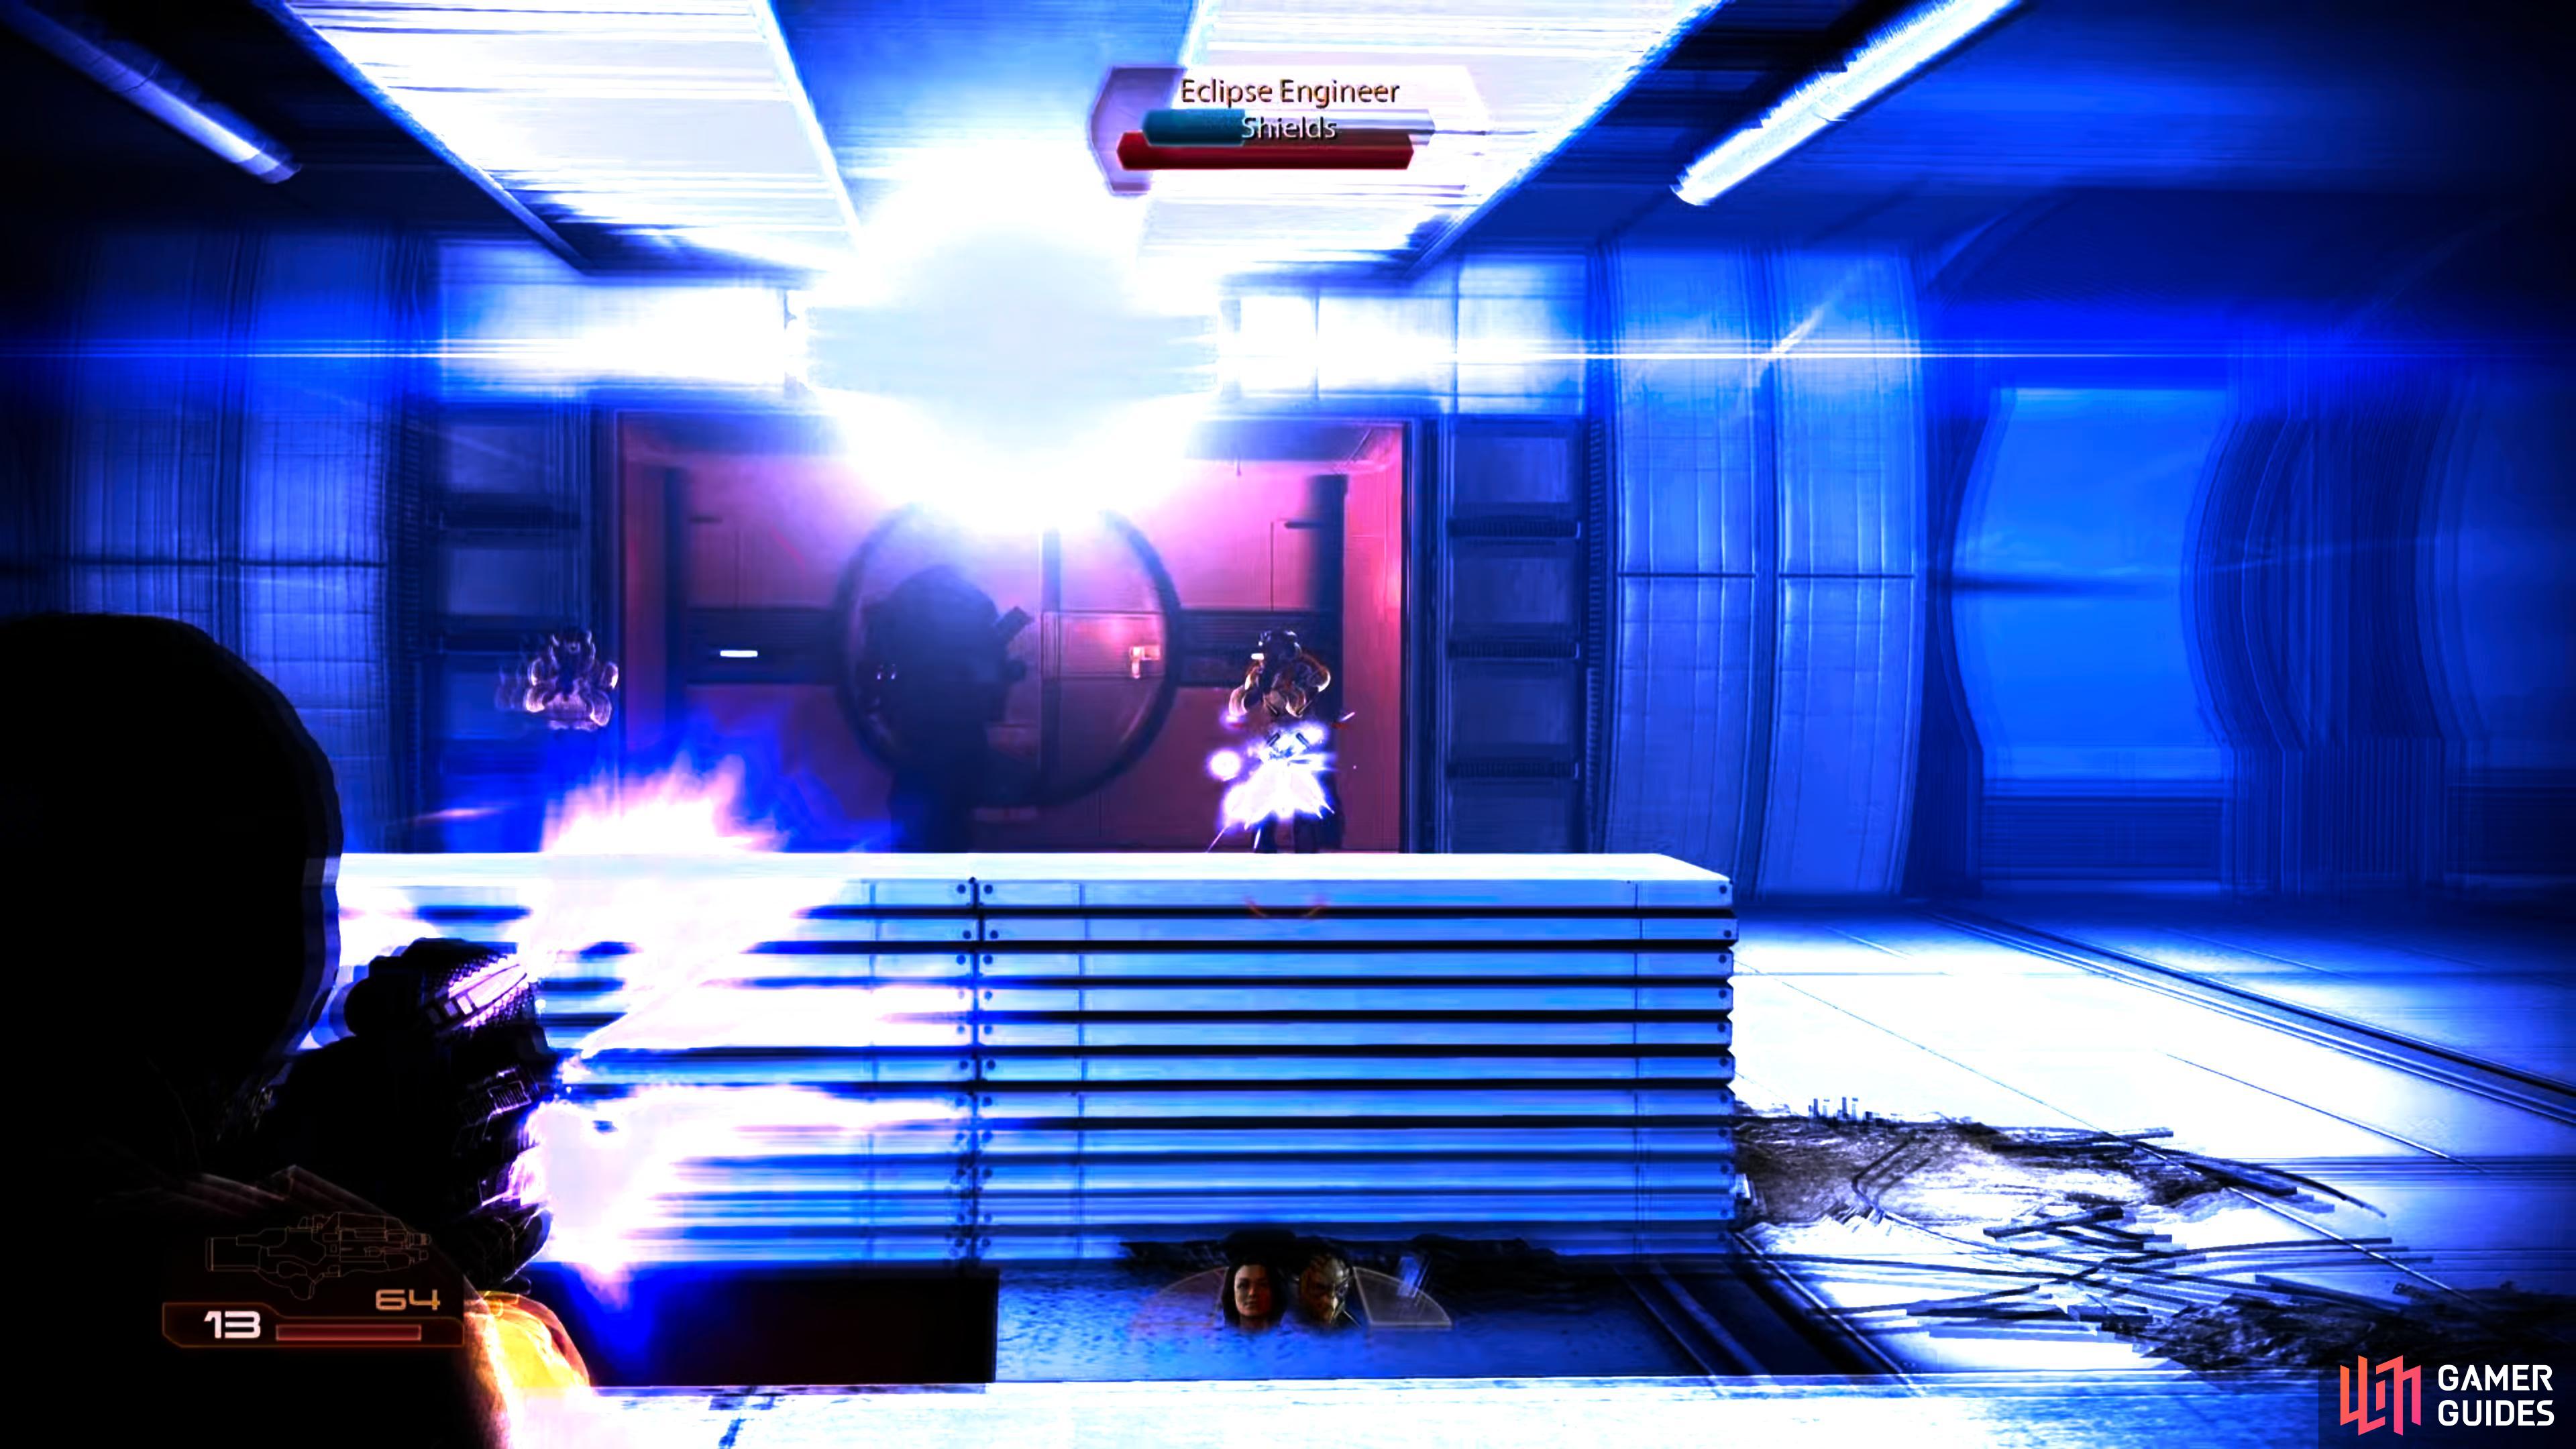
Activate the door, and then take cover as your team mates suggest, as the elevator behind the door isn’t coming down empty. Inside is a Krogan Bounty Hunter (shields + armor) and a pair of Eclipse Engineers. After they are dead, enter the elevator and ride it up.
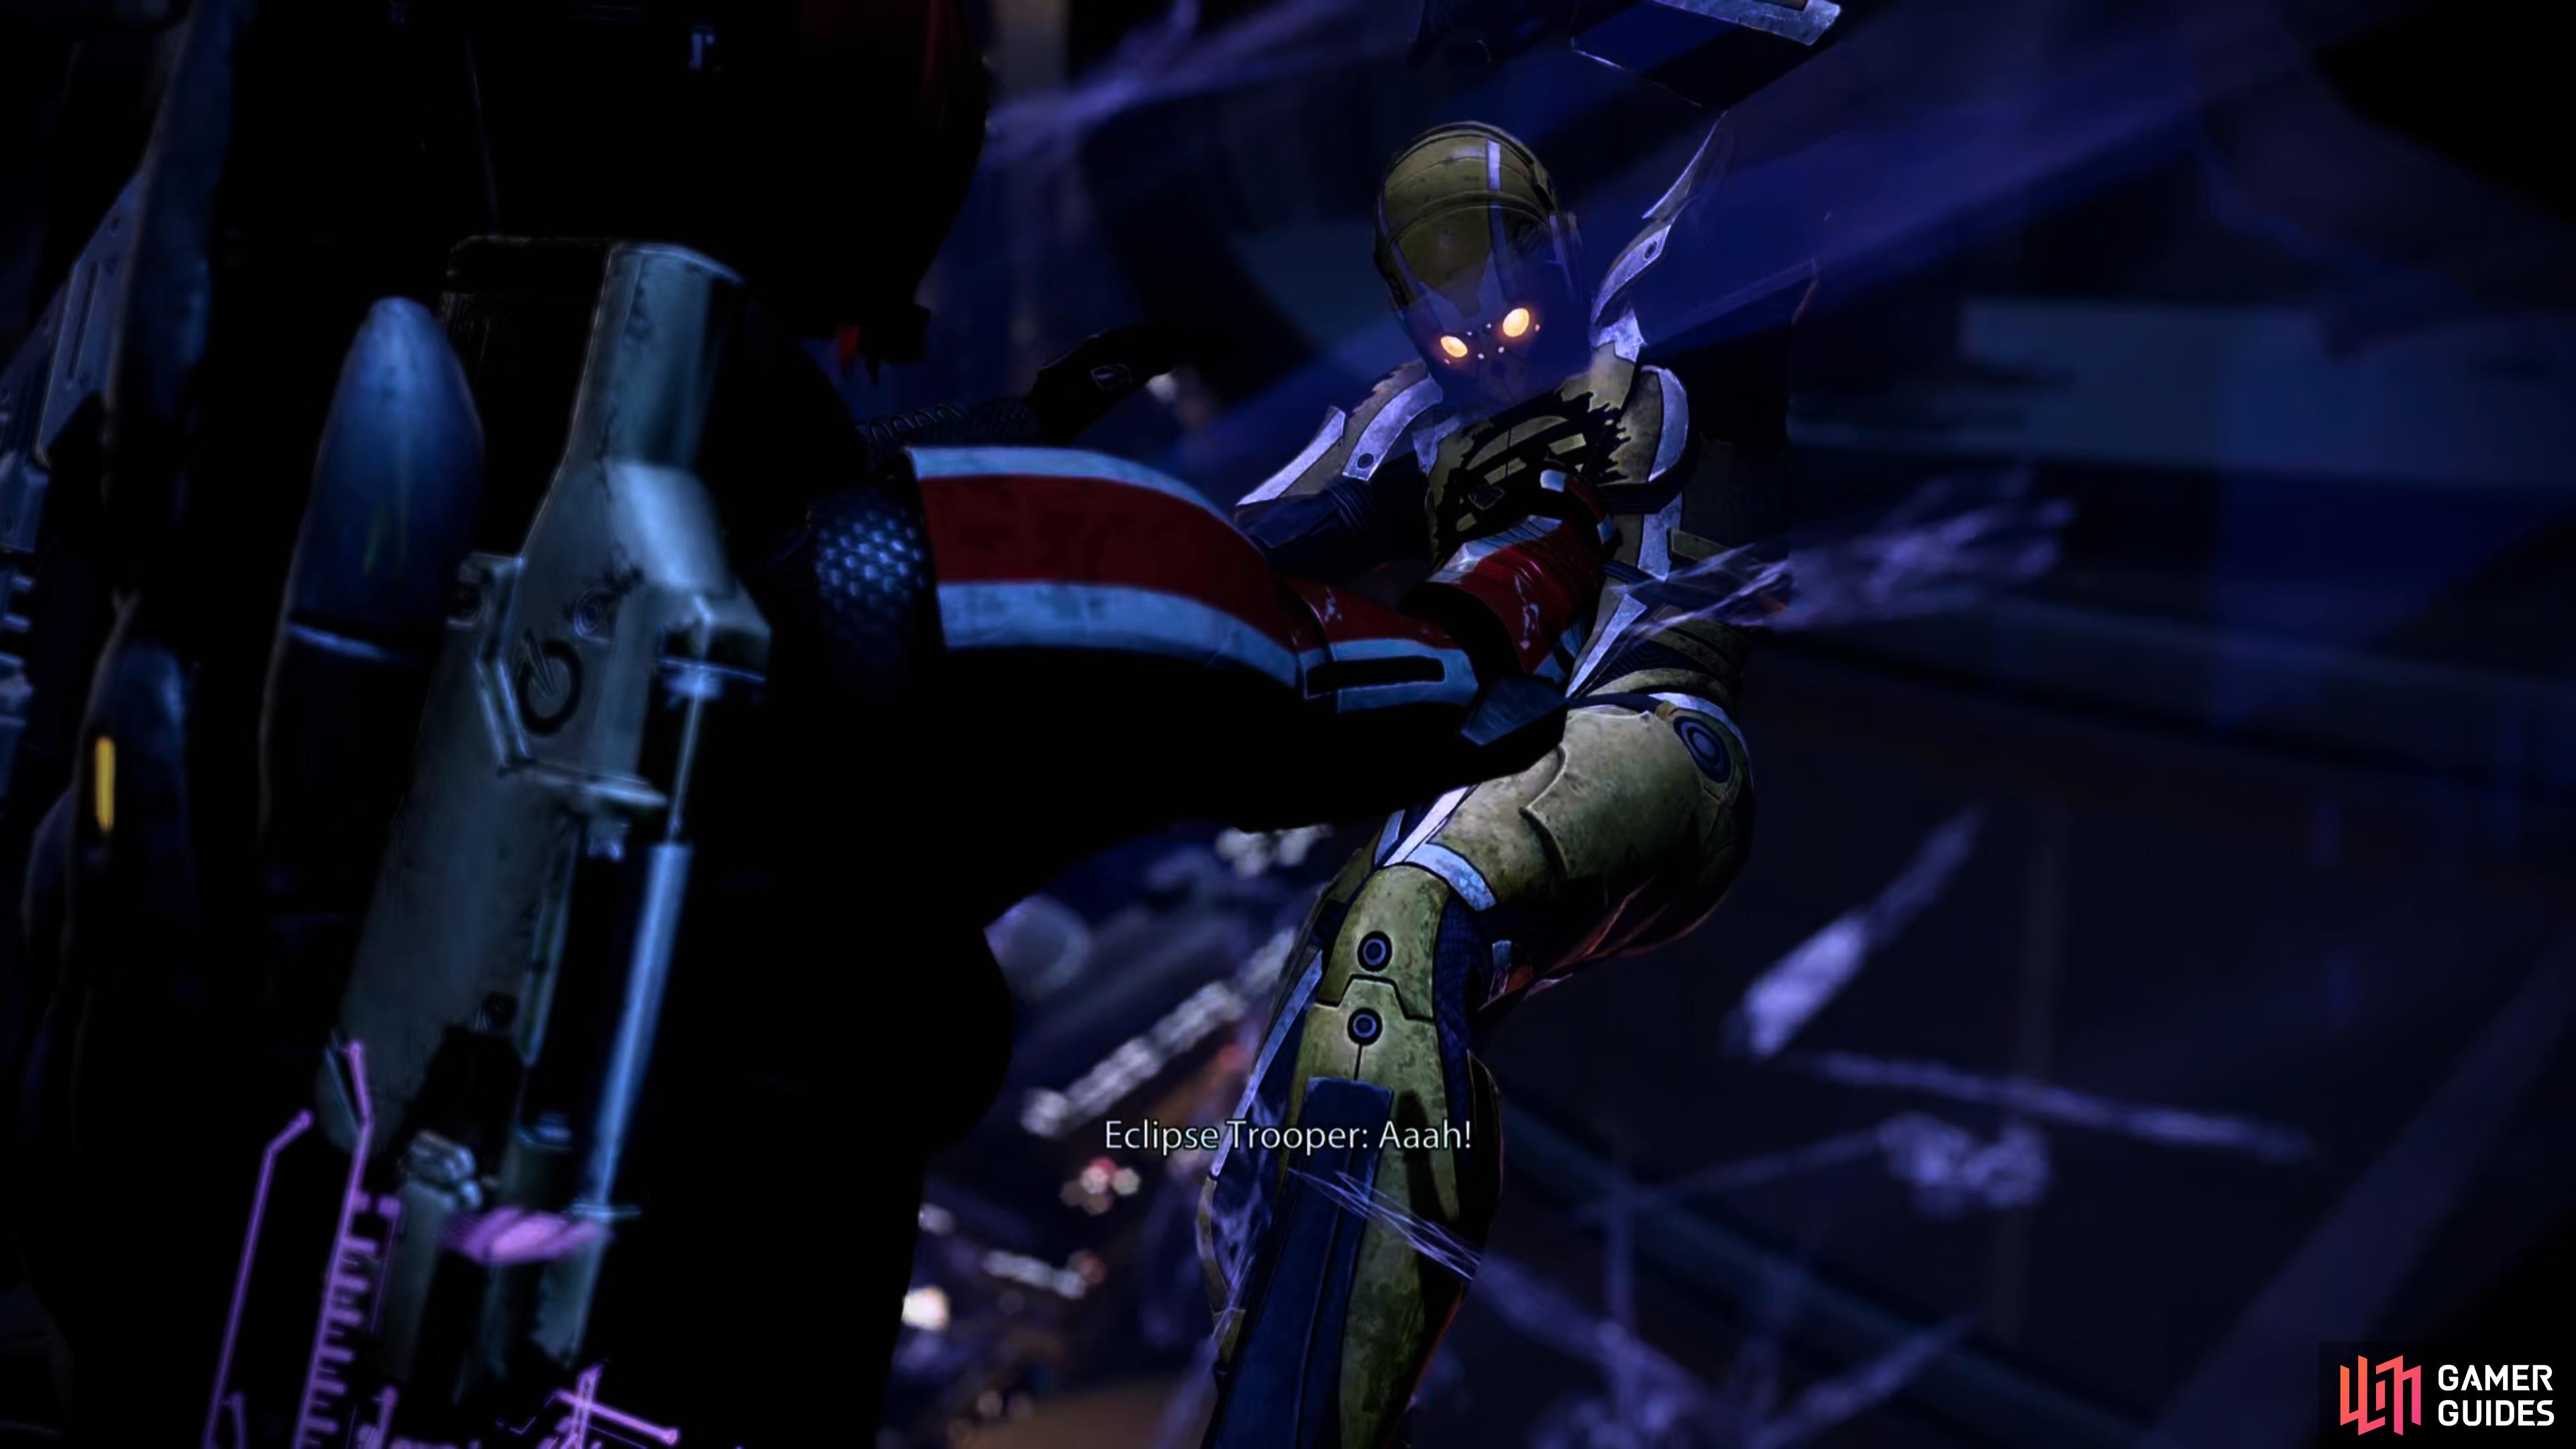
You can perform a Renegade interrupt to help an Eclipse mercenary get his wings,
then grab a PDA off the floor, which you’ll need to complete an assignment.
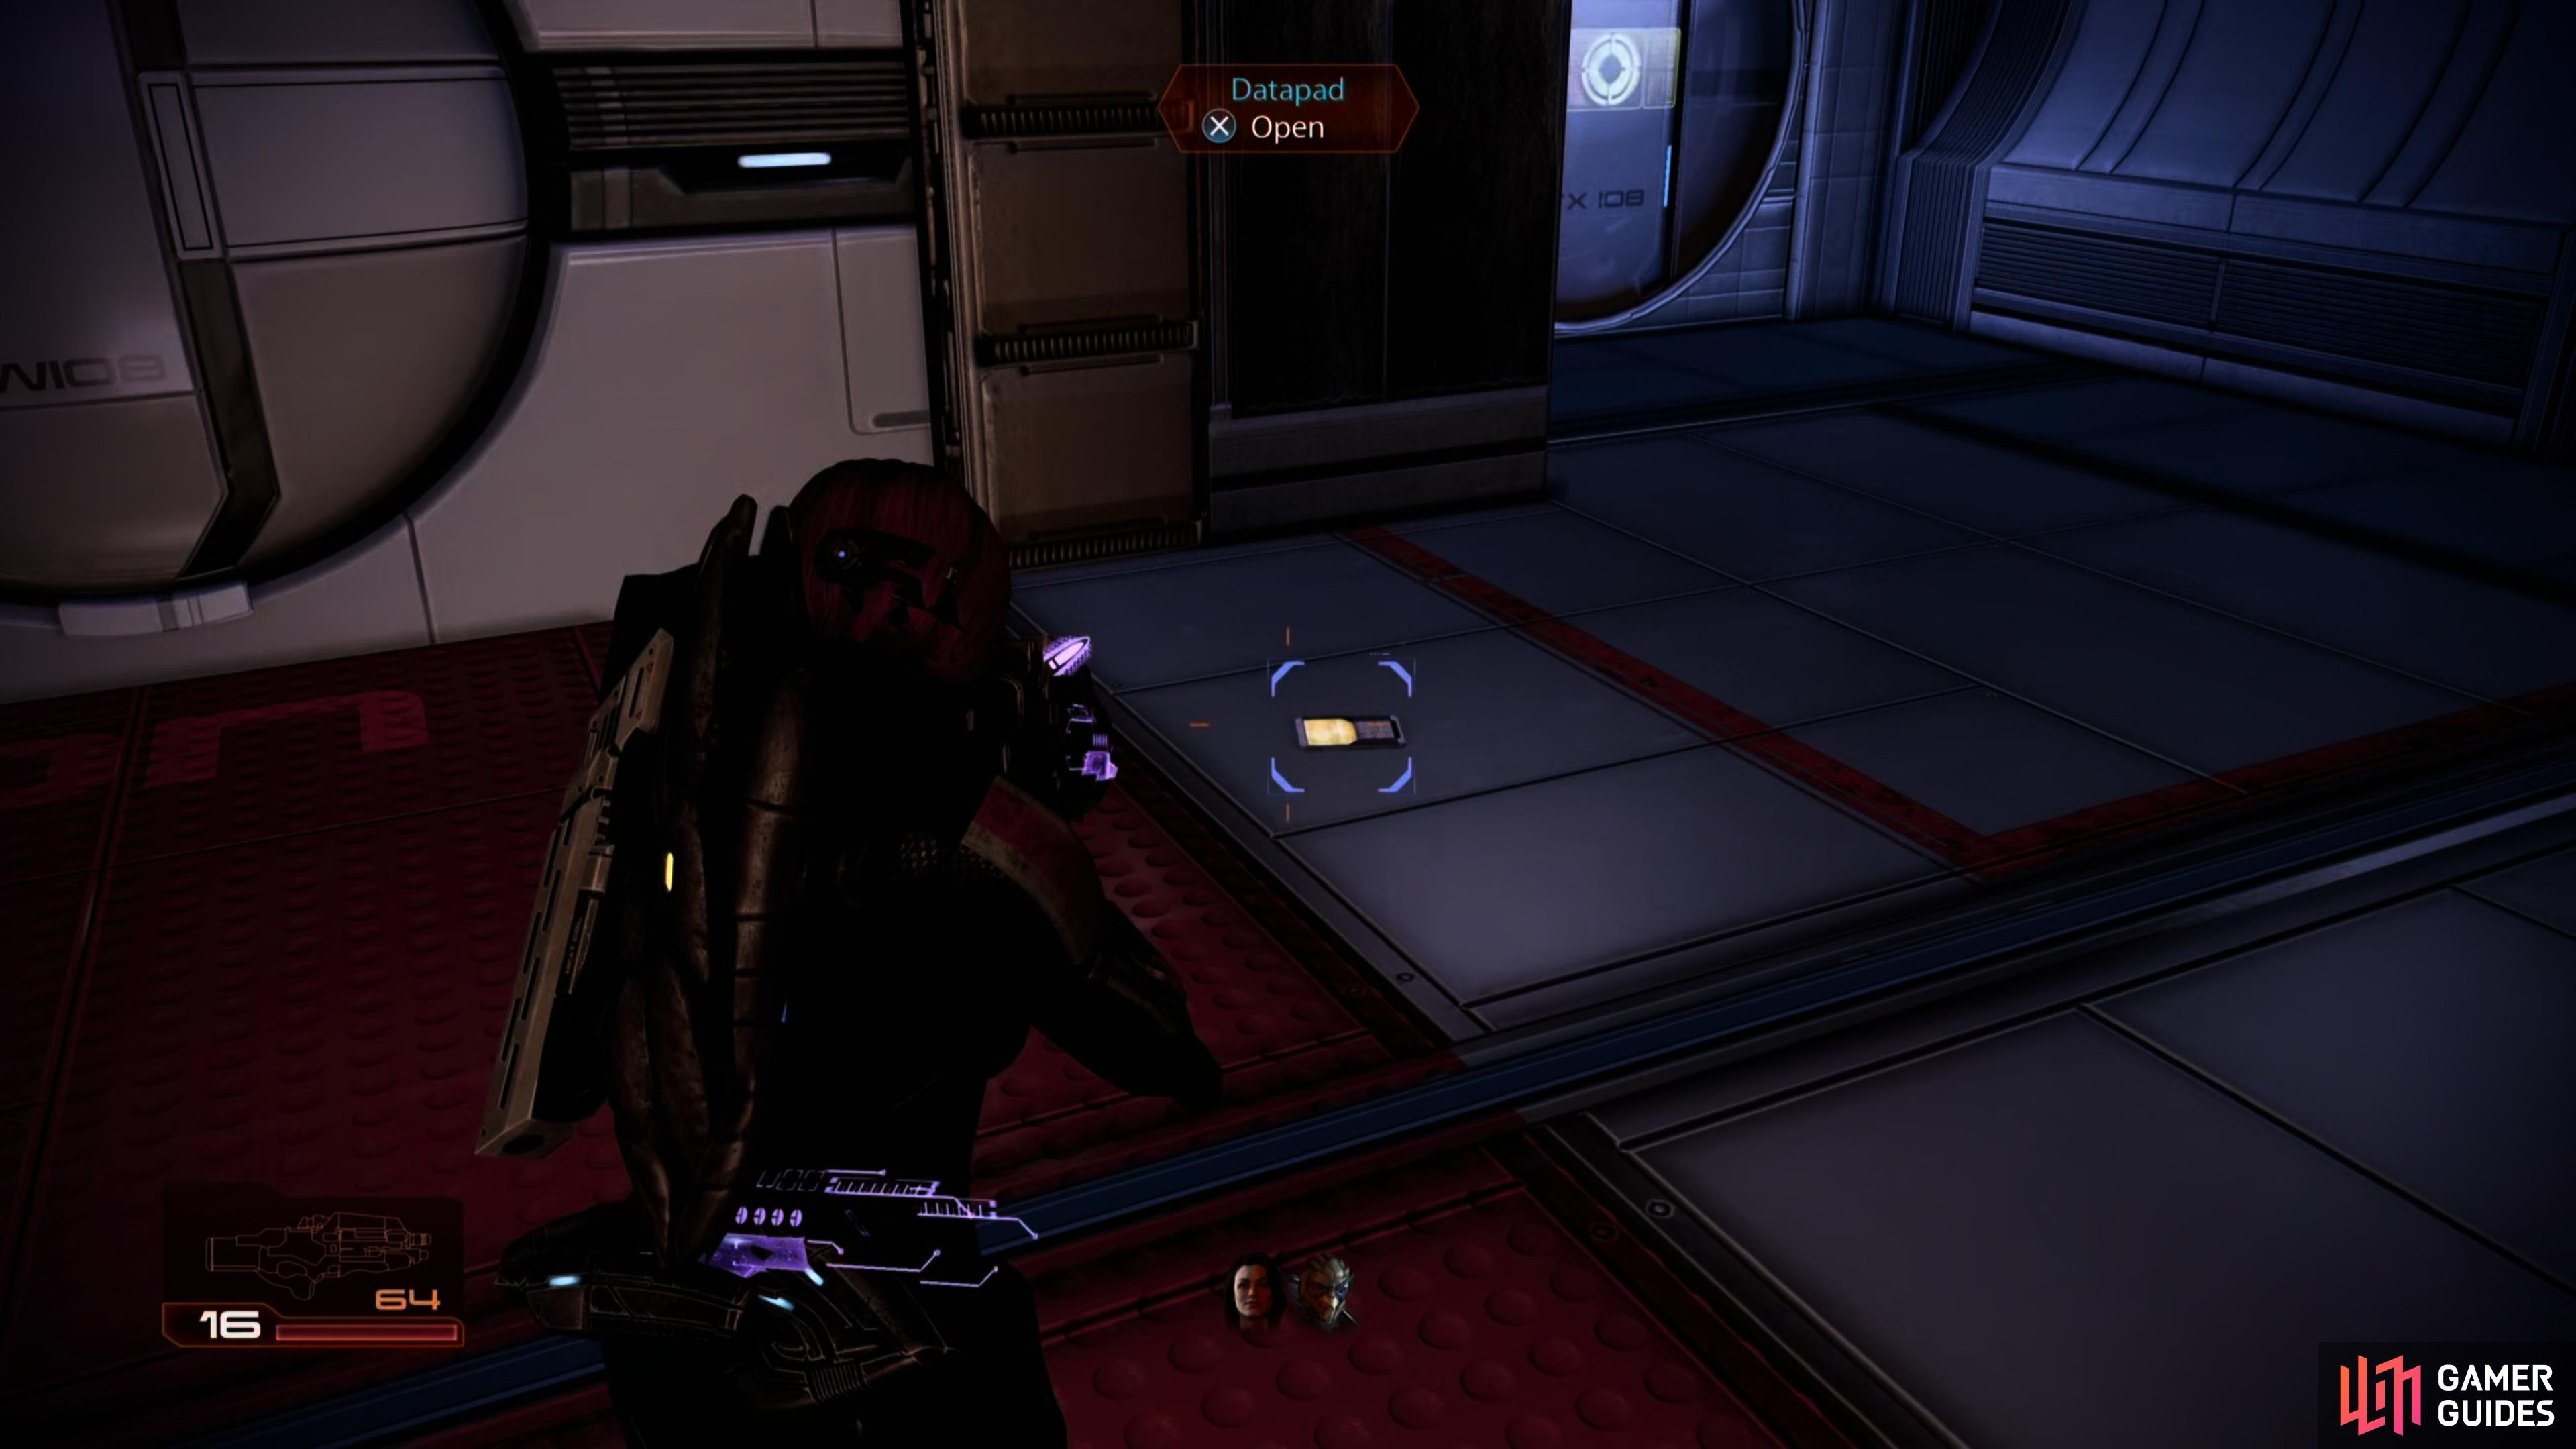
When the elevator stops you’ll catch an Eclipse Trooper on his own. Poor guy. He’s defiant, and you’ll get a Renegade interrupt - two things that conspire to bring about the mercenary’s demise. Afterwards, pick up a Datapad, which you’ll need to complete the assignment [Illium: The Assassin: Salarian Family Data] then enter either door flanking the elevator.
As you enter, take cover behind the stack of metal tiles and shoot at the inactive LOKI and FENRIS Mech nearby. This will alert the enemies in the next room who will come to reinforce the area. They consist mainly of standard Eclipse Troopers, LOKI Mechs and a single Engineer. After they have done their dash, look on the left-hand wall for another locked door. Bypass the door here for another conversation with more Salarian workers (another Renegade/Paragon option here).
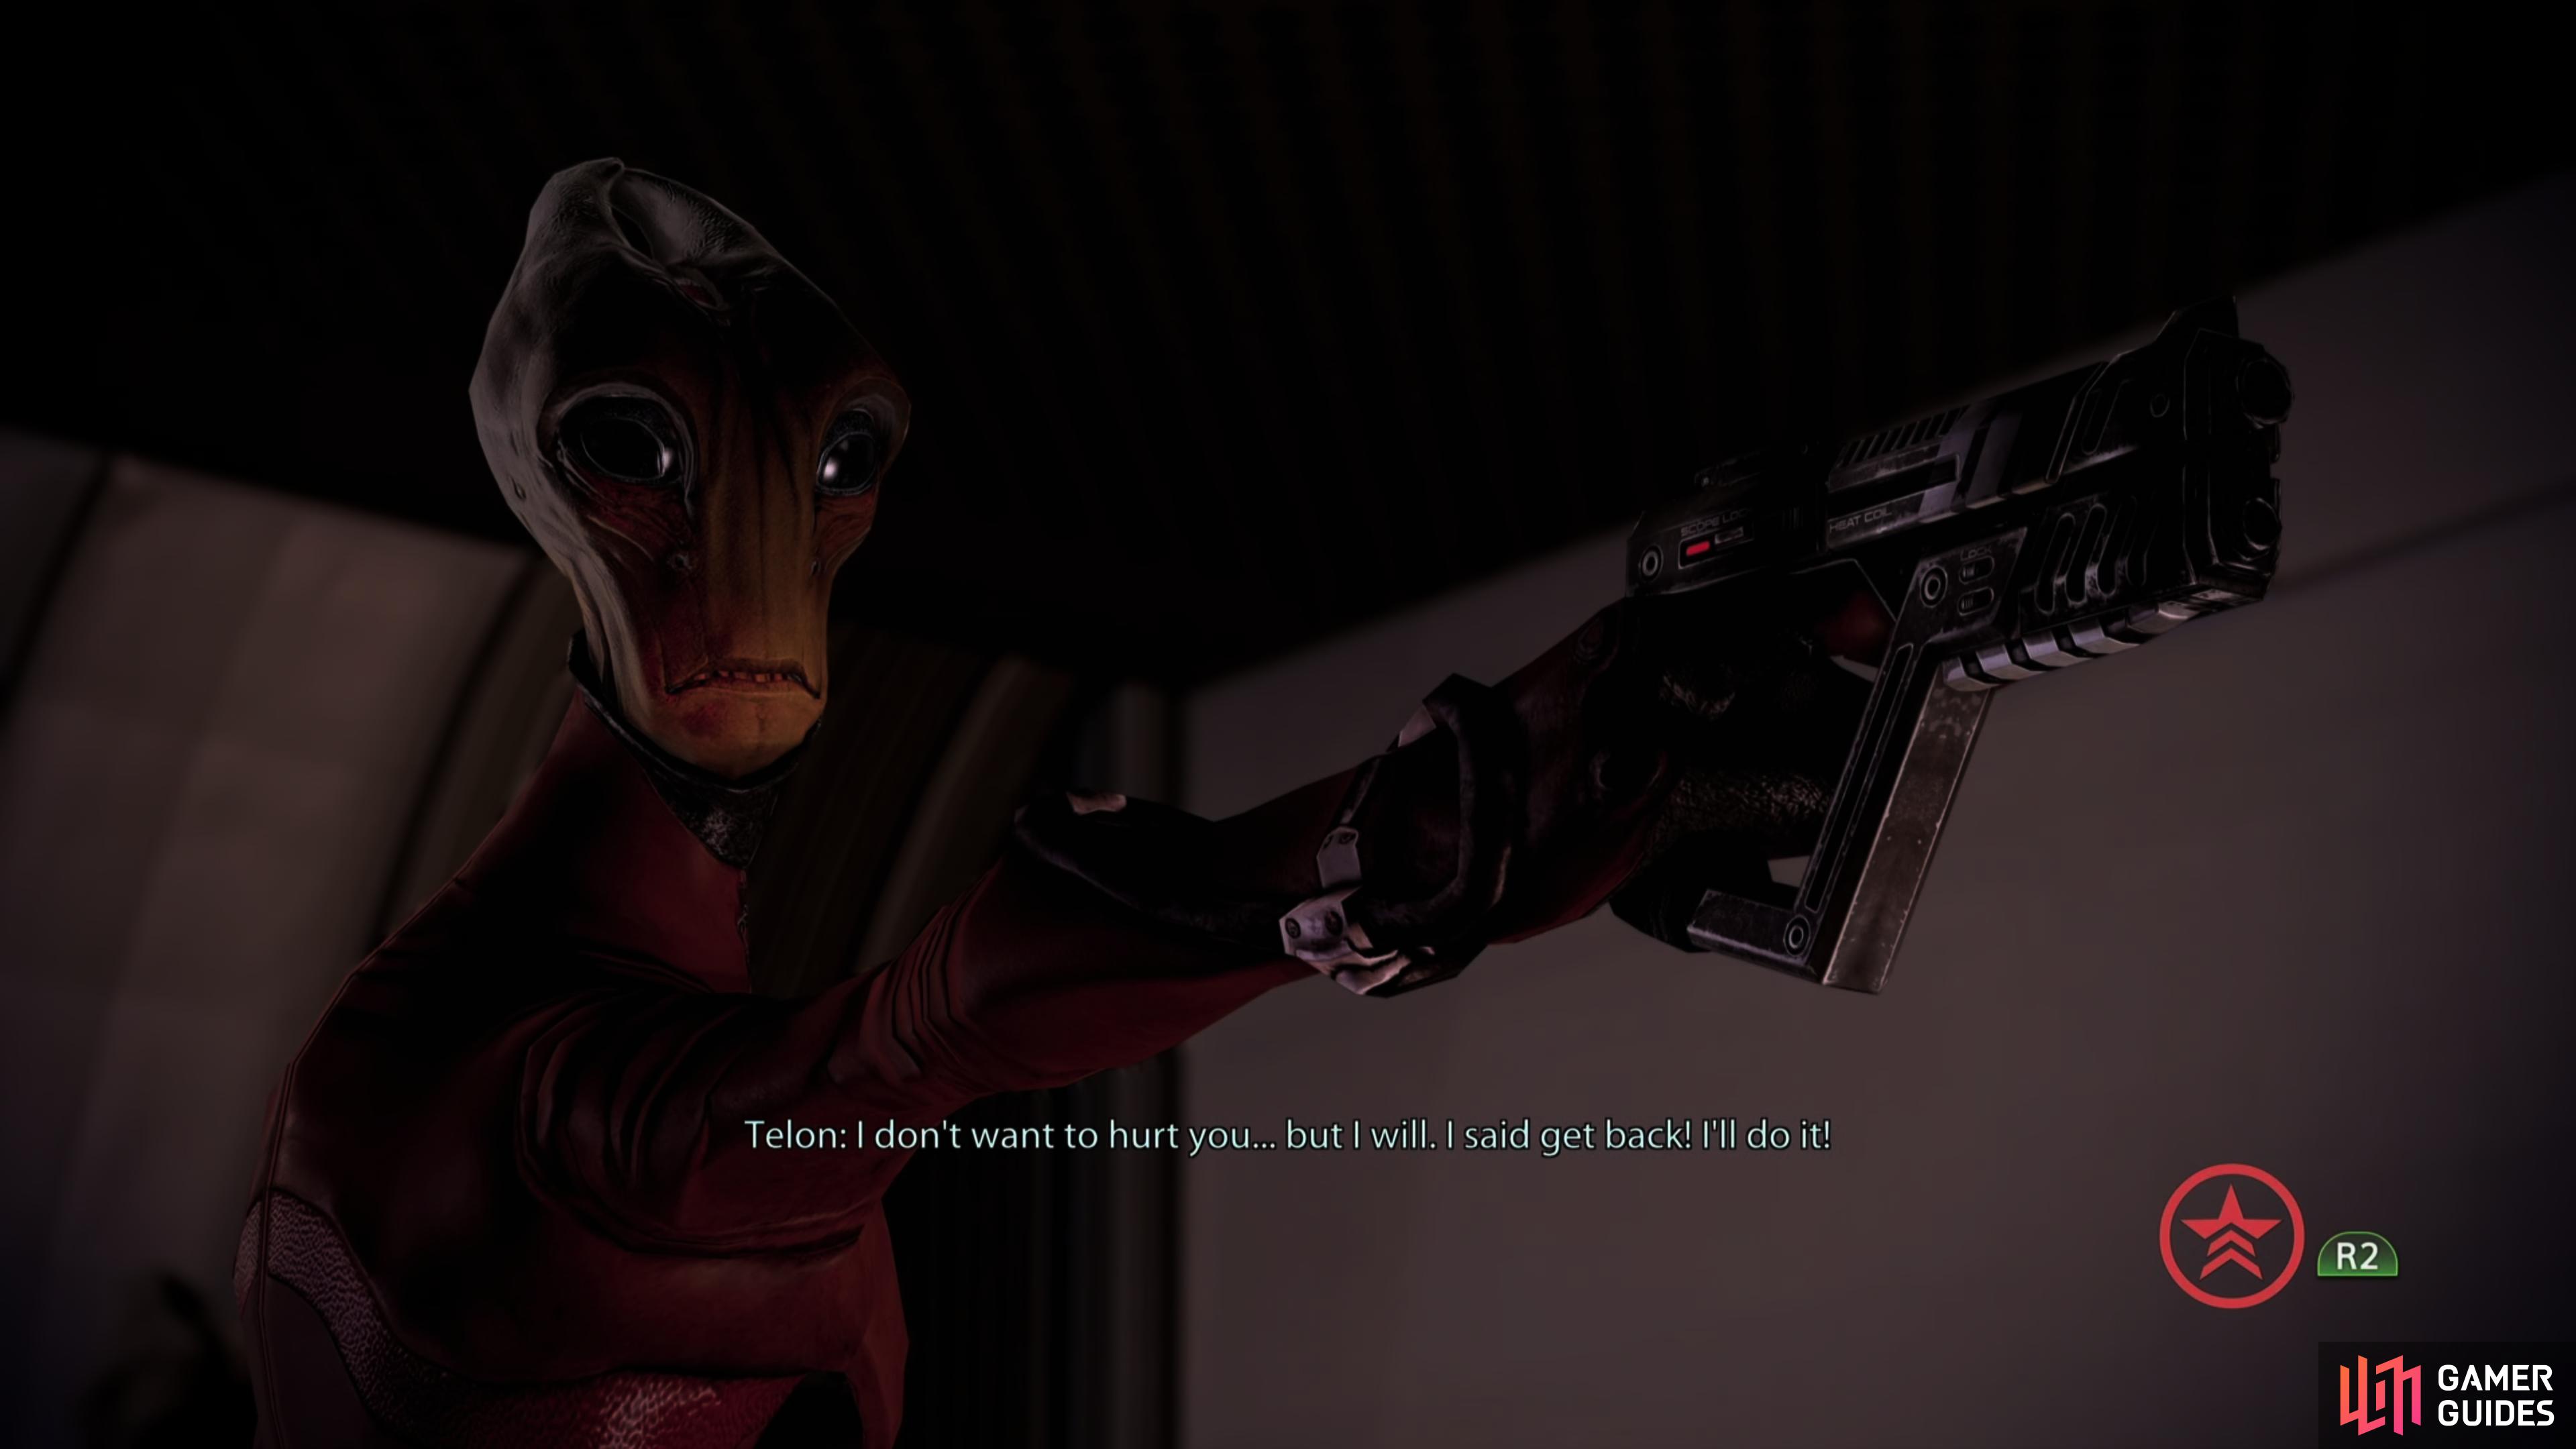
Hit a Renegade interrupt to pacify a jumpy salarian,
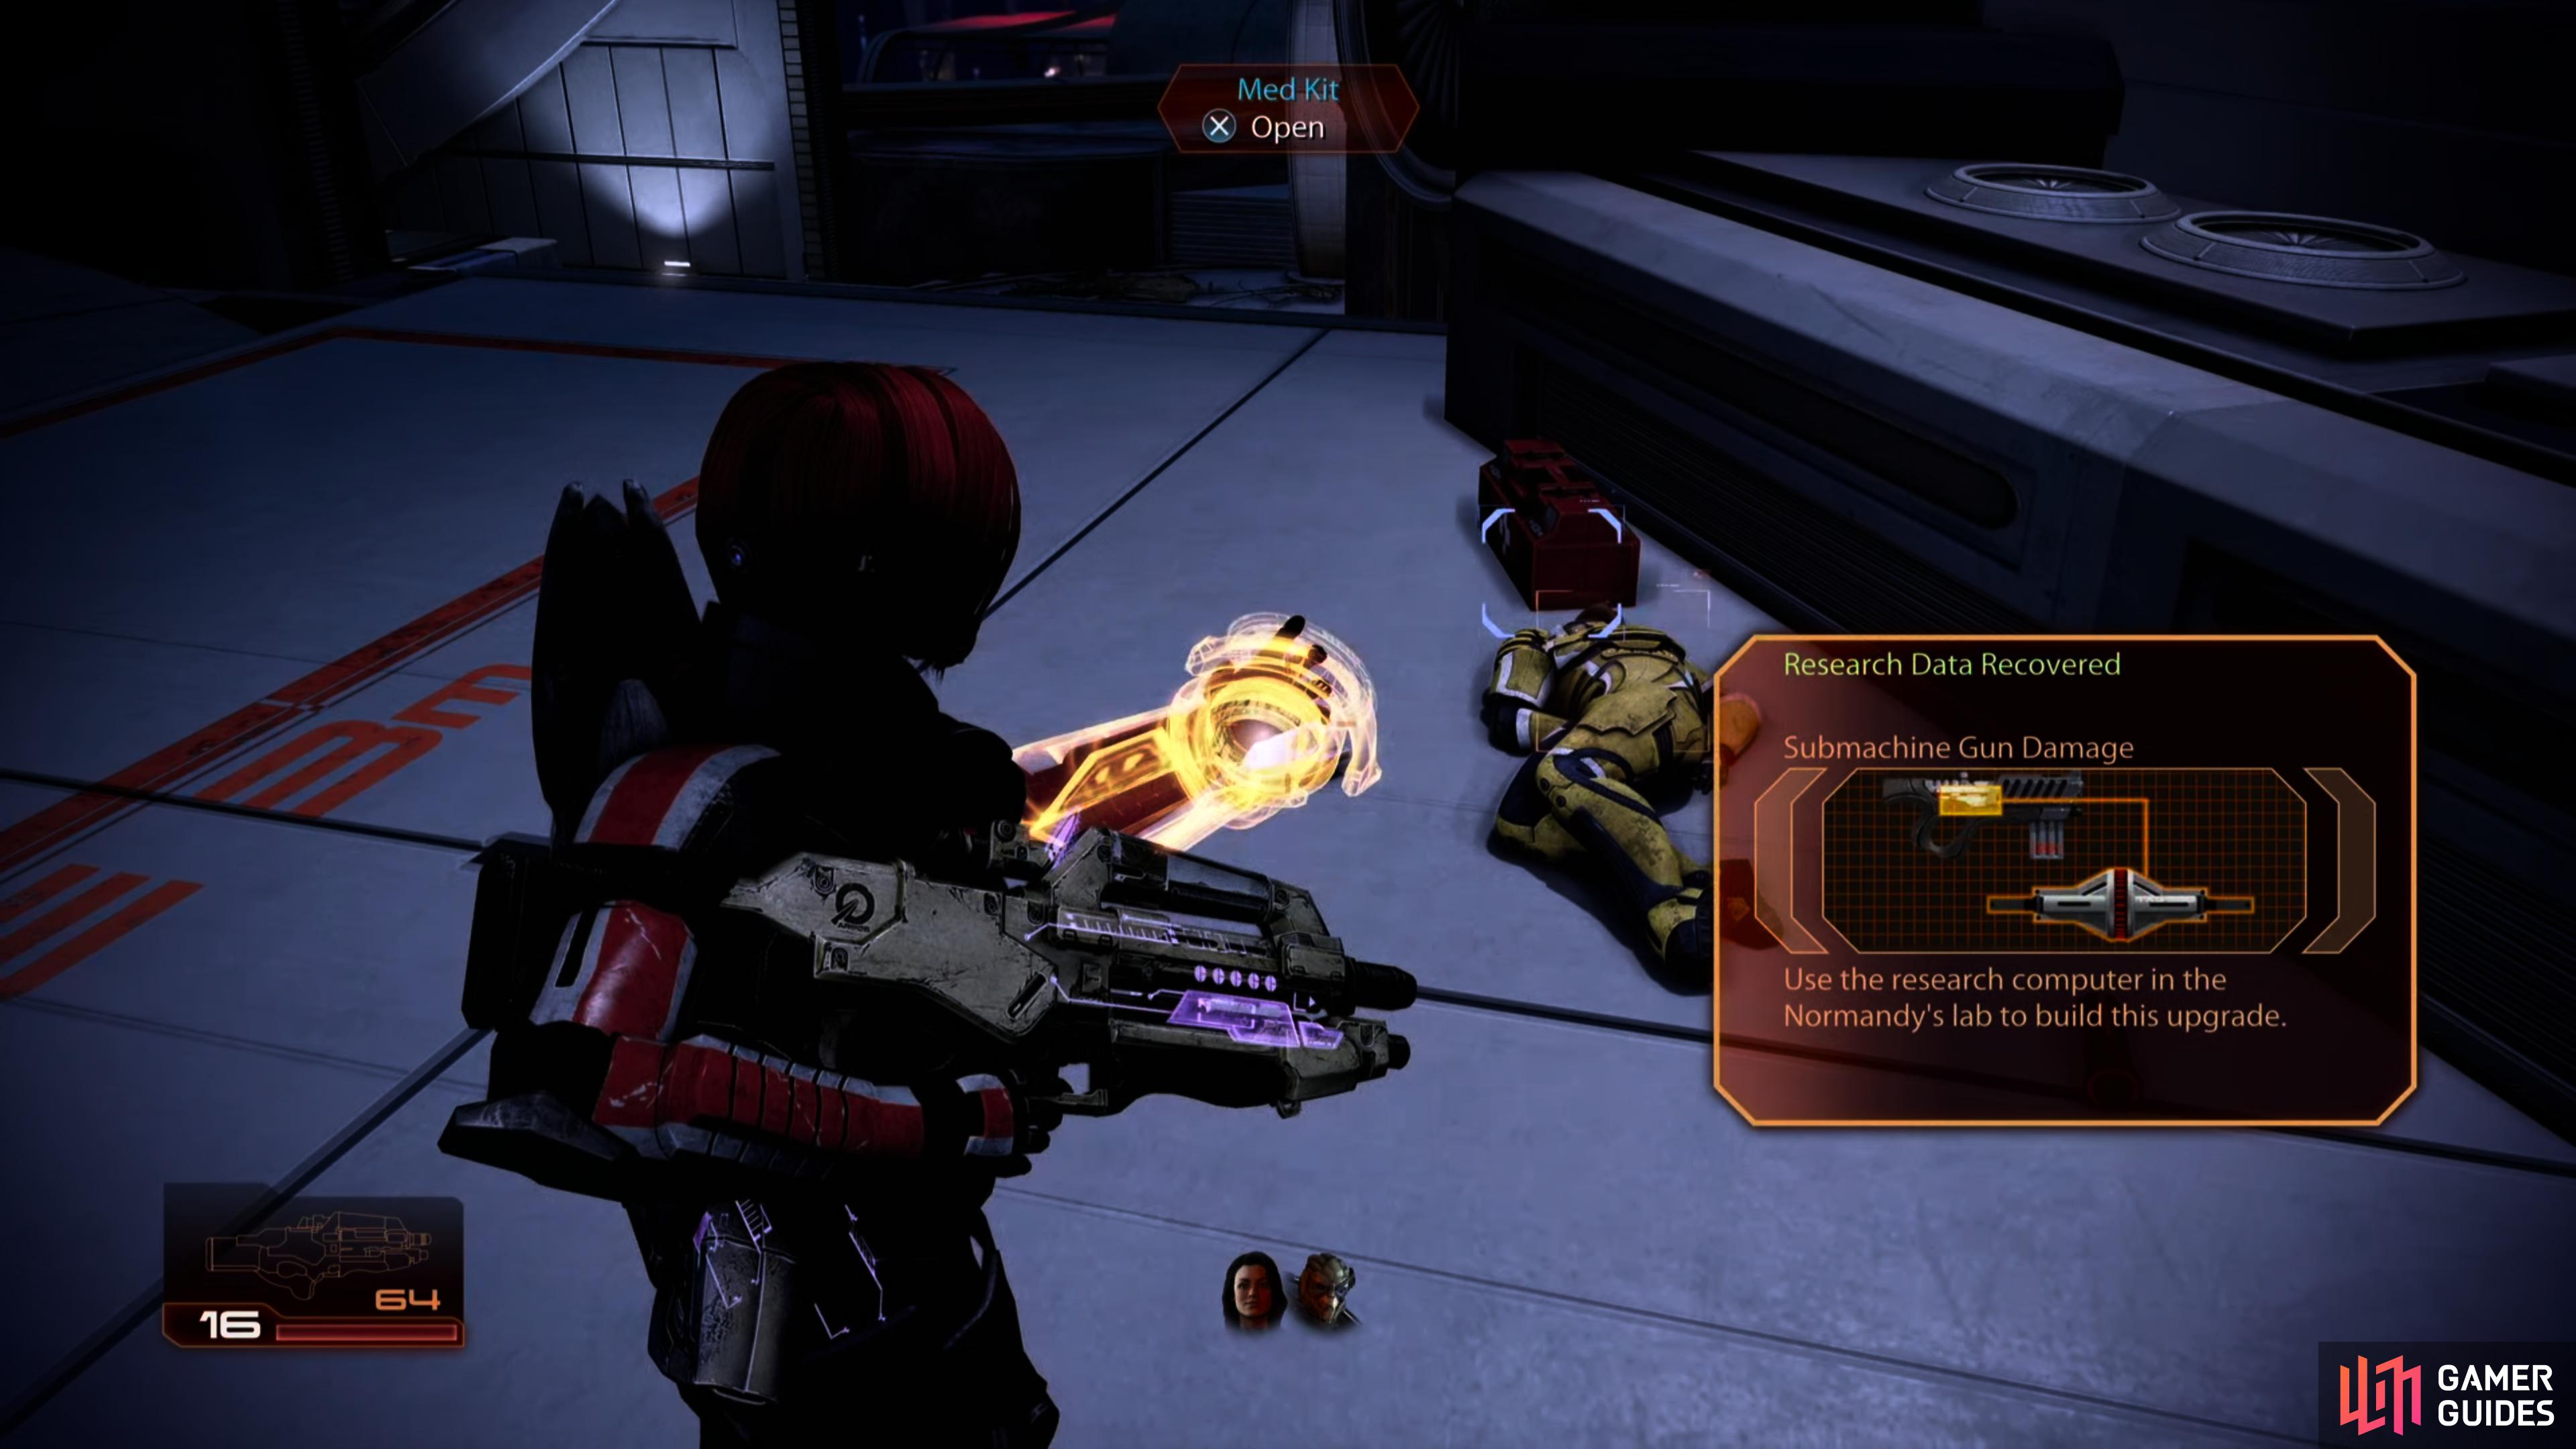
and after some fighting, grab a Submachine Gun Damage upgrade.
Afterwards pick up the Med Kit and loot the Eclipse merc corpse for some credits . Exit and follow the wall, turn left at the next corner. You can use the communication terminal here to taunt Thane’s target if you wish and you might also like to pick up the box of power cells next to it. Continue up the ramp.
On the top floor here you will have to kill a pair of mechs and a group of three Eclipse Vanguards. Once they are down for the count, head over to the opposite side of the room towards the exit. Pick up the canister of Refined Eezo and the Med Kit here before exiting onto a balcony area.
Take cover right away and hold off the troopers, LOKI Mechs and Vanguards from this position. You will also at this point have to get rid of an Eclipse Commando (trooper with armor and a barrier). Fight your way to the corner and look on the ground here for a Submachine Gun Damage research project. Examine the corpse for some credits and grab the Med Kit if you need it before dropping down the nearby ledges.
You will now find yourself on a bridge linking the two towers. Immediately take cover and fight your way from cover to cover through the various LOKI Mechs, Vanguards and Troopers until you reach the other end. About half way across the bridge, a pair of Rocket Turrets will appear in windows above your destination, so take out your sniper rifle to pop them with a few rounds when you feel it is safe to do so. As the squad reaches the far end, a group of enemies will appear on the platform above you and fire down at your position. Kill as many as you can, then maneuver Shepard forward and up the stairs. Mop up any remaining resistance and take cover as an Eclipse Commando (Vanguard with a barrier and heavy armor) will exit from the nearby hallway. When she is dead, enter the unlocked door to complete the mission.
| Mission Completion Rewards | |
|---|---|
| Experience Gained: | 1000 (1250) |
| Credits: | 30,000 + 30,000 |
| Element Zero: | 500 |


Thane completes his mission, and joins your squad.
No Comments