
This mission begins immediately after Ghosts in the Machine. After the attack on the Korvax Manufacturing Facility, you can fight off the Sentinels or get to your Starship and head back to space. Either way, once you’re in Orbit you’ll have a communication from Apollo, marking the beginning of this mission.
Discover Glyph Sets at the Leyline Source Monolith
The first thing you should do after speaking with Apollo again is return to the Space Anomaly. Here you can speak with Priest Entity Nada to inform him of Apollo’s plan. You’ll receive some Quicksilver after the conversation, then you can be on your way back into space.
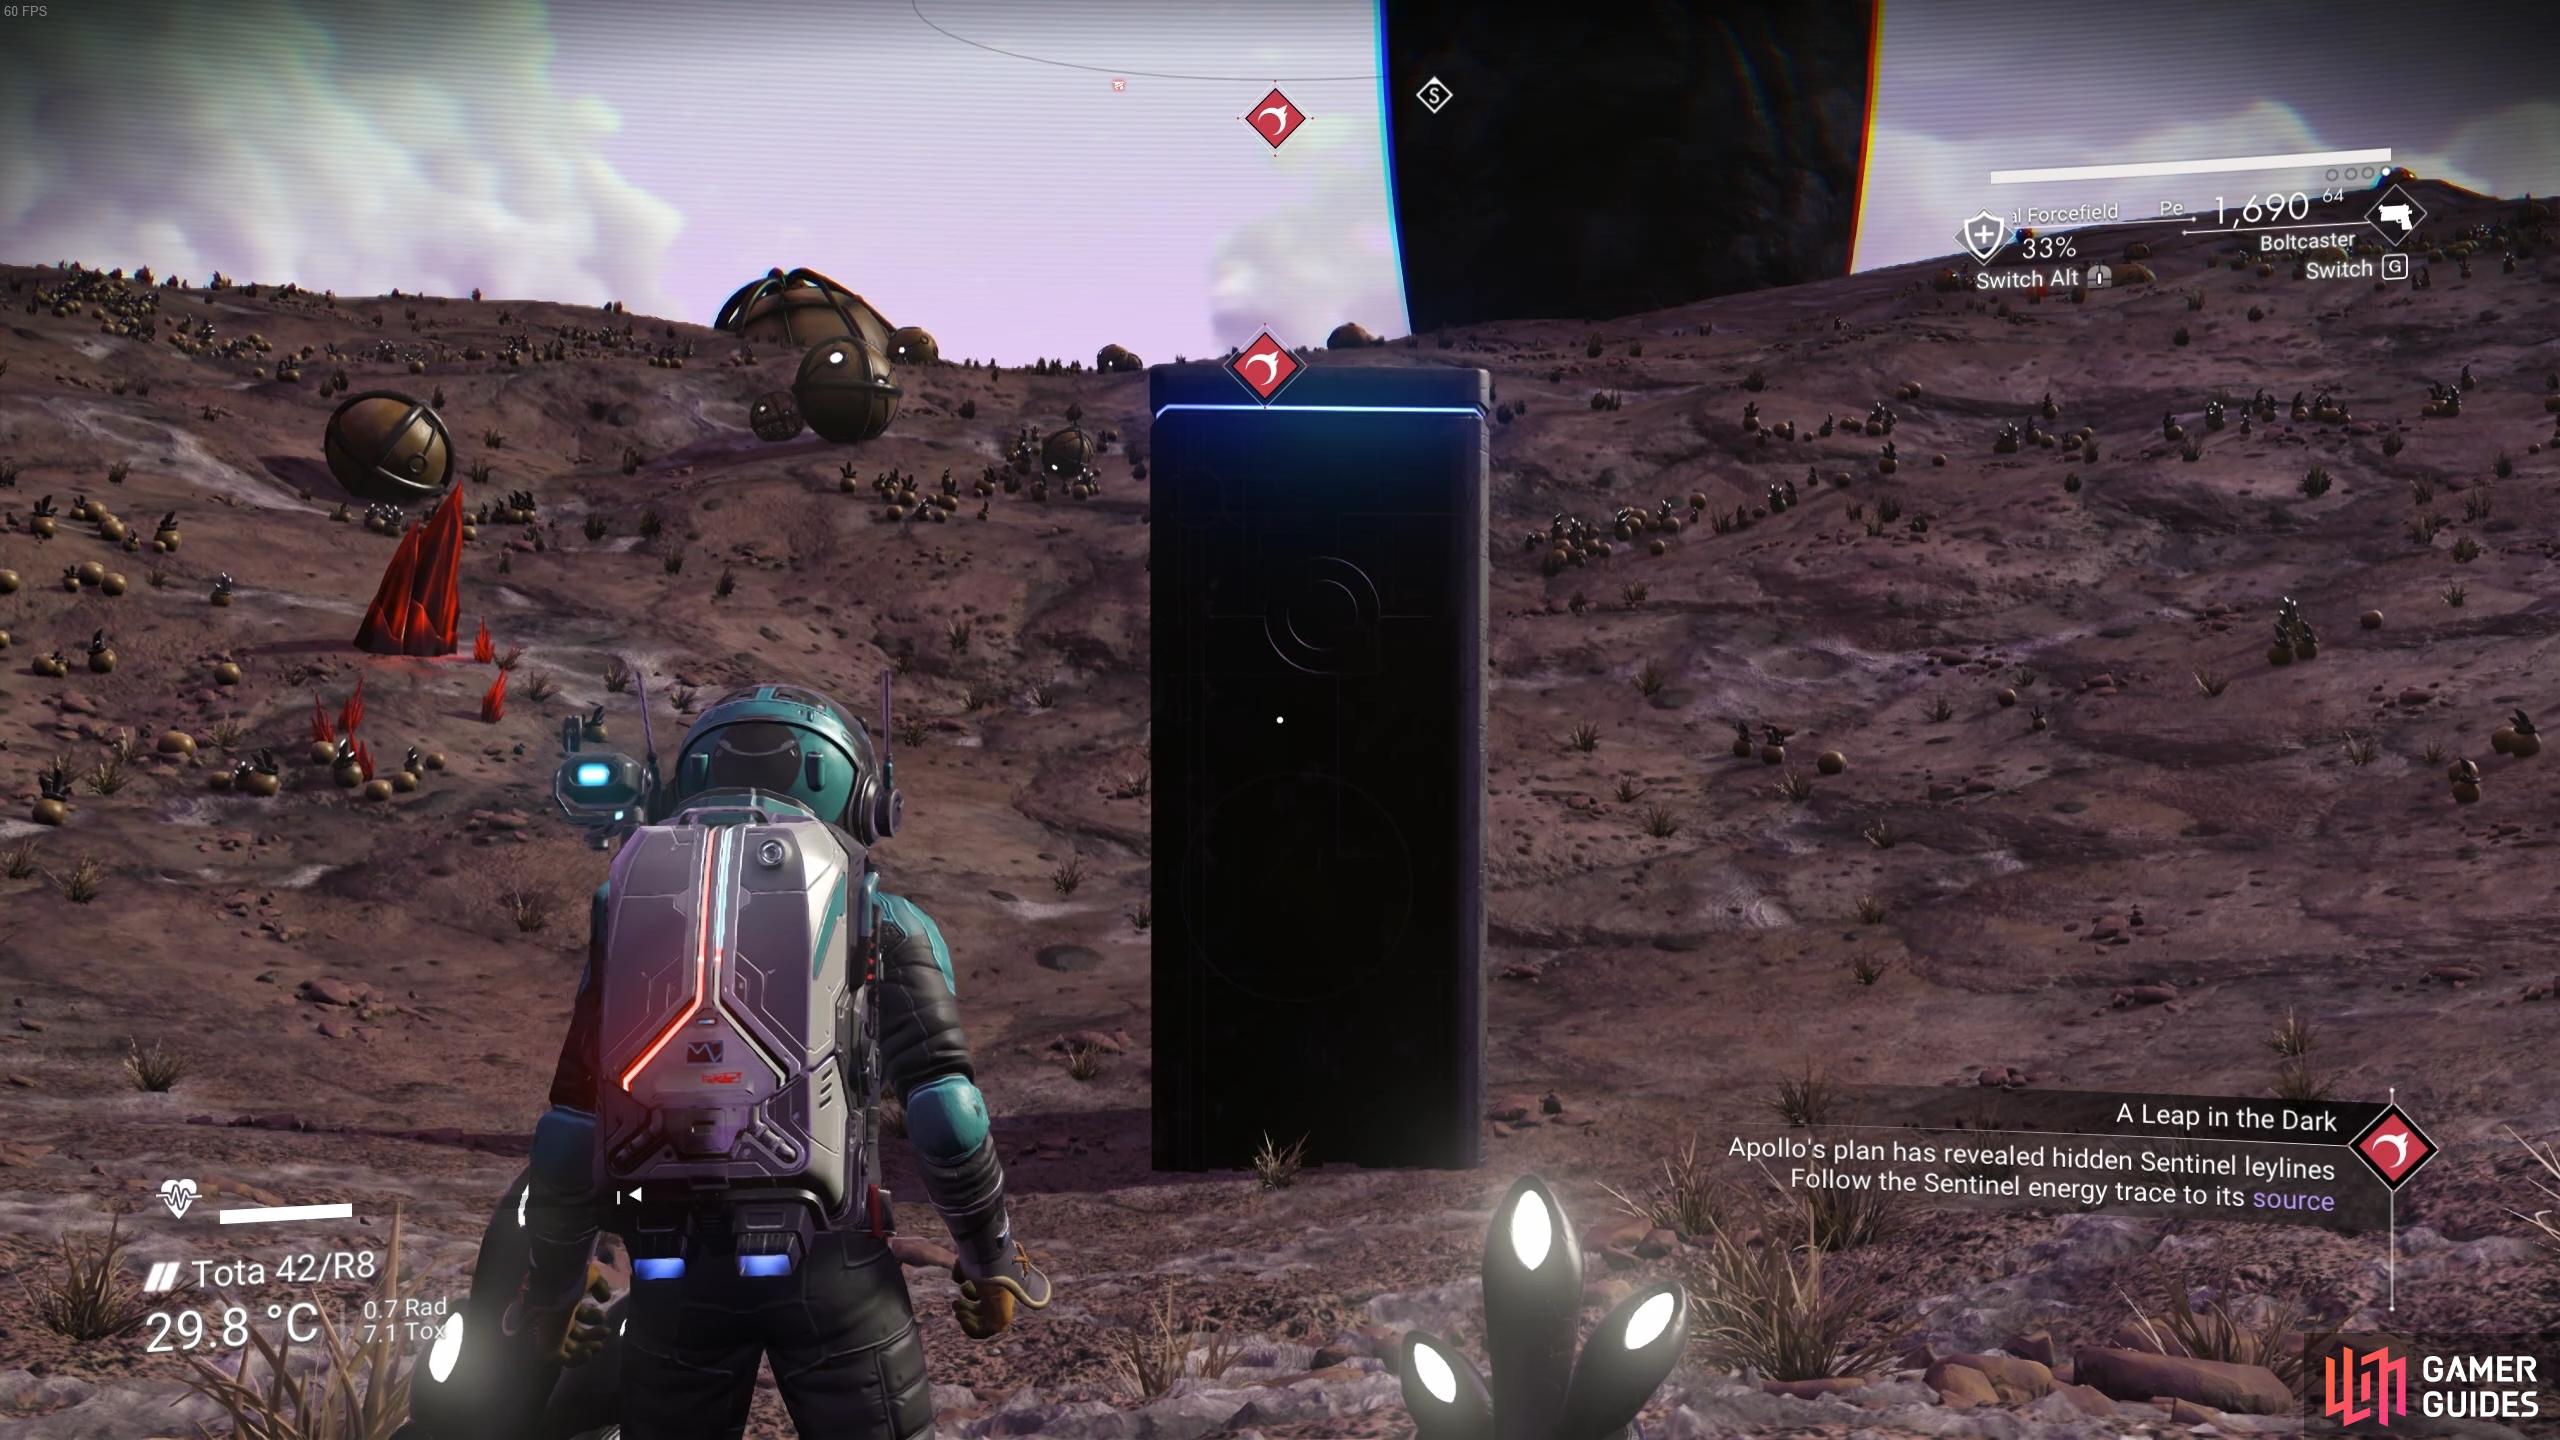
When you’re in space again, if you haven’t already you should scan from your Starship using  . This will mark the location of a Leyline Source, where you’ll find a Monolith which reveals some portal glyphs to you. Interact with the Monolith and go through the motions of dialogue until you’re able to witness the glyph set. It doesn’t matter what other dialogue options you select, since the outcome will be the same. After learning the glyphs, you’ll be attacked by some hostile Sentinels. You can choose to defeat them here, or just escape in your Starship back to space.
Once you’re in a safe place, use the scanner from your Starship again to locate the next glyph set. It will appear in the same way as the first one did, as a Leyline Source, but it may be on a different planet. Use the Pulse Engine to reach it quickly and go through the motions of dialogue. As before, it doesn’t matter which you choose, just so long as you learn the glyph set. Do this for a third time to learn all three sets, which you’ll need to enter into a portal so that you can travel to a specific location.
Speak with the Atlas Interface
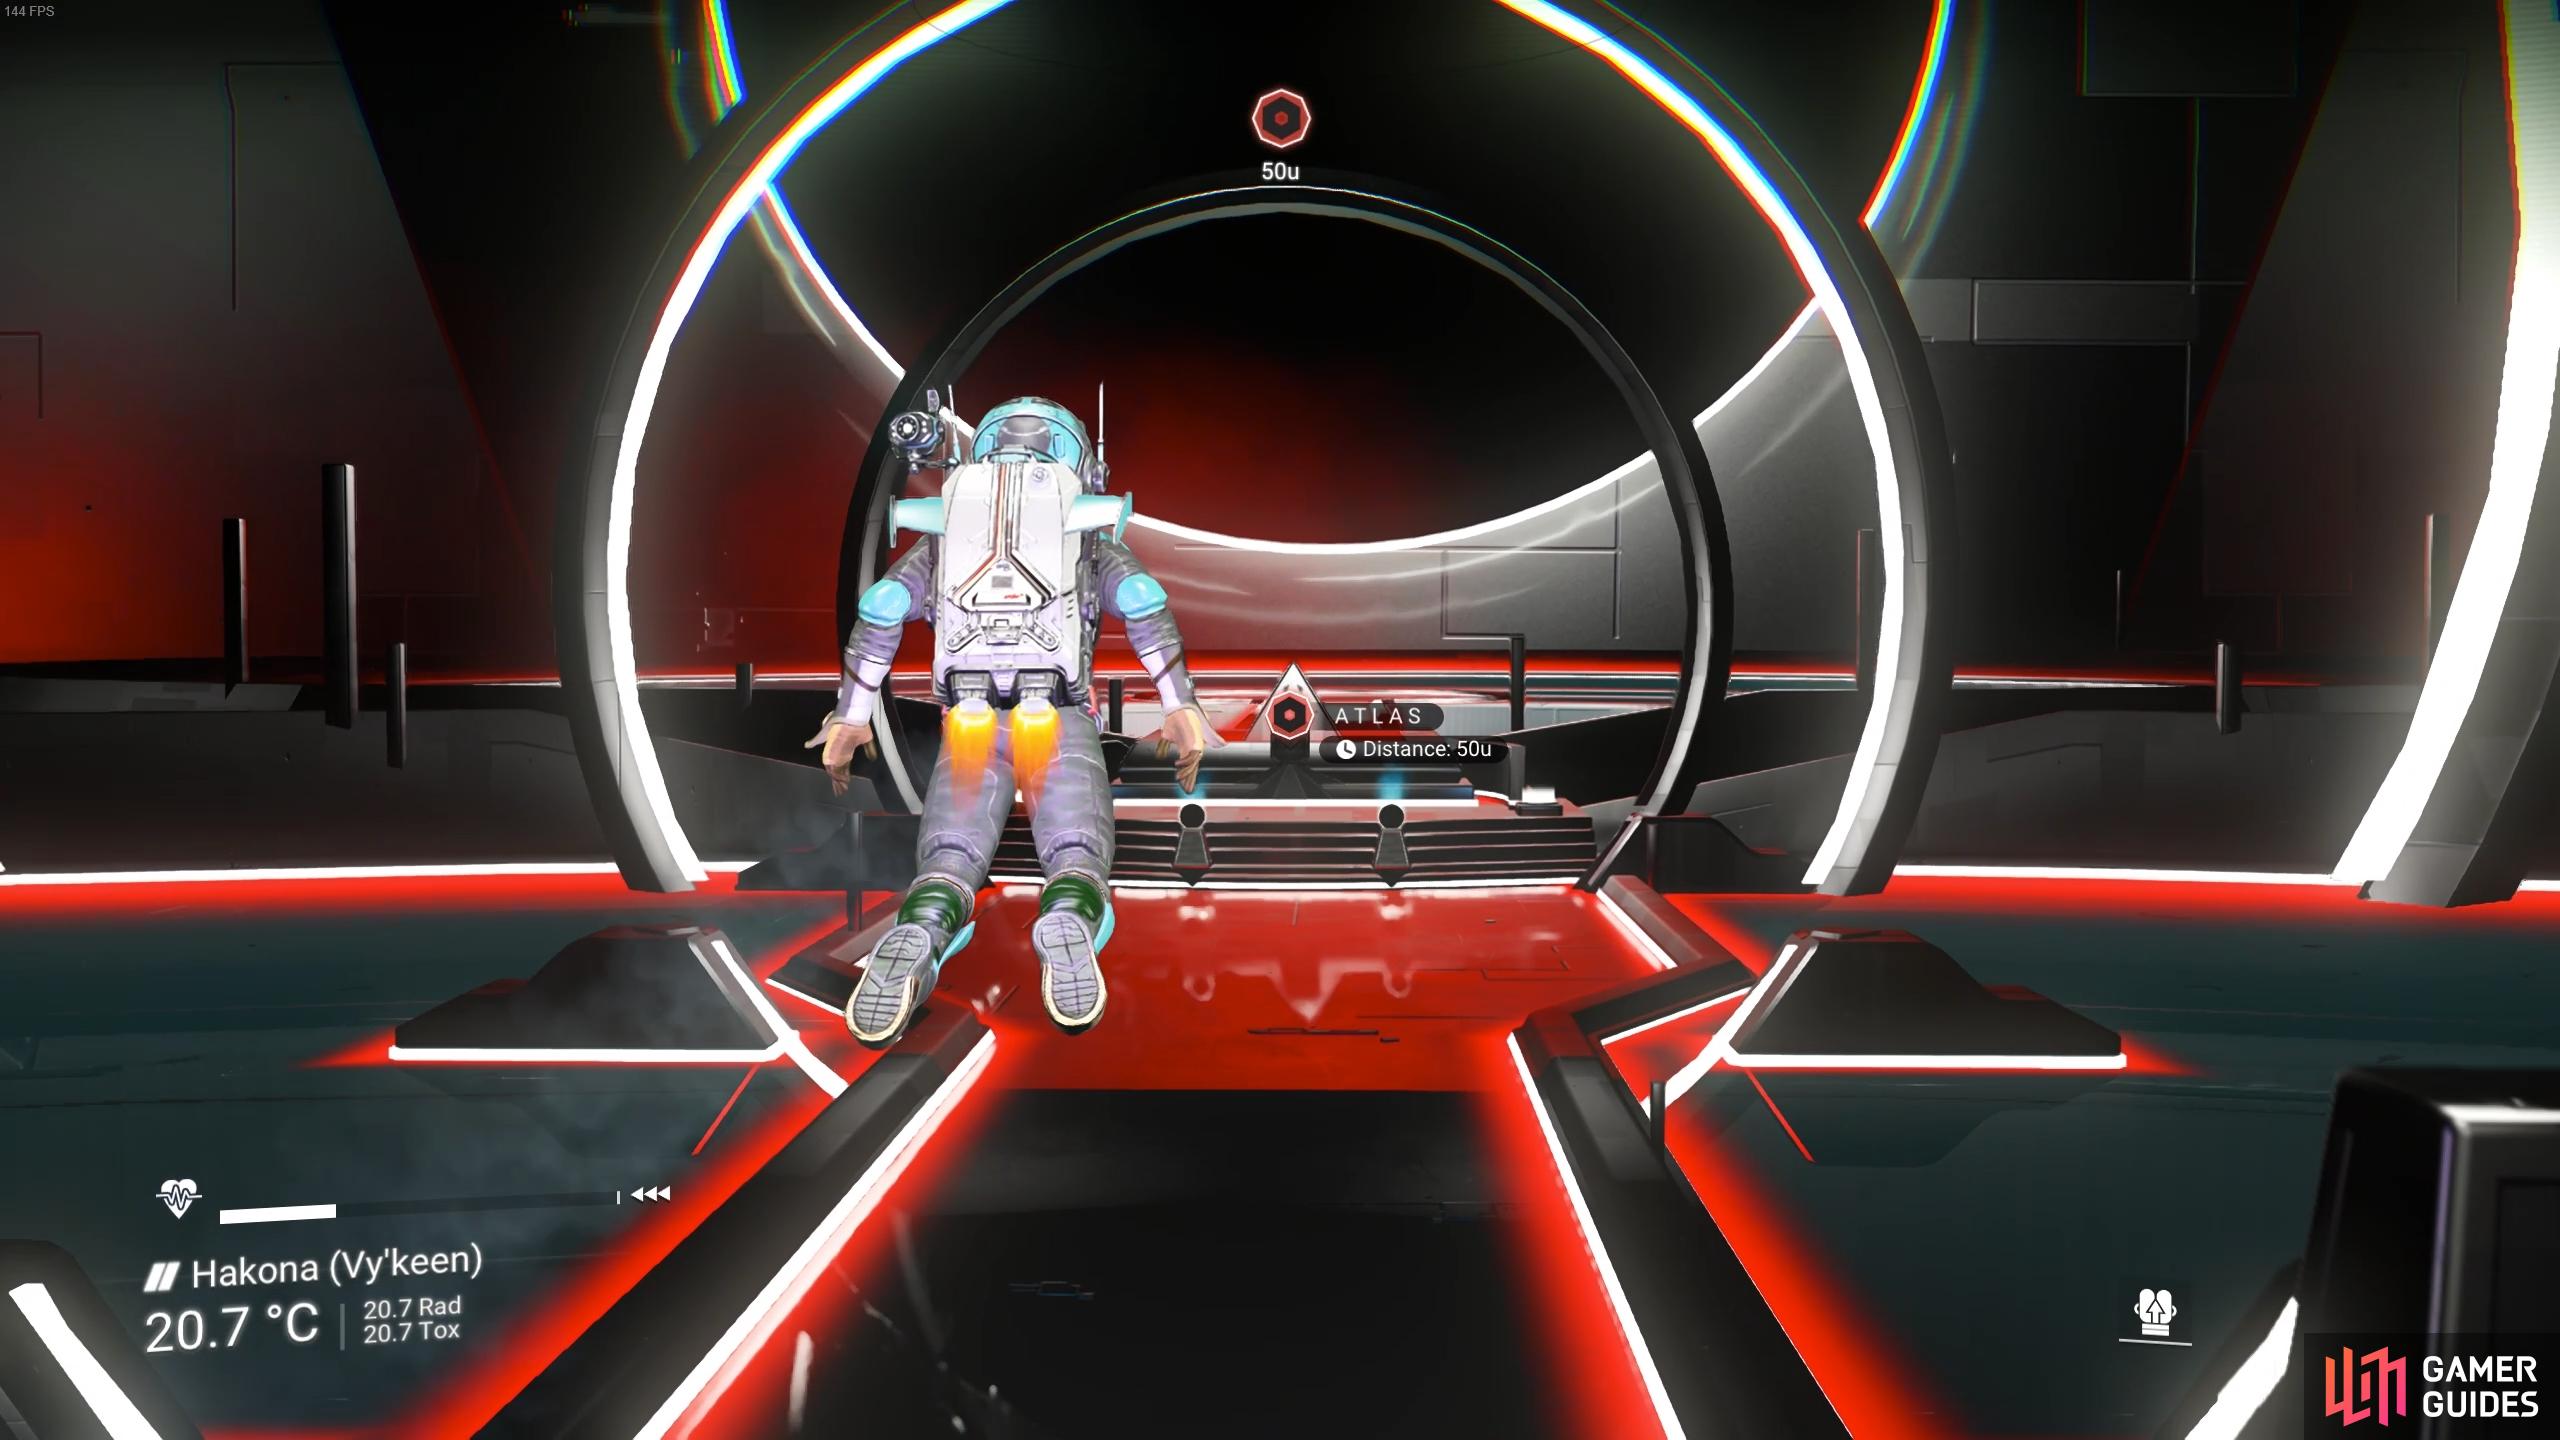
Now that you have all three glyph sets, you can use the scanner again to locate the nearest portal. All you need to do is interact with the terminal at the portal to activate it, then step through the blue light at its centre. This will transport you to another planet in a distant star system, in much the same way as you travel via the Hyperdrive. The portal here will be inactive and you won’t be able to see your Starship anywhere. All you can do for now is run into the distance until a white light slowly blinds your vision as you’re teleported to an Atlas Interface. You should interact with all the white and black lights here to loot valuable objects, then speak with the Atlas Interface via the terminal. There will be a number of dialogue options here, but it doesn’t matter which you choose since the outcome will be the same.
Find and Repair Your Starship
After the interaction with the Atlas Interface, you’ll be transported to another planet where your Starship can be found. It’ll be roughly 500u in the distance, so be sure to use your Analysis Visor if you don’t spot it immediately. When you reach the Starship you’ll find that the Launch Thruster is broken, and will need to be repaired. You’ll need 50 Pure Ferrite and 1 Di-hydrogen Jelly to fully repair it. The Pure Ferrite can be extracted from most large rocks on the planet, or refined from Ferrite Dust using a Portable Refiner if necessary. You’ll need 40 Di-hydrogen to craft 1 Di-hydrogen Jelly, so be sure to use your Exosuit scanner by pressing to locate nearby Di-hydrogen. Repair the Launch Thruster from the Starship inventory and make your way towards the mysterious signal echo.
Locate the Signal Echo
As you land in the general area where the signal echo is located, you’ll need to use the Target Sweep function of the Analysis Visor to find its precise location. The signal you’re looking for is coming from a relatively small object, so don’t expect to find any larger structures or buildings. Instead, you’ll find a diamond-like object which serves as Artemis’ grave. When you interact with the object, you’ll see a hologram of Artemis, but you won’t be able to speak with them. Sadly, all you can do now is return to space, but be sure to check in with Priest Entity Nada at the Space Anomaly before you proceed with the next mission.
No Comments