
This page details everything you need to know about how to build a base in No Man’s Sky. We’ll cover where you can build your base and the restrictions for some areas, how to get started with the basics and a bit more on how to build an elaborate base with similar functionalities to a space station, including a Galactic Trade Terminal and Landing Pads.
Where to Build Your Base in No Man’s Sky
The base building process in No Man’s Sky offers a great deal of freedom in terms of the kinds of structures that you can create, and even where you can build them. You can choose pretty much any area on any planet to build your base, aside from a few minor restrictions such as nearby Planetary Settlements. You won’t be able to build inside these without mods, but you can still build just a few hundred metres away from them, allowing you to quickly get to your settlement while working on your base to ensure that you can attend to every new settlement event as quickly as possible.
Guide to the Best Planets for Building a Base
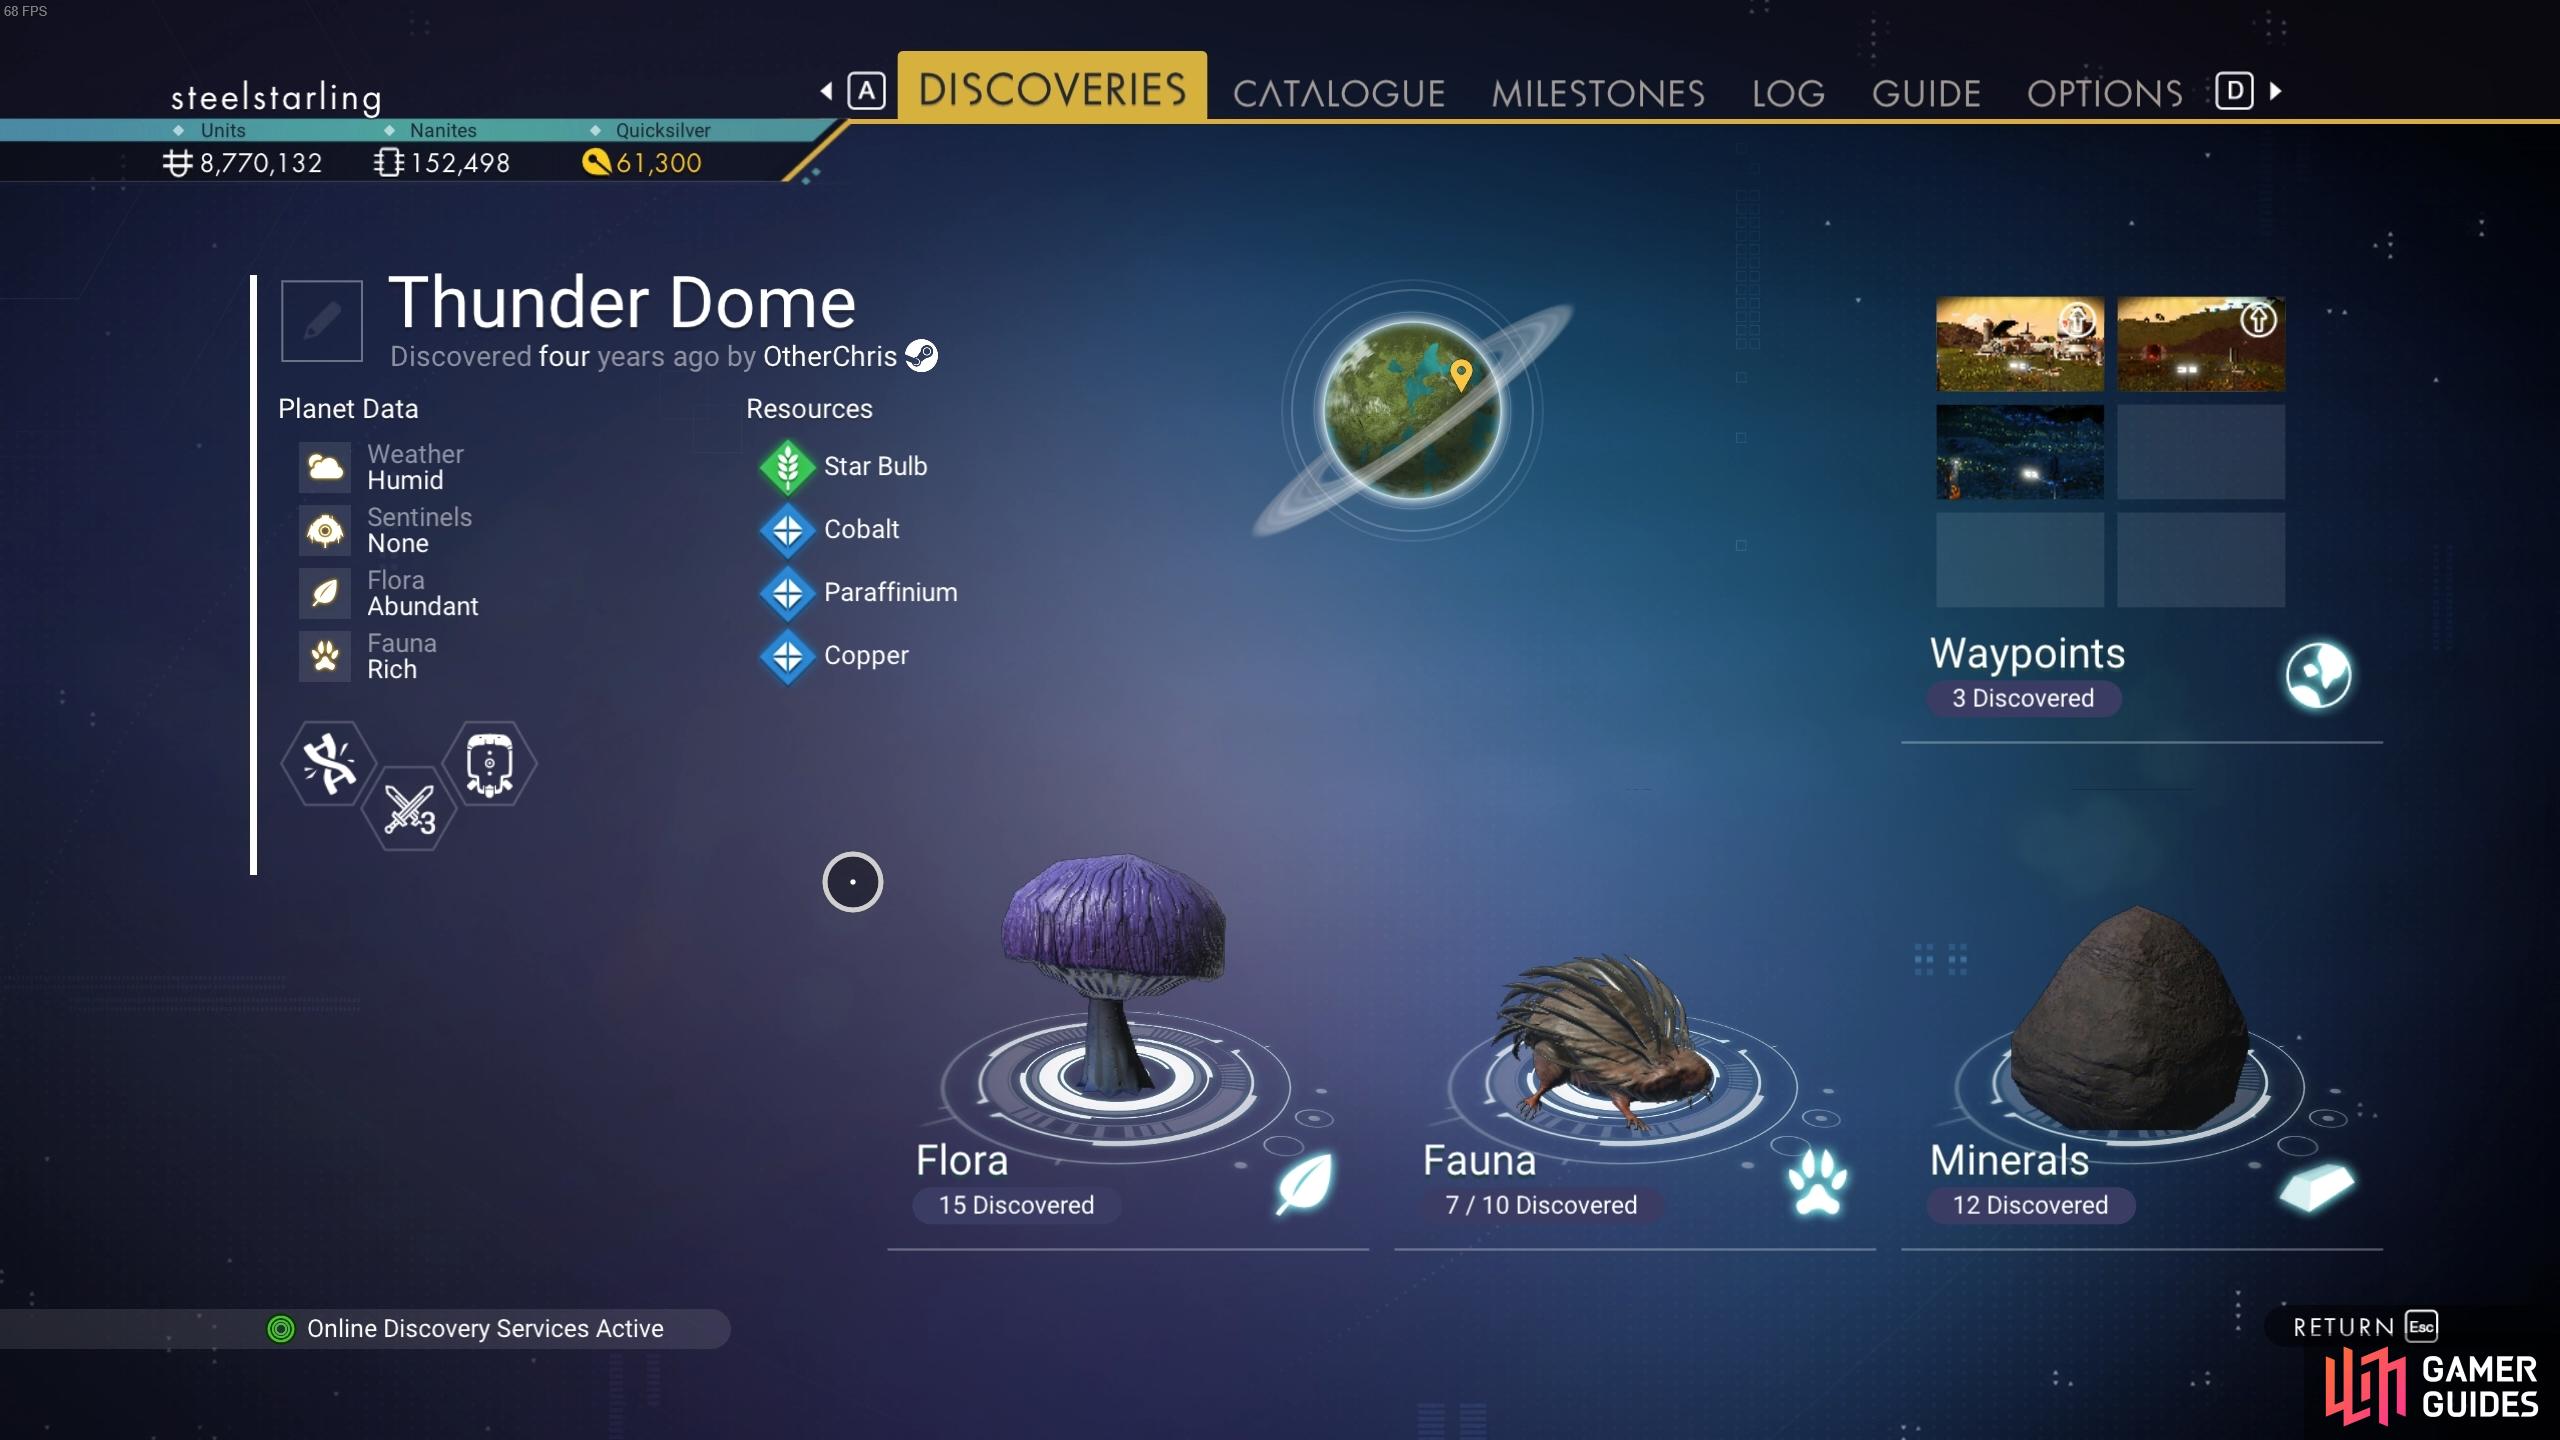
One of the most important things that you should consider before you choose a planet to build a base on is the exact nature of the planet. You will need to consider the type of atmosphere, the flora and fauna that live there, sentinel activity level, and whether or not there’s a space station present in the star system. There will always be a space station in the early star systems, but as you improve your starship’s Hyperdrive capabilities, you’ll eventually reach planets with pirate stations, or no station at all. In general, you should probably build your base within a star system which has a space station, as this will make acquiring specific ingredients much easier before you have a Base Teleport Module.
The Sentinel Activity Level is usually shown on the info box when you scan a planet while in your starship. If the sentinel level is low enough or if there are no sentinels at all on a planet, it won’t show when you scan it. It isn’t always the best option to choose a planet without sentinels, especially once you’ve upgraded your Multi-Tool. The majority of sentinels that you encounter can be defeated fairly easily, so they become more of a nuisance than a danger. However, they can still drop some useful items when you kill them, including Forbidden Upgrade Modules, so if you want a reliable, nearby source of these, a planet with high sentinel activity may be the way to go. If you’d rather be left in peace, go with a planet with low sentinel activity.
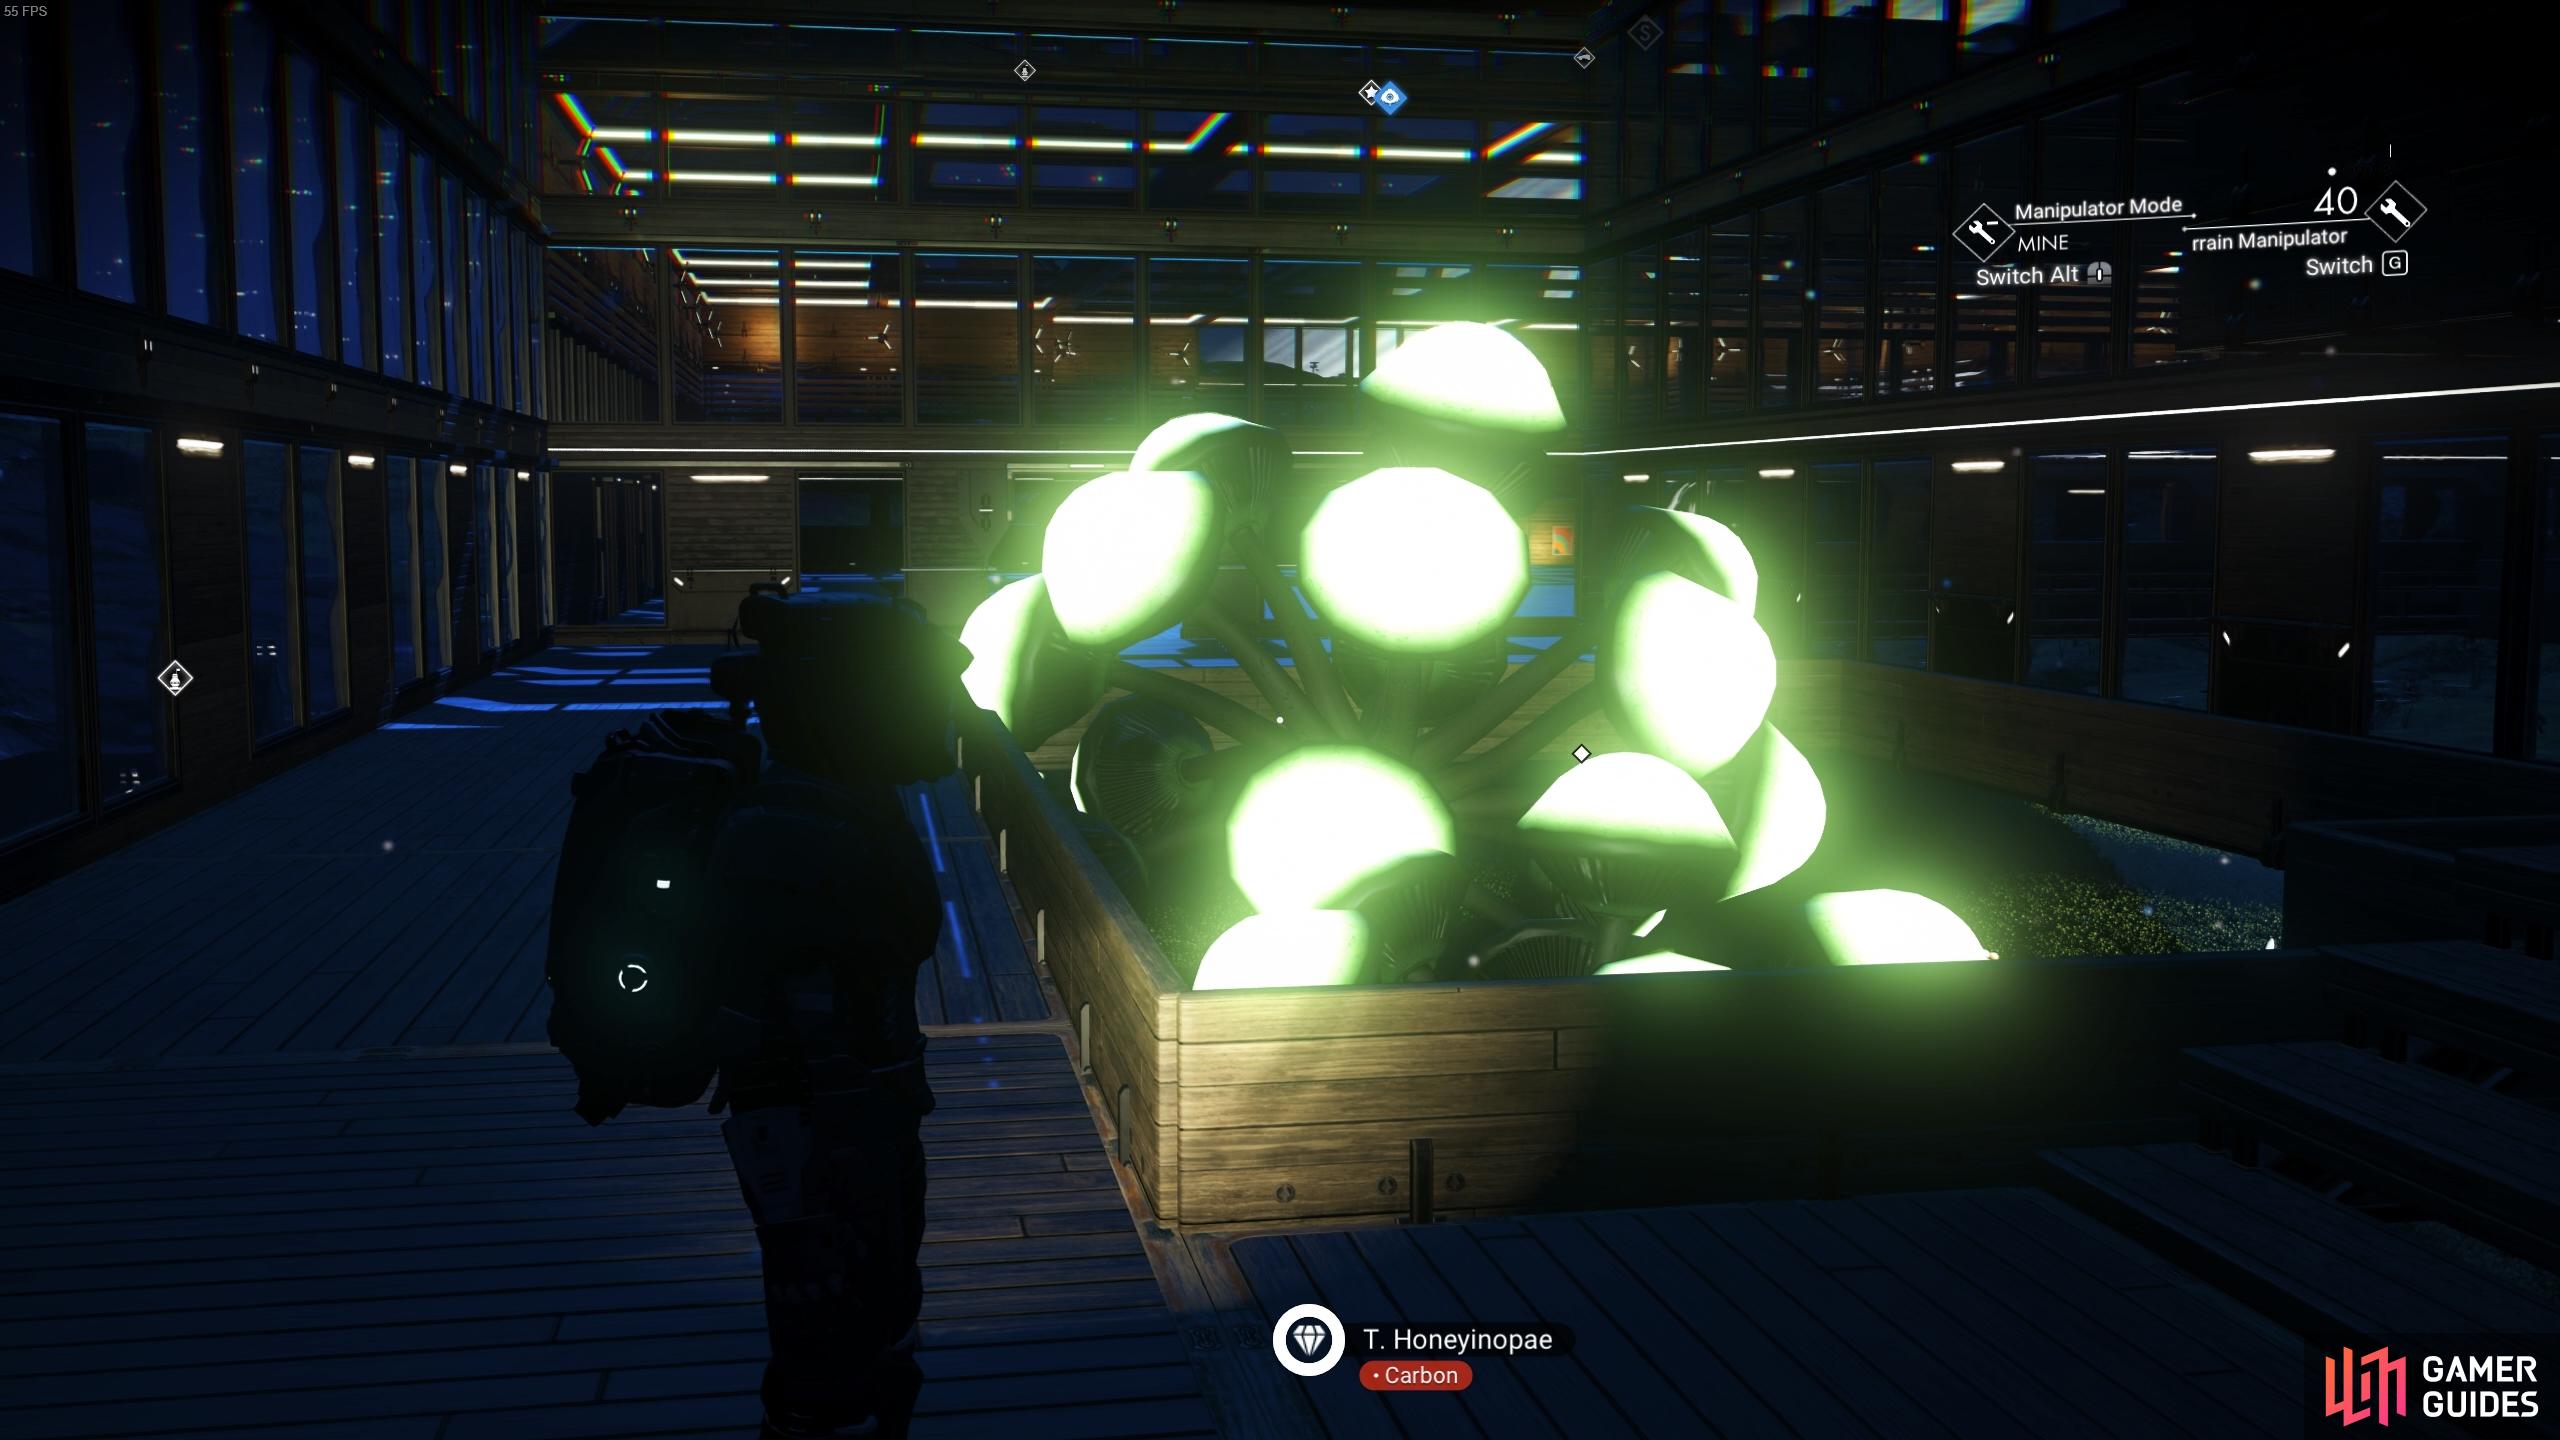
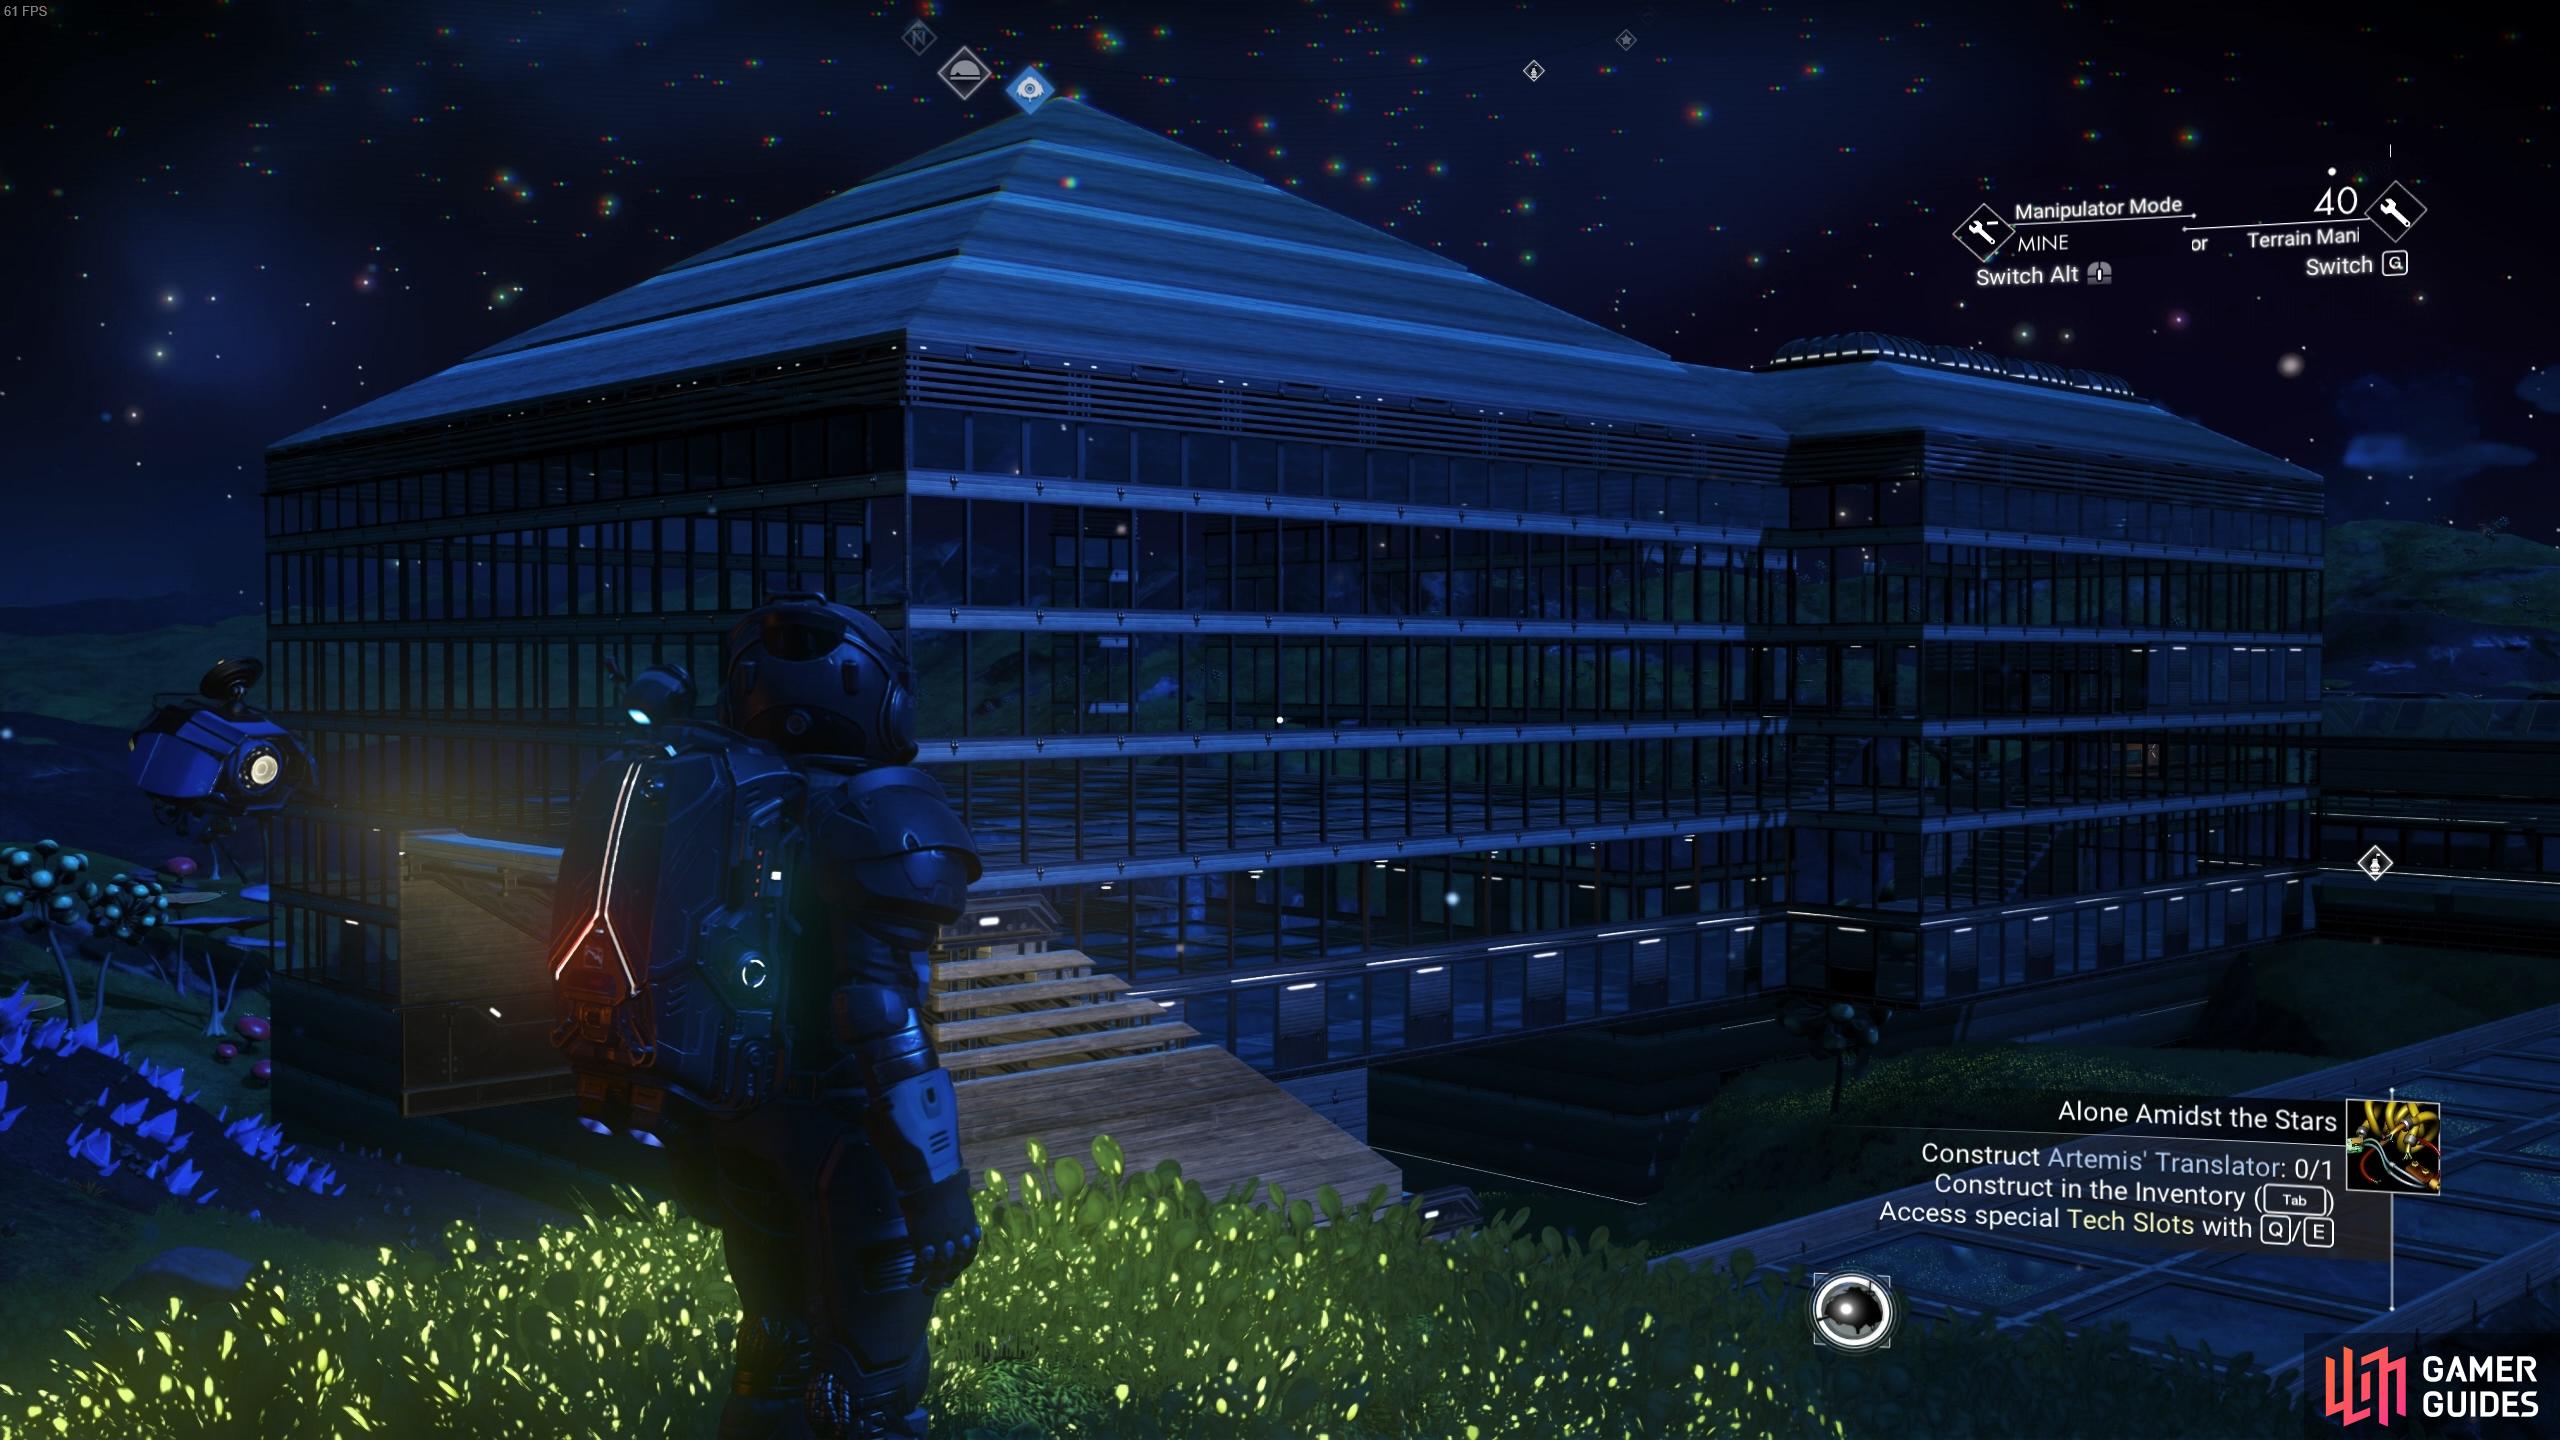
In terms of flora and fauna, this won’t usually be a factor that you need to consider with much importance outside of your aesthetic preference for the type of life that you’ll have present, roaming around (and sometimes within) your base. If you want to take some snazzy screenshots of your base, it definitely helps to have a planet with lush vegetation. You’ll find that Paradise planets often have flora which light up at night, making the scenery even more beautiful regardless of the time of day. The green fields which are also usually present on Paradise planets will help to bring light to your screenshots as well, whereas dark, barren planets can make even the best bases look dull by comparison. In terms of fauna, you may want to consider a planet which has species that you would like to adopt a pet from, although you can easily find a pet on any planet and summon them to your base at any time. To learn more about this, see our page on how to adopt a pet.
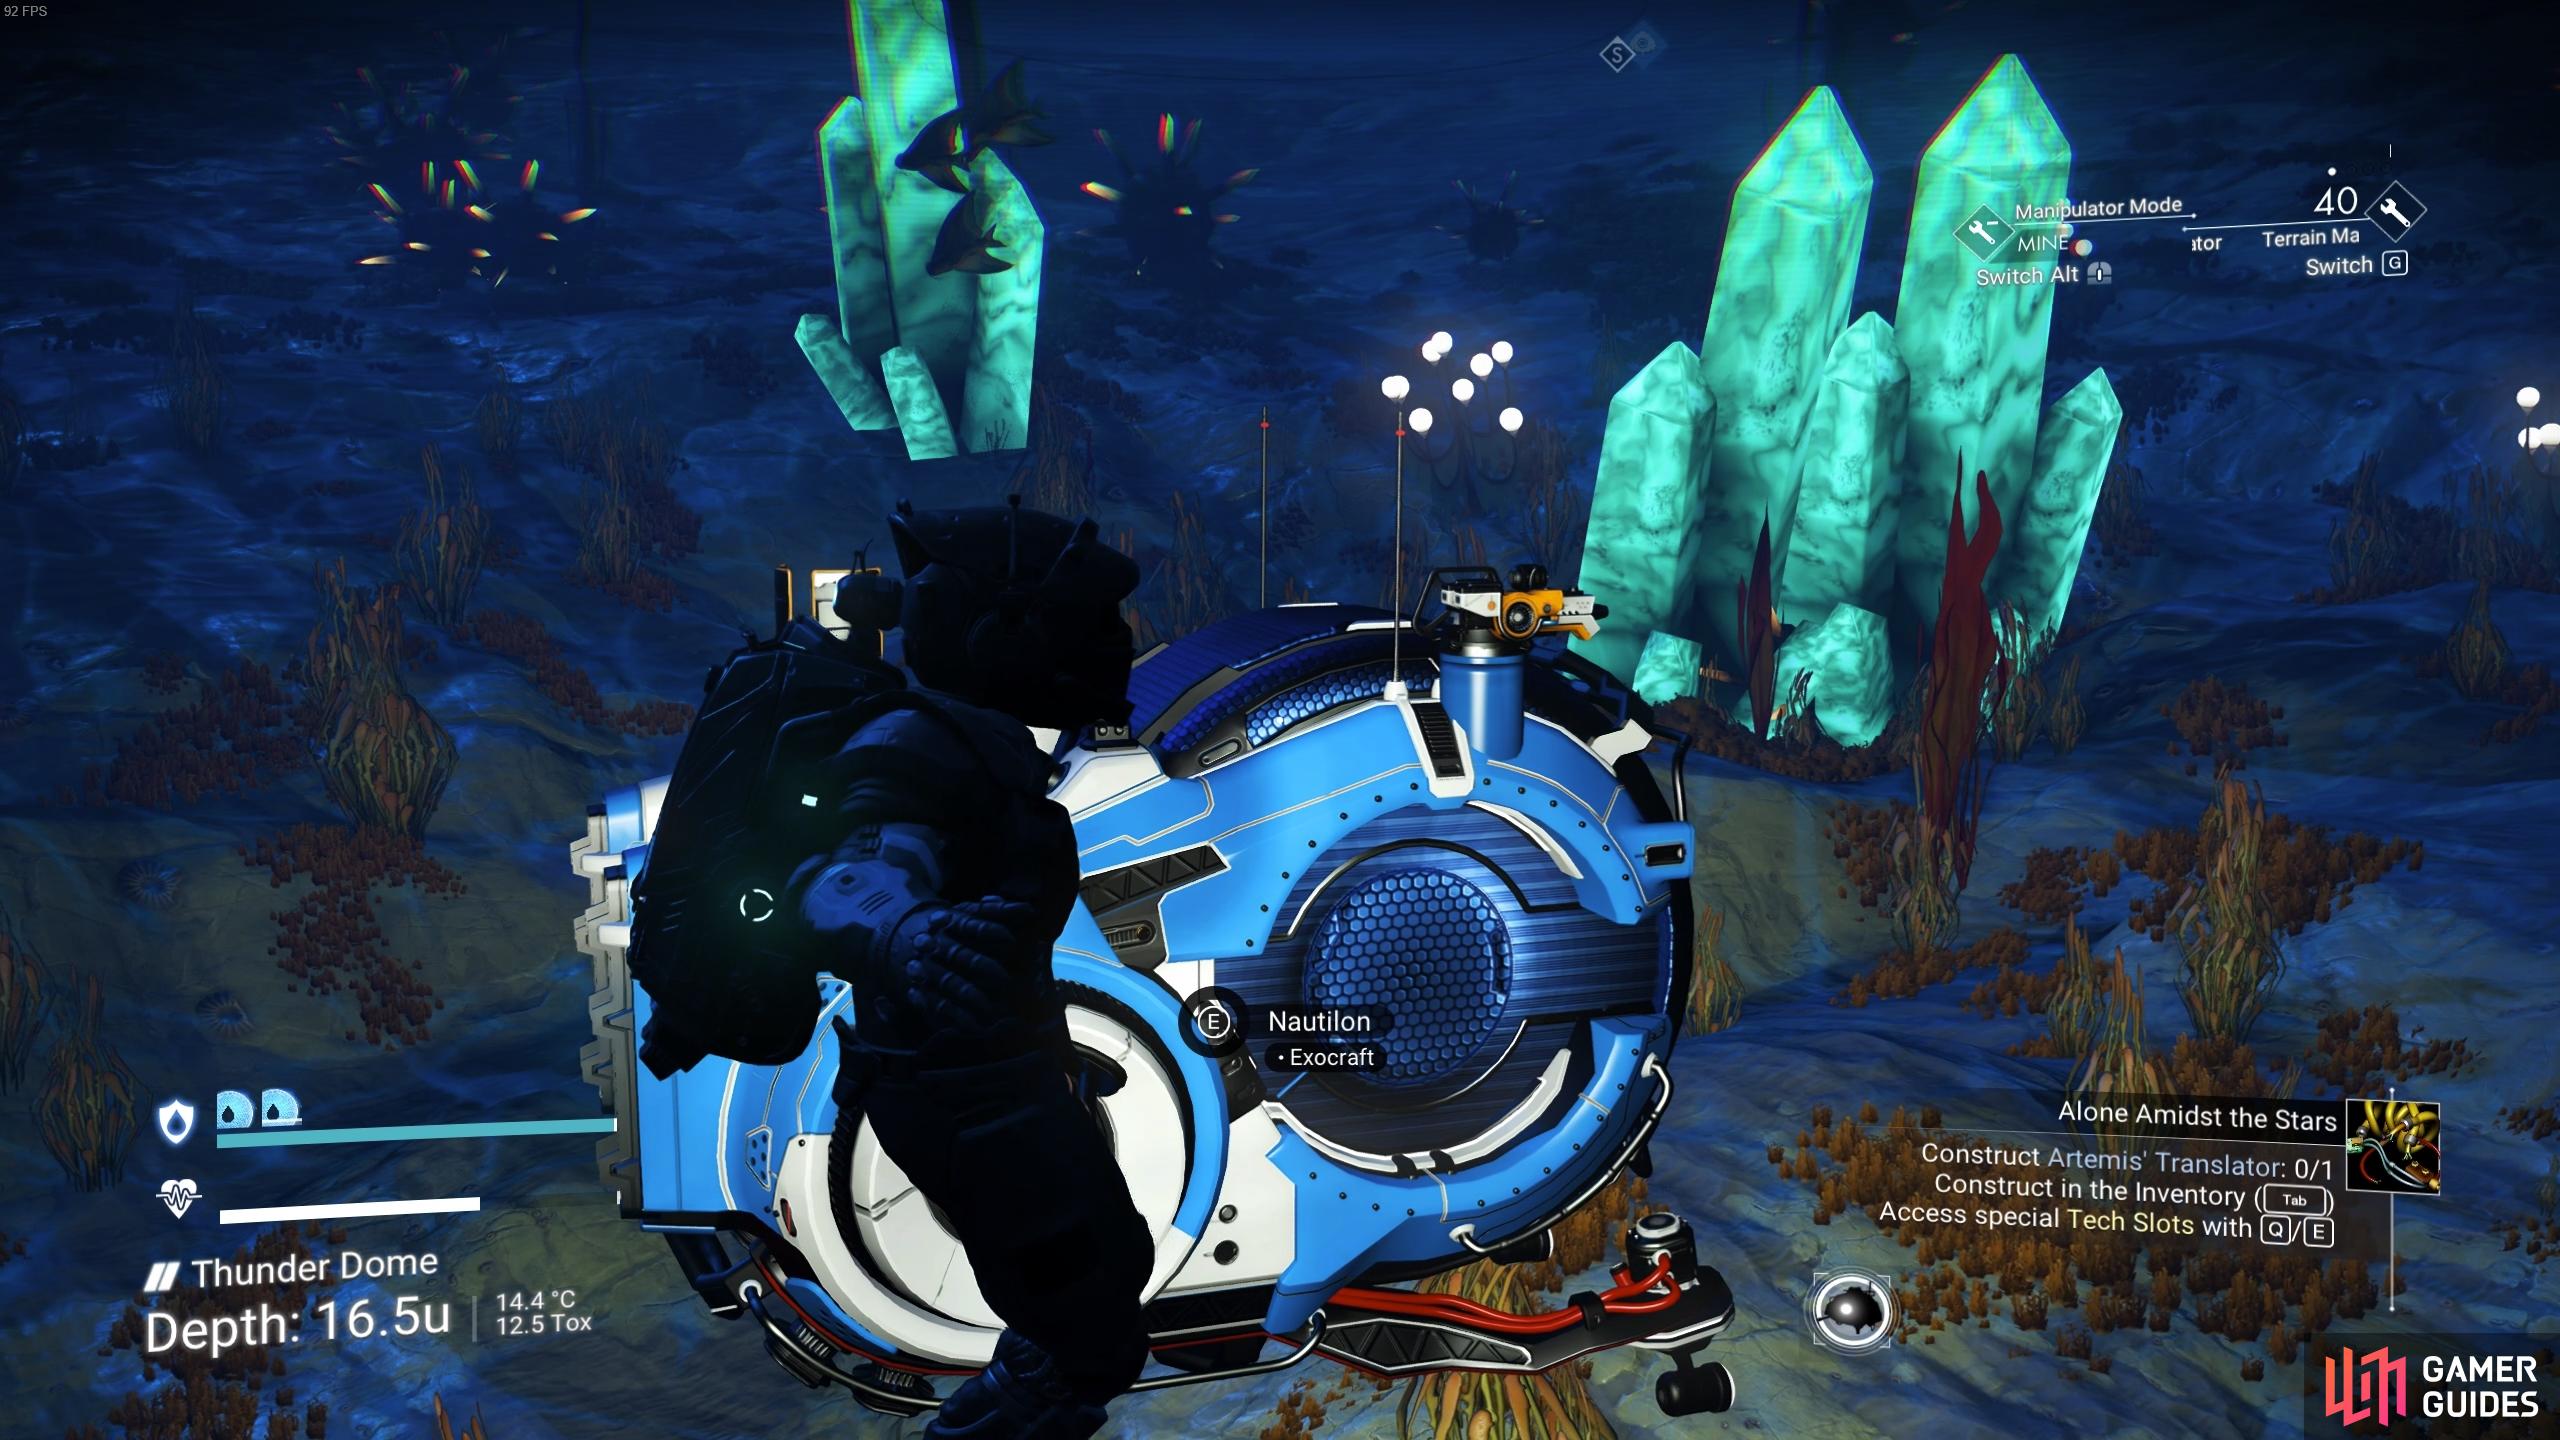
(1 of 4) The Nautilon Exocraft will allow you to explore underwater much more efficiently.
Electromagnetic Power, Mineral and Gas Hotspots
Once you have access to the Mineral Extractor and Gas Extractor, the blueprints for which can be purchased from the Construction Research Station on board the Space Anomaly, you can build these in your base so long as the base is located near a mineral or gas hotspot. To identify these hotspots, you’ll need the Survey Device upgrade for the Analysis Visor. This can be purchased from the Multi-Tool upgrade module merchant on board the Space Anomaly. It’s possible to find both a mineral and a gas hotspot in the same area, allowing you to setup extractors for both within the same area as the rest of your base, but it may take some searching before you can find a spot like this. Either way, it’s worth considering whether you want to have these extractors as part of your main base, or whether you’d rather have small outpost-type bases located at different mineral and gas hotspots across a planet.
The hotspots for Electromagnetic Power sites can also be identified with the Analysis Visor once you have the Survey Device upgrade. You will need to enter Power Survey Mode while using the Analysis Visor to locate them. It’s a good idea to find one of these hotspots first before you begin building a base, since they can provide a constant source of efficient energy at the heart of your base if you build structures around them once they’re placed on a suitable site.
Building on Land
Once you’ve found an appropriate planet for your base building, the next thing you’ll want to consider is the exact location in the landscape. This can be important because you want to make sure that you have enough space to expand your base later on. The Terrain Manipulator function on your Multi-Tool can be incredibly useful to flatten or raise different parts of the landscape depending on how you want your base to sit in it. It’s a good idea to plan roughly where you want specific types of rooms, landing pads, Exocraft bays, cooking and farming equipment, storage containers, power generators and other industrial equipment before you construct the rooms for them. You can always edit the structure of the base itself after you’ve built parts of it if you need to, but it’s much more difficult to adjust the height of the landscape itself without distorting the visual appearance of your base structure once significant parts of it have been built.
In some ways, the benefits of building on land far outweigh those of building underwater. You can construct more things on land in general, including all the main Exocraft bays for the Roamer, Nomad, Pilgrim, Colossus, and Minotaur. You can even construct a custom race track with obstacles and speed boosters for your land exocraft, which can also be used by other players. However, most of the things that can be built inside the regular rooms of a land base can also be built inside the rooms of a base underwater, so you’re not missing out on too much outside of personal preference.
Ultimately, you will need to consider what you value most in a base before you choose an appropriate site. If you want to make your base more of an industrial spot, you should first identify suitable hotspots for Electromagnetic Power, Mineral and Gas Extractors. If you care more about where the base fits into the landscape and the potential for expansion, you can prioritise this instead. You may not find the perfect site for a base which fits all your immediate needs, but you can always build multiple bases for specific purposes. Mineral and Gas extraction sites are often more suited to farming outposts for this reason.
Building Underwater
The first thing you’ll need to do before you can consider building an underwater base is complete the Dreams of the Deep mission, which is a secondary mission as part of The Atlas Path. The mission is unlocked once you’ve completed the 16 / 16 primary mission, which is the seventh in the questline. Once you’ve completed the quest, you will gain access to a number of underwater building blueprints such as the Glass Tunnel and its variants, the Moon Pool Floor, and the Watertight Door. All of these can be used to construct an elaborate base in the depths of the ocean, or a more simple one in a lake. You won’t need to worry about the structure of underwater surfaces as much as you do with above ground surfaces, since much of your building will probably be in the open water once you’ve got the basic structure down.
Other than personal preference, the main reason why you might want to build an underwater base is that it will give you easy access to a lot of materials which are primarily found in water, such as Crystal Sulphide, Living Pearls, Hadal Cores, Subortibe, Salt, and Chlorine. There’s also an entirely different world of flora and fauna to explore underwater, so you can scan more things with the Analysis Visor to earn units and add to your discoveries. Keep in mind that to explore underwater areas more efficiently, you’ll need to gain access to the Nautilon Exocraft. Otherwise you might find yourself running out of air rather quickly.
How to Edit and Colour Base Parts
Once you’ve placed a structure or part in your base, you can edit it in more ways than you might realize, so you don’t necessarily need to replace it if you got something wrong initially. The process of editing a part can be a bit counterintuitive at first, but once you know where to go it becomes second nature. The first thing you’ll need to do is open the build menu with the 

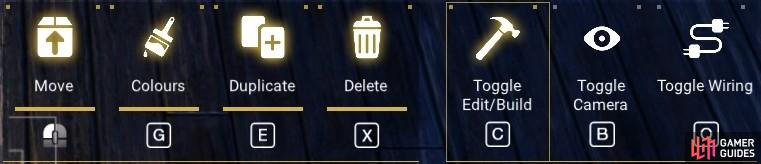
The edit menu for structures and parts within your base.
Edit Menu Features
The edit menu allows you to move parts, change their colour scheme, duplicate the item (at the same cost of materials, but without having to find it again in the build menu), or delete an item. The colour schemes available to you will be different for each item, and not every item can have its colour changed, but there’s usually a good range of options for most items, including the option to change the material type used for some items.
One of the more useful features that you might not have used much so far is the “Toggle Camera” option. This expands your vision within the base and allows you to place items in a much more precise way, without having to rely on the movements of your character falling in just the right place. The “Toggle Edit/Build” function is only useful if you’ve already selected a part and want to go back to editing, while the “Toggle Wiring” function allows you to immediately select Electrical Wiring from the build menu, so that you can expand or edit your electrical grid network with ease. If you want to rotate an item or change its scale, you’ll need to select the “Move” function first.
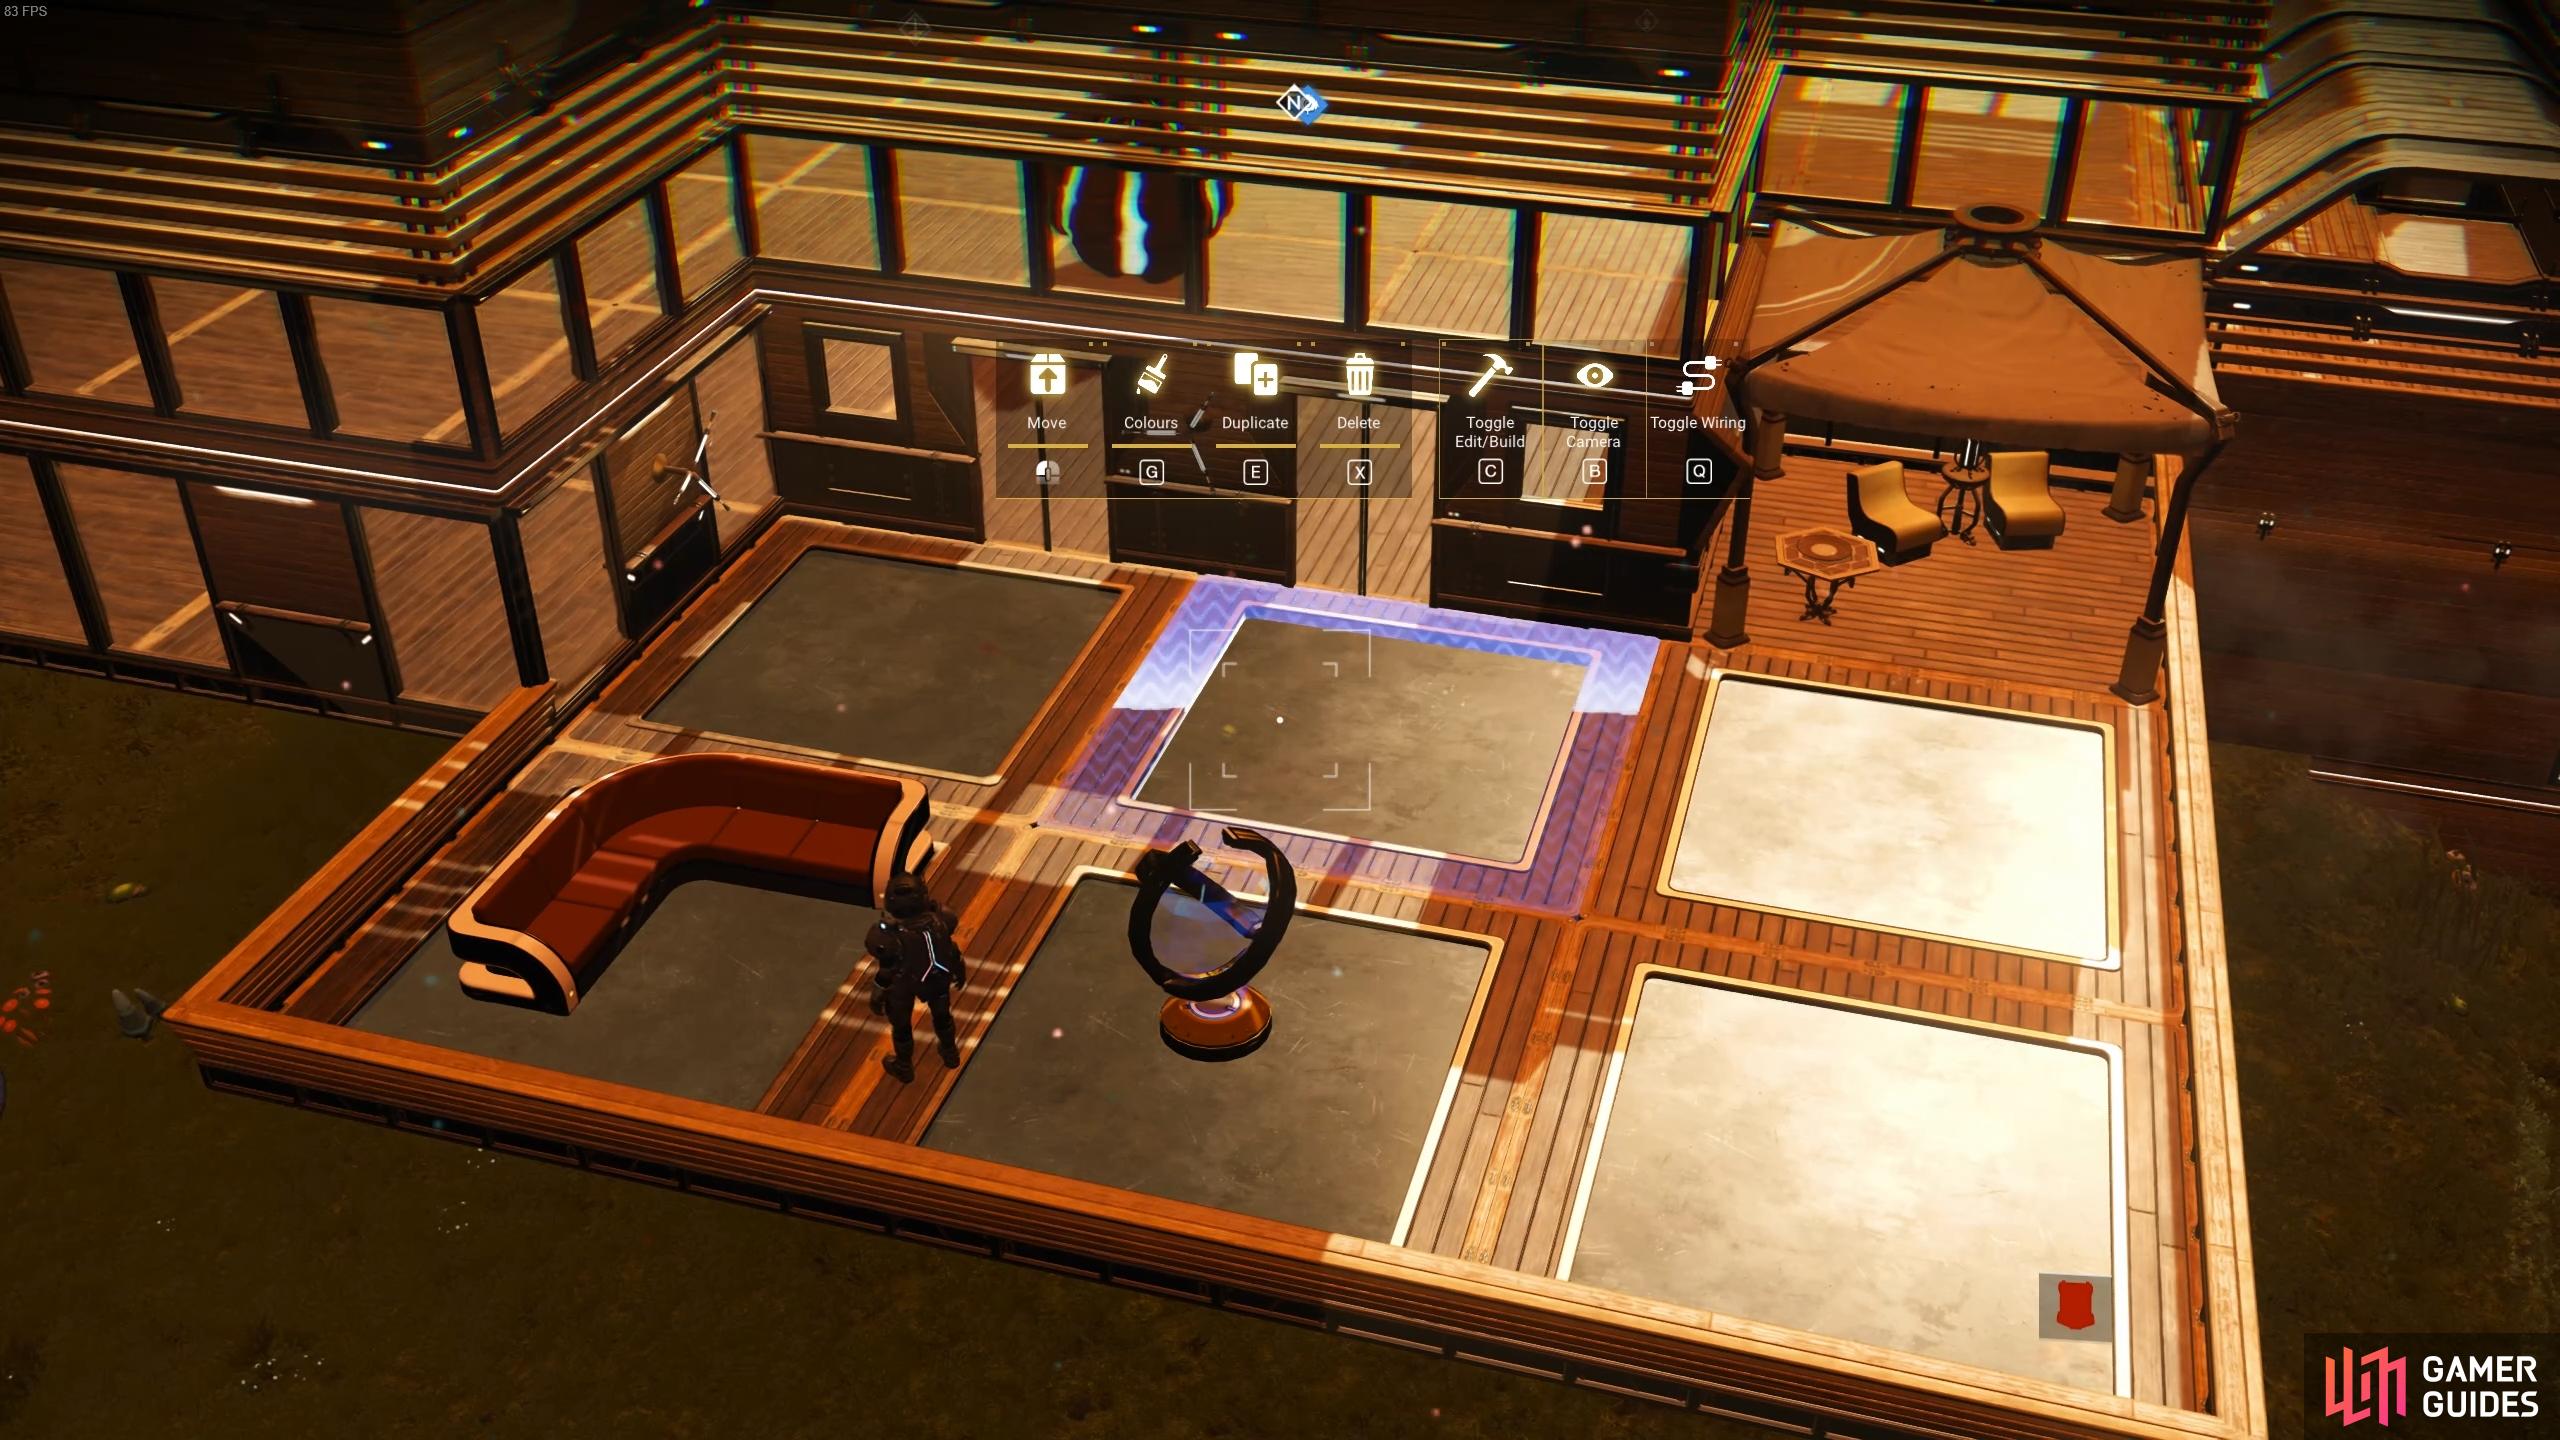
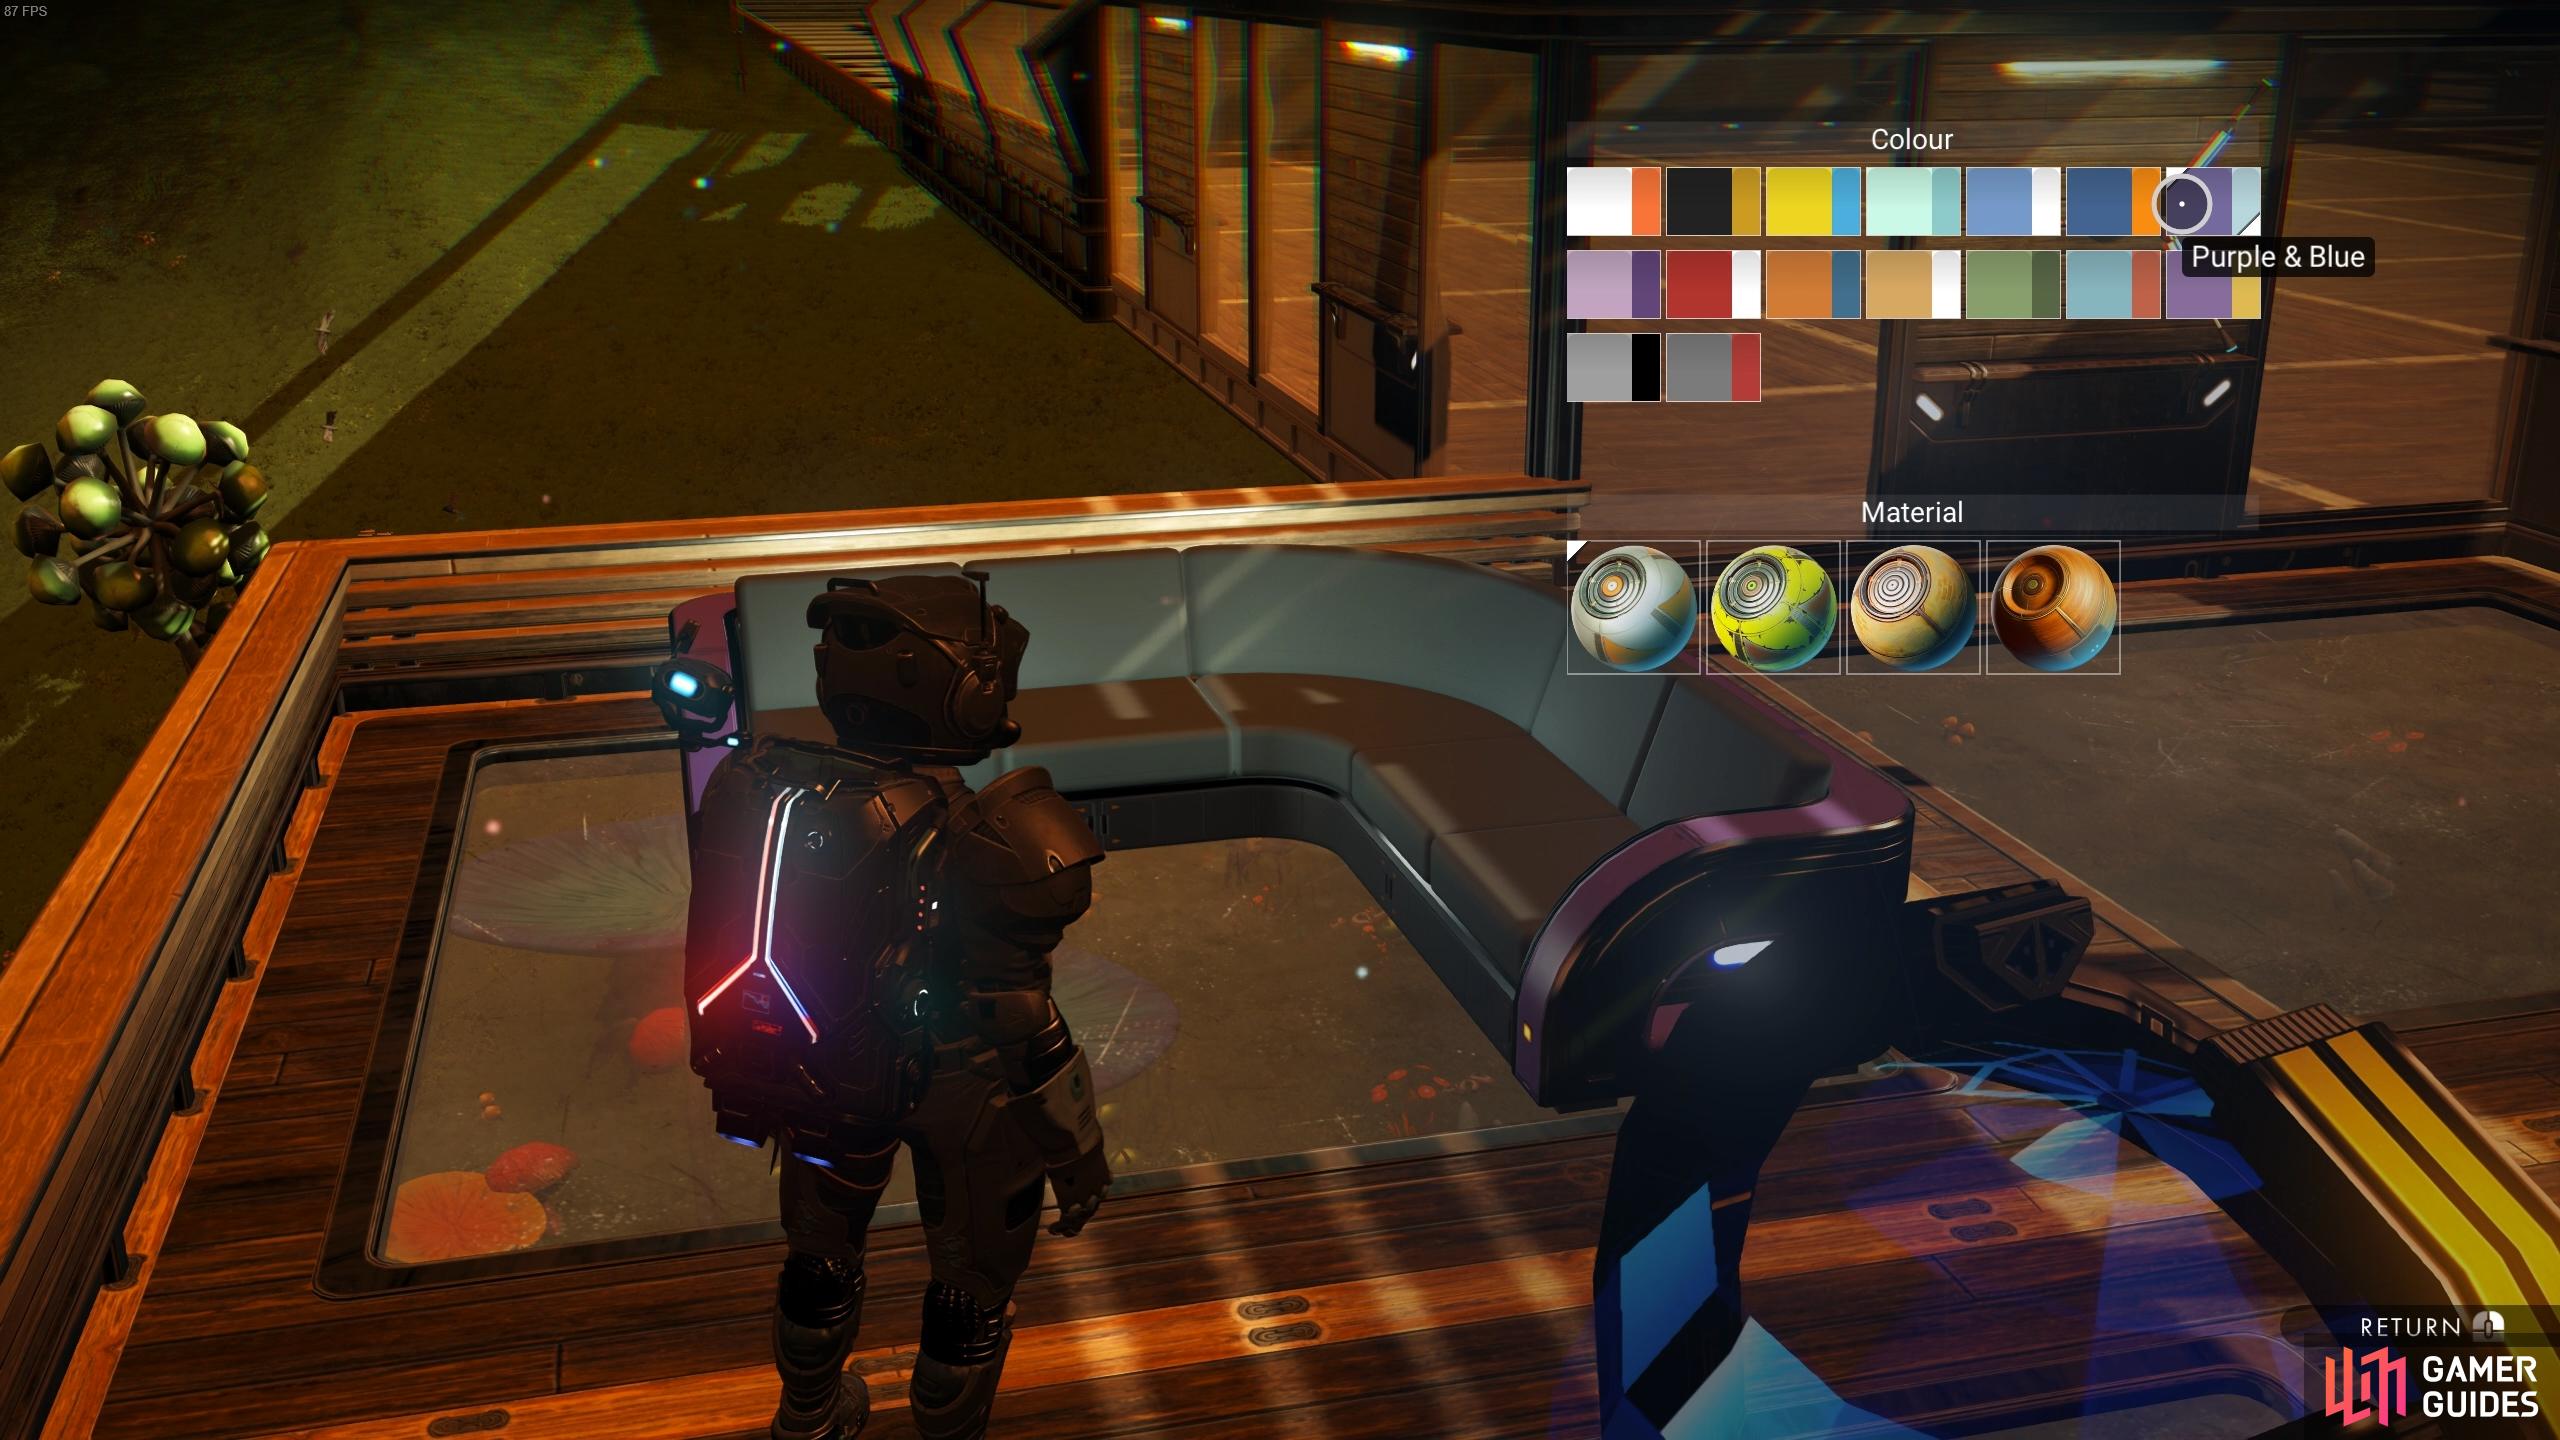
(1 of 3) The Toggle Camera function gives you a much better view for base building, and allows you to place items with more precision.
NMS Endurance Update: Base Building Quality of Life Changes
The new 3.94 Endurance update for No Man’s Sky has introduced some welcome quality of life changes to base building. Many of these changes relate to building a base on a Freighter, which you can learn more about here, but others are relevant to regular base building on planet surfaces. The most significant changes are the following:
-
Visual variants of base parts can now be placed manually, overriding their automatic contextual placement
-
Existing base parts may now be directly replaced without deleting, conveniently preserving their existing position and snapping
Both of these changes introduce a lot more flexibility to the process of building a base in general. The first means that you can now place any visual variant of a part manually in any position, without having to snap it onto an existing piece. For example, if you want to build weird and wonderful elaborate structures using numerous Sloping Timber Panels, Timber Half Arches, and Small Timber Walls (or some combination of all three), there’s now nothing to stop you in terms of exactly where you want to place those parts.
You can also remove chunks of material from specific parts and replace them with parts from other visual variants. This could turn into a disaster if you generally rely on snapping to create sound structures, but if you have a creative vision that you’ve always wanted to see manifest in-game, but were previously hindered by the limitations of the build system, you’ll now have more freedom than ever to see it realized.
In terms of being able to replace existing base parts without having to delete them first, this also provides more flexibility with regard to trying out different visual styles without needing to completely rebuild a structure. You can do this in much the same way that you already change the colour of existing base parts. However, keep in mind that you will need to have the relevant materials in your inventory if you want to replace one base part with another which requires new materials, such as a plain wall to a windowed wall, which will require some additional glass.
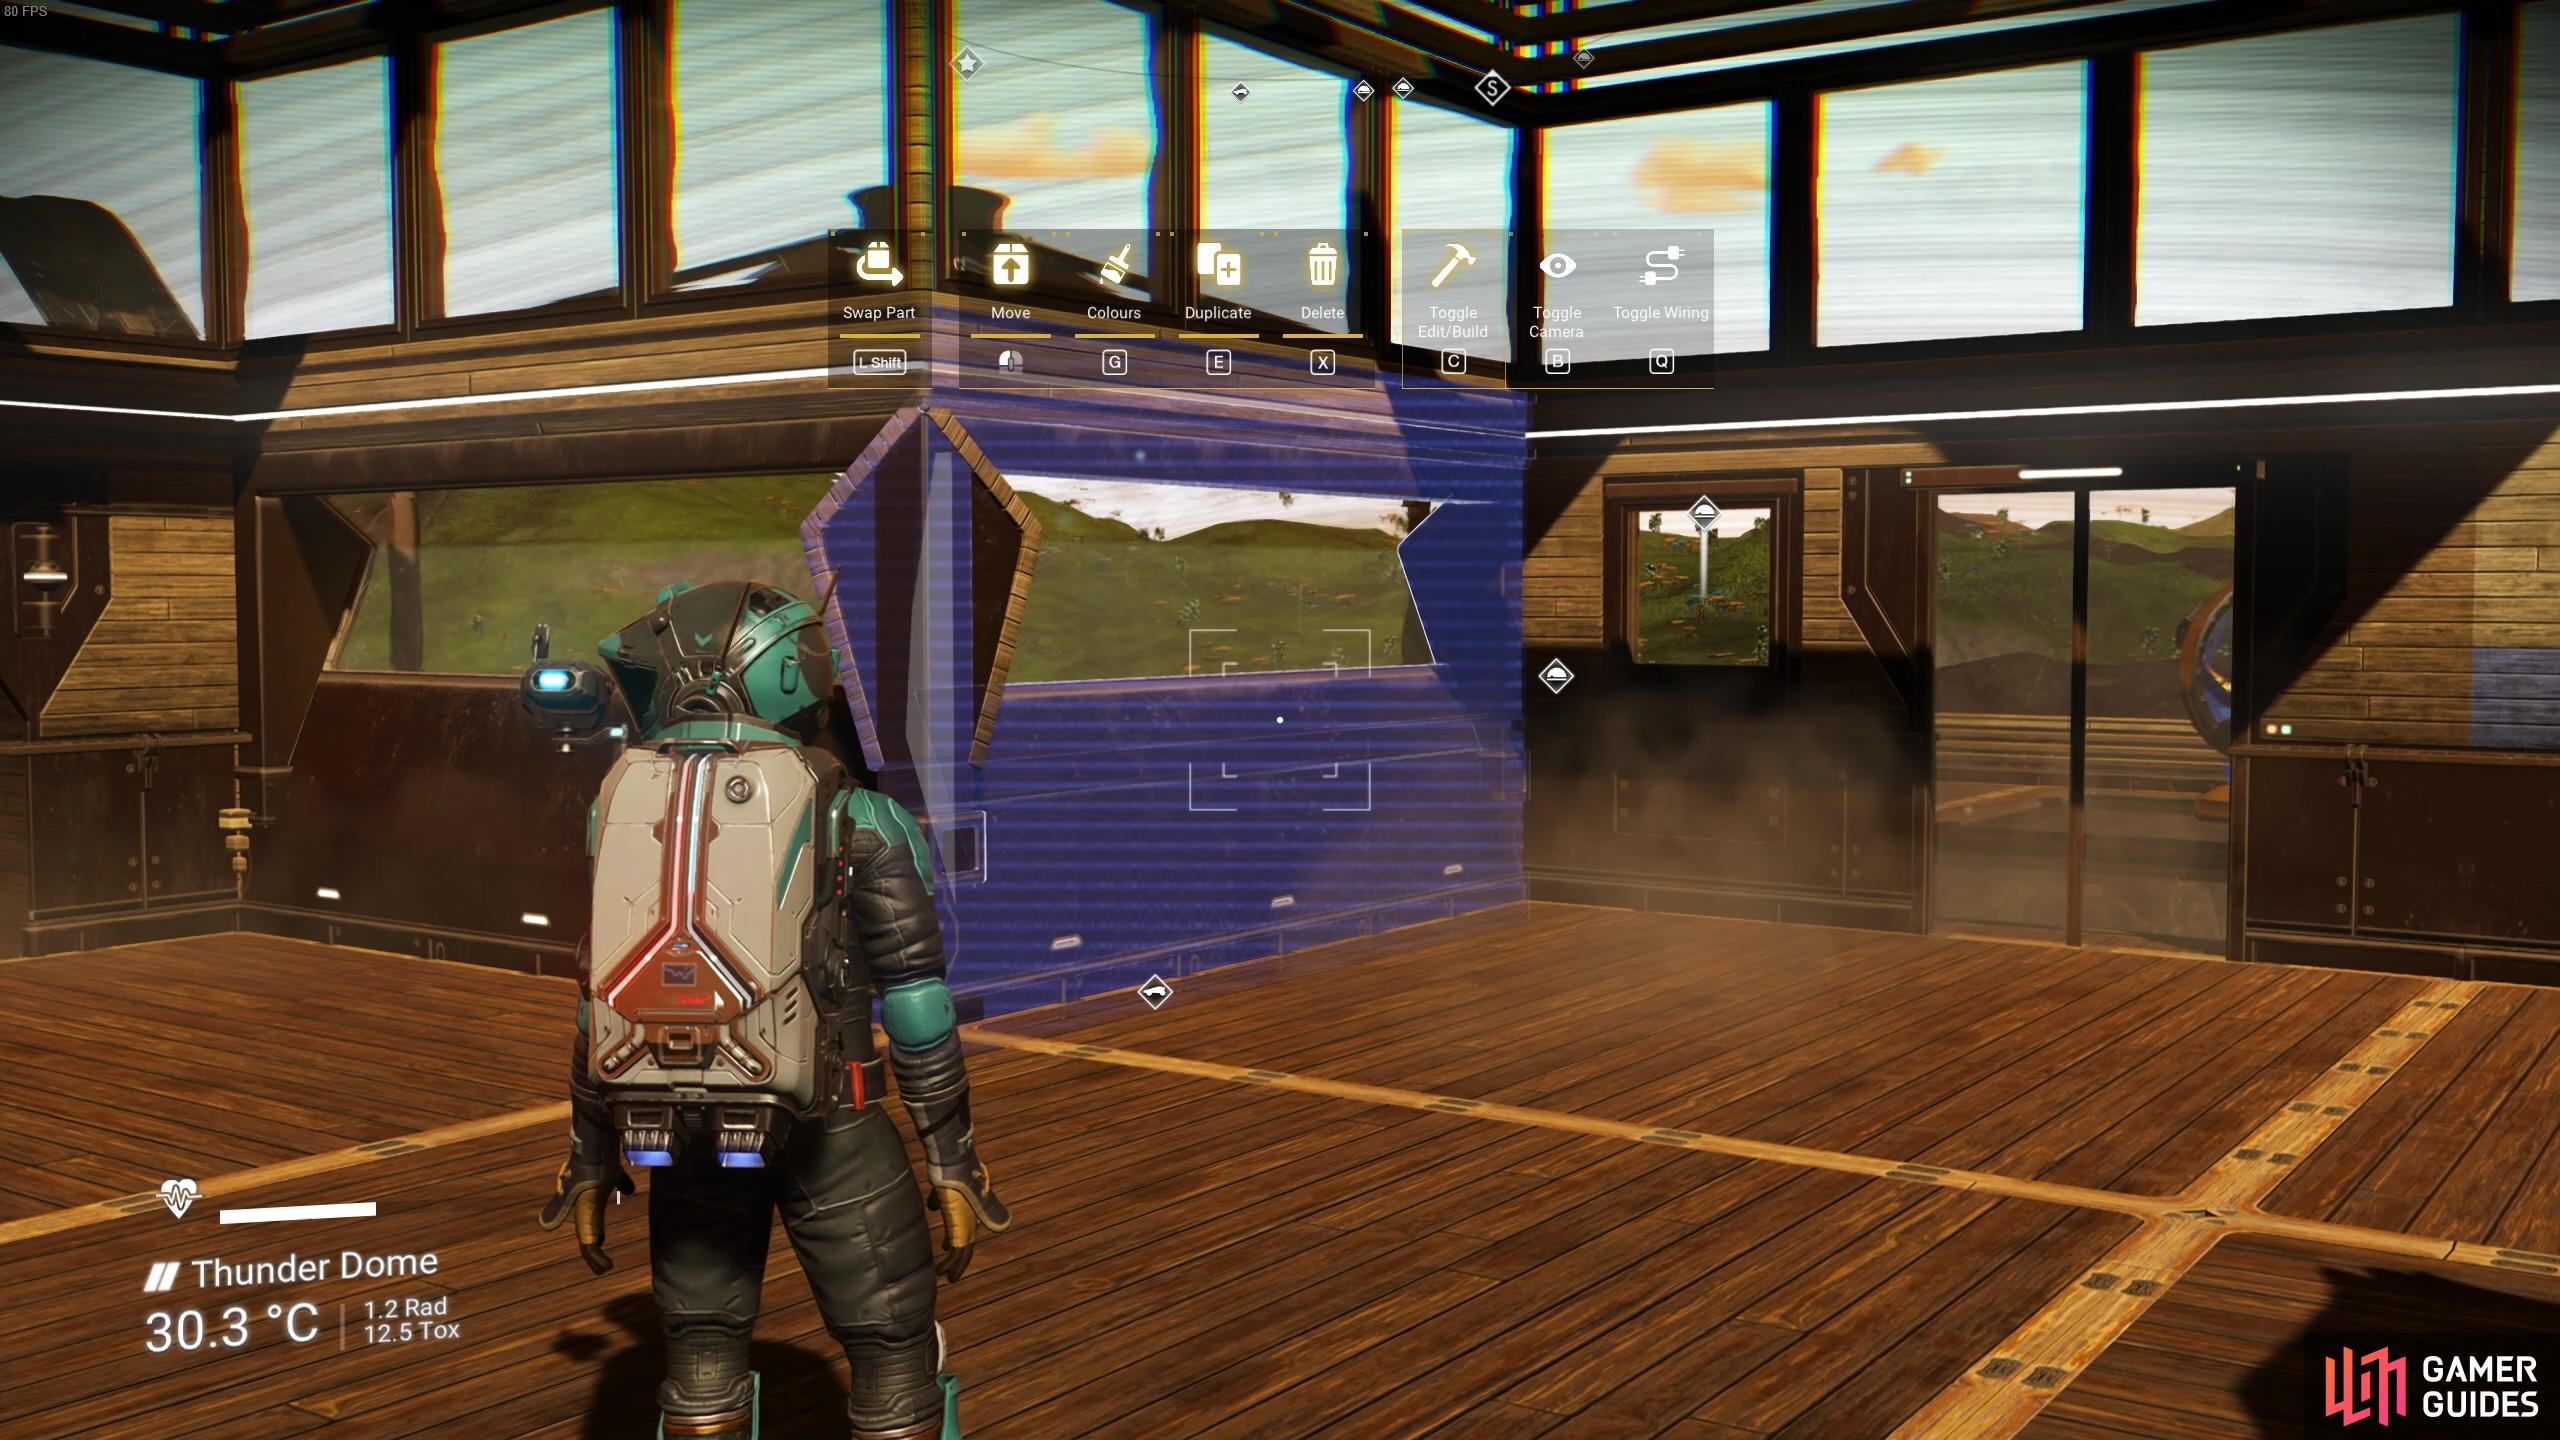
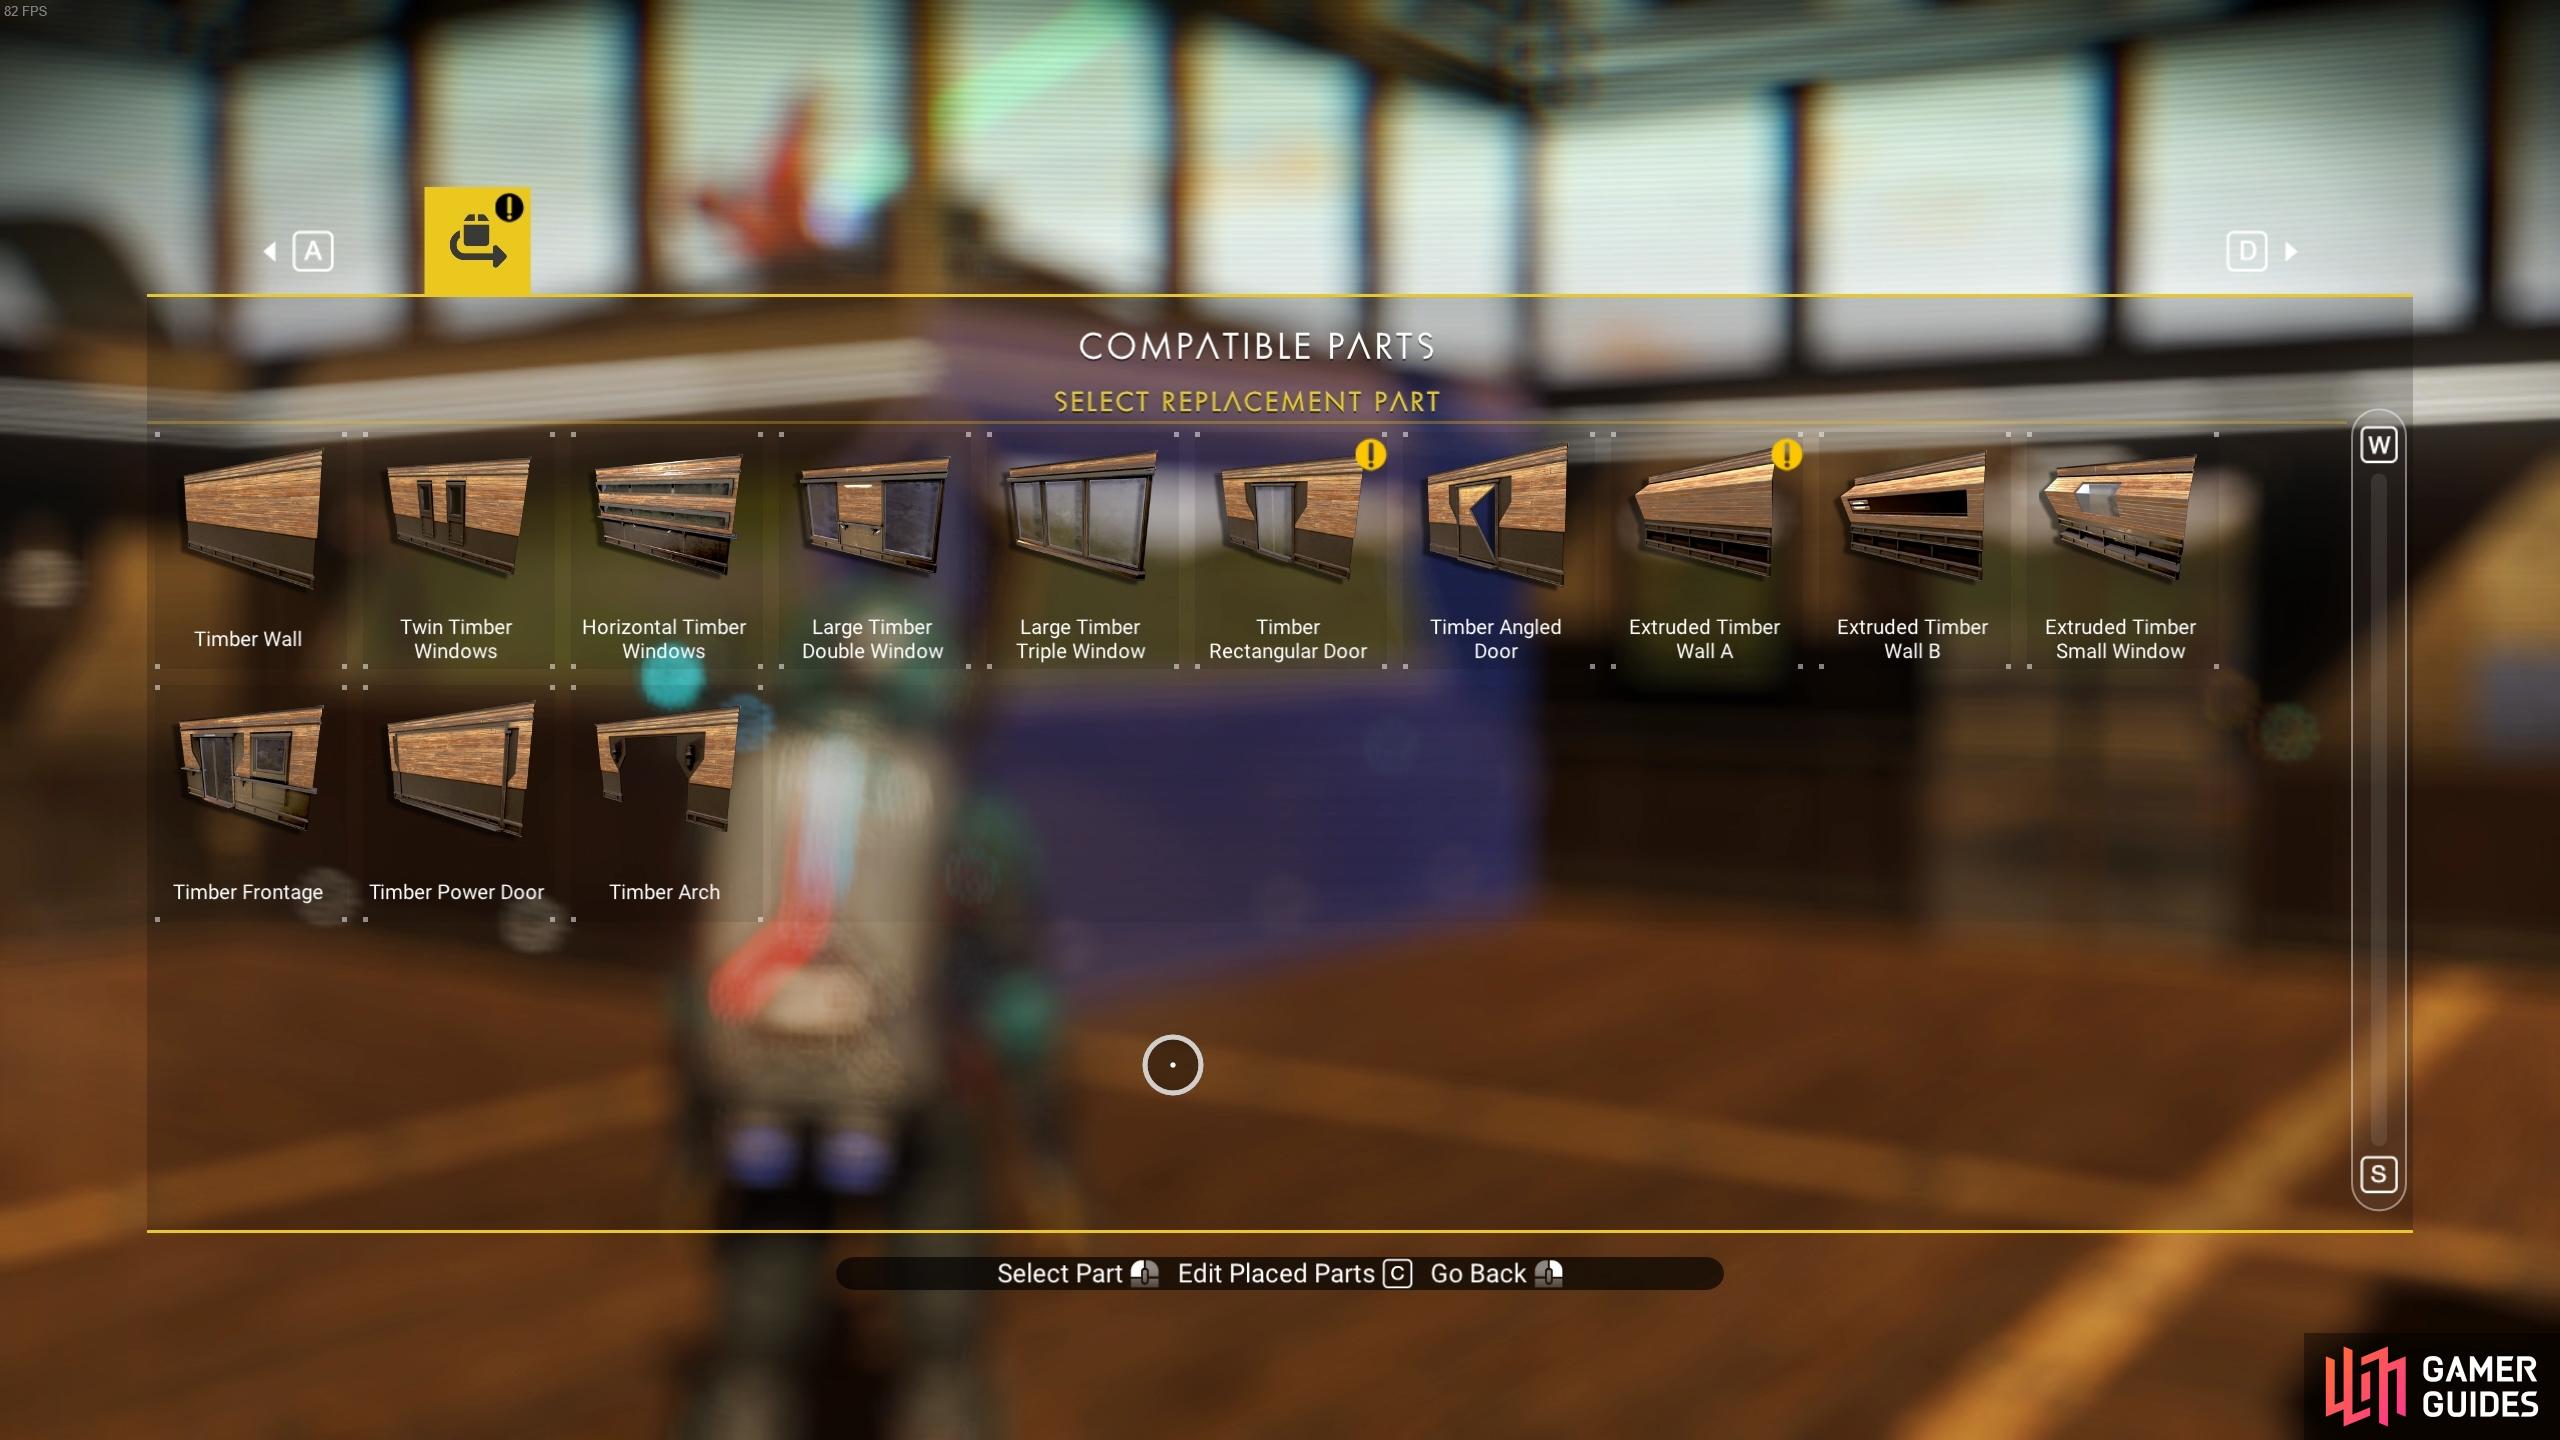
(1 of 2) You can select “Swap Part” to see a list of compatible parts that you can replace it with.
You can select “Swap Part” to see a list of compatible parts that you can replace it with. (left), The list of compatible parts available will depend on the blueprints that you currently have learnt. (right)

 Sign up
No Comments