
This mission begins immediately after Awakenings. Now that you’ve learned the basics of how to use and upgrade the Multi-Tool, Exosuit, and Starship, you can begin exploring properly throughout the many star systems in No Man’s Sky. However, rather than going out and doing too much based on your own whims, it’s highly recommended that you continue to follow the Artemis Path main missions first. These will provide you with a number of blueprints for free, and they’ll continue to introduce you to various important aspects of game mechanics.
Enter the Space Anomaly in NMS
Speak with Priest Entity Nada and Specialist Polo
After repairing the distress beacon on the Starship that you found towards the end of Awakenings, you’ll need to enter space again, where you’ll receive another communication. This one comes from a named individual, known as Priest Entity Nada, and they will invite you on board the Space Anomaly, which appears in front of you after the communication ends. This begins The Space Anomaly secondary mission, which is partly tied up with the Artemis Path. You’ll need to go through the motions of exploring the Space Anomaly, primarily by speaking with Priest Entity Nada and Specialist Polo, but also having a look at some of the merchants and terminals which have blueprints for sale.
Travel to a Holo-Terminus
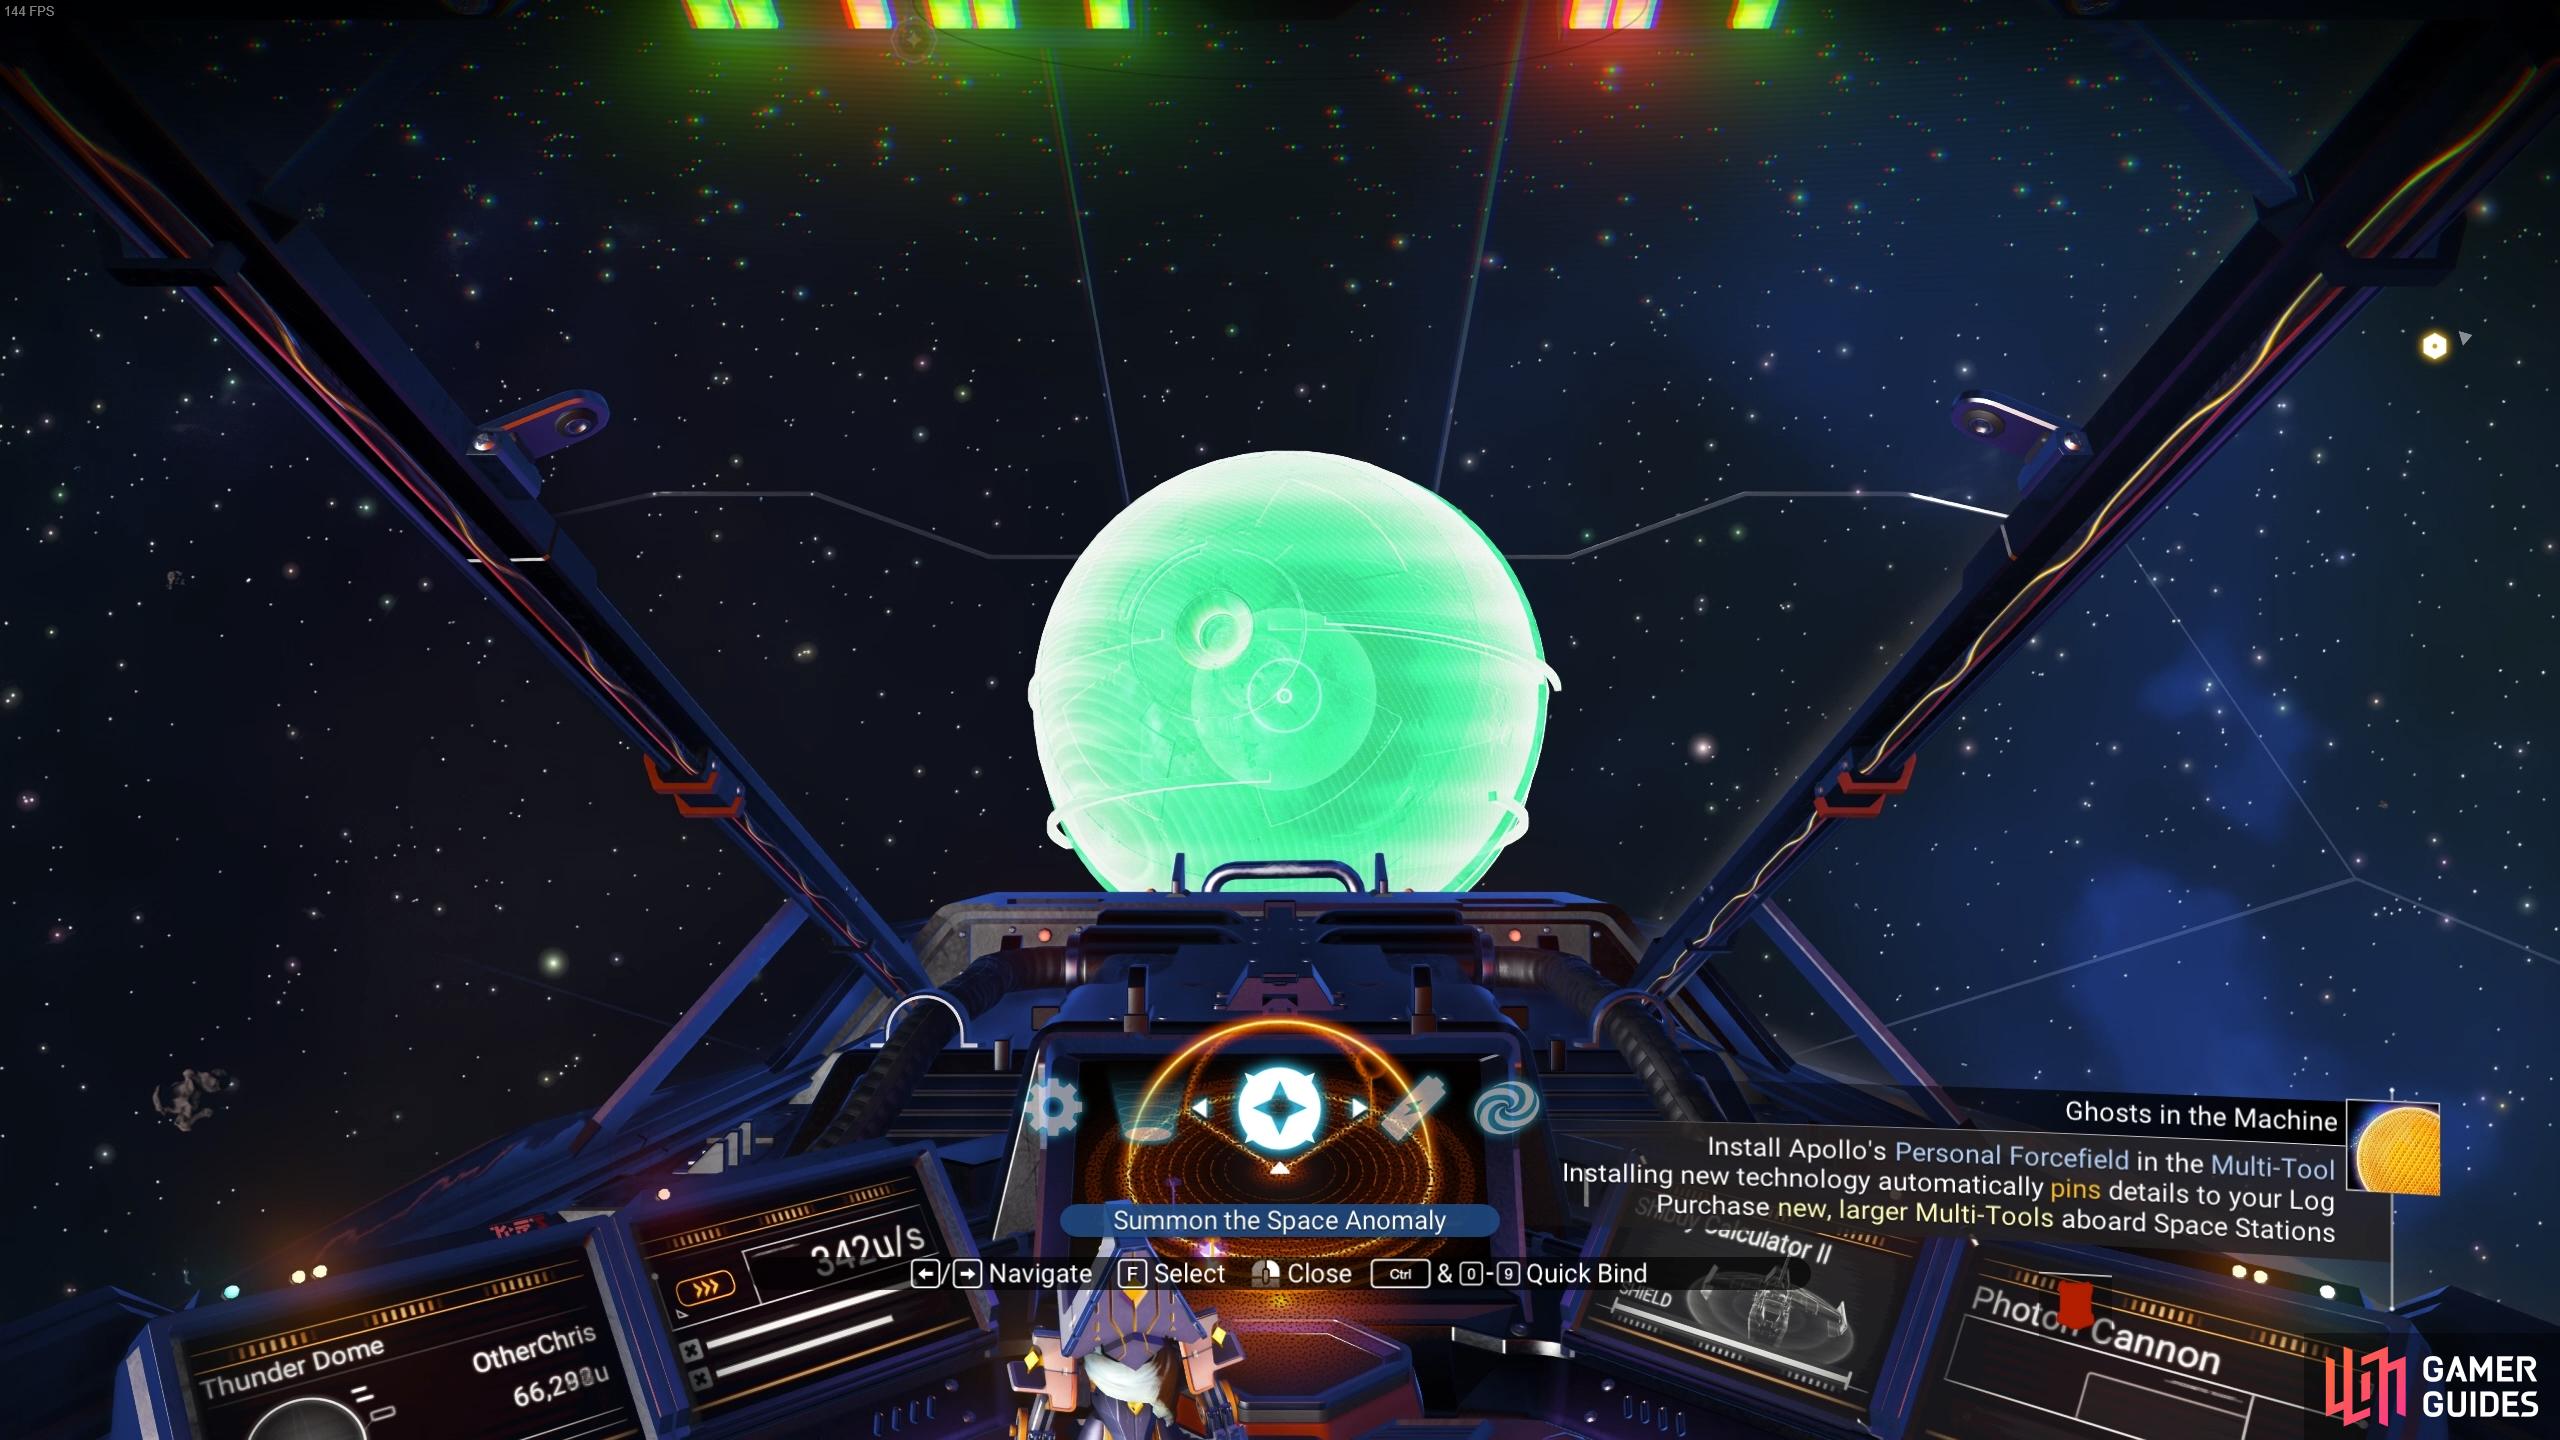
Once you’re done with exploring the Space Anomaly you will have the ability to summon it at any time, in almost any point of space, so long as it’s not too close to another object such as a planet, fleet, or space station. This means that you will always have access to the services on board the Space Anomaly from now on, including the Nexus missions and the tasks set by Priest Entity Nada, Specialist Polo, and other named NPCs. However, for now the current mission will prompt you to leave the Space Anomaly to seek out the location of a Holo-Terminus, where you can get back in touch with Artemis after the brief exchange via the Starship Communicator. You’ll need to use the Starship’s scanner once you’re in space again by pressing  , then follow the icon to a Holo-Terminus on a nearby planet.
When you find a Holo-Terminus, you’ll need to climb the ladders to reach the top. Here you can interact with the terminal to see a hologram of Artemis, allowing you to have something of a conversation with them. You’ll need to upload your data to progress the mission, so don’t worry about it being a trap.
Triangulate Your Position
Now that you’ve given Artemis your data, he’ll ask you to triangulate your position by crafting Signal Boosters on three different points. If you’re planning on using Signal Boosters for something else any time soon, you should complete this phase of the mission first, since their functionality will be more limited while this part of the mission is active.
The exact position of the first Signal Booster can be anywhere you like, so feel free to place it somewhere close to the Holo-Terminus. When this is done, you’ll be prompted to place the next two Signal Boosters in more specific locations. Once you’ve established the triangulation, you can get back in your Starship and fly into space again. Here you’ll receive a communication from Artemis, and you can provide them with the triangulation data. Artemis will then provide you with some location data of their own, and also a blueprint for Artemis’ Translator.
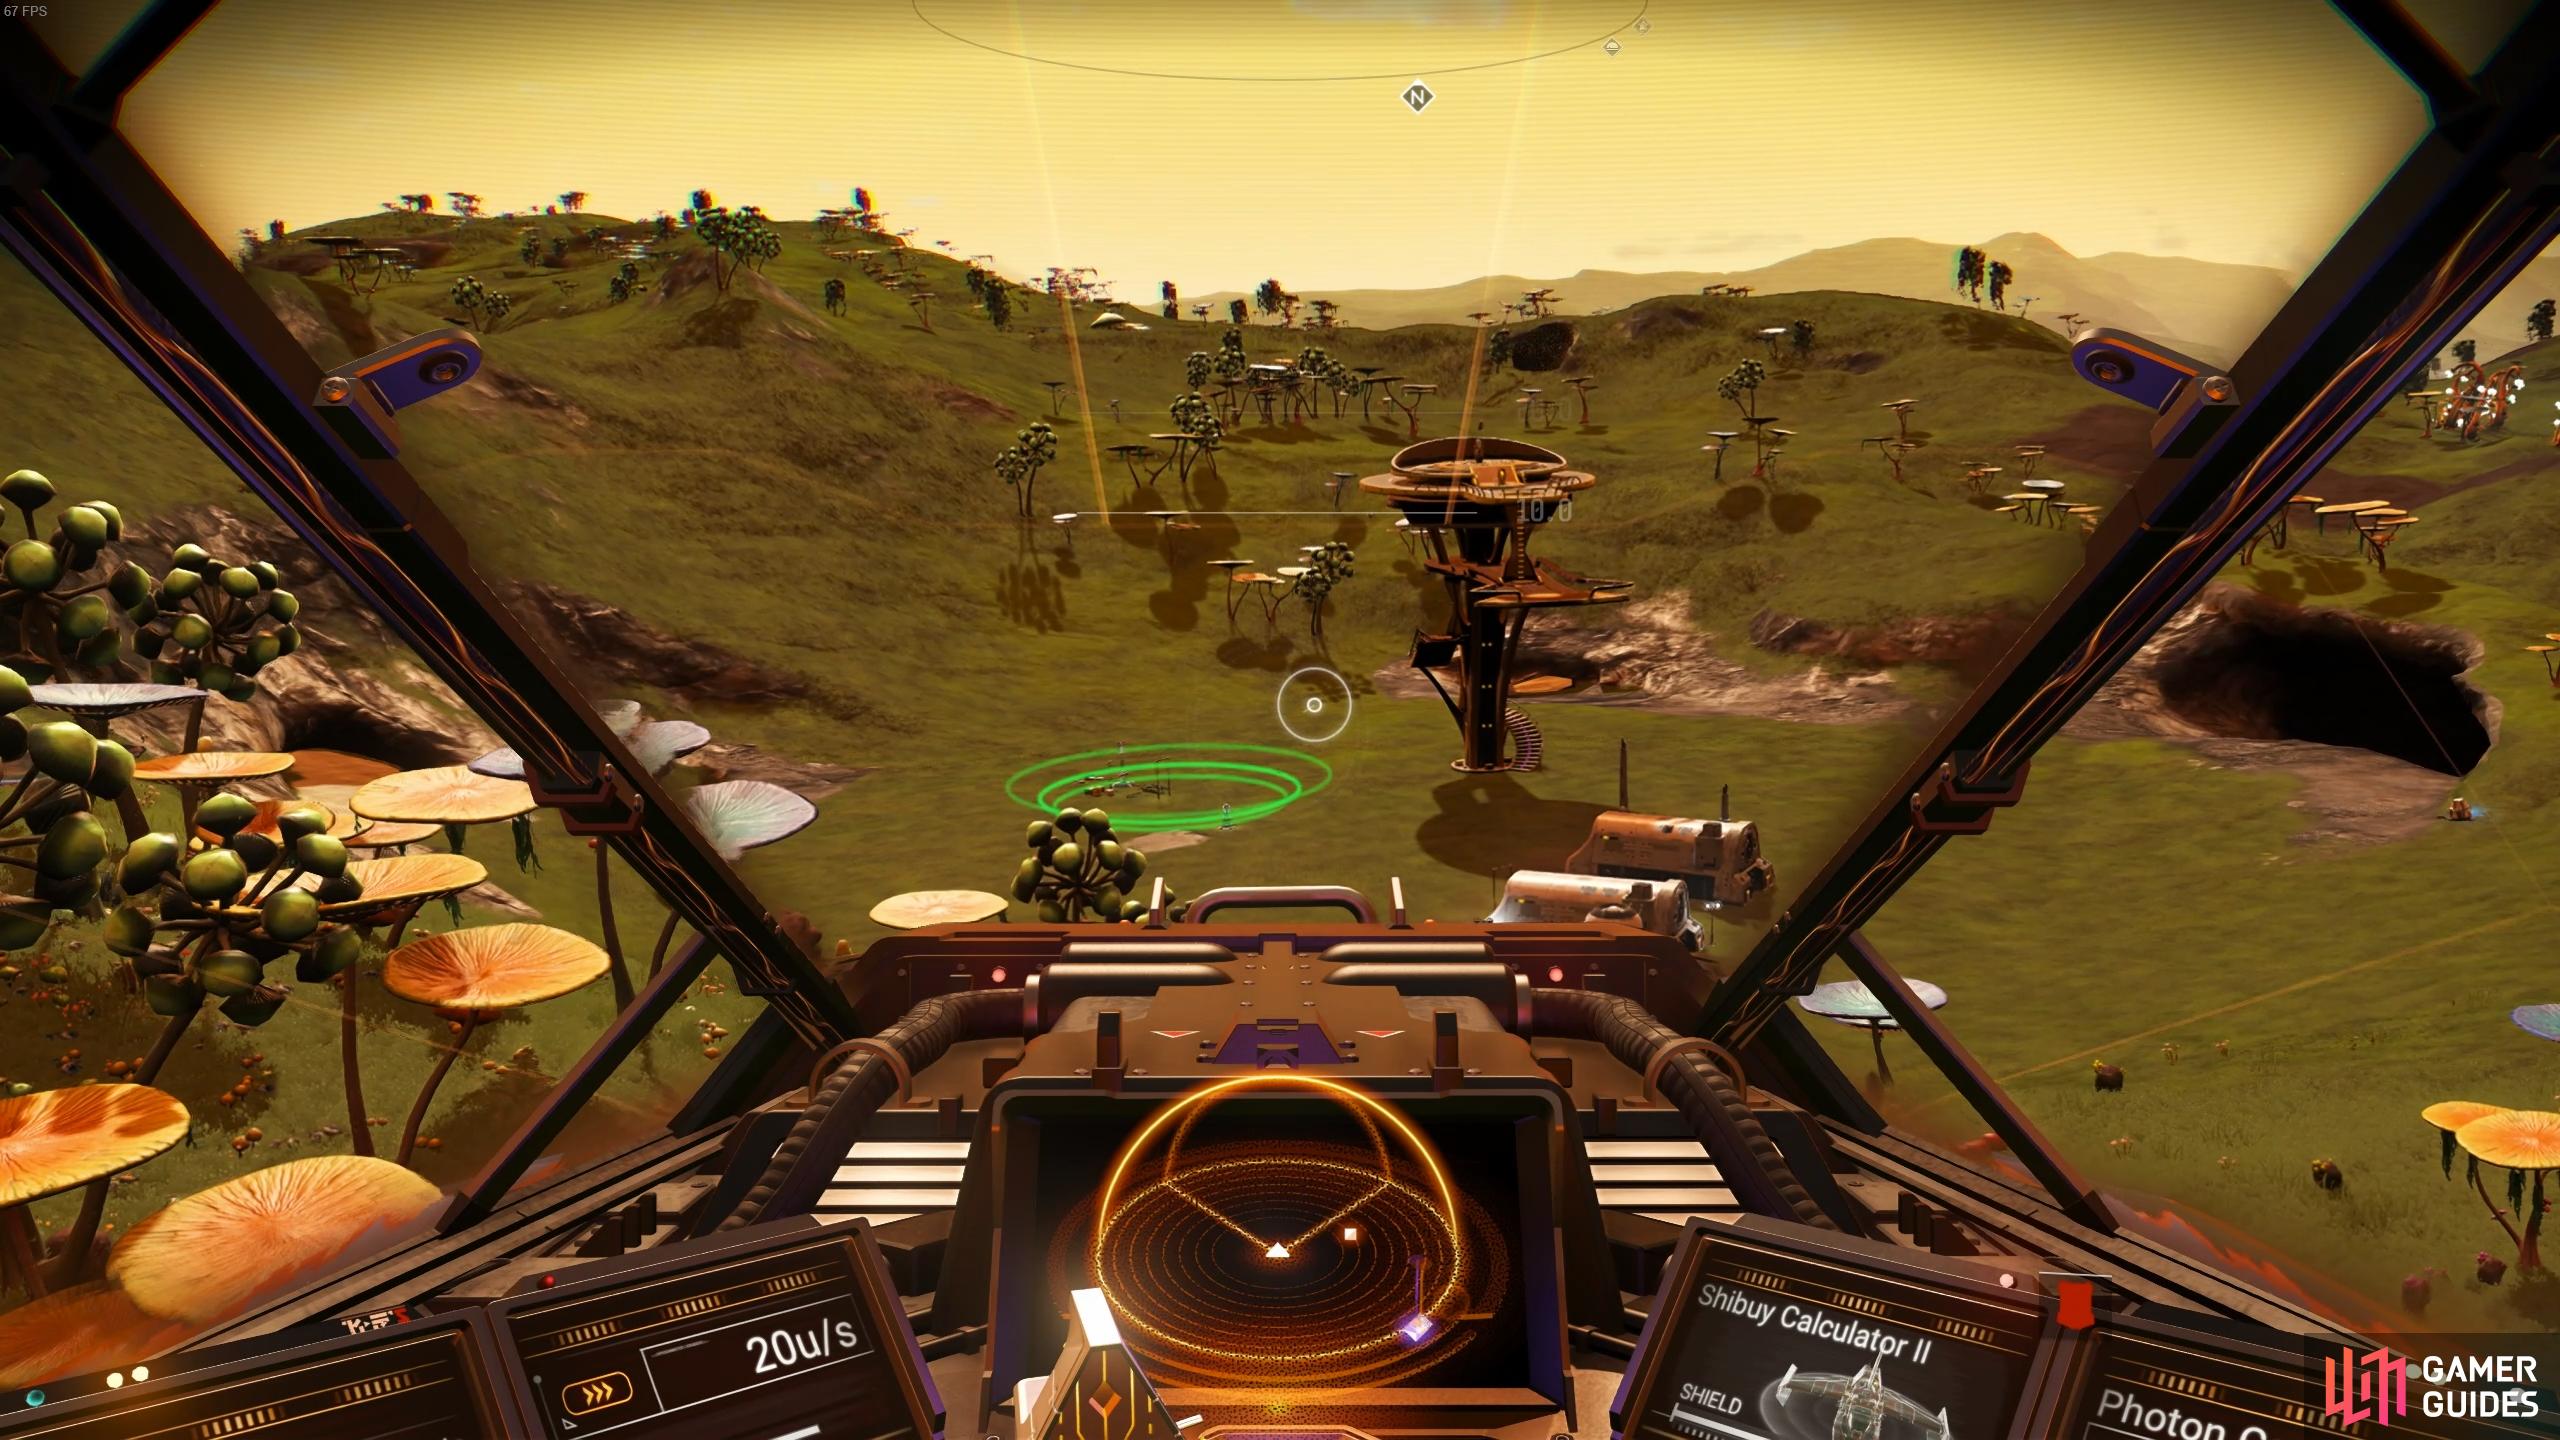
You can scout the Holo-Terminus as you fly above the planet’s surface.
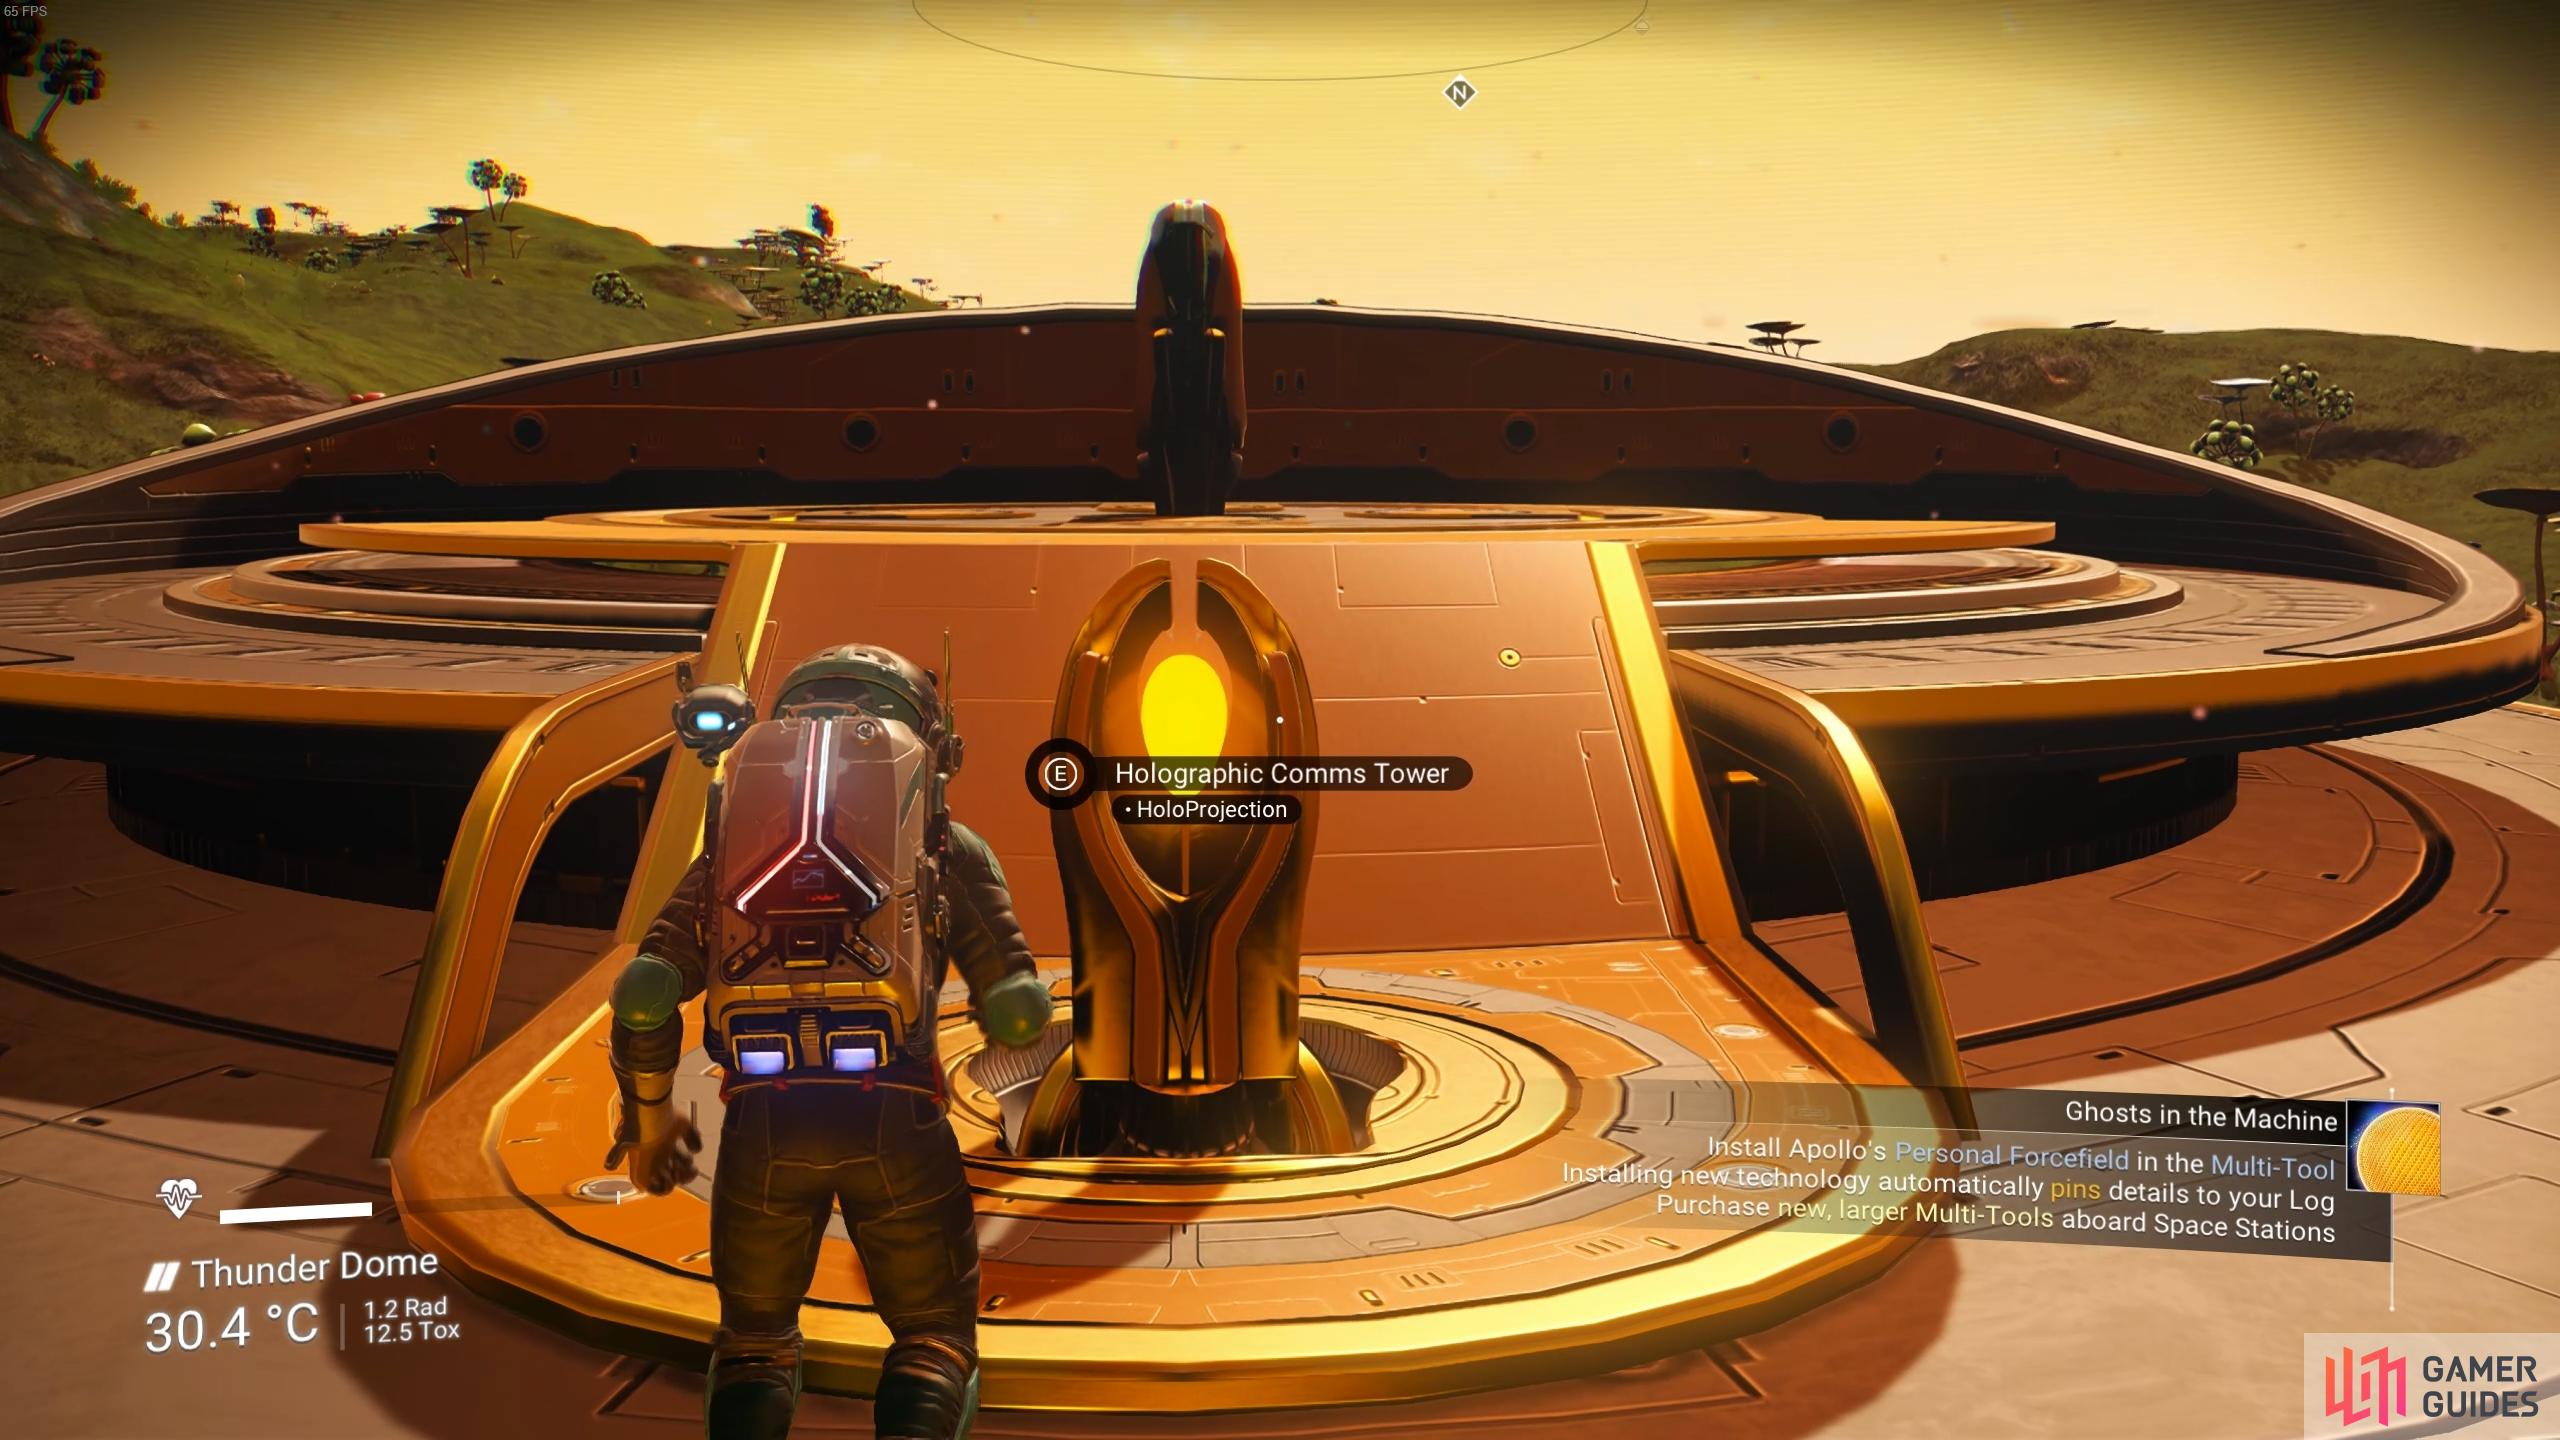
Interact with the terminal atop the Holo-Terminus to begin the communication.
Install Artemis’ Translator
The next thing you should do at this point is install Artemis’ Translator. You’ll need 1 Microprocessor and 100 Copper for this, so you may need to visit a nearby planet to search for a copper resource deposit, and purchase a Microprocessor from a Galactic Trade Terminal or visiting pilot at a space station if you don’t have the blueprint for it yet.
After installing Artemis’ Translator, you’ll need to learn at least three words from aliens on space stations or at trade outposts in order to calibrate the translator properly. This can be three words from any Gek, Vy’keen, or Korvax that you encounter, so be sure to exhaust all dialogue with each one that you meet.
Once Artemis’ Translator is calibrated, you’ll be prompted to visit a specific individual on a nearby planet. They will most likely be located at a trade outpost. Although you’re looking for help, the individual will be unwilling to provide it until you’ve increased your standing by at least +2 with other members of their species. So, if you spoke with a Korvax, Vy’keen, or Gek, be sure to look for other members of that species to speak with, and hopefully impress them. If you’re not able to do this through regular dialogue, you can also purchase curiosity gifts such as the following for each species:
The Gek
- GekNip
- Gek Relic
Vy’keen
- Vy’keen Dagger
- Vy’keen Effigy
Korvax
- Korvax Casing
- Korvax Convergence Cube
Any of these curiosities, when given to a member of the associated species, will increase standing with them by +1. This makes it the most reliable method to increase standing, but you’ll need to be lucky enough to find some via trading with visiting pilots at space stations, from the Galactic Trade Terminal, or by finding them / being gifted them by other individuals. However you increase your standing, once done you can return to the individual at the trade outpost, only to find that they are convinced that the star chart which Artemis gave to you indicates a point in space that doesn’t exist.
Return to Space and Contact Artemis
With nothing to go on at this point, you’ll need to return to space and wait for a communication from Artemis. They should contact you as soon as you’re in orbit, so be ready to accept the message. You’ll go through a few basic dialogue options before Artemis informs you of another individual named Apollo. Finding Apollo marks the beginning of the next mission, Ghosts in the Machine, but you should return to the Space Anomaly for some extra dialogue with Priest Entity Nada and Specialist Polo before you embark on this.
No Comments