
This mission begins immediately after Alone Amidst the Stars. After you abruptly lost contact with Artemis, you will need to seek out an entity named Apollo, who will aid you in expanding your base and improving your Multi-Tool.
Speak With Apollo at a Holo-Terminus
The previous contact with Artemis left you wondering what might have happened to them. It seemed like they were in danger, and they gave you details of how to contact someone named Apollo. Although you don’t know who this person is or whether they’re friend or foe, it’s the only lead you have towards regaining contact with Artemis.
The first thing you’ll need to do is locate another Holo-Terminus. You can do this by entering your Starship and using the scanner by pressing  . If you’re not getting any results while you’re flying through a planet atmosphere, try entering space and scanning again. You may find that the scanner directs you to a Holo-Terminus on the surface of a different planet which is further away from your current location, rather than to the nearest one. In truth, you can travel to any Holo-Terminus that you encounter to contact Apollo, but the quickest way during a mission is usually to scan for one, since it’ll then be marked by an icon.
However you find one, once you’re at the top of A Holo-Terminus you can interact with the terminal to speak with Apollo. You’ll find that Apollo isn’t the most friendly of lifeforms, but they’re willing to help once you mention Artemis. Apollo suggests that you should help them to uncover any connection between the Portal system and Sentinels. You should offer your data when it’s requested and do all that Apollo says to advance the mission.
Build and Expand Your Base
Meet Apollo’s Contact
Apollo has suggested that the Sentinels may have something to do with what happened to Artemis. It’s your job now to help him in advancing this theory. However, Apollo has asked you to increase your power by expanding your base, and to begin with this process you’ll need to speak with one of his contacts. The location of the contact will be marked as a mission icon, although you may need to enter the Galaxy Map to check whether they’re in a different star system. The contact will almost always be found on a space station, and when you meet them you’ll receive a Hazard Protection Unit upgrade module of your choice. You should choose the module which is most relevant to the environment of the planet where your main base is located. If you haven’t yet begun to build a base, you should do this first and see our guide on How to Build a Base in NMS for some useful advice.
Build Specialist Terminals
After speaking with Apollo’s contact, you’ll notice that you will have received some new blueprints for a Cylindrical Room, Deepwater Chamber, and the Construction Terminal. The two former blueprints are useful for building land and underwater bases respectively, but the latter blueprint for a Construction Terminal is the most relevant for the moment. You’ll notice that a new side mission named Expanding the Base has begun, and this will take you through the steps necessary to increase your power by expanding your base. This will involve hiring NPCs for your base, who will work at specific terminals that you can construct. The Construction Terminal is only the first, and as you progress through Expanding the Base you’ll unlock the blueprints for a Science Terminal, Weapons Terminal, Agricultural Terminal, and Exocraft Terminal. A link to each of these is provided below.
- How to Hire an Overseer for the Construction Terminal
- How to Hire a Scientist for the Science Terminal
- How to Hire an Armourer for the Weapons Terminal
- How to Hire a Farmer for the Agricultural Terminal
- How to Hire a Technician for the Exocraft Terminal
You don’t need to build all of these terminals to advance the Ghosts in the Machine mission, but we’d highly recommend that you do. If you’d rather get on with the main missions, all you need to do is build the Science Terminal and complete some of the tasks for the hired scientist until you receive the blueprints for Acid and Lubricant.
Return to Space and Speak With Apollo
Install the Personal Forcefield Module
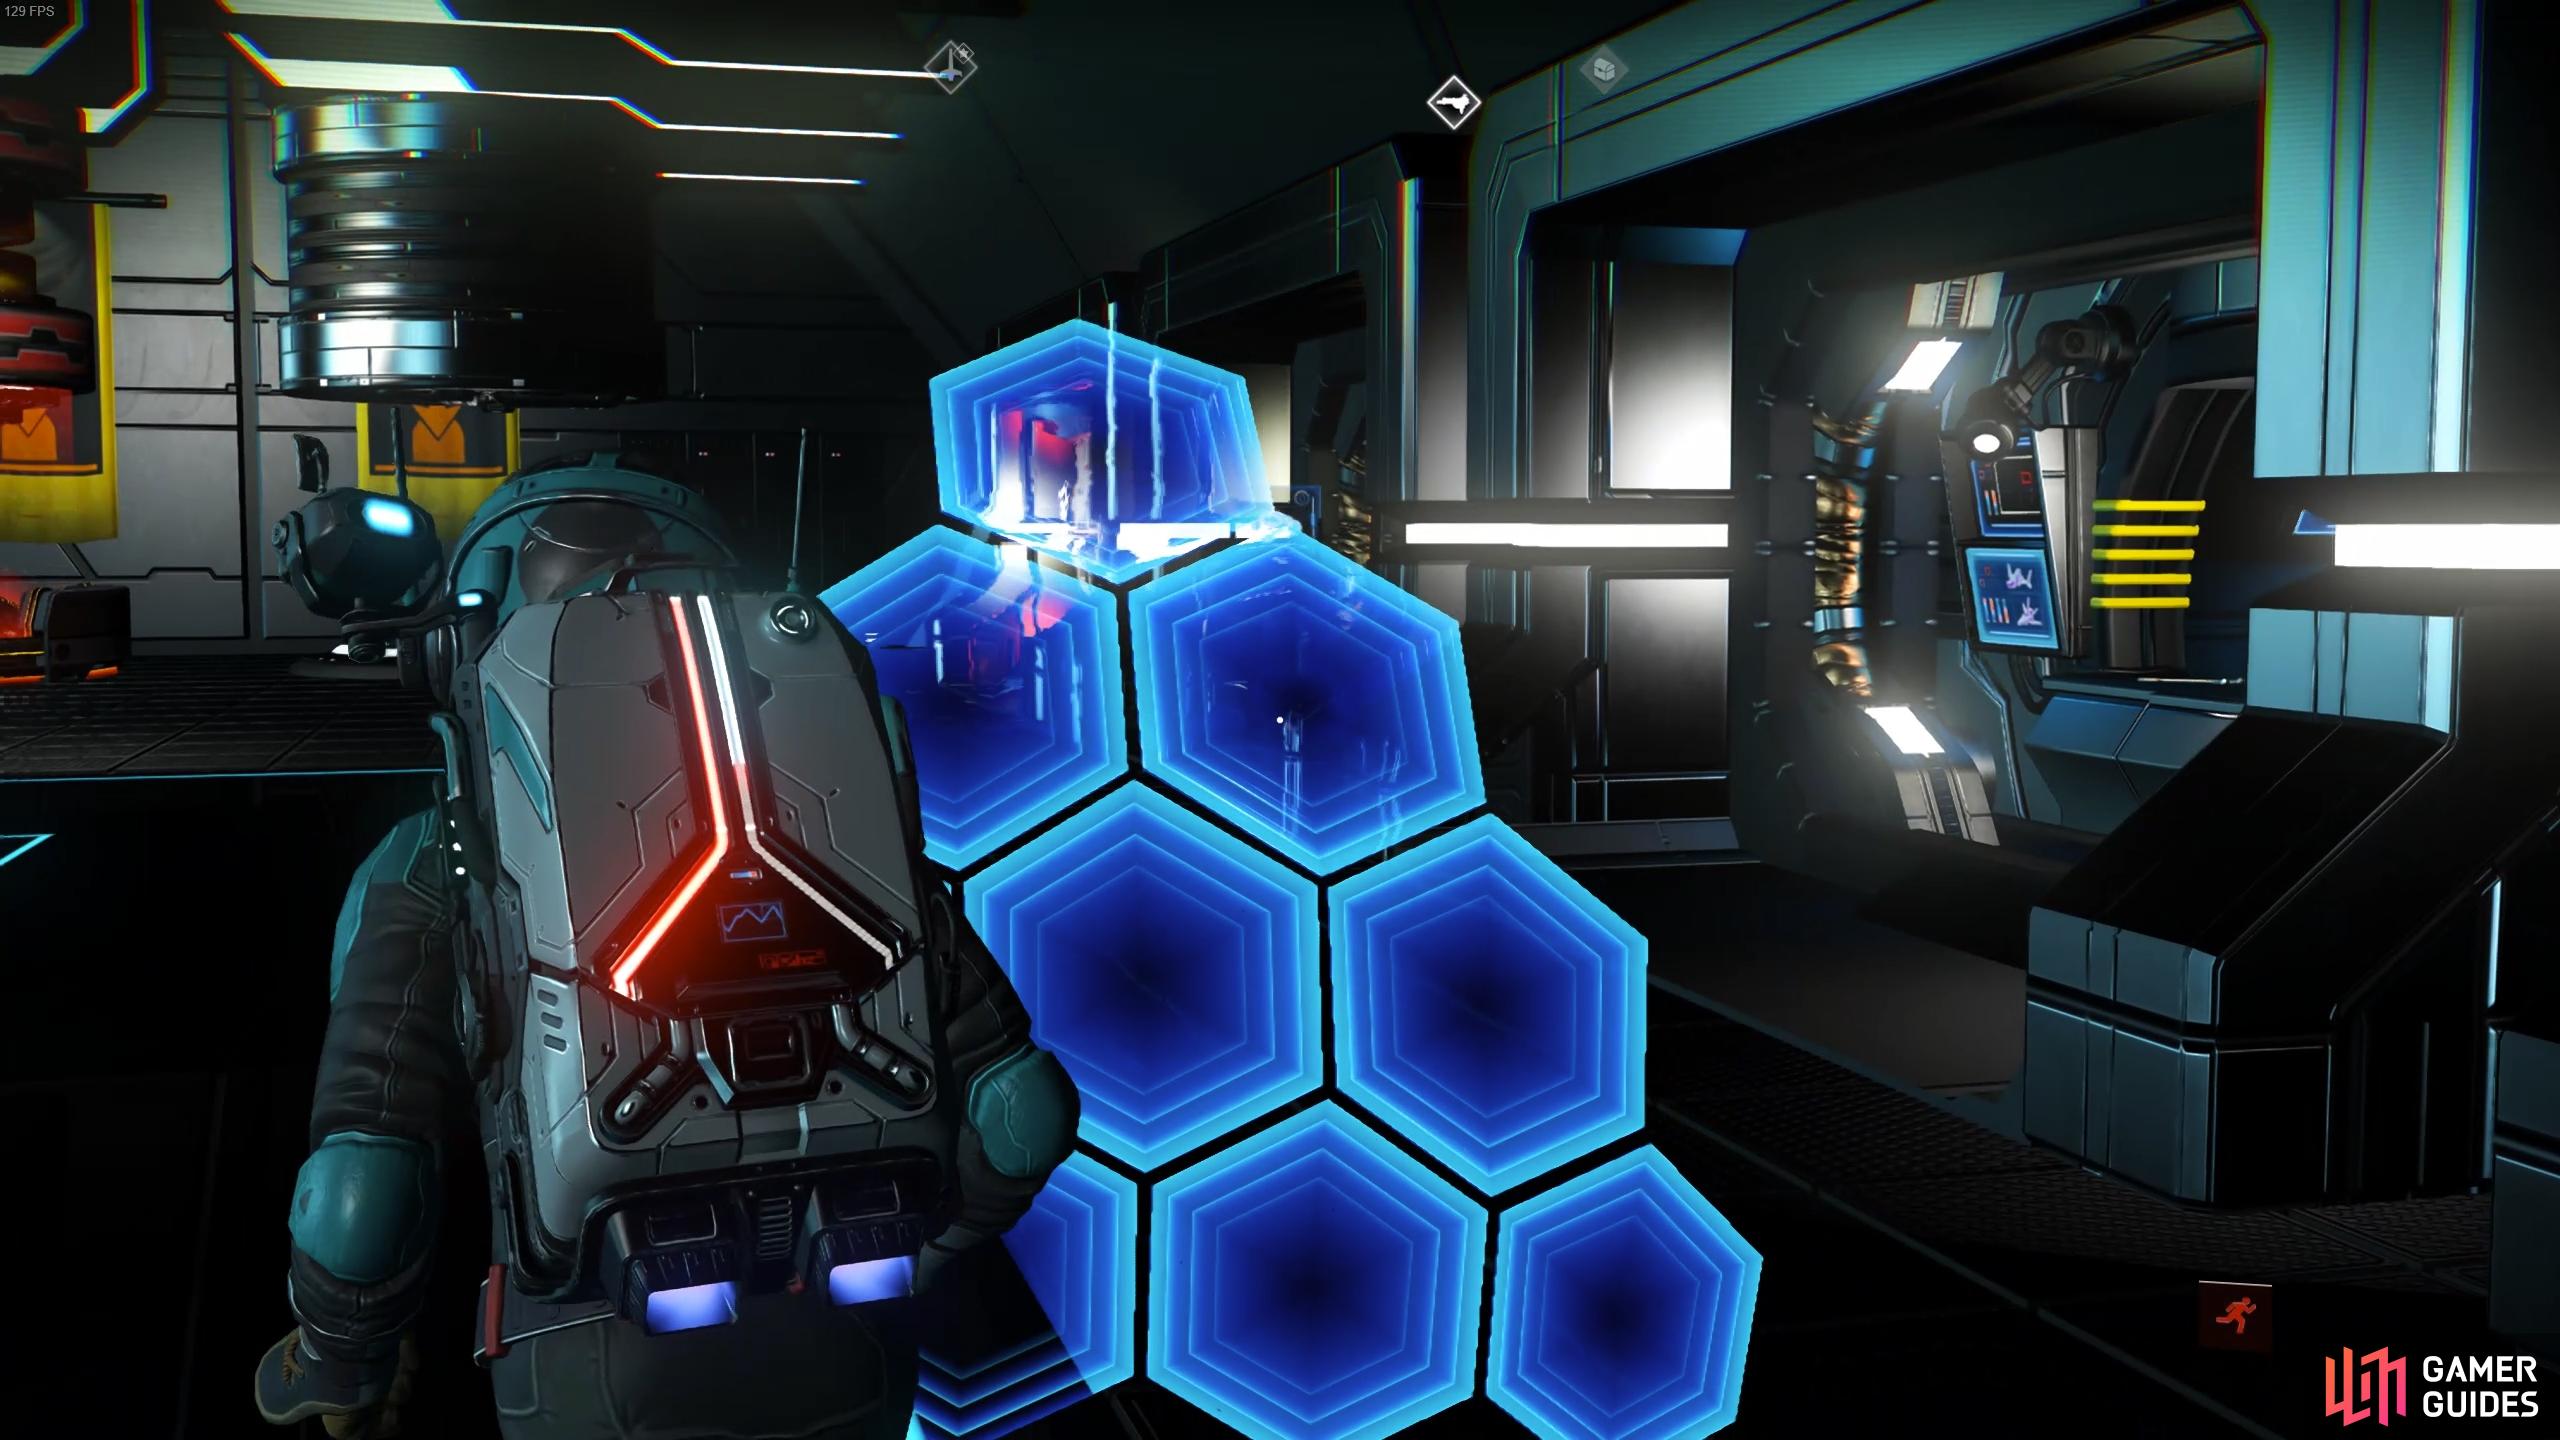
Once you’ve advanced to the point where you’ve acquired the Acid and Lubricant blueprints, the Ghosts in the Machine mission objective will update, and you’ll be required to return to space in your Starship to make contact with Apollo. At this point he’ll provide you with the Personal Forcefield module for the Multi-Tool, and he’ll tell you that you will need to be prepared if you’re going to take on numerous Sentinels. You should install this immediately to advance the mission, but it’s also a good idea to further upgrade your Multi-Tool where possible, either by purchasing more advanced equipment modules from the Multi-Tool merchants on board the Space Anomaly, or by purchasing upgrades from the Multi-Tool technology trader on space stations. You’ll need Nanites to purchase these upgrades, so be sure to check our guide on Best Ways to Make Nanites Quickly if you’re struggling to get them.
Speak with a Multi-Tool Merchant
You’ll need 2 Ion Batteries and 1 Wiring Loom to craft the Personal Forcefield in the Multi-Tool inventory. You can frequently find both of these being sold at Galactic Trade Terminals or other trading sources, but if you need to craft Ion Batteries you can use 10 Cobalt and 5 Ferrite Dust. Once crafted, even if you have plenty of Nanites already to purchase Multi-Tool module upgrades, you may be forced to visit a nearby Abandoned Building to collect a small amount of Nanites. This is a mandatory part of the quest designed to show you a method of gaining Nanites, but in truth it’s just one of many methods. Even so, you can return to space and use the Starship scanner to find an Abandoned Building, then return to a space station and speak with the Multi-Tool merchant.
Raid a Korvax Manufacturing Facility
How to Get Into the Korvax Facility
Once you’ve spoken with Apollo again via the communicator in your Starship, you’ll need to locate a nearby Korvax Manufacturing Facility. Apollo will give you the coordinates automatically, so you just need to follow the mission icon. If you don’t see an icon, try scanning from your Starship first. When you reach the marker you’ll need to use the Analysis Visor to find the precise location of the facility. As you encounter the building, the mission marker will update, marking a door which can be destroyed using the Mult-Tool. As you begin firing at the door, hostile Sentinels will appear. Just ignore these for now, as once you’re inside they won’t be able to reach you.
Feed, Euthanize, or Do Nothing for the Animal?
You’ll find a terminal on the other side of the door to the Manufacturing Facility. It’s not in the best condition, so you’ll need to repair different parts of it using 8 Chromatic Metal, 20 Sodium, and 50 Pure Ferrite. After fixing it, you can interact with the terminal again to operate it. At this stage you’ll be given the blueprint for the Haz-Mat Gauntlet if you don’t already have it. If you do, you’ll get a cluster of Nanites instead. Either way, towards the end of the dialogue you’ll encounter a hairy creature in the facility, one which apparently belonged to the Korvax who worked here. The creature is near death, and you’ll have the option to feed it, euthanize it, or do nothing. It doesn’t matter which you choose, so just do what feels right to you.
When you’re done with the dialogue at the terminal, this mission will end and A Leap in the Dark will begin. You can kill the sentinels outside if you want, but keep in mind that more waves will keep on spawning as you kill them. If you want to leave without risking a tough fight, you can run to your Starship and fly off into space instead.
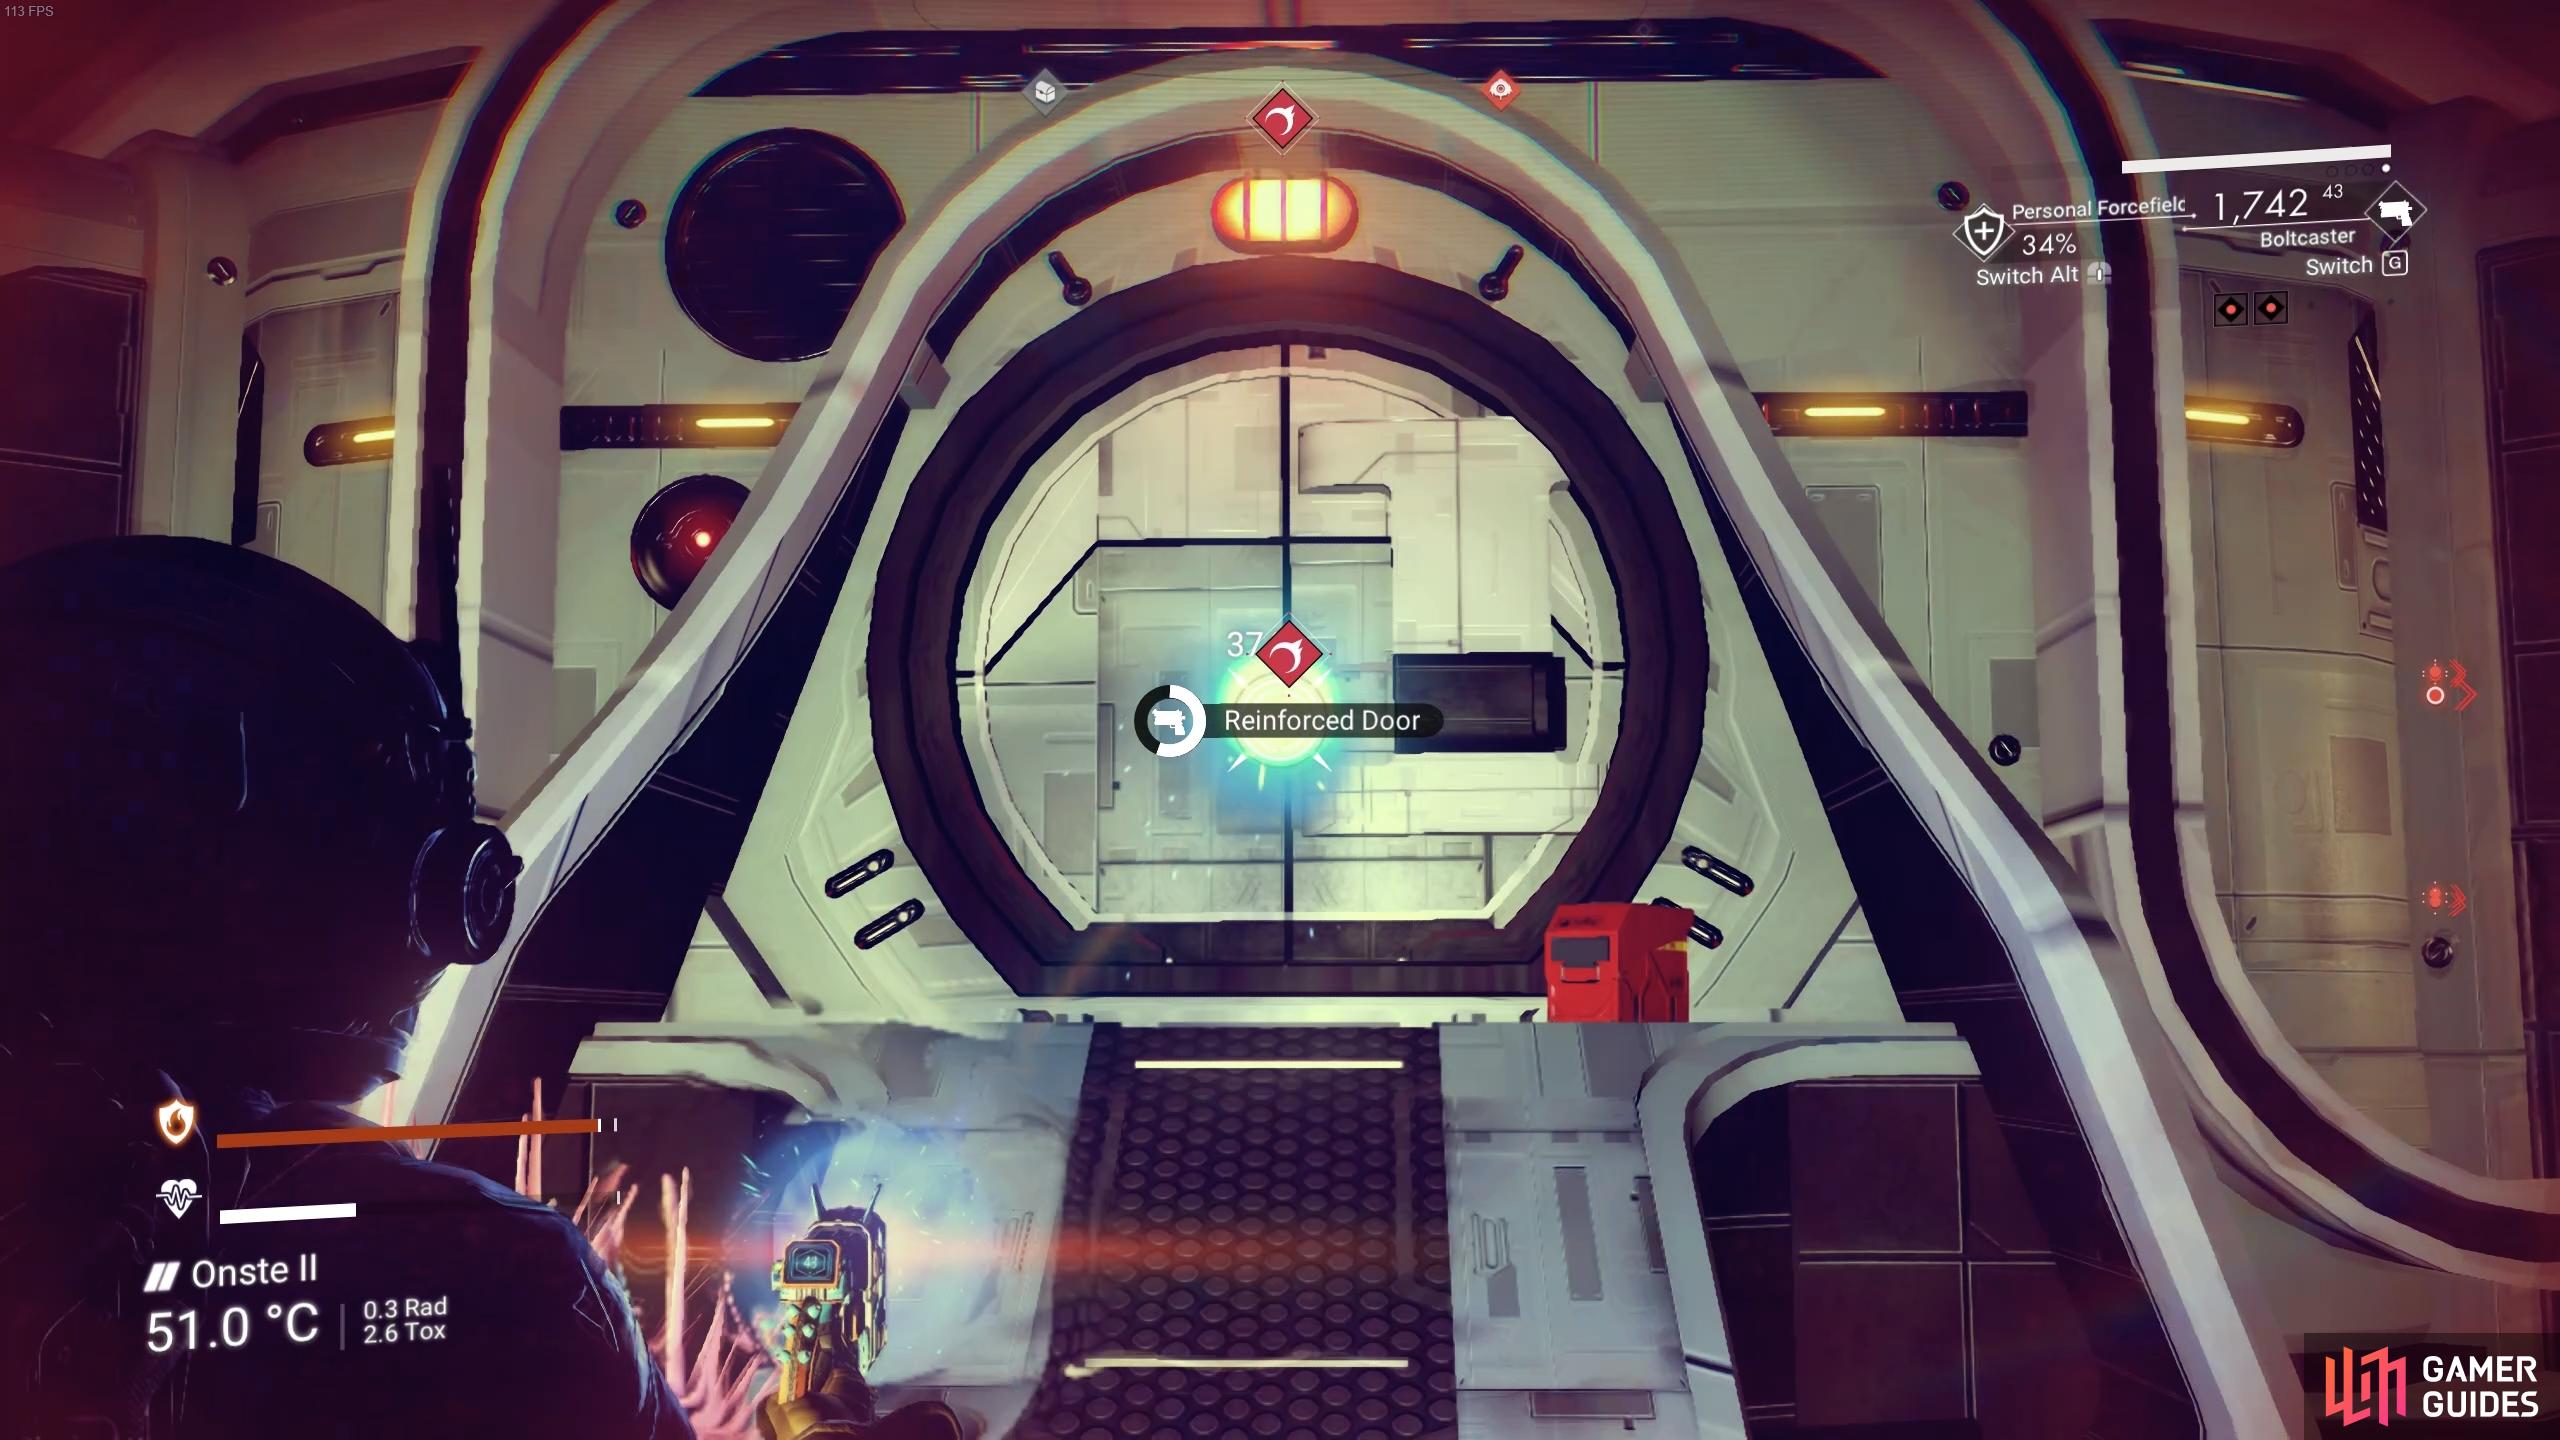
You’ll need to shoot the door of the facility to gain entry.
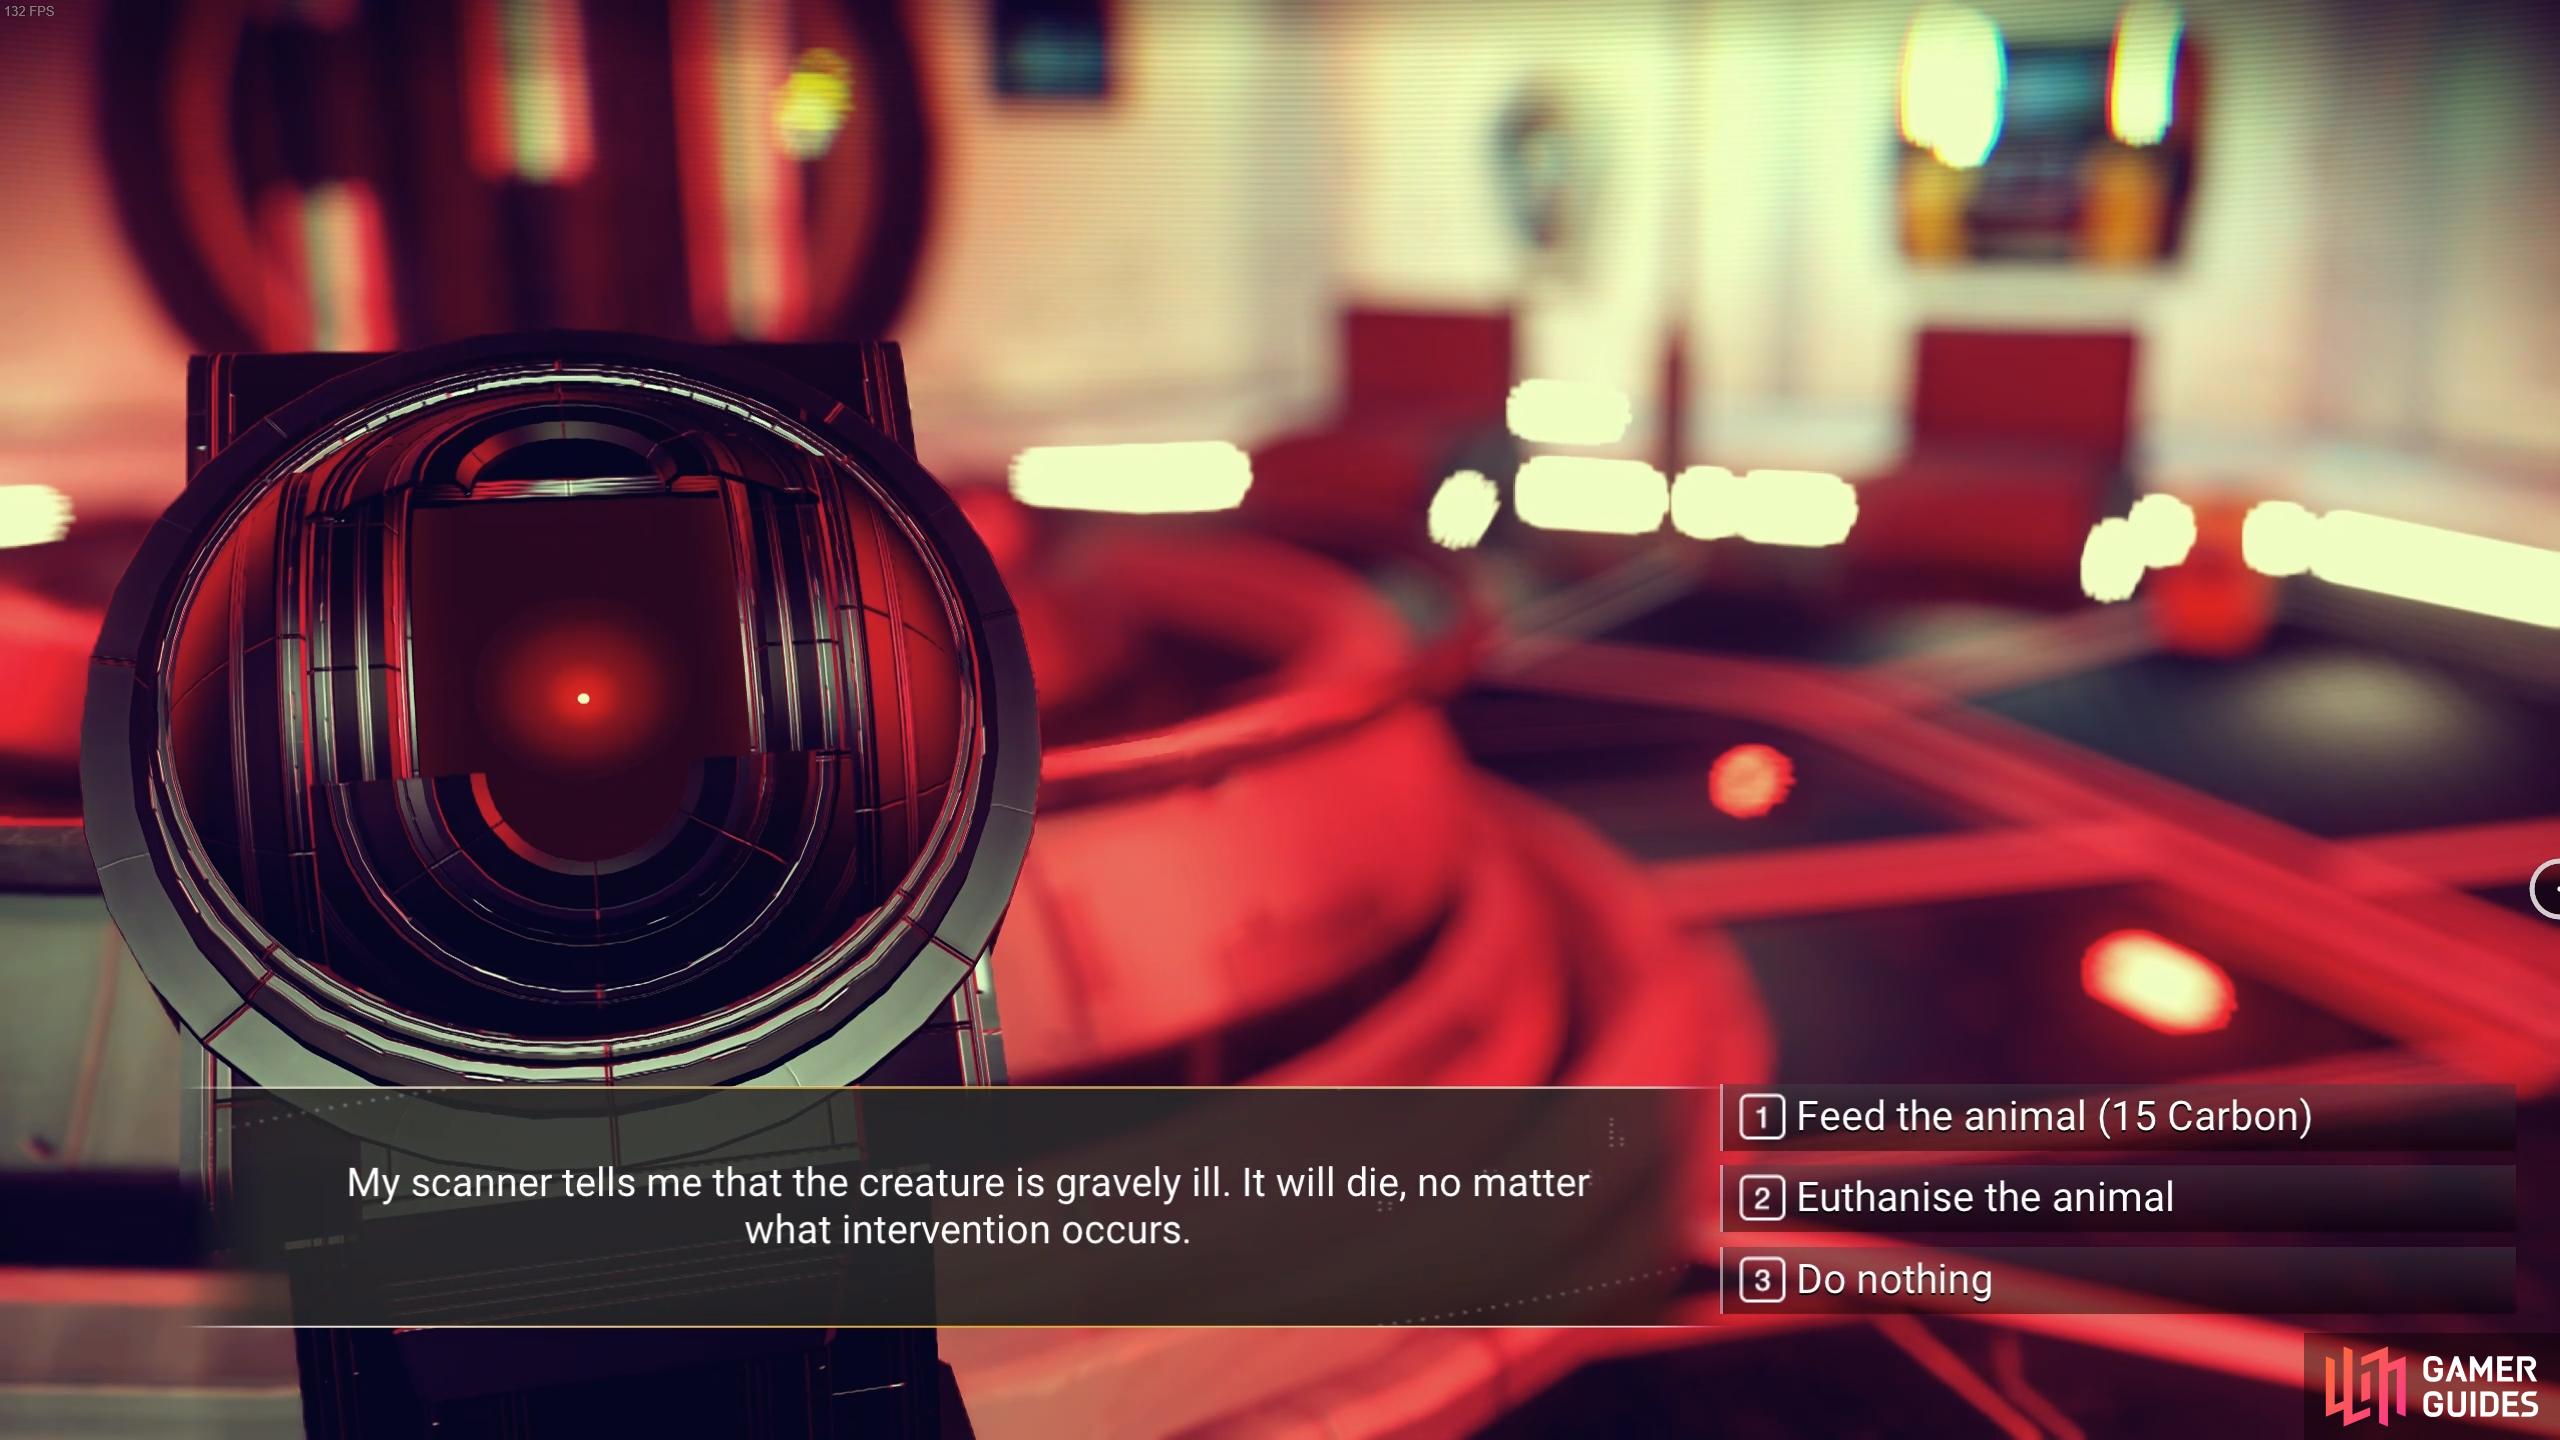
It doesn’t matter what you choose here, as the outcome of the mission will be the same regardless.
No Comments